Teddy Bear Planter
by familylovermommy in Workshop > 3D Printing
2827 Views, 17 Favorites, 0 Comments
Teddy Bear Planter
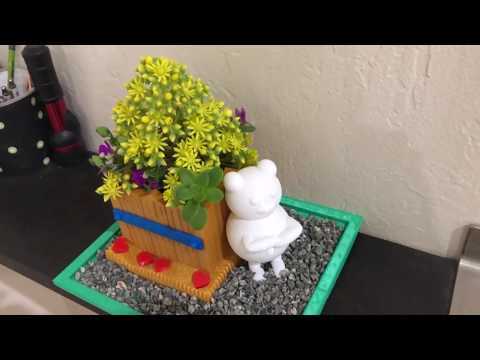
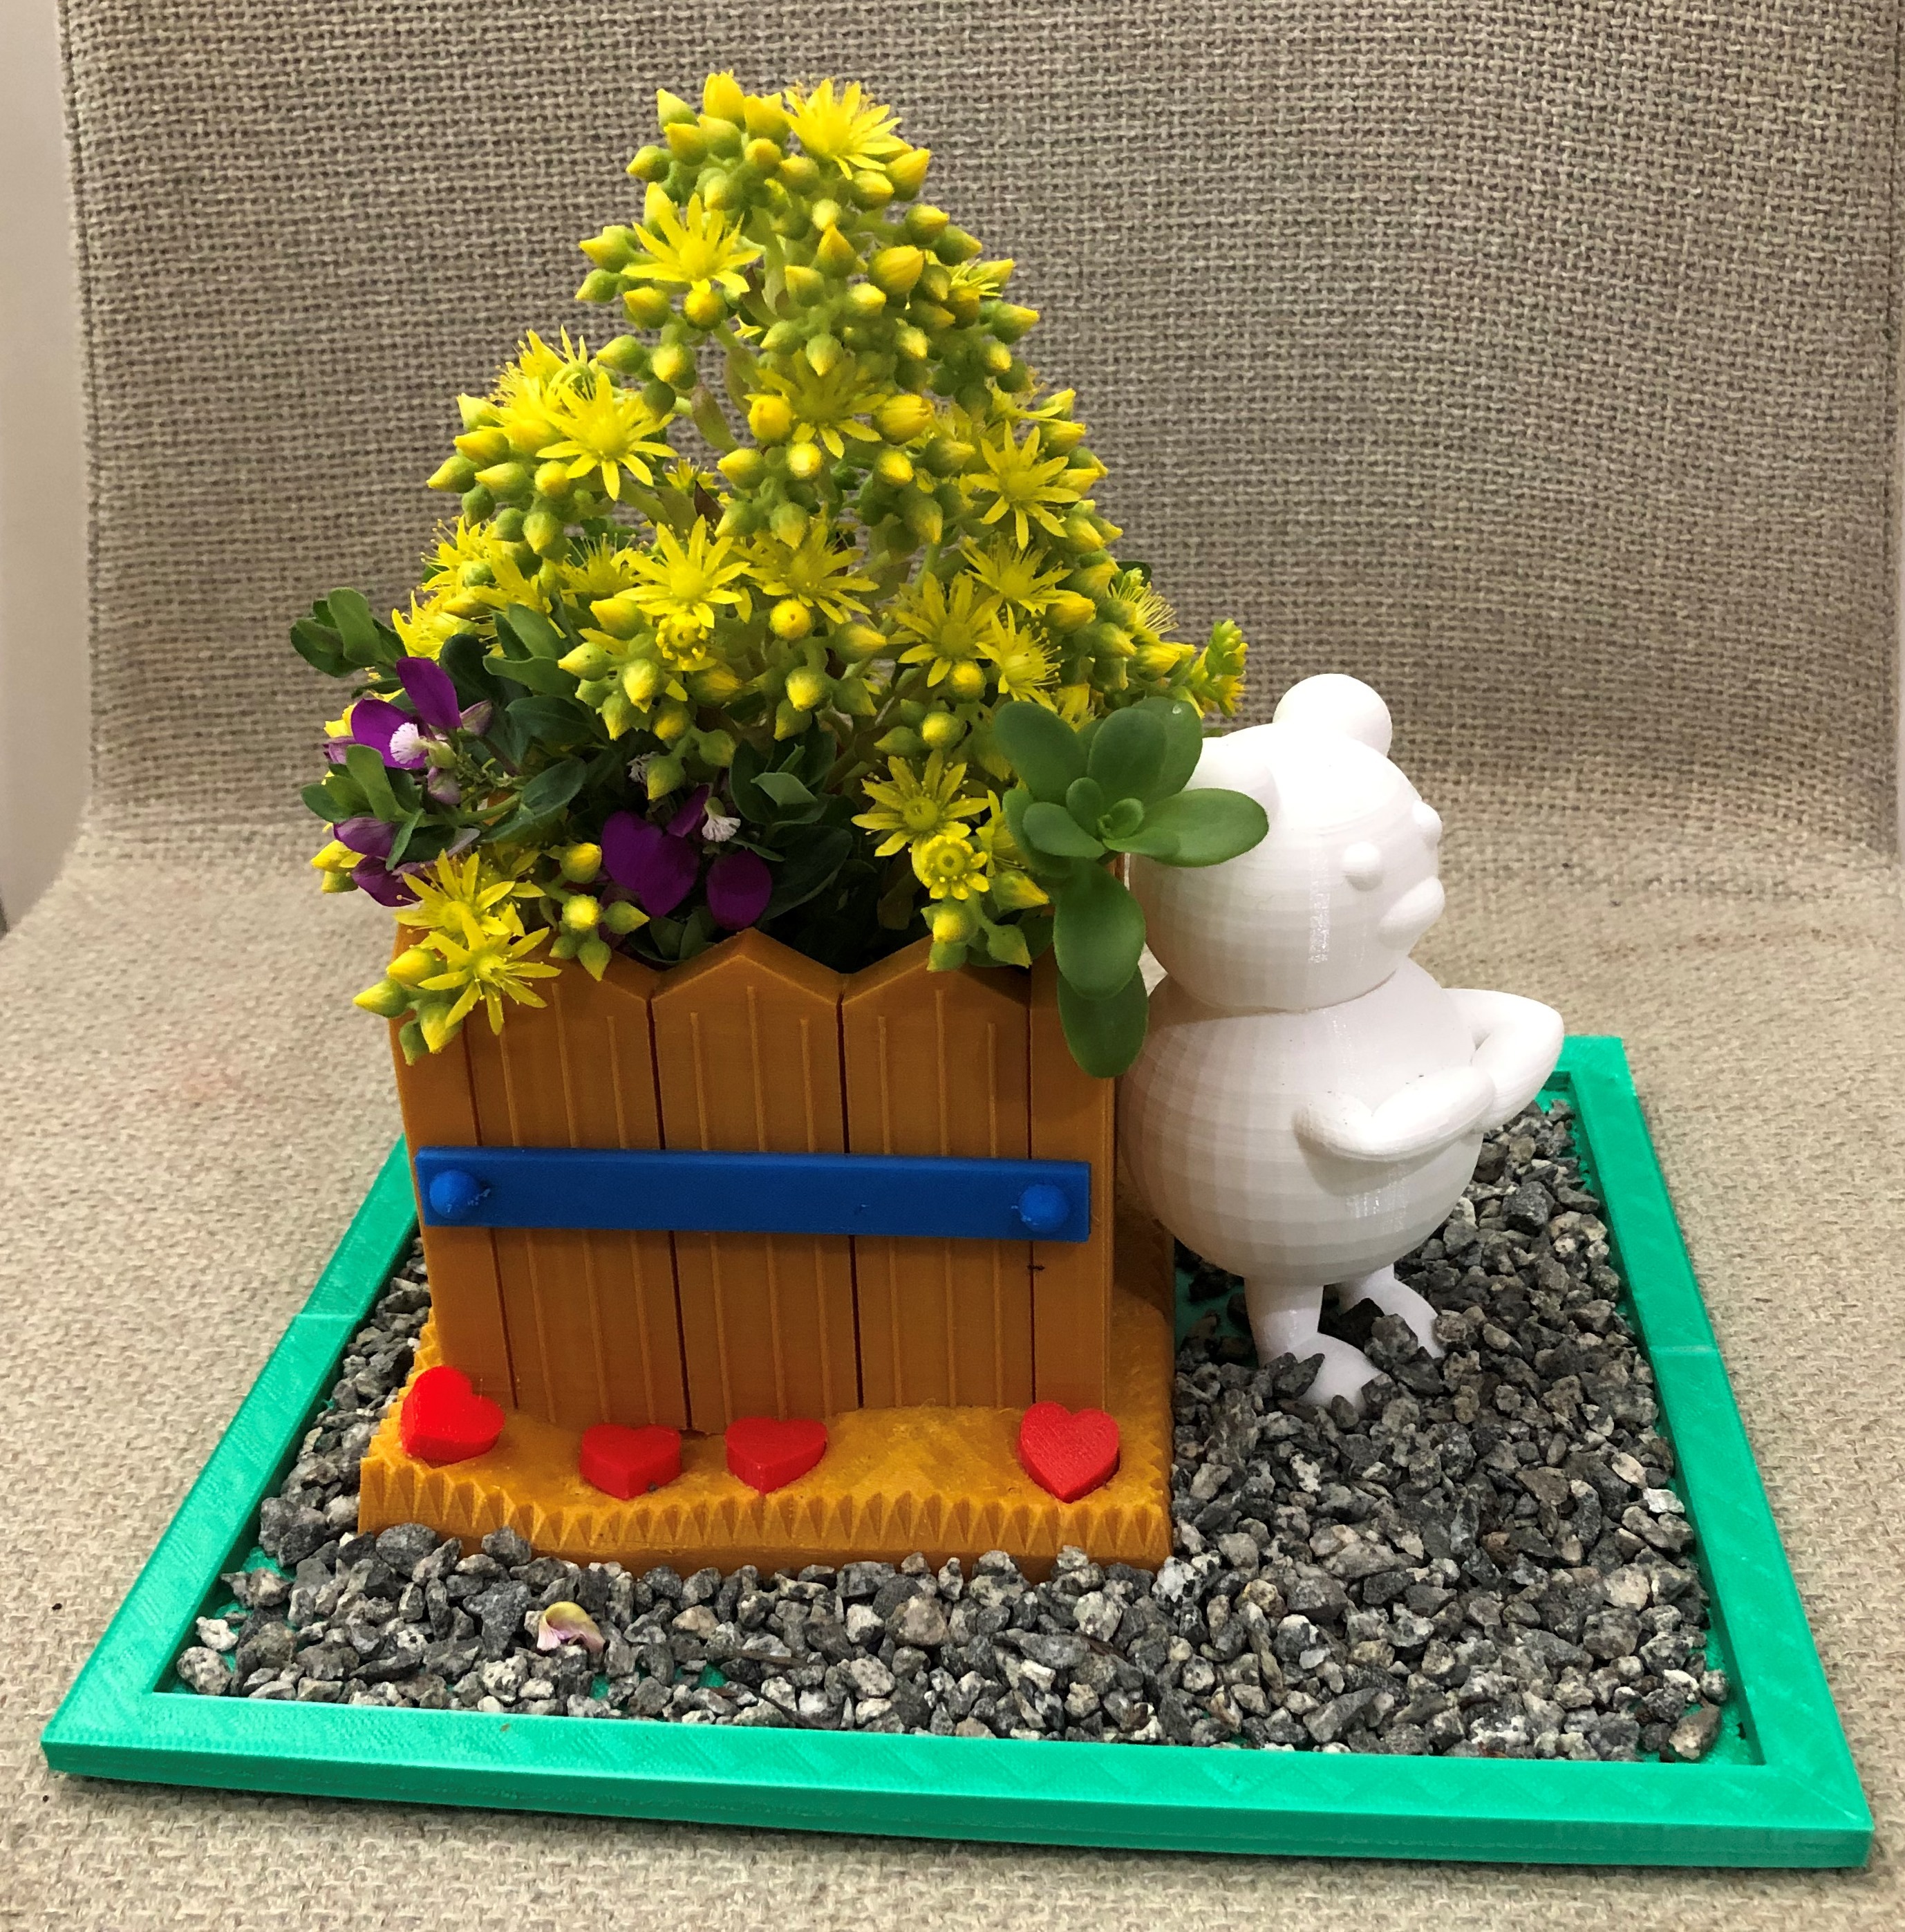
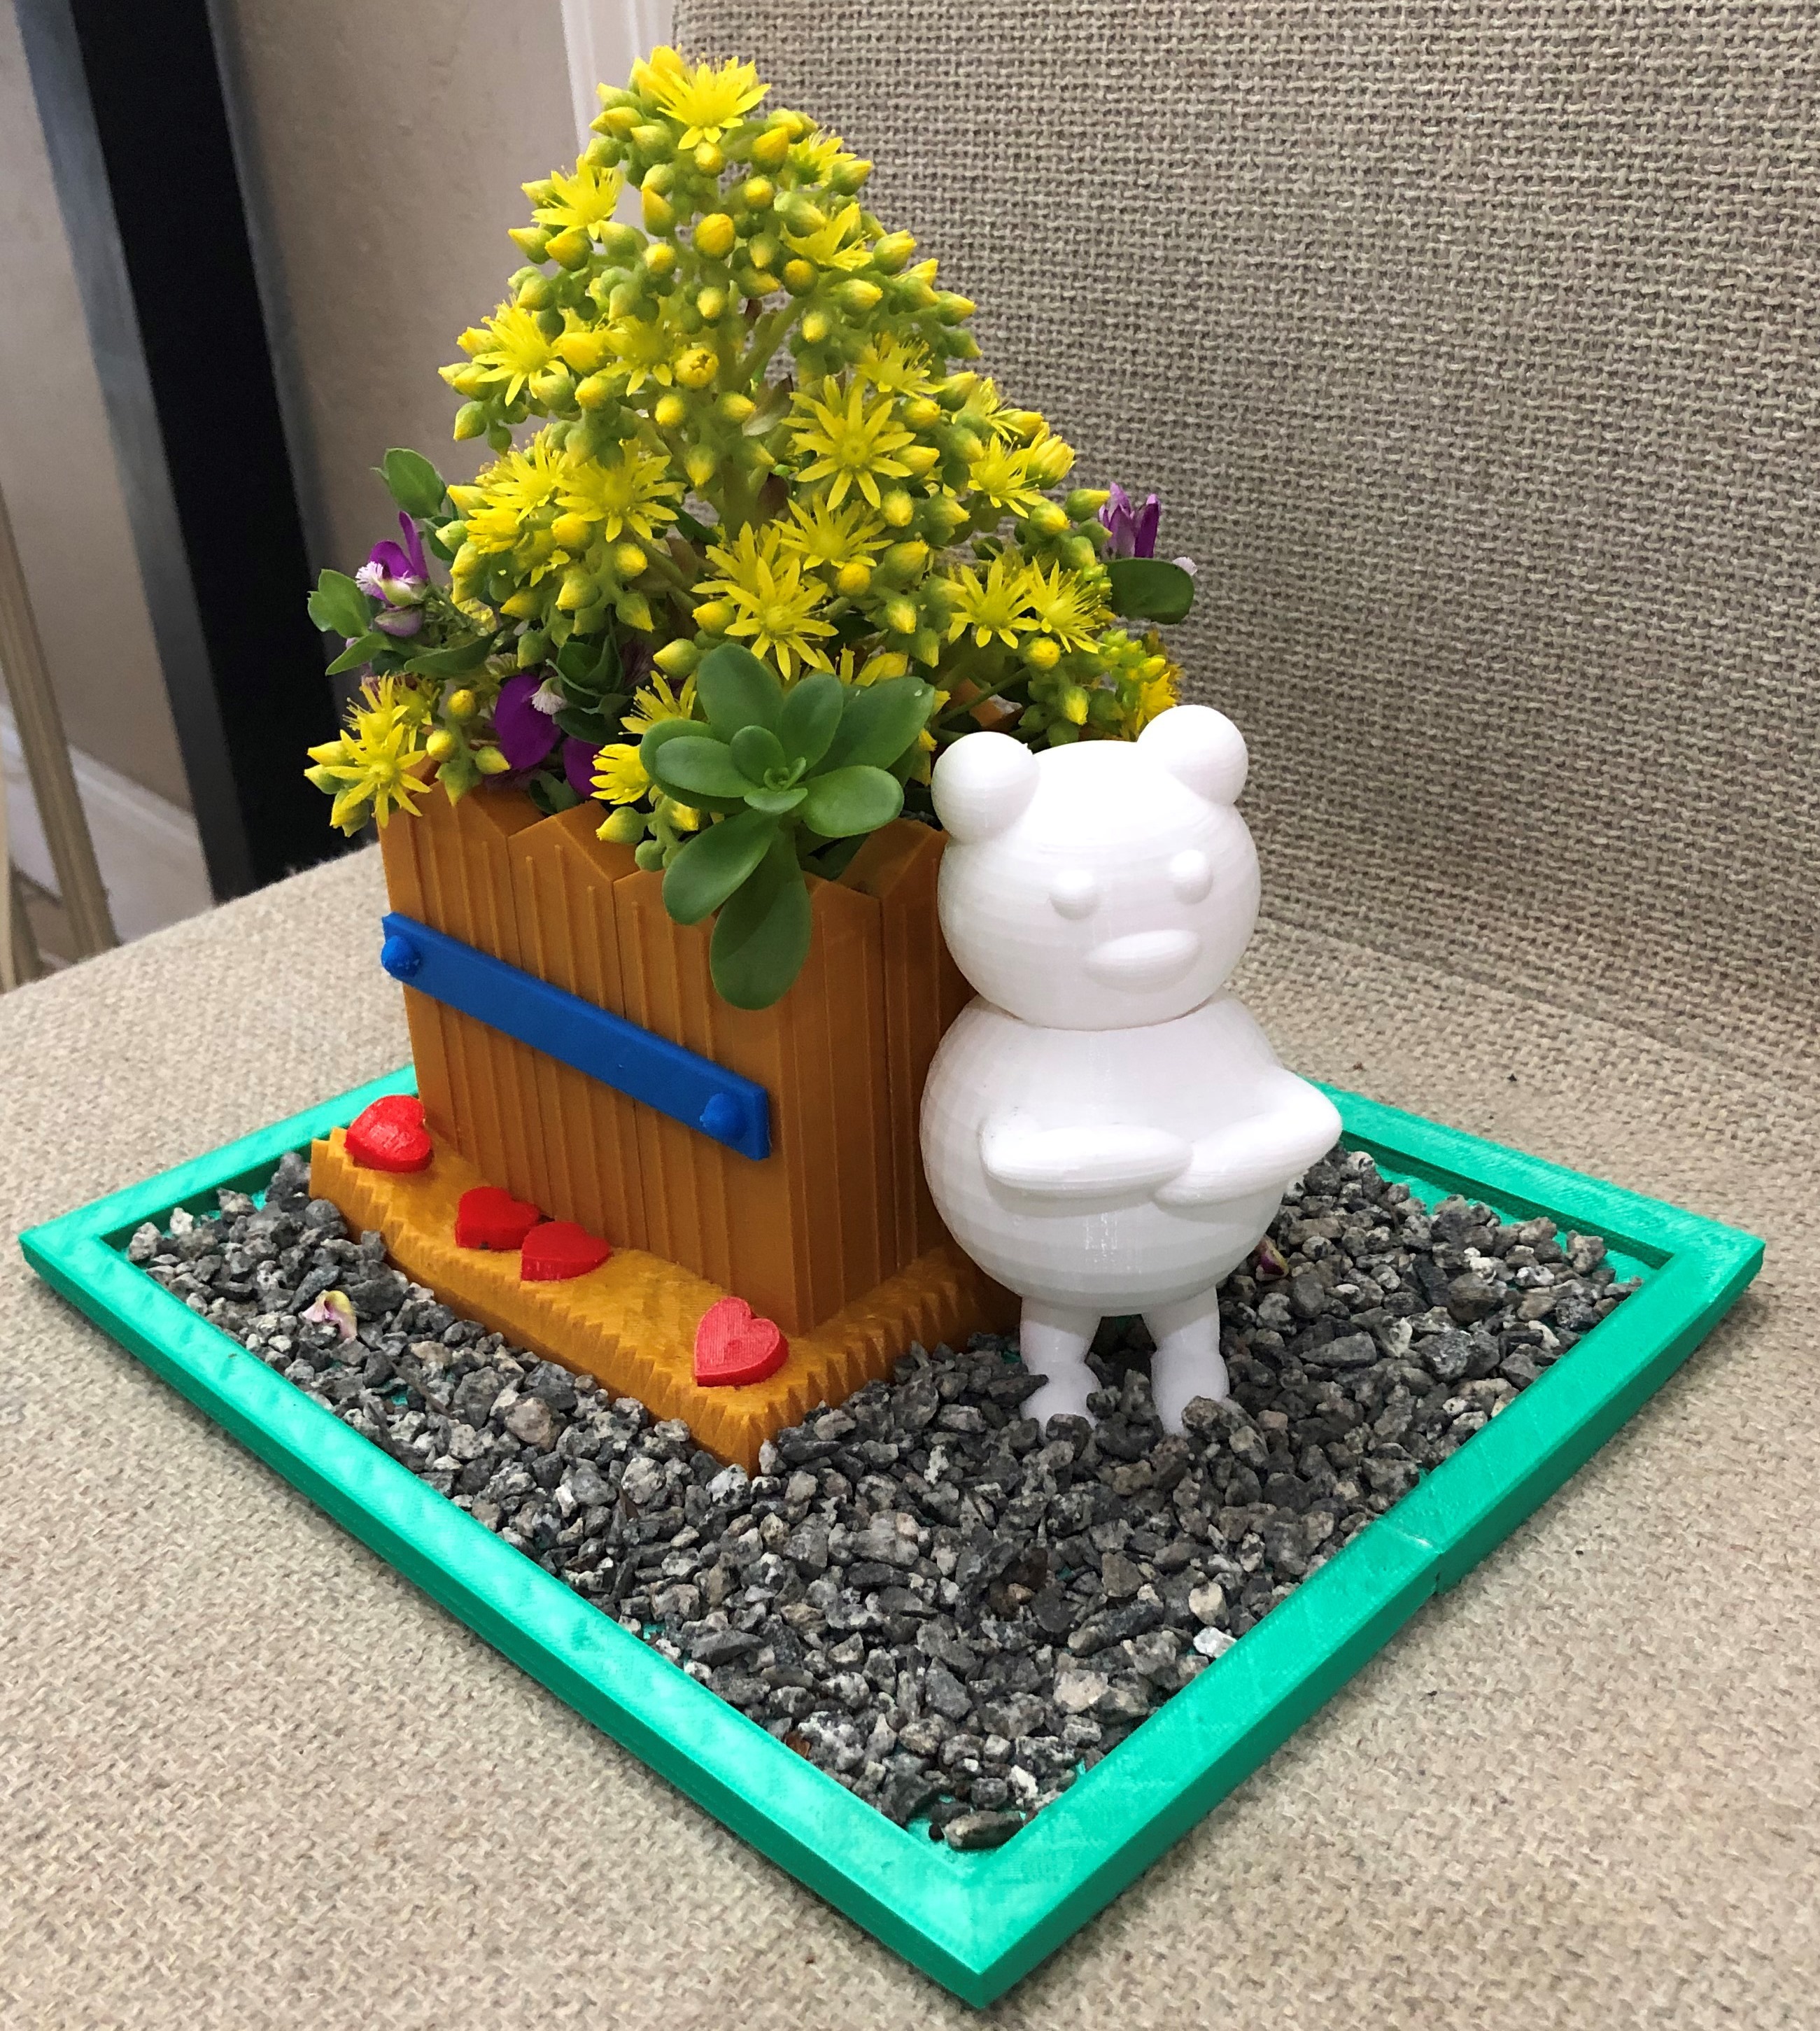
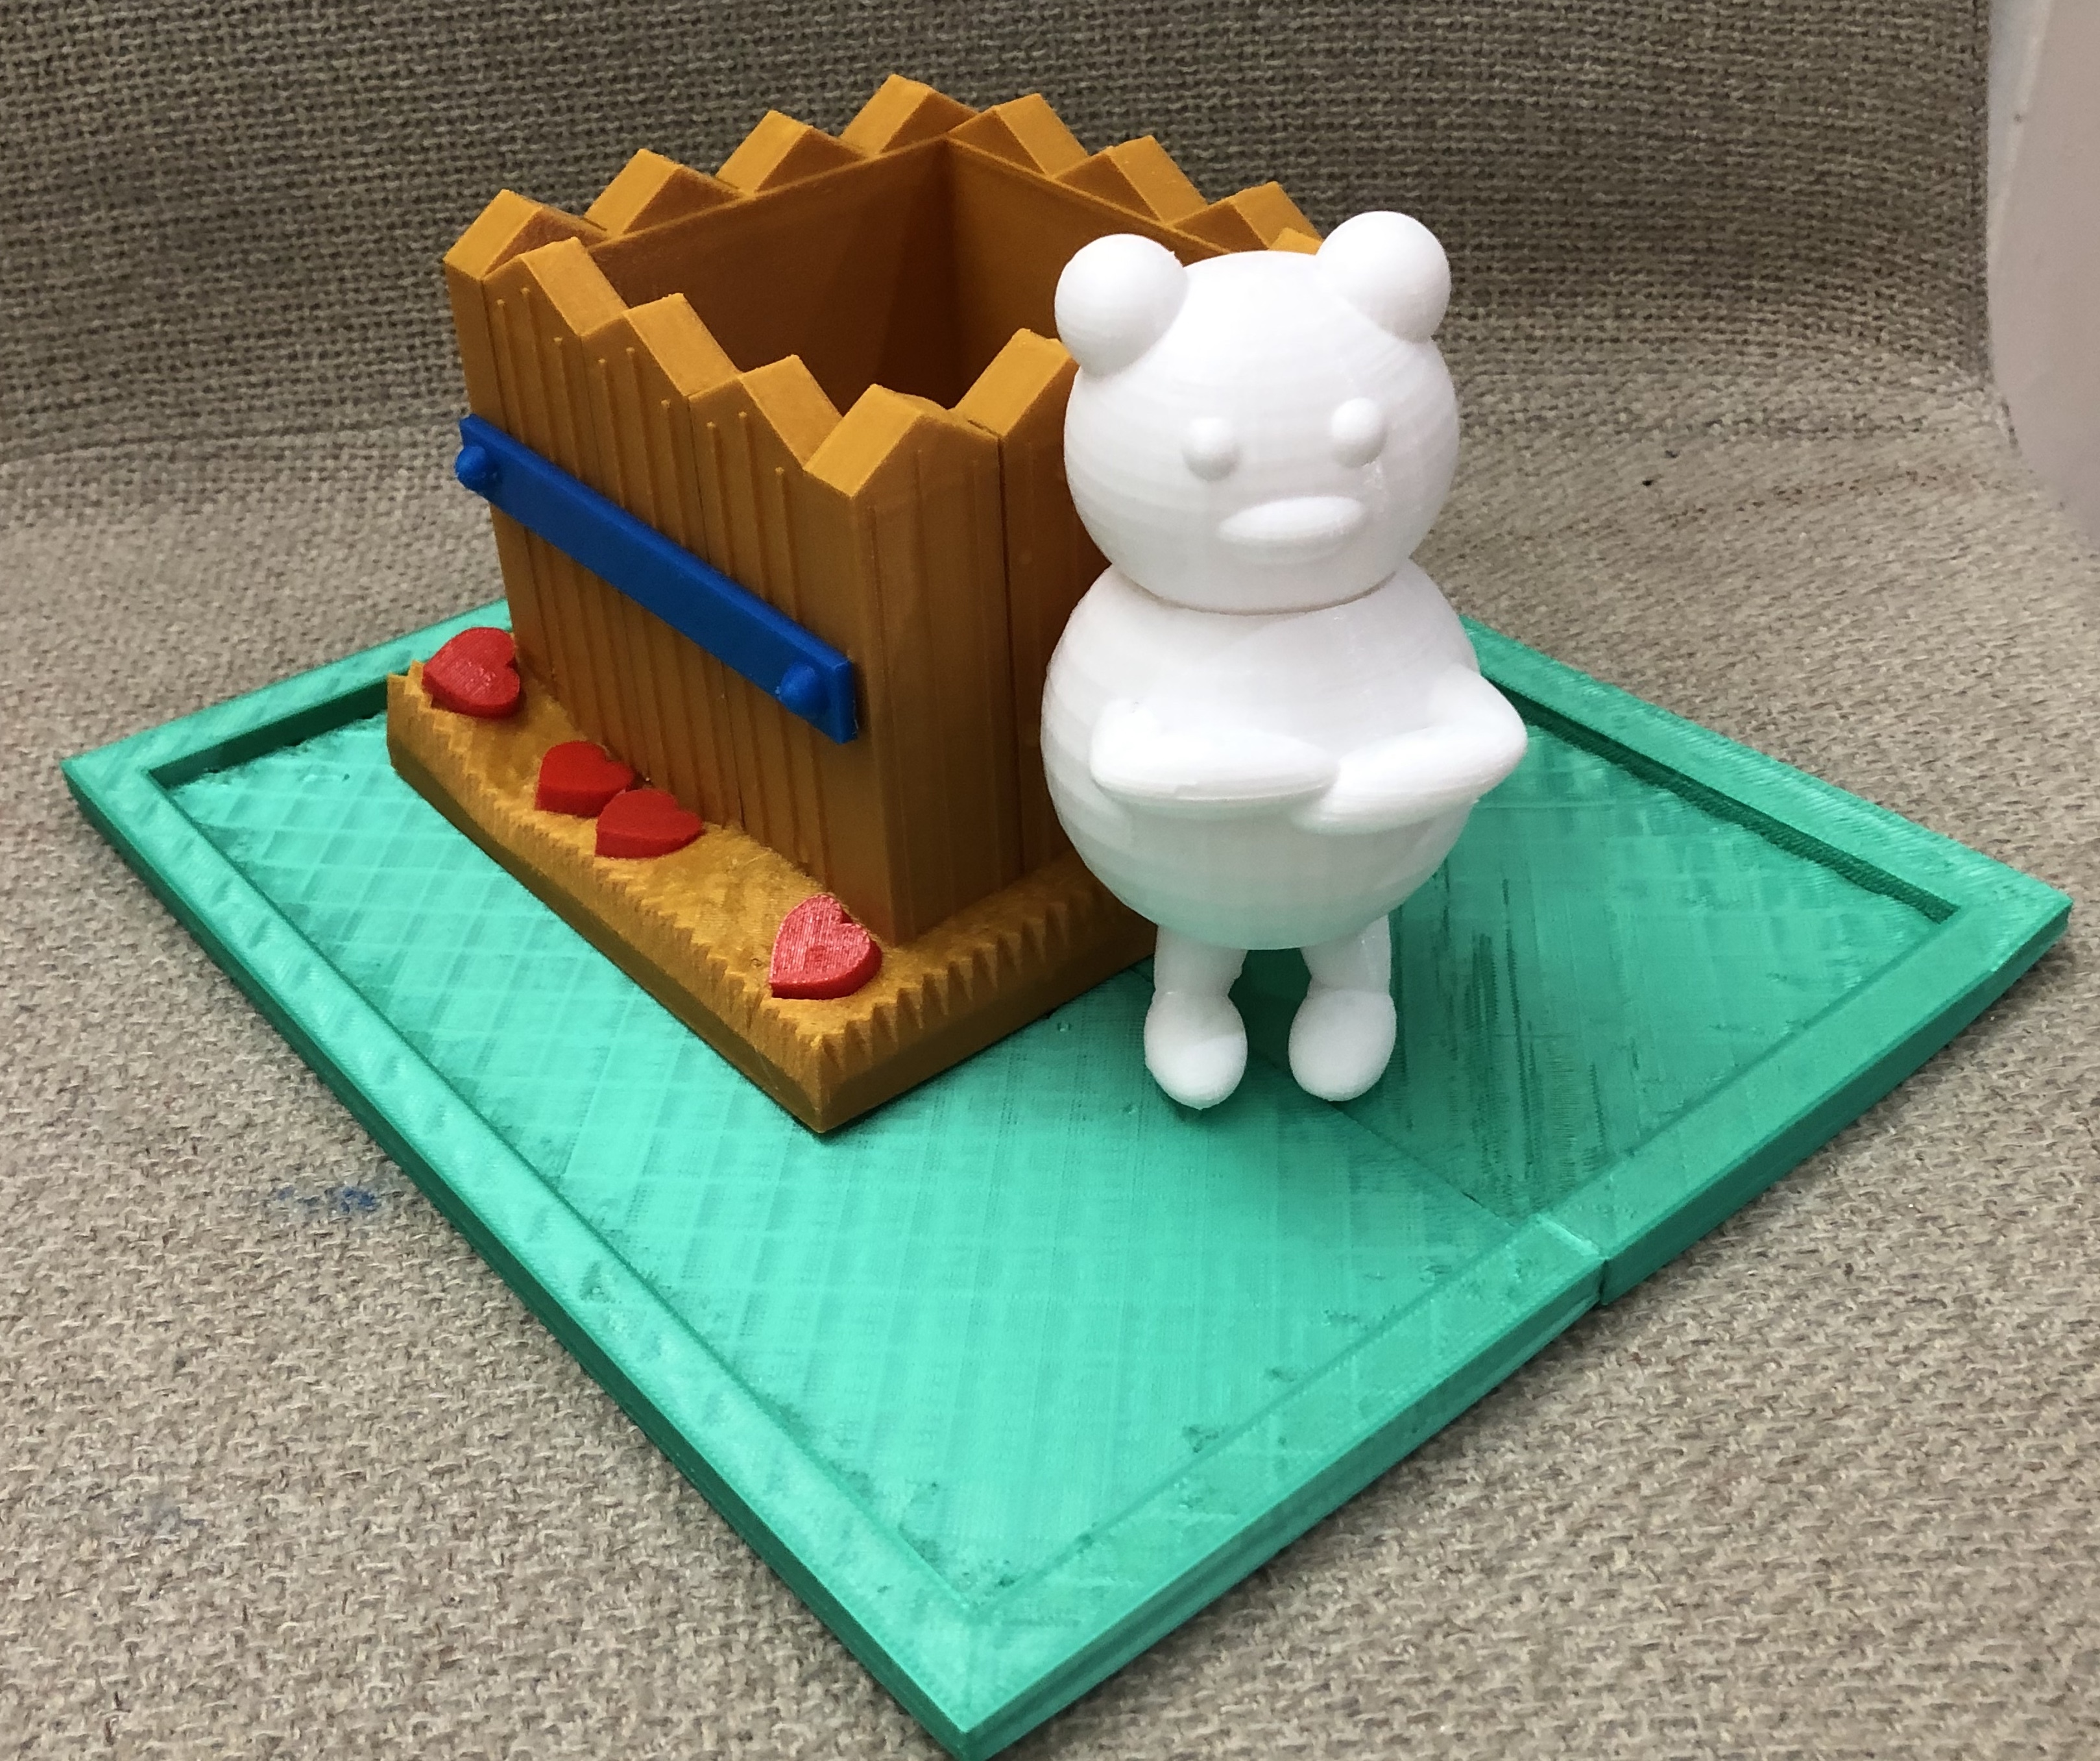
Want to design your planter pot by yourself? Are you good at designing with 3D Software?
With this instructable, I concentrate on how to design planter pot by myself using Tinkercad and bring the design to life by printing them.
For download, you can find it in Cults3d
Supplies
Here are some supplies:
Tinkercad
3D Printer Dremel 3D40
3D Digilab Dremel Slicer
PLA Filament (Gold, Red, Green, White, and Blue)
Hot Glue Gun
Soil and Little rocks/stones
Plants and flowers
Teddy Bear
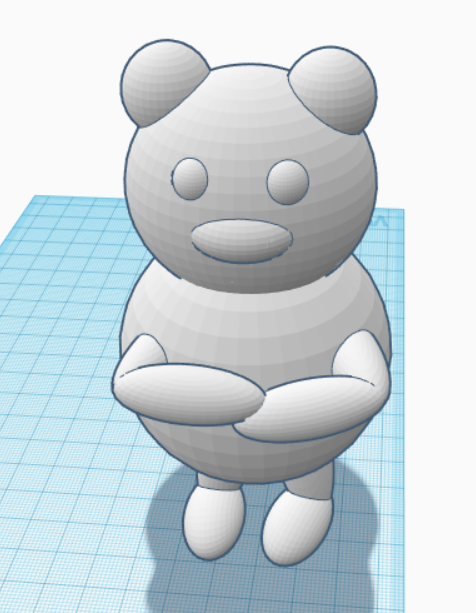
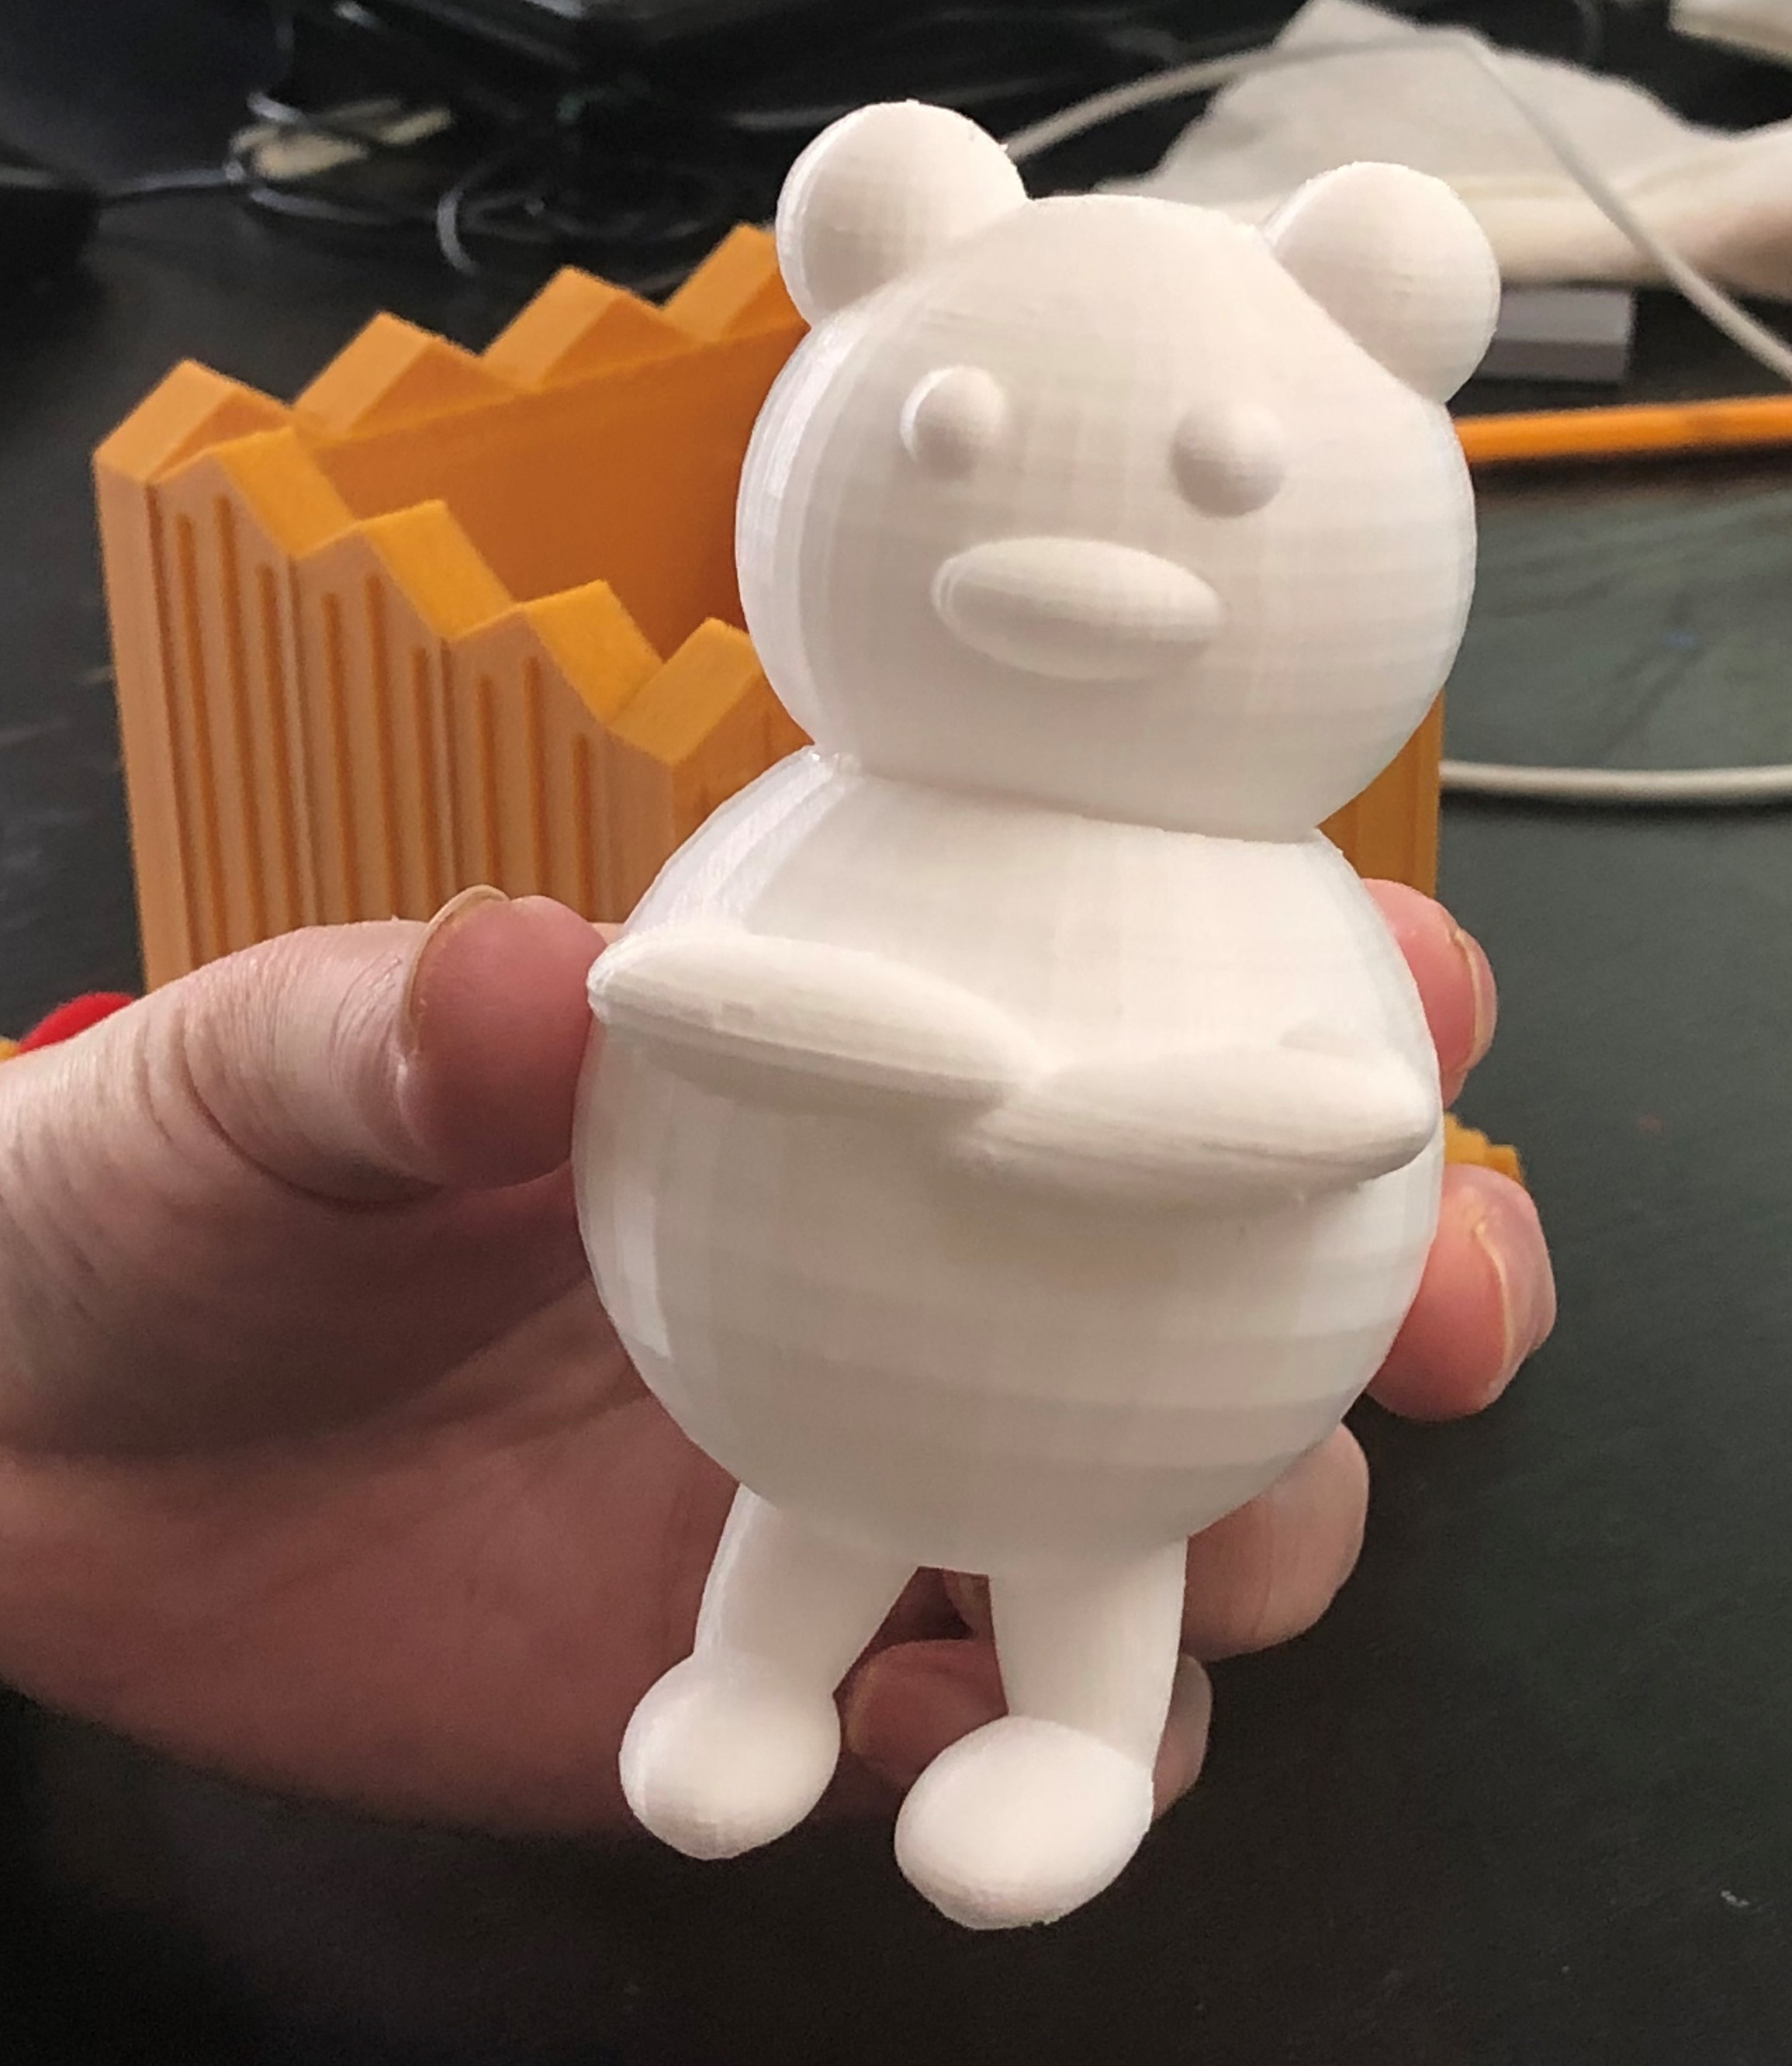
To create teddy bear, I break these into several steps and the result of teddy bear is like this.
Head
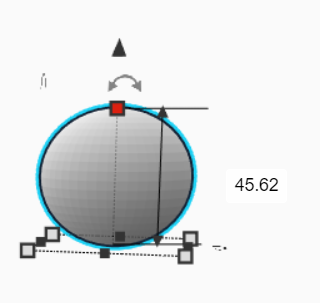
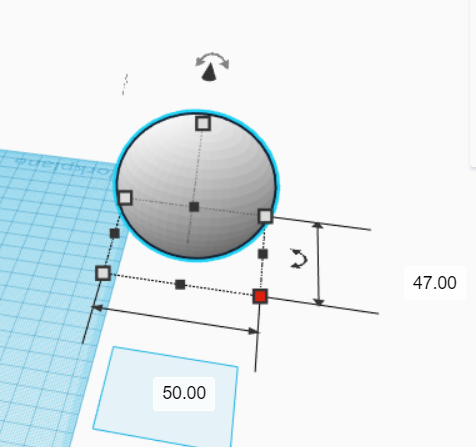
Drag a sphere into workplane. Form it into the shape of ellipse. The measurement is:
length = 50 mm
width = 47 mm
height = 45.62 mm
Eyes
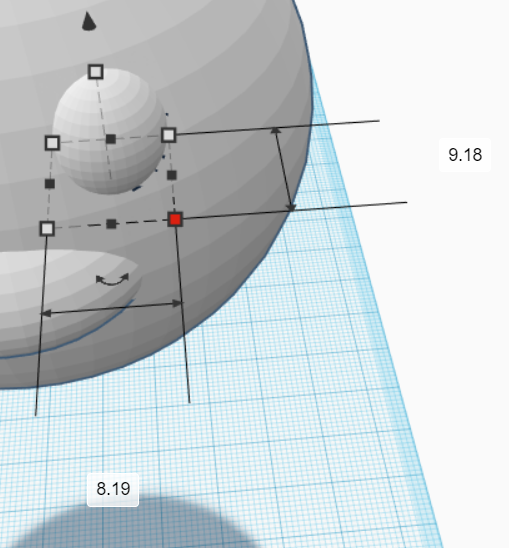
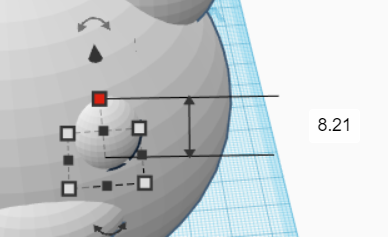
For eyes, by using sphere, make it to the shape of ellipse. The scale is:
length = 8.19 mm
width = 9.18 mm
height = 8.21 mm
Copy and paste it, so you have two eyes. Place the eyes into the head.
Ears
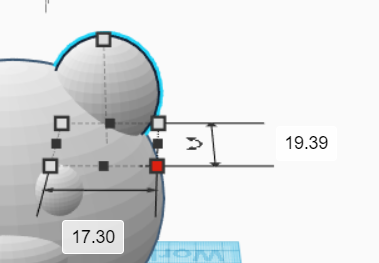
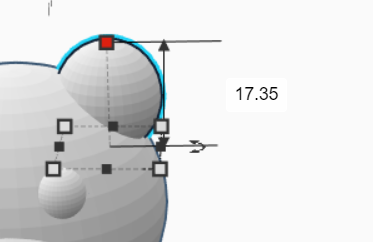
For ears, by using sphere, make it to the shape of ellipse. The scale is the length is 17.30 mm, width is 19.39 mm and height is 17.35 mm. Copy and paste it, so you have two ears. Place them in the top of the head.
Muzzle
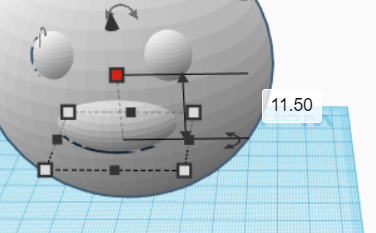
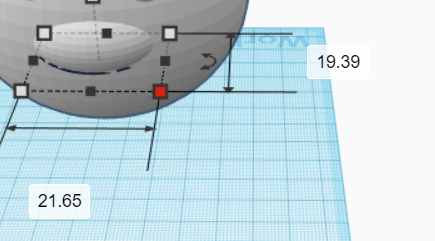
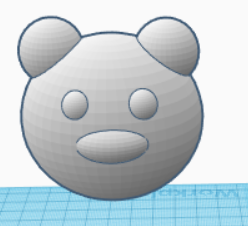
For making muzzle, use sphere, too and make it an ellipse shape. The sizes are:
length = 21.65 mm
width = 19.39 mm
height = 11.50 mm
Put it in the middle of the head.
Body
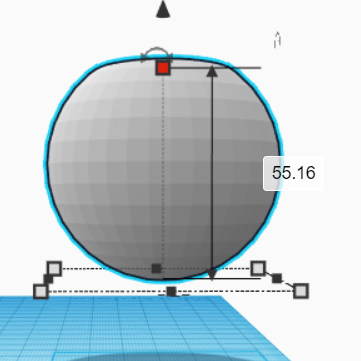
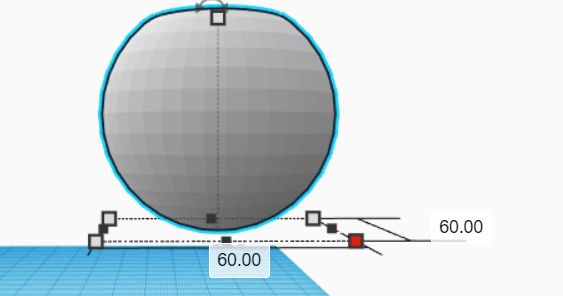
Drag a sphere into workplane. The diameter of height is 55.16 mm and diameter of base is 60 mm.
Hands
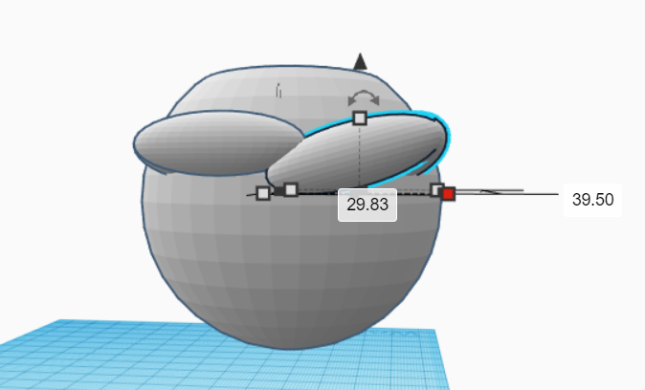
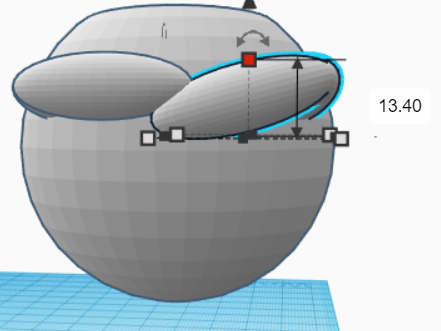
Use sphere for making the hands. Make the measurement and rotate it as shown in the picture. Copy and paste it to the opposite side. Attach the hands to the body and position them like in the picture. Play around with the rotation.
Legs and Feet
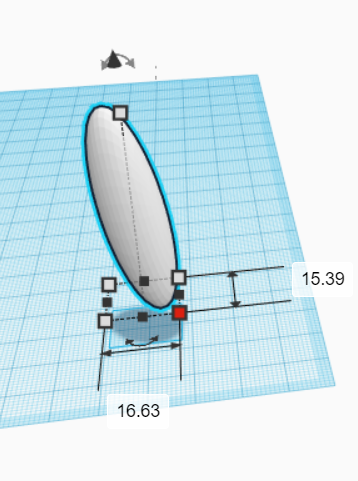
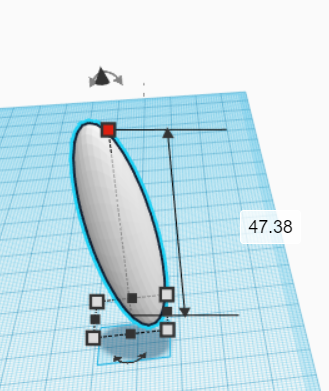
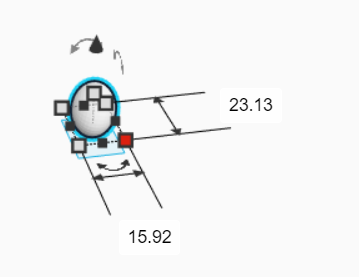
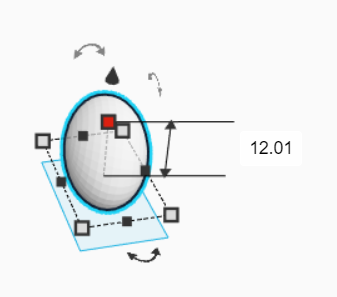
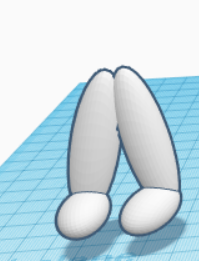
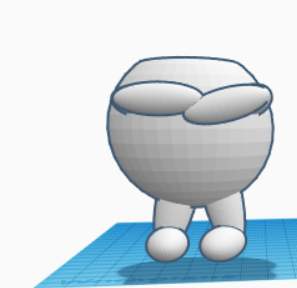
You will need 2 spheres to make legs.
First sphere is for legs.
length = 16.63 mm
width = 15.39 mm
height = 47.38 mm
Play around with the rotation until you get what position as you desire.
Second sphere is for feet.
length = 15.92 mm
width = 23.13 mm
height = 12.01 mm
Play around with the rotation and place it to the leg as shown in the picture.
Copy and paste it to make another leg and foot.
Rotate it to the opposite direction with the first one.
Attach the legs and feet to the body and position them like in the picture.
Assemble Teddy Bear
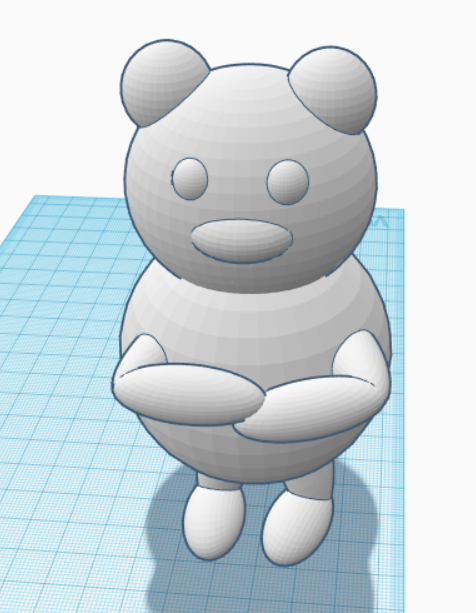
Assemble head and body of Teddy Bear until you get Teddy Bear as shown in the picture.
Terrain
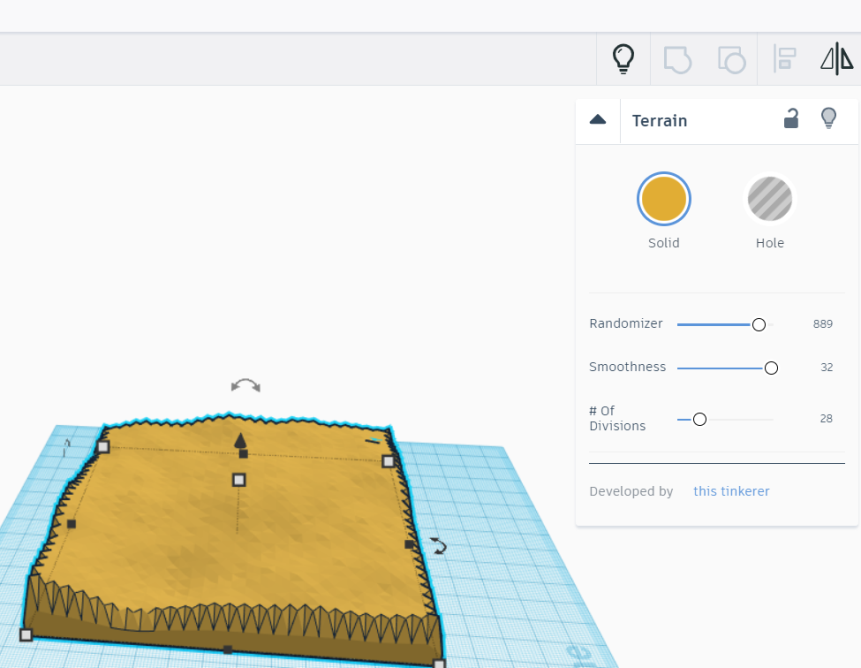
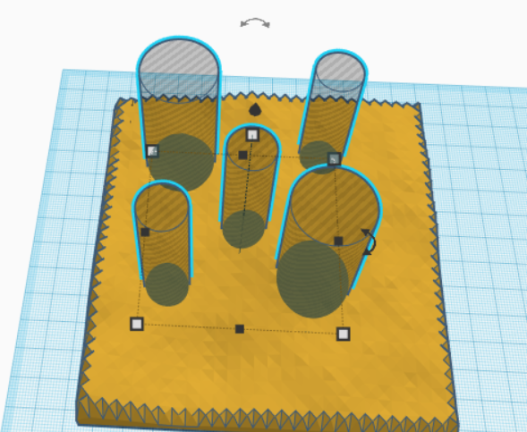
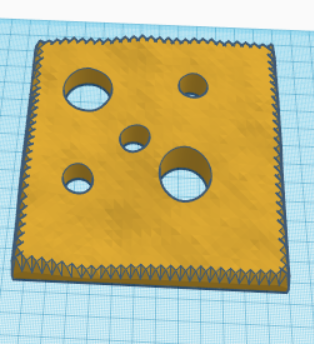
For making terrain for the pot, drag and drop terrain from shape generator to the workplane.
Play around with the terrain as you like.
For this project, the terrain will be:
Randomizer: 889
Smoothness: 32
#of divisions: 28
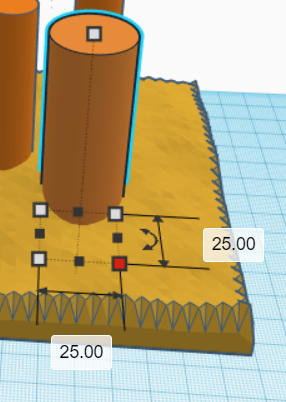
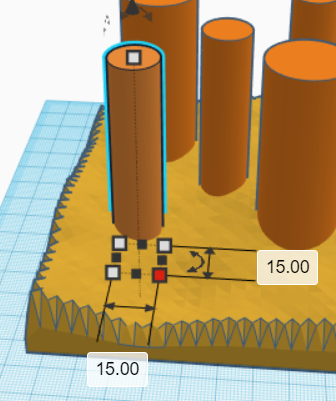
Make 2 cylinders with bigger diameter (25 mm) and 3 cylinders with smaller diameter (15 mm). For cylinders' height, it does not matter as long as it can create hole with the terrain. Group the cylinders together and group the hole with the terrain.
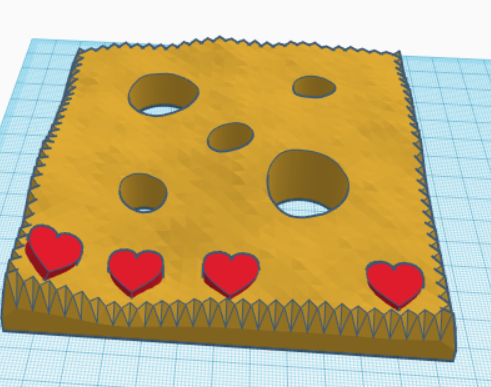
For accessories, drag and drop heart shape from basic shape. Change the color to red and place it on the terrain. Copy and paste it 4 times for making 4 hearts. Make holes for the heart.
Pot- Pt. 1

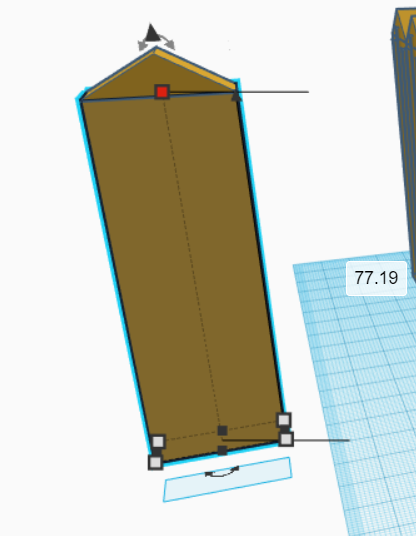
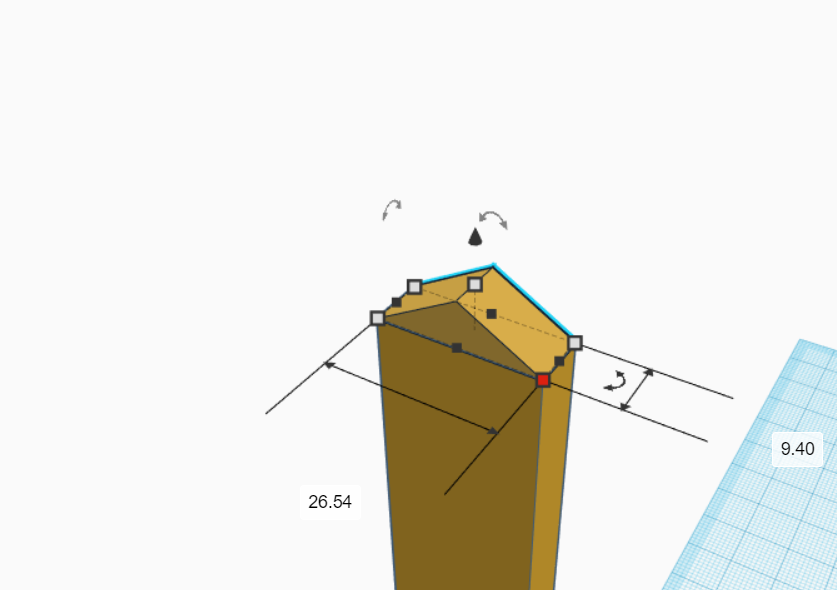
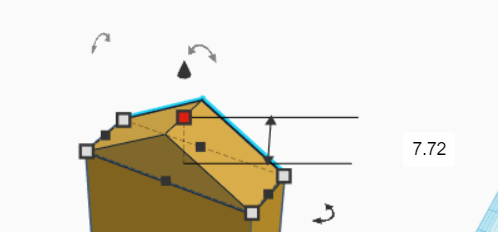
Create a pot using the shape of fences. To create it, simply drag and drop box and roof to the workplane. Place the roof on the top of the box. The dimensions are shown in pictures.
Pot- Pt. 2
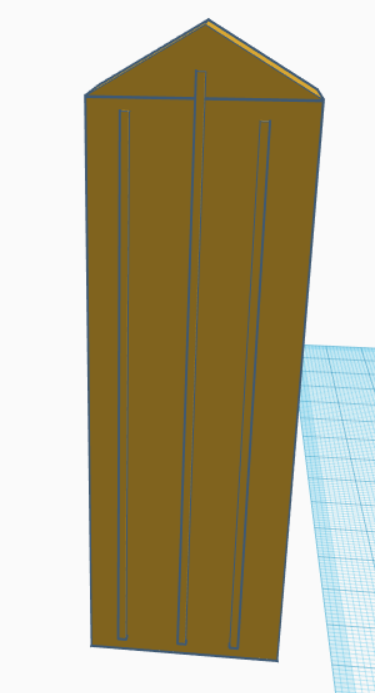
Make texture to the fence, so it will appear as wood. For making the texture, drag and drop 3 boxes to the workplane and arrange them as shown in pictures. Attach them to the fence.
Pot- Pt. 3
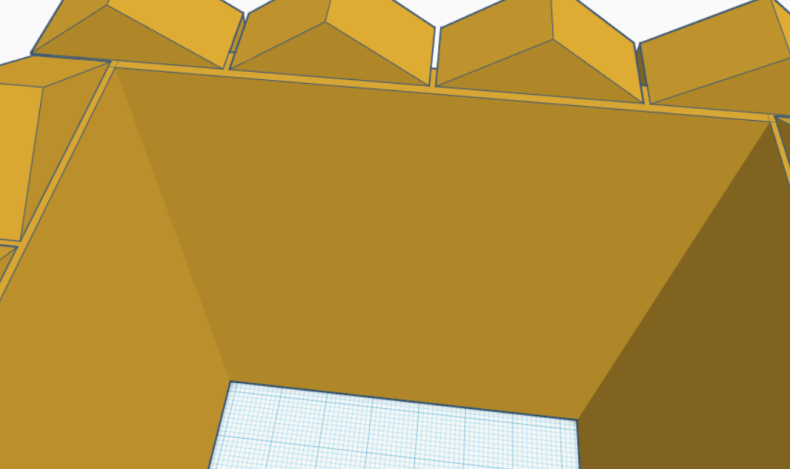
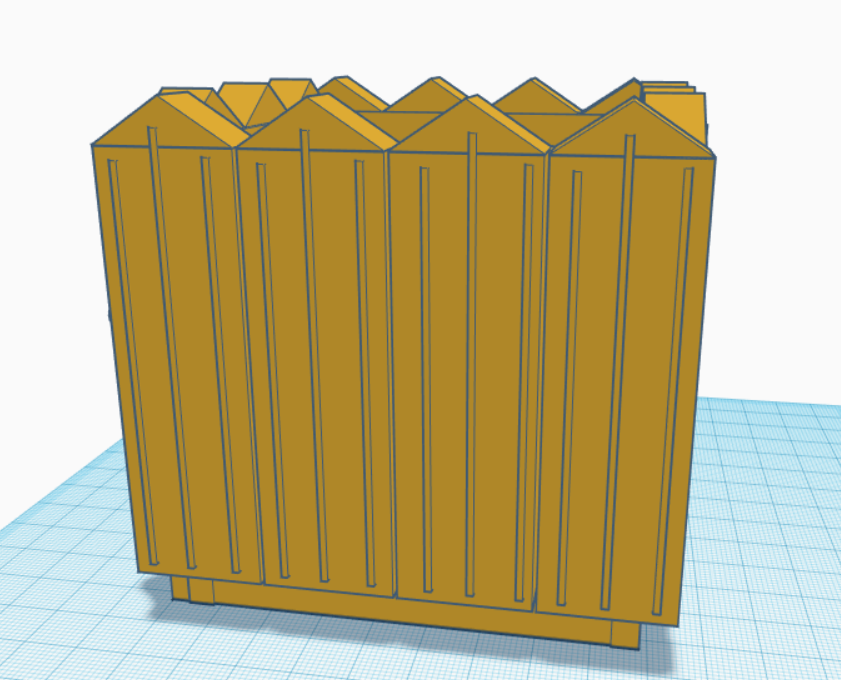
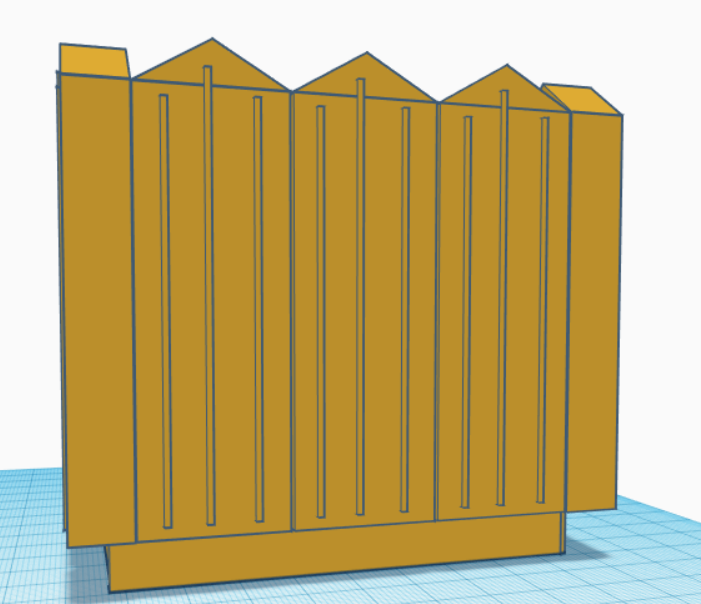
Drag and drop 4 boxes to the workplane. It is for the walls. Position it behind the fences, so all sides have walls.
Pot- Pt. 4

Add lock to the pot by using 2 spheres and 1 box. Place them to the front side of pot. See pictures.
Pot- Pt. 5
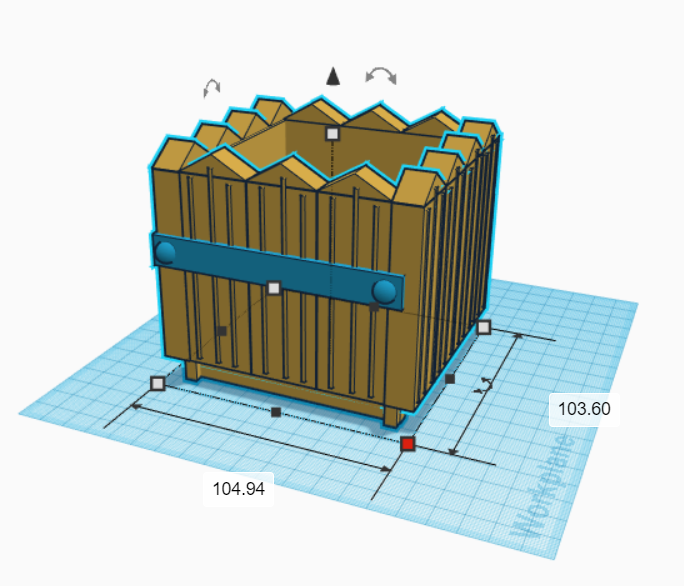
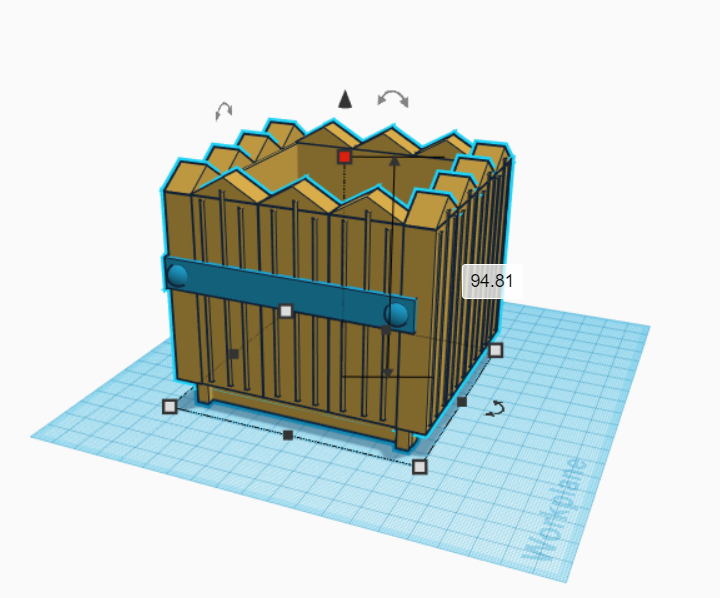
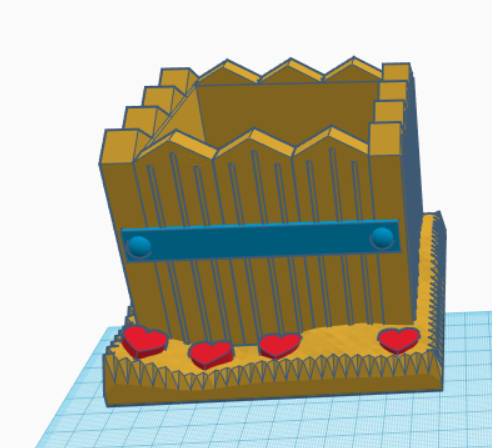
You should finish the pot. See the picture. Overall measurement for the pot is:
Height: 94.81 mm
Length: 104.94 mm
Width: 103.60 mm
Group all together and place on the top of terrain.
Base Pot
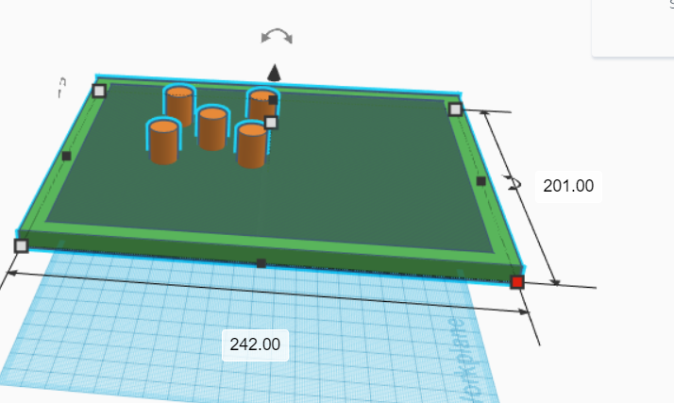
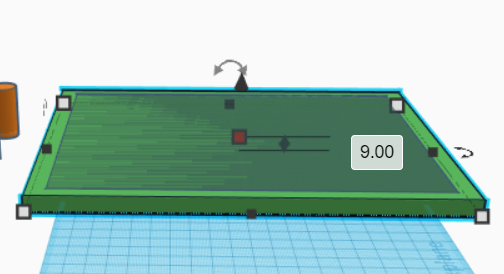
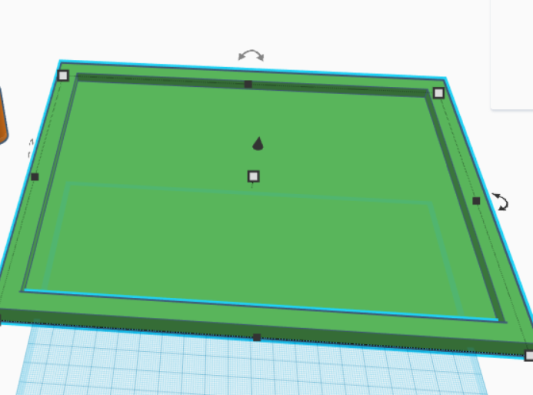
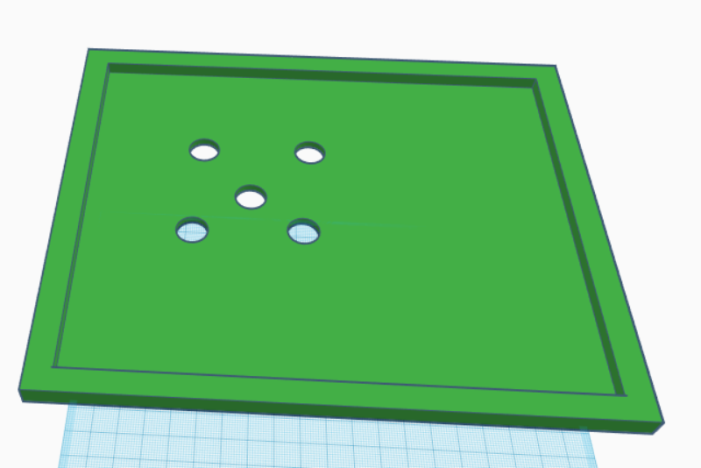
For making the base of the pot, drag and drop 2 boxes to the workplane. Measure the first box like this:
length = 242 mm
width = 201 mm
height = 9 mm
The second box is for the hole, so you will get a little bit deeper on the inside of the base.
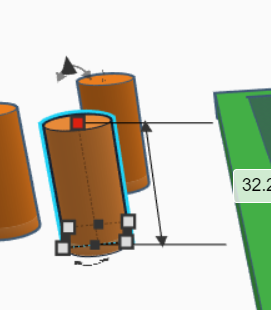
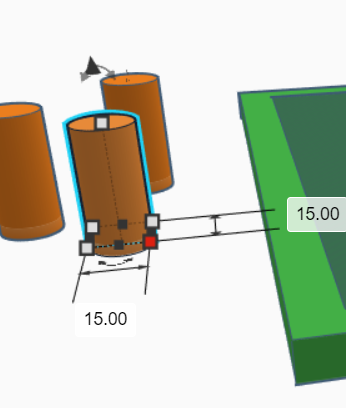
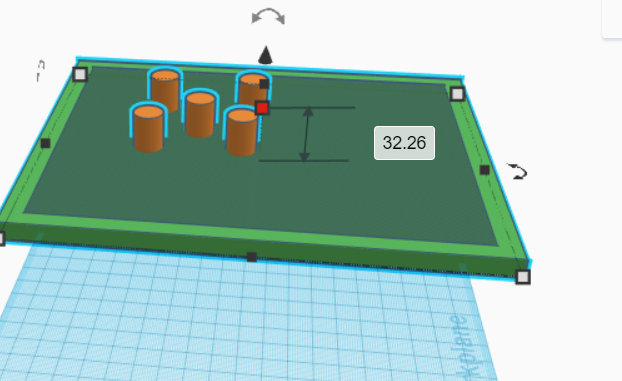
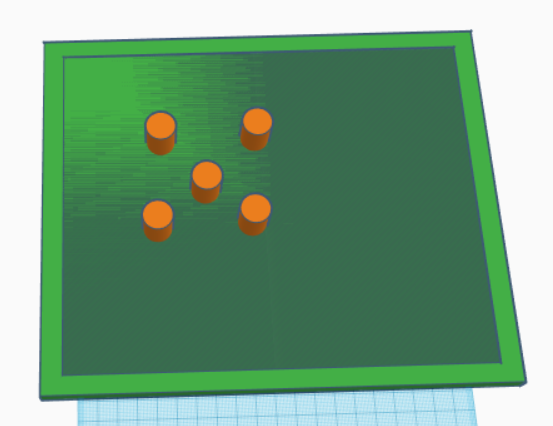
Make 5 cylinders with diameter of 15 mm each and the height is 32.26. Place it like in the picture and make them holes with the base. They should be connecting with the hole of the pot. By doing this, you make 5 holes to the base of the pot.
Final Planter's Pot Design
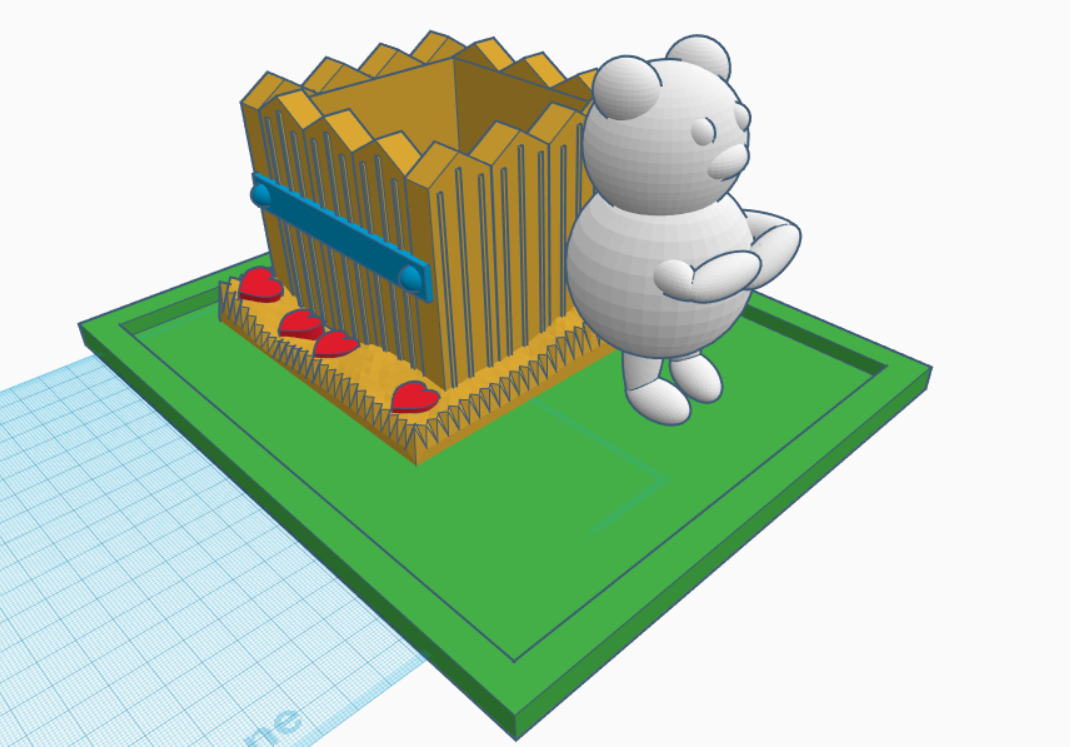
Here is the final planter's pot design that are made in Tinkercad.
Print the Pot Design
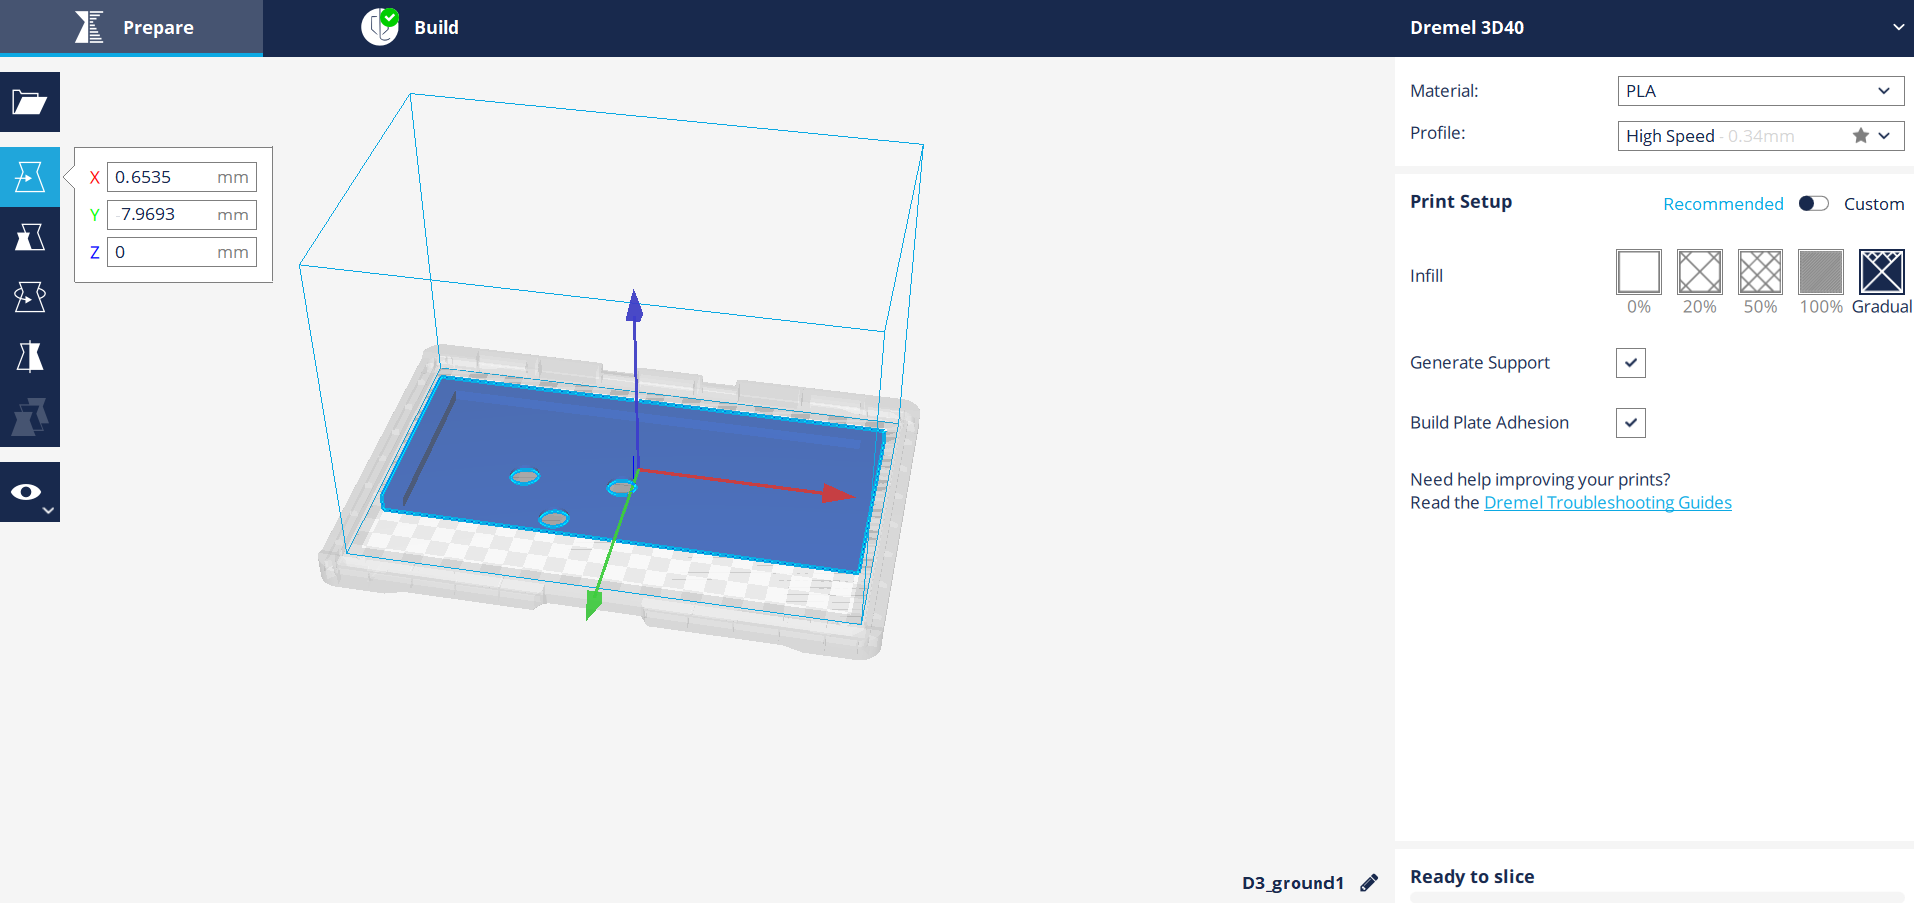
For final result, we need to print all the previous design one by one. It is up to you to choose the color.
For teddy bear, I choose white color for all part. Because the base pot is too large, I divide it into 2 parts.
After finishing all the designs, save and export it to .stl files. Select parts you want to print and export it.
Open the 3D Digilab Dremel Slicer and open the file that you want to print. Select the print option.
For my printing, I used recommended option:
Profile: High Speed
Infill: Gradual
Generate Support: Yes (for parts with overhang and bridge)
Built Plate Adhesion: Yes
Click ready to slice and print it.
You also can use custom, instead of recommended setting.
Click here for more information for printer setting.
Printing Results
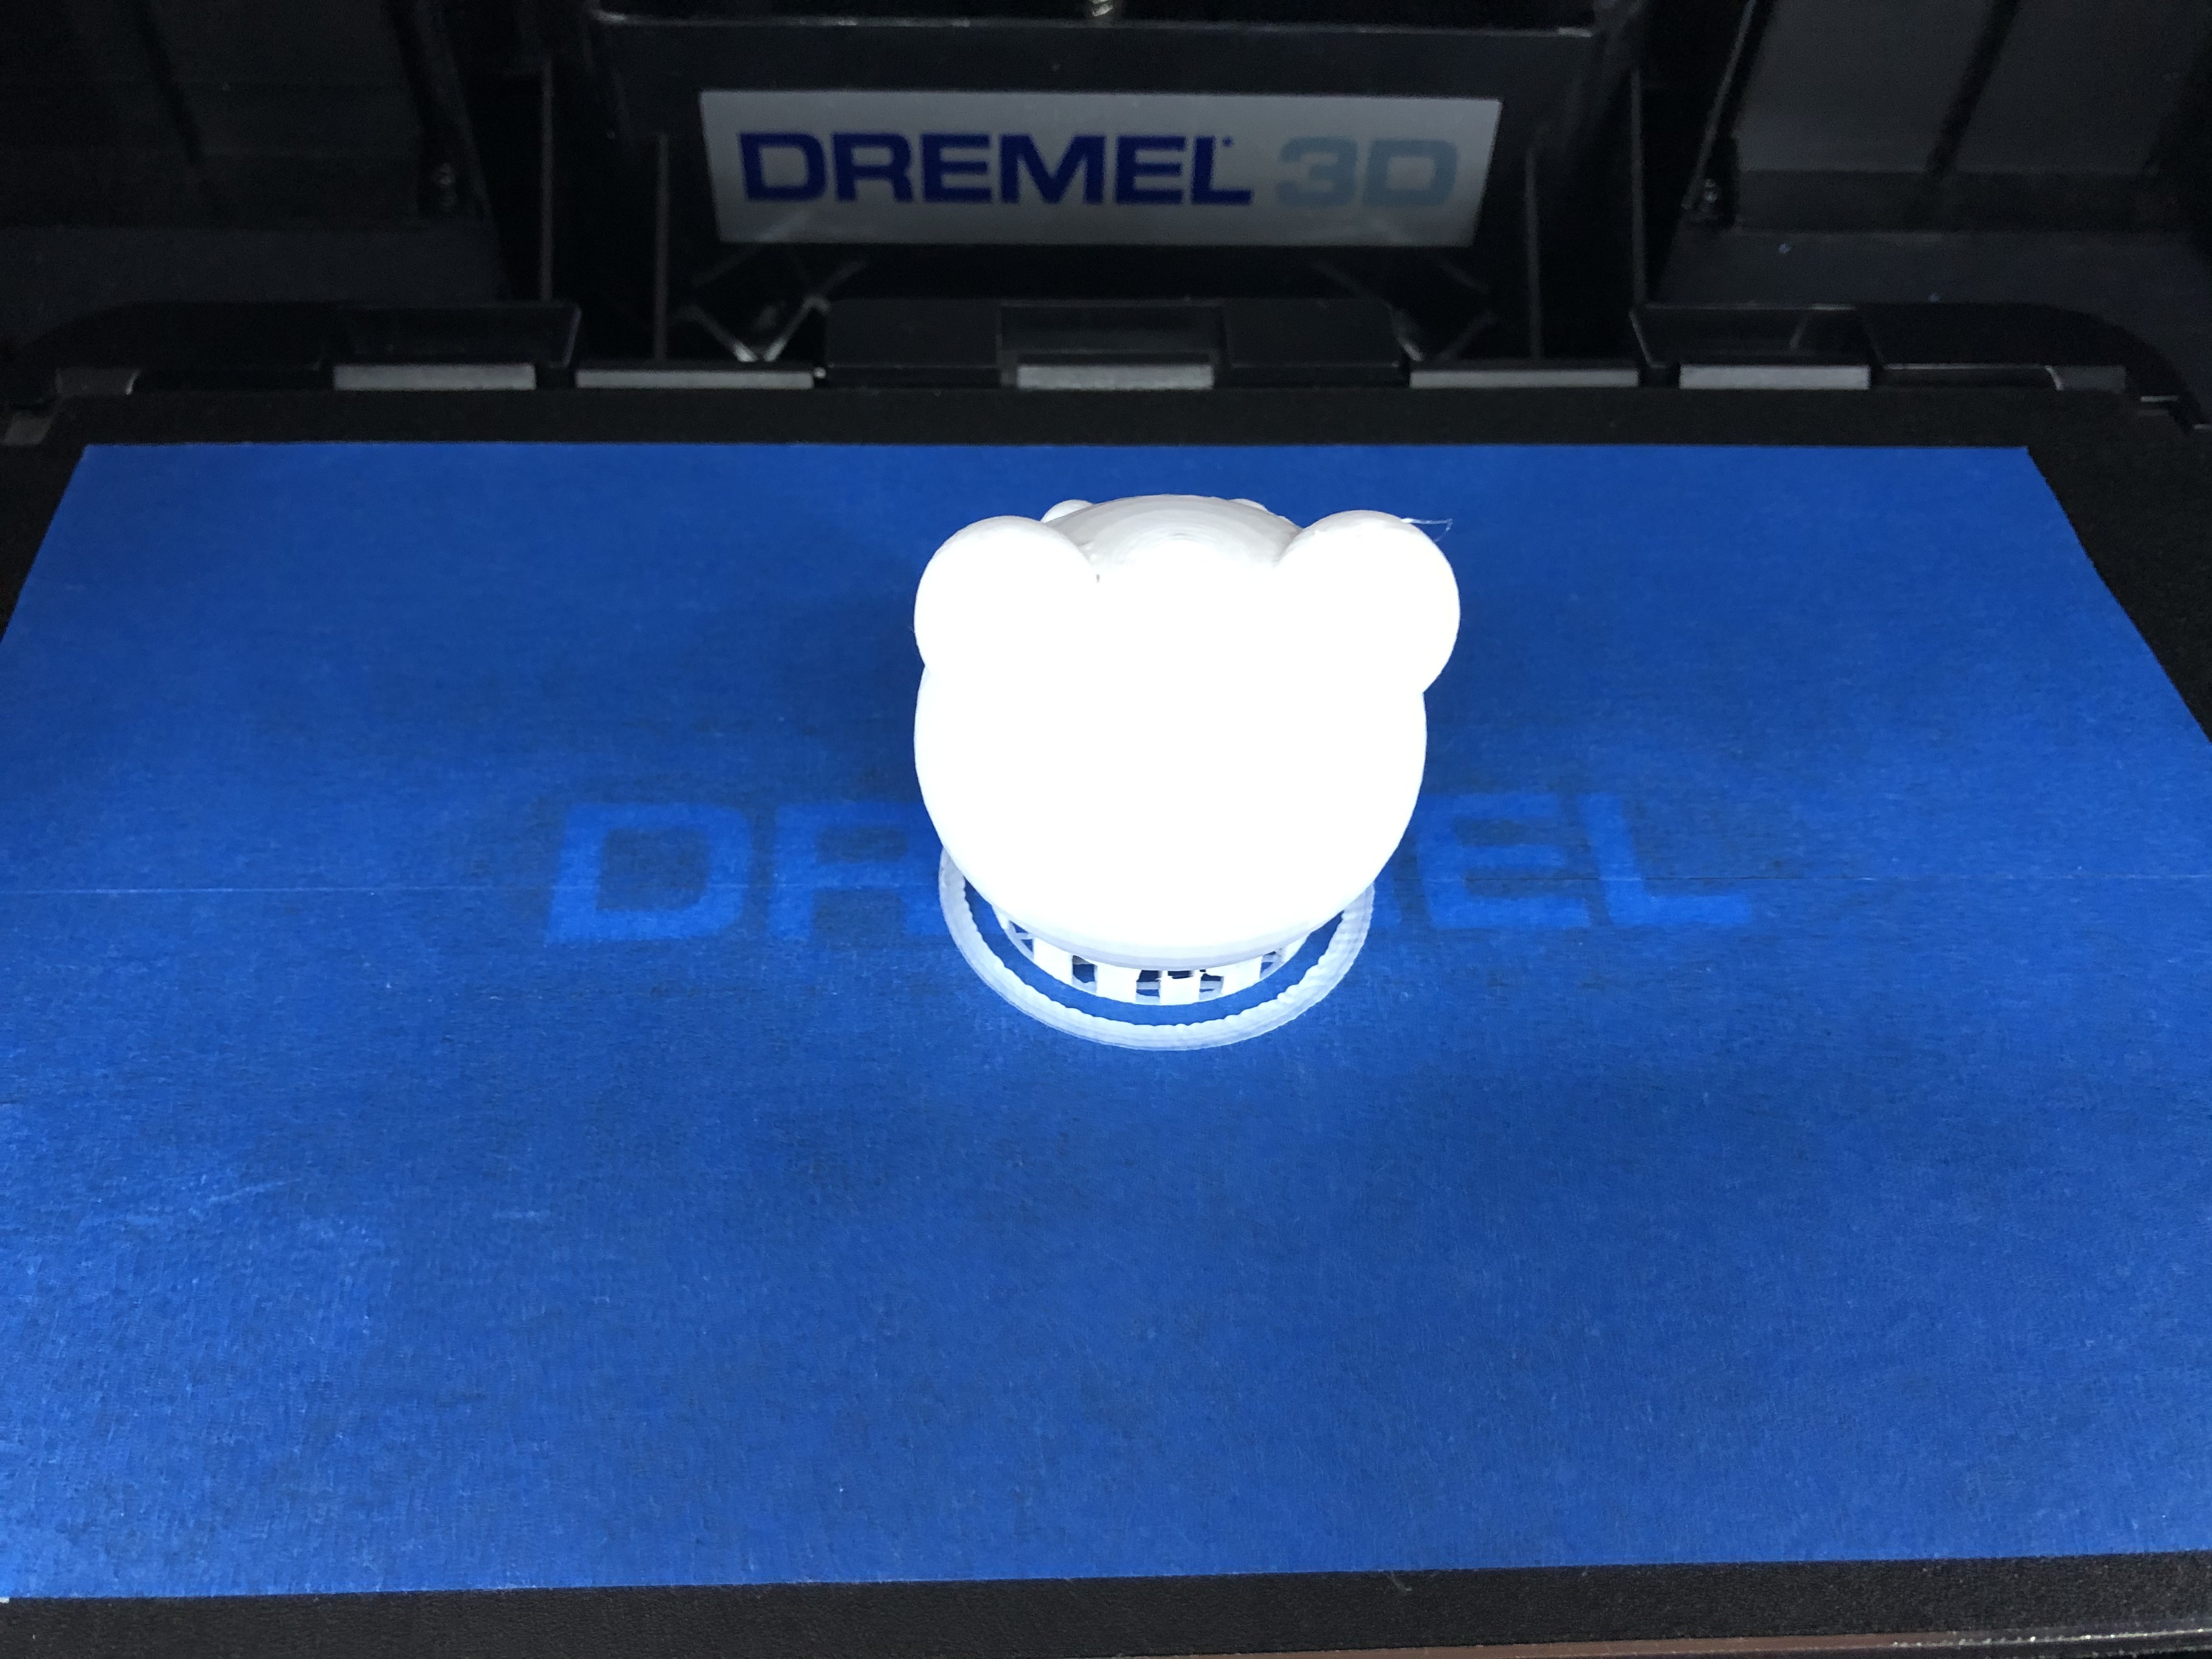
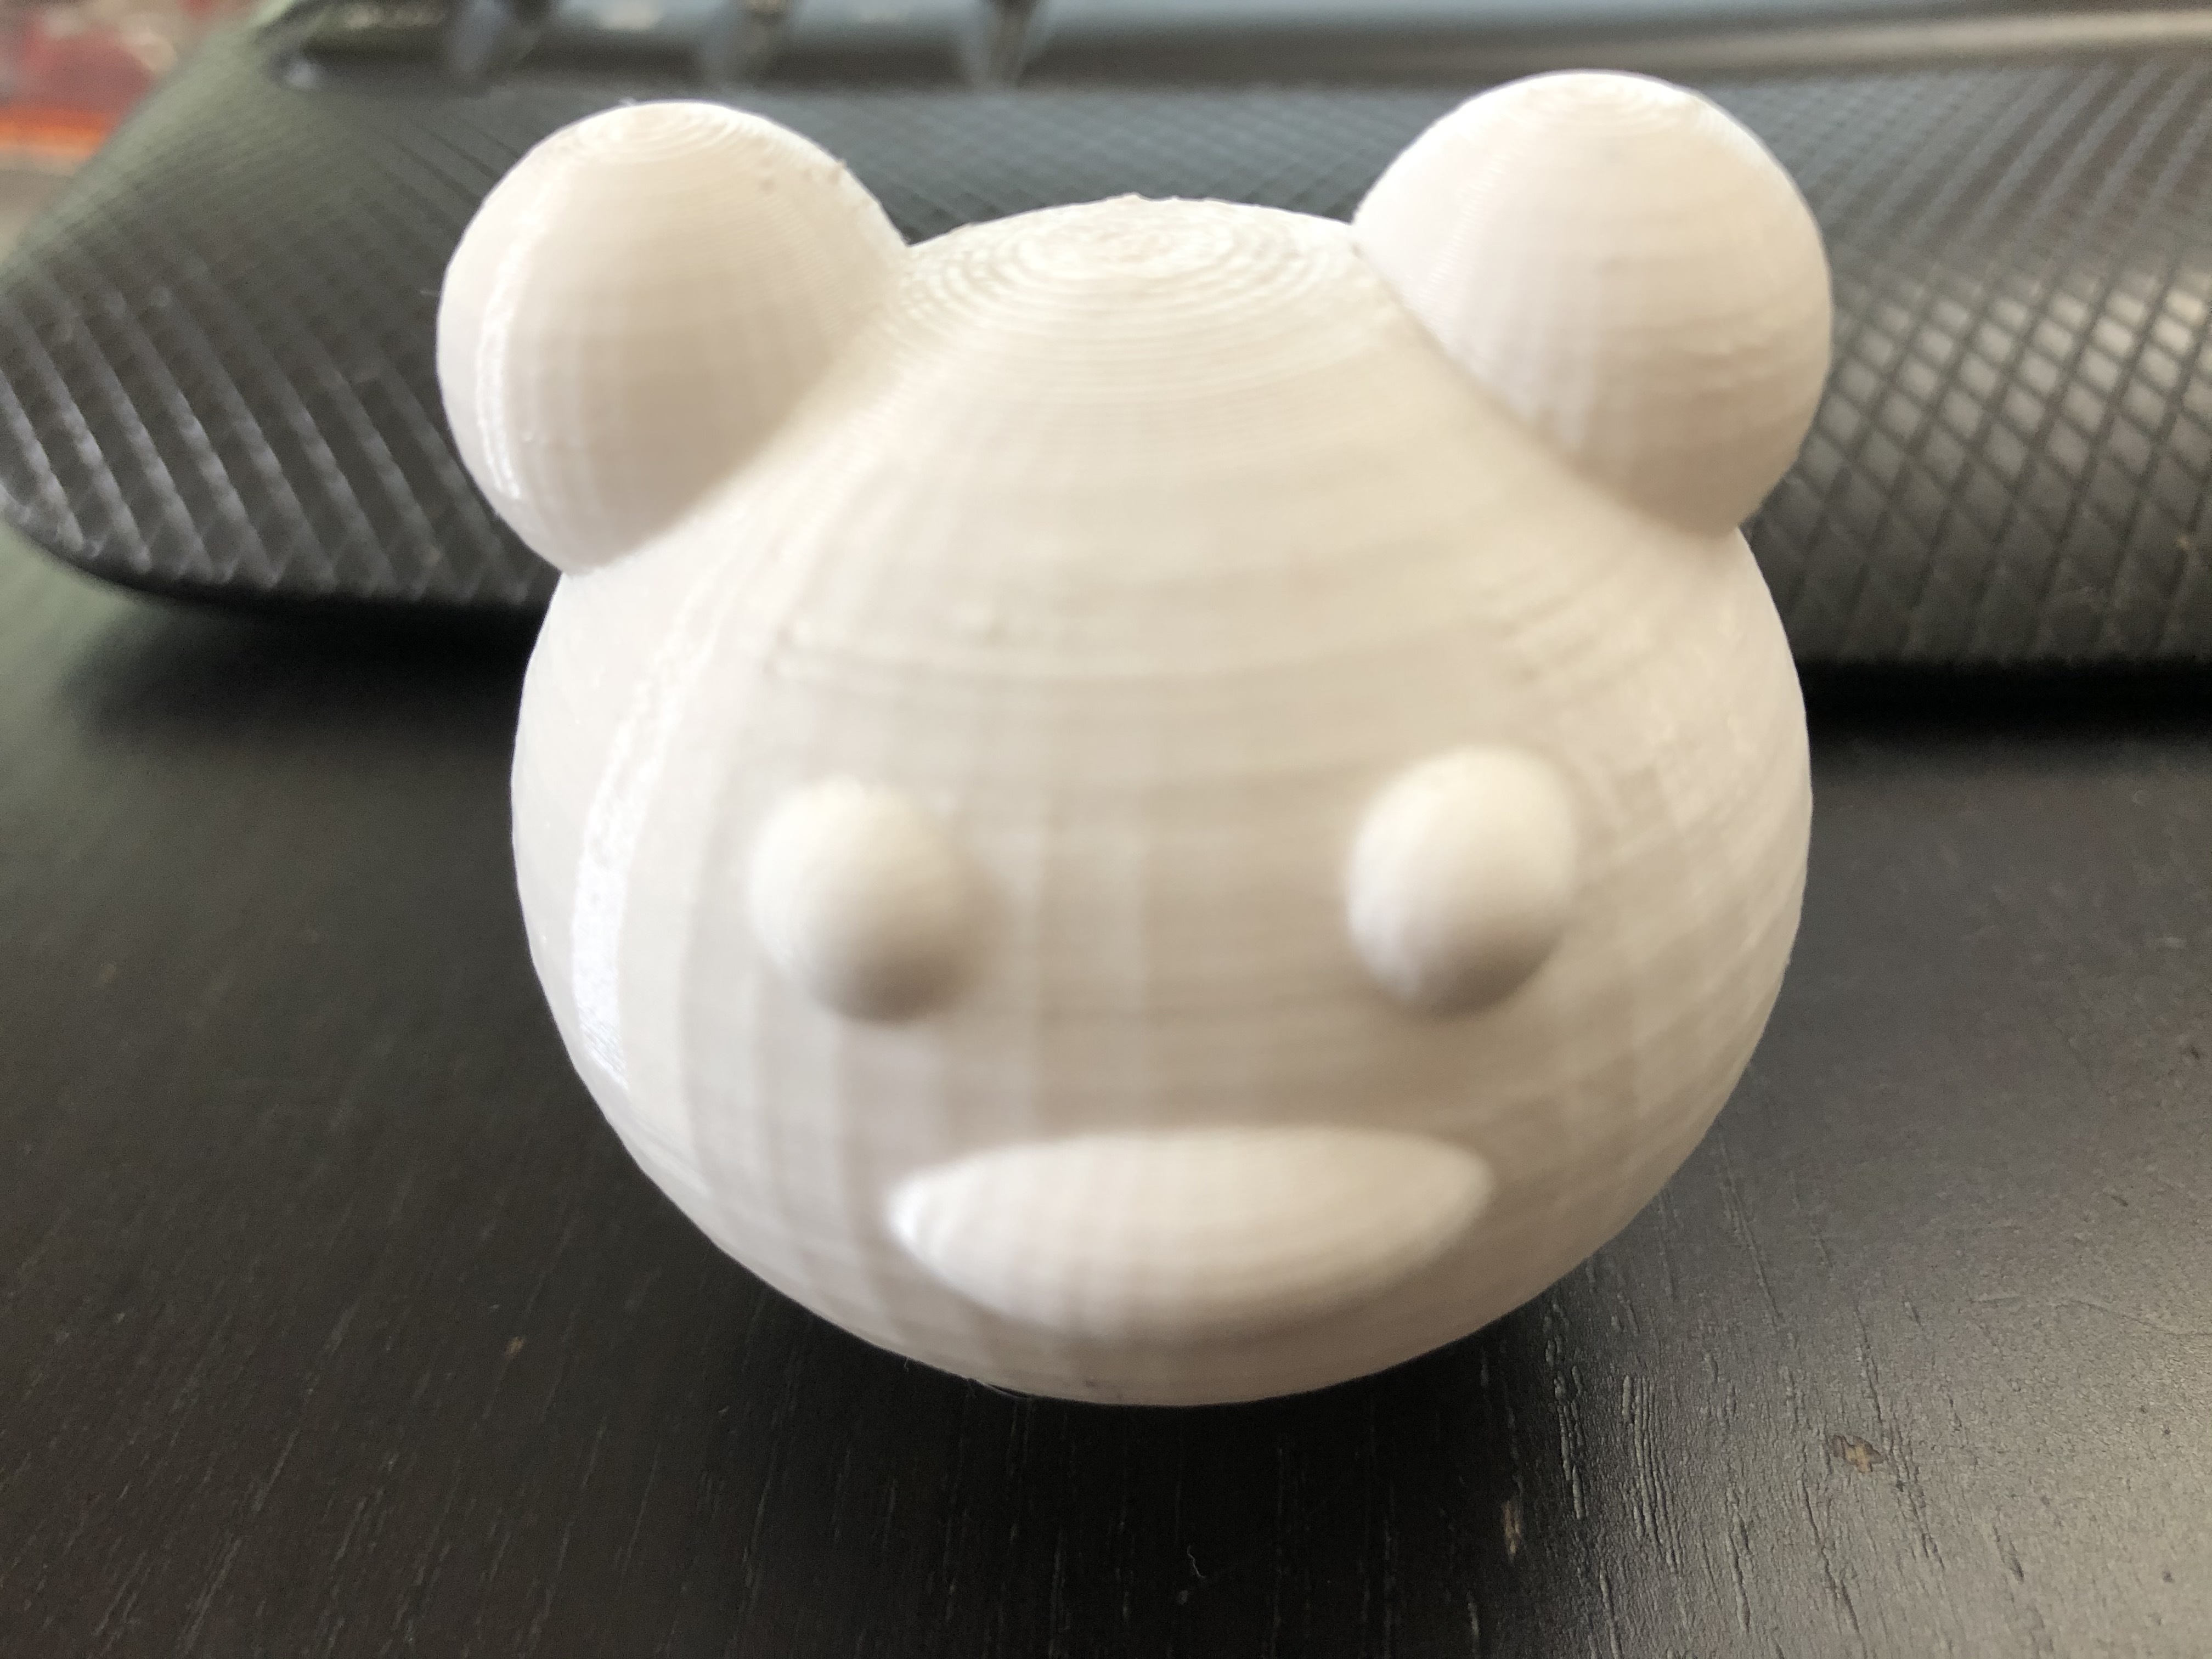
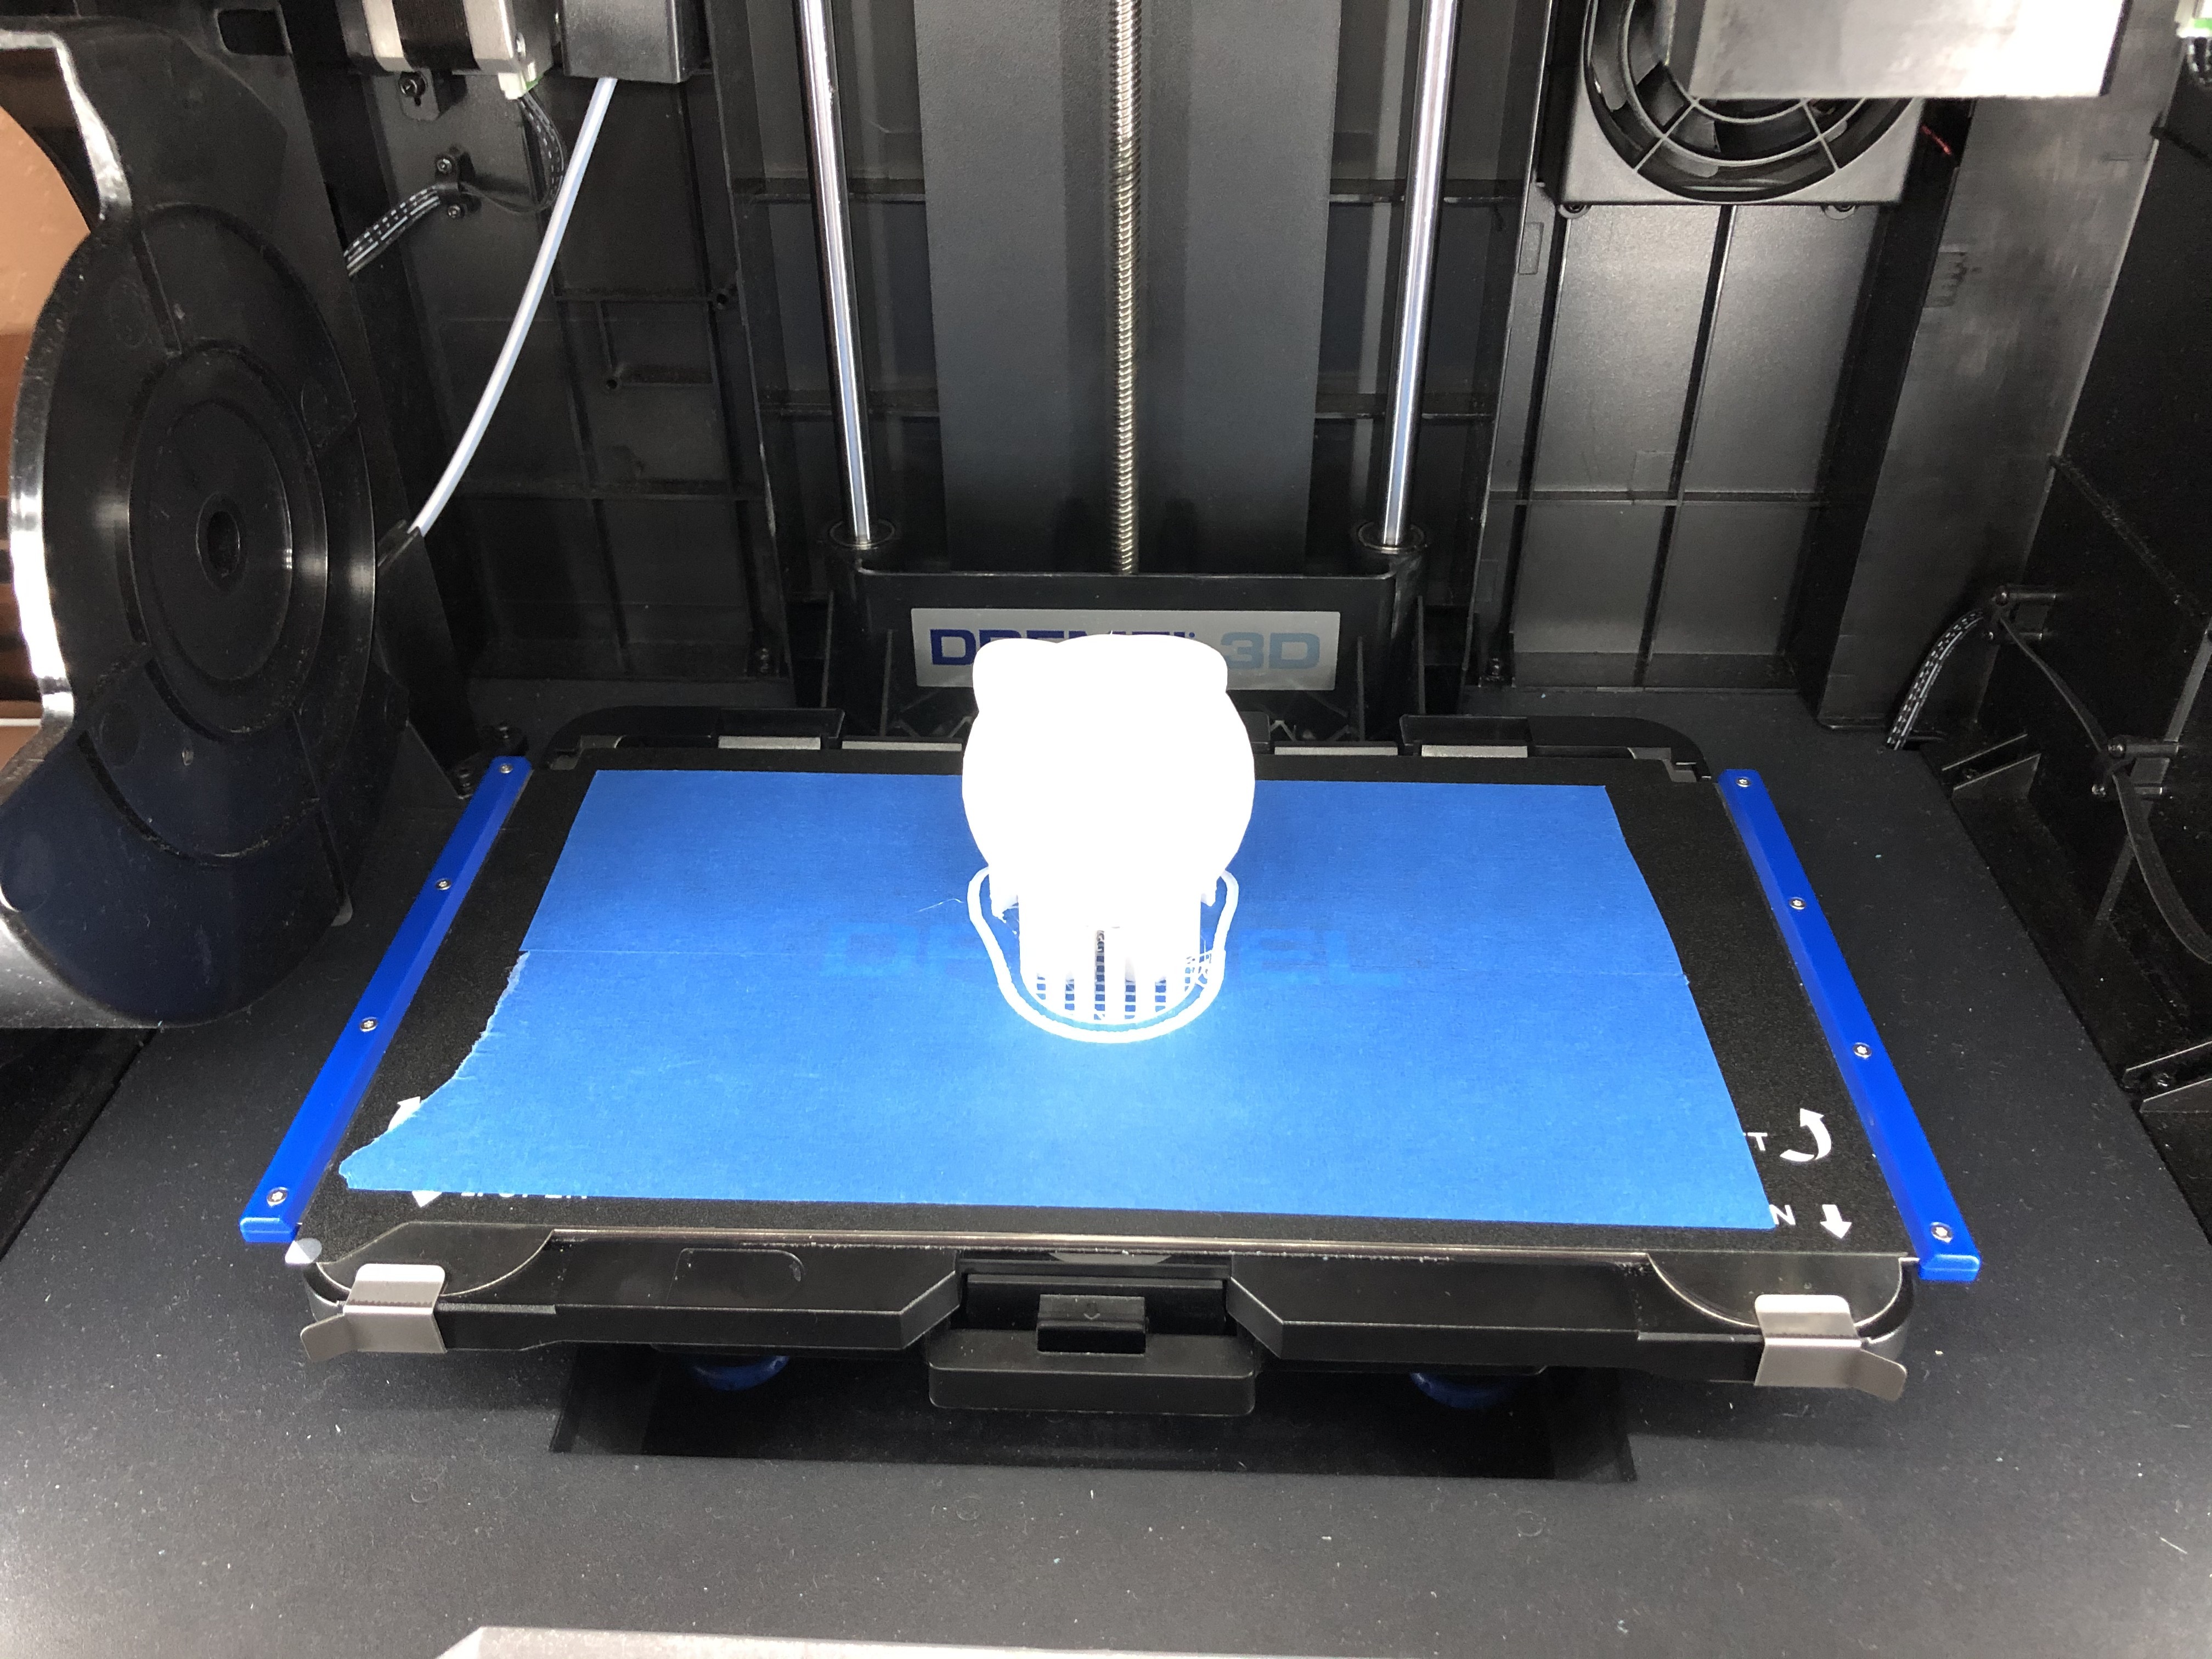
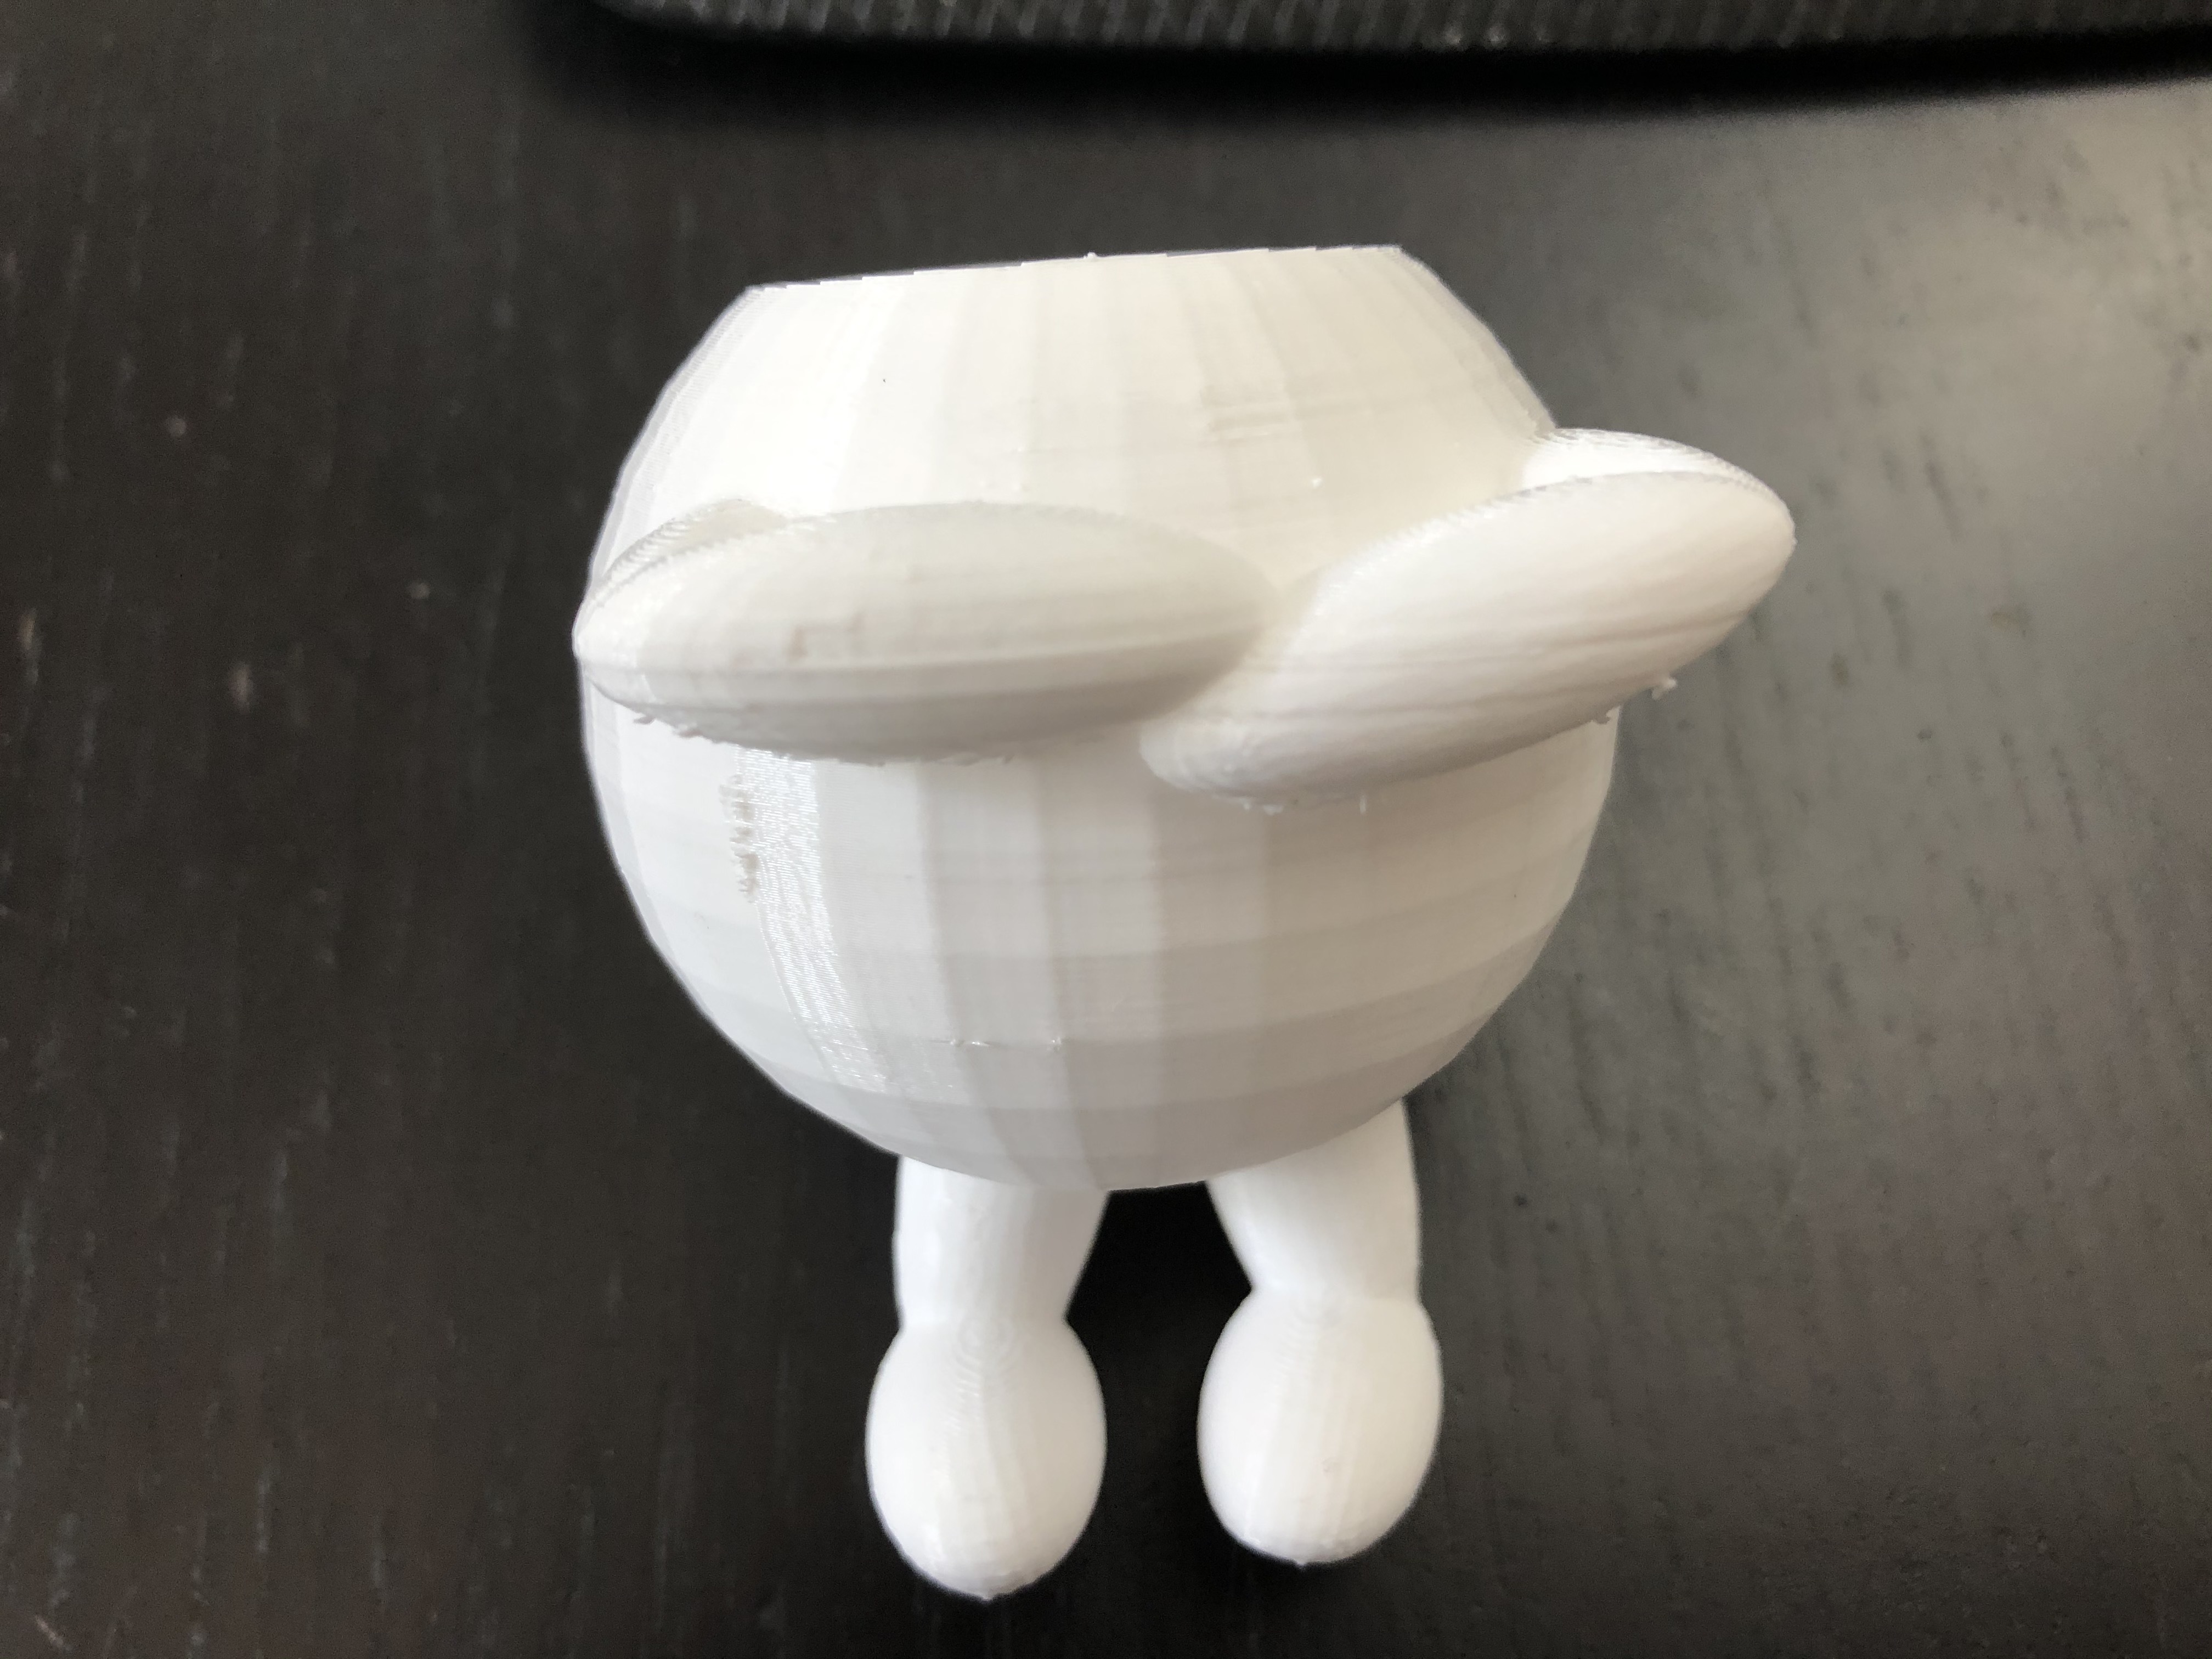
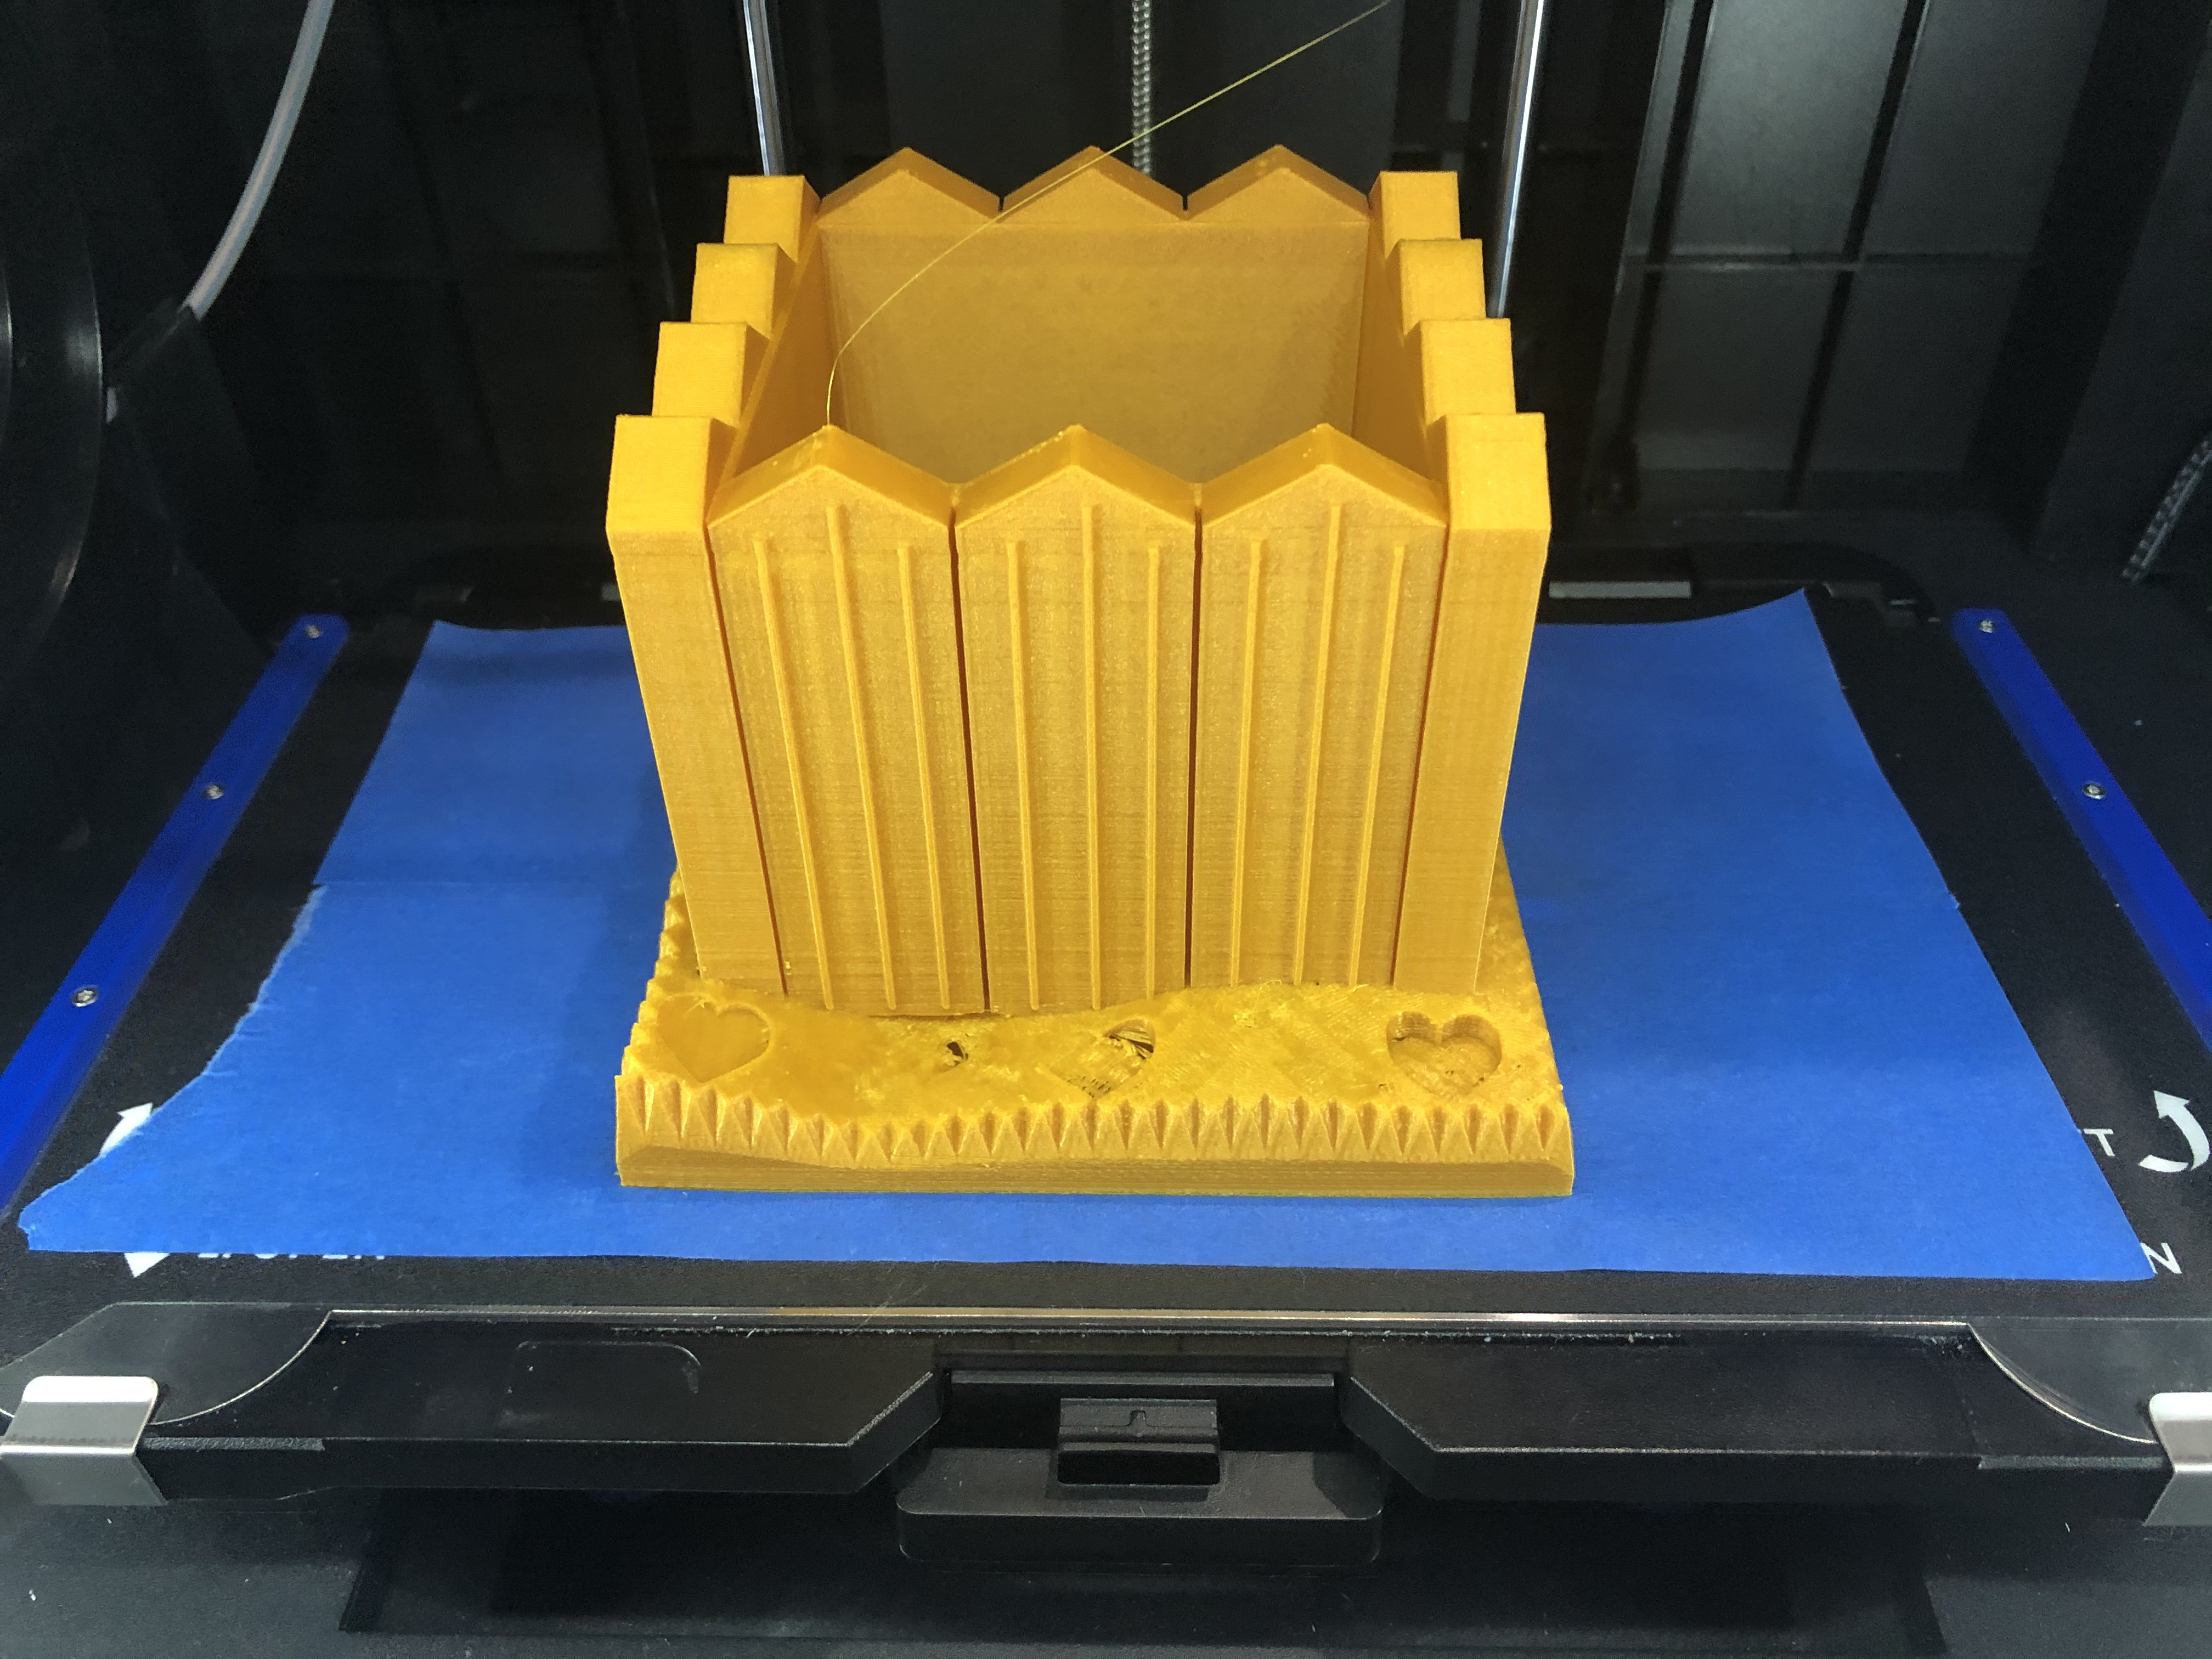
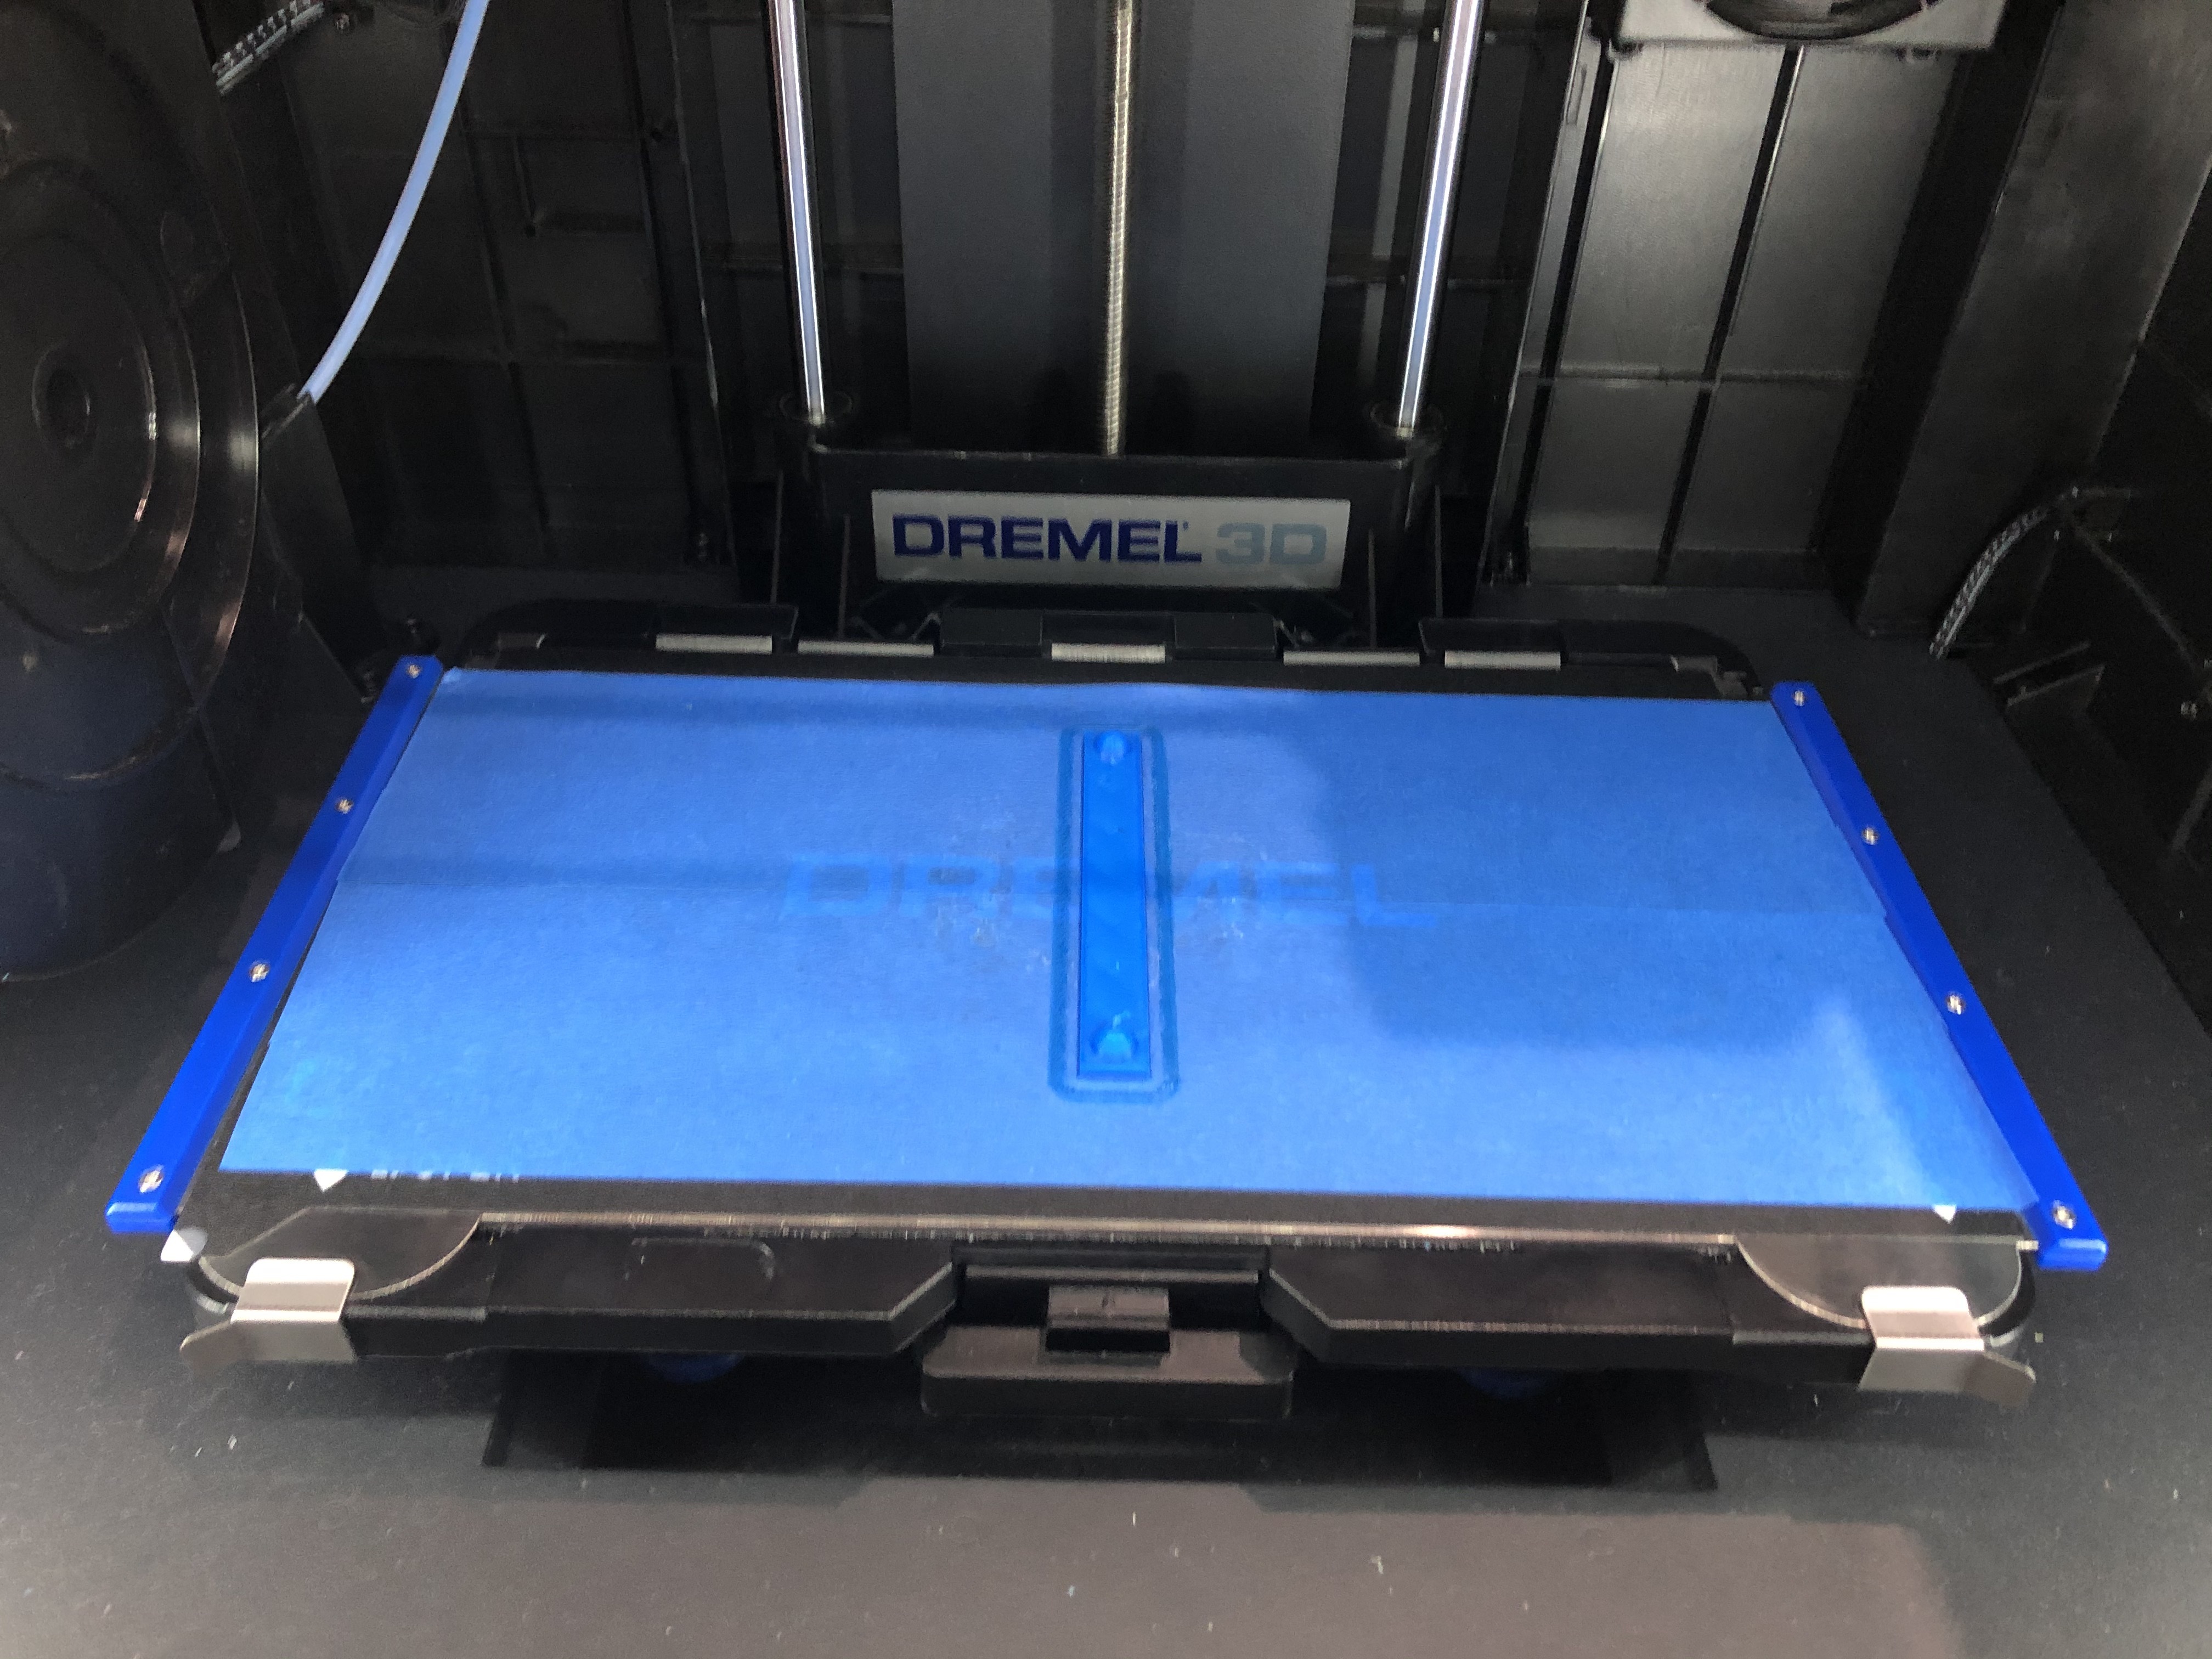
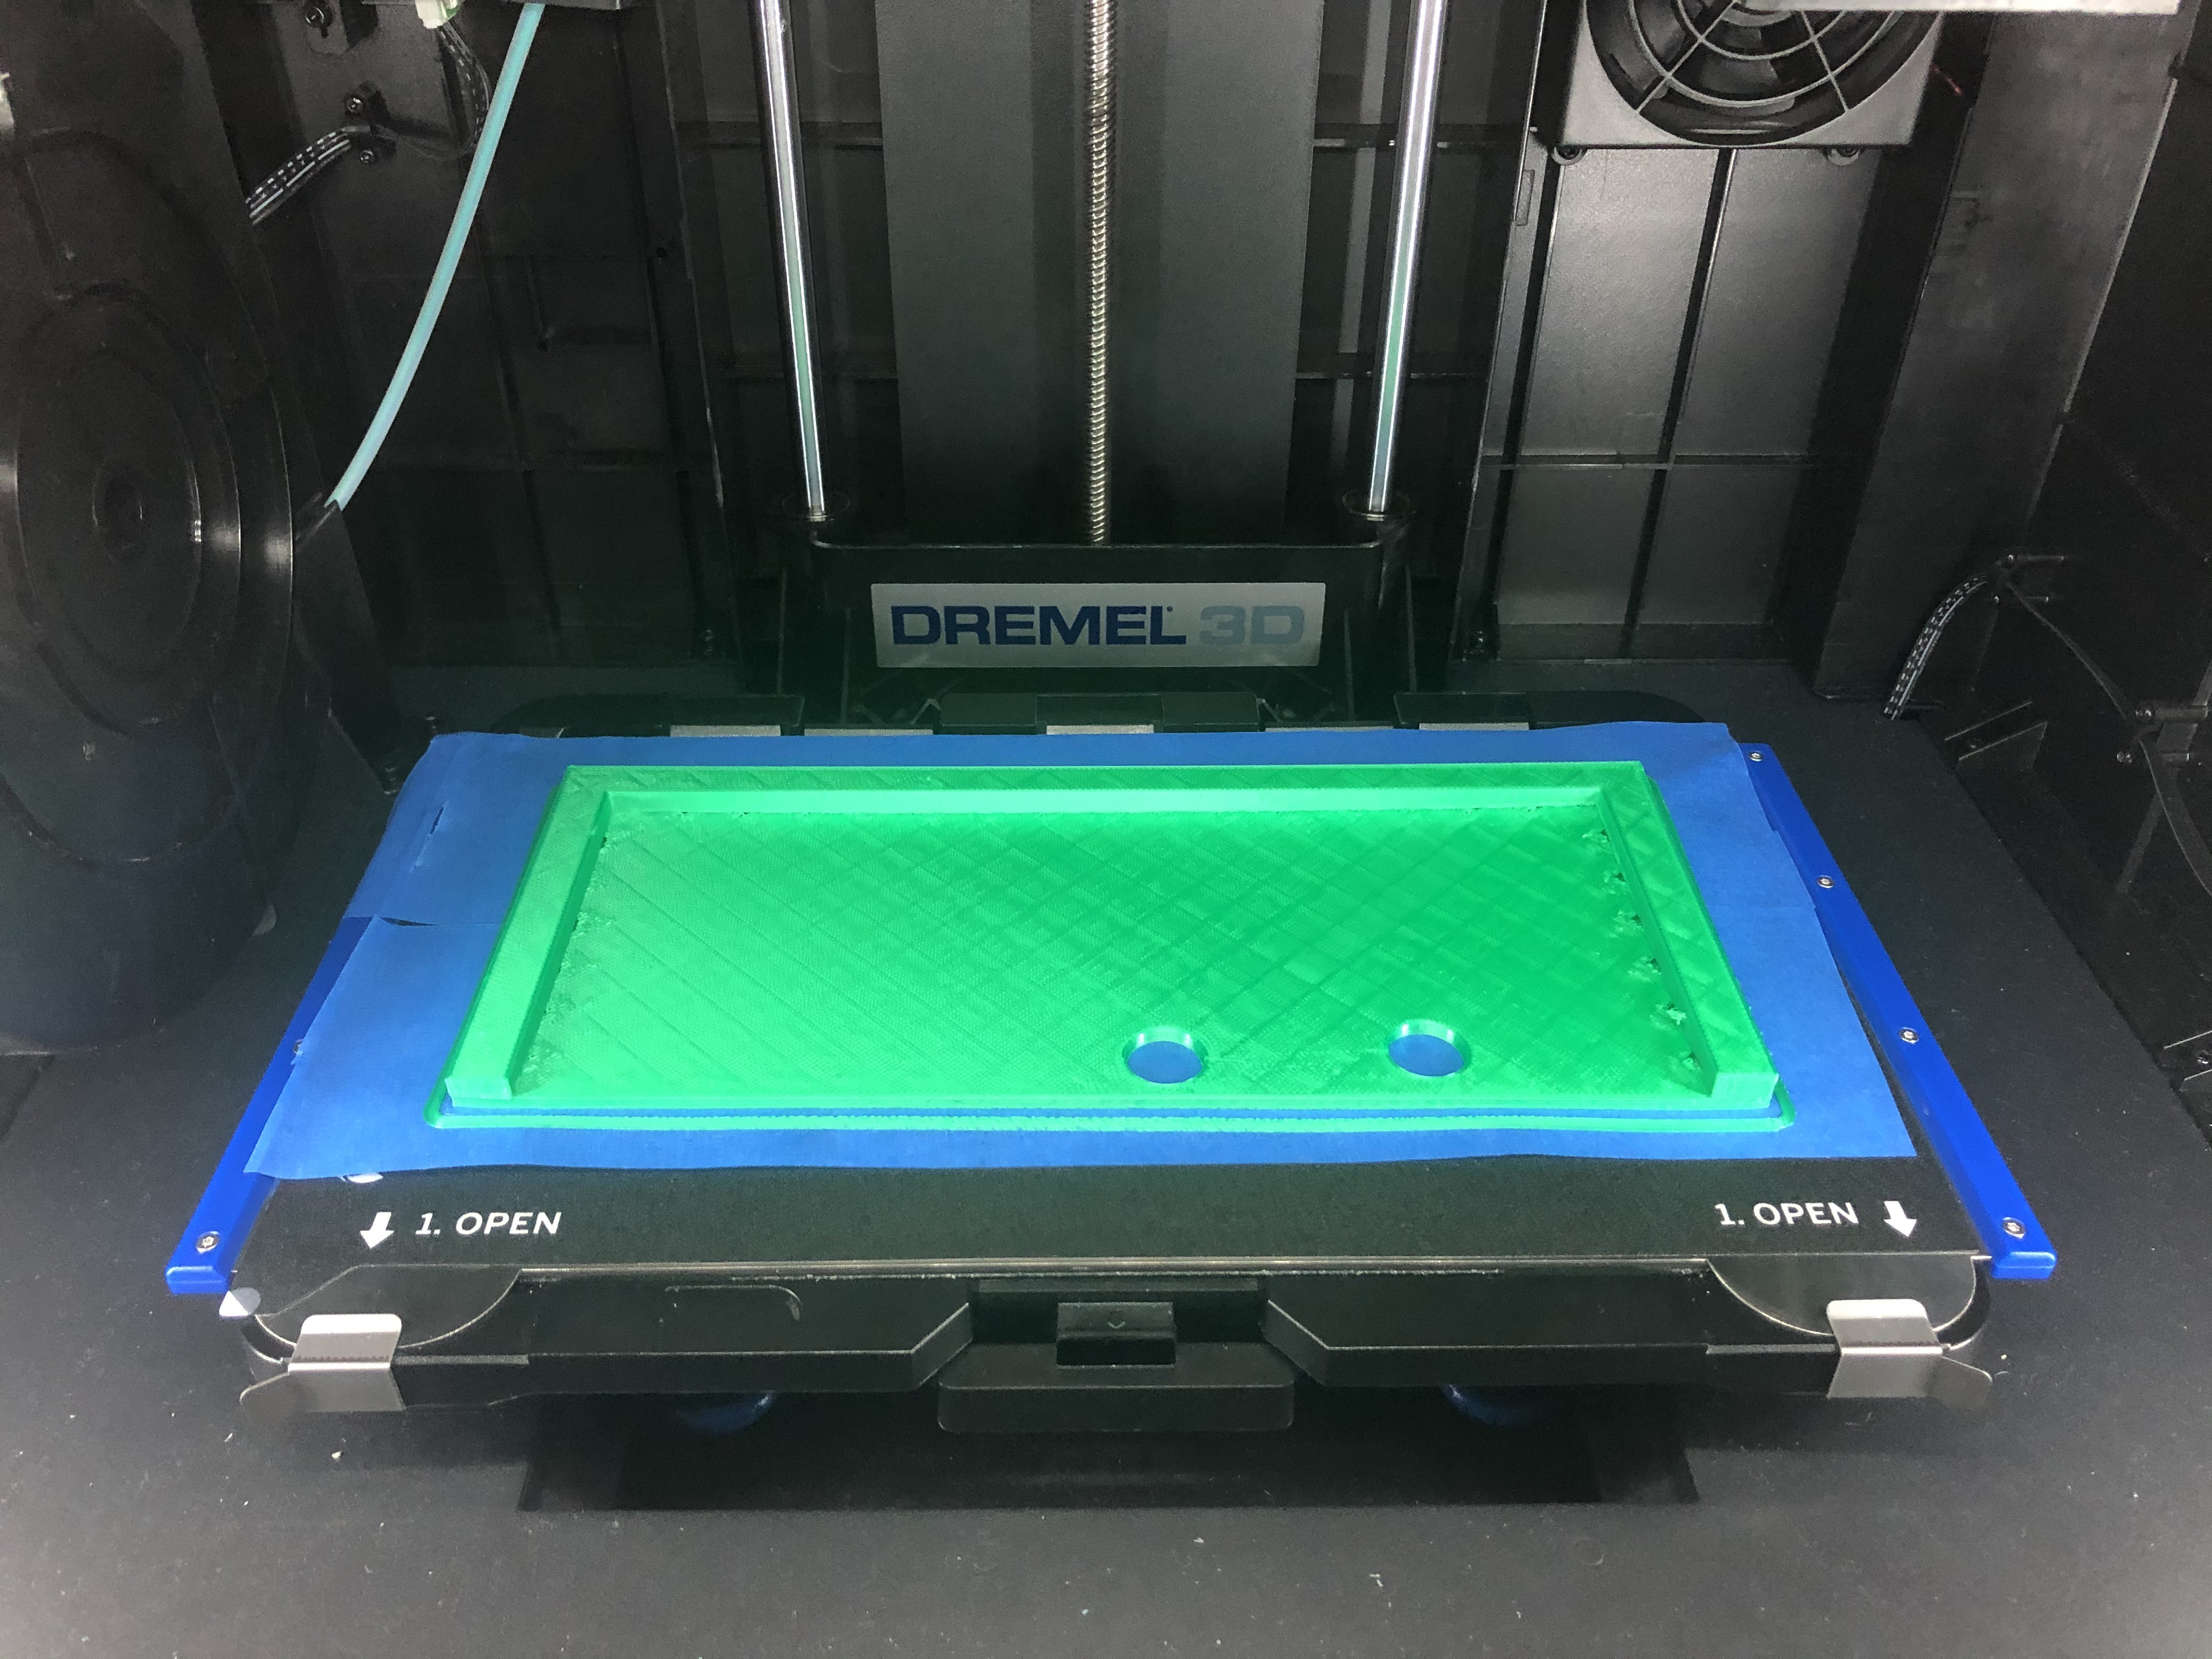
Here are the results from printing.
Assemble
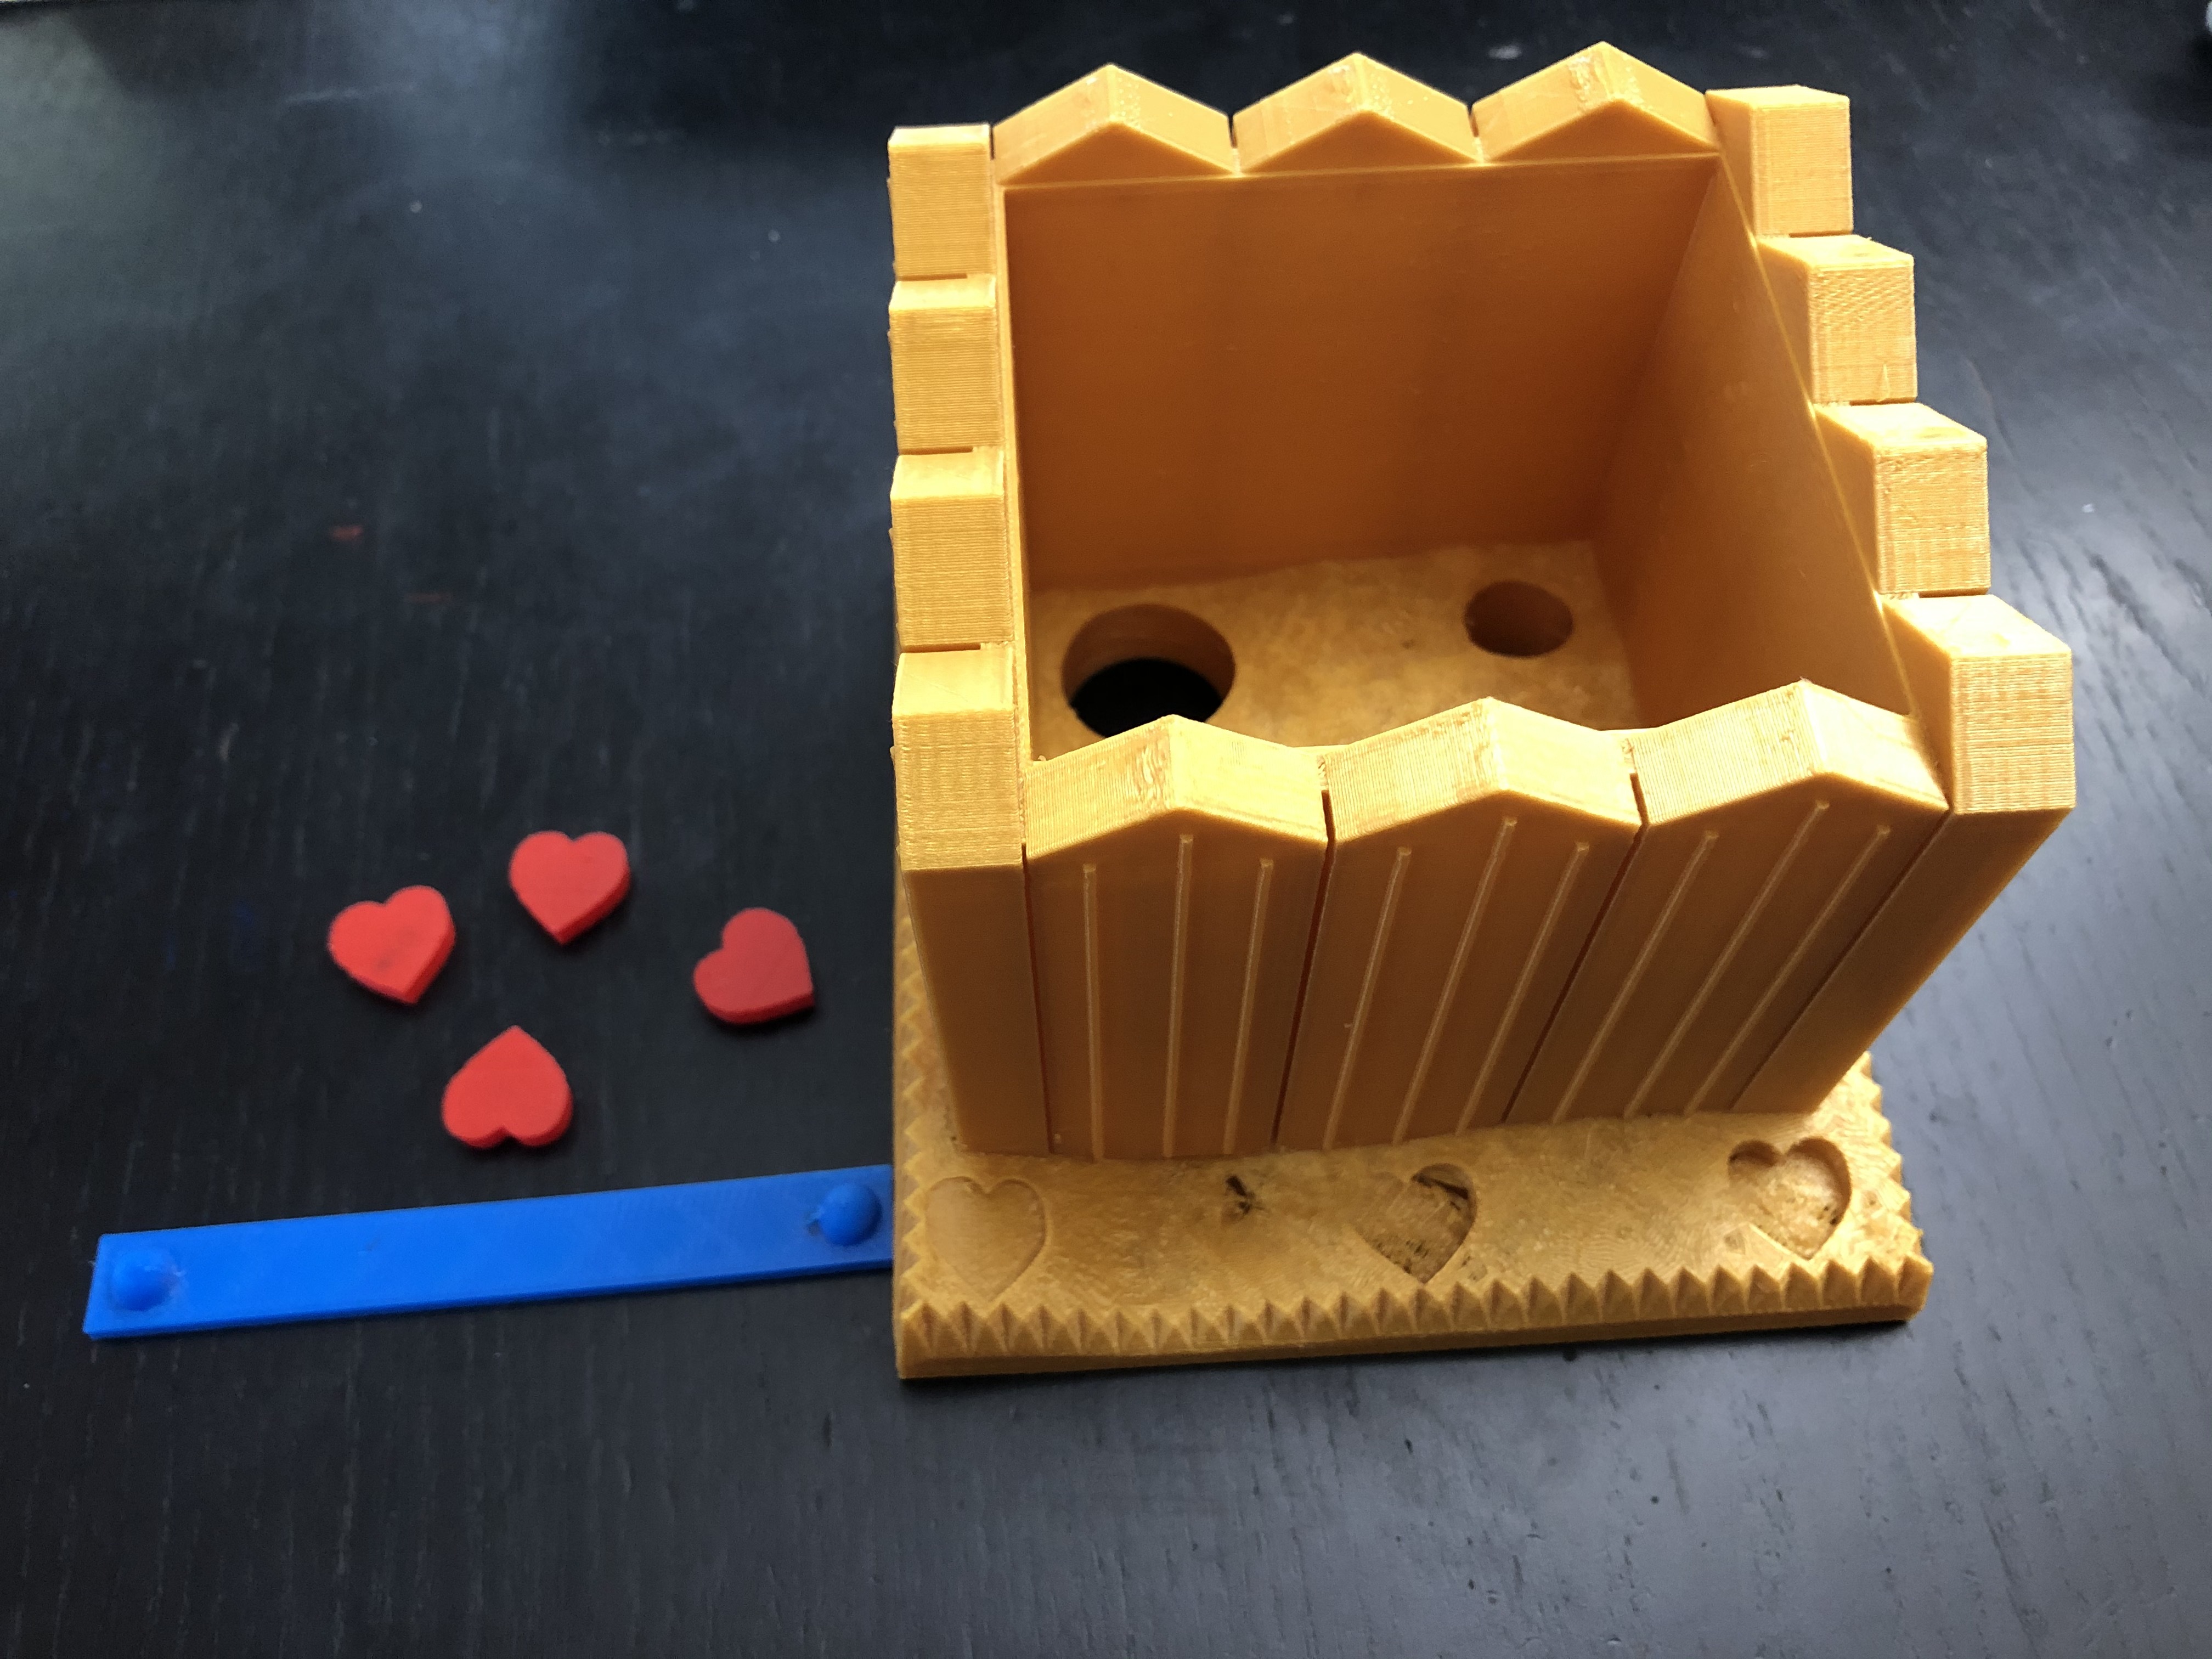
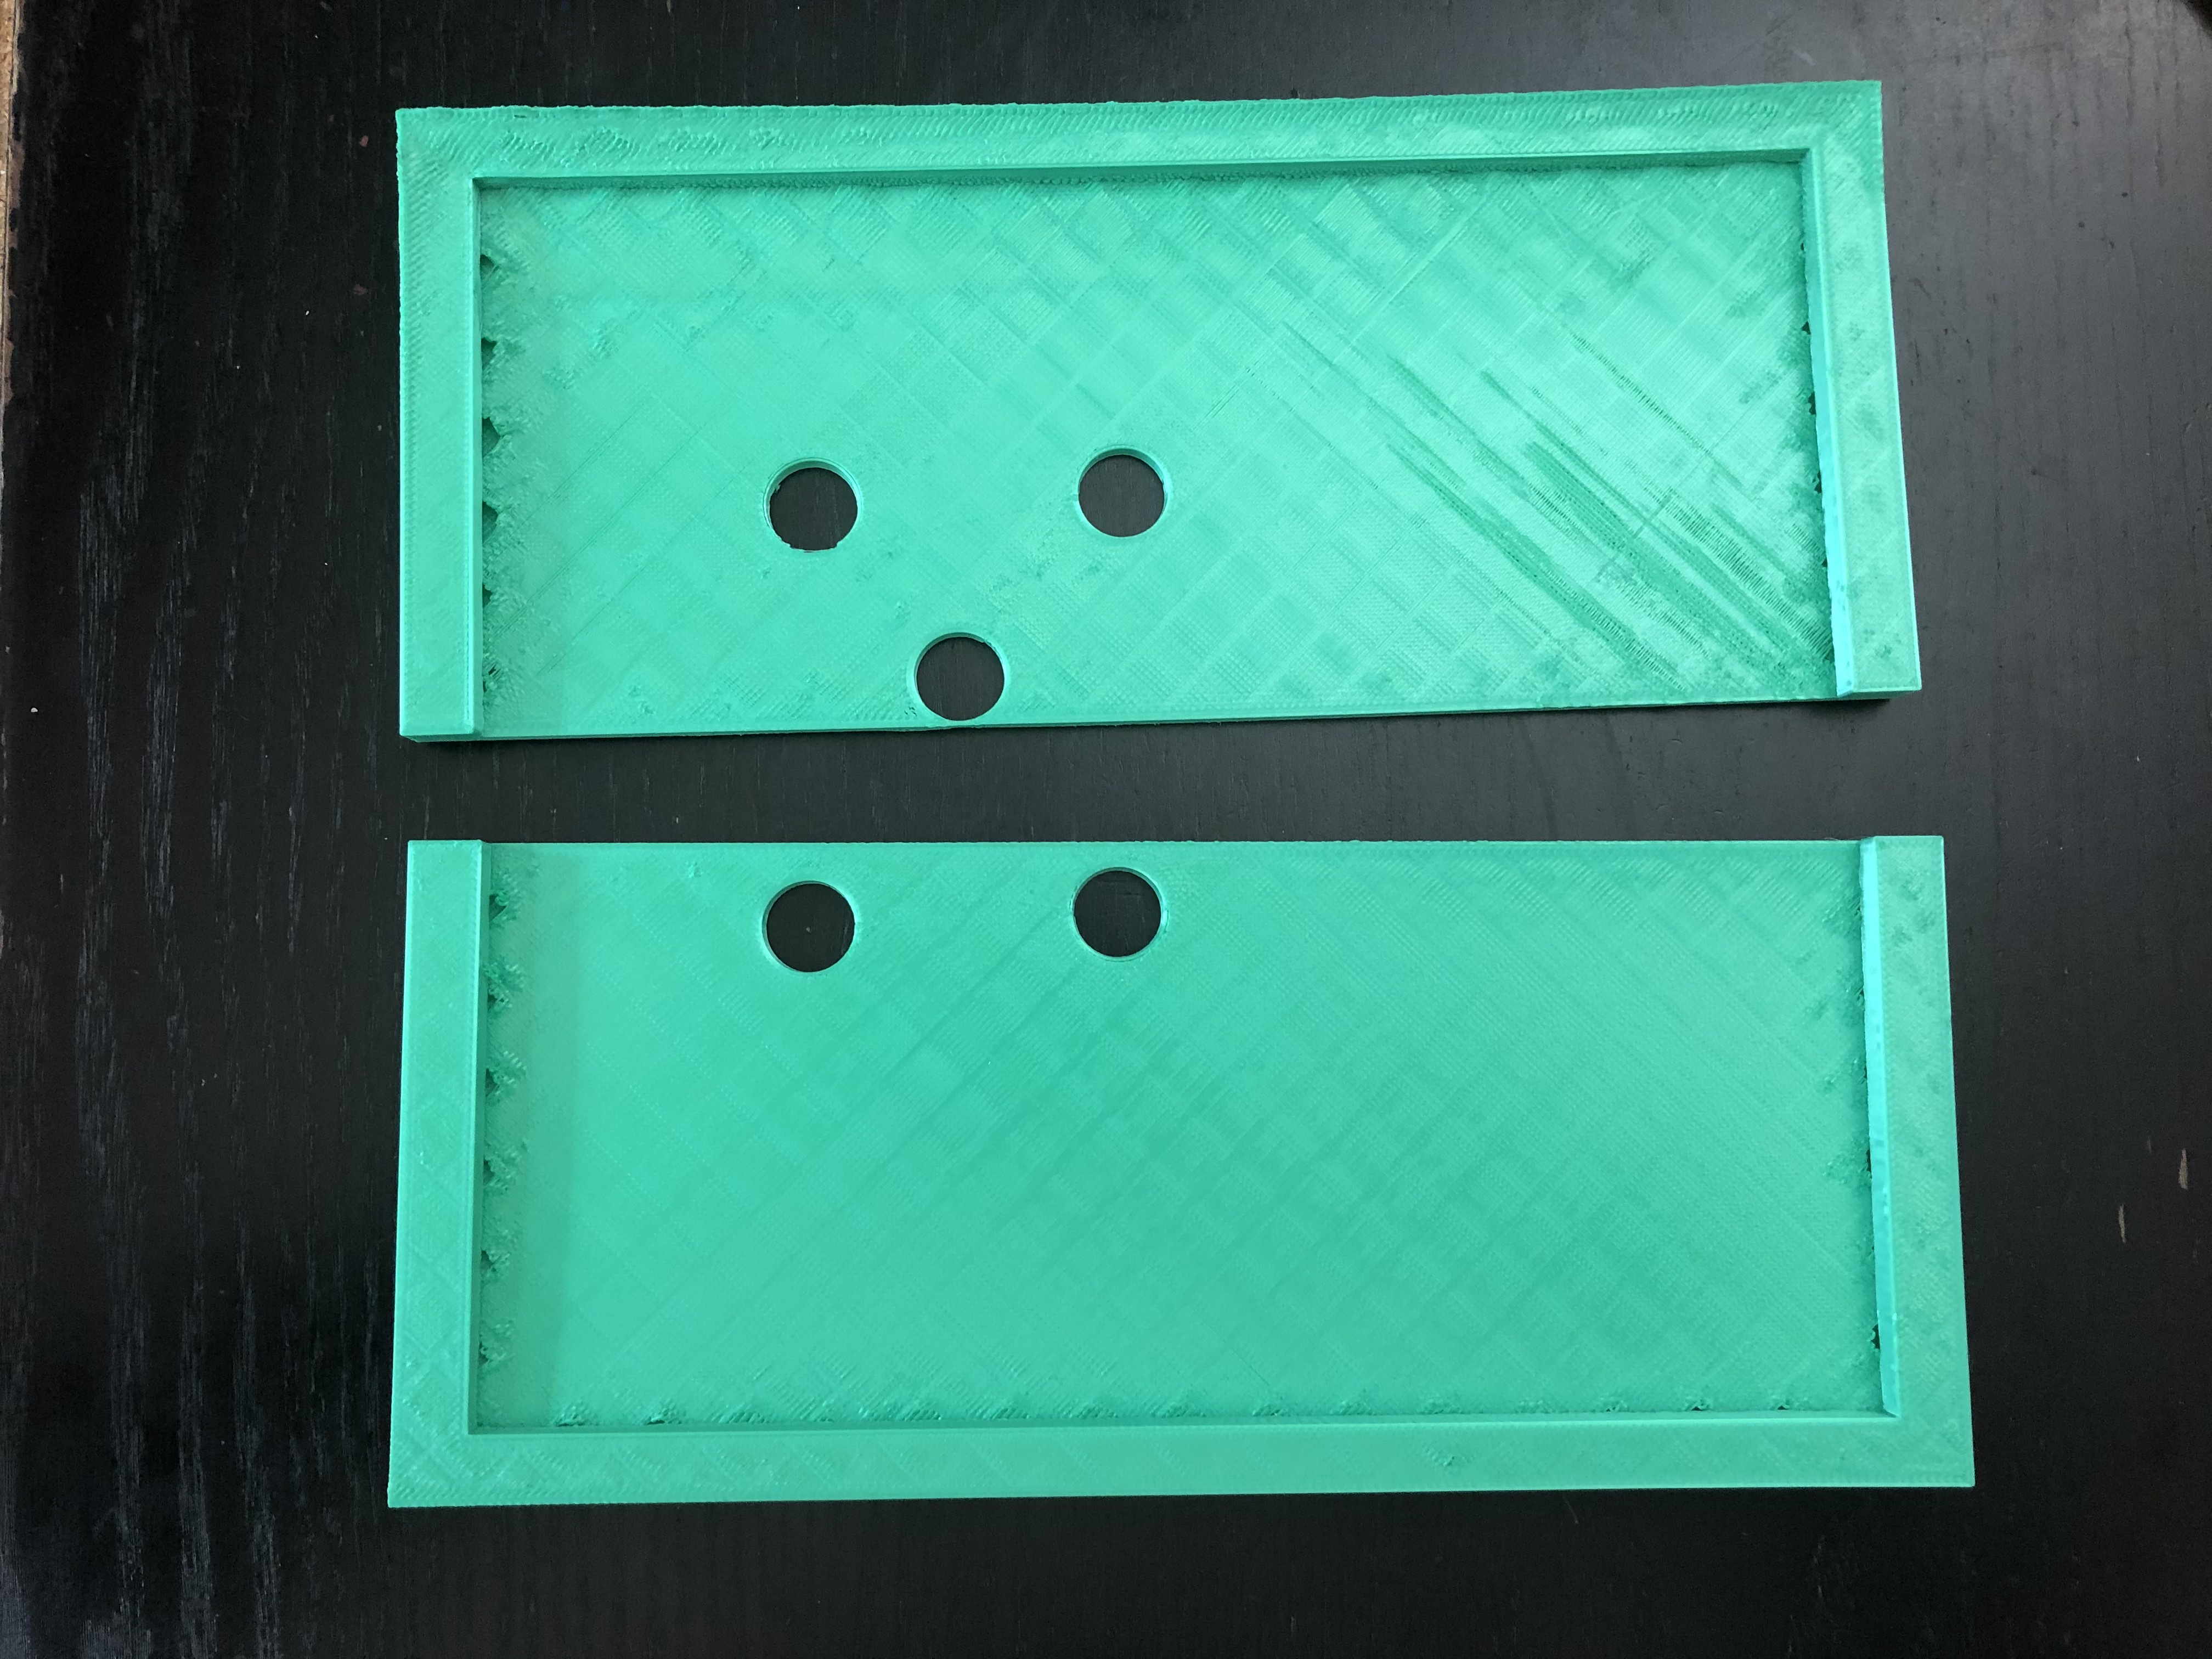
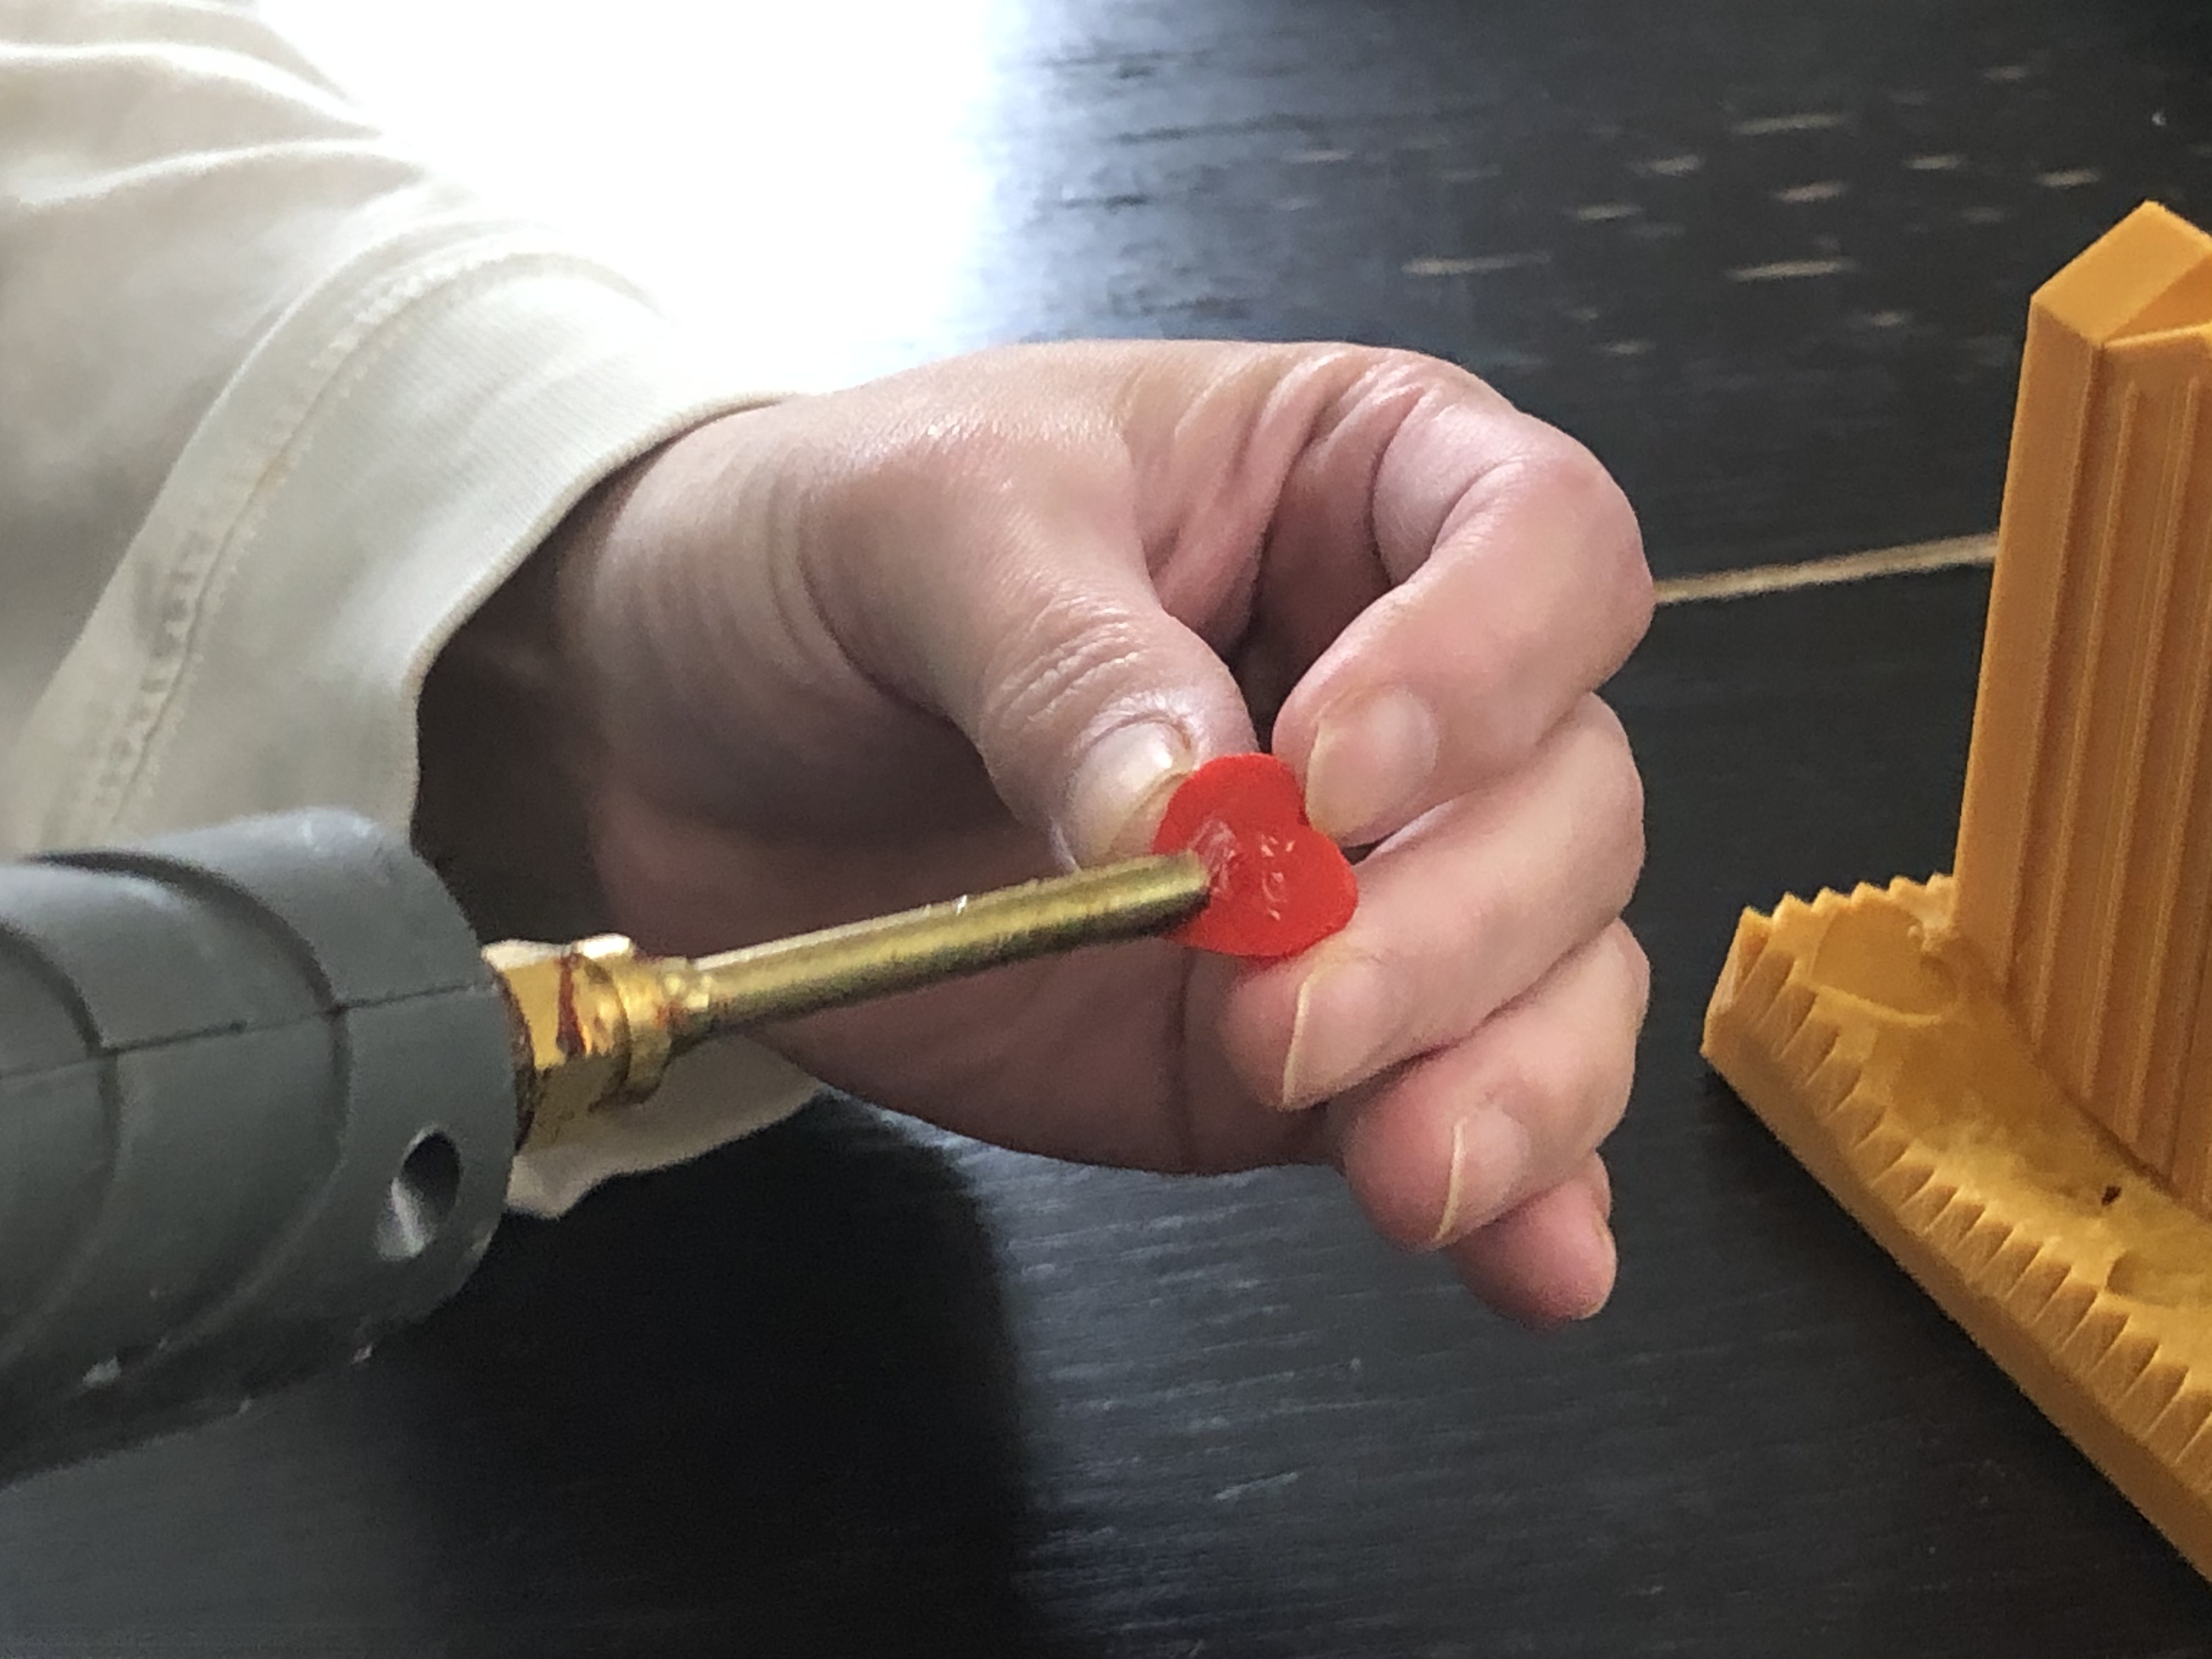
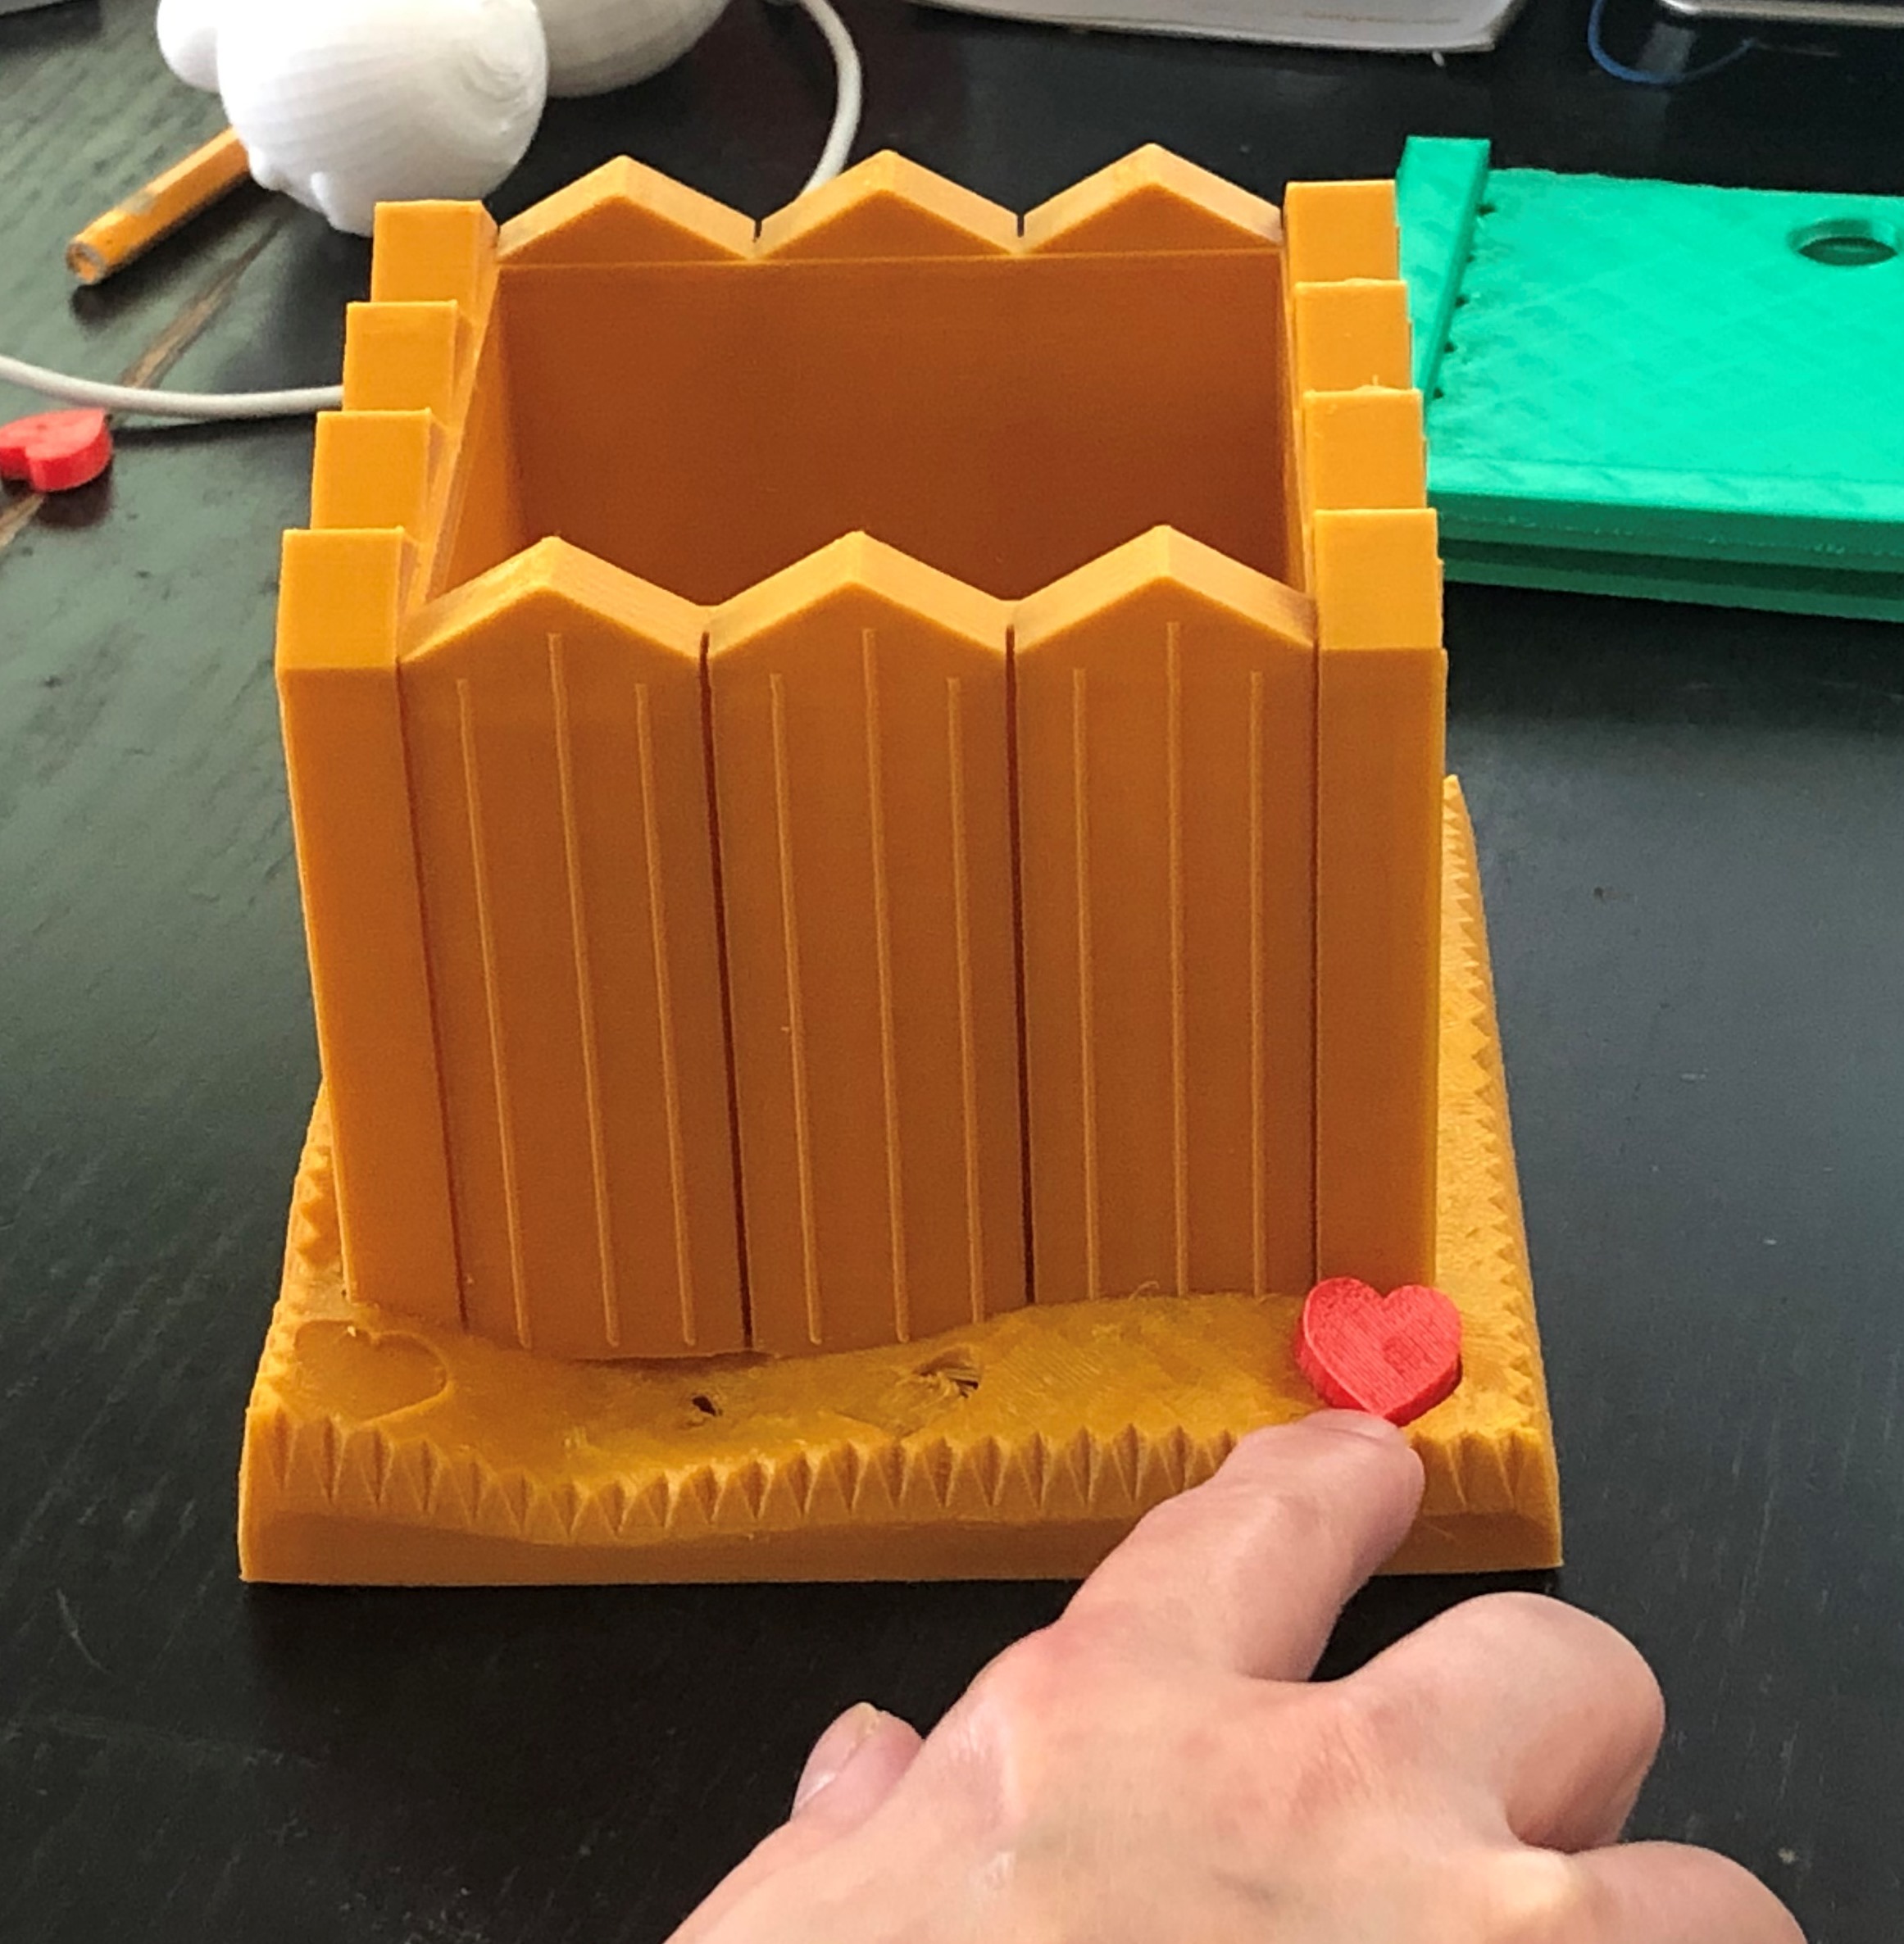
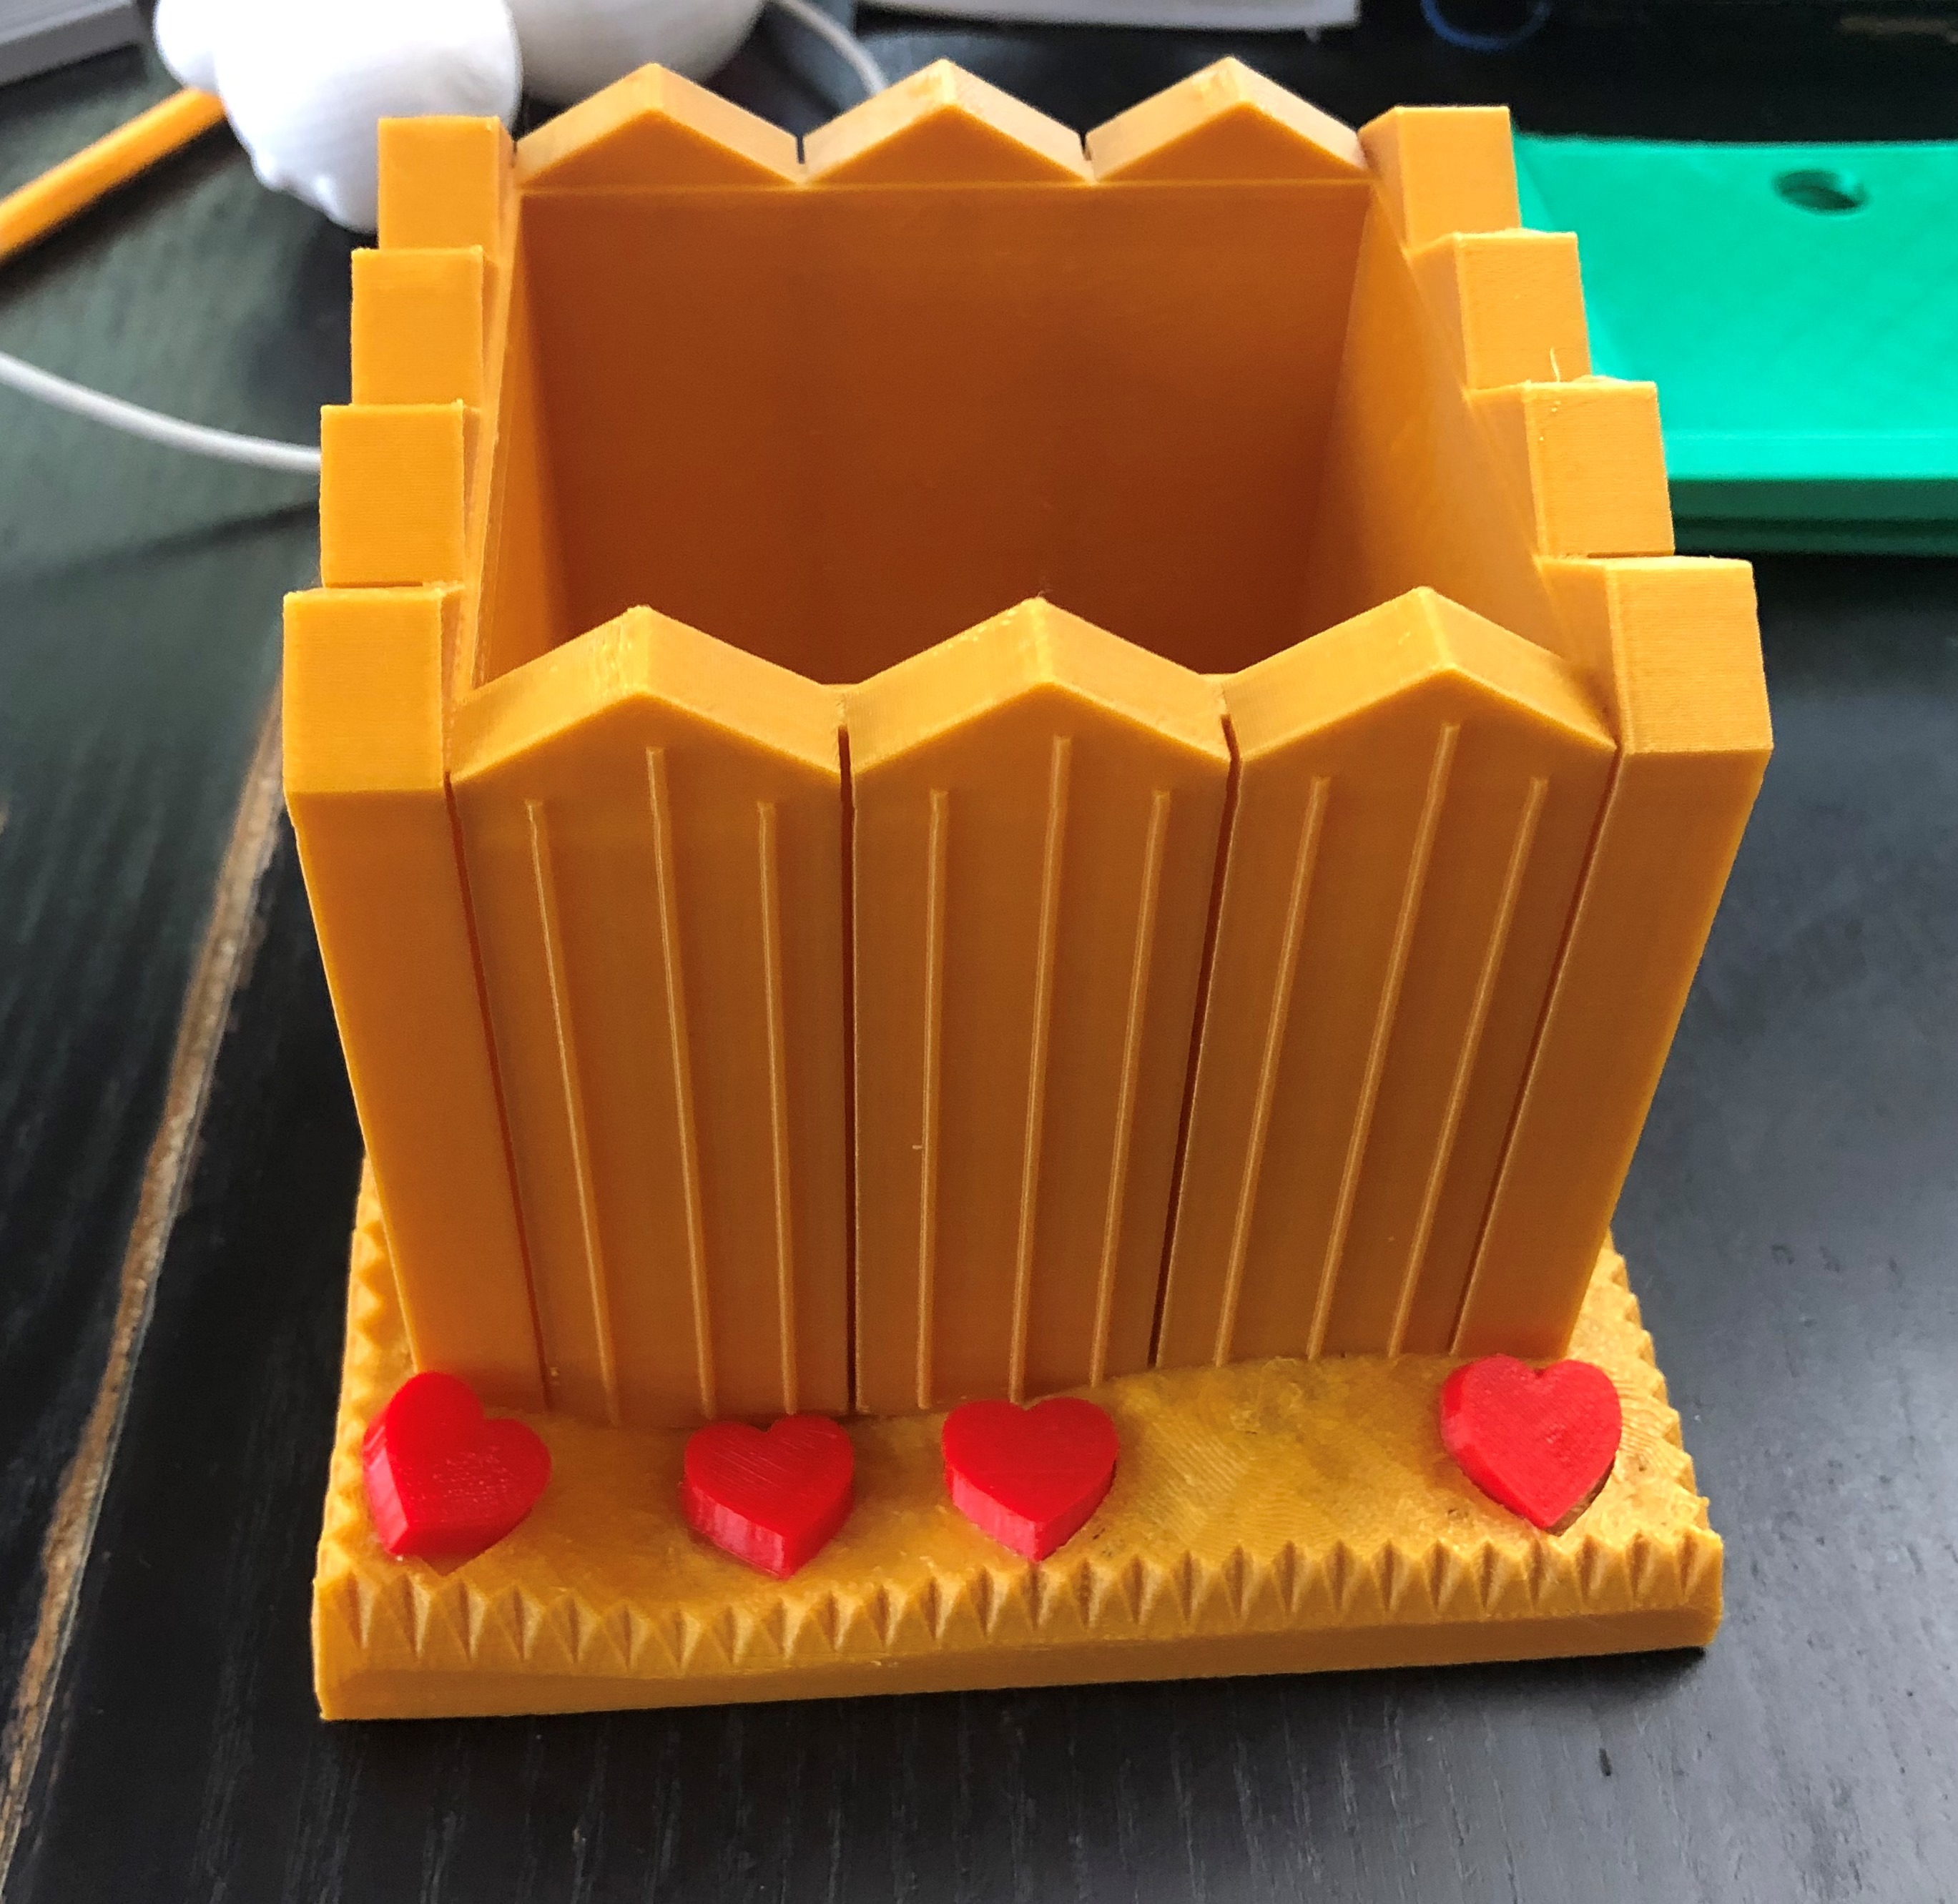
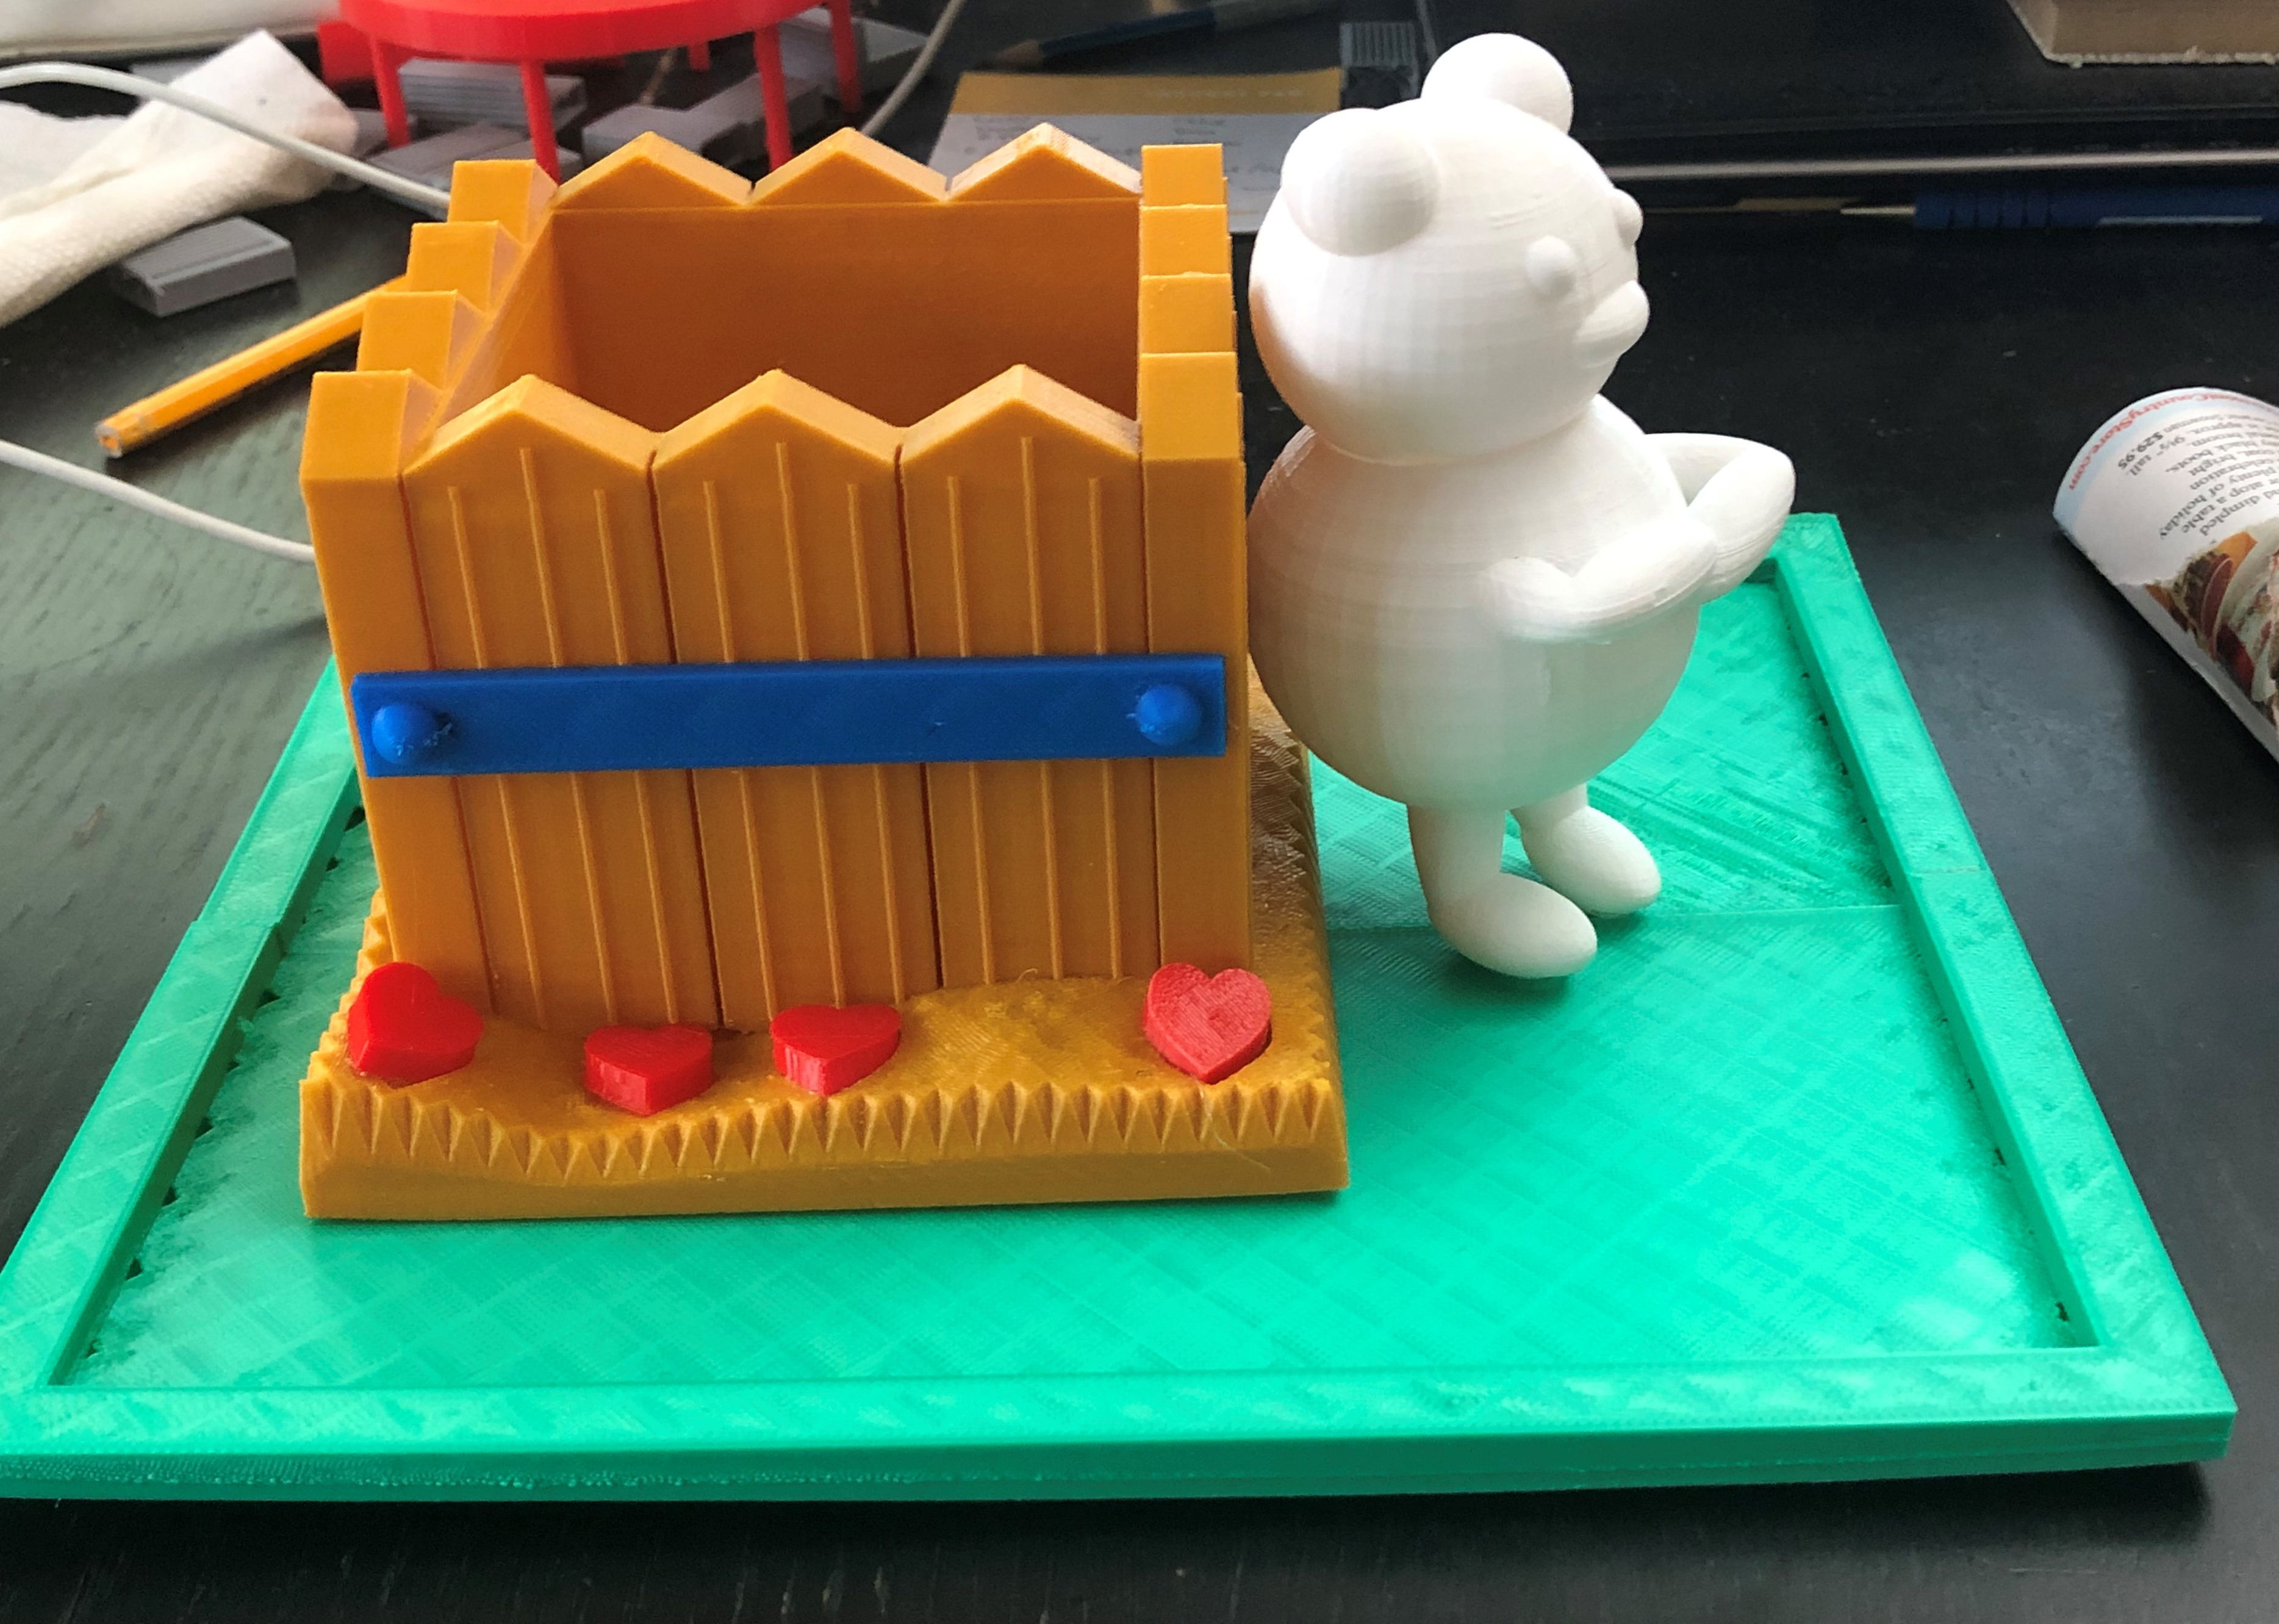
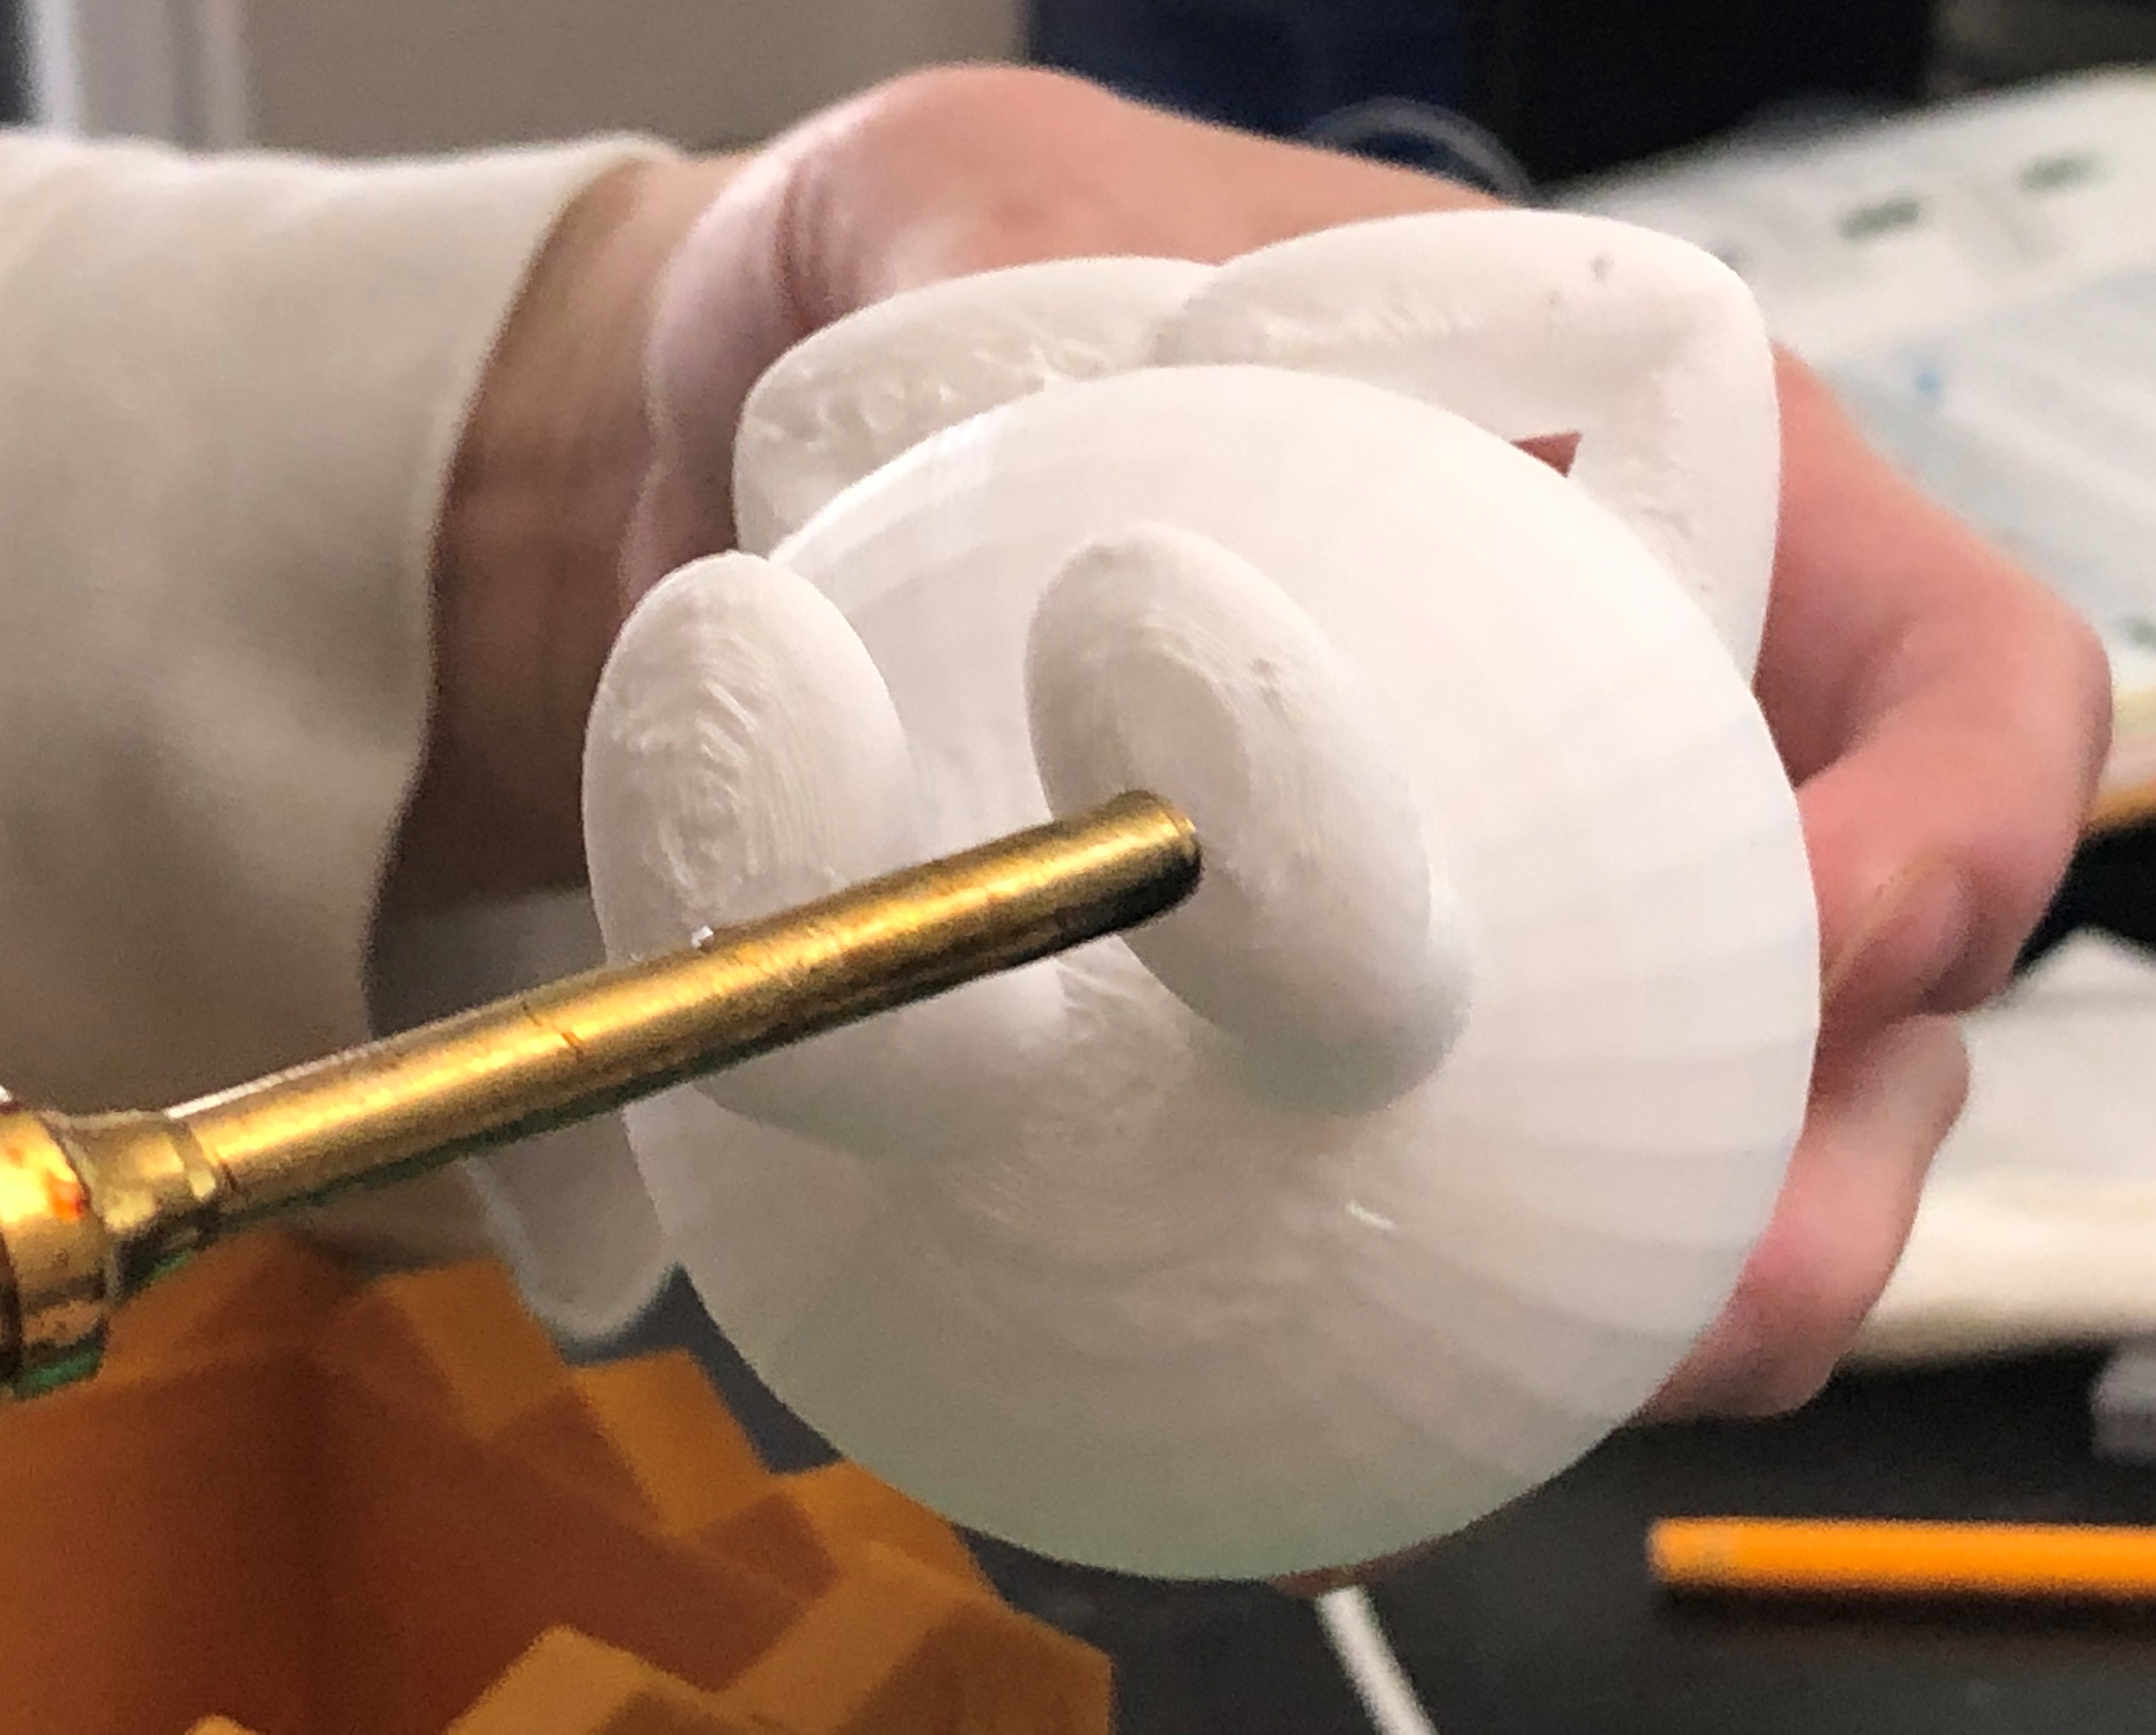
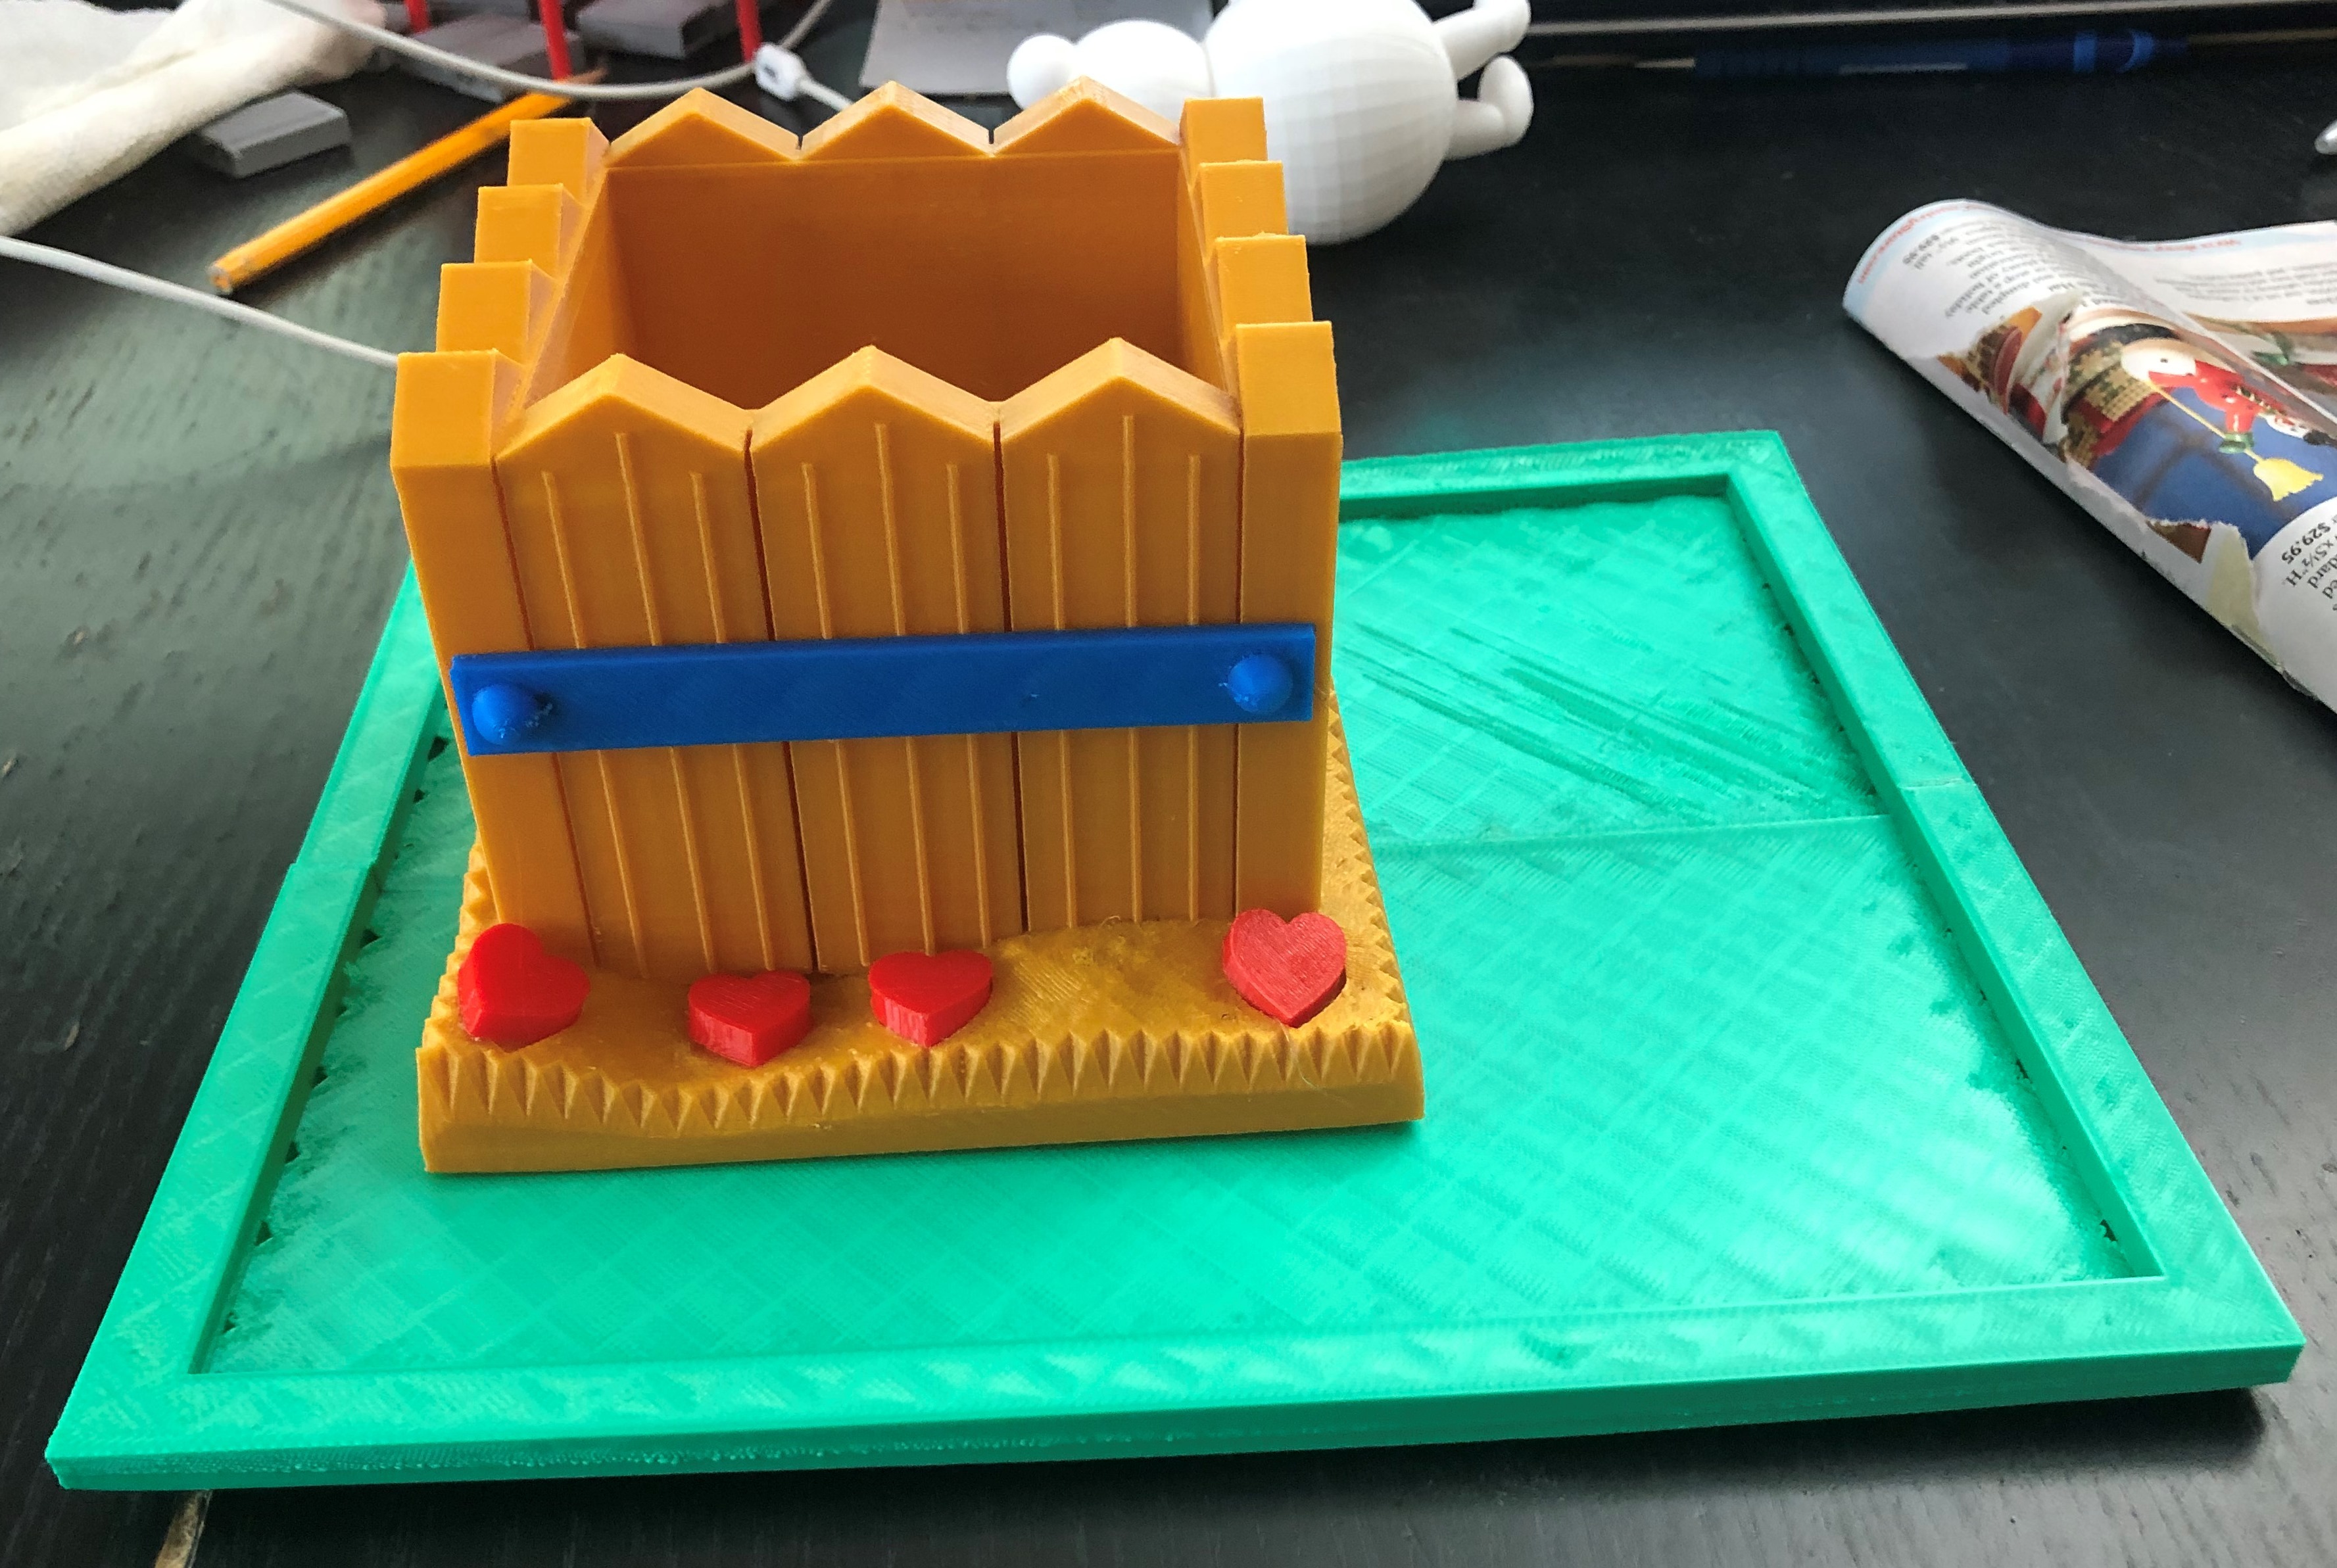
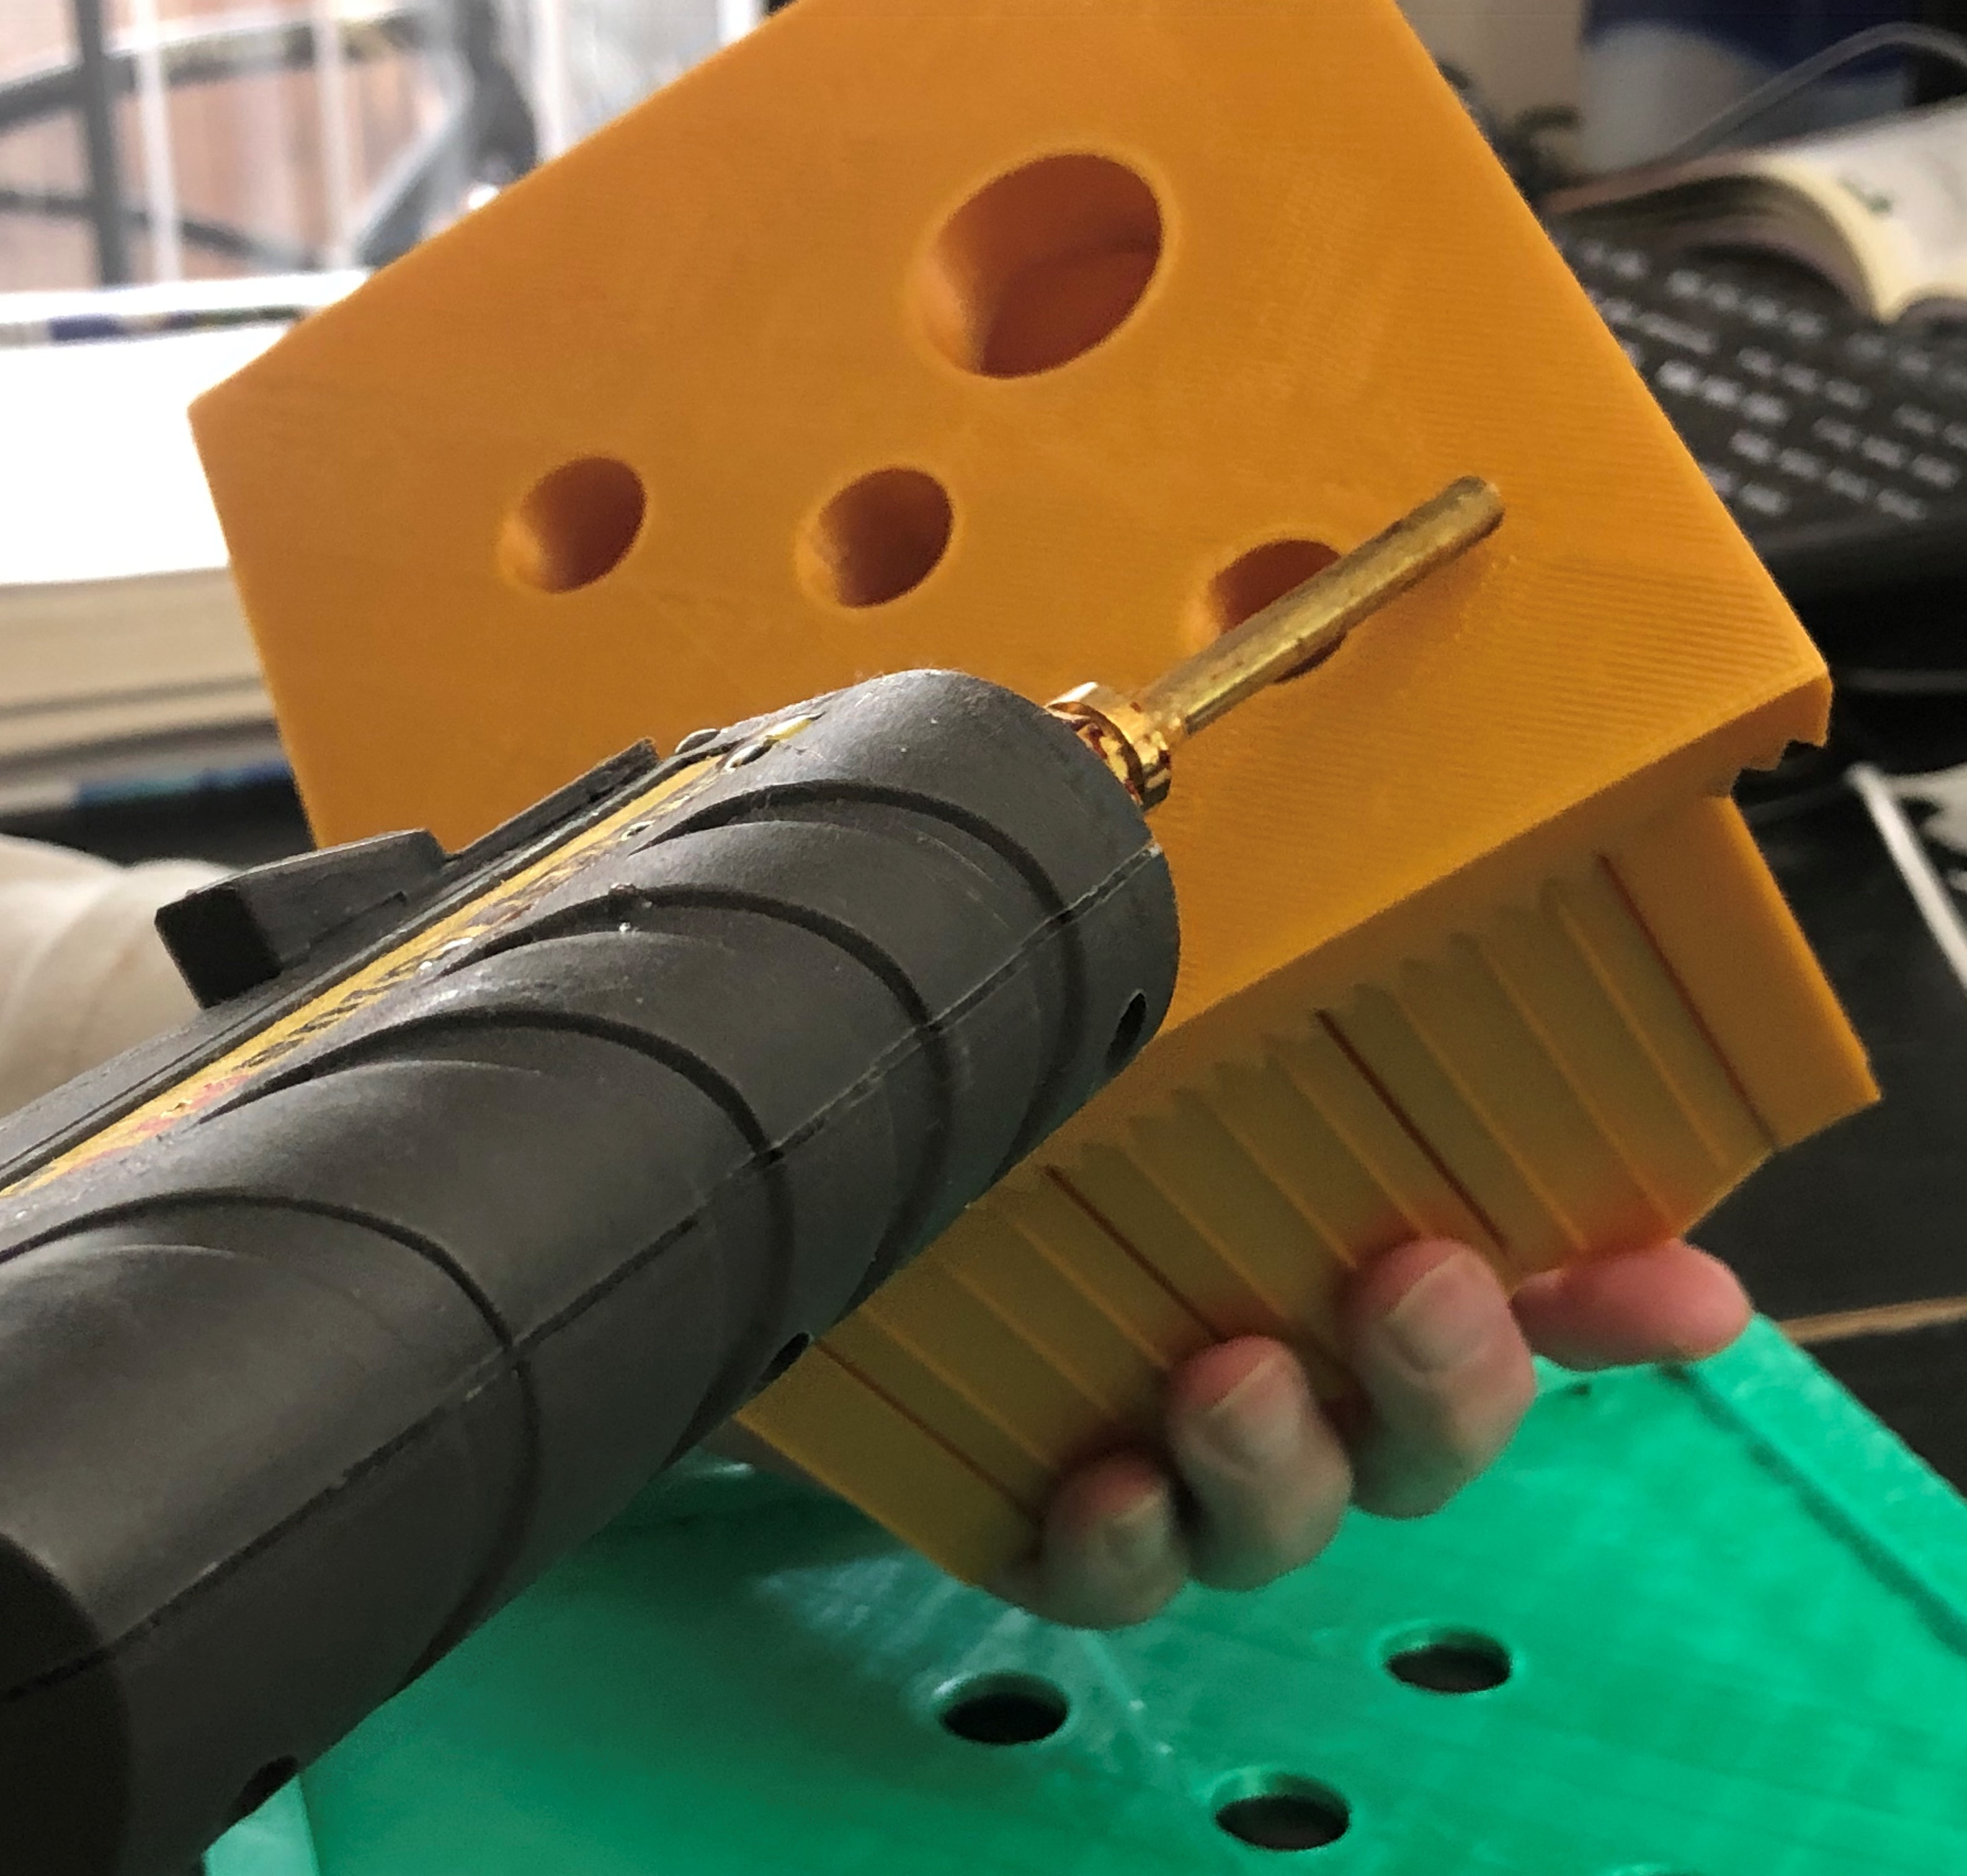
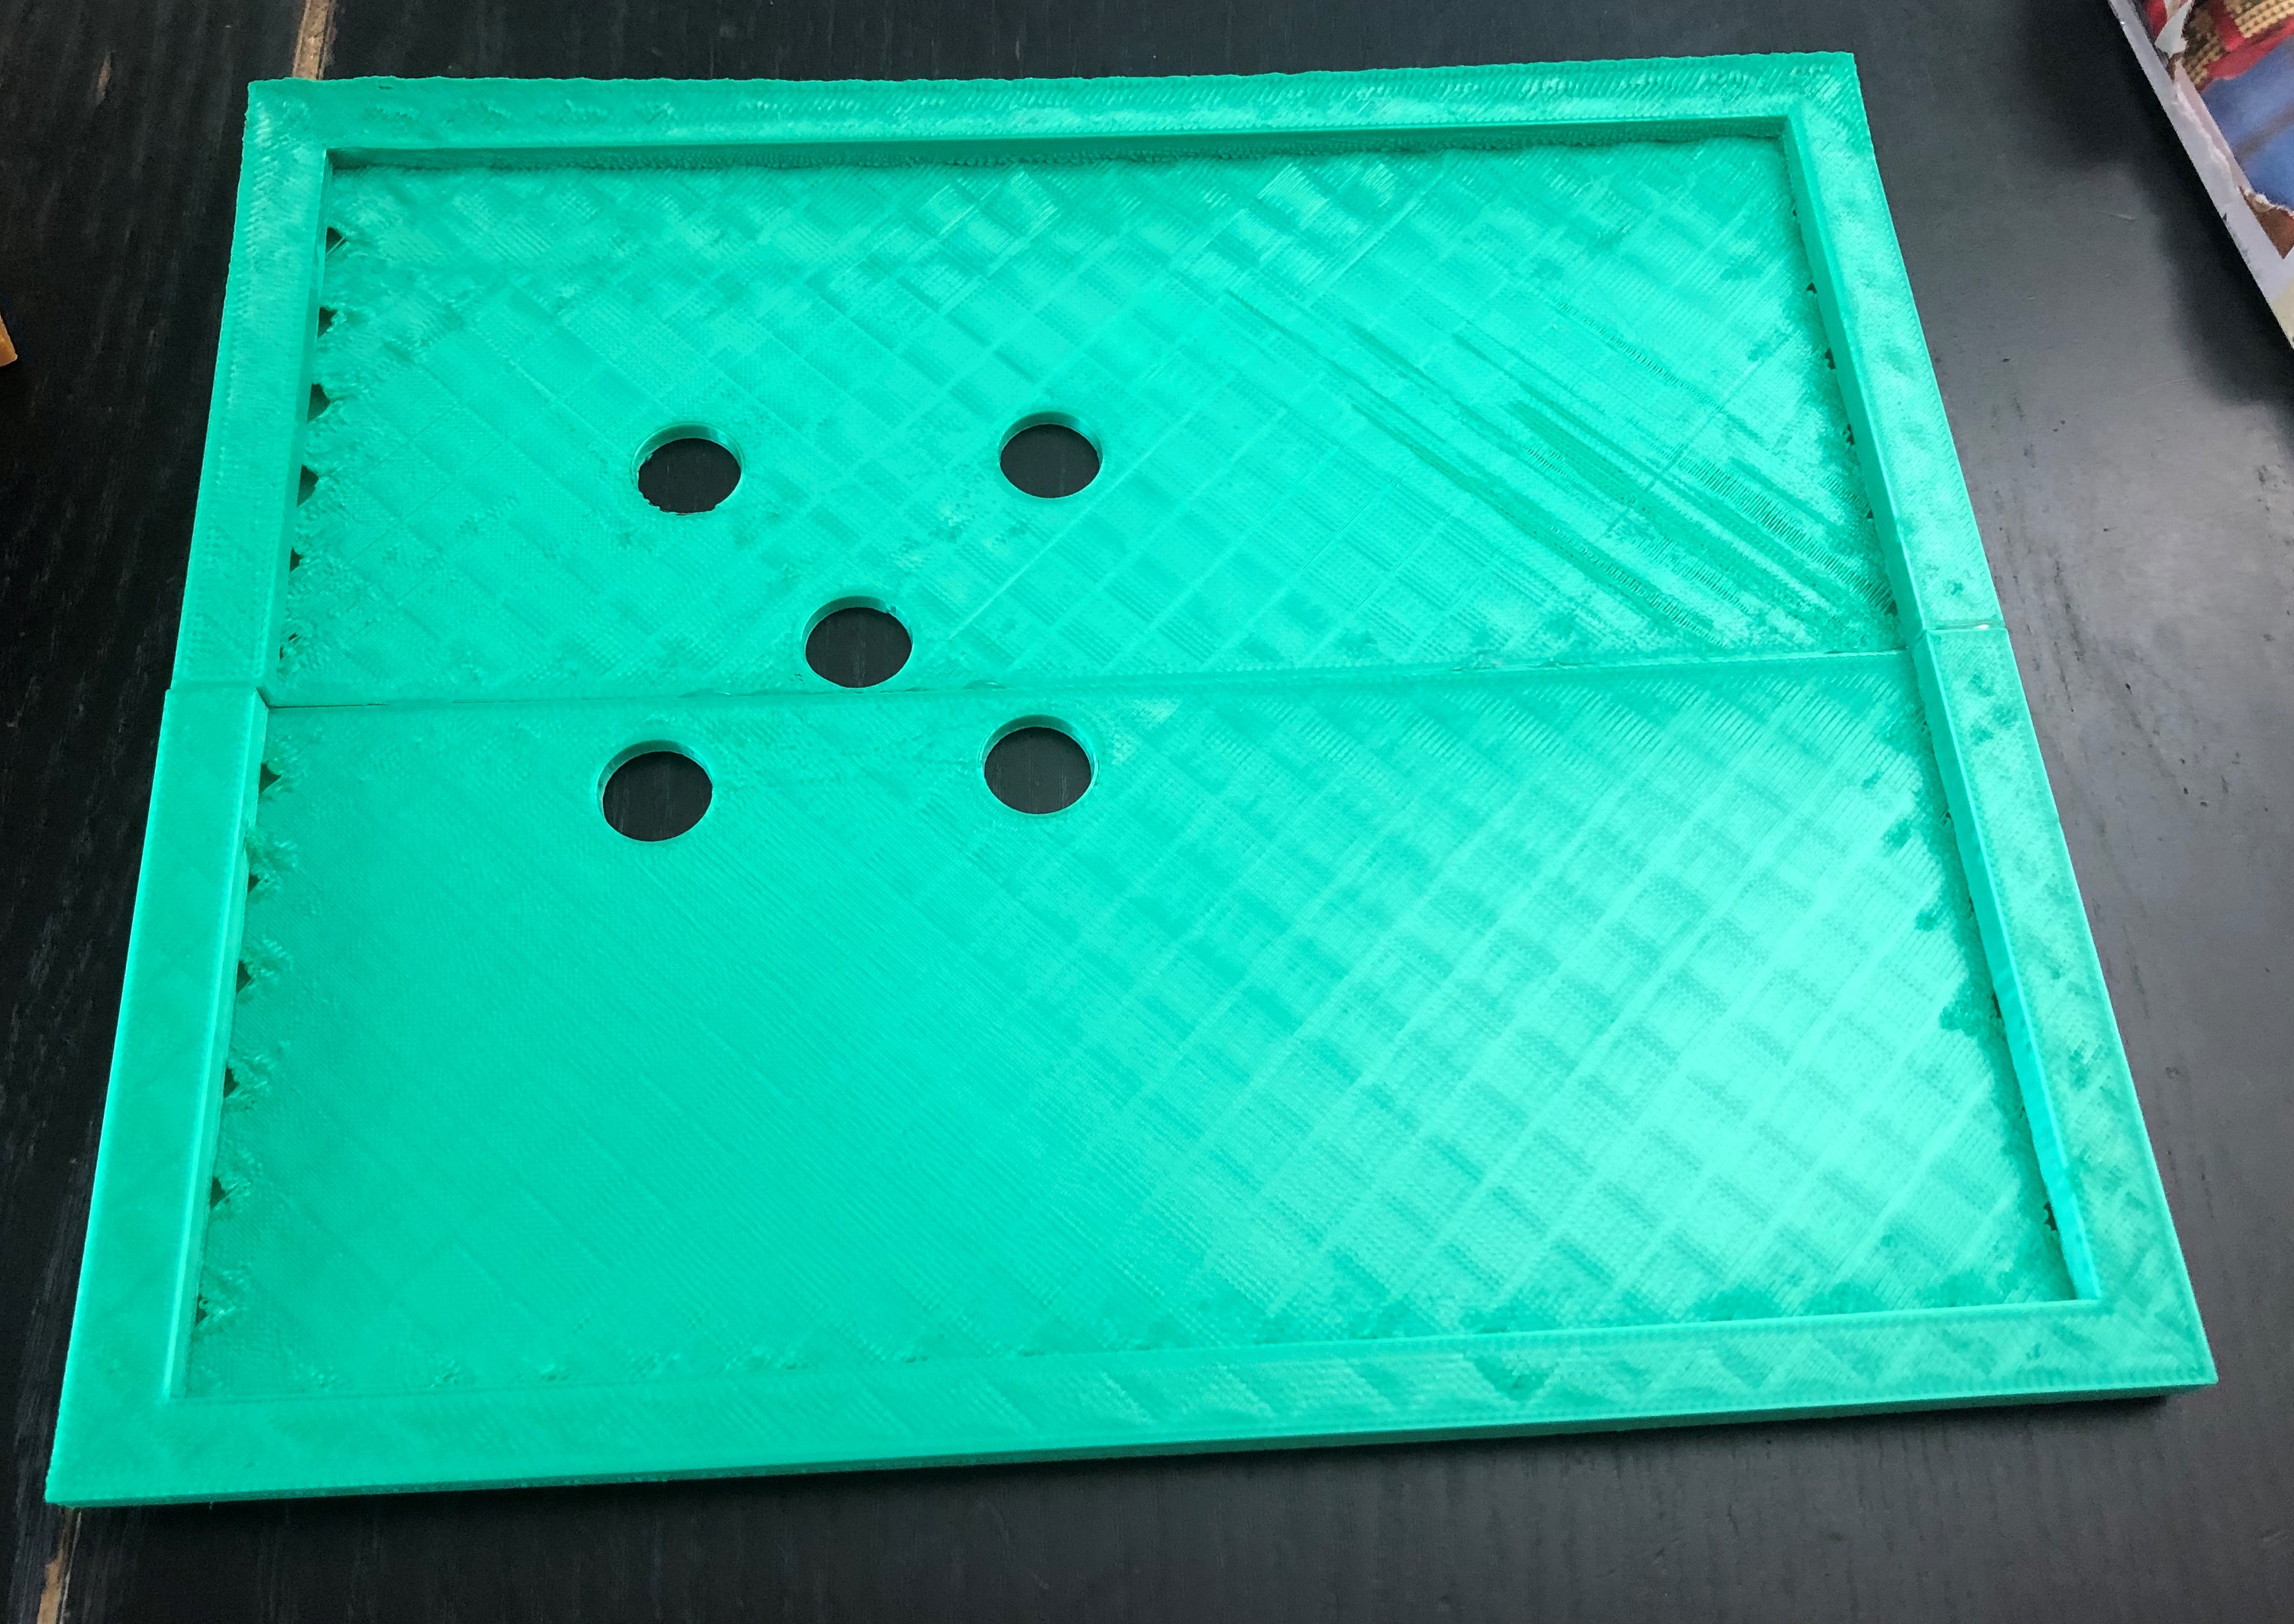
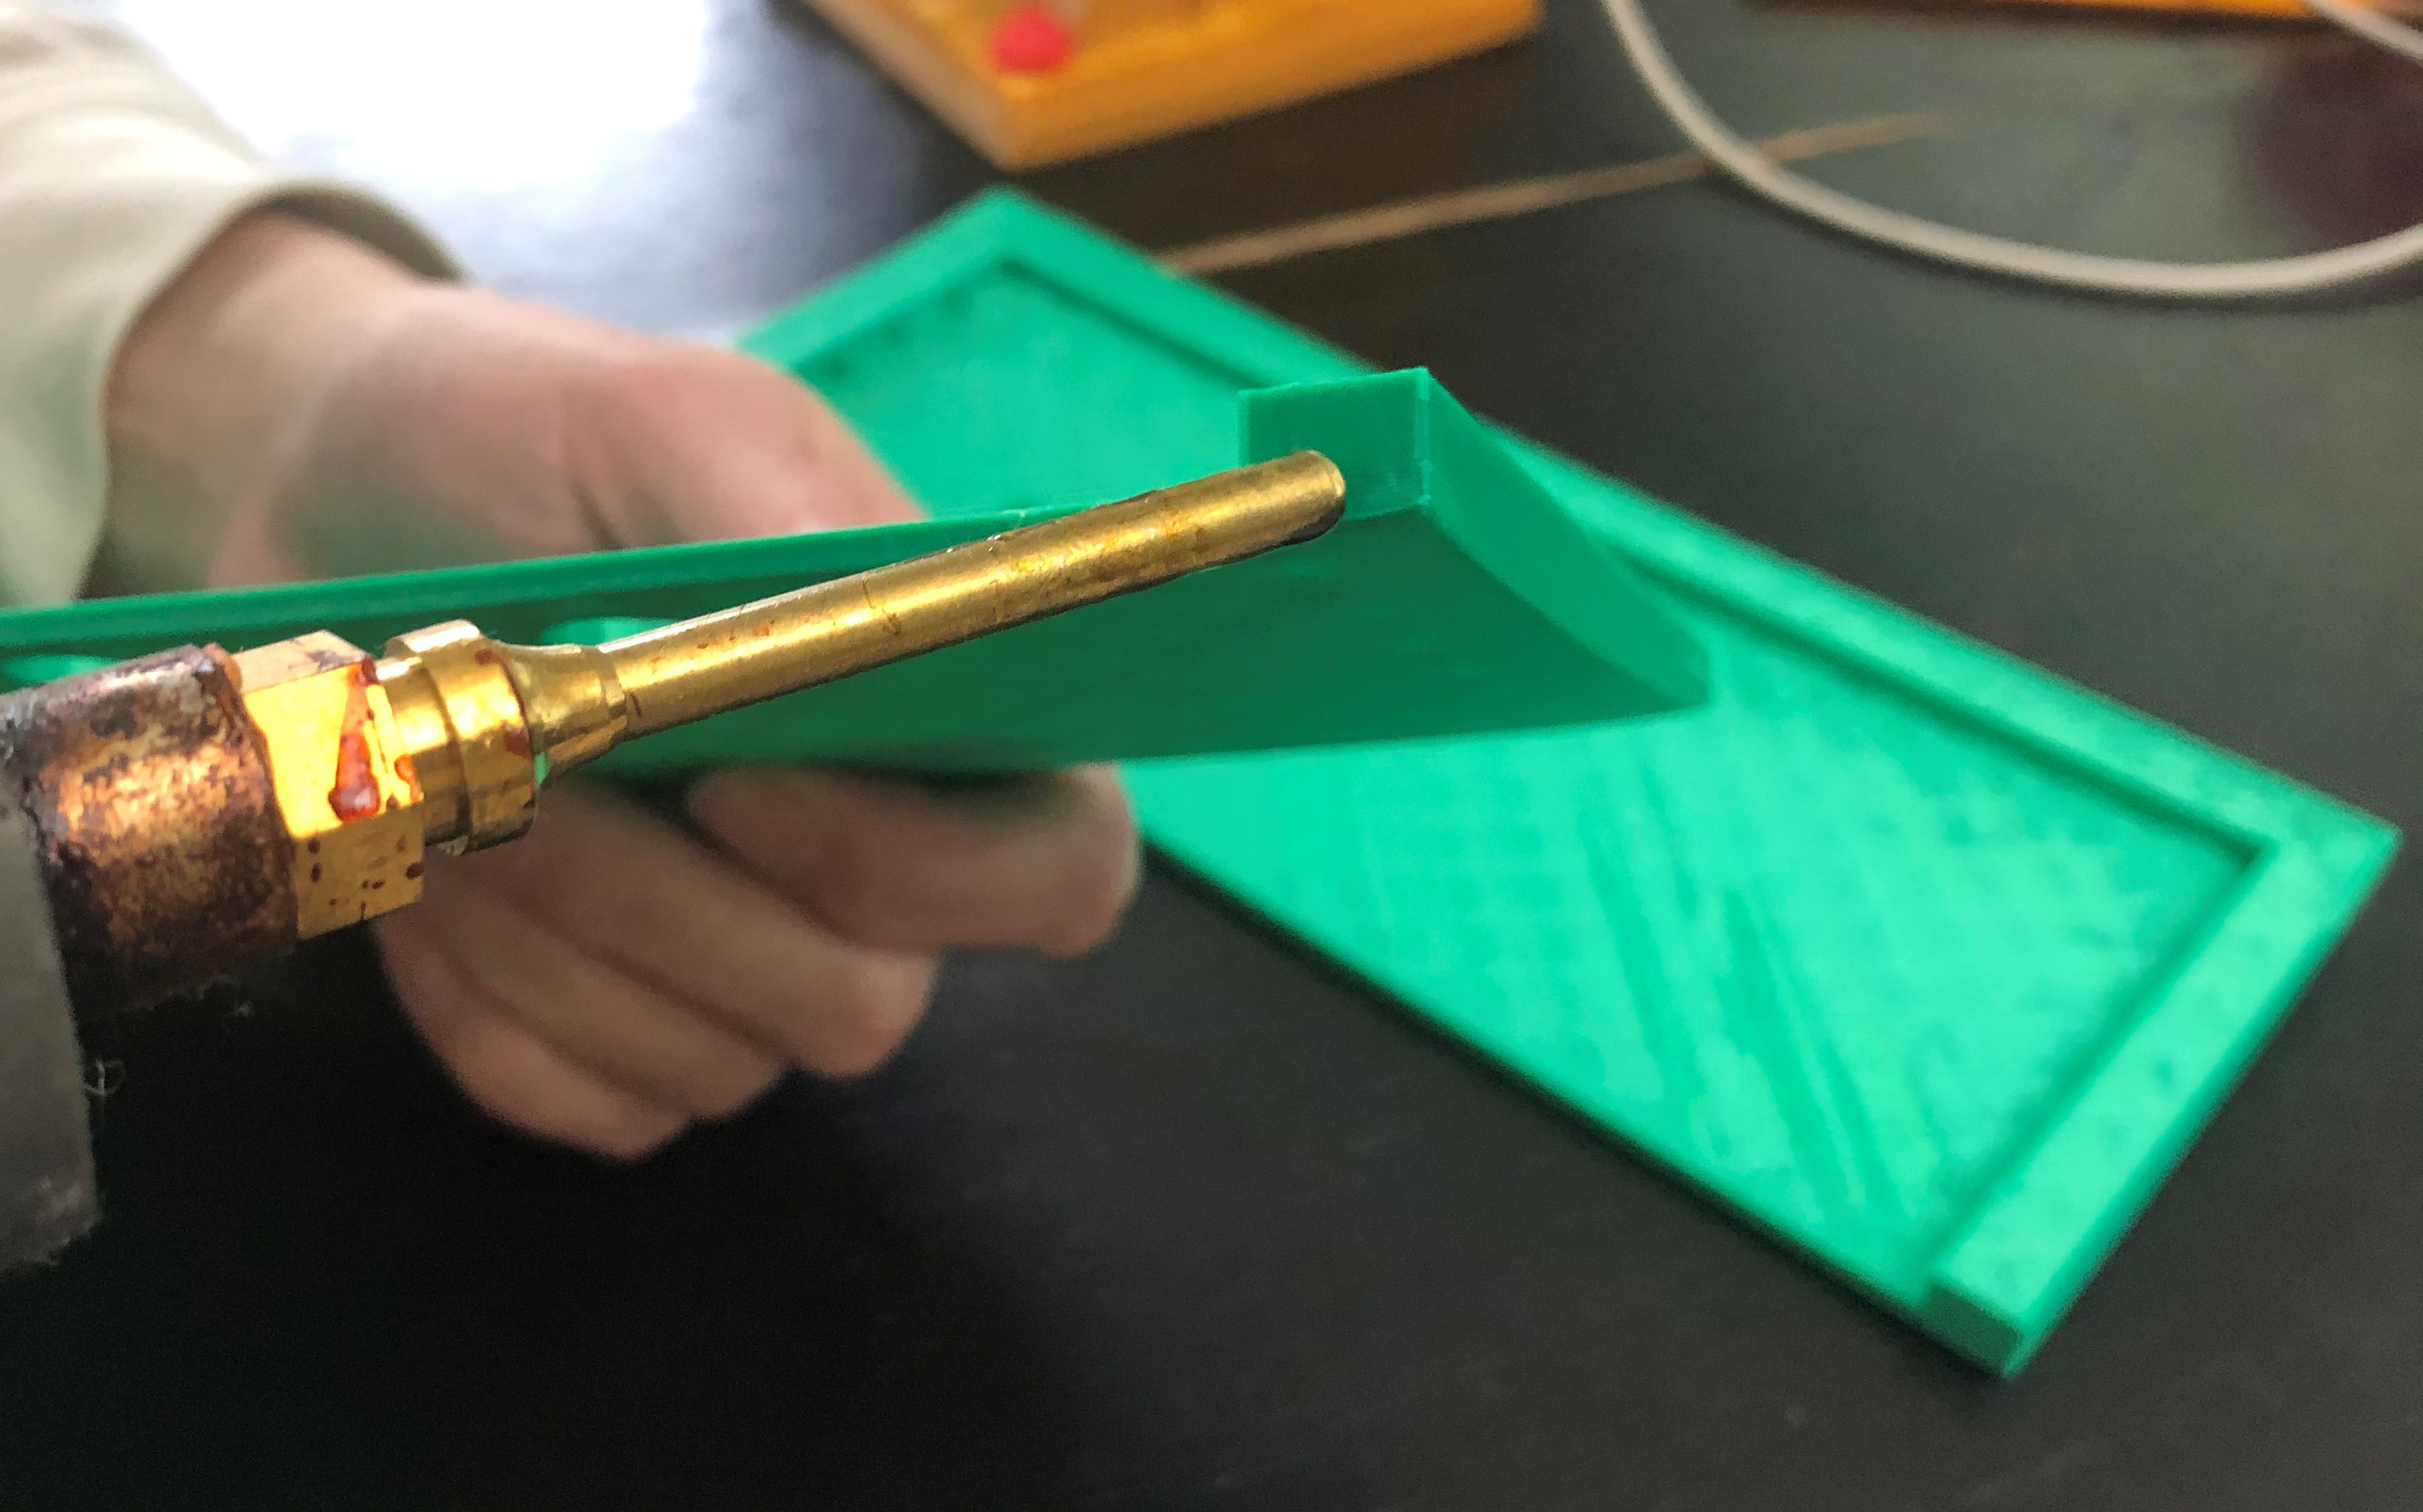
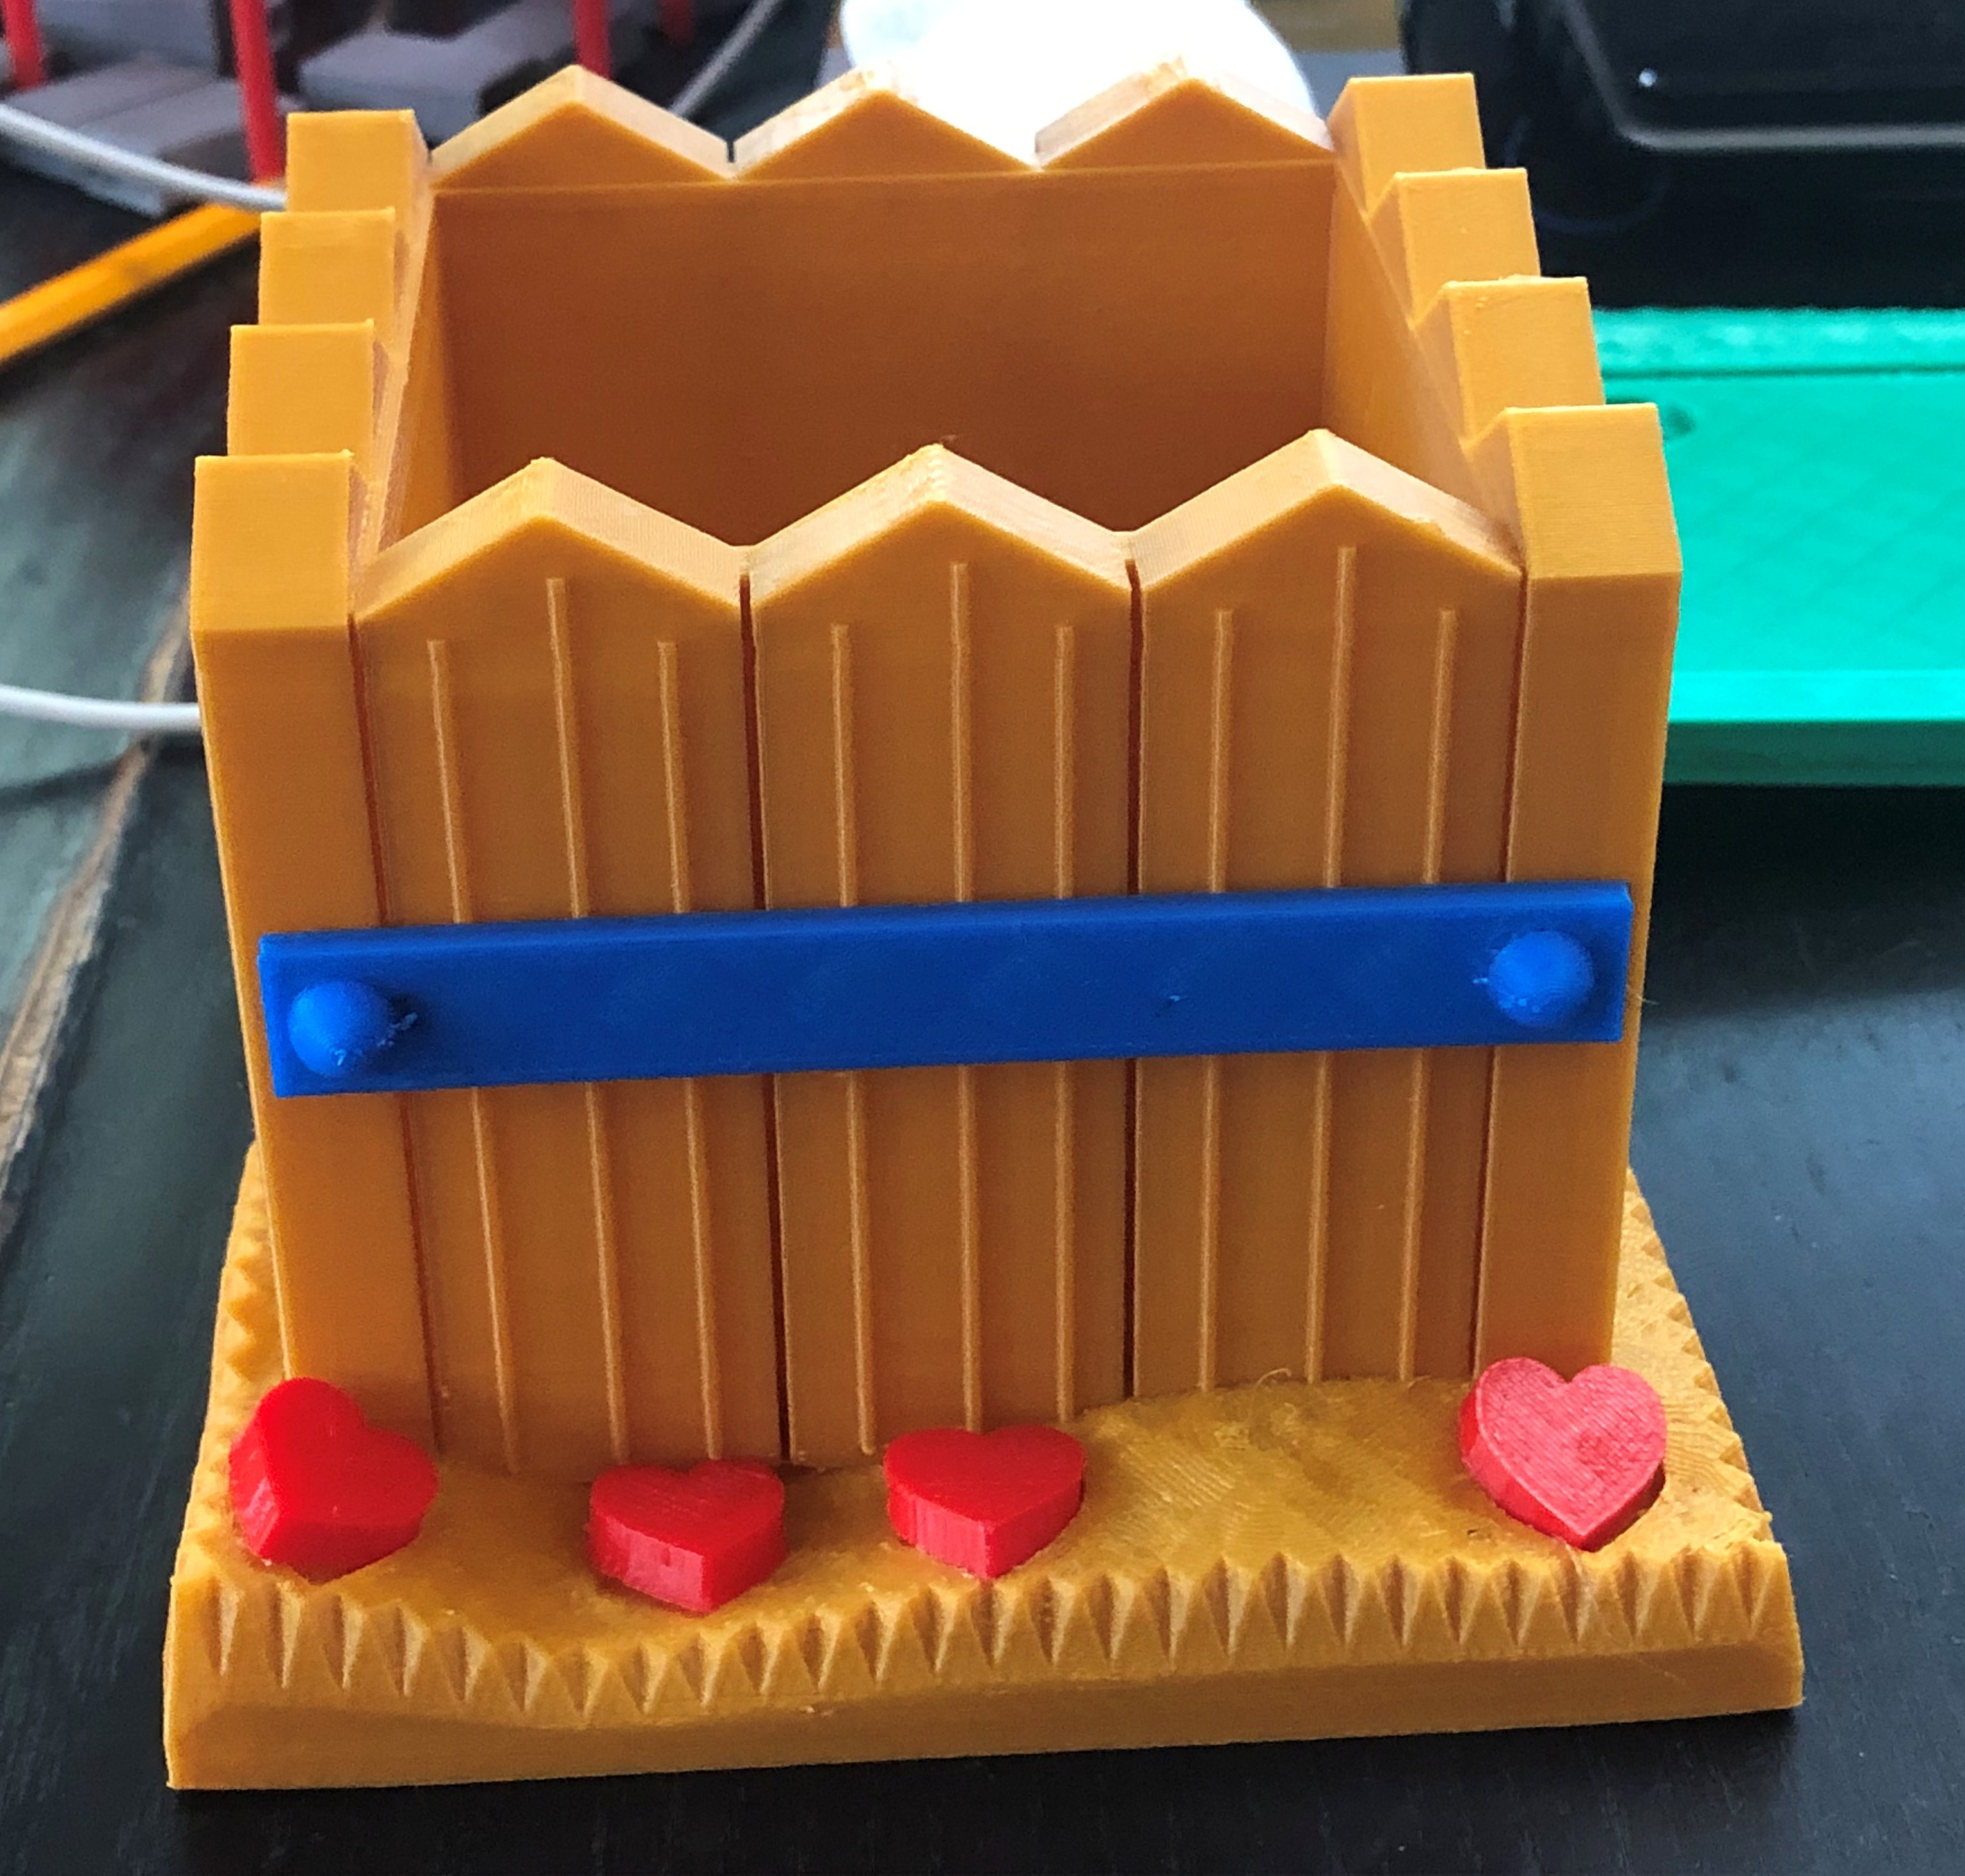
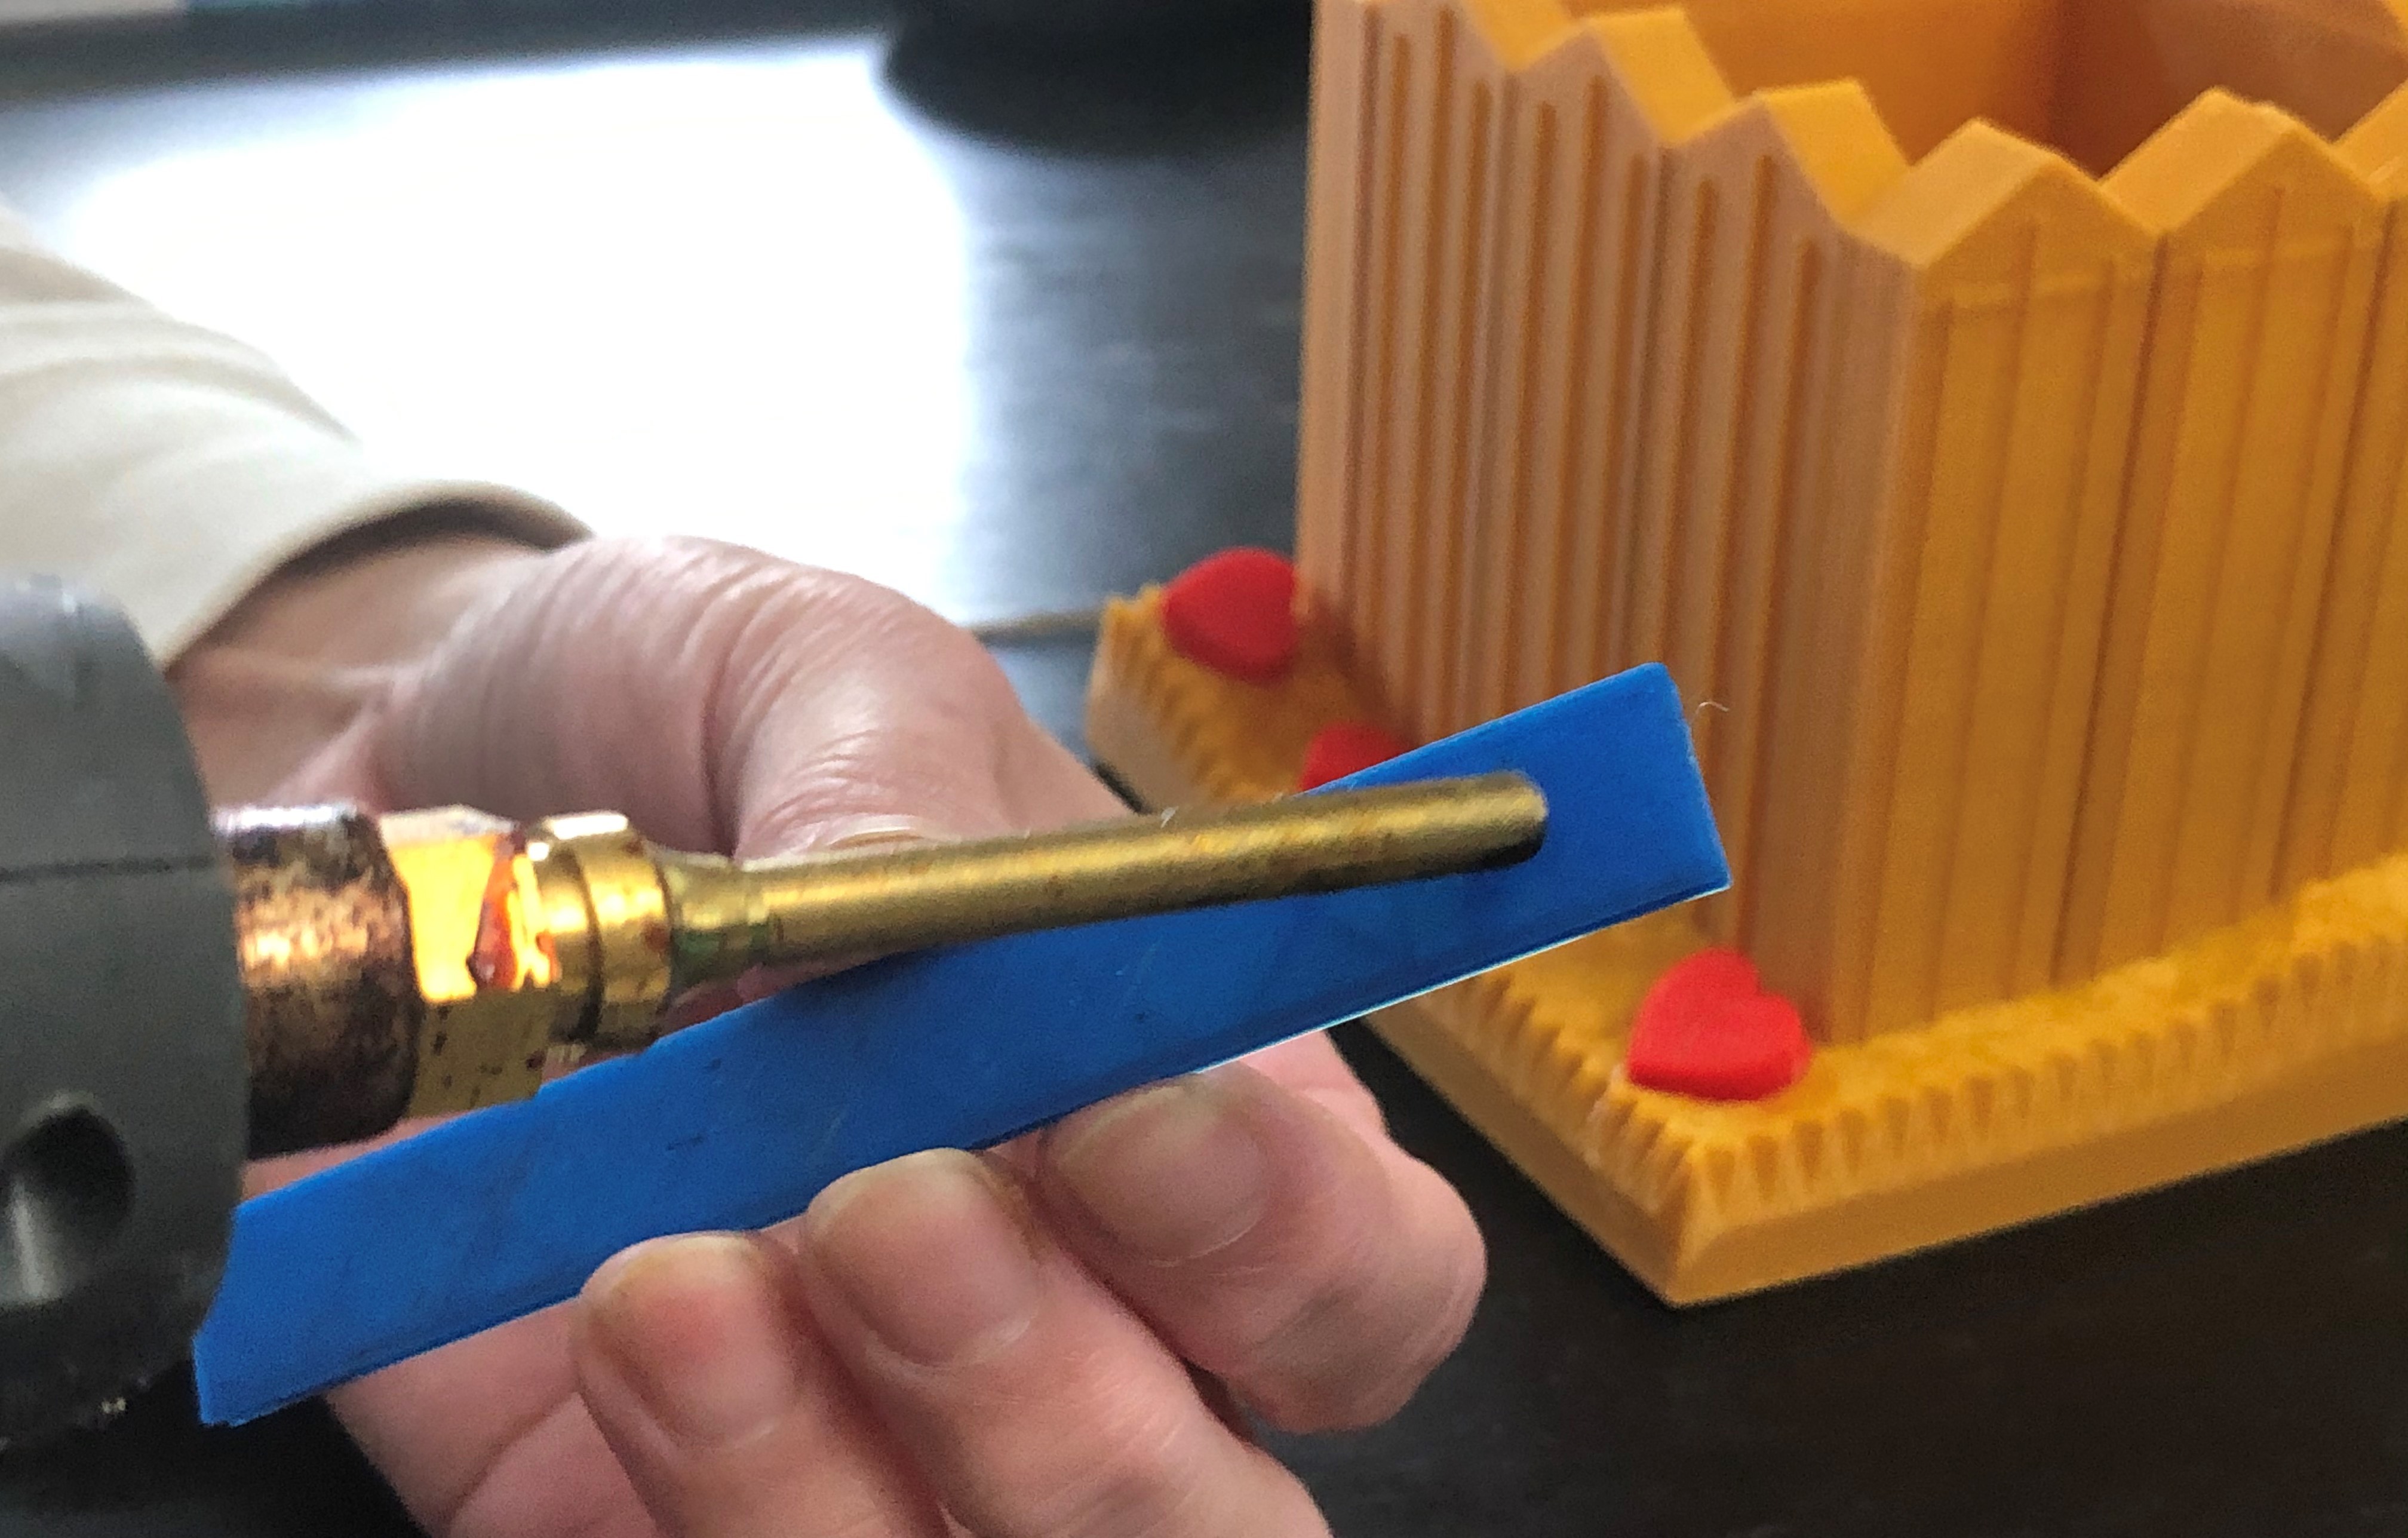
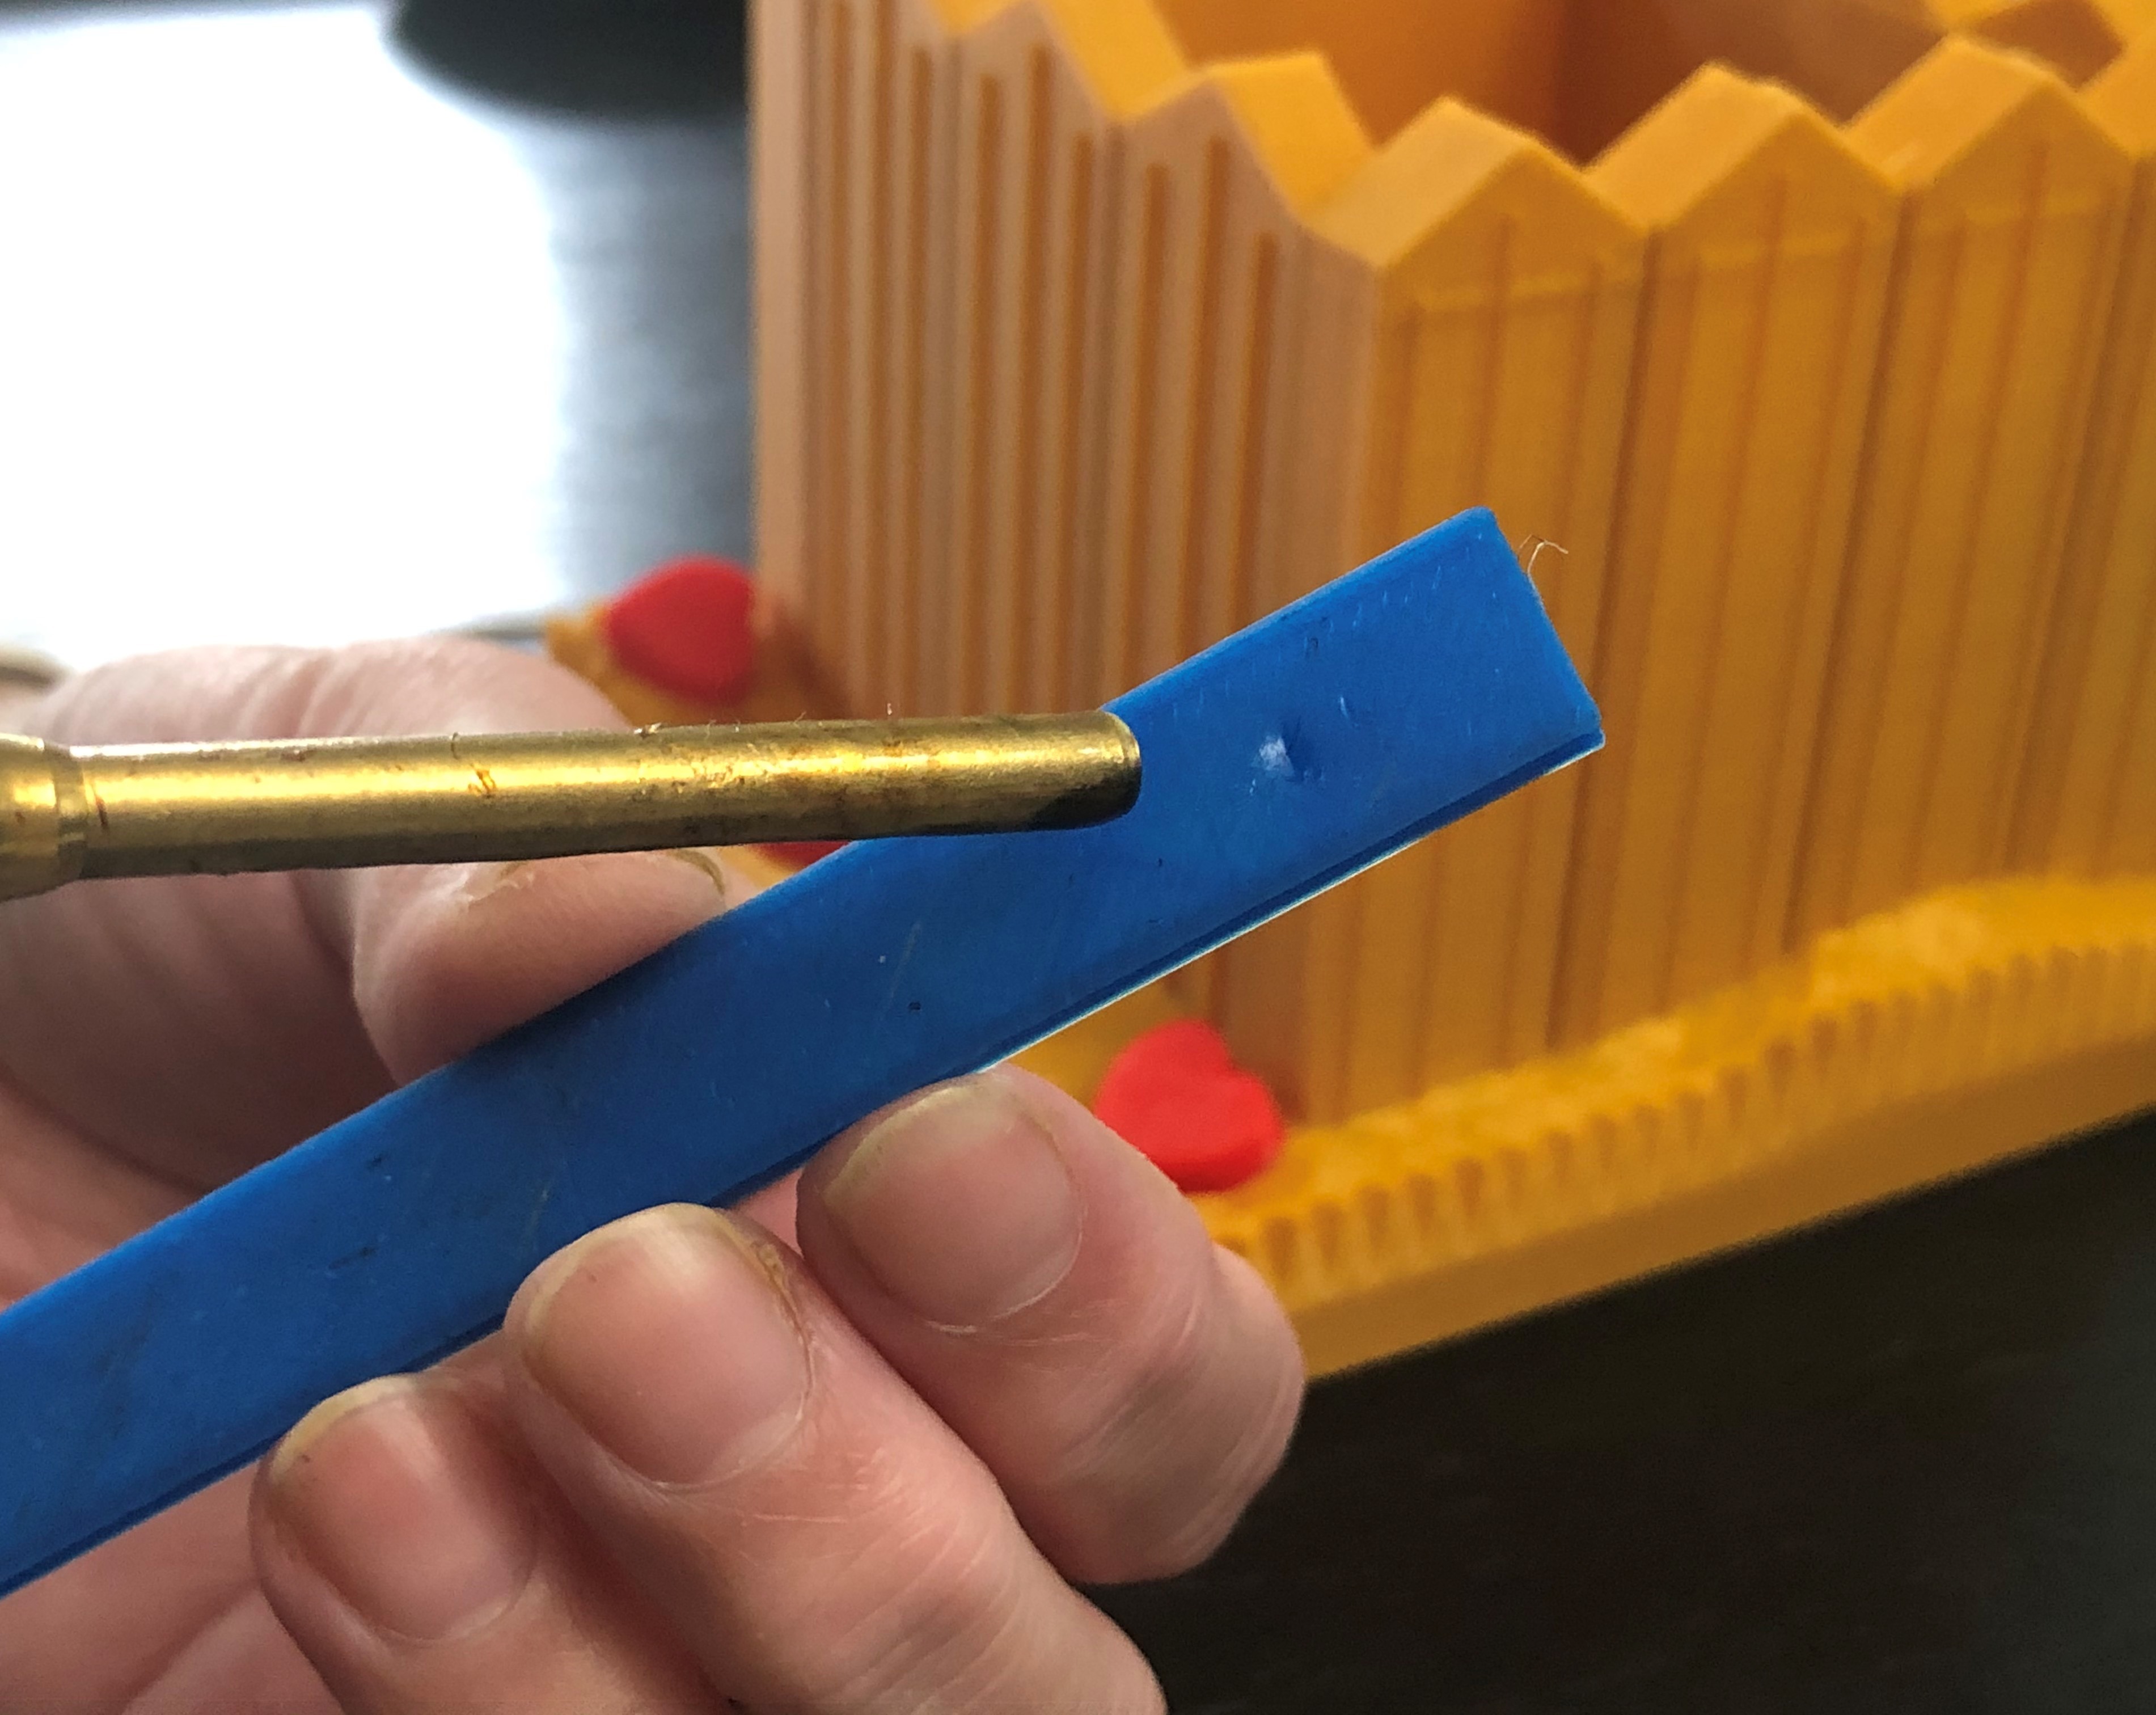
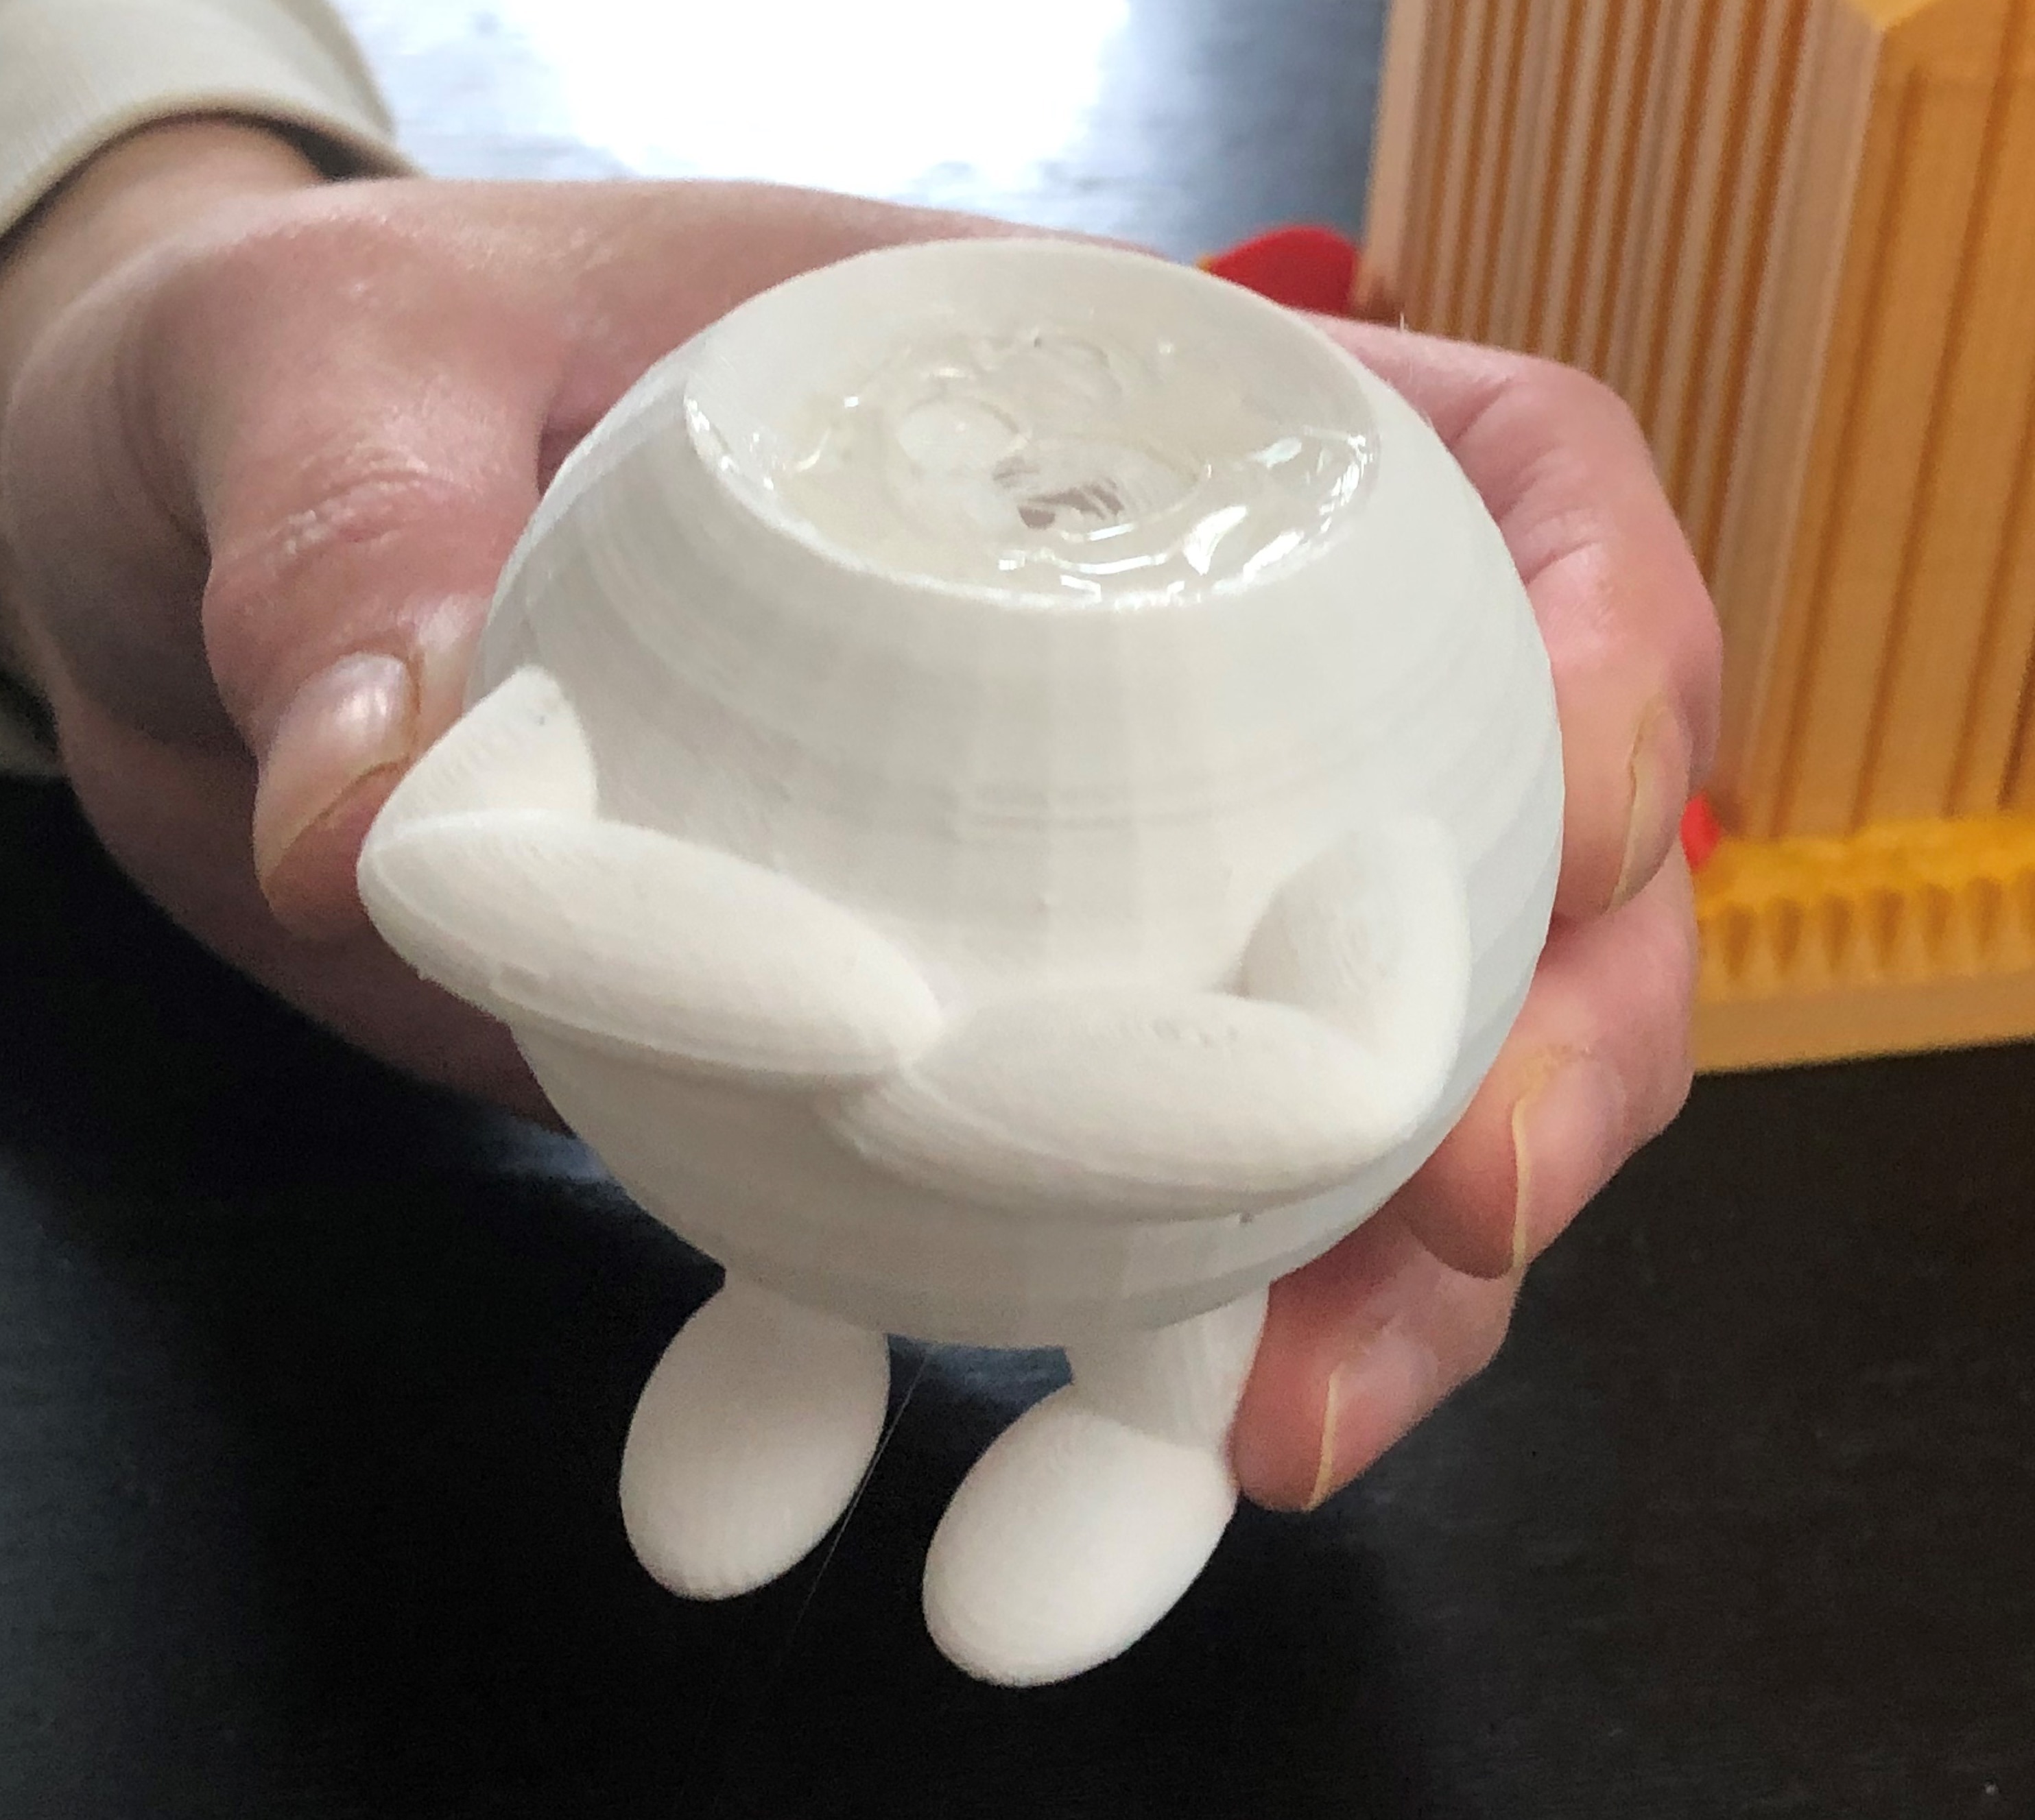
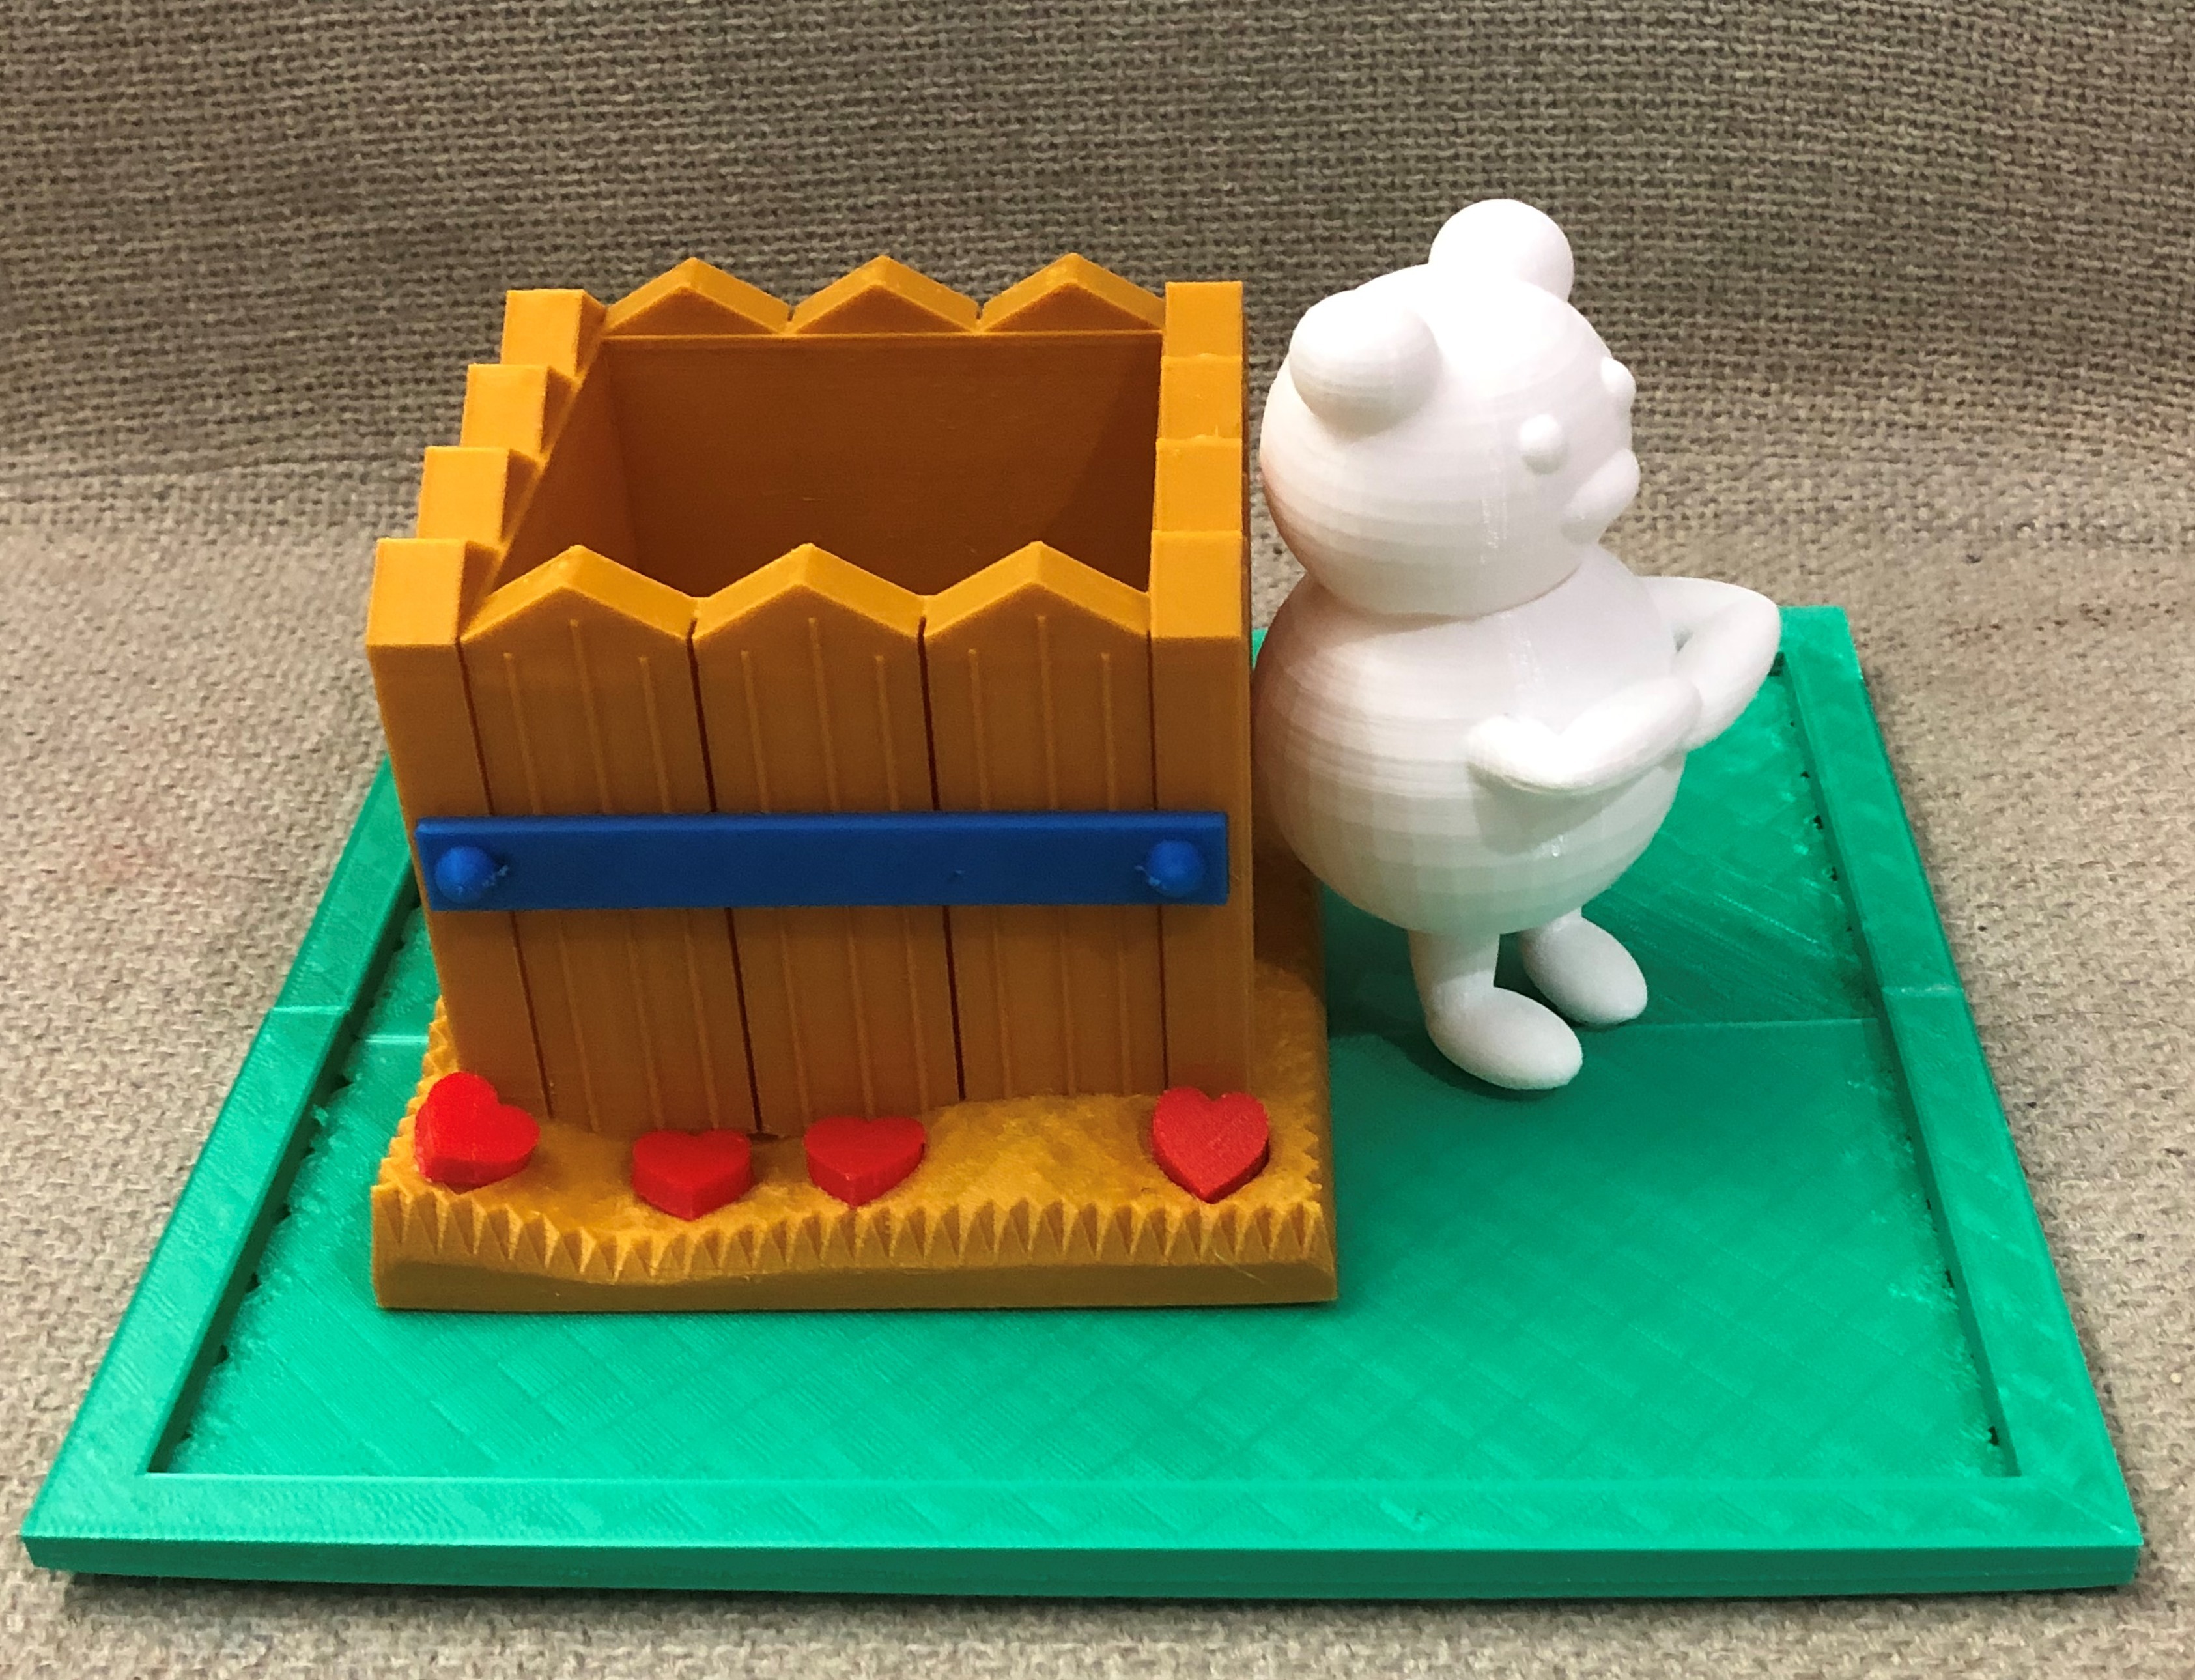
Assemble all the 3D print by glue them one by one until you get exactly as you design previously in Tinkercad.
Finishing the Planter
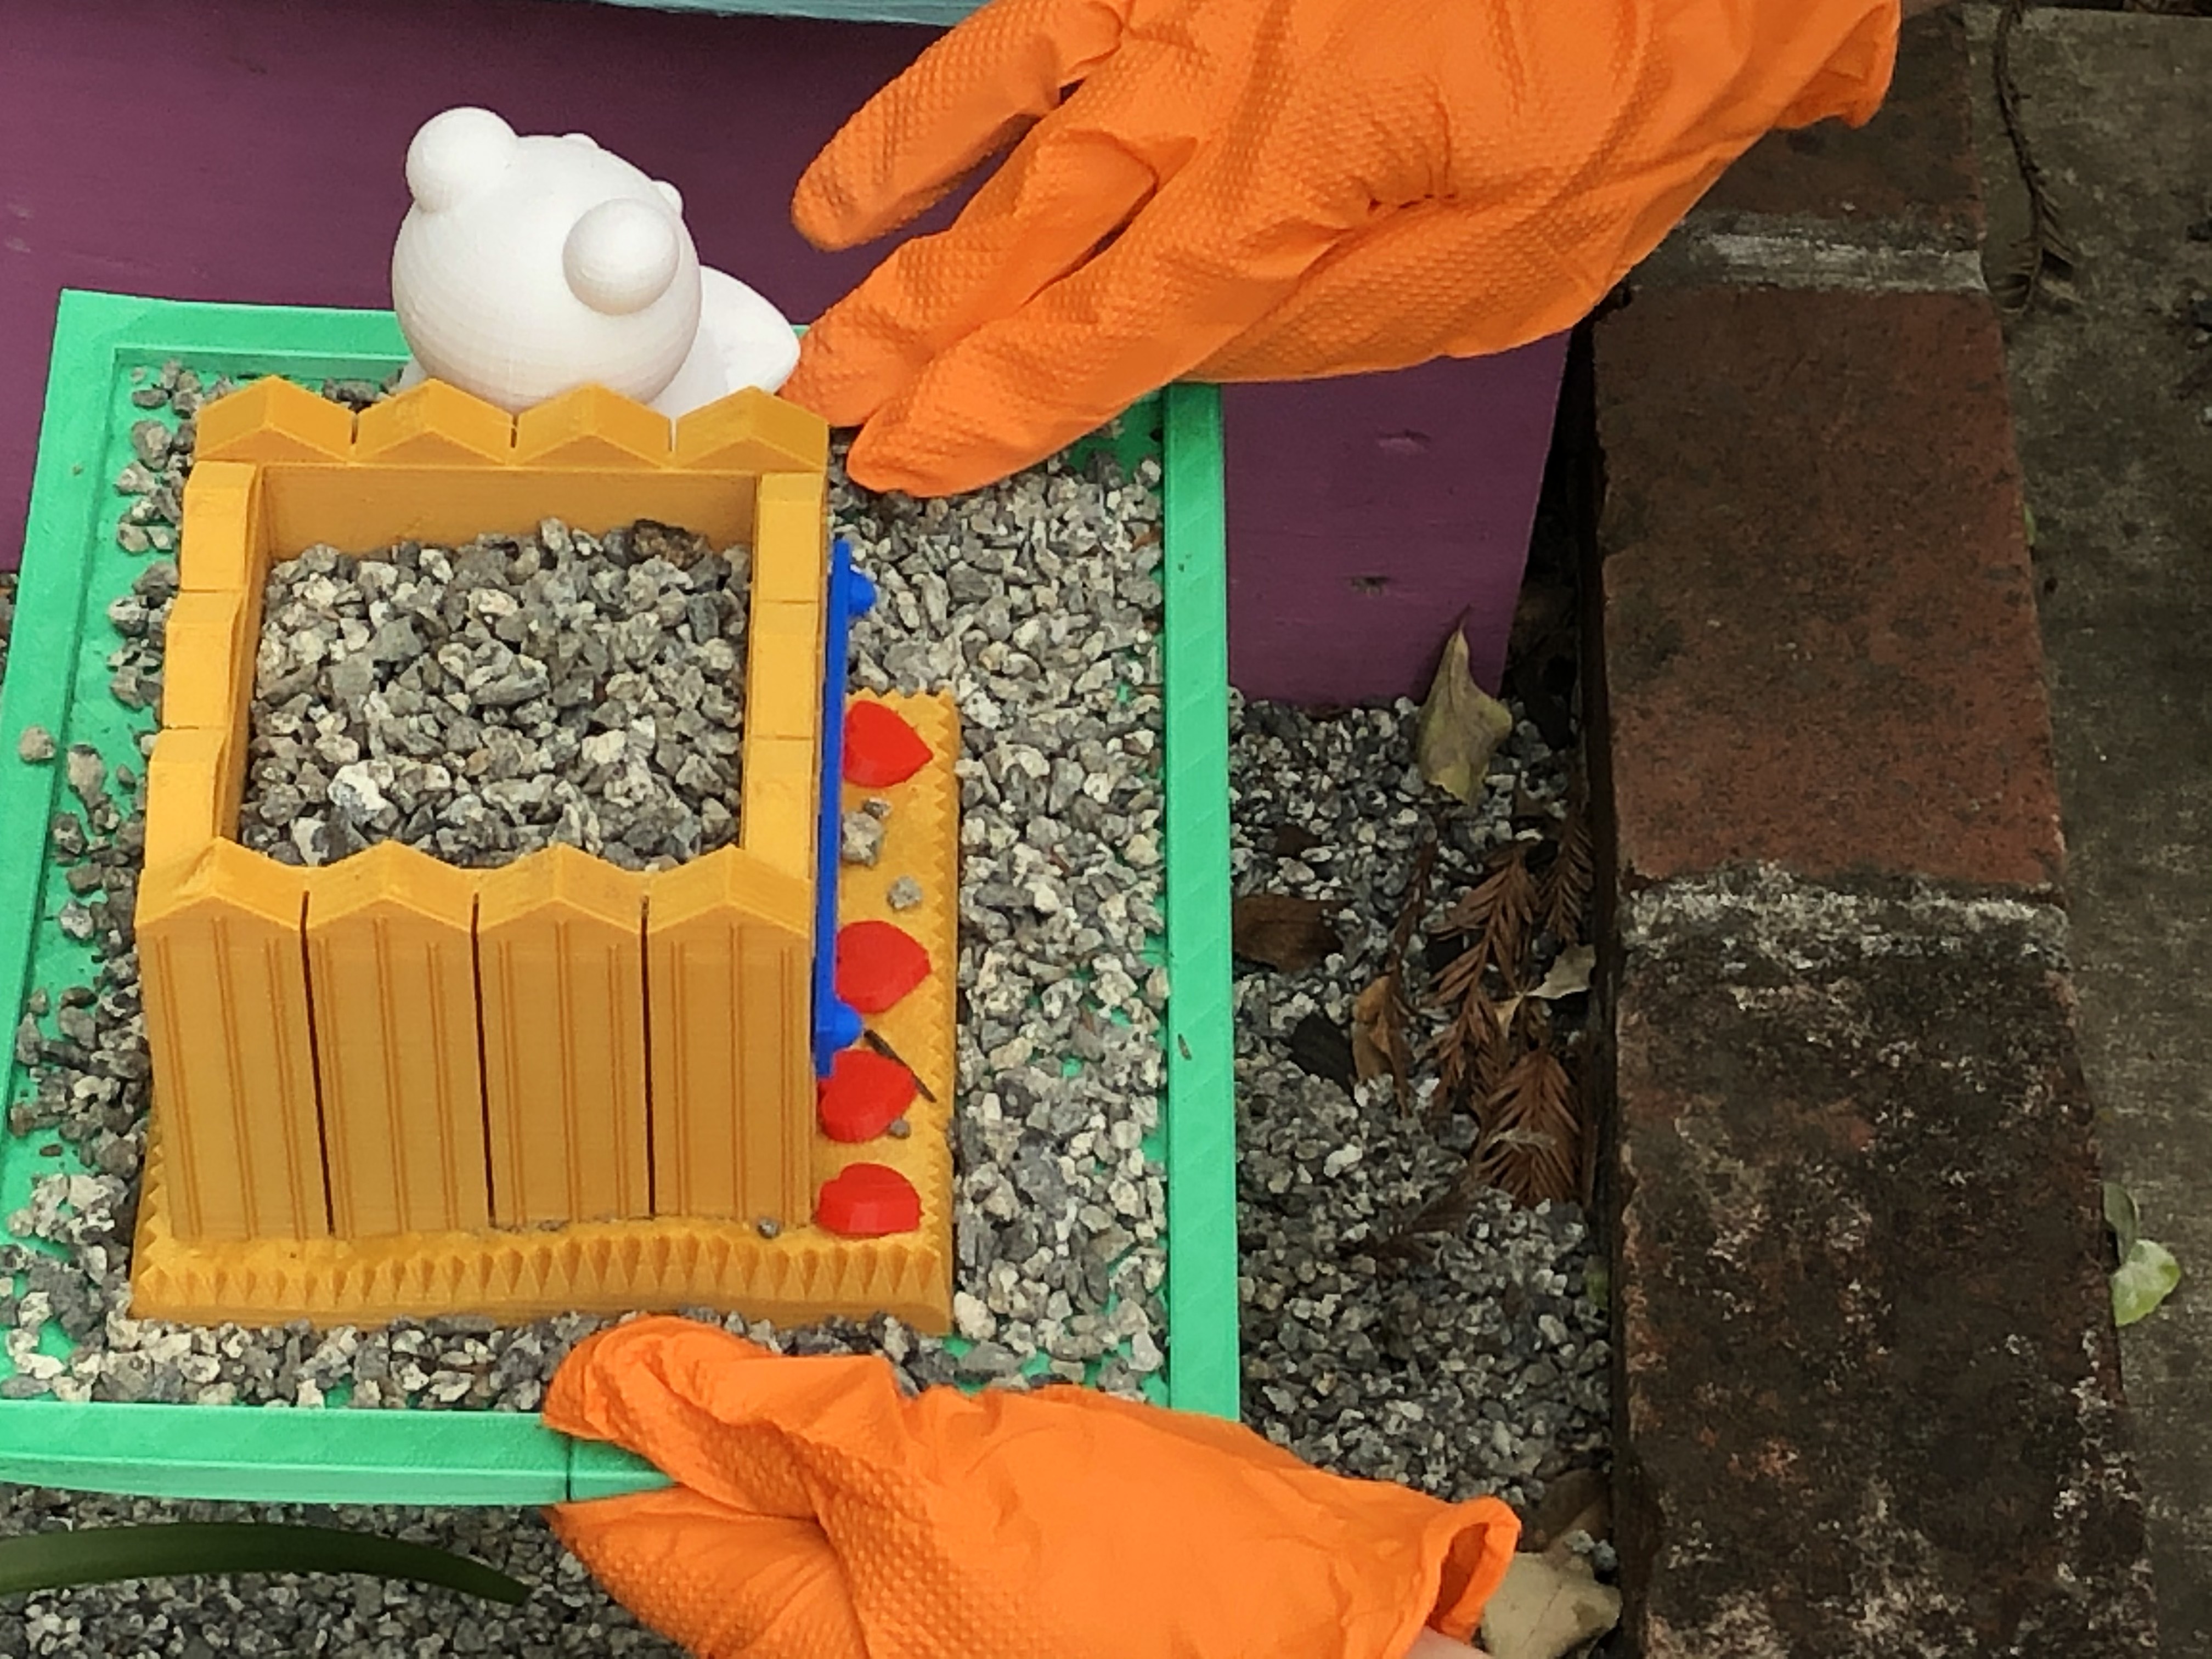
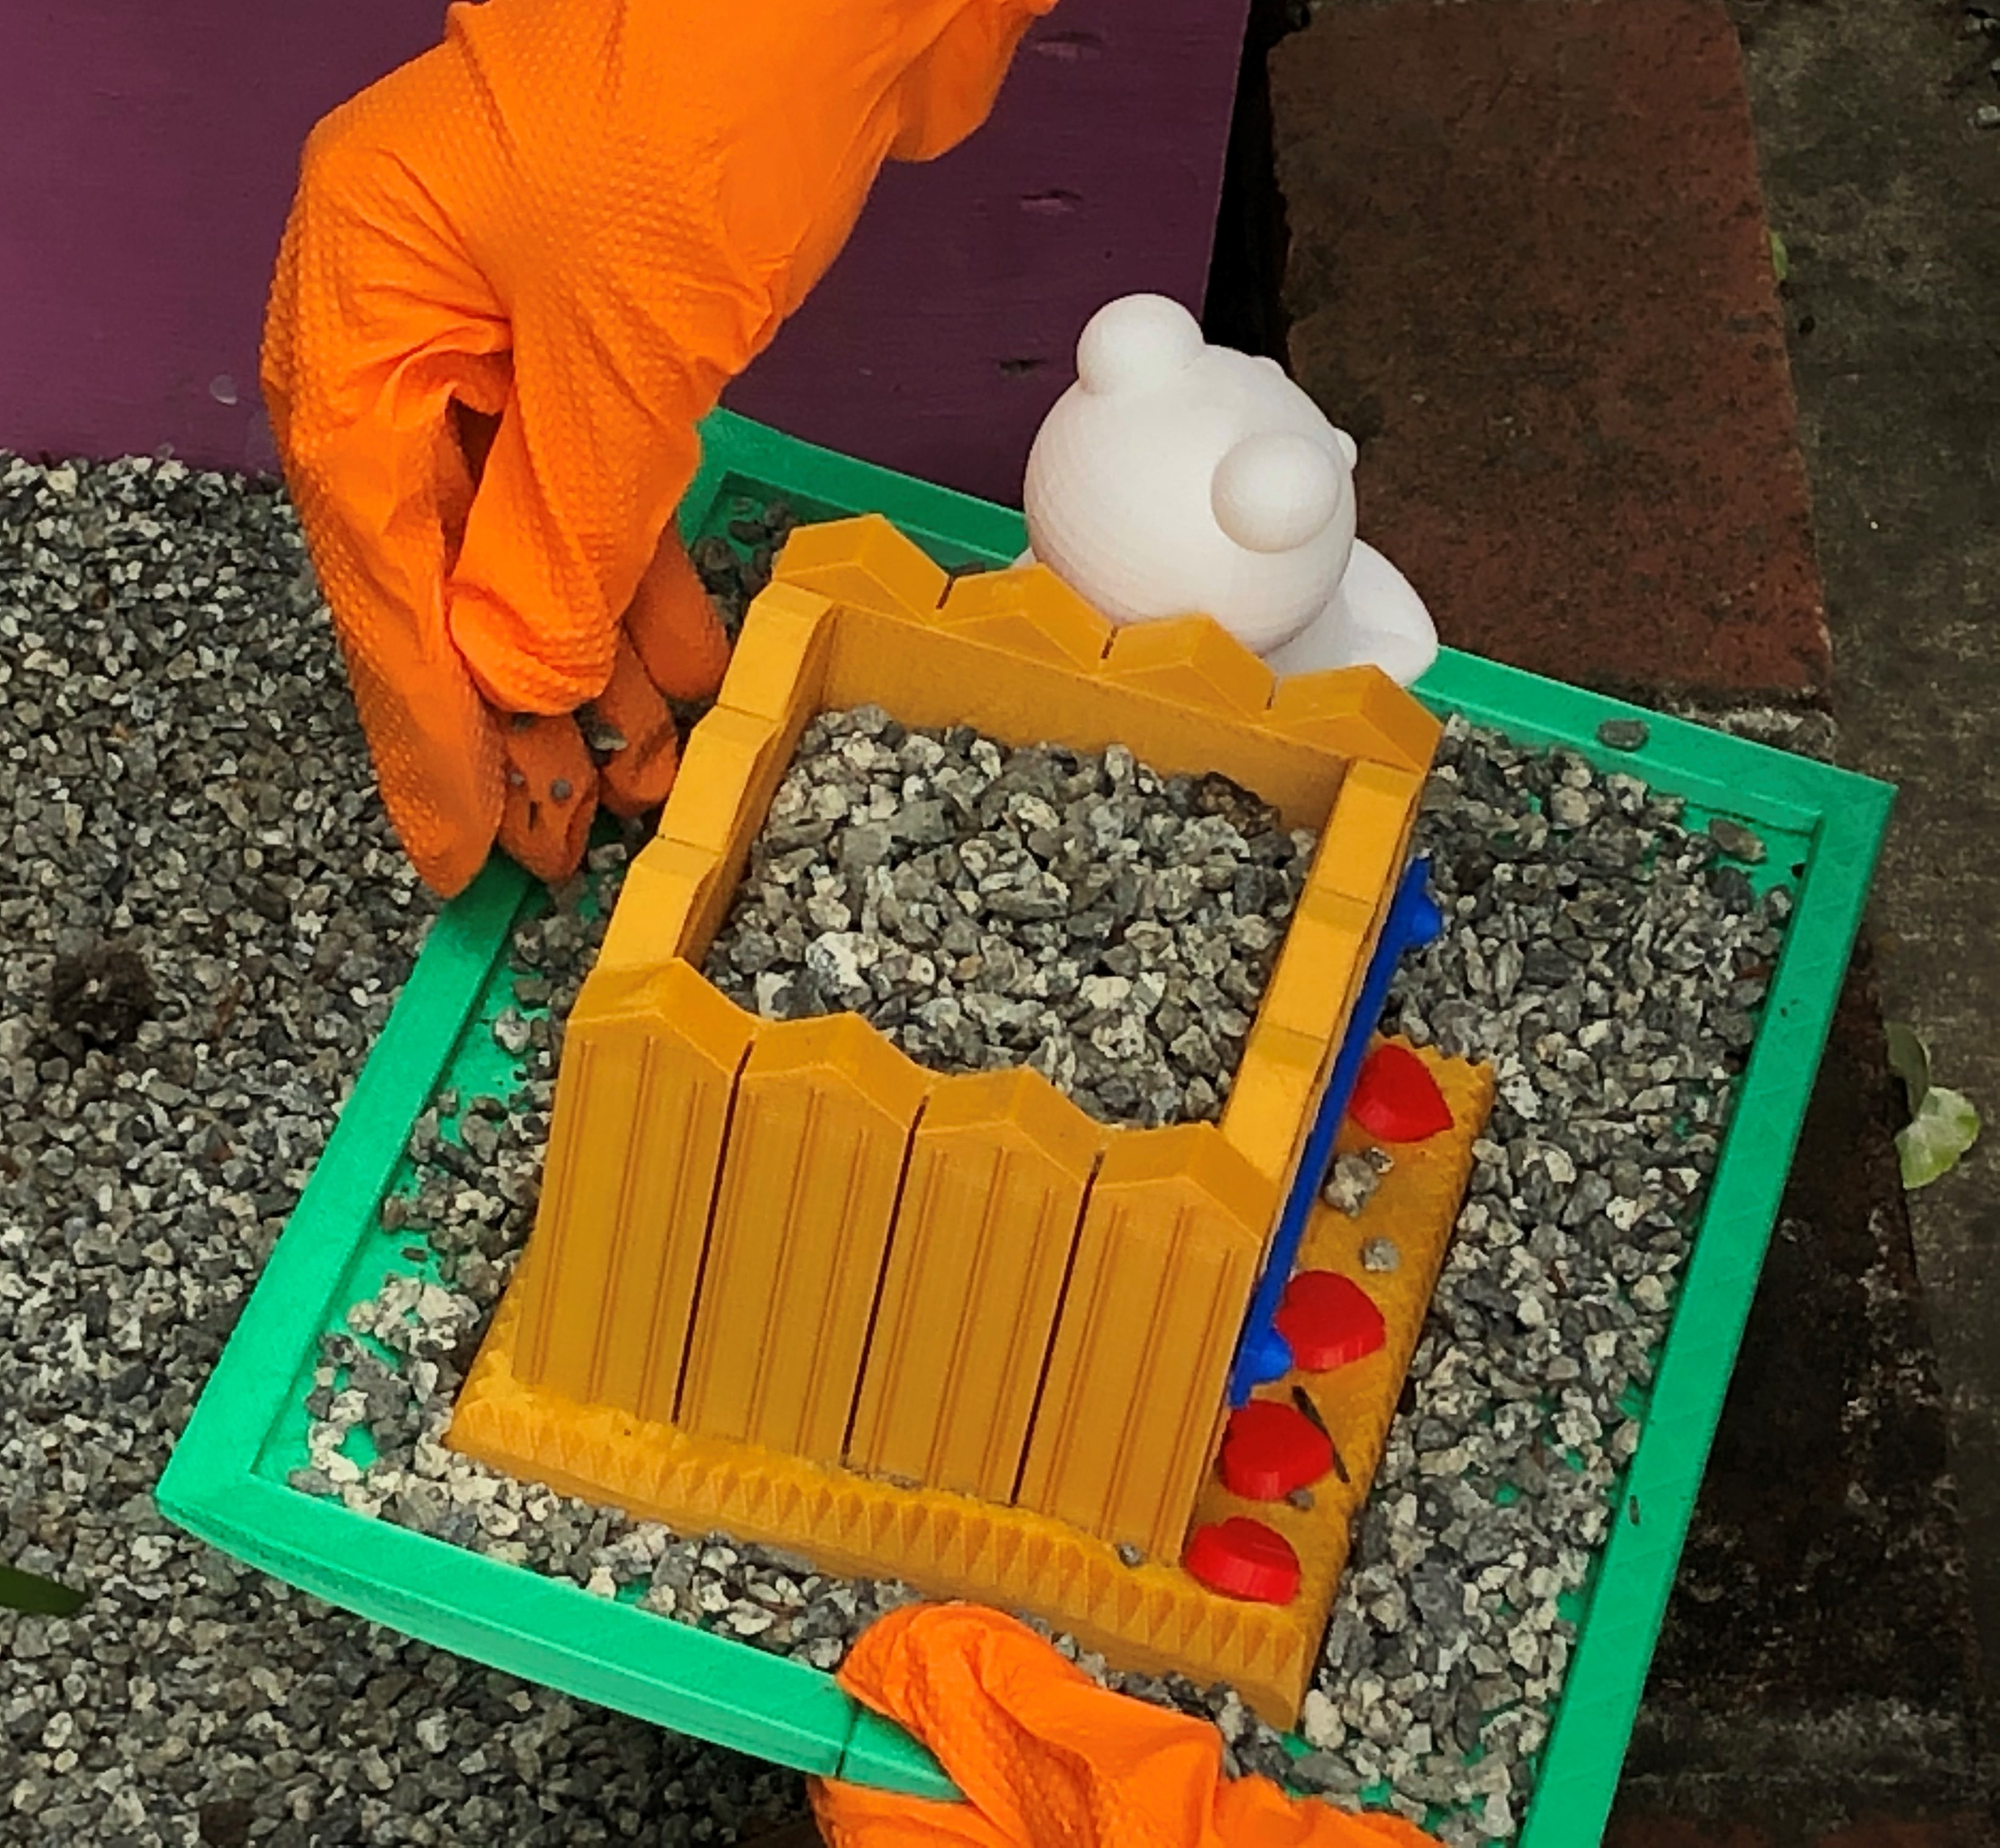
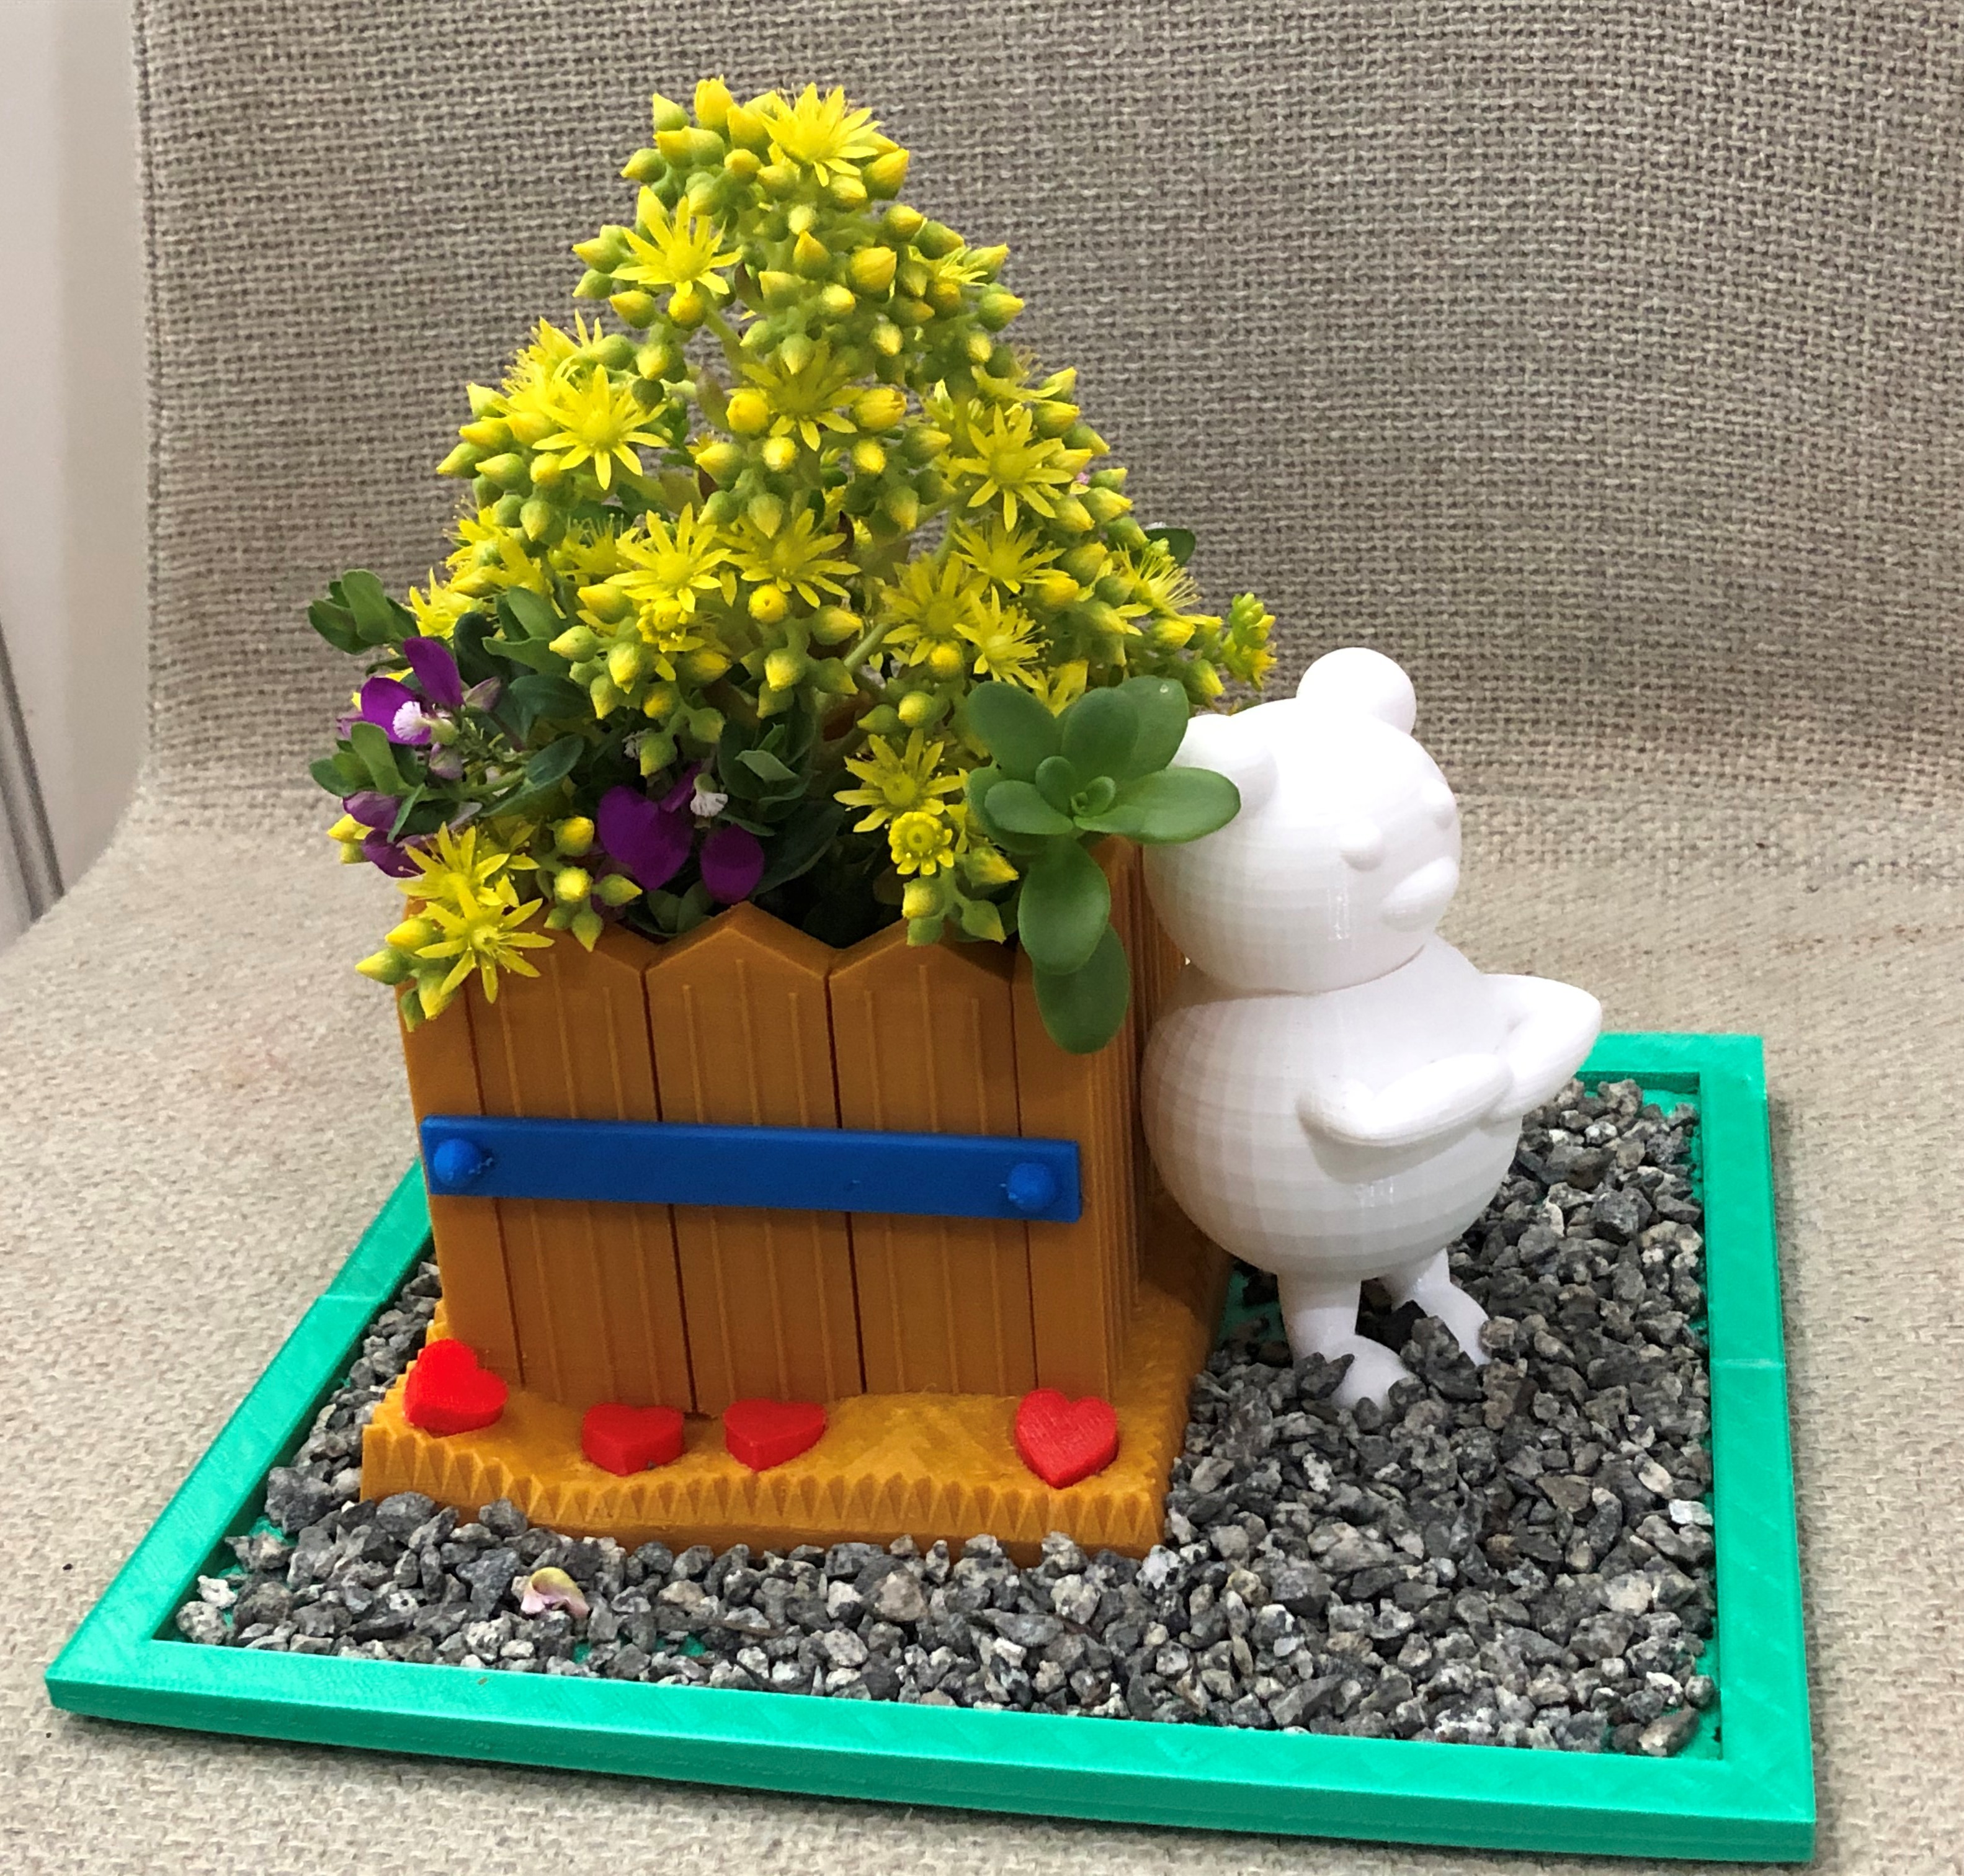
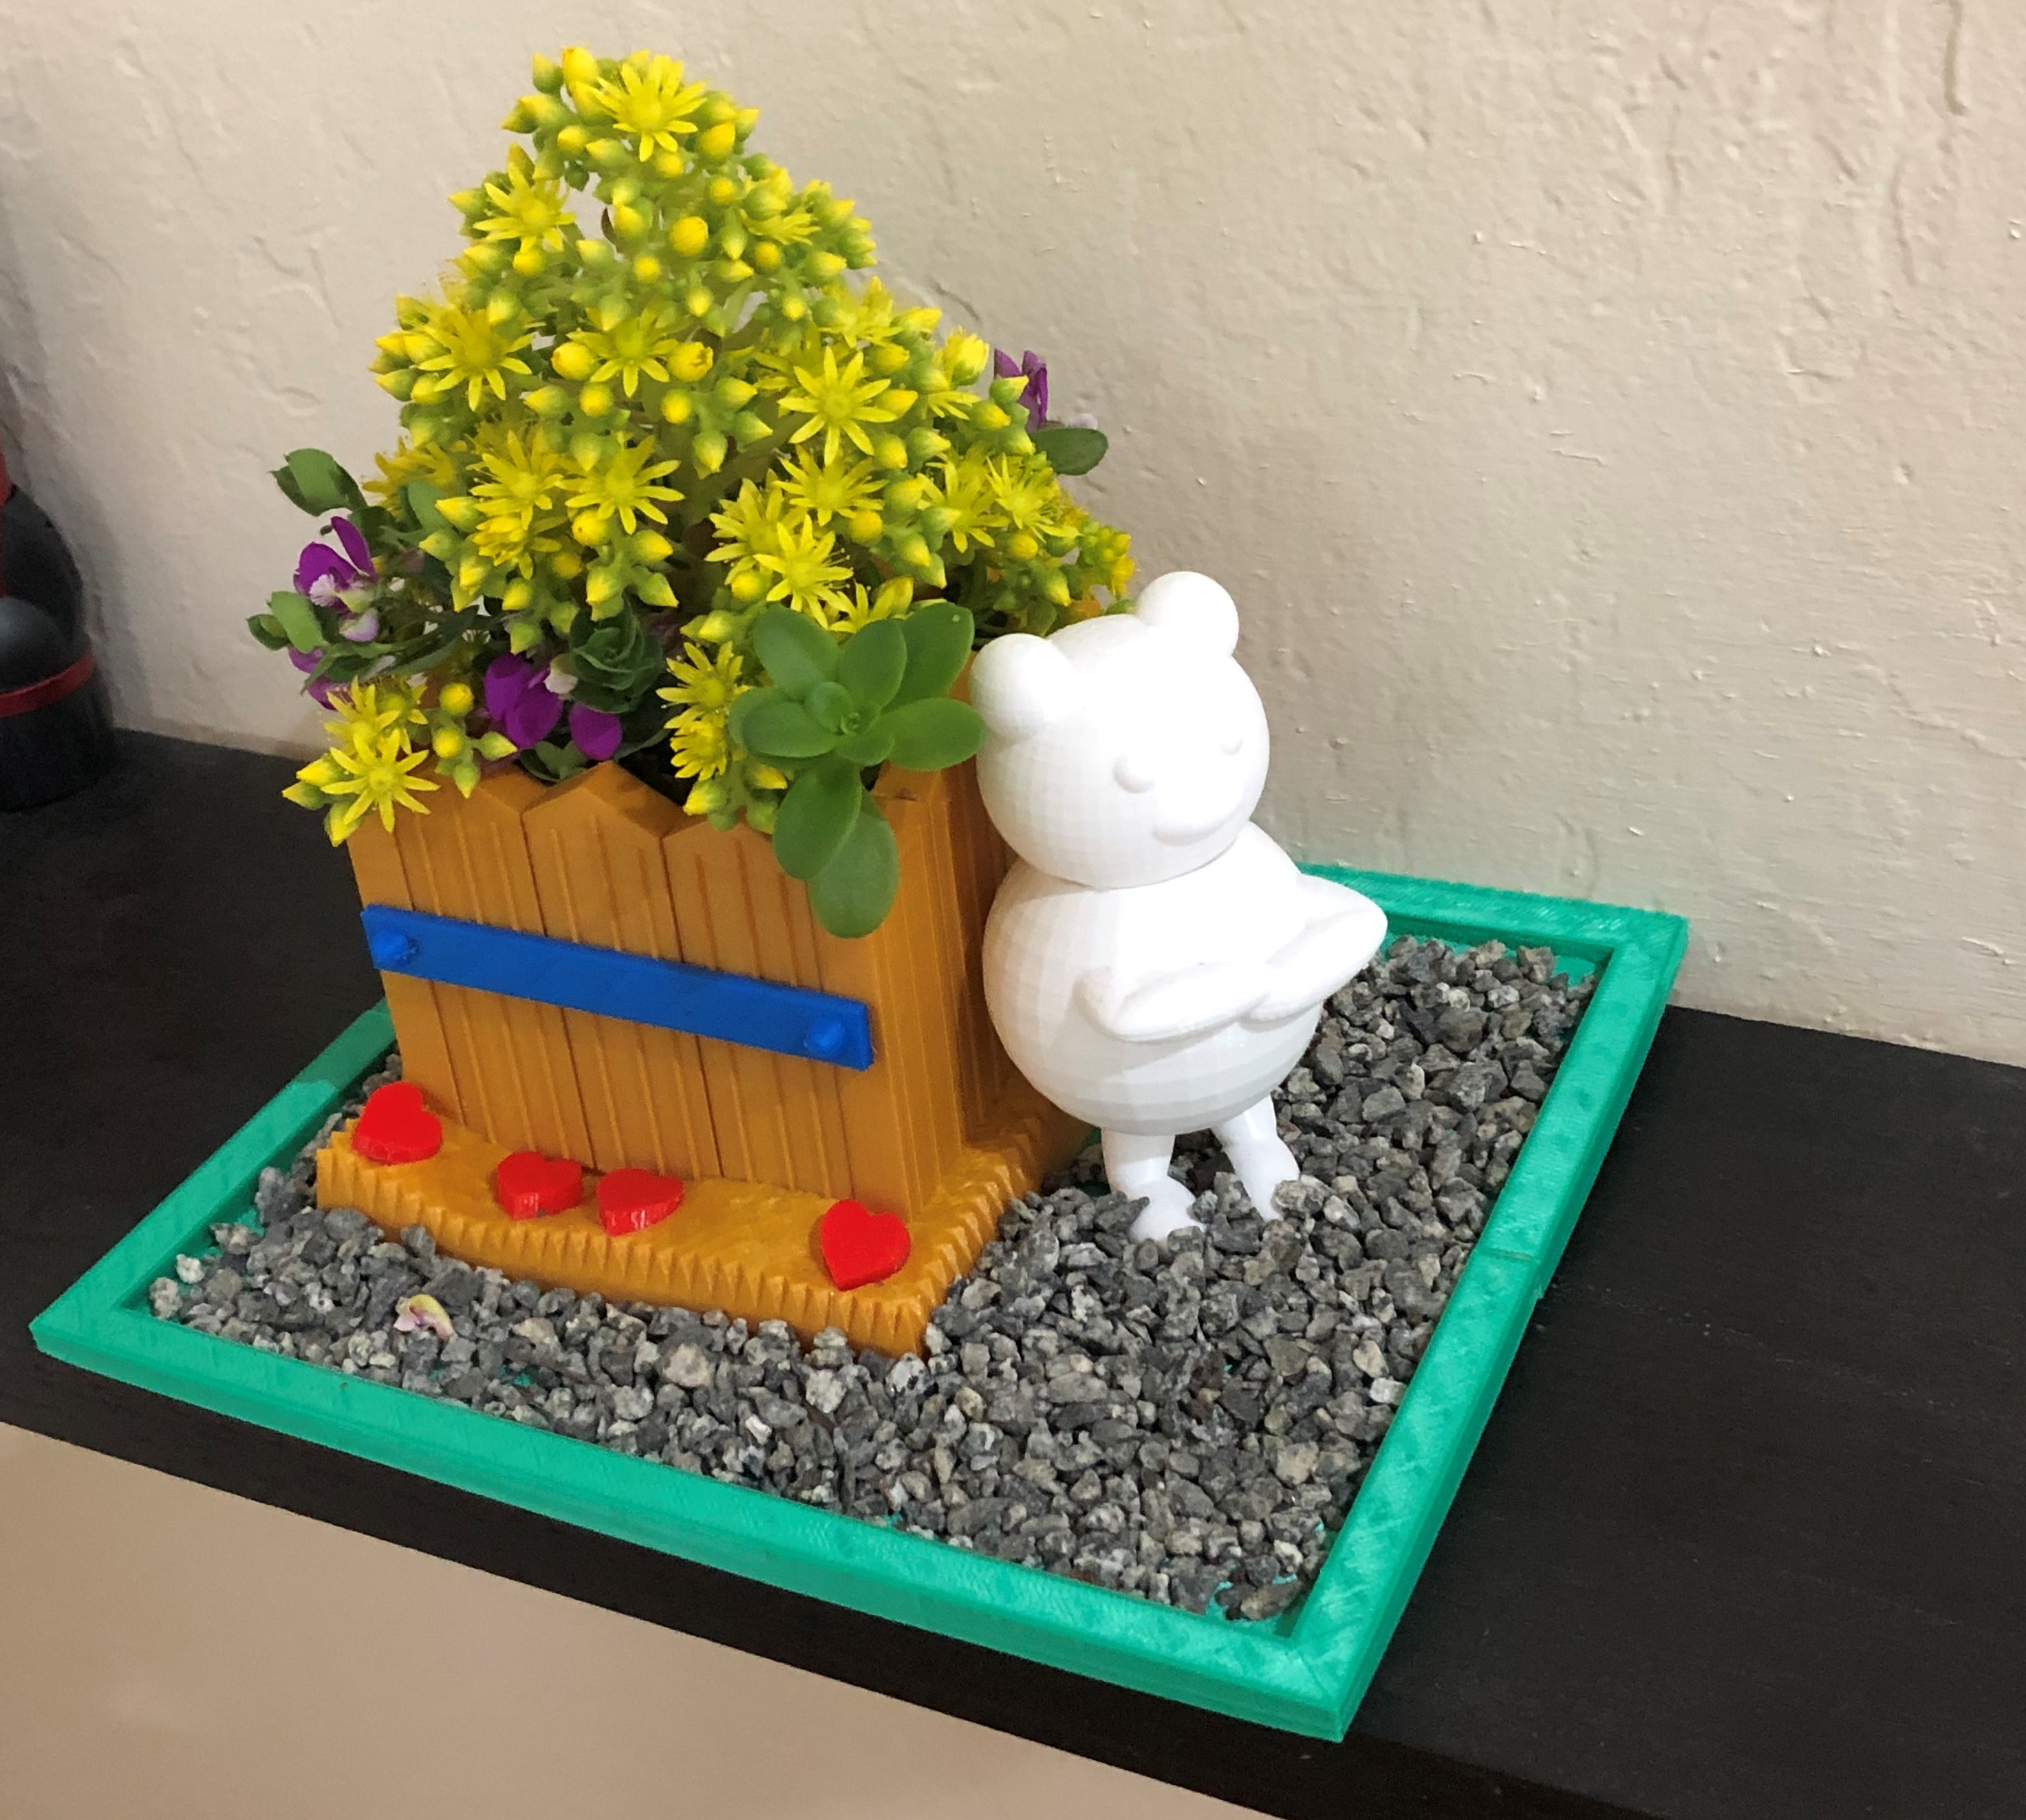
Finishing the planter by adding some soils, small rocks or stones and plants. Put it inside your house.
You are finished designing and making Teddy Bear planter pot. I hope you like it. Thank you for following my instructables.
For more project idea, visit 3D Printing Center.