(Technoblade) Mask
by potterheadedmason12 in Design > Digital Graphics
1298 Views, 0 Favorites, 0 Comments
(Technoblade) Mask
.png)
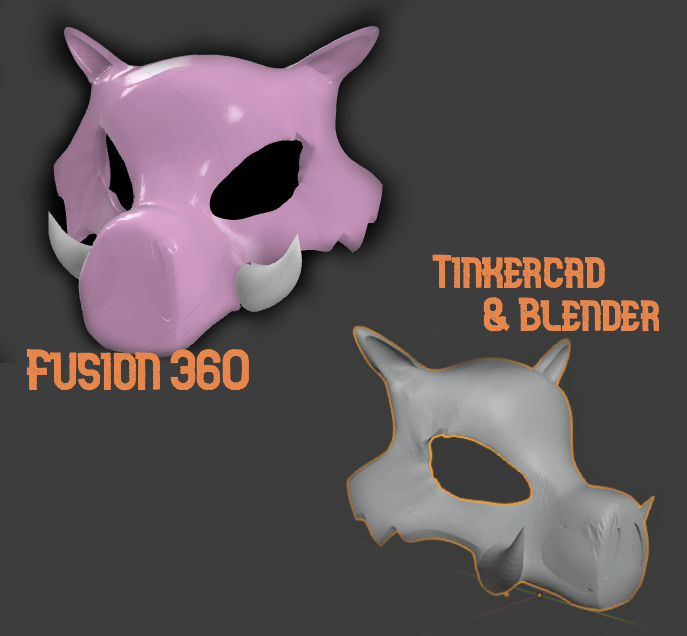
In this "brief" intractable ill go over 1 of many methods to make a 3d printable file of a mask, though this method can be used to make a number of different masks I show specifically how I've gone about making my Technoblade mask.
Supplies


For the method I describe here you'll need
- Tinkercad
- Blender
- Fusion 360
- a vaguely face shaped base
Basic Shape
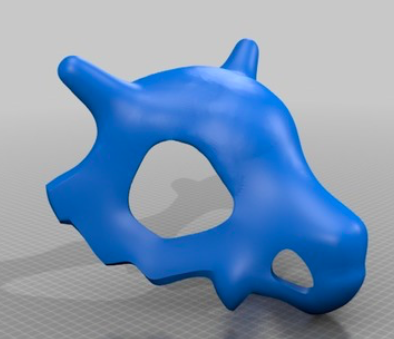
Your going to want to start with a base file in the general shape of a face for this version of the technoblade mask shown I used the cue bone dog mask file created by aolesin as the base, using tinker cad to slowly dd and subtract bit , stretching and editing the mask till its about the shape I want
Editing- Removal
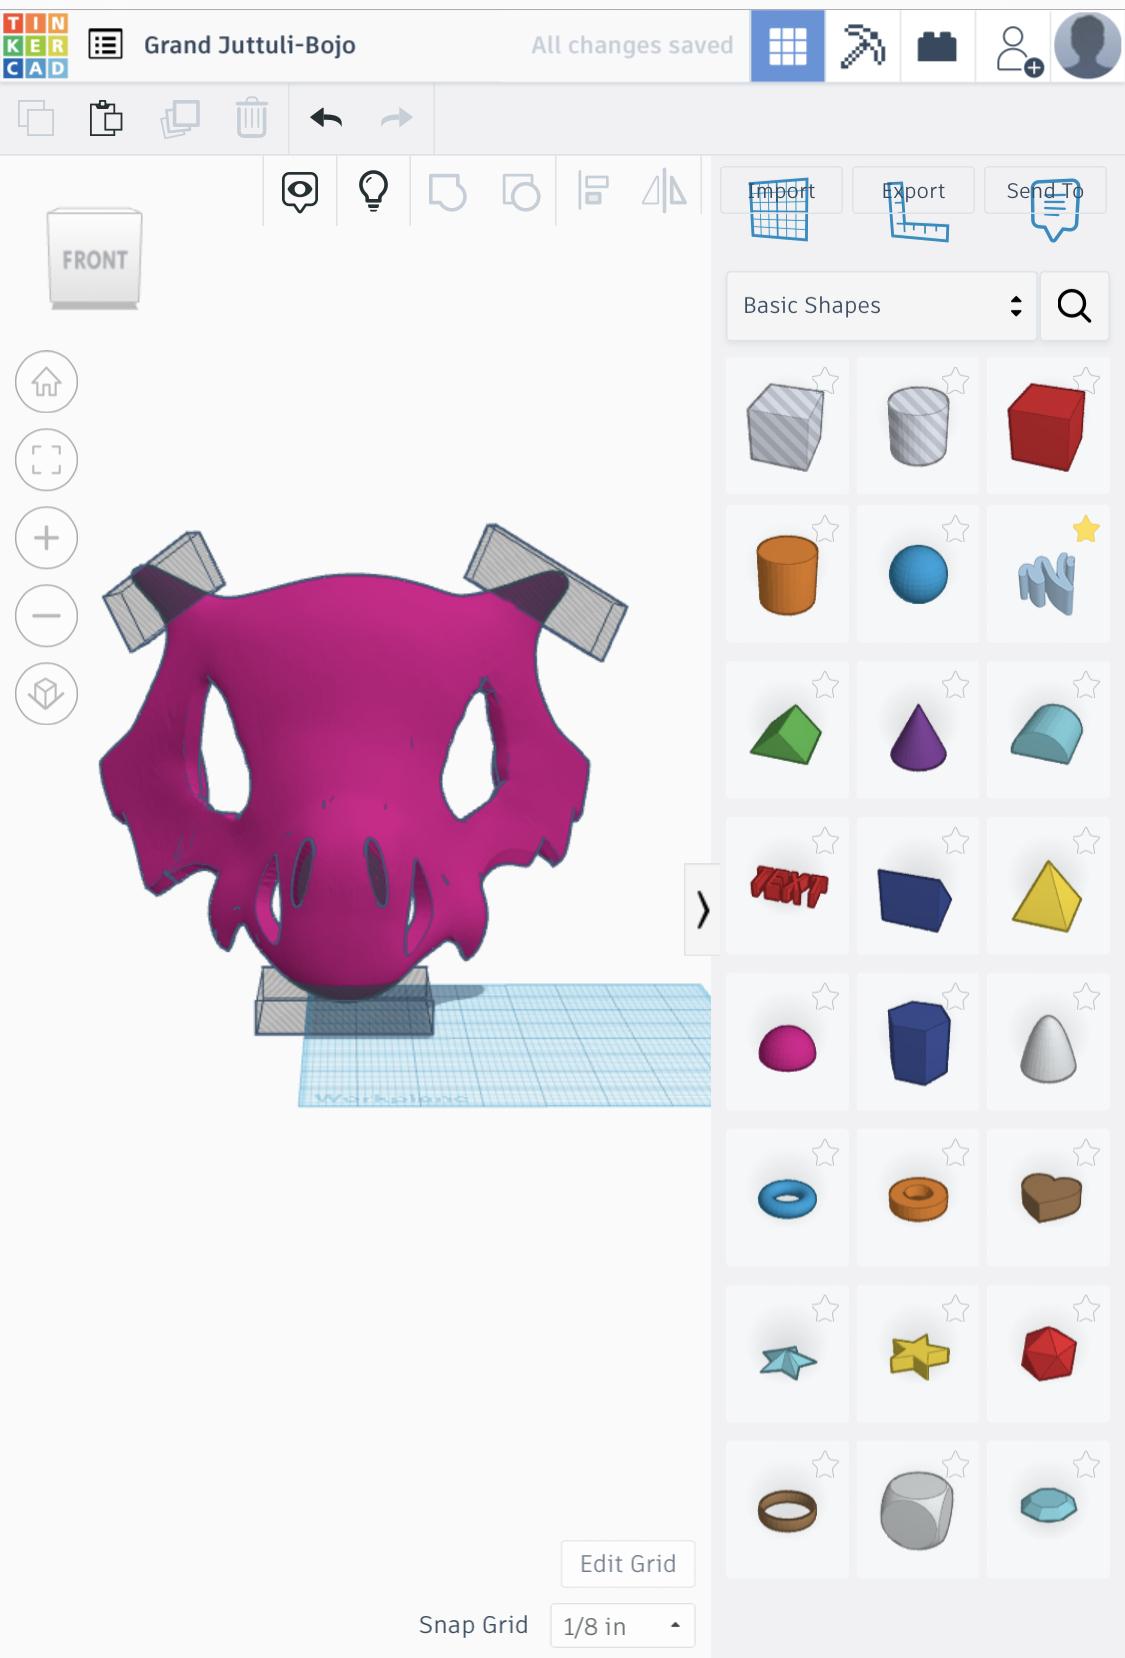
for this first run through I needed to remove the Bottom part of the face, the curve of the snout, and I’ll need to smooth out where I want the ears.
Note: while I already have the hole shapes out I decide to add different nostrils but we’re blocking the originals up next step, but I end up have to move the one I added so this could wait.
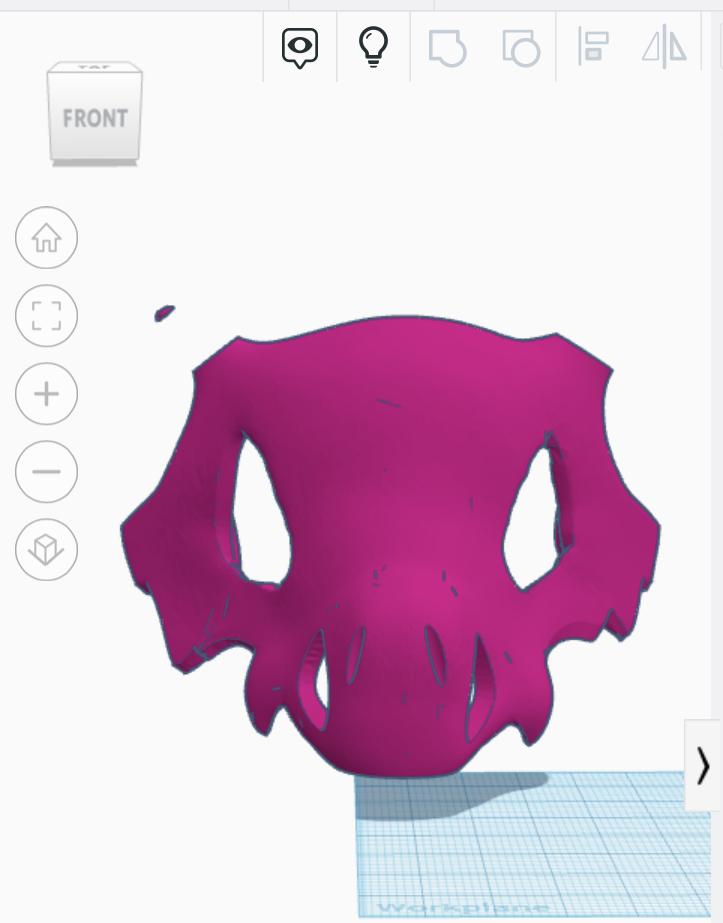
Editing- Addition
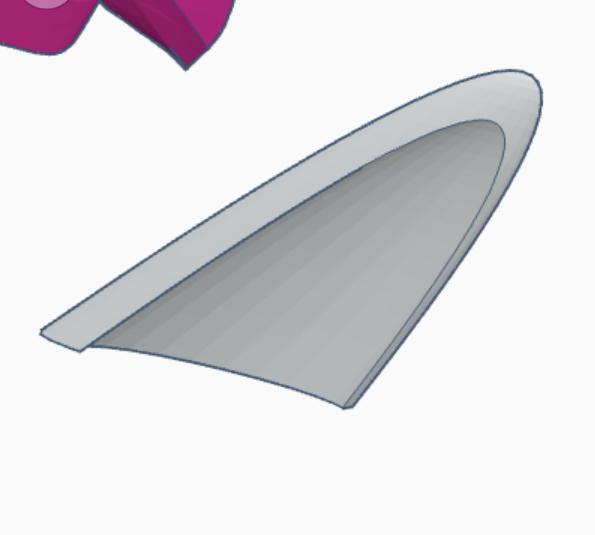
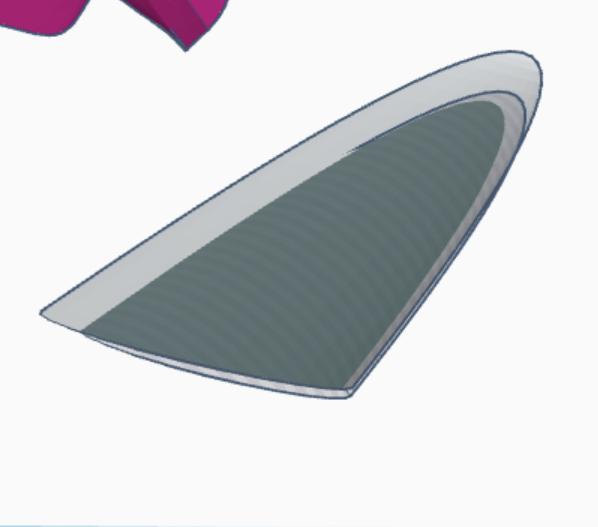
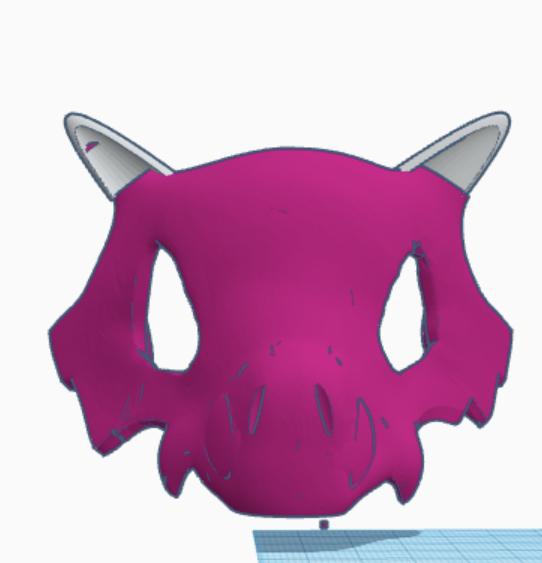
Do I start by adding and 2 semi-circle to where the original nostrils sit and rotating till am happy with the way it fills the holes, I’ll also add my ears, I do the ears by taking a paraboloid, stretching and tilting it a bit, then you can copy, shrink and make the duplicate a hole, before group the 2 paraboloid than you can add it to the mask,
Note: at this point you could add the tusks but I ended of have to remove them and had to use fusion to add them back before I could render this
Smothing
a
- once your general happy with the proportion and shape export it from tinkercad, by clicking the shape before tapping the export button, making sure the option are set to just selected options and choose to exporting as an .STL file,
b
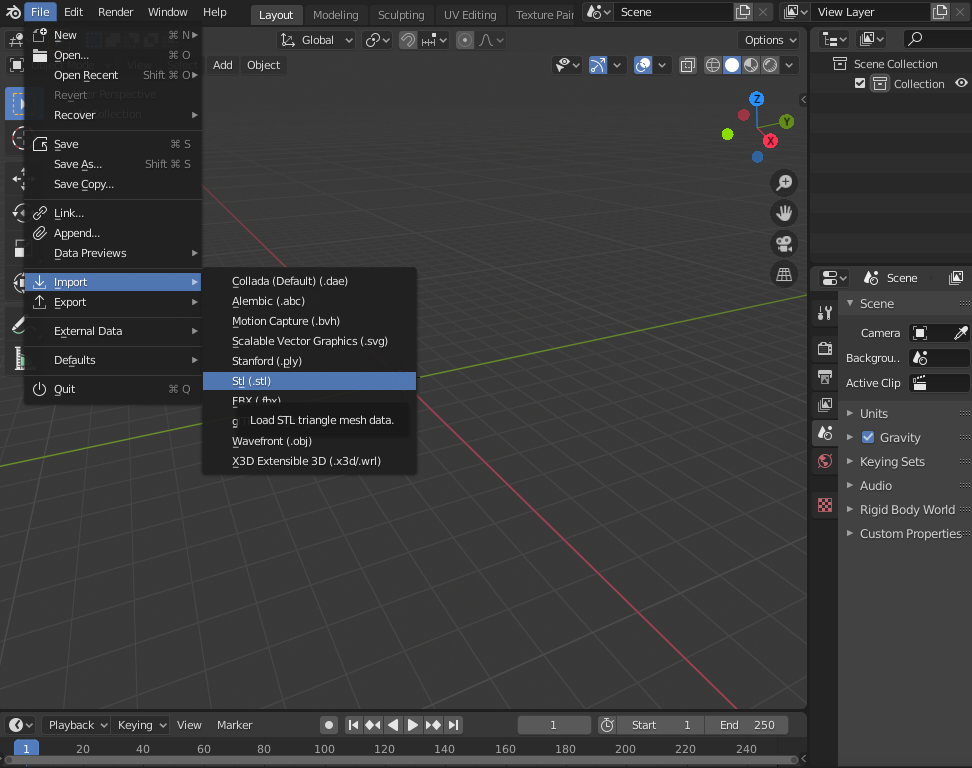
- Next is to Import it to blender, you do this by opening a brand new general file, once you do there will be a few things (a cube, a camera, and a mic) delete all of this, you do that by selecting all the items on screen and pressing x, before opening the file drop down and hovering over Import then selecting to import an .STL file before selecting the file you exported earlier
c
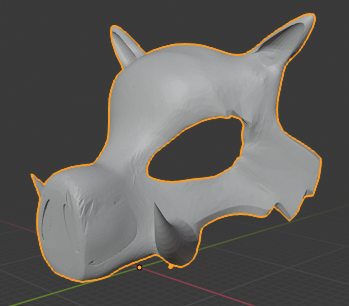
- you can know you the Sculpting tab to smooth out you file, stretching certain portions even farther, with more detail, push in certain spots, pull out other till it your yet again comfortable with the look
Tusks
know you'll need to save and export, after saving (press control and s)return to the dropdown you used to import the file original, and use export instead, export as an stl, then import into fusion,
At this point because I wanted to render the mask instead of print it, I had to remove the tusks I already added (if you haven’t added them yet, good for you, your save yourself about an 15-30 minutes of work).
To remove the tusks you need to use the grouping tool to select most of the tusk, you many need to group it from several angels and deleted it bit by bit,
now that you have cleared a space you can add them in properly, I open a new fusion tab and start by using the sketch tool to making a curved sketch on the y plan, about the basic share I want the tusk, then I used the create drop down to make the curved line a "sweep", so it ended up looking like a piece of macaroni , than I tampered to it to a point using option in the sweep setting
from there I scaled and rotated it into the spots I've cleared.
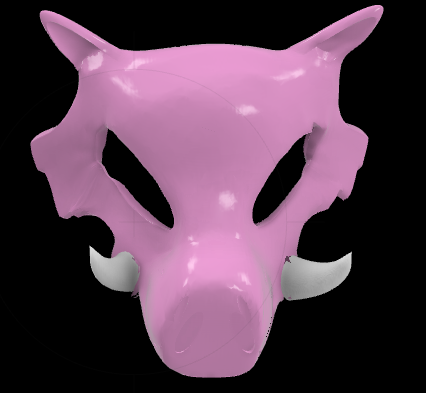
Render
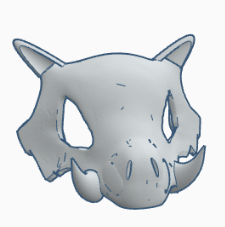
once you've deemed the file ready swap the software from "Design" to "Render" in the upper corner with the bit button, one in the rendering space select a piece of the mask and either double click or use the " Appearance "button in the upper tool bar to change its look, spelect the material finish you want for each piece in the appearance drop down, and drag them to the peice you want them to appear on.
Colors
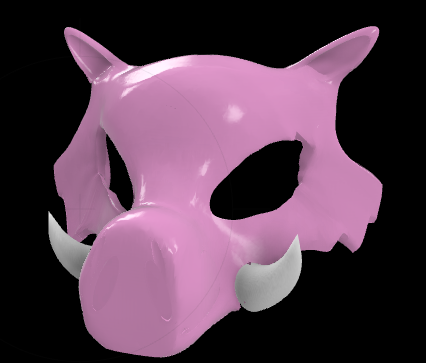
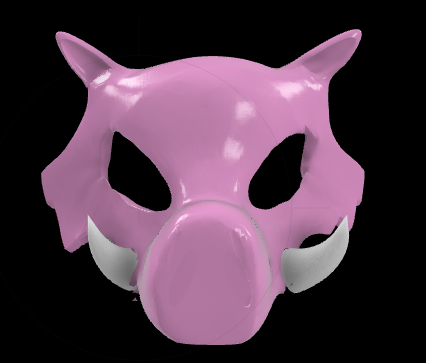
Once a material has been chose for everything you can change the file's colors by double clicking the materials in the used materials list and clicking "Edit",which will them open a color picker where you can change the colors of all the colors. at this point you done it don't forget to save you project.