Technical Sketching and Drawing.
by rickharris in Circuits > Art
141566 Views, 108 Favorites, 0 Comments
Technical Sketching and Drawing.

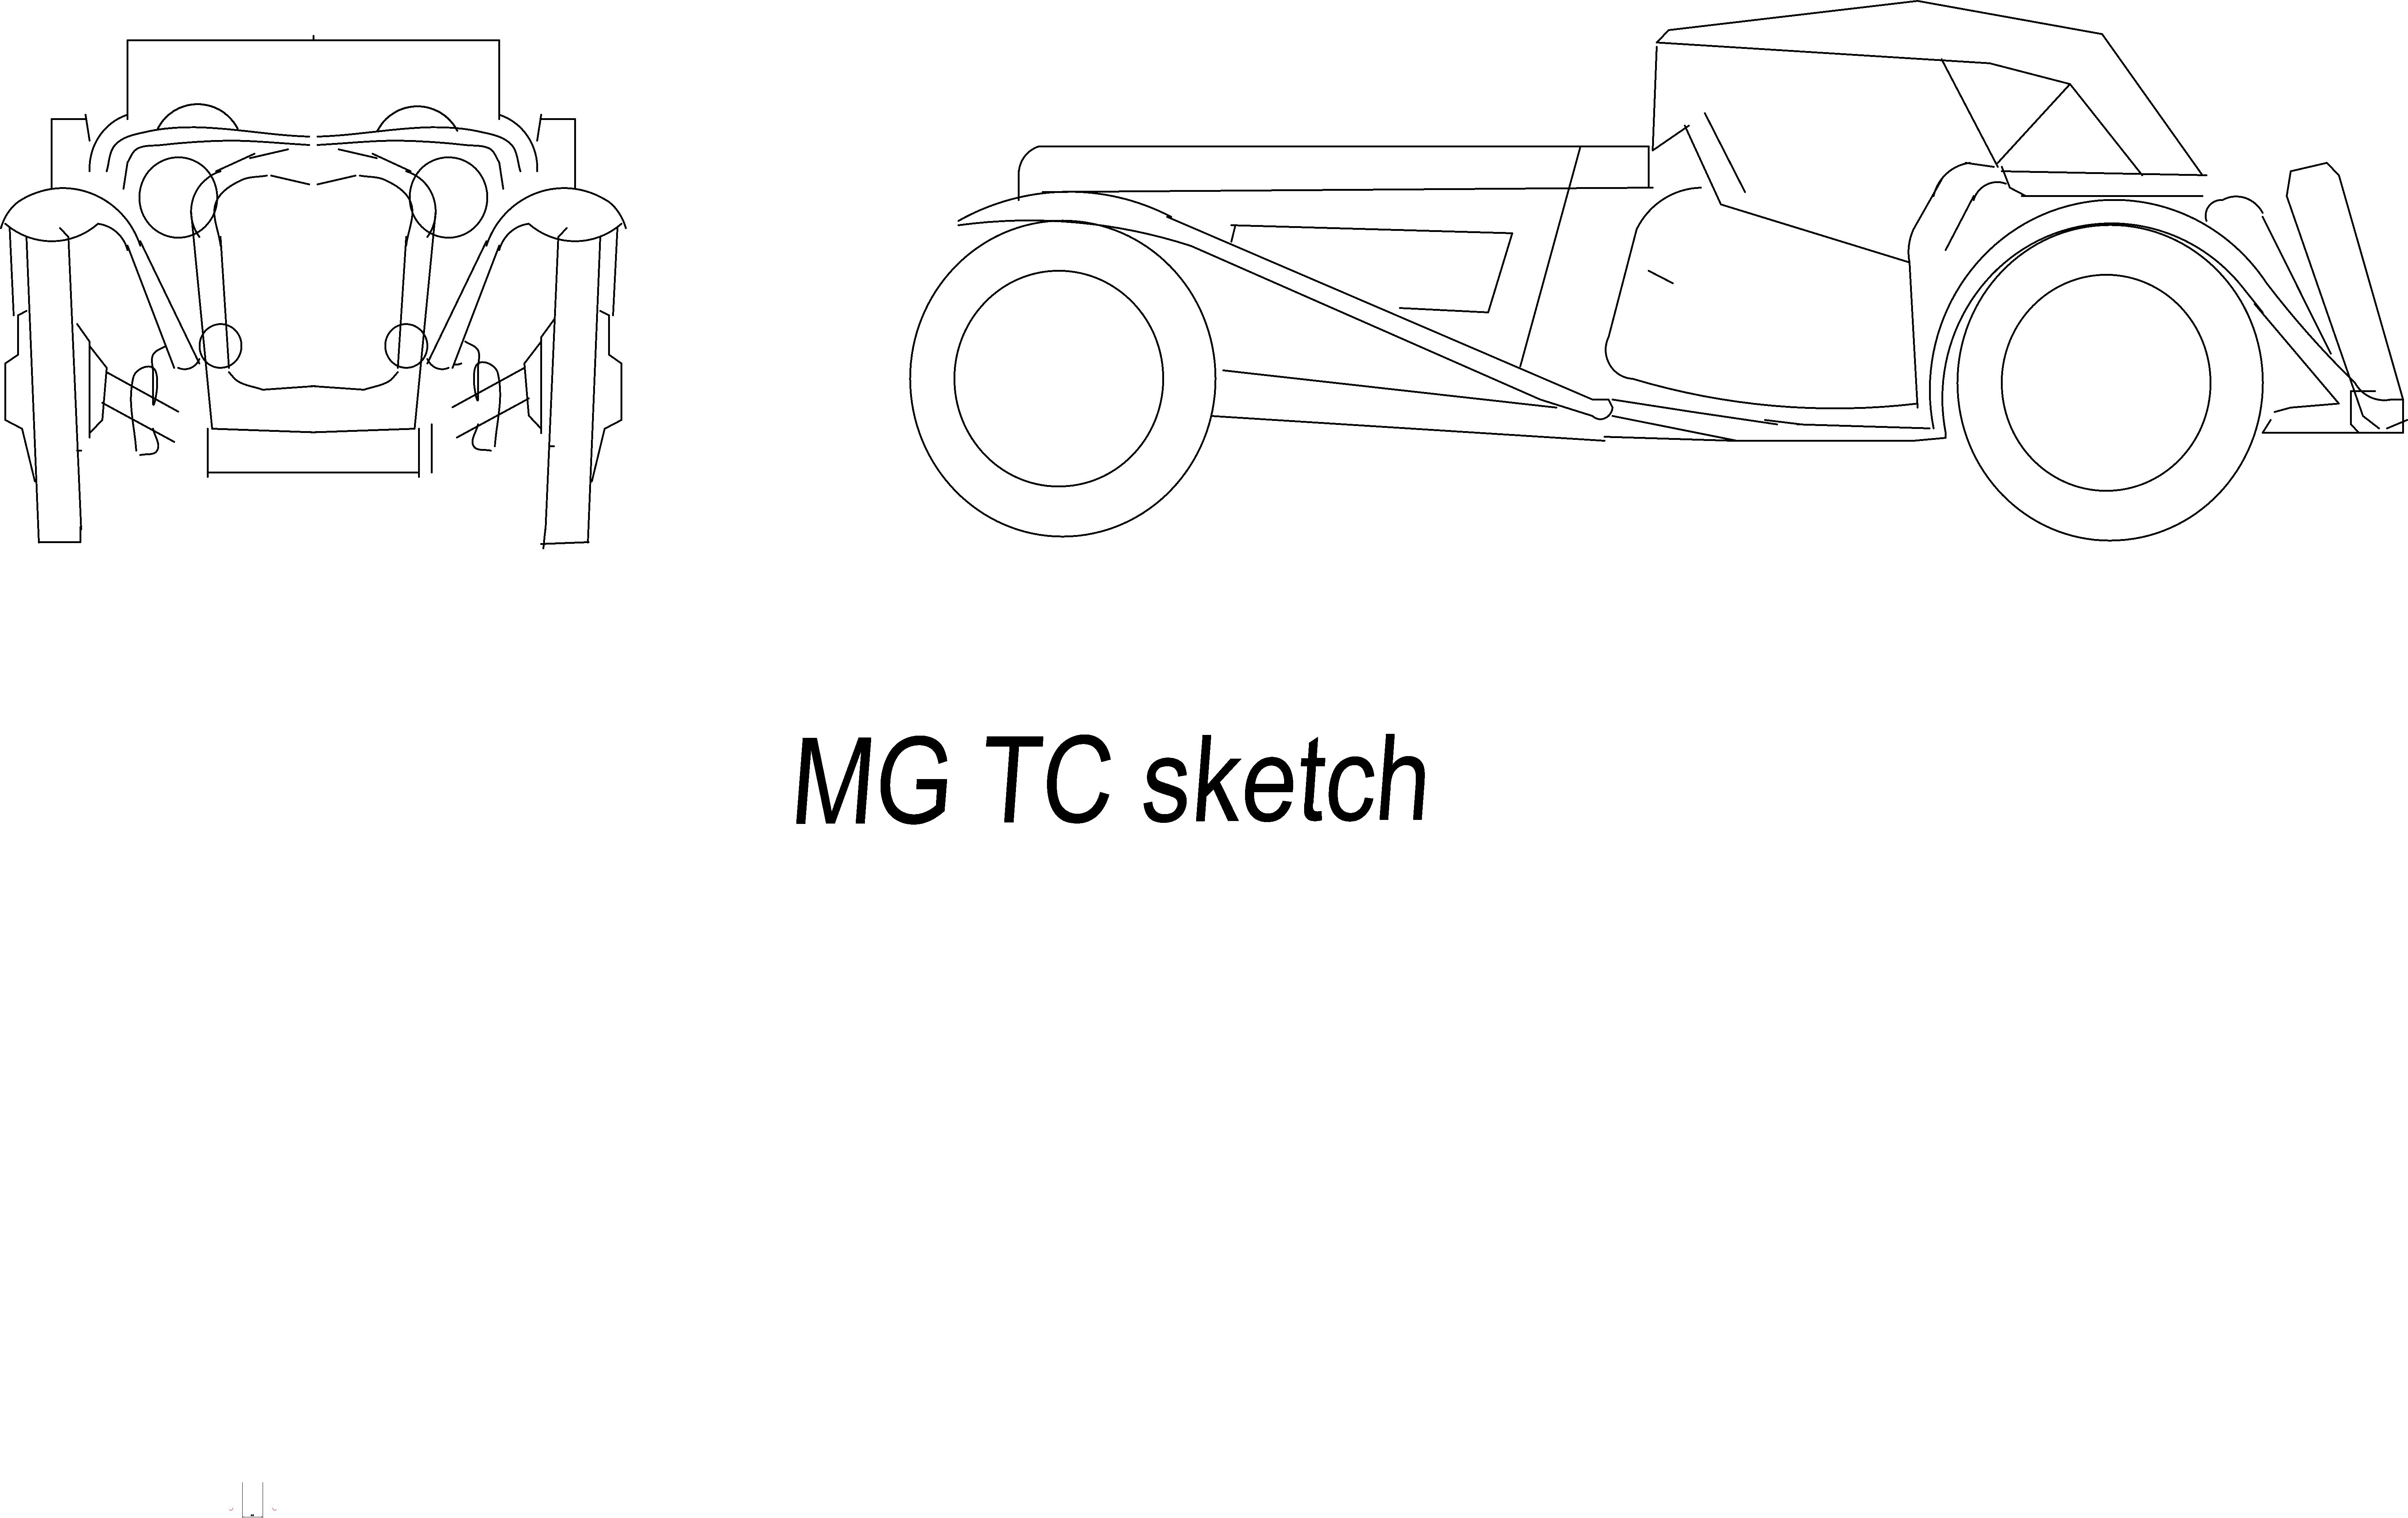
If your making something that is less than simple it will almost always pay you to do some kind of drawing the try to get things straight in your head before you commit to cutting expensive materials up.
This never replaces modelling things, or making mock ups in cheap simple materials but these come after the design work has been done on paper.
After all Paper and pencil are cheap.
This never replaces modelling things, or making mock ups in cheap simple materials but these come after the design work has been done on paper.
After all Paper and pencil are cheap.
Sketching
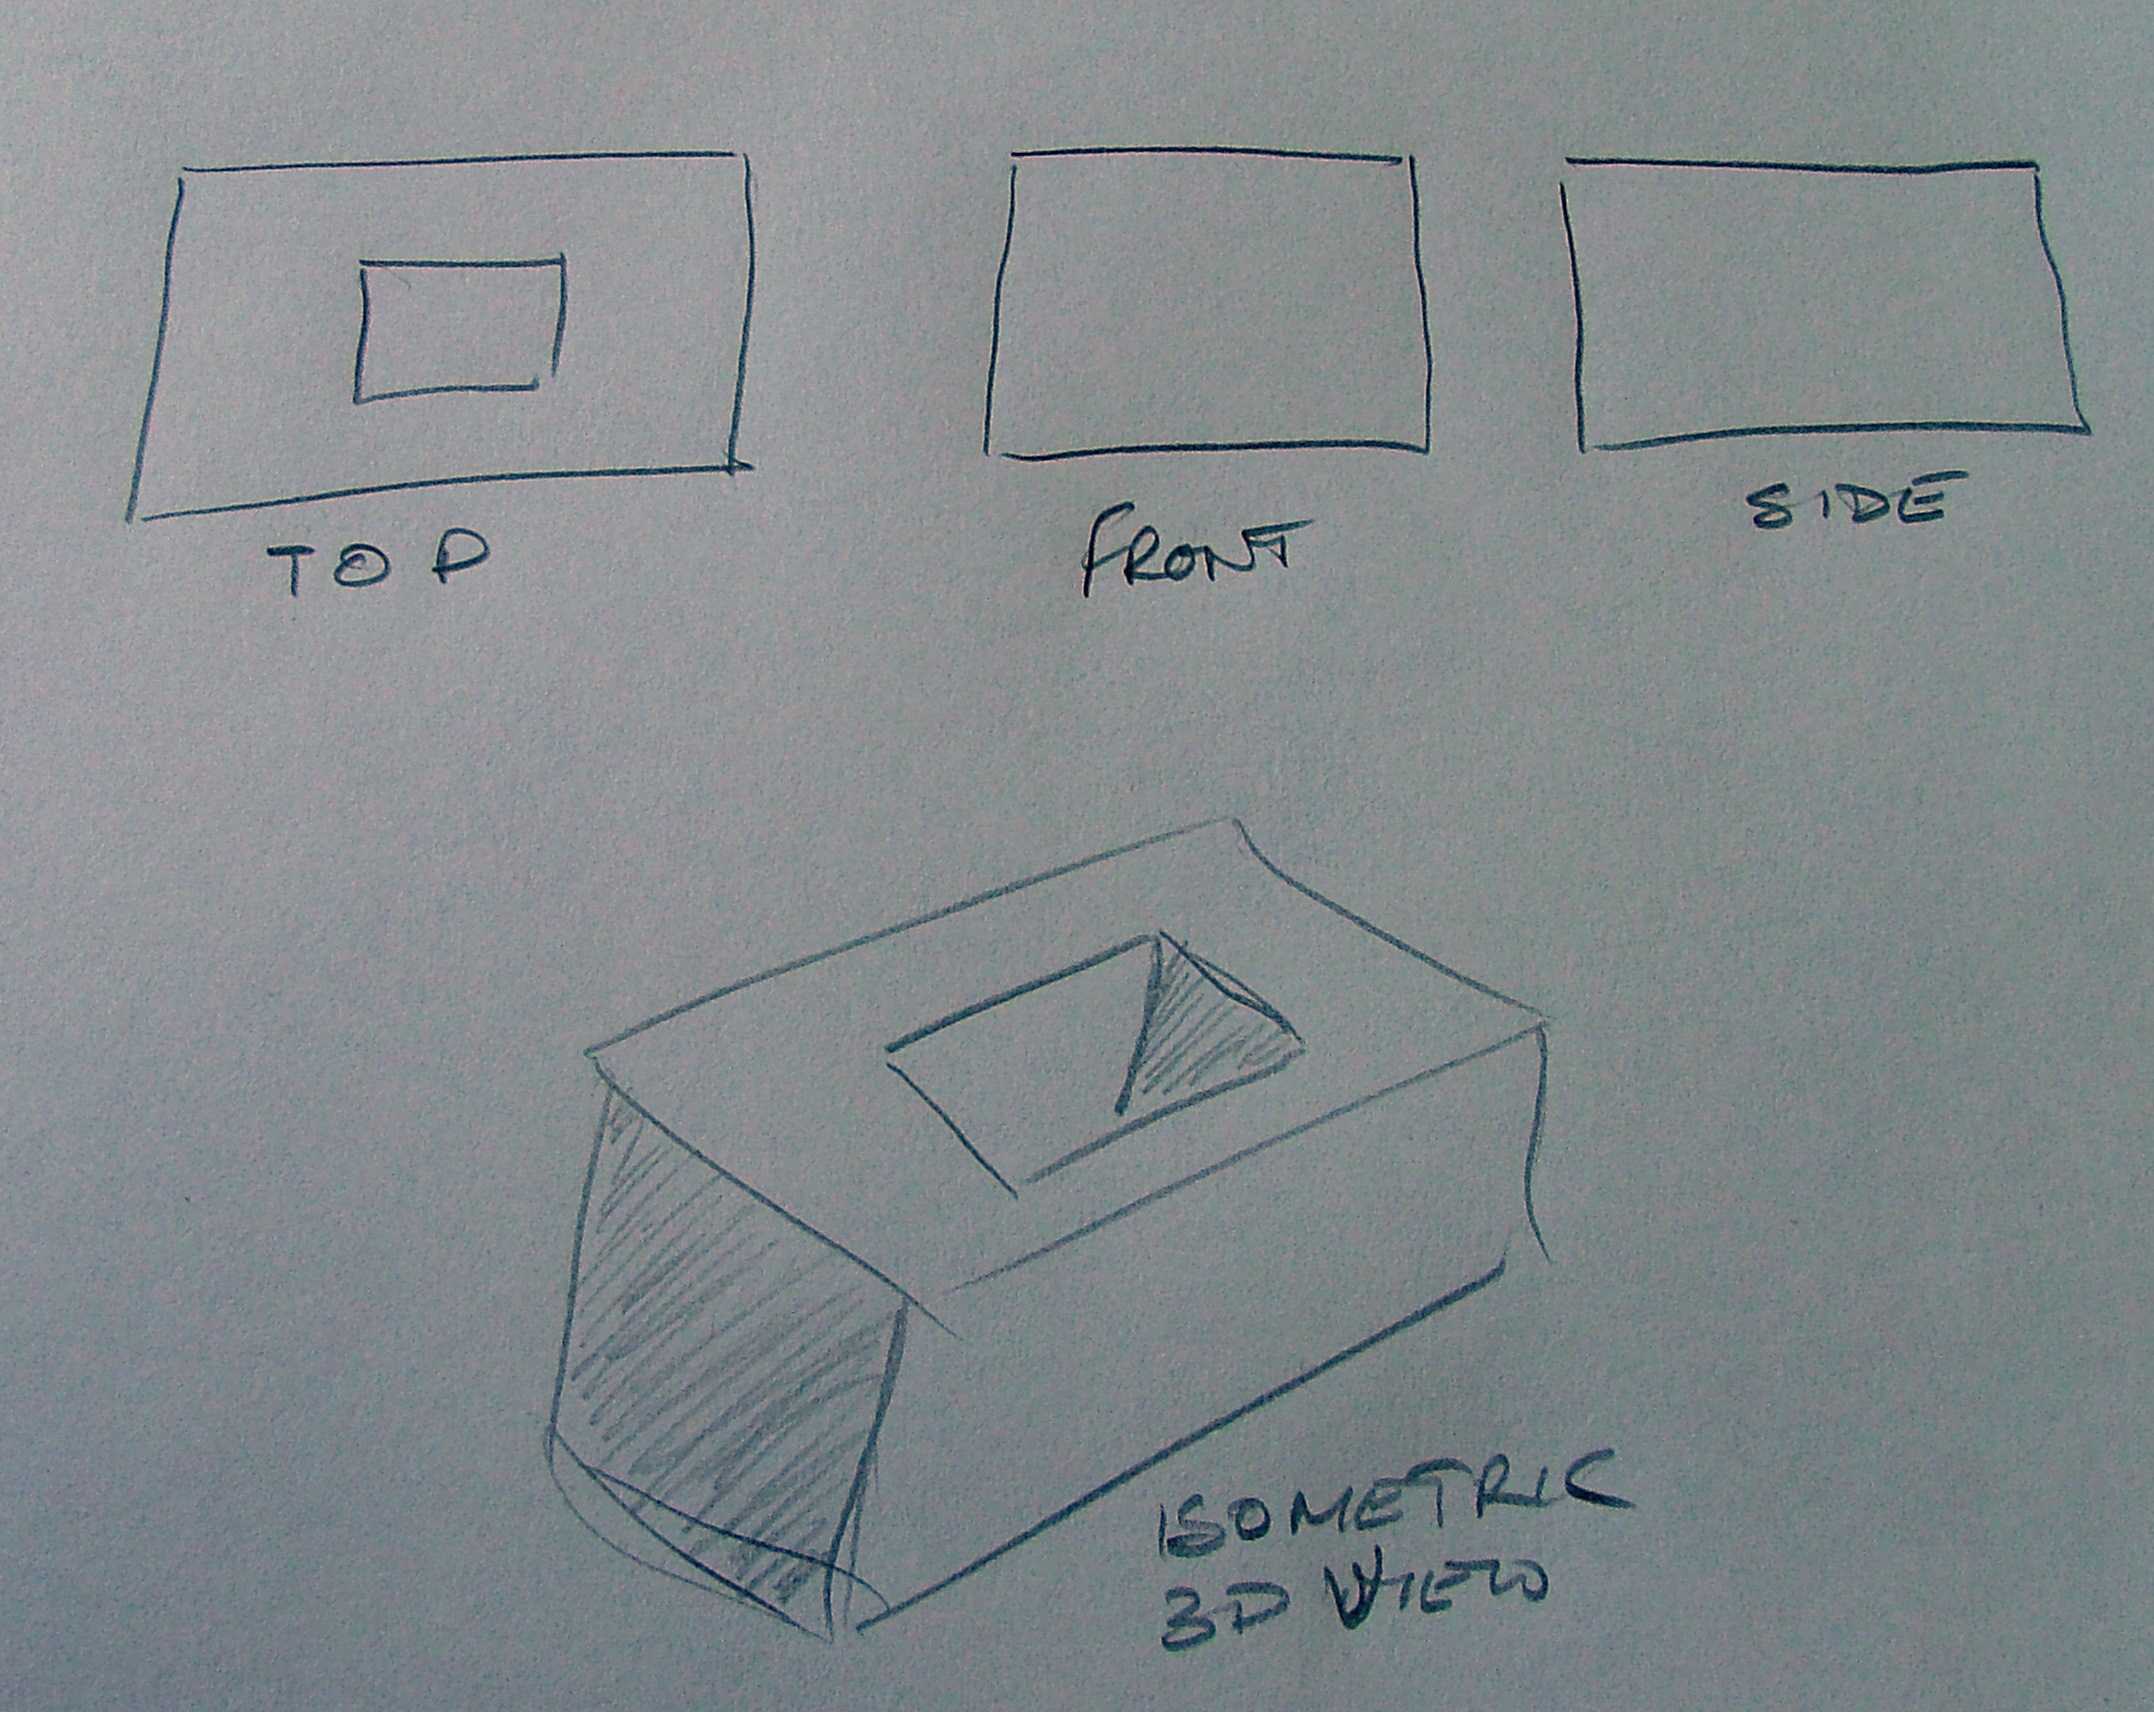
Almost everyone can draw despite what they think or say, but most people don't, I believe because they feel that the end result isn't photo realistic (although it can be), - in maker world this level of realism isn't necessary only enough skill to be able to work out how things fit and what might work.
In general for most people sketching flat is easier and will do.
A side view, a top view and a front view will show you all round your design
If you can manage it, then a 3D view, (called isometric view,) will give most none engineering people a better idea of your object
In general for most people sketching flat is easier and will do.
A side view, a top view and a front view will show you all round your design
If you can manage it, then a 3D view, (called isometric view,) will give most none engineering people a better idea of your object
Sketch Book
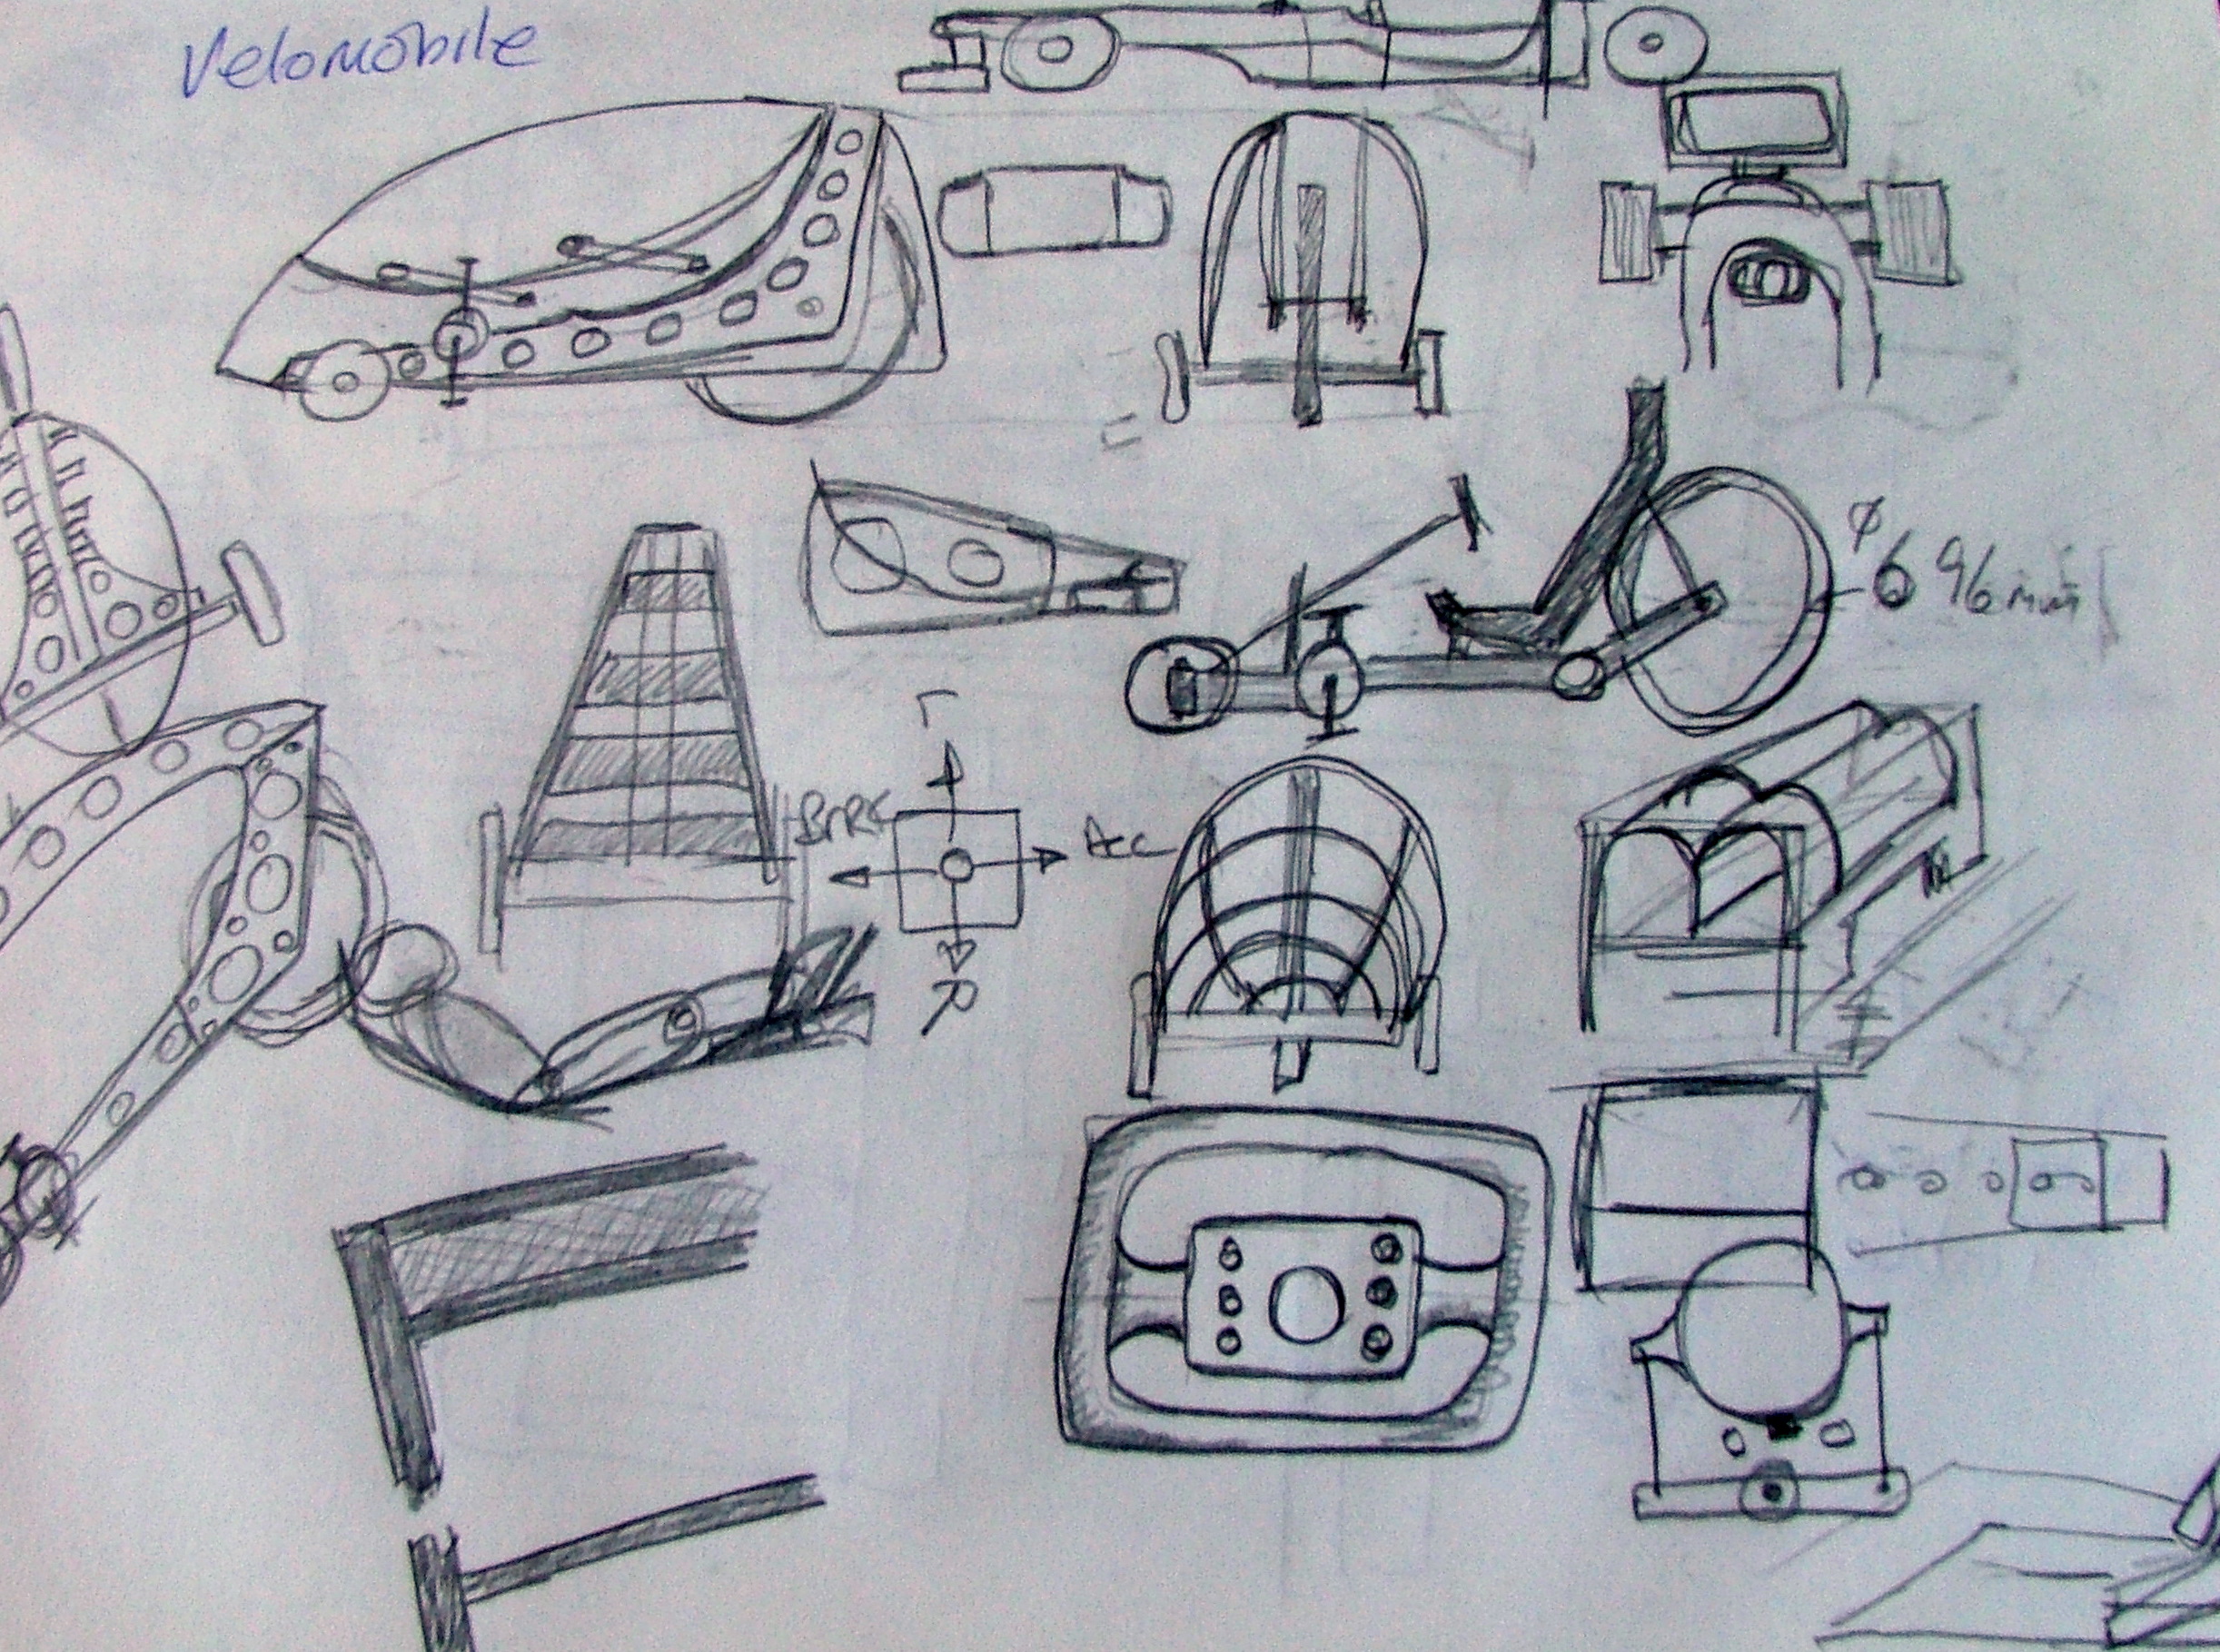
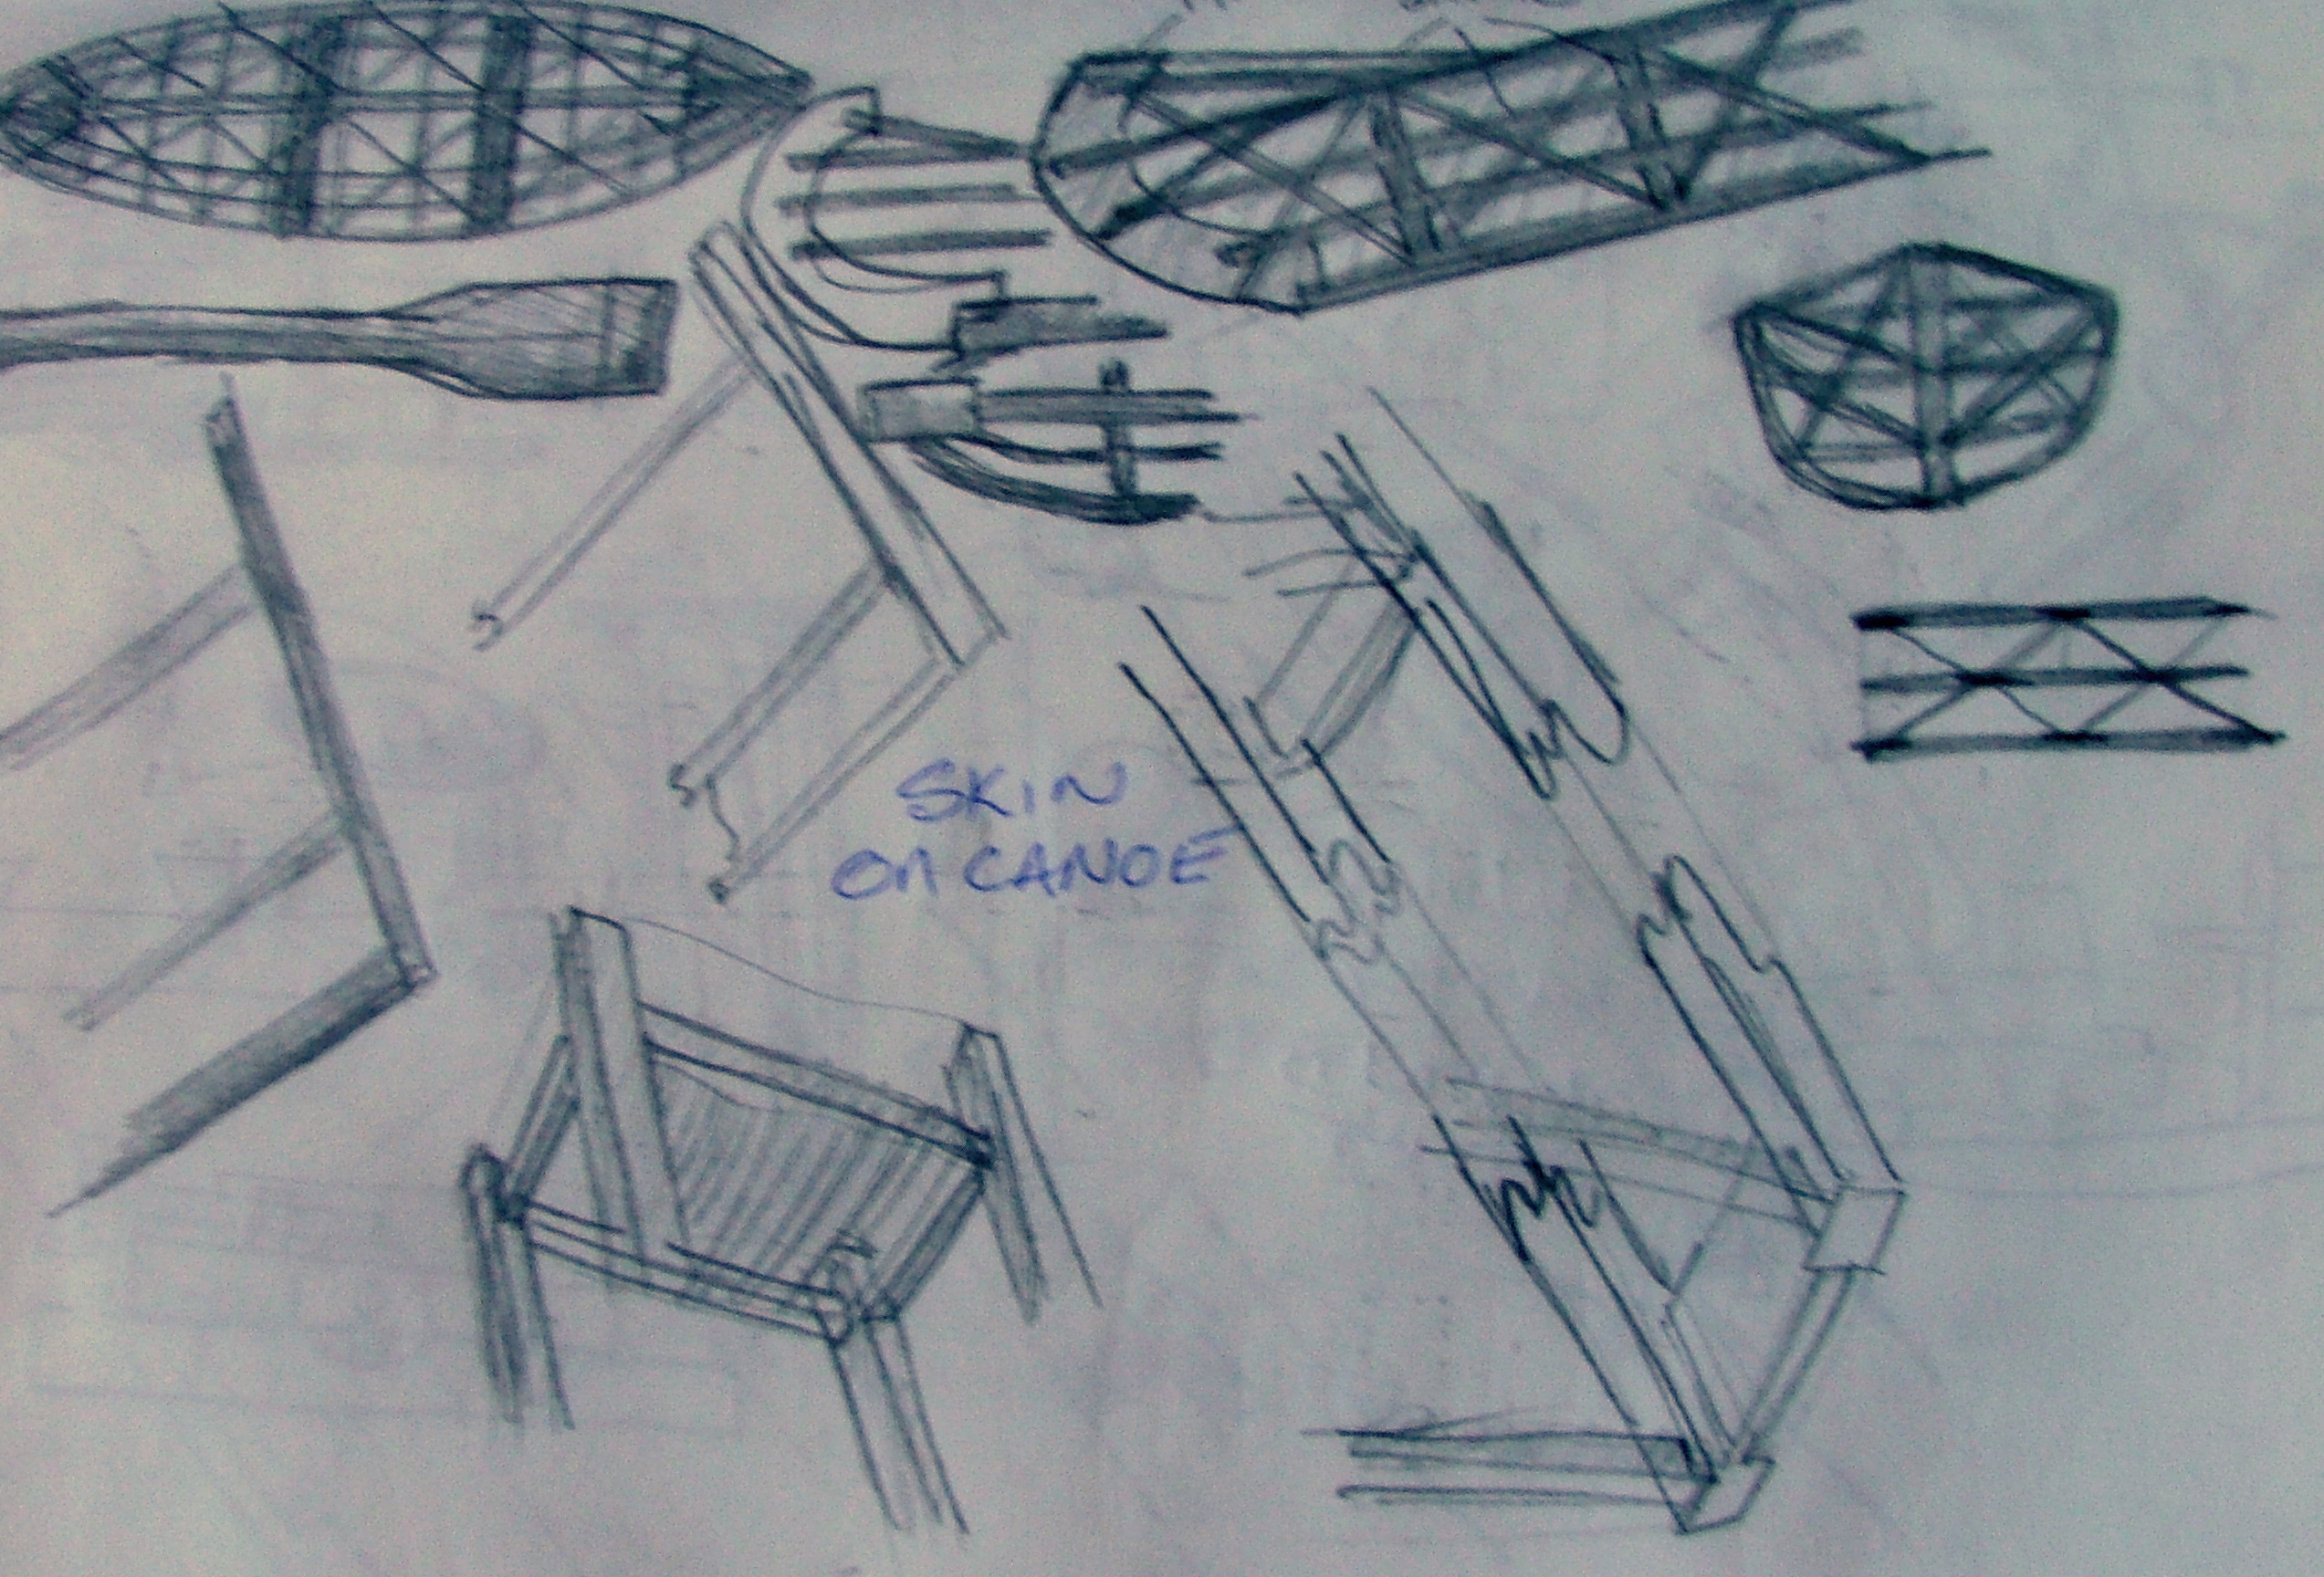
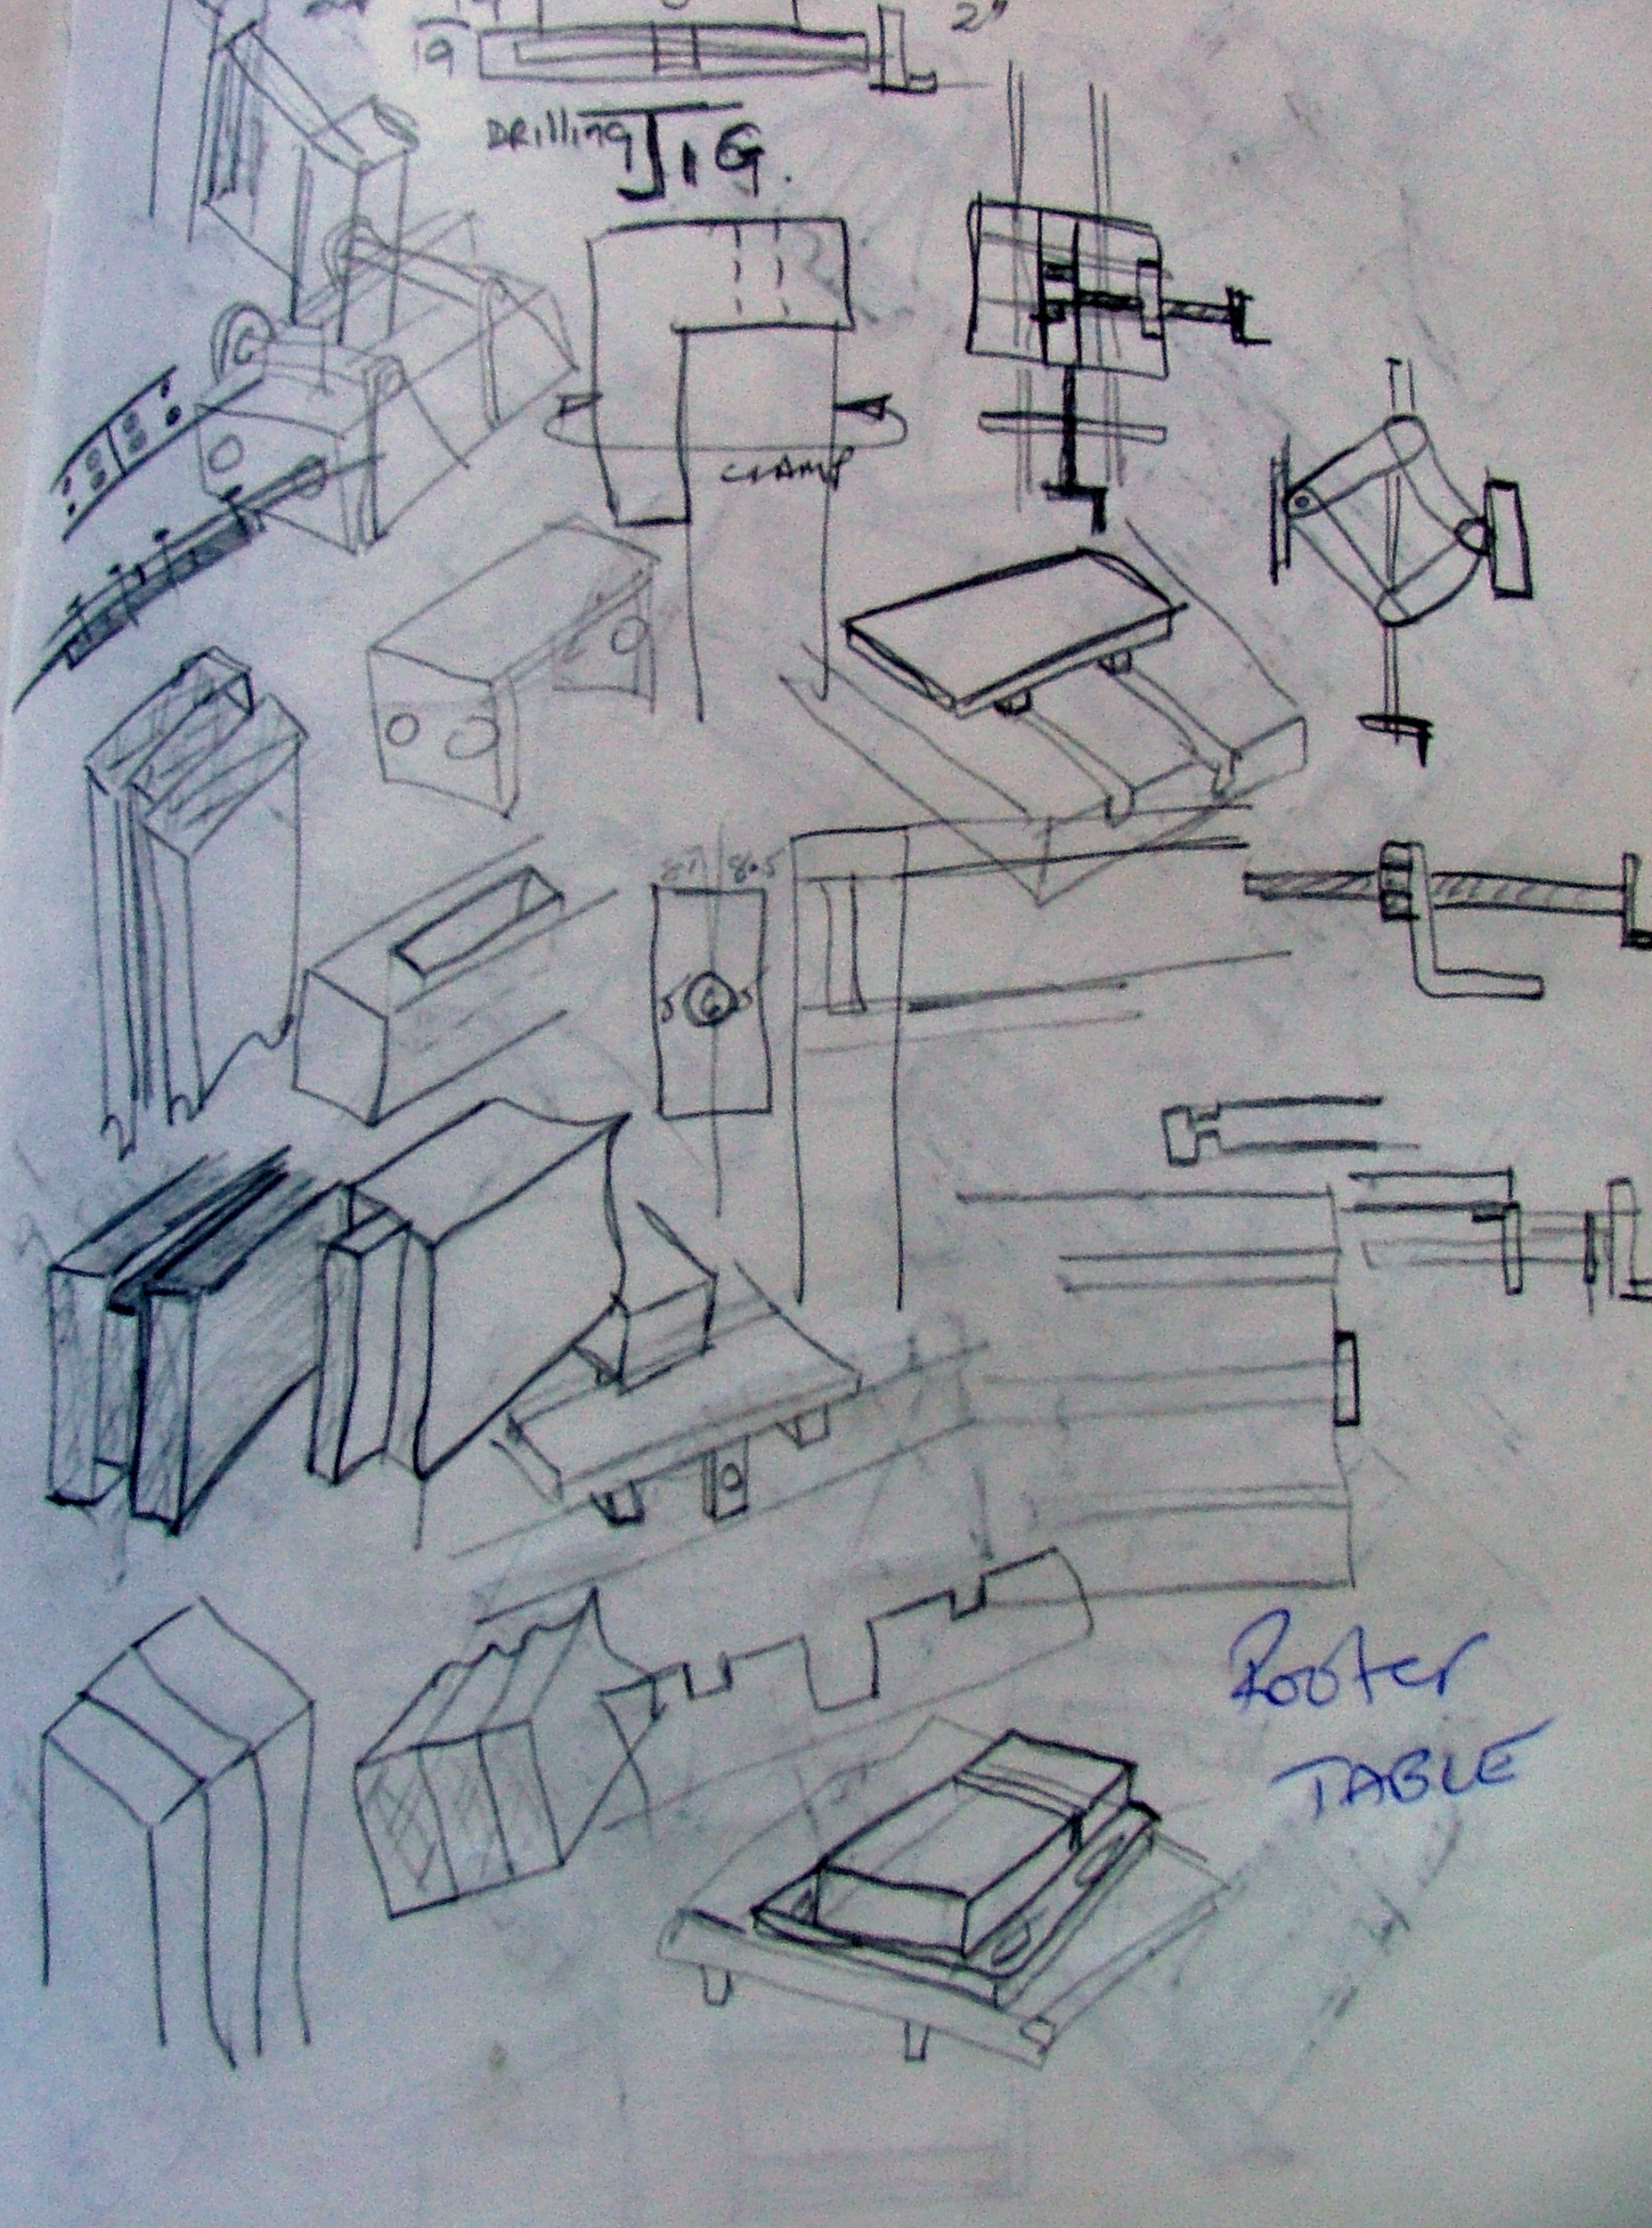
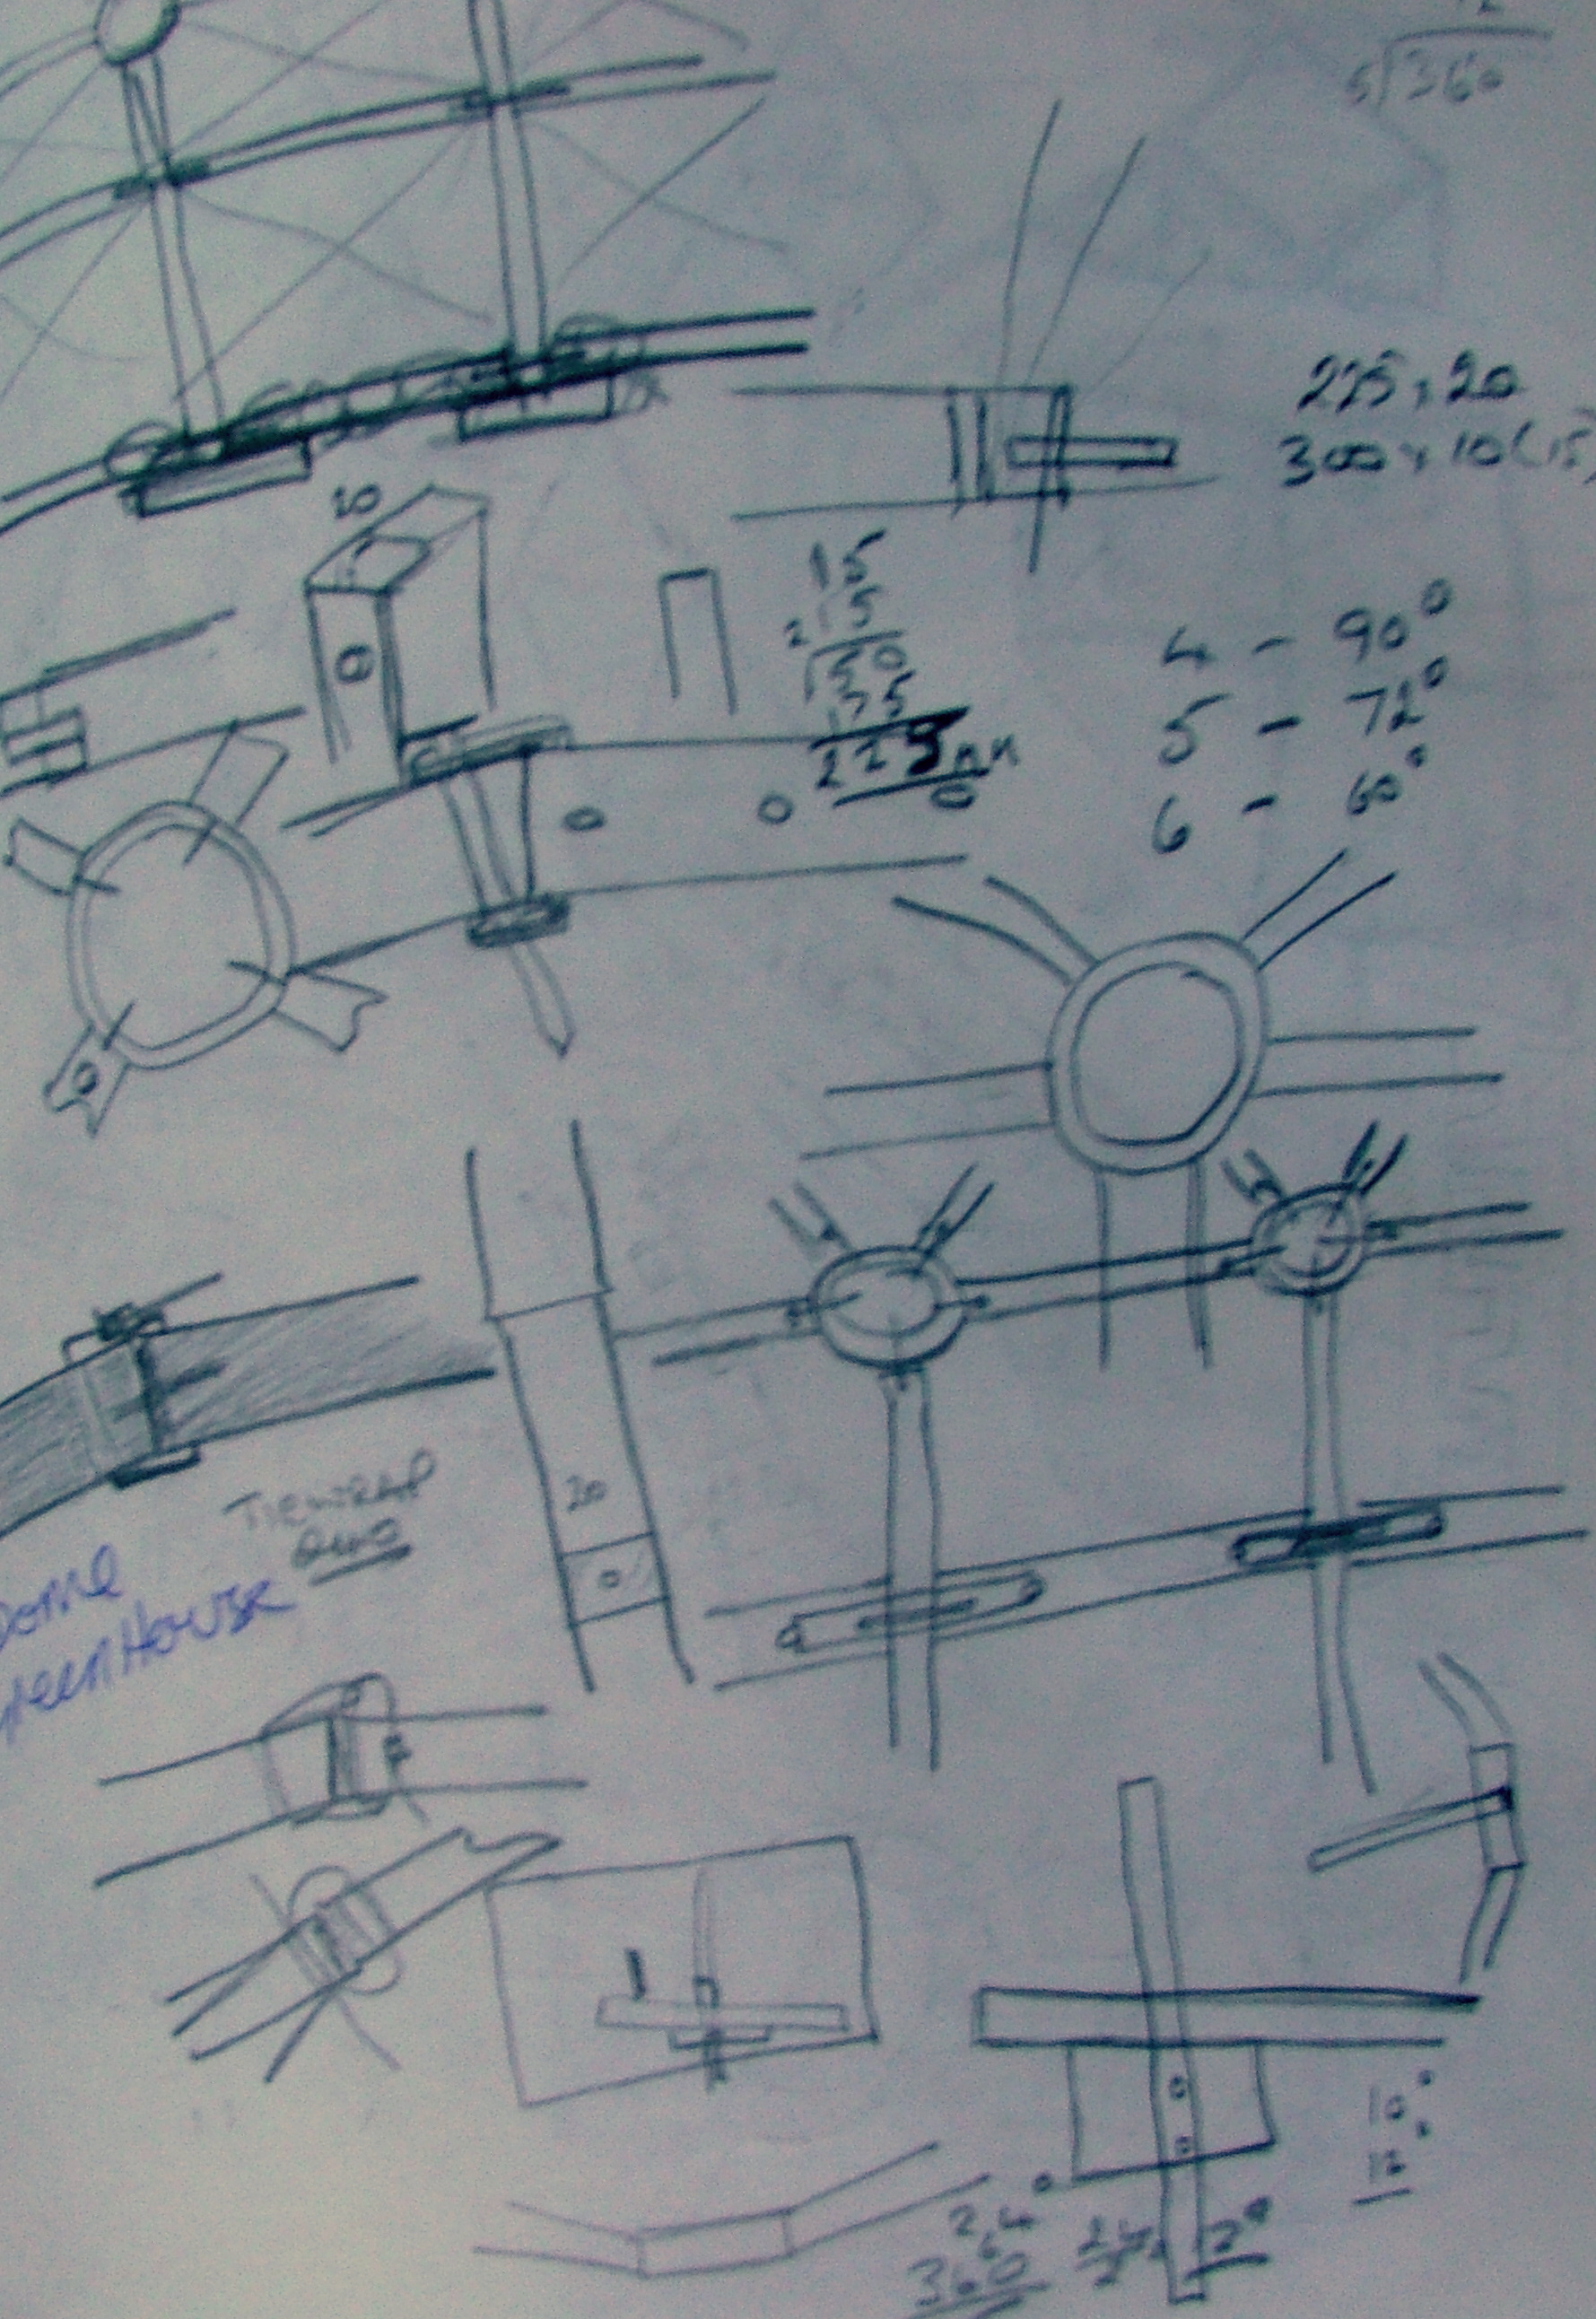
I have maintained a sketch book for my ideas most of my making life. I quickly found I had more ideas than time to make them and if not captured then ideas were quickly forgotten, although I can often recall I had the idea just not the detail.
These sketches often look muddled but do mean things to me and jog the memory.
I also use the book to explore how things may happen and work.
Getting Proportions Right.

Drawing takes time to develop, you start off poor and get better (trust me). A small child will scribble, lacking the ability to control the pencil, over time they learn to write and control their movements much more accurately. They also develop a "eye" for what looks right.
Sadly there is a belief that artist can draw things first go and it looks perfect, they can, but usually they are drawing things they have practised and explored to get it right so practice is an important element.
The drawing here is by Spanish artist Juan Francisco Casas he used a biro exclusively to draw these photo realistic drawings. PRACTICE!
Helping You Get It Right.
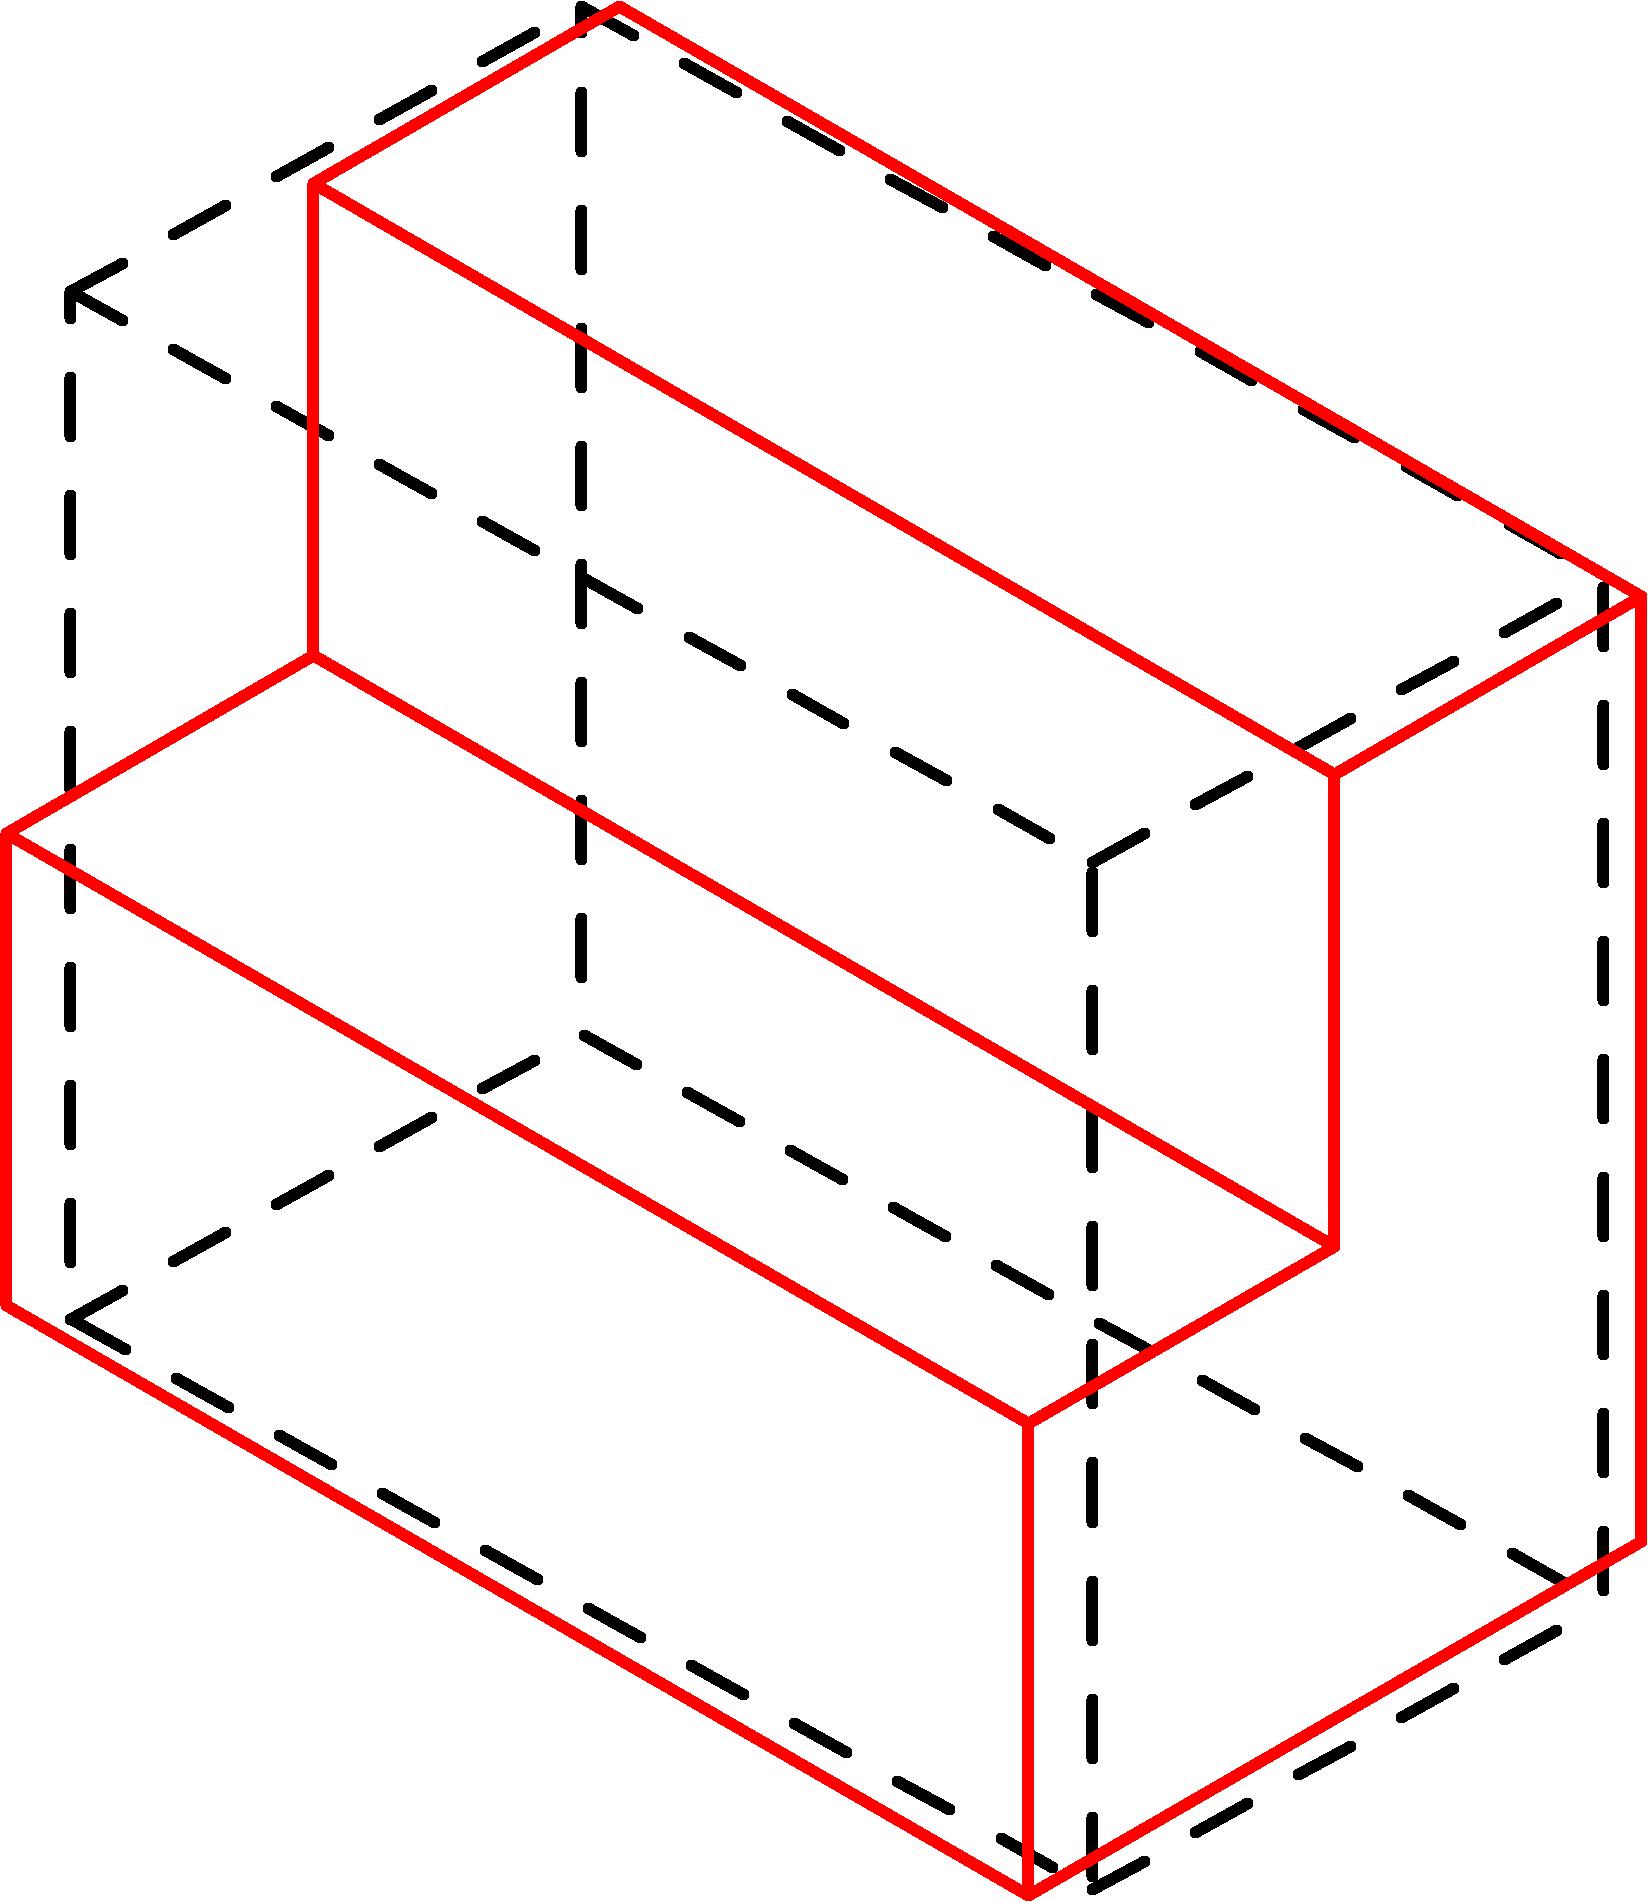
A white sheet of paper seems very big when your drawing and there is lots of space to wonder over. To keep proportions more in control a system called "crating" can be used this is particularly valuable when drawing in isometric (3D).
For each part a box is drawn at an appropriate size and the part is drawn in that box.
The drawing here was made on a CAD system but only because I already had it available.
You can and should do this in pencil. The dotted lines show the crate and the red solid, the object.
Note that the crate is a guide to get things going the right way and not a restriction so I have moved slightly outside the crate with the red lines. No problem.
Formal Layout
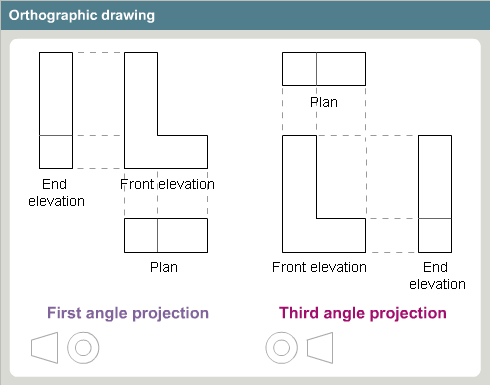
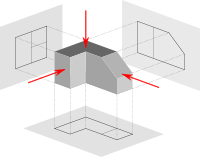
To get the idea of an object from a side, front and top view you need some frame of reference. Tto supply this there are some rules you can follow that will in general be understood by any engineer trained to read format engineering drawings.
1. There are 2 standards in the world The USA and most of Europe. (of course).
First angle projection is the ISO standard and is primarily used in Europe. The 3D object is projected into 2D "paper" space as if you were looking at an X-ray of the object: the top view is under the front view, the right view is at the left of the front view.
Third angle projection is primarily used in the United States and Canada, where it is the default projection system according to British Standard BS 8888 and ASME standard ASME Y14.3M, the left view is placed on the left and the top view on the top.
Se example picture below.
This wiki article puts much more flesh on the bones of formal drawing rules
http://en.wikipedia.org/wiki/Engineering_drawing#Standardization_and_disambiguation
Other Drawing Formats.
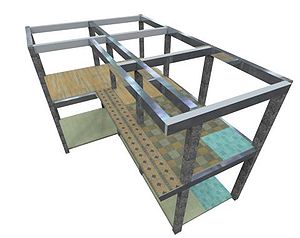
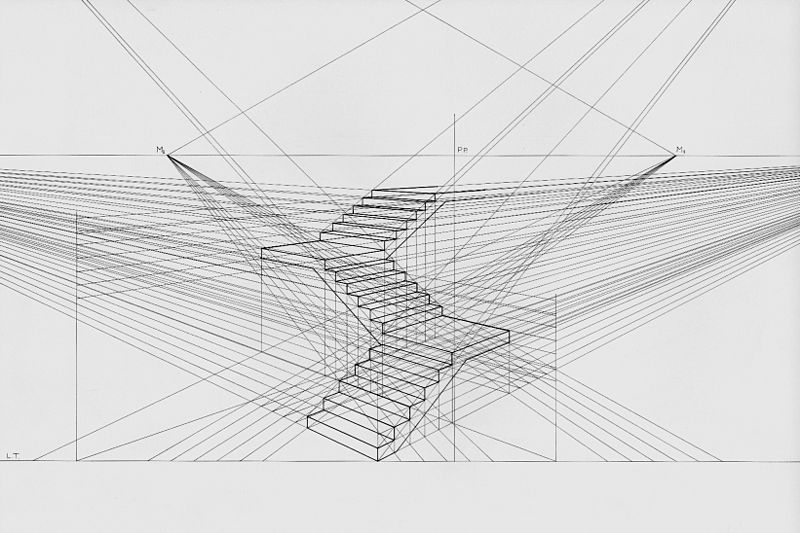
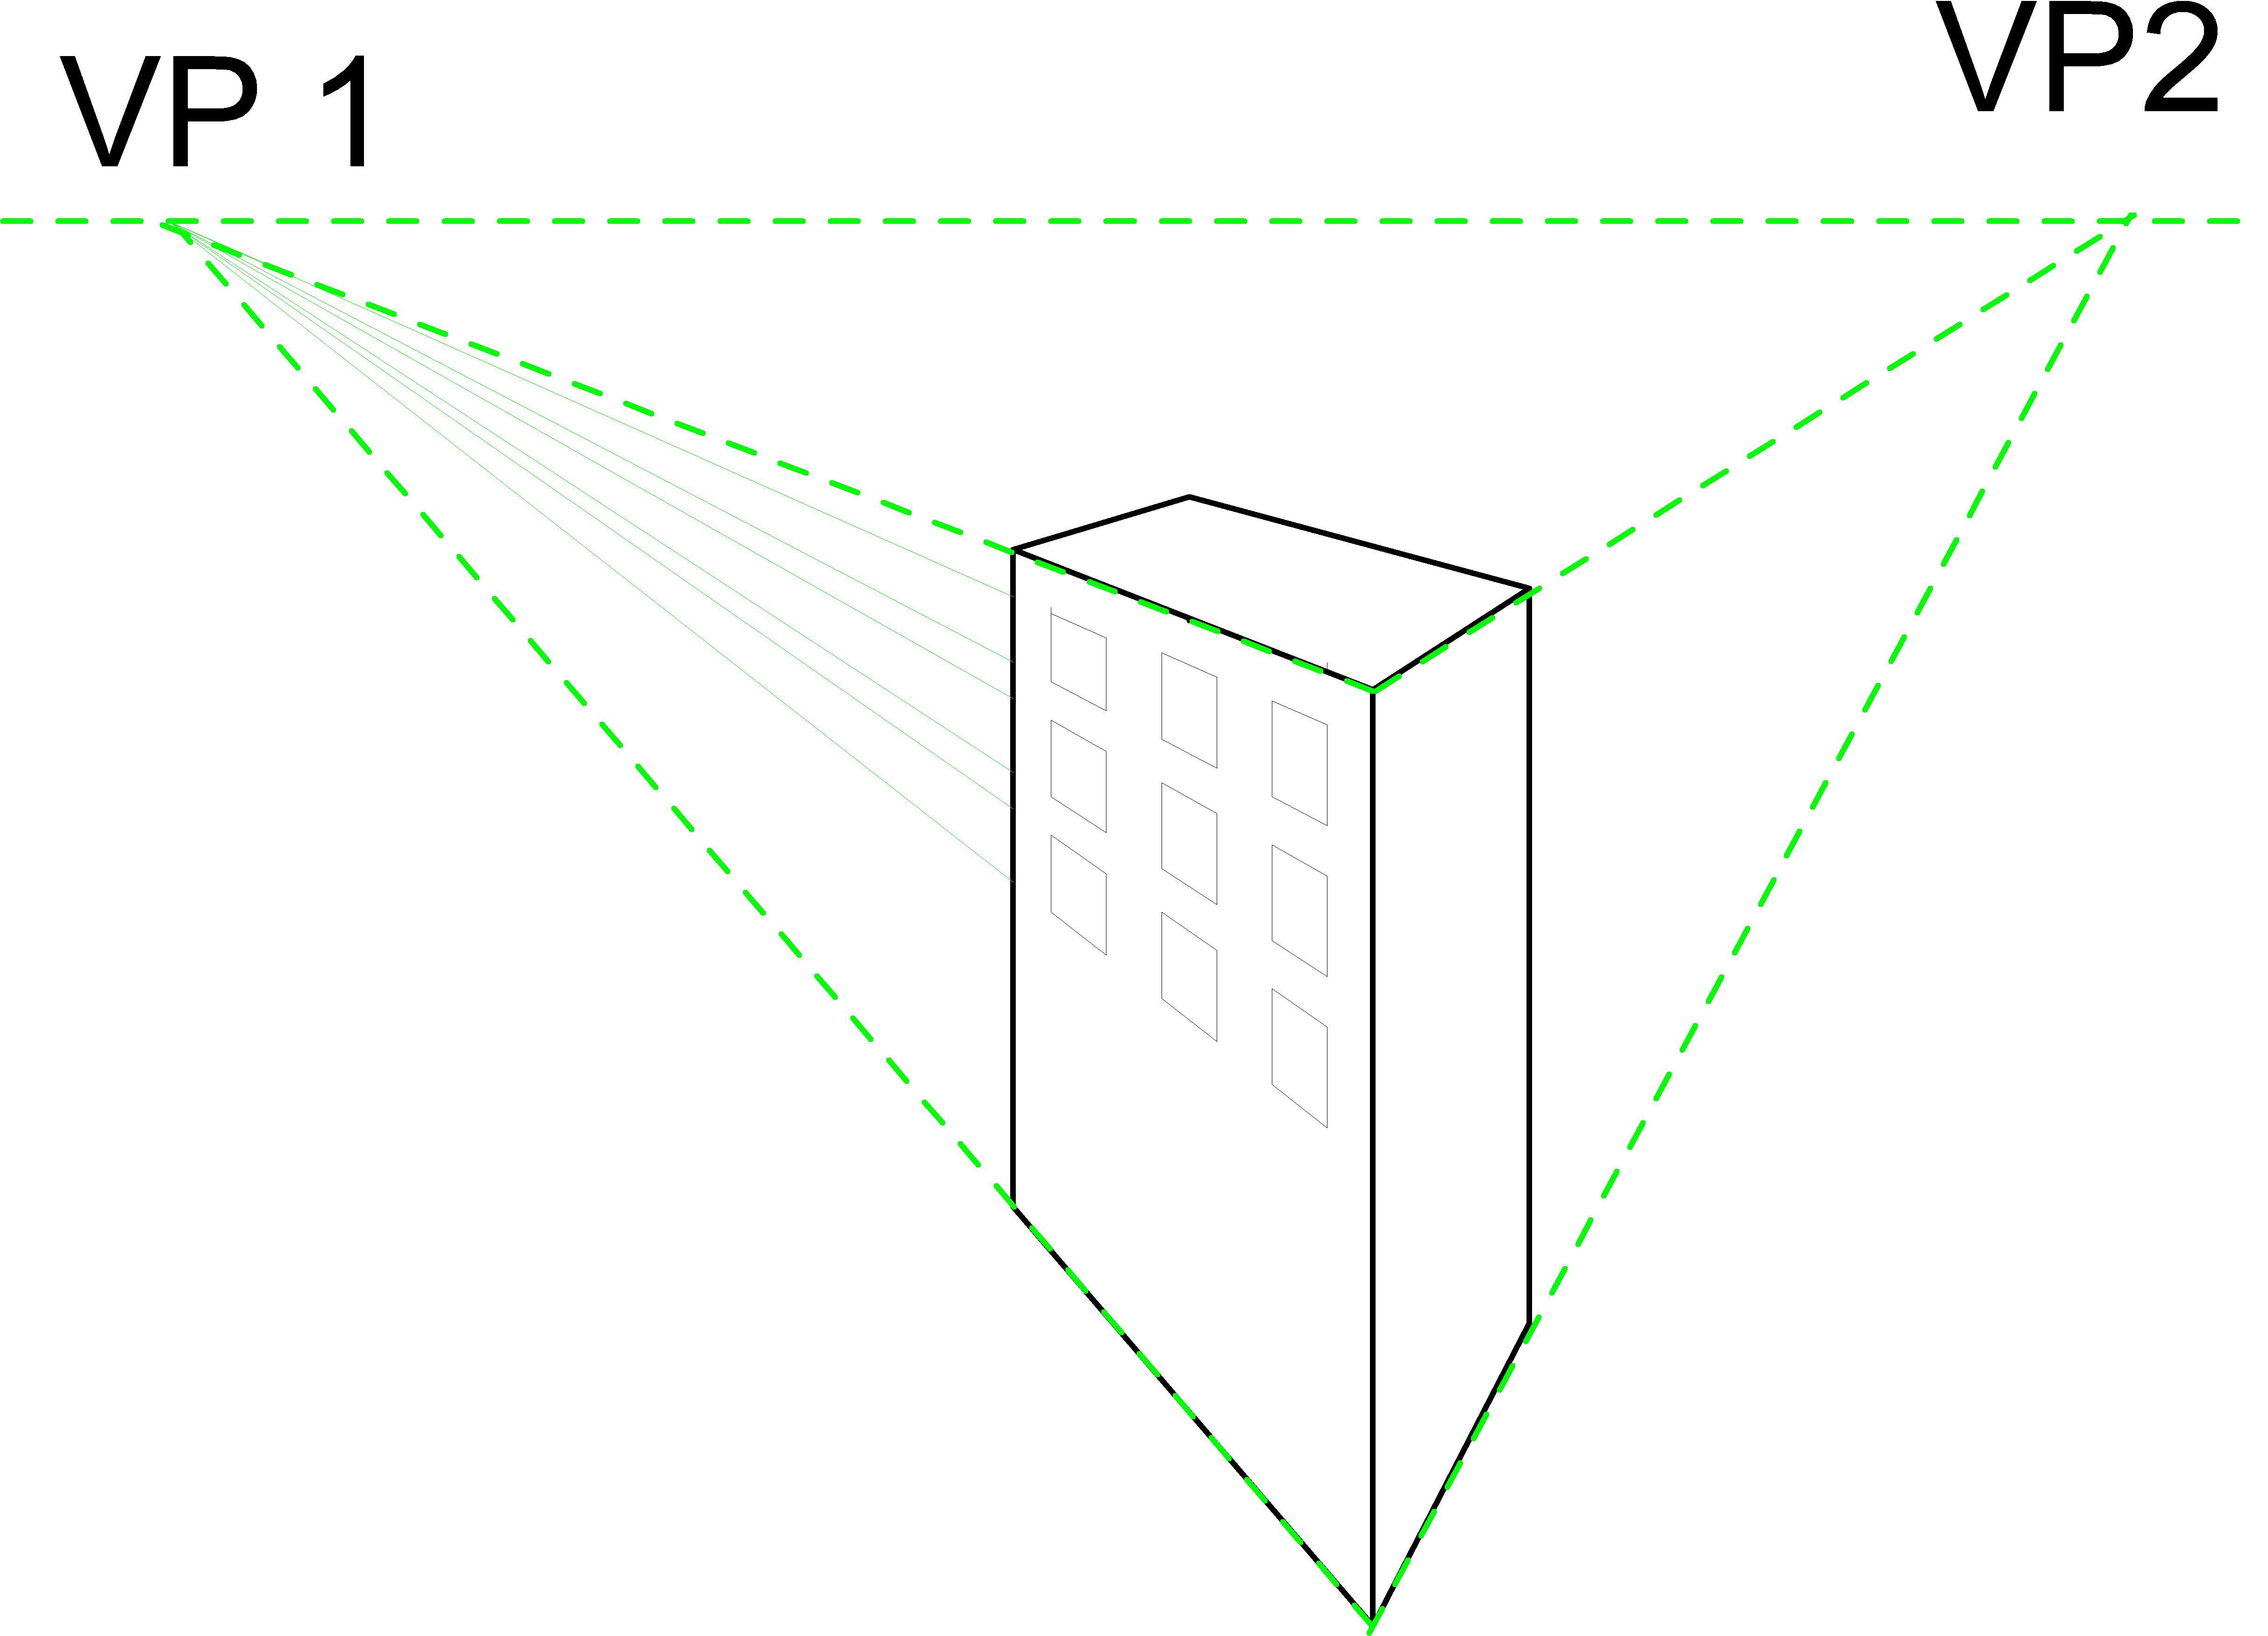
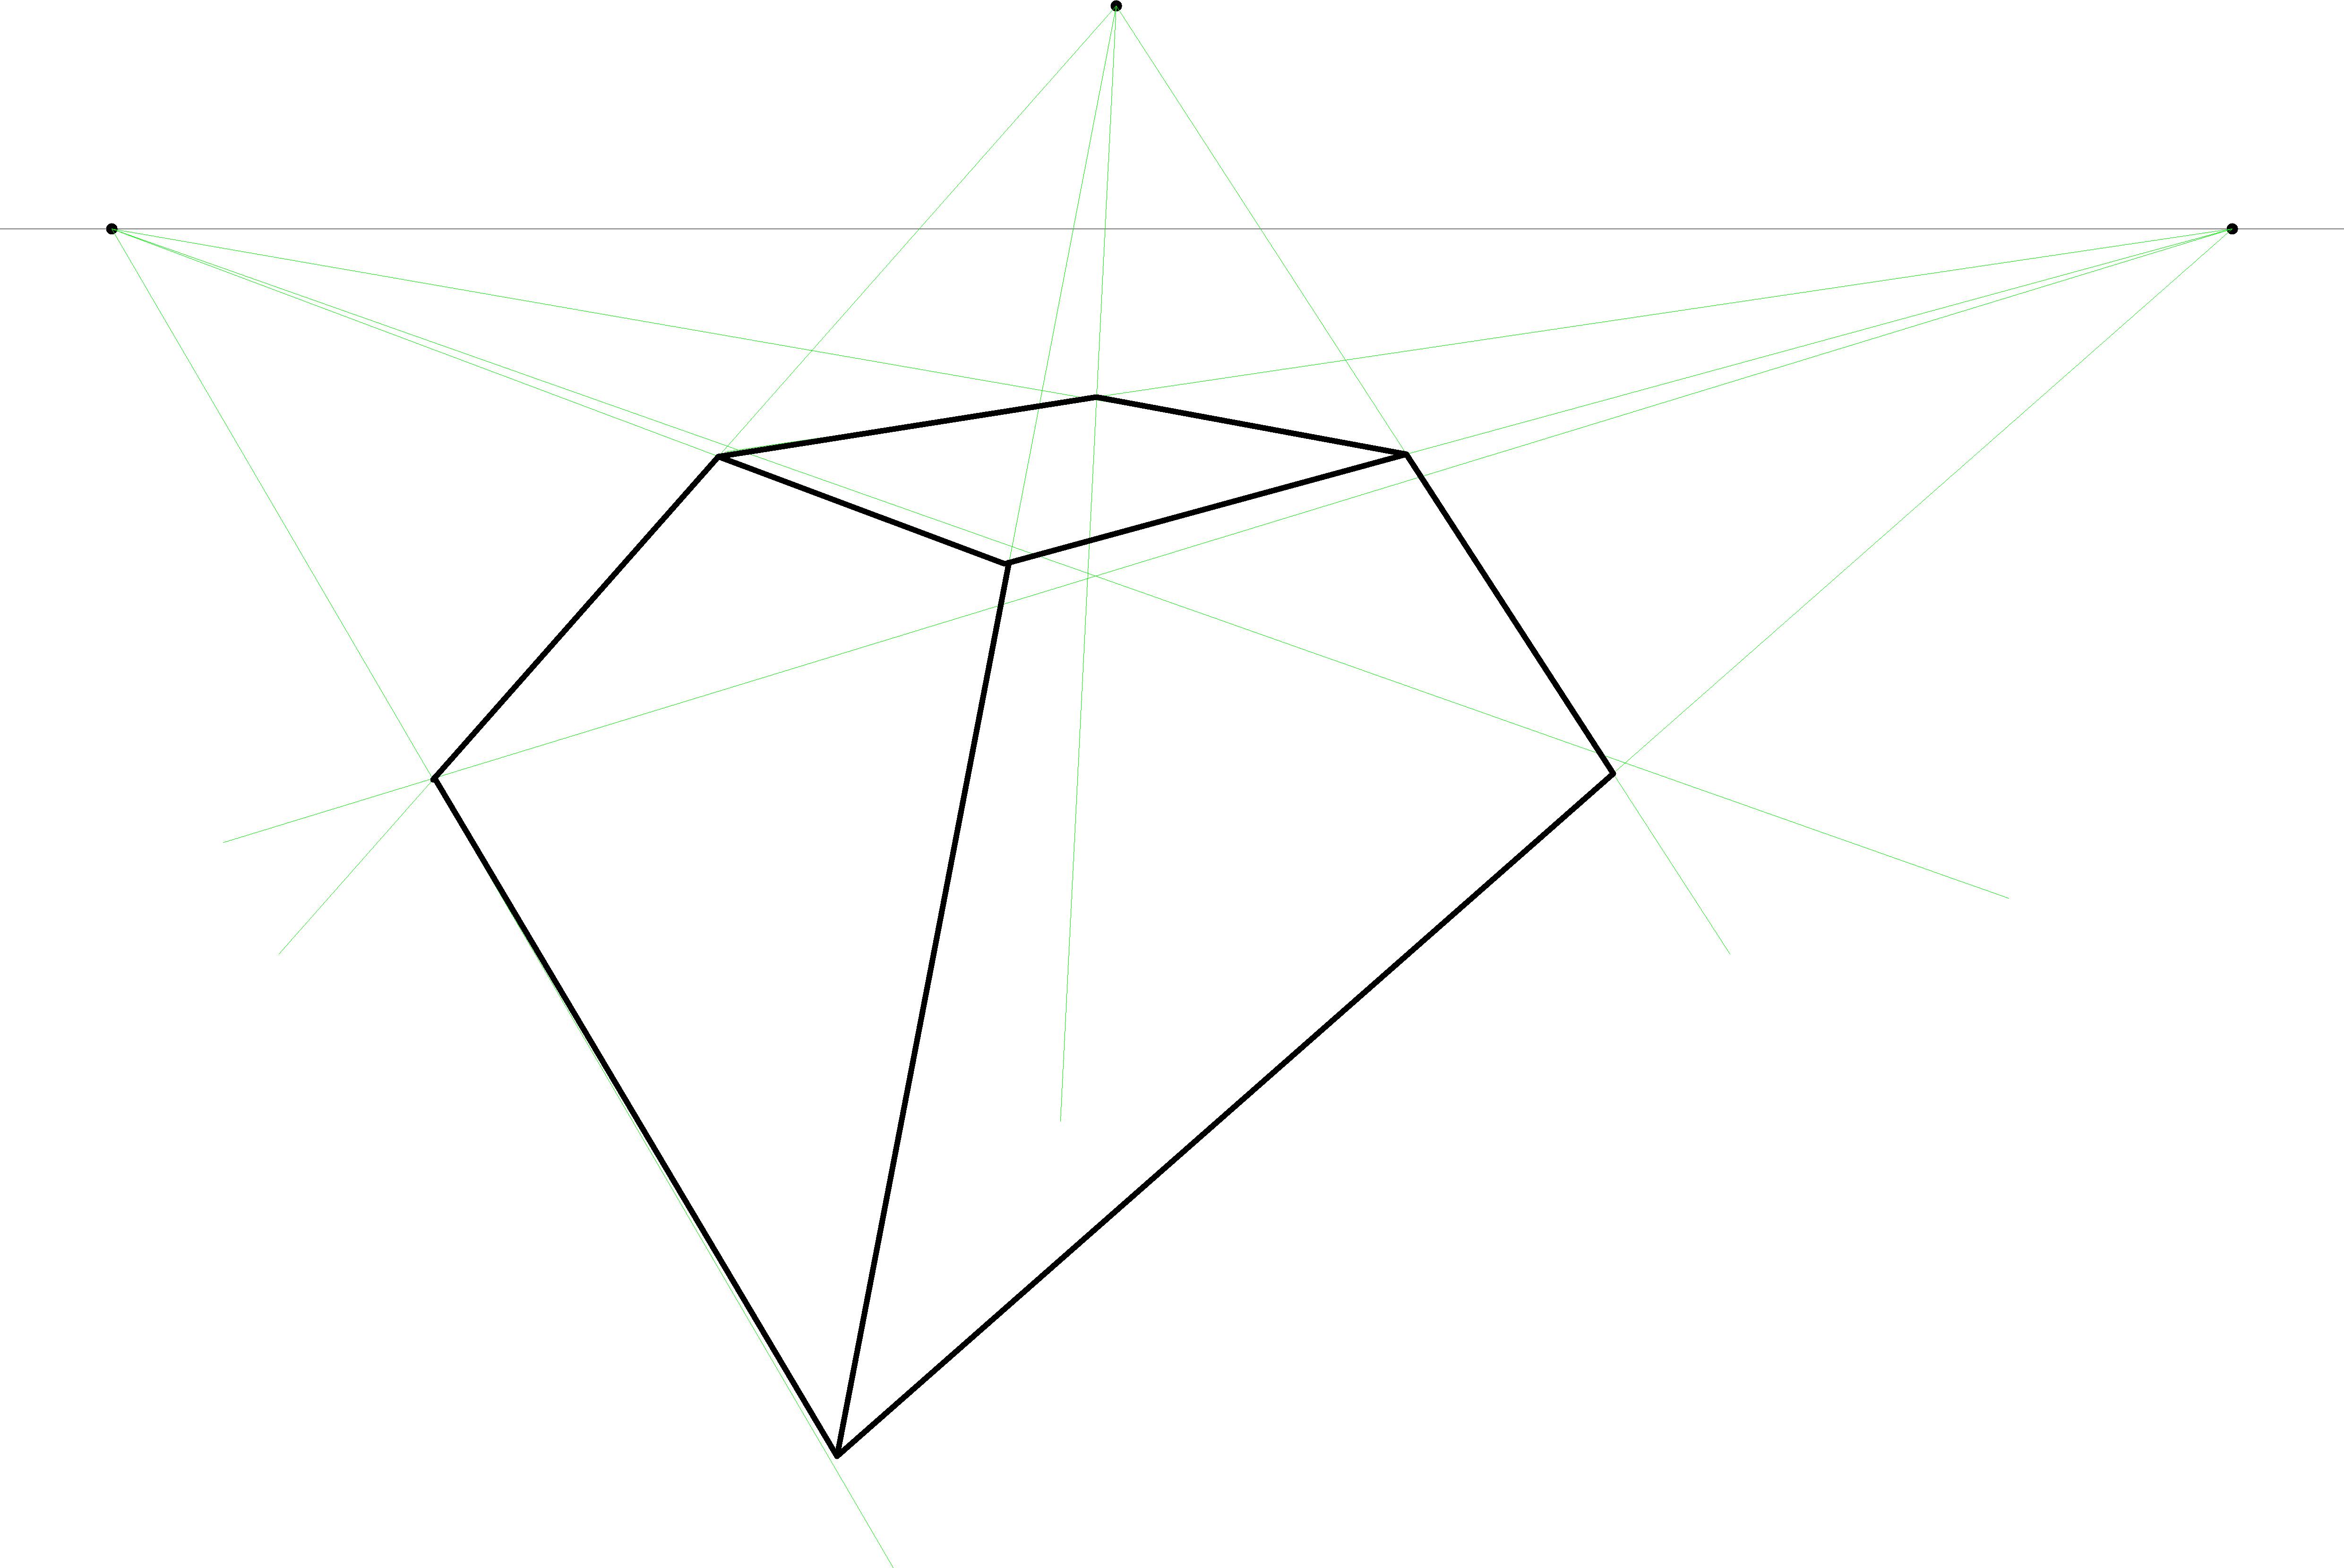
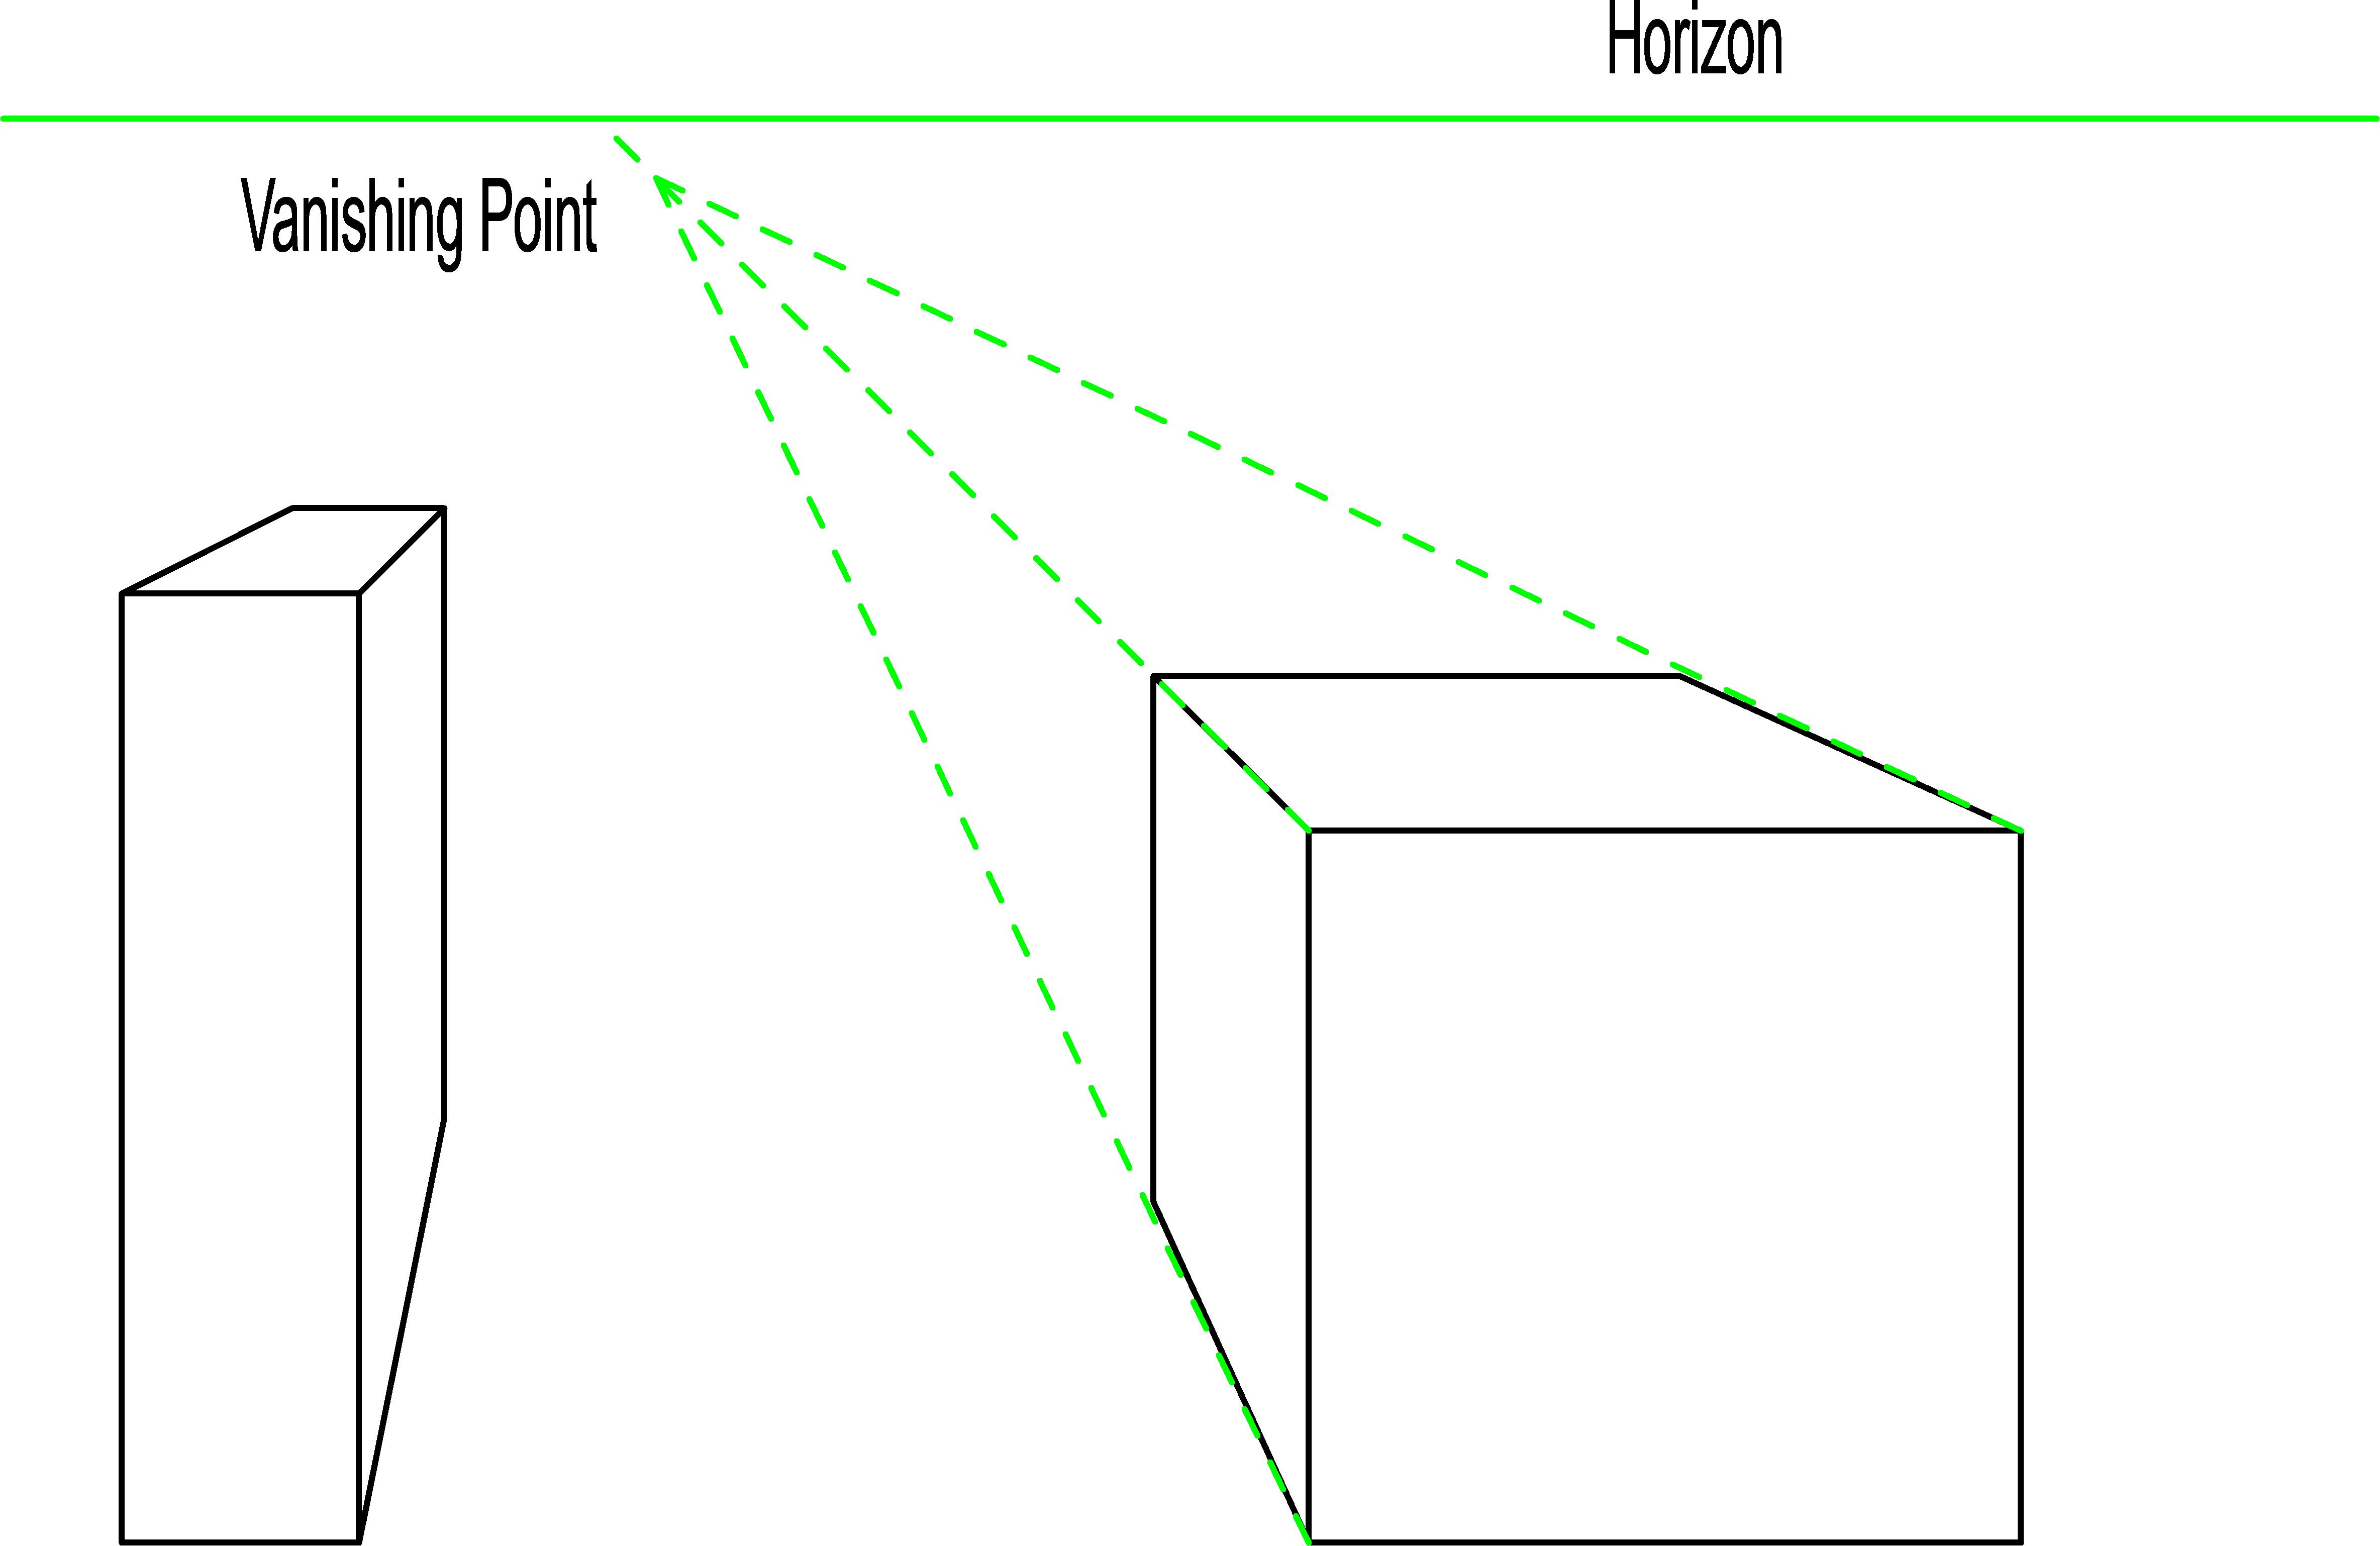
There are a number of drawing formats, Isometric, Oblique, Single point perspective, 2 point perspective, 3 point perspective. All of which have their place, but are not essential skills (at first)
Rules: (thanks to Wikipedia for these)
Isometric
The isometric projection show the object from angles in which the scales along each axis of the object are equal. Isometric projection corresponds to rotation of the object by ± 45° about the vertical axis, followed by rotation of approximately ± 35.264° [= arcsin(tan(30°))] about the horizontal axis starting from an orthographic projection view. "Isometric" comes from the Greek for "same measure". One of the things that makes isometric drawings so attractive is the ease with which 60 degree angles can be constructed with only a compass and straightedge.
Oblique
An oblique projection is a simple type of graphical projection used for producing pictorial, two-dimensional images of three-dimensional objects:
It projects an image by intersecting parallel rays (projectors)
from the three-dimensional source object with the drawing surface (projection plan).
In both oblique projection and orthographic projection, parallel lines of the source object produce parallel lines in the projected image.
single point perspective
is basically simple but practically gets complicated with bigger drawings so I direct you to the Wiki article
http://en.wikipedia.org/wiki/Perspective_%28graphical%29
Basics:
When we look into the distance we perceive the horizon as being at our eye level, so lower when sitting than when standing. We see lines that are really parallel (railway lines for example) as converging to meet at a point on that horizon called the vanishing point, (a trick of the eye/brain) but we can use this to make drawings look more realistic.
Draw a horizontal line on the paper where you want the horizon to be.and mark a point on it for reference.
In single point perspective all lines that are not horizontal or vertical go back to that vanishing point.
2 point perspective
This has 2 vanishing points on the horizon and the rule is:
All lines that are not vertical go to one or other of the vanishing points depending on which side of the object they are on.
3 point perspective:
Isn't used a lot apart from architectural drawing and has 3 vanishing points
Rule
All lines return to a vanishing point
http://en.wikipedia.org/wiki/Perspective_%28graphical%29
Some Examples to Inspire - Perhaps.
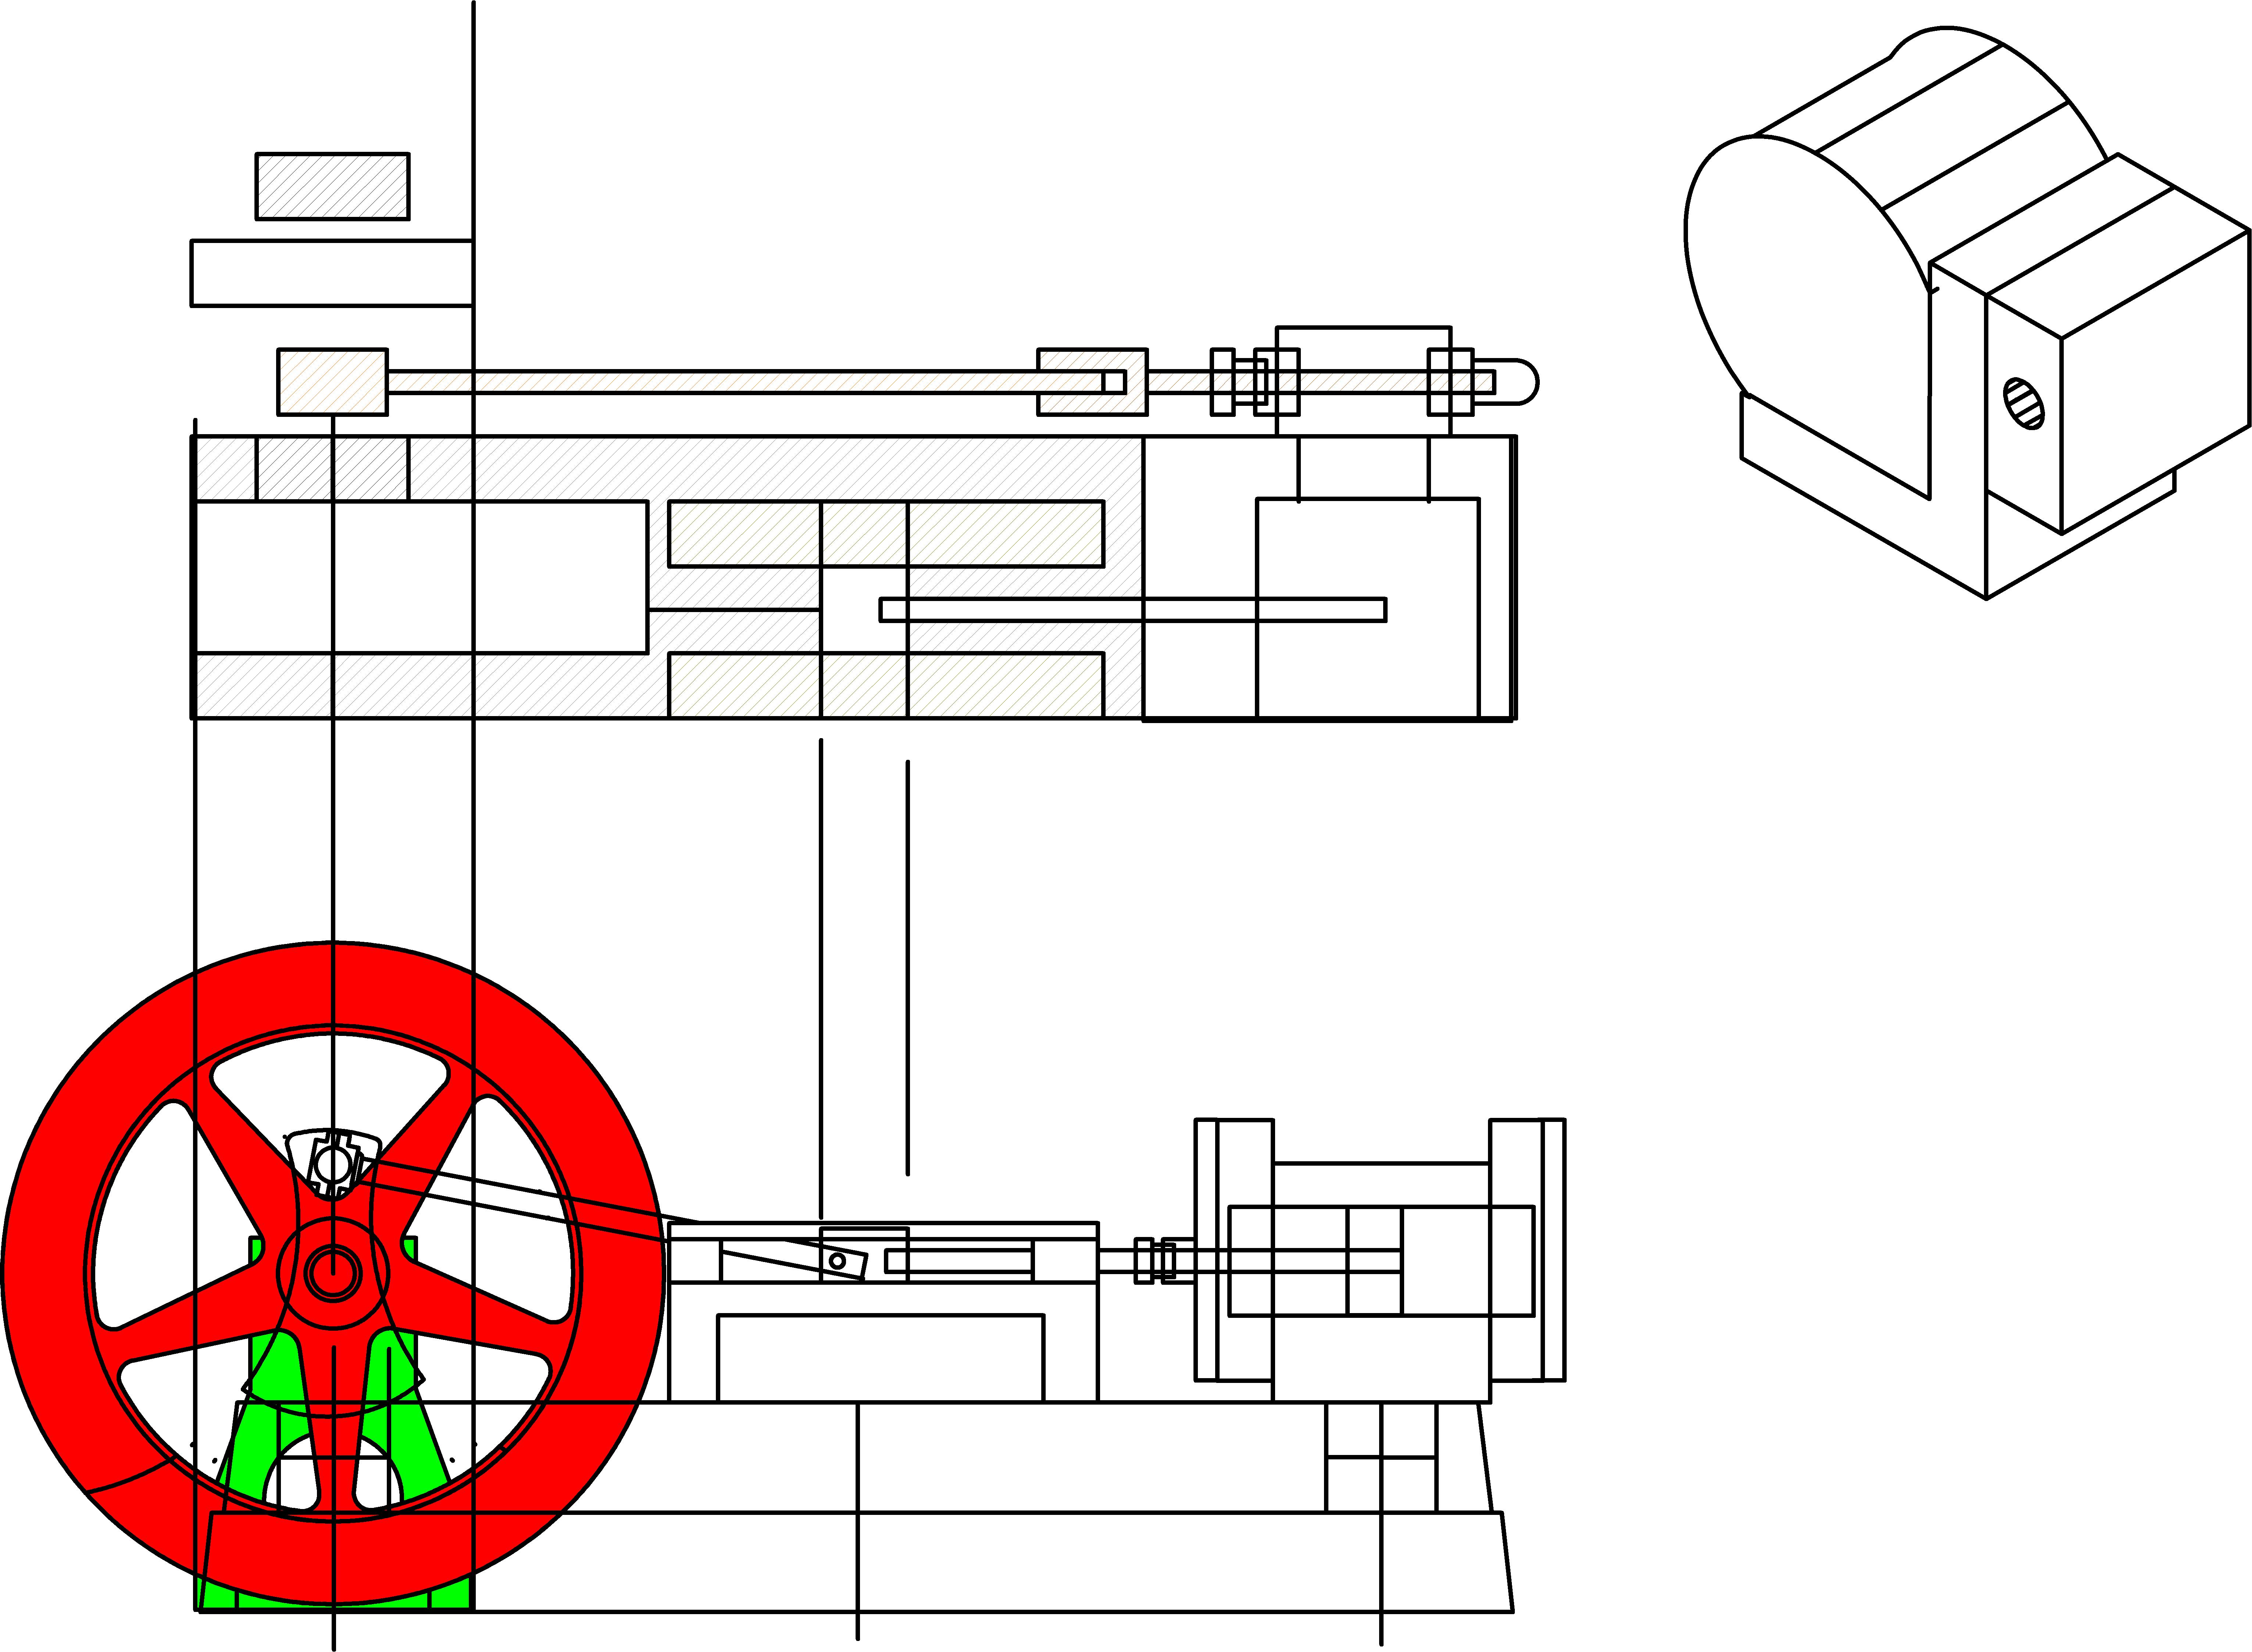
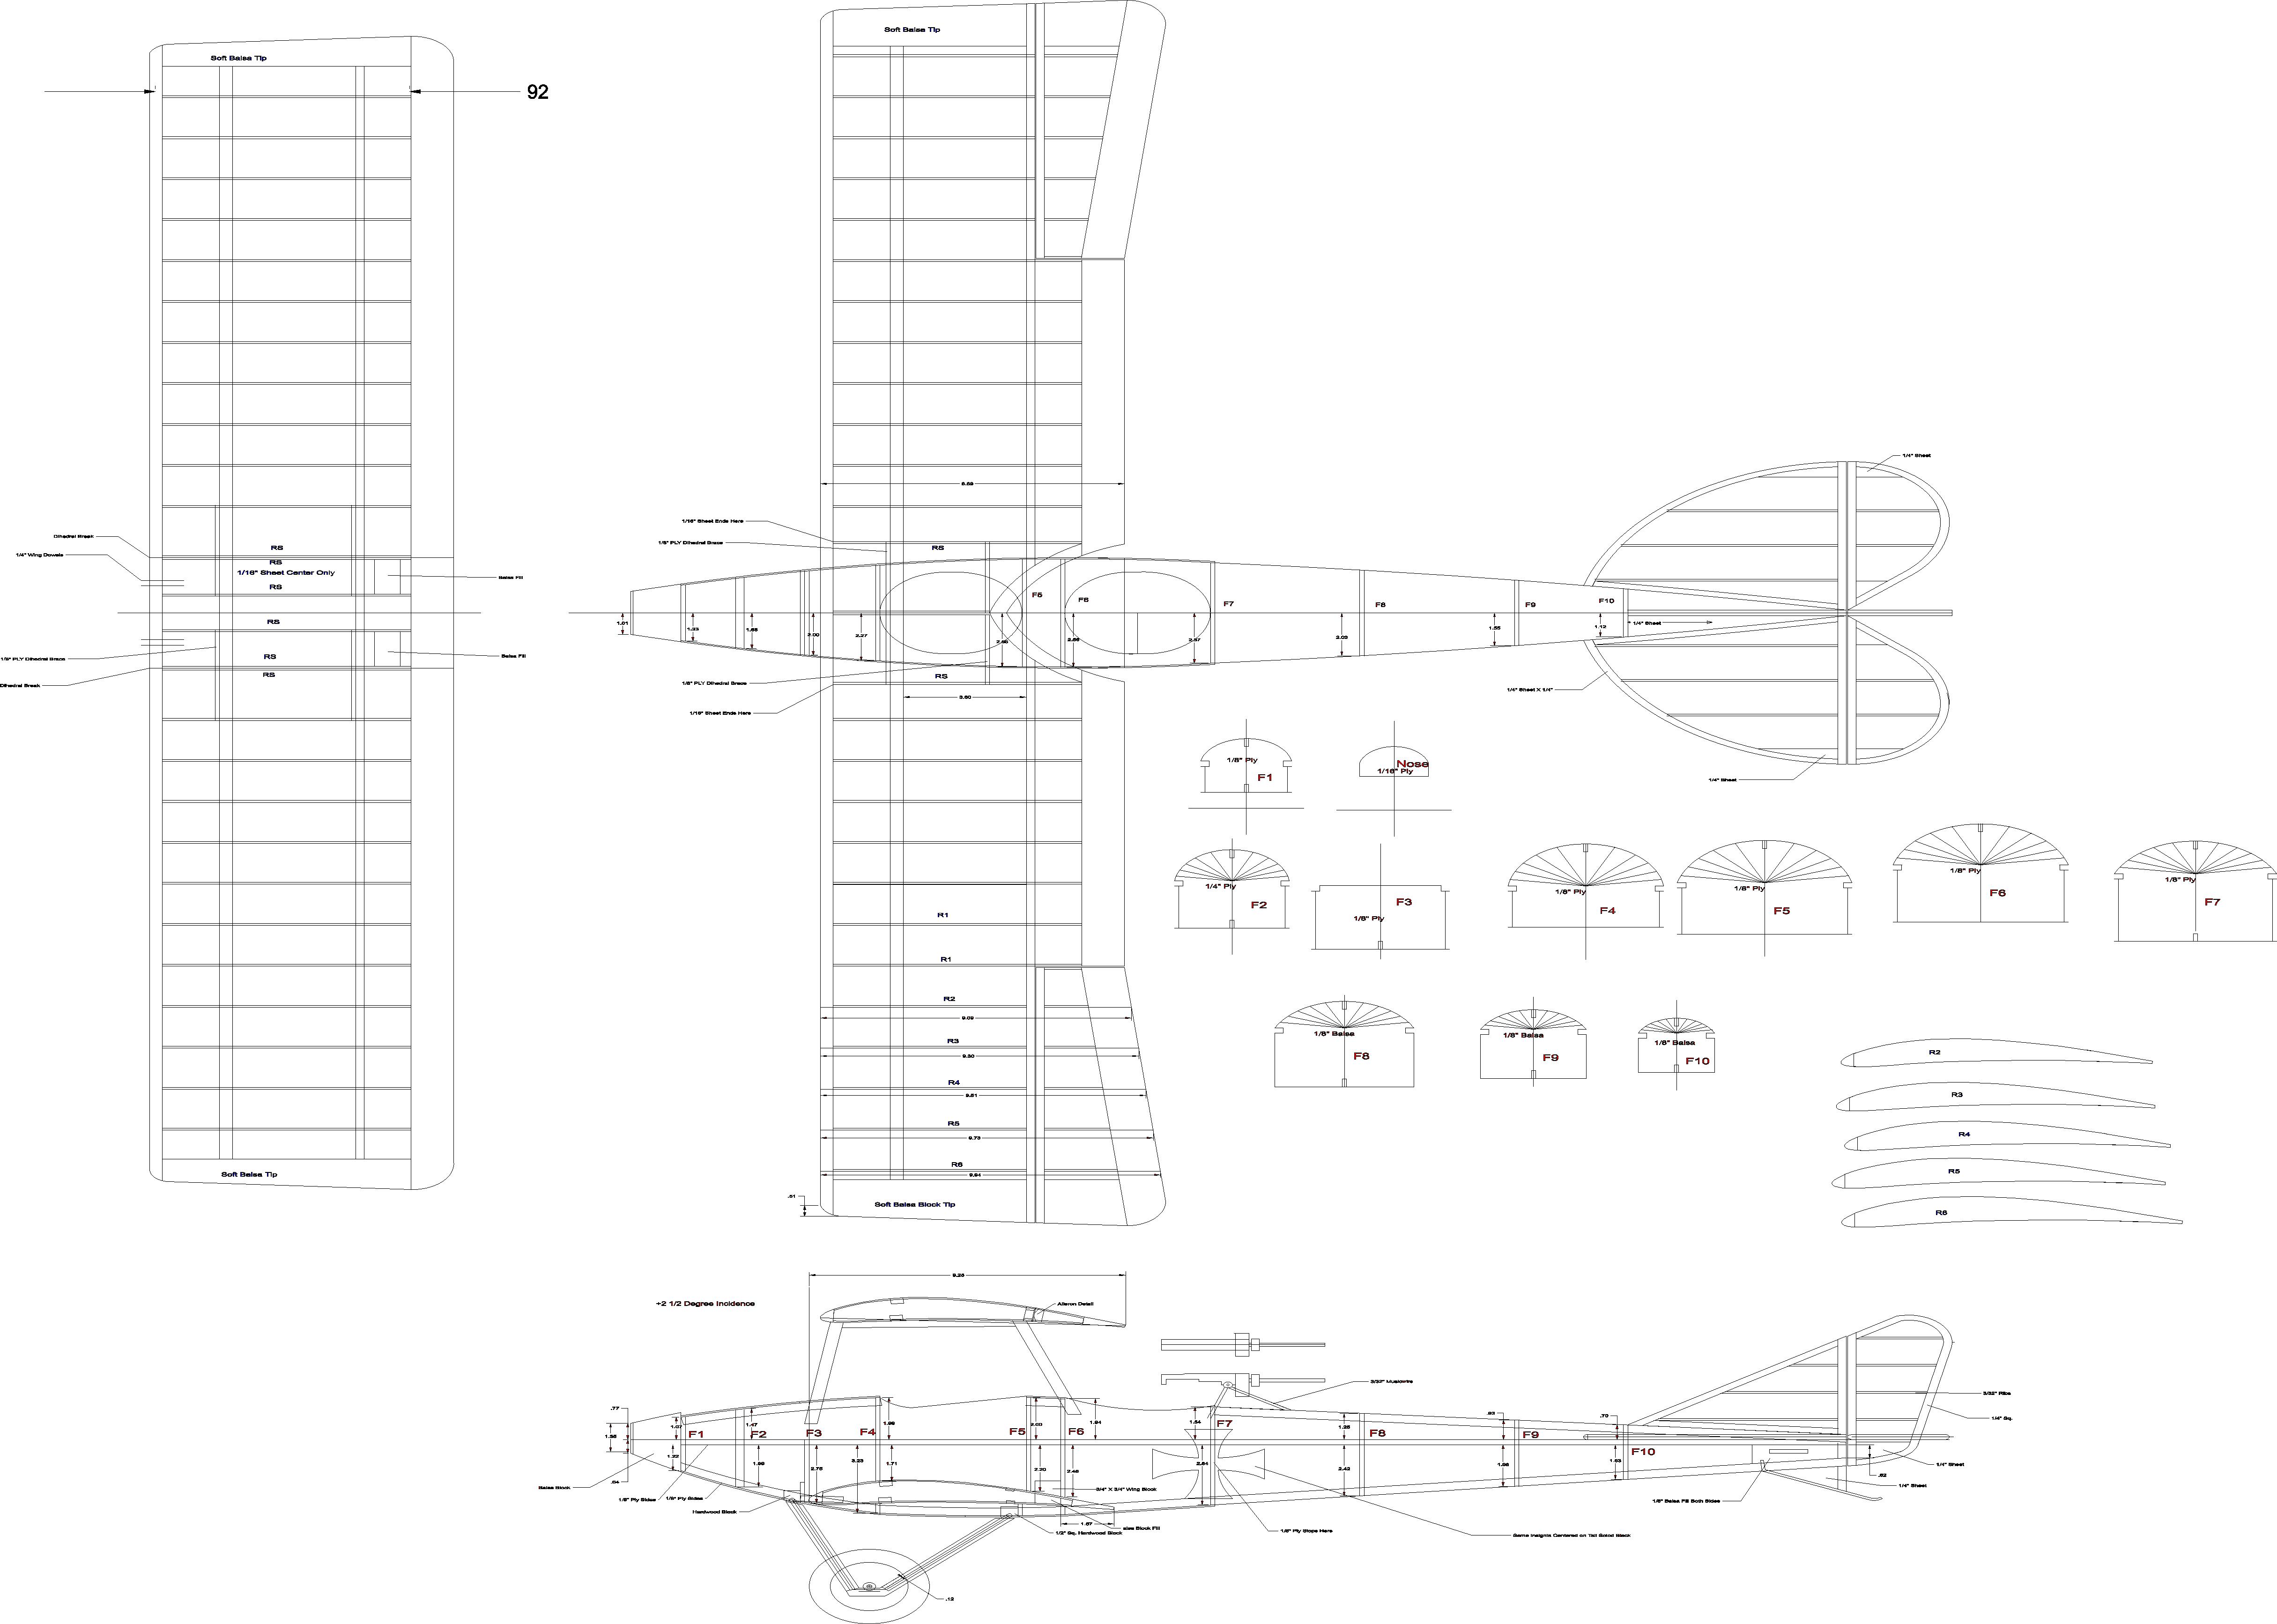
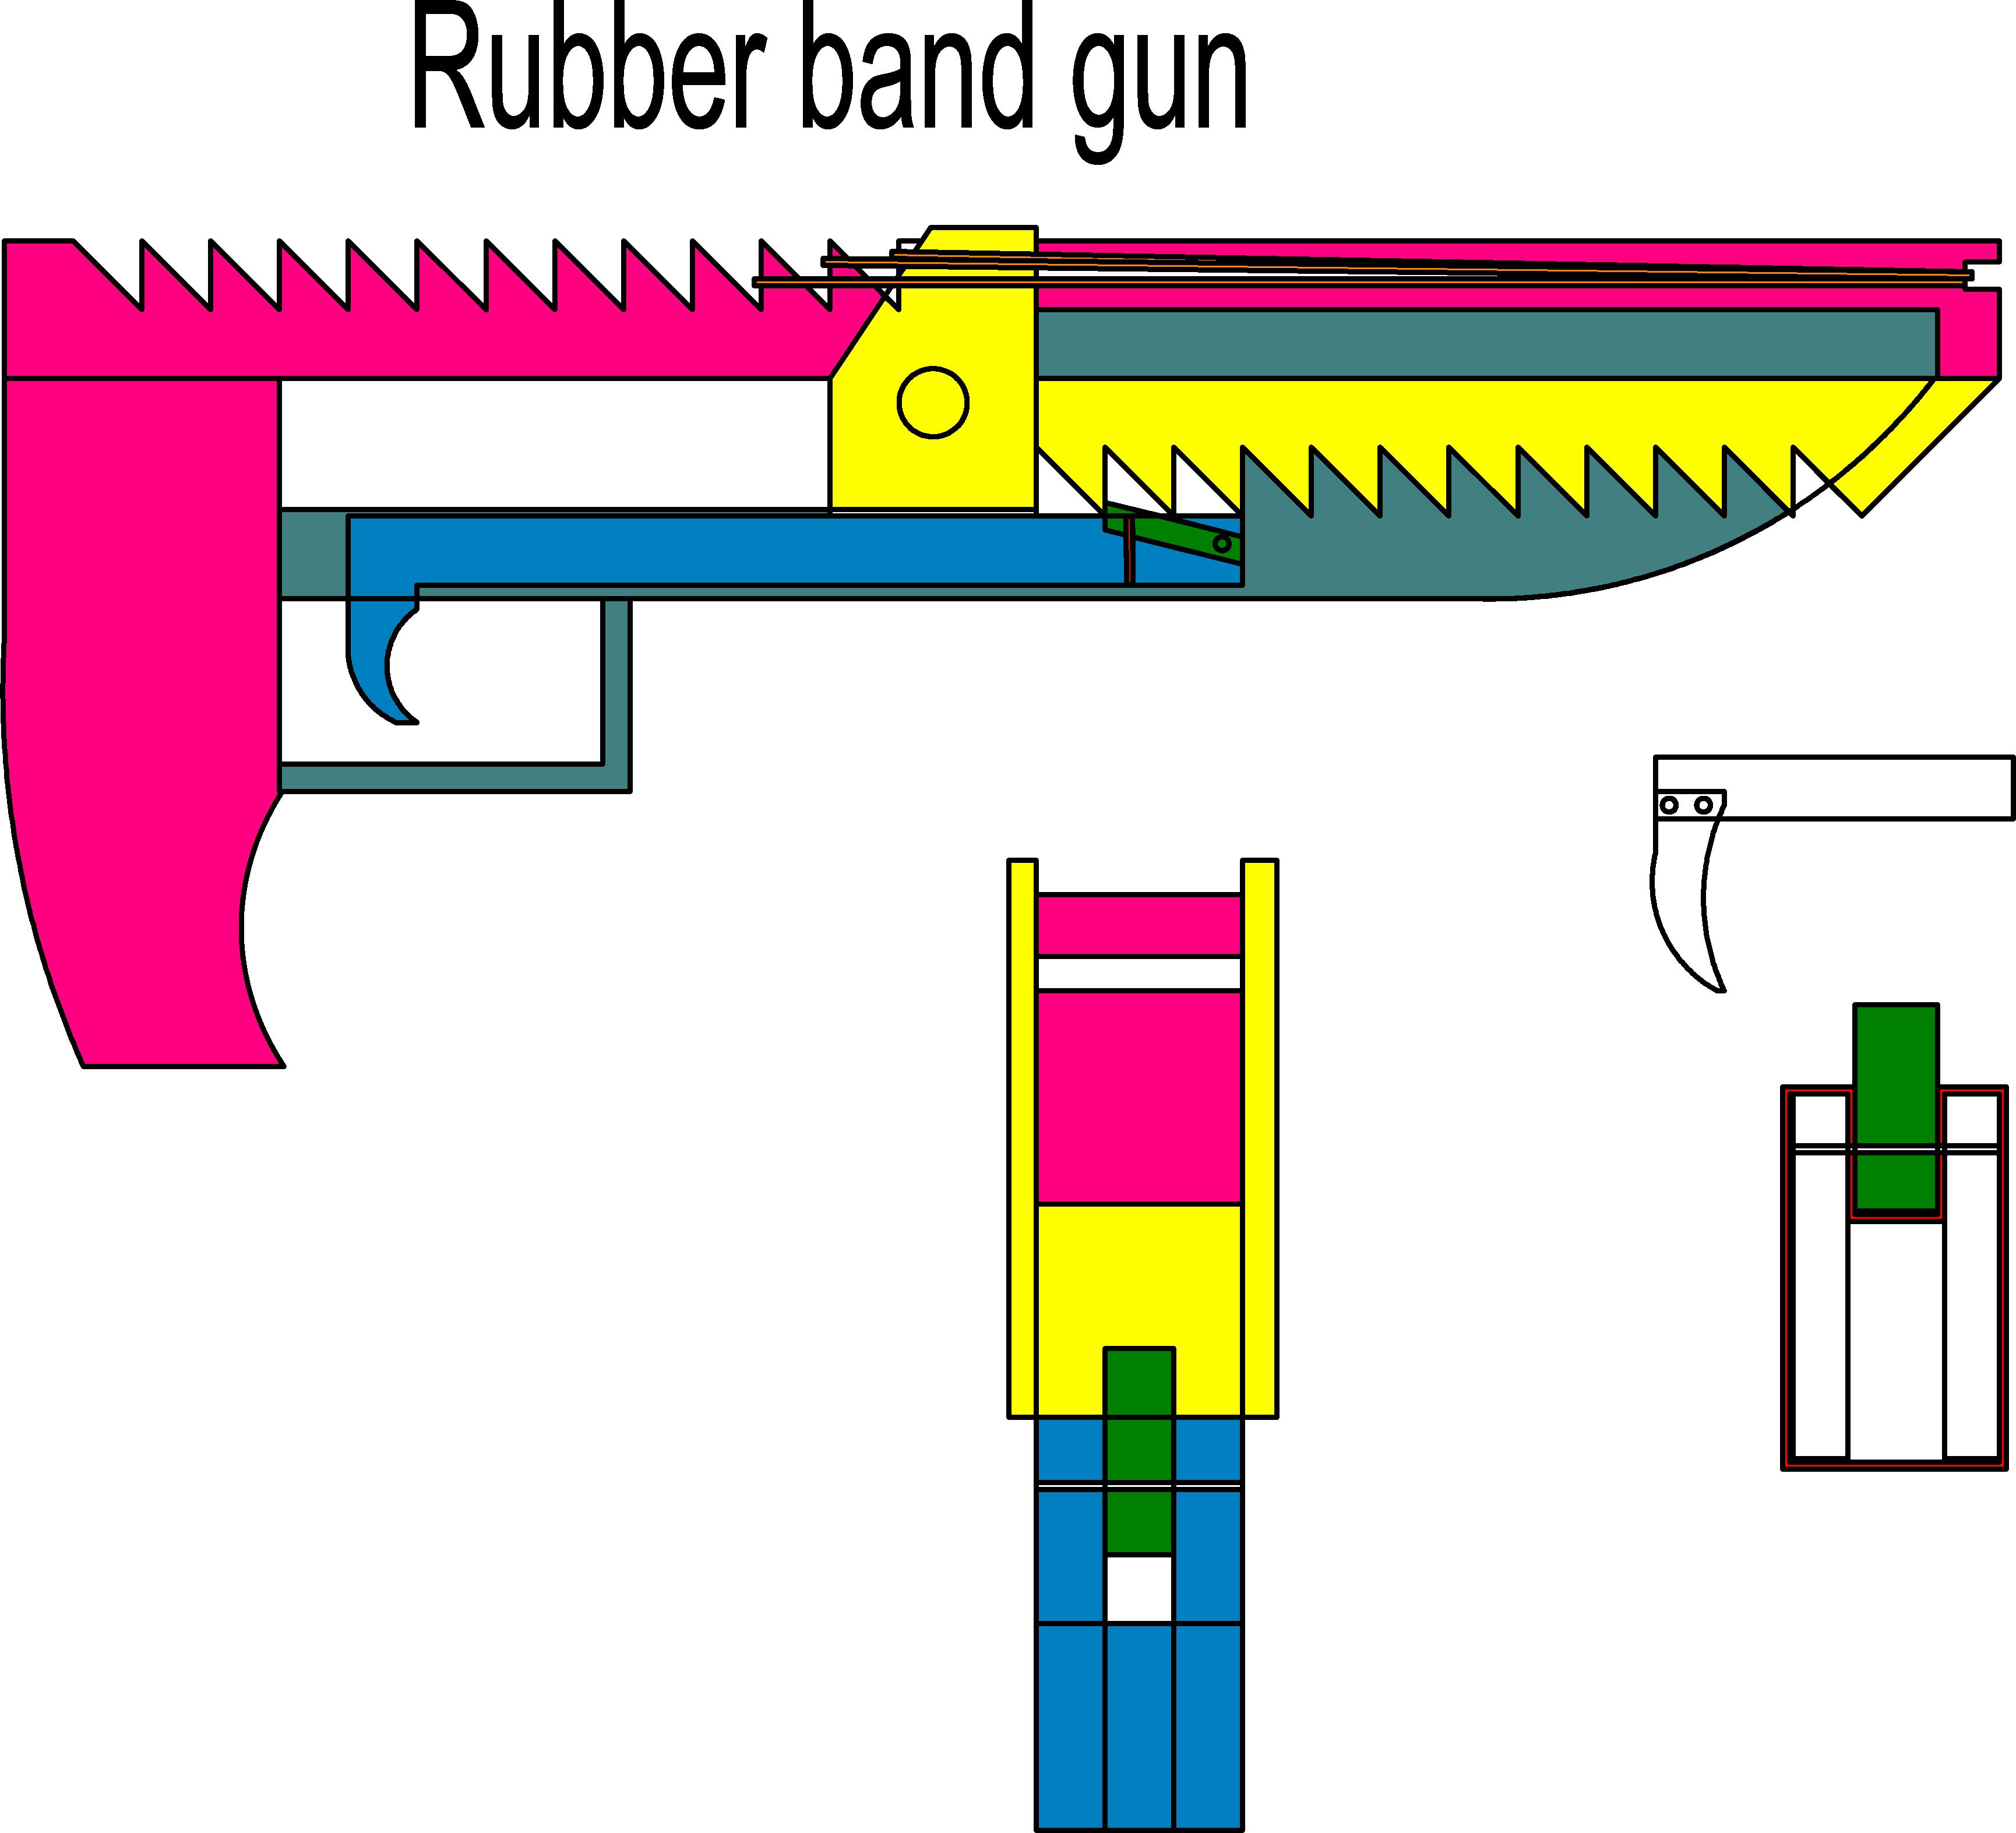
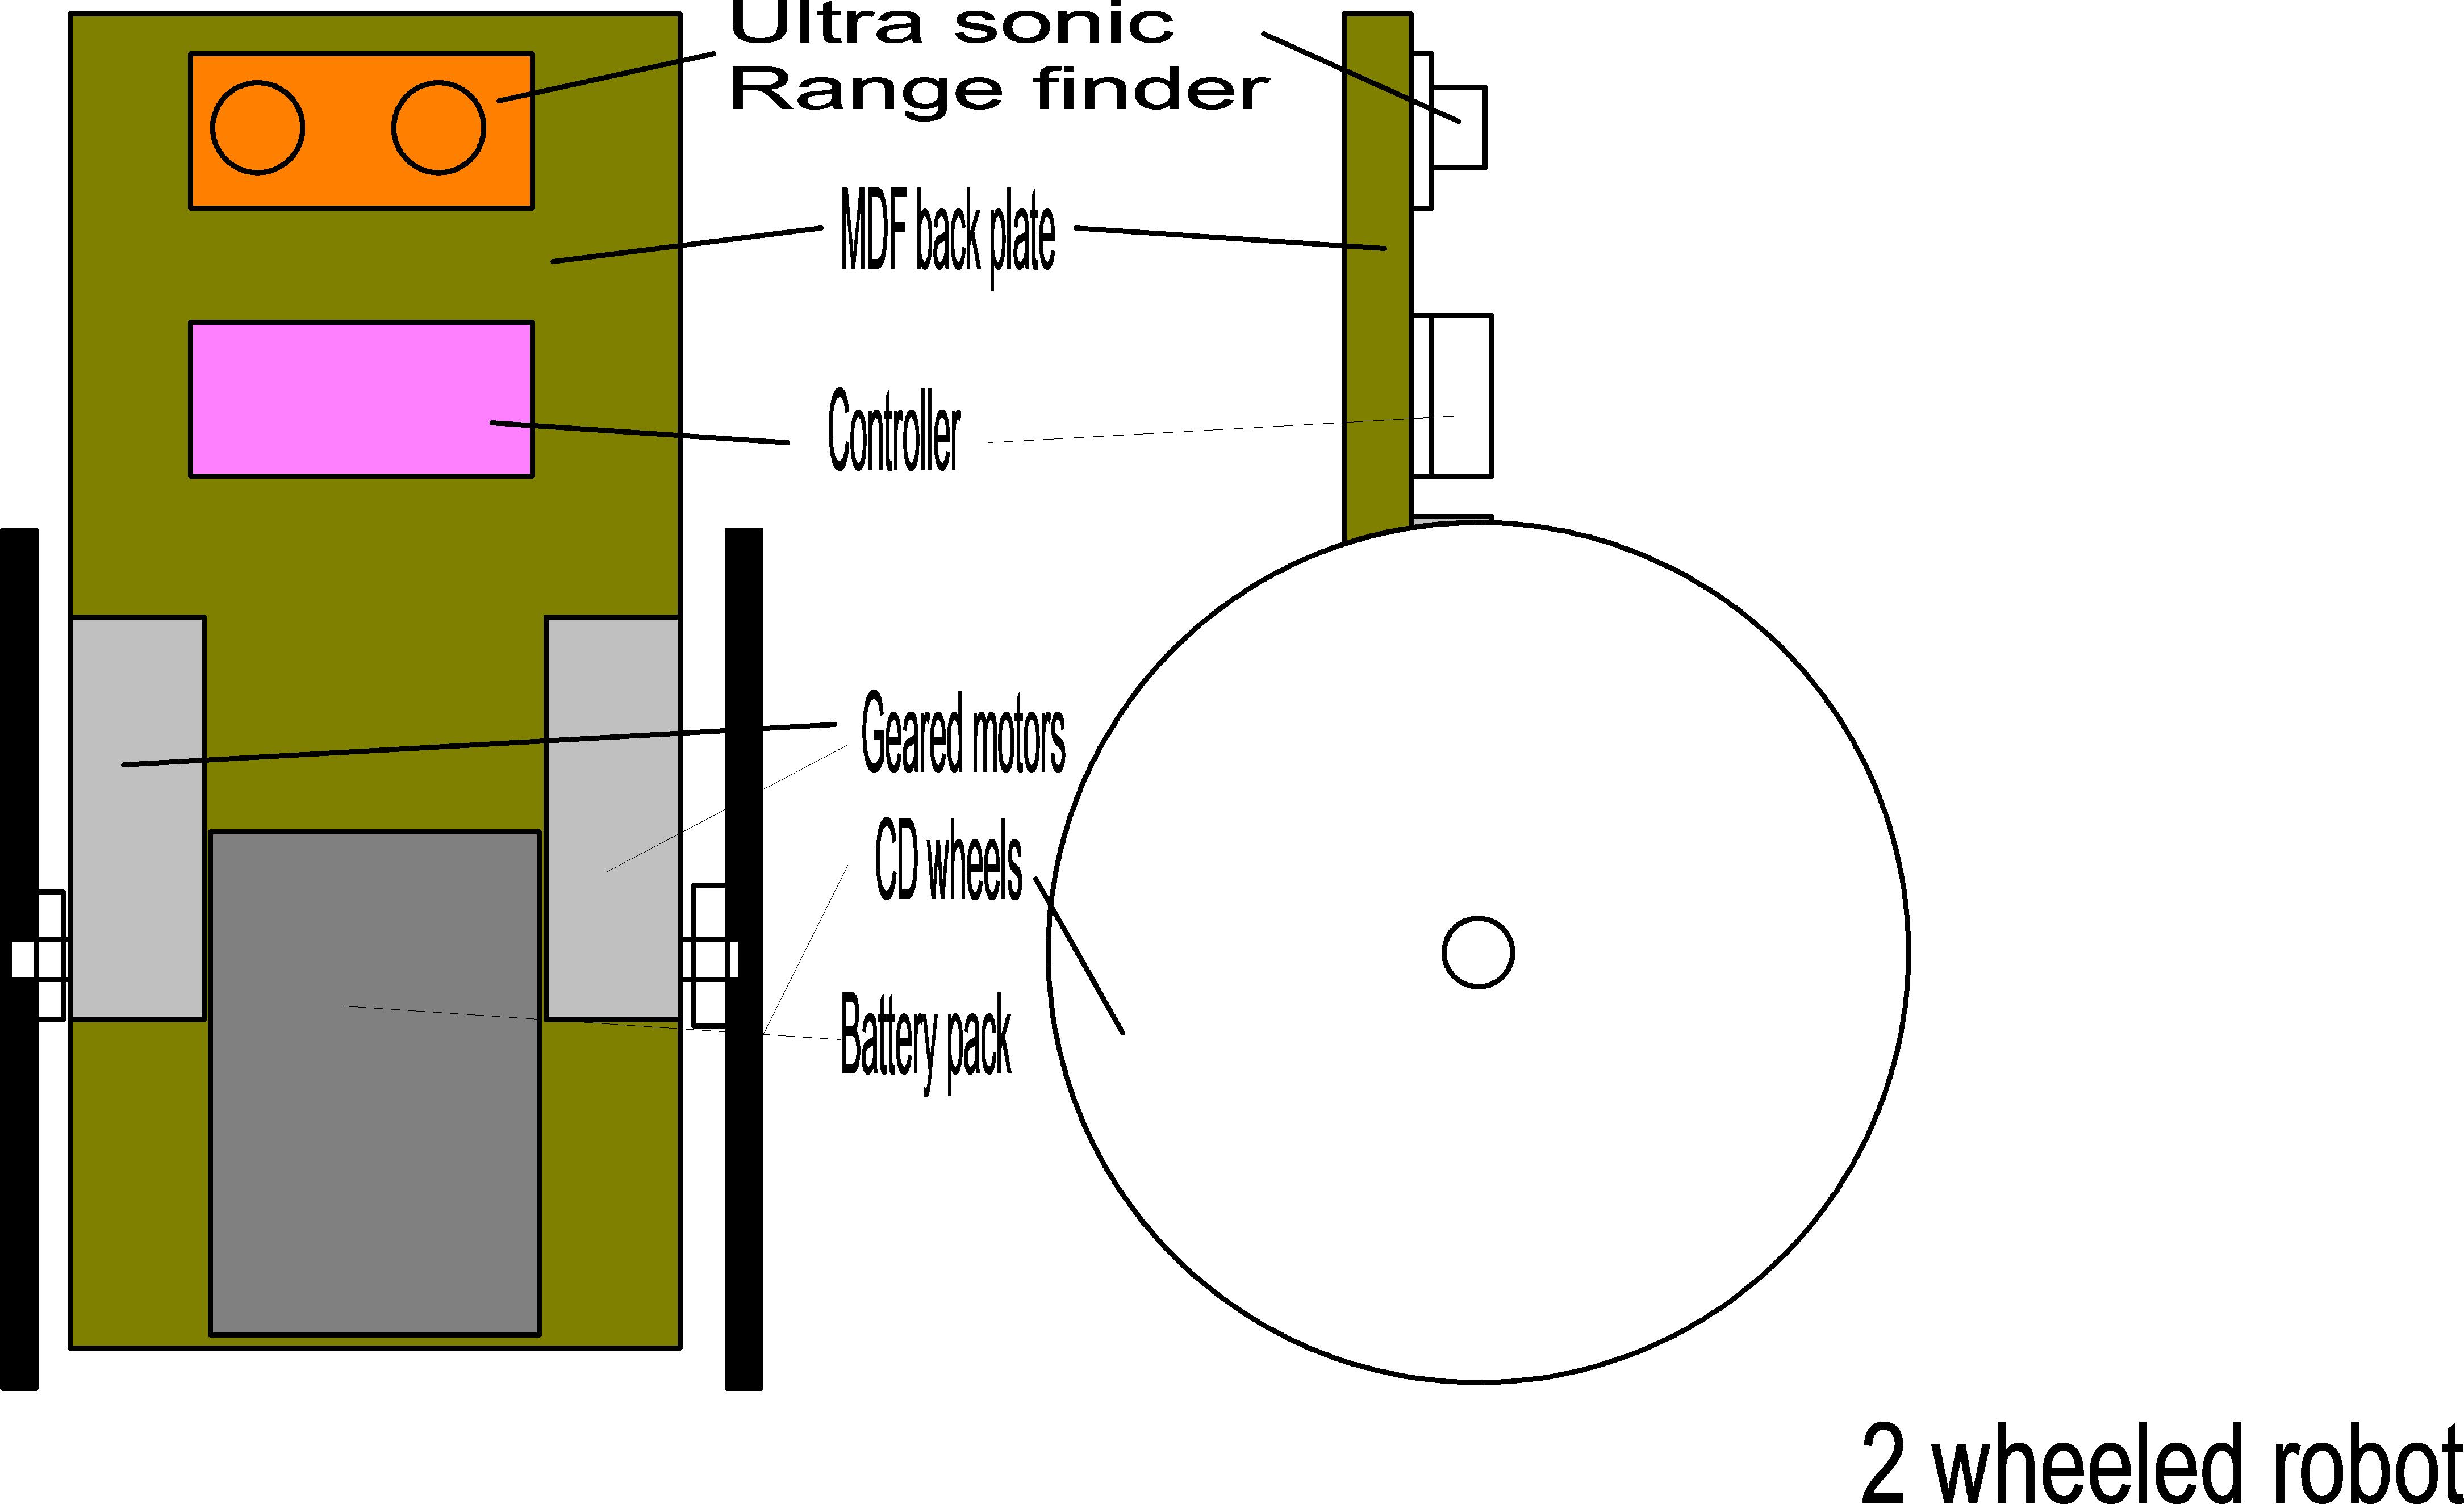
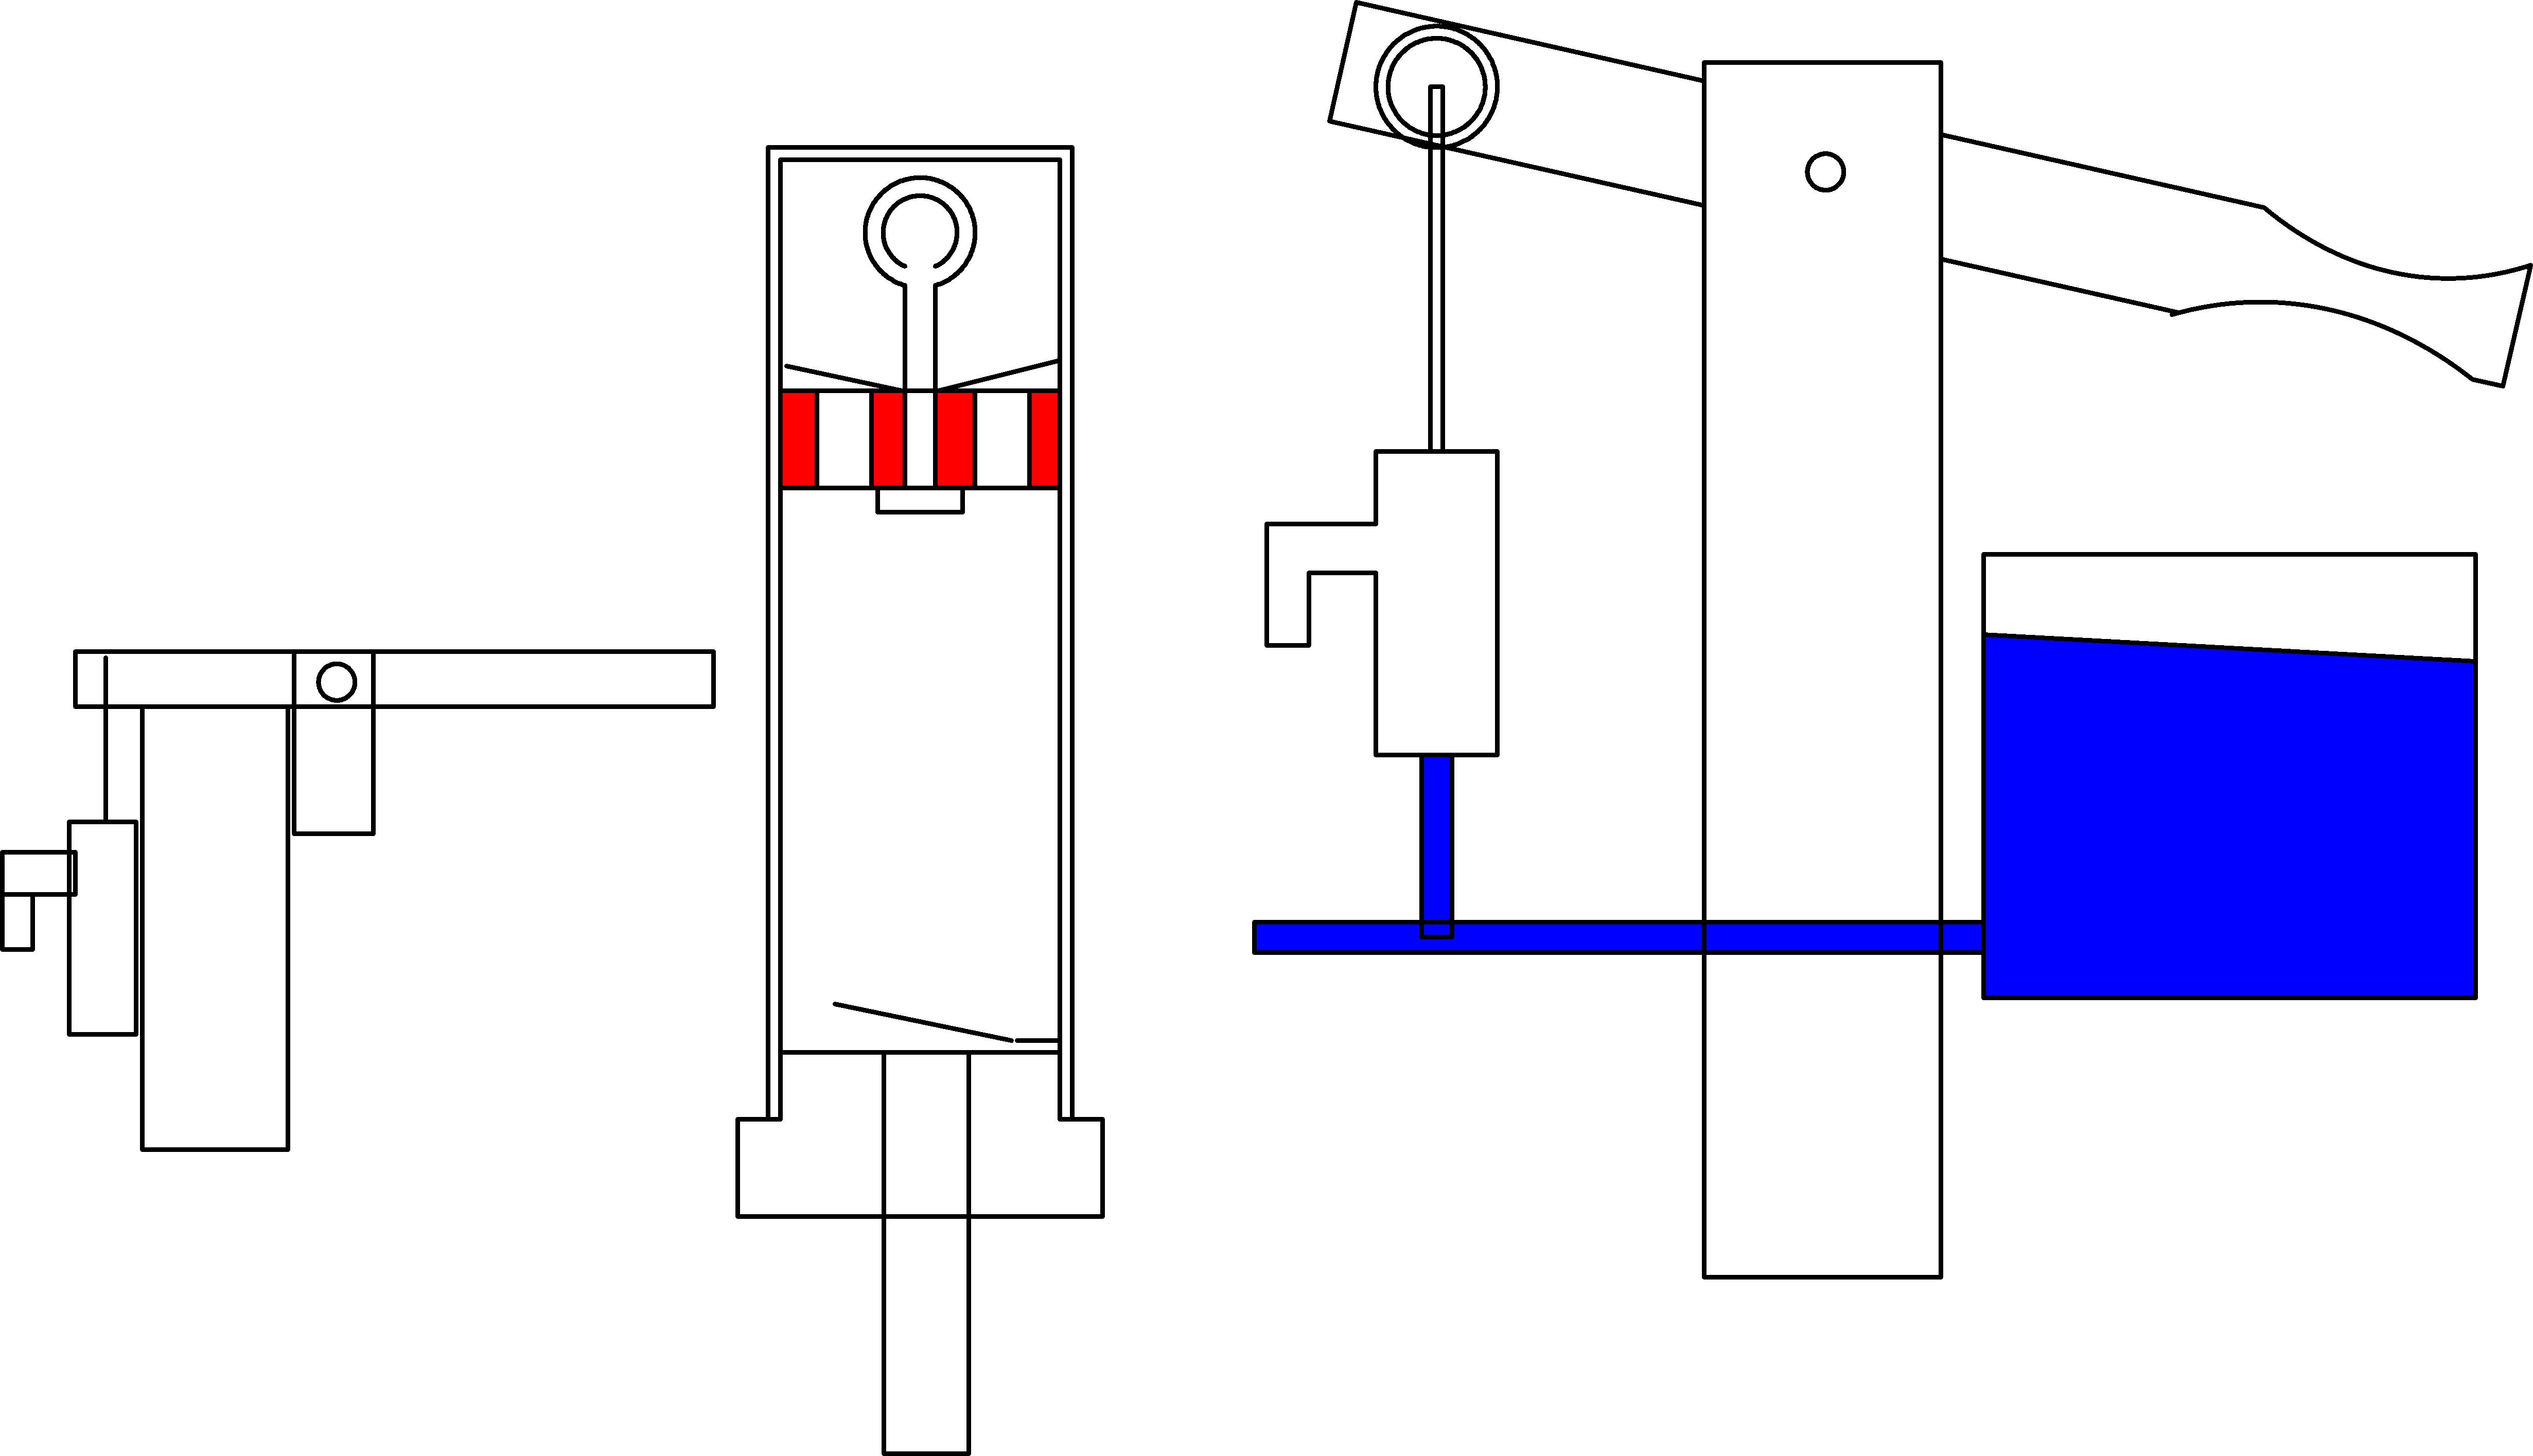

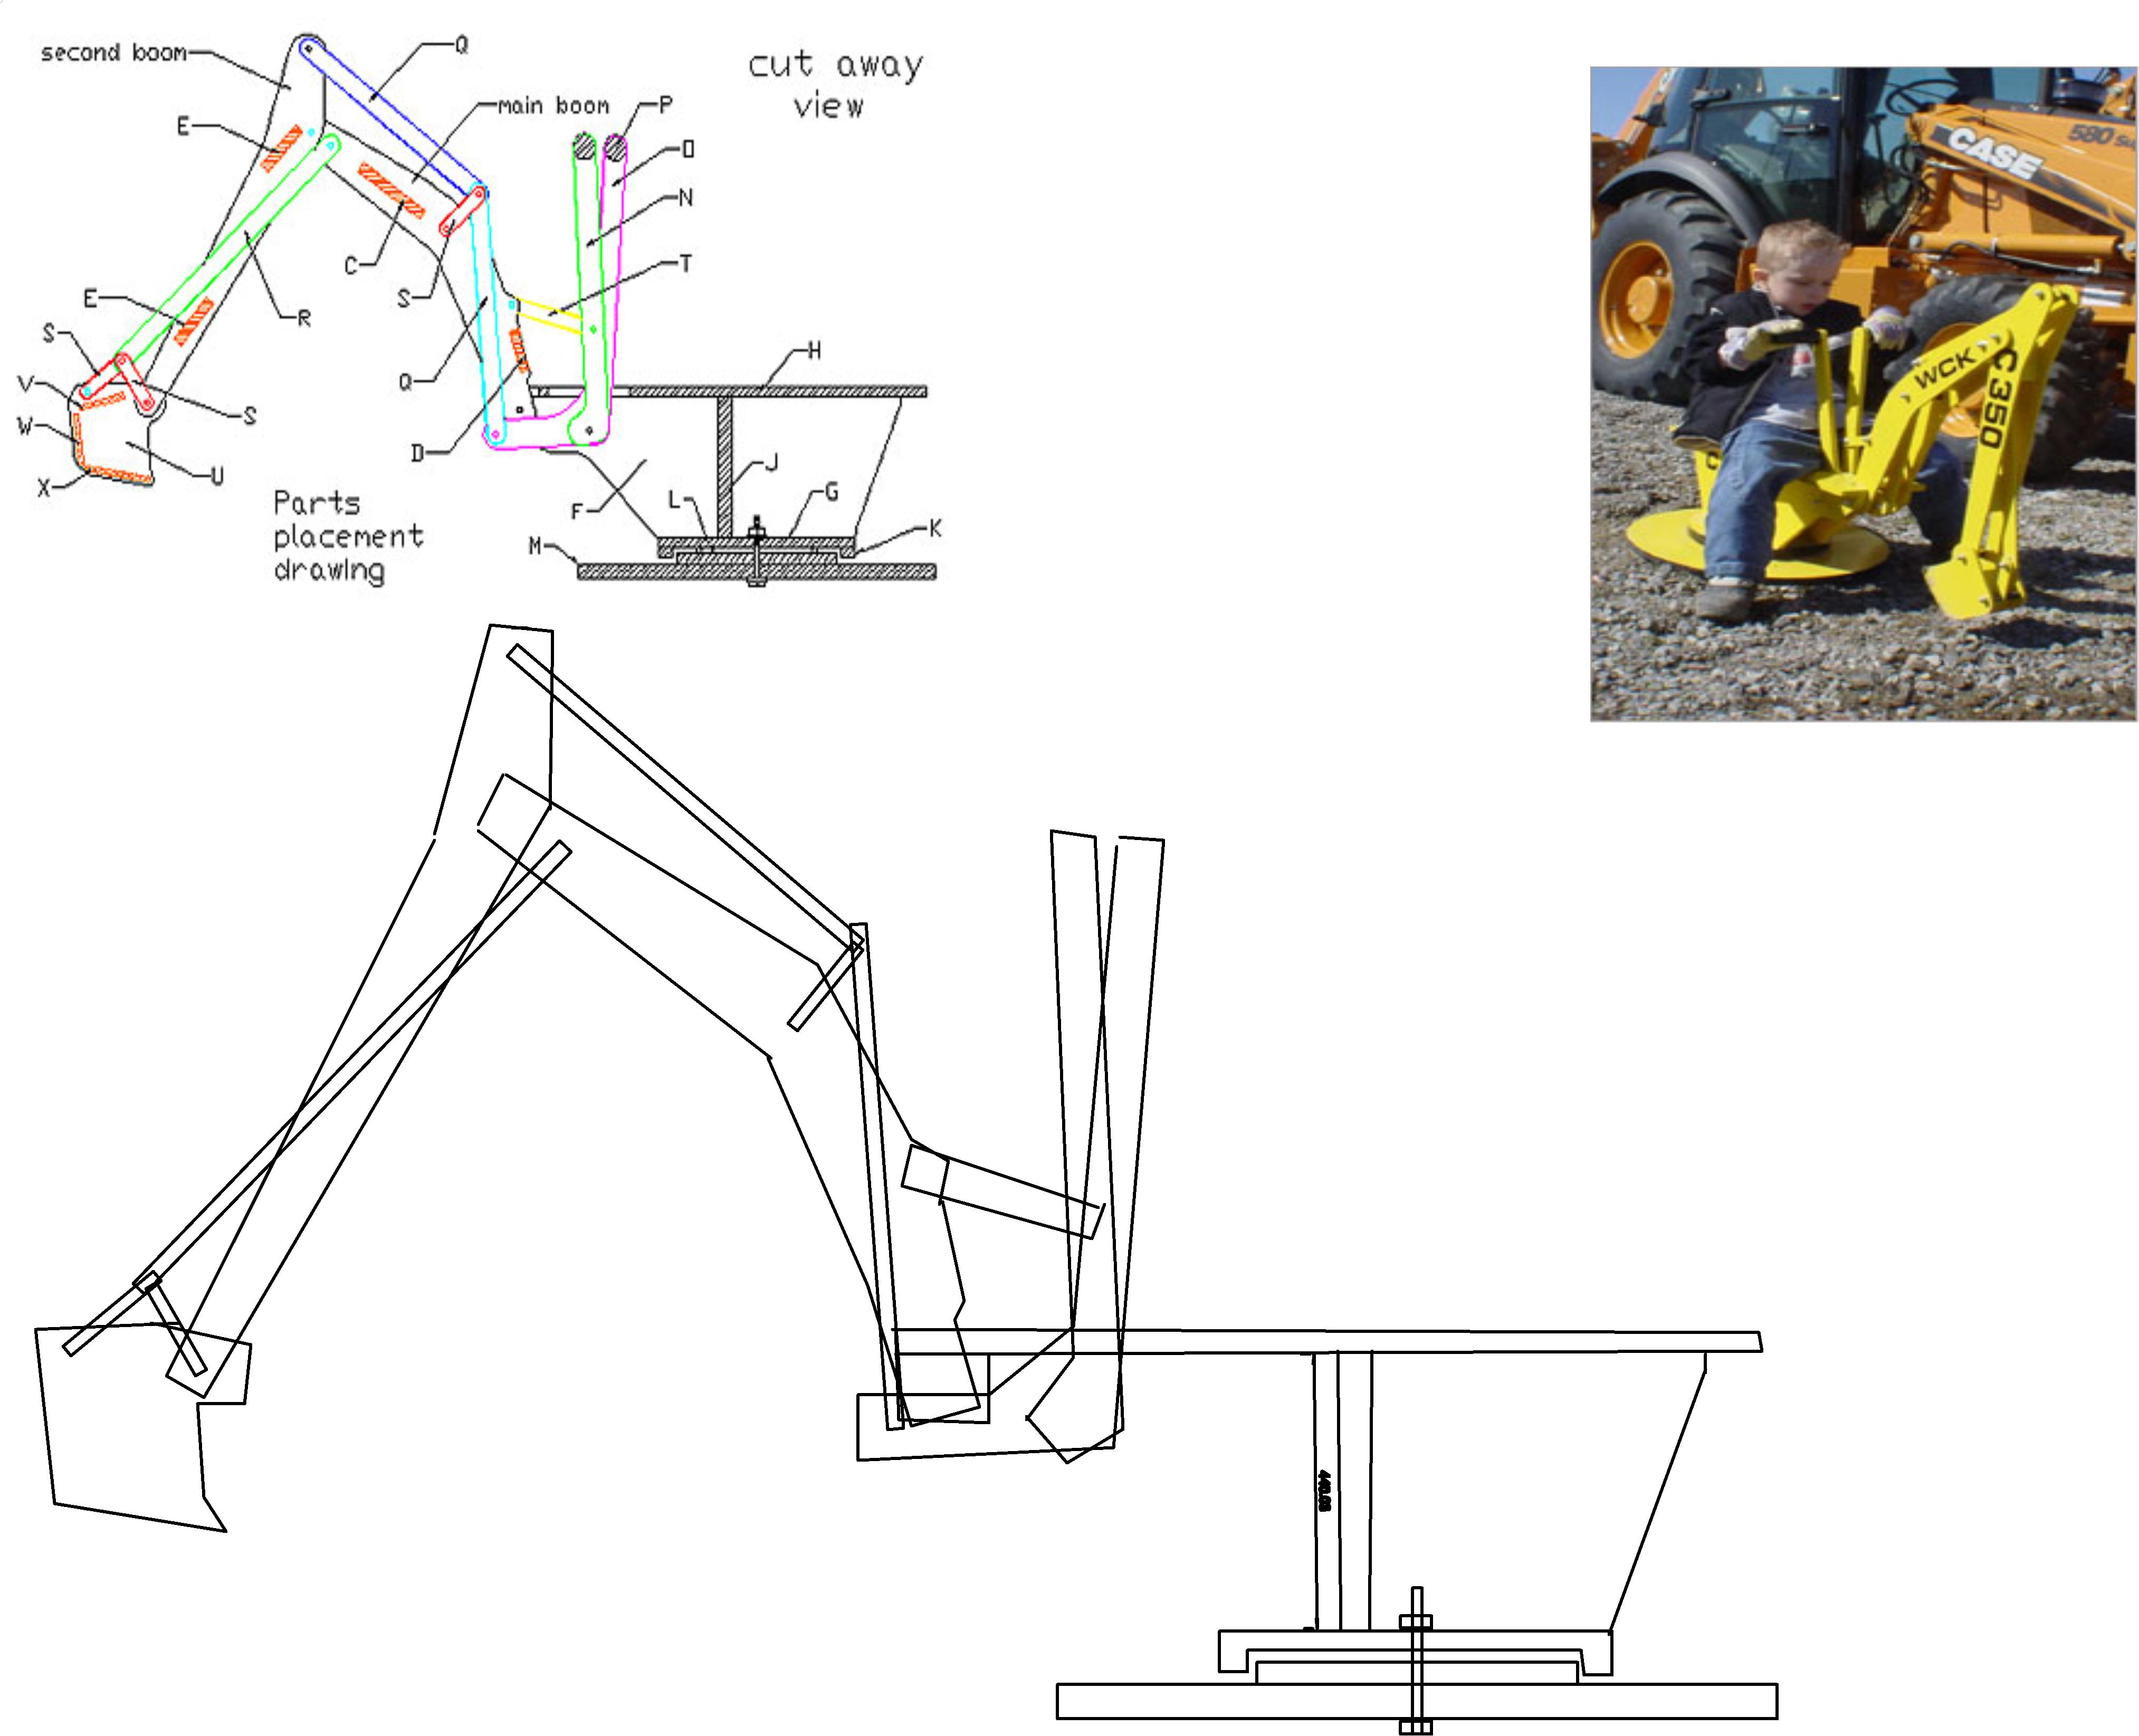
In general because I work in front of my PC and I have CAD facilities I use that although it is faster and easier to use a pencil if trying to capture or work out primary thoughts (i do that too)
Here are some examples from my projects to do file.
Here are some examples from my projects to do file.