Technical Instructions: Blender 3D Modeling
by JaredR17 in Design > Digital Graphics
3031 Views, 24 Favorites, 0 Comments
Technical Instructions: Blender 3D Modeling

Authors:
Max Armstrong
Franco Franceschelli
Amanda Godfrey
J. Jared Rodriguez
Brandie Silvia
Overview
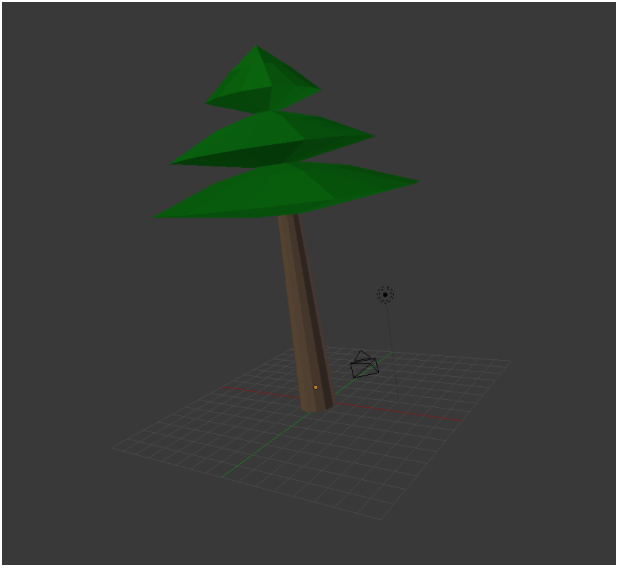
These instructions will guide the user through downloading and installing the Blender 3D Modelling Software, followed by text and graphical step-by-step instructions on how to model a simple low-poly (a polygon mesh in 3D computer graphics that has a relatively small number of polygons) tree.
Prerequisites
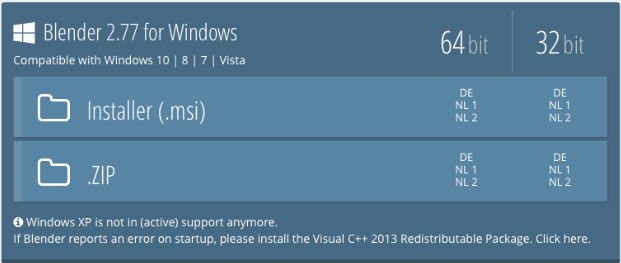
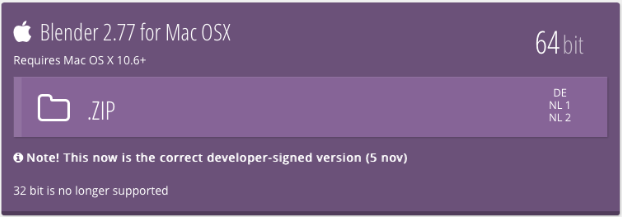
Blender is free open-source 3D modeling software for Windows, OSX, and Linux.
To get started, visit https://www.blender.org/download/ and pick the version corresponding to your operating system.
Blender is available for Windows, Mac OS X, and GNU/Linux distributions
Install and Launch Blender
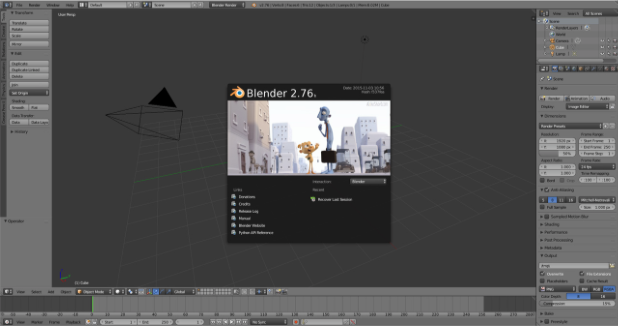
After you’ve selected and downloaded the correct version of Blender for your operating system, install and launch the application. You should reach a screen like this:
User Preferences and Basic Navigation
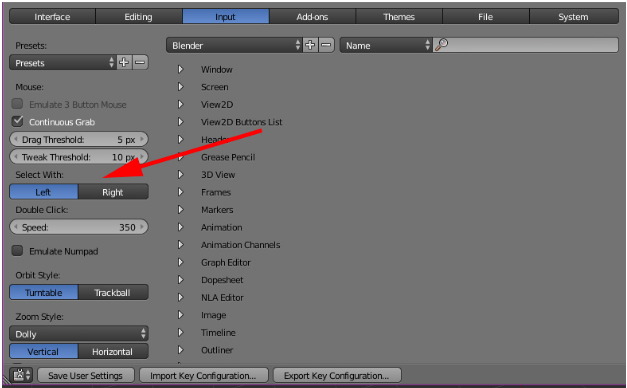
User Preferences
Before we begin, go to File, User Preferences, and select the Input tab. On the left side you should see “Select With”. Change this option from Right to Left.
Navigation
Windows:
To rotate in the scene, hold middle mouse button To move in the scene, hold middle mouse button and shift To zoom in and out, scroll with the middle mouse wheel
OS X:
To rotate, scroll in any direction (TrackPad/Magic Mouse) To zoom in and out, hold Ctrl (control) and scroll. To move up and down along the Z-axis, hold Shift and scroll.
Views
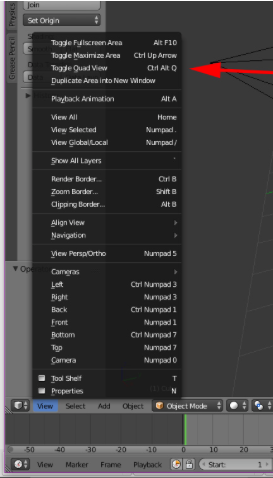
By default, there is a 3D view displayed, but there is also a quad view which will show all 2D planes to help align objects precisely. This can be toggled on by pressing the shortcut Ctrl + Alt + Q or going to the View tab on the bottom left.
Change the view to the front of scene by either pressing numpad “1” on your keyboard or using the View tab. Utilize shortcuts to navigate quickly within Blender.
Press Shift + S and select Cursor to Center (Shift + S, R)
Modeling
Note: If there are any pre-loaded objects in the scene you can delete it by selecting it and pressing X or DEL and confirming deletion.
Adding Objects
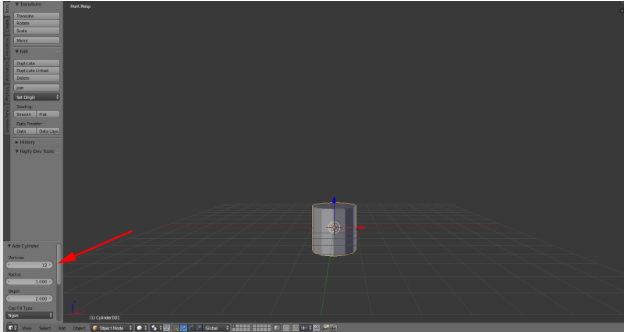
Press Shift + A, and under the Add menu select Mesh, then choose Cylinder. On the left bar you should see a button called Add Cylinder and a menu item for Vertices. Change the number of vertices to 12. This will be our tree trunk.
Edit Mode

Now go to the bottom of the screen and click on Object Mode and switch to Edit Mode. You can now manipulate the mesh.
Vertex, Edge, and Face Select
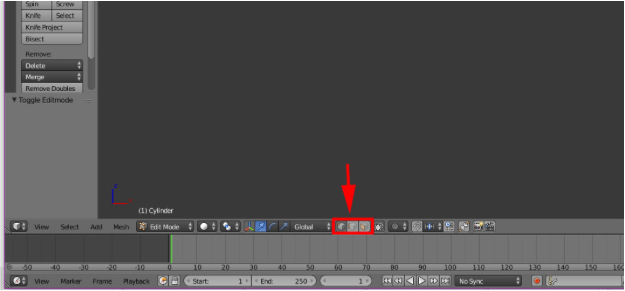
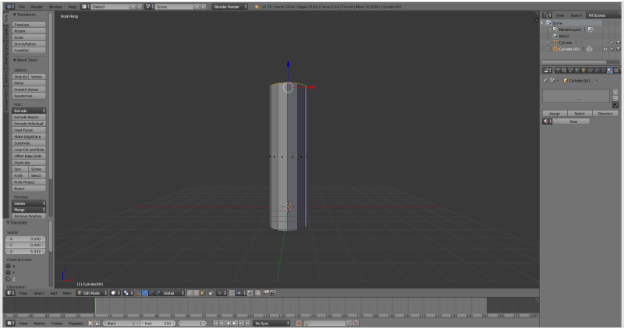
From left to right:
The Vertex Select button is what you have currently selected which allows you to select the vertices on the mesh.
The Edge Select button allows you to select the edges of the mesh.
The Face Select button selects the faces of objects.
Scaling
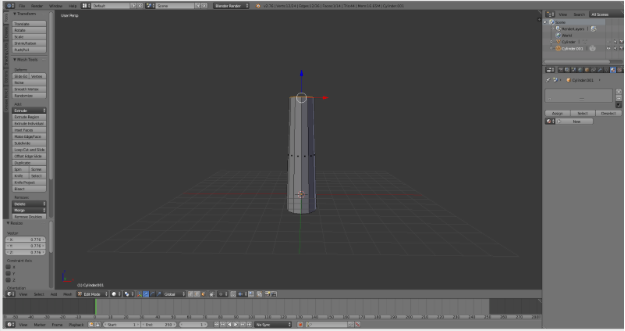
With the top face still selected, press “S” (a shortcut for “scale”) and adjust the face inwards to create a conical shape that will serve as the tree trunk.
Deselecting and Adding Objects
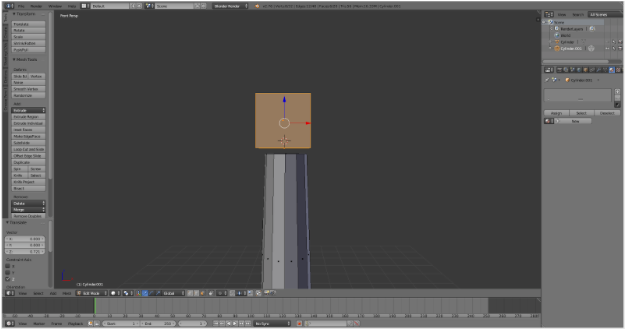
Press A to Deselect the face.
Now we are going to make the top of the tree. Right click above the top of your top face of the cylinder. This will move the 3D cursor above it. Now when we press Shift + A and add a cube mesh and it will appear there.
In 3D images, a face is a flat surface, such as the front or top of the box.
Subdividing
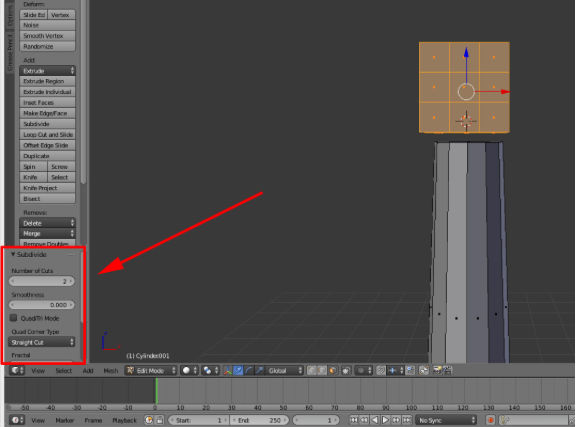
Then press “W” and click Subdivide. This will divide the cube up into a bunch of faces.
On the left side of the screen you will see Subdivide, and under it Number of Cuts. Change that to “2”.
Then rotate so you can see the bottom of the square and select the bottom faces. Do this by clicking one of the individual square faces then holding “Ctrl” while selecting the rest of the faces.
Scaling a Subdivided Face
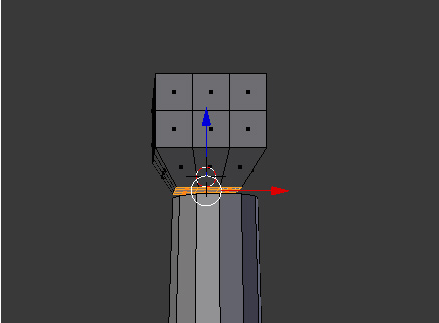
Press “1” again to get back into front view.
Press ”S” to scale and scale the bottom faces in.
Selecting an Edge
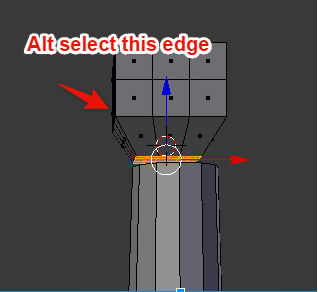
Press “A” to deselect then change to Edge Selection mode.
Now select the edge above the one you just scaled down. To select the entire ring of edges around hold “Alt” (Option on OS X) and select one edge.
Scaling an Edge
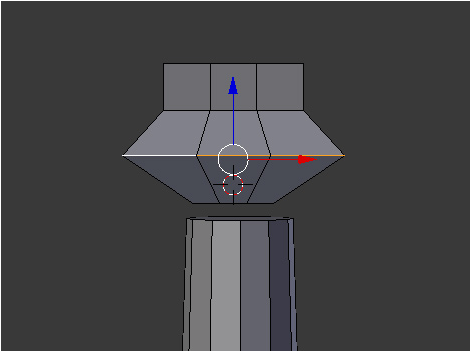
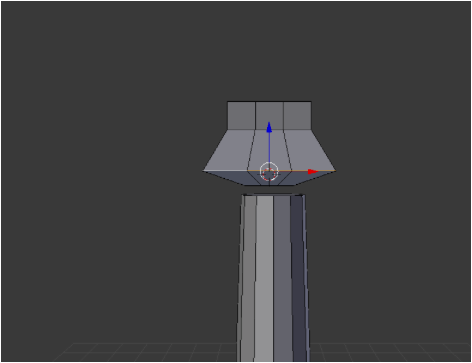
Press “S” to scale outward.
Then click the blue arrow to decrease the Z-axis value so that there is less of a ridge between this ring and the bottom.
More Scaling
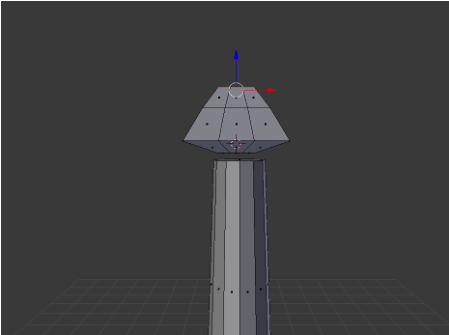
Switch back to Face Select mode and select all the faces on the top of the square. Press “S” to scale them inwards.
Adjusting Objects
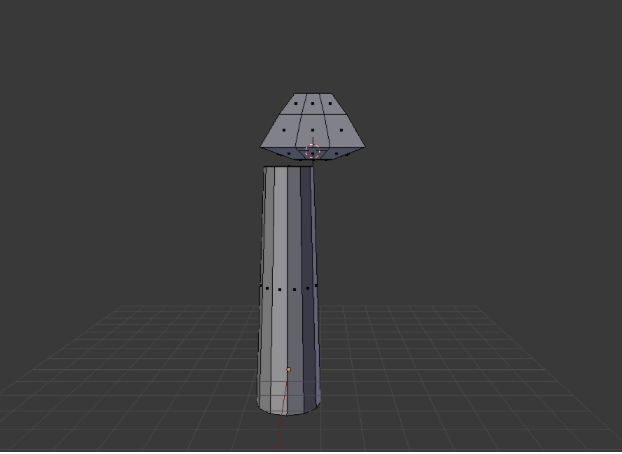
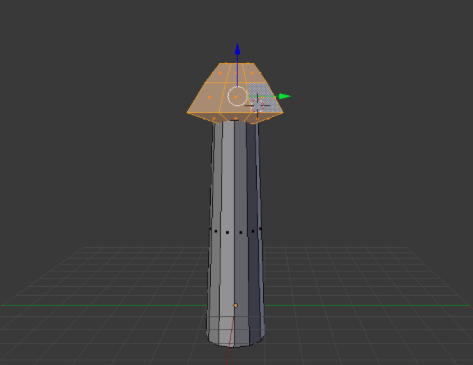
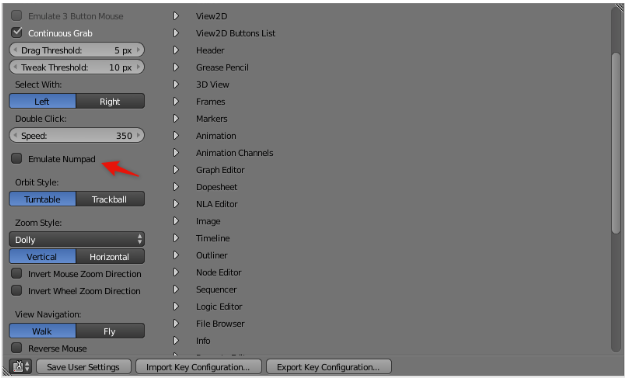
Now go to the View tab on the lower left and select Right or press “3” on your numpad. This will take you to the right view of your scene. If you're using a laptop and don’t have a numpad either use the View tab method or go down to the troubleshoot section and do the “Emulate Numpad” process to use your 0-9 keys as view changing buttons.
The top part of the tree might not be directly over the trunk.
To move it over select one face on the top mesh and press “L”. This should select the entire mesh. Now press the green arrow and move it over the trunk. Also, use the blue arrow to move it down so it intersects with the top of the trunk.
Scaling: Compressing Objects
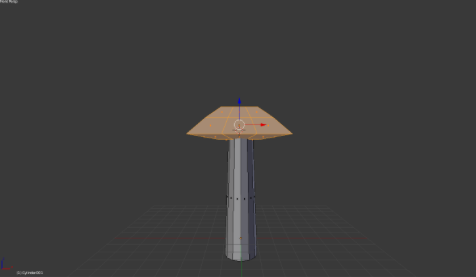
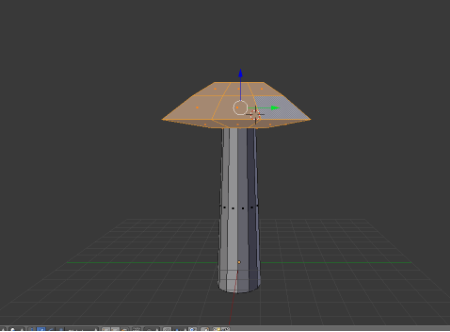
Press “1” to go back to front view.
With the top still selected, press “S” to scale and then “X”. This will constrict the scaling to the X-axis. Pull out the base to make it wider.
Press “3” to go into side view and press “S” and “Y” to scale it on the Y-axis.
Now we have a good top part shape.
Duplicating Objects
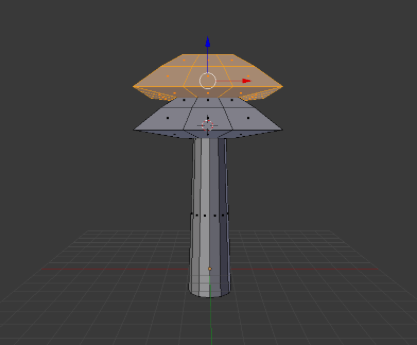
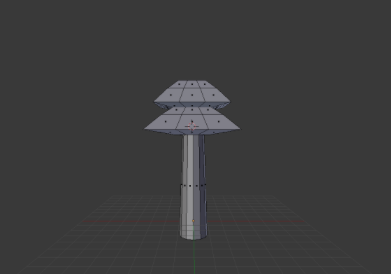
With the top part selected press Shift + D to duplicate it. Left-click so it duplicates in place. Once duplicated, drag the top up so its bottom intersects with the original’s top.
Scale it on its X-axis by pressing “S” then “X” to make the top less wide than the original one. Also scale it on the y axis so it’s less thick than the original as well.
Scaling the Tip
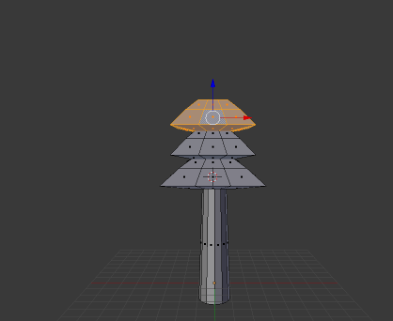
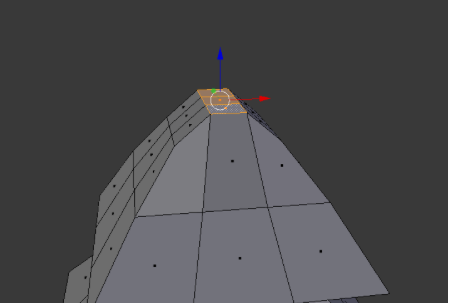
With that one scaled, we are going to duplicate it again. Press Shift + D to duplicate the new image and drag it up like before.
Scale it on the X and Y-axis like we did before.
Transforming and Merging
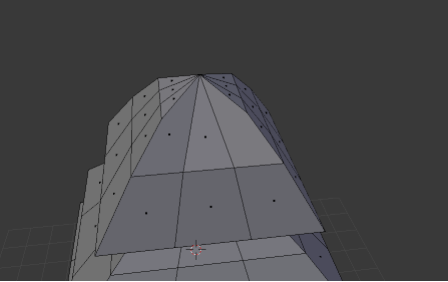
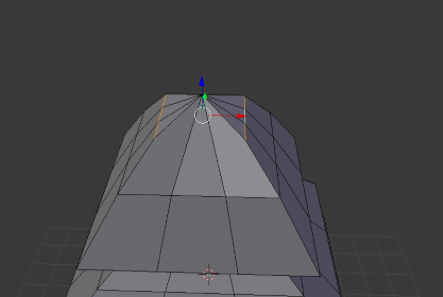
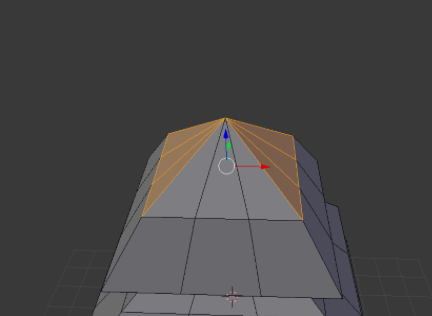
In the Transform tab at the bottom left, there is an option called Merge. With those three faces selected, click Merge and Center.
Switch to Edge Select mode and select the edges on the side of the point.
Hit “X” and press Edge Loops (at the bottom of the screen) to delete the selected edge loops.
Finished Tree
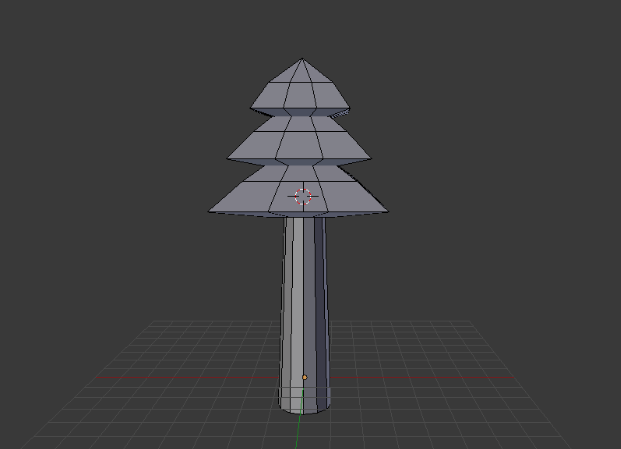
You have now finished modeling a 3D tree!
Coloring Objects


Let's add some color before you go.
On the right side of the screen you should see an area with a collection of icons in a bar.
Click on the circular icon which is the Material tab.
Creating a New Material
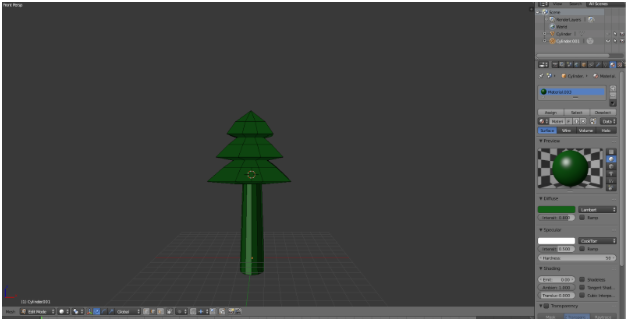
Click on the New button to make a new material.
Click the white color box in the Diffuse section and select a green color in the color circle. Make it darker by using the sidebar.
Creating a Second Material
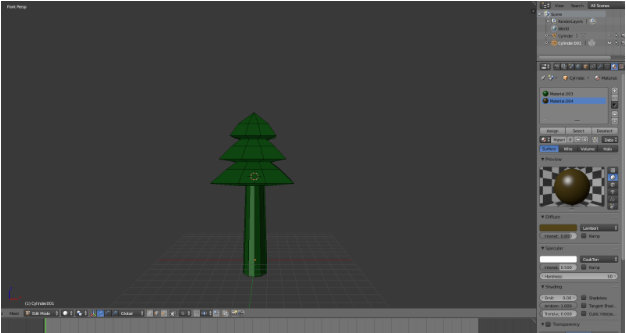
Hit the plus icon (to the right of the Material box) to add a new slot. Then press the New button to add another material like before. This time under the Diffuse box, pick a dark brown for the trunk.
Applying Color to the Mesh
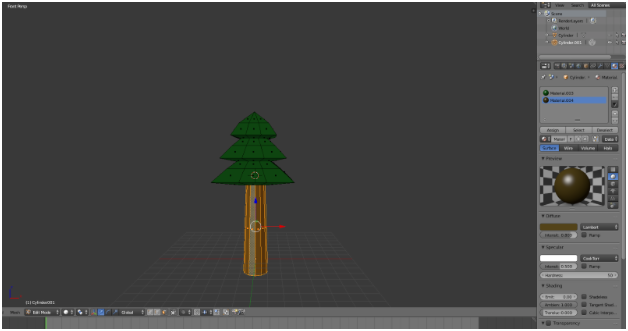
Go into Face Select mode and select one of the faces on the trunk. Press “L” to select the entire trunk.
On the right, click your brown material and then hit Assign to bring the brown color to your trunk.
The leaves of your tree should already be green but, if not, you can select all the top faces and apply the green material in the same way.
The Final Result
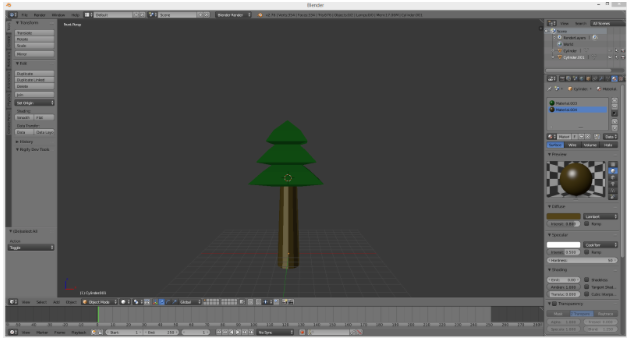
Hit tab to go back into Object Mode and see the final result!
Troubleshooting
To undo a move click Ctrl+Z
For laptop users without a numpad. To use your 0-9 keys to change your view then go to File > User Preferences > Input then Select "Emulate Numpad".