@TechShop MP: 3D Printed Nightlight
by TSTricky in Workshop > Lighting
1052 Views, 1 Favorites, 0 Comments
@TechShop MP: 3D Printed Nightlight
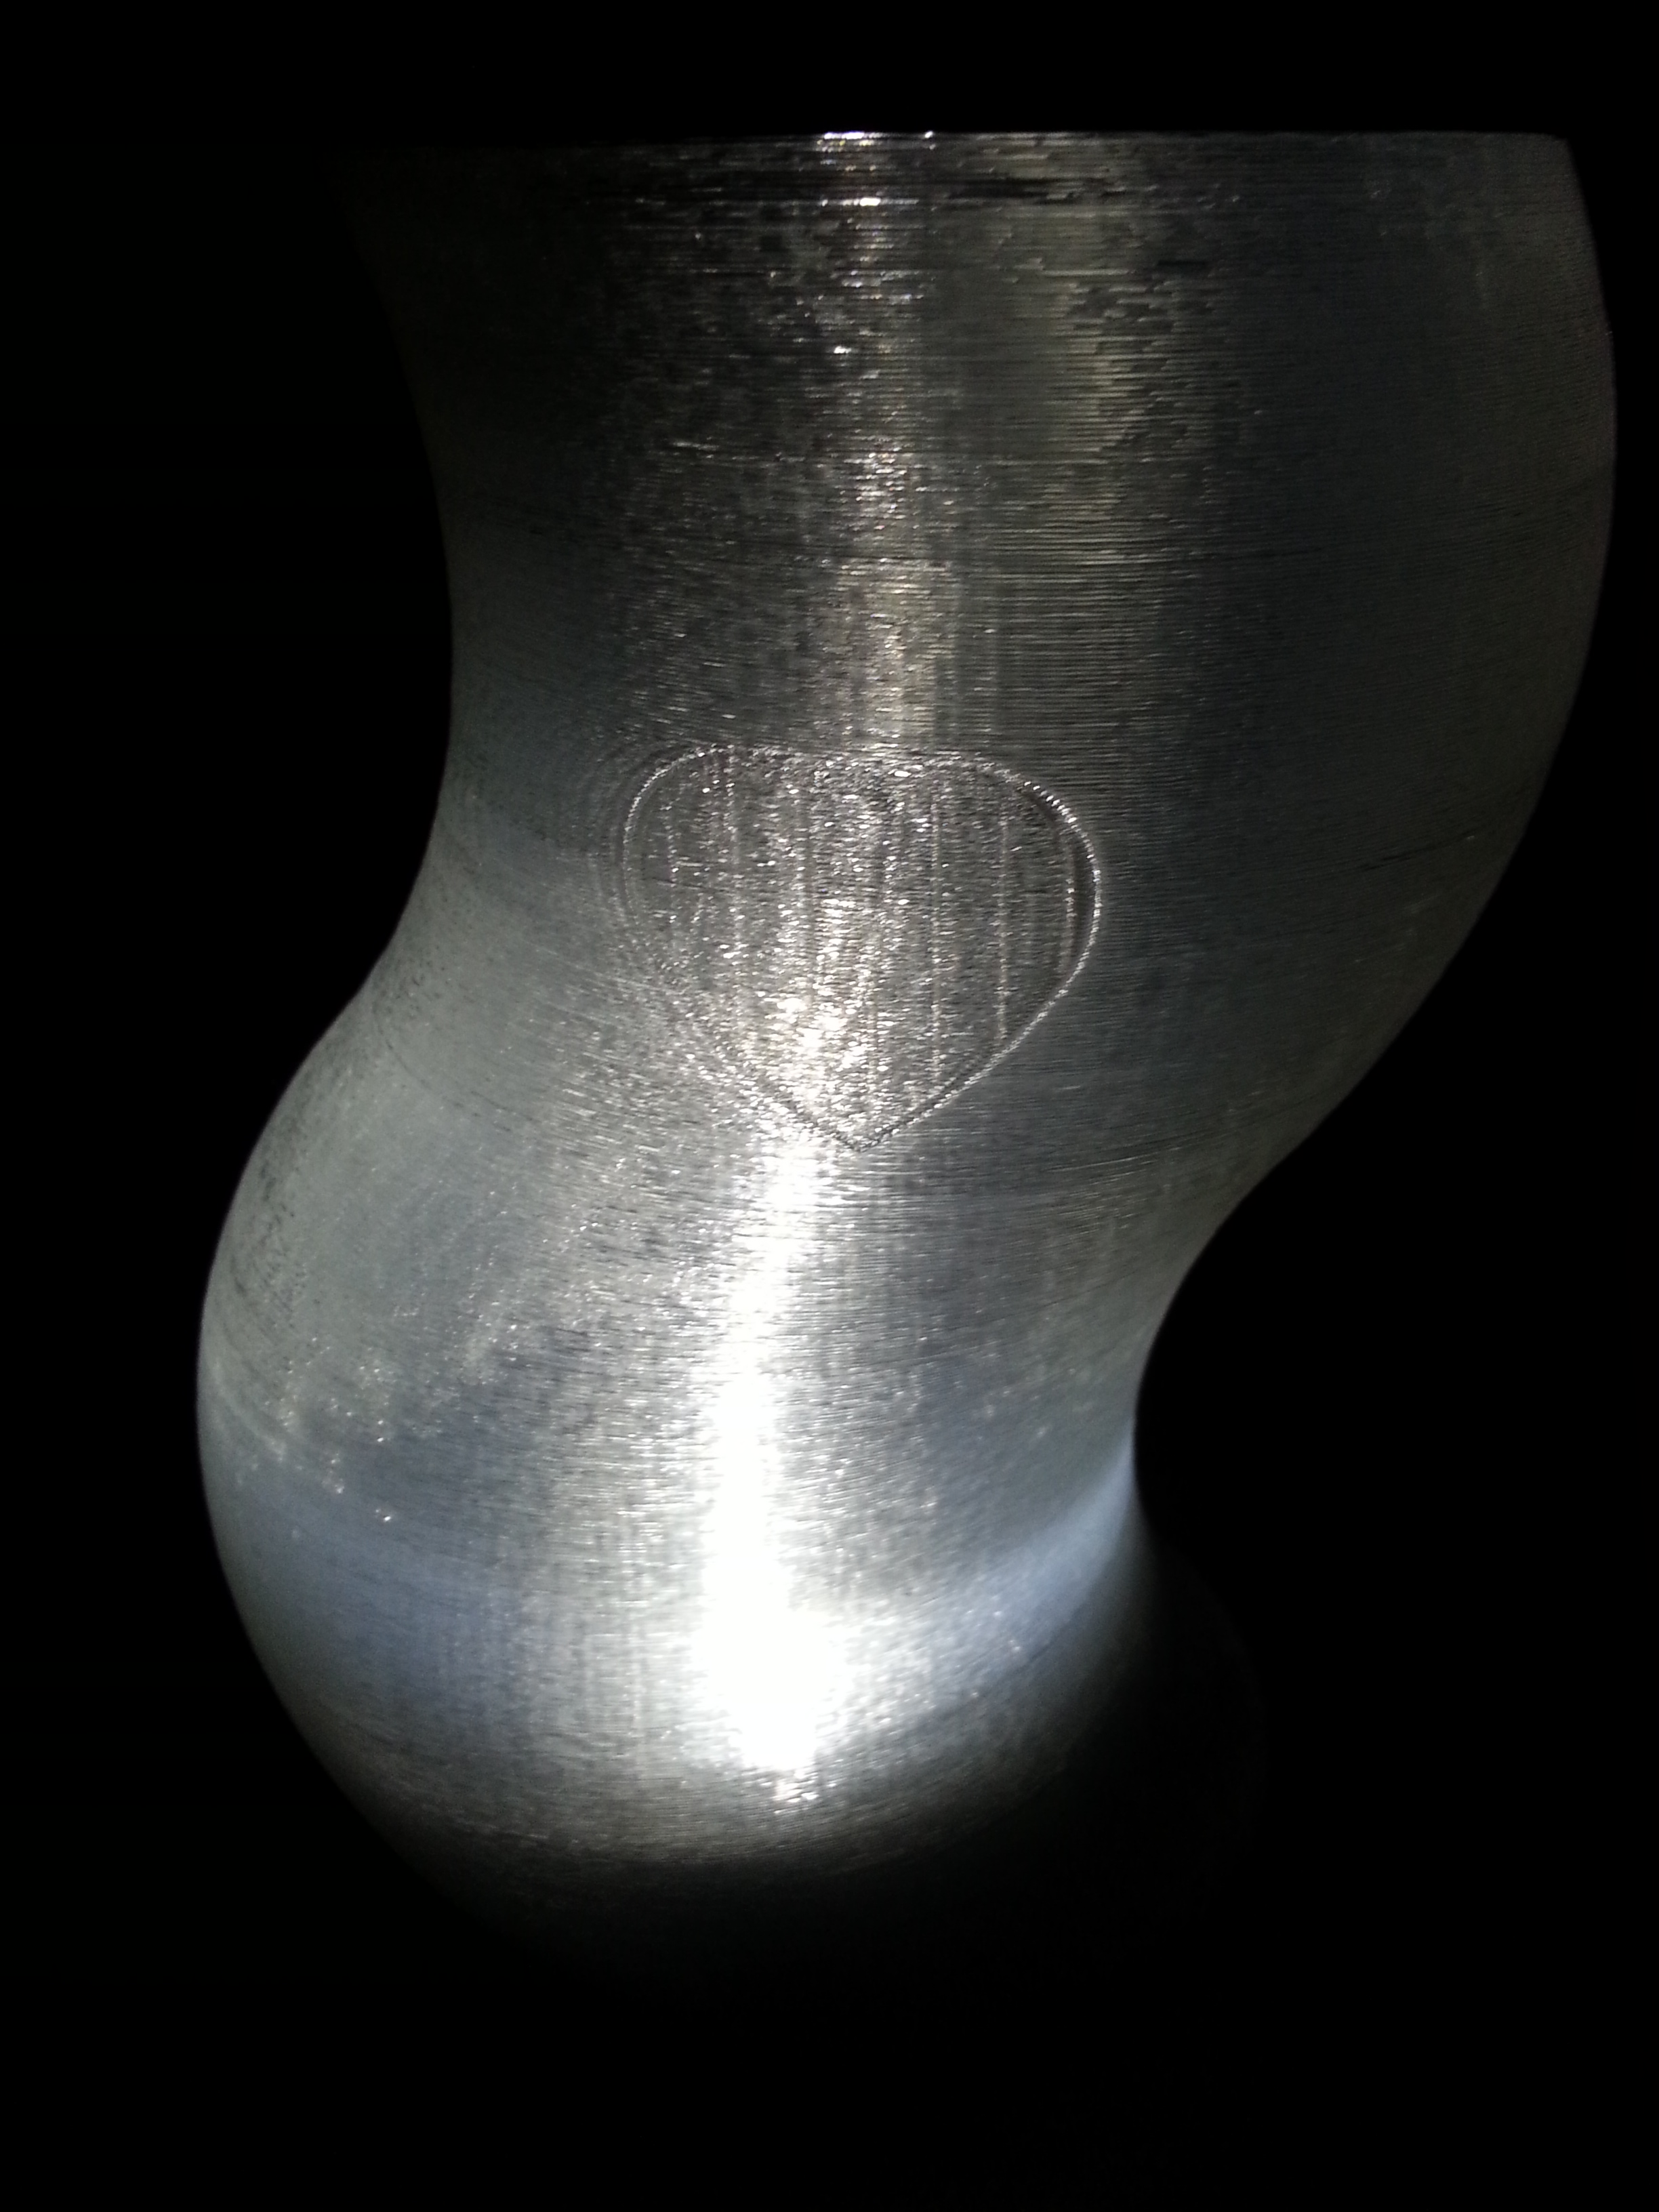
I really enjoy 3D printing with the Makerbot Replicator. I guess that's why I teach the classes. Or maybe I teach the clases so that I have an excuse to print the silly ideas I have. One such idea was to print a night light. I got the idea because of the translucent property of the PLA material used on the Replicator 2.
Design
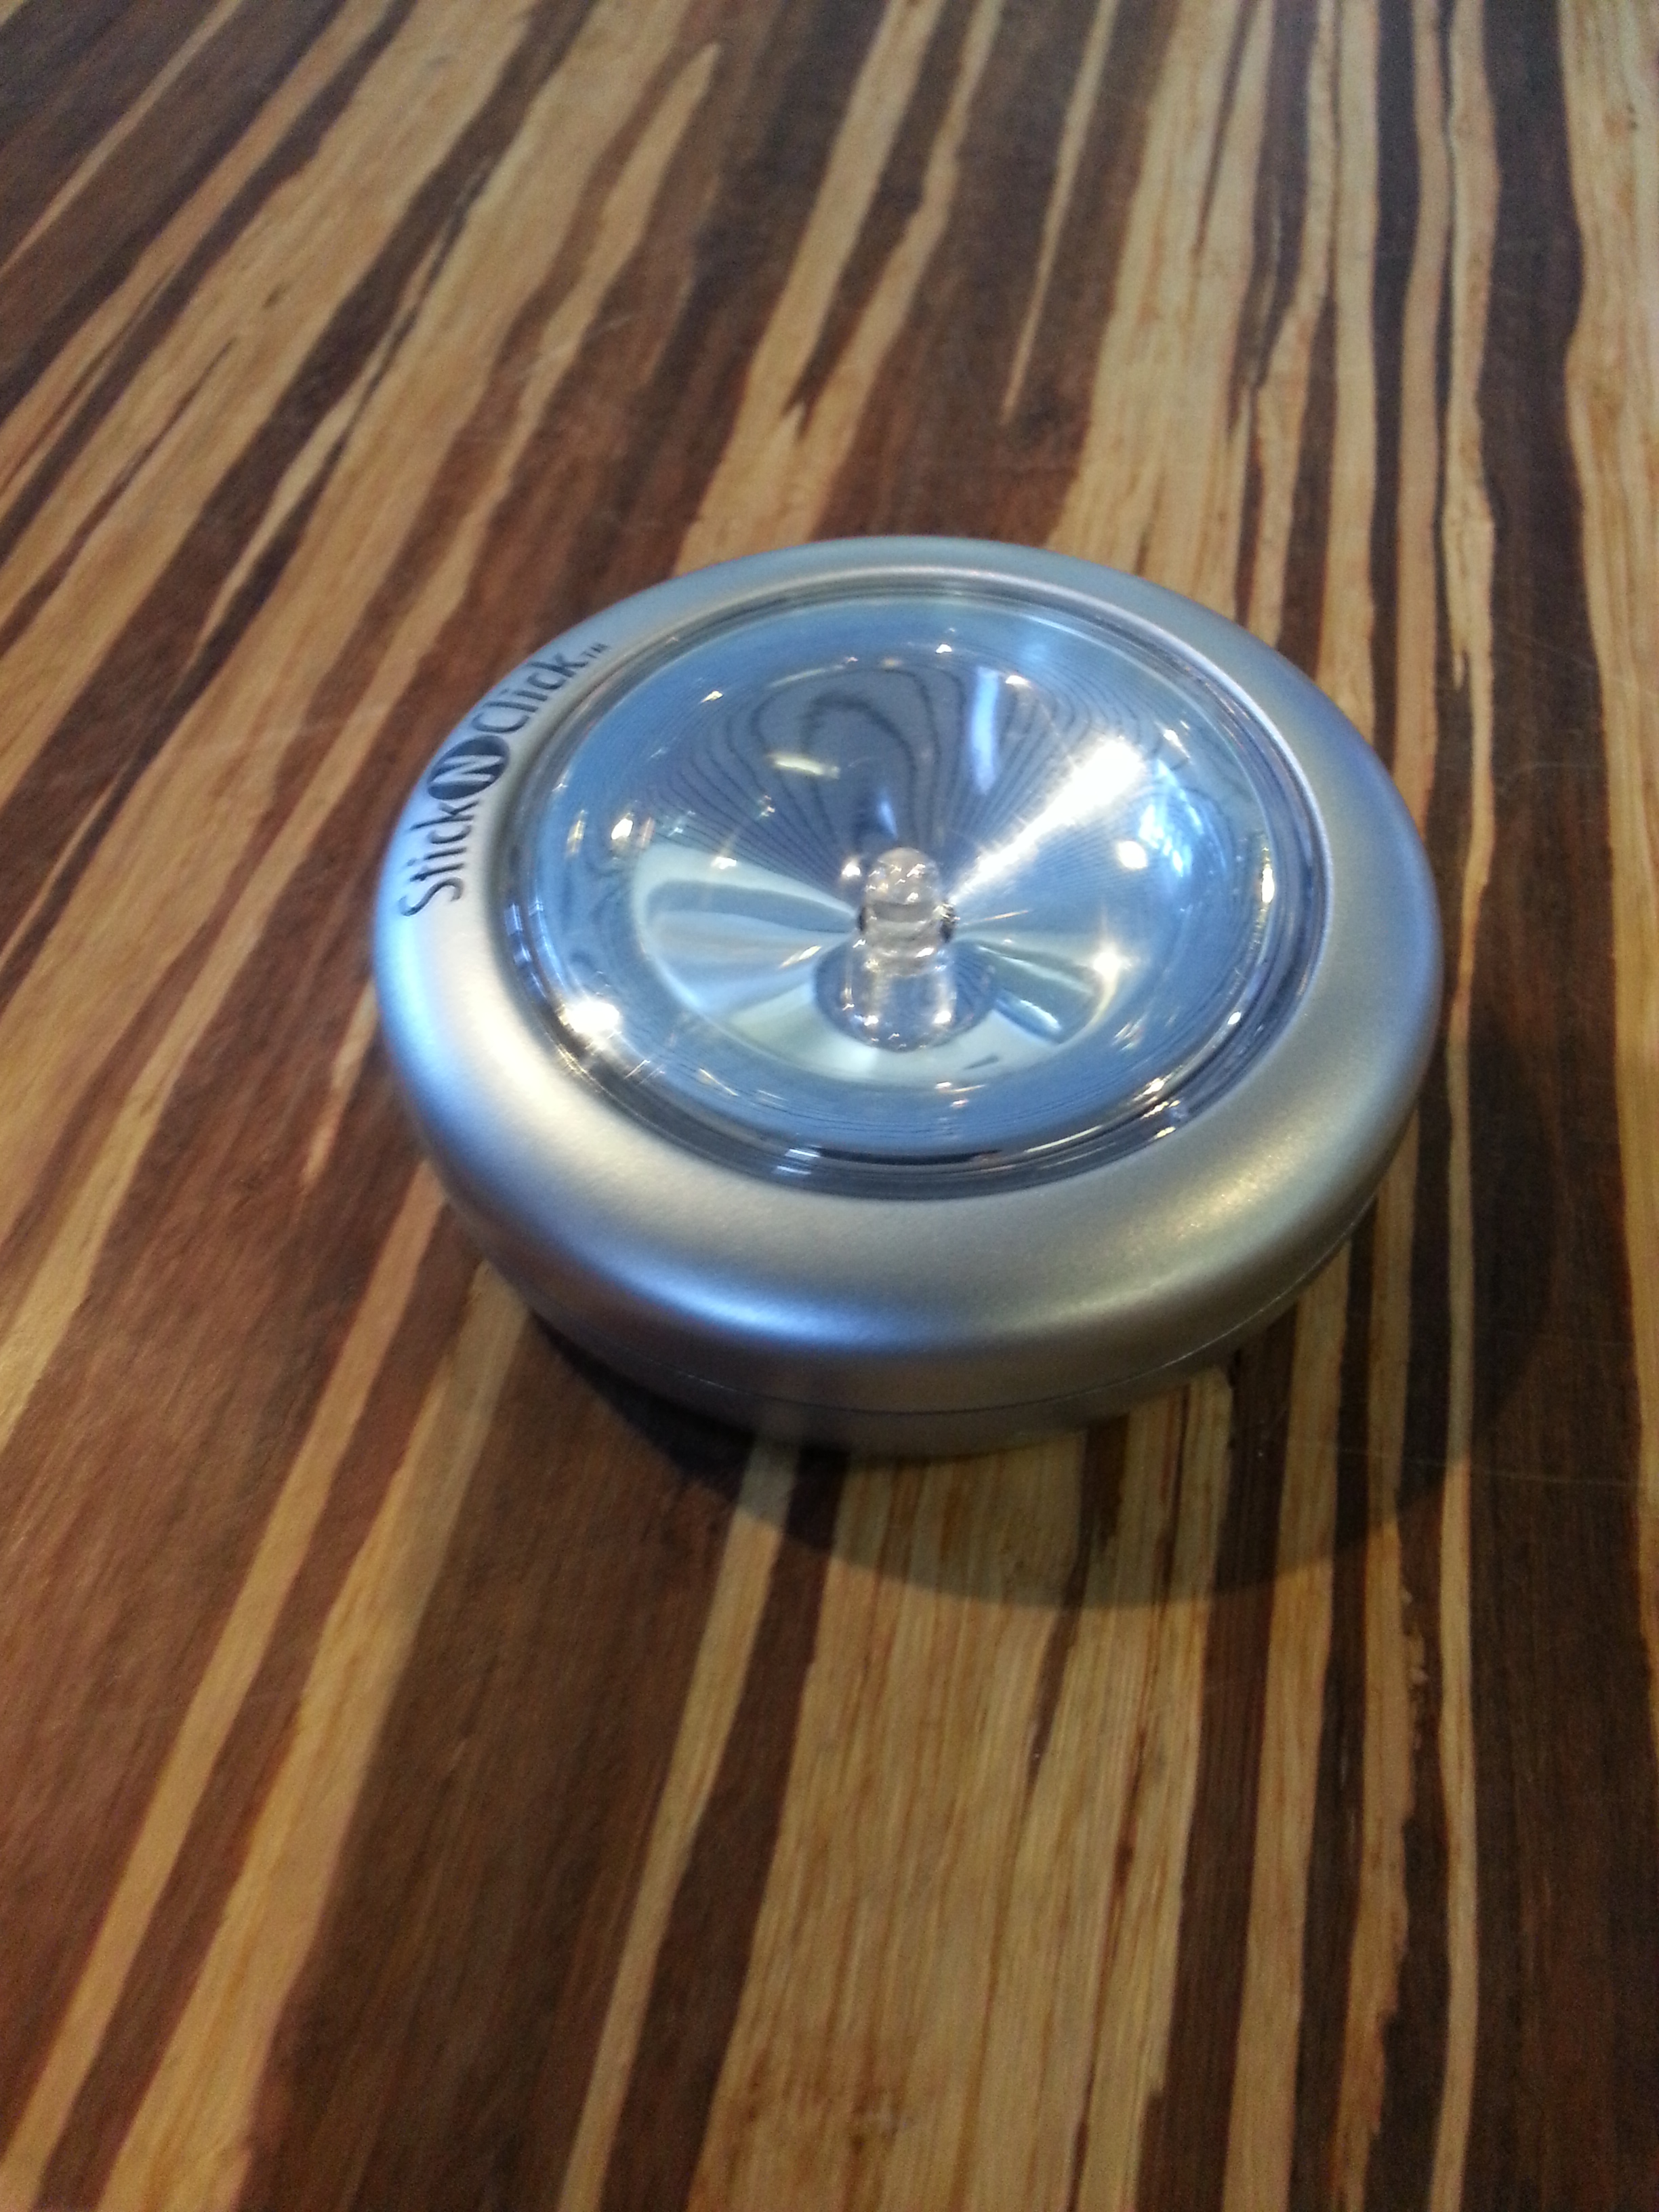
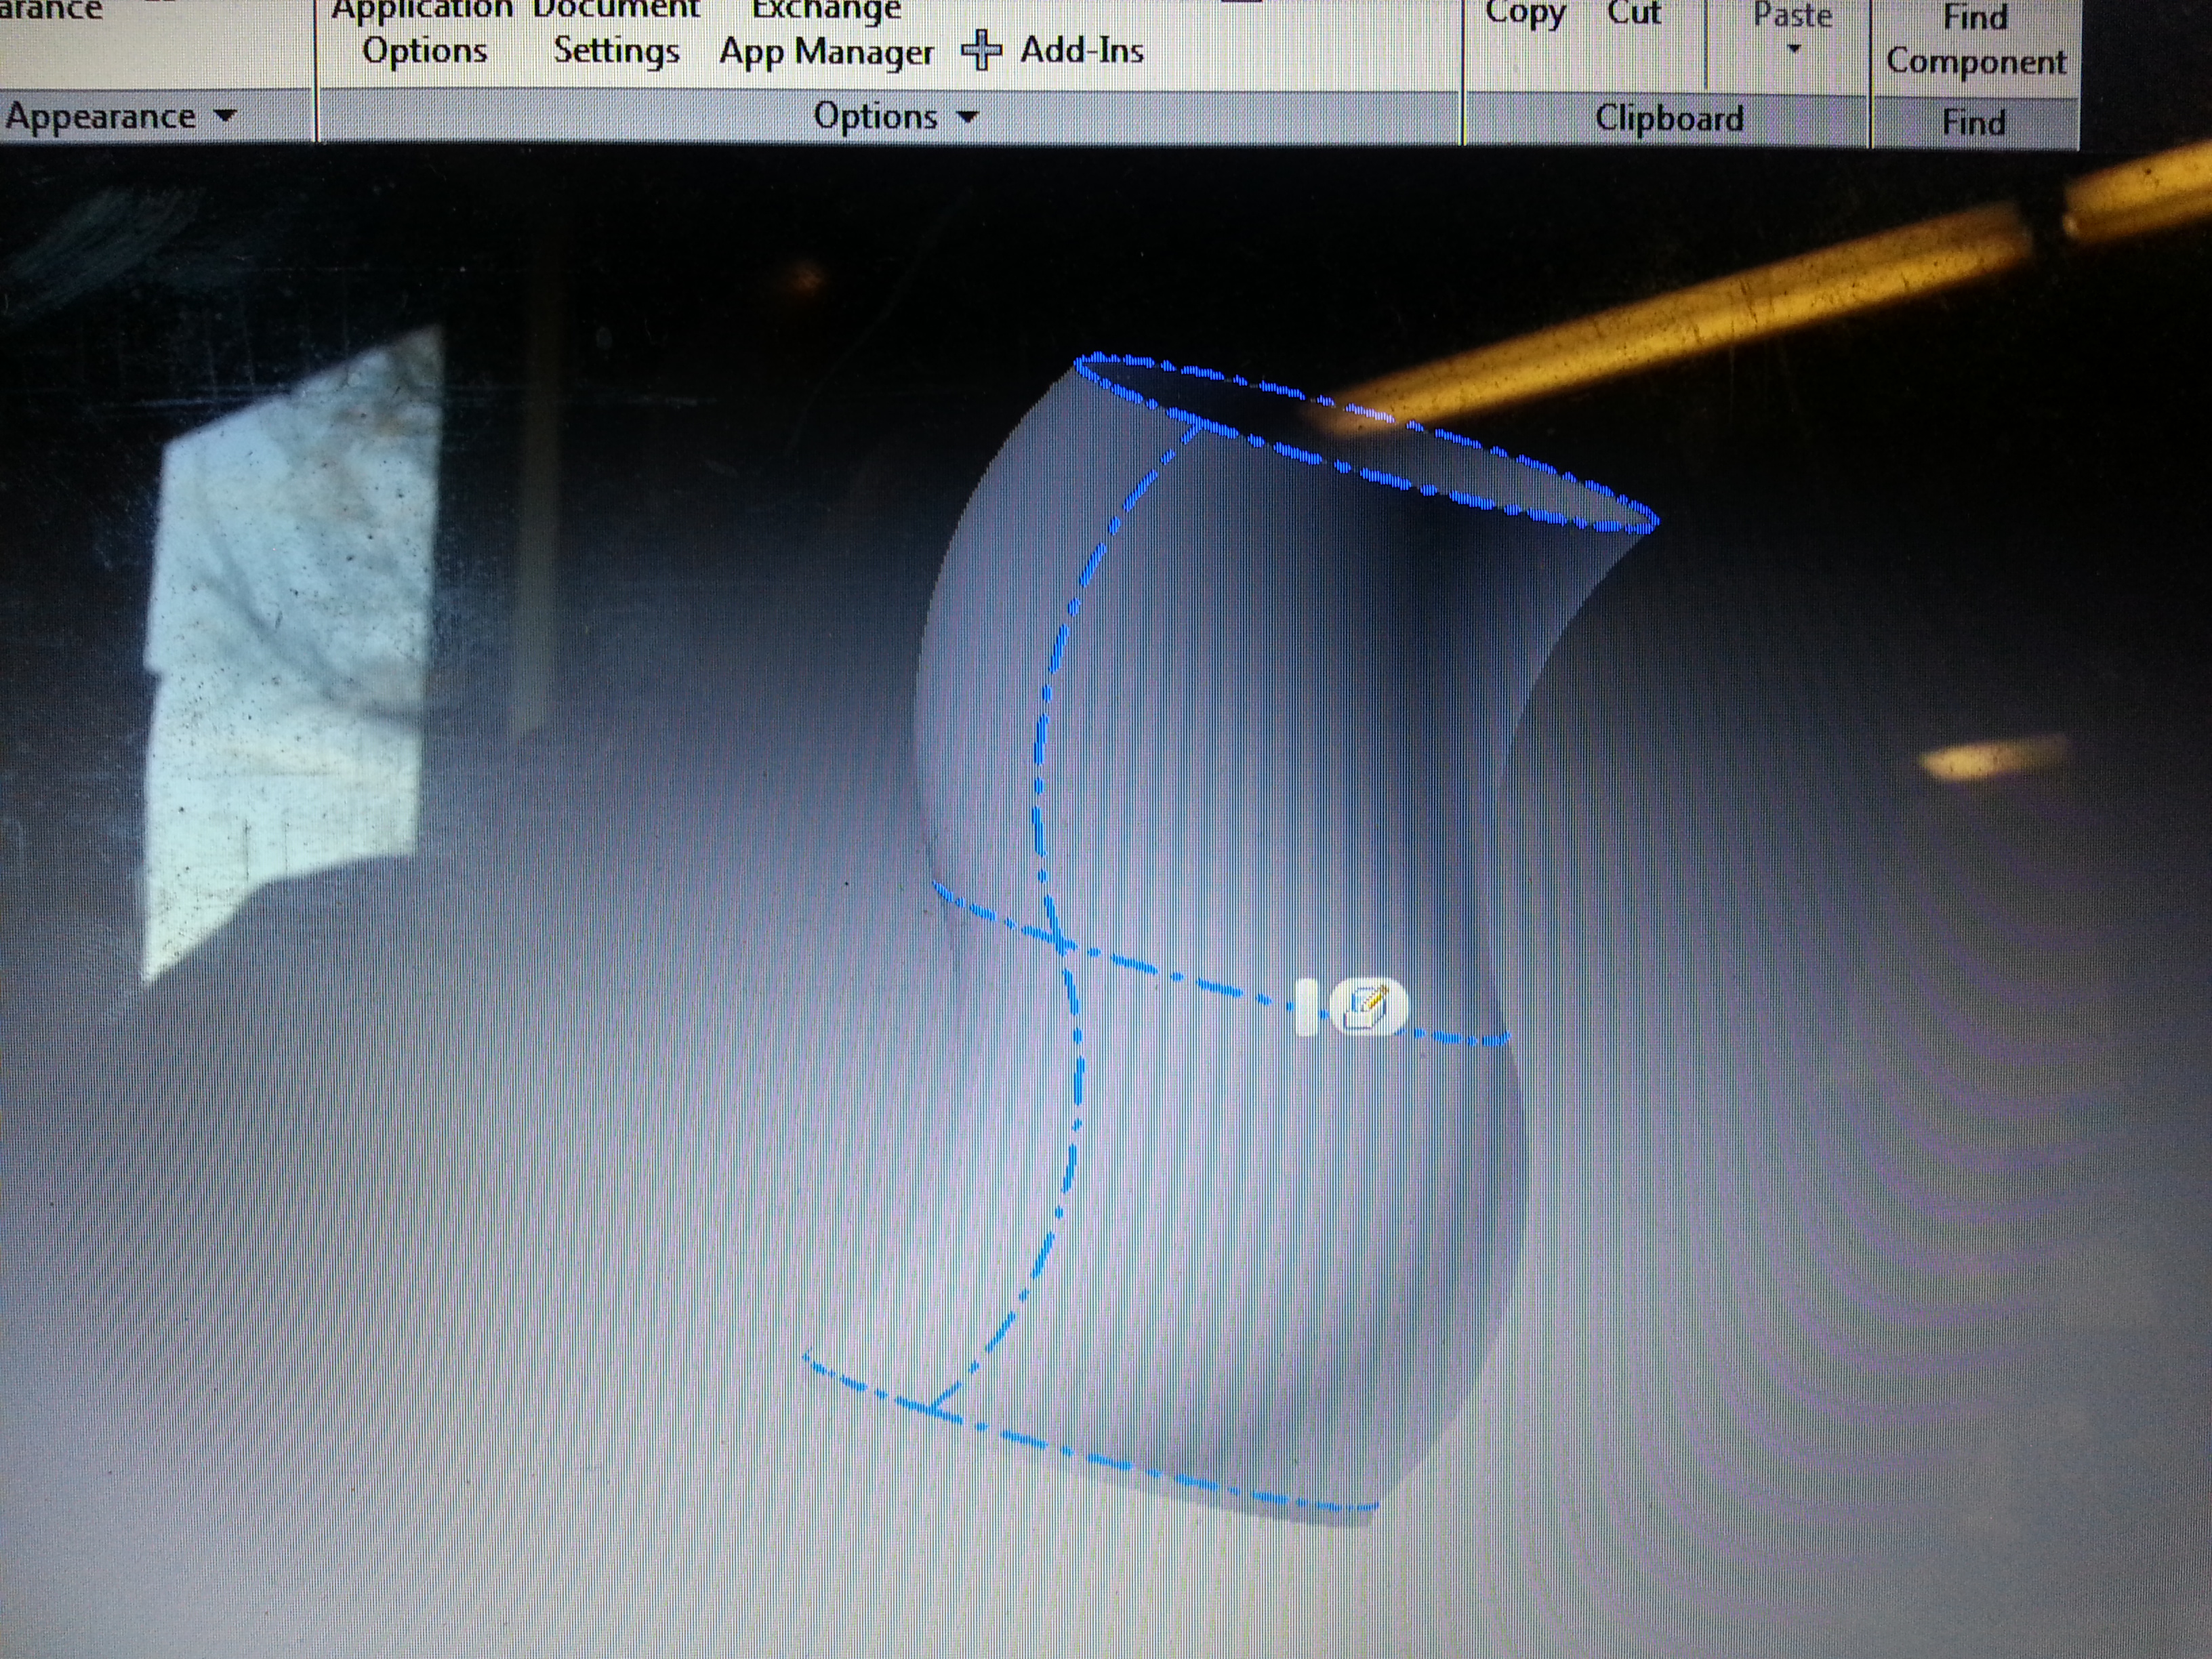
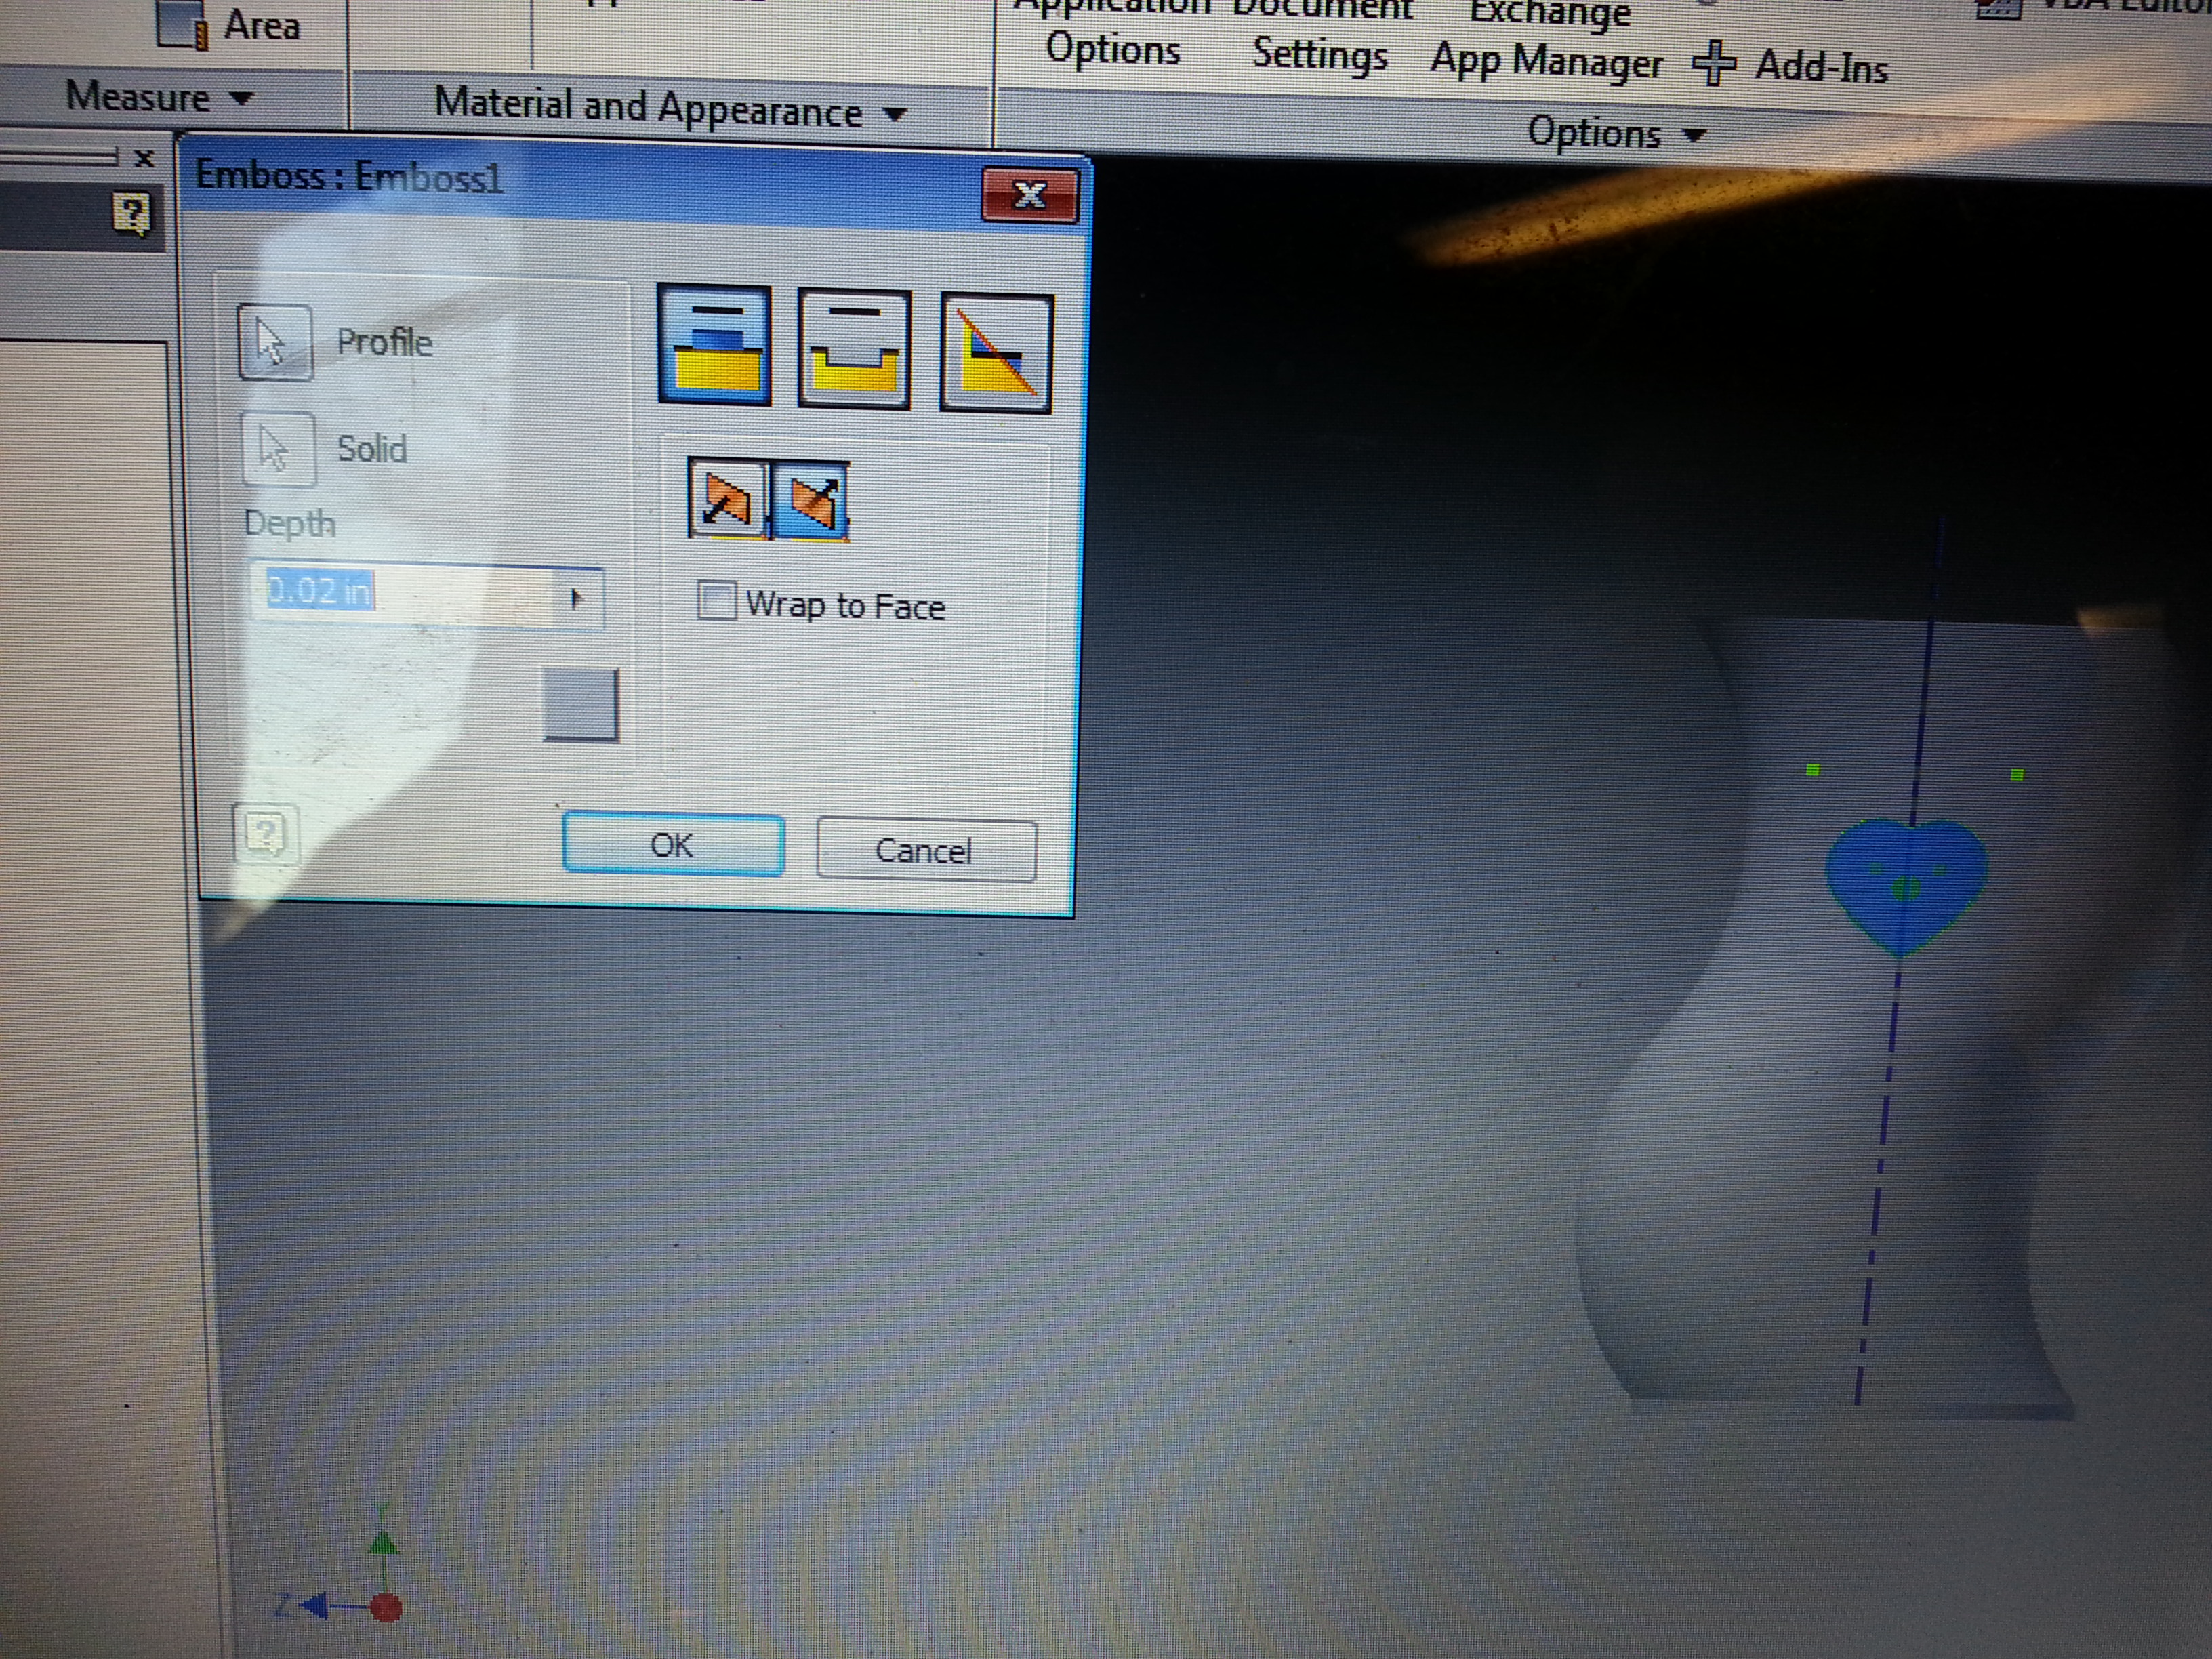
I got a light from a friend of mine, then I measured it and got to work in Autodesk Inventor.
Knowing the diameter of the light you need to account for the thickness of your walls and the curvature to make sure that you will have space for your light inside the finished object.
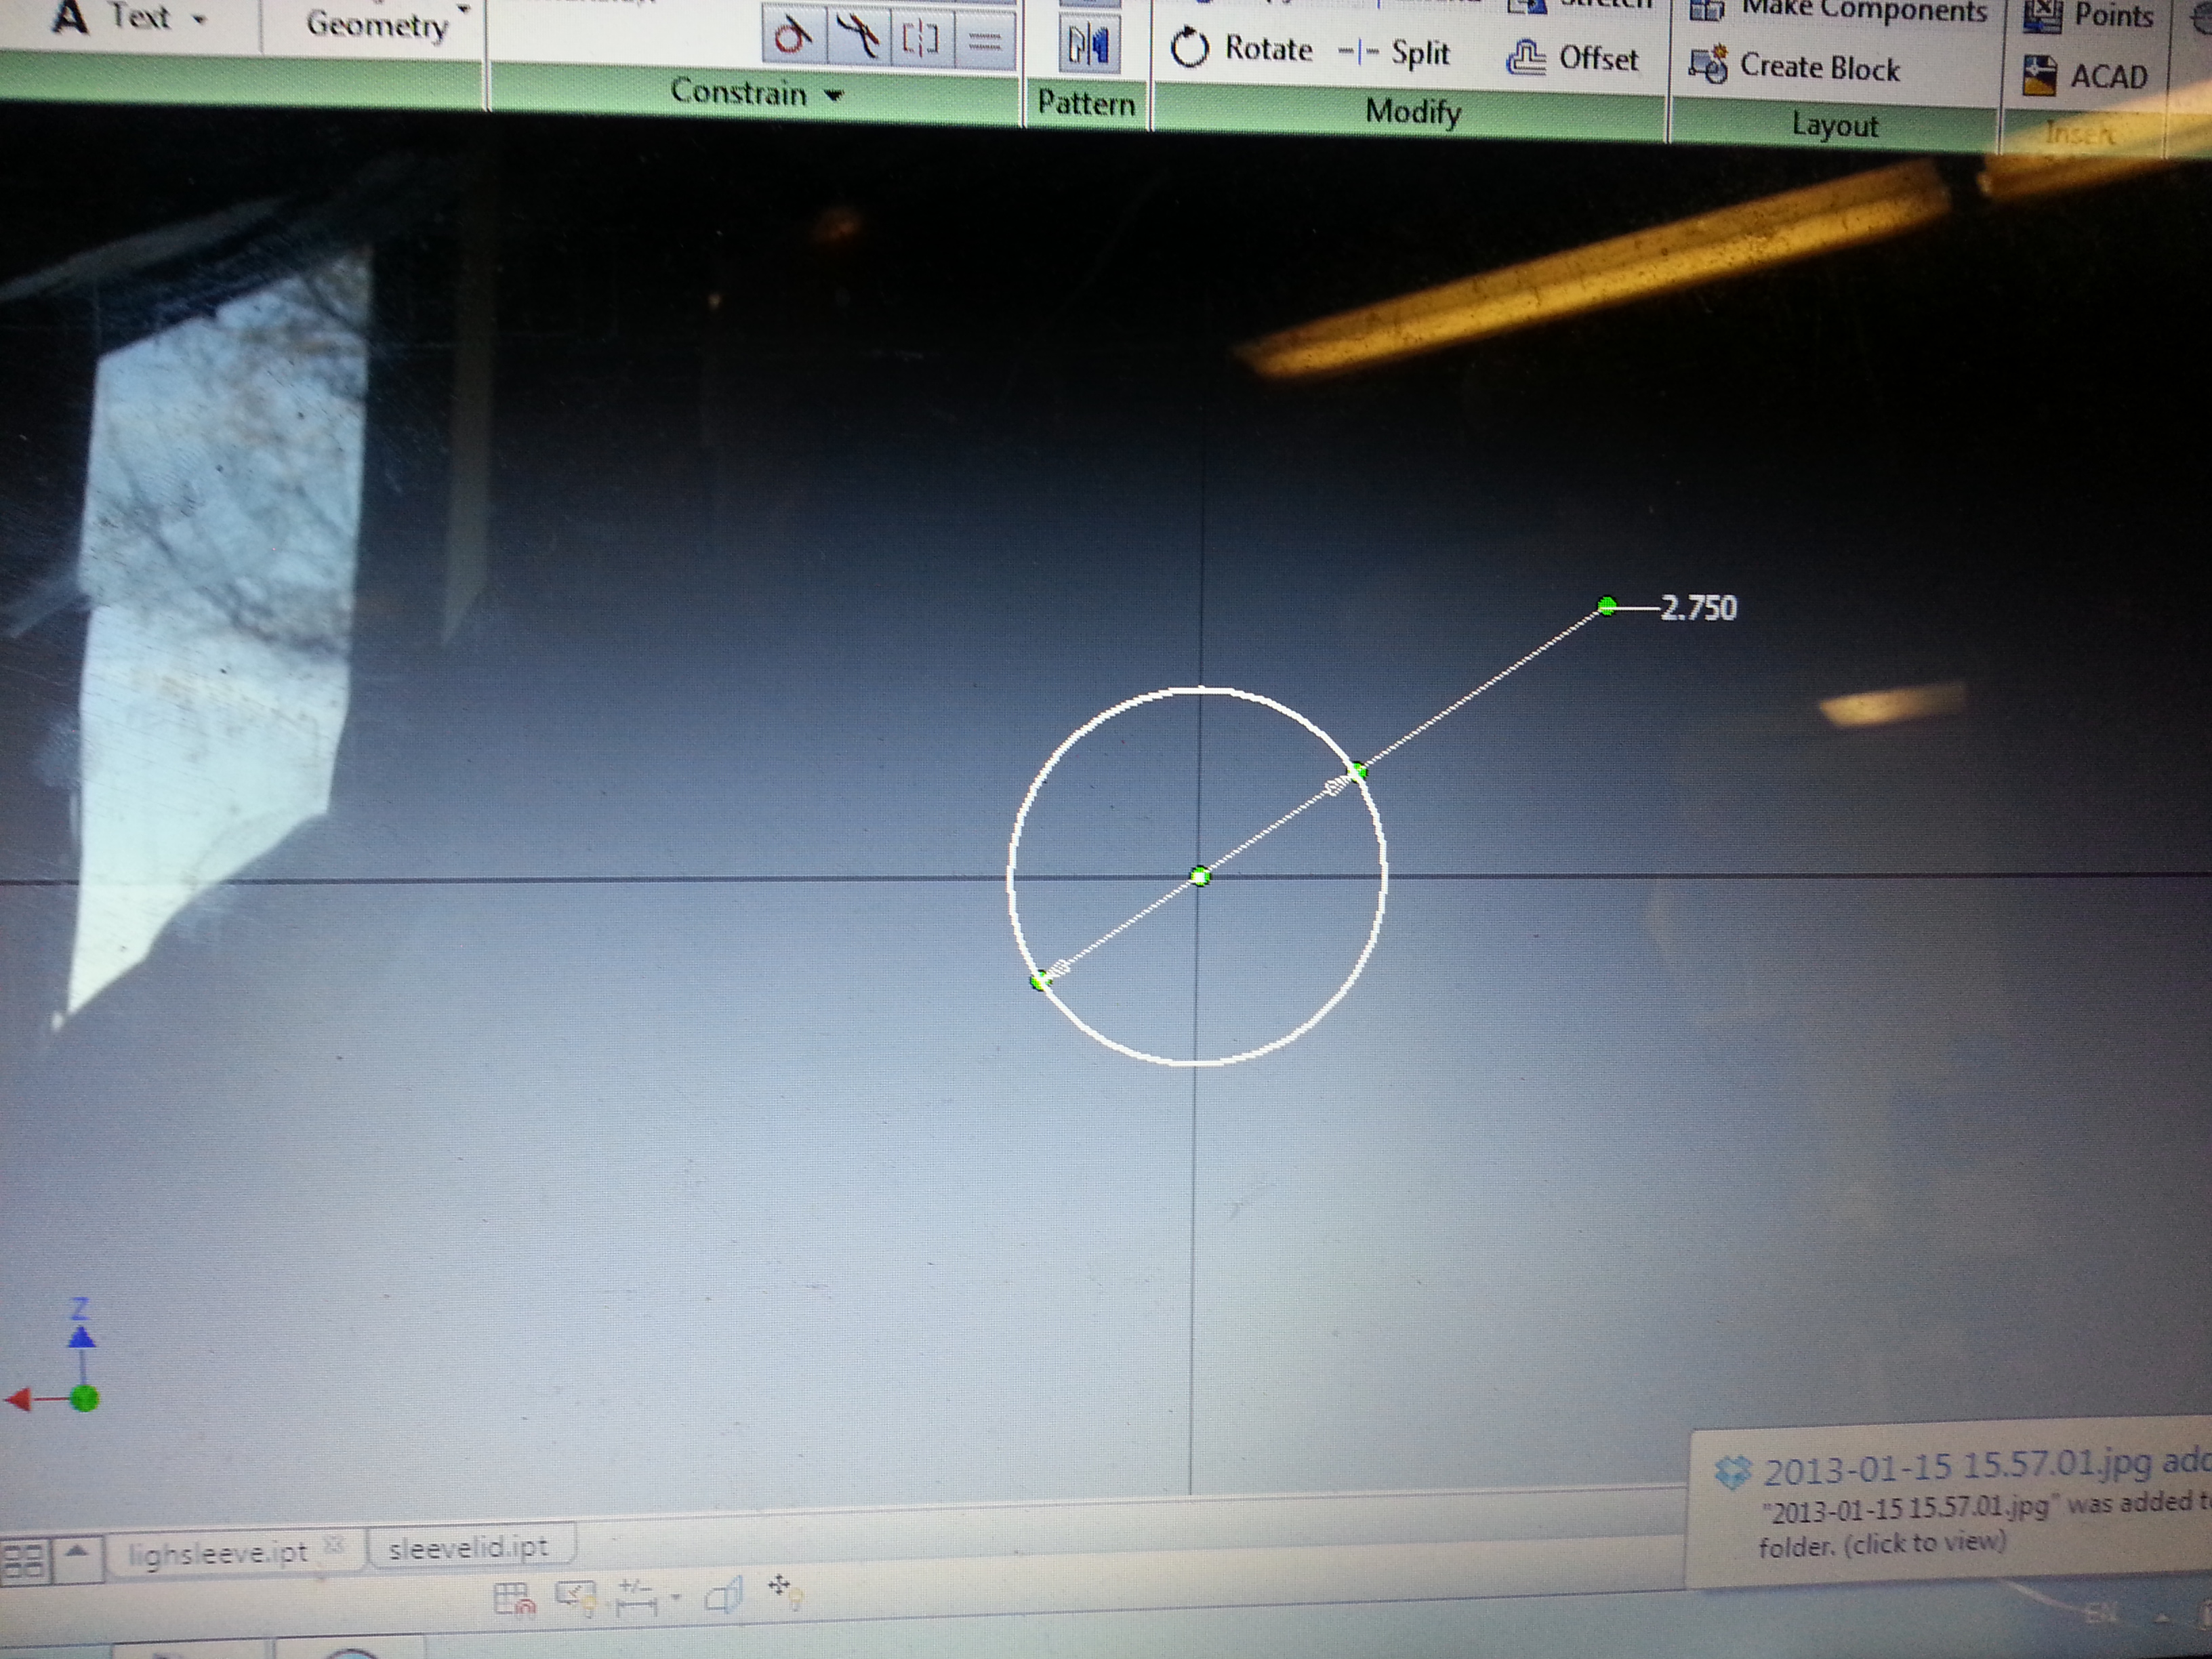
Since I used a round light I started with a circle.
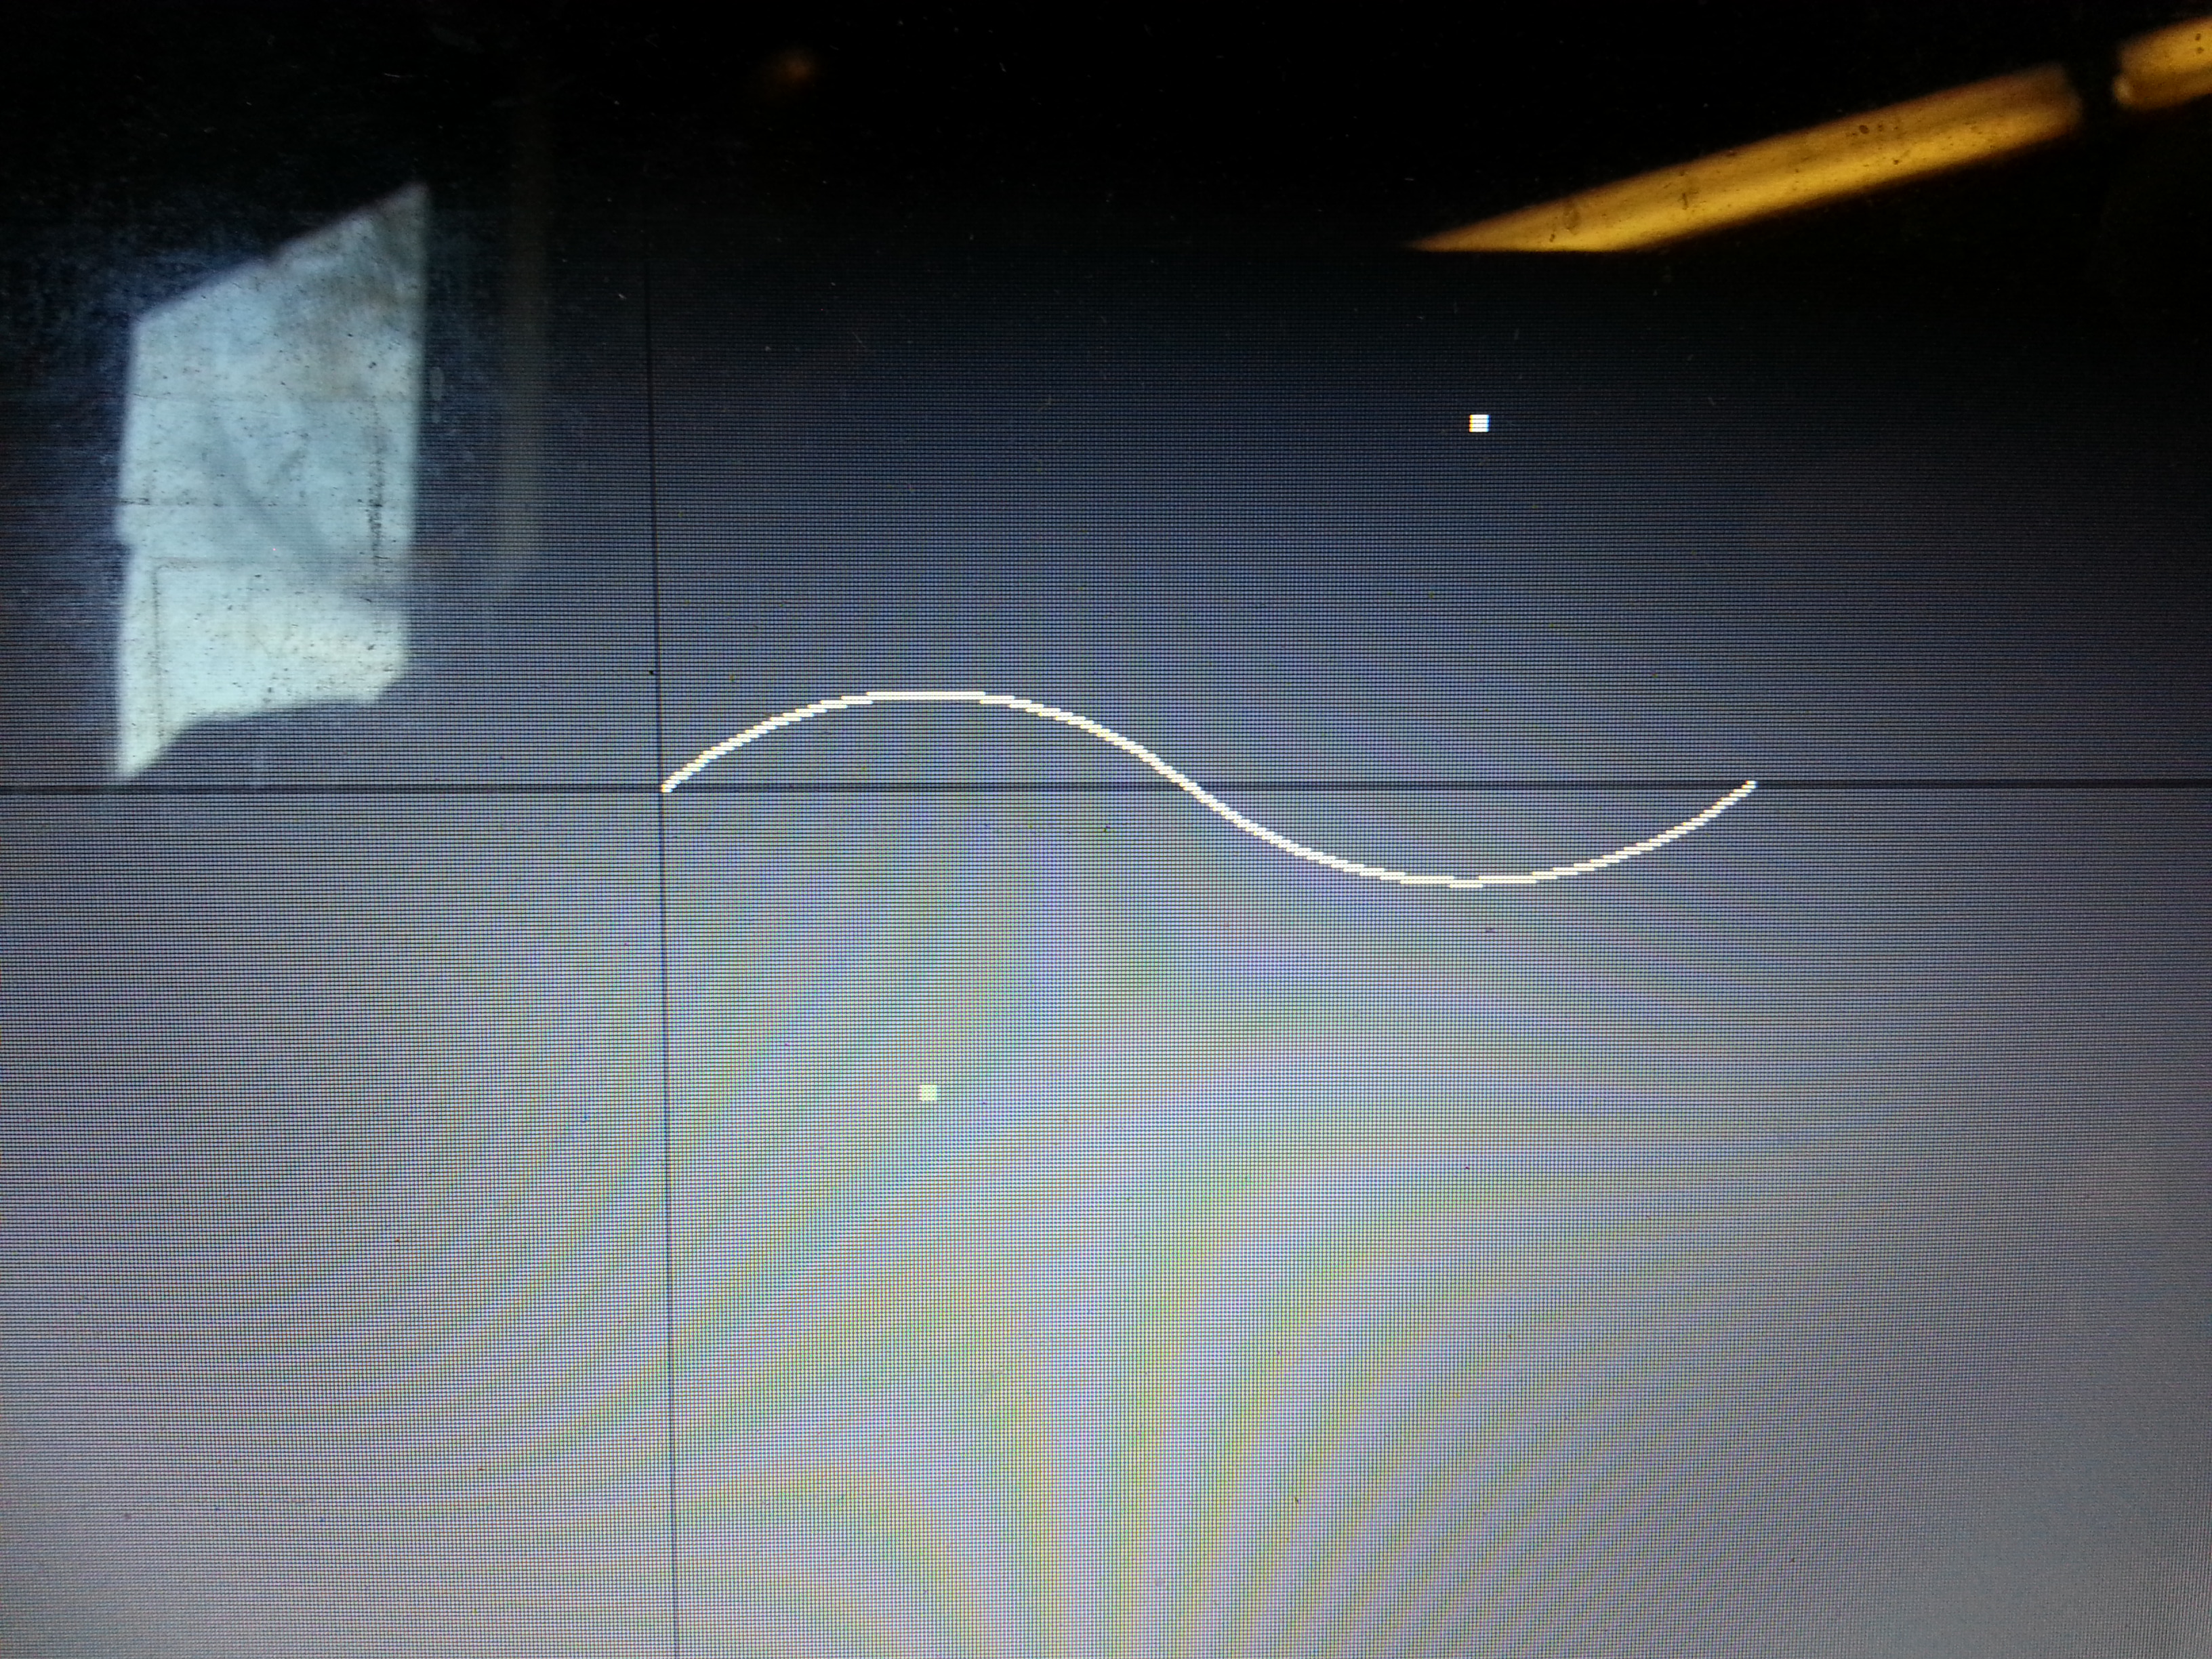
Next on the plane perpendicular to the face I drew two arcs to get somewhat of an S-shape. I could have also used a Spline.
Use the Sweep function to make your circle extrude along the Spline or arcs (or whatever shape you made)
Use the Shell tool to make the object hollow
I also added some features to the face by creating work planes outside of the object and then drawing a shape and using the Emboss tool.
Export
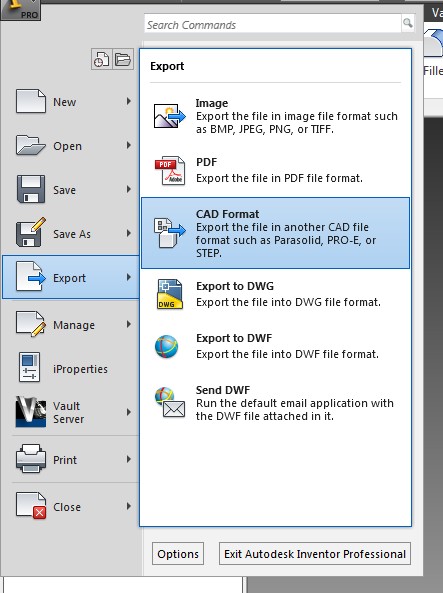

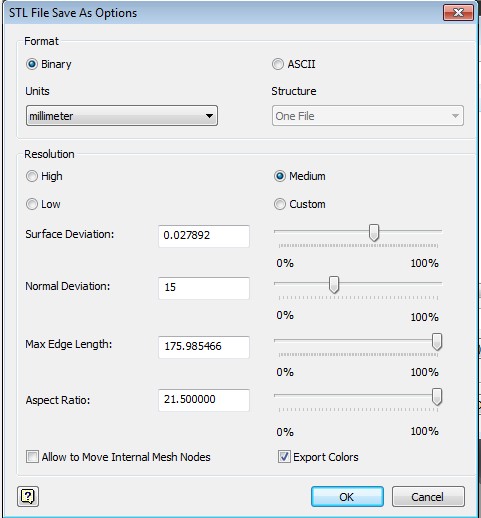
after saving the part file you can export it as an .STL and I find it is best to set the option for units to milimeters
Import
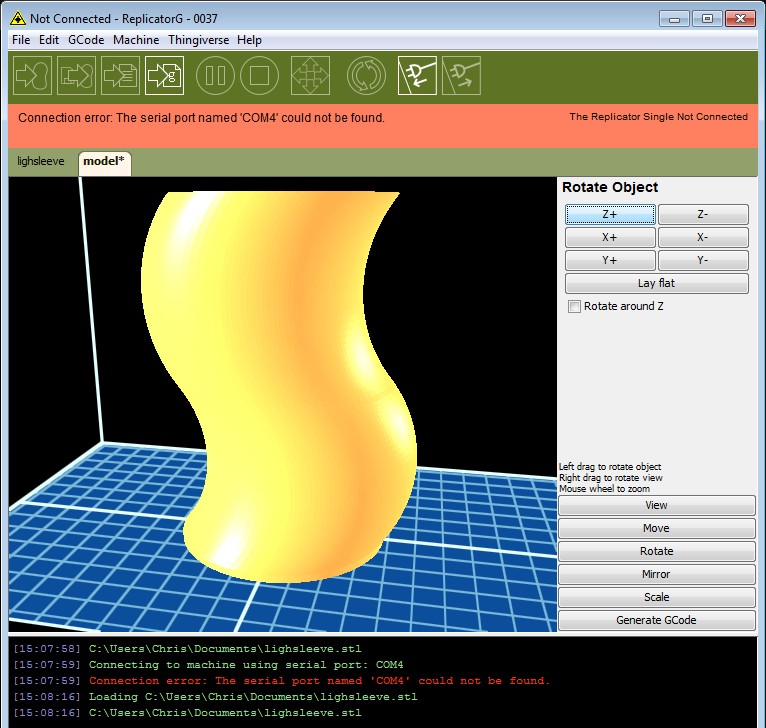
import the STL file into Replicator G or Makerware, position the object in the correct place on the build plate, then generate your Gcode and print your file (create an S3G or X3G file if printing from an SD card.
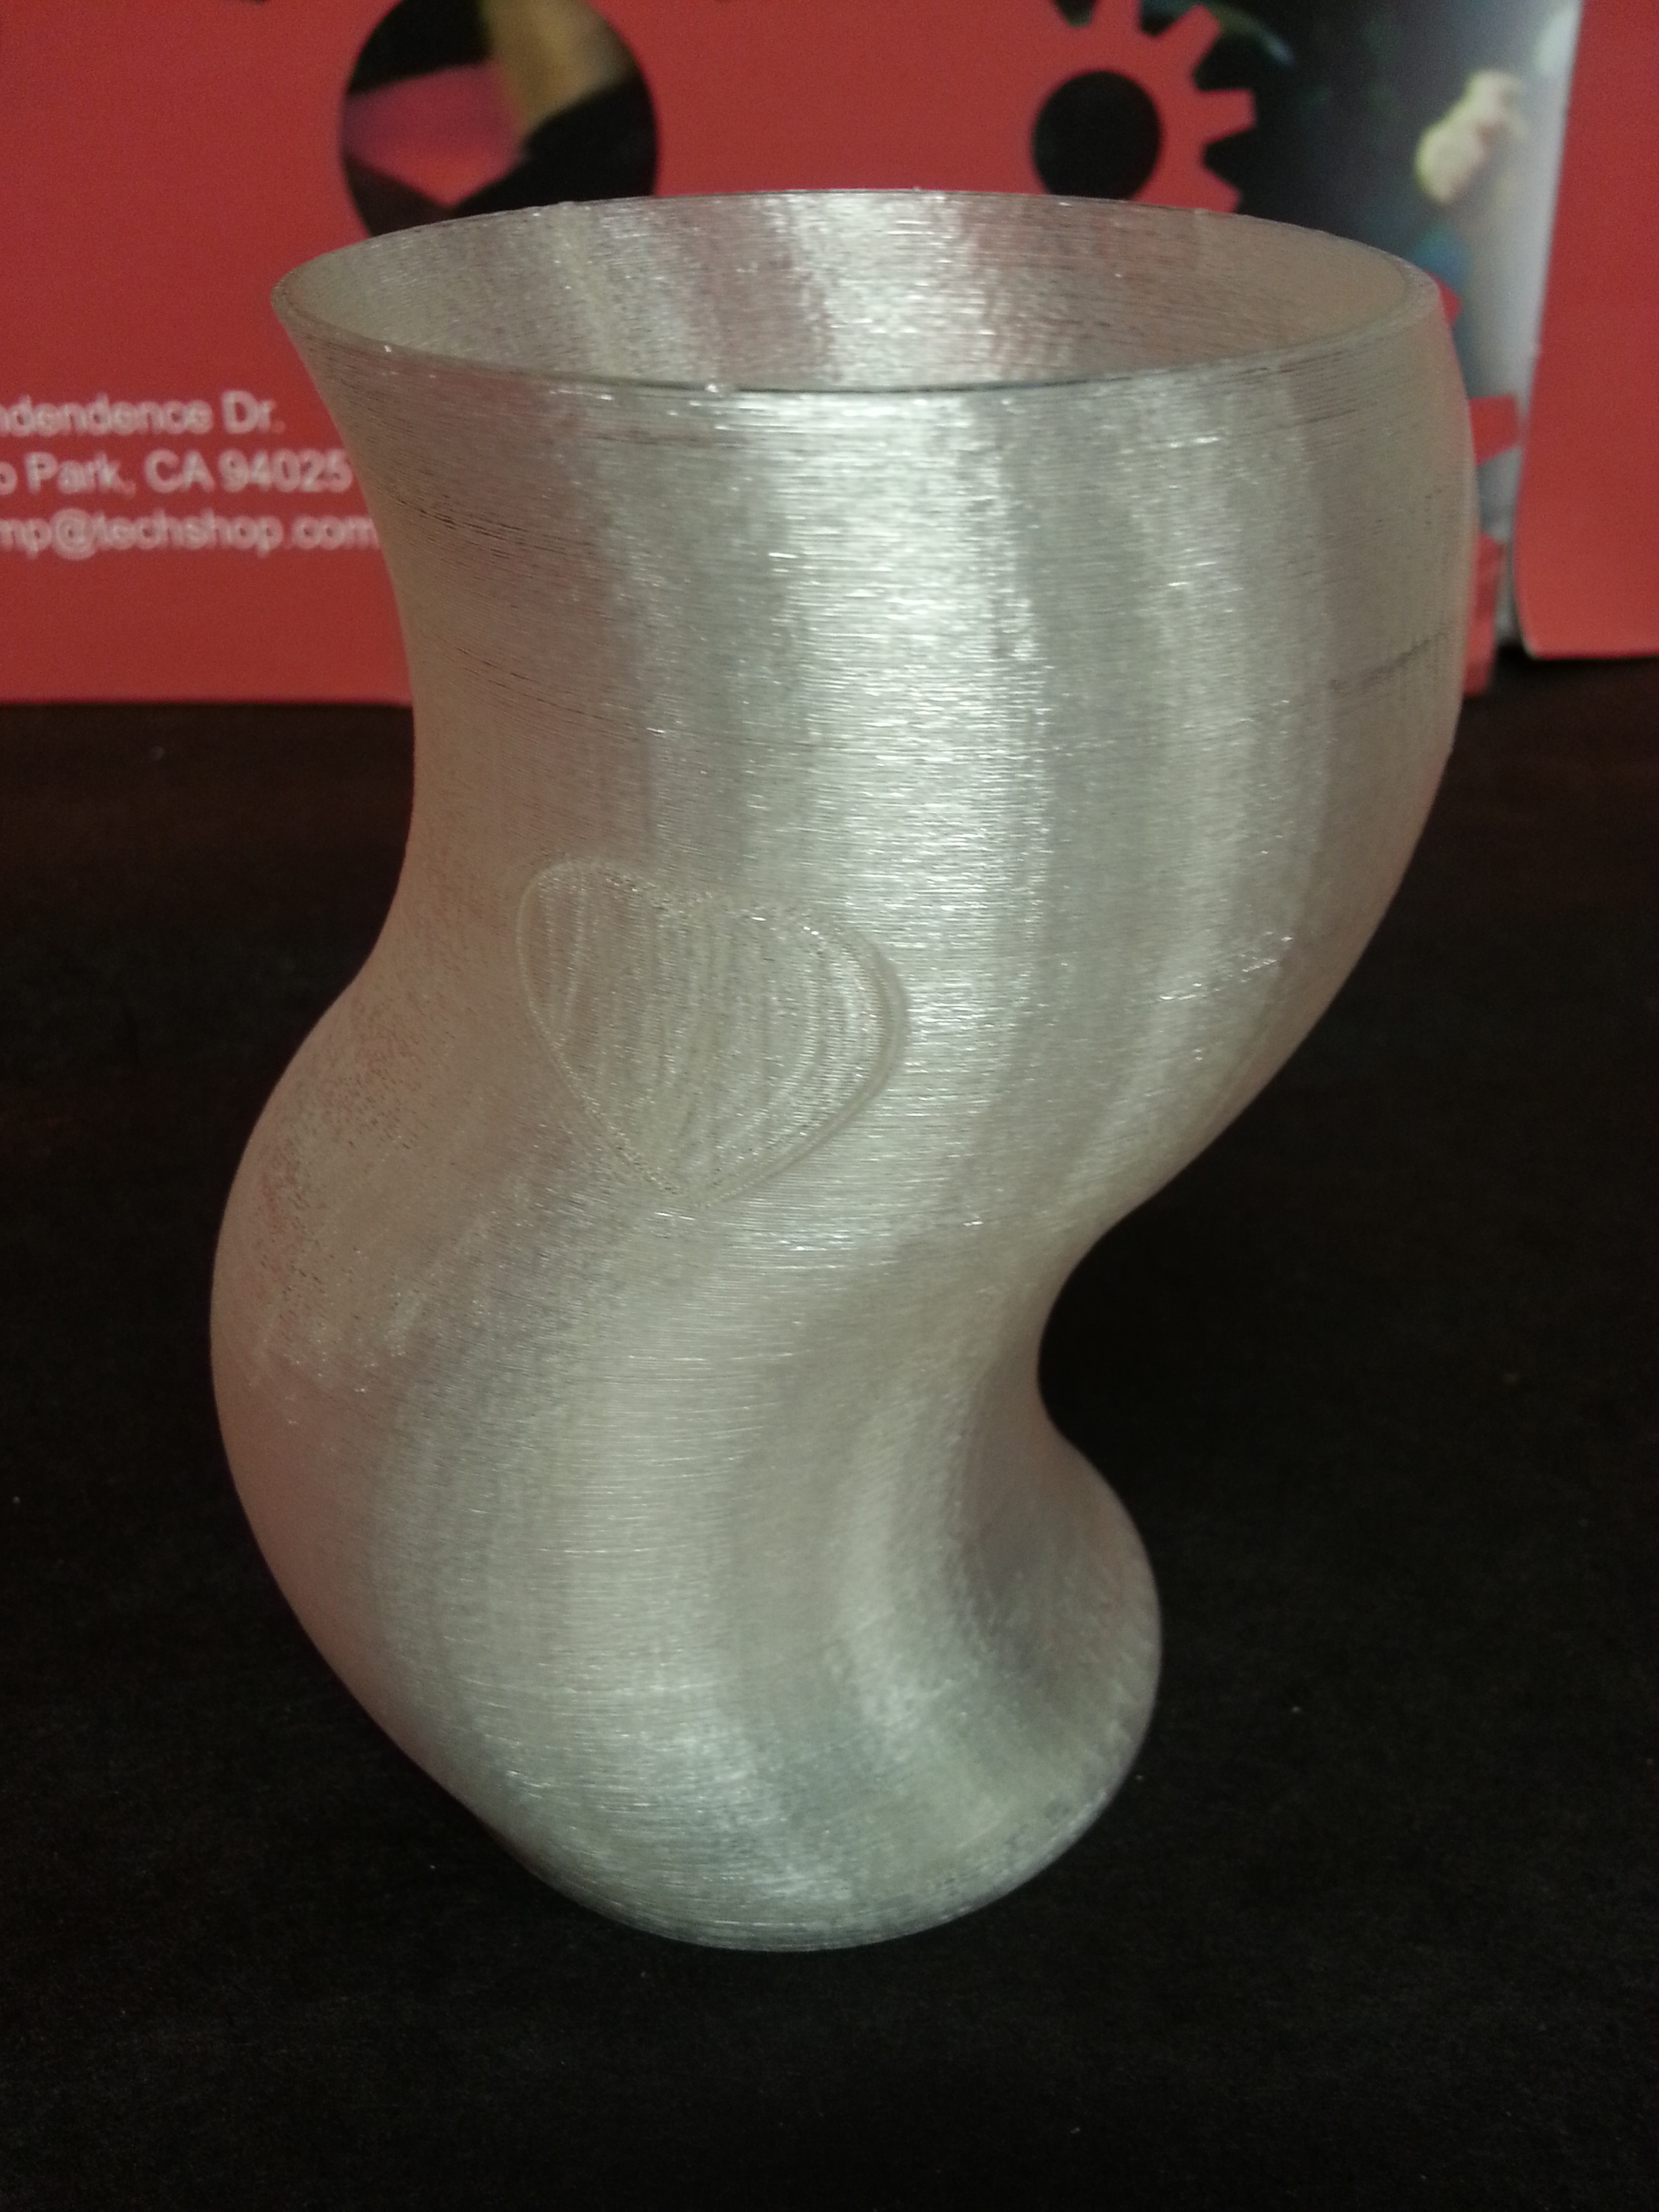
send the job to your printer and wait patiently for it to finish. This one took about 3 hours to print
A Lid?
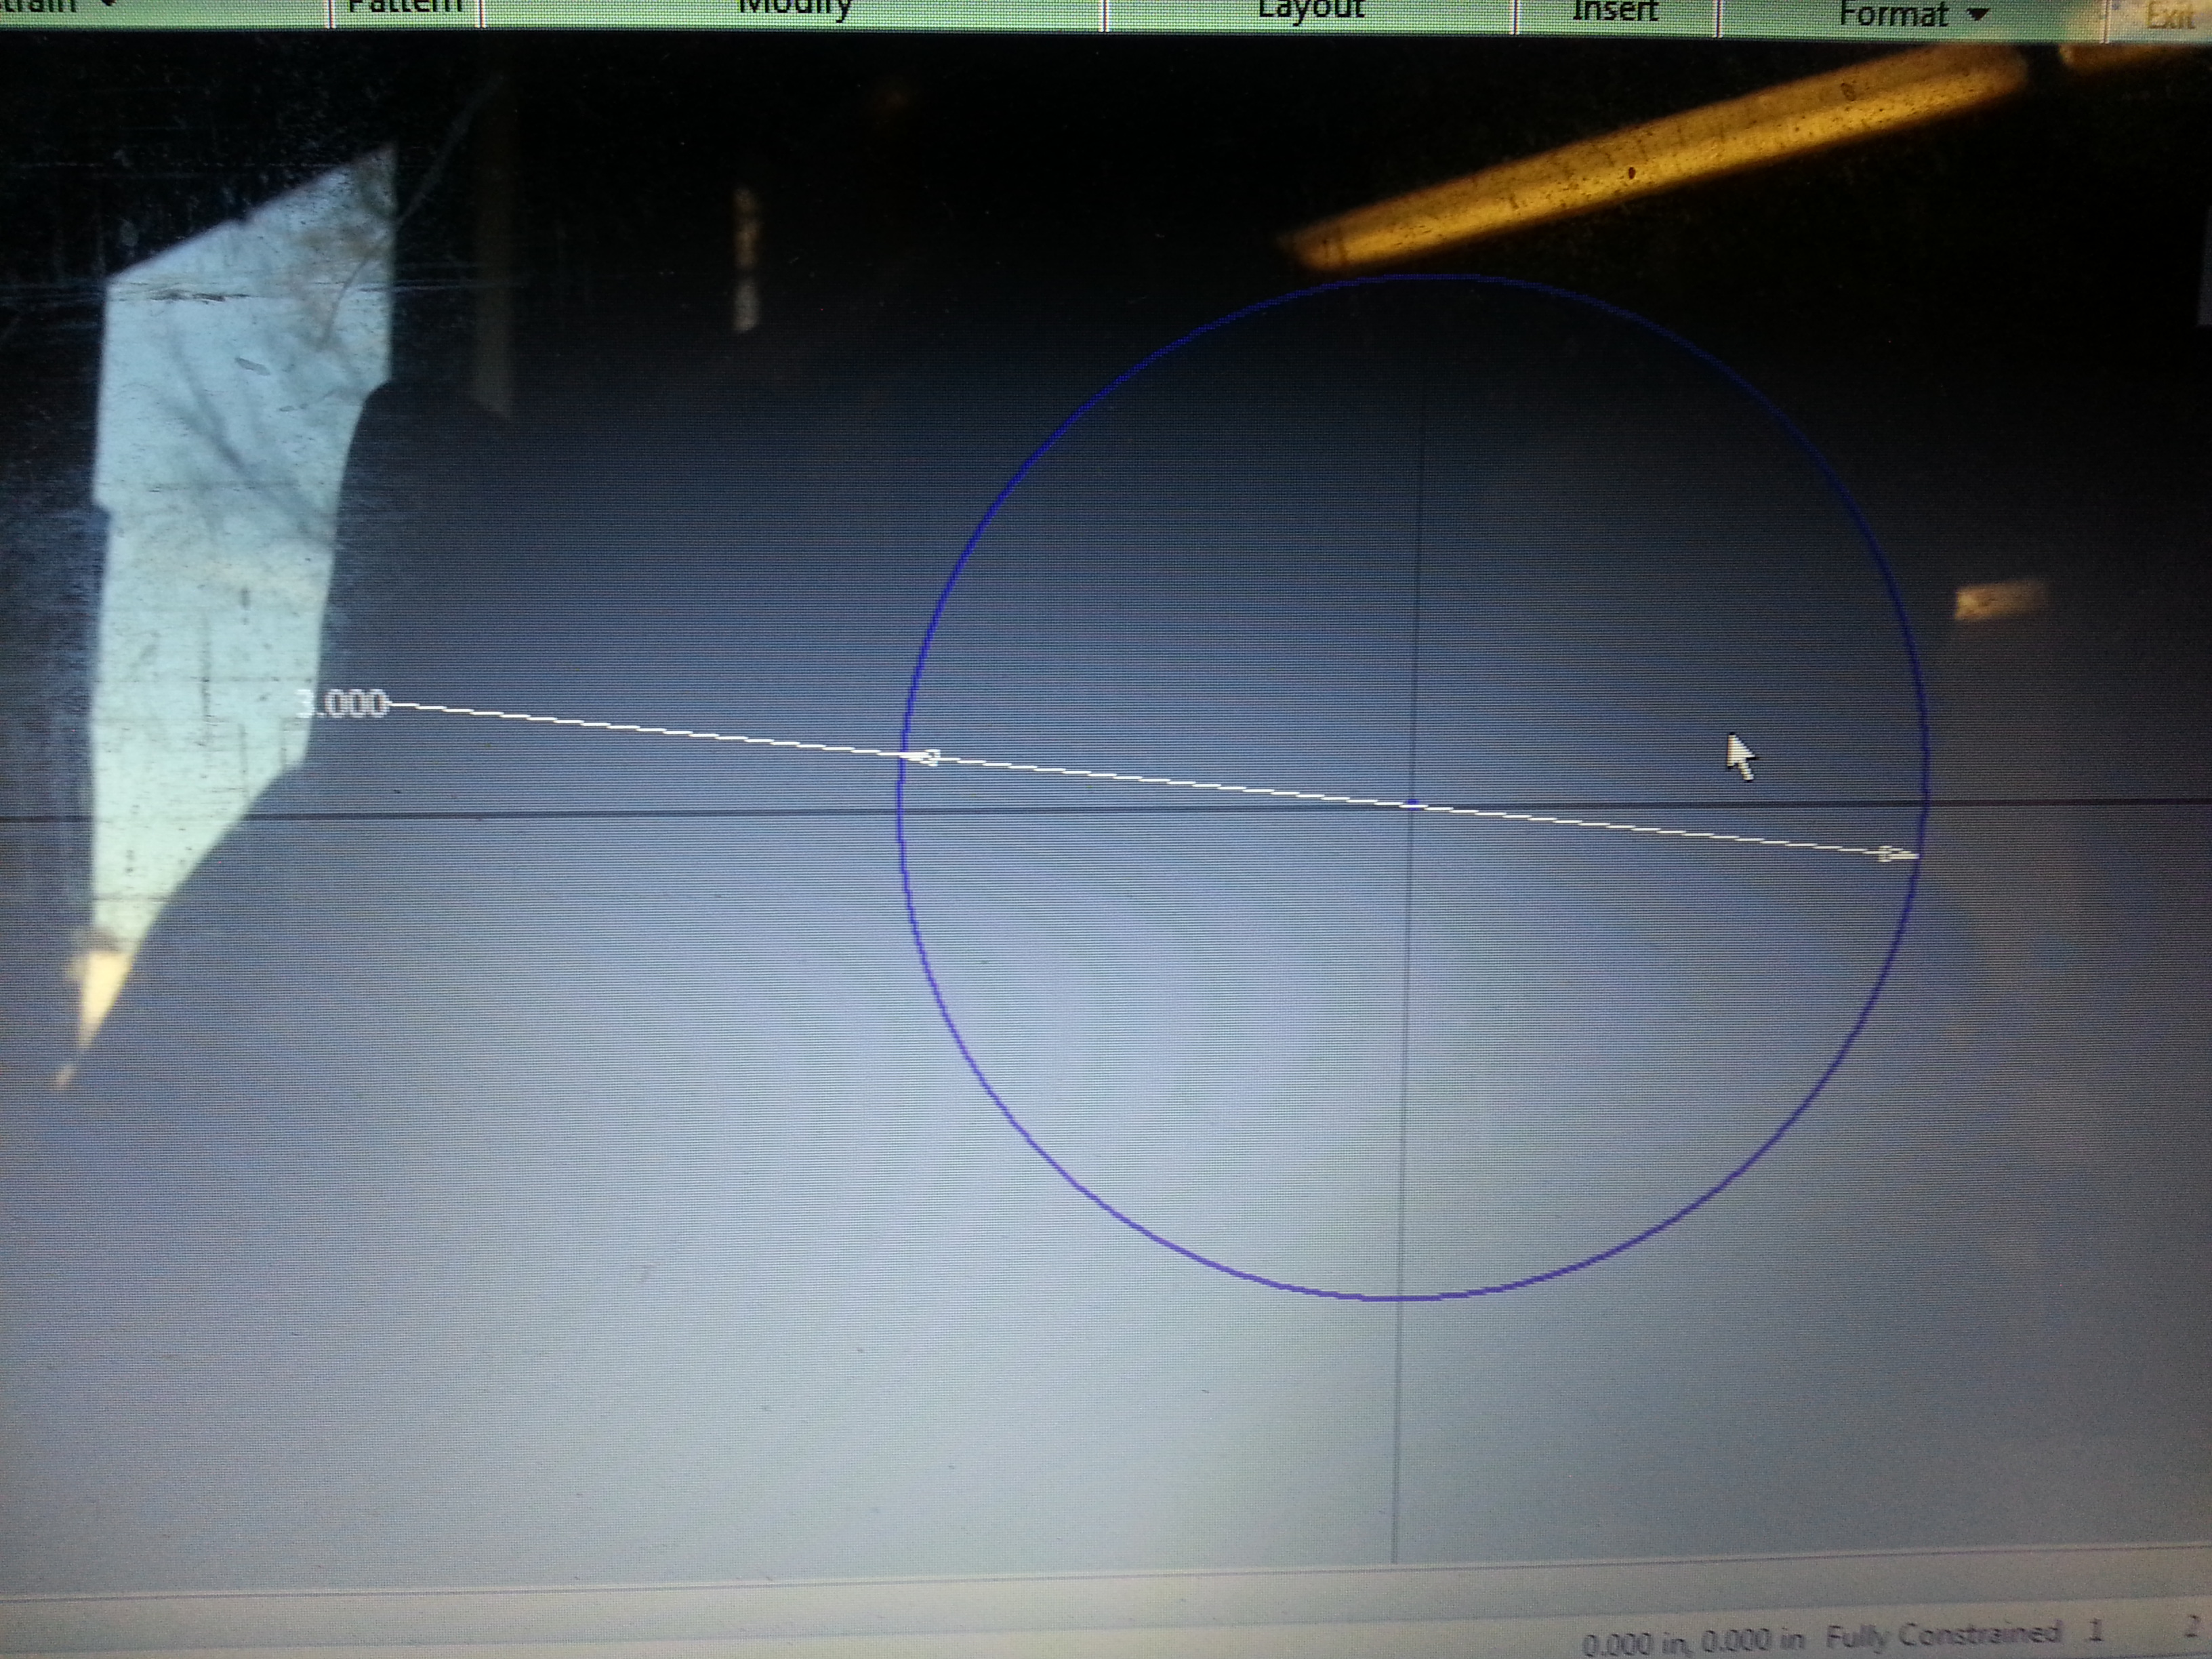
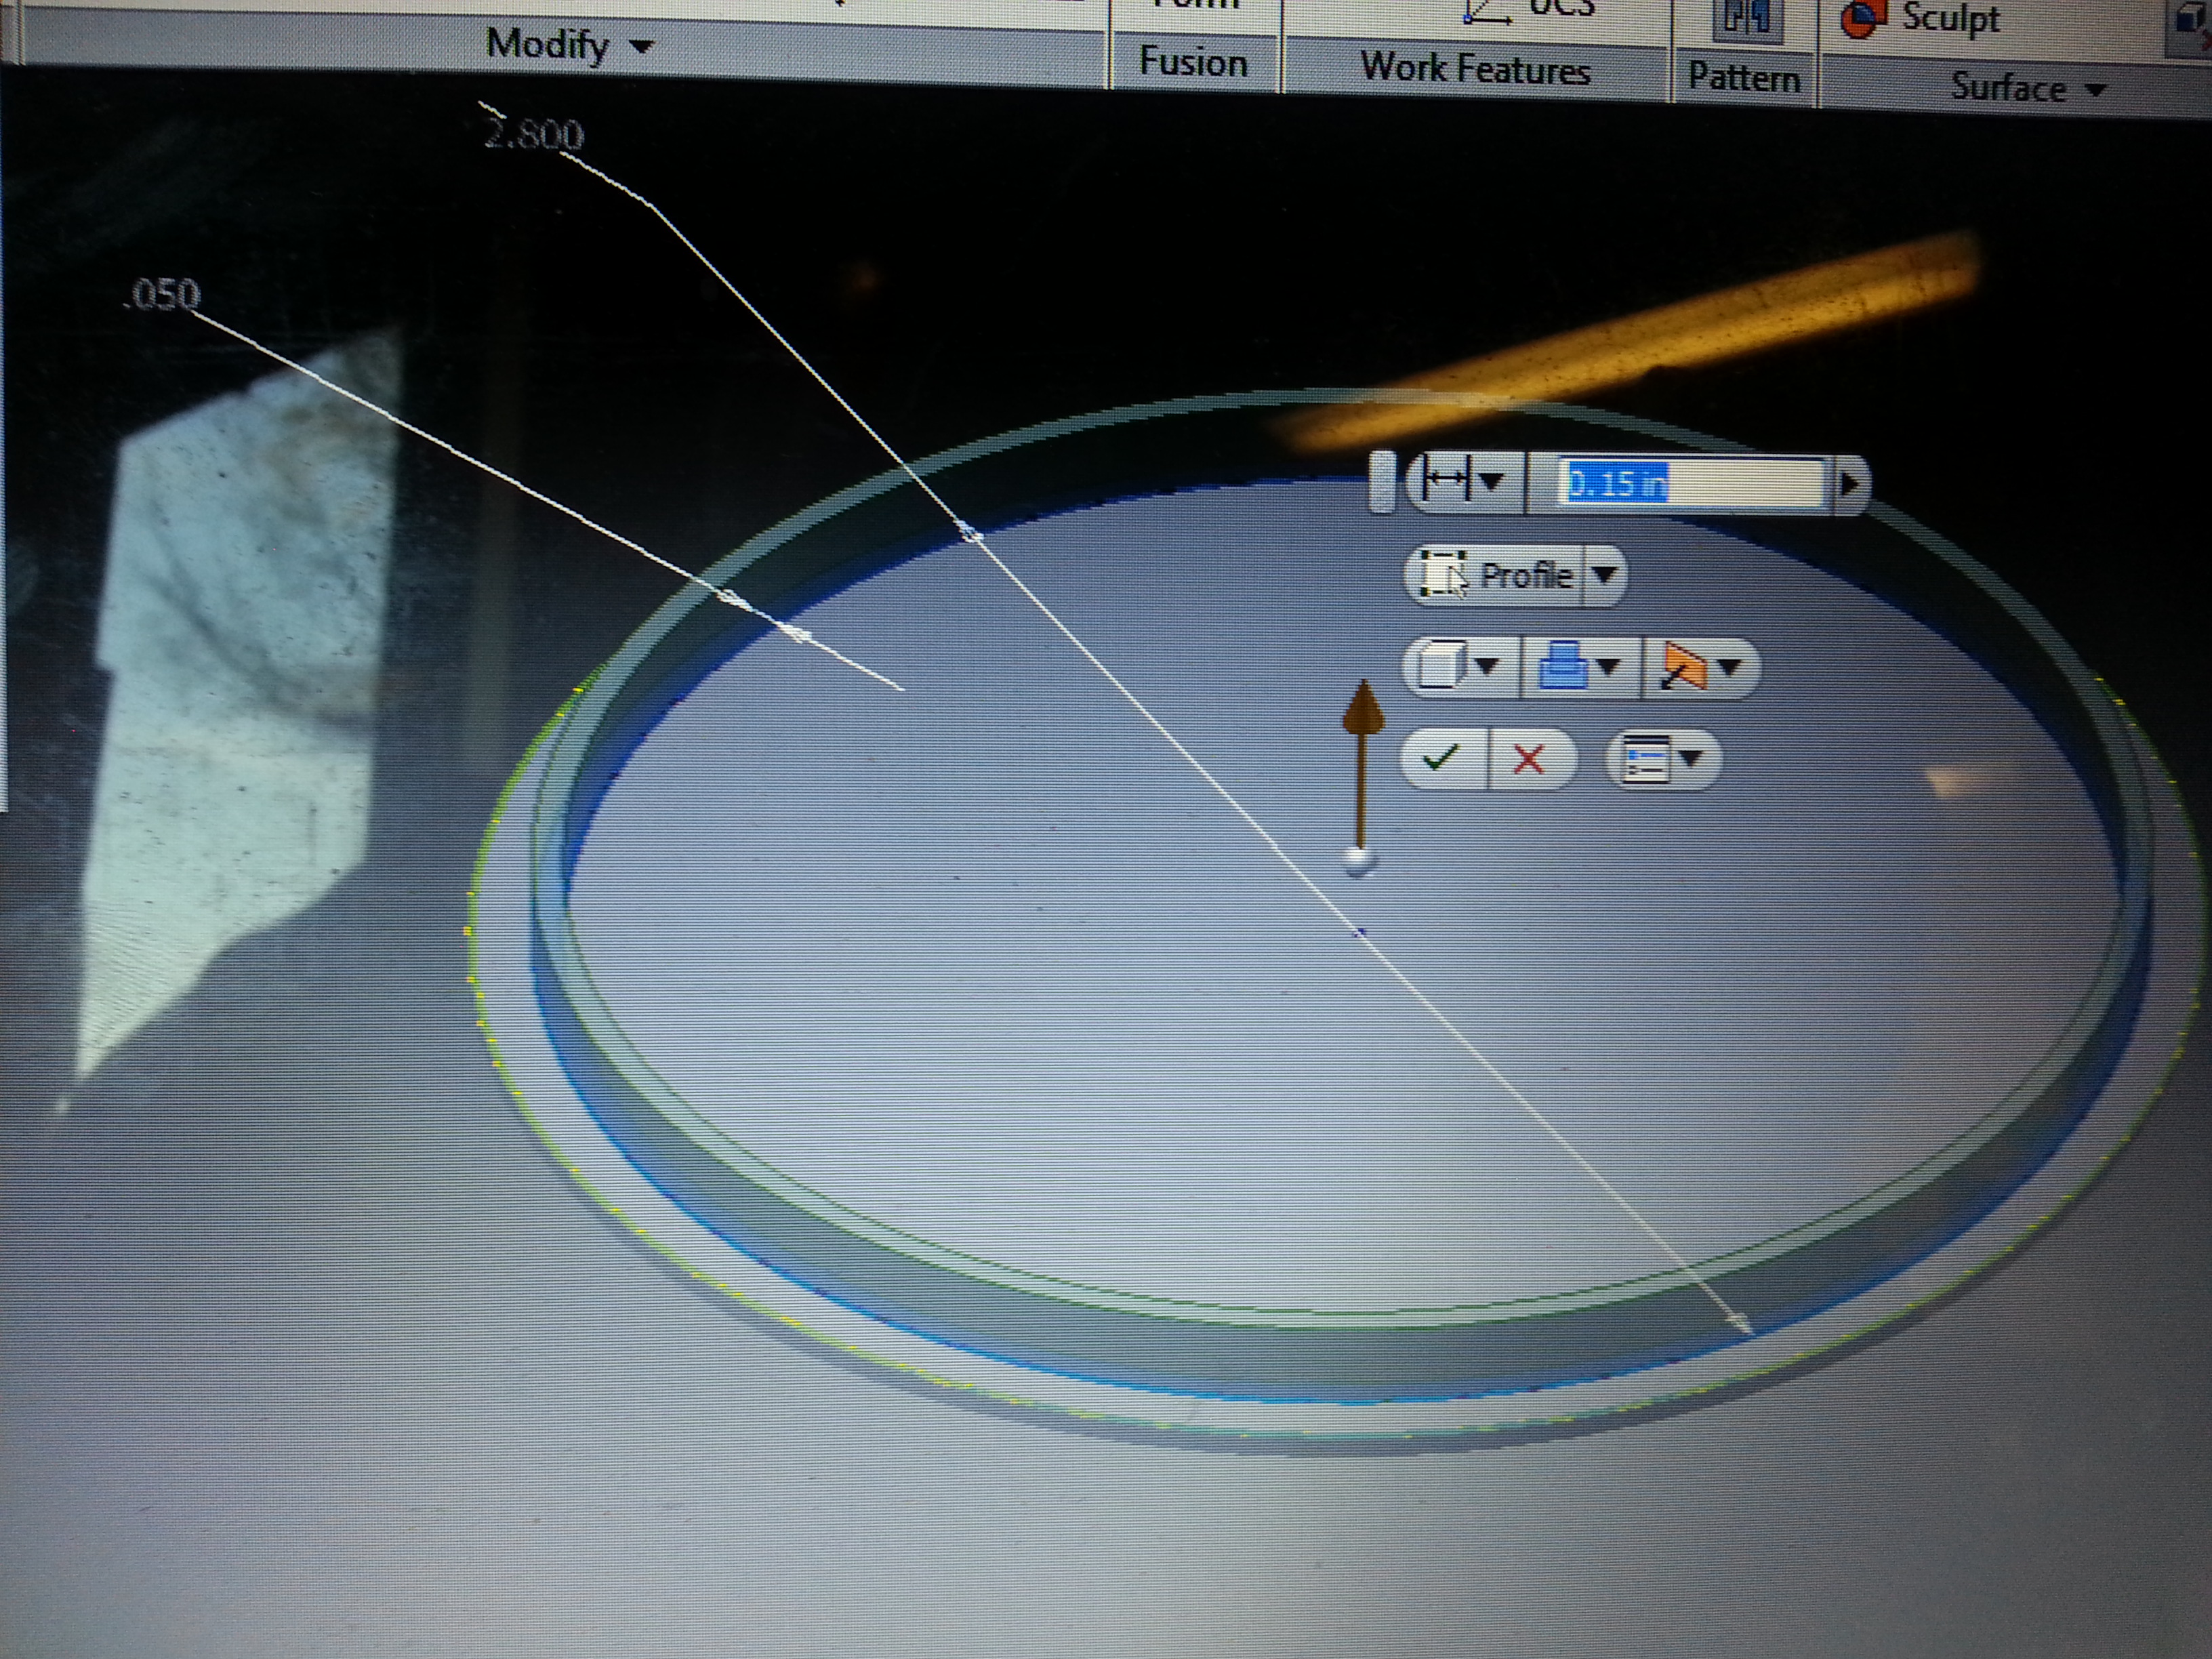
I think night lights should totally enclose the light so I wanted a lid. In Autodesk Inventor I made a circle the same diameter as for my nightlight and extruded it 0.100"
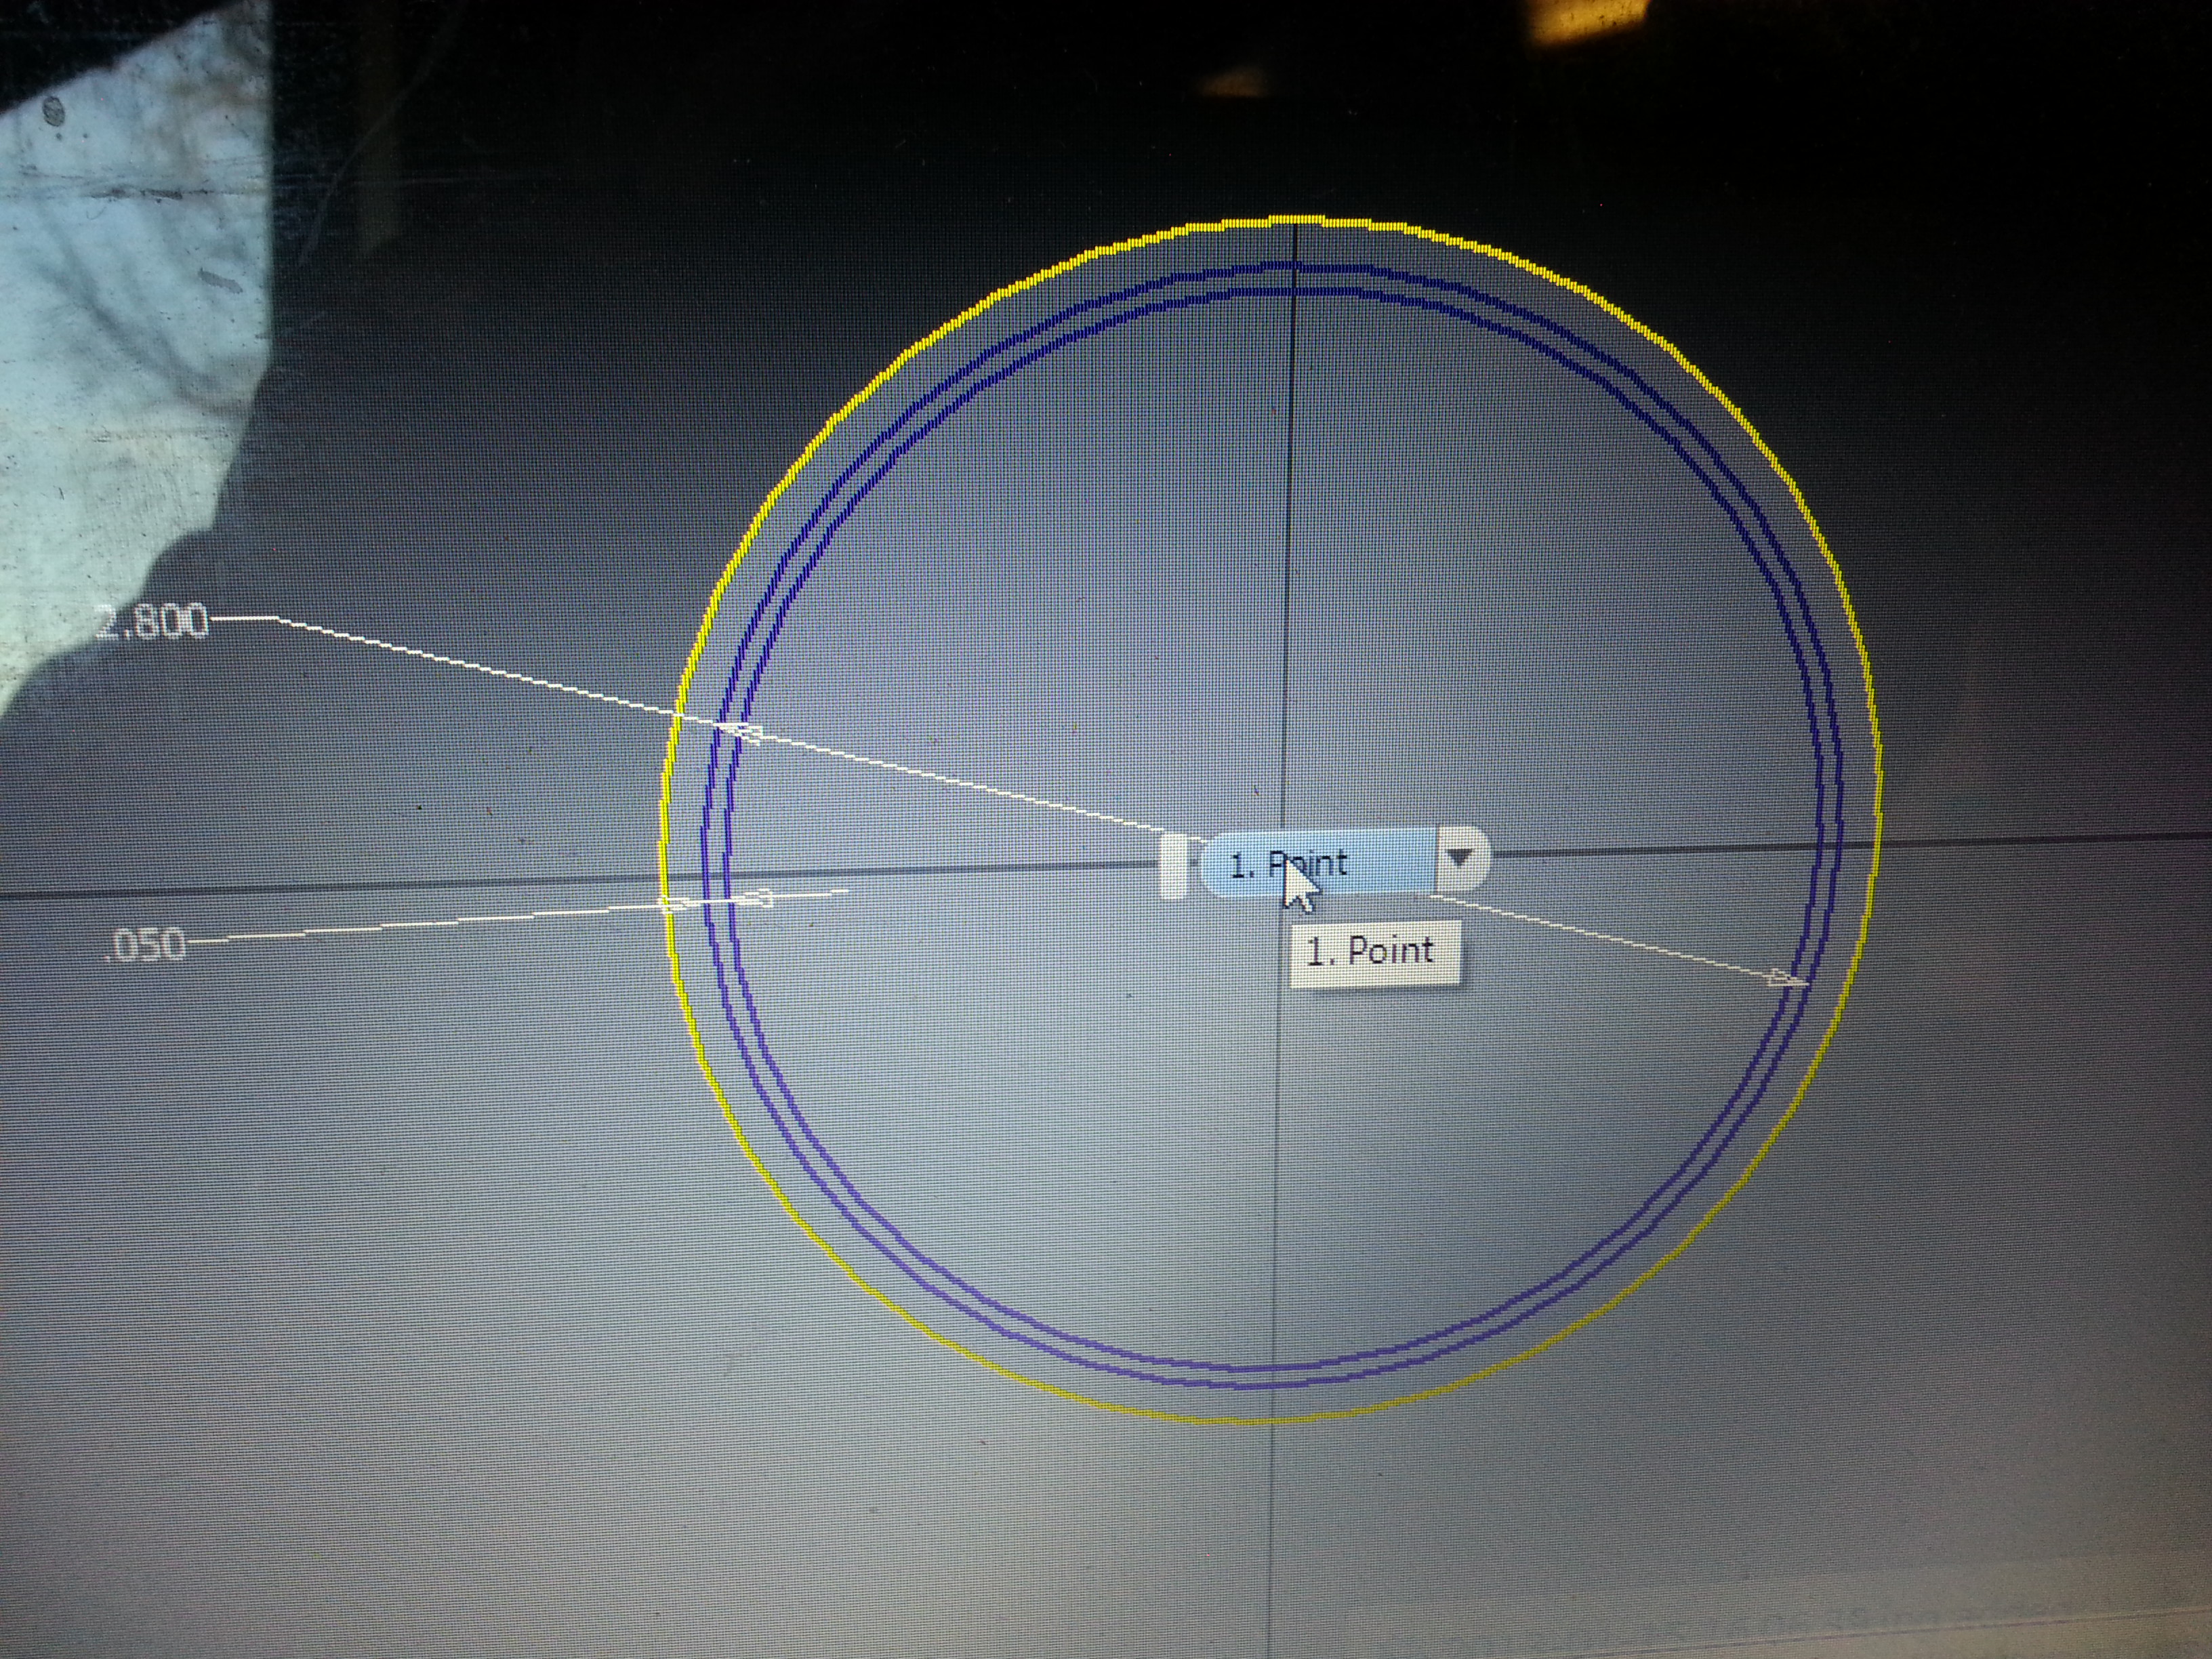
Next I created a new sketch on top of the previous one and made a circle that is a little in from the edge. ie the outside edge is 3" so this circle will be 2.8". This is the lip inside the lid.
Select the circle you just made and use the Offset tool to make a smaller circle inside the first one. Dimension it to your desired thickness (I used 0.050") then finish your sketch and extrude the feature
repeat the previous steps to export, import, and print your lid