Tea Light Lantern With Customizable Printing.
by one-lightbulb in Living > Decorating
8117 Views, 32 Favorites, 0 Comments
Tea Light Lantern With Customizable Printing.
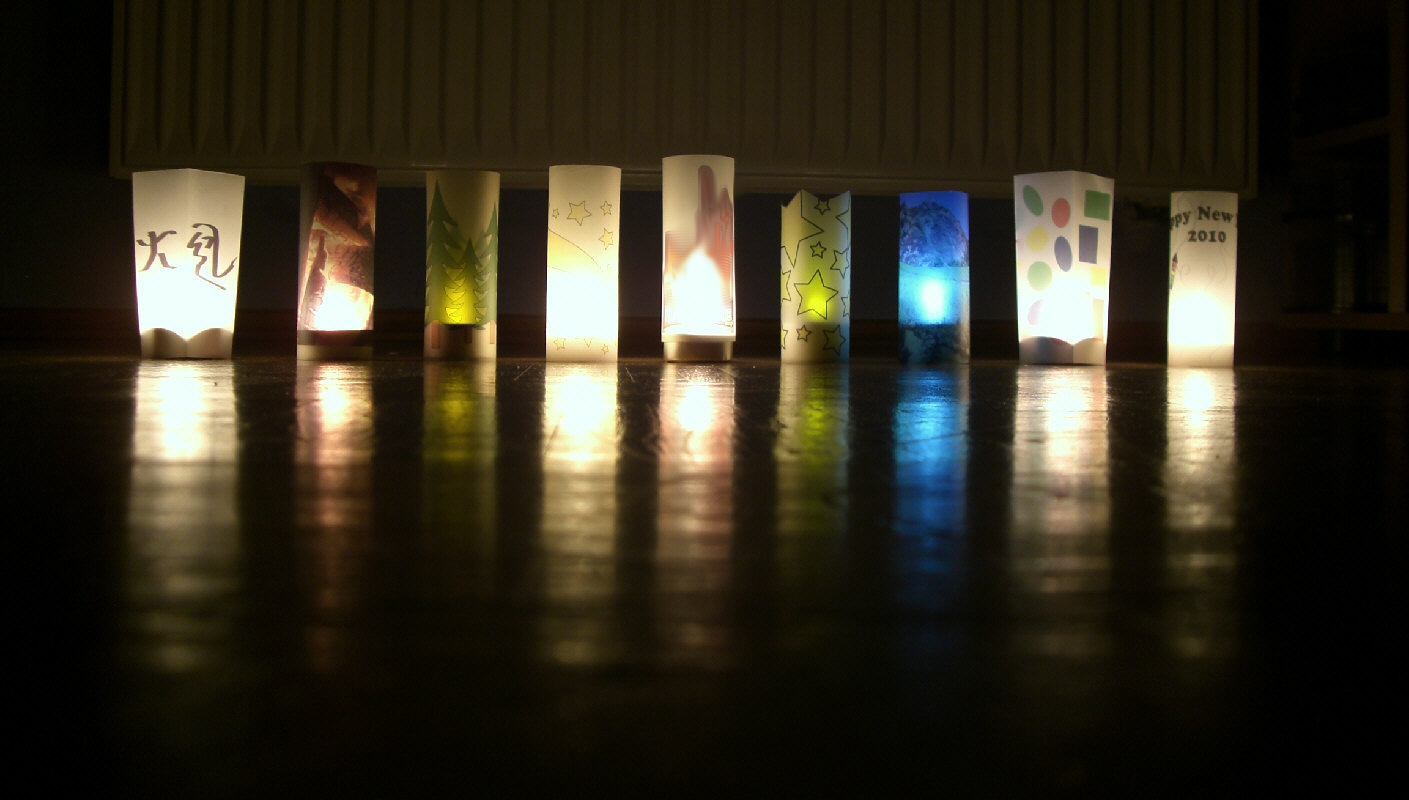
A unique and creative gift Idea for the holidays.
It is Christmas time again and you have no idea how to make gift. In this instruction I will show you how to build a lantern with customizable images or text.What You Need!
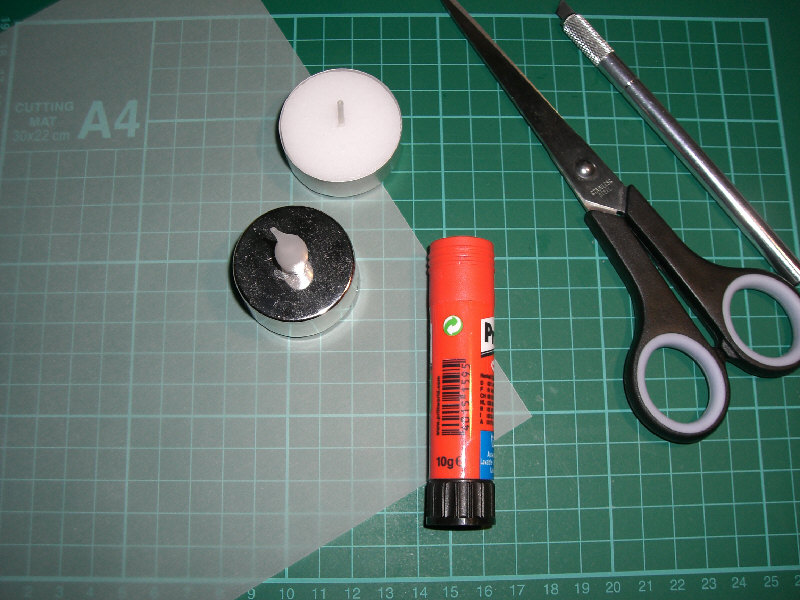
- sheet translucent paper (printable)
- pair of scissors or exacto knife
- printer (Inkjet or Laser)
- tea lights/candle (the reel "wax" ones or electronics)
- glue stick
- ruler
- any picture software
- optional: a drinking glass
- pair of scissors or exacto knife
- printer (Inkjet or Laser)
- tea lights/candle (the reel "wax" ones or electronics)
- glue stick
- ruler
- any picture software
- optional: a drinking glass
Some Basic Designs
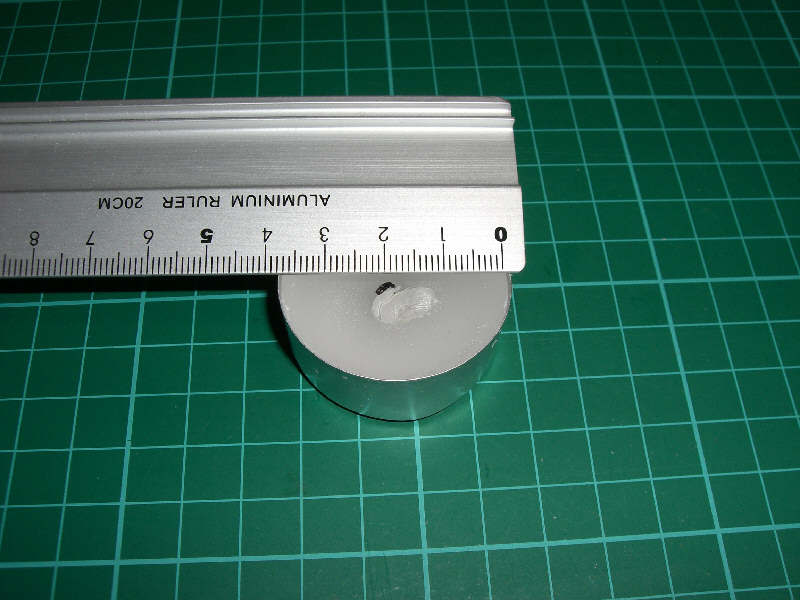
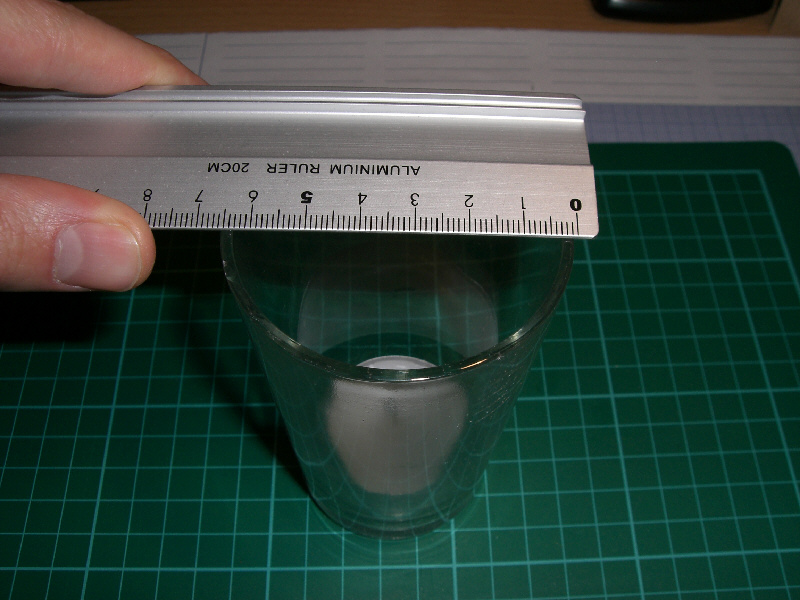
For a circular lantern:
Measure your tea light diameter. Multiply diameter by Pi (3.1415.........) gets you the circumference.
For example: 38mm (1.5") x Pi = 119mm (4.7")
Than you need an extra 5mm (0.2") joint.
The outcome of this is 119mm+5mm=124mm (4.9"), that is your width
For a square lantern:
Measure your tea light diameter. Multiply diameter by 4.
For example: 38mm (1.5") x 4 = 152mm (6")
Than you need an extra 5mm (0.2") joint.
The outcome of this is 152mm+5mm = 157mm (6.2) , that is your width
Other Ideas:
If you use electronic candles it work exactly the same way.
You can also use a drinking glass and wrap the paper around it.
This is the safest way !
Editing and Printing
Look for a image or graphic you like.
You can use nearly any Image. If it is a picture of your Cat or a computer game hero it doesn´t matter. Free your mind be crative. You can also take the files I made.
Inkscape:
I recommend Inkscape, it is a free open source vector graphics editor. You can get it at : http://www.inkscape.org
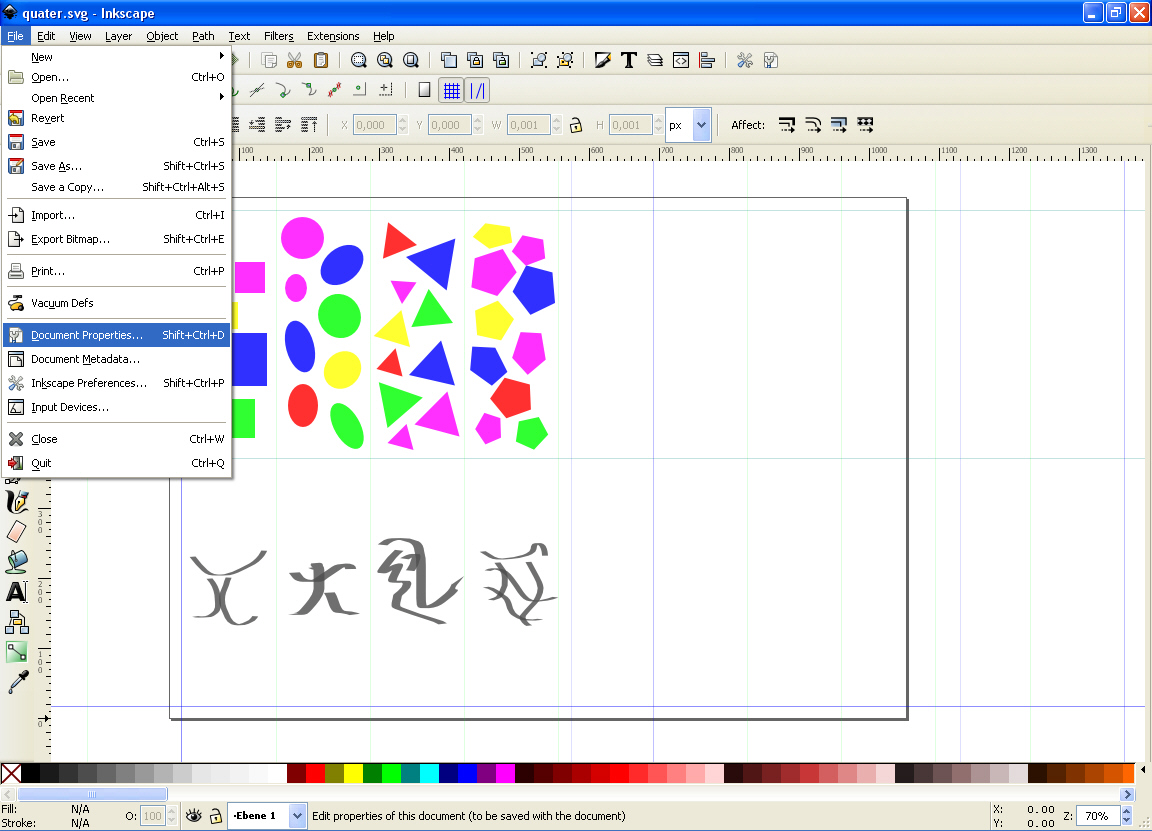
The easiest way to create a lantern design is to set a grid. In the grid you create your graphics.
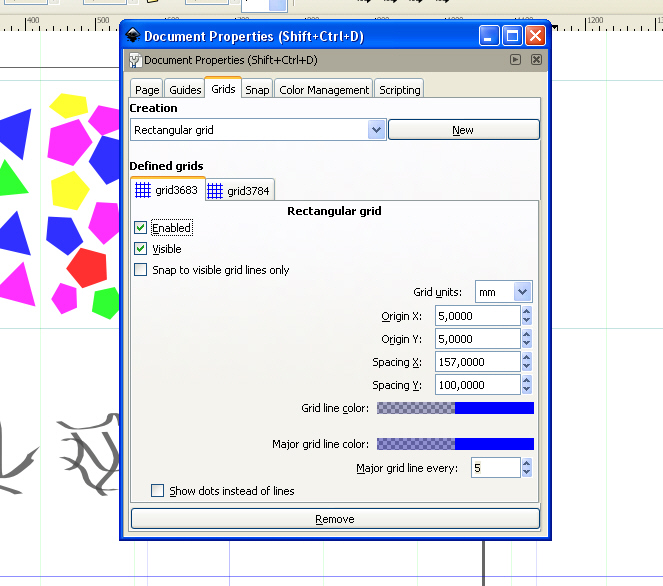
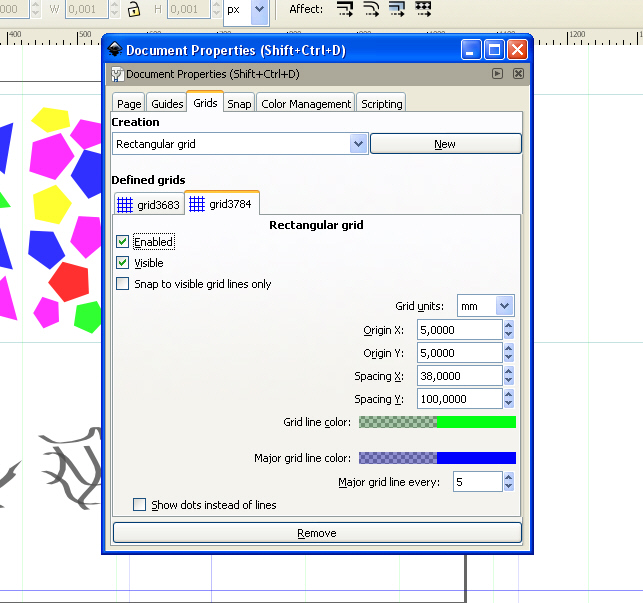
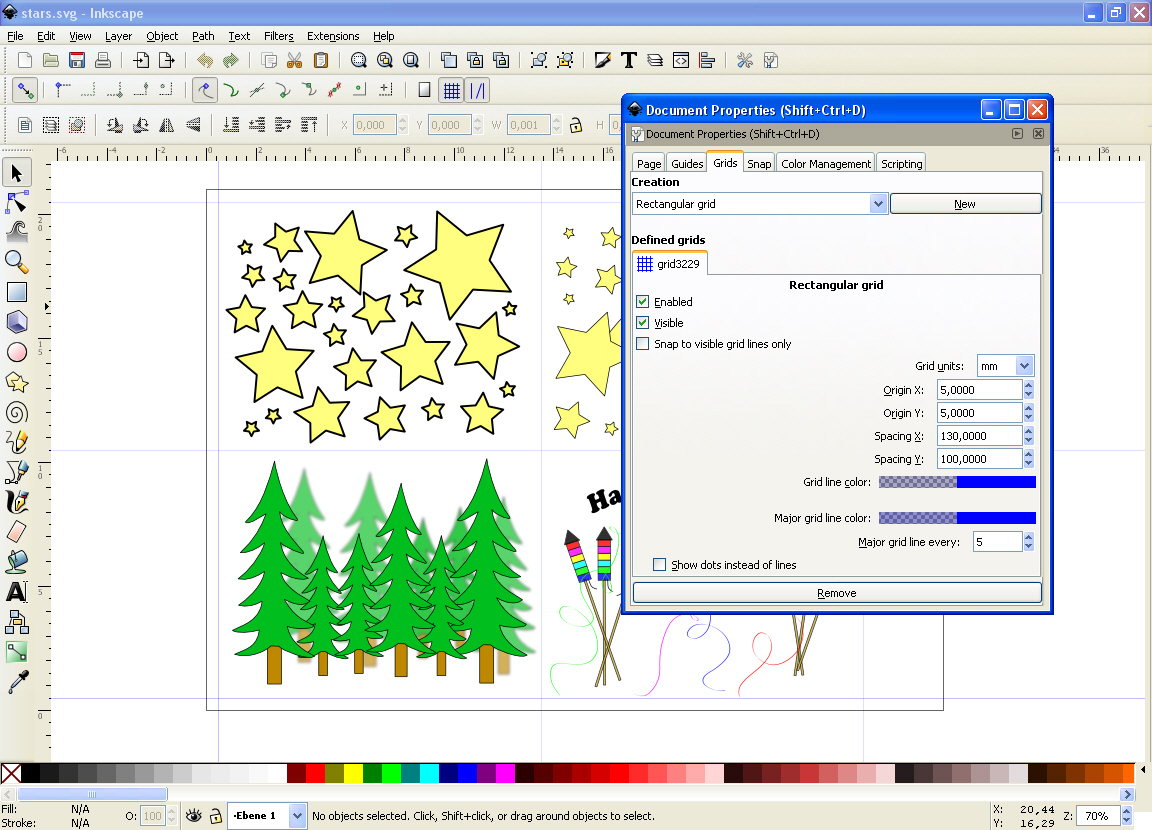
Go to: File-> Document Properties (Shift+Ctrl+D). In the Document Properties Window select the Grids Tab. Click on New and make the following settings.
The width of your lantern is represent by Spacing x, high by Spacing y
The width is determinate in Step 2. The high is free to choose but I recommend 60mm up to 110mm (2.4"-4.3") . It should look like in image 4, as you can see I arrange four lanterns on one page.
If you want to make square lanterns you have to add an additional Grid by click on New again (see image 1,2 and 3).
Settings are Spacing x: Diameter of your tea light and Spacing y is same as above. Change the colour of one grid for better differ.
Other Software:
Set the Image size to, for example 130mm by 100mm ( width by high ). The width is determinate in Step 2. The high is free to choose but I recommend 60mm up to 110mm (2.4"-4.3")
Print:
Use the setting Standard Paper and Fast Printing! Don´t use Photo Print Option or similar settings.
The translucent paper has a glossy surface that don´t absorb ink like standard paper. That´s why I highly recommend to use less Ink and more time of drying (2 or 3 minutes).
Cutting and Glueing (square)
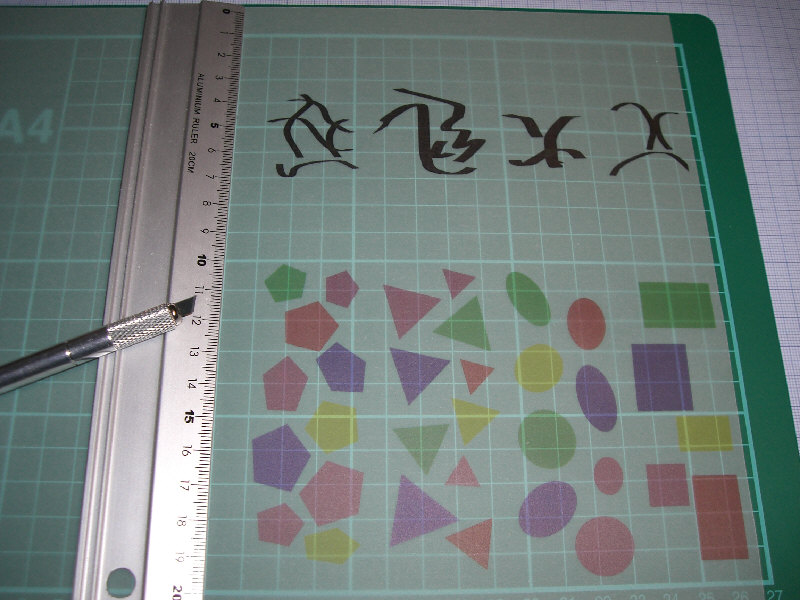
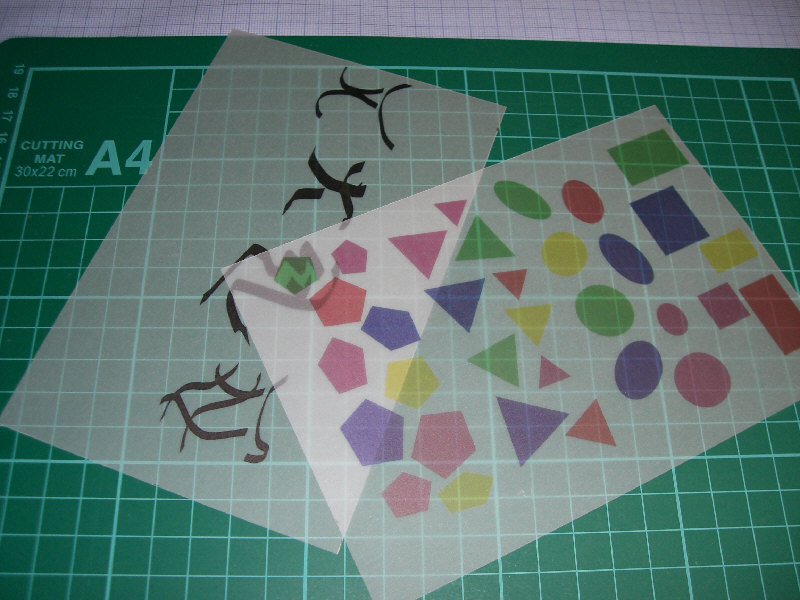
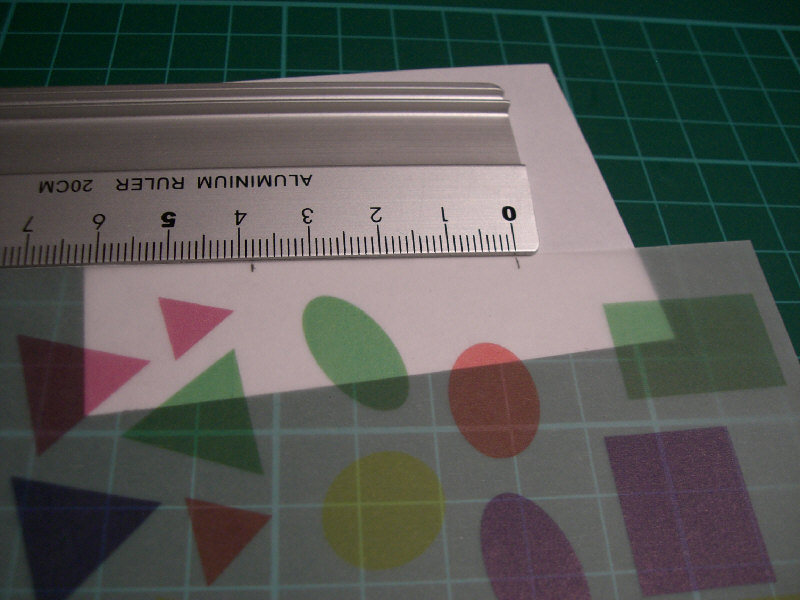
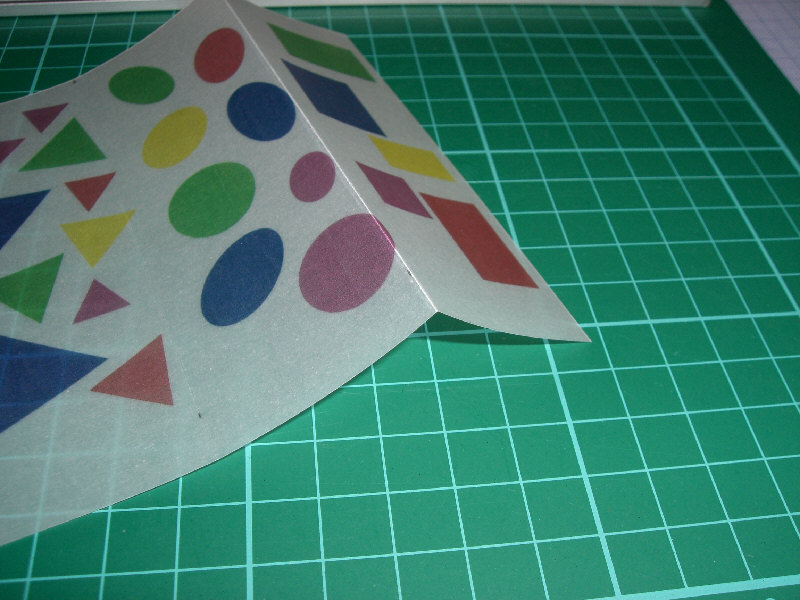
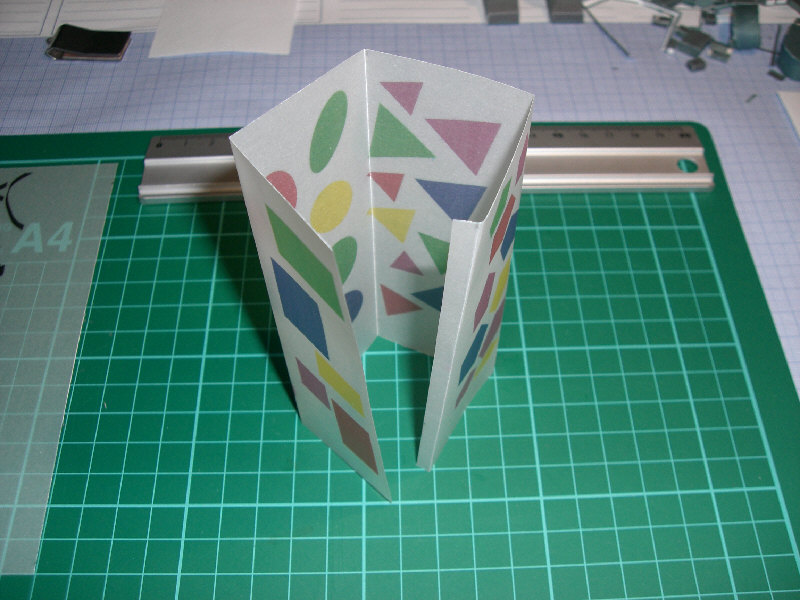
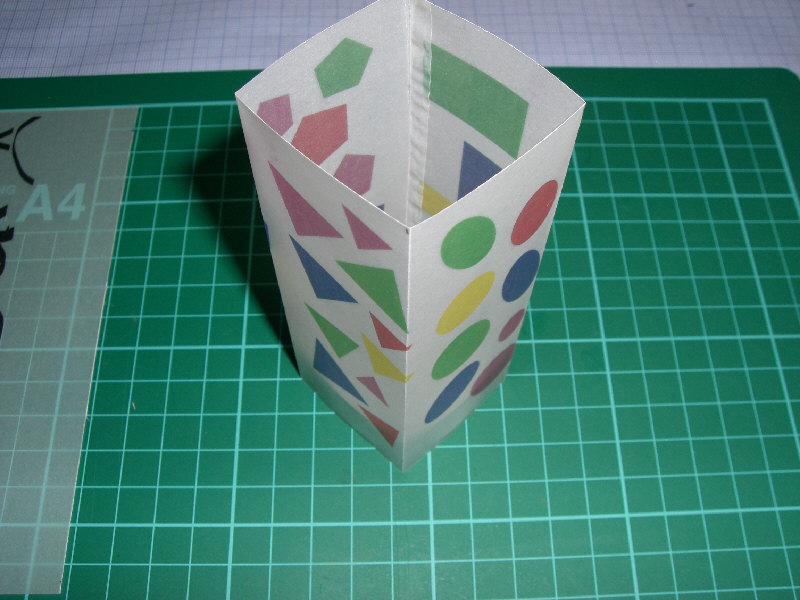
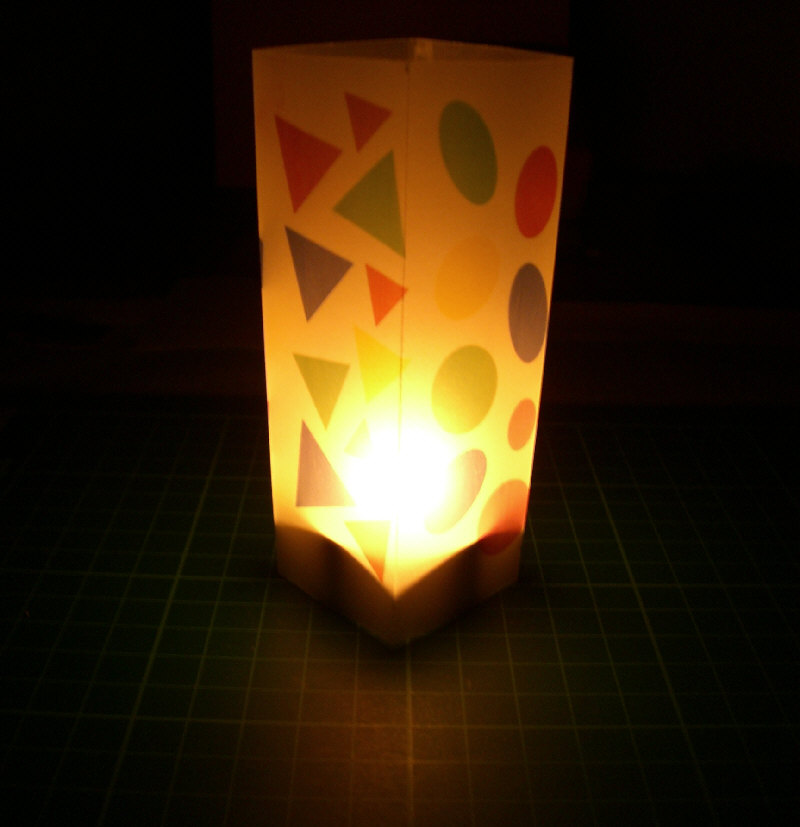
Mark your print with the numbers from Step 2. Cut your print apart (Image 1+2). Mark again but this time do it every 38mm [your tea lights diameter](Image 3). Fold the paper on every mark(Image 4). What is left should be one short joint and four even sides(Image 5). Glue the joint together.
Cutting and Glueing (circular)
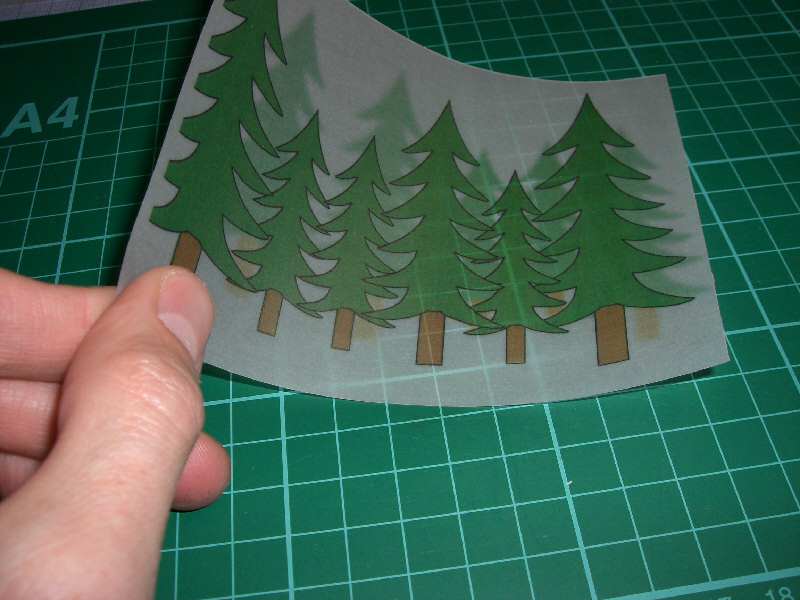
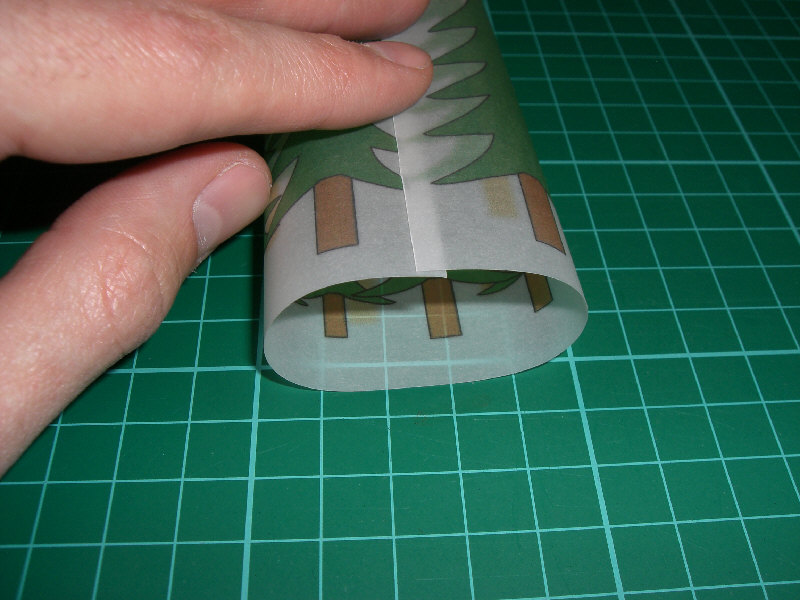
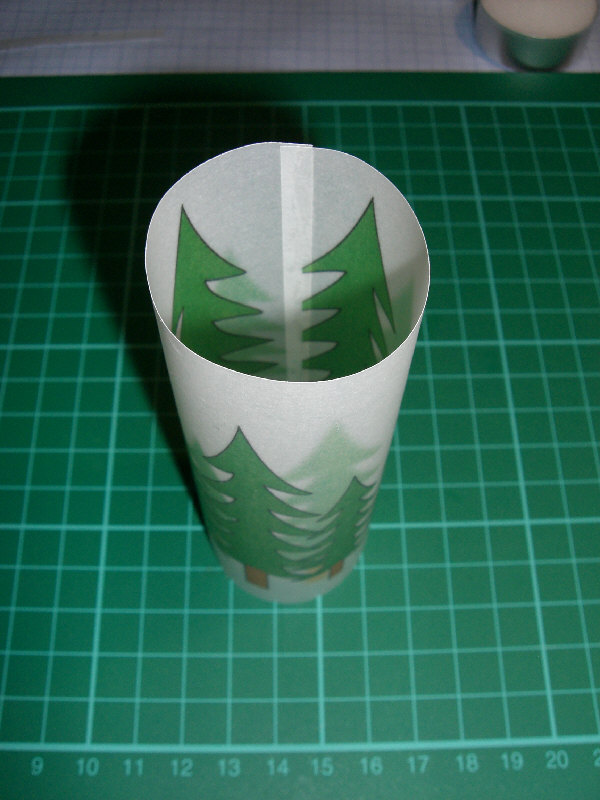
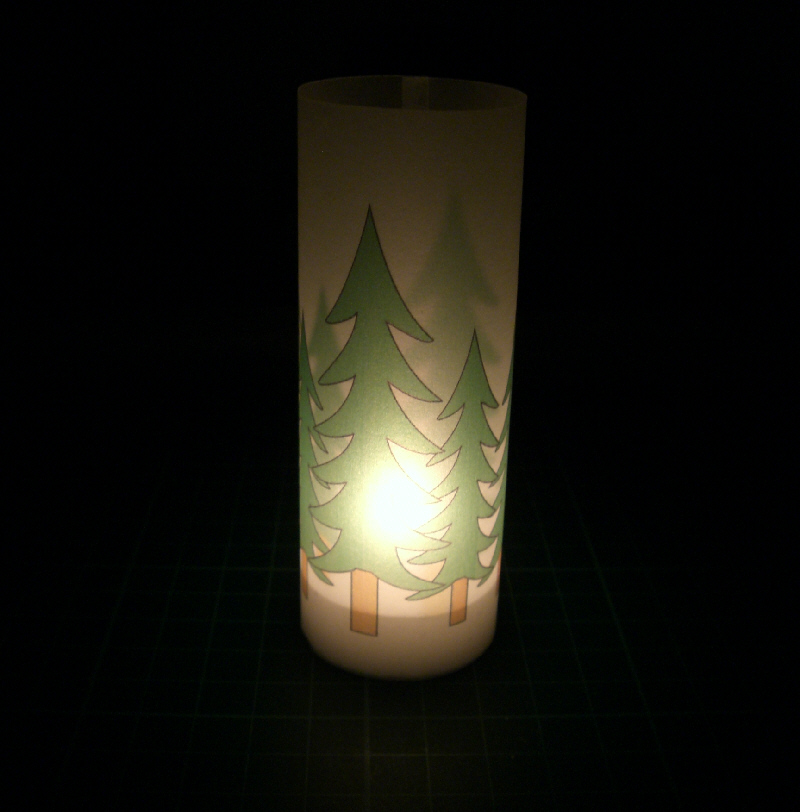
This is how it should look like.
Finally
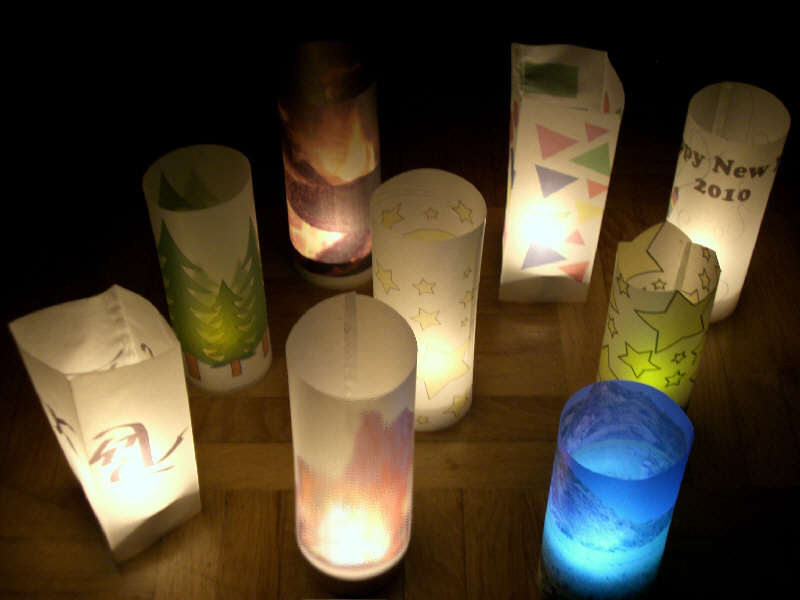
Light it up!
If you are afraid of burning your house down or if you have Kids and/or Animals you should use electronic candles. Or use a drinking glass as I suggest in Step 2.
Warning!
I am not responsible for any burned eyes, fingers, houses or anything else! Although I tested the lanterns it exists the potential that your lantern burn down. So never leave the room without blow out the lights!