Tea-light Lantern
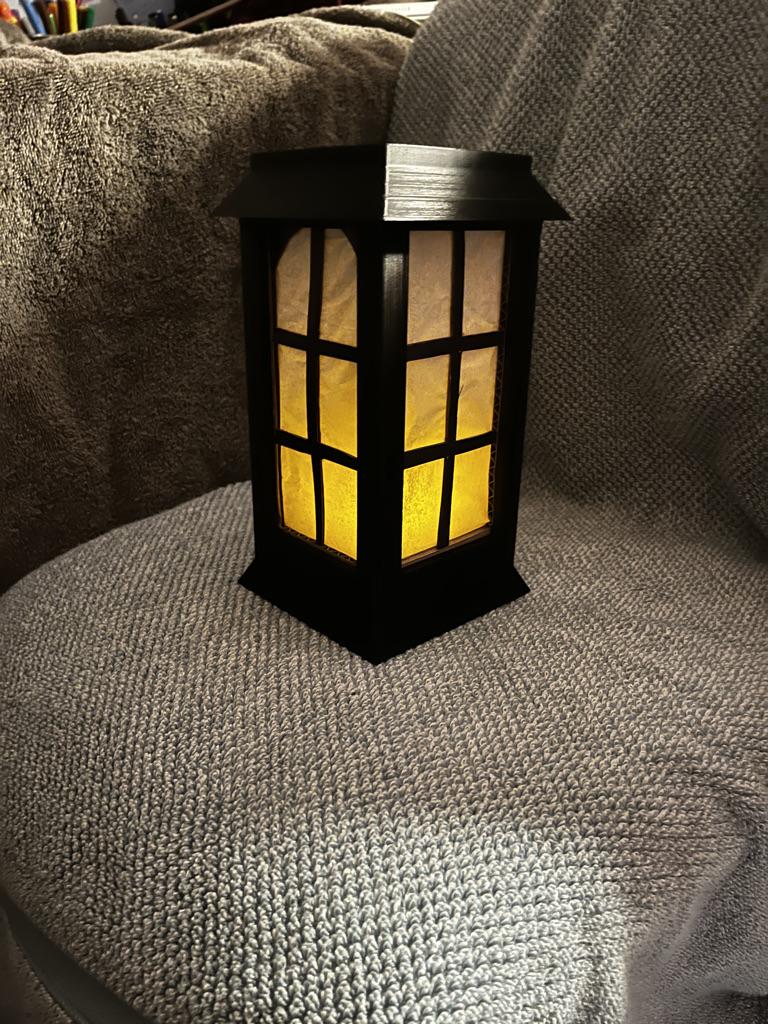
I made a lantern lit with a tea-light. I wanted to make something that could have interchangeable panels that could display light differently. With this work you can alter the panels to fit different seasons, moods, themes, or anything else. In doing so what you do after making the basic print is super customizable to fit you!
Berkeley High School, CA
Supplies
For the lantern body
- 3D printer
- Filament
- Fusion360
For the panels
- Cardboard
- Paper (tissue, parchment, printer, etc.)
- Scissors
- X-Acto knife
- Cutting mat
- Pencil
- Glue
- Any supplies to color the paper (markers, colored pencils, watercolor paint, crayons, etc.)
And a standard electric tea-light!
Making the Base
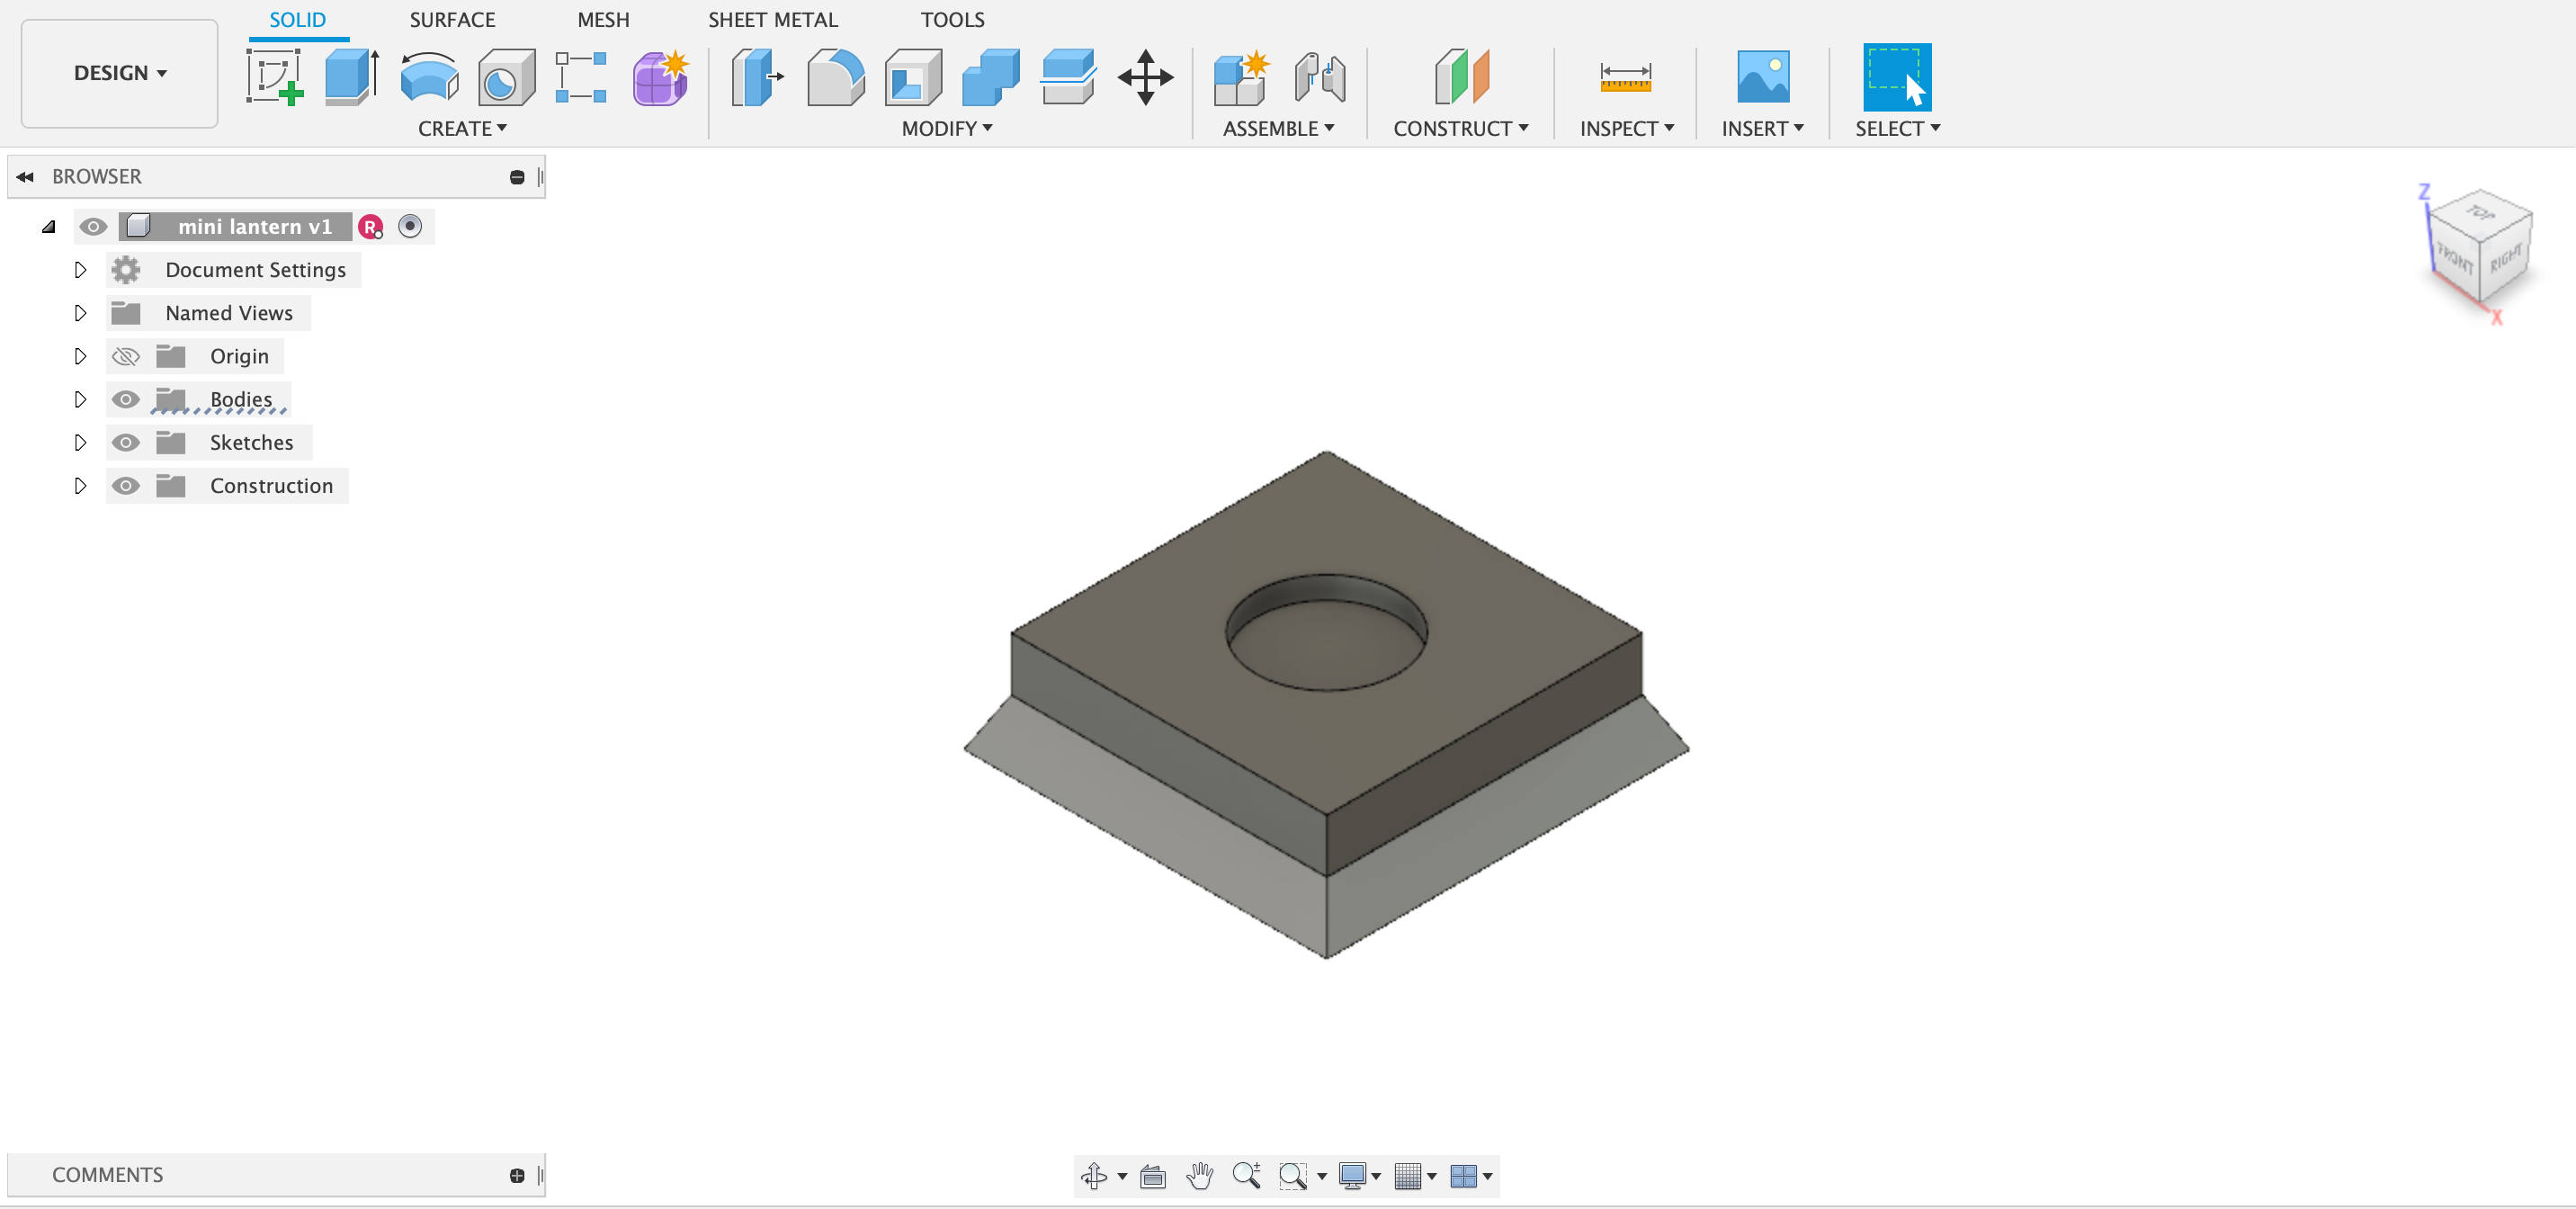
Make a project in Fusion260 and create the base of the lantern, this will be the part of the print that the candle will sit in. For my model the circumference of the candleholder is 45mm in diameter.
For this project most of the dimensions are up to you. The only things to keep in mind are how big your candle is and if the light will be able to get through your paper.
Creating the Sides
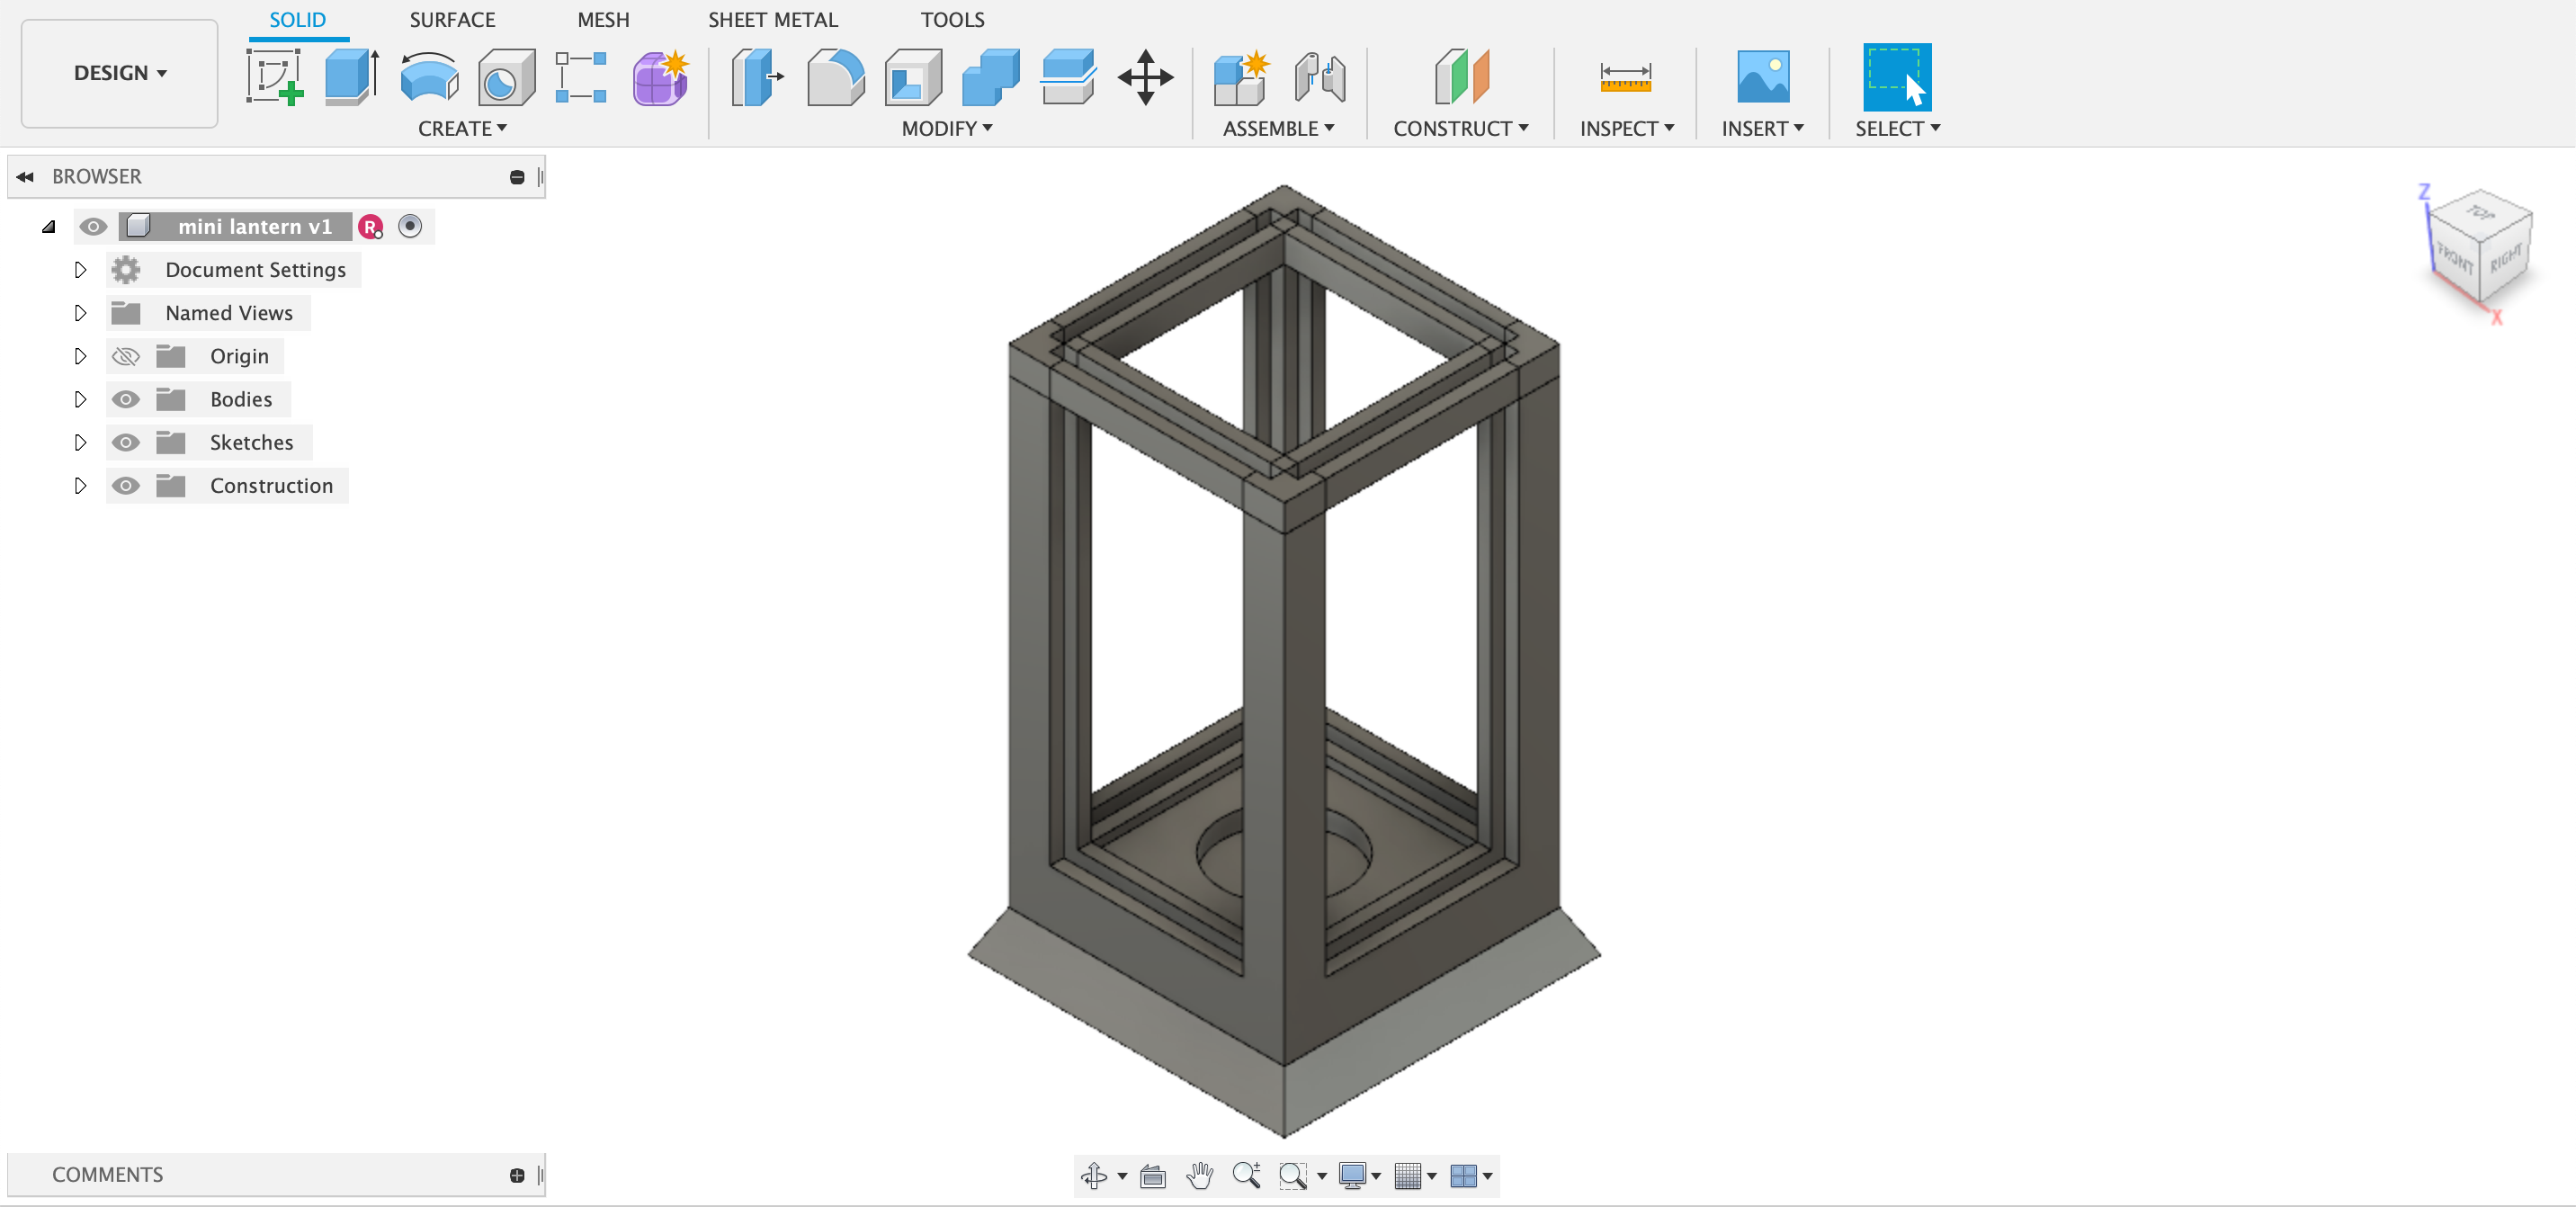
Now we are going to make structures for the light to shine through. To do this we are going to extrude posts on the corners of the base and close off the top of the window. Then, to have a place for the cardboard panels to be inserted you will extrude a slit in the windows created in the previous step.
For this model I made the area for the cardboard to fit 70x5x130 mm (this is important to keep in mind when making your cardboard panels)
Modeling the Lid
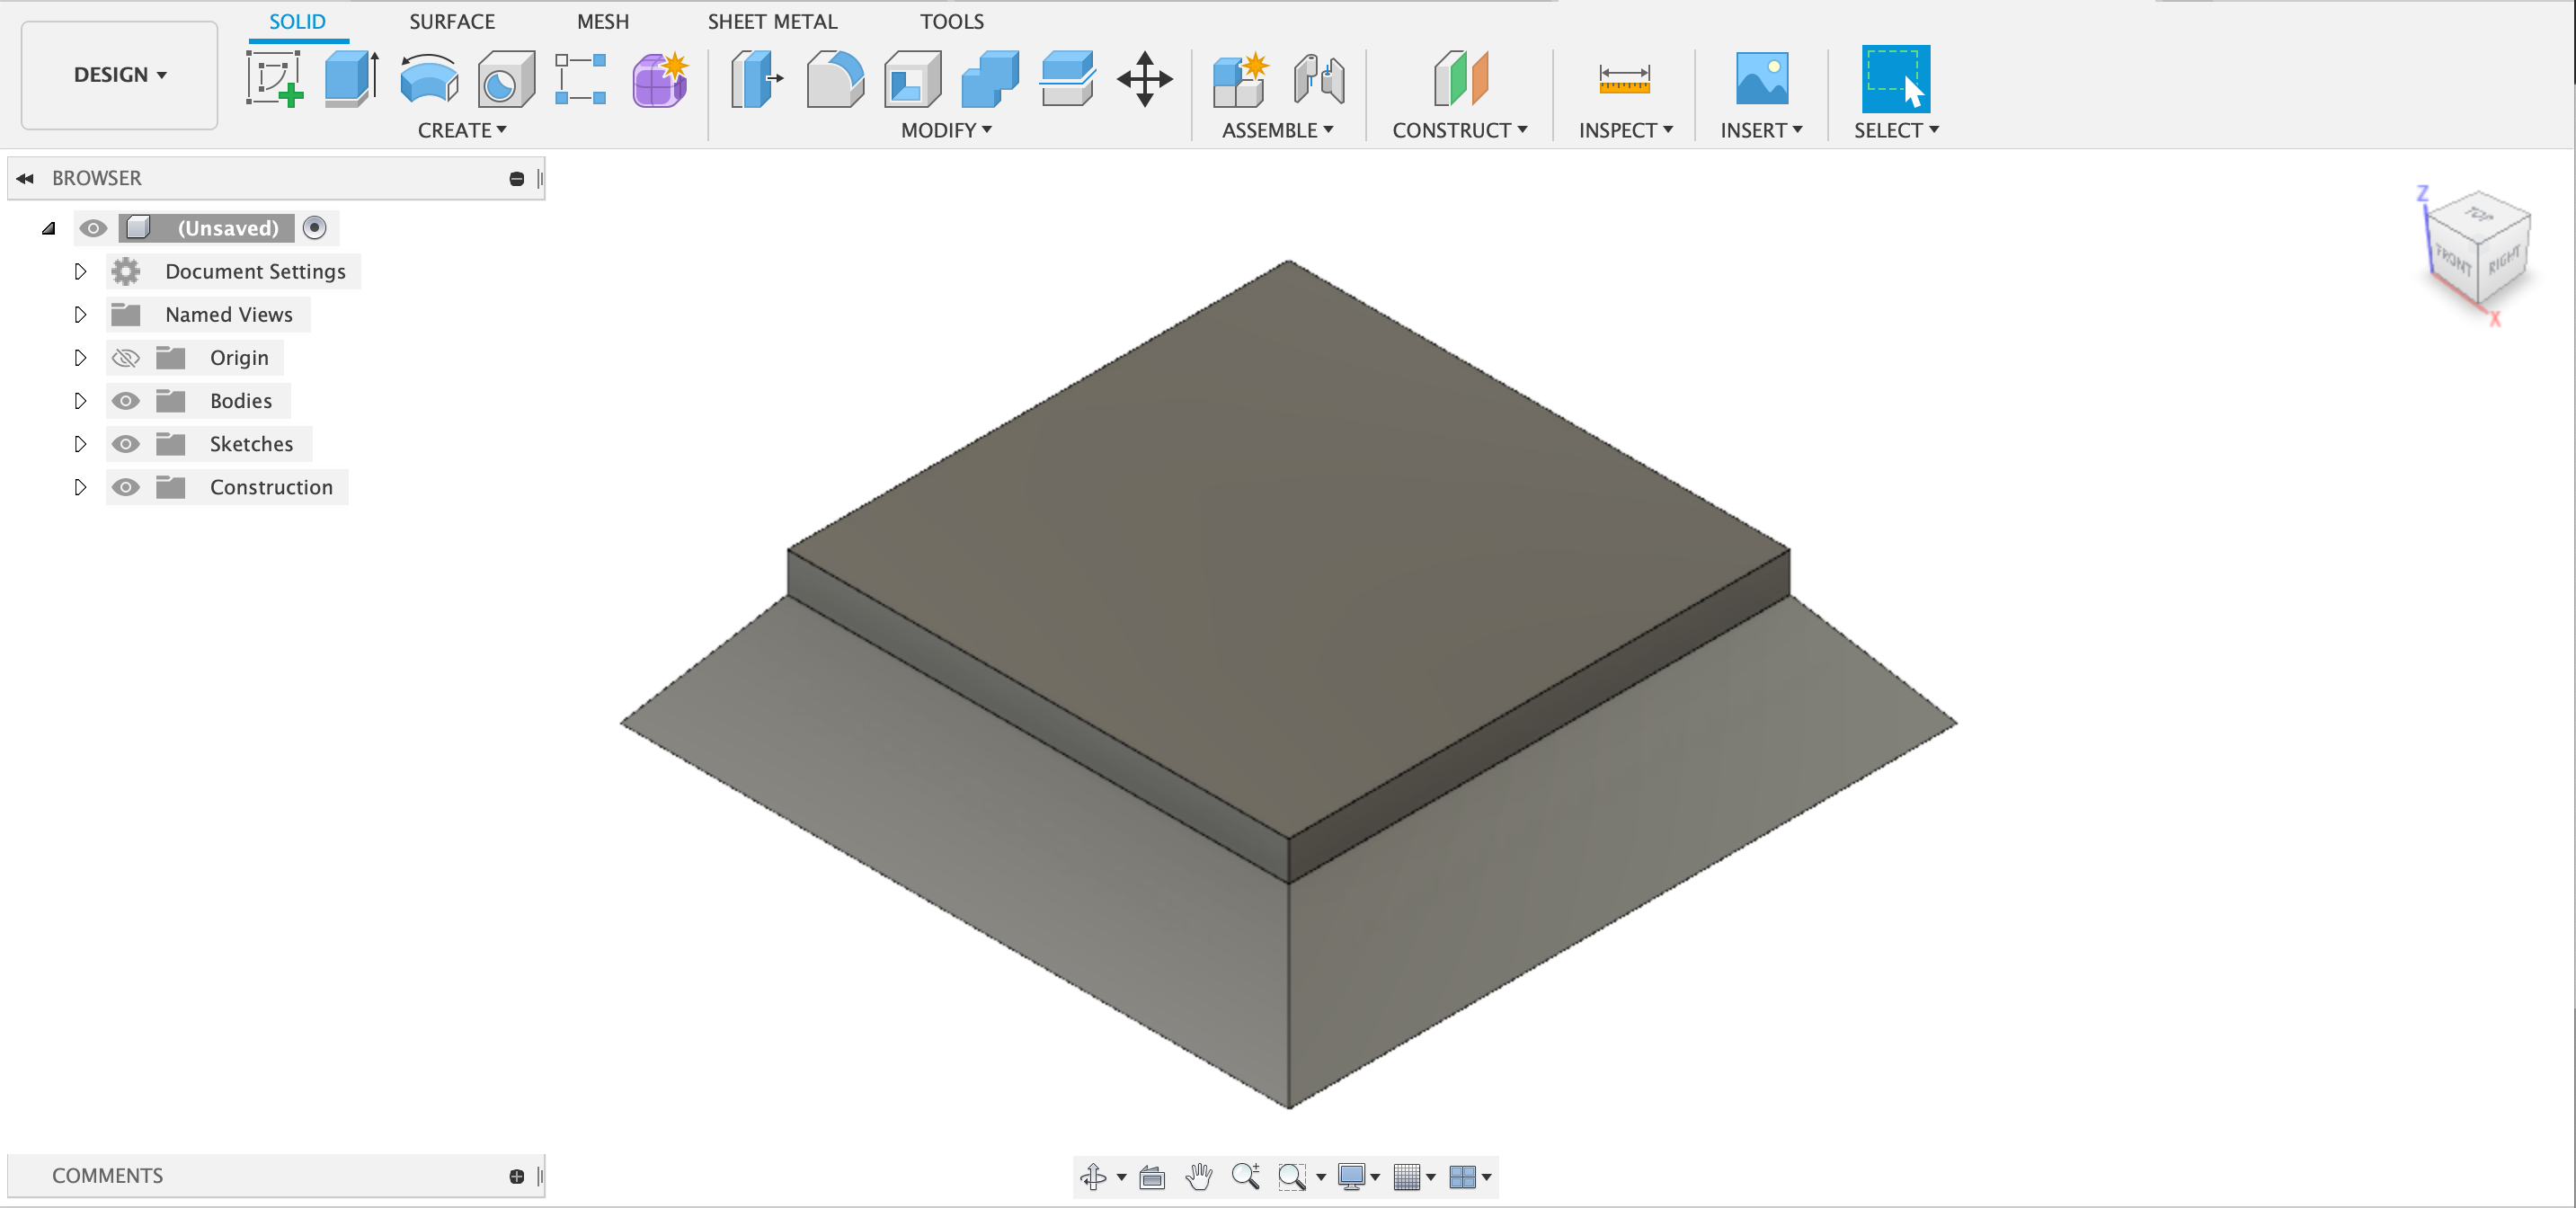
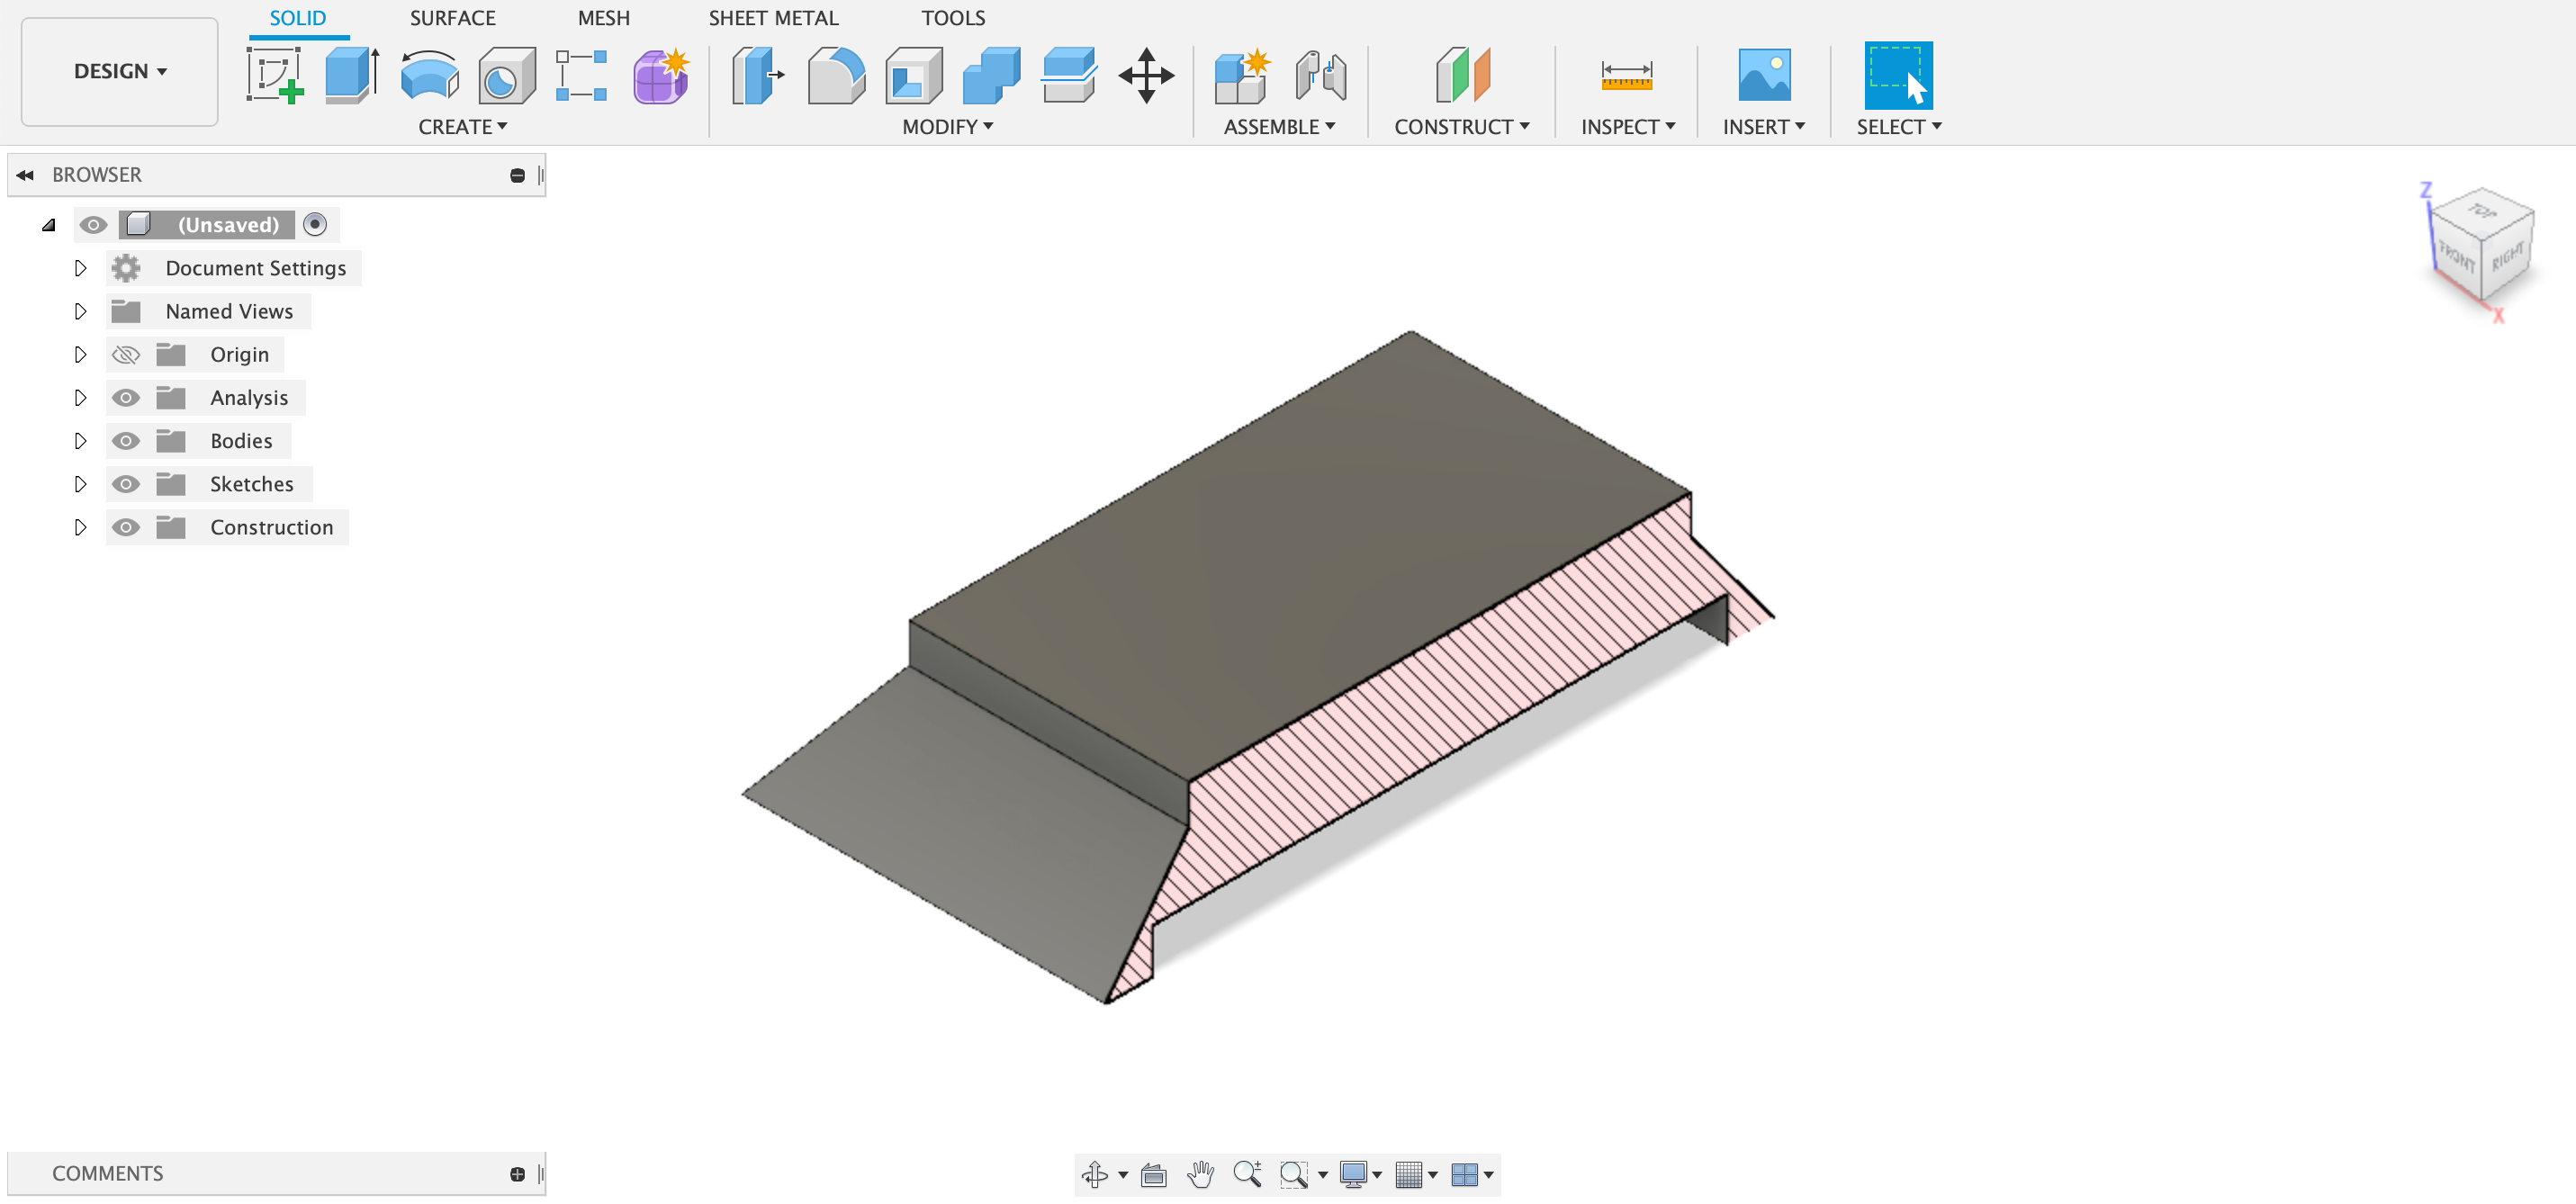
For the lid of the lantern we are going to use the loft and extrude features to make the basic shape. We then make a cutout on the bottom of the lid so it can sit on the body of the lantern
Print the Pieces Out
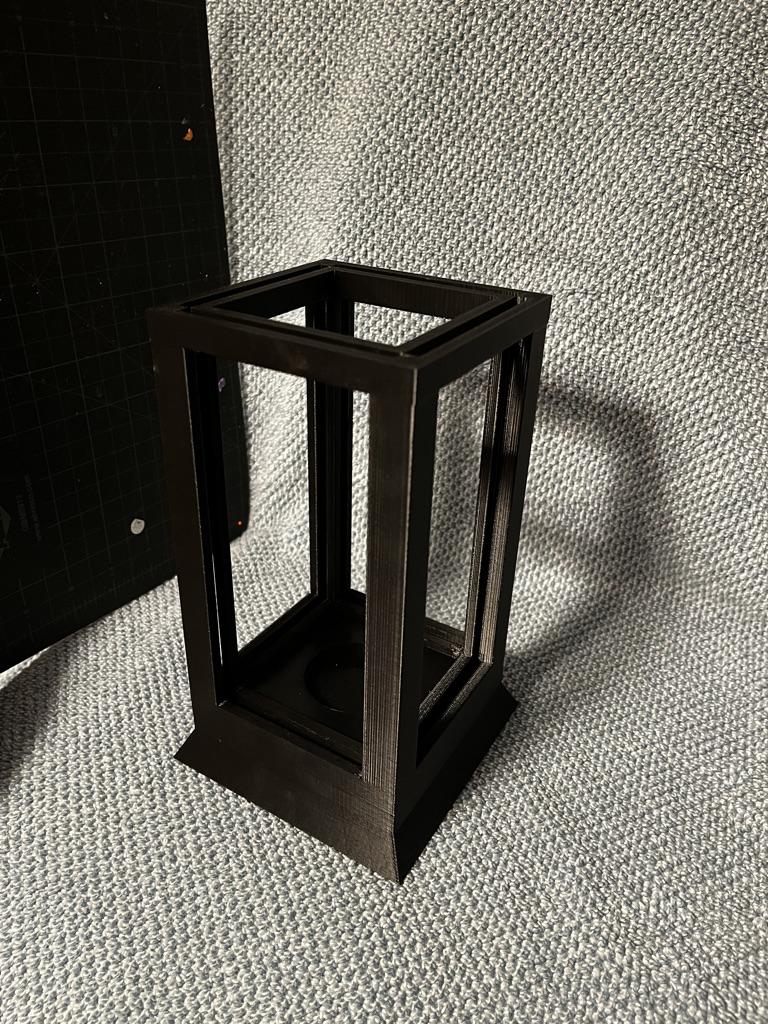
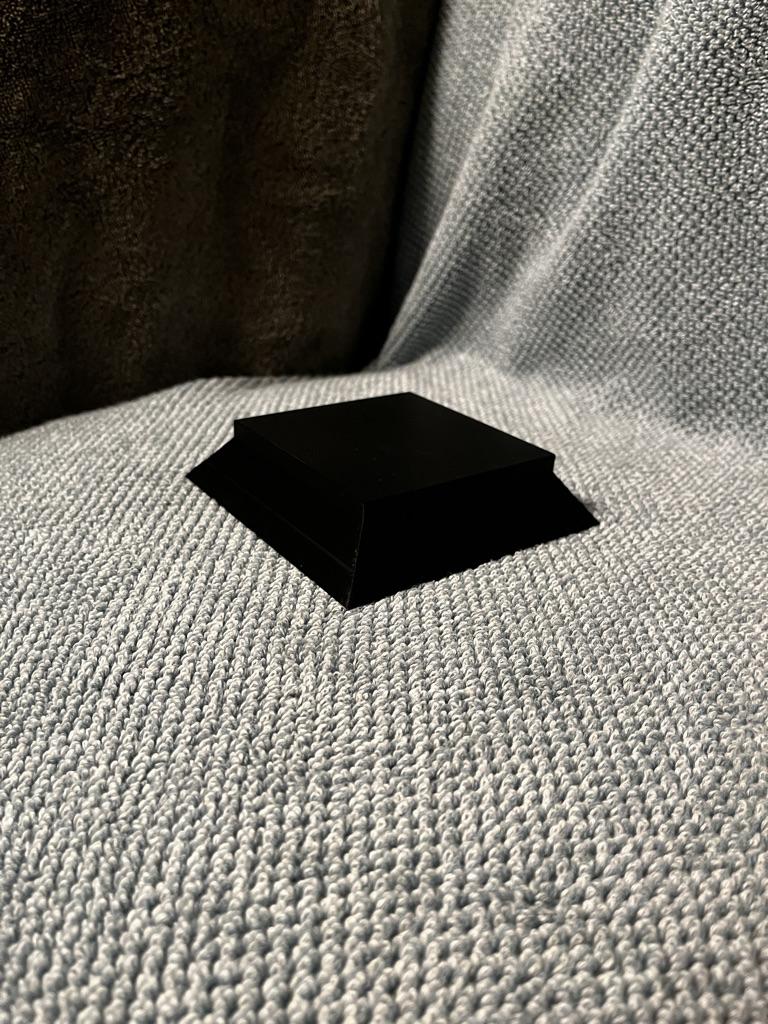
Slice, print, and clean up your pieces!
Making the Panels
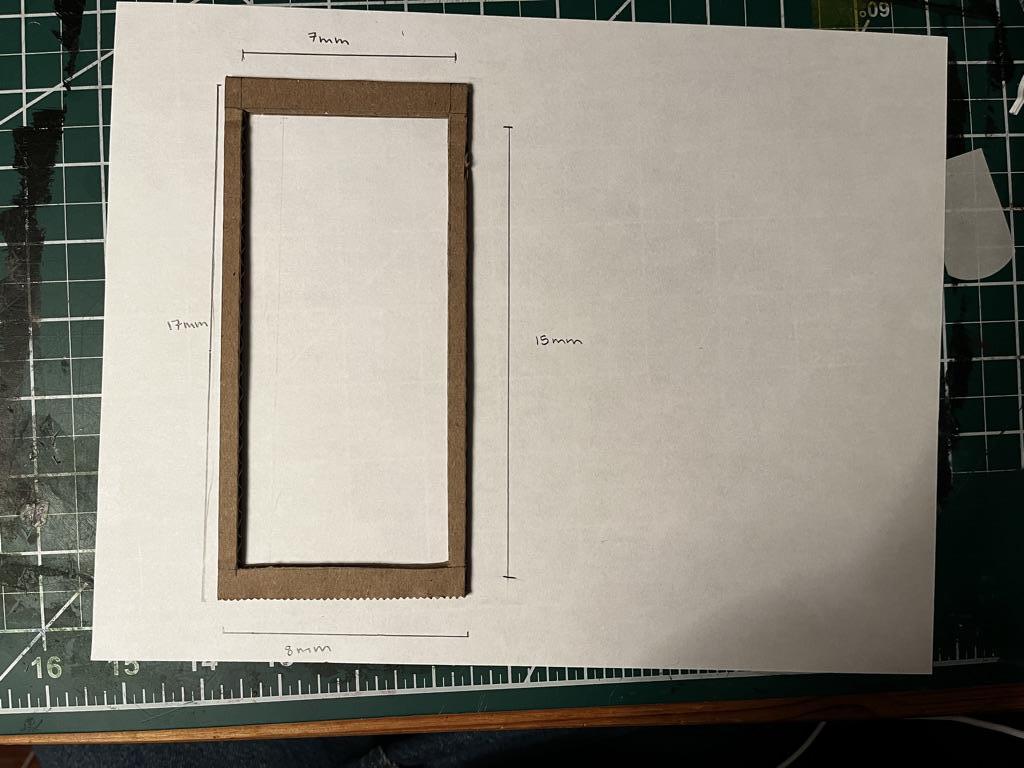
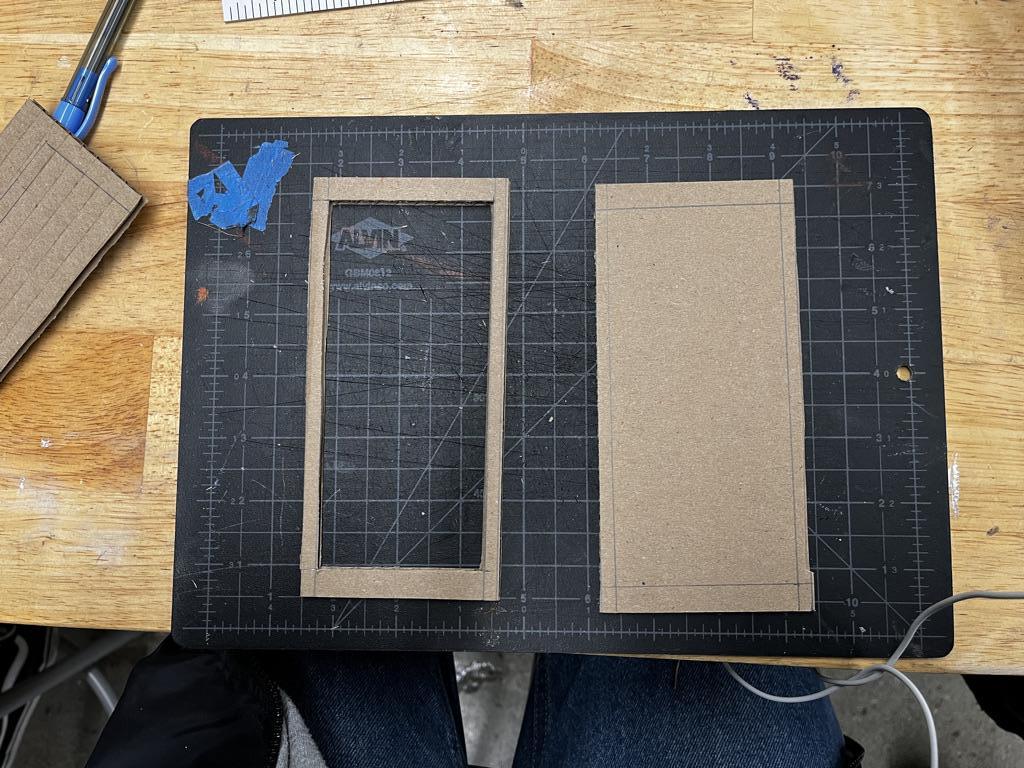
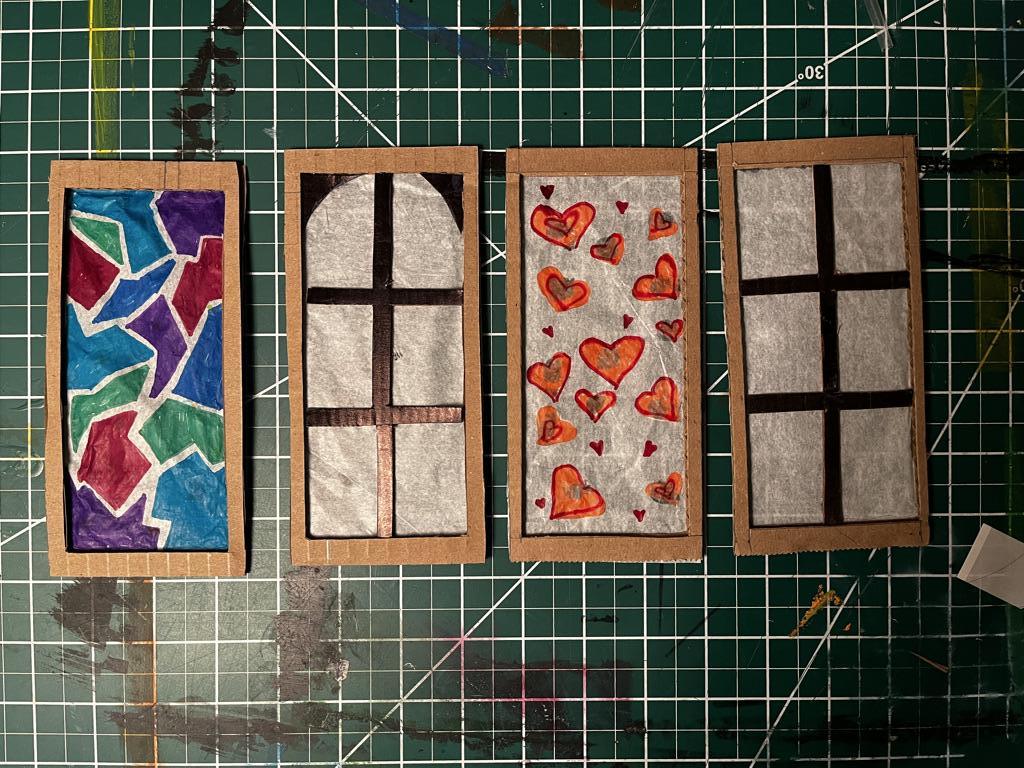
For all of the windows you are going to start with the base shape. This consists of outer dimensions in Step 2 and inner dimensions that fit your preferences for appearance (in my example I did 8x17mm and 7x15mm).
Now you can do whatever you want to make them pretty! I used tissue paper, markers and additional cardboard to make a sort of stained glass effect, used multiple layers to add depth, and made two to look like mini windows.
The Finished Product
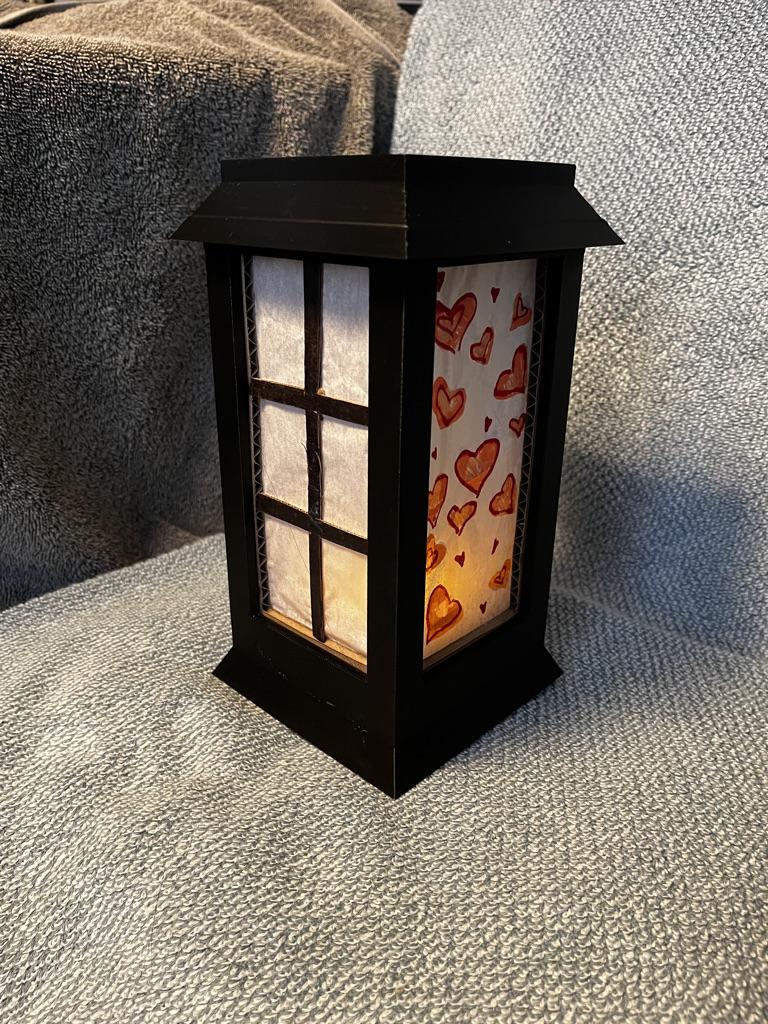
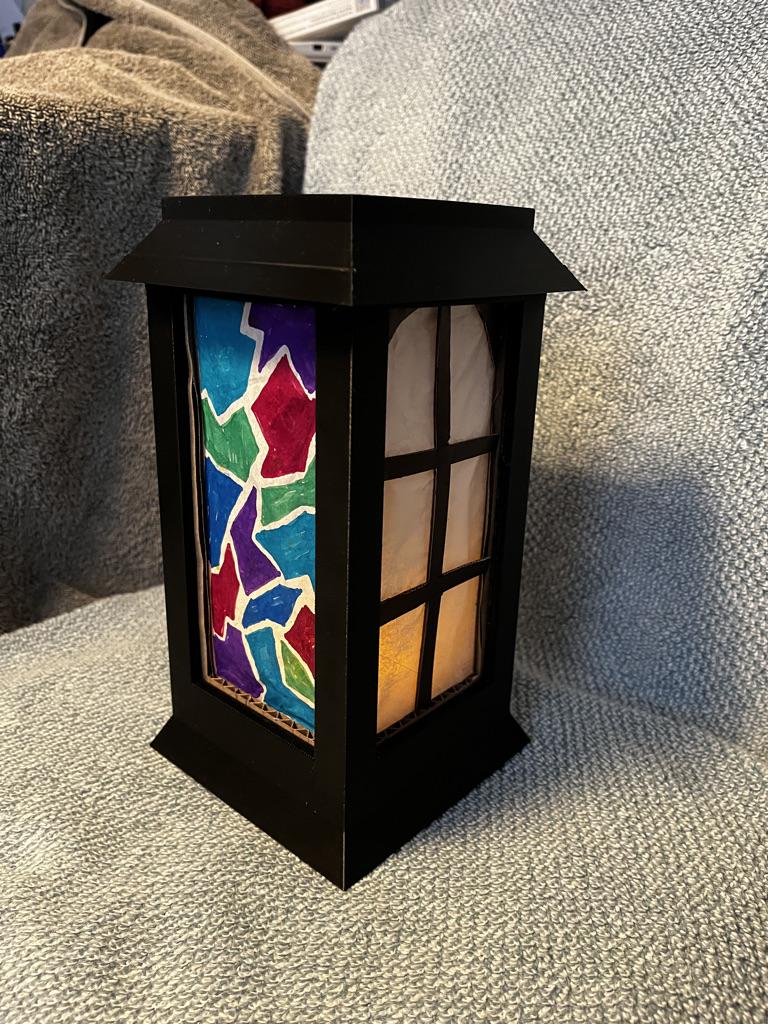
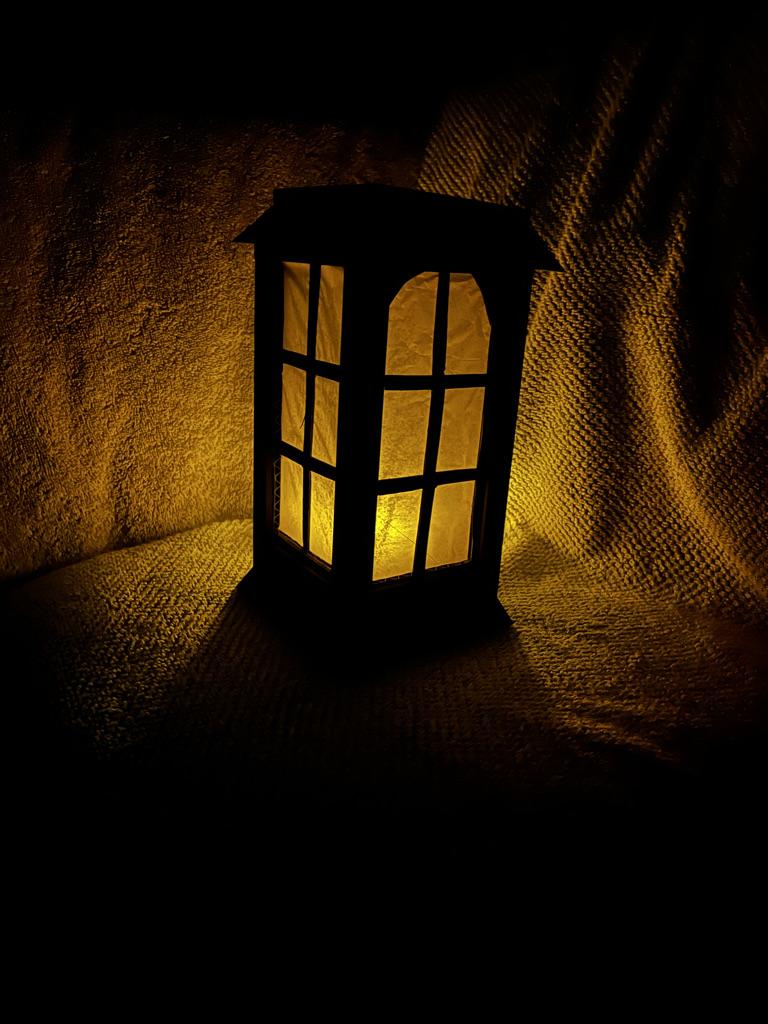
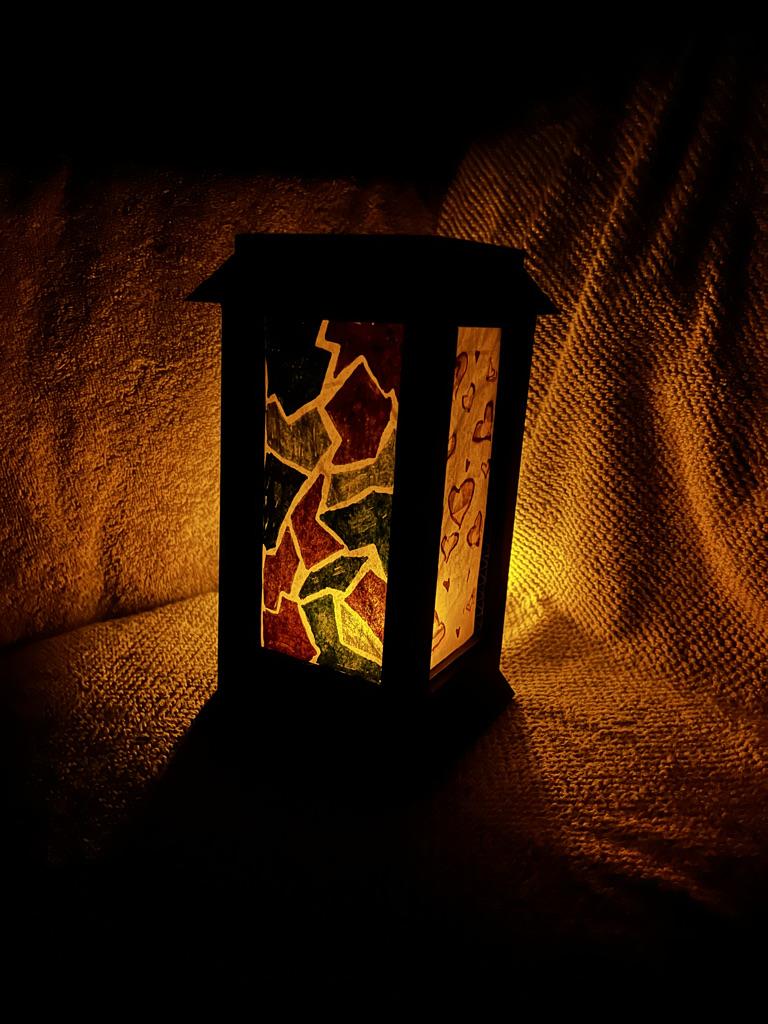
Now you can insert your panels and show them whether in the dark or in the light!