Tattoo Your IPad Smart Cover
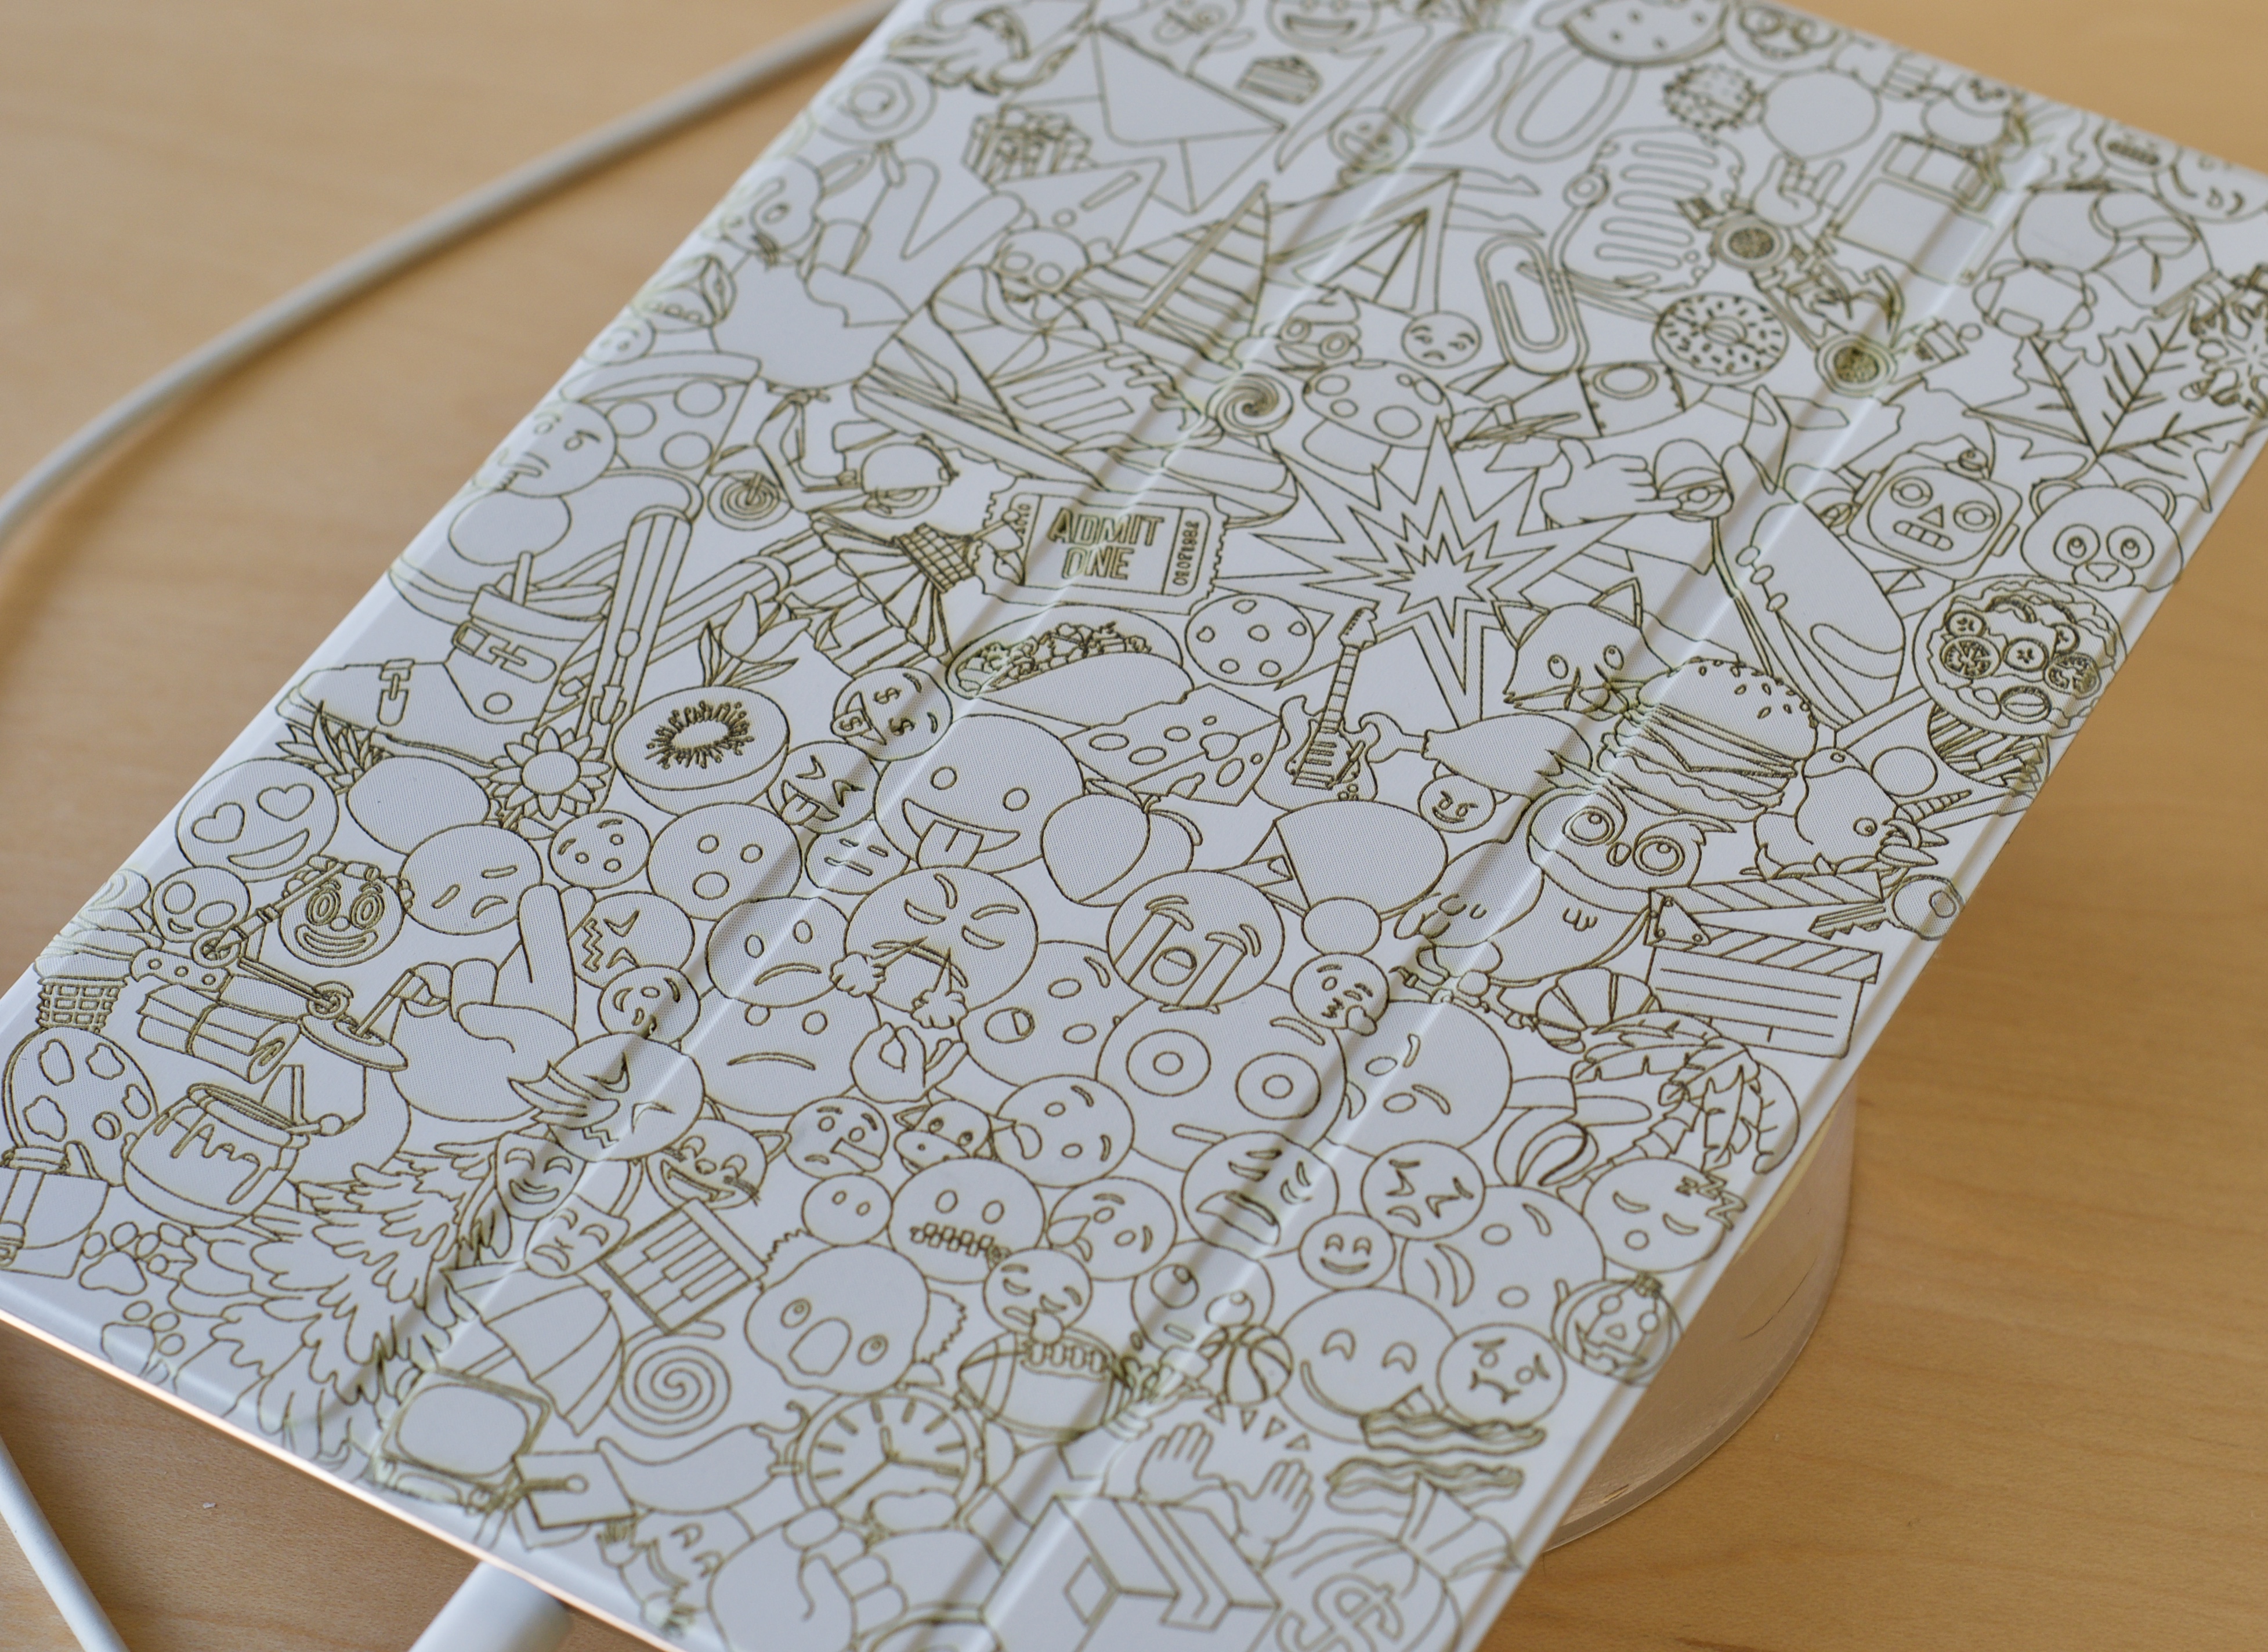

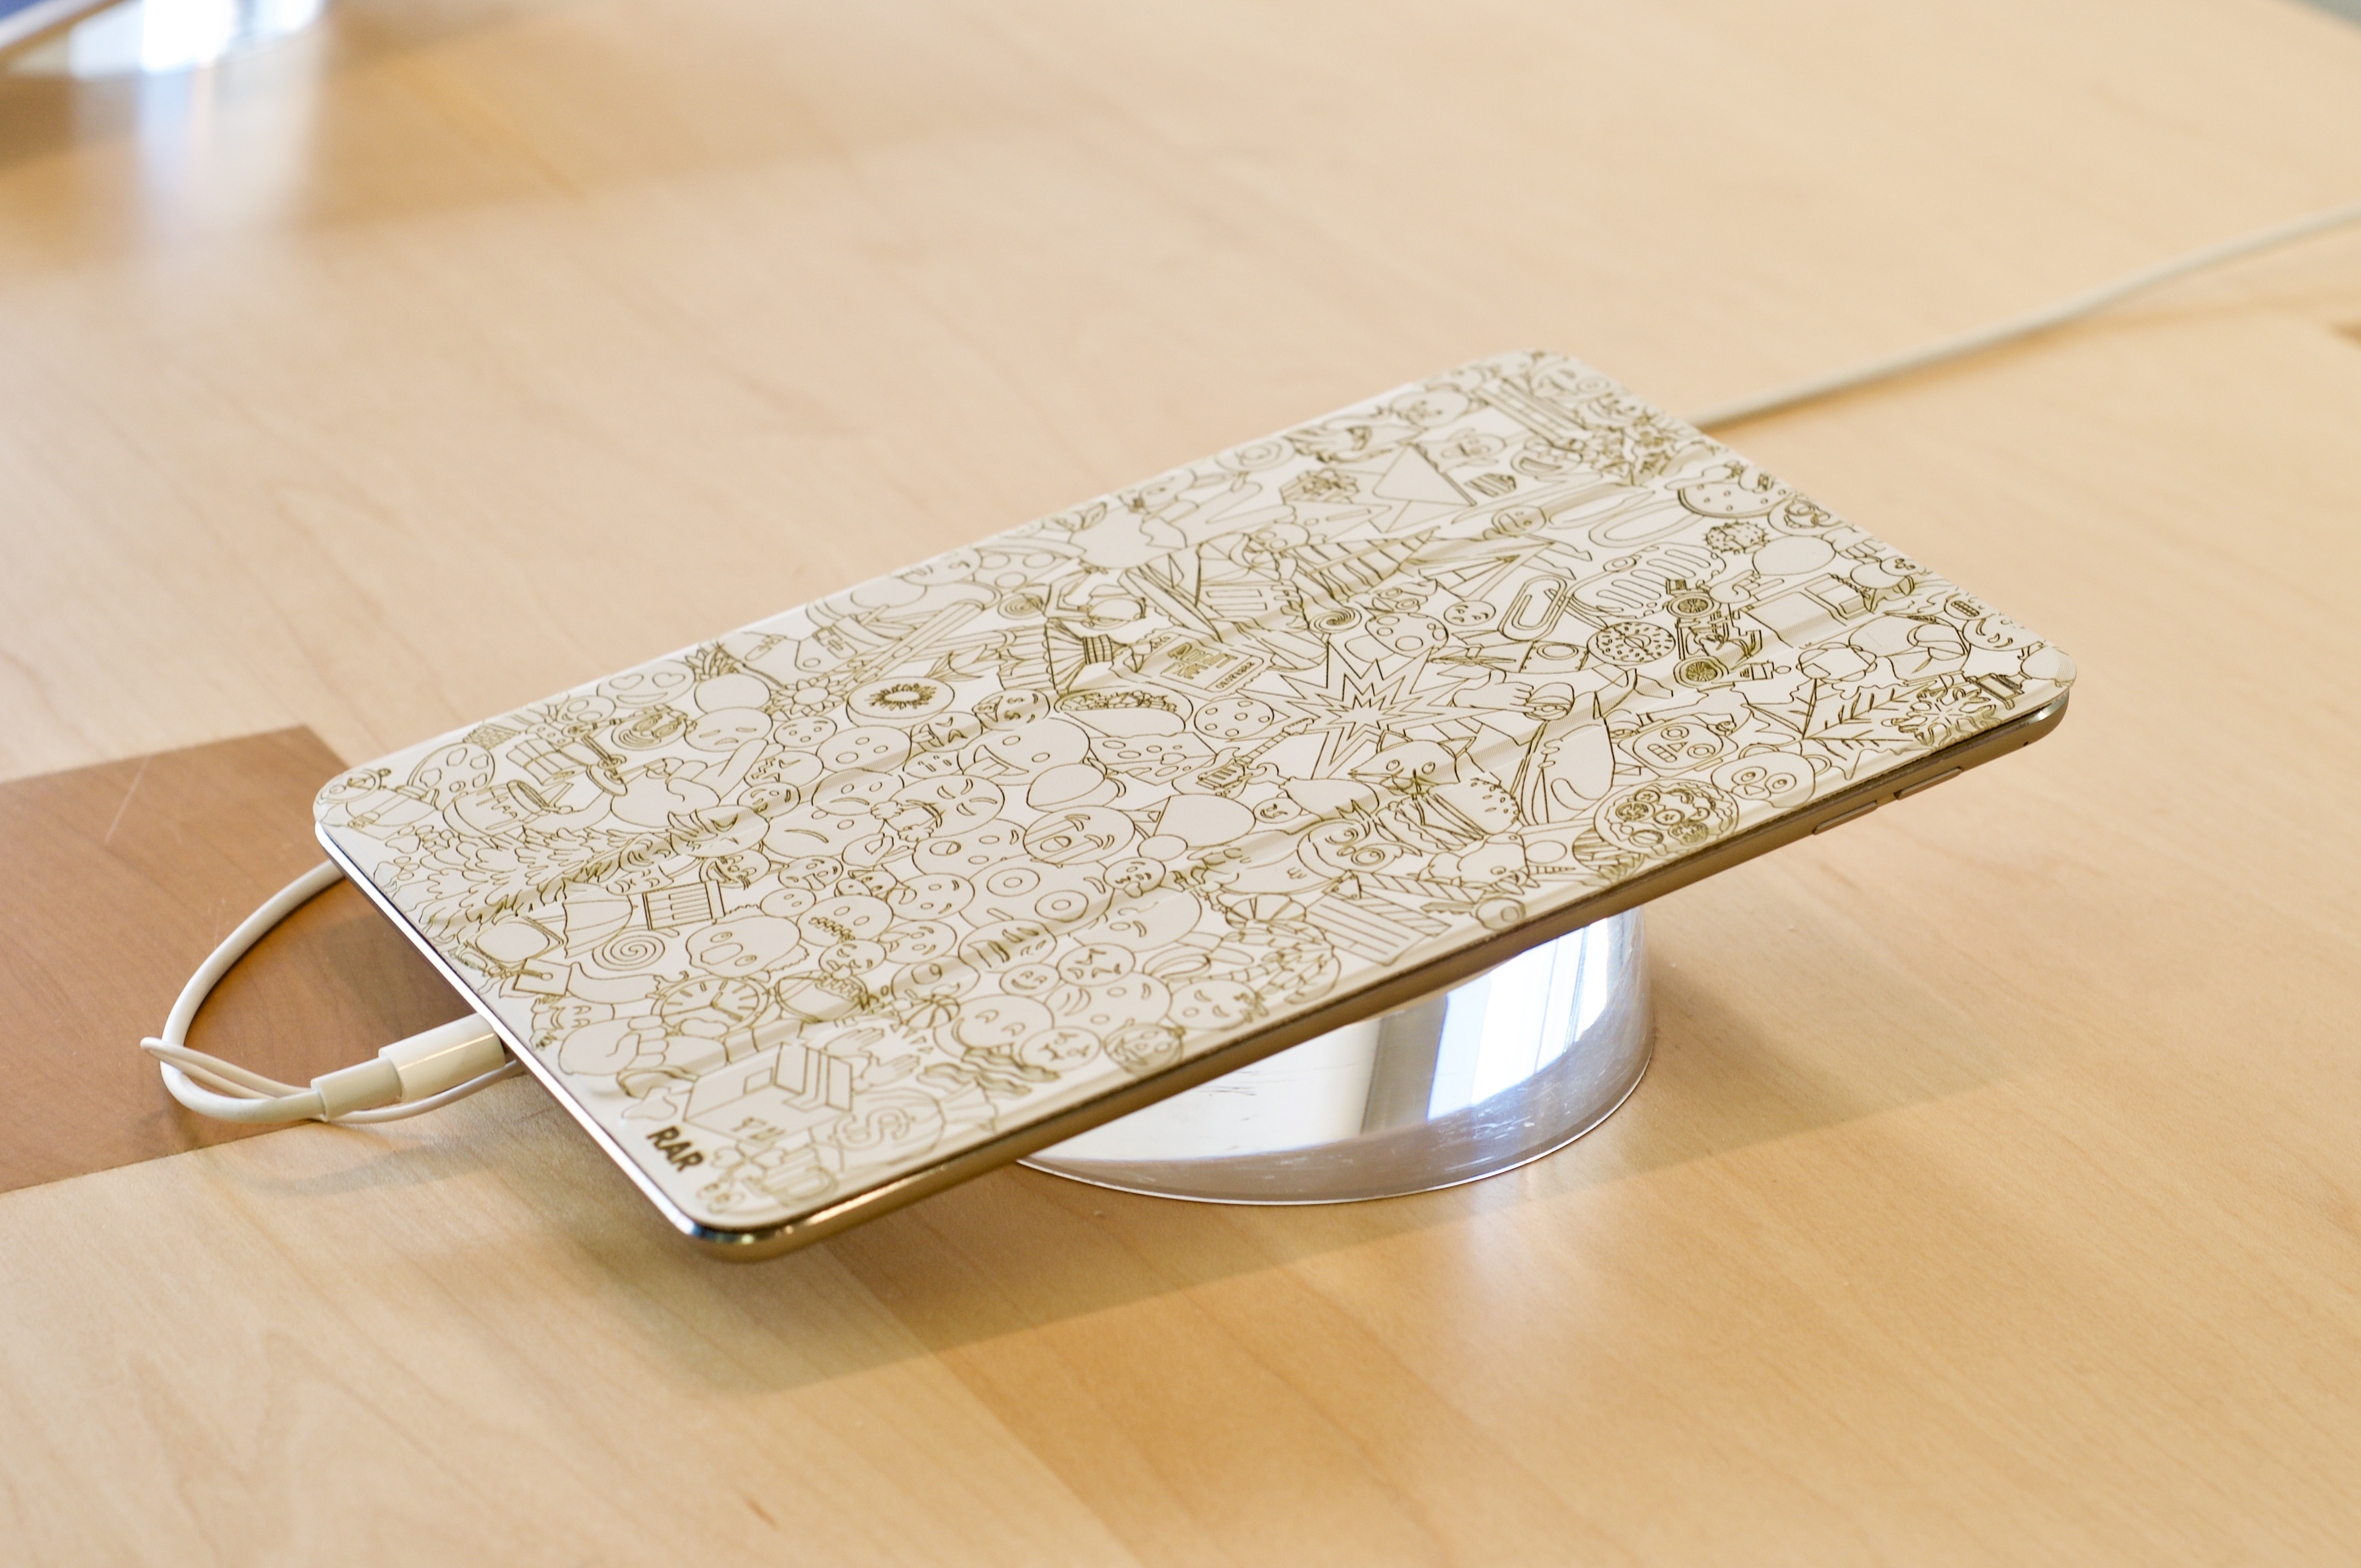
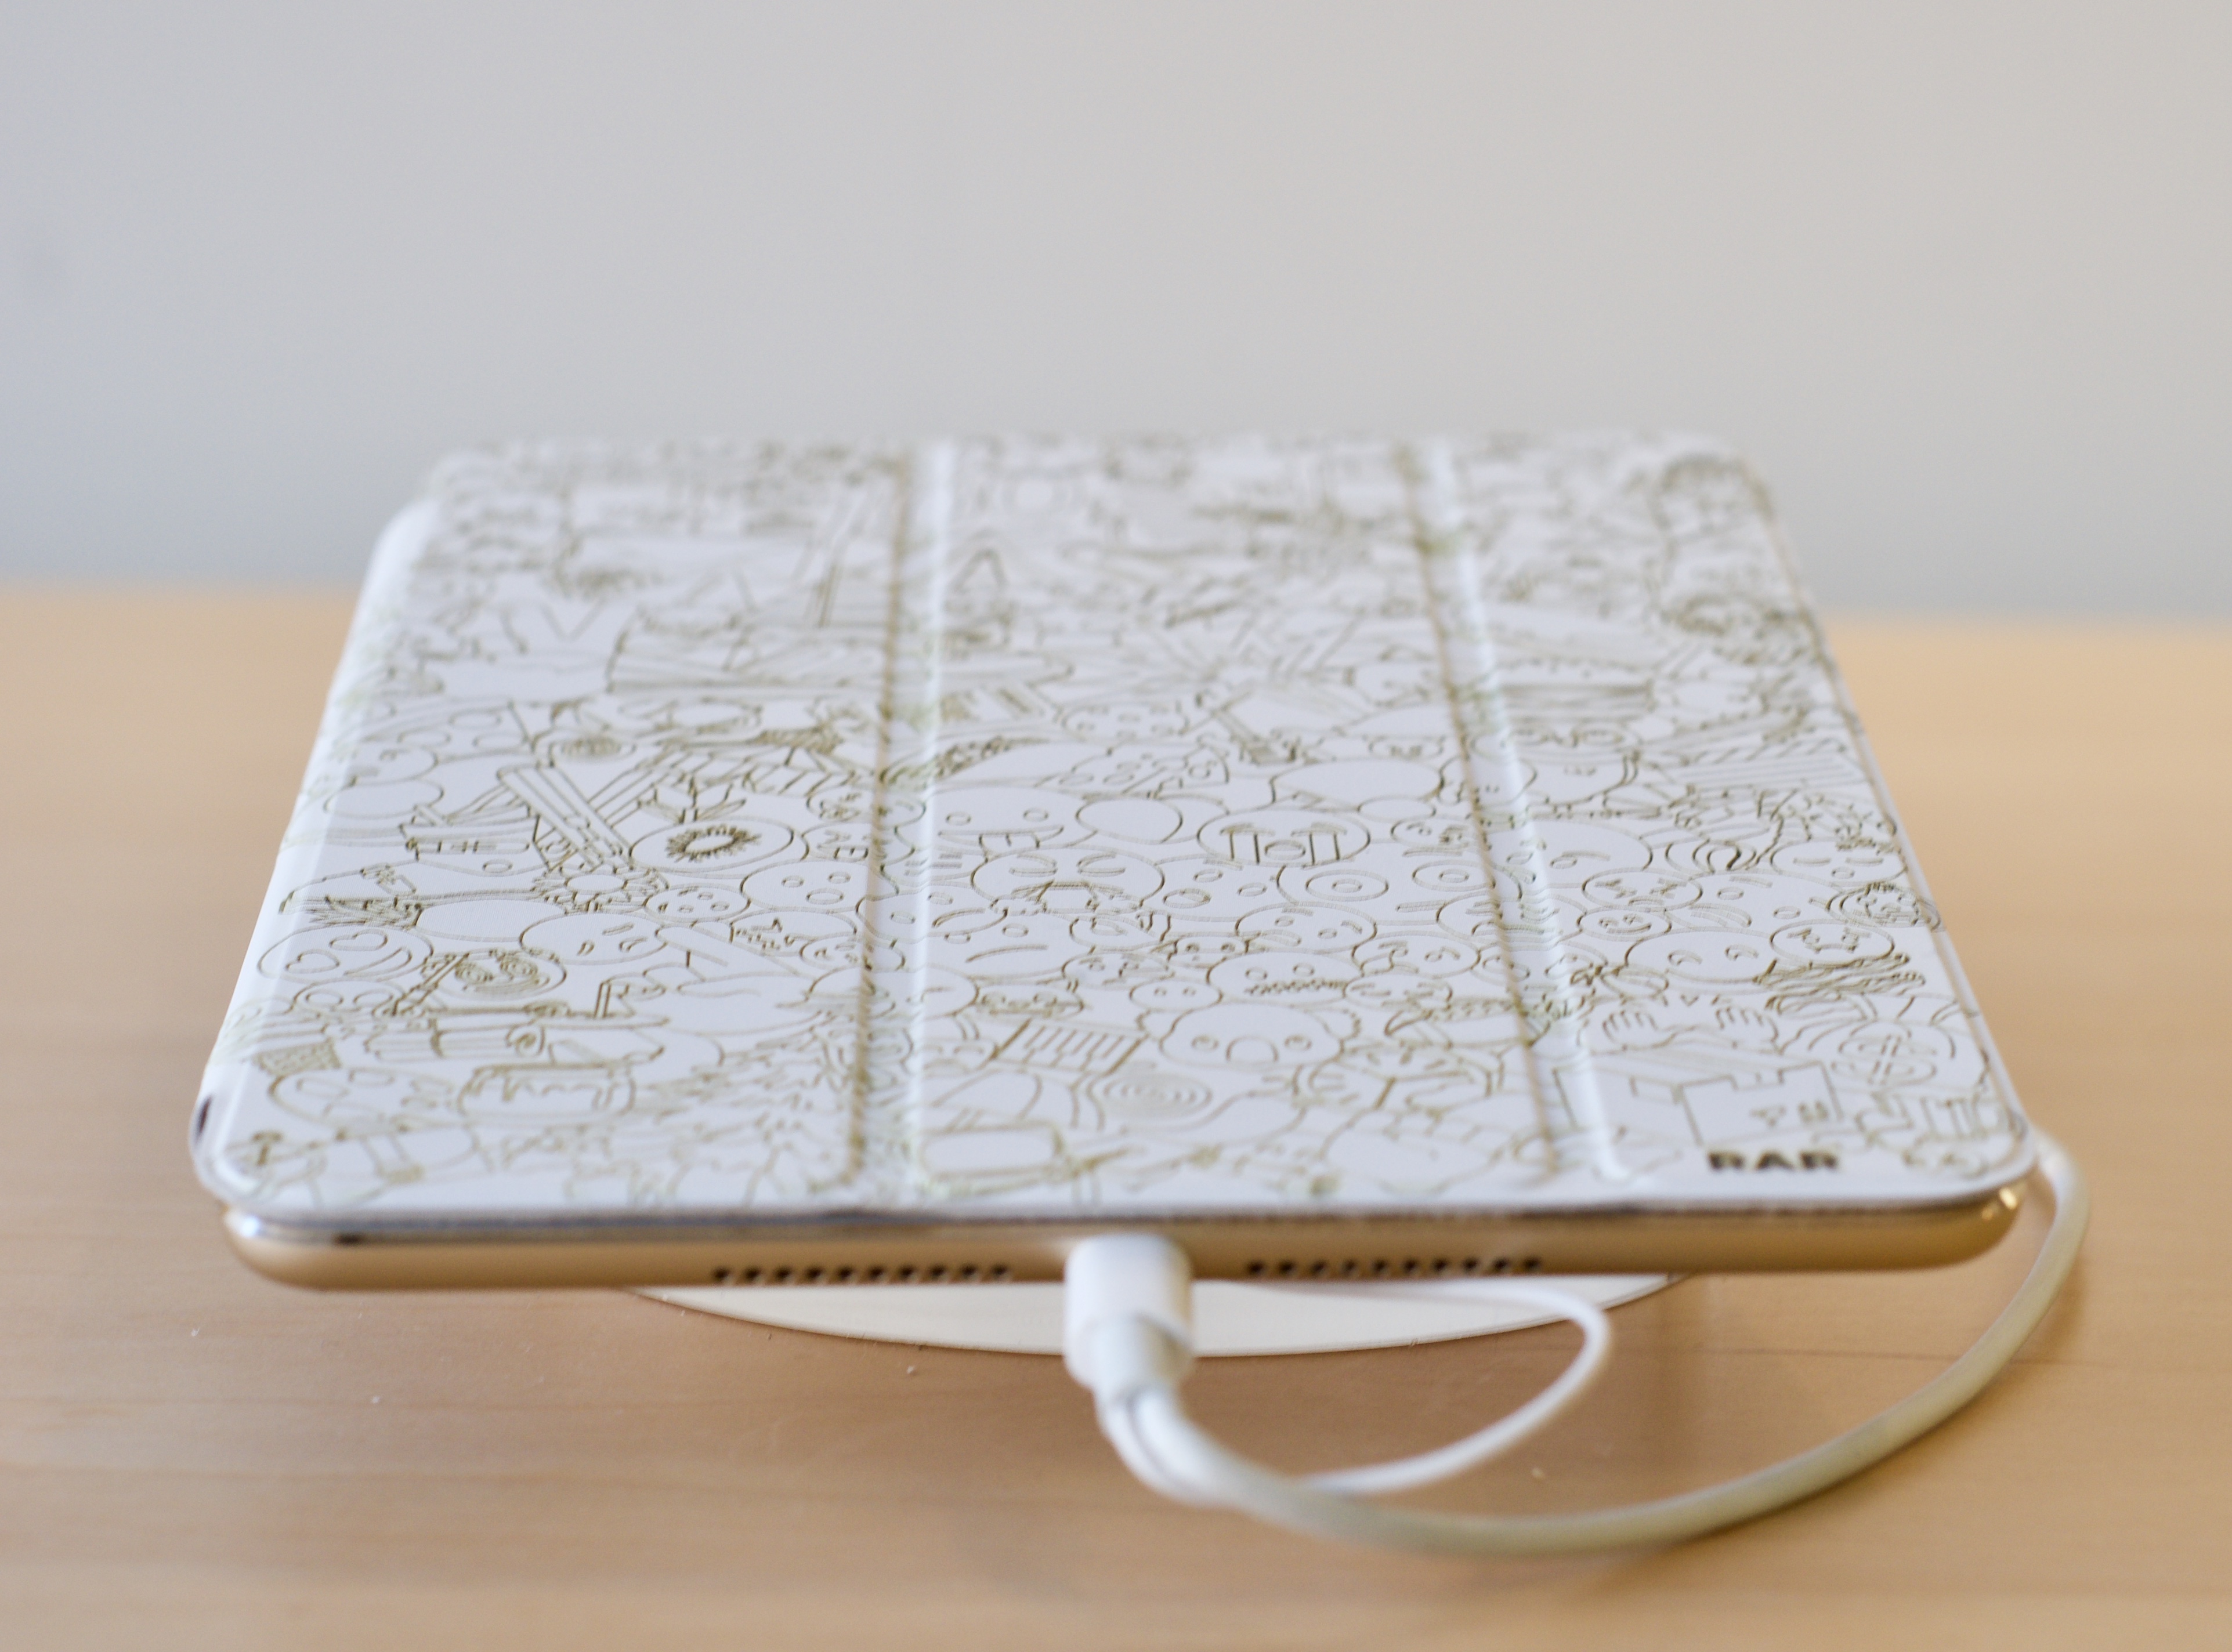
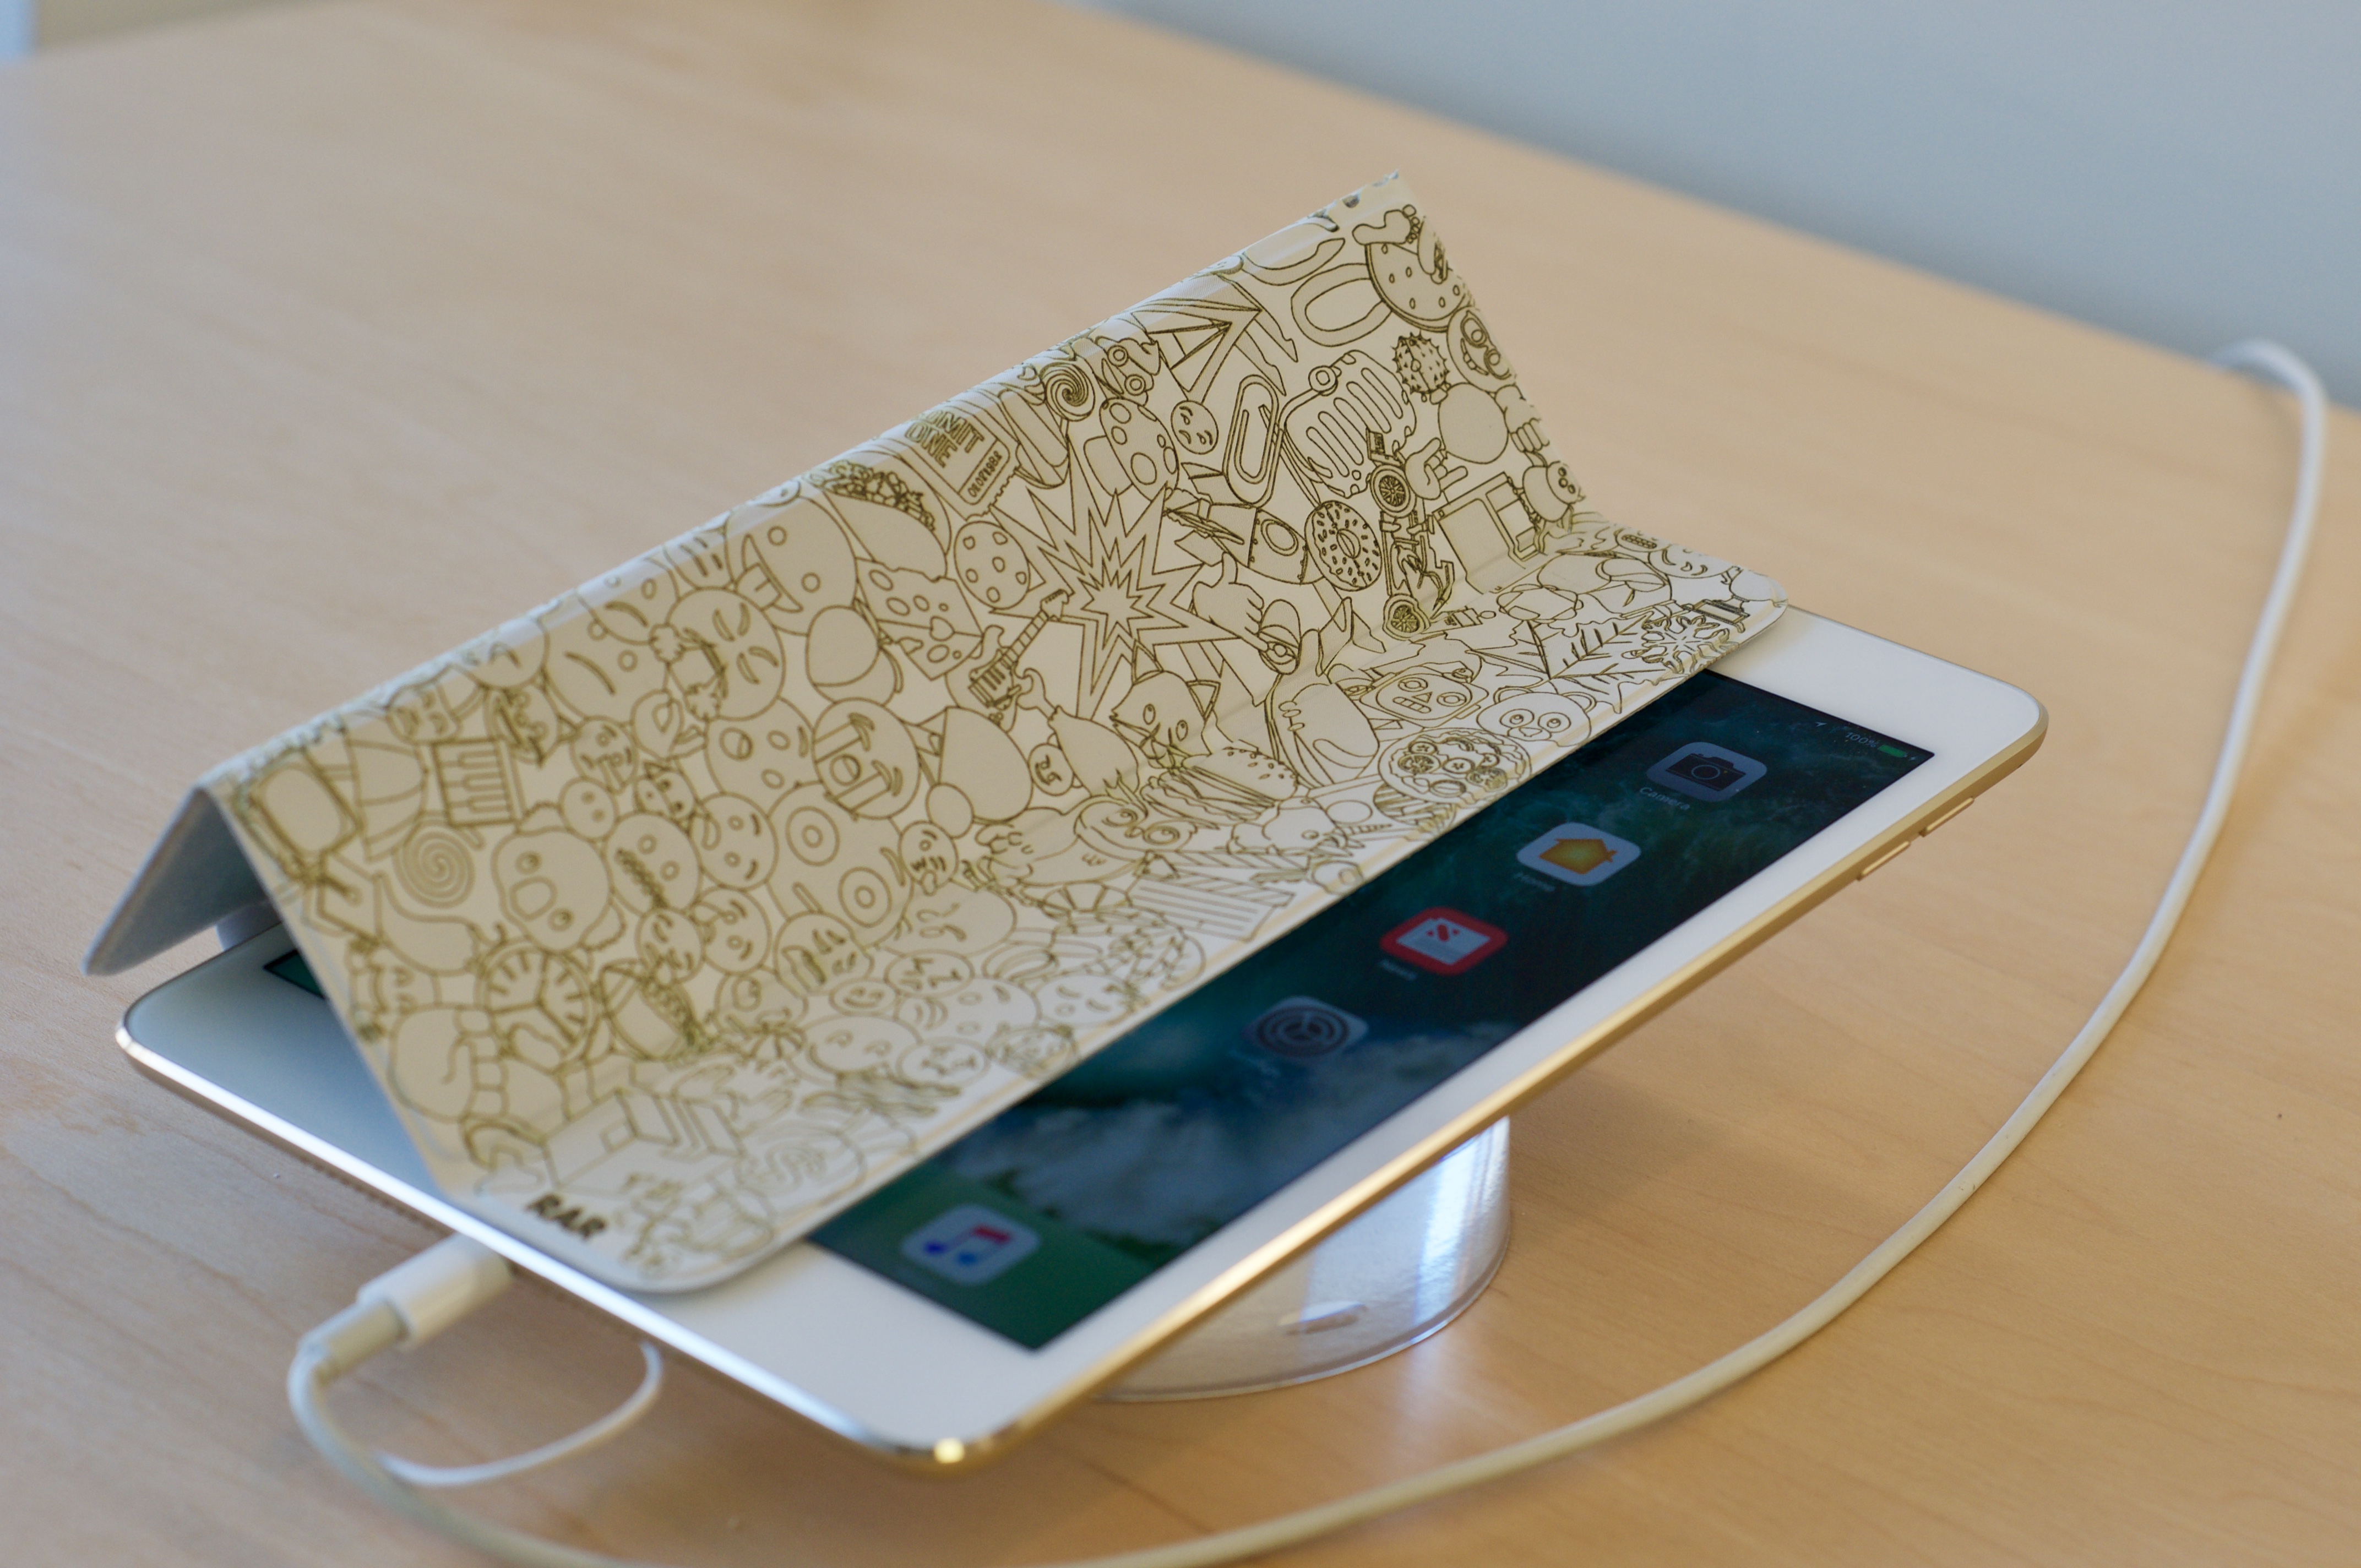
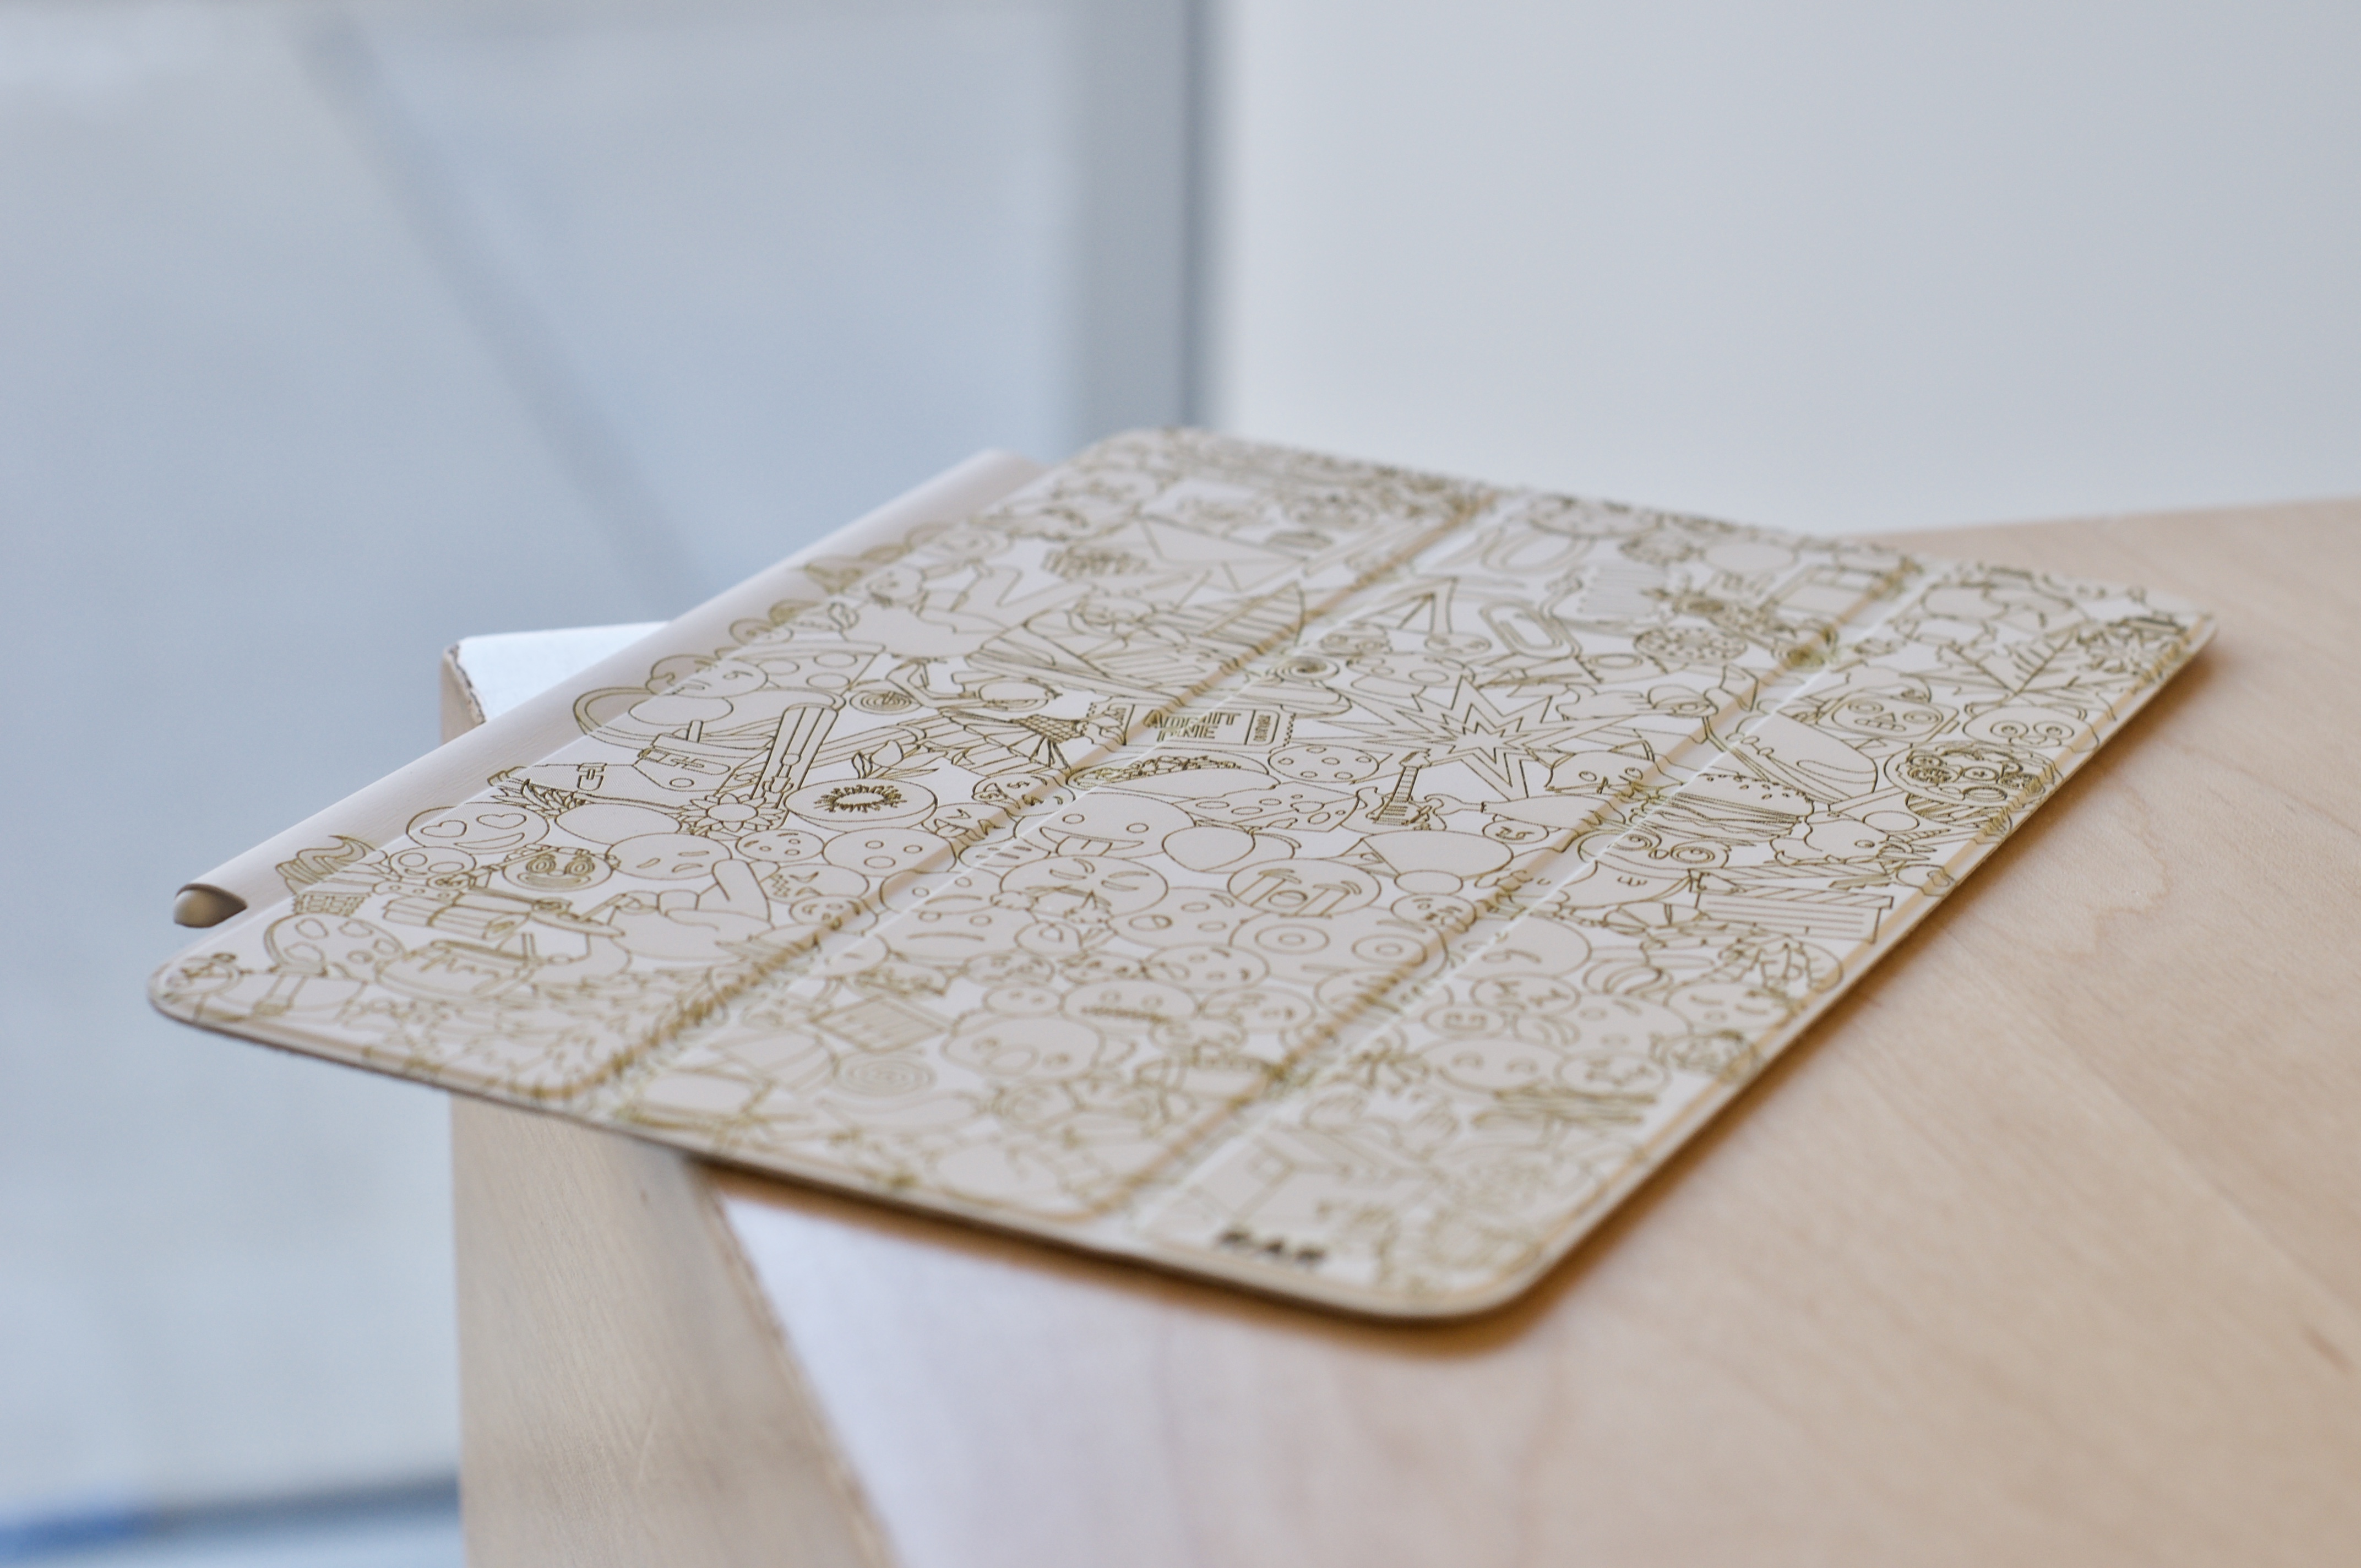
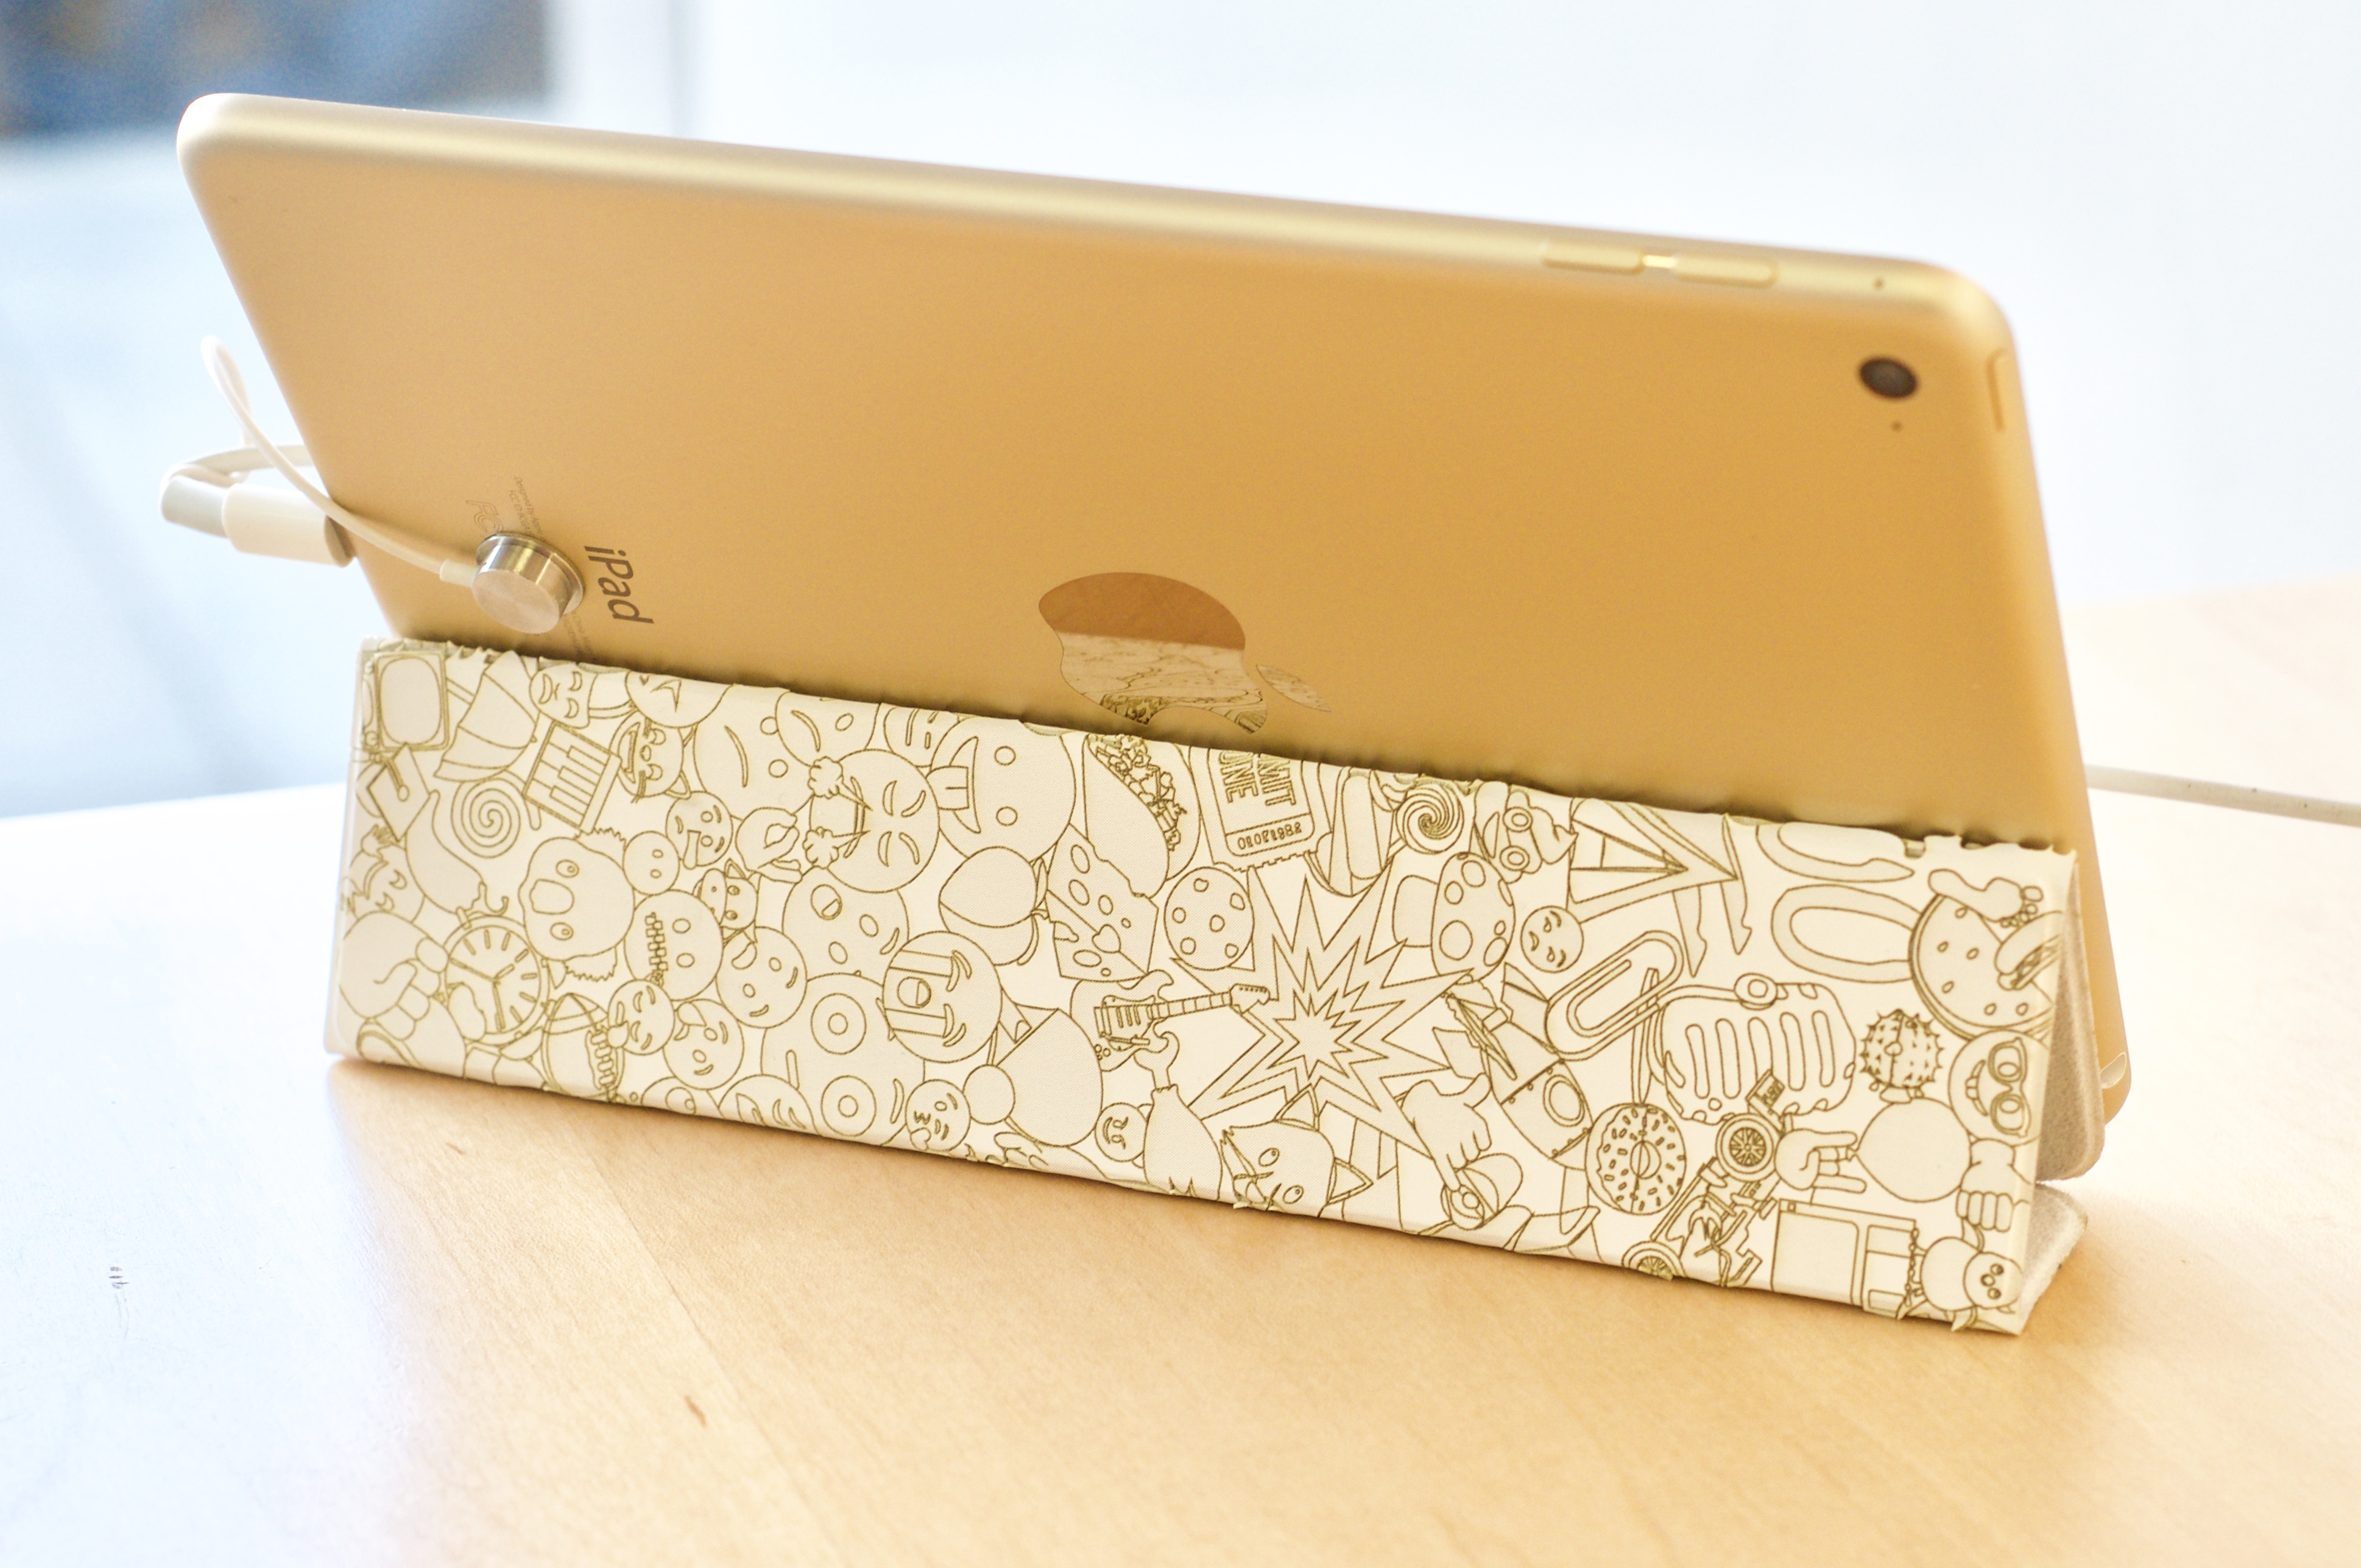
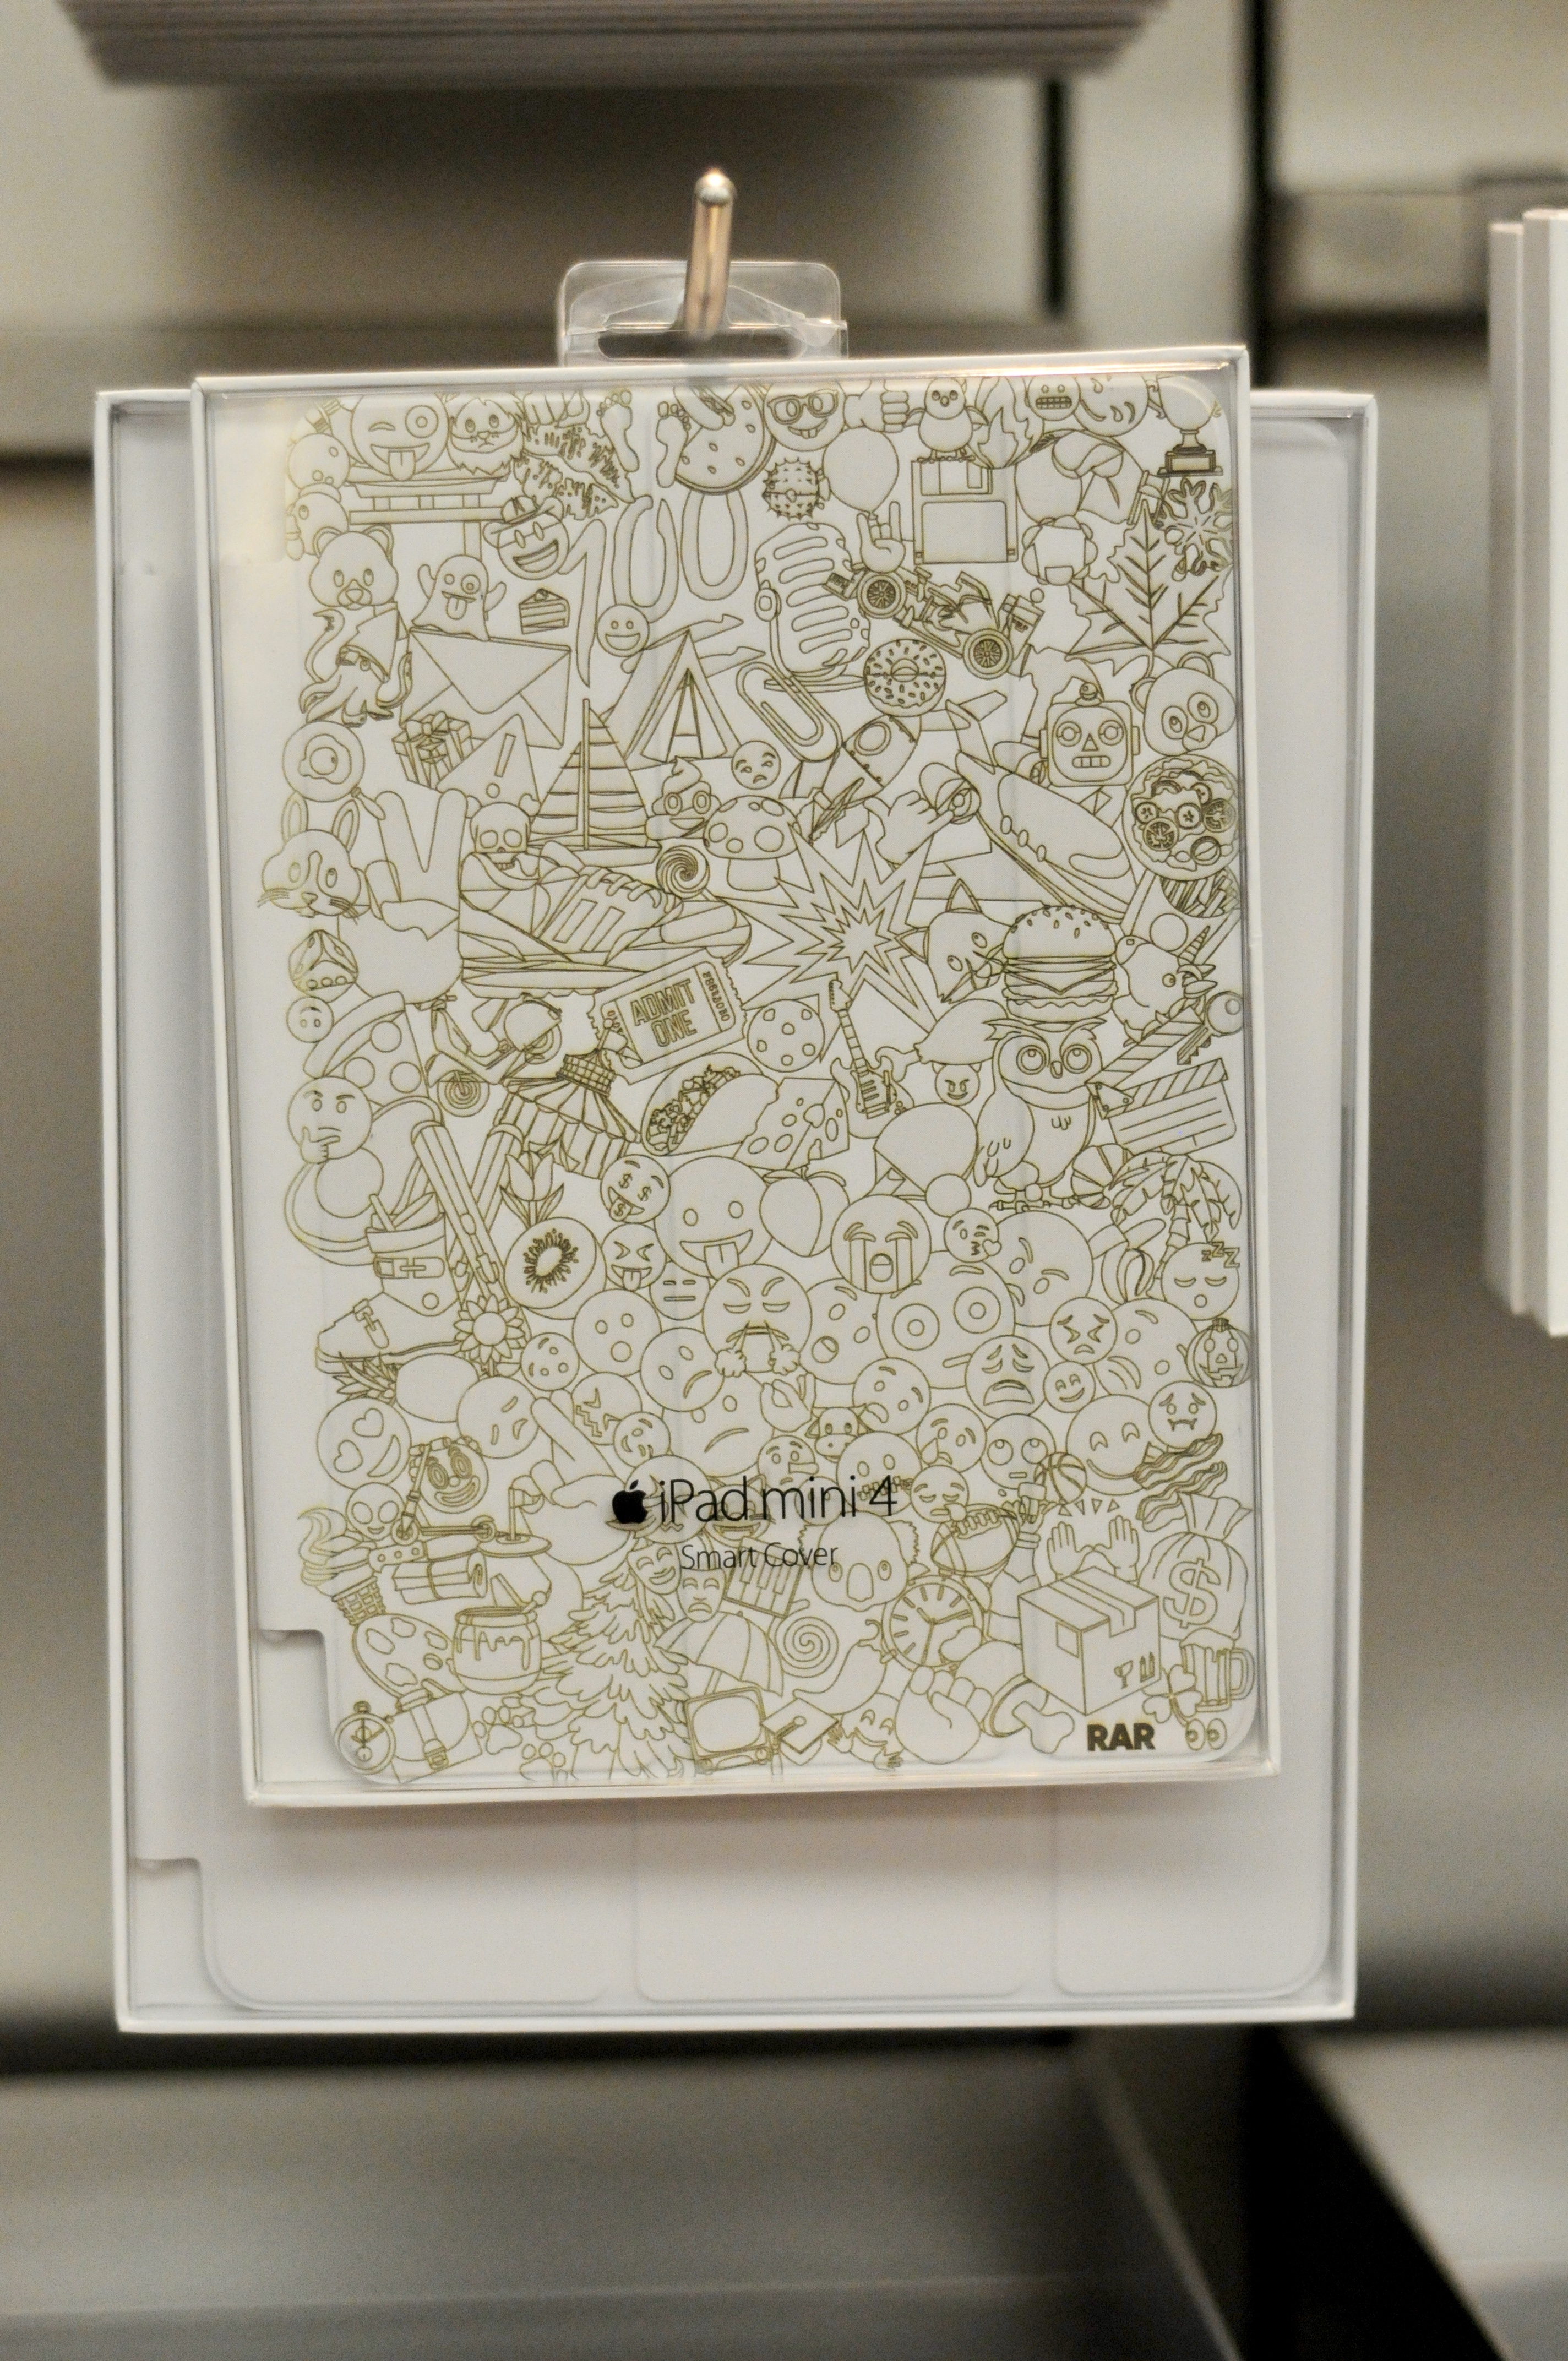
I took it upon myself to refresh the Apple Smart Cover. To tattoo-ify the smart cover. To emoji-fy the smart cover. To give it some life. To give it some pizazz. To give it the innovation that Apple has neglected to provide it. It is my honor to present to you the process behind the... Apple Smart Cover 2.0.
Get Emojis
Steps
- Open Pages.
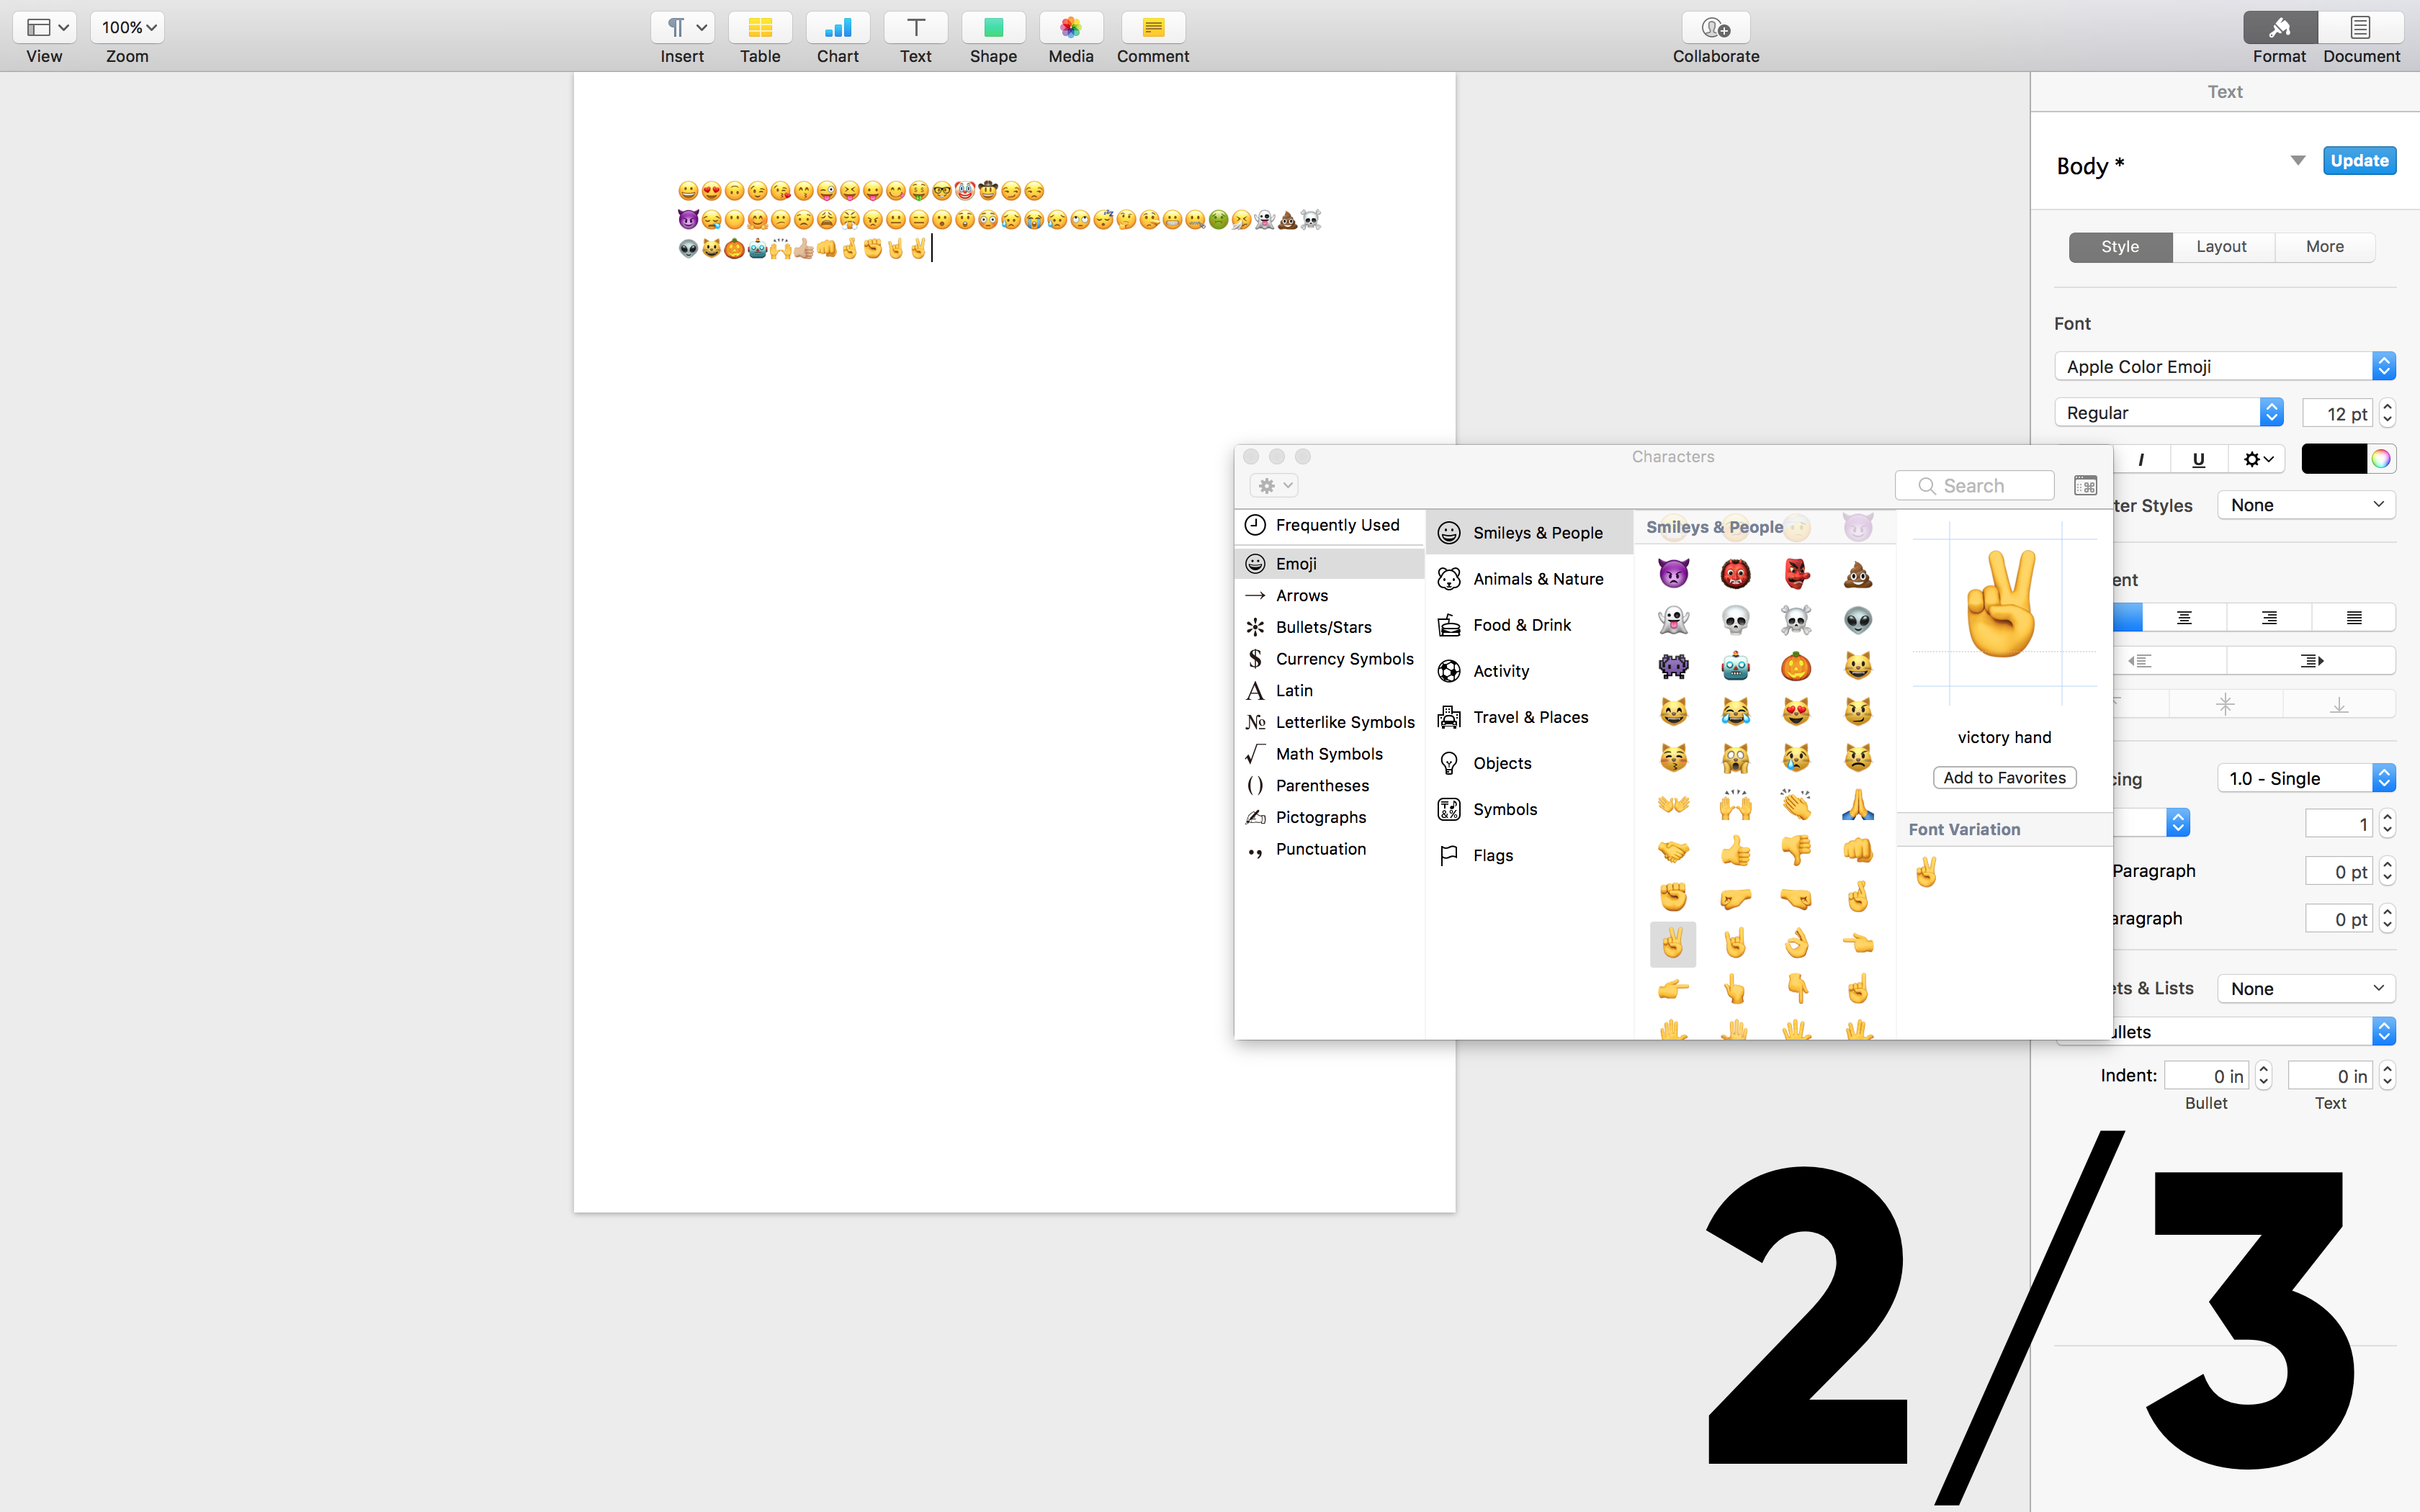
- Open emoji's.
- edit > 'emoji & symbols'
- control + ⌘ + space
- Choose Emoji's.
- Choose 50 or so (Depends on how small or large you want them on the case).
- Enlarge emoji's.
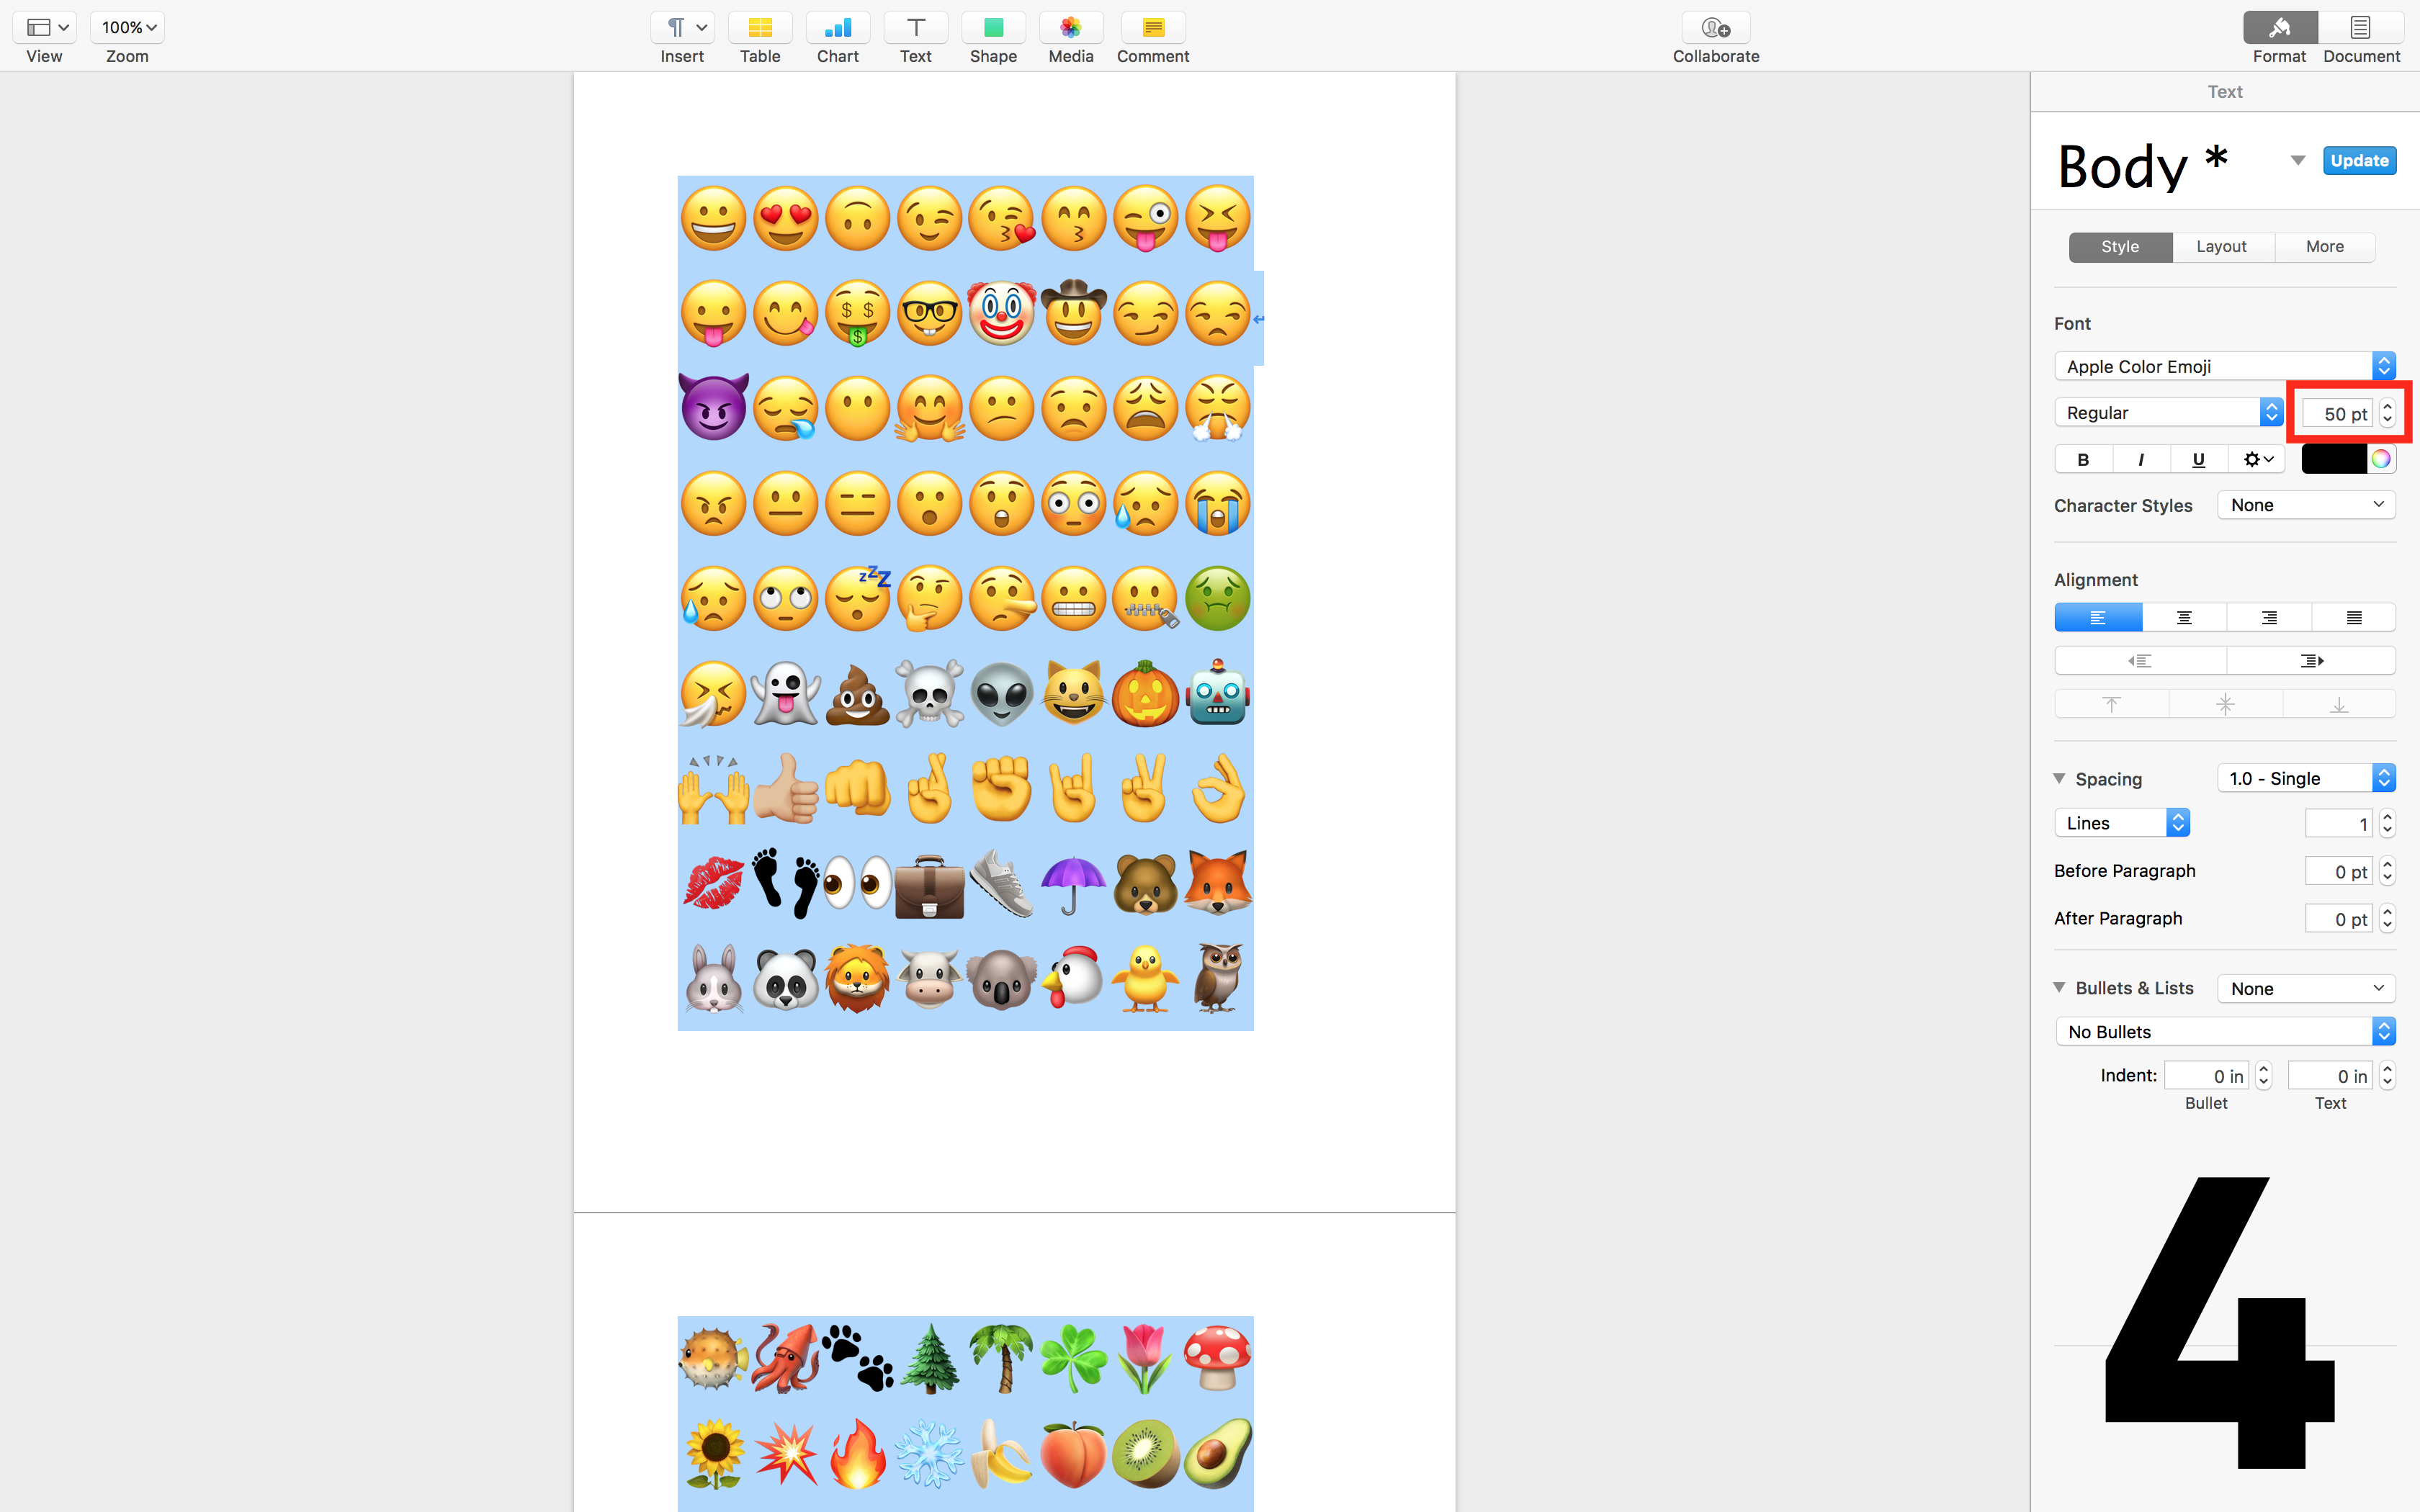
- Select all the emoji's.
- Enlarge to 50pt font.
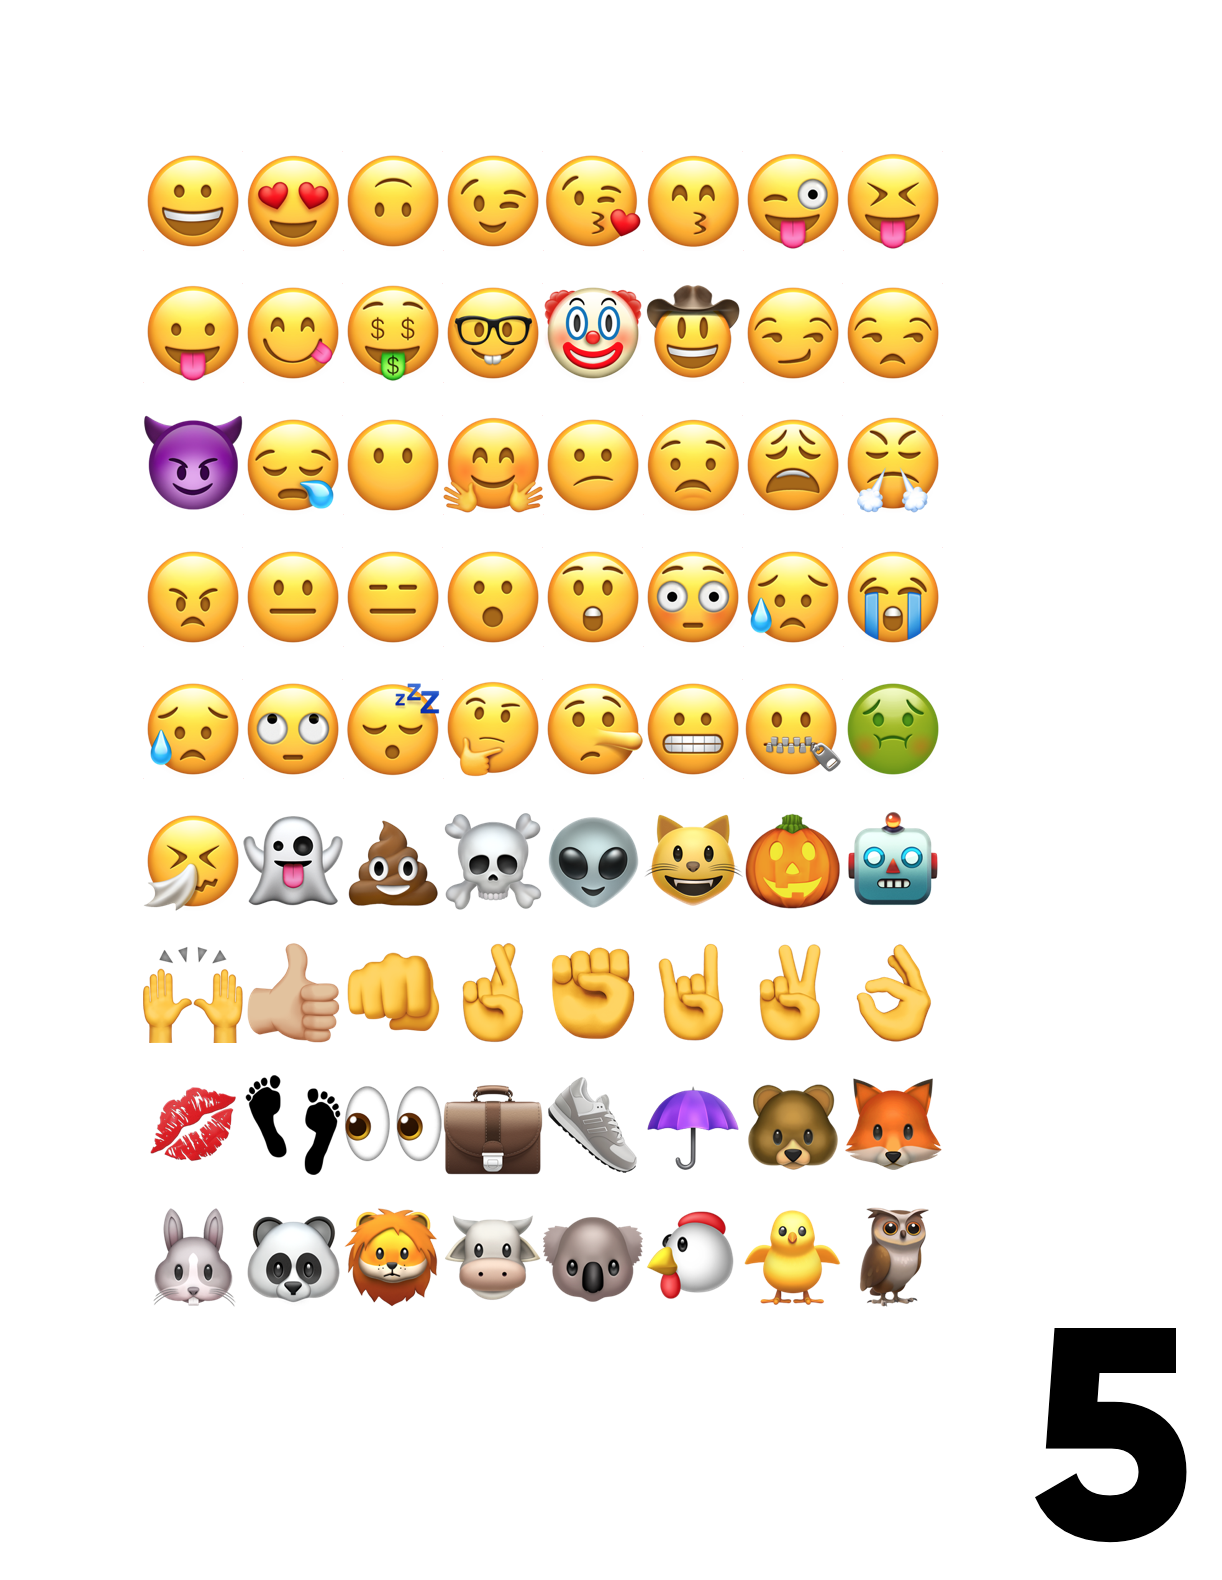
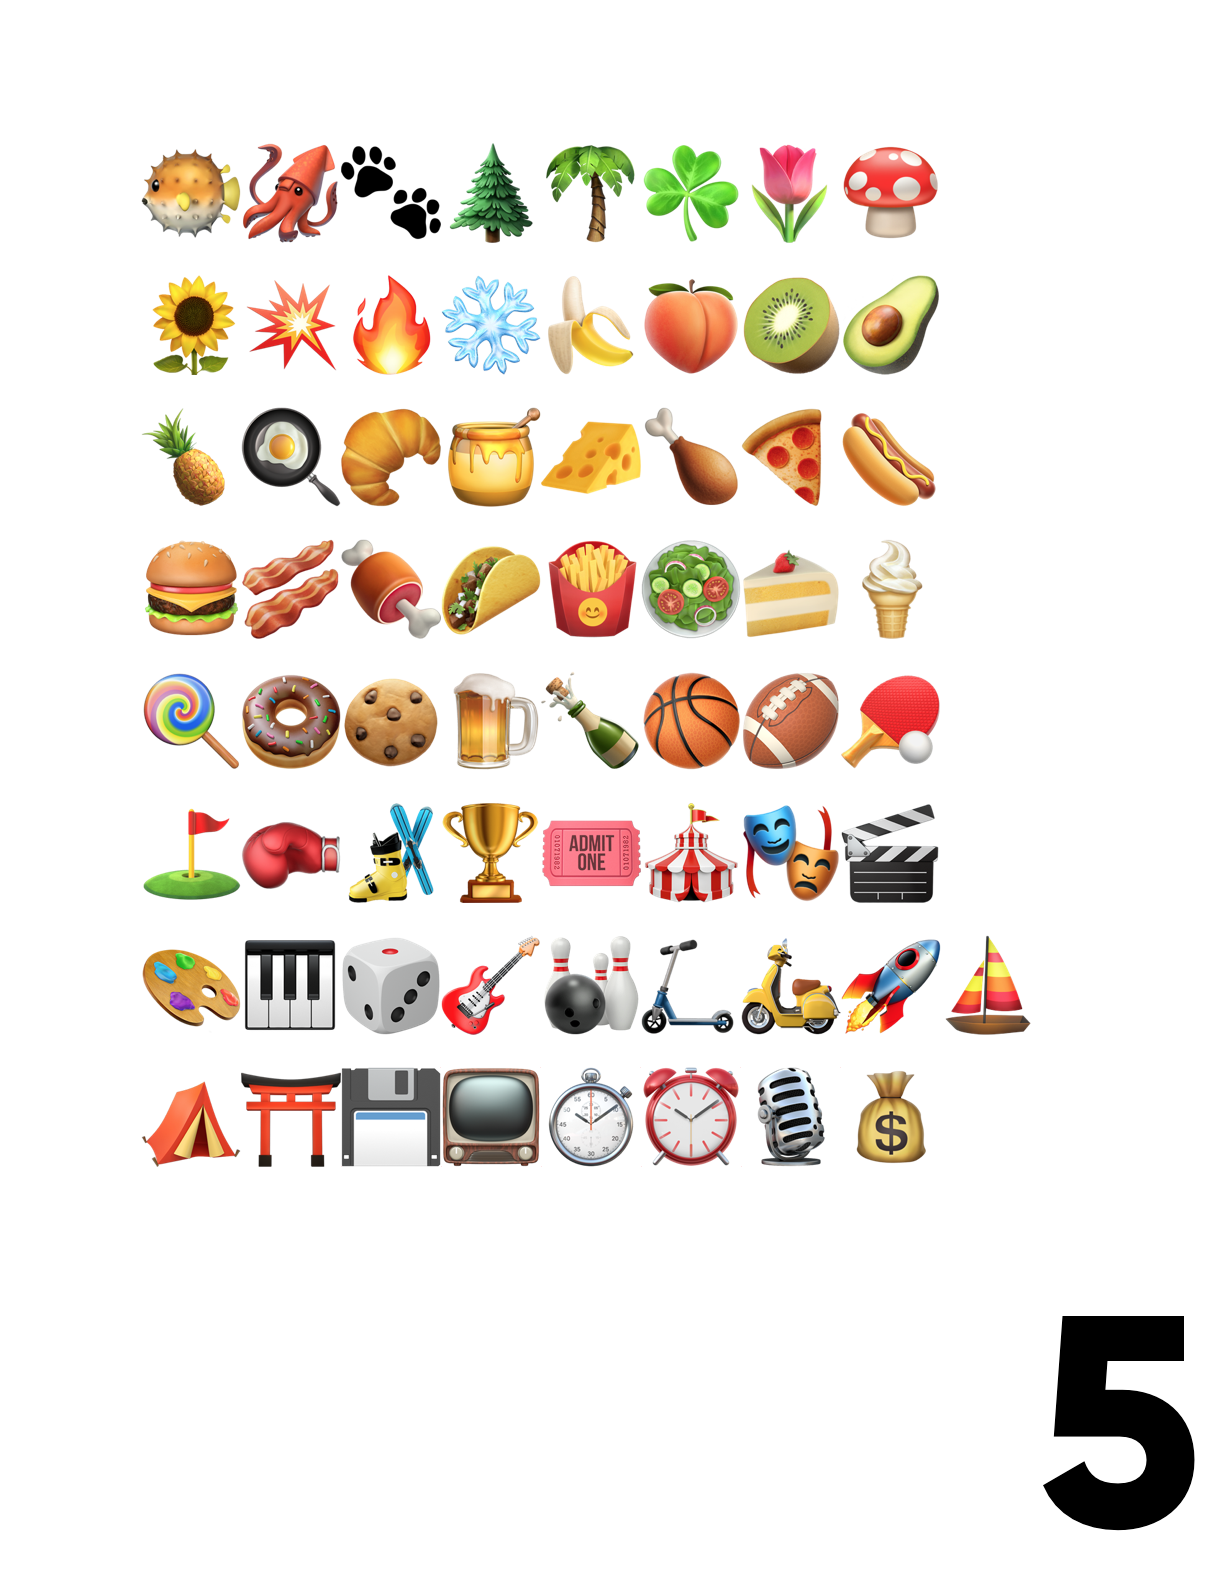
- Take screenshots.
-
⌘ + shift + 4
-
Tips
- Avoid emoji's defined by their shadows (i.e. the 'easter island statue' emoji). These shapes are not recognizable as outlines.
- Avoid overly complex shapes (i.e. the 'ferris wheel' emoji). They'll be hard to recognize as outlines especially without color, plus they take darn long to outline.
- Feel free to use any text editor. If you don't have Apple's pages you can download it from the Mac App Store for free here.
- I choose 50pt because it reduced the number of screenshots I had to take. Also, emoji's are not vectors so they become pixelated the larger the font size. 50pt was a good balance between size and clarity.
- Feel free to use other emoji's styles beyond Apple's version. There are many different styles of the same emojis. Facebook, twitter, and many other social media platforms have their own variants. Experiment!
Trace Emoji's

Steps
- Open Adobe Illustrator.
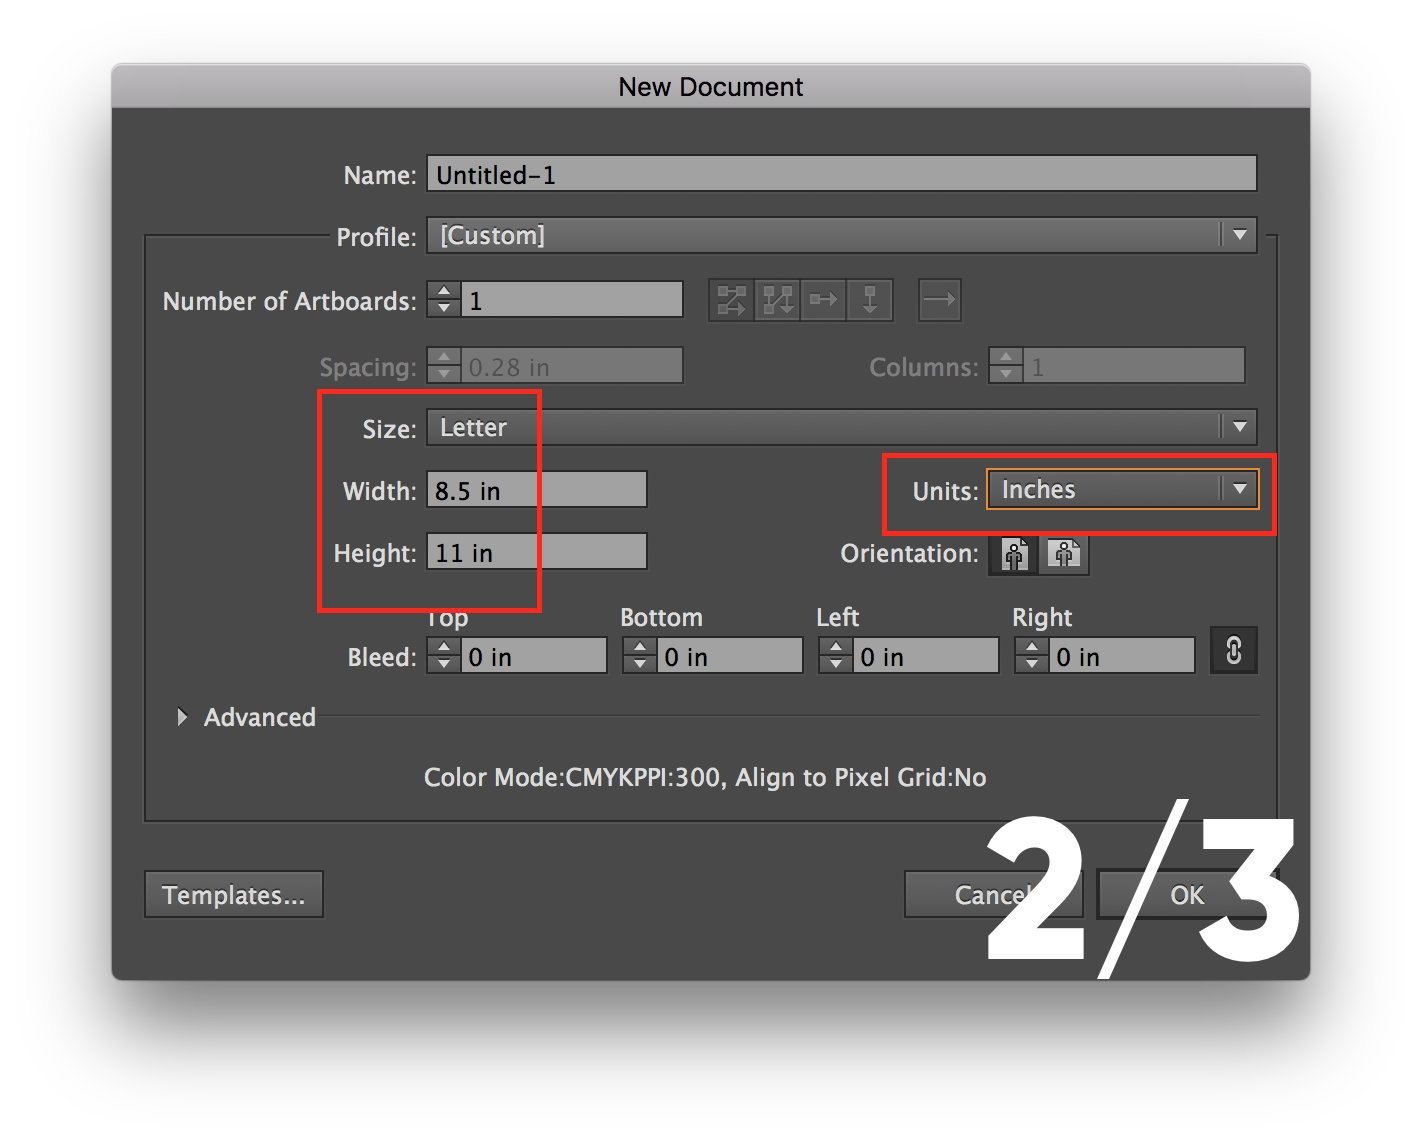
- Create a new document.
- ⌘ + n
- Size/setup document.
- Profile: 'Print'
- Size: 'Letter'
- Units: 'Inches'
- Create iPad Smart Cover outline.
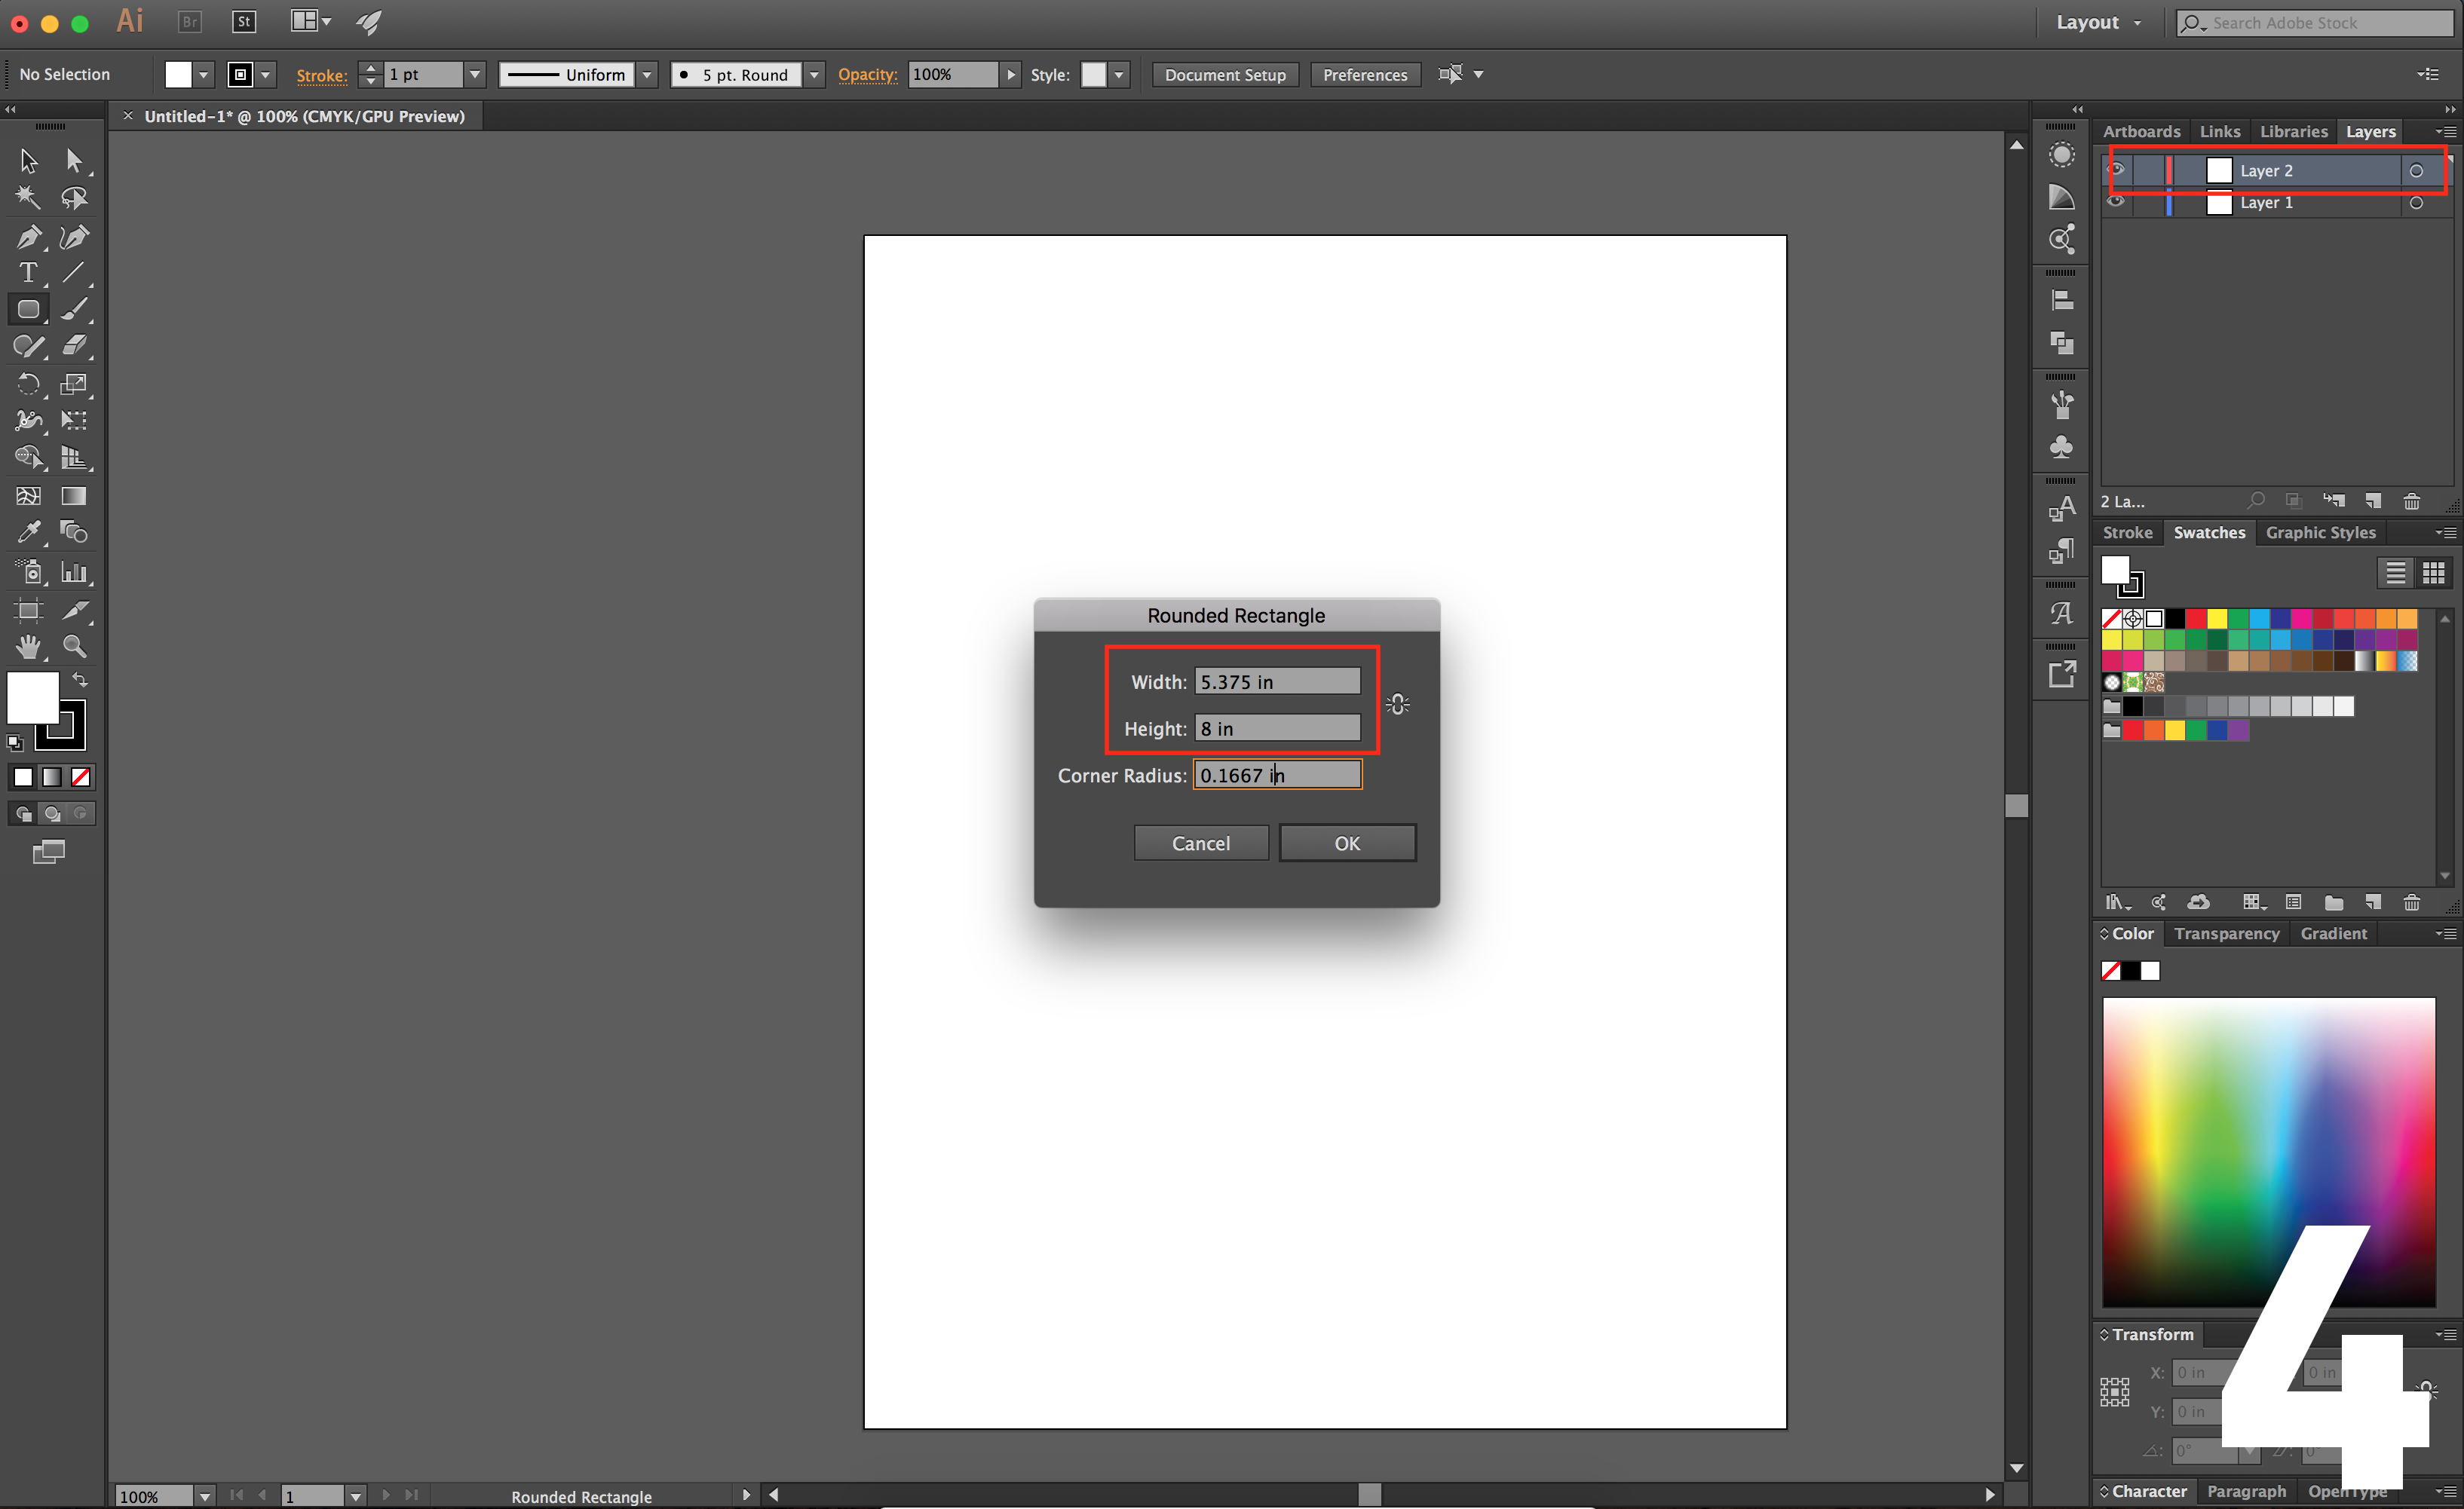
- Create new layer
- ⌘ + L
- Select Rectangular Tool
- 'M'
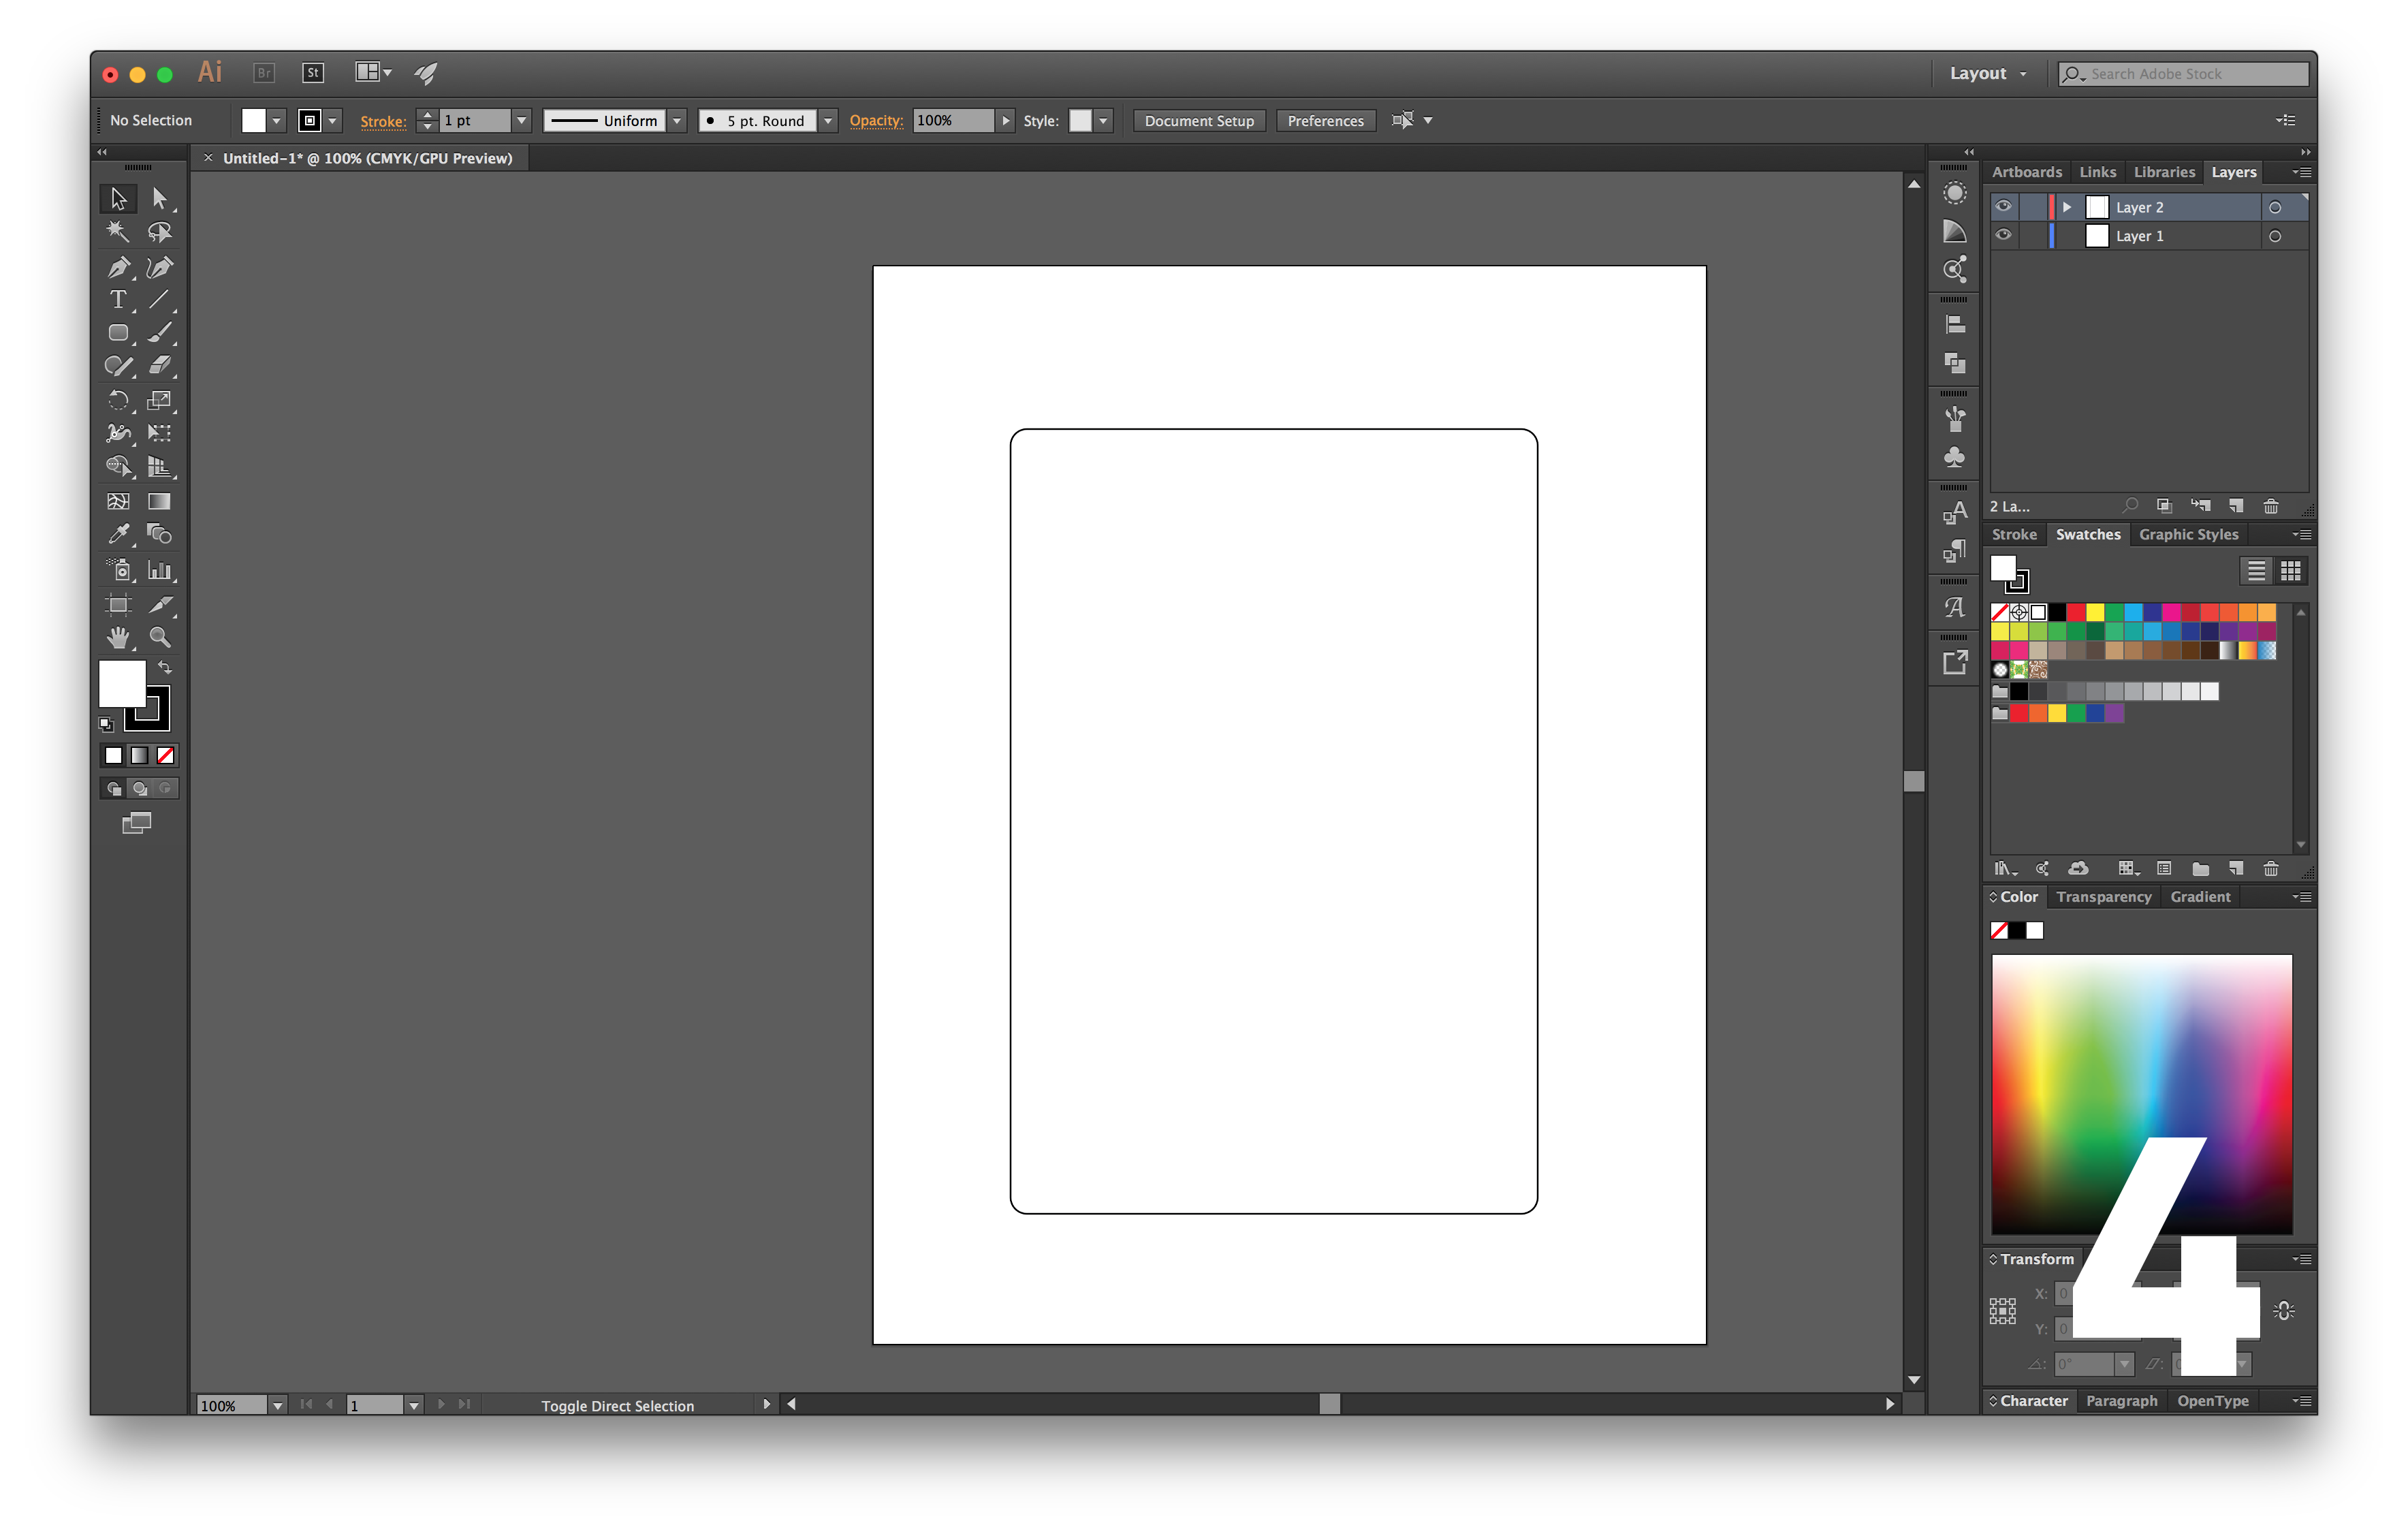
- Click to create rectangle.
- iPad Mini 4
- Width: 5.375 in
- Height: 8 in
- iPad Mini 4
- This is will help you align the emojis.
- Create new layer
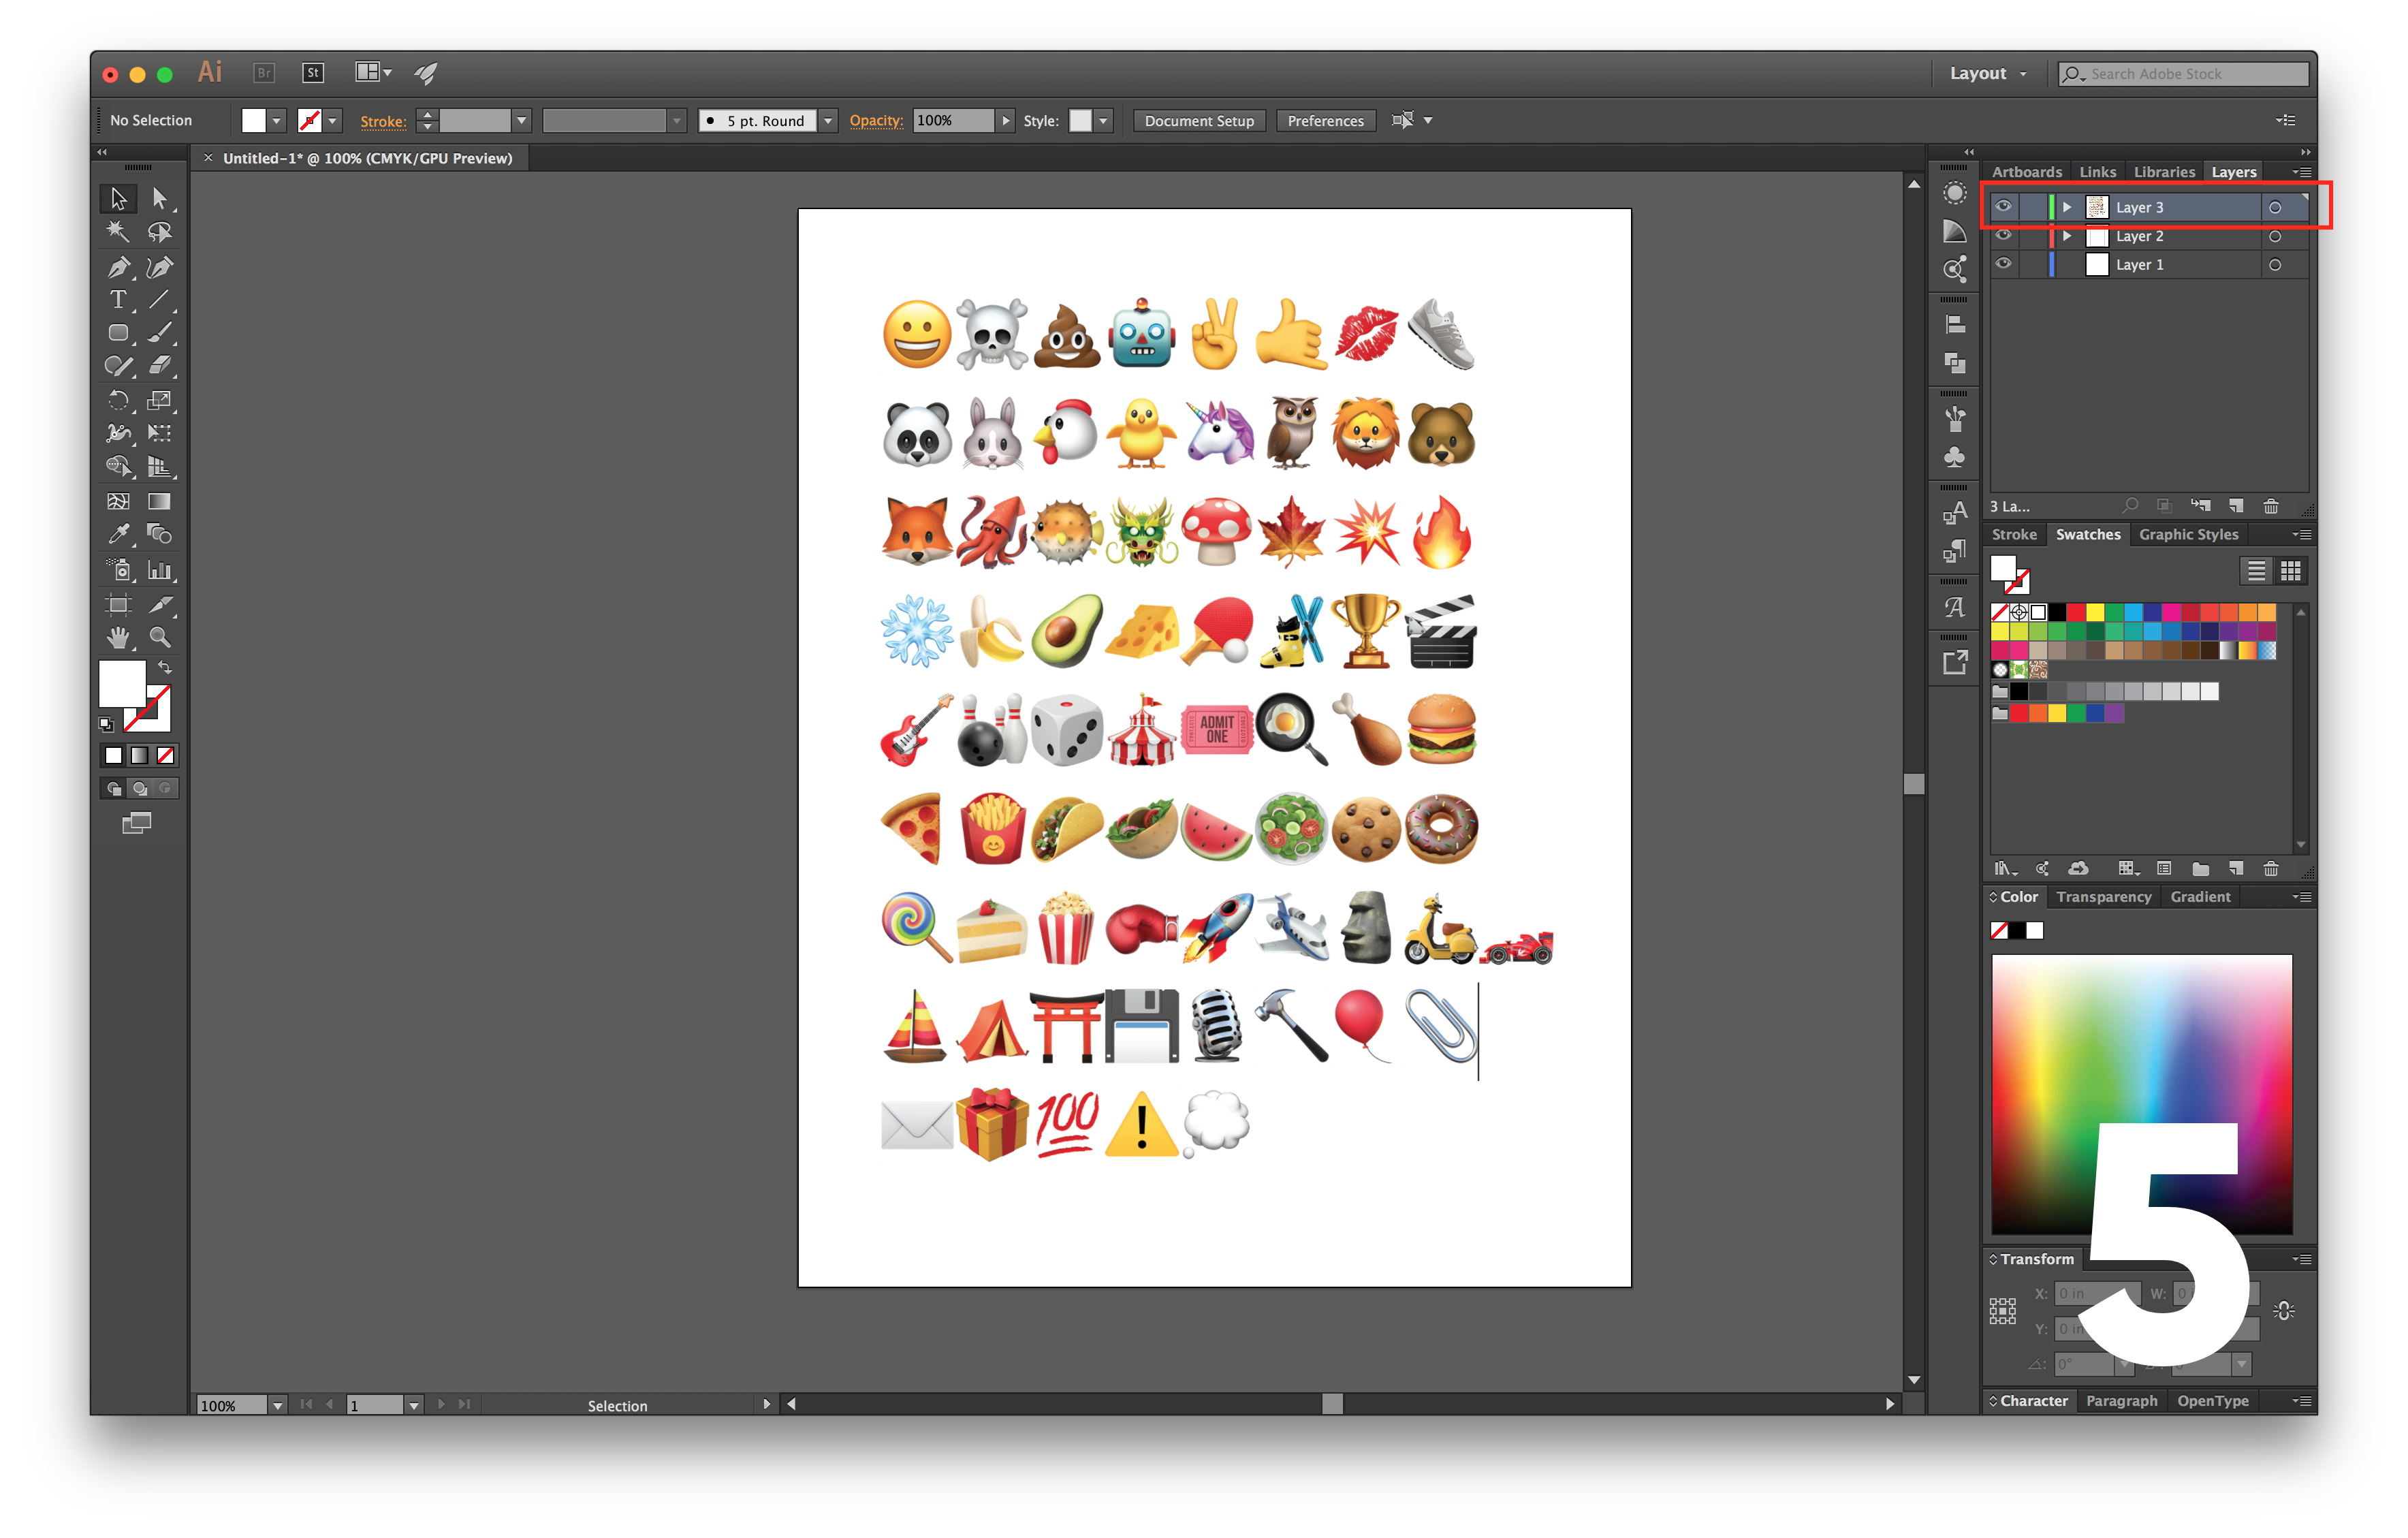
- Import emoji's
- Create new layer
- ⌘ + L
- Drag in your screenshots from your desktop.
- Create new layer
- Trace the emojis.
- Create new layer.
- ⌘ + L
- Zoom into the emoji you want to trace.
- Select Pen Tool
- 'P'
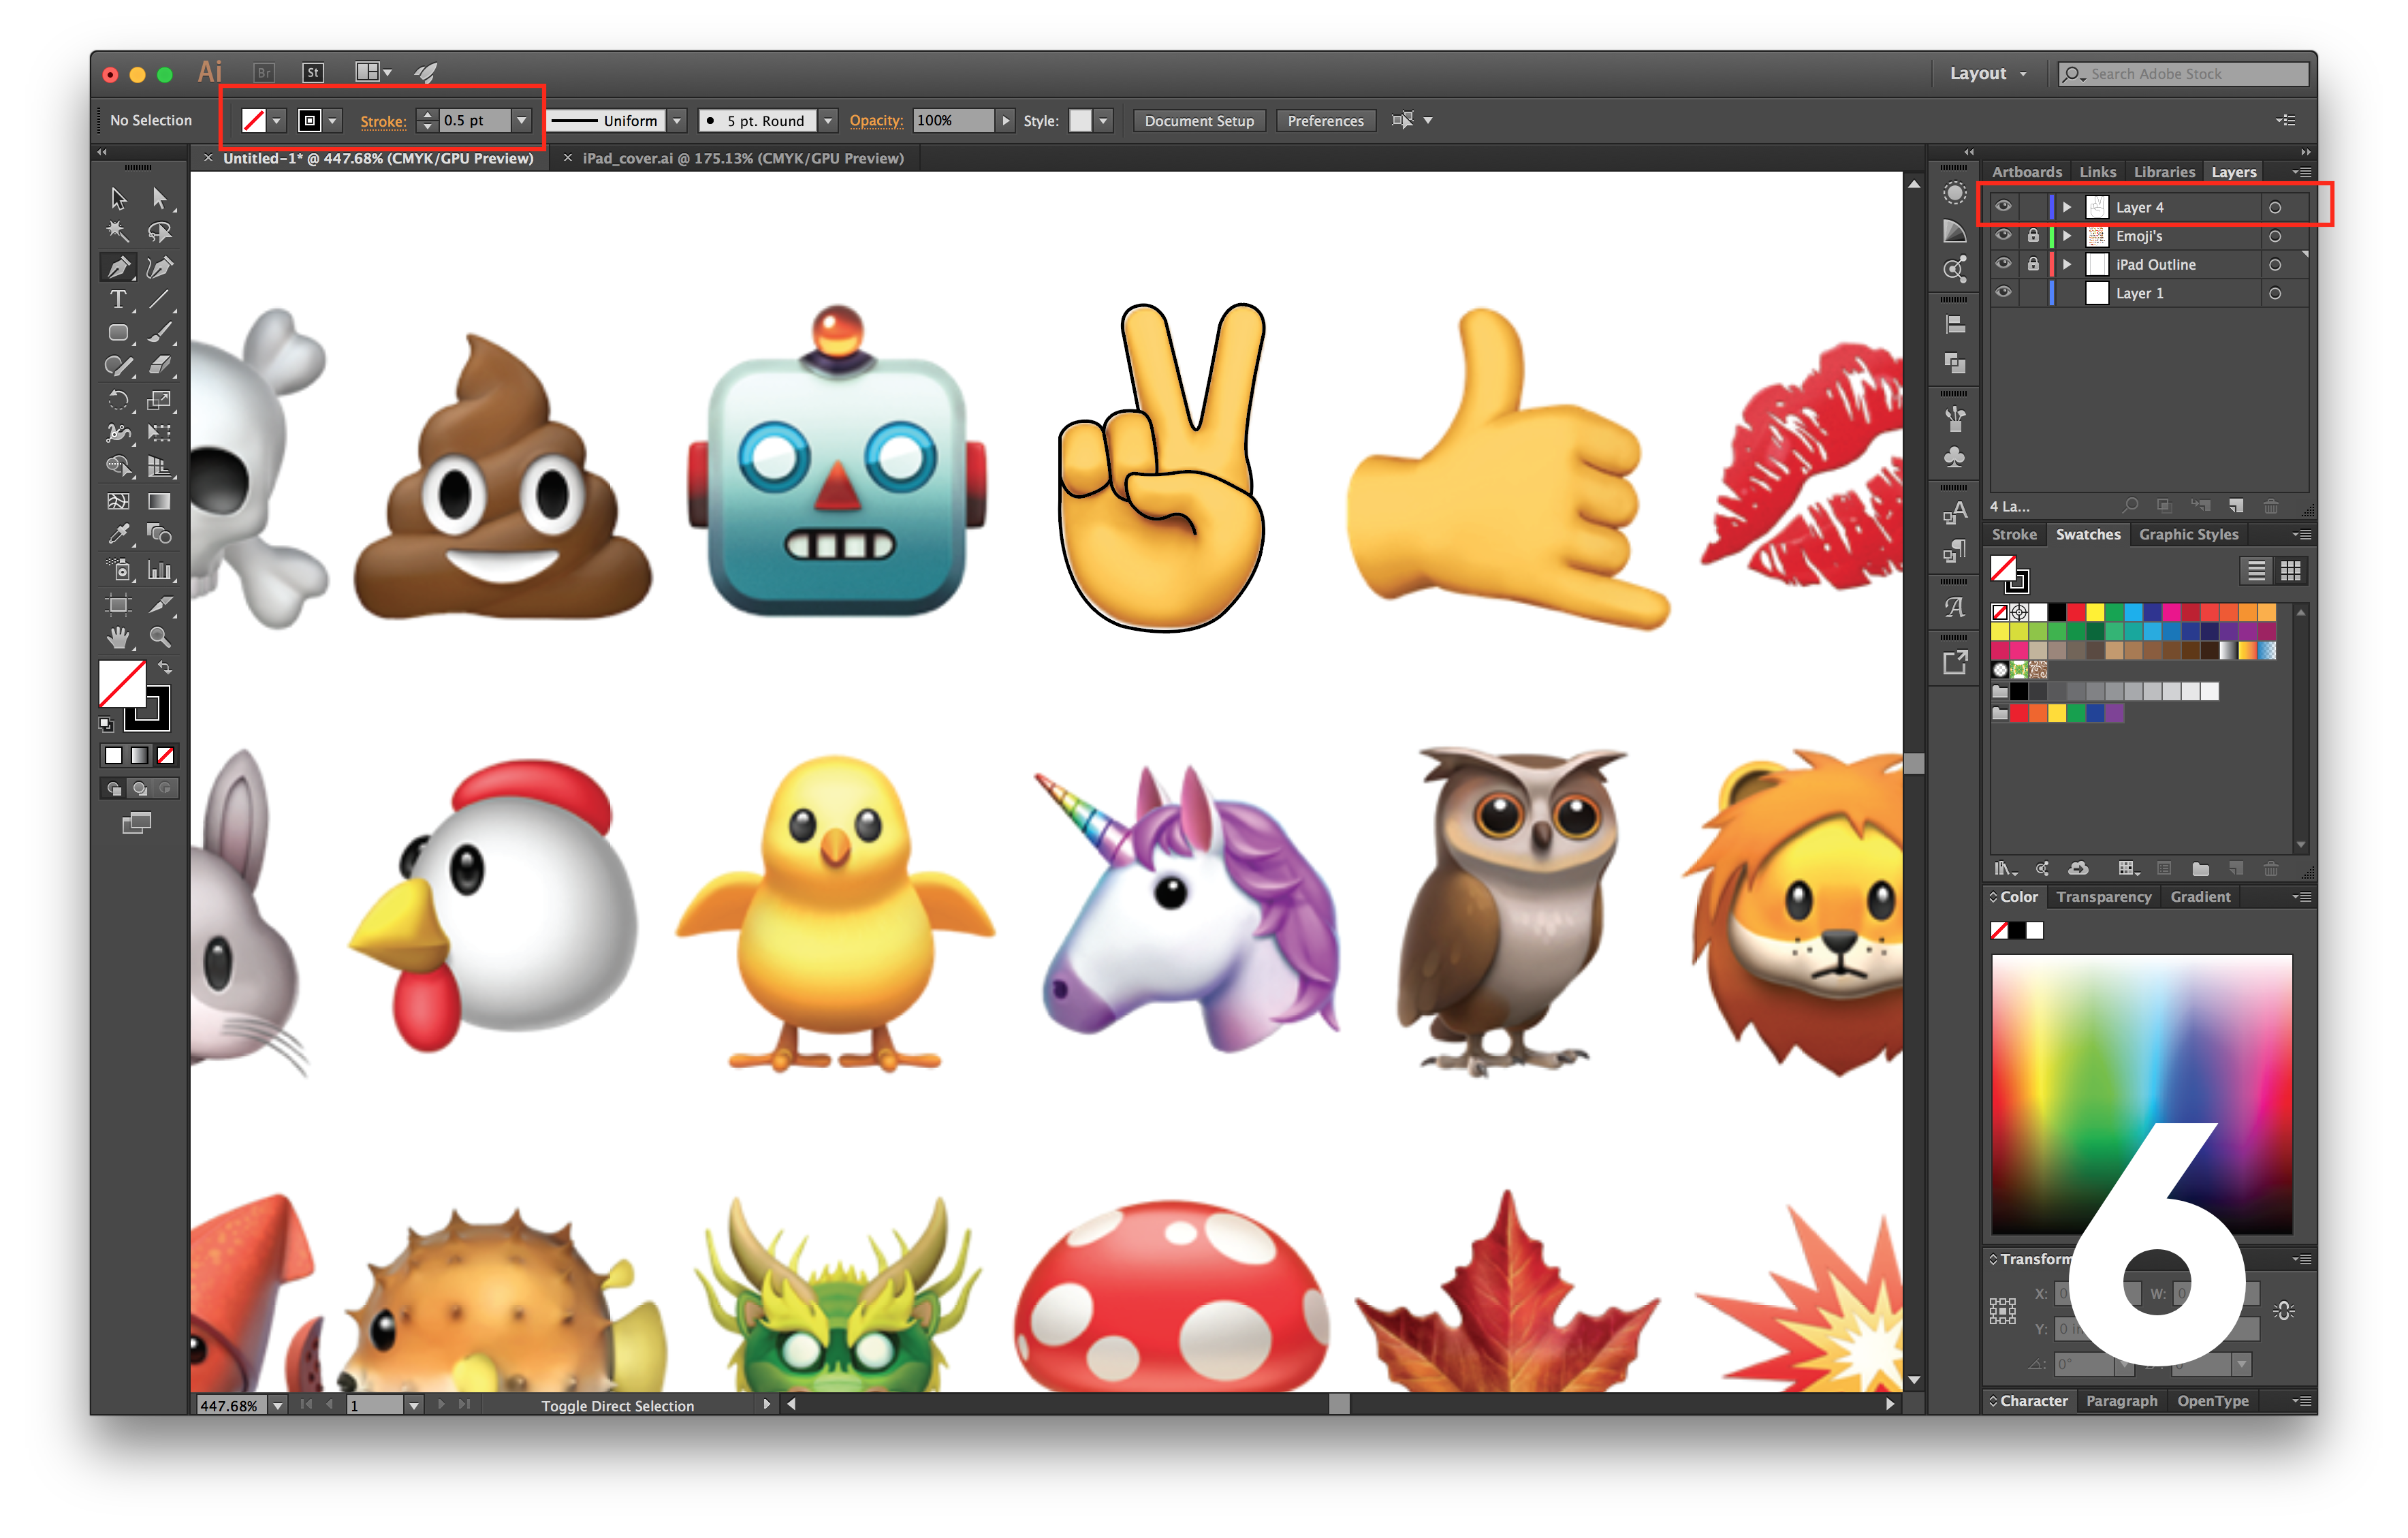
- Setup Pen Tool
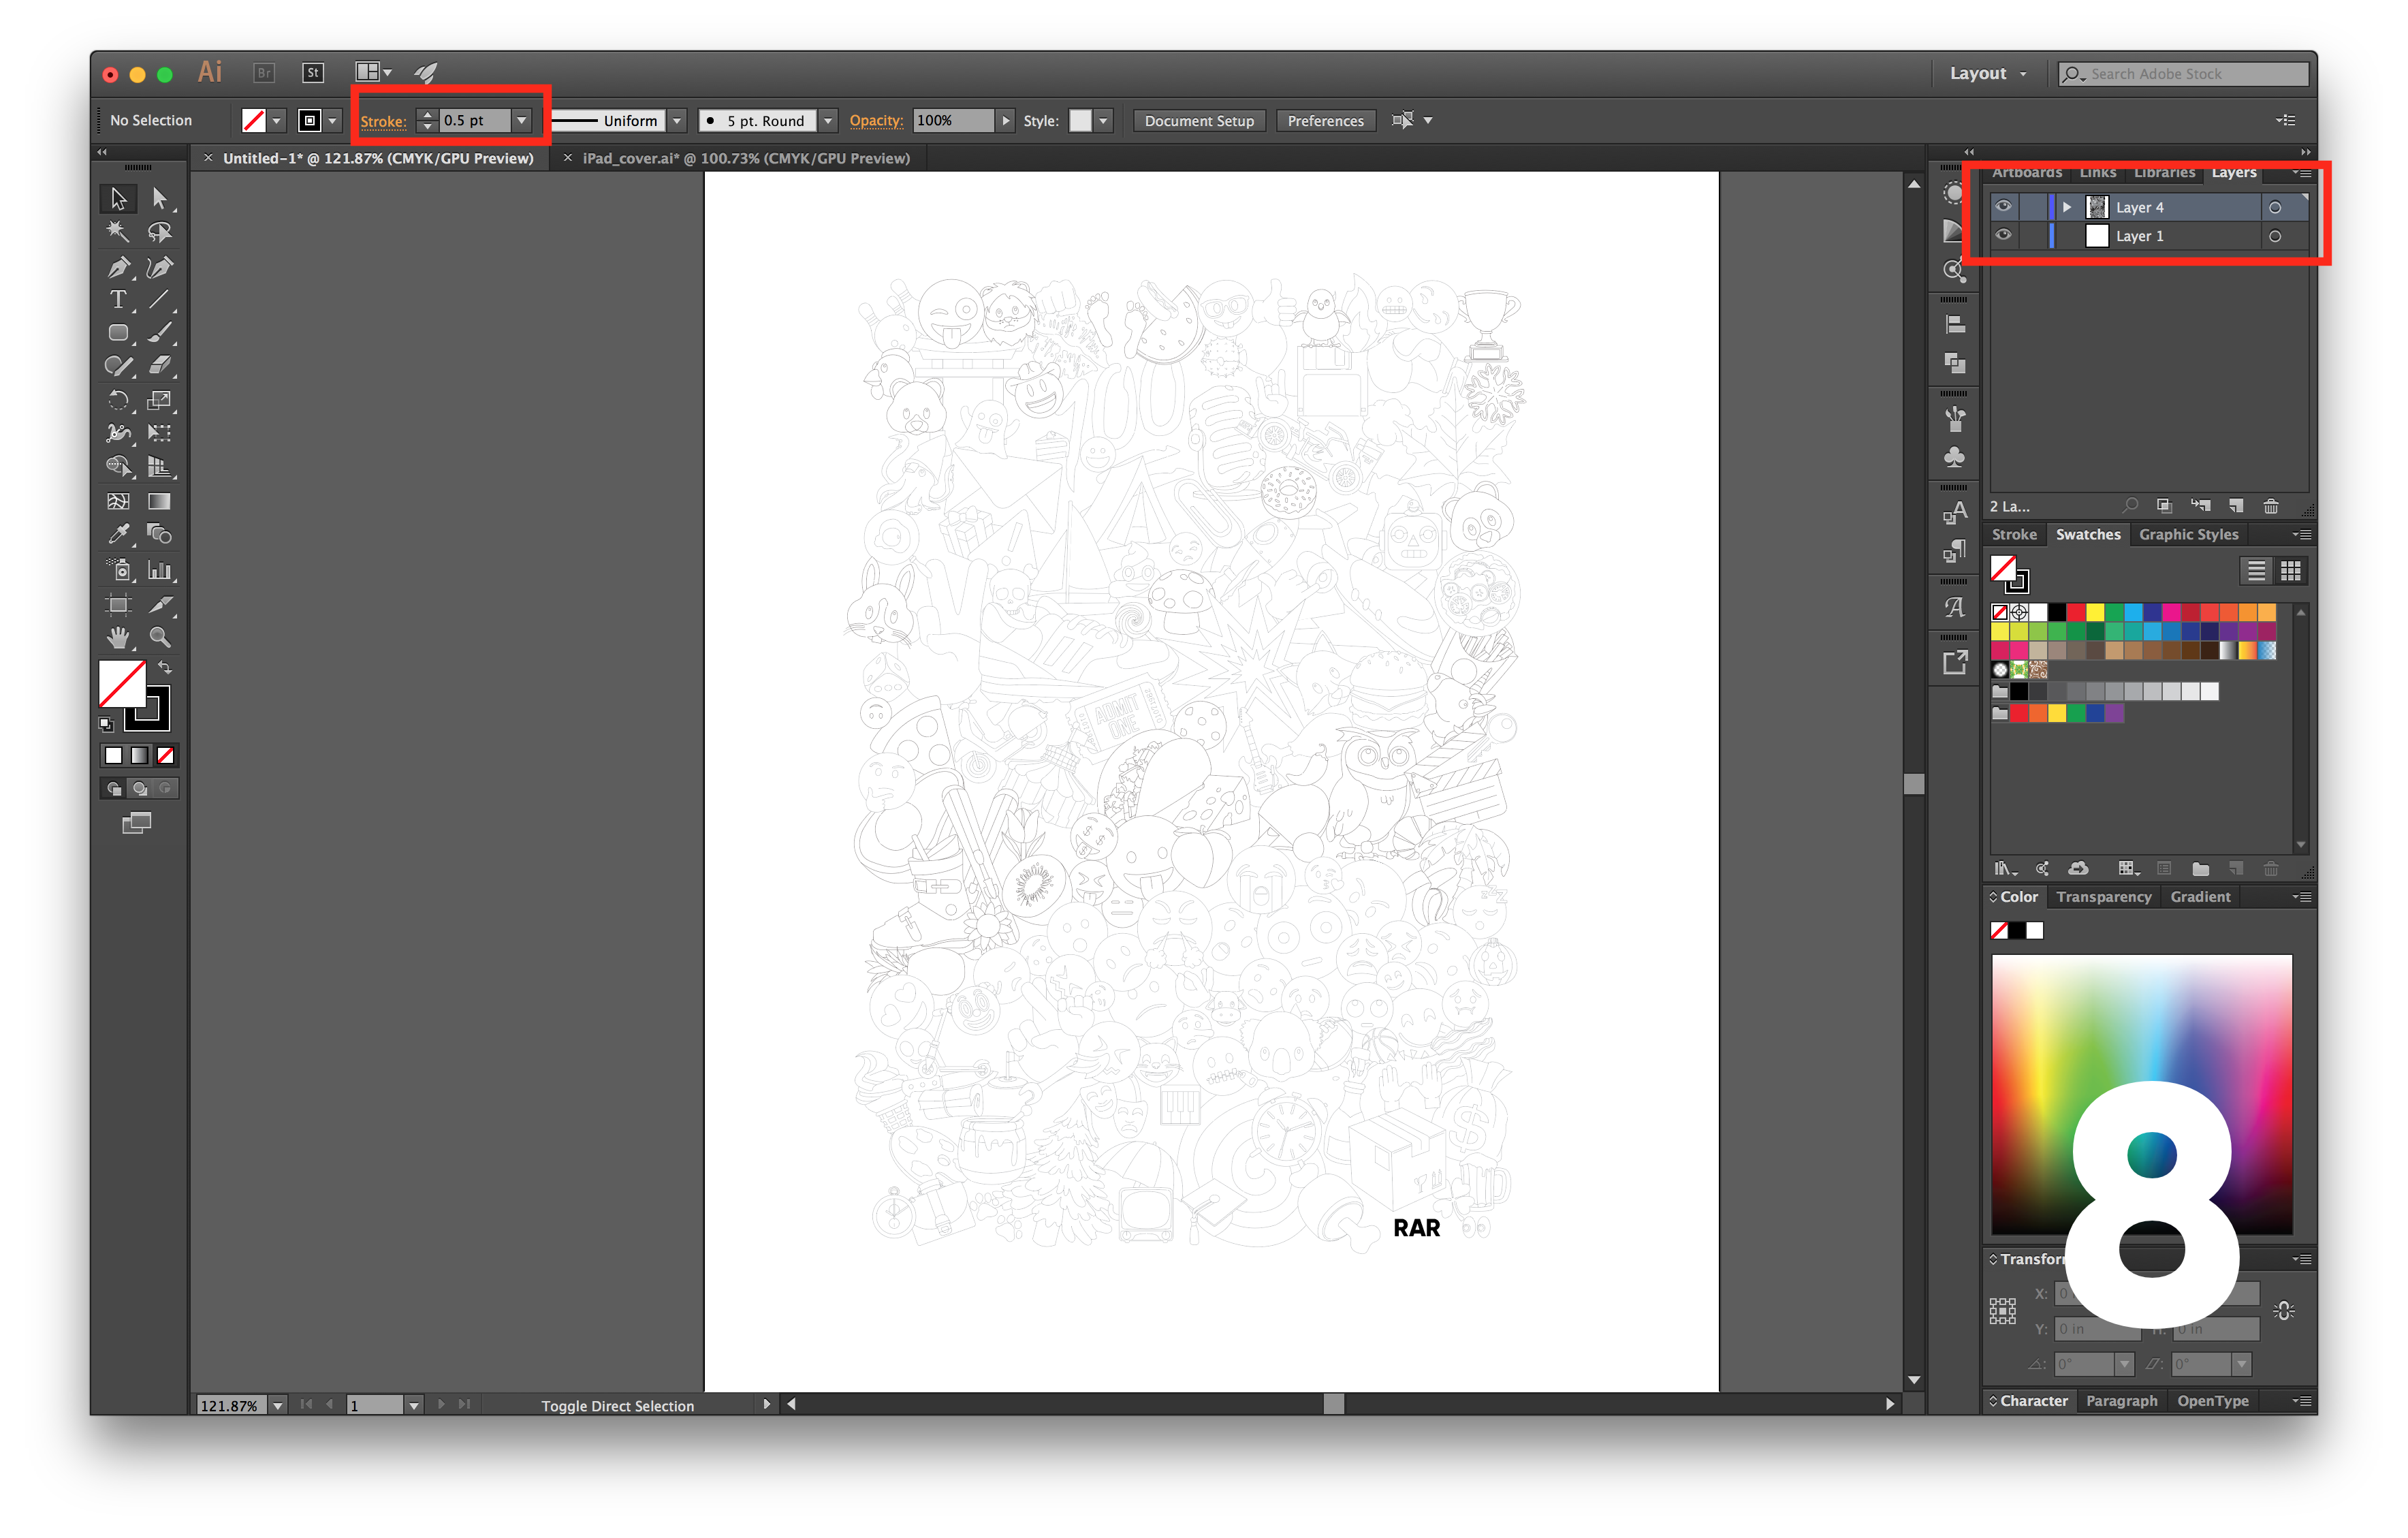
- Stroke: 0.5 pt (Top of screen)
- Fill = [None]
- Stroke color = Black
- Trace the shape.
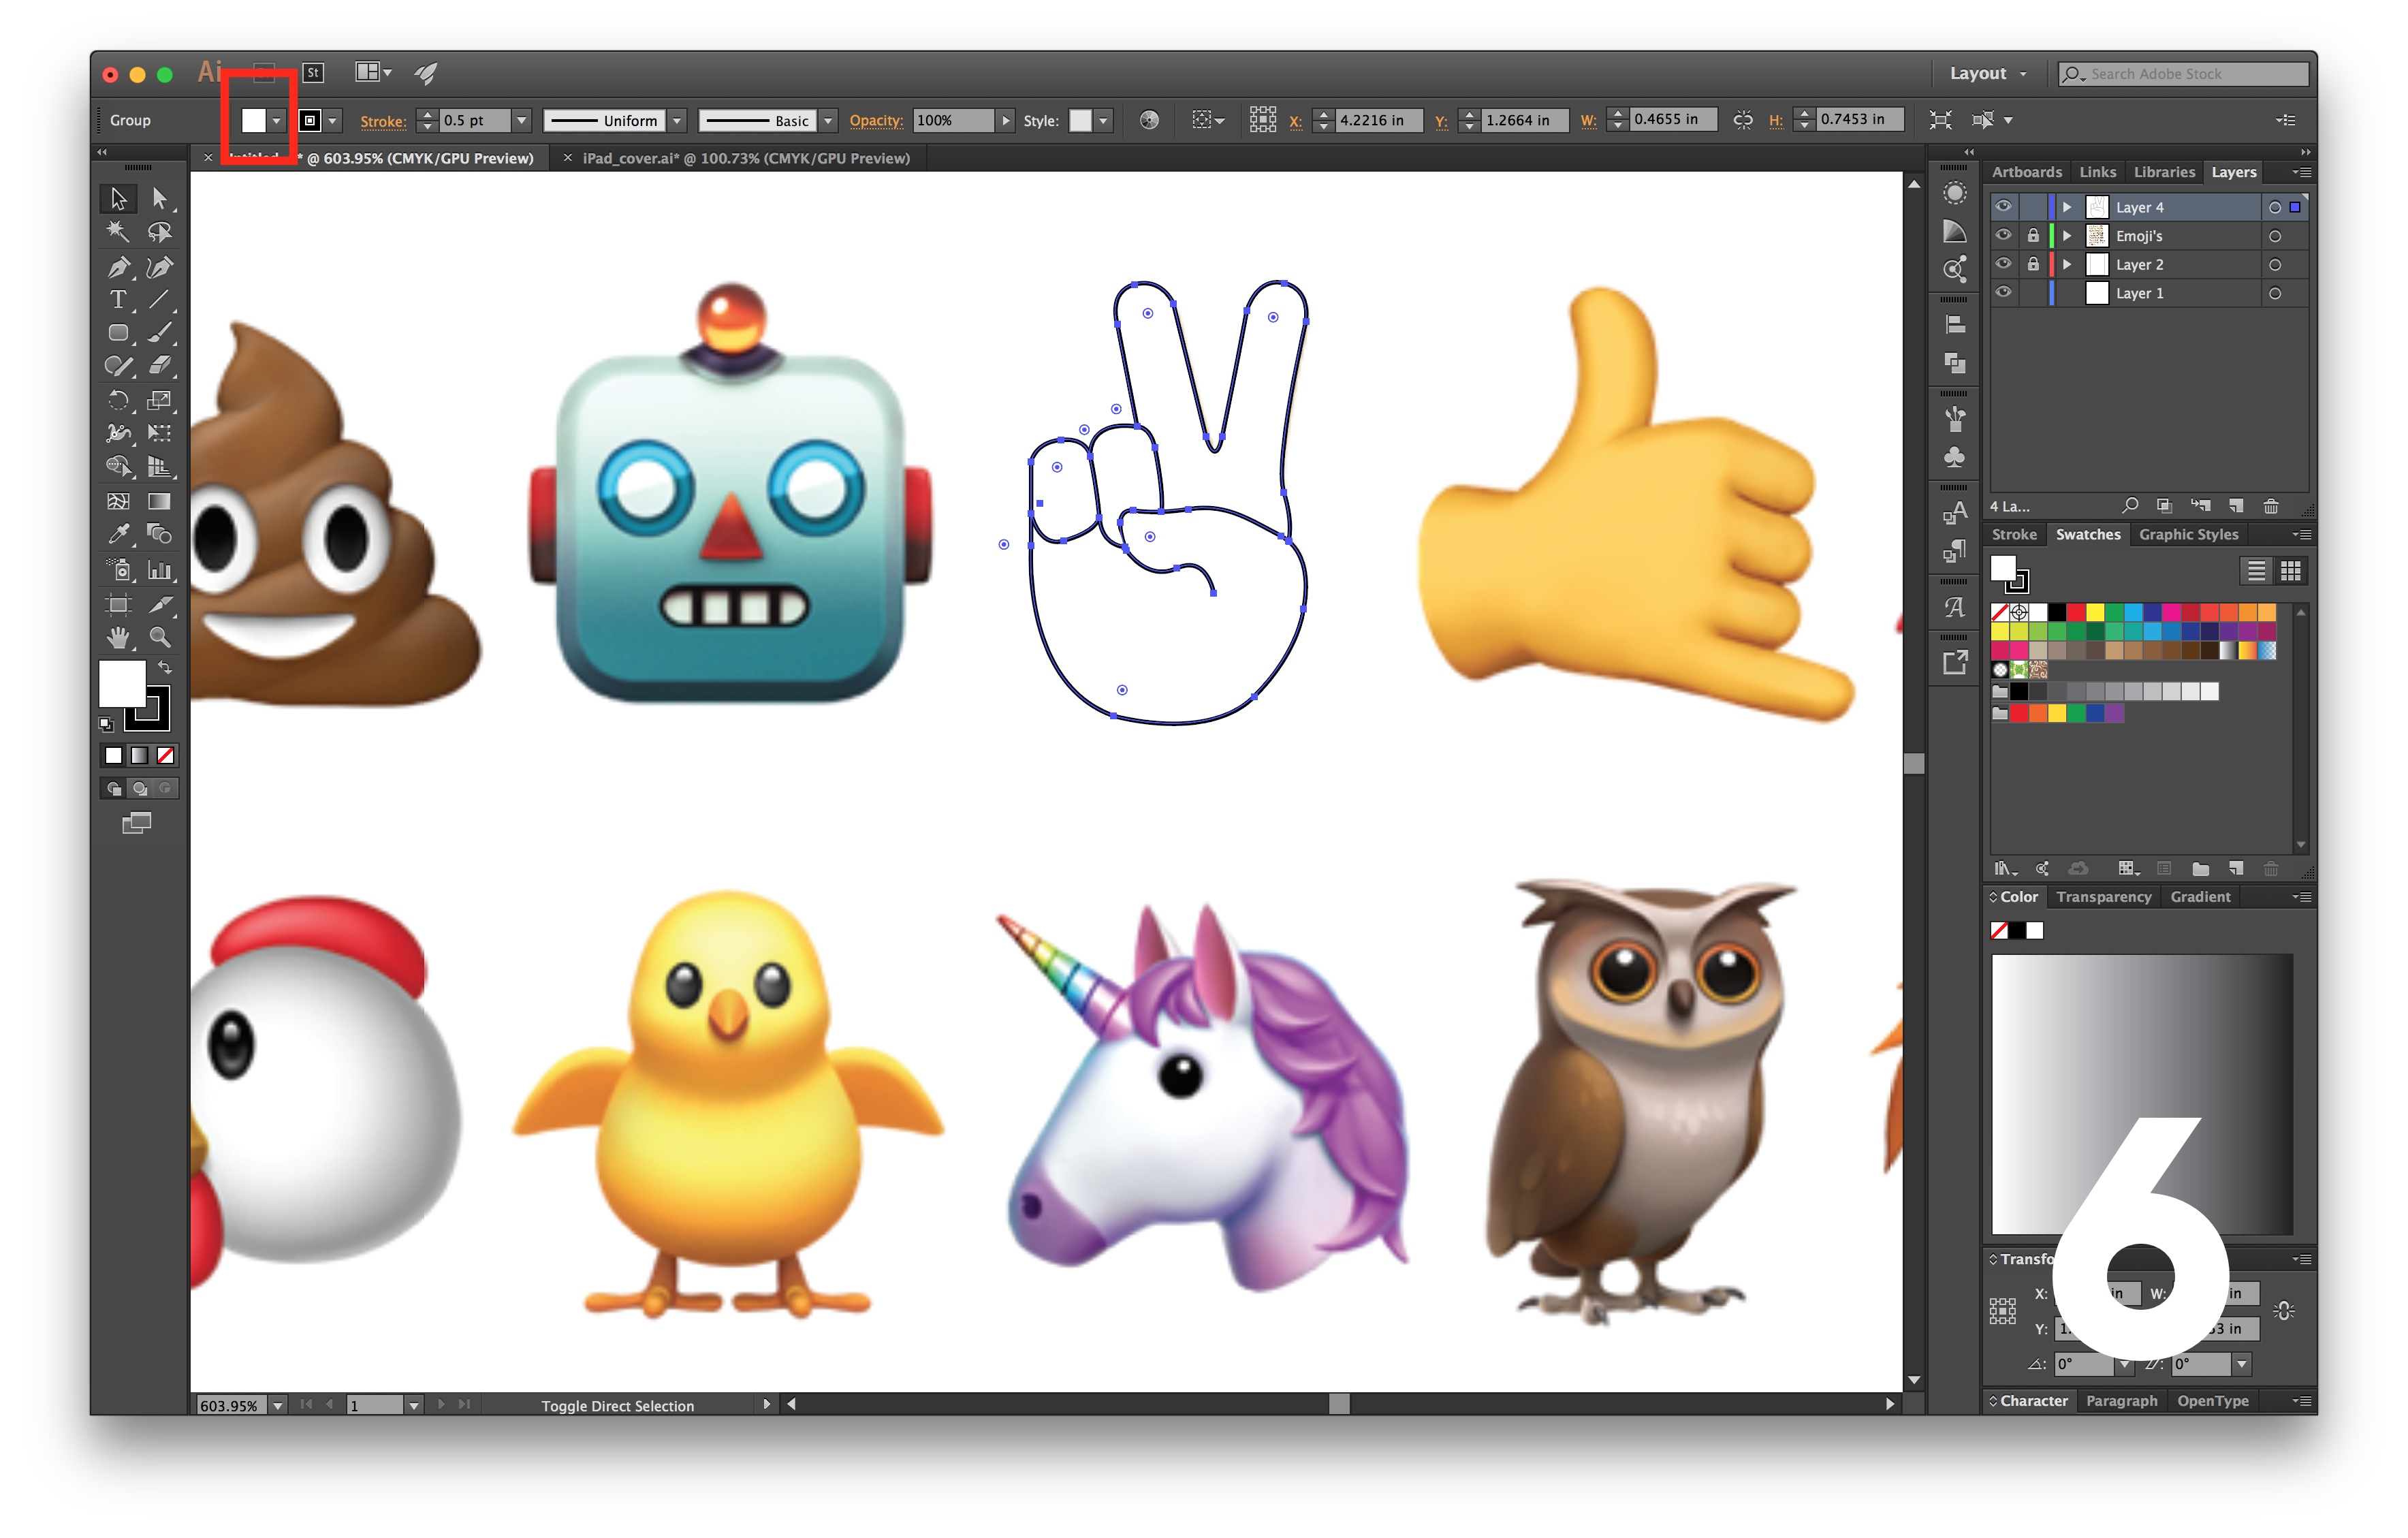
- After tracing everything.
- Select the entire shape
- Change Stroke color = White
- Group all the lines (⌘ + G)
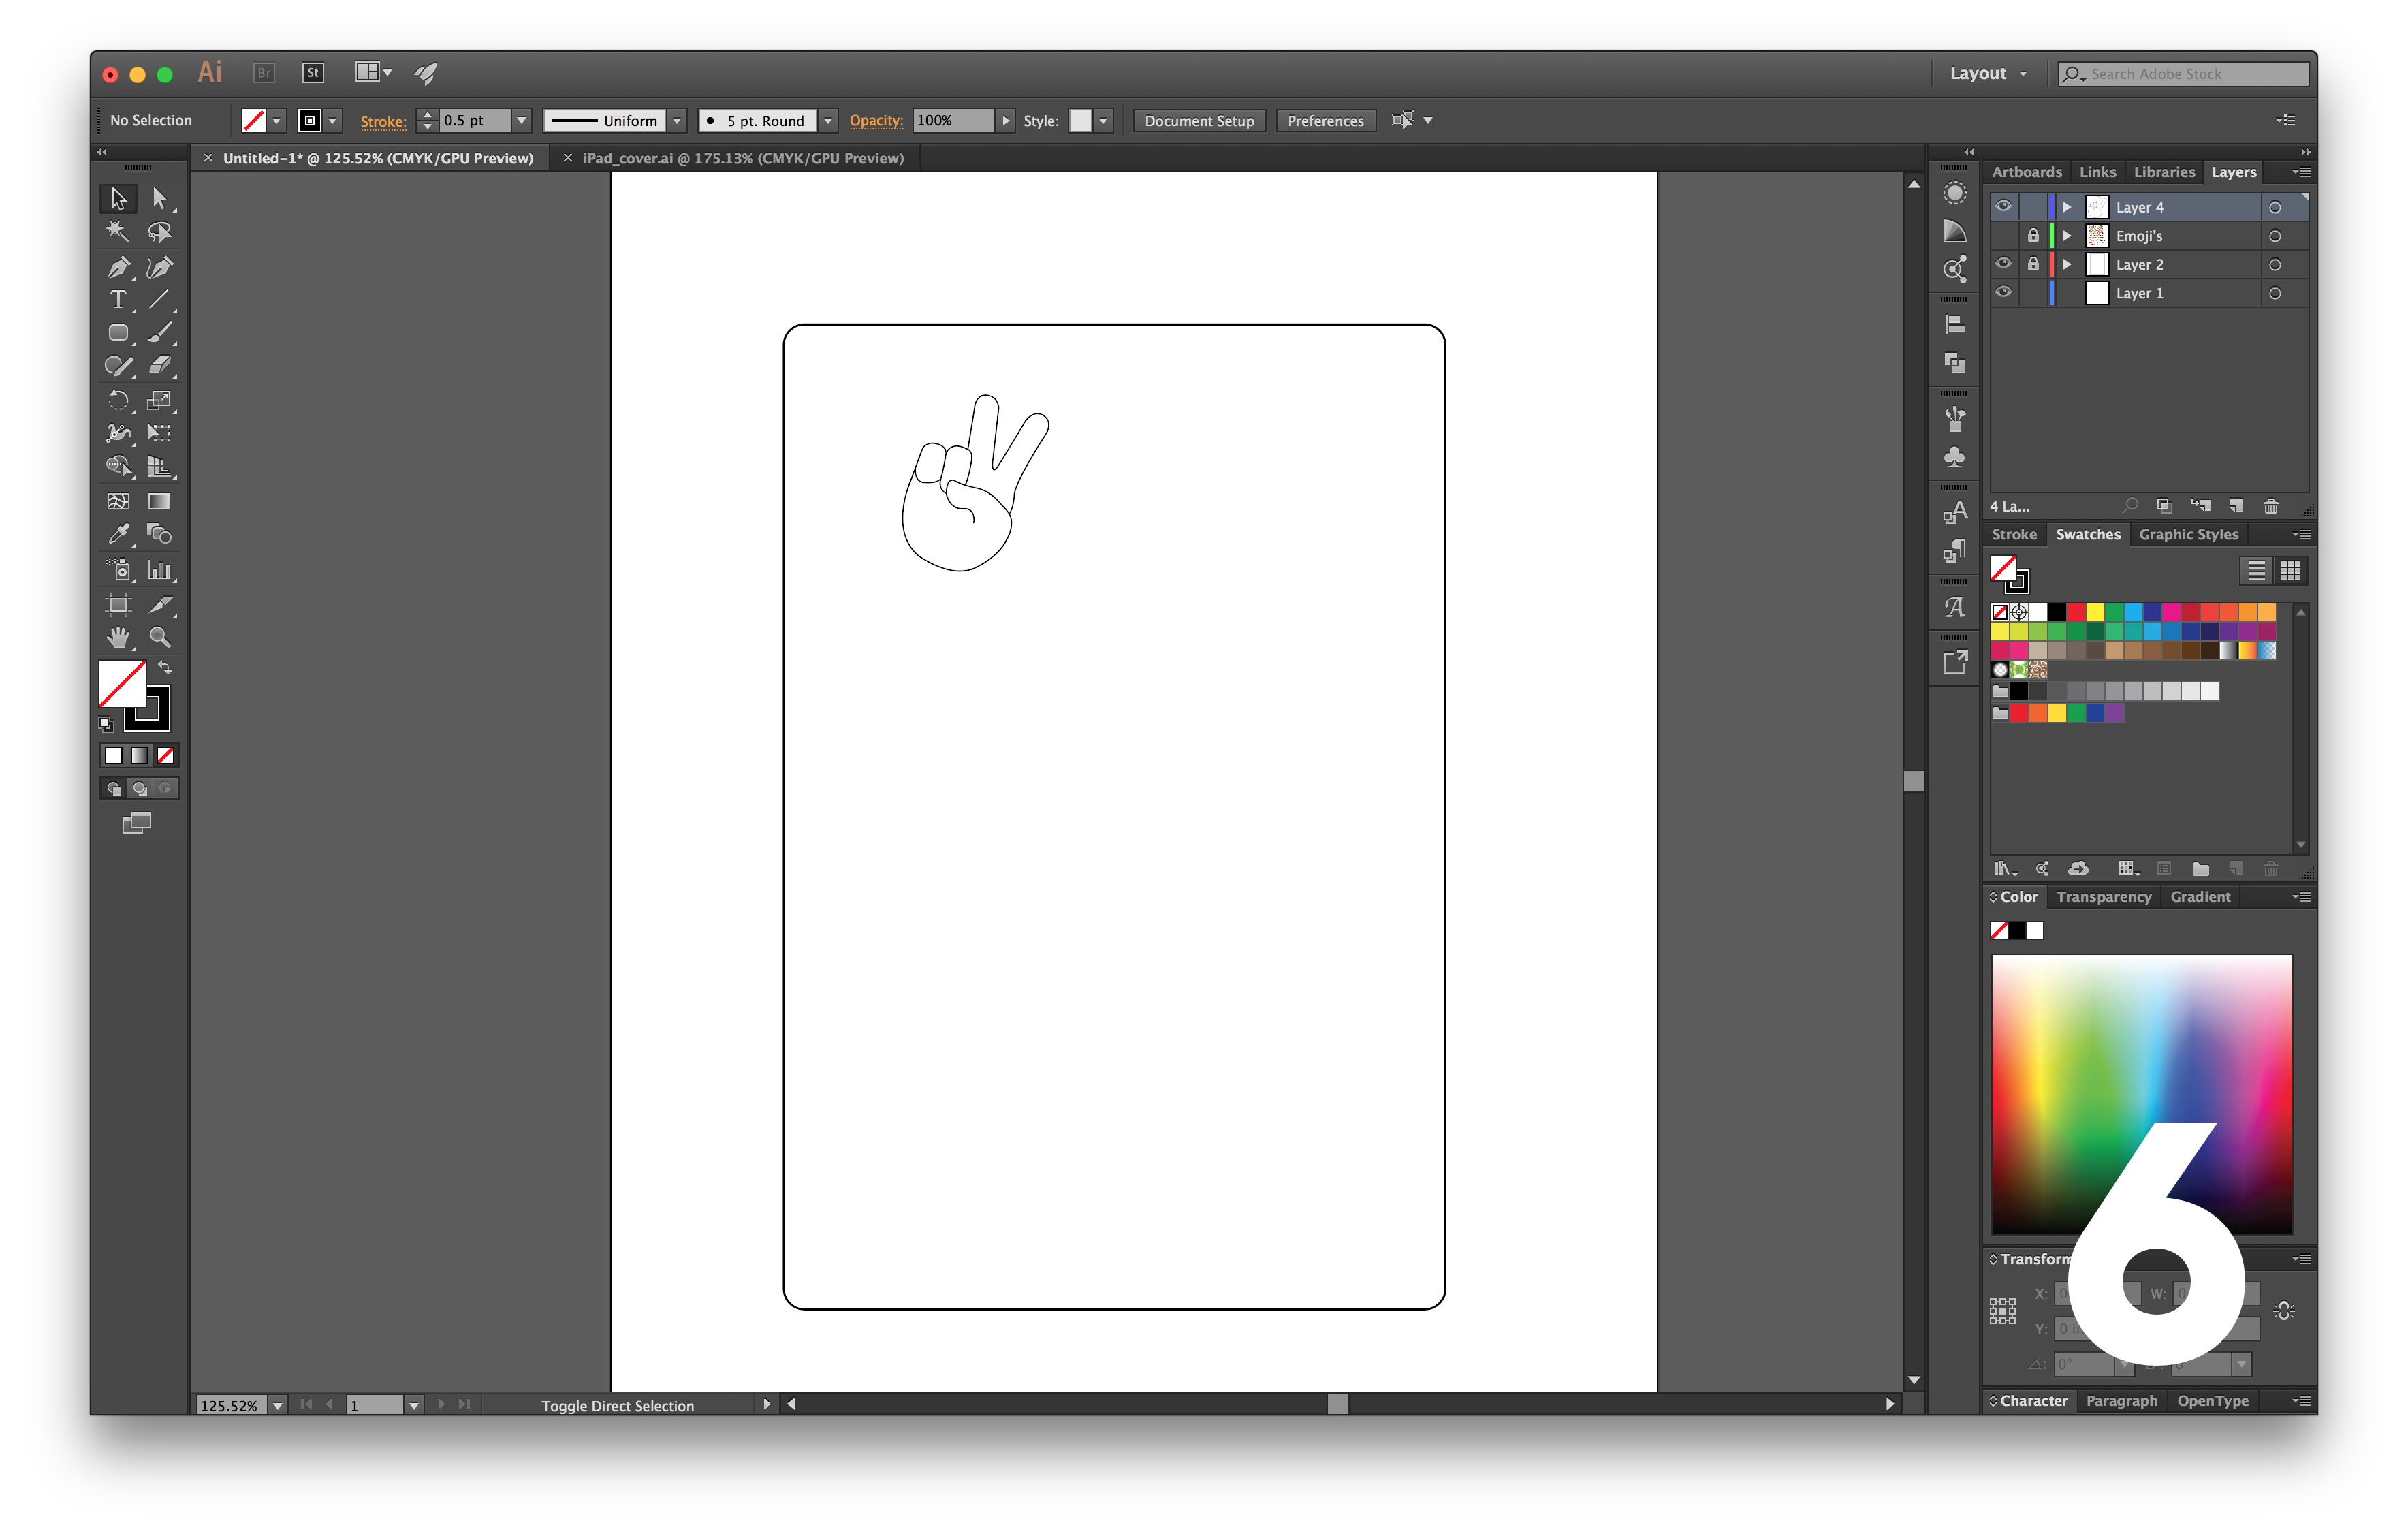
- One emoji down. Whew!
- Now repeat.
- Create new layer.
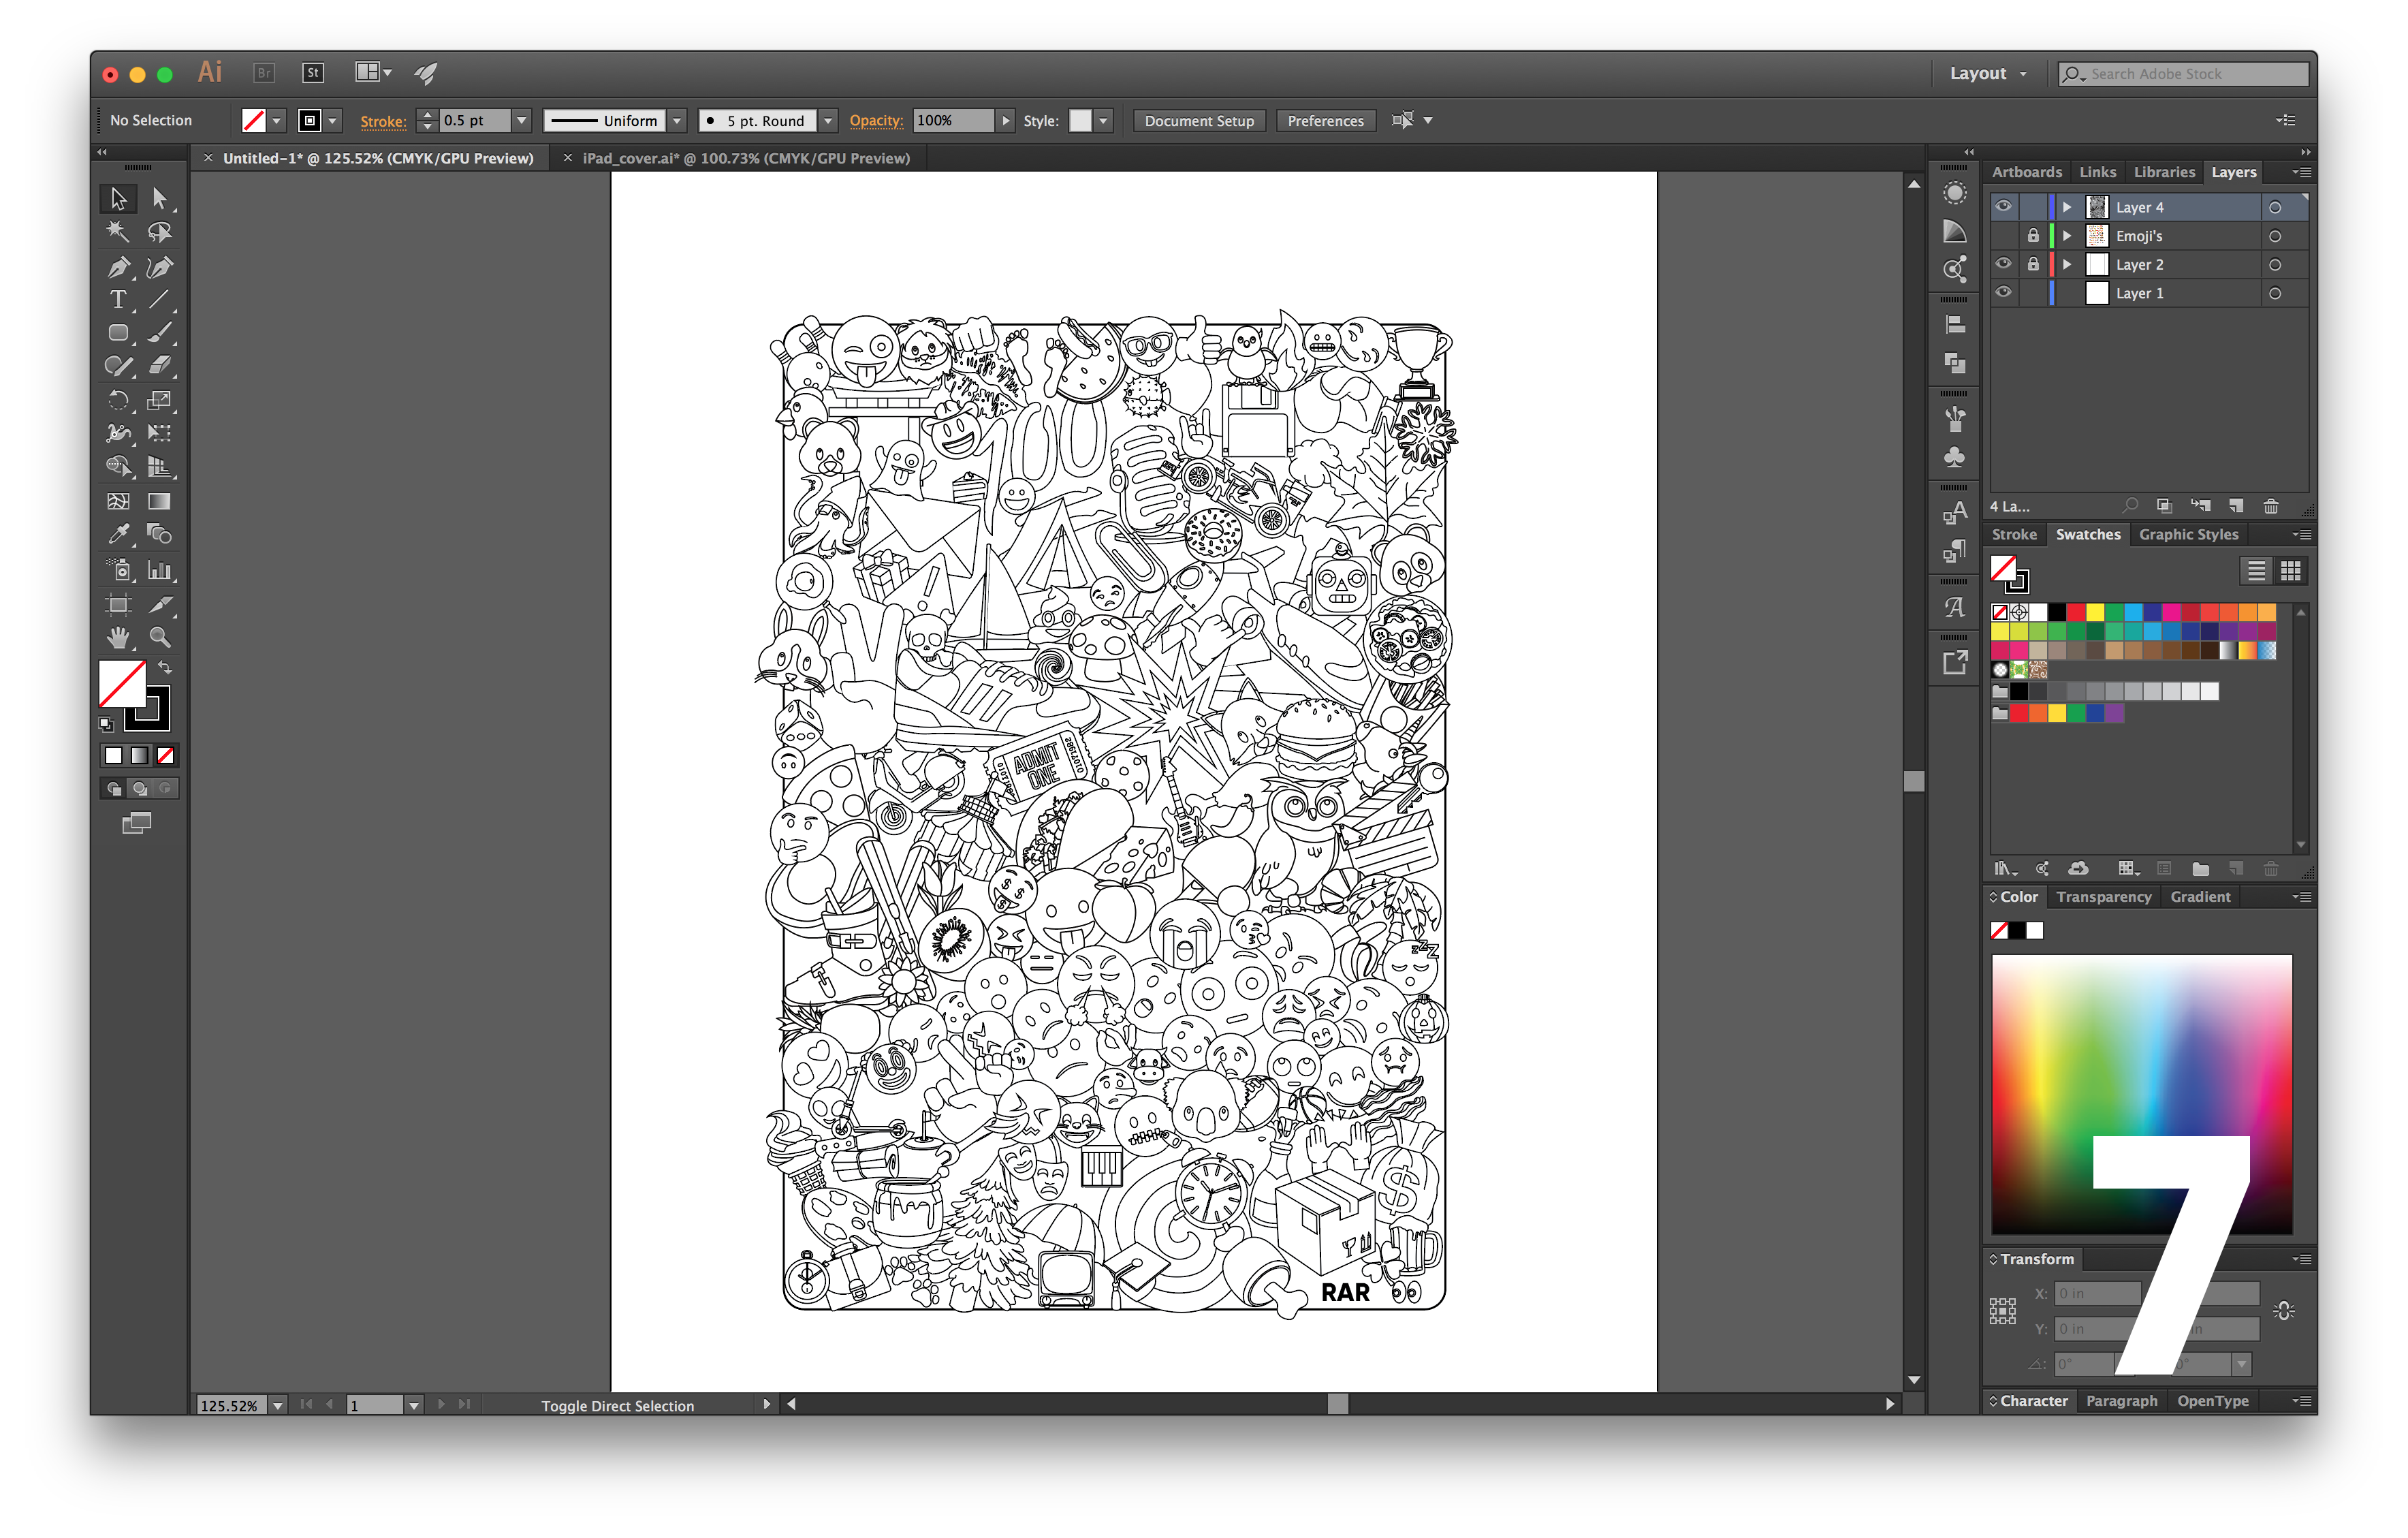
- Arrange all the emoji's in the style, orientation, and sizes of your choosing. Use the outline from Step 1 to determine the bounds of the smart cover. I added my initials to the bottom right corner, but do what you want. Have at it, be creative, design it how you want.
- Prepare to export.
- Open Layer Window (might already be open)
- Window > Layers (should have a check next to it)
- Now you should see all the layers you have. I had three (one for the cover outline, one for the screenshots, and one for the emoji's)
- Delete the layers with the smart cover outline and the screenshots.
- Select all the emojis.
- Reset Stroke size:
- Stroke: 0.001 in (0.5 pt)
- Open Layer Window (might already be open)
- Export.
- File > Save As...
- Format: Adobe PDF (pdf)
- Press 'Save'
- File > Save As...
Tips
- This took me many, many, many, hours, it is a very tedious and laborious process. So, be patient. Or... you can save yourself time and just buy the case here.
- Adobe Illustrator is expensive and many don't have it, including myself. Instead I opted for the free 30 day trial which you can find here.
- I discovered, about halfway through completing the emoji's, that the best approach to tracing these objects is to first outline the entire object, then fill in the interior lines. This is allows step 2.6 to be simplified as you will only need to fill in the outer outline. This creates a better looking shape overall.
- You can LOCK layers so that you don't accidentally modify/move them while your outlining. I did this to the layer with the rectangle outline representing the smart cover and the layer with the emoji screenshots.
- To lock the screens:
- Each layer in the layer window has a vertical strip of color assigned to it, next to this there is an empty box. Click this box and you should see a lock symbol pop up. Now this layer is locked.
- To lock the screens:
- You can try exporting it in other formats, indeed some laser cutters might require it. When doing this pay attention the the scaling:
- Scale: 1 inch = 1 Unit(s)
Laser Cut Emoji's
Steps
- Open Corel Draw.
- Import your PDF.
- File > Import
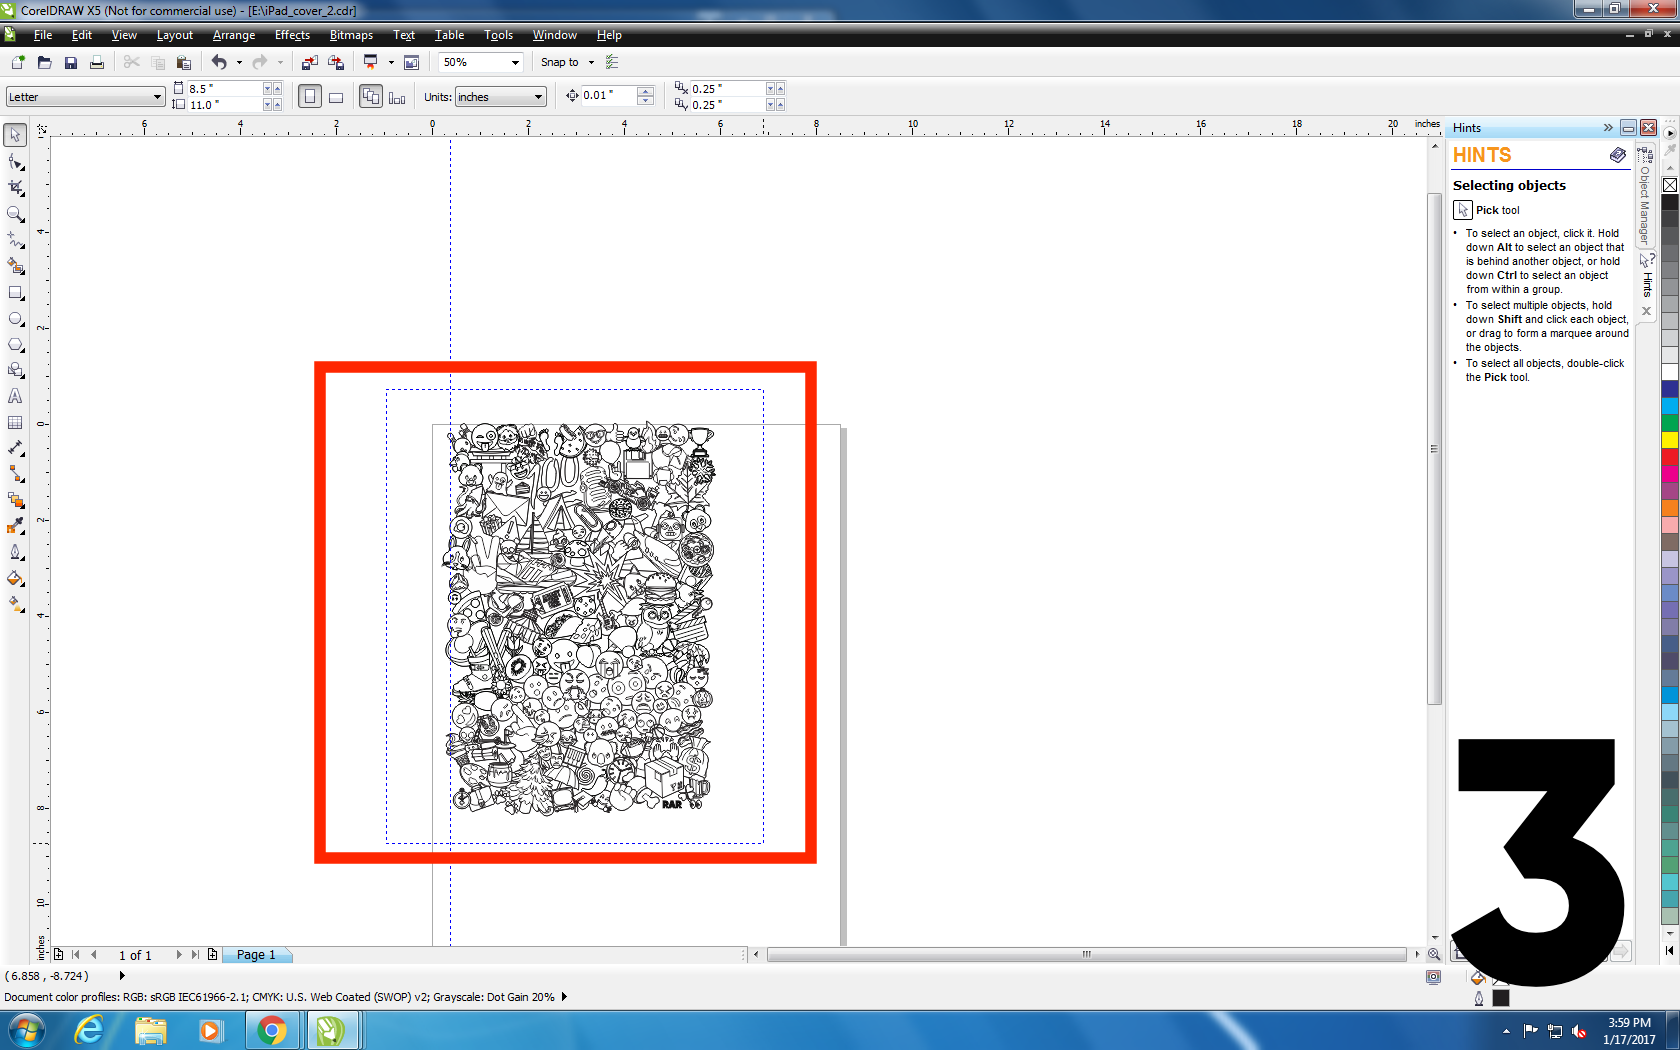
- Select the entire object.
- Drag the object onto the blank page if it is not already on the it.
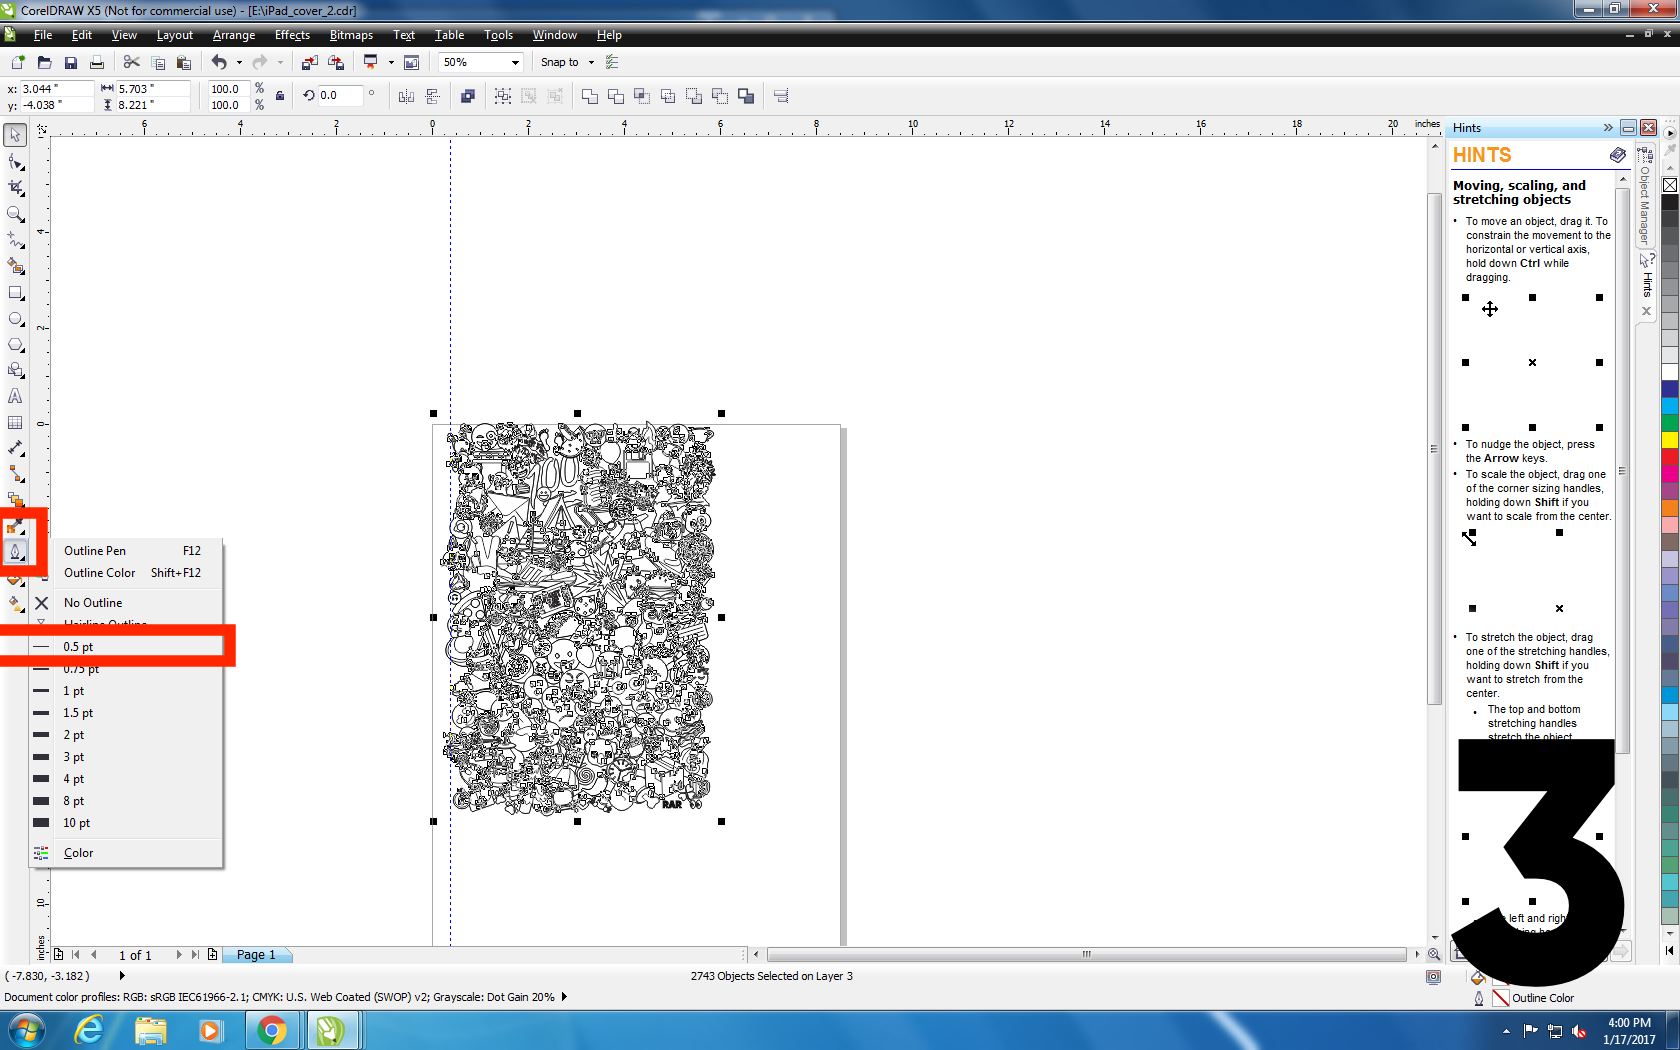
- Click the Pen on the left-hand-side toolbar and change the outline width to 0.5 pt
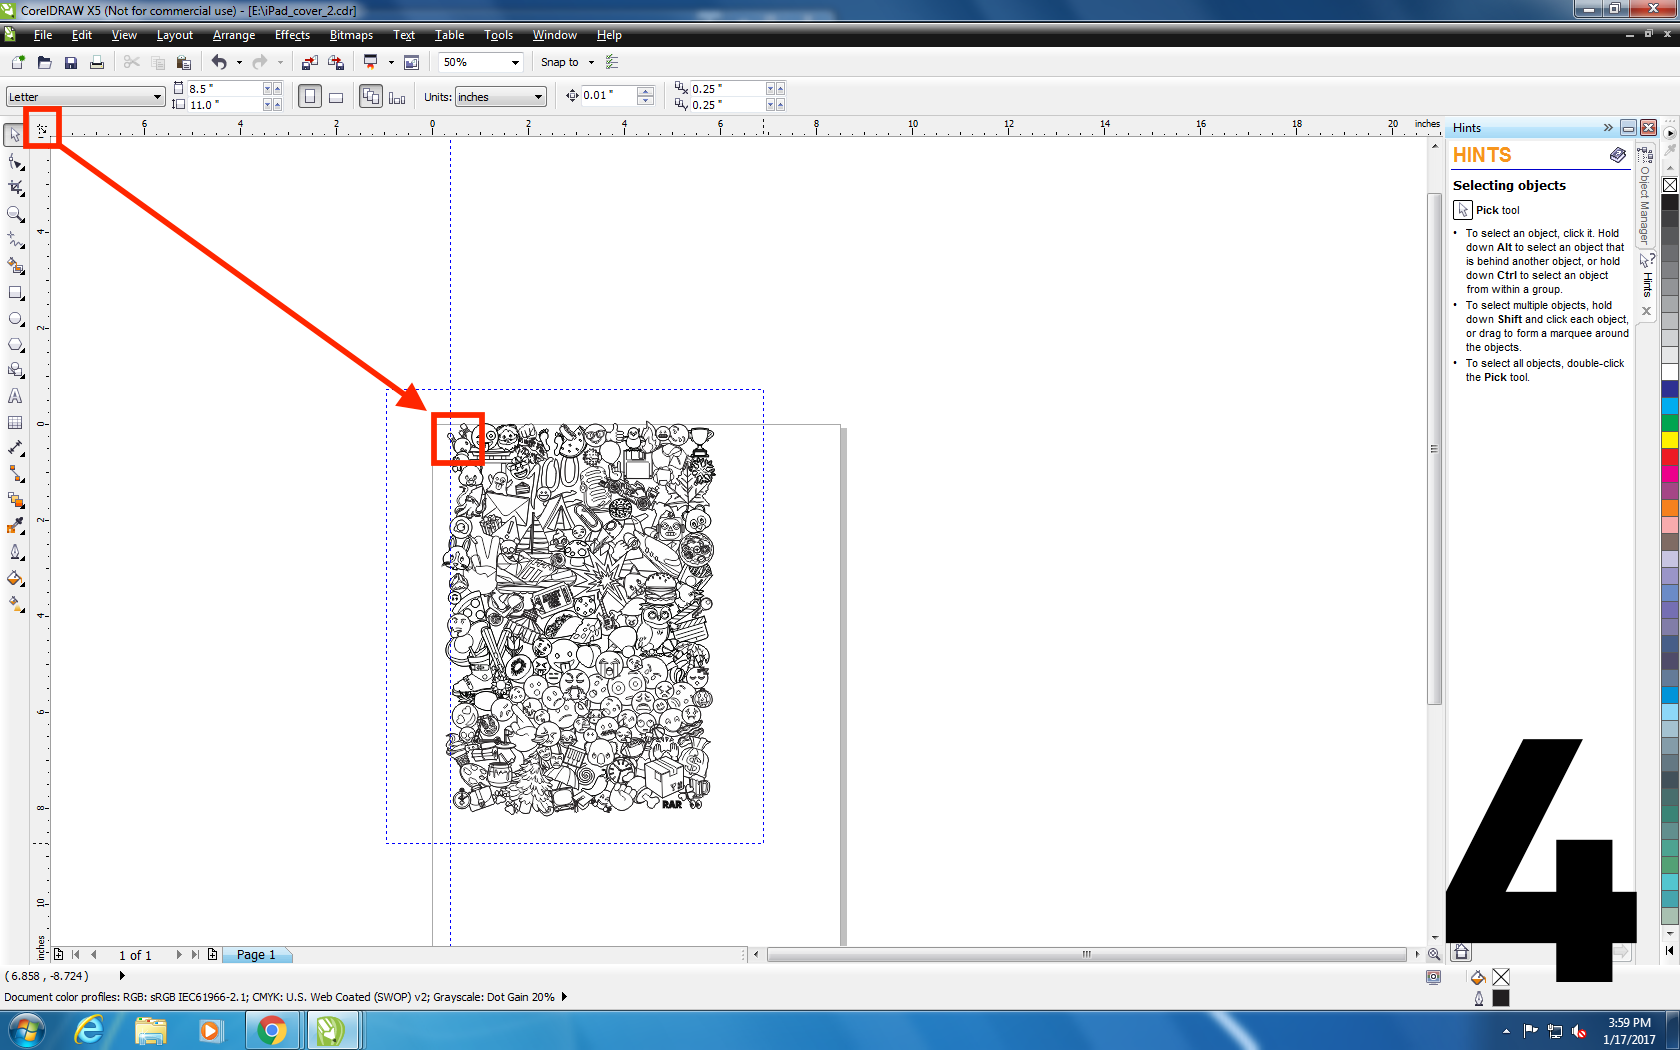
- Finally, you need to select where the laser should start. The blank paper represent the printing bed. The smart cover has a magnetic bar that prevents it from going flush to the edge of the printing bed. We need to account for this by moving the laser in from the left-edge of the blank page by 1/4 in. Now to set the laser, click and drag from the 'origin' button (see Photo 4 above) to the top of the blank page and a quarter of an inch from the left side.
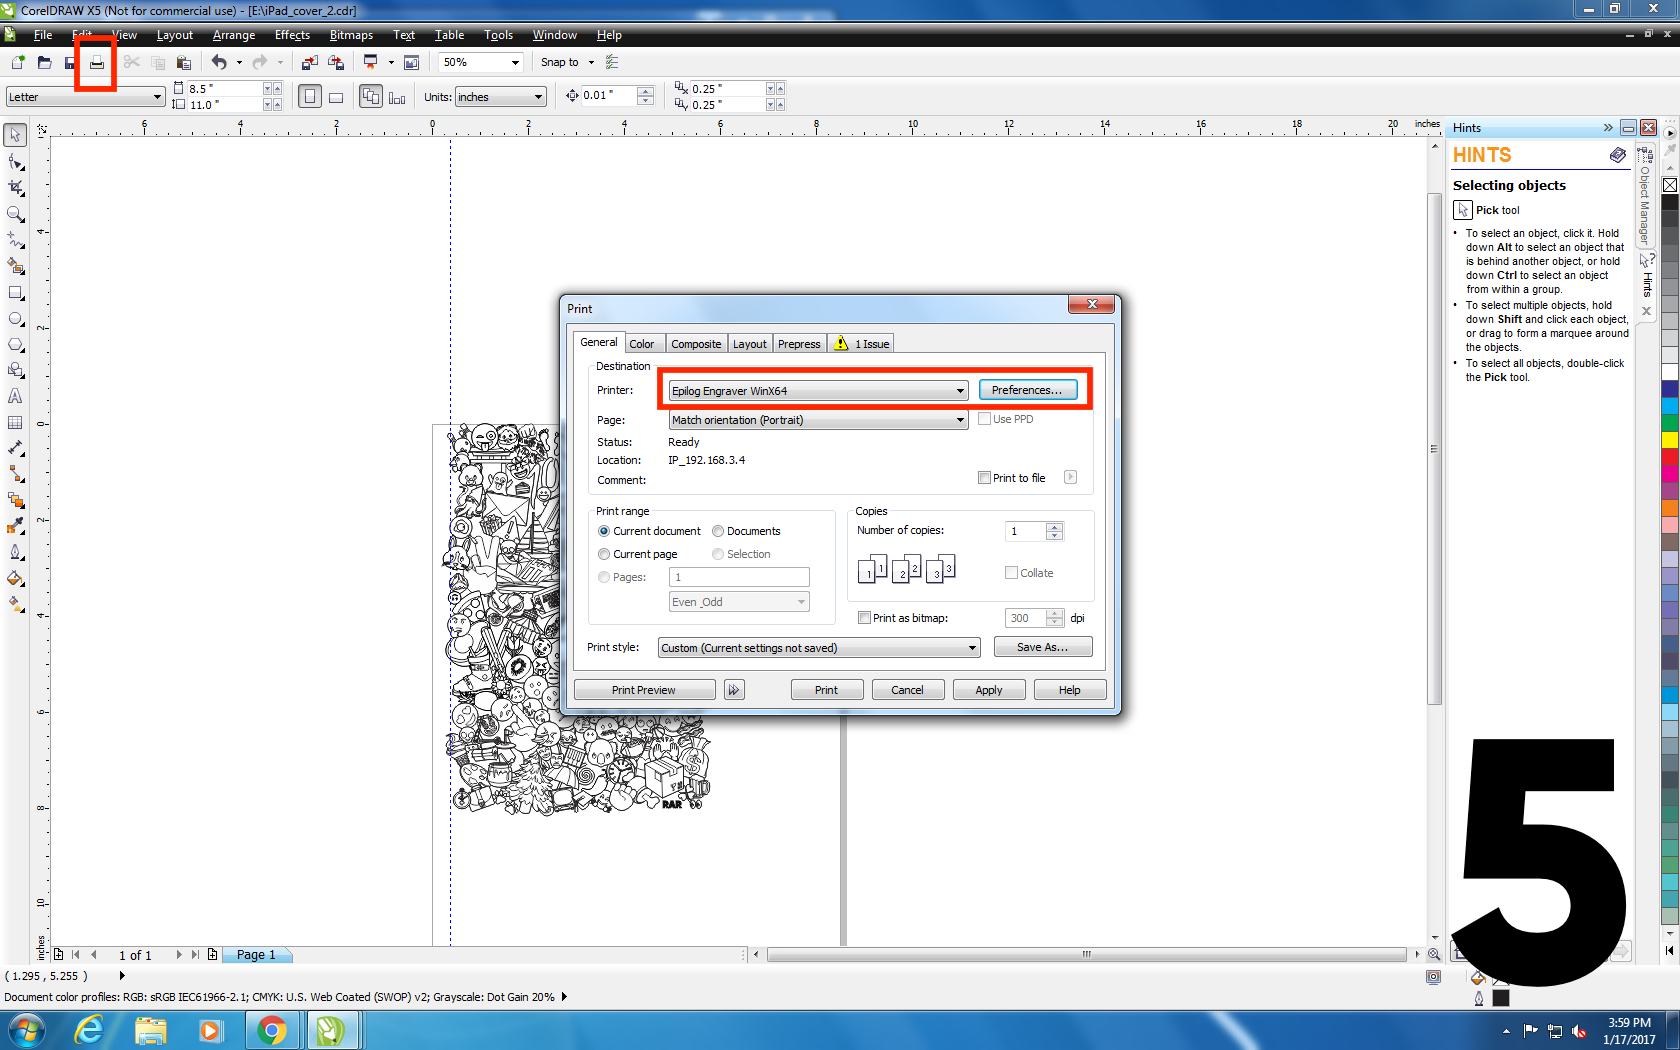
- Print
- ⌘ + p
- Printer: Epilogue Engraver WinX64 (Depends on computer & laser cutter)
- Select 'Preferences'
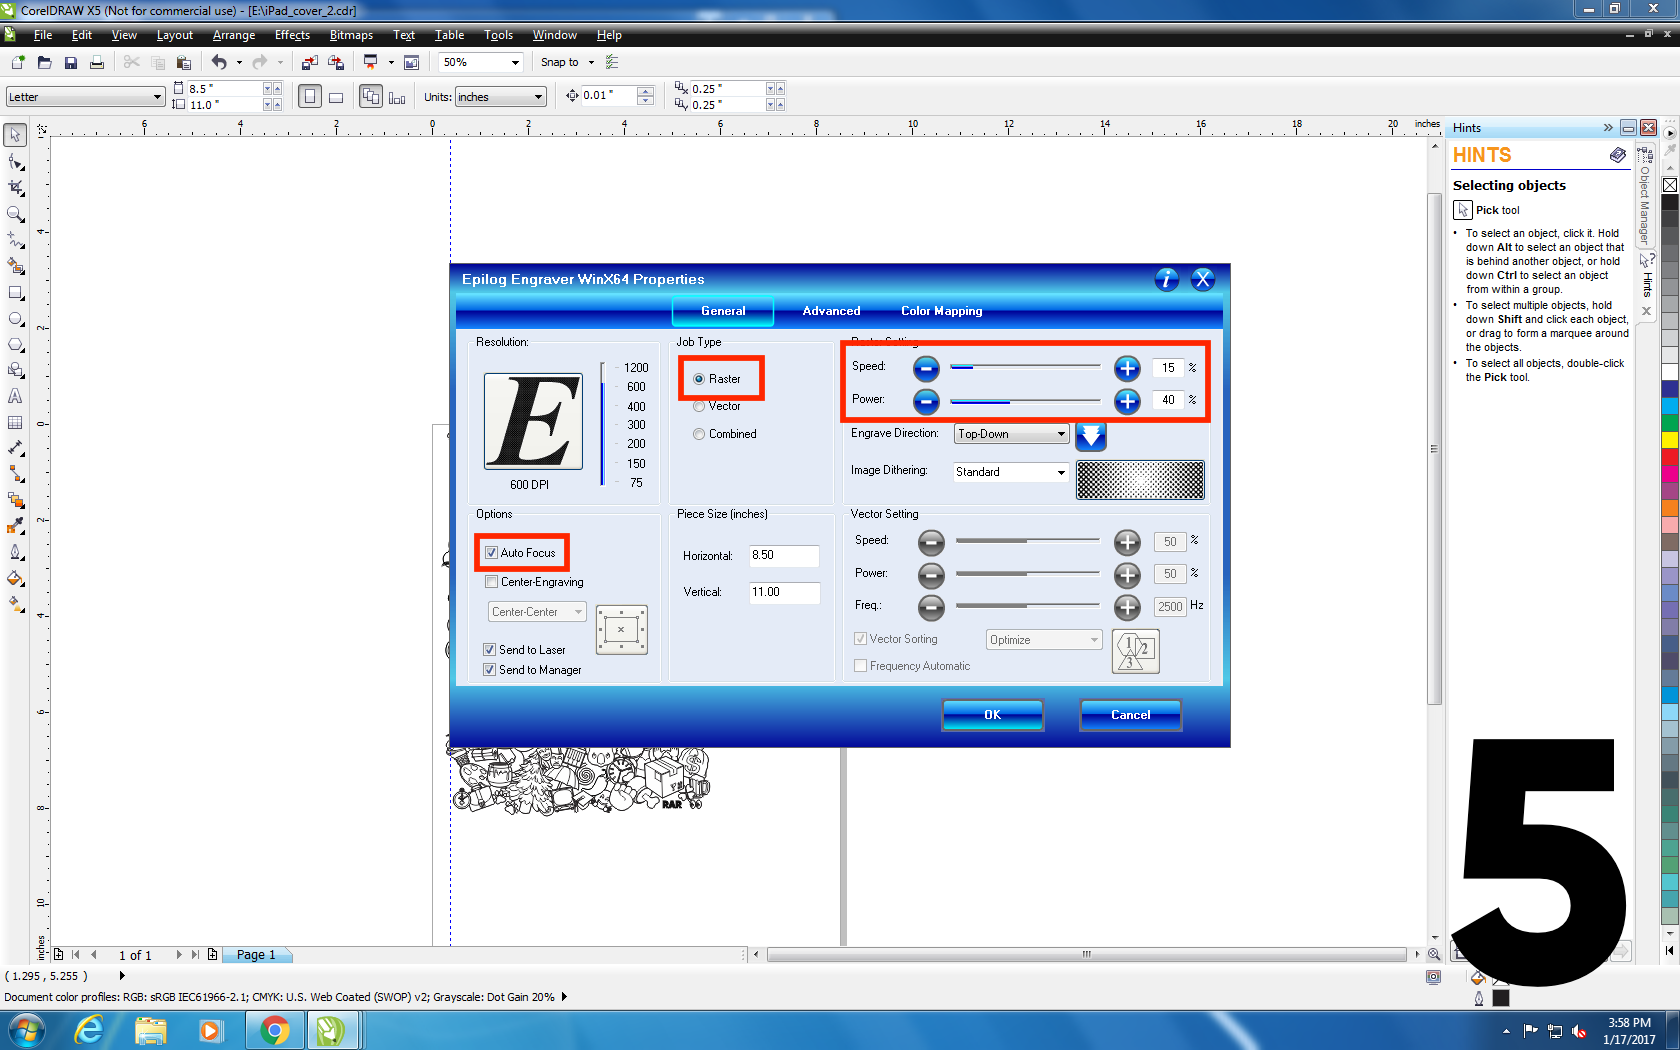
- Job Type: Raster
- Speed: 15%
- Power: 40%
- Options: Auto Focus
- Select 'Ok'
- Select 'Apply'
- Select 'Print'
- Wait.
Tips
- Save yourself time and headache. Use an epilogue laser cutter. Fortunately, I go to a school where there are a lot of laser cutters. Now, it's hard to gain access to them, but I was able to use an Epilogue which made this step a lot easier. Epilogues, from my experience, are much easier to use -- almost a drag, drop, and print kind of simple. I am not being paid to make this promotion, it's just my observation from using a couple of different laser cutters.
- The power and speed settings will vary depending on the material (leather vs polyester) of the smart case and the laser cutter. I was fortunate and had a very old smart cover to test on, this was very helpful in determining the proper power and speed settings. From my experimentation I discovered that if the power was too low the laser would etch but not burn (so you couldn't see the design). We want the case to burn, to give the emojis a dark, visible outline.
- Put a piece of paper down before putting the smart cover onto the printing bed, so prevent the bottom of the case from getting dirty. In my case the printing bed was dark with 'charcoal' from previous prints and that was no combination for a pure white smart cover. Protect your investment :).
- 20% speed might have been a better option the laser slightly burned through the thinner parts of the cover.
- We tested the print on a blank piece of paper with a very lower power setting to make sure the dimensions and the lasers starting origin was correct. A ruined piece of paper is much cheaper than a 40 dollar smart cover!