Tasmota Admin - IIoT Dashboard
by AmruthKumarSala in Circuits > Sensors
5321 Views, 4 Favorites, 0 Comments
Tasmota Admin - IIoT Dashboard
TasmoAdmin is an administrative Website for Devices flashed with Tasmota. You can find it here: TasmoAdmin GitHub. It supports running on Windows, Linux, and Docker containers.
Features
- Login protected
- Multi Update Process
- Select devices to update
- Automatic Modus downloads latest firmware bin from Tasmota GitHub
- Show device information
- Mobile Responsive (Bootstrap4)
- Config devices
- Self Update function for TasmoAdmin (disabled for Docker)
- Night Mode (Enable/Disable/Auto) in settings
- AutoScan to find Tasmota Devices
- Support for multiple sensors
- Chat (beta)
Supplies
Multiple NodeMCUs (ESP8266 IoT devices) with different IoT Sensors and Tasmota burned onto the flash.
Installation & Configuration
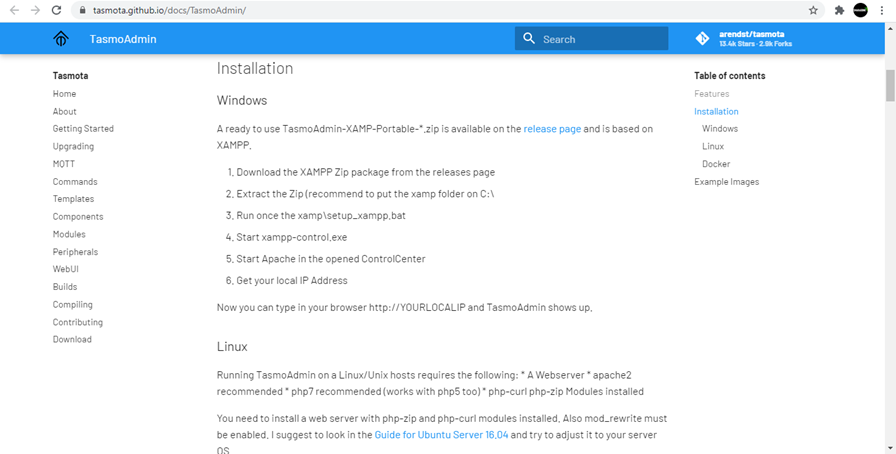
Depending on the OS one can choose to download "Tasmota Admin" from here.
In my case, I am having an MS Windows 10 machine and I chose to download this release.
Step by step instructions can be learned from the screenshot.
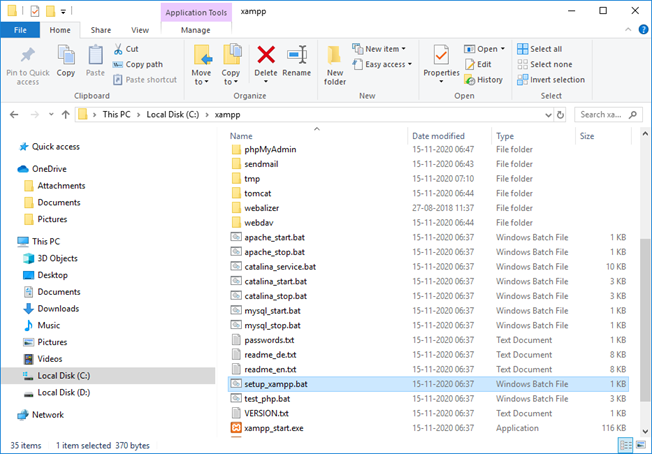
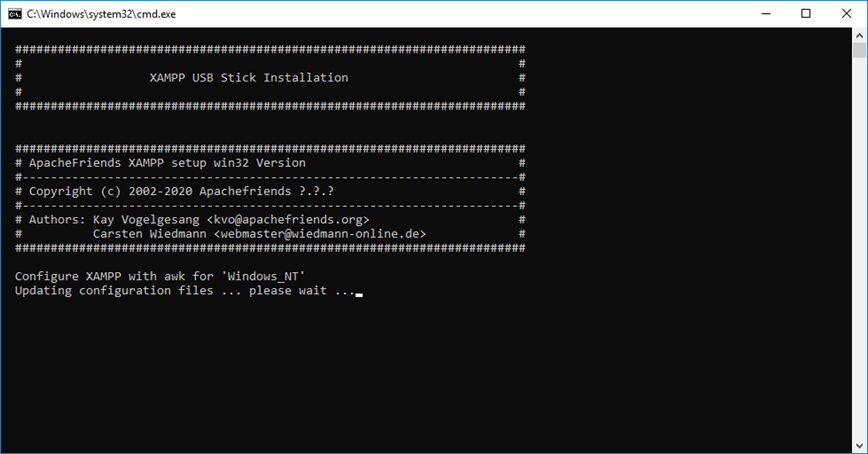
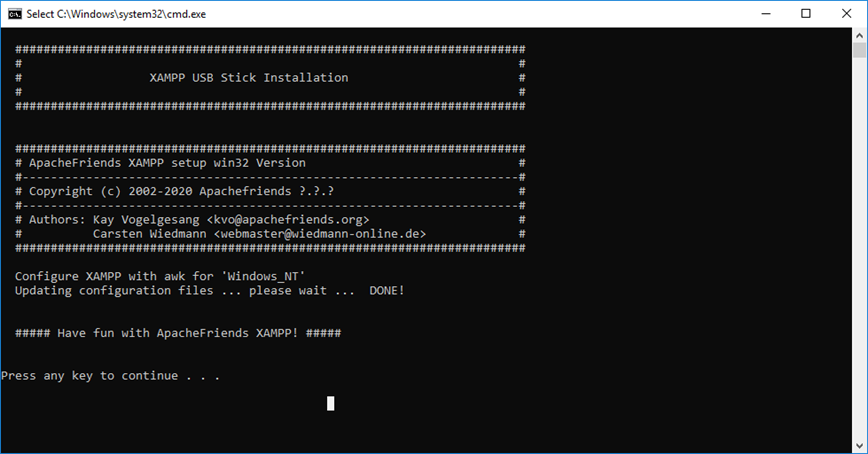
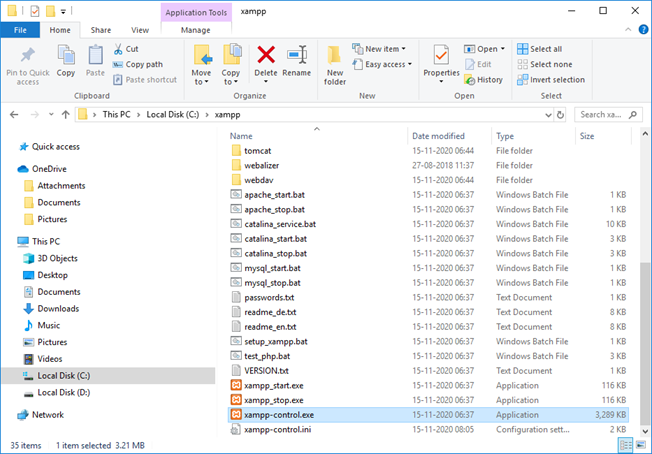
Further to download "tasmoadmin_v1.7.0_xampp_portable.zip", I unzipped the file and have placed it in the "C" drive. Please take necessary help from the attached screenshots to execute the following in sequence:
- setup_xampp.bat
- xampp-control.exe
Login to the Web Console/Dashboard.
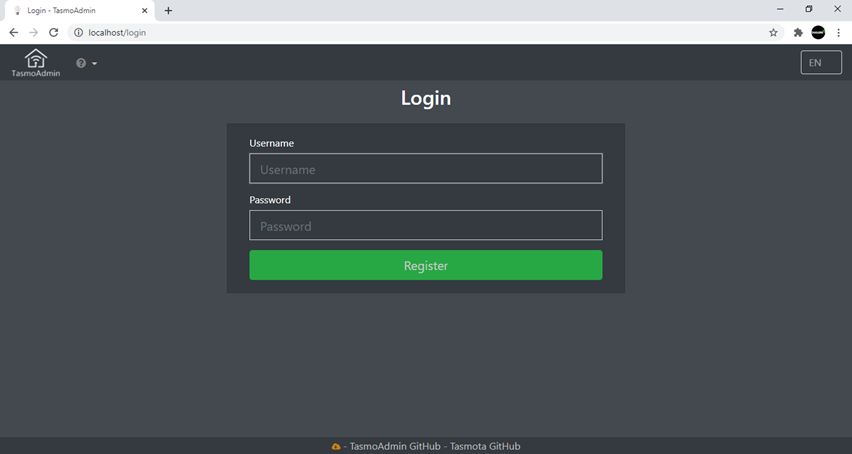
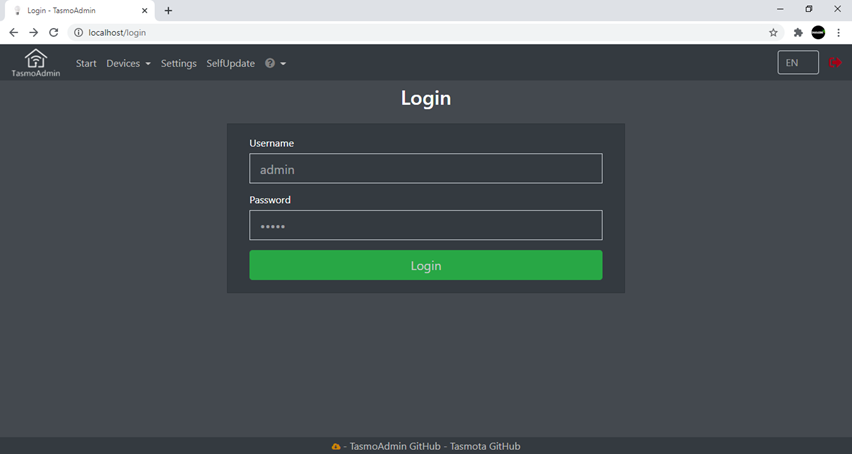
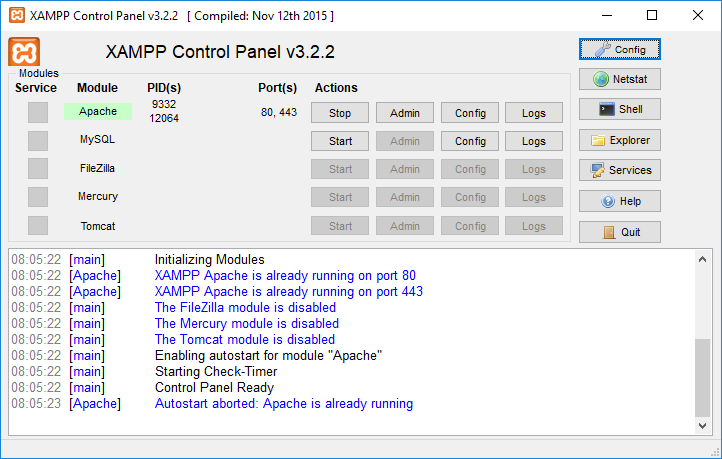
The moment "xampp-control.exe" is executed and "apache" found running on "XAMPP Control Panel", open a web browser and access the localhost (or) enter the IP address of the machine on which the XAMPP is running.
Login to the Web Console using the default user name and password as admin/admin.
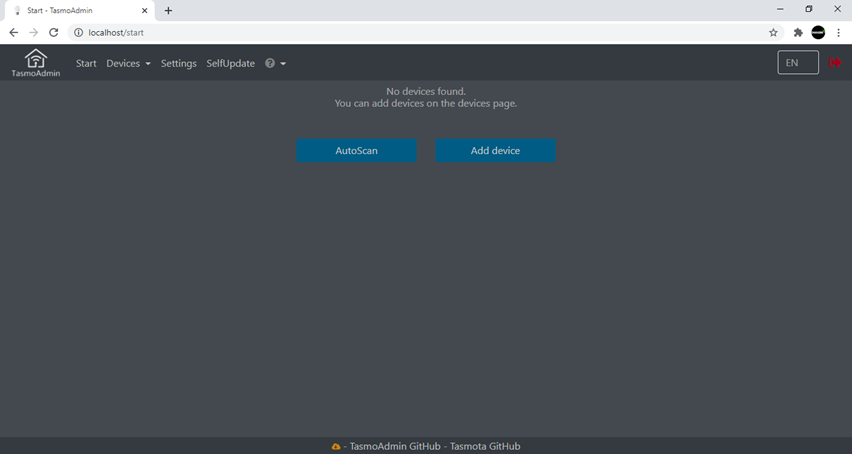
Don't Be in a Hurry to Autoscan With Default Values
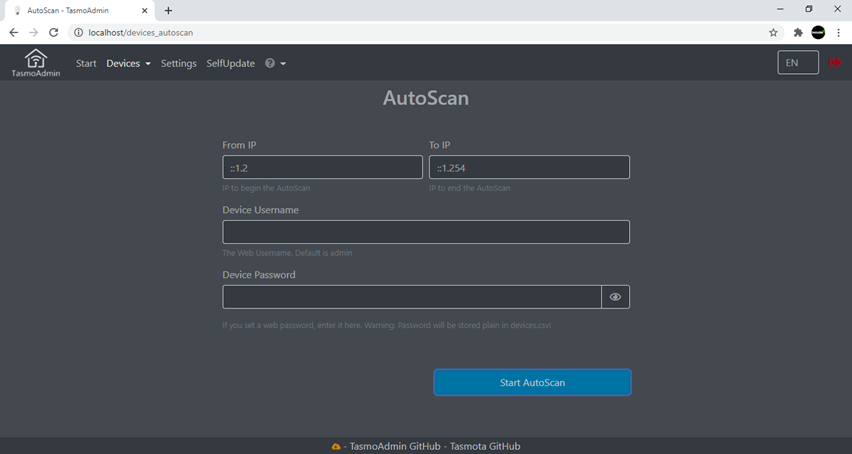
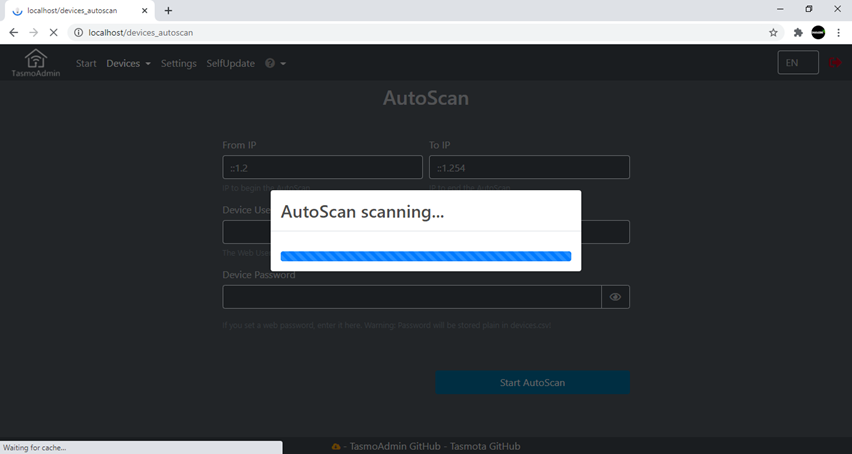
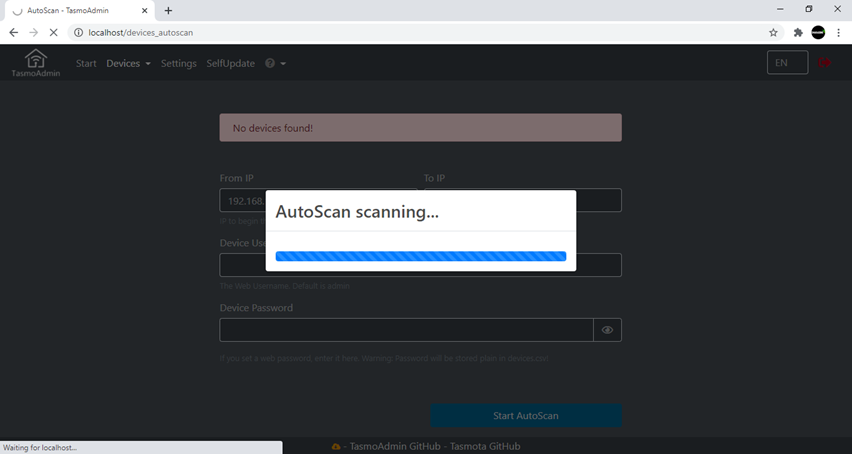

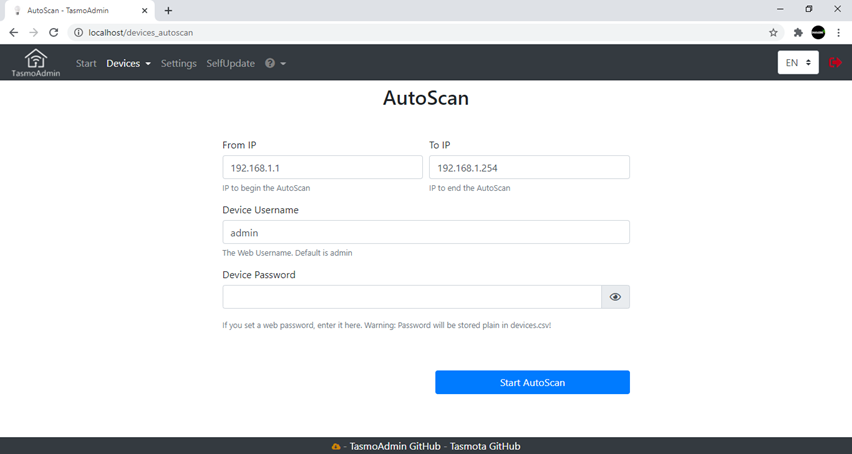
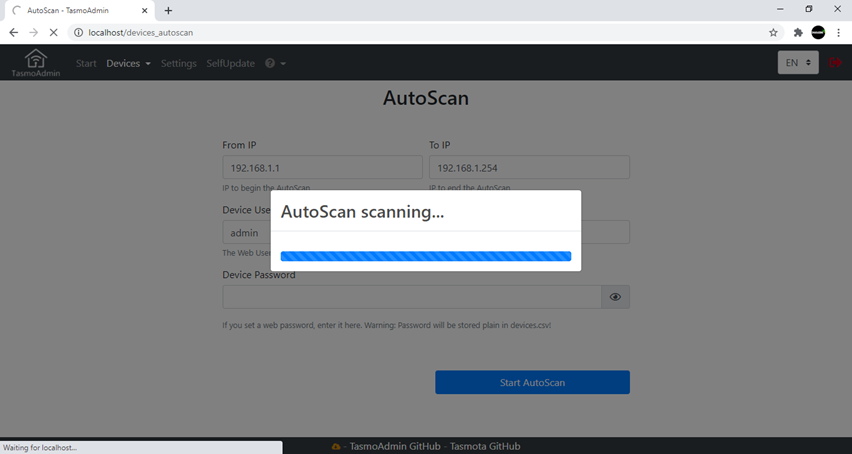
Please note that the web console gives us an option to "Auto Scan" for "ESP8266" devices configured with "Tasmota" firmware.
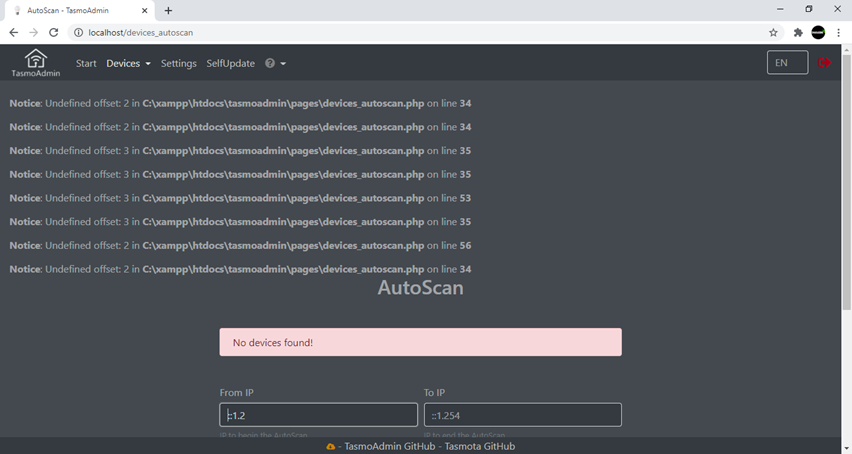
Note: The web console may not give the desired results if we continue to search with default values.
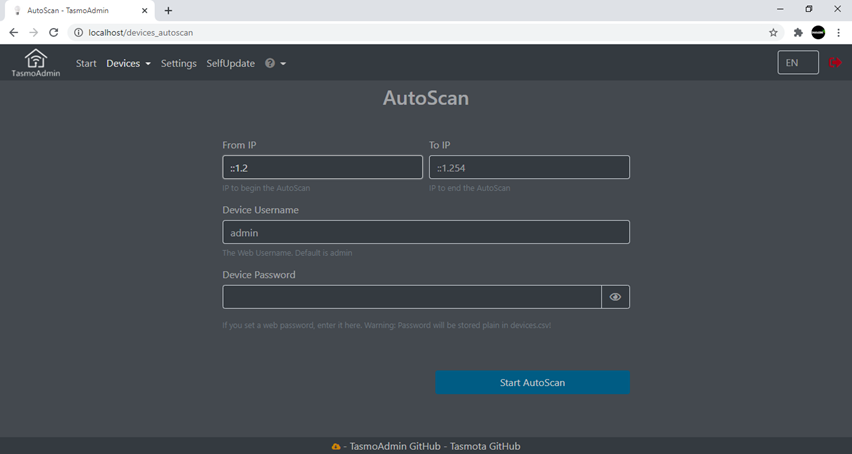
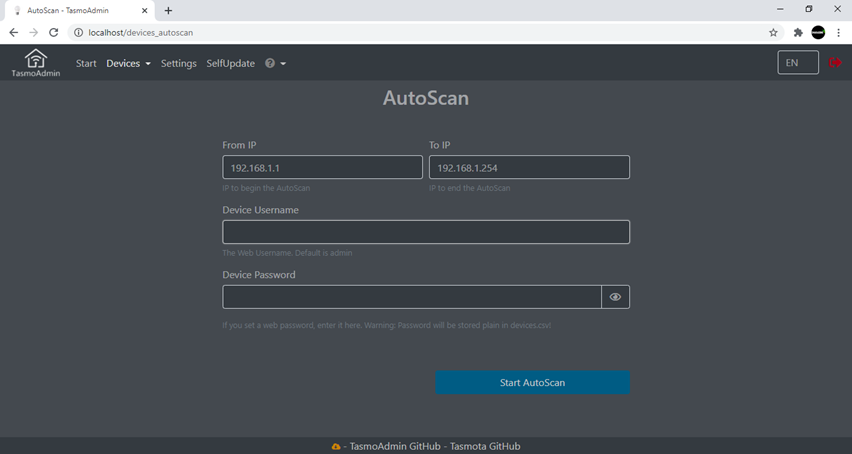
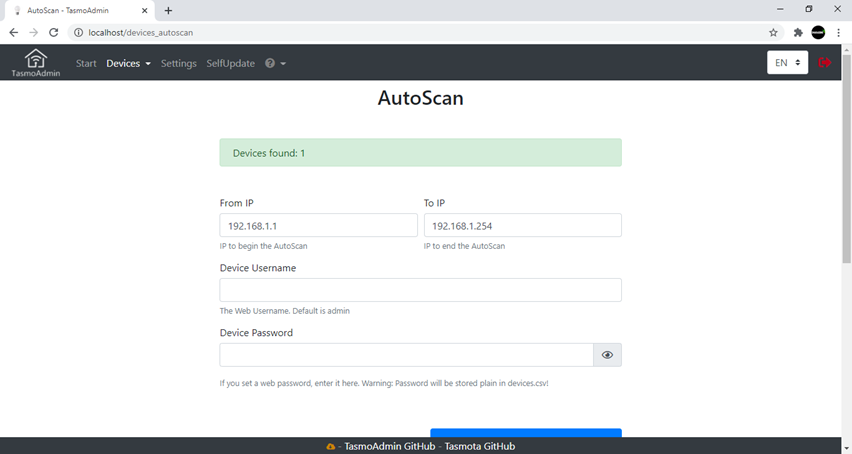
Please take the necessary help from the screenshots and conduct an "Auto Search". I have observed that most of our home wireless networks are on 192.168.1.x and hence the auto search criteria should contain the starting address as 1 and the end address ad 254.
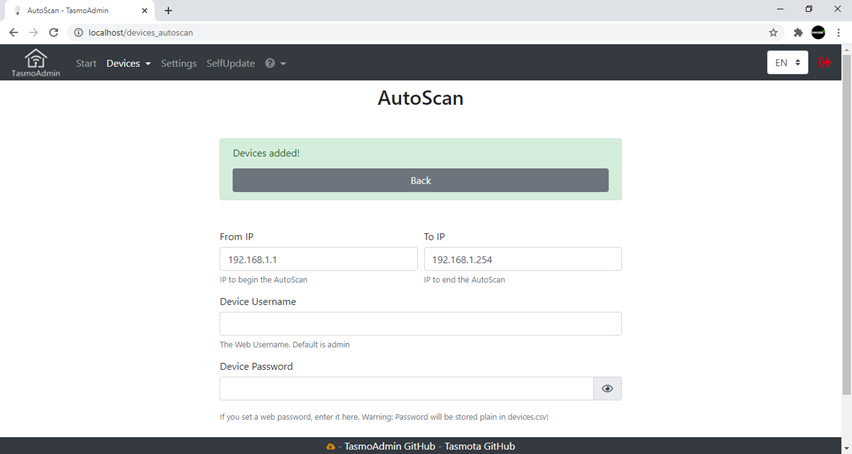
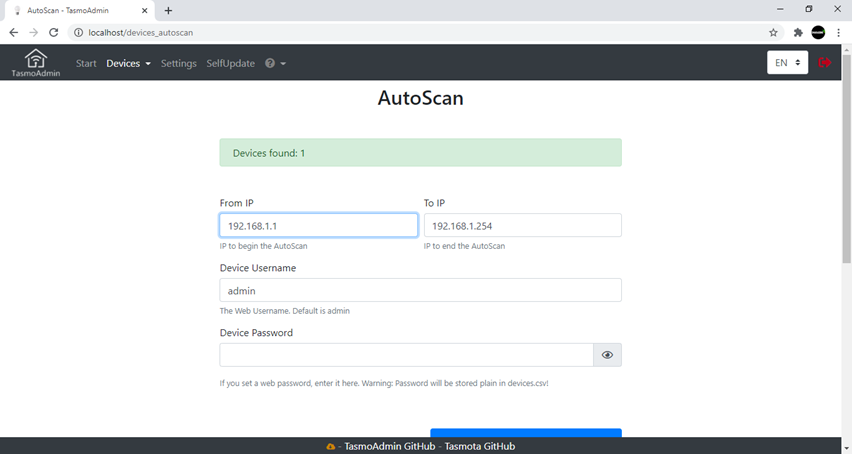
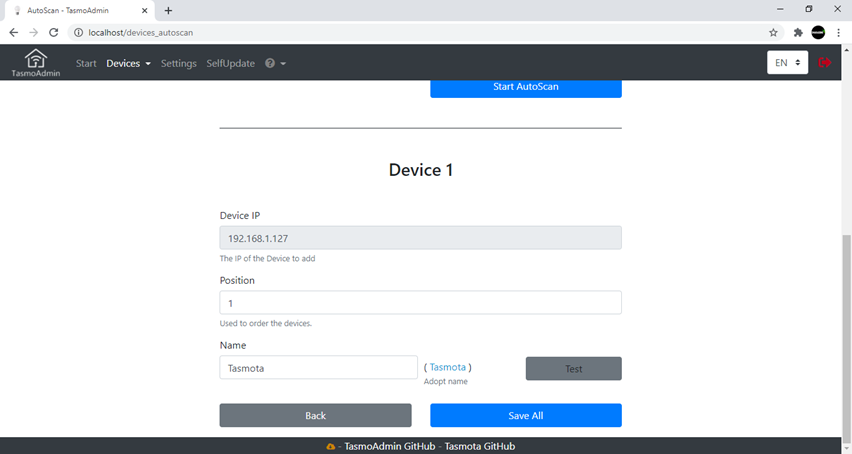
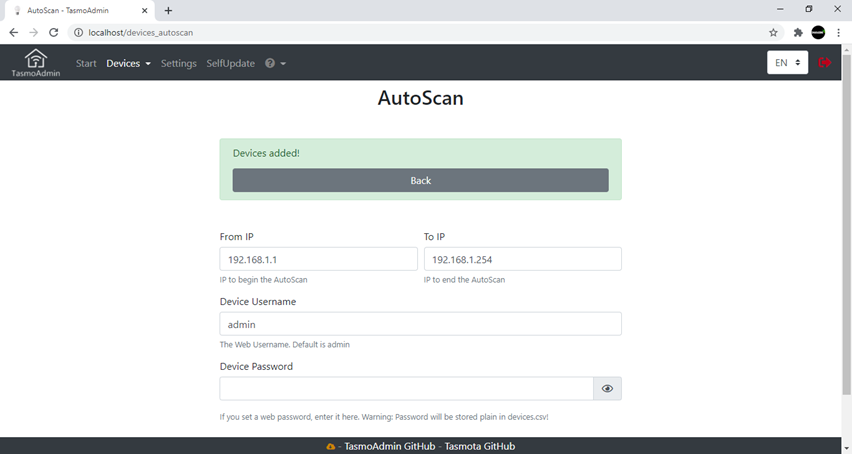
Auto Scan will result in the number of devices found and the IP address of the device found is also displayed. "Save All" to continue with further steps and click on "Back" to navigate to the dashboard where all devices are normally listed.
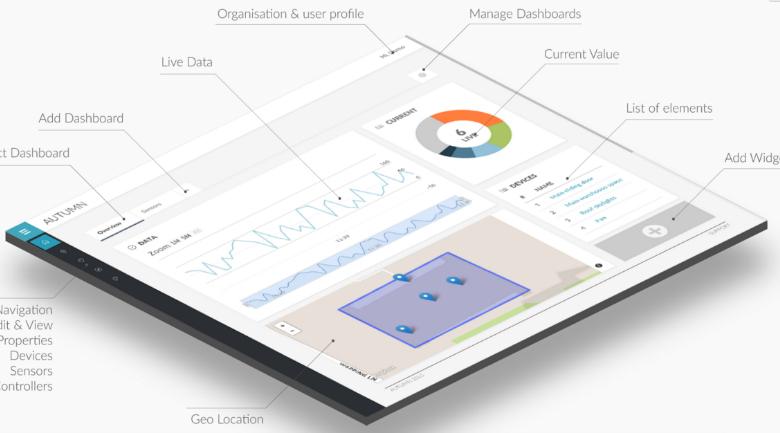
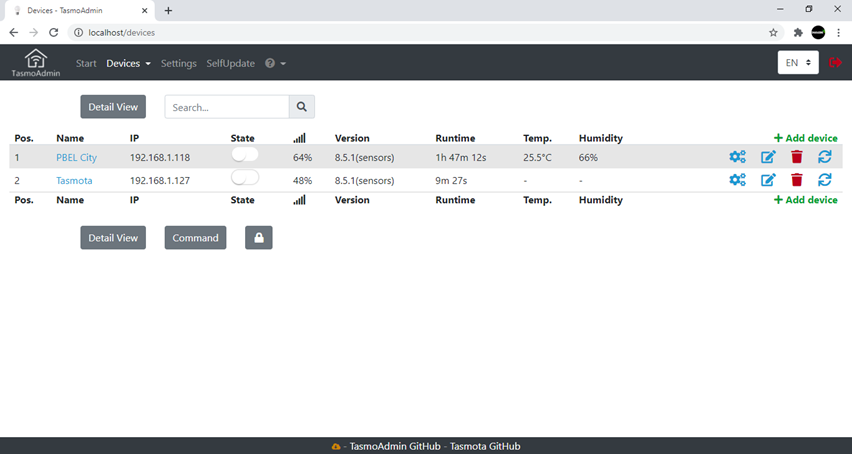
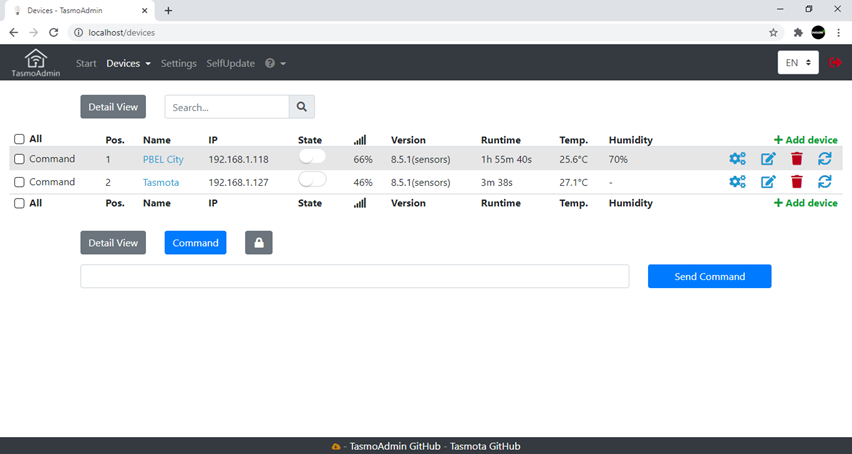
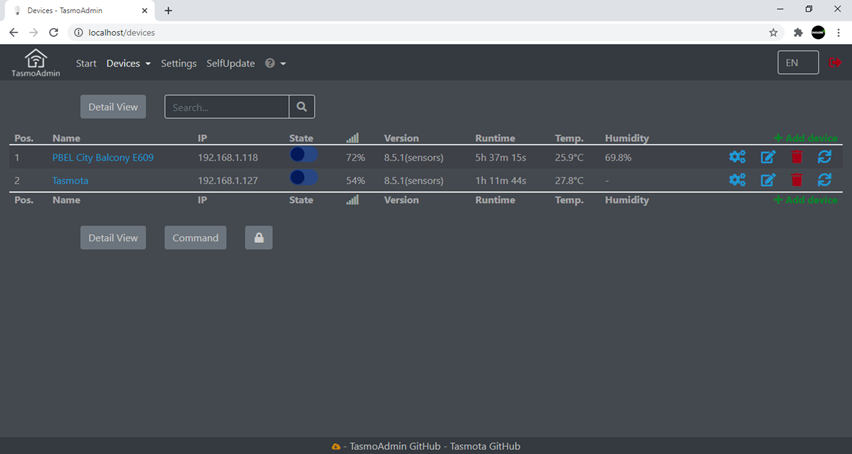
Dashboard With Device Details.
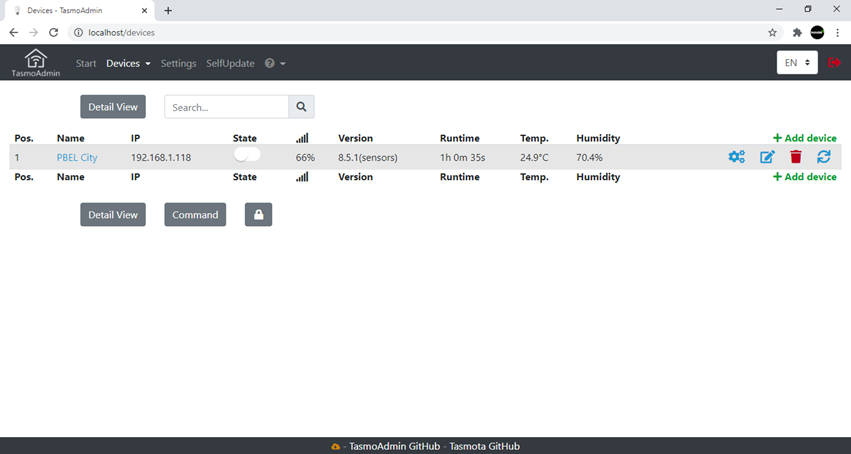
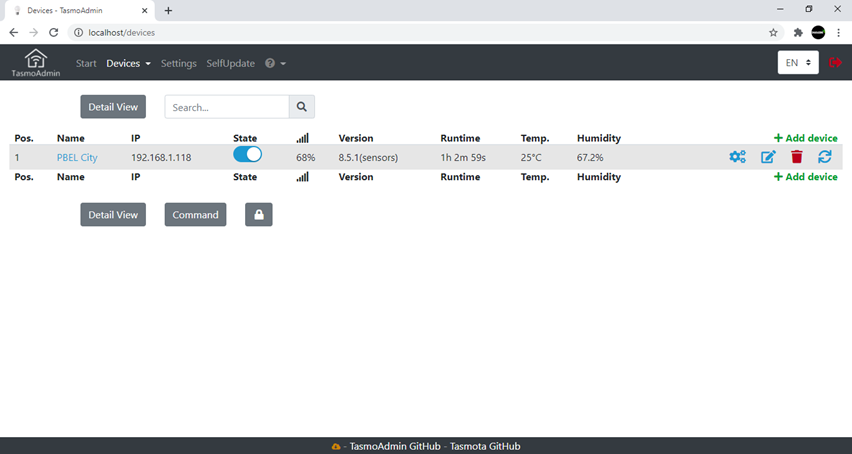
Navigating to the dashboard, one can clearly see the complete information of the device that is recently included.
Following details are displayed:
- Name
- IP address
- State
- RSSI Signal Strength
- Version
- Runtime
- Temperature
- Humidity
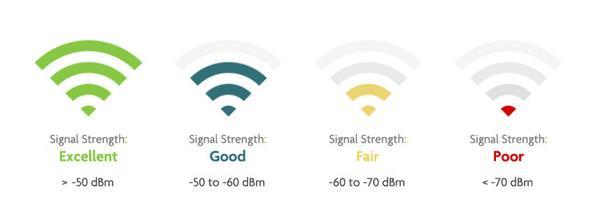
Note: I have connected a Temperature and Humidity sensor and hence parameters 7 & 8 are displayed. You may have something else in this place. RSSI Signal Strength is a significant parameter, and it helps us appropriately place the sensors in the range of local wireless networks. It also helps us understand the need for wireless range extenders.
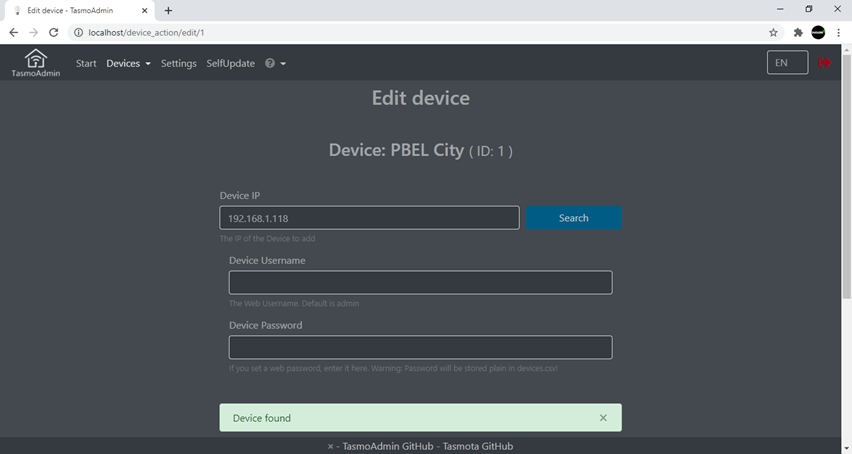
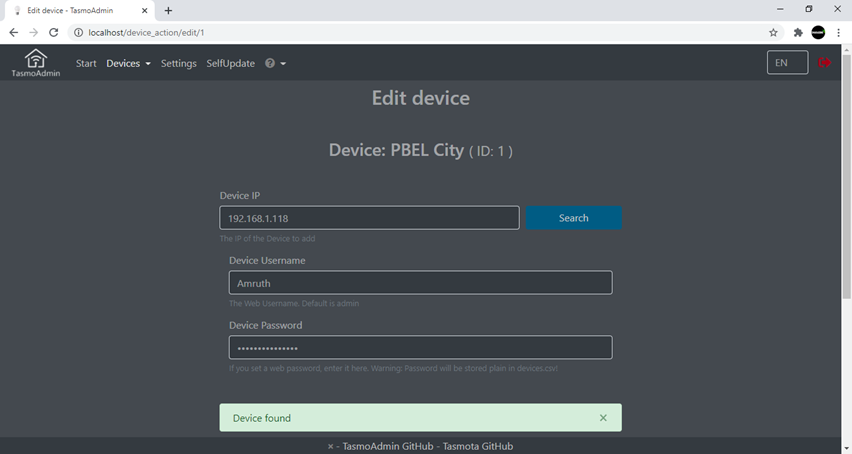
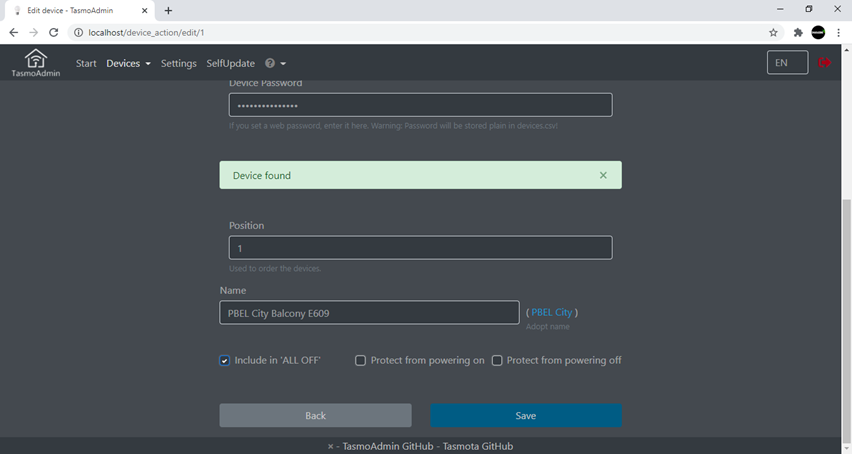
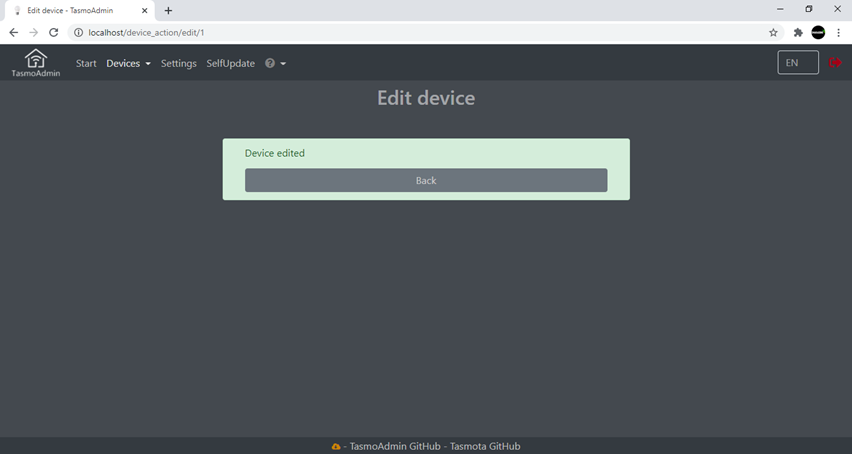
Adding New Devices.

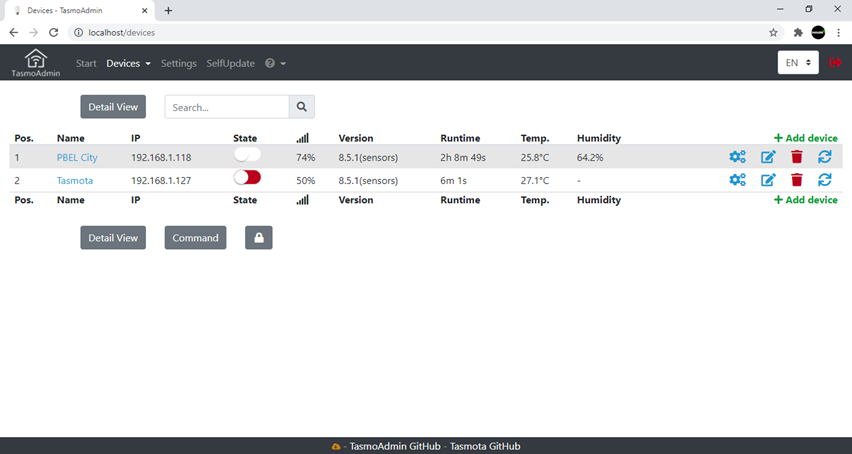
Auto Scan process can be invoked any number of times to search and find new devices that are part of the same wireless network.
A word of caution: Please do not expect the data to be captured as soon as the device is included in the list in the dashboard. You may have to give sufficient time to represent the data captured and shared to the dashboard via MQTT.
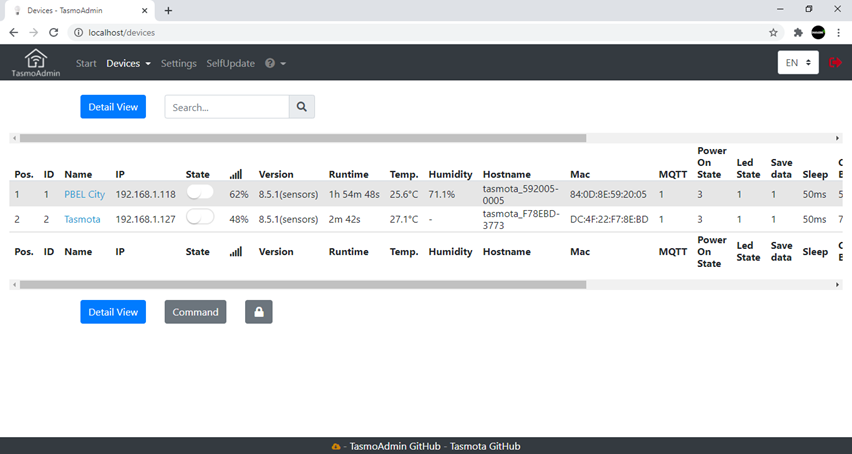
"Detail View" gives more insights into the device that you may wish to have.
Note: A few sensors may have a few parameters and the dashboard displays only the information that is shared by the sensors, a blank space under a column does not necessarily suggest that the sensor is not working to its capabilities. In my case, I made use of AM2301 and DS18b20. AM2301 captures both temperature and humidity, whereas DS18b20 displays only temperature. Please take the necessary help from the datasheets of sensors that are connected to your ESP8266 IoT boards.
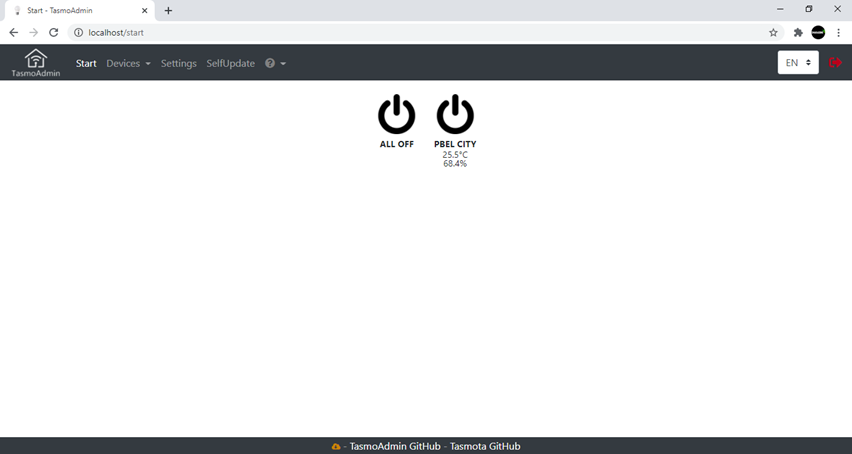
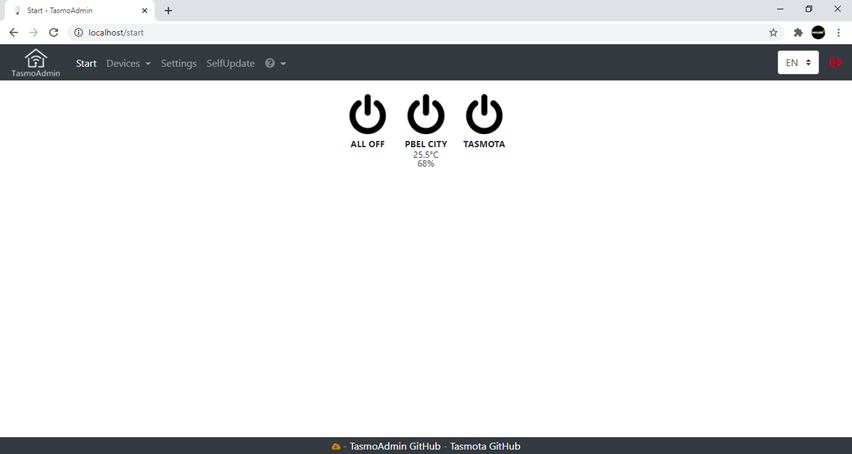
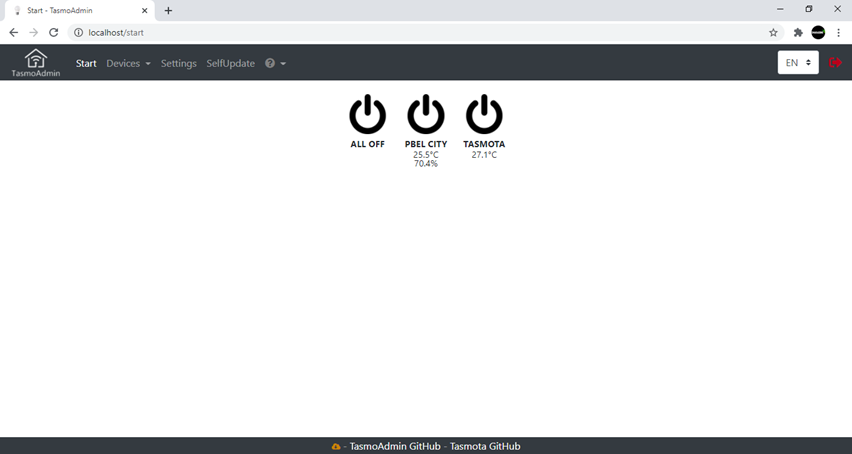
Different Dashboard Options.
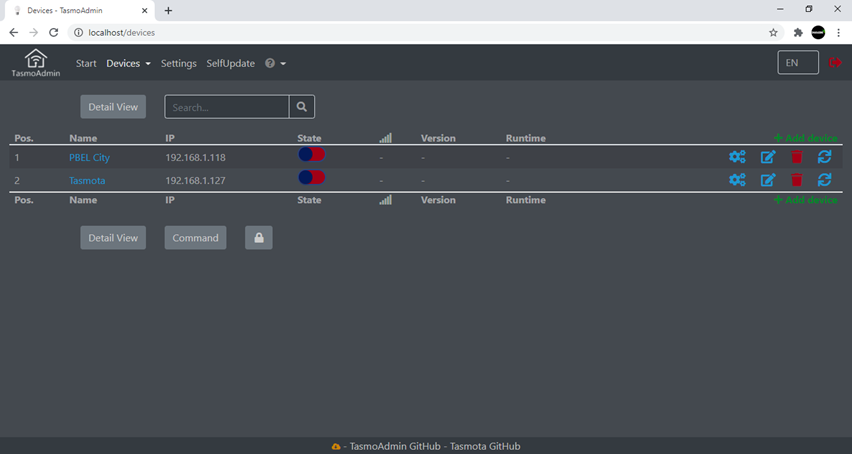
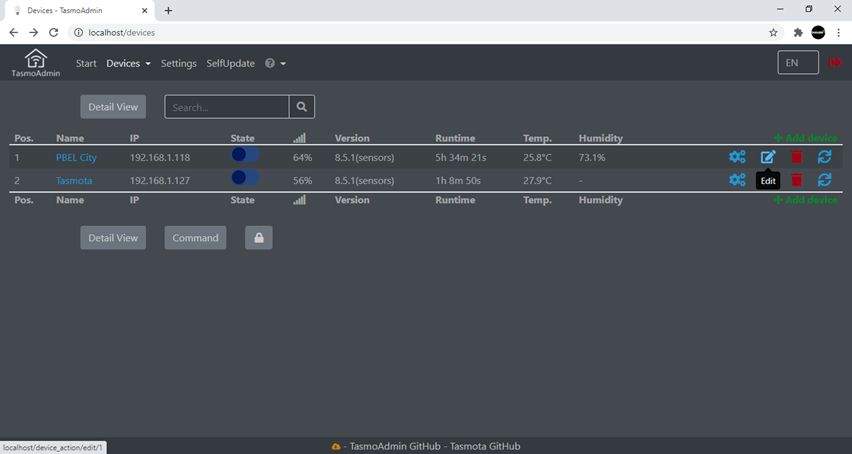

There are many options that can be explored.
A few sample screenshots will help you understand the different options we have to manage the devices most appropriately.