TaskAPI, ¡Keep Control of Your Tasks and Hit!
by SebastianReinaDSD in Circuits > Raspberry Pi
162 Views, 1 Favorites, 0 Comments
TaskAPI, ¡Keep Control of Your Tasks and Hit!
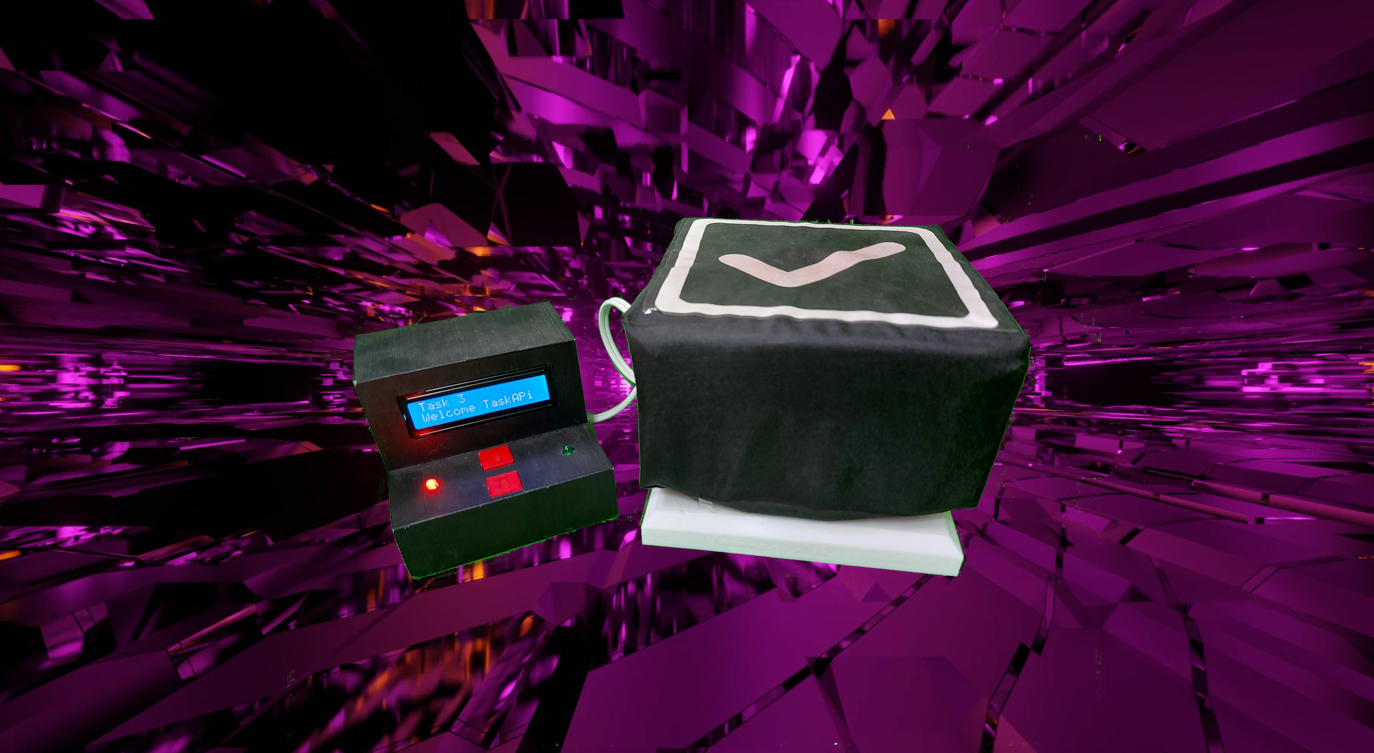
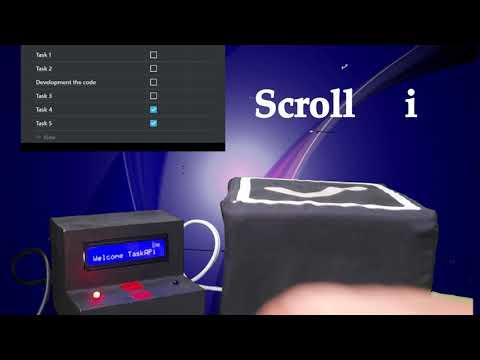
With the incorporation of the "Notion" API, many people implement it in their organization programs, mostly in software programs, such as google calendar, discord, telegram, etc. We wanted to implement this API with the Hardware of Raspberry Pi, and create one project that involucred the two camp (Software and Hardware)
Supplies
- Universal Bakelite:https://www.amazon.com/3-1x4-7-prototipo-universal-soldadura-proyectos/dp/B09987DRQB/ref=sr_1_1_sspa?__mk_es_US=%C3%85M%C3%85%C5%BD%C3%95%C3%91&dchild=1&keywords=universal+pcb&qid=1632766018&sr=8-1-spons&psc=1&spLa=ZW5jcnlwdGVkUXVhbGlmaWVyPUEyRlJZMDdIUUg5OU40JmVuY3J5cHRlZElkPUEwOTQyMjI0MVFUQ0ZZVUE4QzVWSiZlbmNyeXB0ZWRBZElkPUEwNzc5ODYwMjg2TzNPRkYzNEM1JndpZGdldE5hbWU9c3BfYXRmJmFjdGlvbj1jbGlja1JlZGlyZWN0JmRvTm90TG9nQ2xpY2s9dHJ1ZQ==
- End of career
- Led´s
- Push Button
- Paper transfer:https://www.amazon.com/-/es/Inkjet-Premium-Transfers-8-5x11-PPD004-20/dp/B000W4DR3G/ref=sr_1_5?__mk_es_US=%C3%85M%C3%85%C5%BD%C3%95%C3%91&crid=145KKRJCQODO3&dchild=1&keywords=paper+transfer+for+shirts&qid=1632766280&sprefix=paper+trans%2Caps%2C240&sr=8-5
- Fabric
- Foam
- Painting acrylic
- Cables
Idea
PCB
In the project is possible use of universal bakelite for building the circuit with the respective periferics.
Micro-controller
Also, for the microcontroller we used the RaspBerry Pi ZeroW, this card is an excellent option, because it counts with communication by internet and the ports GPIO necessaries for the connection.
End of career
For the push or hit that recibe the dispositive when is ended a task.
LED’S
The Led´s is an indicator of which task is completed or not.
Push Buttons
For browsing in the menu, that has the application. This browse is for up or down tasks.
LCD (I2C)
The screen is for visualice the task in real time . The screen is a LCD 16x2 with protocol I2C.
Fabric and foam
Tha fabric is to cubre the foam that this with the end of career, for can hit him.
Printers 3D
The printouts 3D is the final design of the product, where all components of the project.
Jumpers and connections
These jumpers and connectors are for realizing the connections between components.
Logic of Programming
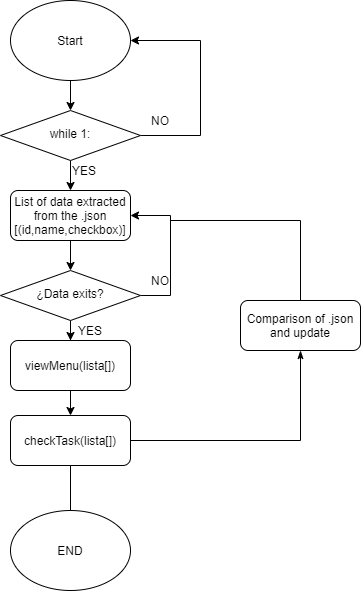
To start what we will do on the RaspBerryPi, install the Raspian operating system, then follow the tutorial below.
https://www.youtube.com/watch?v=O_0w5EvEmD4&t=251s
After having the operating system, we will install with the following commands the libraries that we require for the operation of the project.
pip3 install requests
Then you must install or clone the following GIT repository, where the entire project is located, in the code there are functions both for linking to the Notion API and for reading buttons and actuators operation.
https://github.com/SebastianReinaDSD/TaskAPI
The pseudocode is shown below:
It is important to keep in mind that when you generate the integration in Notion it gives you a secret token, you must modify it in line 8, and your database also has an ID, you must put it in line 9.
Already having cleared this step you can move on to the next one.
Printers 3D
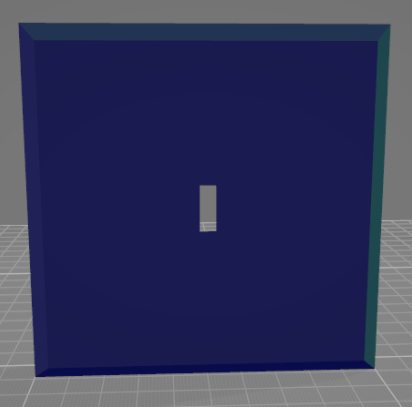
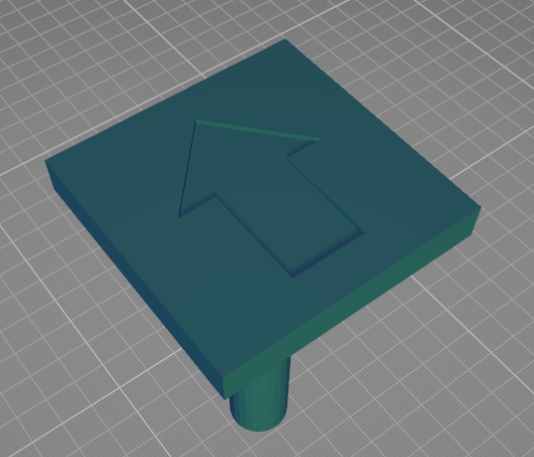
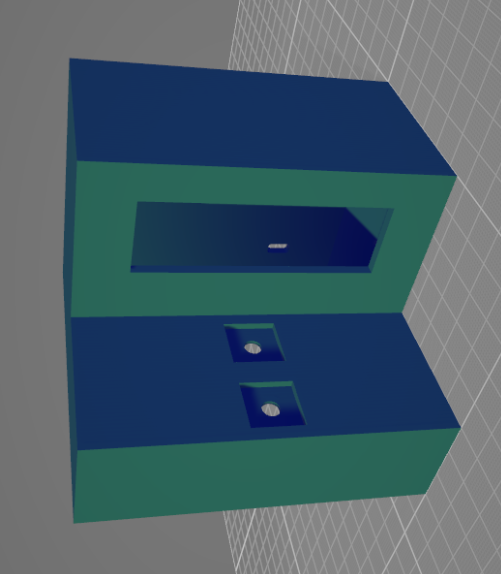
For the files to be printed it is necessary to take into account that as it is a type of box it is necessary to add the necessary supports so that it looks the best, and for the base of the button there is also a 3D design.
The .STL files are below:
Design of PCB
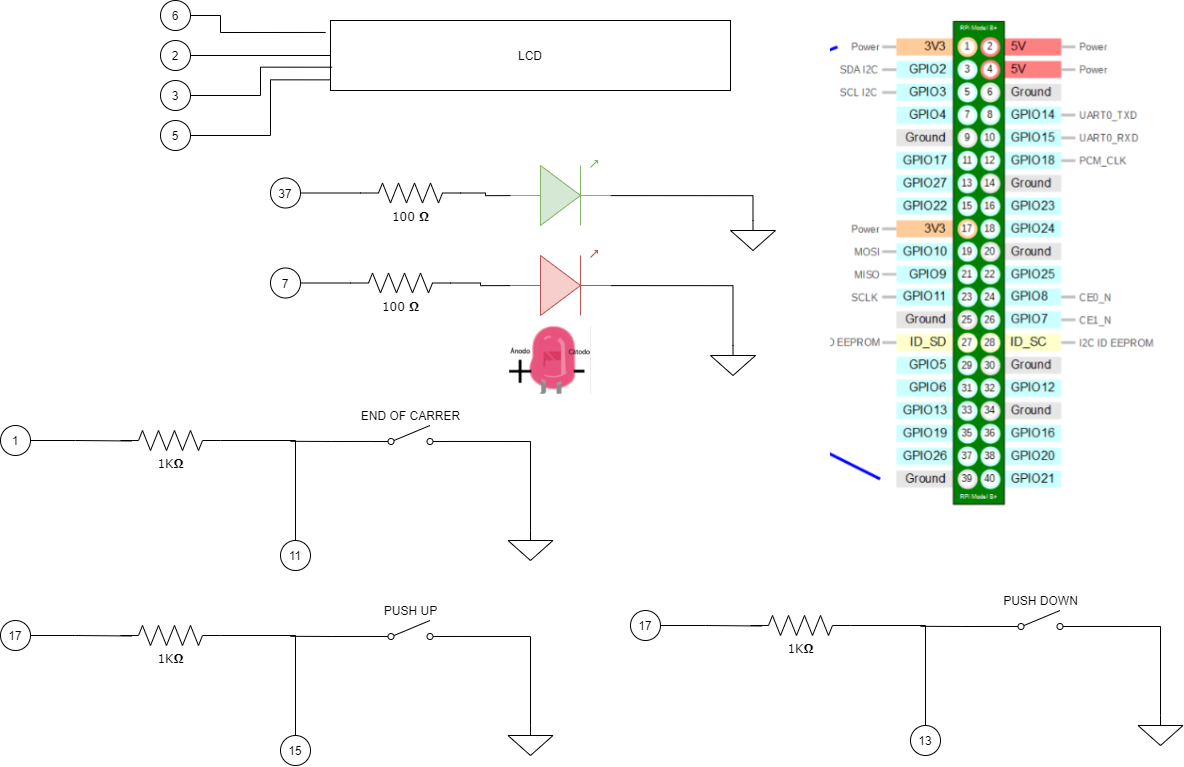
For this design it is important to take into account the measures that have our 3D prints, then go putting the components and make the routes to have the connections correctly. For this, the following is the connection diagram:
After having everything correctly go to the next step.
Integrate
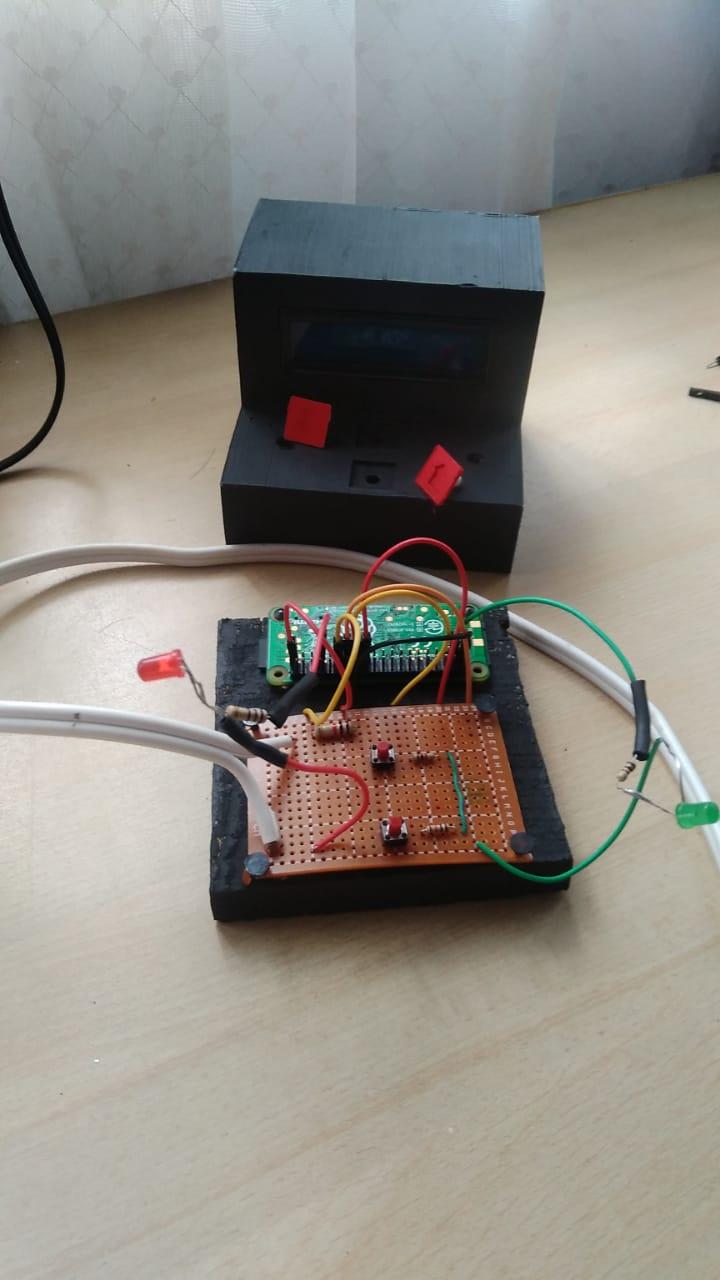
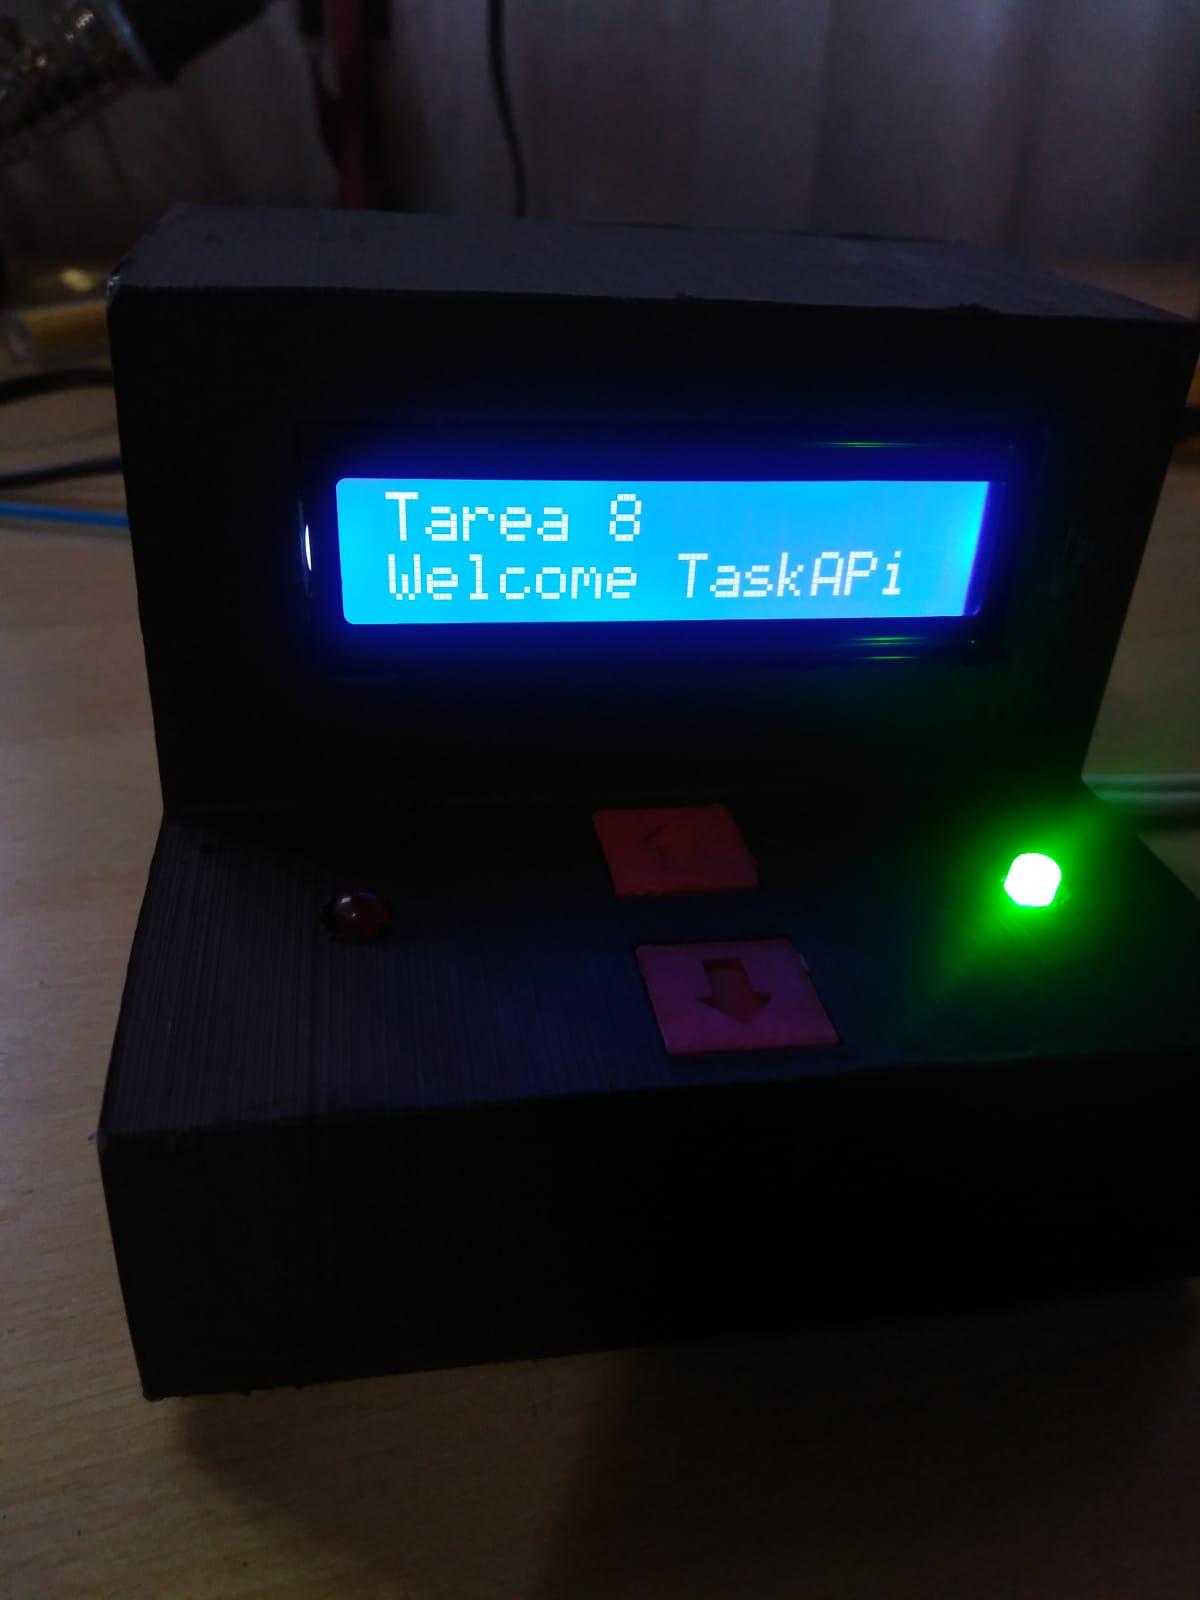
To integrate it you can paint your 3D parts with the color you want, then insert your PCB and screw it to the base of the box and insert component by component in their respective positions.
Gigant Button
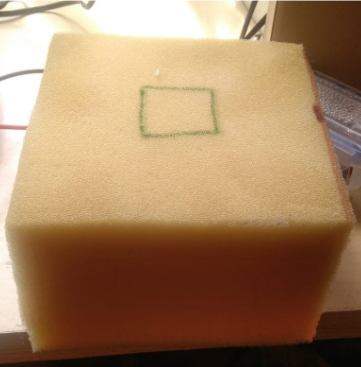
For the giant button it is necessary that the foam is large, then for it to make contact with the end of the stroke when it is pressed, it is necessary to cut out the area shown below, so that when it is pressed the button is actuated and the task is checked.
Button Print
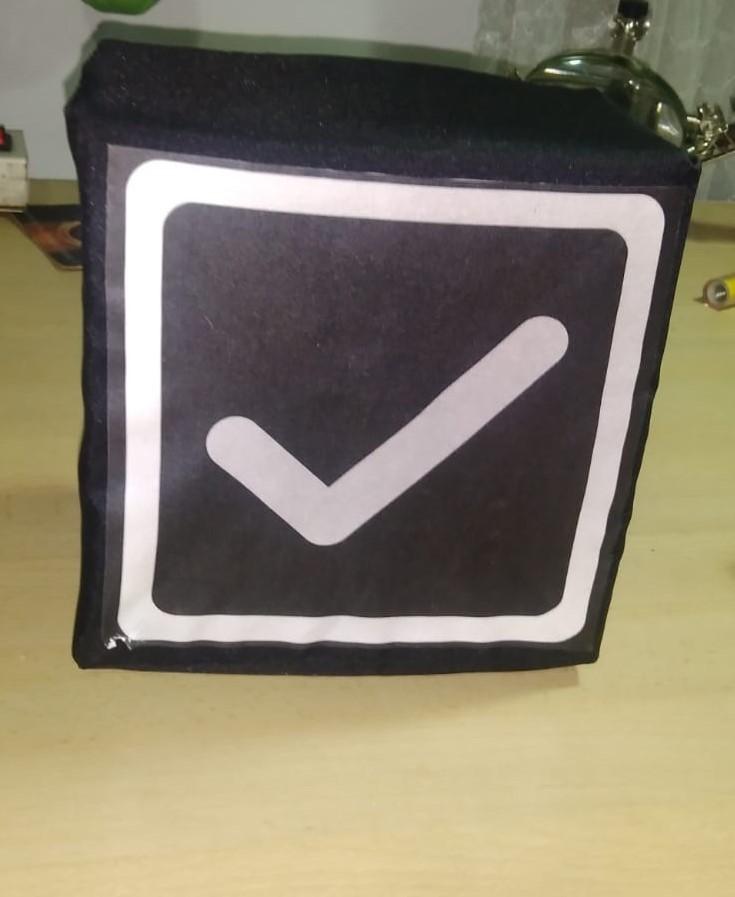
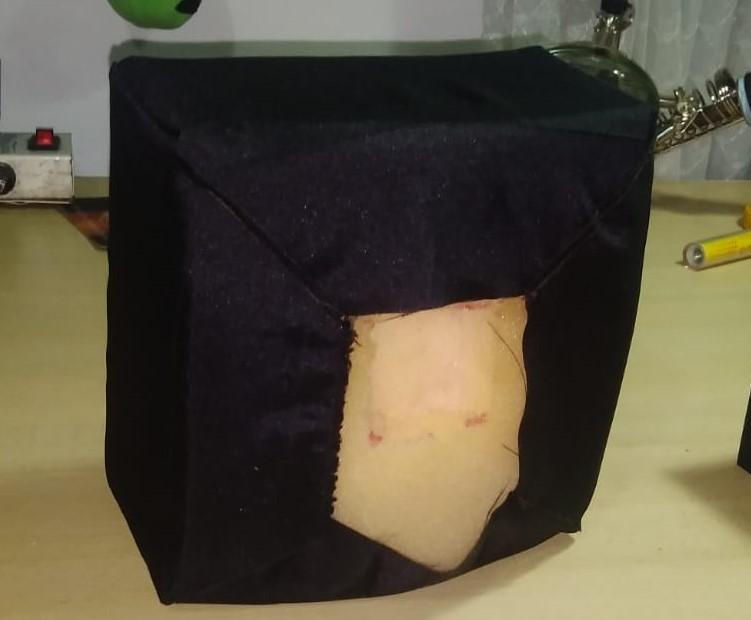
For the process of stamping on the fabric of the button is necessary to make a kind of cube with the measures of the foam, then with the following PDF(LINK) is printed in black and white on the transferable sheet, this process is very important, then remove the sticker from the transferable paper and with an iron is attached to the fabric that was cut taking into account the place where the blow should be given to complete tasks, after making this process should be glued fabric to the foam, or embroider the fabric with thread or staples, the way you see more convenient. And this is glued to the base where the end of the stroke is located.
Final Test
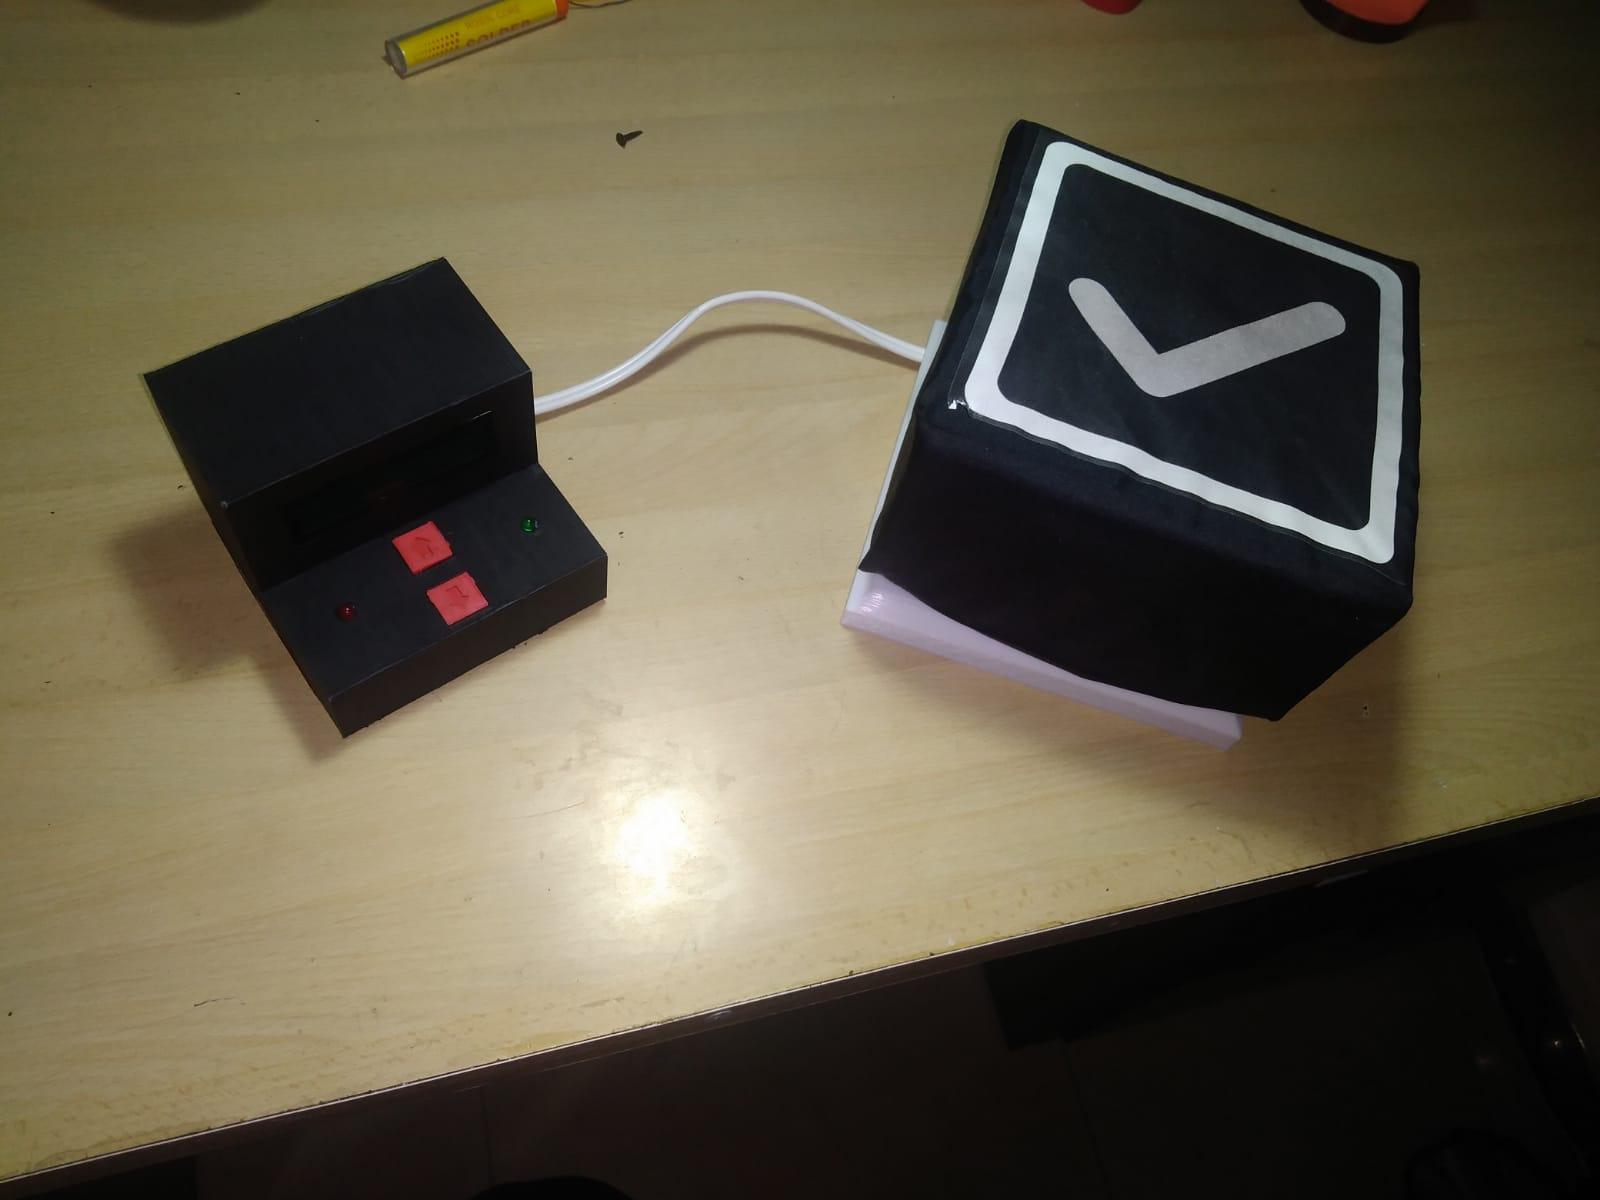
Once the whole process is finished and all the steps are completed, it is necessary to power the Raspberry PI and then from Putty or MobaXterm connect to the raspberry, and where the file all.py is, run it and it should work correctly.
To run it you must use the command
python3 all.py