Tangible Frogger
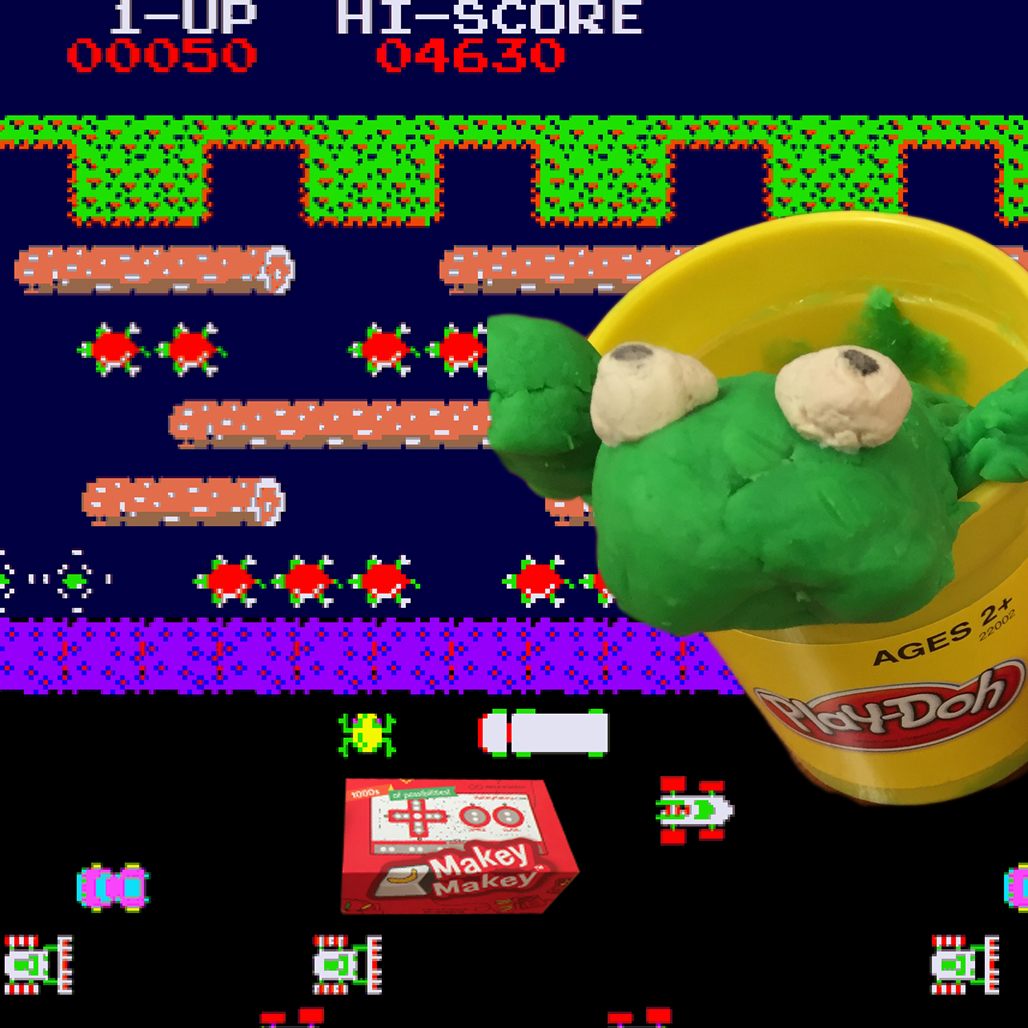
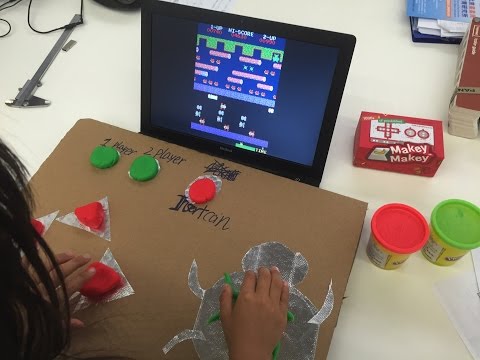
This instructable shows how we made a tangible Frogger arcade game using Play-Doh and silver tape to wire up a Makey Makey circuit.
Makey Makey is a USB interface that can be programmed to map to different keyboard controls.
The game is set up on Mame running on a Late 2006 13” Macbook. 10 years old. Still going strong!
With the same process you can make fun controls for lots of different games.
Build the Control Panel
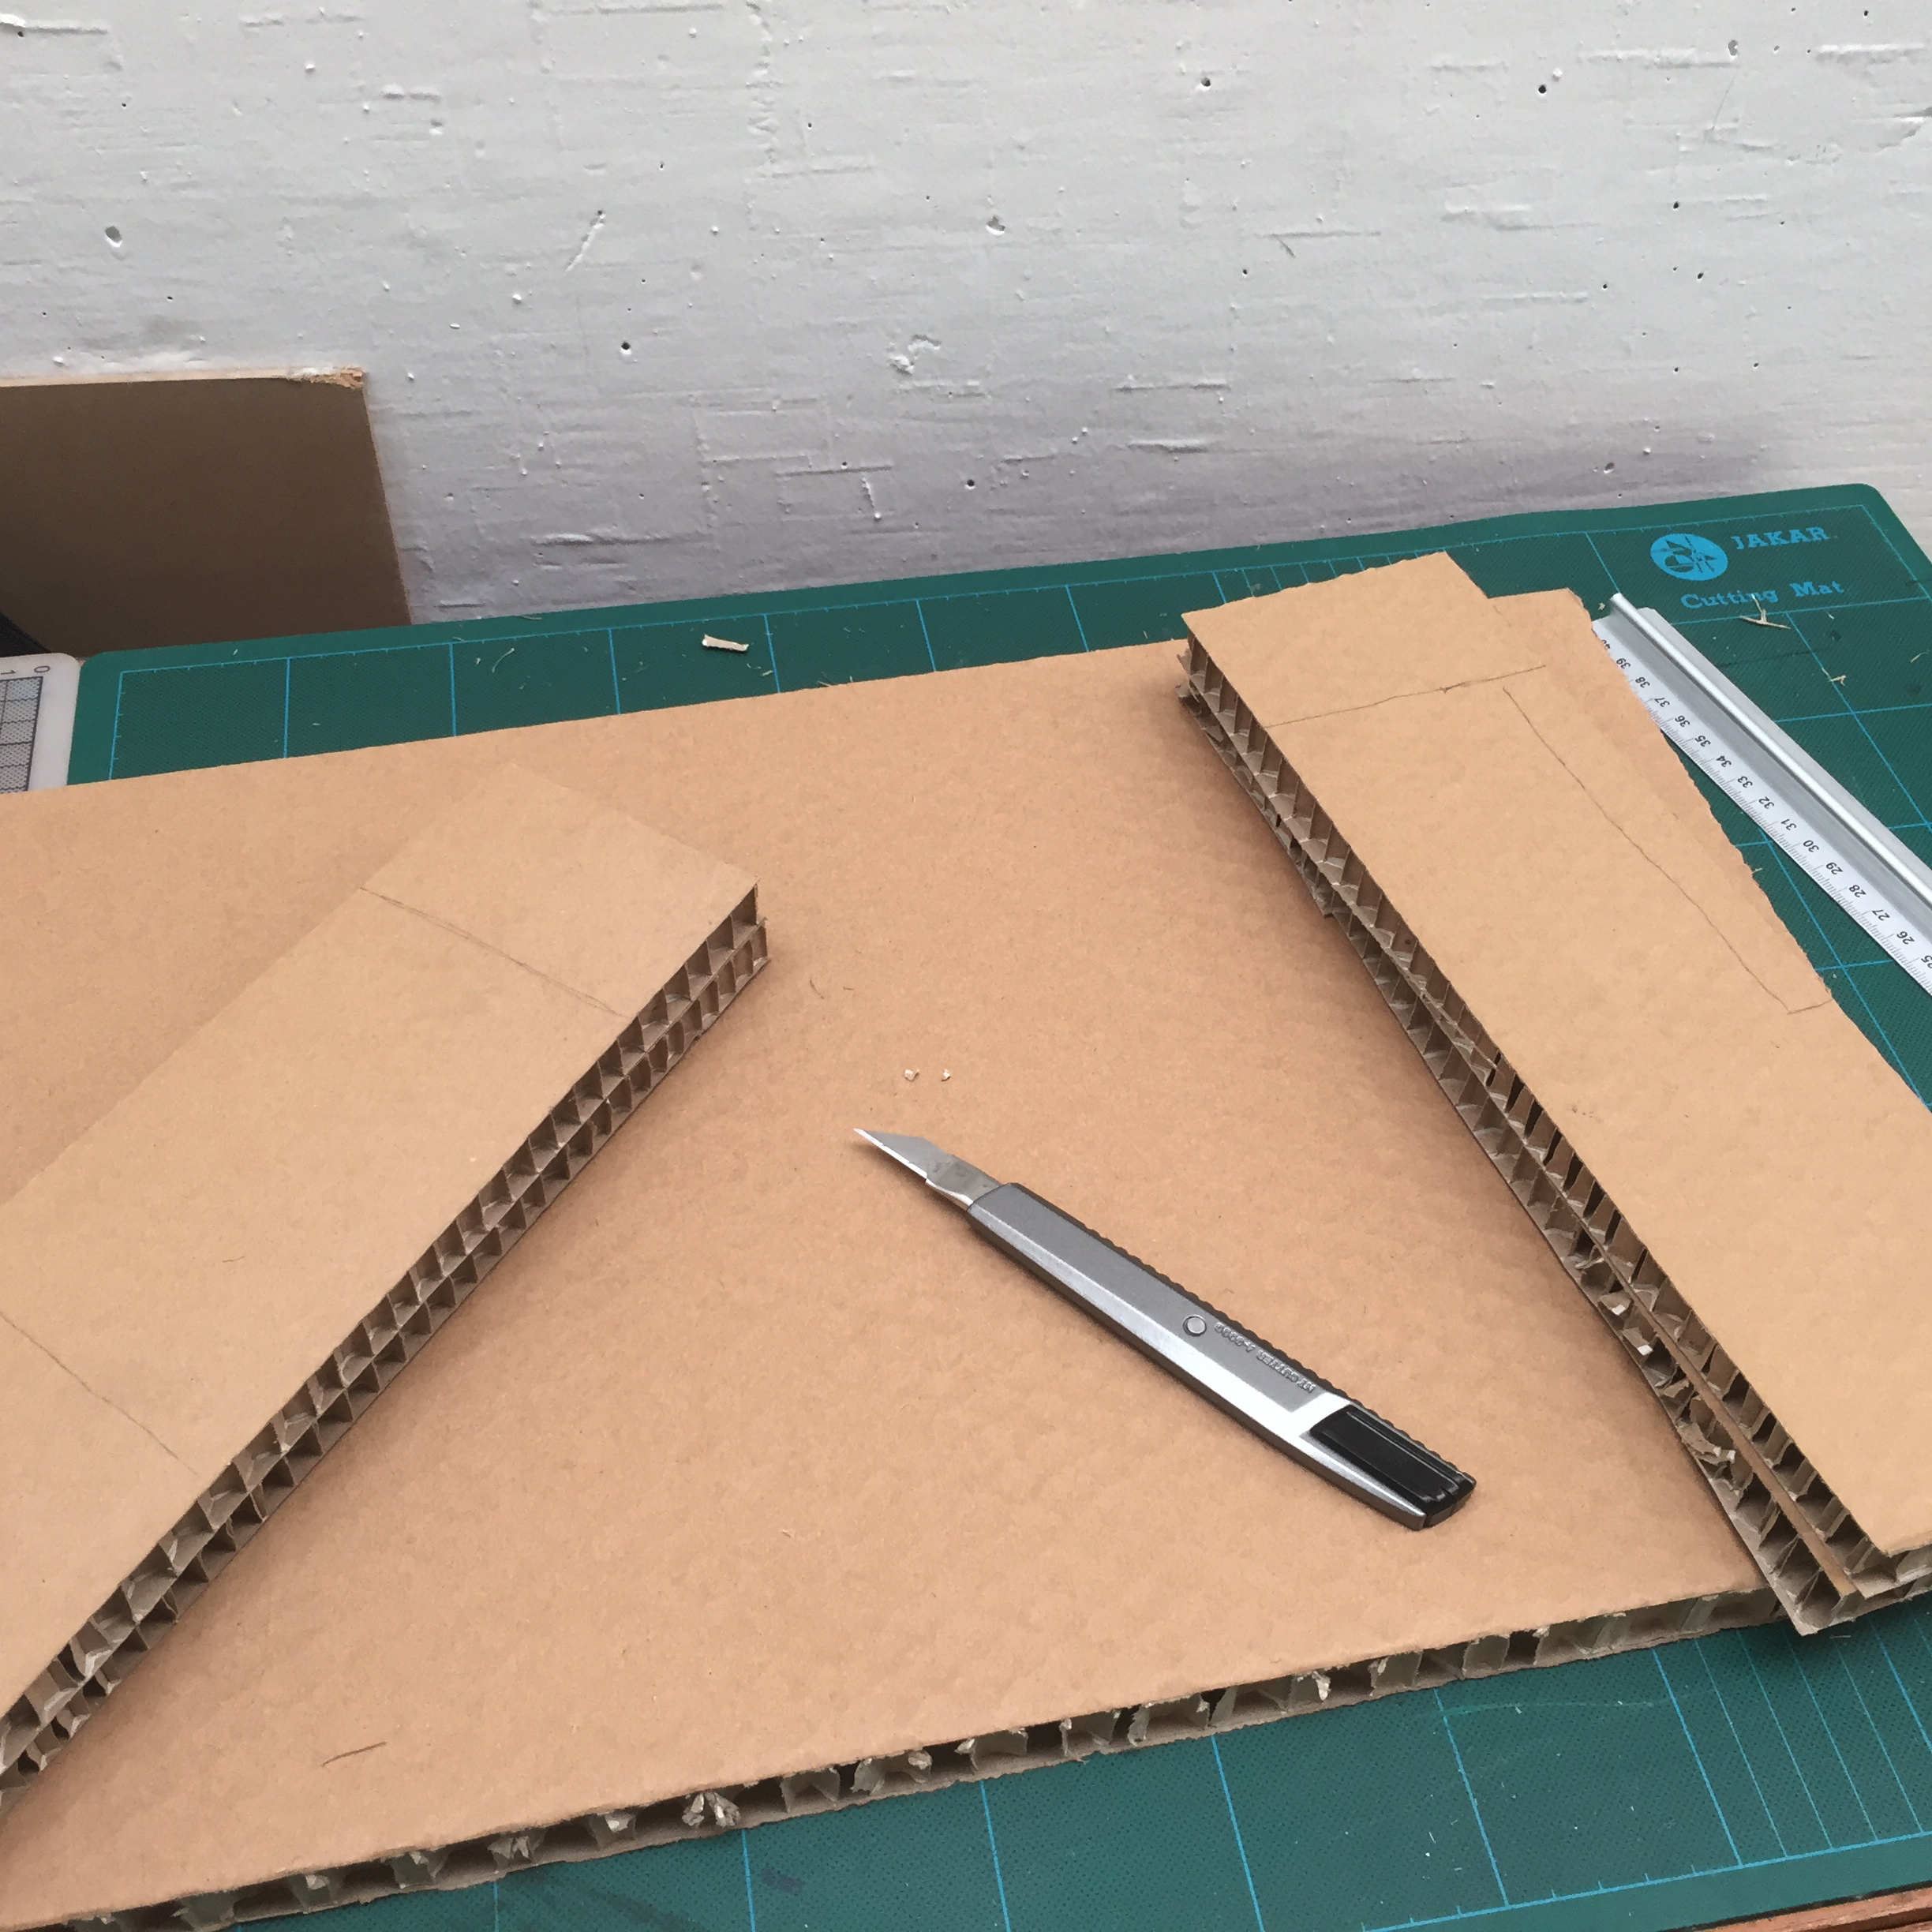
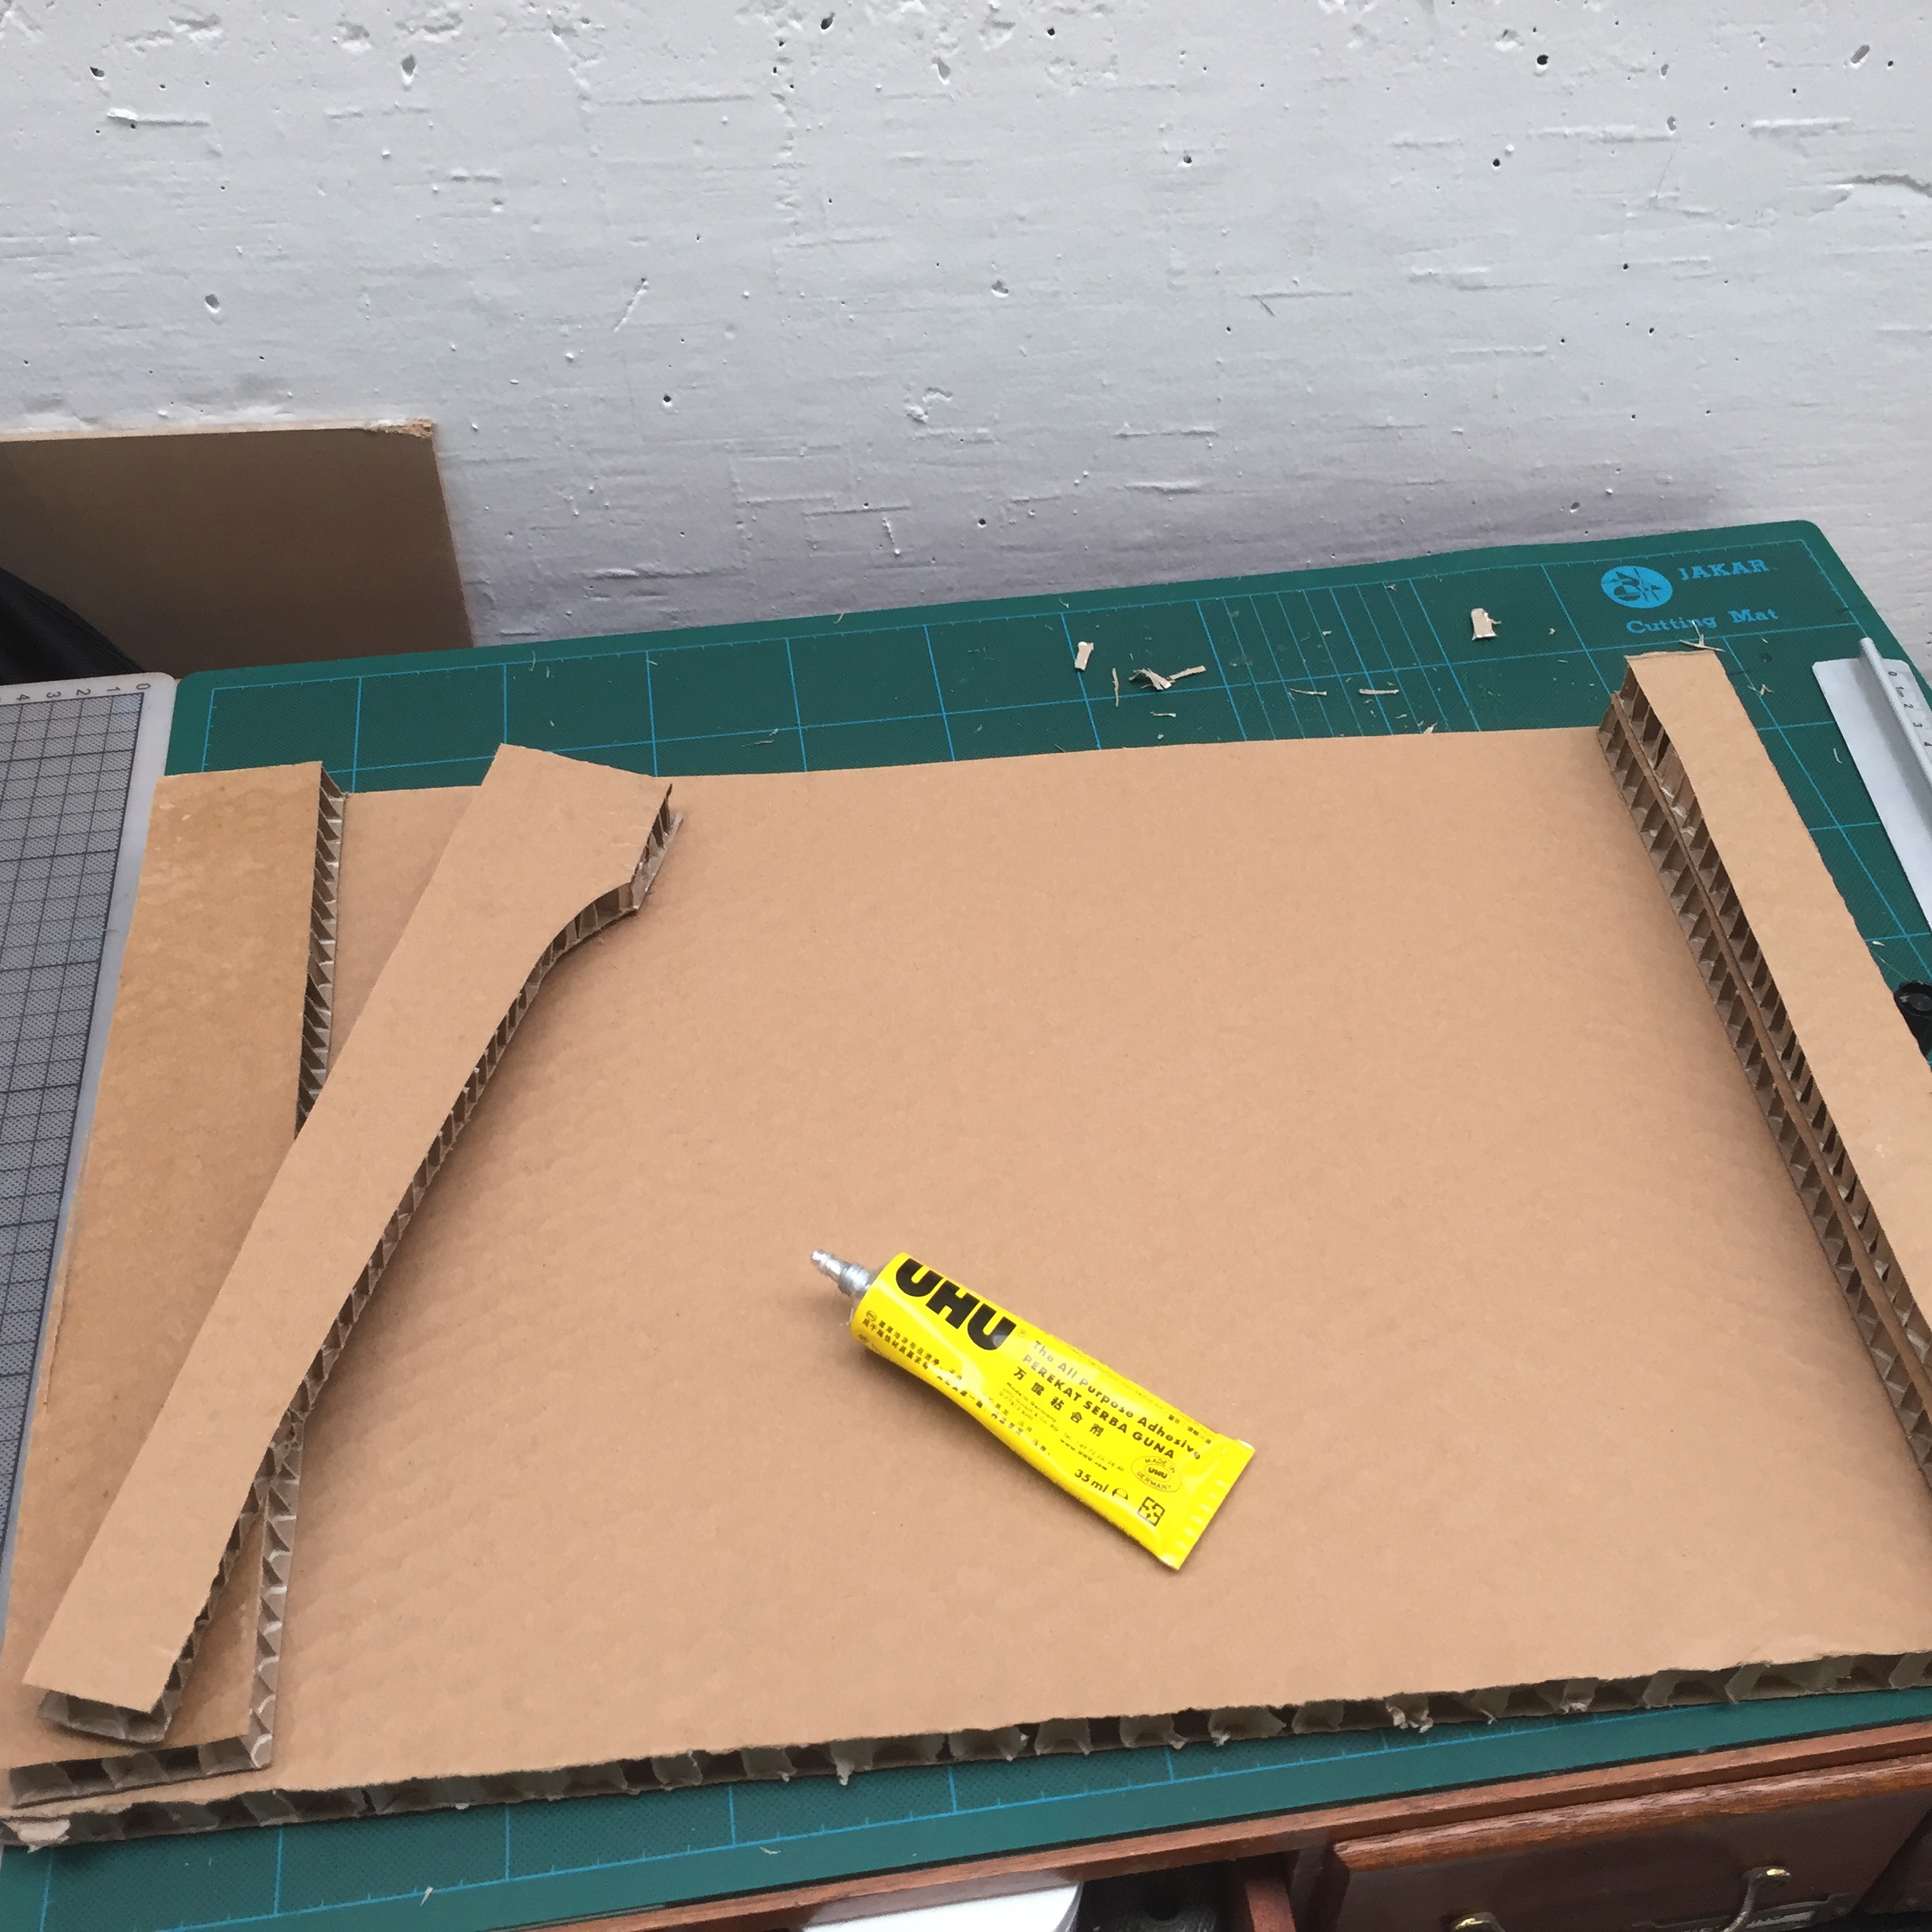
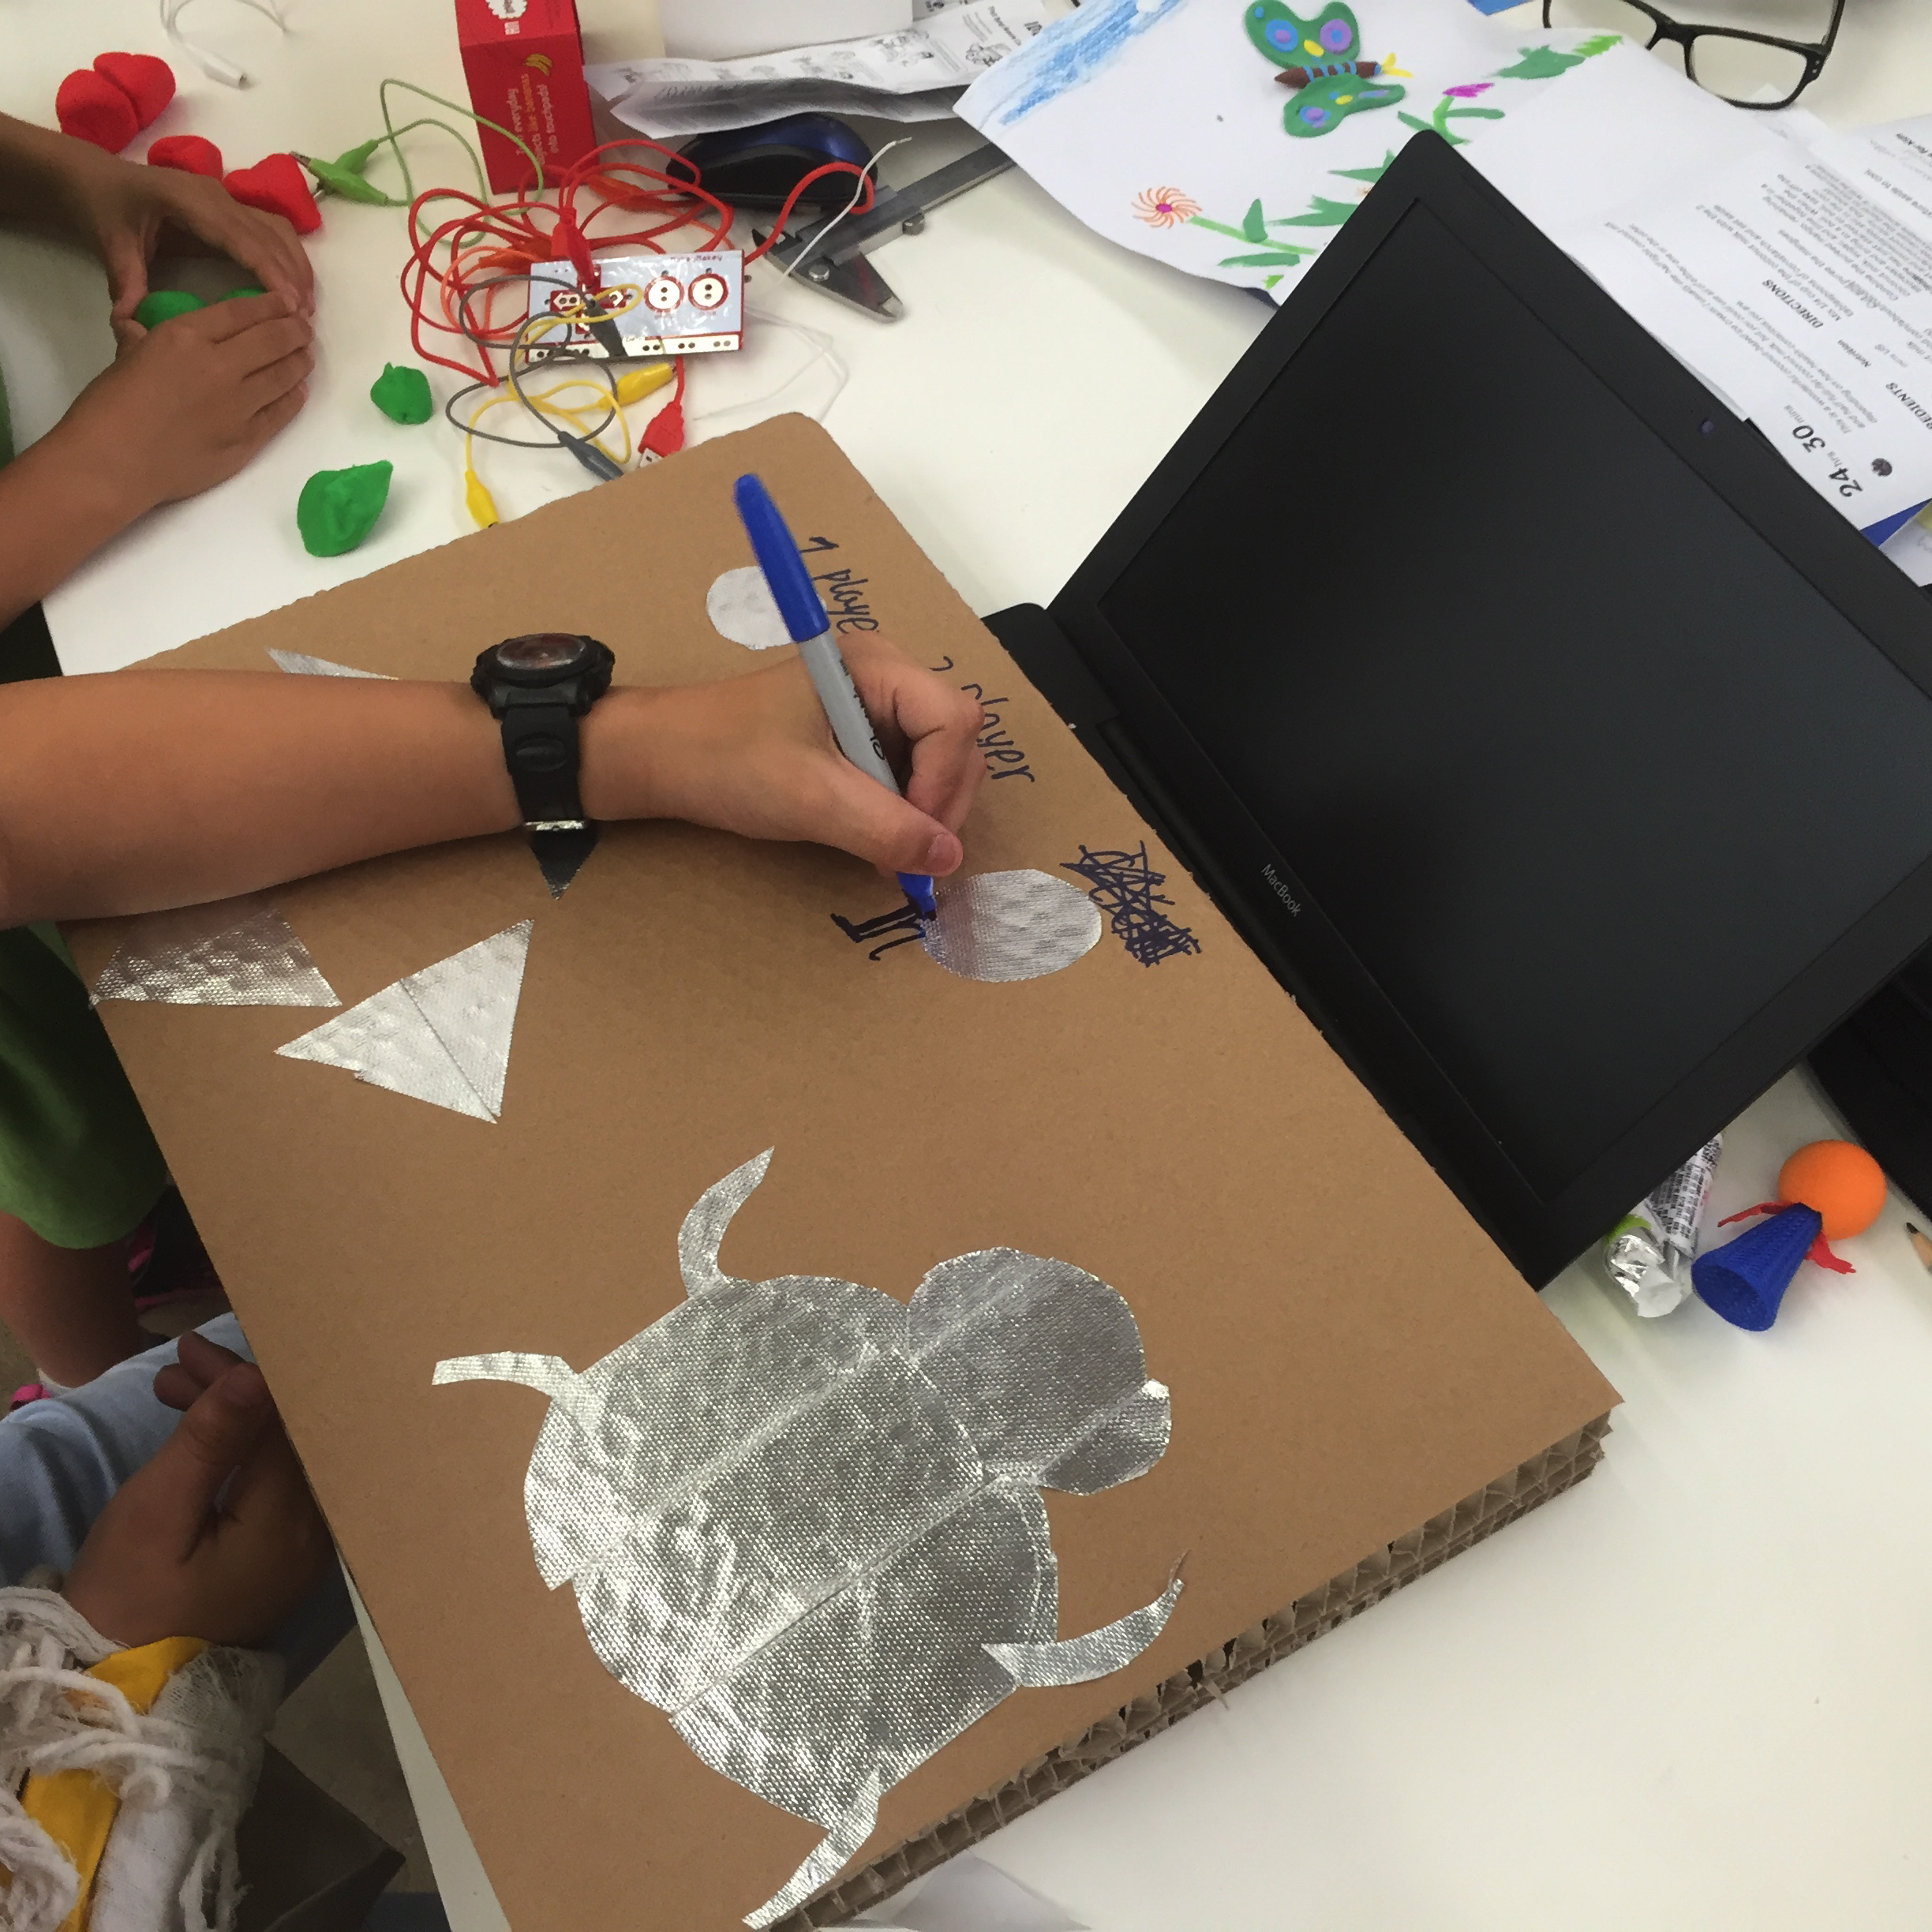
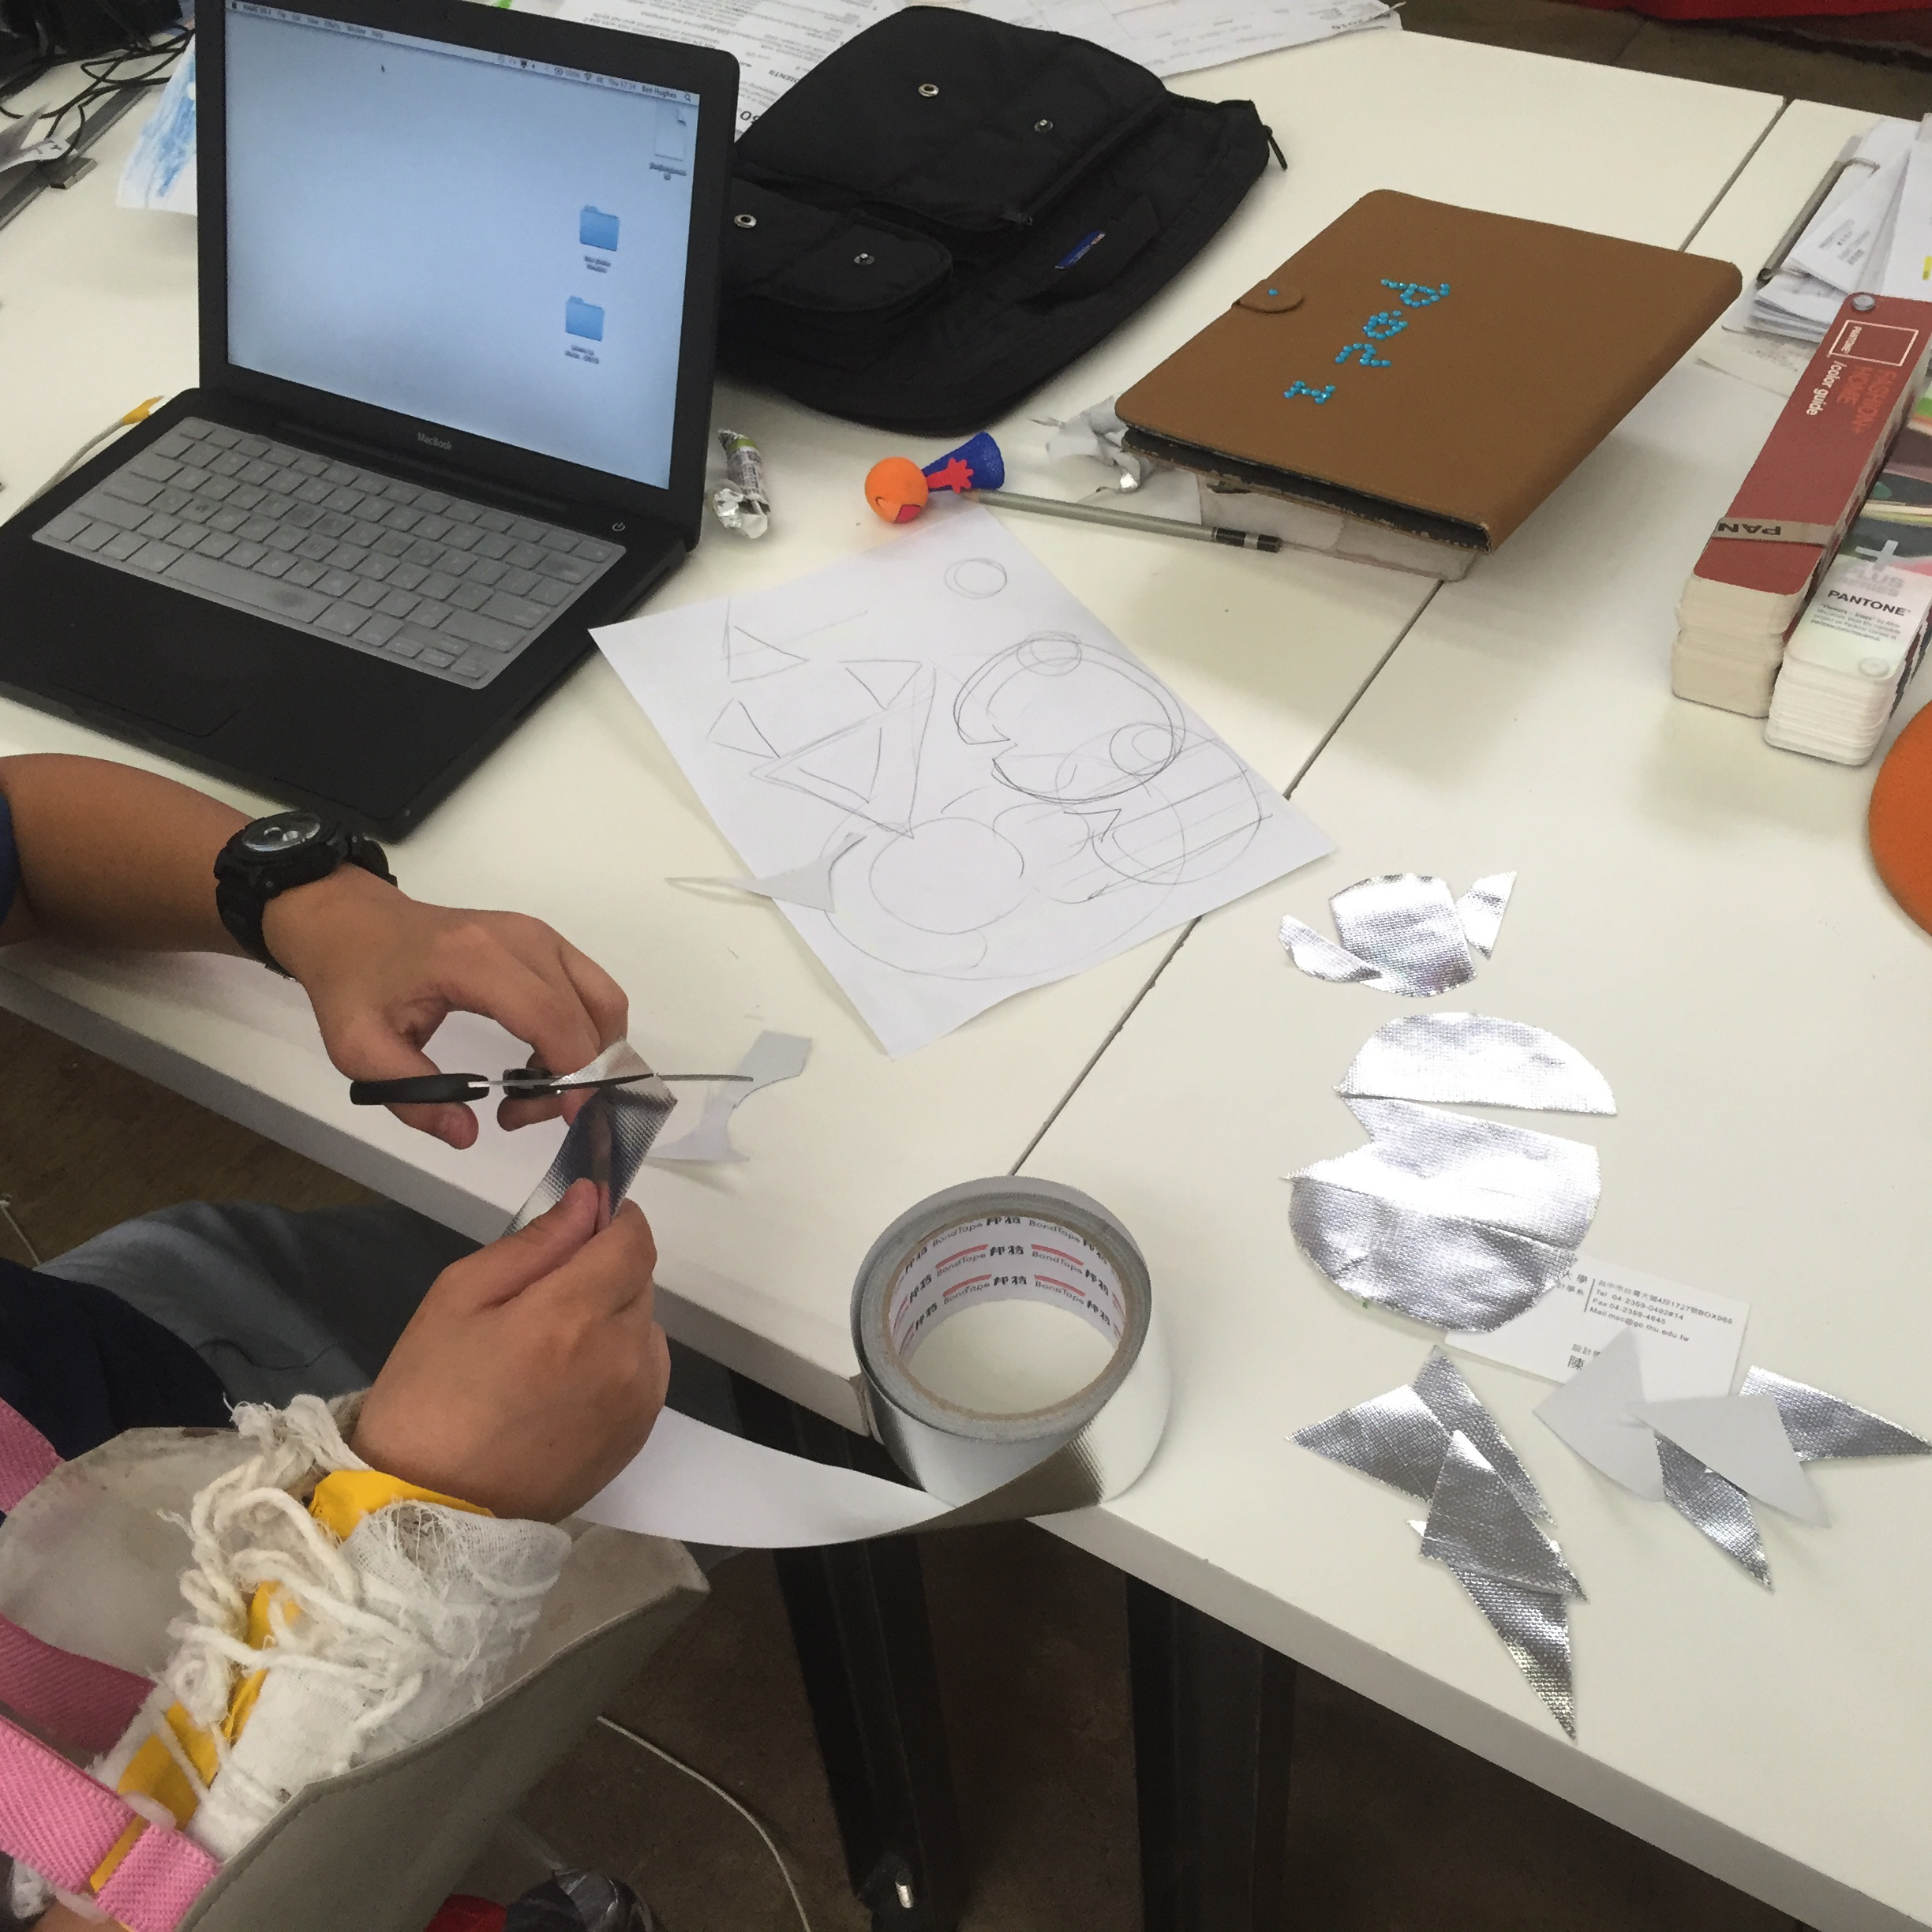
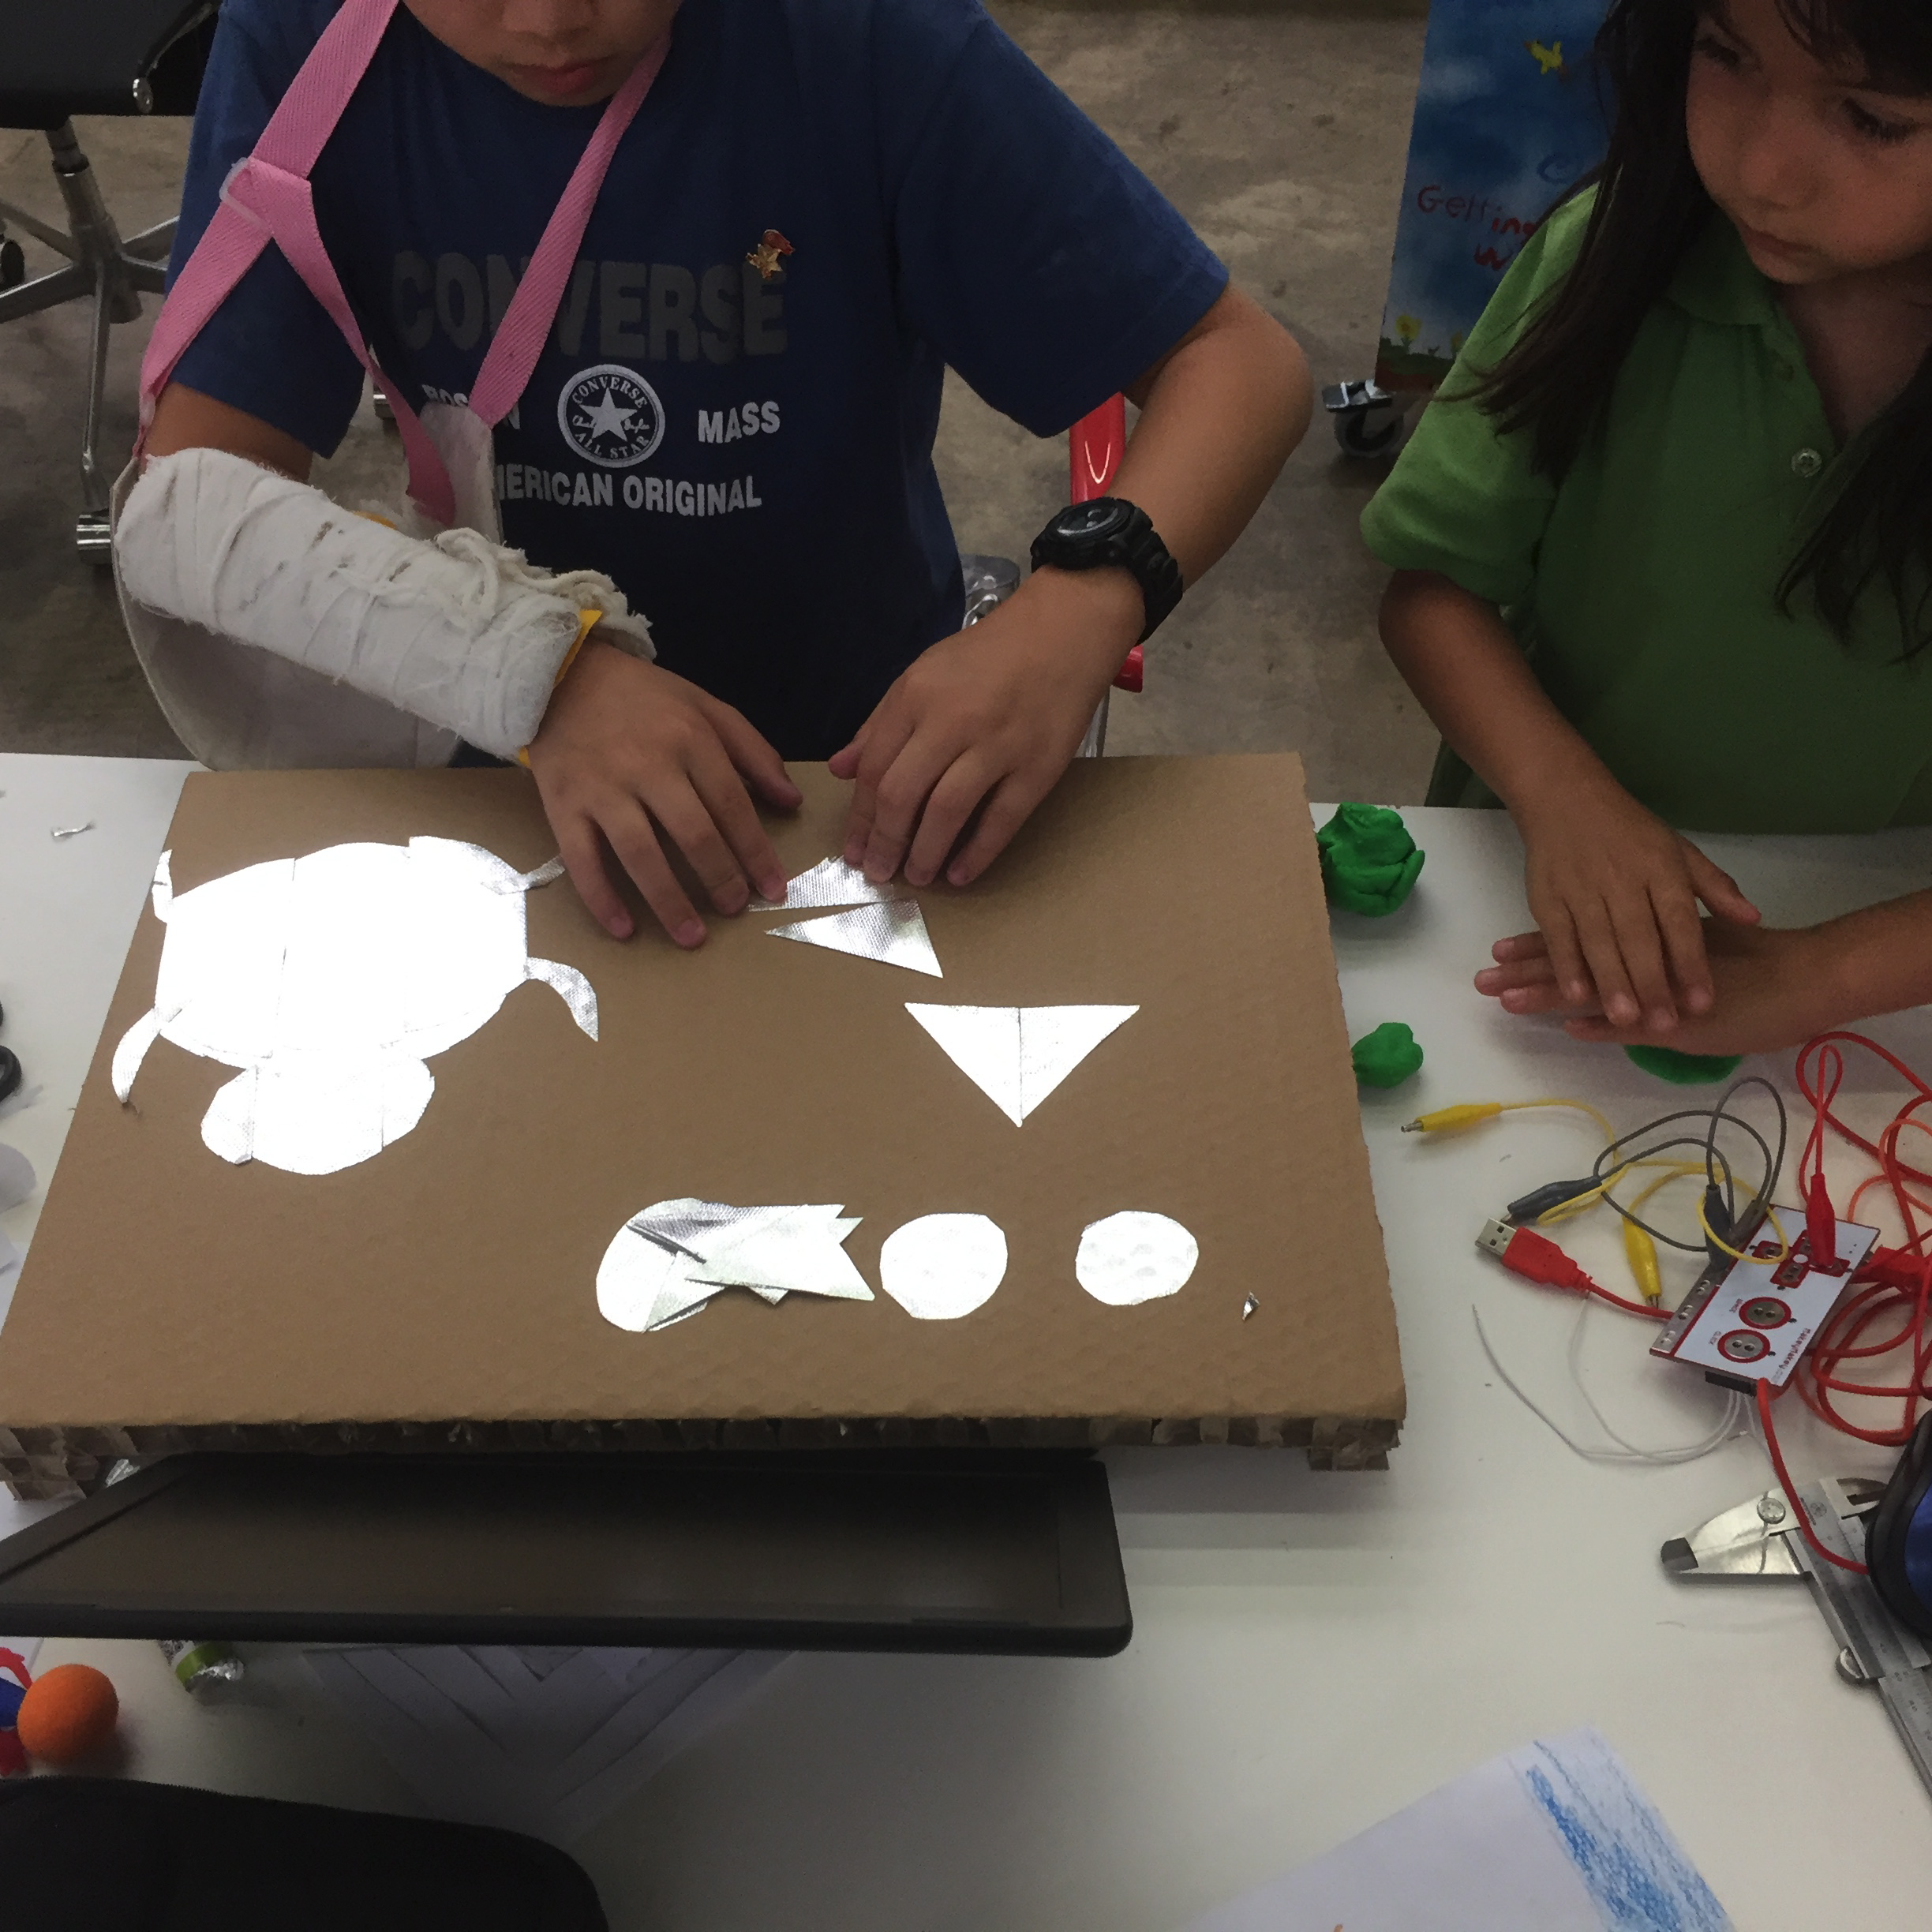
The base sits on top of the macbook keyboard.
We used this honeycomb board and cut some extra strips so that it stood clear of the keyboard.
The top of the control panel is where the buttons sit.
In order to complete the circuit, the button parts need to be conductive.
We used this silver coloured foil tape onto which we put our play-doh.
The layout of the control panel is where you can have fun.
Ours has a frog (which is the ground element - you need to touch this in order to make the other buttons work); up; down; left; right; insert coin; one player; two player.
Depending on what game you are configuring, you may have many different options for these controls.
Prepare the Makey Makey
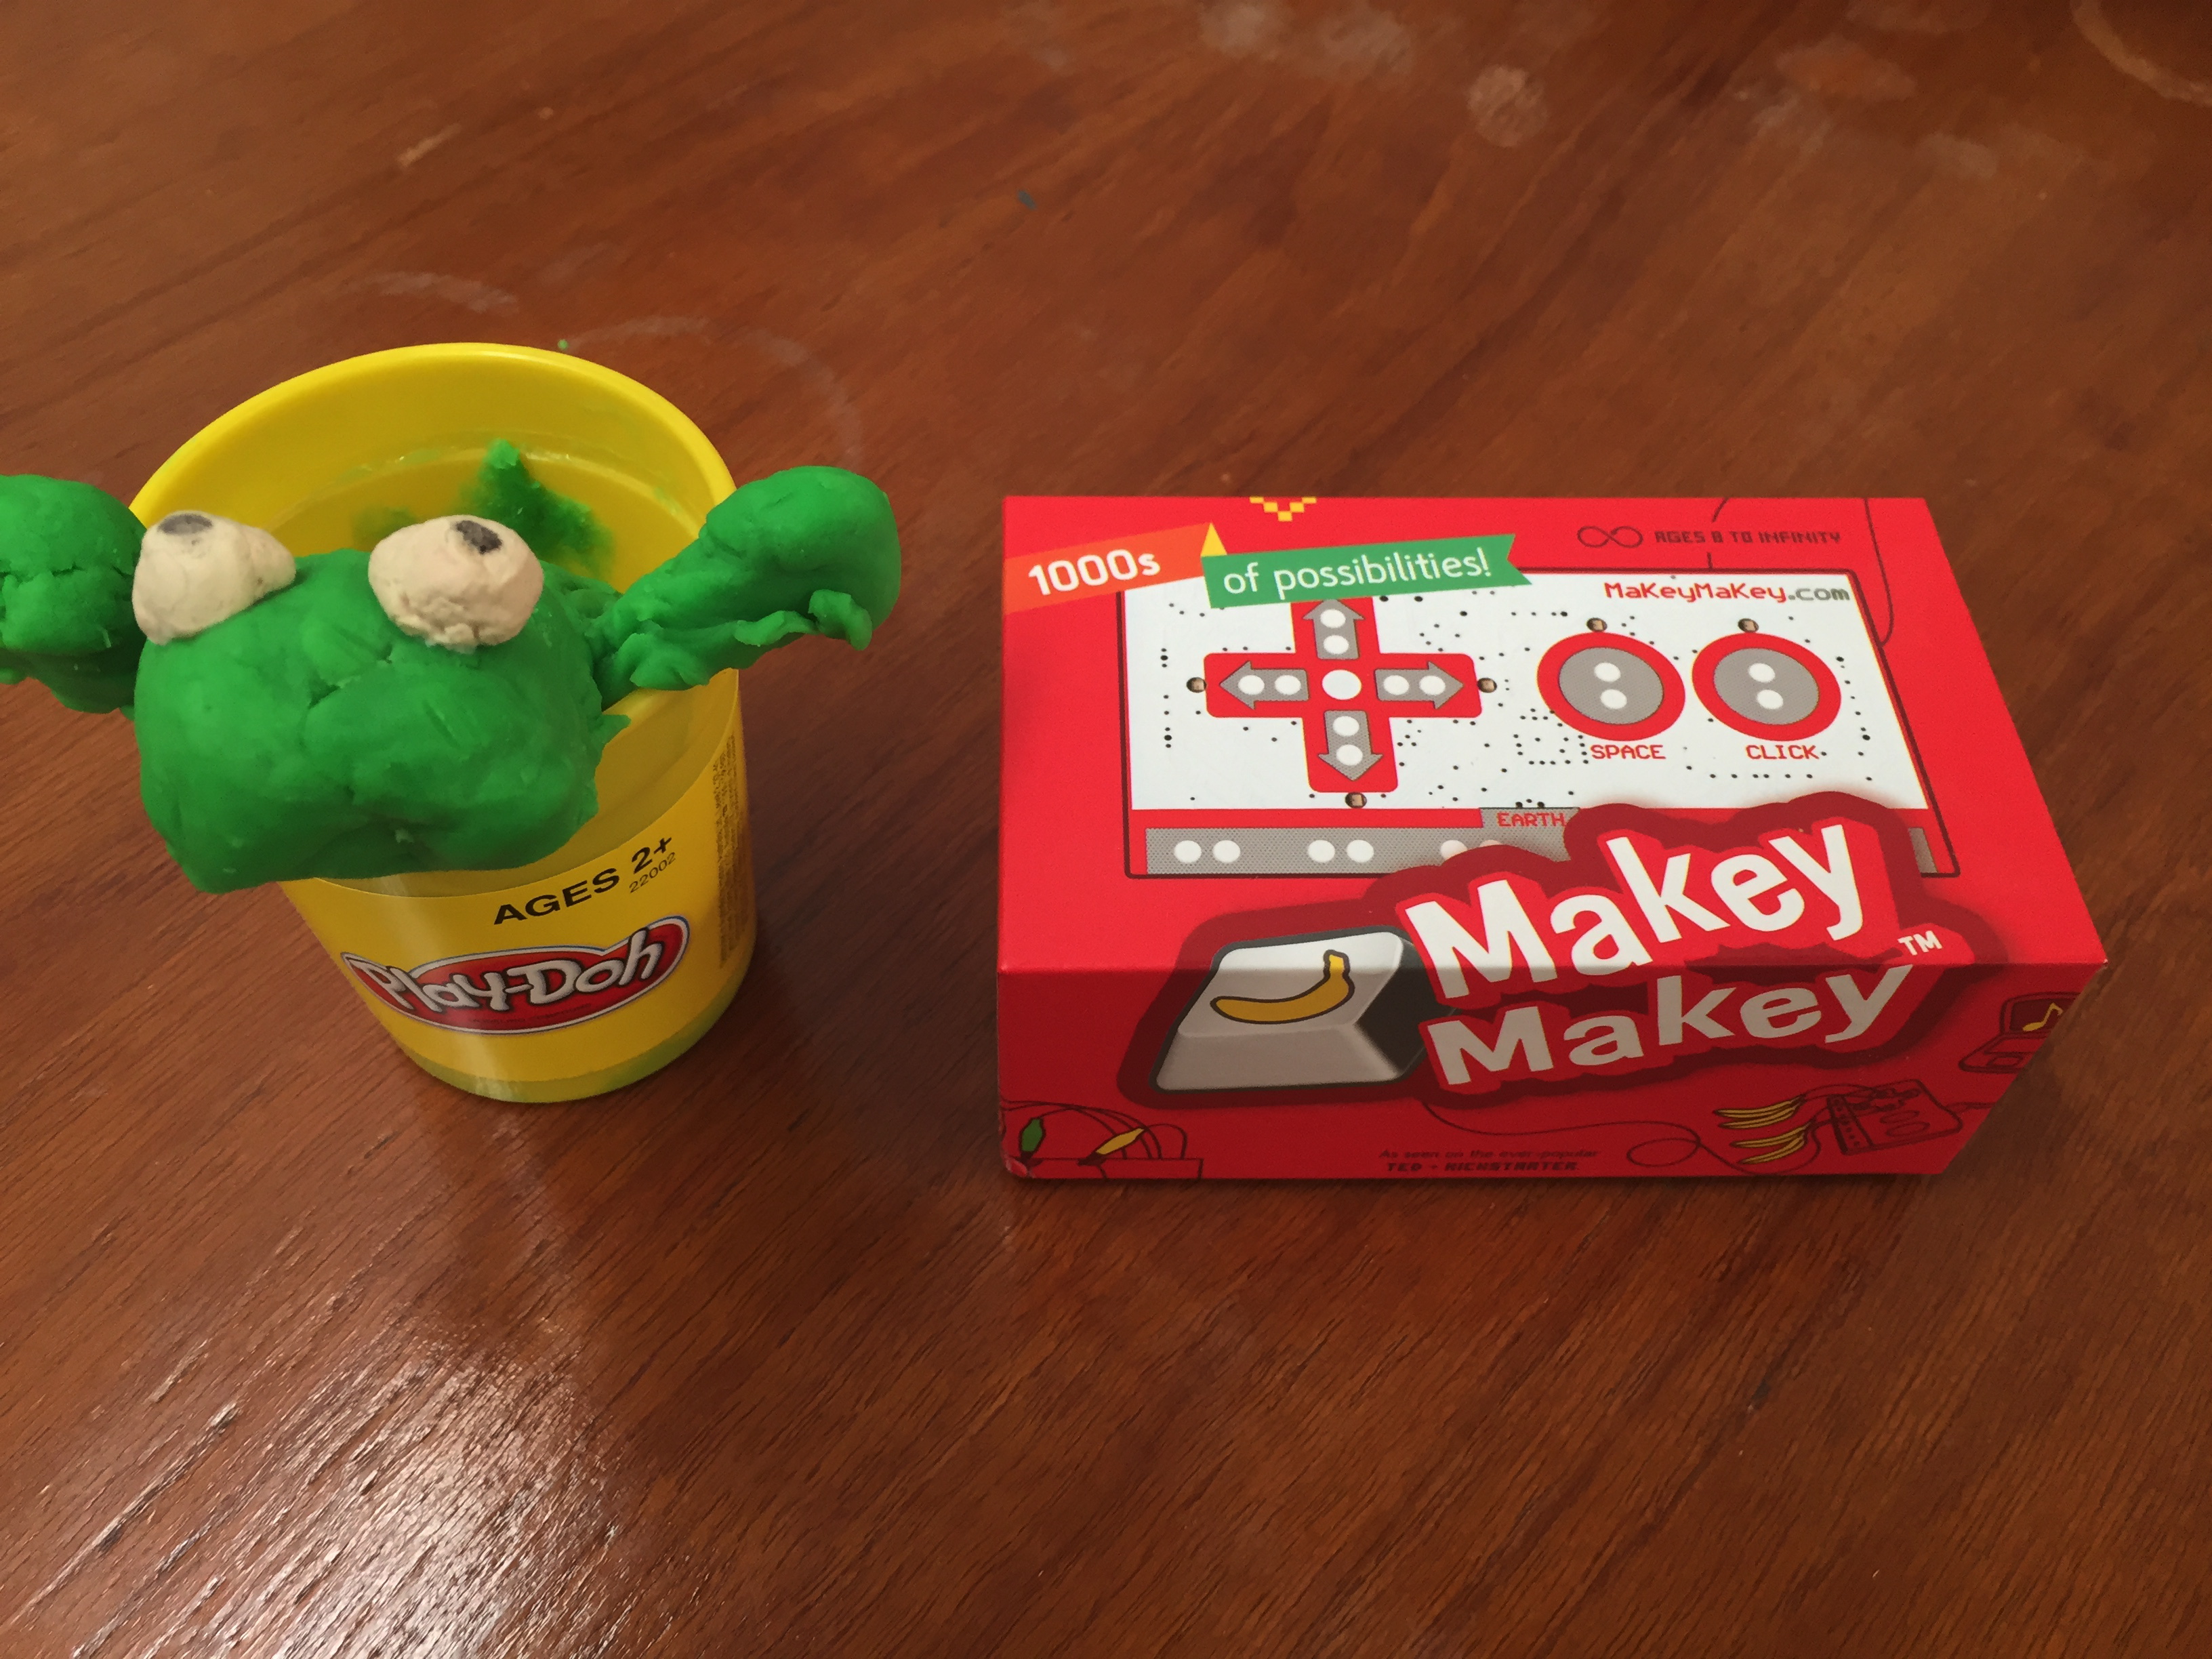
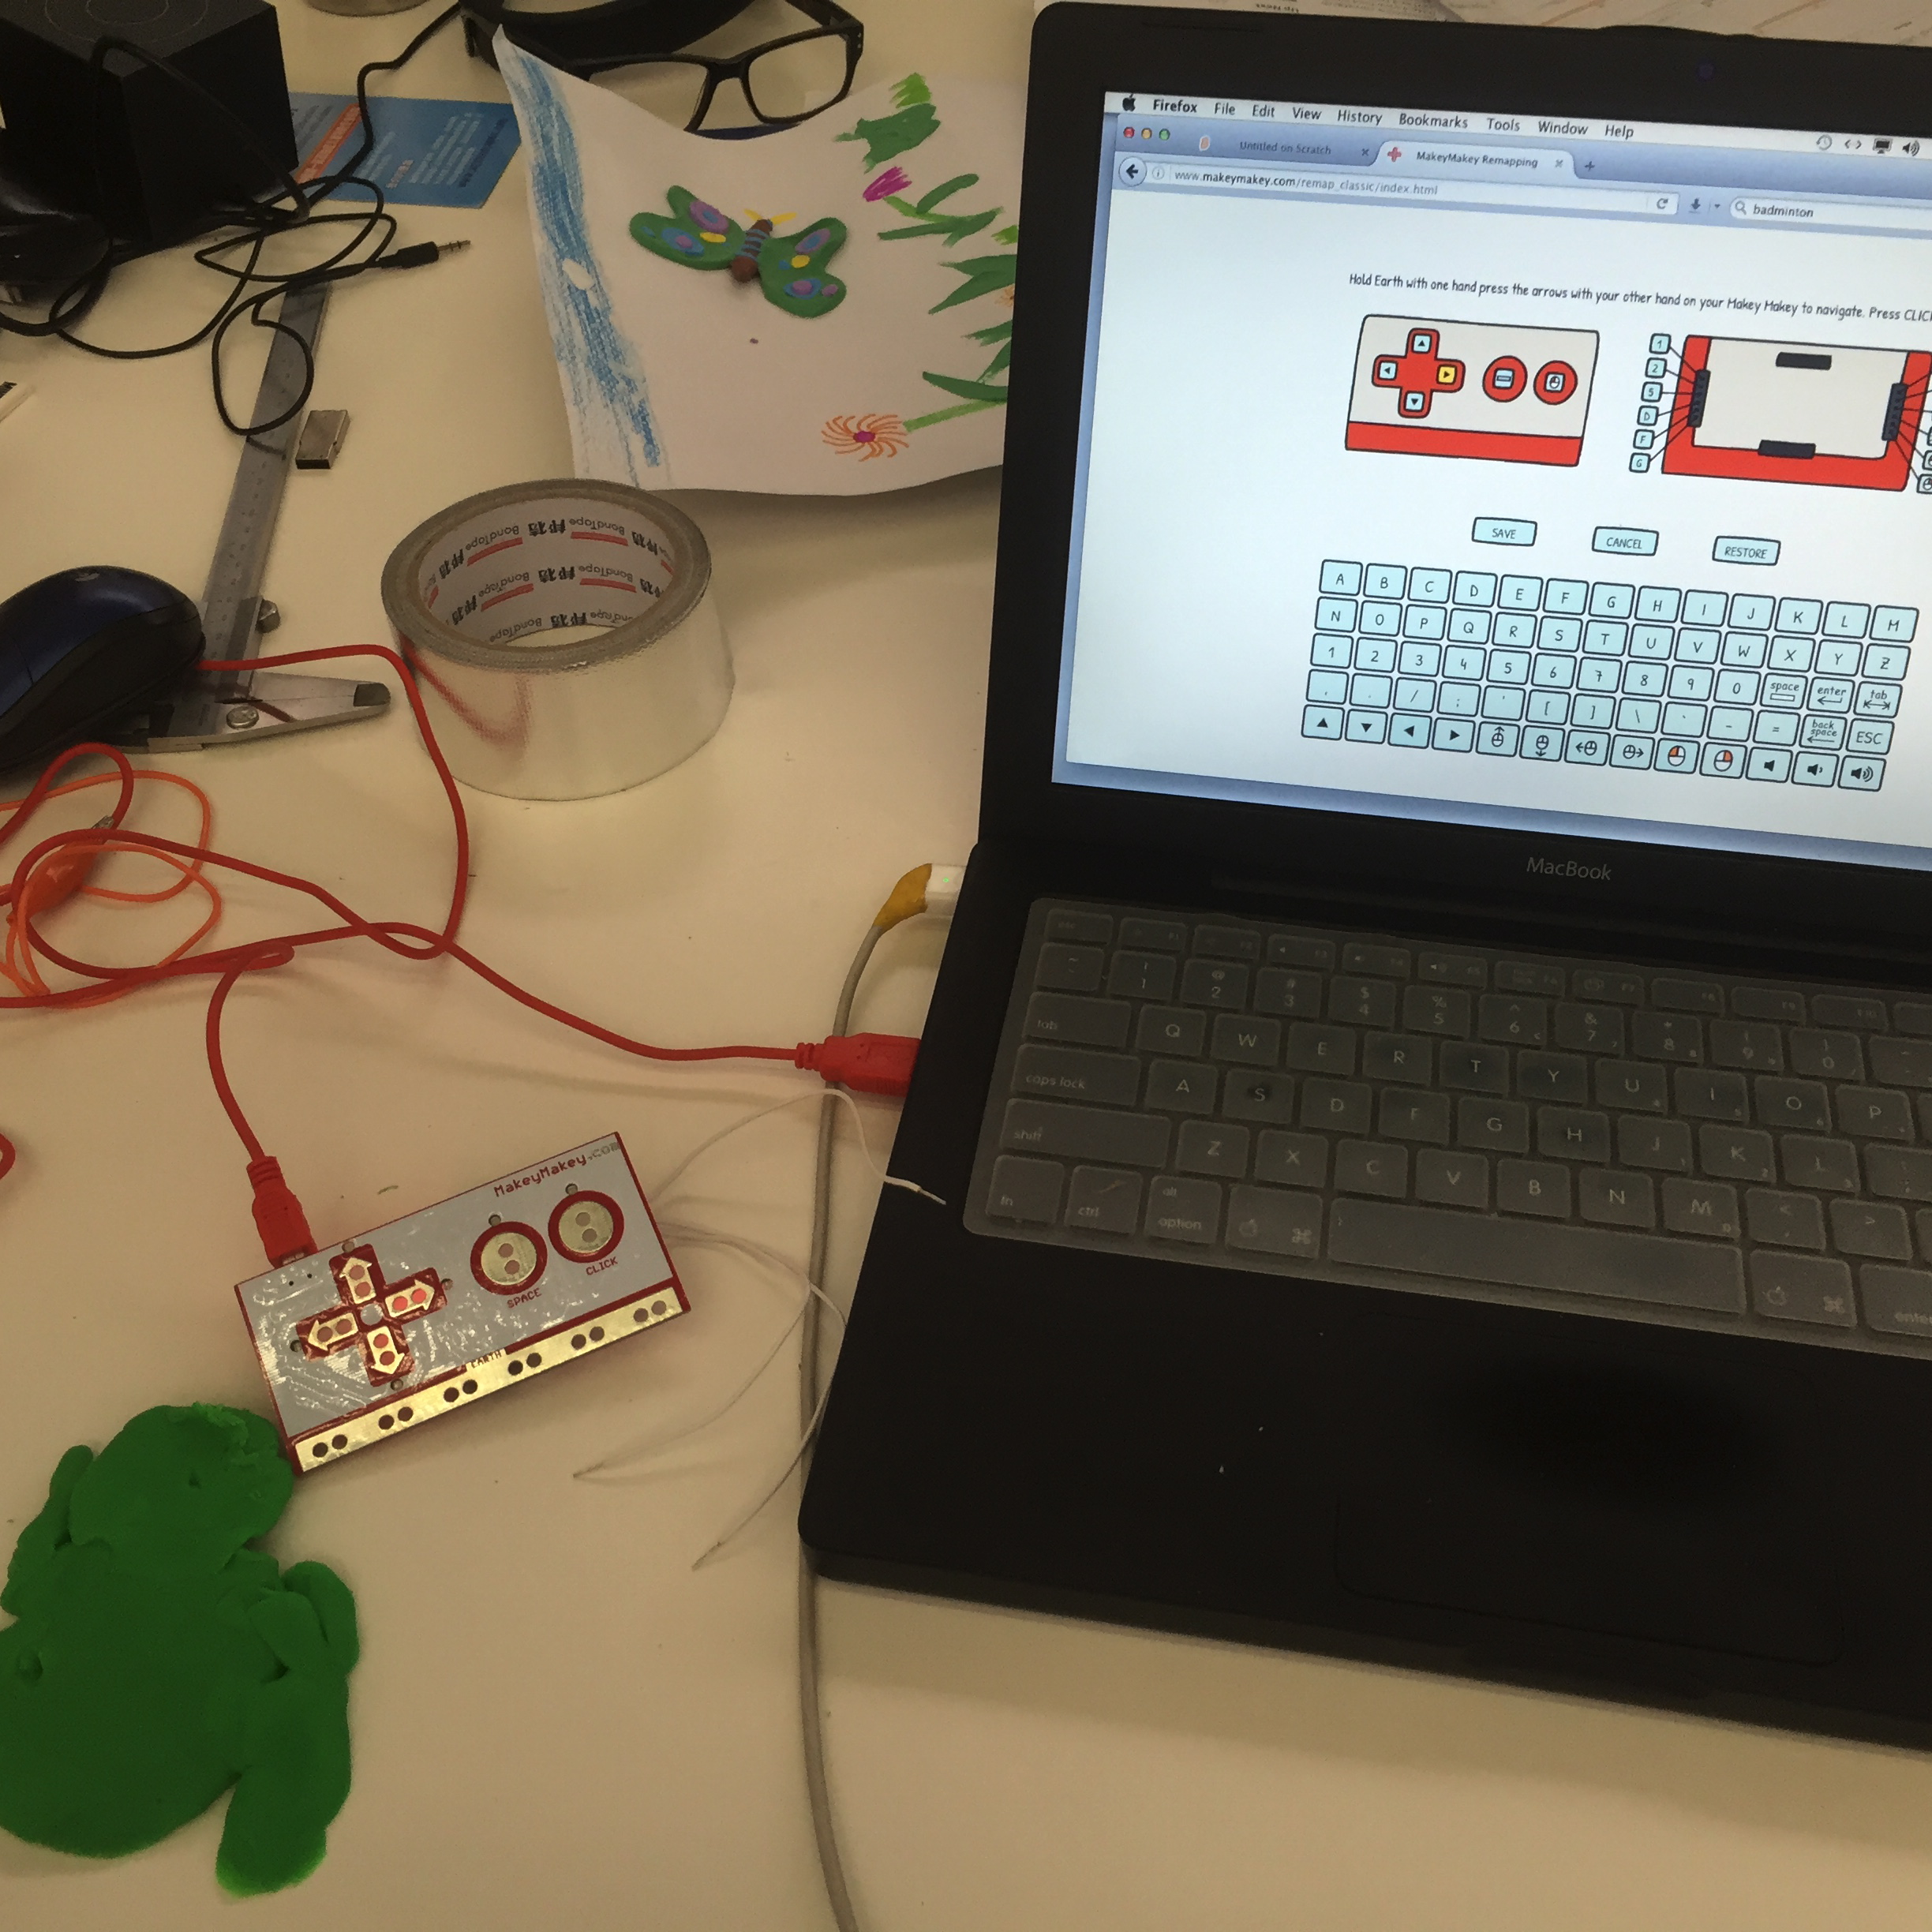
Makey Makey plugs into the computer through its USB cable.
You can use it out of the box as the control pad is already mapped to up, down, left, right and space bar.
We wanted more controls than this, though, so we had to map the keys through the web interface.
This is quite simple.
Make a note of which keystrokes you want mapped to which buttons.
Then plug the Makey Makey into the USB port and visit the site: http://www.makeymakey.com/remap/
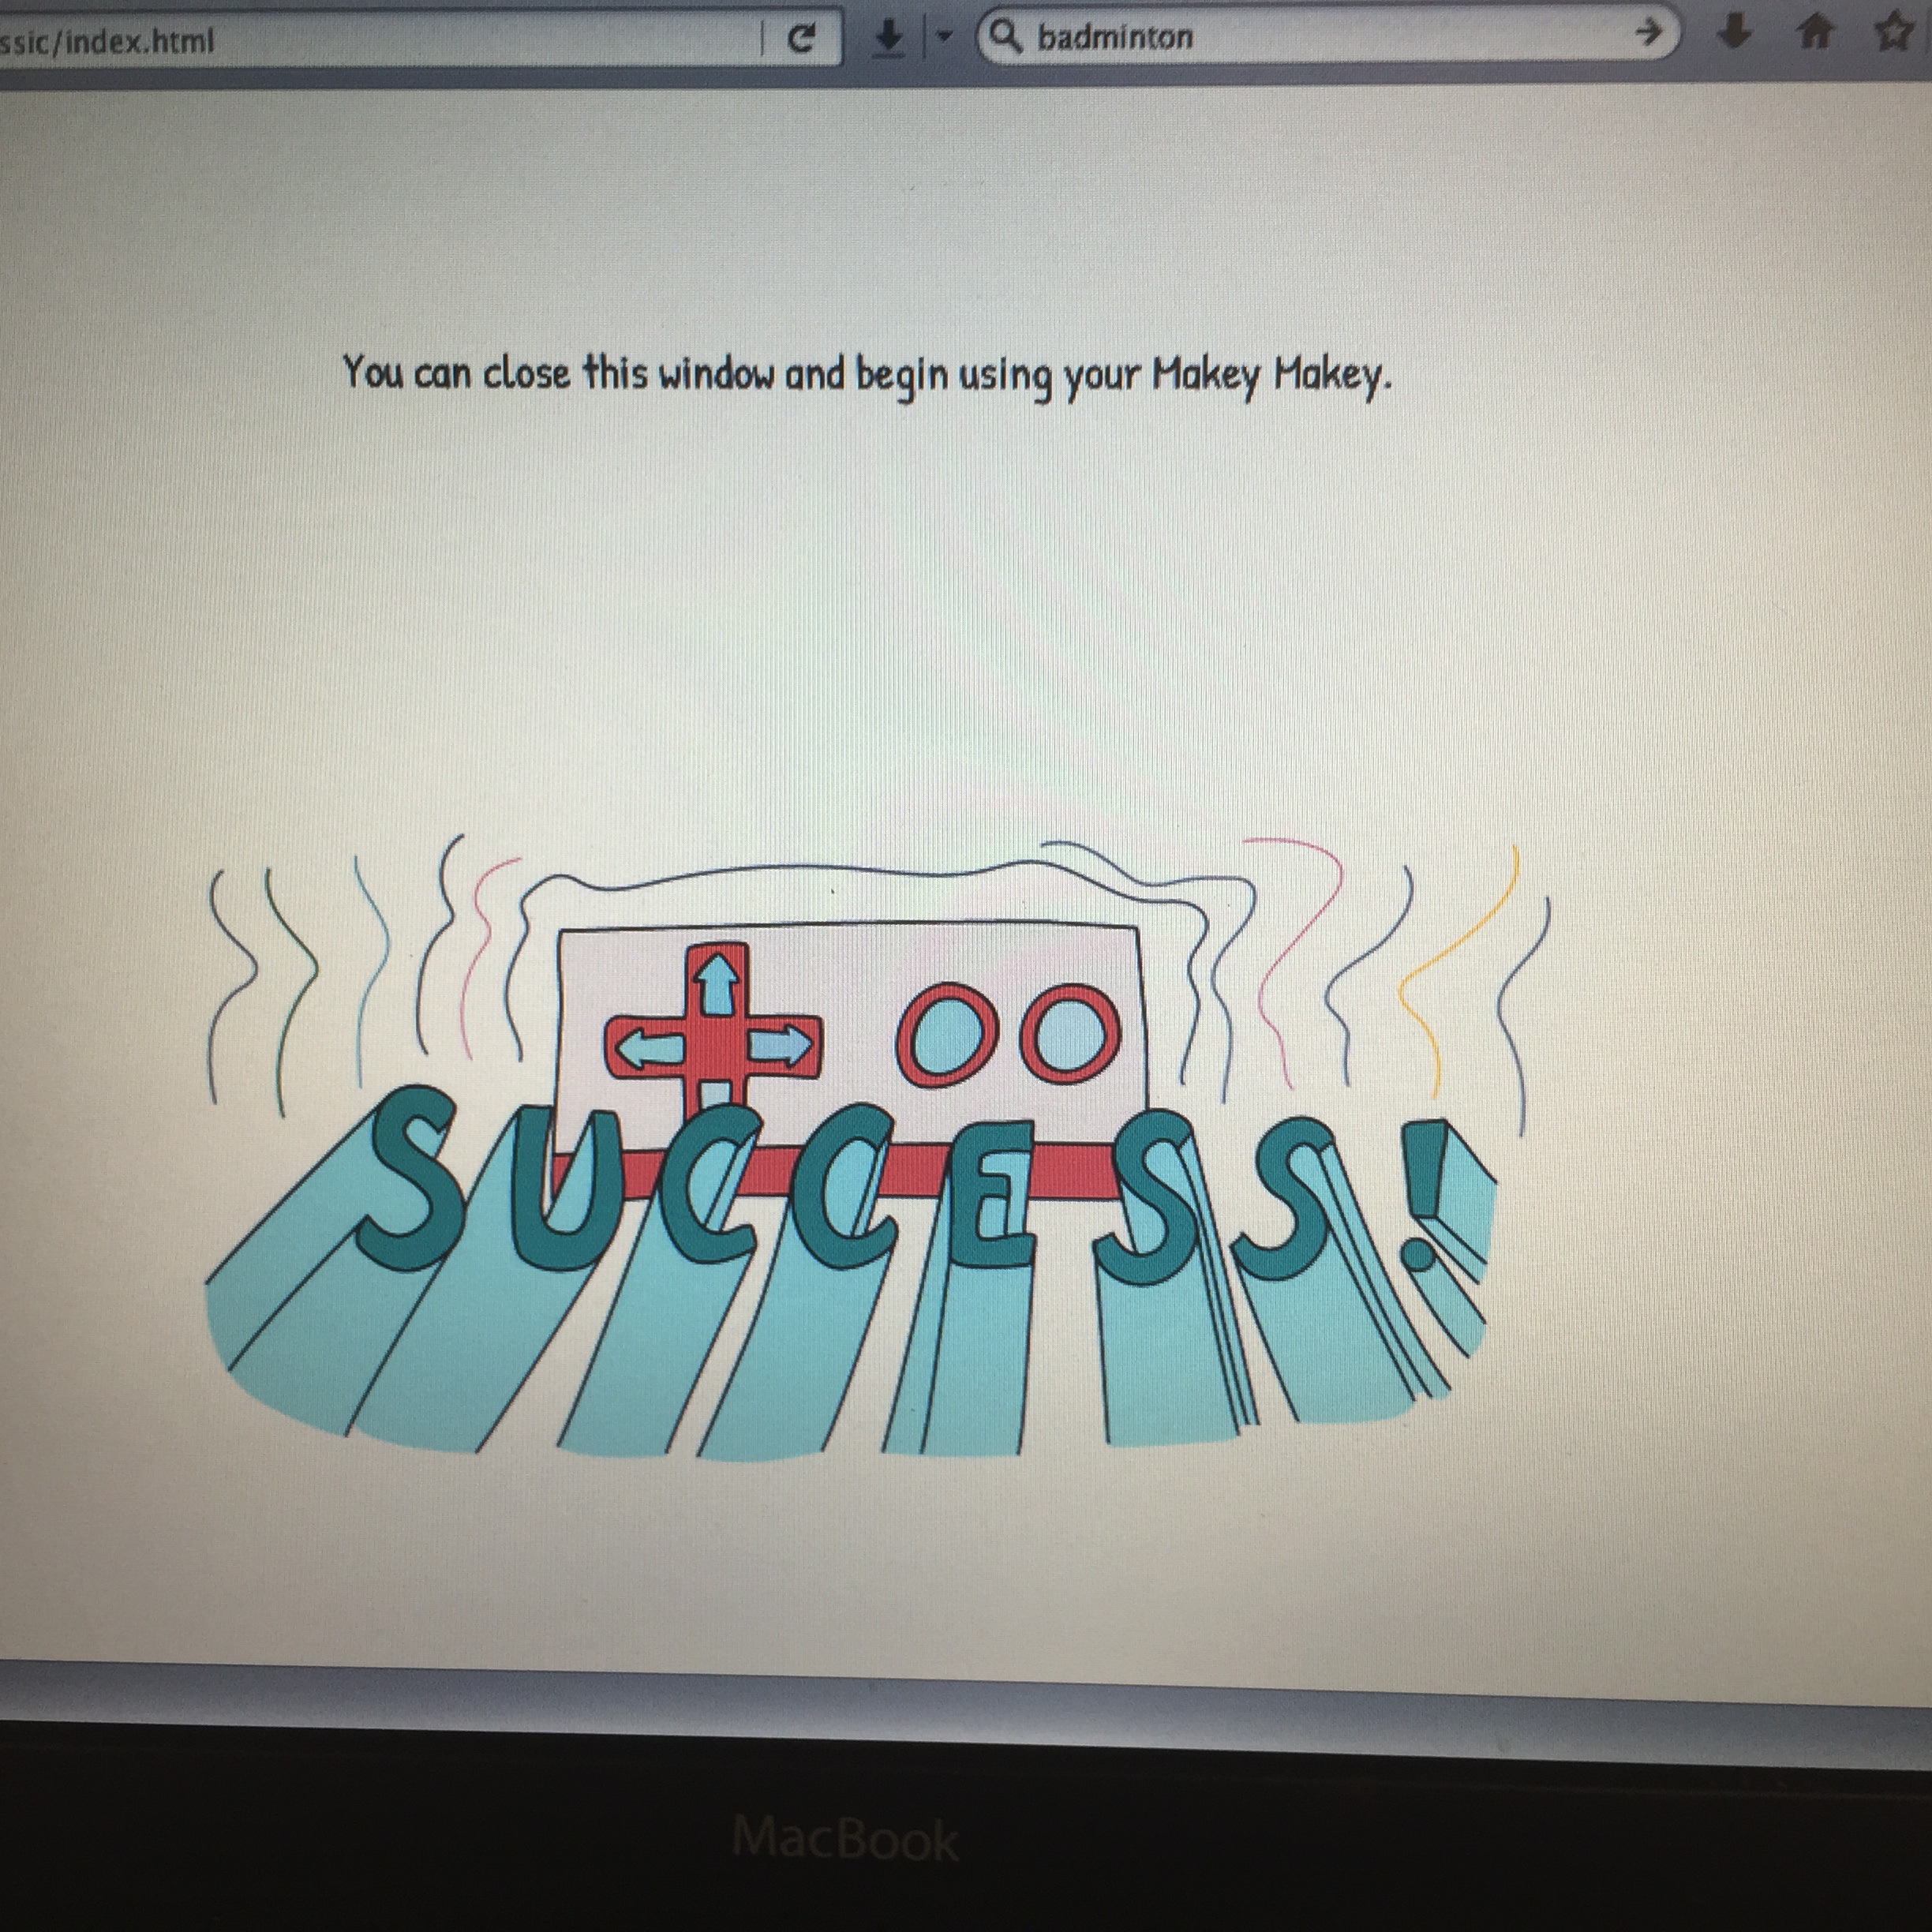
This walks you through the steps to re-map the keys. It sends the information directly to the device.
No programming necessary!
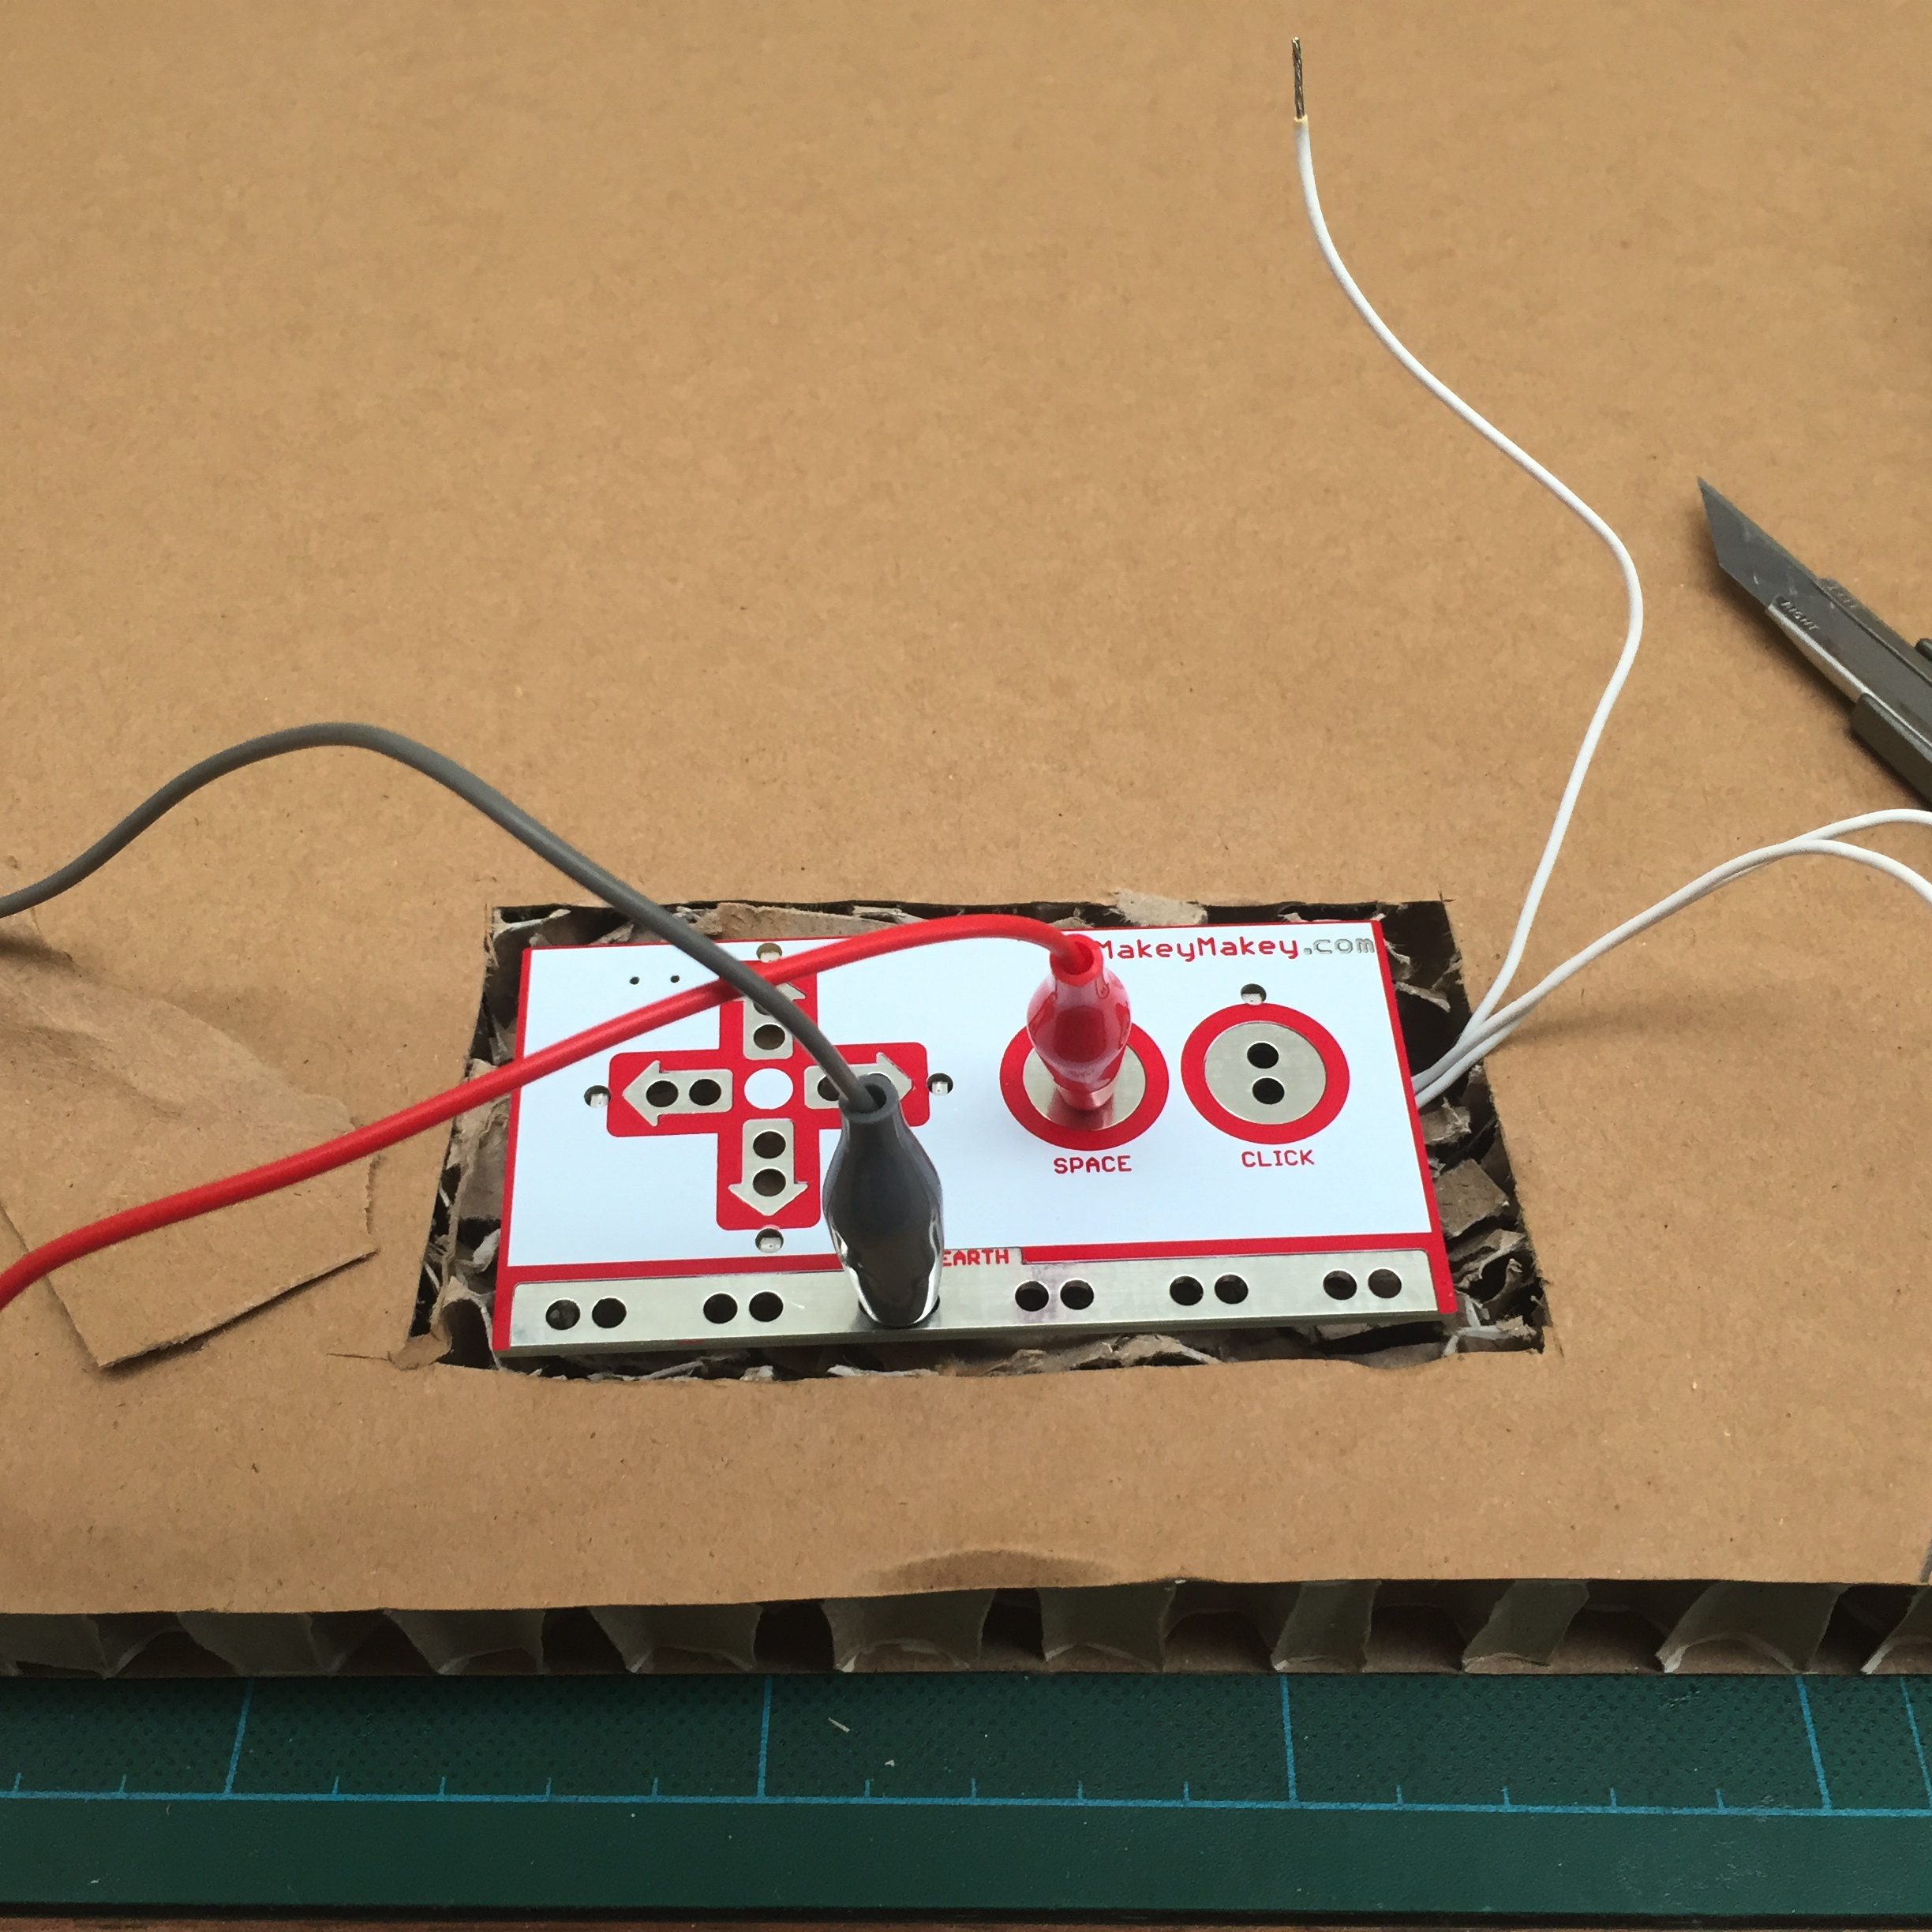
Then turn the control panel over, cut a hole for the makey makey board and start to connect the circuit.
Wire Up the Circuit
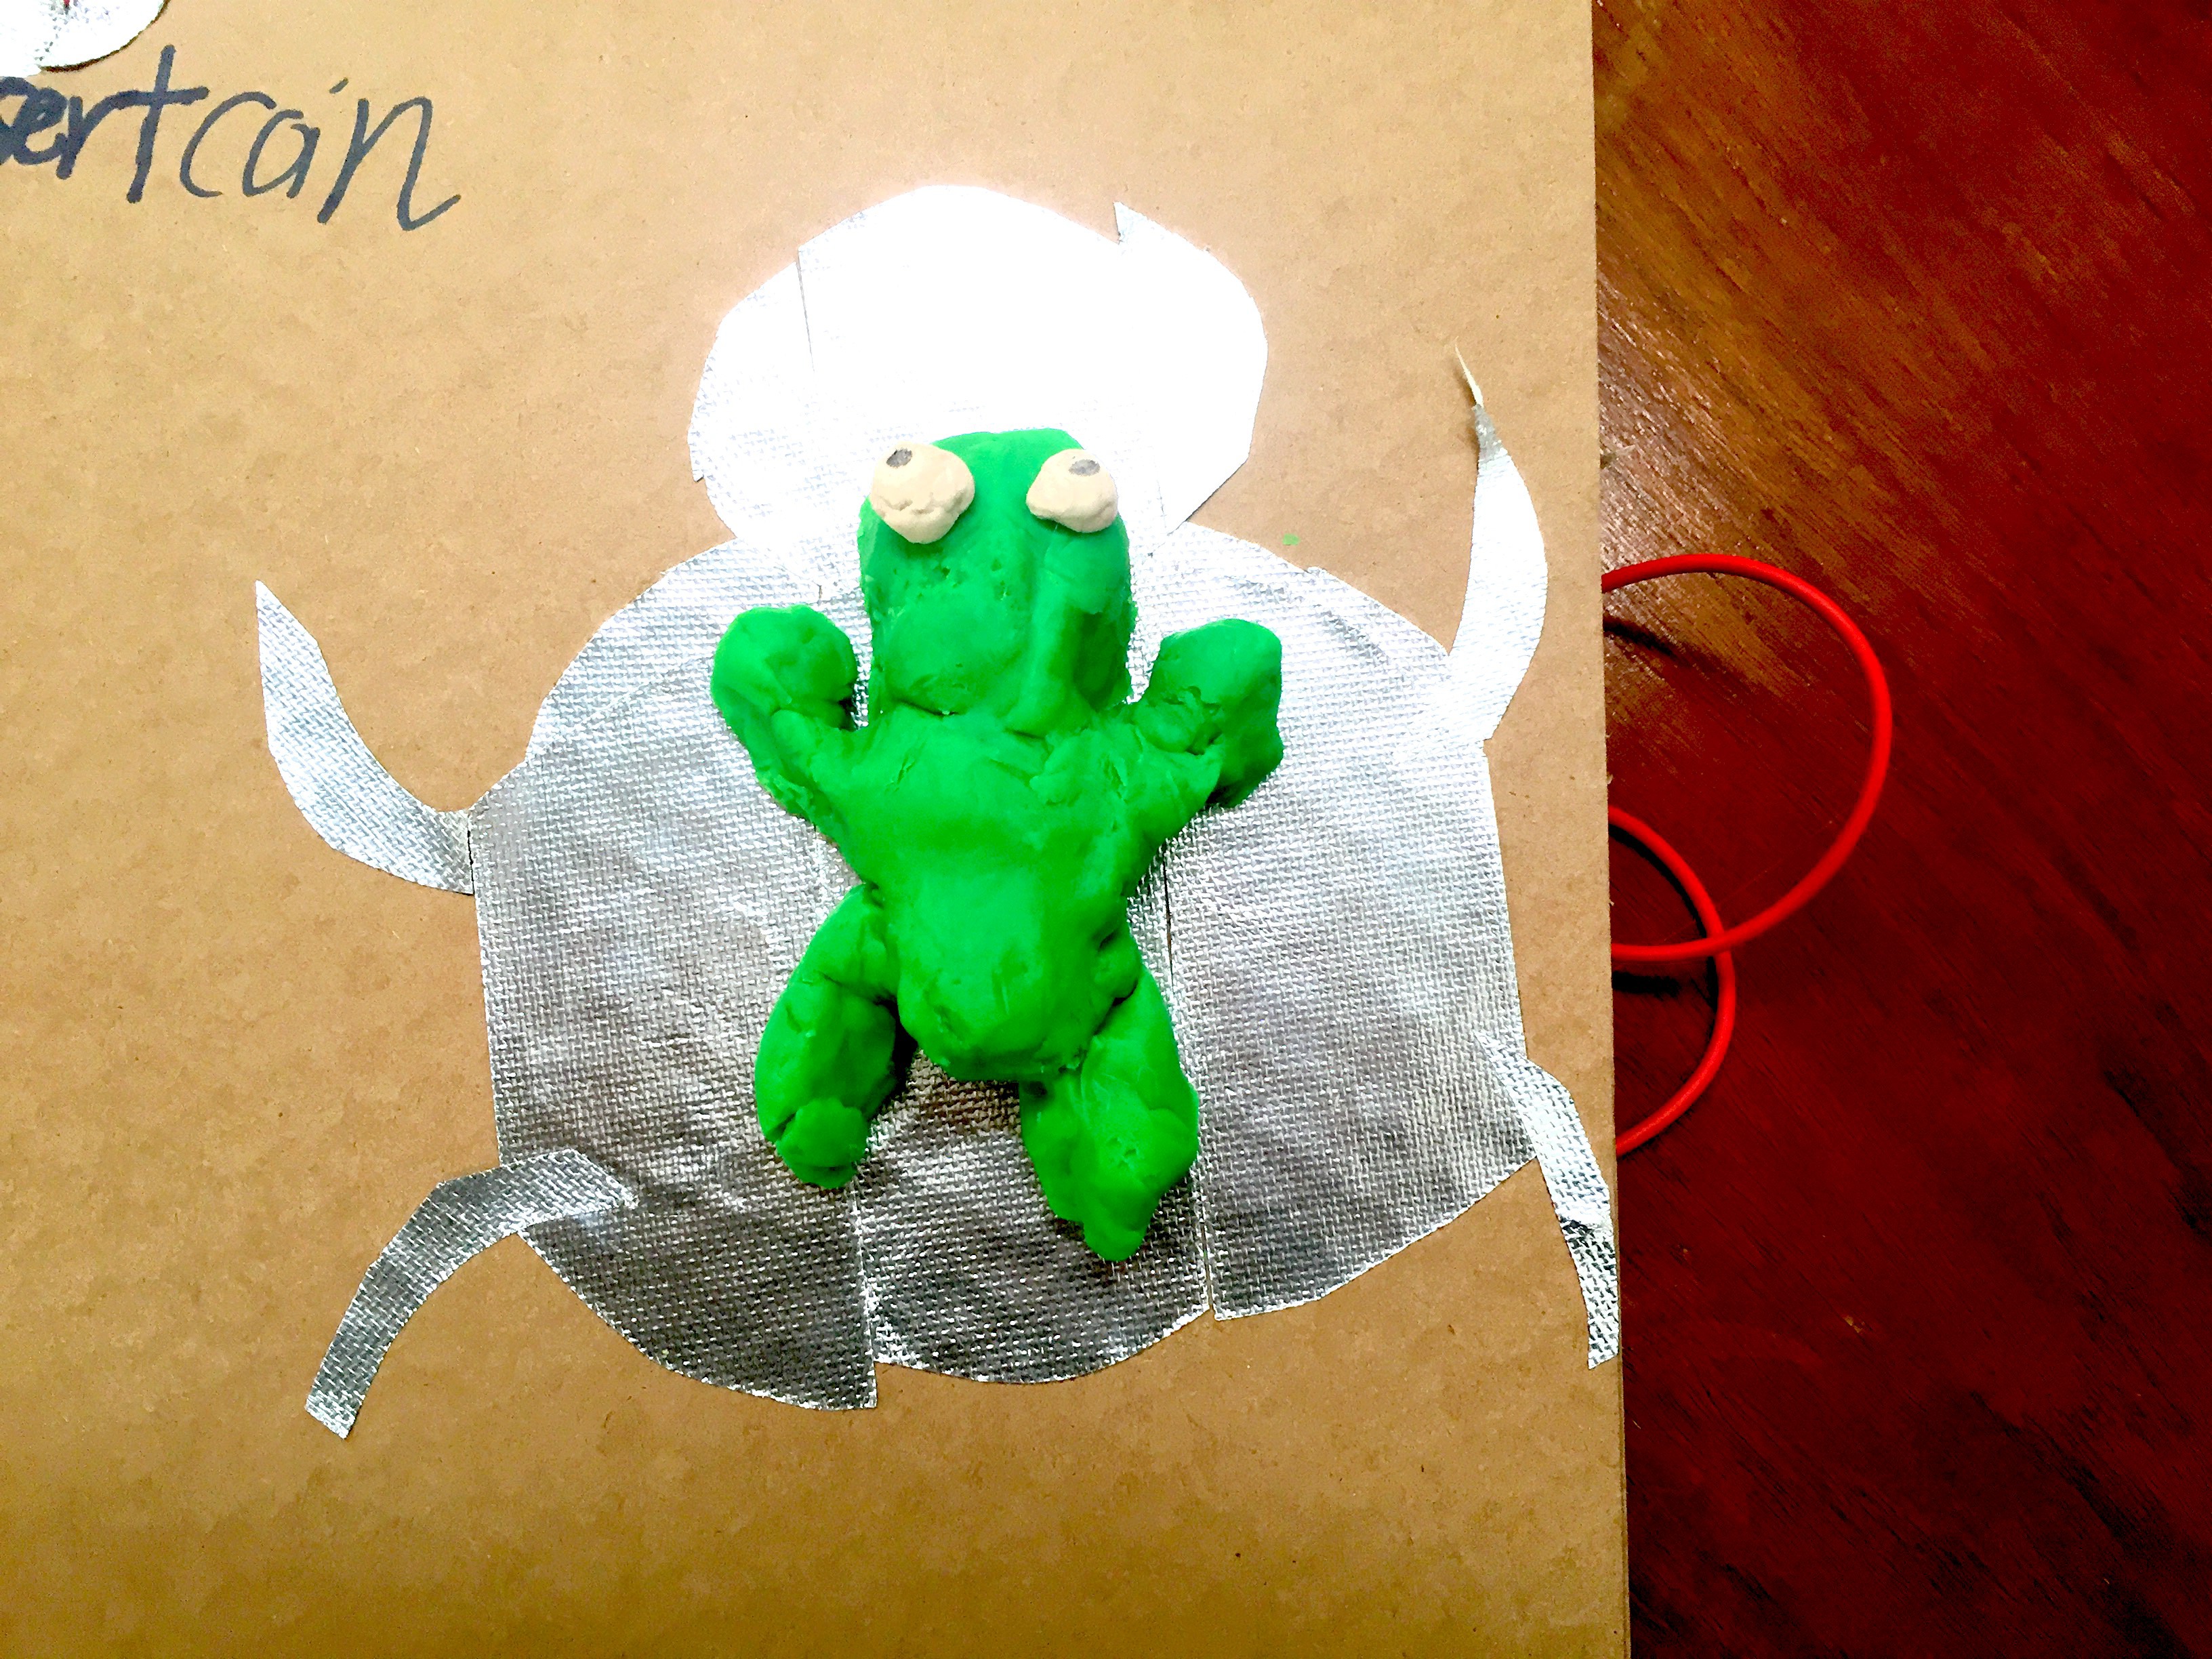
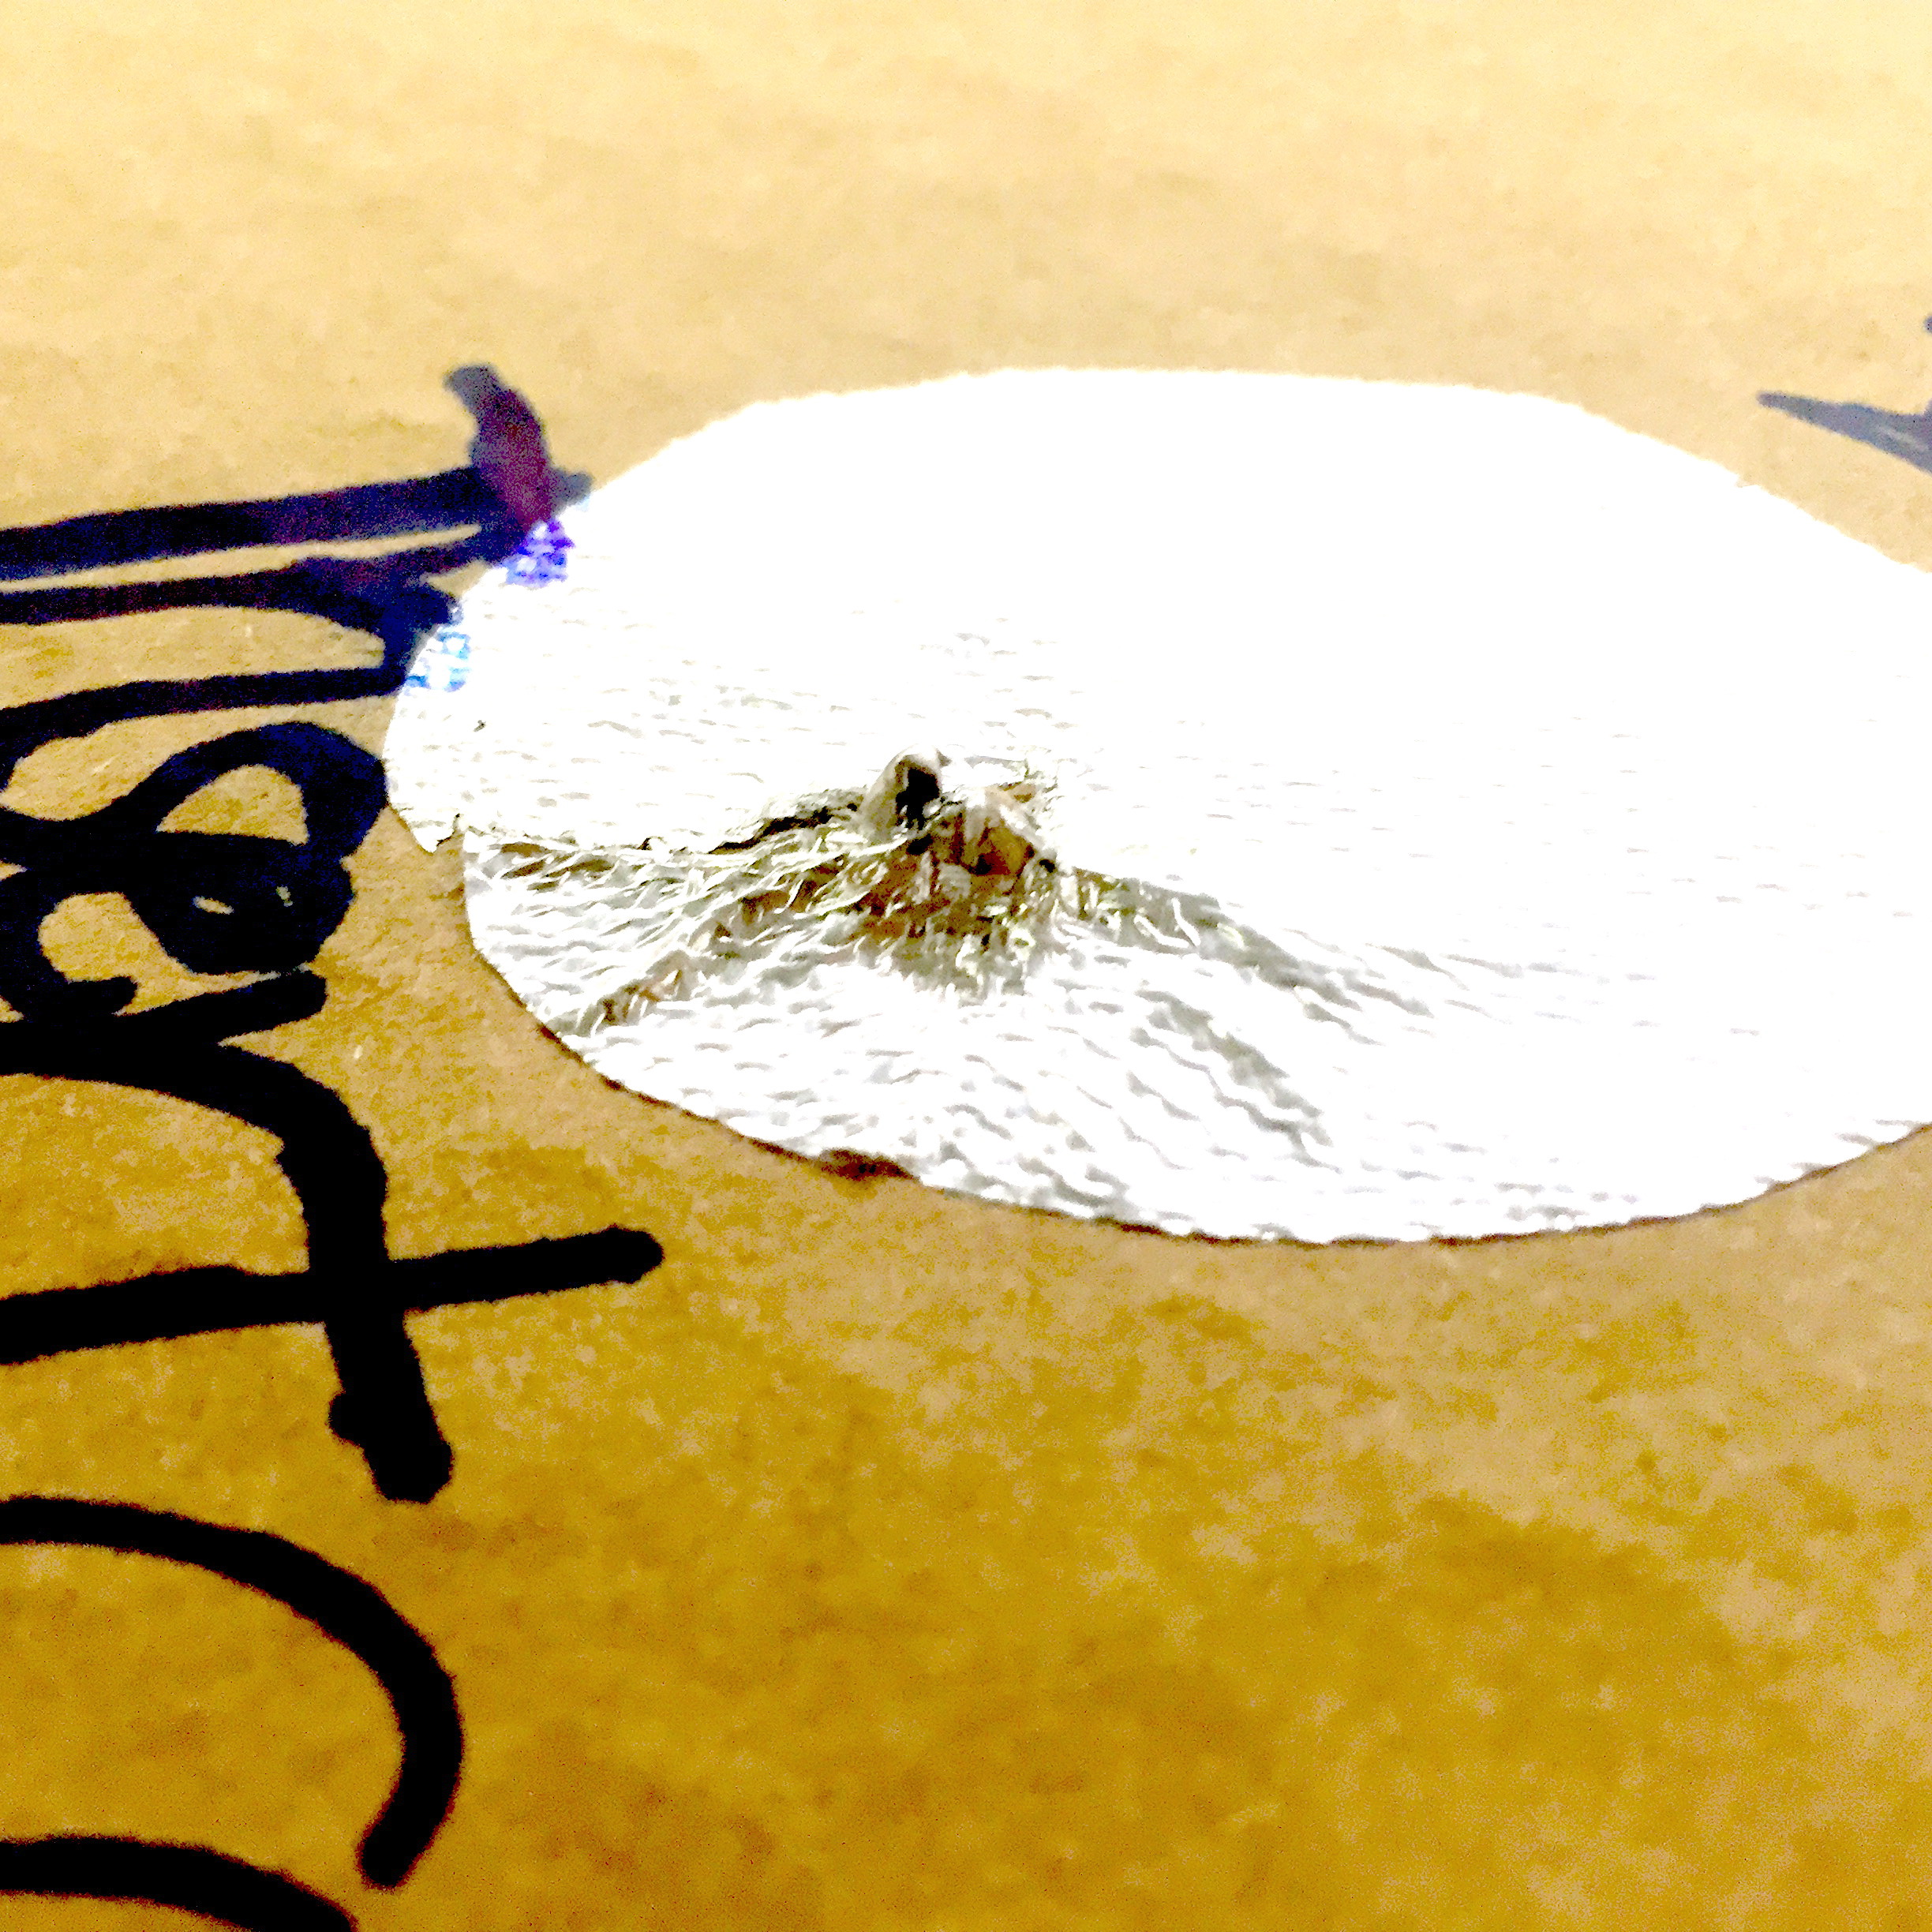
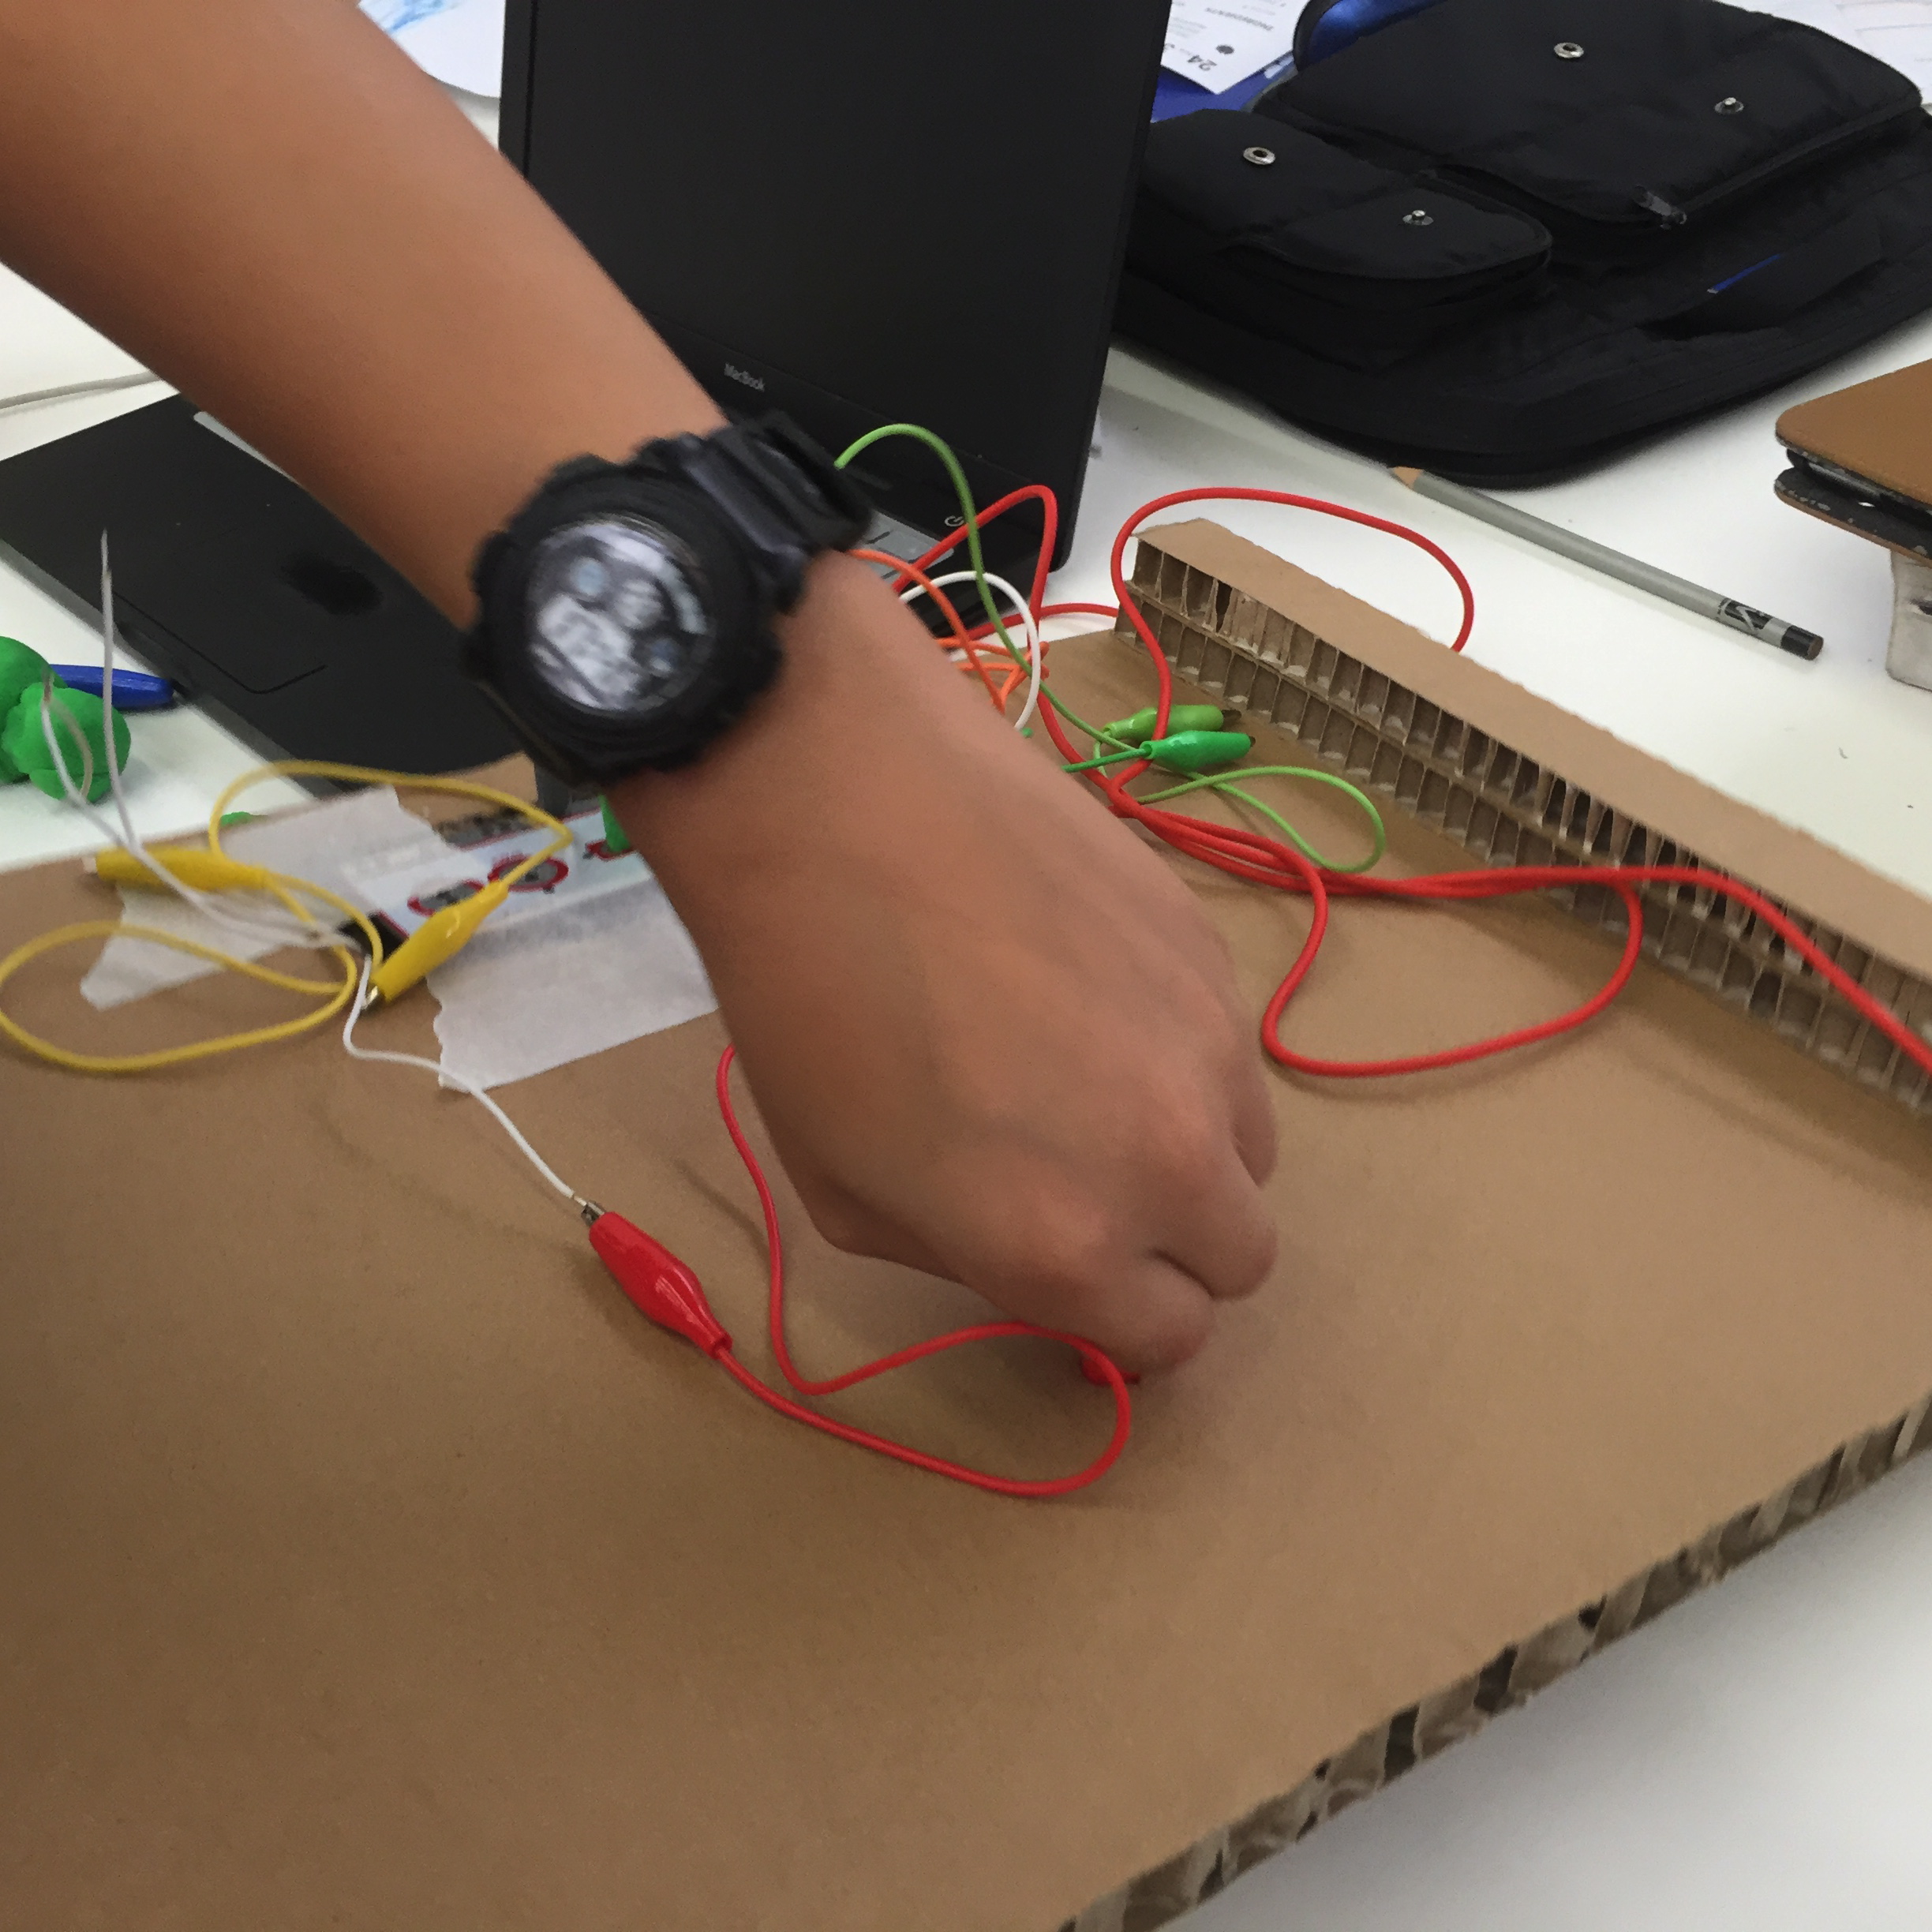
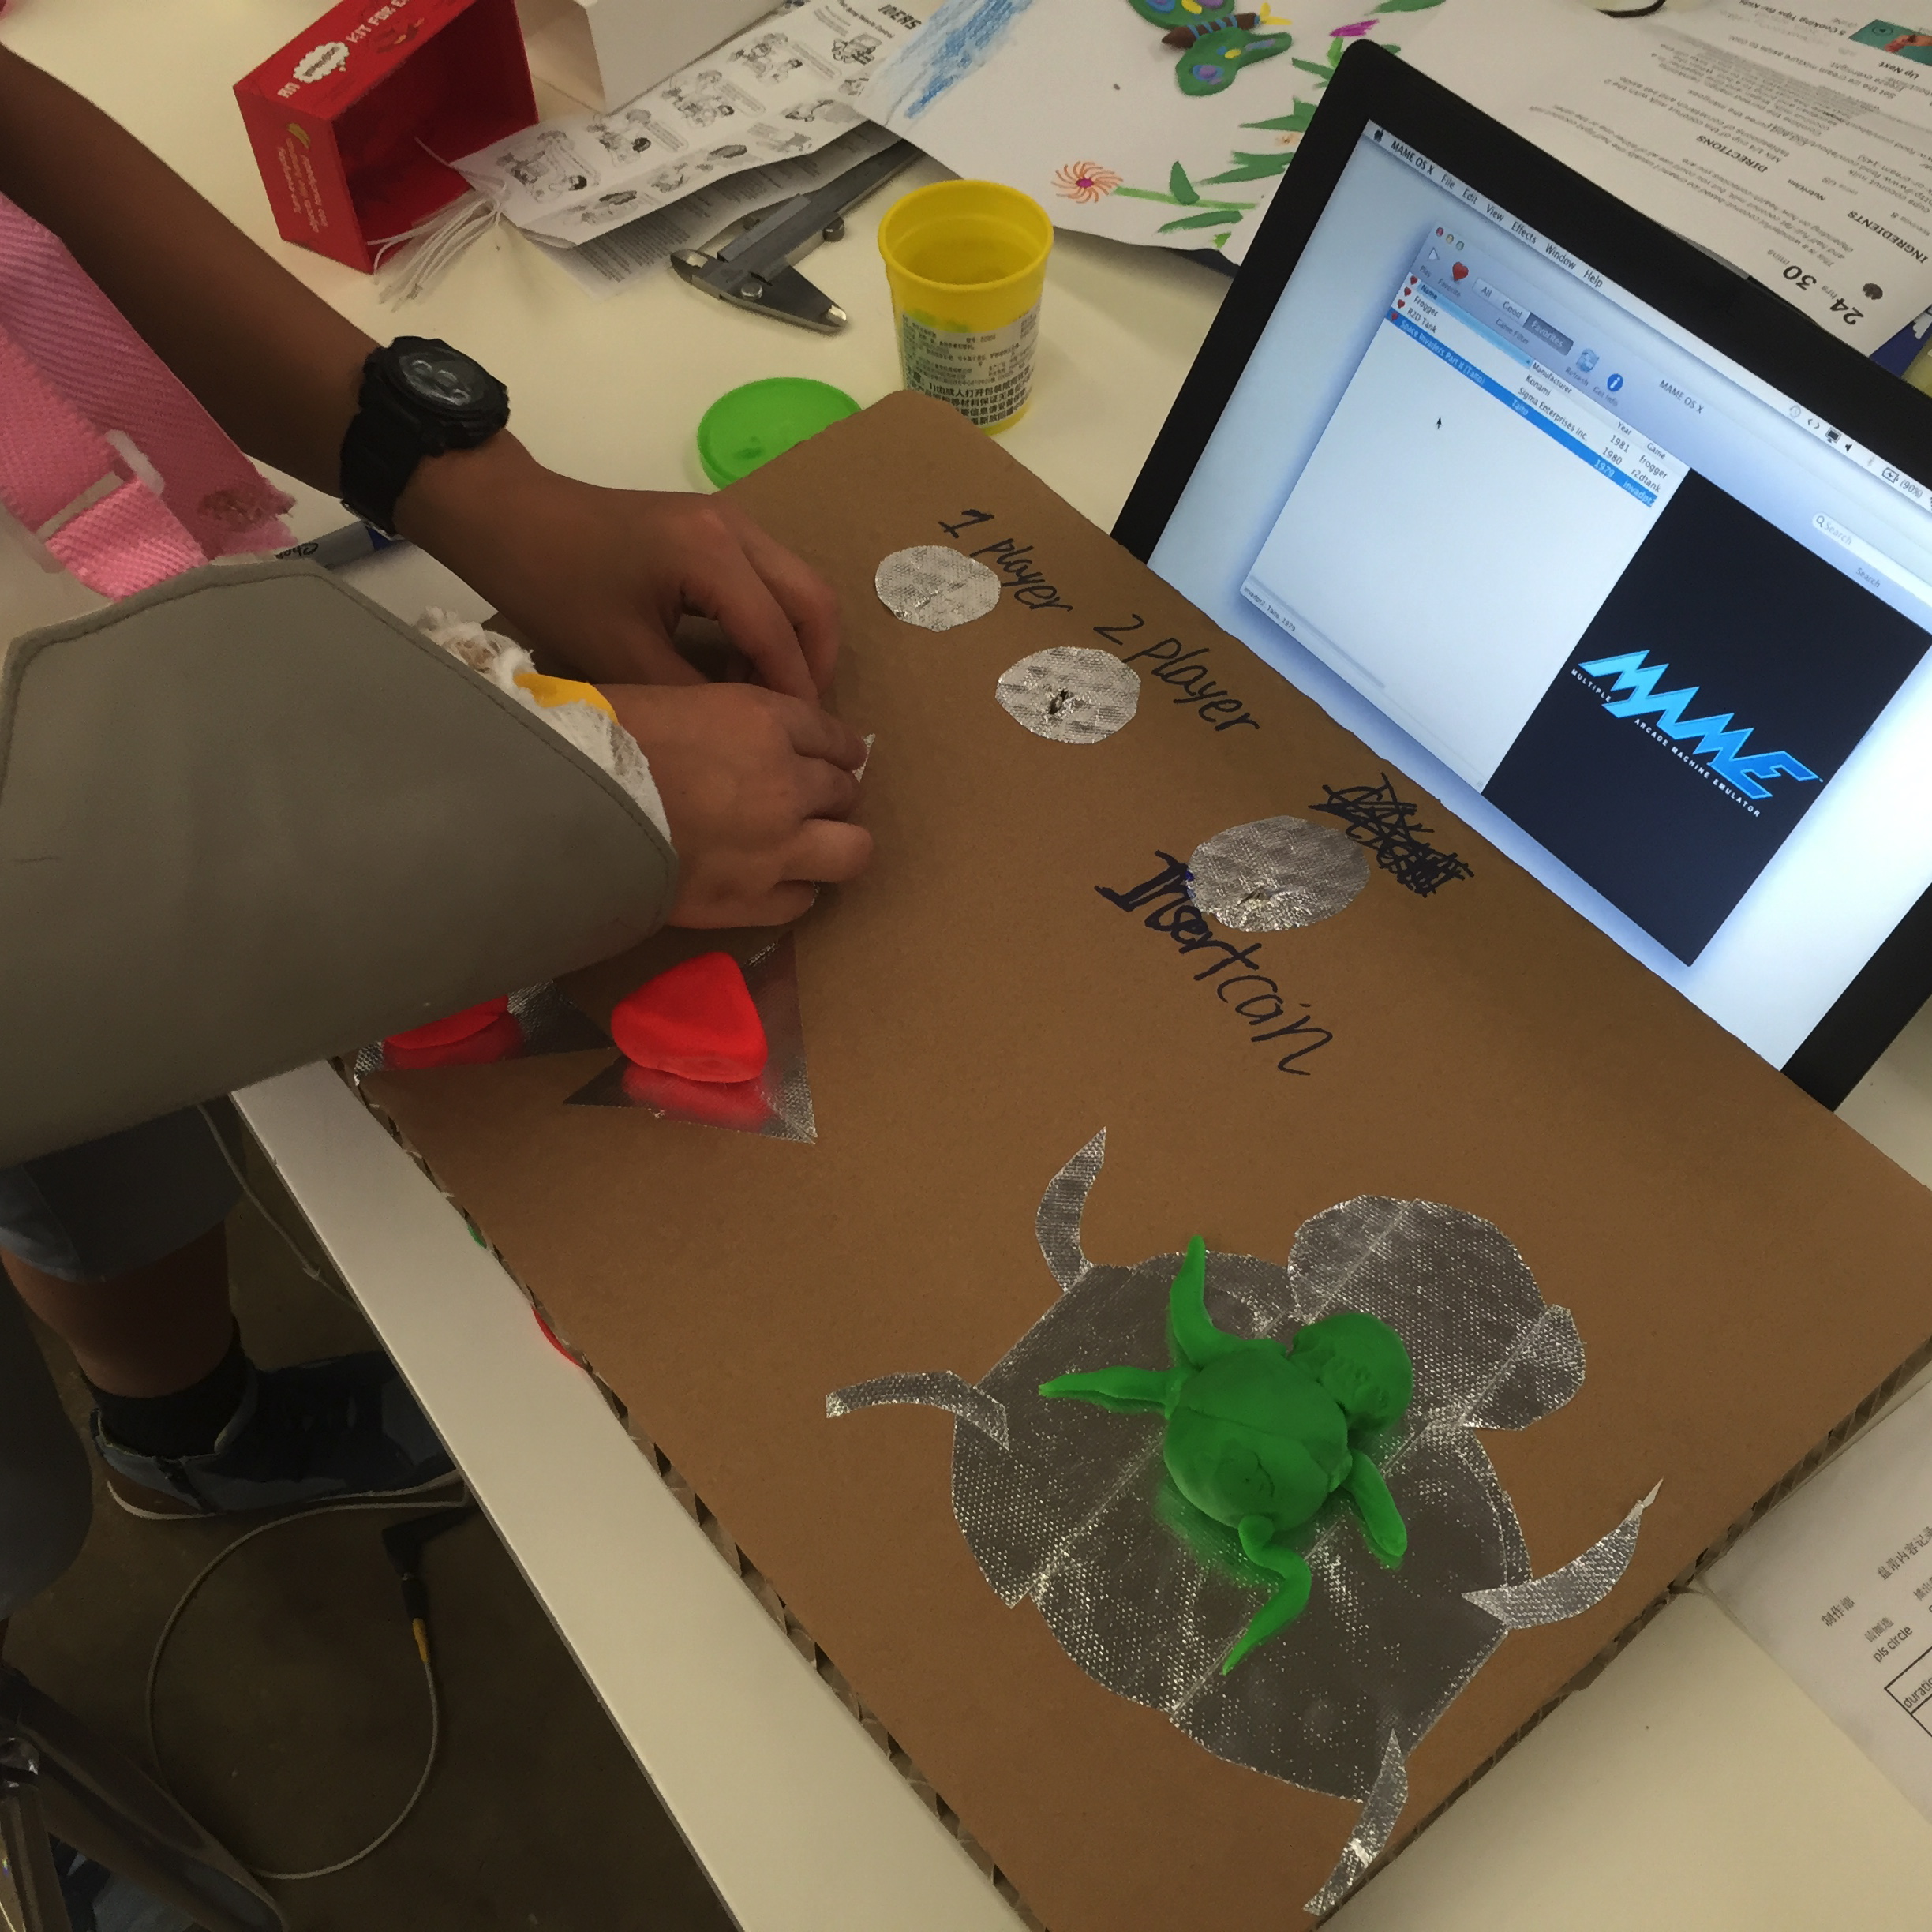
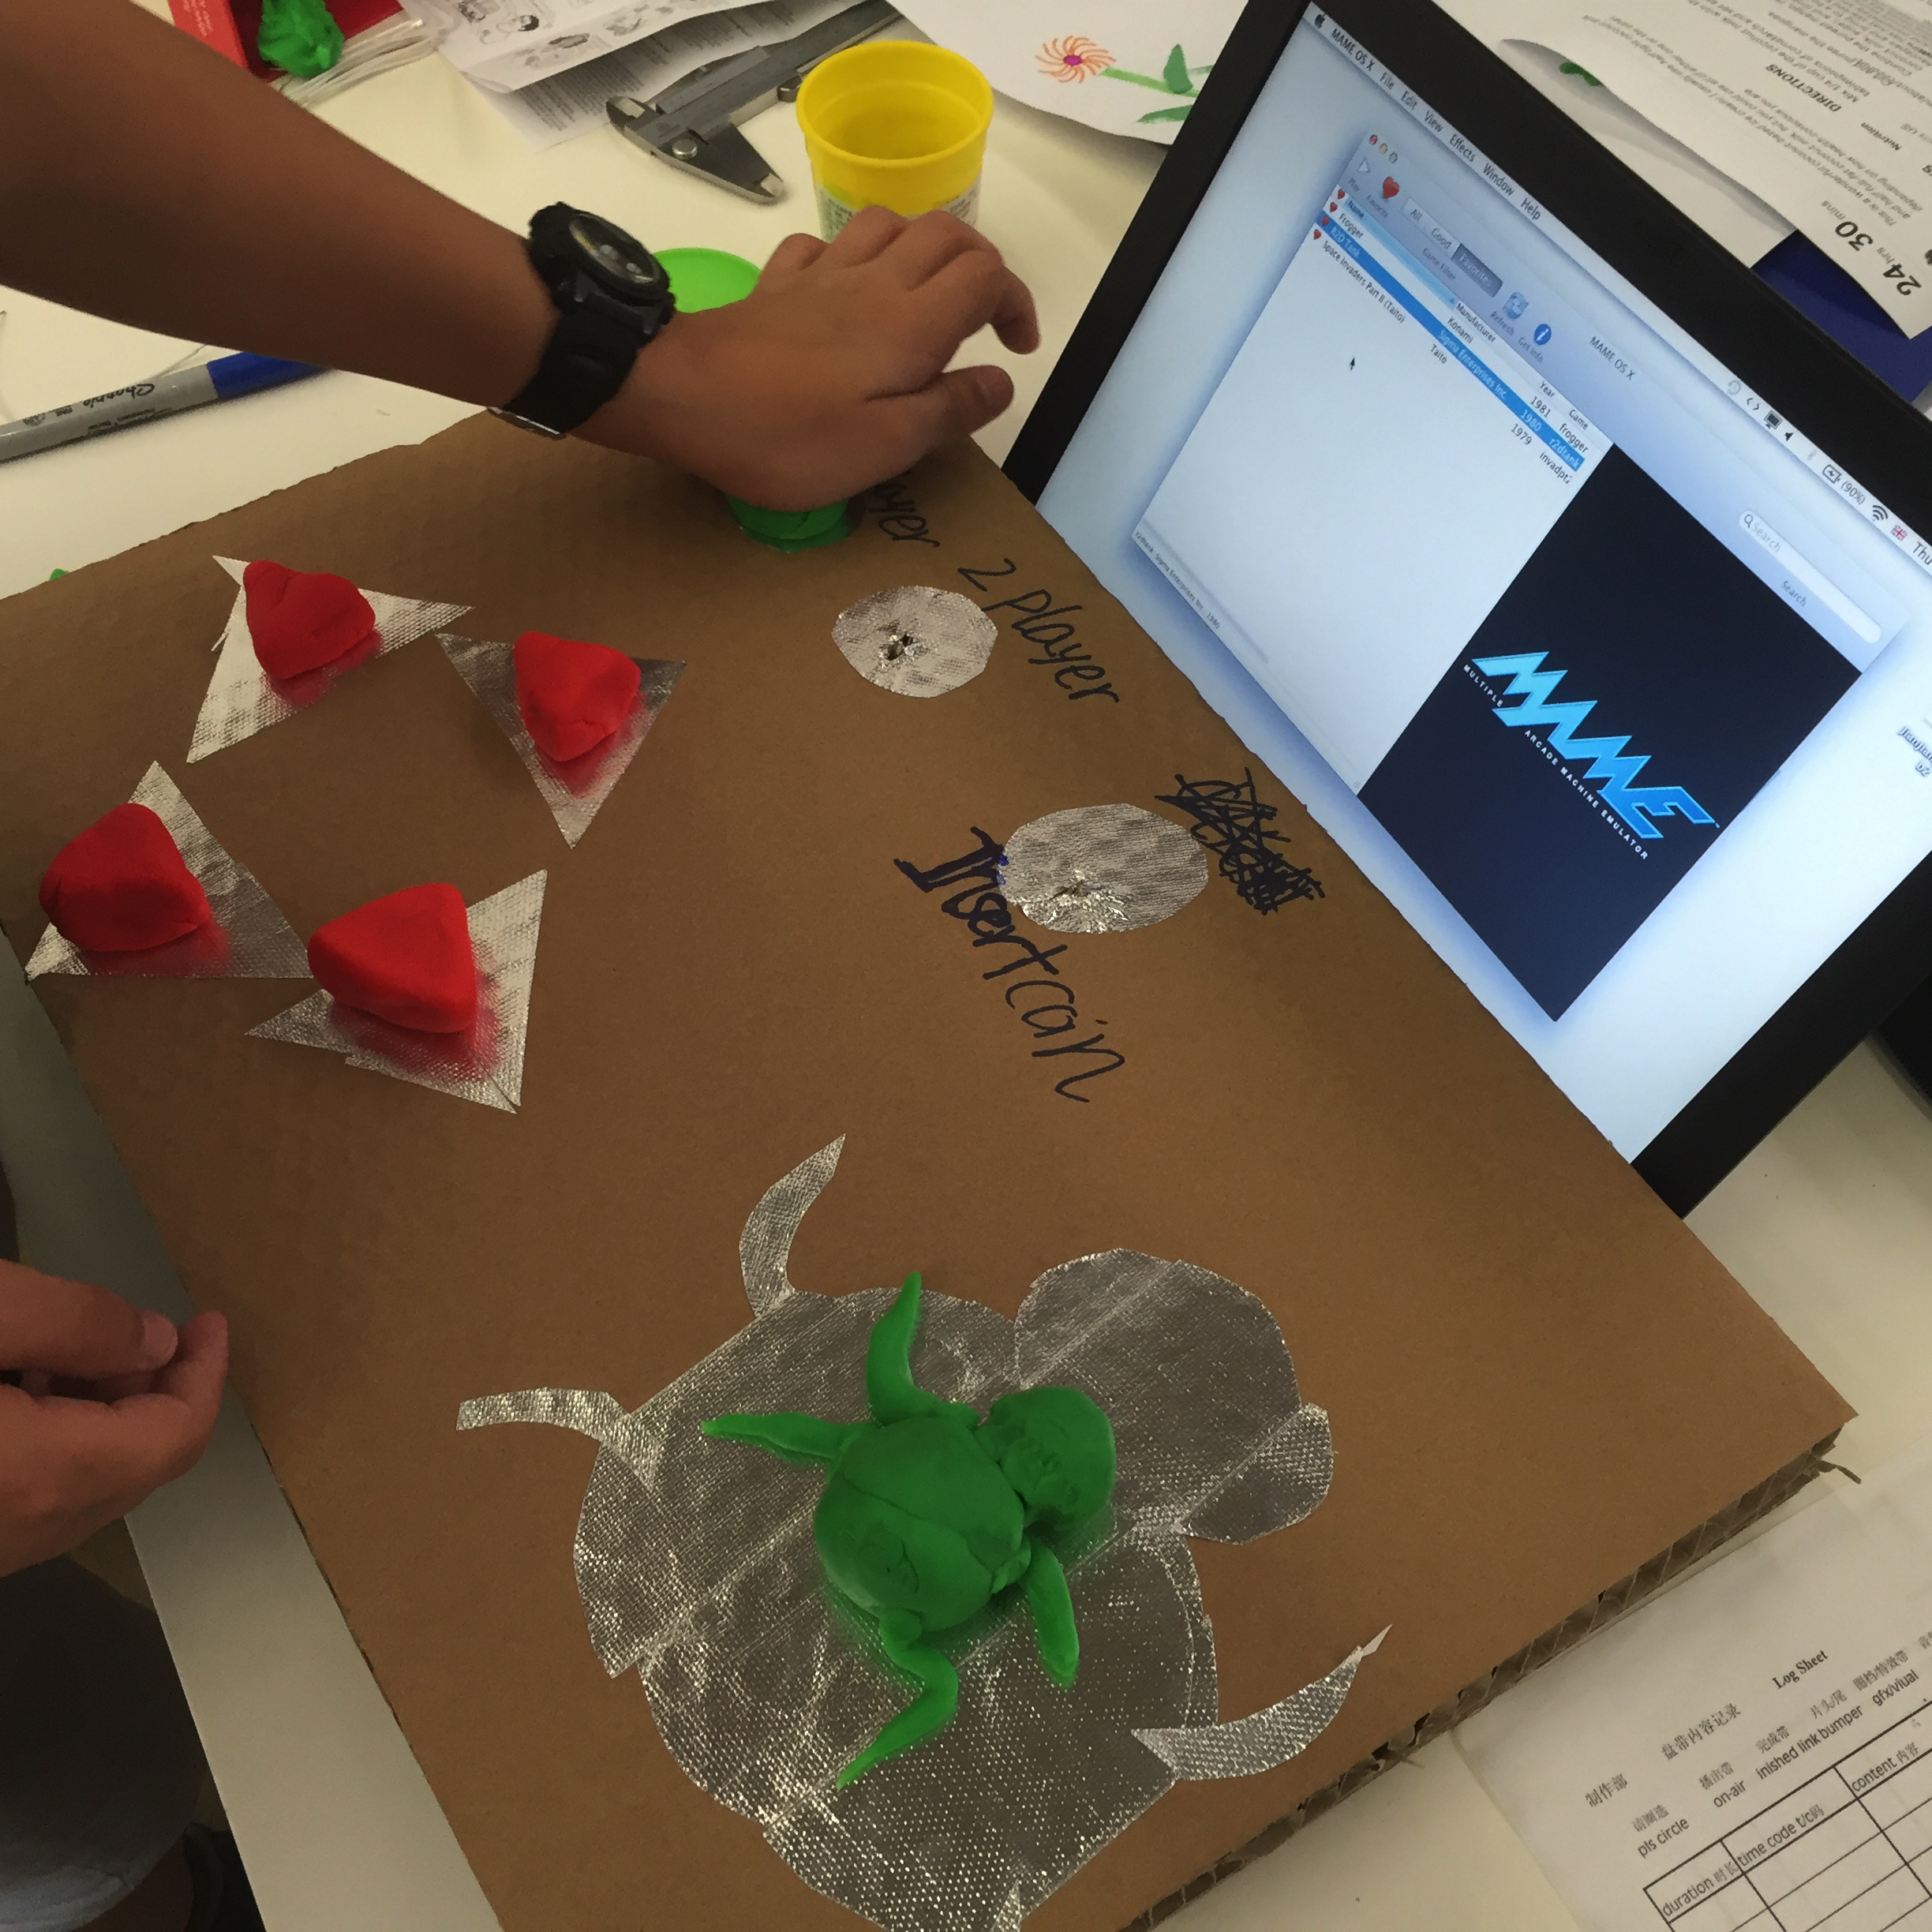
Each clip needs to connect to one of the foil tape panels on the top of the control board.
To achieve this, we just pushed the crocodile clips through the card and until they were poking through the foil. The Play-Doh just sits on top of this.
It seems to make good electrical contact.
Once you have all the wires in place, put your Play-Doh shapes on top and test.
Play the Game!
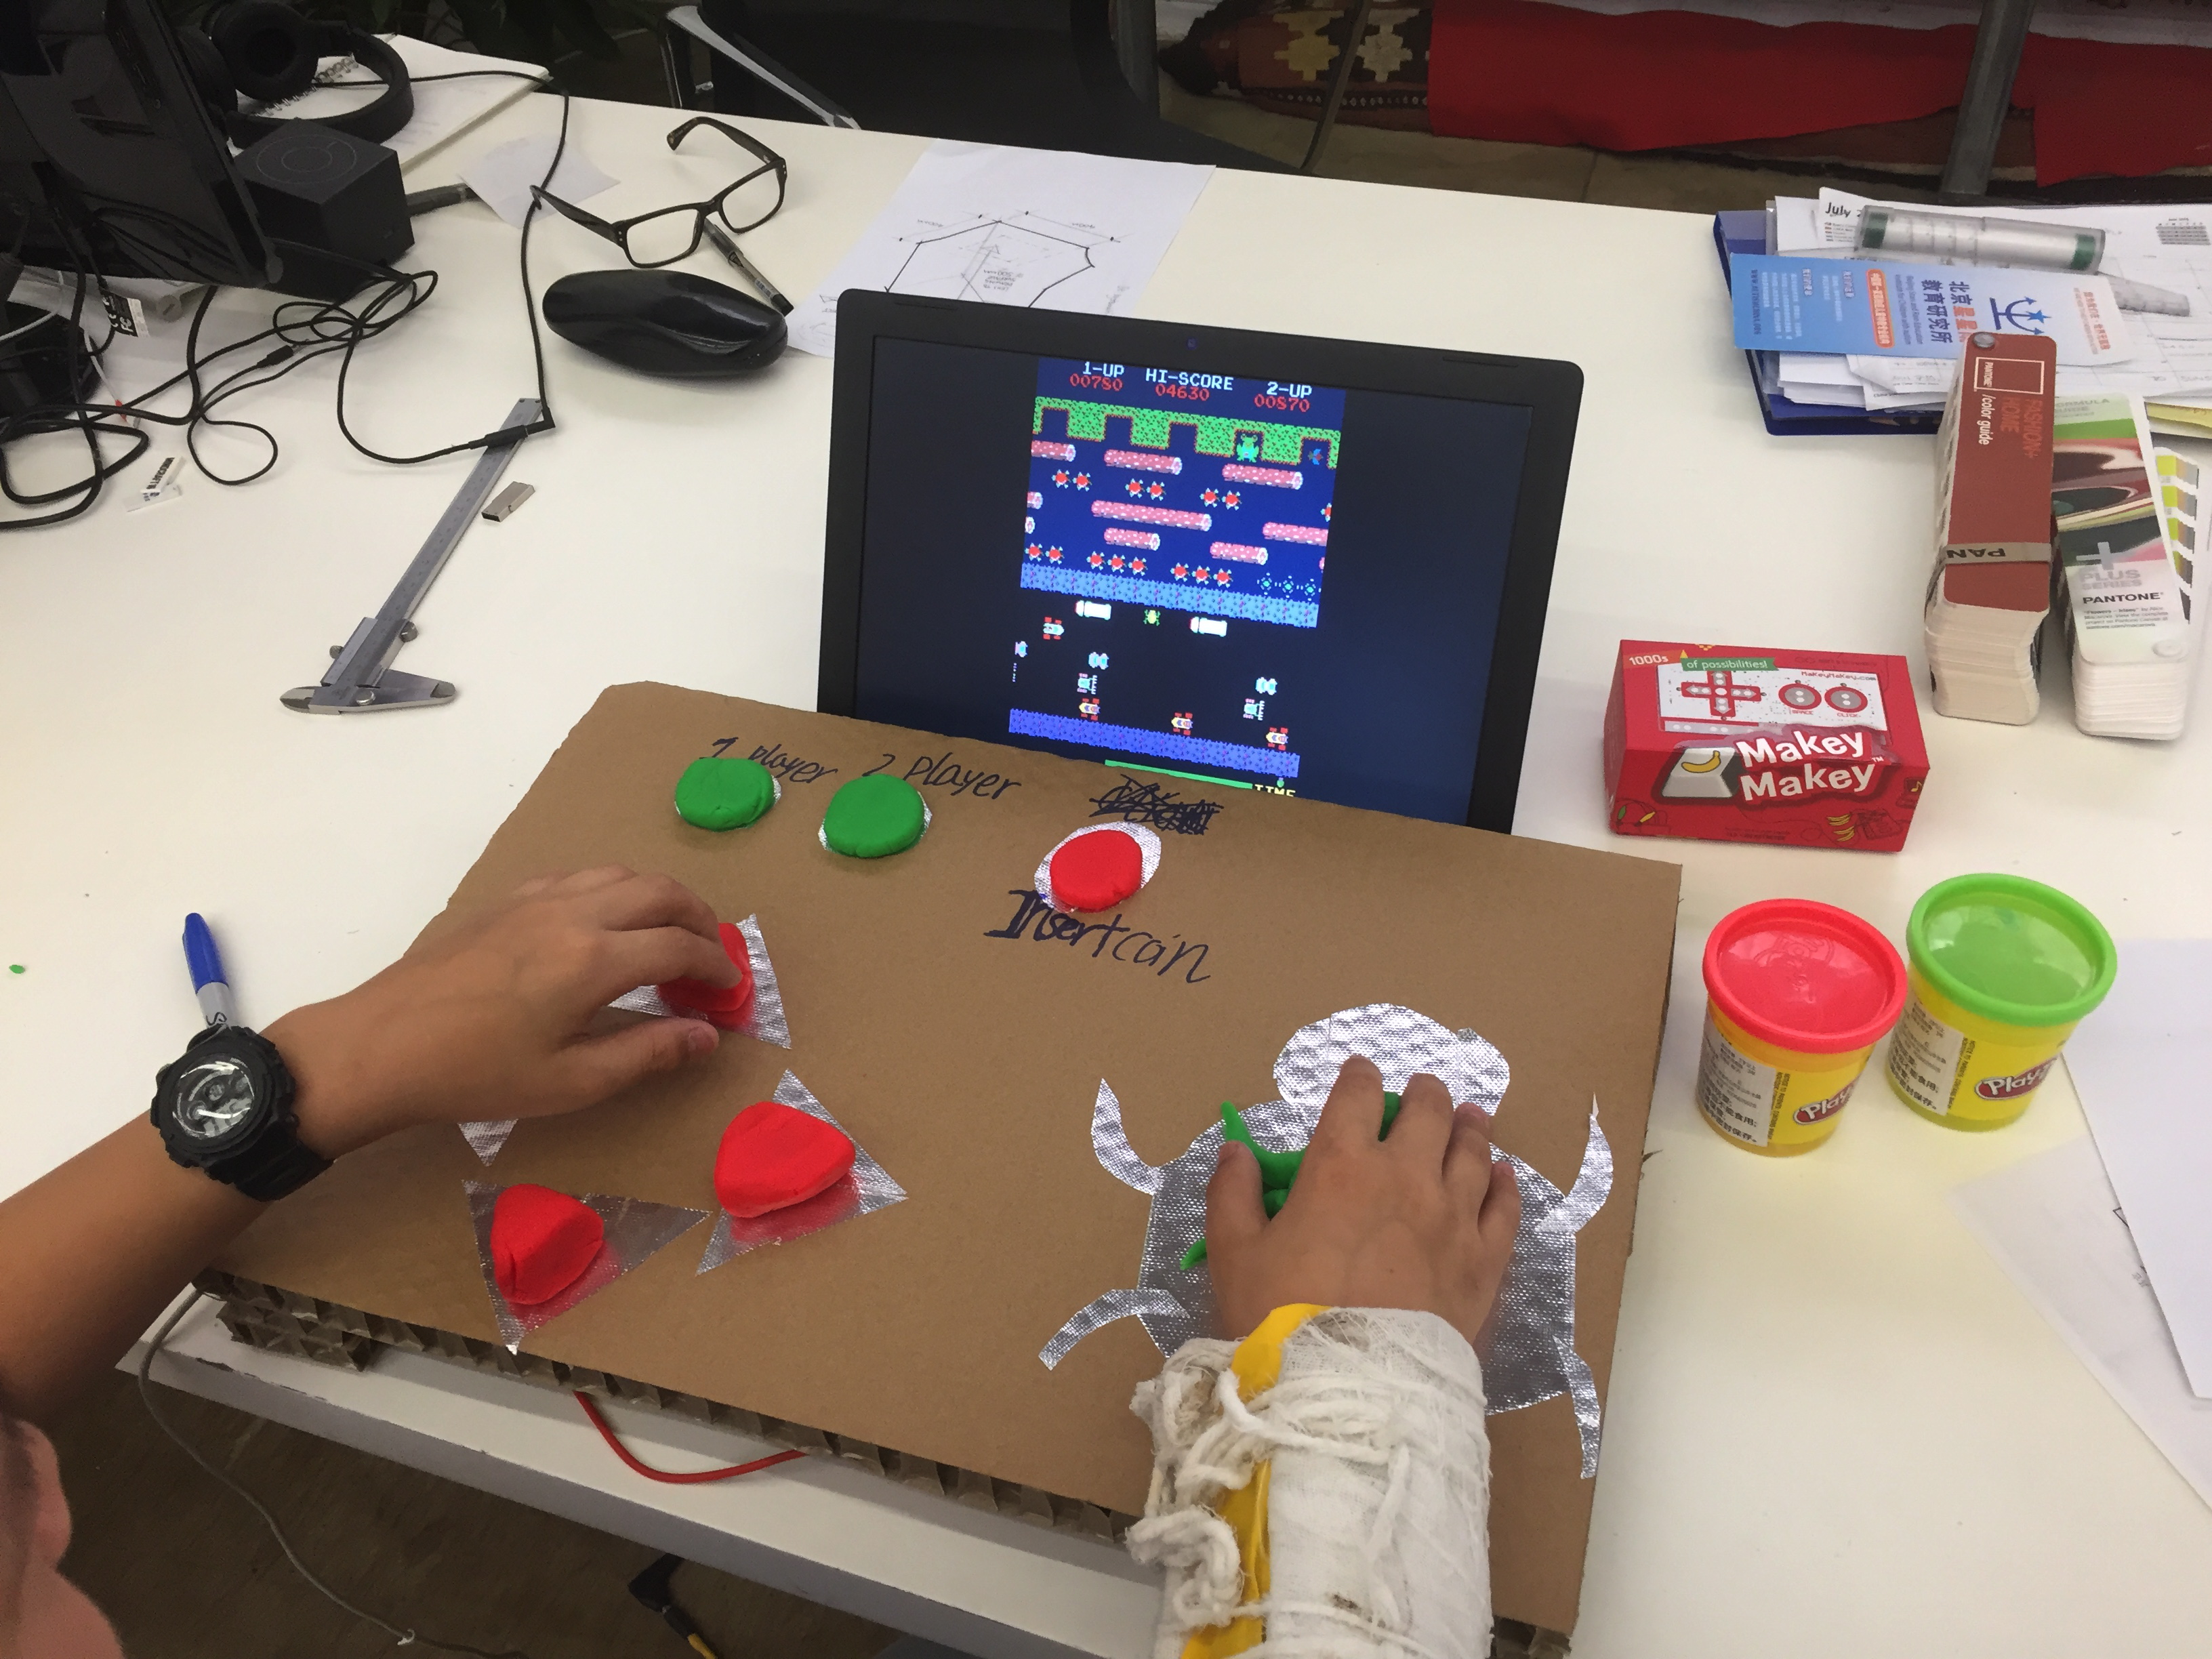
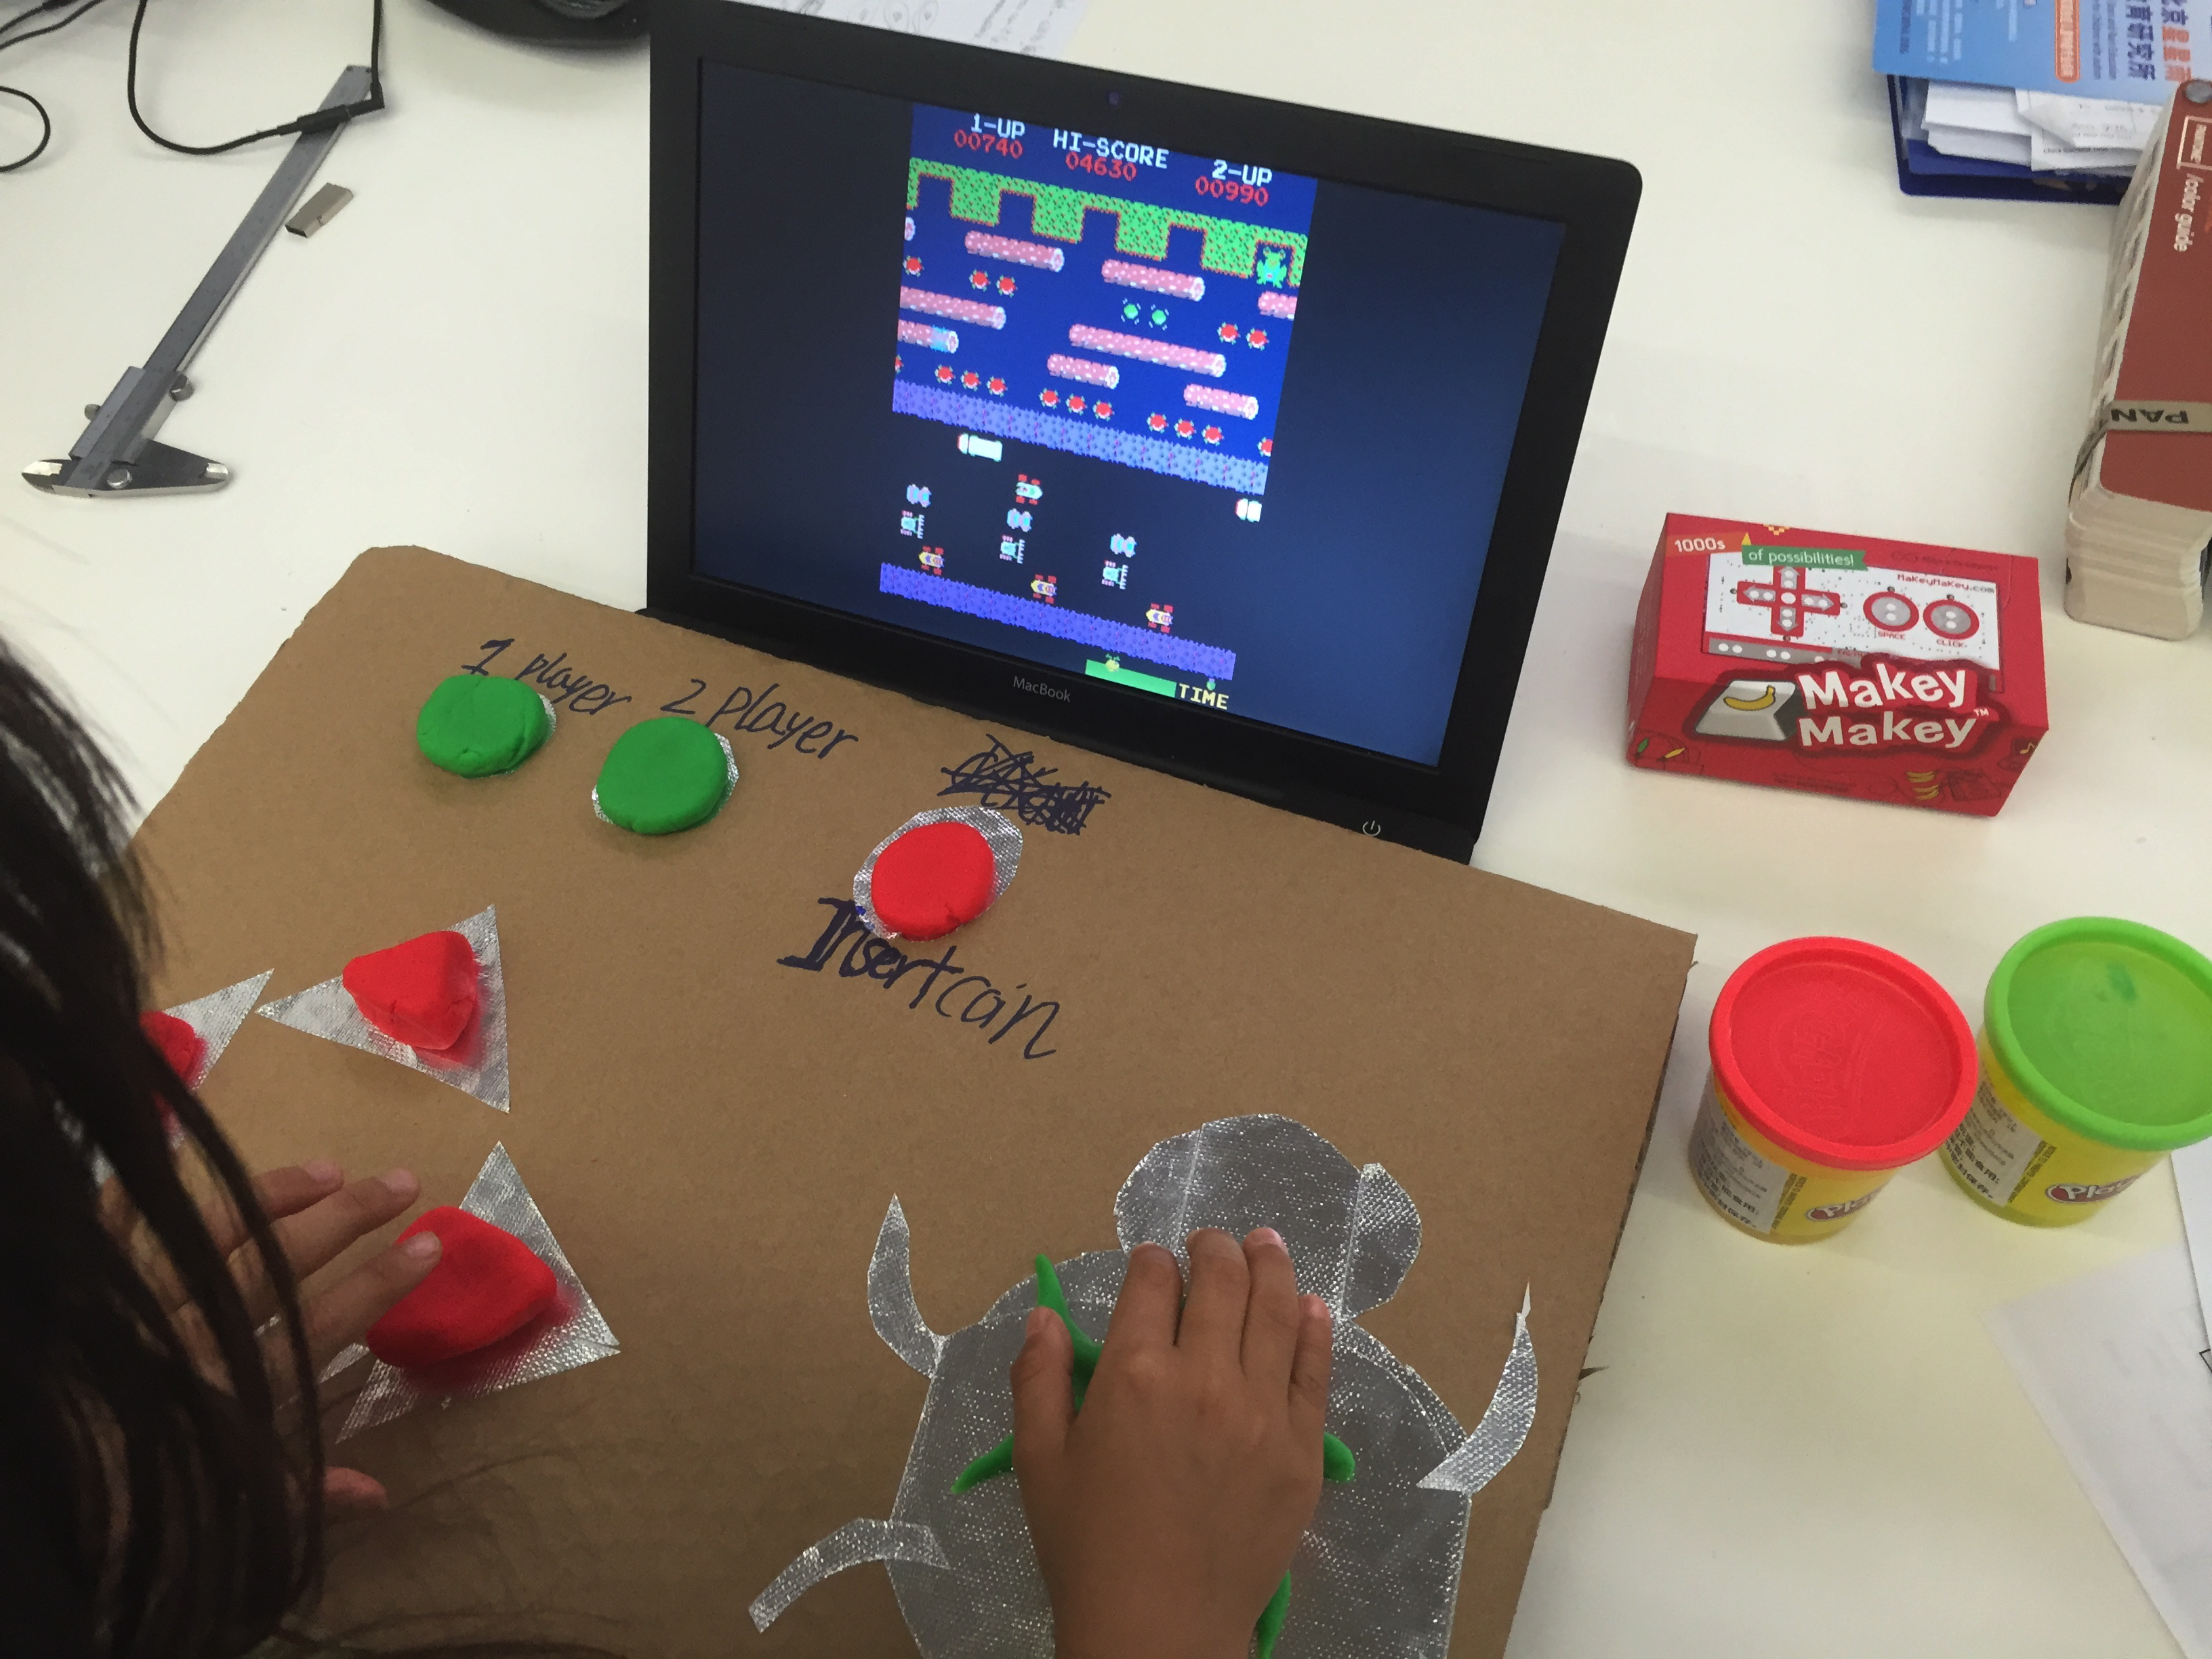
Have fun and try not to get squashed!