Talking Santa Blowmold
by davehibshman in Circuits > Raspberry Pi
457 Views, 0 Favorites, 0 Comments
Talking Santa Blowmold
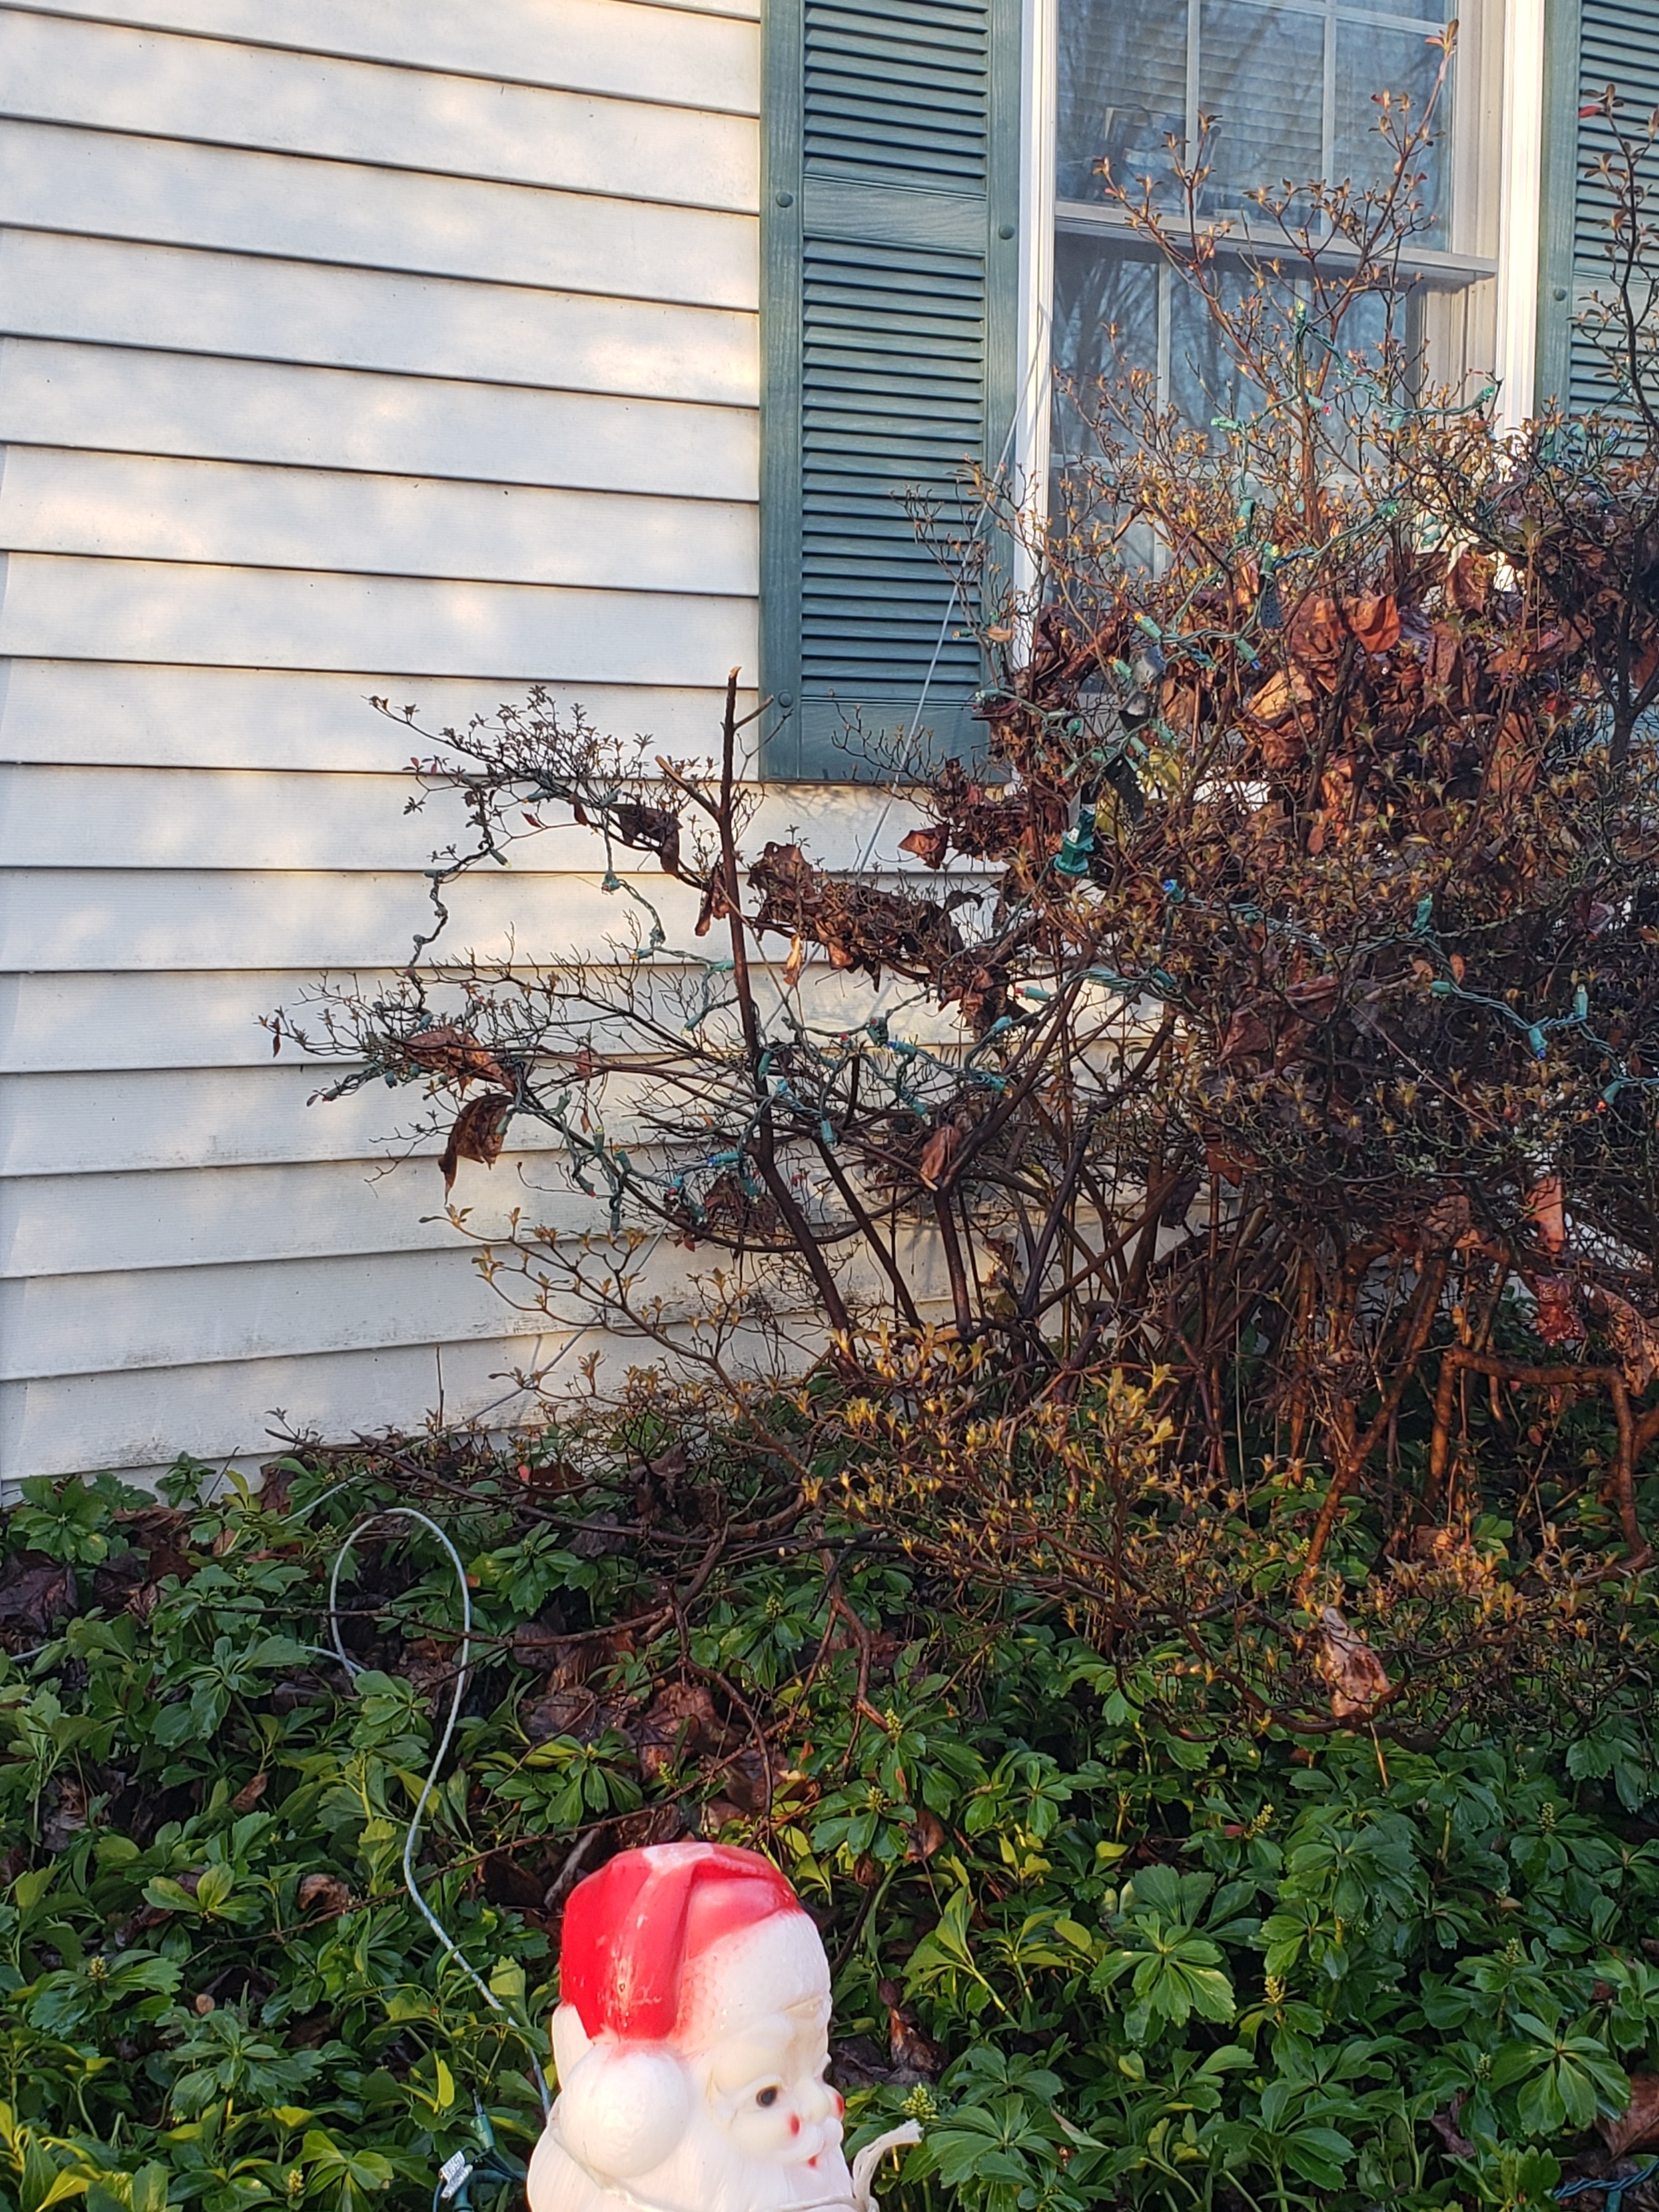
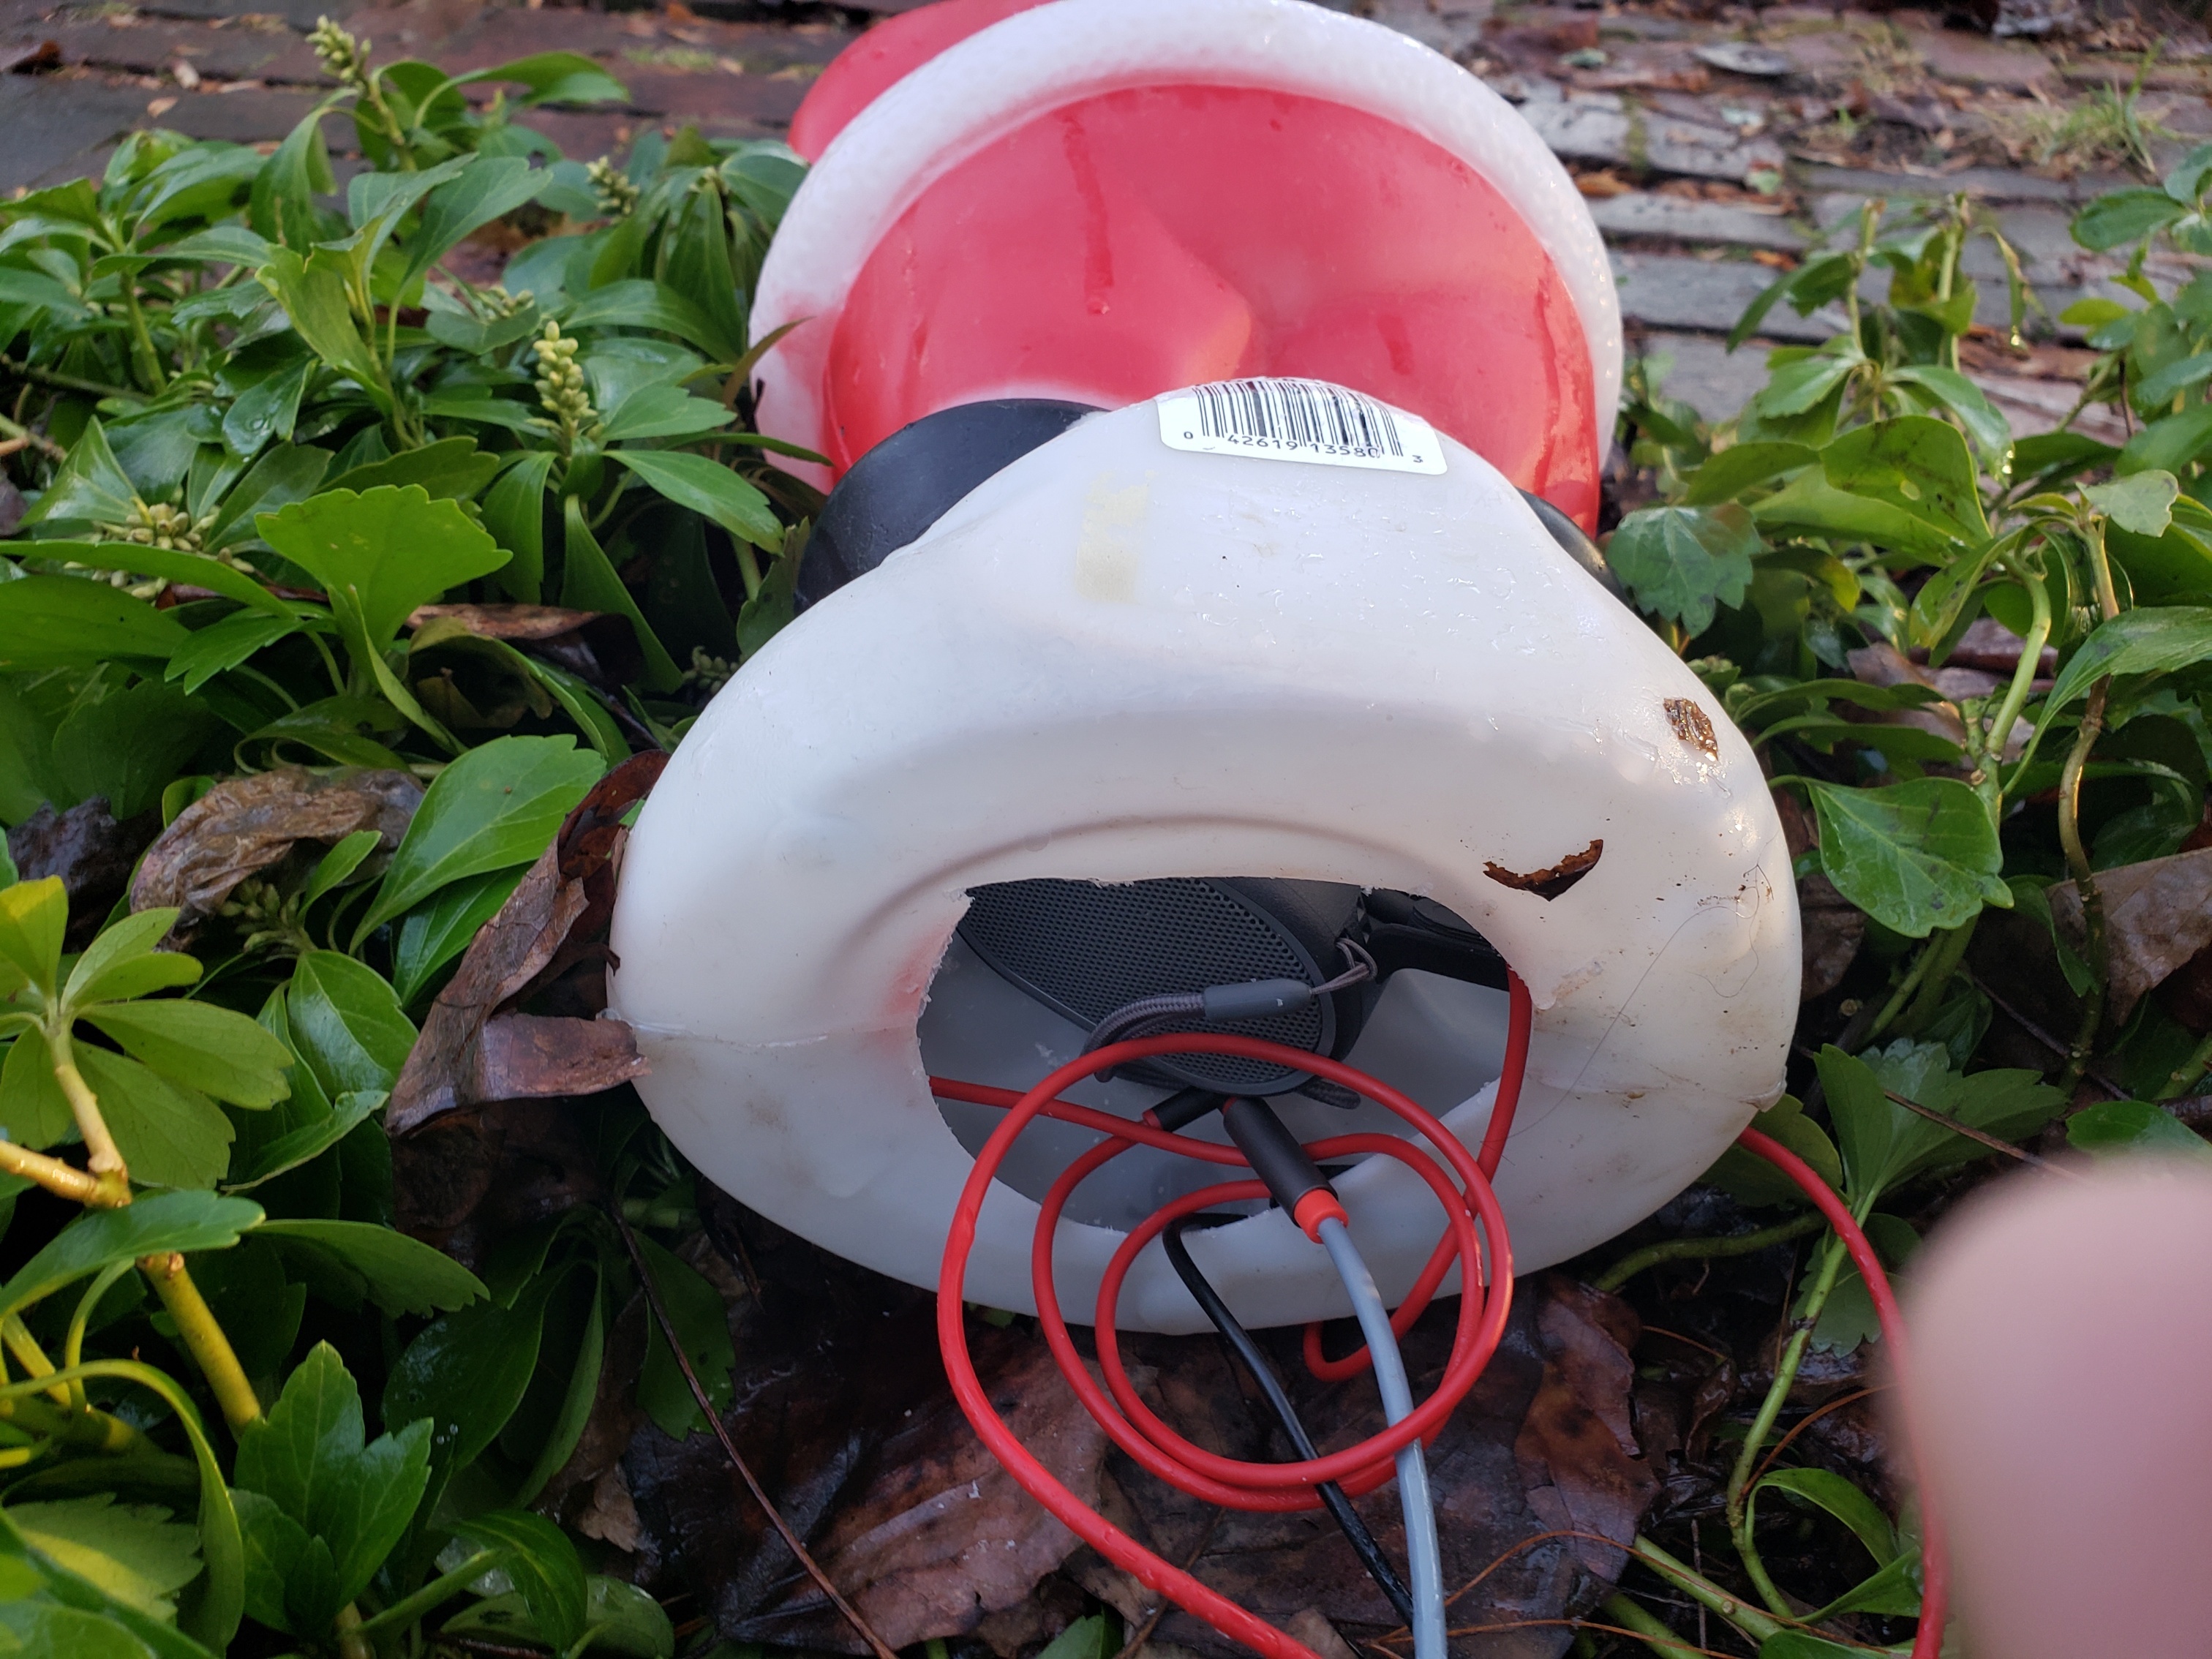
This project explains how to make a decoration that plays a sound file when someone walks by. This can be easily accomplished with a computer that can run the Motion program and a camera of some kind. In this case I used a 20" tall Santa Claus blowmold. I setup my Raspeberry PI with the camera module in my garage window and pointed it towards the Santa blowmold. I hid a powered outdoor speaker inside the blowmold and I ran a 25ft aux cord rated for outdoor use from the PI to this speaker . I setup the Motion program on the Pi to play a Santa sounding Ho Ho Ho sound file whenever it detected motion using the camera. It's pretty simple to do and it's good fun.
To buy the specific materials I used here would probably cost about $100 with shipping. I wouldn't spend that making this if I didn't already have all of these materials lying around unused. This can work with any computer, any cameras, and any speaker so it can be accomplished much cheaper if needing to buy these things.
Downloads
Supplies
- A computer with the Motion program installed
- I used a Raspberry PI (RPI) 3 Model B
- Computer attached Camera or Network Camera
- Any camera that the Motion program can use
- USB Camera
- Network Camera
- I used this Camera Module that attaches directly to the RPI
- An outdoor rated speaker
- Connect via aux port
- USB
- I used this Sony SRS-XB01
- A decoration such as blowmold, anything really
- I used a Santa Claus blowmold very similar to this one
Setup Your RPI
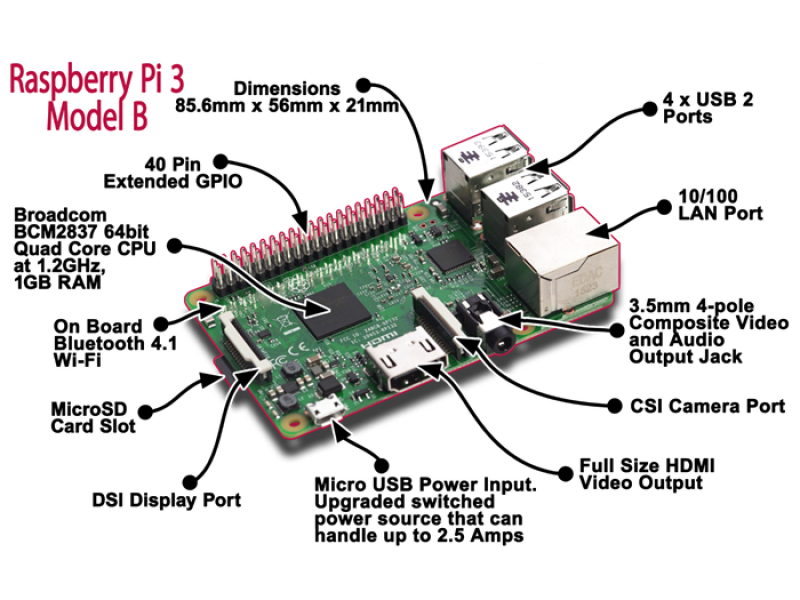
This step is here mostly for complete beginners. This video explains how to setup a Raspberry PI (RPI) better than I could. I would also recommend, as does in the video, hooking up a Wireless USB, keyboard + mouse, and external monitor for the setup. Once setup I run mine in my garage without the keyboard + mouse and external monitor, but I leave in the WIFi dongle so I can ssh into it and reboot and/or make changes.
Attach Camera to RPI
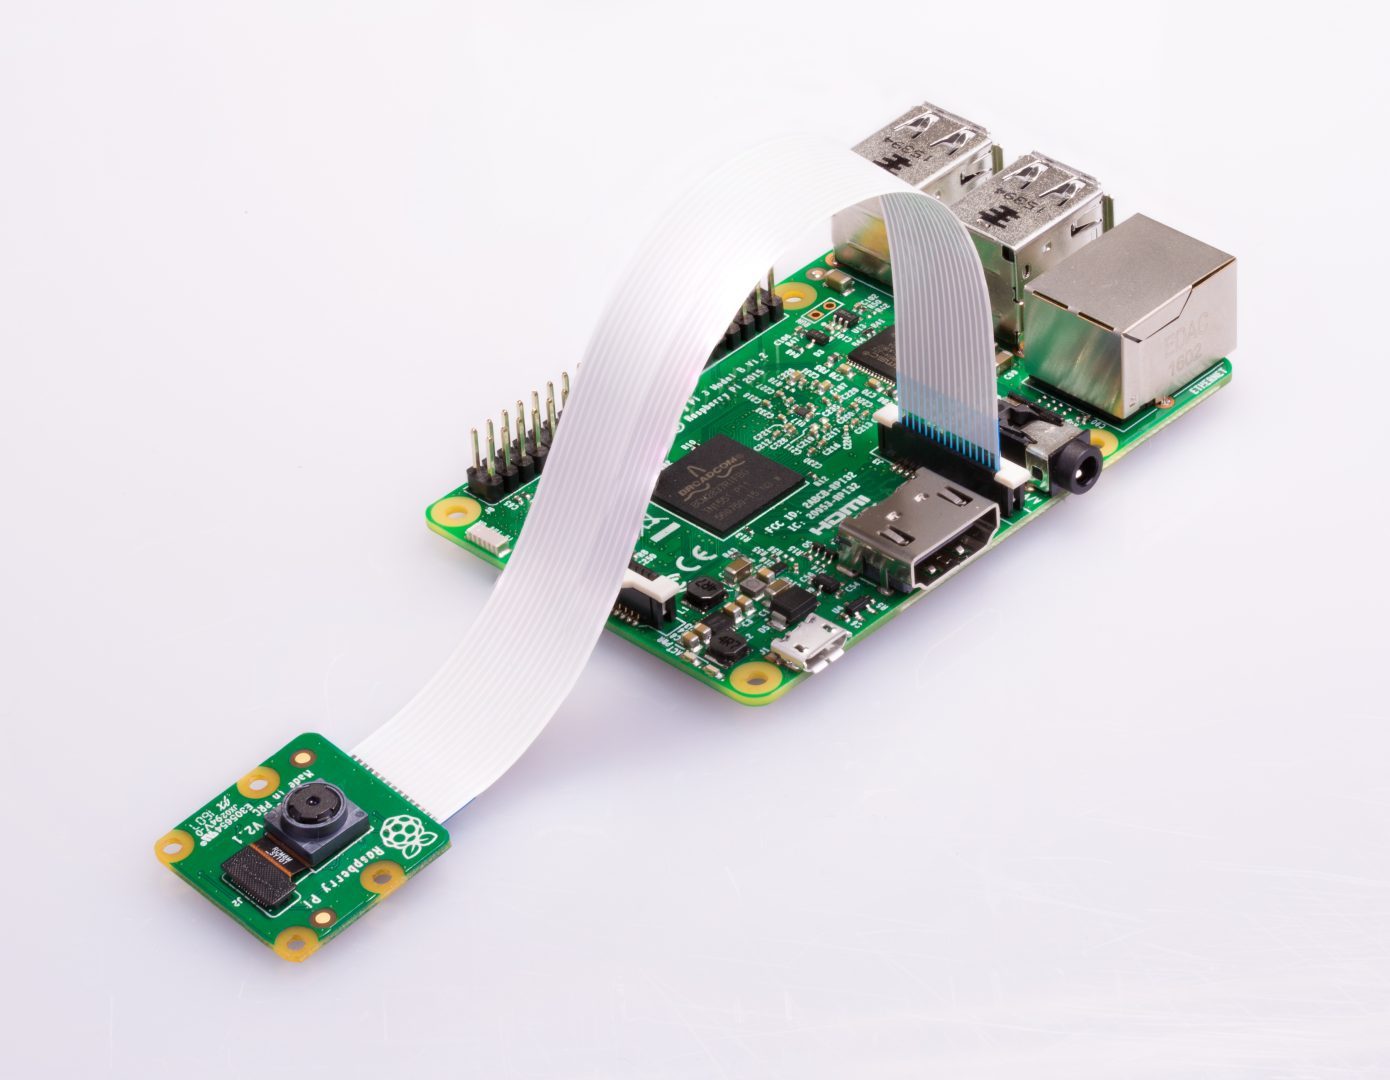
Follow the instructions to setup your camera for your RPI. I used the Camera module from Adafruit Industries.
- Plug and secure the ribbon cable from the Camera module into the camera port between the Ethernet port and the HDMI port with the sliver contacts facing the HDMI port and the blue tape facing the Ethernet port.
- If you have a monitor attached and are running the UI (Xserver) run the Raspberry Pi Configuration tool
- If remote SSH into the rpi from another computer, run rasp-config in your terminal - which will start a terminal UI
- In Raspberry Config, under the Interfaces tab, enable the Camera.
- Save and reboot the RPI.
- Upon reboot run the command below in a terminal, both detected and enabled should return as = 1
vgencmode get_camera
- Your PI Camera module should be working now.
Setup and Test Audio
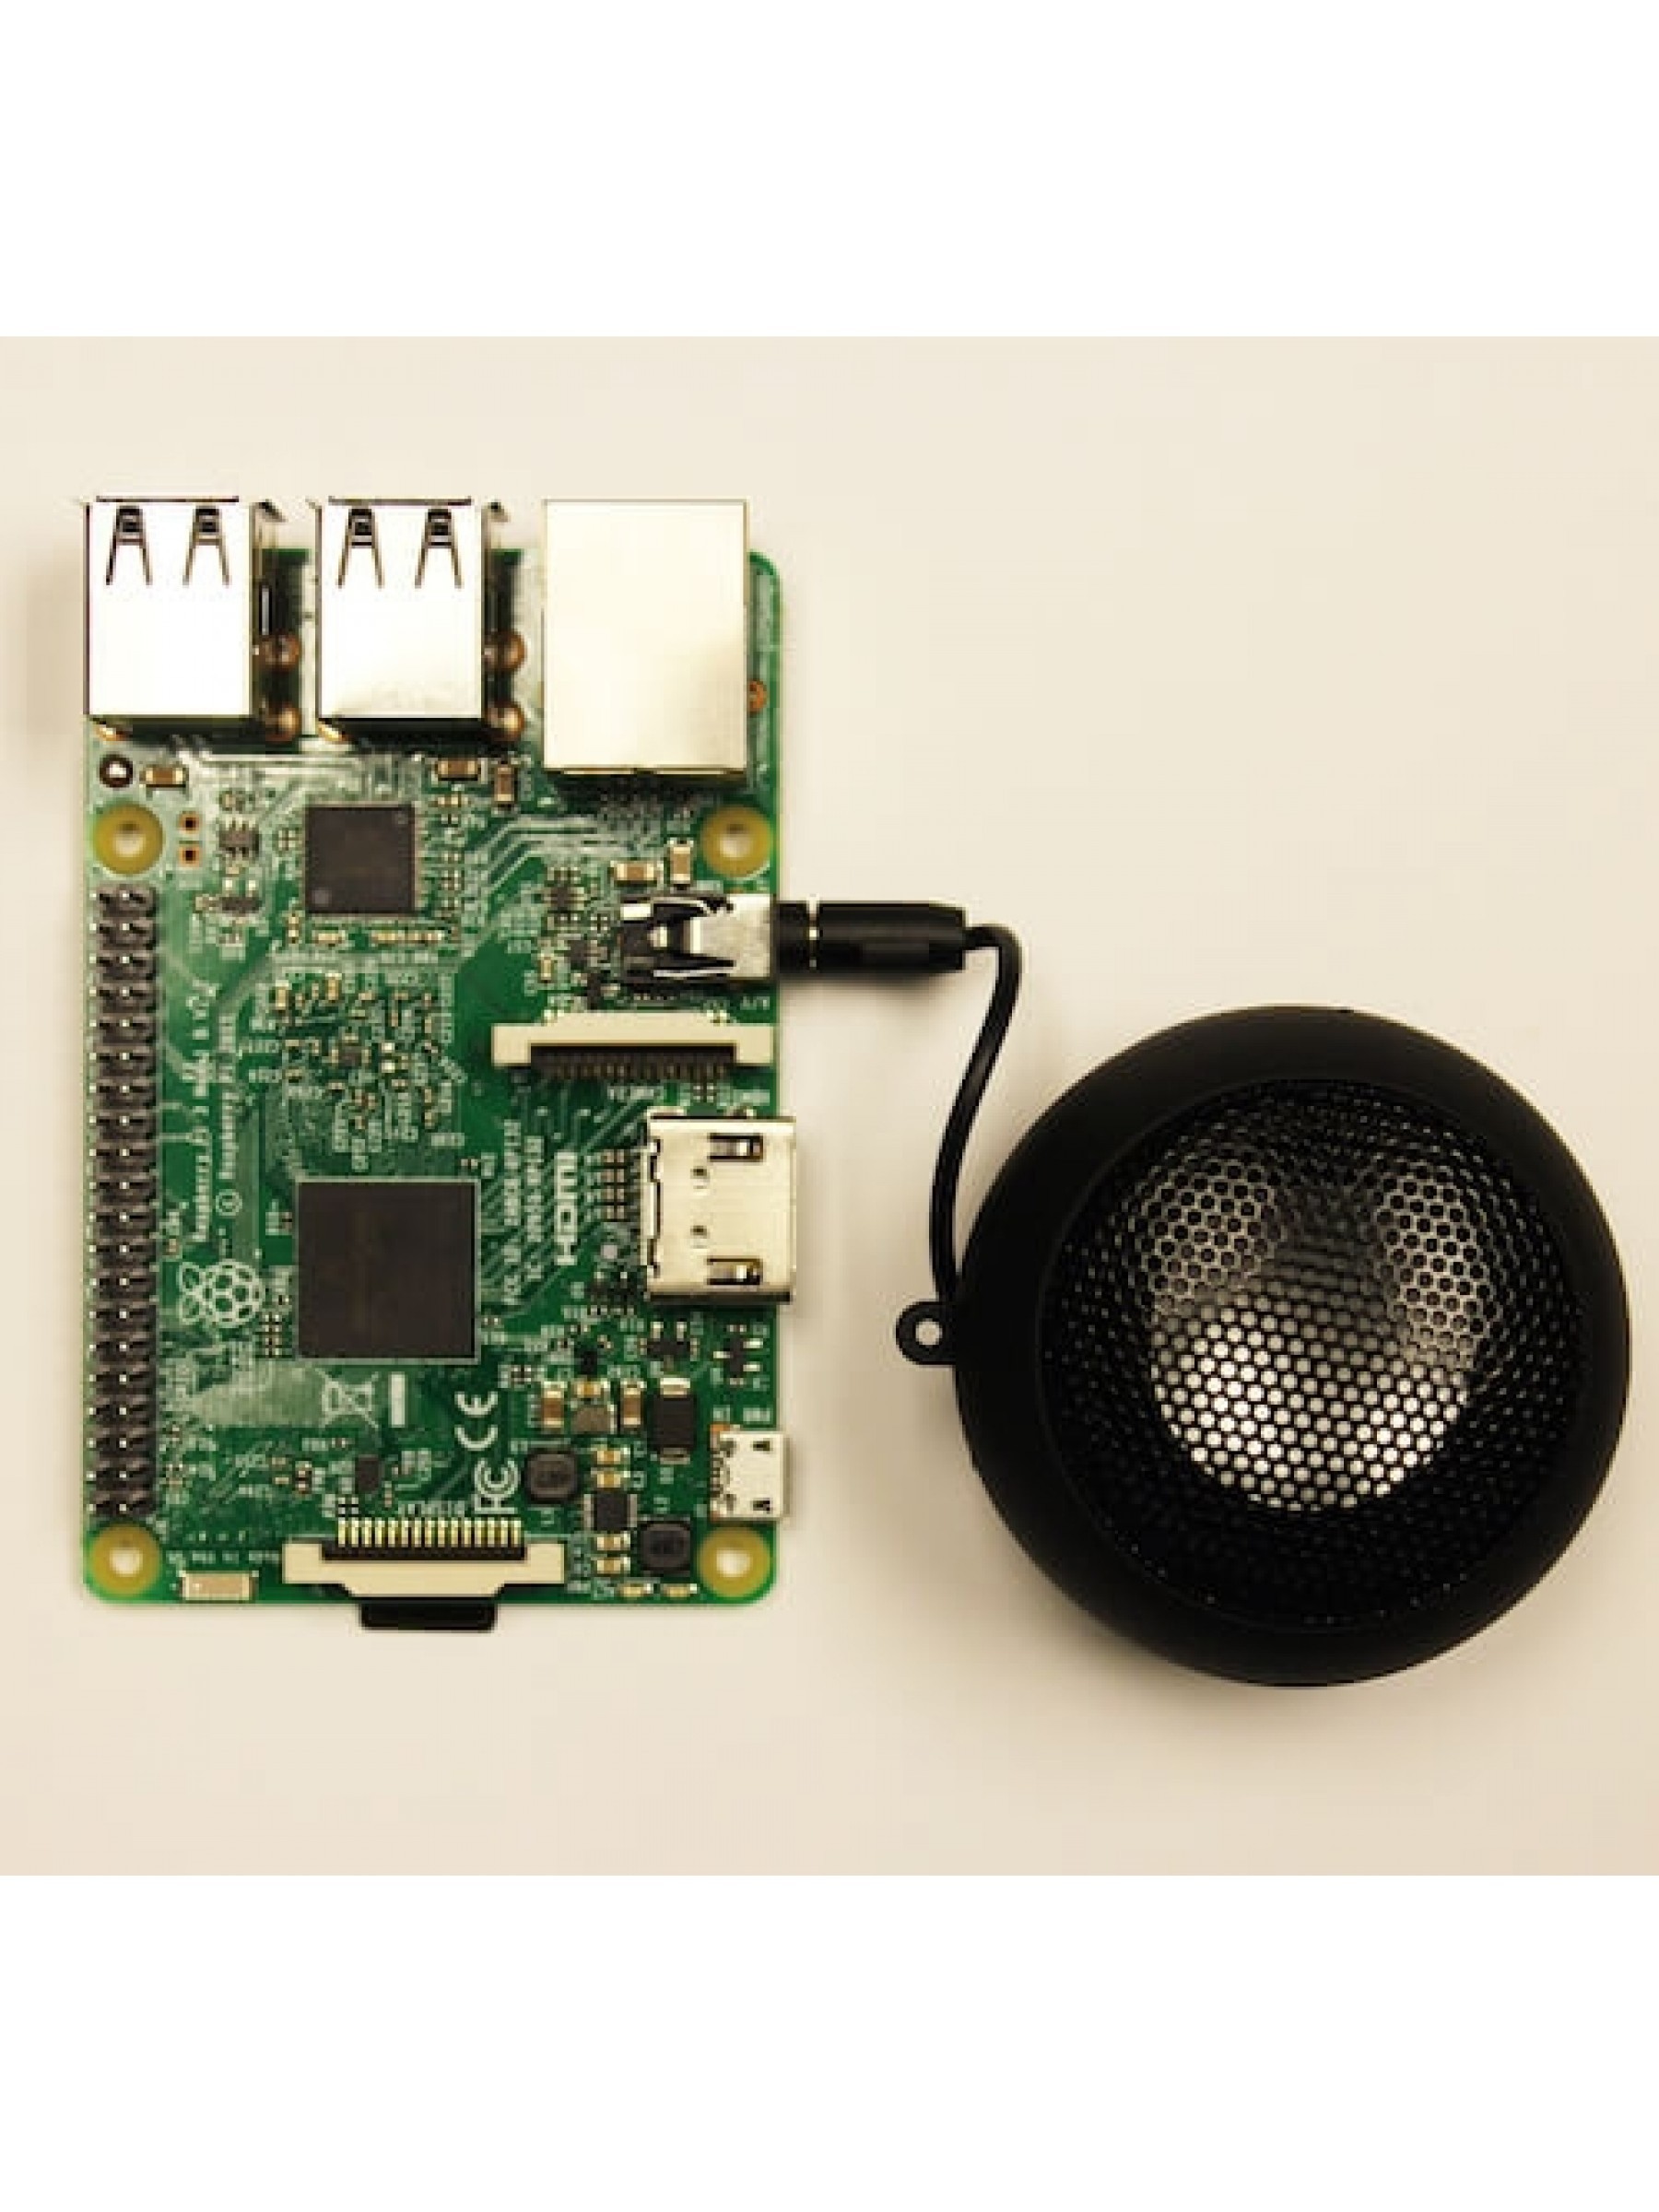
Initially for this project I simply ran an aux cord from the PI to a small battery powered speaker. That happened to have a lot of static and the batteries drained quickly. Instead I plugged in a USB device that amplifies the sound and I ran the aux cord from the aux output port on it to a powered weatherproof outdoor speaker. This removed the static and was louder and no batteries to worry about. The USB device was automatically recognized by my RPI with no driver installs required.
PI OS comes with a program called aplay, but I prefer the Sox software distribution's play program, so these instructions install Sox and use it's play command.
Install Sox
In a terminal on the RPI run the following answering yes to any prompts
sudo apt-get install sox
Test Sound
Download a compatible sound file of smallish size and save it on your computer. I used santaho3.mp3 saved to my pi home directory. To test the sound connect your speaker to the RPI and run this command:
play santaho3.mp3
- If you hear the sound file playing in your speaker, then your sound is working
- You may have to internally change the sound from HDMI to Analog.
- If using a USB sound device, create a file in your home directory called .asoundrc
- Put the contents below in it and reboot, commence audio test
pcm.!default {
	type hw
        card 1
}
ctl.!default {
        type hw
        card 1
}
Setup Motion Detection to Play Sound File
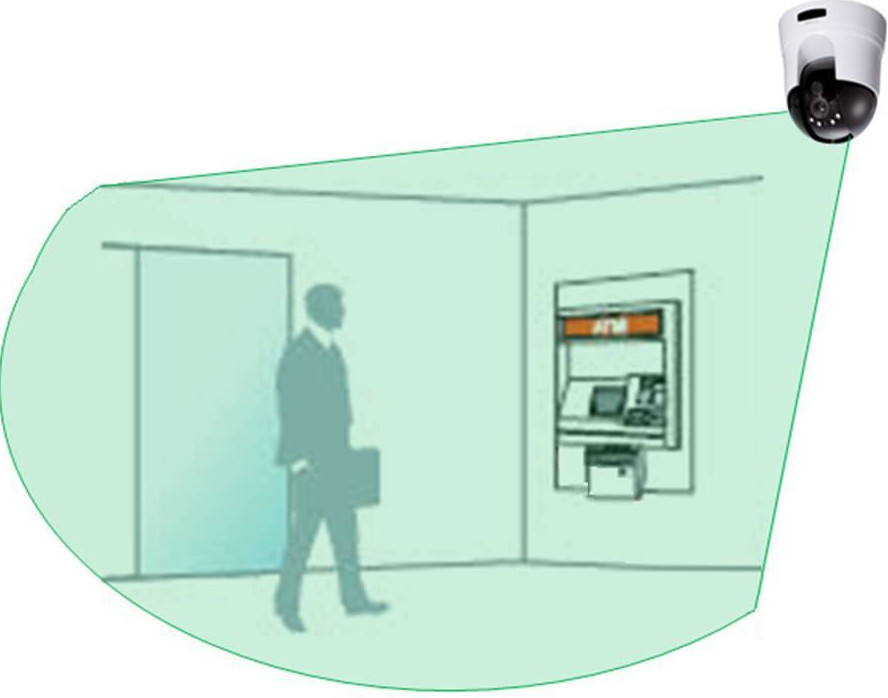
Software called Motion allows one or more cameras to be setup for the purpose of running a command when motion is detected in the camera(s) view(s). It's fairly easy to setup and works pretty well. It can also record files when detecting motions, allow configuring a website for each camera or a single website for all cameras, and streaming servers to watch live streams of the cameras. This project only needs the detection and command triggering ability, but I have setup a streaming server to be able to watch a live stream too.
Install Motion
In a terminal on the RPI, run the command below answering yes to any prompts, wait for it to finish
sudo apt-get install motion
Take the time now to add the newly added motion user to the audio group so it has permission to play sound by entering the following command
usermod -a -G audio motion
Configure Motion for Detection
We'll edit the motion configuration file to play the sound file we downloaded in the Setup Audio step when it detects motion on the camera and start motion as a service so it continues to do so when ever rebooting the RPI.
In a terminal edit the /etc/motion/motion.conf file as super user
sudo nano /etc/default/motion
In a terminal edit the /etc/motion/motion.conf file as super user
sudo nano /etc/motion/motion.conf
Make and save the following edits. Many of these are defaults. I don't think in my case the mmal_xxx entries have any effect, but I leave them in case someone need them - they also do no harm. This configuration detects motion on the camera in 40 second intervals, doesn't not record images or video, and sets up a web server and streaming server for the camera protected with basic authentication using a username and password.
<p>daemon on</p><p>process_id_file /var/run/motion/motion.pid</p>setup_mode off
logfile /var/log/motion/motion.log
log_level 6
log_type all
videodevice /dev/video0
v4l2_palette 17
input -1
norm 0
frequency 0
power_line_frequency -1
rotate 0
flip_axis none
width 320
height 240
framerate 2
minimum_frame_time 0
netcam_keepalive off
netcam_tolerant_check off
rtsp_uses_tcp on
mmalcam_name vc.ril.camera
auto_brightness off
brightness 0
contrast 0
saturation 0
hue 0
roundrobin_frames 1
roundrobin_skip 1
switchfilter off
threshold 500
threshold_tune off
noise_level 22
noise_tune on
despeckle_filter EedDl
smart_mask_speed 0
lightswitch 0
minimum_motion_frames 1
pre_capture 0
post_capture 0
event_gap 40
max_movie_time 120
emulate_motion off
output_pictures off
output_debug_pictures off
quality 75
picture_type jpeg
ffmpeg_output_movies off
ffmpeg_output_debug_movies off
ffmpeg_bps 400000
ffmpeg_variable_bitrate 0
ffmpeg_video_codec mp4
ffmpeg_duplicate_frames true
timelapse_interval 0
timelapse_mode daily
timelapse_fps 30
timelapse_codec mpg
use_extpipe off
snapshot_interval 0
locate_motion_mode off
locate_motion_style box
text_right %Y-%m-%d\n%T-%q
text_changes off
text_event %Y%m%d%H%M%S
text_double off
target_dir /var/lib/motion
snapshot_filename %v-%Y%m%d%H%M%S-snapshot
picture_filename %v-%Y%m%d%H%M%S-%q
movie_filename %v-%Y%m%d%H%M%S
timelapse_filename %Y%m%d-timelapse
ipv6_enabled off
stream_port 8481
stream_quality 80
stream_motion off
stream_maxrate 1
stream_localhost off
stream_limit 0
stream_auth_method 1
stream_authentication <username of your choosing>:<pass of your choosing>
webcontrol_port 8480
webcontrol_localhost off
webcontrol_html_output on
webcontrol_authentication <username of your choosing>:<pass of your choosing>
track_type 0
track_auto off
track_iomojo_id 0
track_step_angle_x 10
track_step_angle_y 10
track_move_wait 10
track_speed 255
track_stepsize 40
quiet on
on_event_start /usr/bin/play -q --multi-threaded /var/lib/motion/notify`shuf -i 1-5 -n 1`.mp3 2>/dev/null
Copy the audio file to the sound file to the motion home directory and change permissions on it so motion owns it but all can read it
sudo cp /home/pi/santaho.mp3 /var/lib/motion/mtn_dtct_ntfy.mp3
sudo chown motion /var/lib/motion/mtn_dtct_ntfy.mp3
sudo chmod a+r /var/lib/motion/mtn_dtct_ntfy.mp3
Reboot the RPI device. Once booted, run
sudo systemctl status motion.service
Output should include a line that says:
Active: active (running) since
If you see this motion is running. If not check out /var/log/motion for details. Try running:
sudo systemctl start motion.service
Test Motion Detection and Sound Playing
Almost done. Just need to check if motion is being detected and the sound plays when it is.
In a terminal do the following to watch appended text to the log file
tail -f /var/log/motion
Now:
- Wave something in front of the camera slowly
- The log file should output that motion was detected
- Hopefully the sound file plays through the speaker
- If so place the RIP in a window with the camera lens facing where the motion to be detected
- Place the outdoor speaker in or near the decoration
- When people walk by they will be greeted
Troubleshooting
If things aren't working
- Double check the camera is working by executing:
- raspistill -o test.jpg
- ls -l test.jpg - if file exists and size is >0 the camera should be working
- Double check the audio is working by executing
- play /var/lib/motion/mtn_dtct_ntfy.mp3
- if not hearing the sound file
- check that the output device is your speaker setup (analog or USB)
- check the volume
- check the permissions on the sound file have 3 'r's in the permissions string (i.e. rw*rw*rw*)
- If all else is failing then possibly motion is not setup correctly
- if this is the case some online searches should help as there is much help out there
Additional Comments
.jpg)
Play Random Sound Files
Getting bored with the same sound playing over and over, mix it up!
- Save several different sound files with the same name but a sequential numeric suffix:
- soundFile1.mp3, soundFile2.mp3,soundFile3.mp3,soundFile4.mp3,soundFile5.mp3,
- Change the the /etc/motion/motion.conf on_event_start entry as follows
- on_event_start play -q --multi-threaded soundFile`shuf -i 1-5 -n 1`.mp3 2>/dev/null
- Exit and save the file
- Restart the motion service
- sudo systemctl restart motion.service
- The `shuf -i 1-5 -n 1` (those are back ticks) part inserts a random number from 1 to 5 ito the file name being played
- So now when motion is detected any one of 5 sound files willplay
Speaking instead of Playing
Another fun twist is to setup a Text-to-Speech and have the computer speak a sentence to folks passing by. I like to use the MaryTTS as the engine. Setup and start the Mary TTS server and change the on_event_start line mentioned above the to submit something to say to the marry tts server (i.e. marytts/bin/marytts-submit-text "Hello friend")
Using IP Networked Cameras (Wireless or otherwise)
The motion program can easily support networked IP cameras using the netcam_url and other various netcam_xxx settings. A simple online search should provide what's needed.
Bluetooth
If your RPI has Bluetooth built-in or you've installed a USB Bluetooth device then you could connect the speaker via Bluetooth and get rid of the wire.
Limit Motion Capture to Smaller Area
One of the problems I had with this setup is blowing shrubs and trees as well as car lights all triggered the motion too easily. The motion program has settings for how many frames need to change before motion is triggered and accounting for noise and using these helped. I haven't tried yet, but I think I will need settings that also allow a specific area of the camera view to be defined for the motion detection. This should allow to define an area just near the decoration to trigger the playing of the sound file.