Talkative Automation || Audio From Arduino || Voice Controlled Automation || HC - 05 Bluetooth Module
by vishalsoniindia in Circuits > Arduino
3230 Views, 22 Favorites, 0 Comments
Talkative Automation || Audio From Arduino || Voice Controlled Automation || HC - 05 Bluetooth Module
.....
...........
...............
By the way, subscribe to my YouTube channel for more projects like this. I also update my upcoming projects on Instagram.
buy me a coffee! ☕: Donate
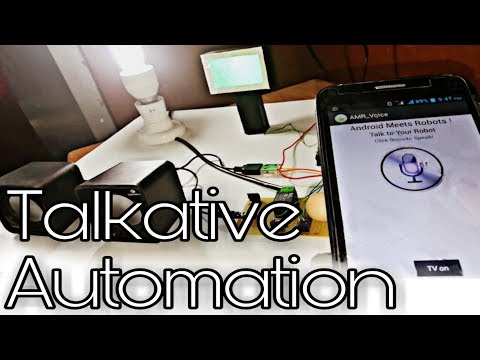
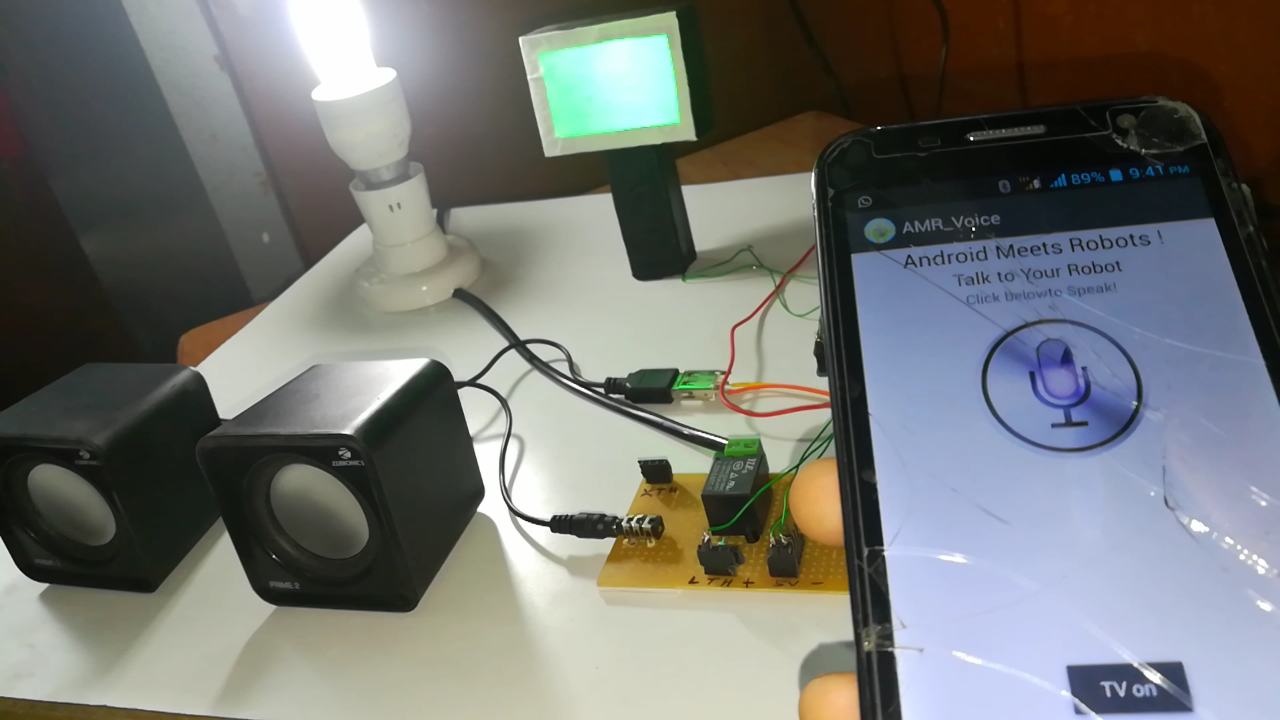
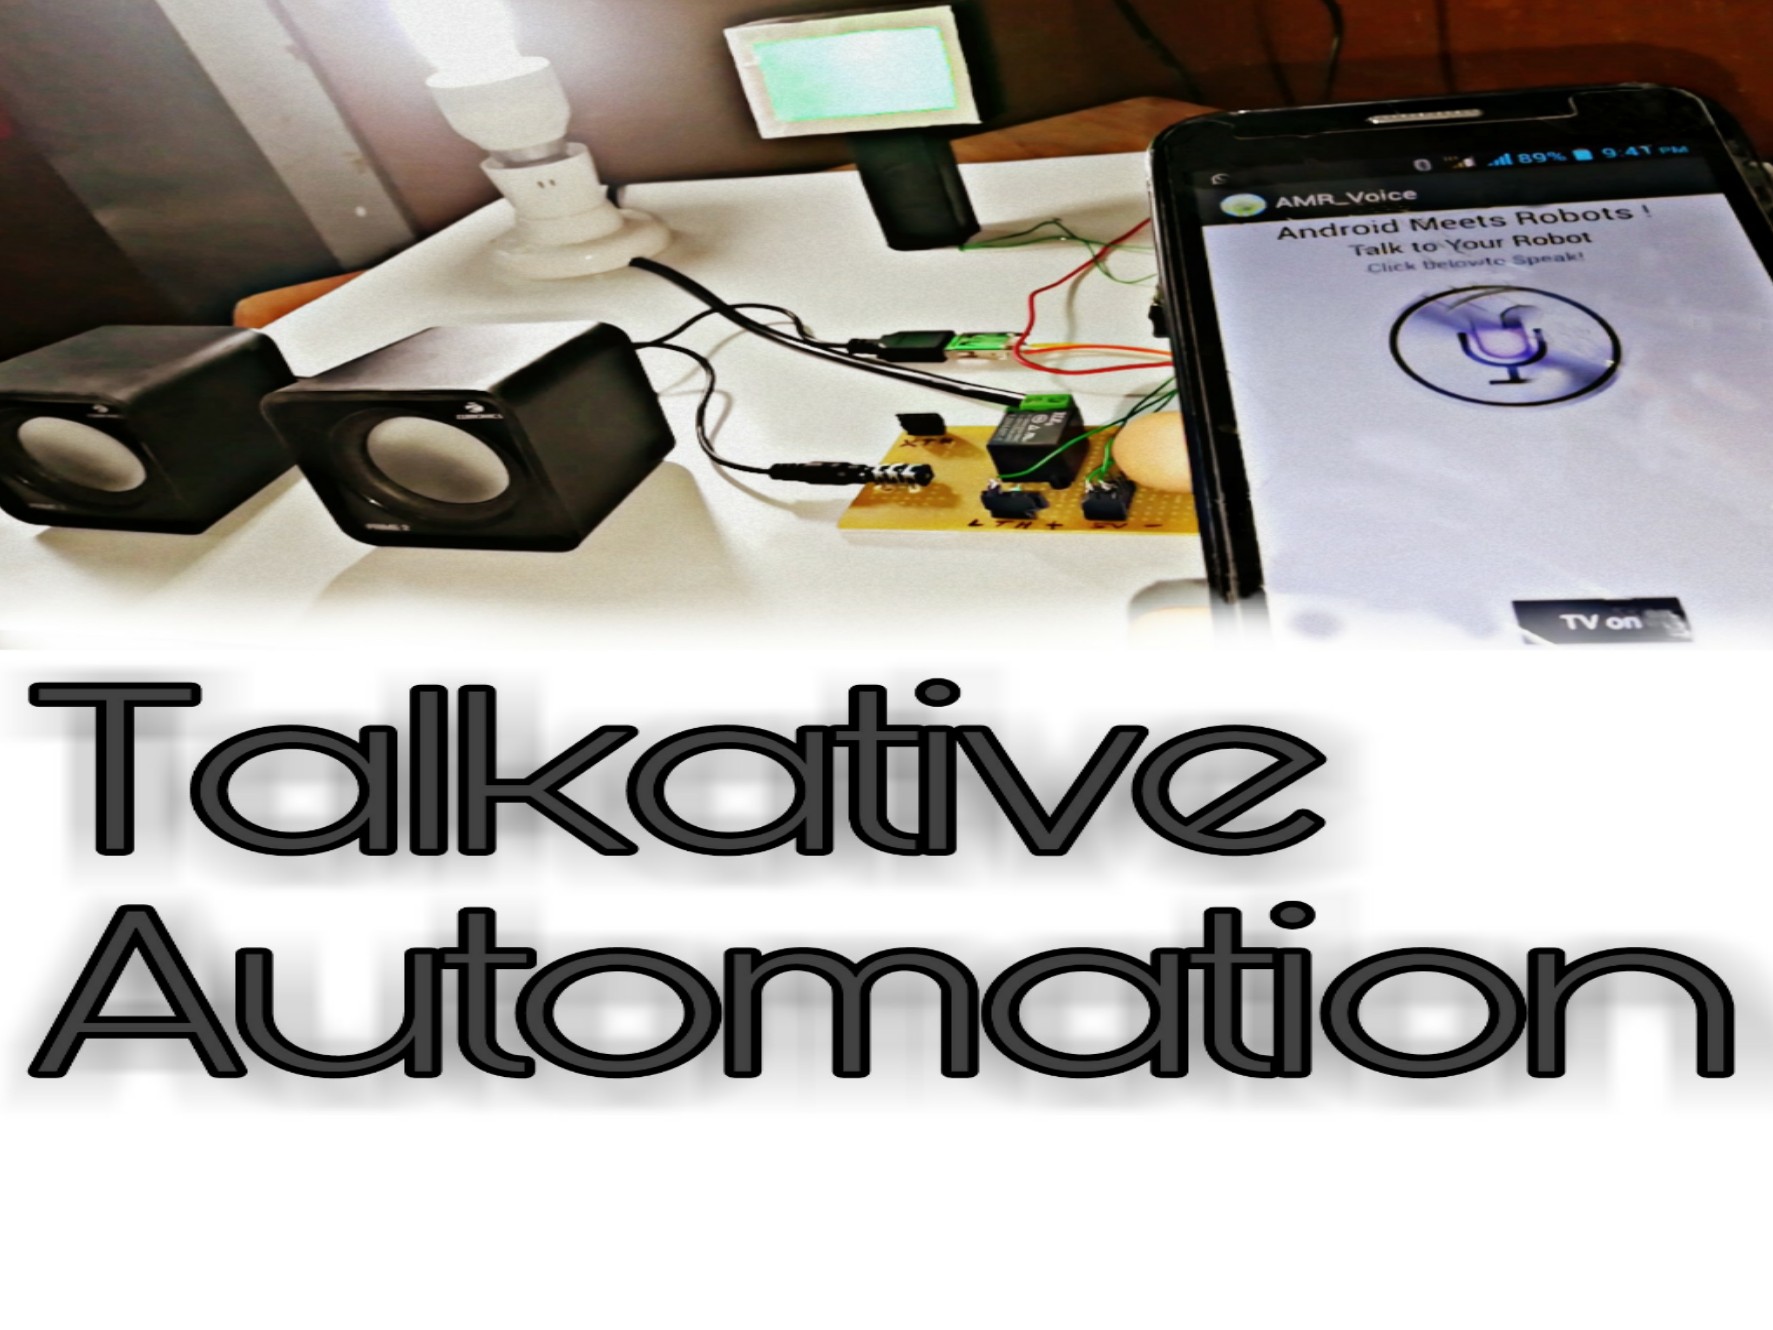
In this video we have built a Talkative Automation..
When you will send a voice command via mobile then it will turn on home devices and send feedback in voice.
Like "TV on"
"fan on"
We have use SD card module to interface micro sd card and get audio output.
Many of People want to interface the SD card with arduino or want some audio output via arduino.
So here is easiest and cheapest way to interface SD card with arduino . you can use the audio output from arduino via a switch or sensor . you can play any type of sound ,music and recording but that audio will be in to .wav file. If it is in .mp3 or any other audio type then we will convert it into .wav file.
Requirements
.jpg)
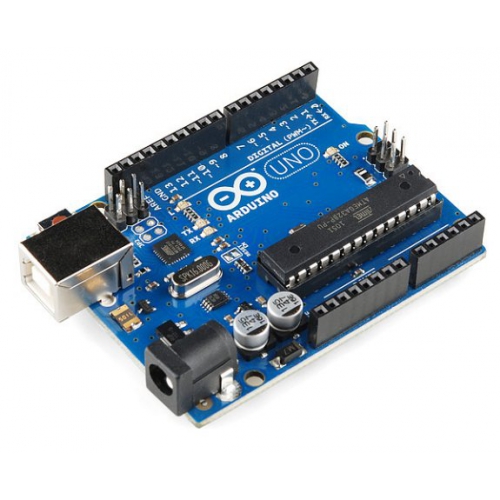
- Arduino uno
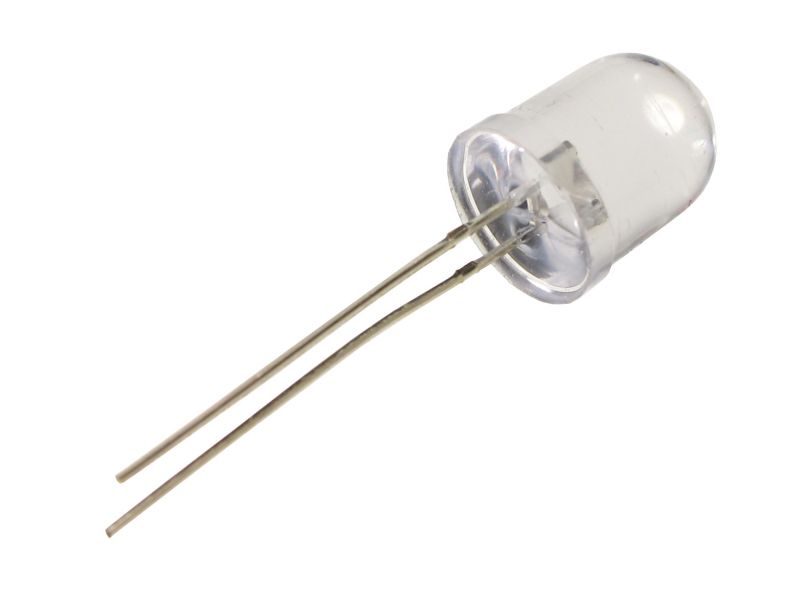
- 10mm led
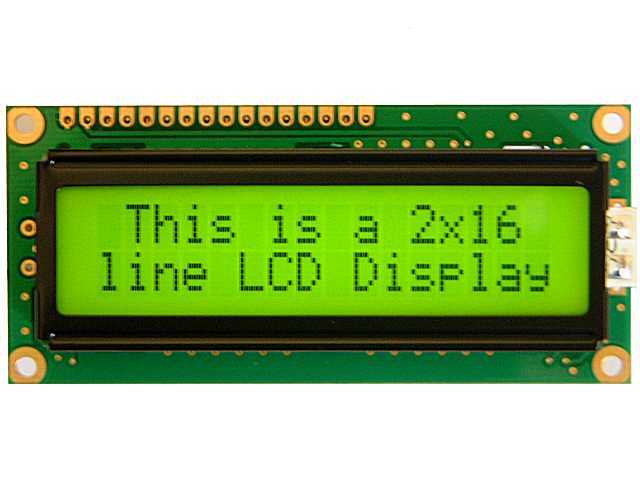
- 2x16 lcd
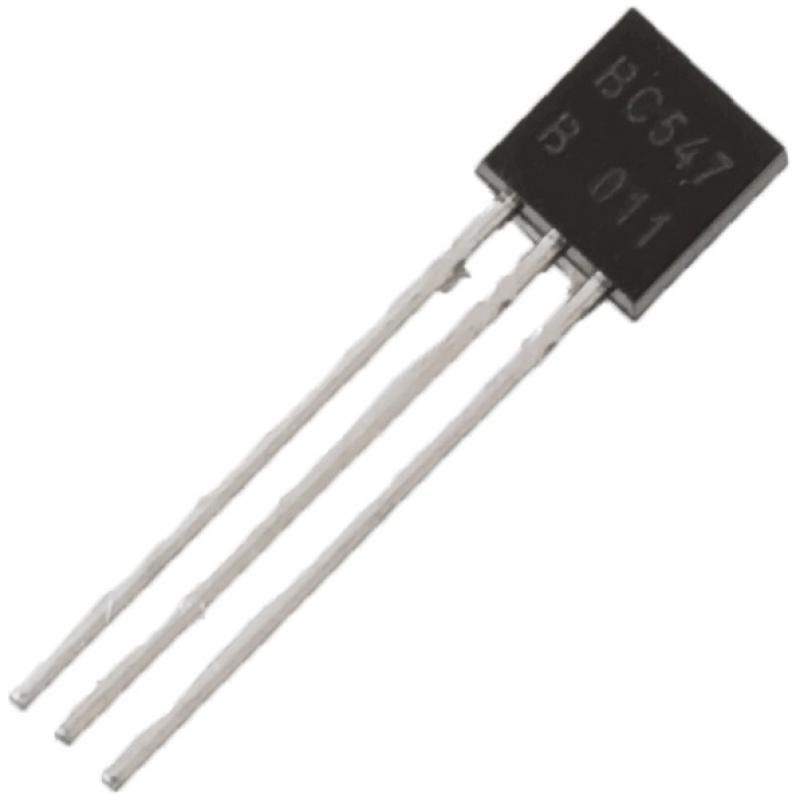
- Bc547 transistor
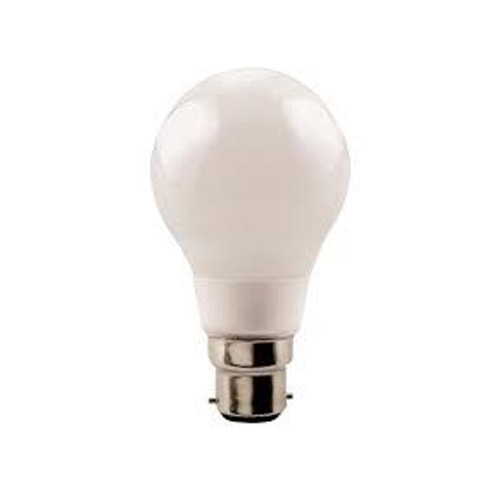
- AC supply Bulb
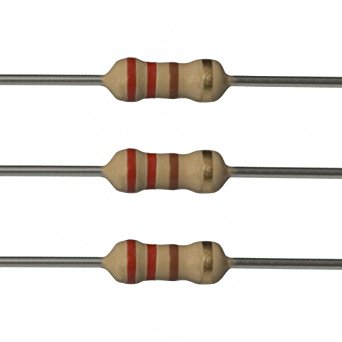
- 220ohm Resistor
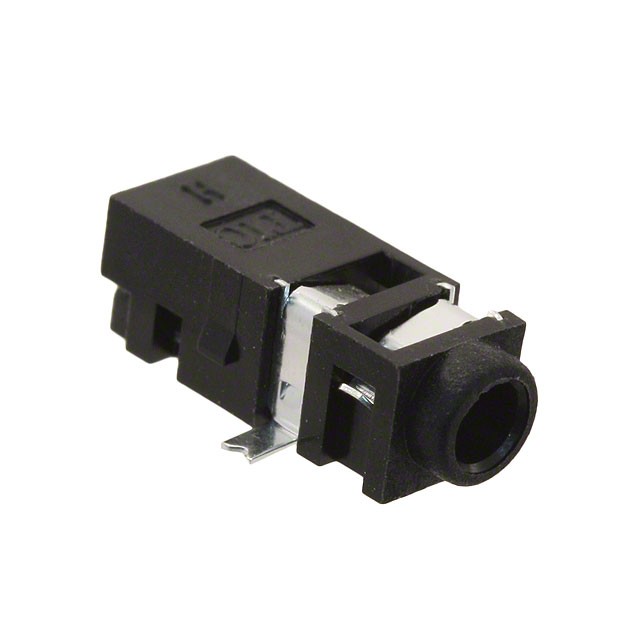
- Female audio jack
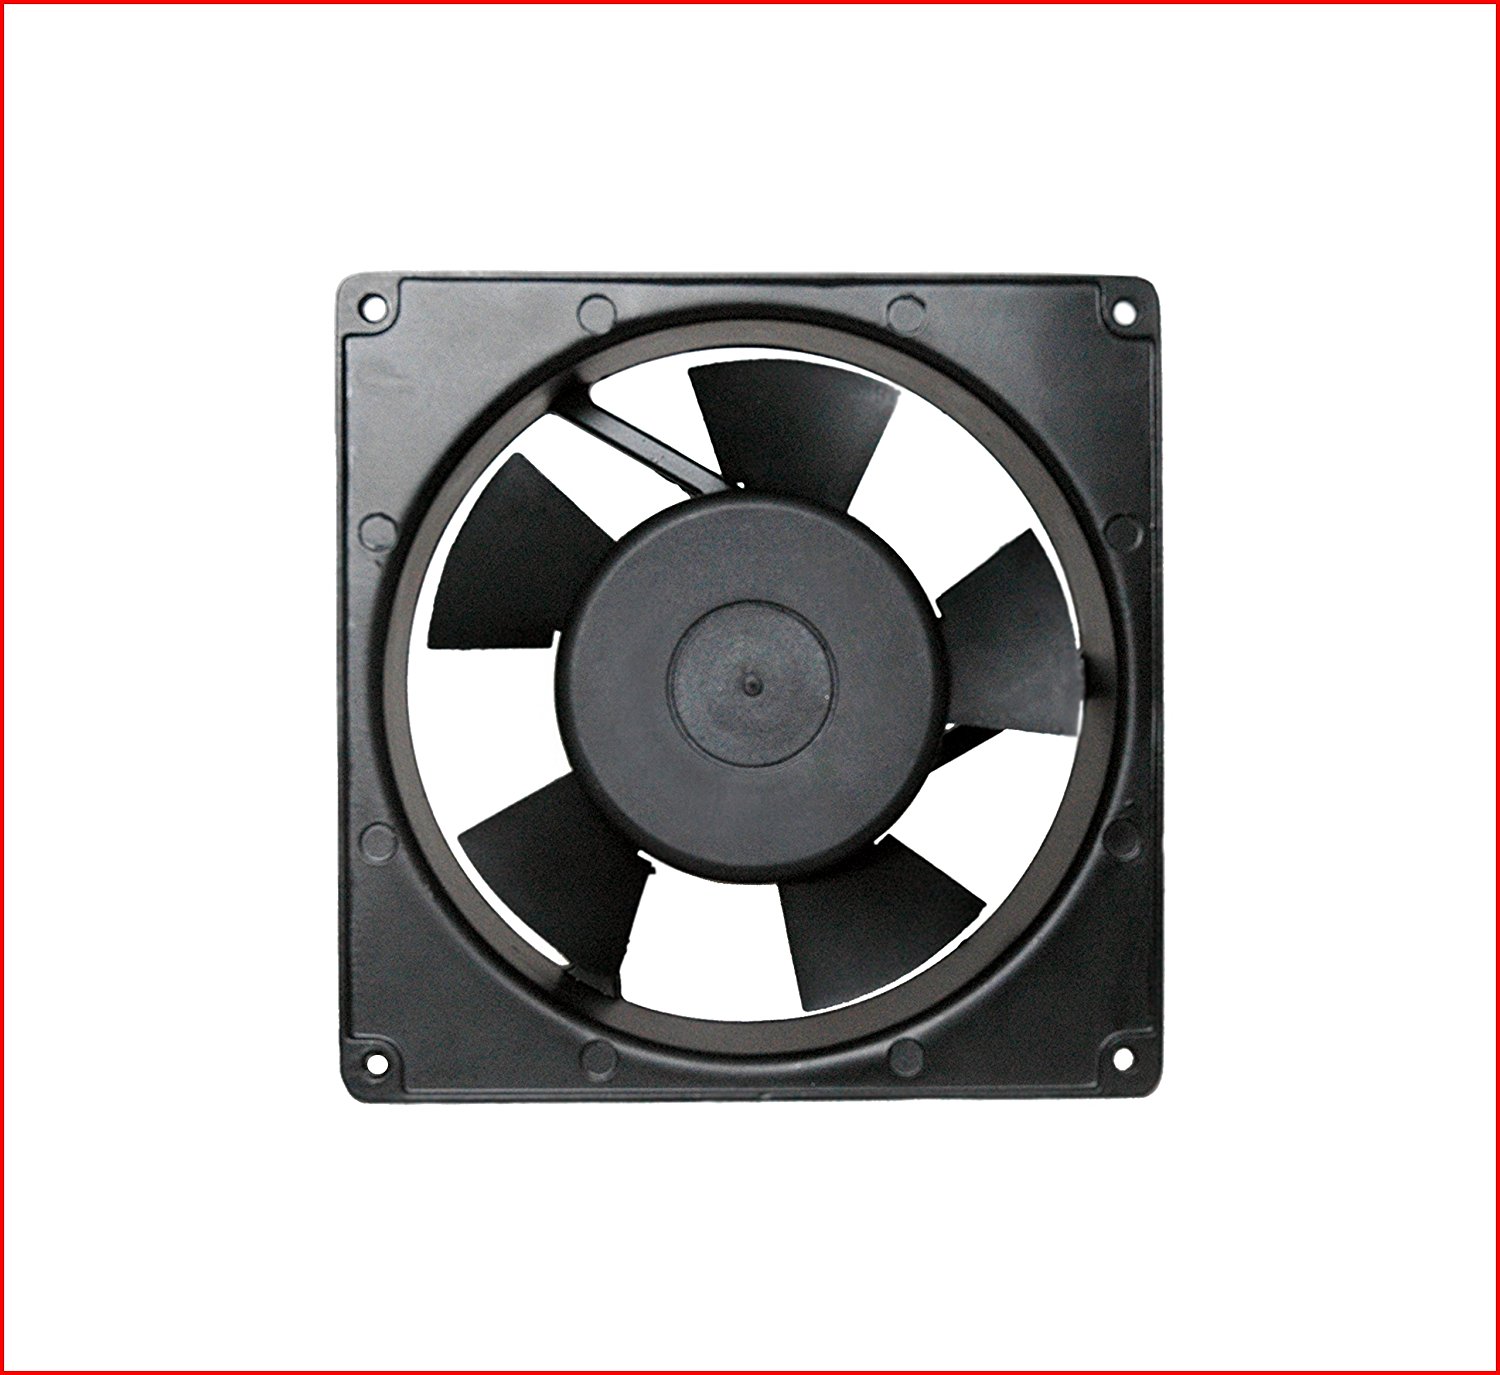
- 5v exhaust fan
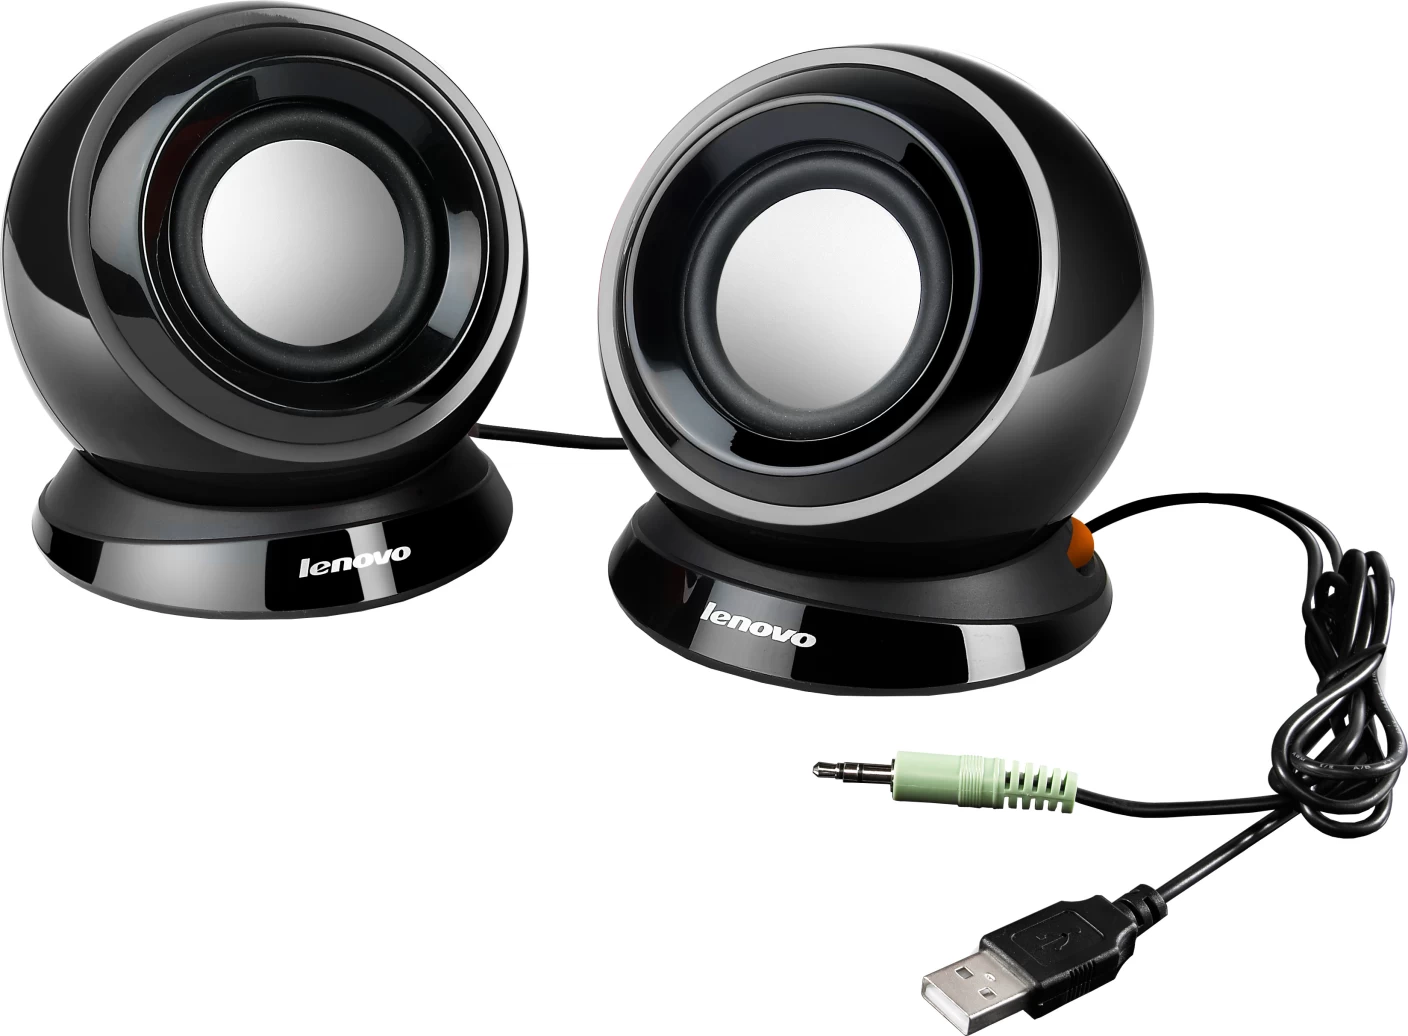
- Woofer / audio amplifier
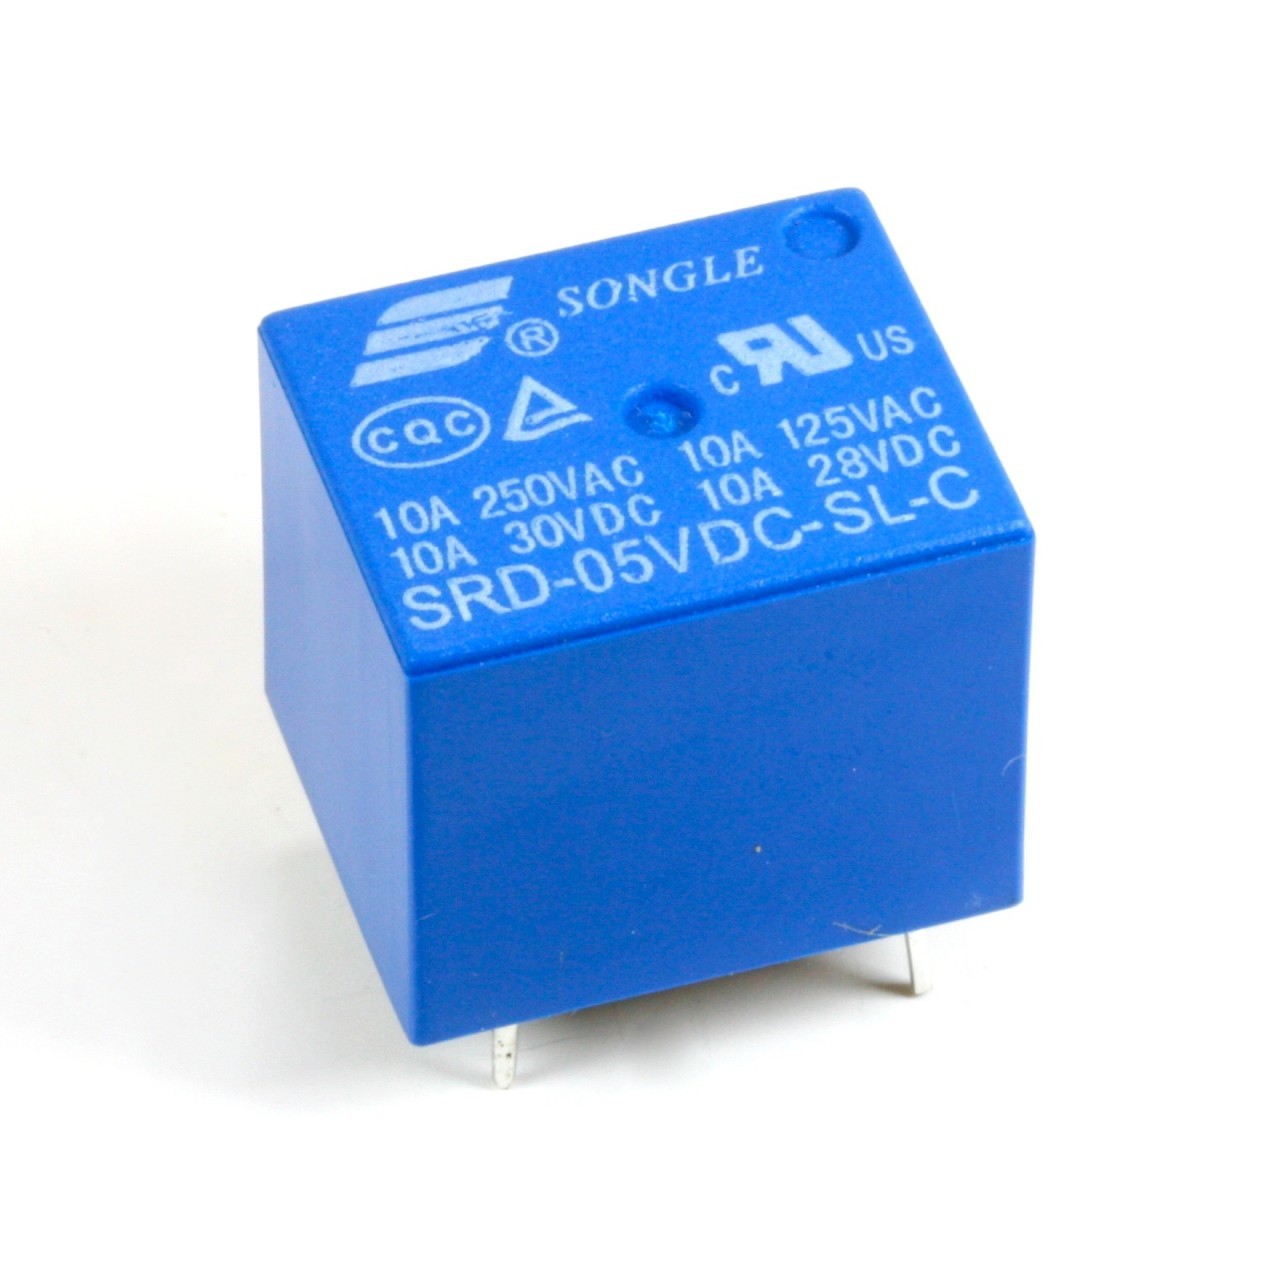
- 5v relay
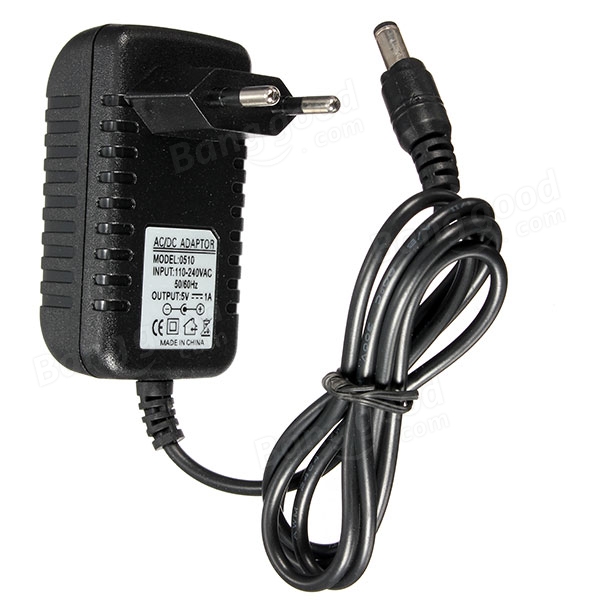
- External 5v adapter
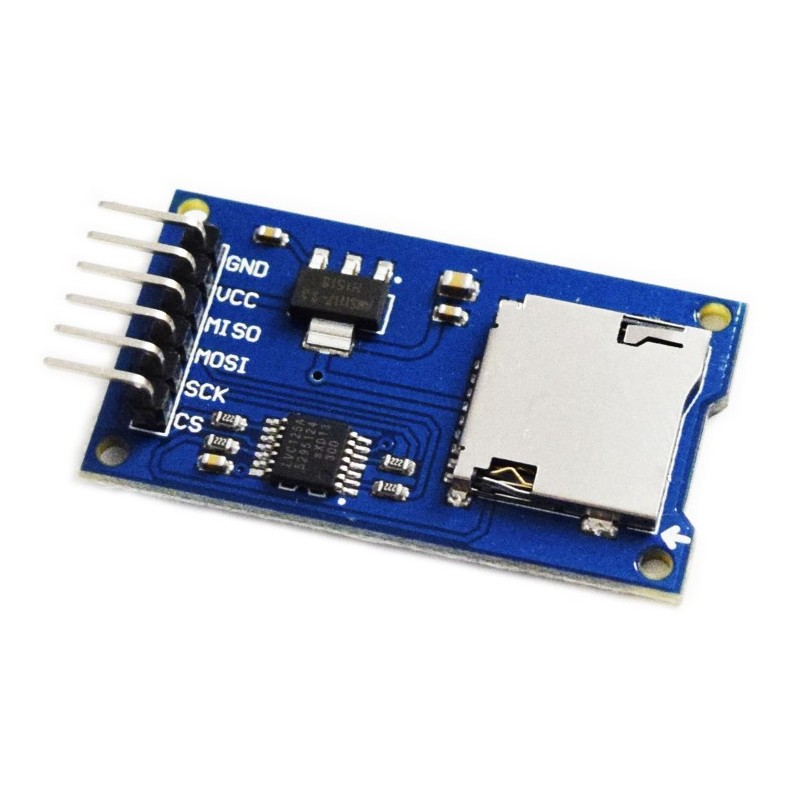
- SD card module with sd card
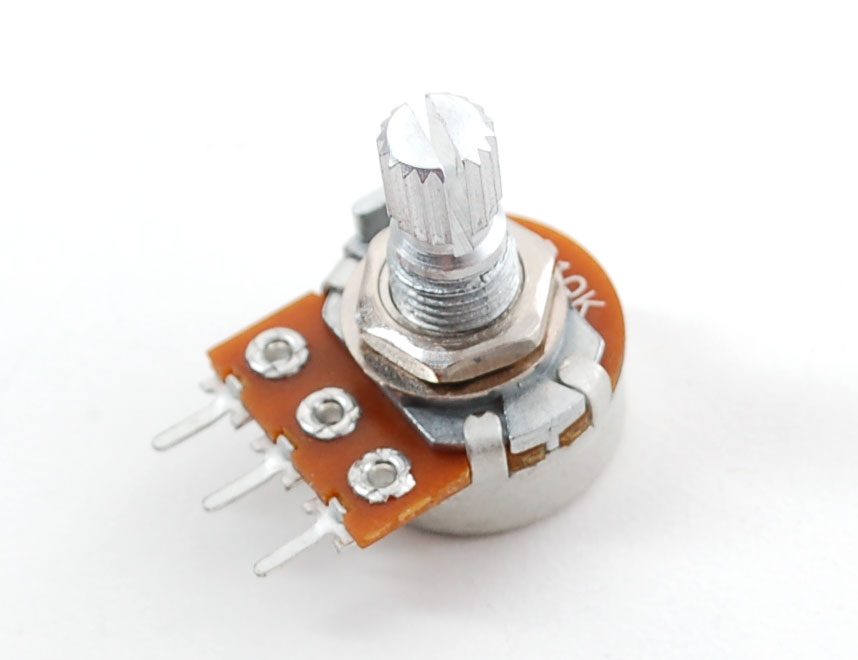
- 10k Potentiometer
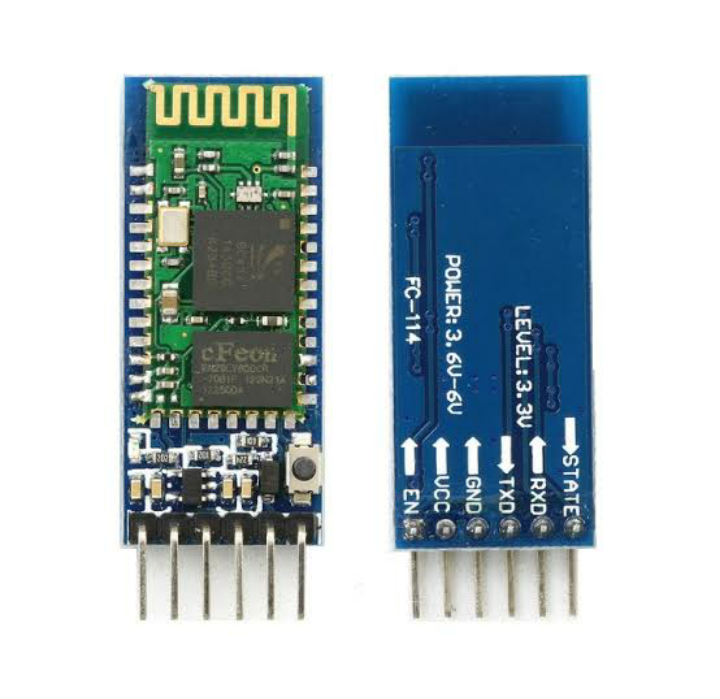
- HC-05 Bluetooth module
Go and Watch This Video
Go and watch this video or click on instructable link,
Where I explained how to interface sd card with arduino,
How to install tmrpcm library and
How to insert audio in SD card....
Link :--
Download the Zip File

Downloads
Put Audio Into SD Card
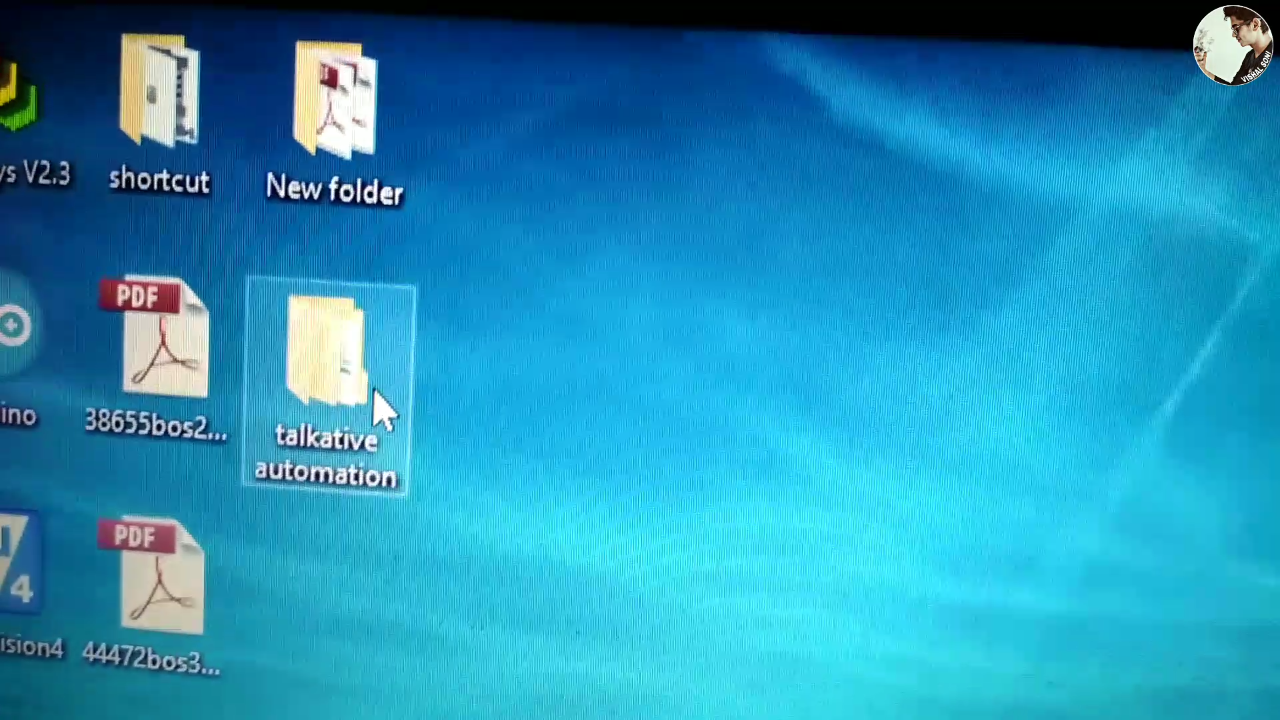
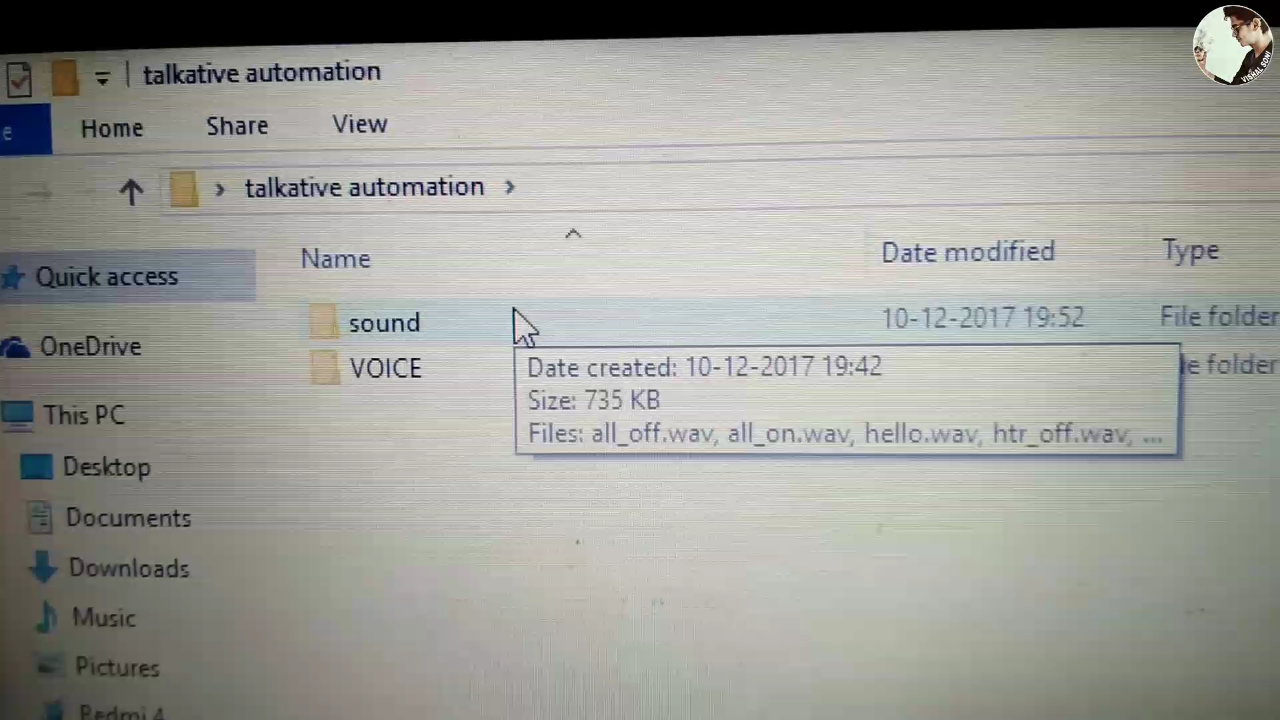
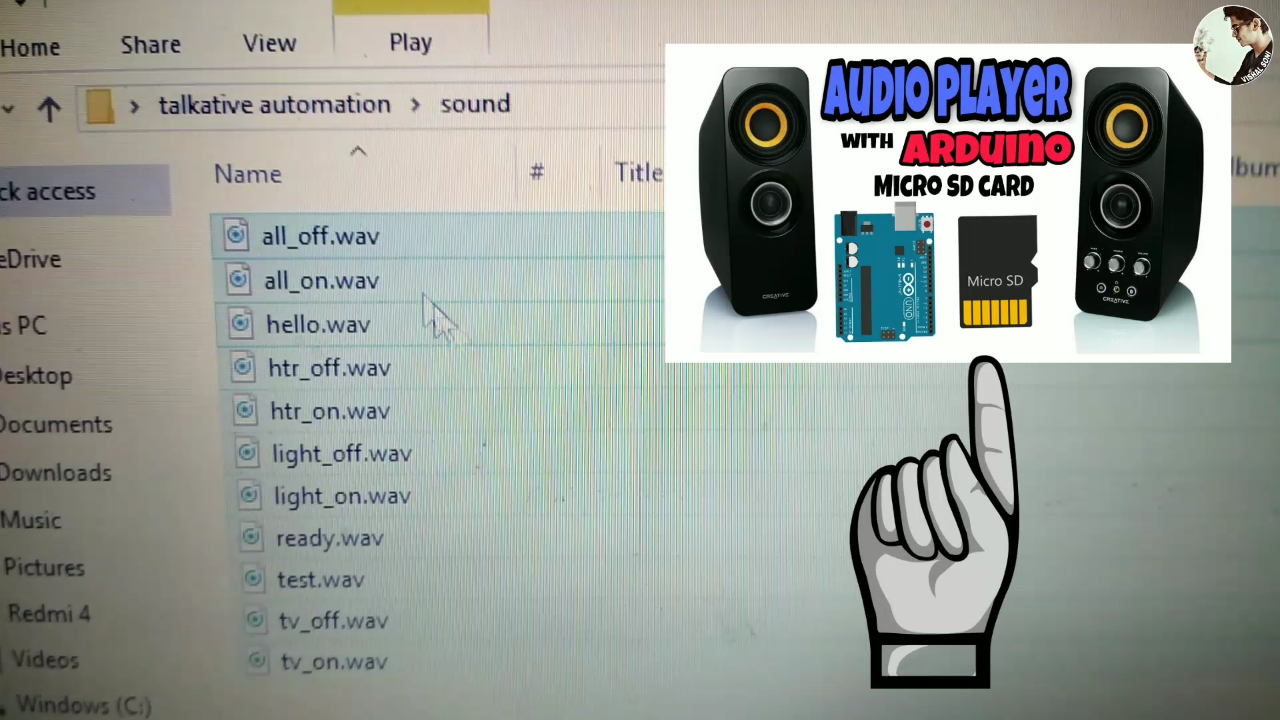
- Open extracted folder
- Now open sound folder
- Copy and paste all audio in SD card as I shown in the first video.
Upload the Codes in Arduino
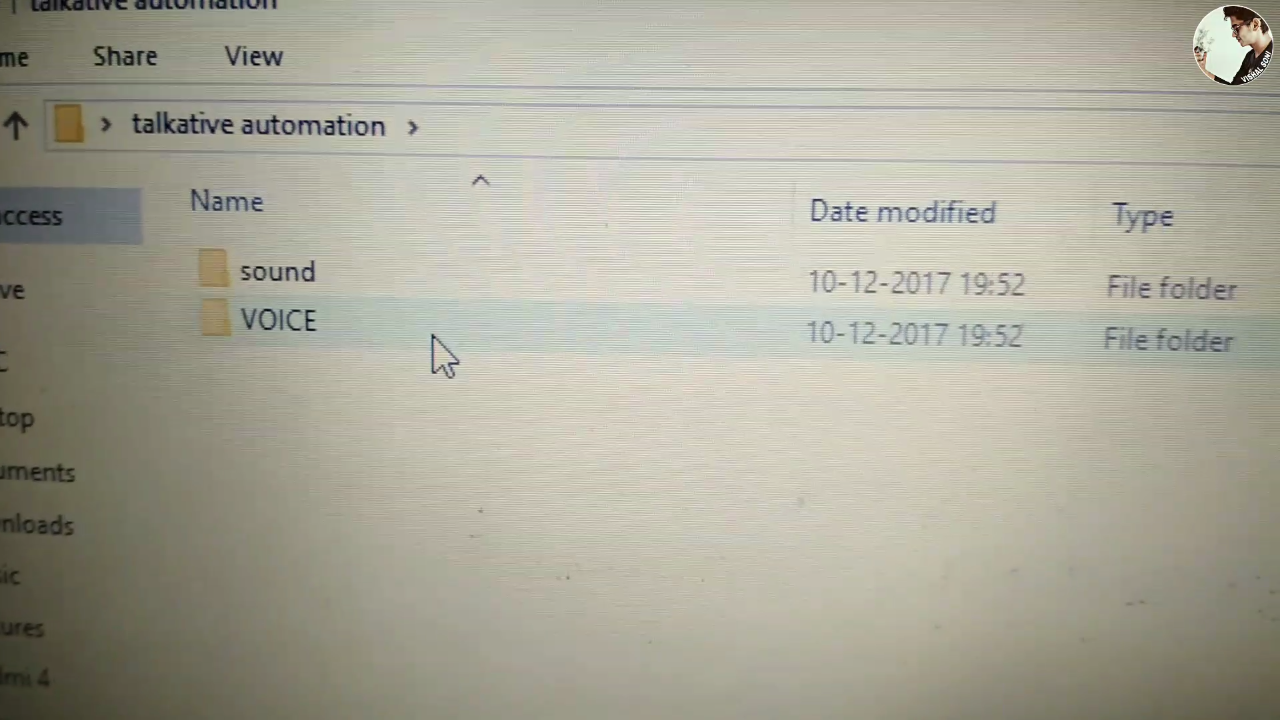
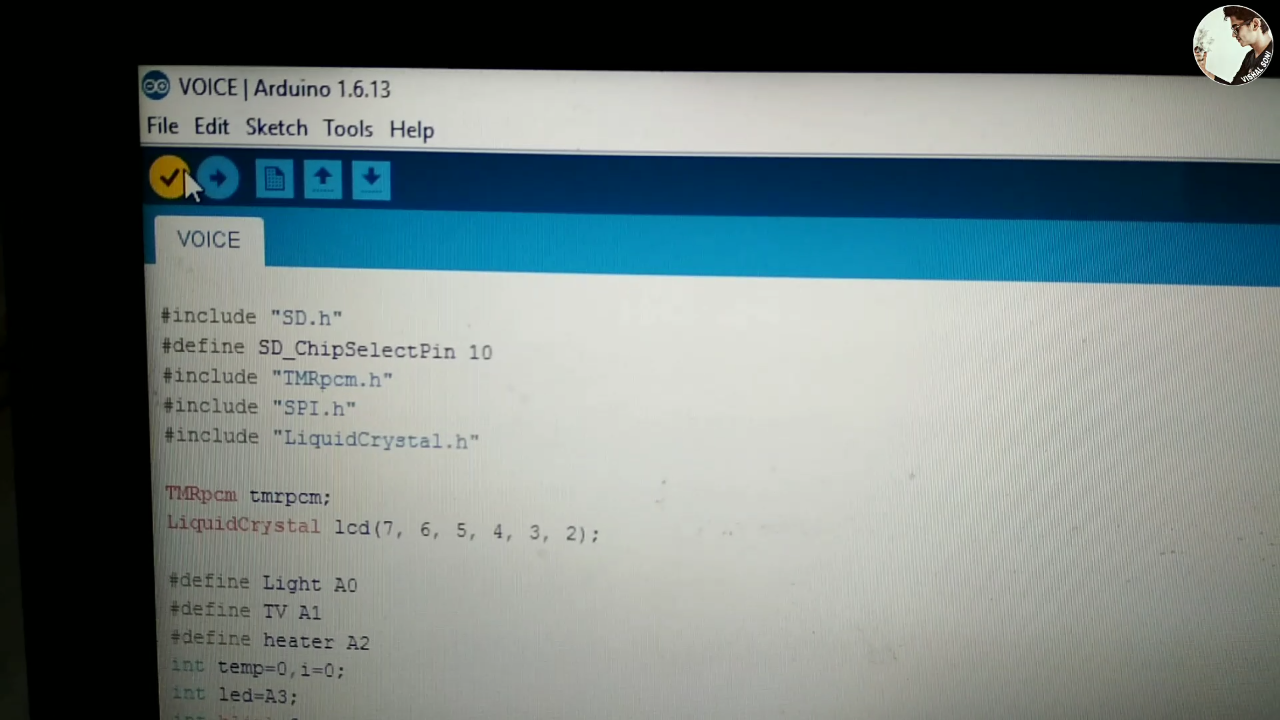
- Install tmrpcm library as I shown in first video.
- Open again extracted folder.
- Now open voice folder
- Open program in arduino software
- Connect your arduino and upload it
Connect Circuit
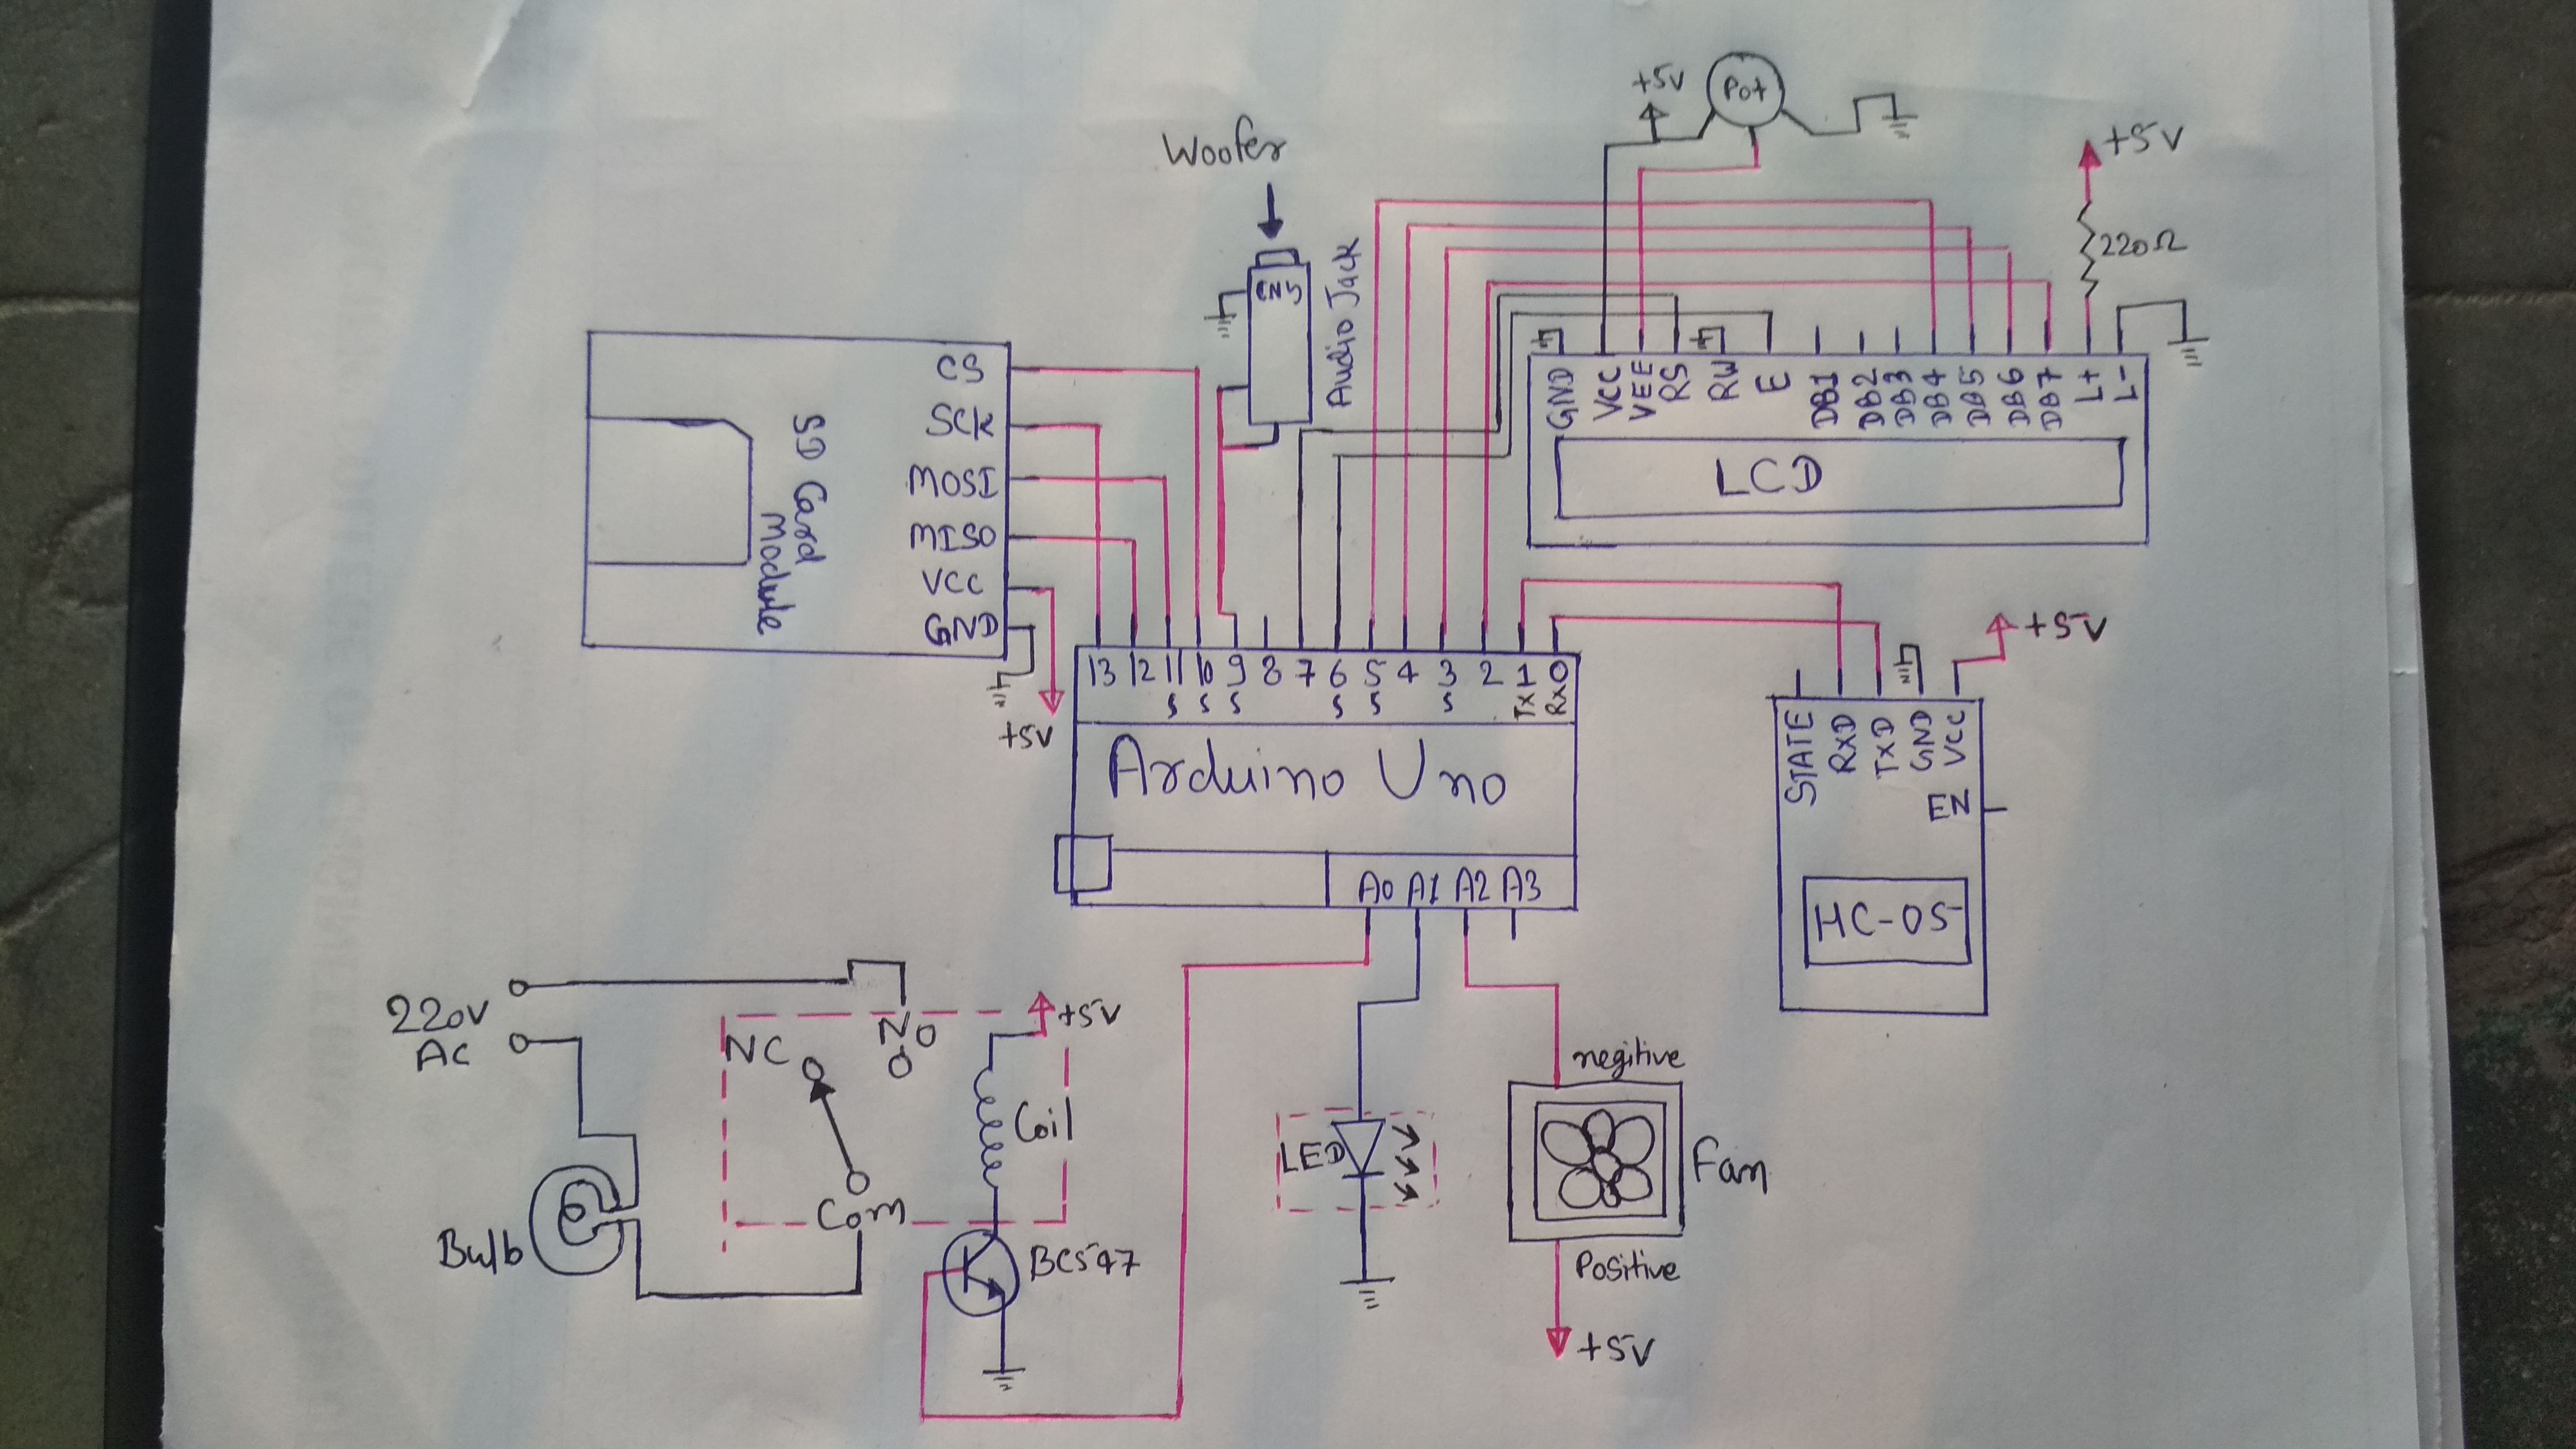
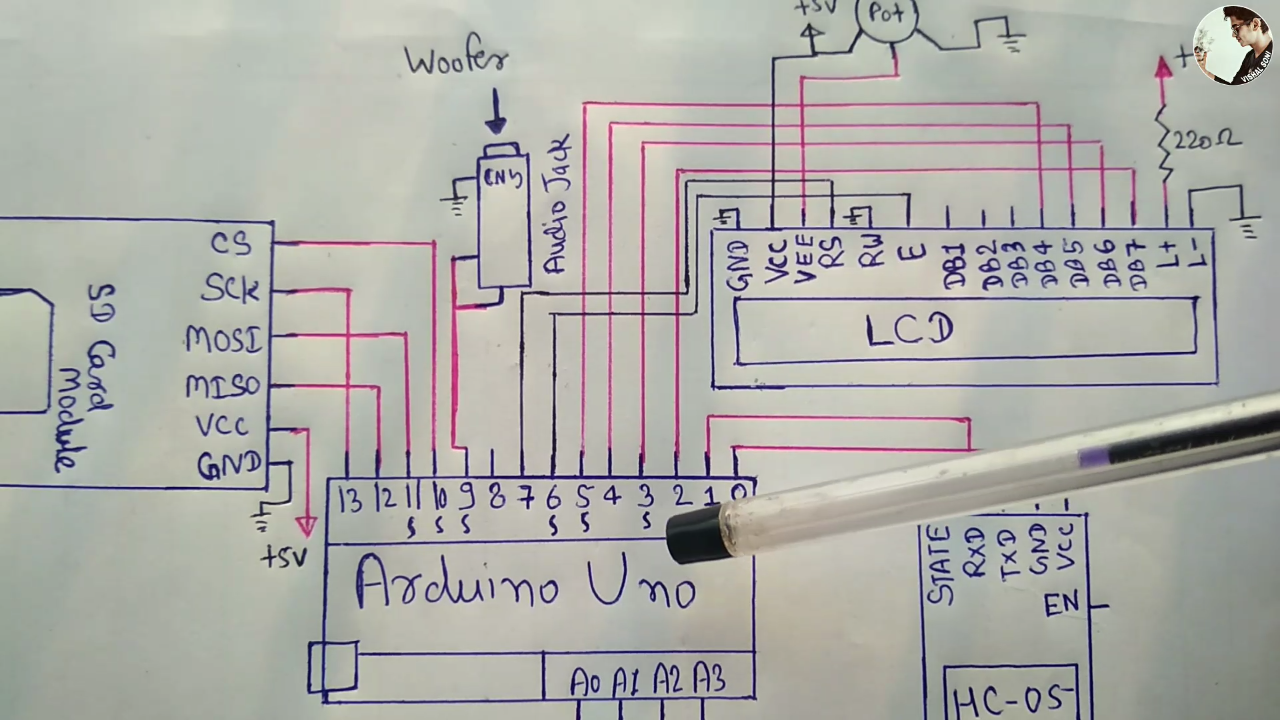
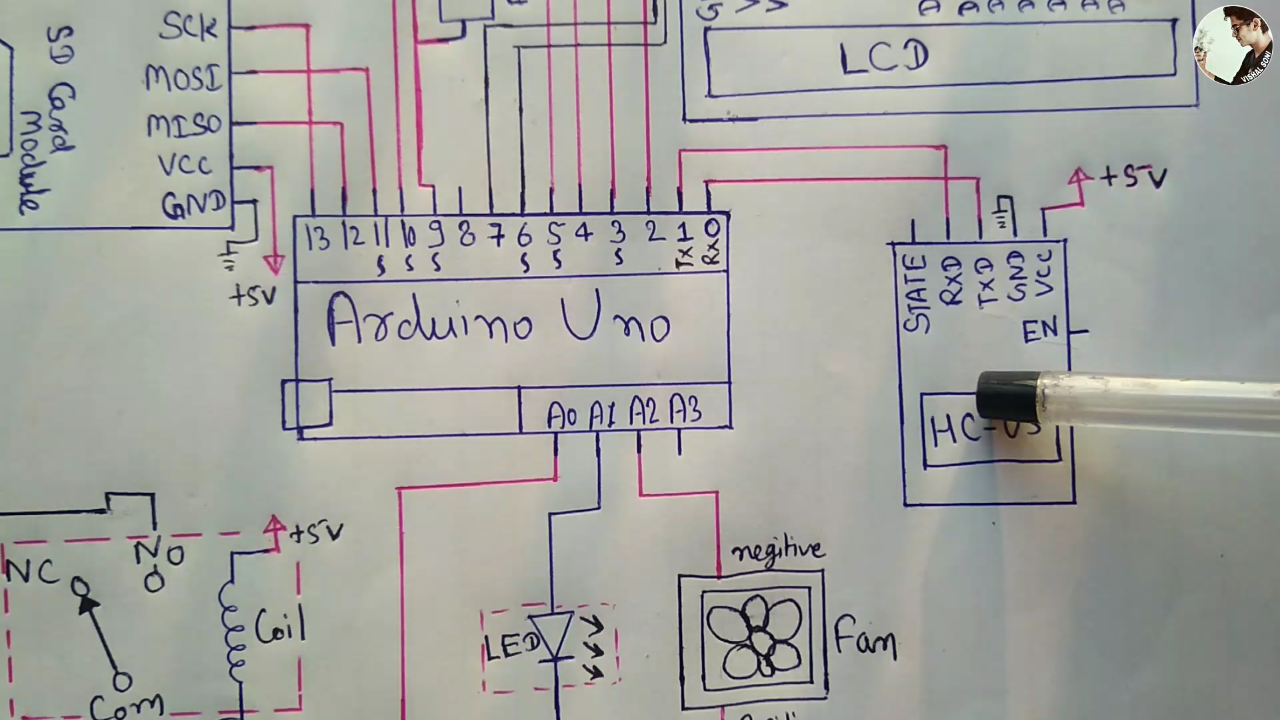
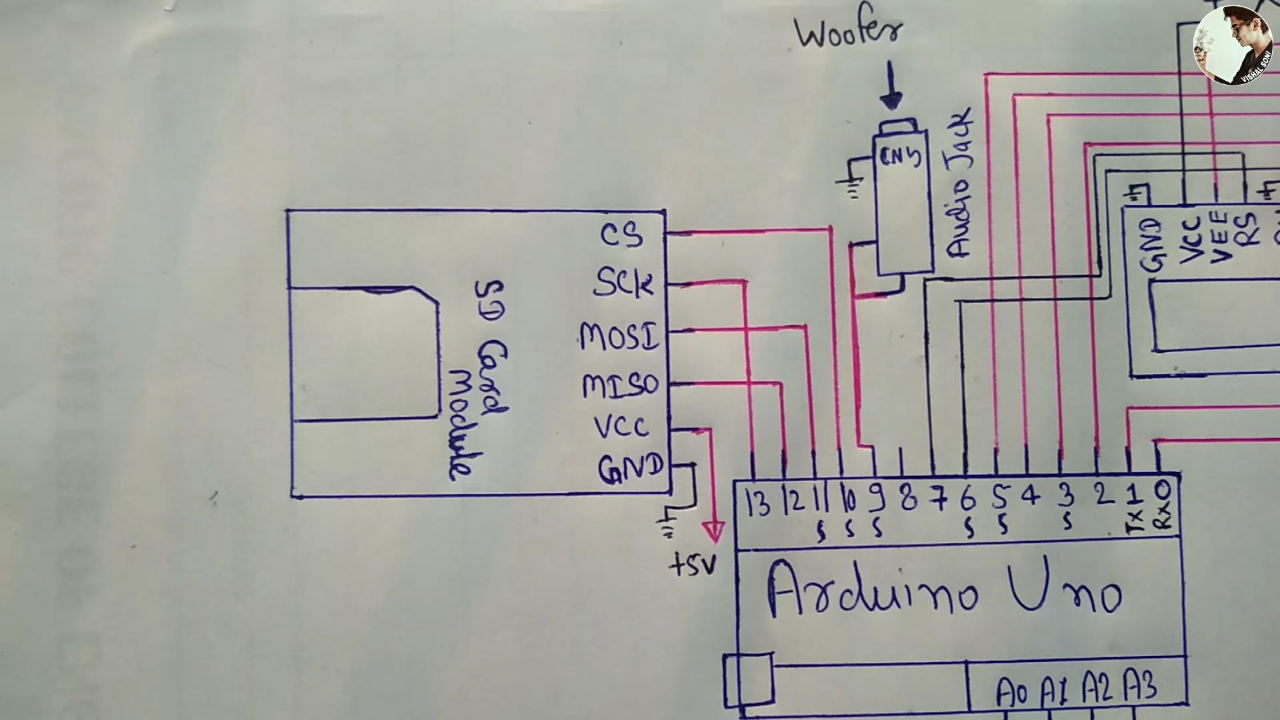
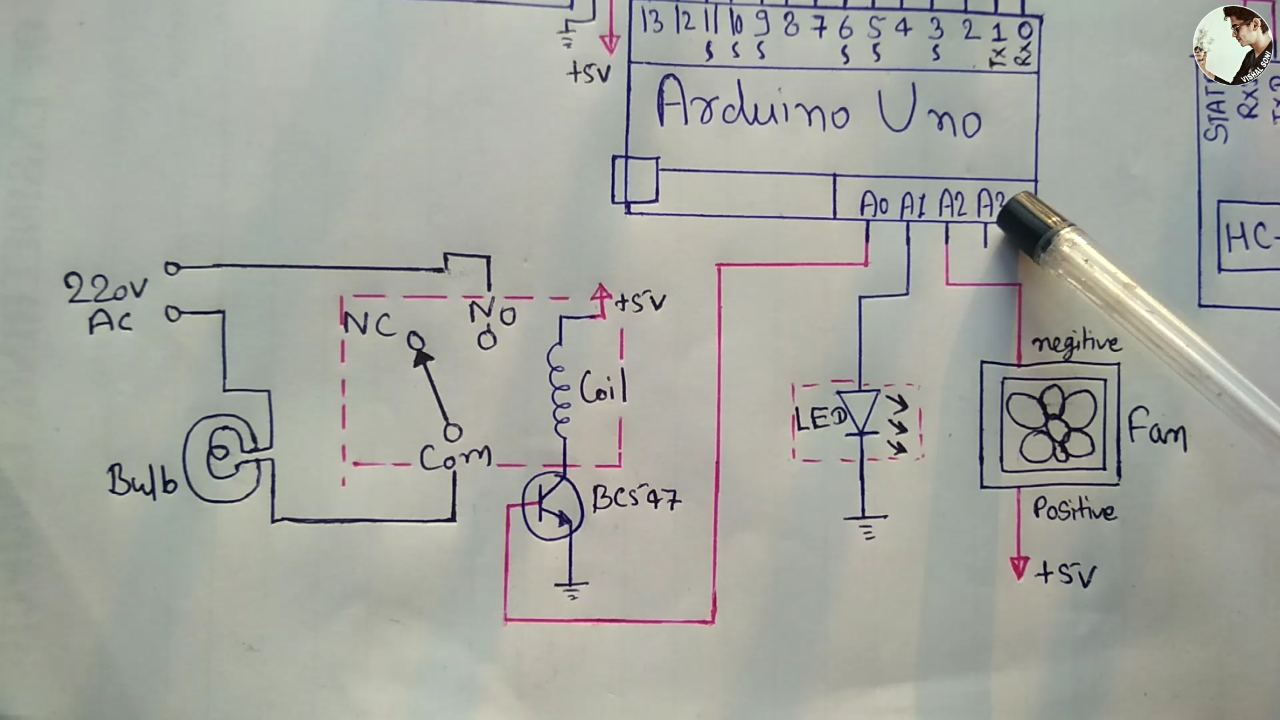
Connect circuit as shown
Vcc - - - - > 5v
Ground - - - - - > ground /negative
_______________
Lcd
- Connect DB7---------> arduino's 2 pin
- DB6--------> arduino's 3 pin
- DB5---------> arduino's 4pin
- DB4---------> arduino's 5pin
- E---------> 6pin
- RS-------> 7pin
- RW - - - - - > ground
________________
Bluetooth module
- RX---------> TX
- TX---------->RX
________________
SD card module
- MISO --------->12
- MOSI - - - - ->11
- SCK ----------->13
- CS ------------->10
OUTPUT Connections
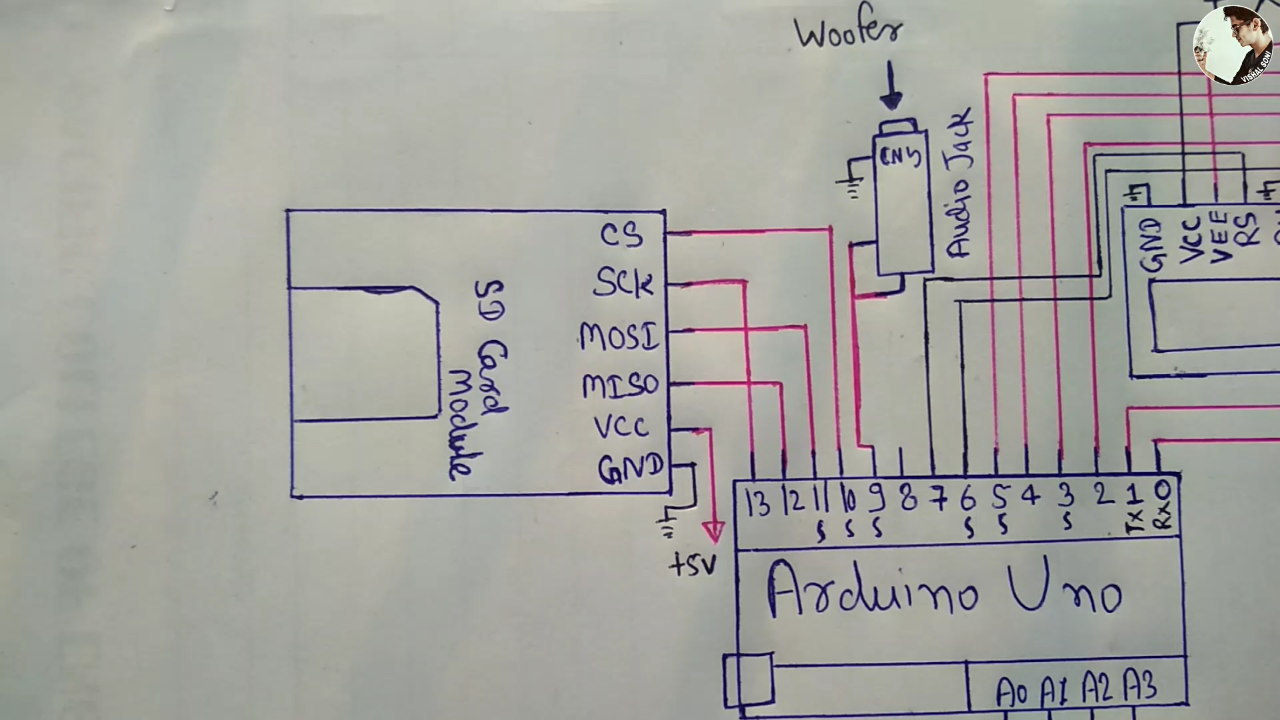
AUDIO OUTPUT
- Connect audio Jack's left and right terminal to 9th pin of arduino
- Ground will be connected to arduino's ground.
_______________
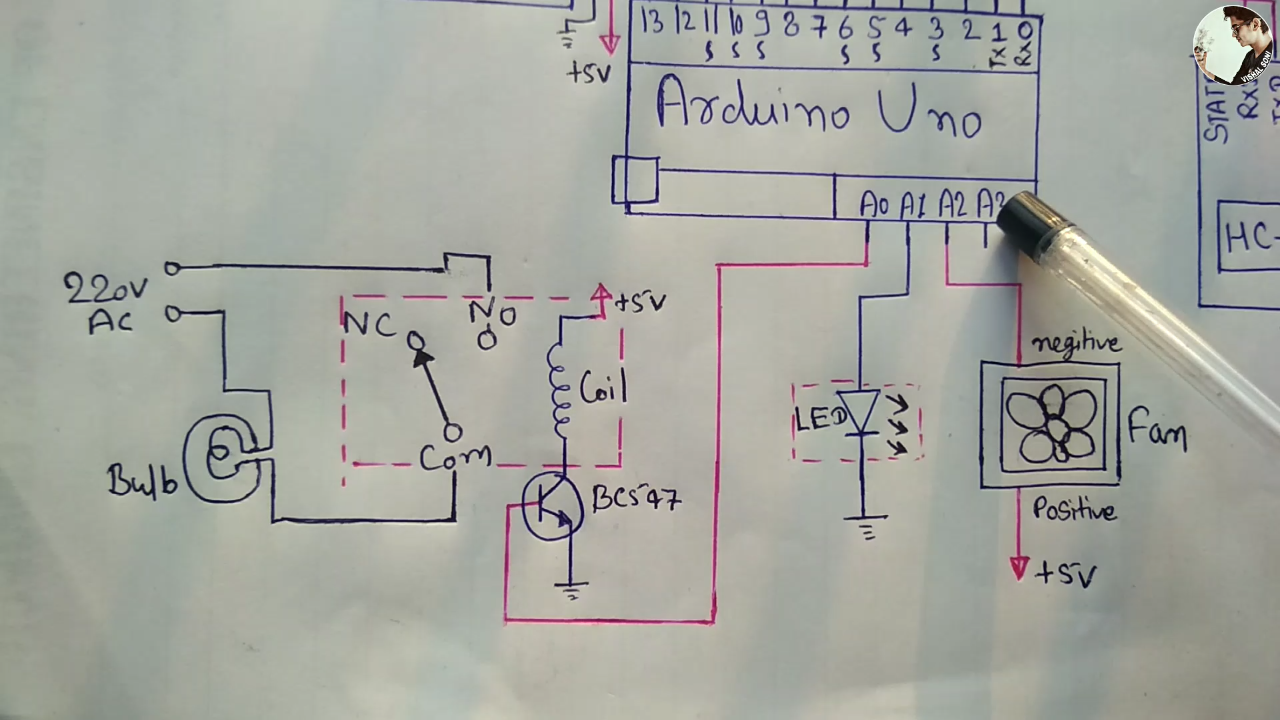
A0 Output
- Connect a0 to the base of Bc547 transistor
- Connect collector of transistor to coil of relay.
- Connect ac supply with bulb in series with NO terminal and Com terminal of relay.
________________
A1 Output
- Connect positive terminal of 10mm led to the A1 pin of arduino.
- Connect negative terminal of 10mm led to ground pin of arduino.
________________
A2 output
I have connected exhaust fan at place of heater.
- Connect negative terminal of exhaust fan to a2.
- Positive to 5v supply.
Download and Install App
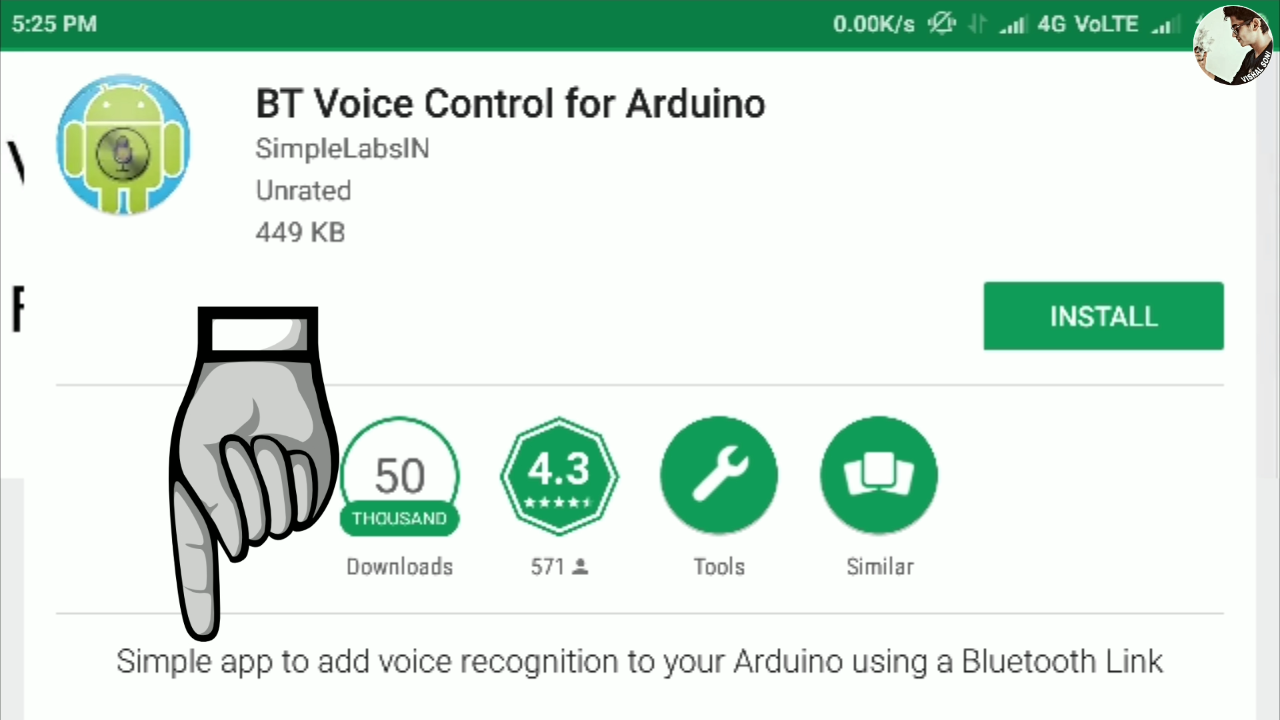
Download and install Voice control app
Link for app :- https://play.google.com/store/apps/details?id=robo...
How to connect app ...
1.Turn on Bluetooth of your Mobile.
2.Pair Bluetooth name "hc-05 " password is "1234" or "0000".
3.Download the android app.
4.Open the app and click on connect.
5.Now click on hc-05 then wait a few second.
6.If it not connect then try again.
All Done
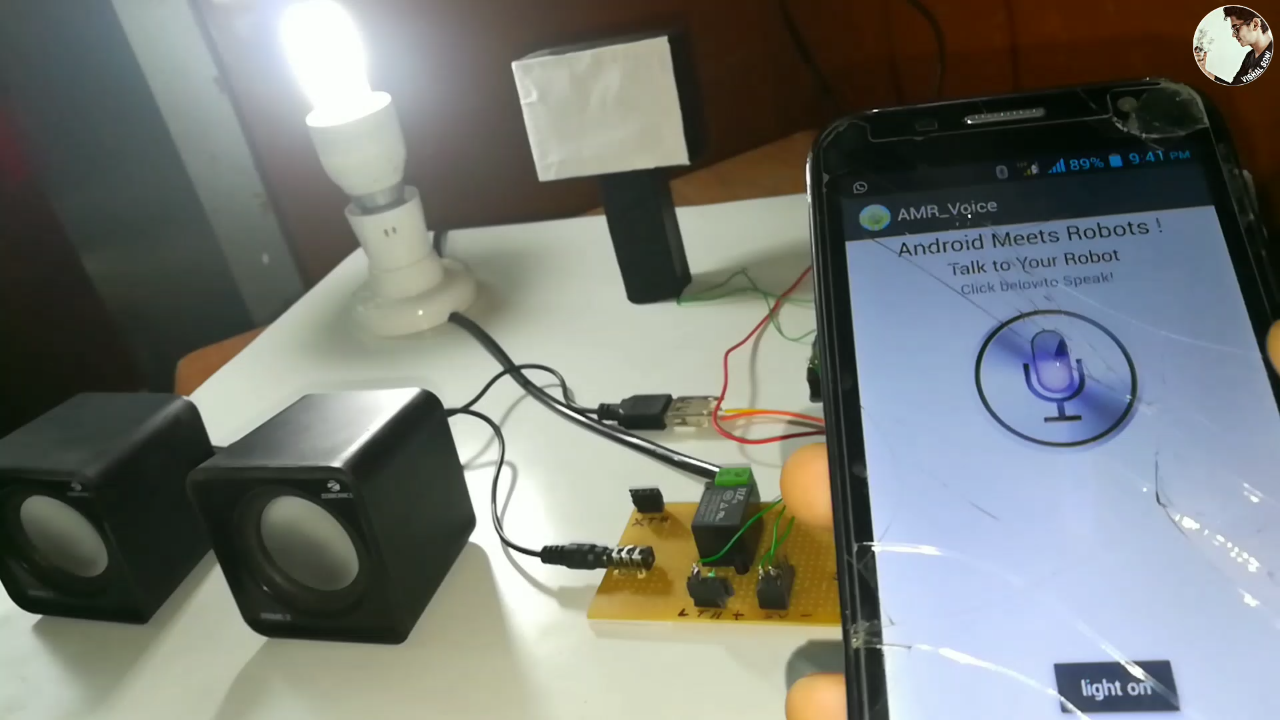
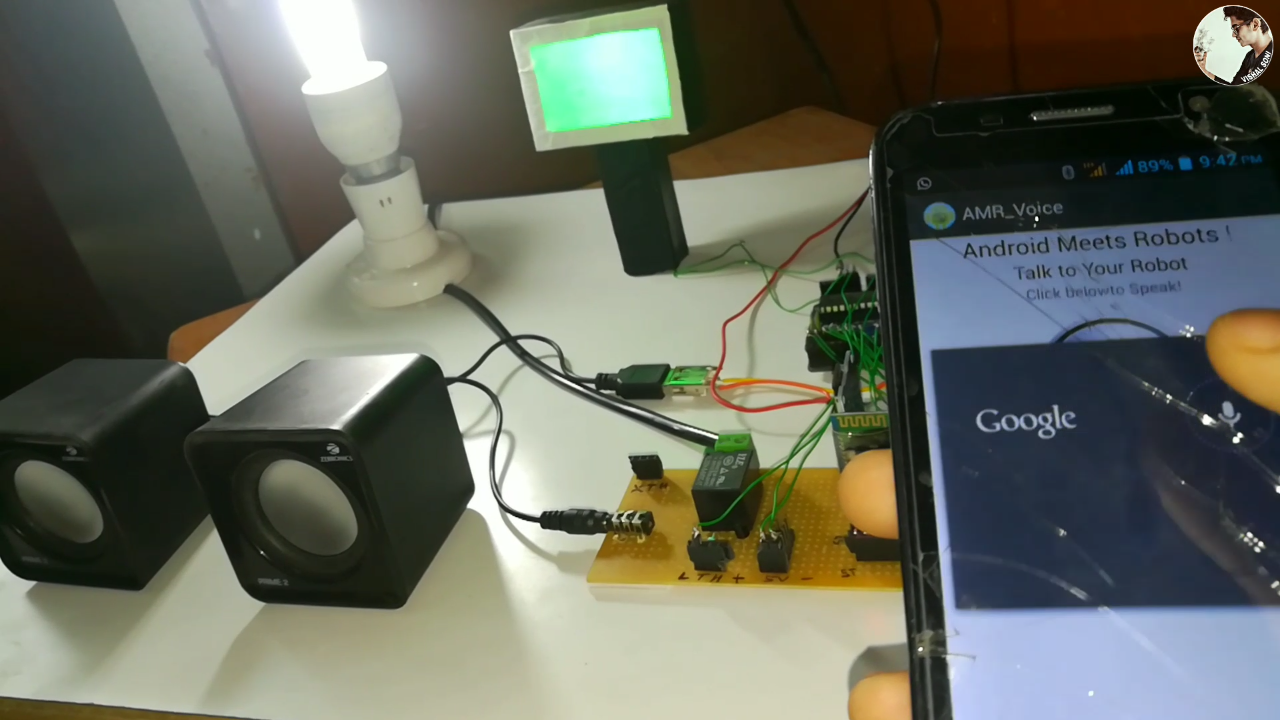
Here we go.....
Just turn on your data connection and click on center button and say these commands
- Light on
- Light off
- TV on
- TV off
- Heater on
- Heater off
- All on
- All off
By the way, subscribe to my YouTube channel for more projects like this. I also update my upcoming projects on Instagram.
buy me a coffee! ☕: Donate