Talk to Your Light
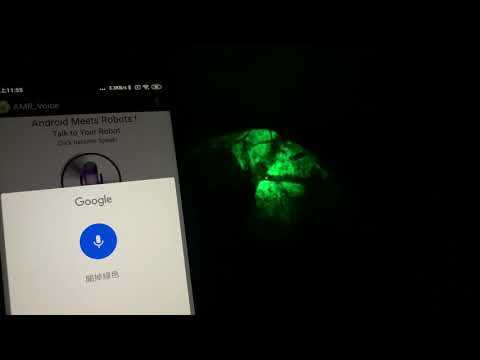
What is my project?
This project is a light that you can change colors by saying which color you'll like. The light I made in this projects use 4 different lights: green, red, yellow, blue, and of course you can add more lights and change more colors. This guide will teach you how to control your Arduino with your voice from your phone.
How does it work?
Your android has a speech recognition and we'll use it to control your Arduino, via Bluetooth. The App I used is designed by SimpleLabsIN and it works by pressing the mic button, then the it will wait for you to say a command. The app will then display the word's that you've stated and will send data strings for the Arduino to process.
TechBuilder inspired me to make this project
Parts and Components
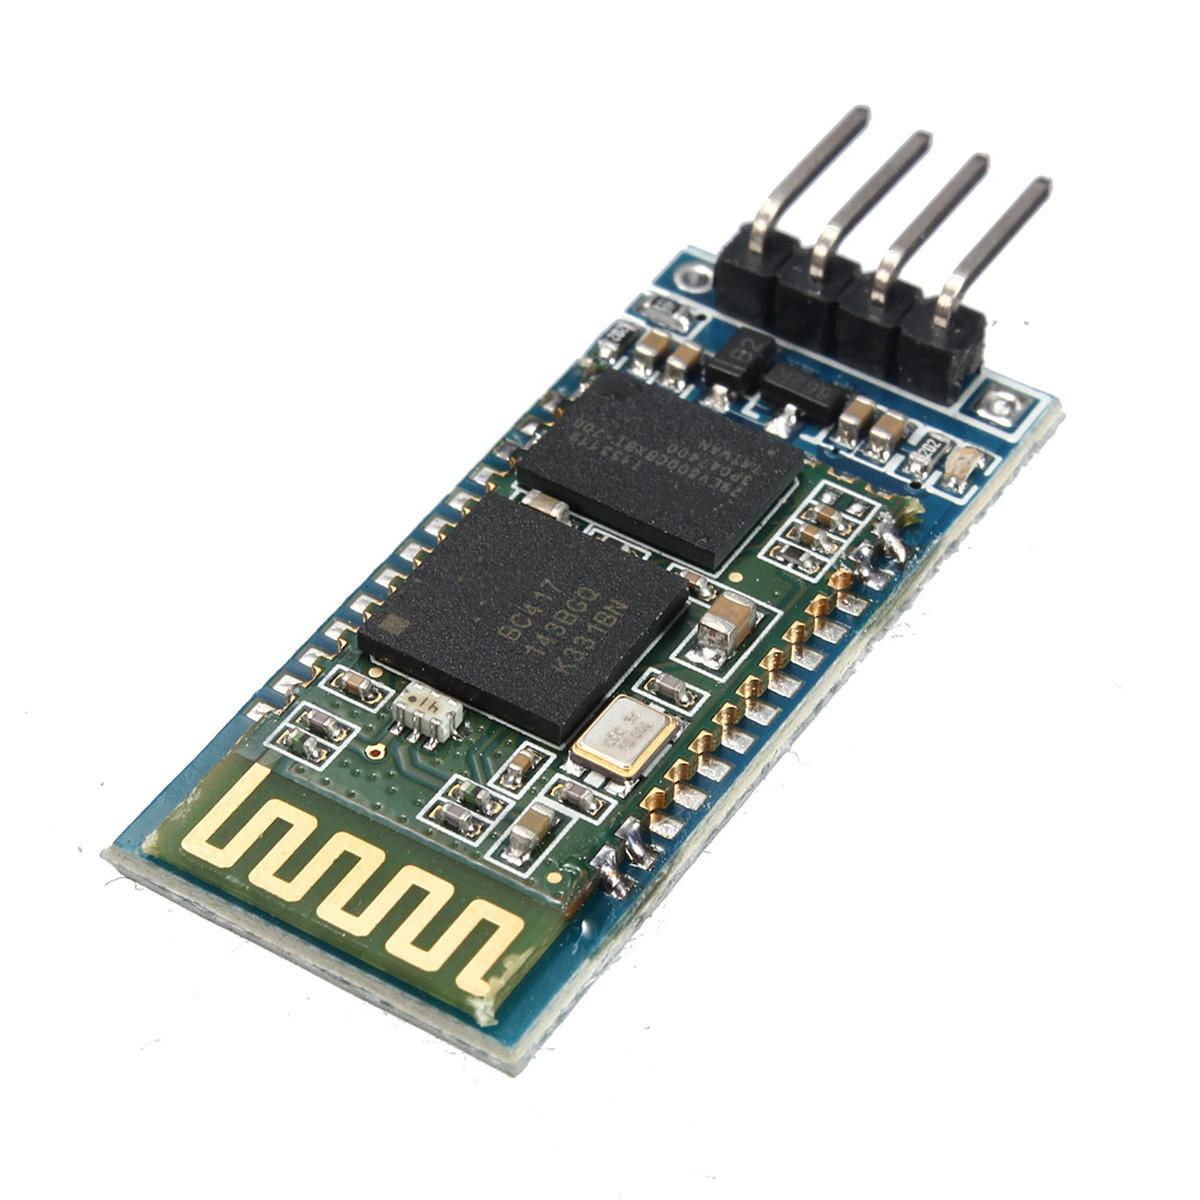
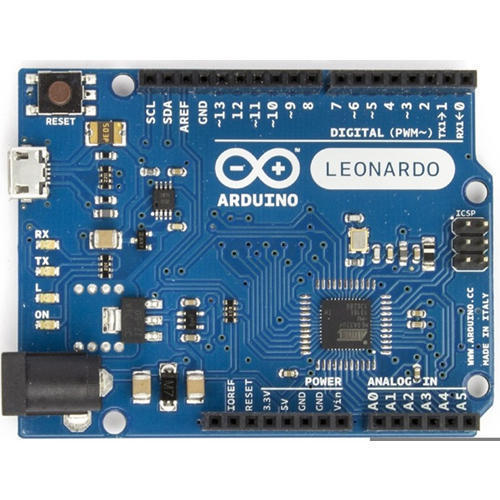
We'll need these parts:
- 4x LED Indicators or more(the color of your choice)
- 1x Arduino Leonardo
- 1x HC-06 Serial Bluetooth Module
- Breadboard and jumpers
- (Optional) 9v Battery
-
220Ω Resistors
Connections and Schematic
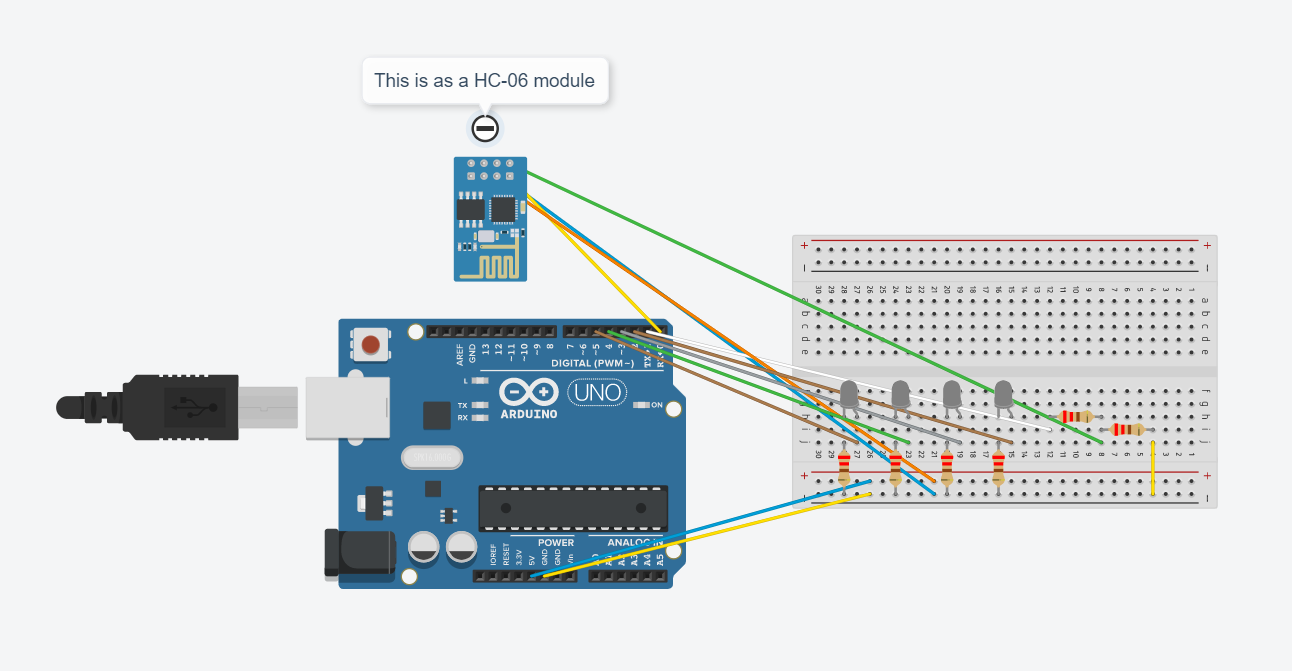
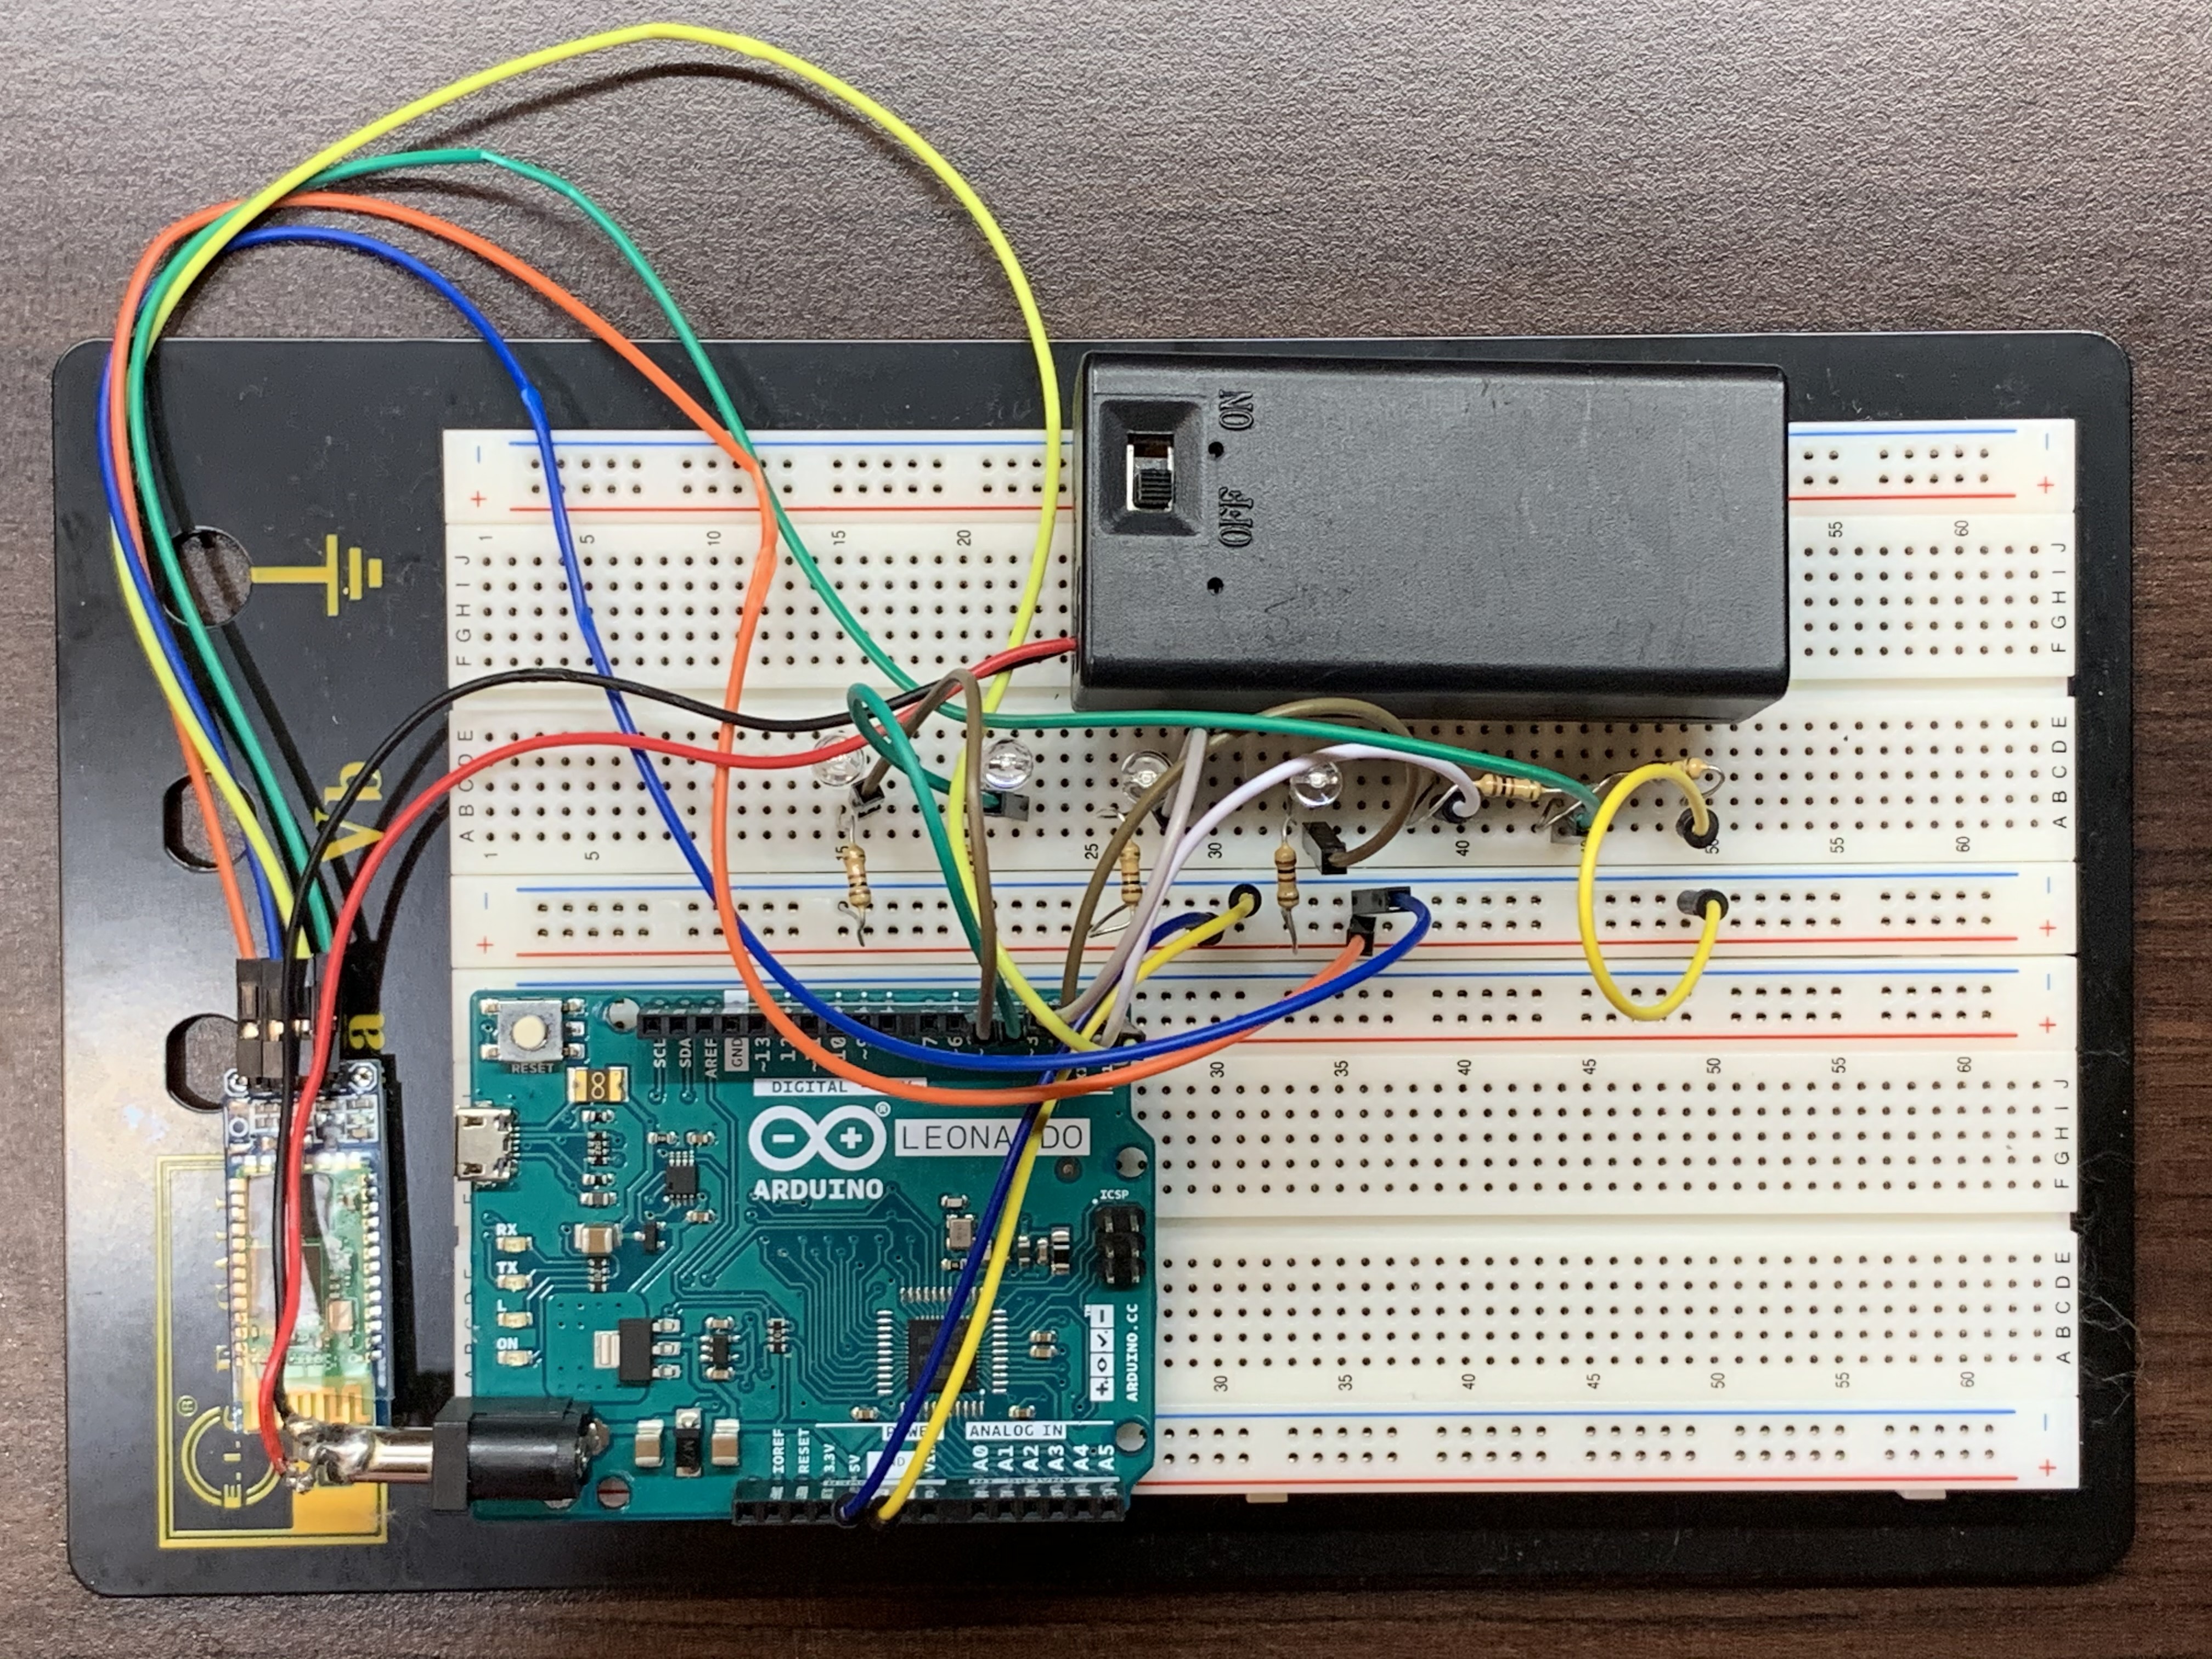
Remember, the bare HC-06 run on 3.3v, you can't just connect it to 5v.
The 9v battery is optional if you don't want the USB cable visible in the end.
If the picture in anyway is unclear, feel free to contact me, I gladly help you
Arduino Code and Serial Communication
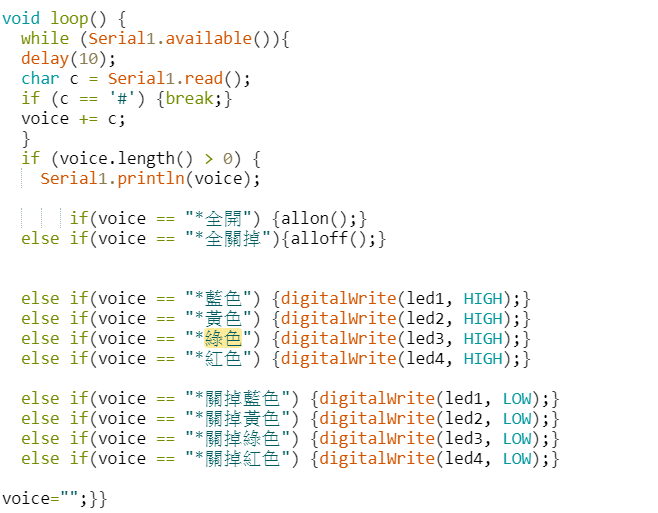
How to upload the code?
Upload the code with USB cable. The code is made for the Leonardo board. If you want to use the code on the UNO board, you'll need to change the code Serial1.read, Serial1.available, and Serial1.println. Delete all the number "1" to use the code on the UNO board.
Understanding the app:
The app work by recognizing your voice command, it will then display the words that you've spoken then sending data/ strings to the Arduino via bluetooth. What's a string? A string is like a word, you can make conditional statements out of it [ex: if (voice == "*computer on") {// turn Pin #2 on} ]. The "voice" is your string, "==" is your condition, "*computer on" is your command, and the code inside the curly-braces "{ }" are the codes to be executed once your string matches the command condition. The app sends strings in this format *command#, the asterisk (*) indicates the start of a new command and the hash-tag (#) indicates the end of a command.
How can I change the commands?
You can see that the "*綠色" is highlighted from the image above. 綠色 is the Chinese of green. You can change the word to whatever you want, let's say you wanted to change it to the color pink, you can replace "*綠色" with "*Pink". Always remember to start the command with an asterisk.
Connect Arduino to Android Device
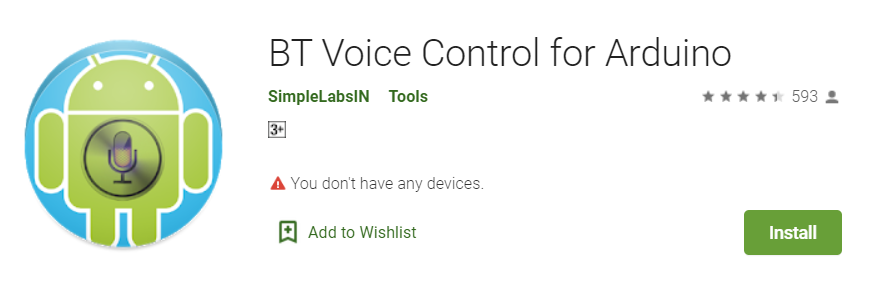
Download the app: BT Voice Control for Arduino
The App I used is designed by SimpleLabsIN
5 Simple Steps:
- Download the app from Google PlayStore
- Tap on options menu then select "Connect Robot"
- Click on your BT-Module (in my case it's the HC-06)
- Wait until it says Connected to BT-Module (HC-06)
- Tap on the mic icon and state your command!
Cover Your Components
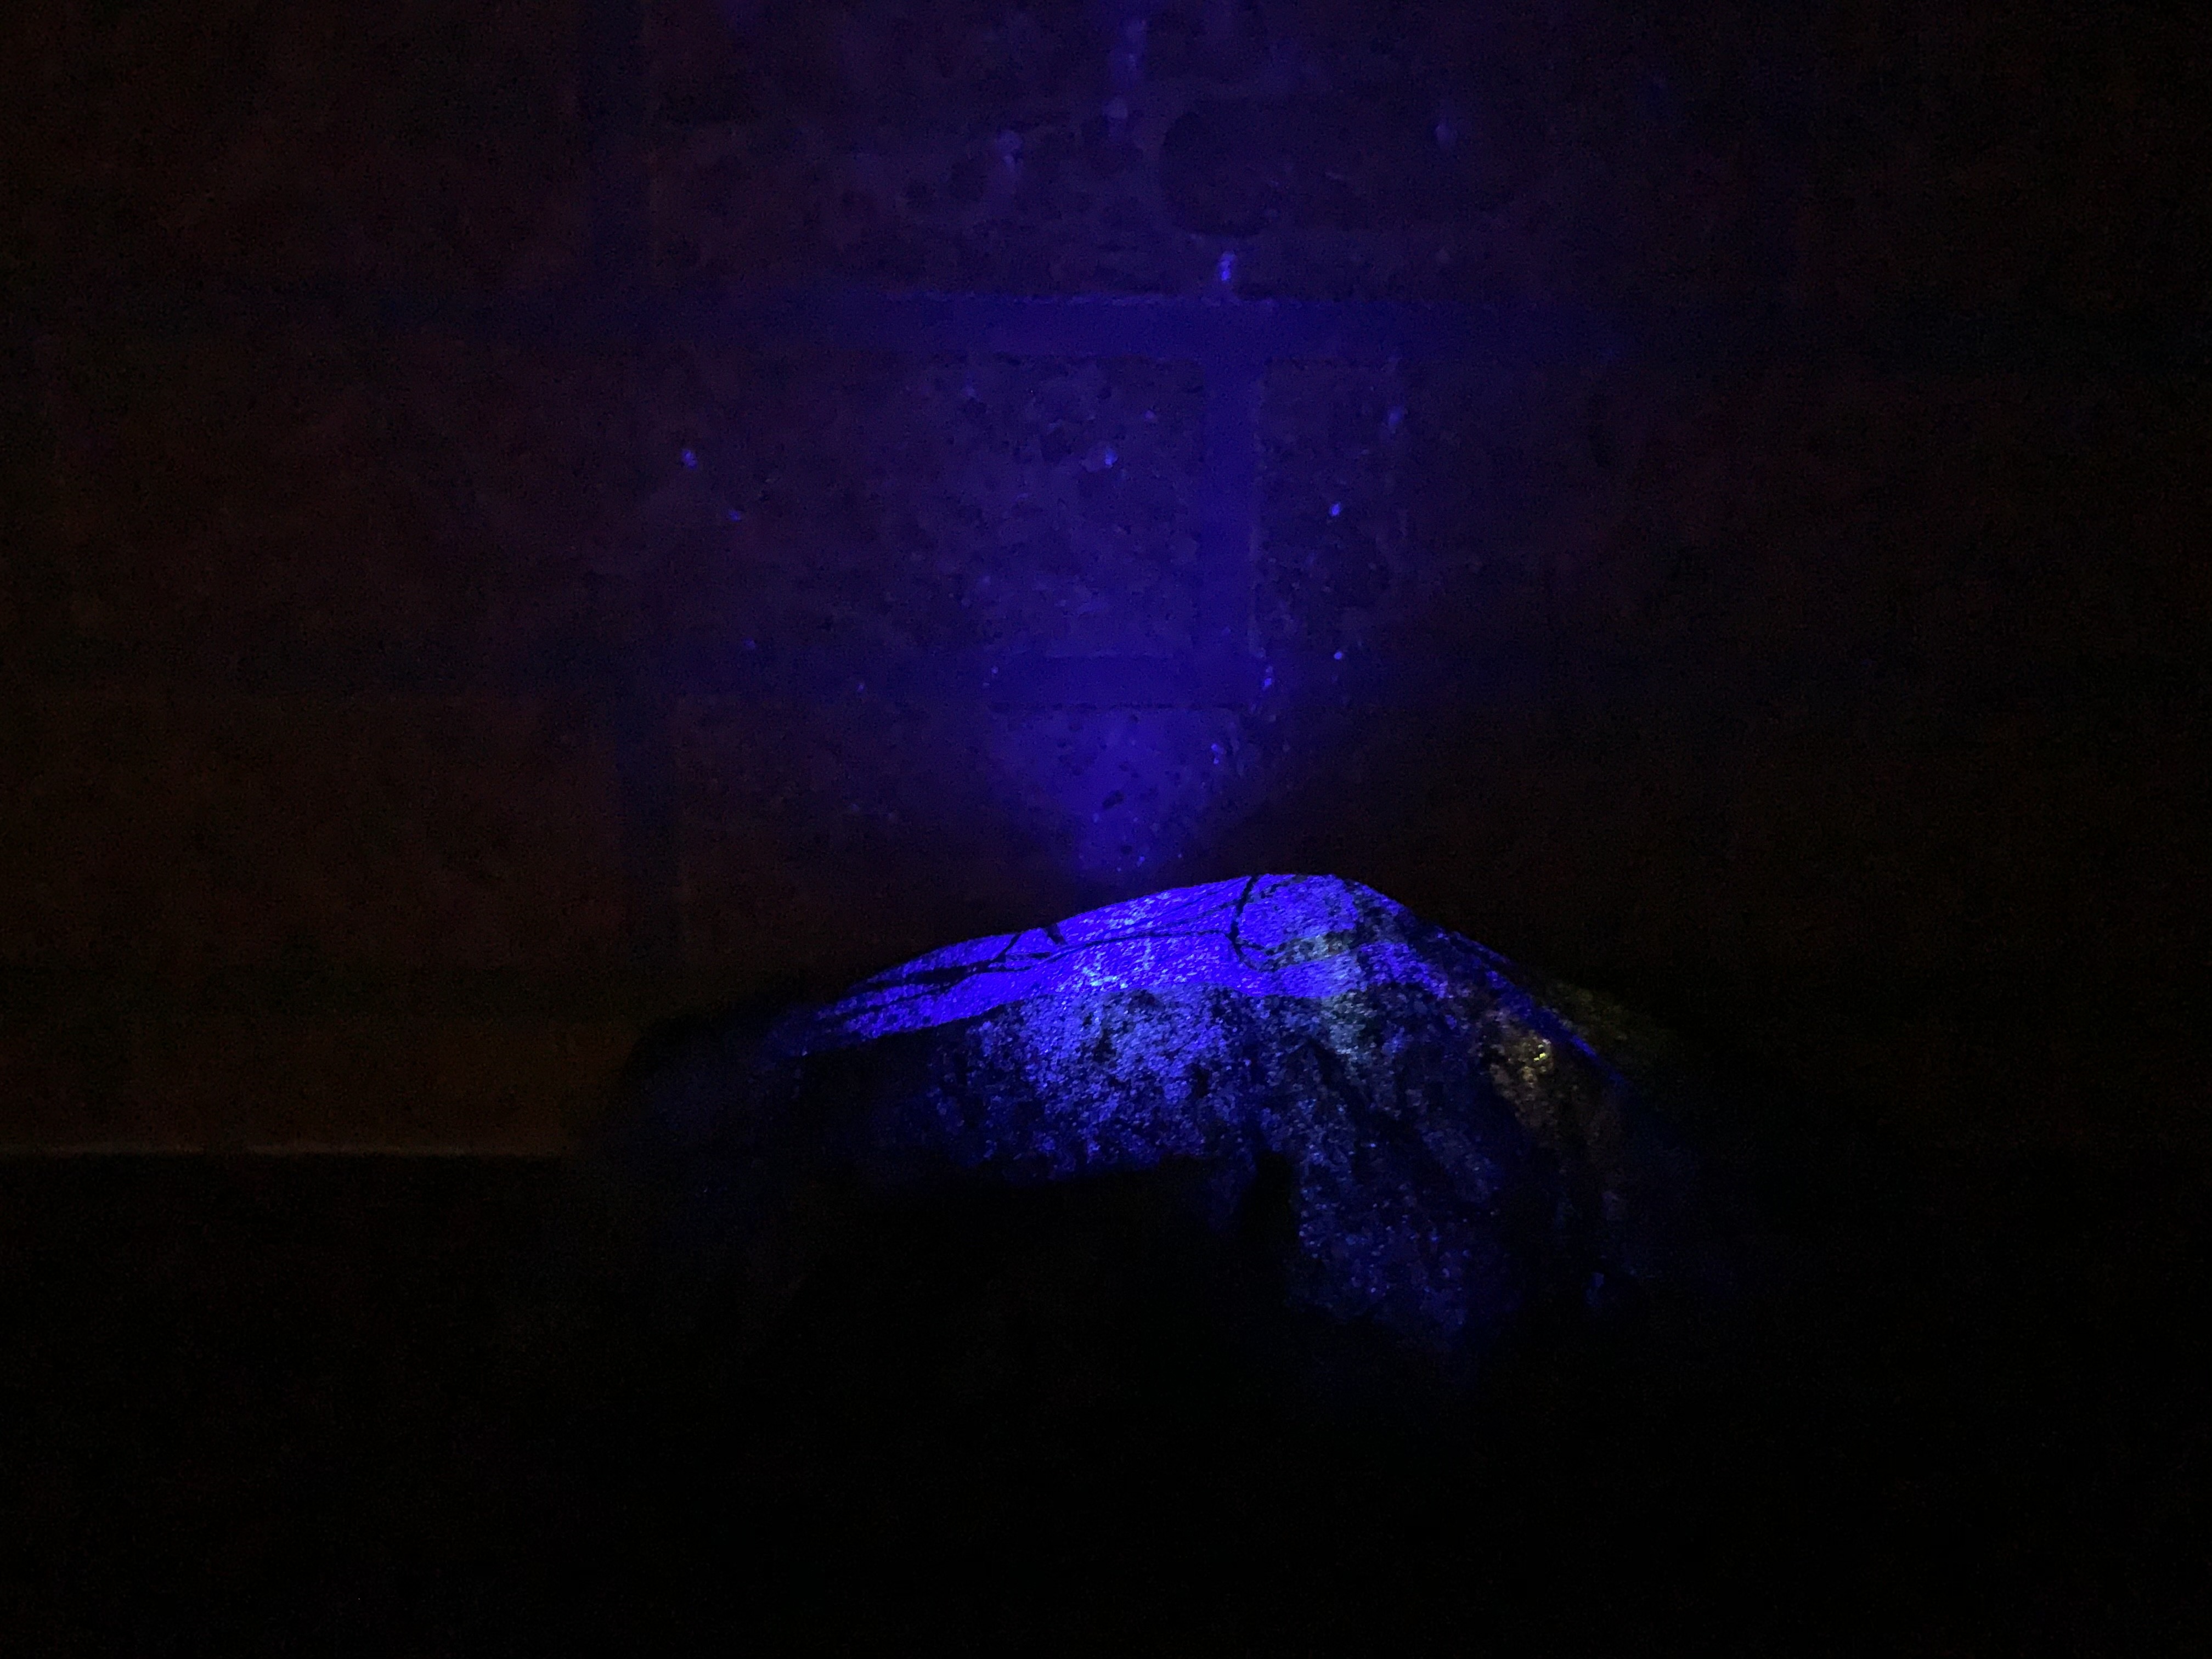
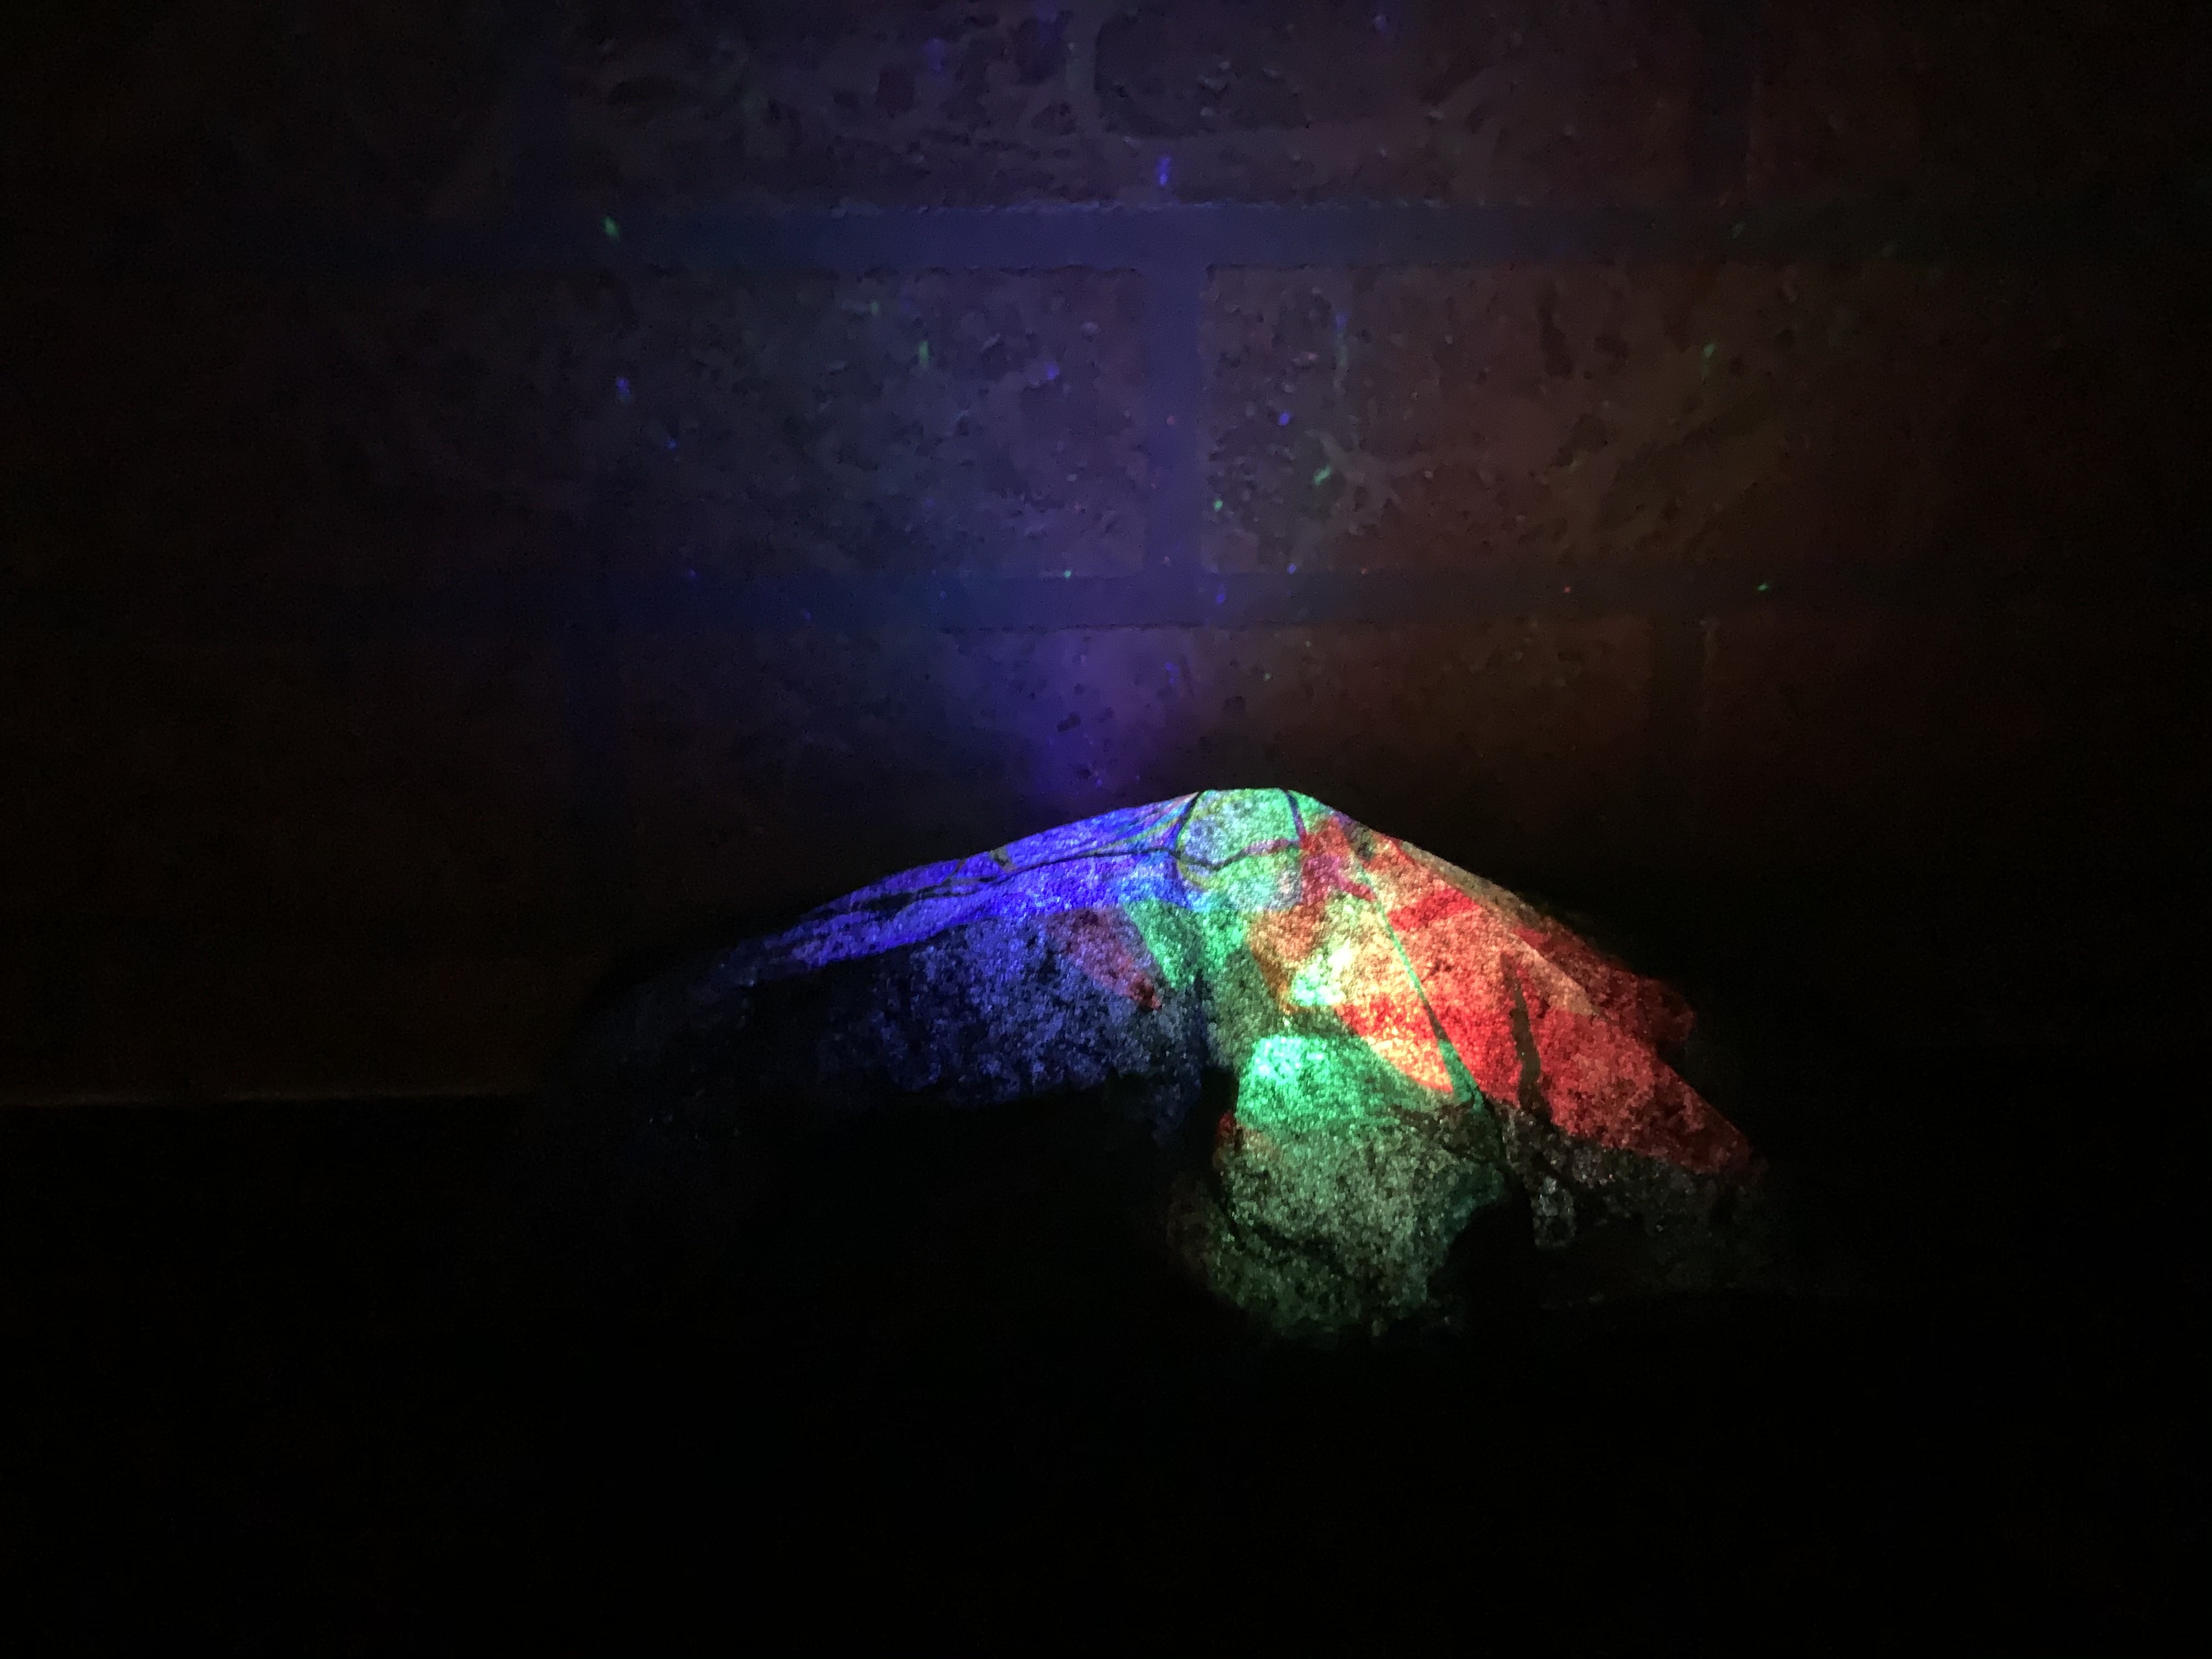
Now you should cover your components, so your light won't be to bright and it'll also make the project more stylistic.
This is how I did it
- Cover the whole thing with a semi translucent paper
- Stick it from below
- Open the light
It should look pretty
YOUR DONE!!!