Taking Electronics to the Internet (IoT) | Servo
by LightBug in Circuits > Electronics
15669 Views, 272 Favorites, 0 Comments
Taking Electronics to the Internet (IoT) | Servo


 Part 1)
This is tutorial two of the series where I take electronic devices which you normal control using an Arduino, to the internet using a Spark Core. Do check out the previous instructable as it serves as a basics and I have some details about the spark core written up over there. I have tried to keep this instructable as simple as possible so that everyone can keep up.
In the last instructable all I did was turn an LED On or Off using a web browser and there was no monitoring of data, i.e all I did was send data out and did not receive any. So in this instructable I'm going to a step further and control a servo from the internet or web browser and also going to monitor the current position of the servo.
And in the next tutorial of the series I will show you how to convert this project into an Automatic Fish Feeder which can also be controlled via the internet.
I have a video of the servo in action do check that out.
So lets get started
Tools and Components


All that is different from the previous tutorial is the servo and if you're for the first time here is a list of components required.
- Spark Core
- Servo
- Breadboard
- Jumper wires
As I said earlier, no soldering skills are required for this tutorial as we will be using a breadboard, but in the future tutorials there will be a lot of soldering. And there are a lot of tutorials on YouTube that shows you how to solder. You can also use an Arduino and you can PM me for additional details on how to get started.
Note- You can also get a Photon form the Particle store for $19 all the code and the setup of this series will remain unchanged.
Getting Started

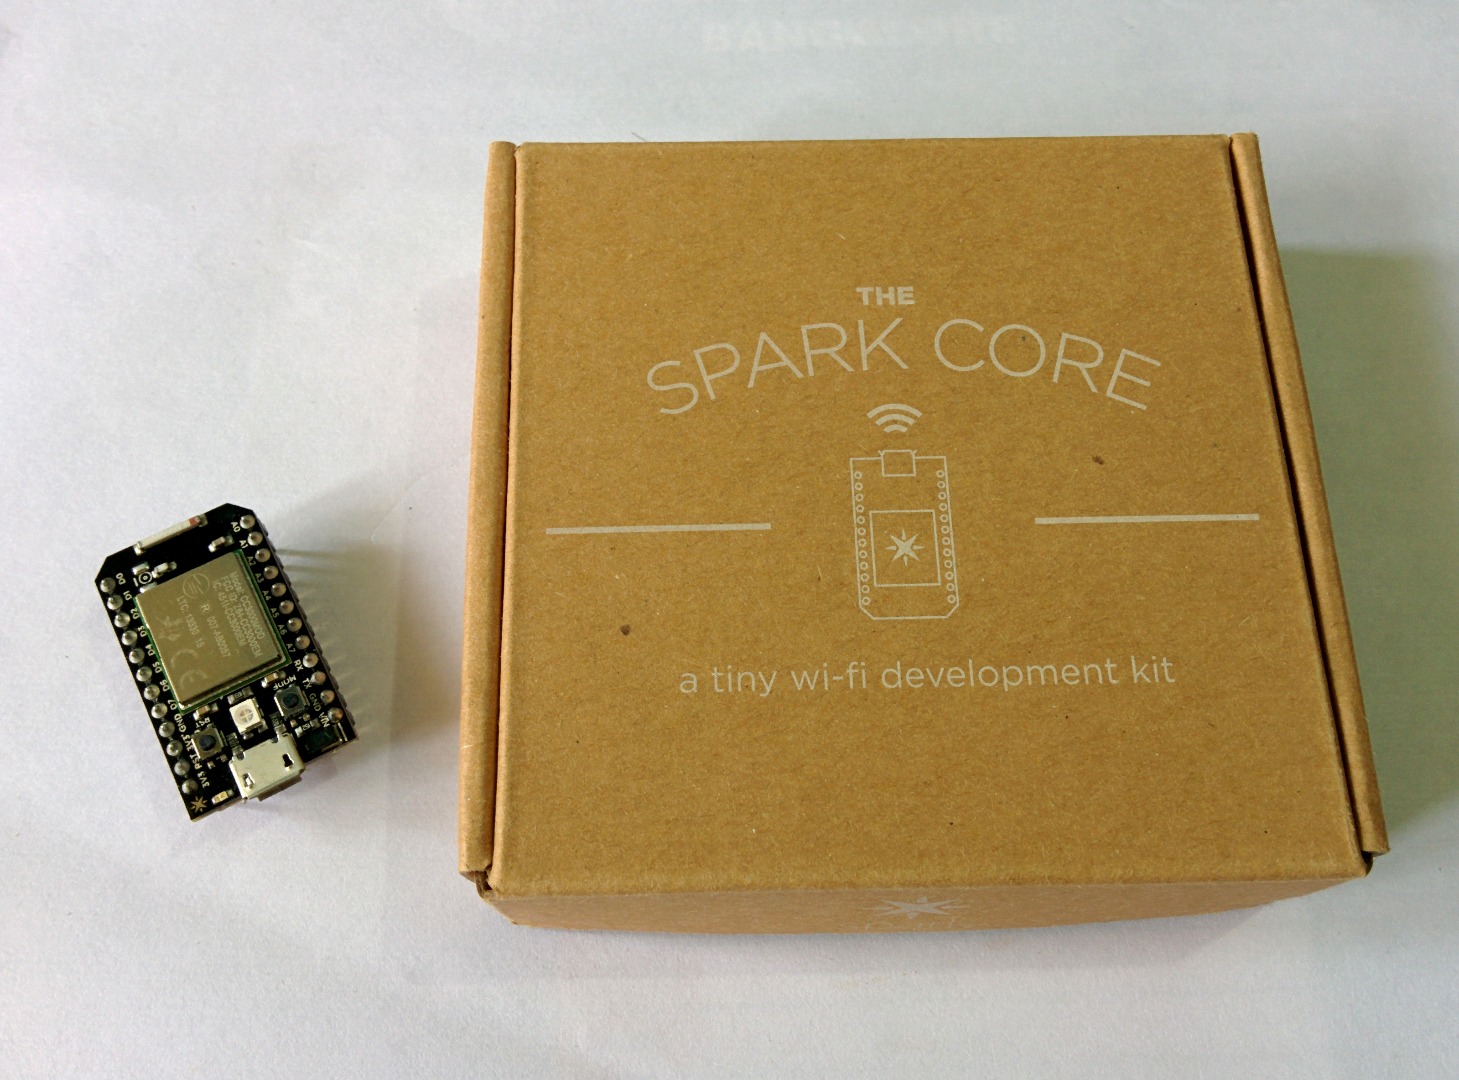
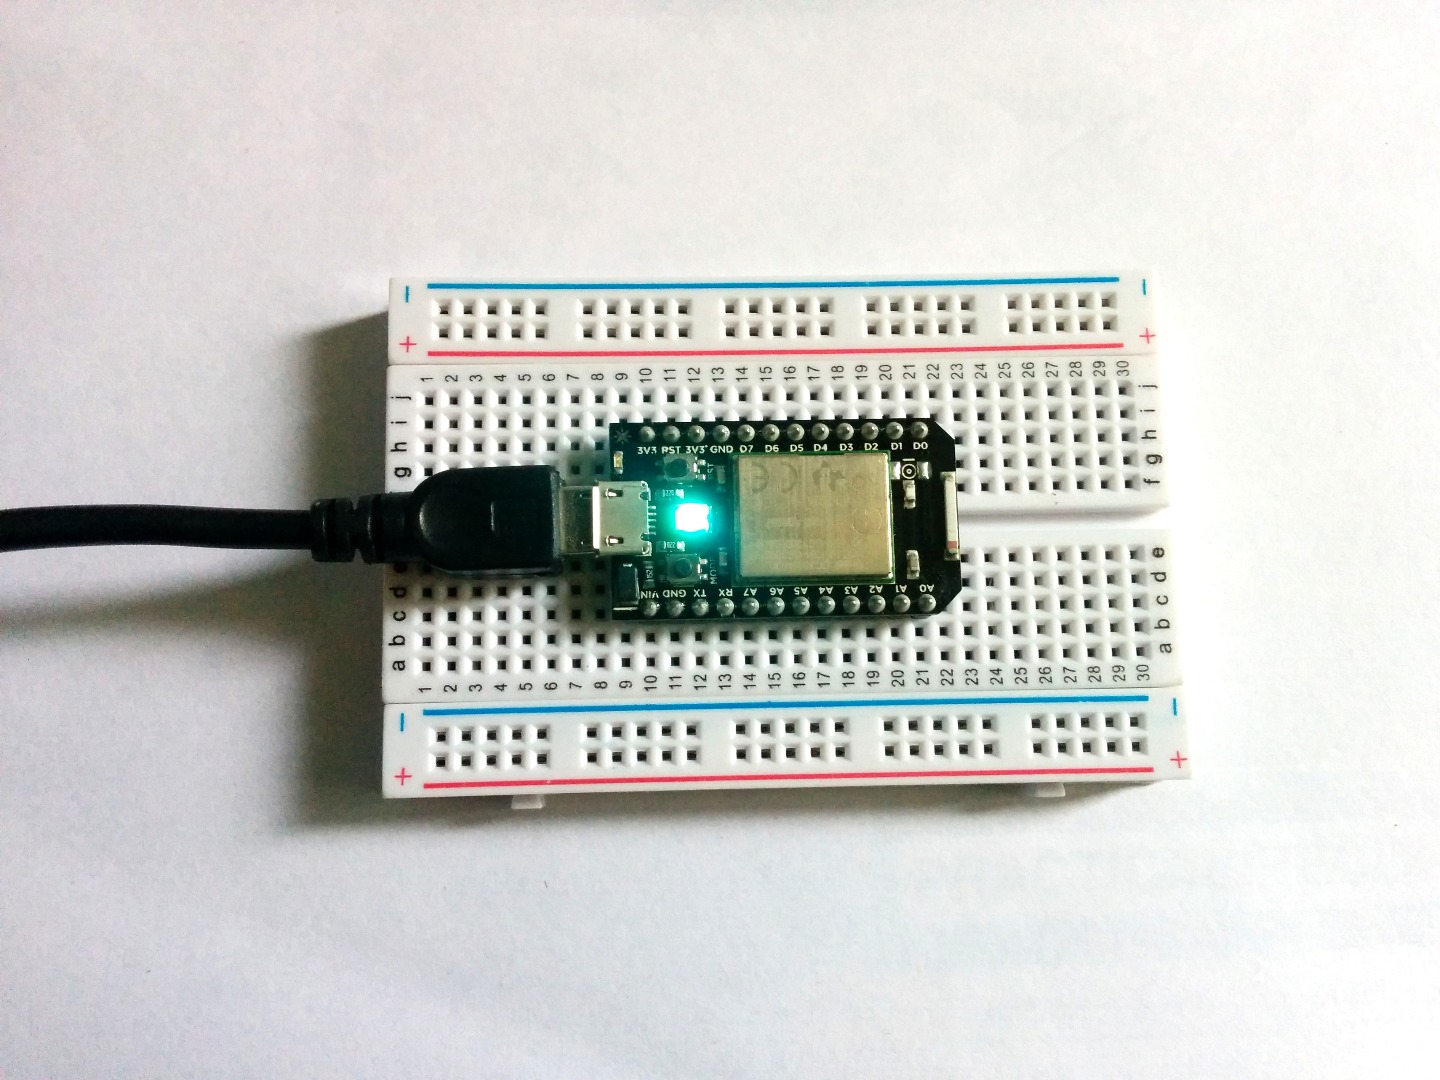
Now that you have your core lets get it connected to the internet or the Spark Cloud API. First get the core out of the box and connect the spark core to the computer via the micro USB cable. Now you should get the spark core blinking blue color.
Time to set up your android or Iphone to configure your core -
- First download and install the respective app - Android or IPhone
- Next sign up for a free account using valid details
Time to Connect the Core to the Cloud -
Make sure your phone is connected to the WiFi you want to use (it'll show up in the SSID blank on the app), then enter your password and click CONNECT!
The core would start blinking the following colors -
- Blinking blue: Listening for Wi-Fi credentials
- Solid blue: Getting Wi-Fi info from app
- Blinking green: Connecting to the Wi-Fi network
- Blinking cyan: Connecting to the Particle Cloud
- Blinking magenta: Updating to the newest firmware
- Breathing cyan: Connected!
Once you got the core Breathing cyan everything went fine and it's time to proceed to the next step.
Setting Up - Hardware Side


Now lets start with setting up the hardware, follow the circuit in the picture above.
Note- The servo is 5V, while the Spark Core is 3.3V so you should not drag any power directly from the board as it may damage the voltage regulator. An alternative to that is to connect the voltage positive terminal of the servo to the Vin which is the raw power from the USB Input.
After you have made the connections lets test it with some example program before actually connecting it to the internet. Below is an example code form the Arduino servo library, all the program does is sweeps the Arduino back and forth but servos as a nice way to verify if your connections are right.
<p>Servo myservo;  // create servo object to control a servo <br>                // a maximum of eight servo objects can be created

int pos = 0;    // variable to store the servo position

void setup()
{
  myservo.attach(0);  // attaches the servo on pin 9 to the servo object
}


void loop()
{
  for(pos = 0; pos < 180; pos += 1)  // goes from 0 degrees to 180 degrees
  {                                  // in steps of 1 degree
    myservo.write(pos);              // tell servo to go to position in variable 'pos'
    delay(15);                       // waits 15ms for the servo to reach the position
  }
  for(pos = 180; pos>=1; pos-=1)     // goes from 180 degrees to 0 degrees
  {
    myservo.write(pos);              // tell servo to go to position in variable 'pos'
    delay(15);                       // waits 15ms for the servo to reach the position
  }
}</p>
If the servo worked fine (reffer to the video), then its time to connect it to the internet.
Code Time : Spark Core

The program for controlling the servo is very simple and has a spark function and a variable which is different and a lot more simpler than using an Arduino and a WiFi module.
Here is the code -
<p>Servo myservo;  // create servo object to control a servo</p><p>int pos = 0;    // variable to store the servo position</p><p>void setup()
{
  myservo.attach(A0);  // attaches the servo on the A0 pin to the servo object
  Spark.function("setpos", setPosition);
  Spark.variable("getpos", &pos, INT);
}</p><p>void loop()
{
}</p><p>int setPosition(String posValue) {
    pos = posValue.toInt();
    myservo.write(pos);
    return 0;
}</p>
Copy, paste the code in the particle web IDE after registering an account if you have not done it yet.
The program had a function and variable and all the spark core does is sets the position of the servo equal to the value returned by the setPosition() function.
Code Time : Web Browser


Coming to the web browser side of things, the whole program is written in Html and JavaScript. You can feel free and modify it as you like or add CSS to it which I did not have time to do.
If you do not know JavaScript or HTML you can just download the file form the attachments add in your access token and Device ID where it says << device id >> and << access token >>. The access token can be found in the settings tab of the spark IDE and the core id in the ID tab on the same page.
Run the program from a web browser I used Google Chrome to run it, but even others will work. On successful connection the browser will display the current position of the servo which should be zero degrees by default.
On increasing the angle on the webpage, the servo angle should increase the same and the current angle should be updated.
Note- Do not share your access token or device ID to anyone.