Take Micro-Photographs With an Old Student Microscope
by KathyCeceri in Workshop > Science
11470 Views, 96 Favorites, 0 Comments
Take Micro-Photographs With an Old Student Microscope
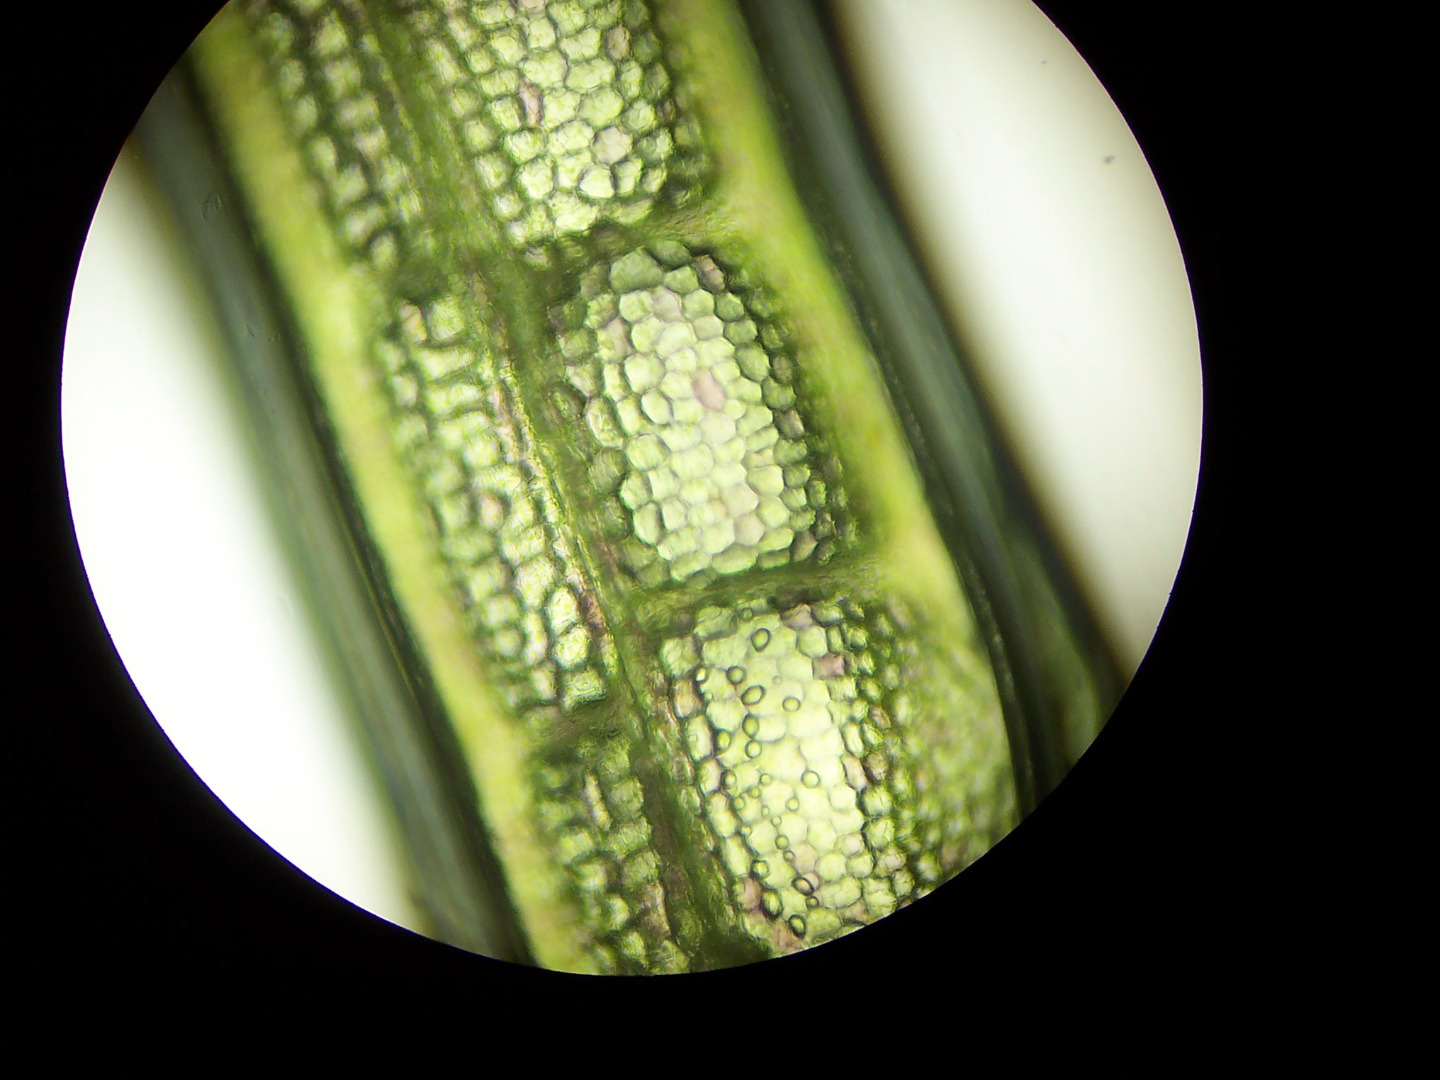
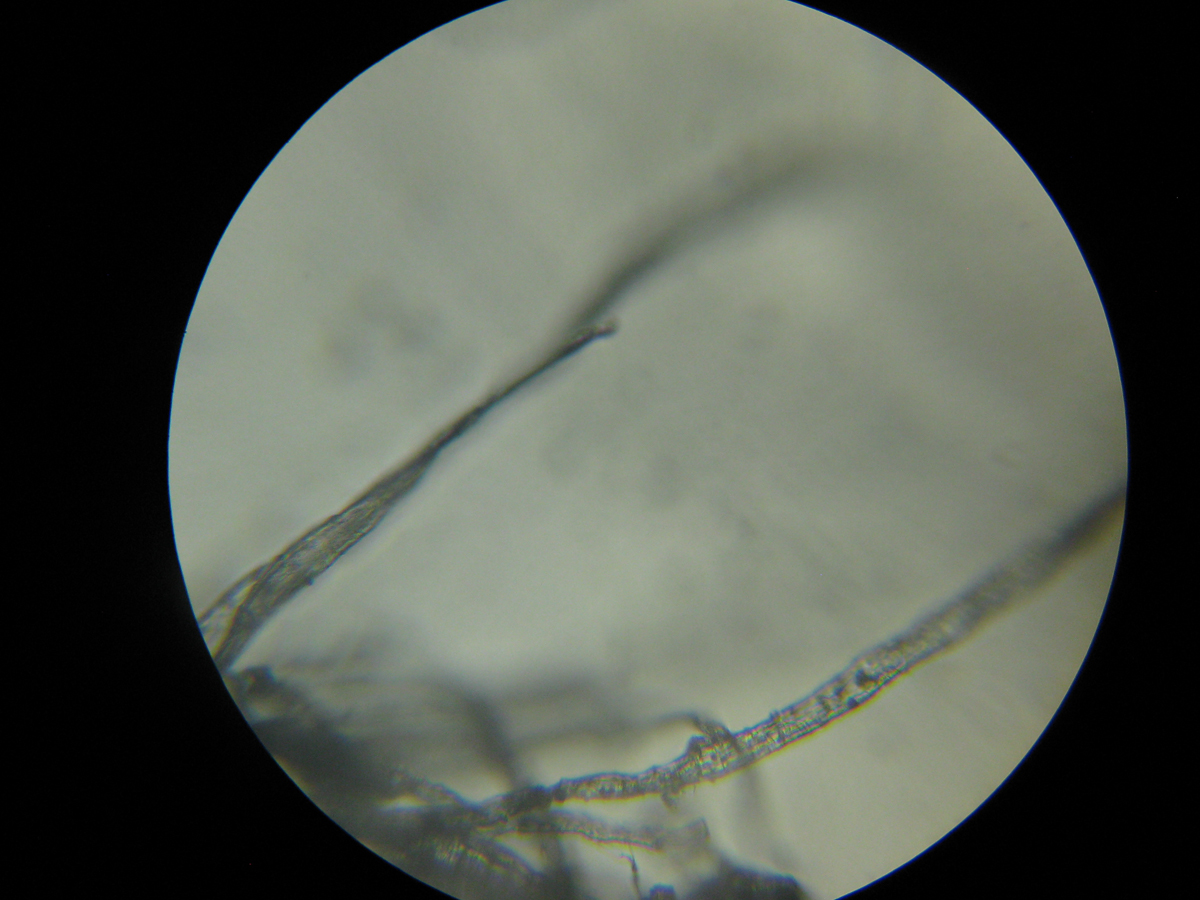
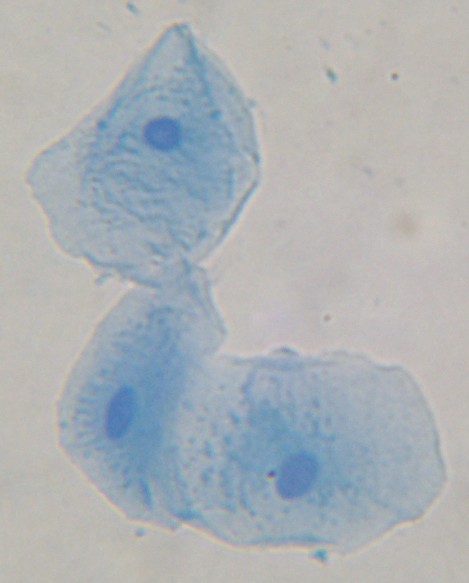
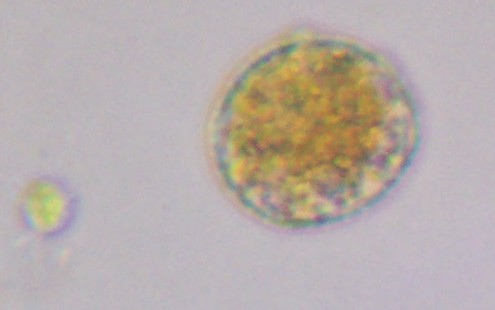
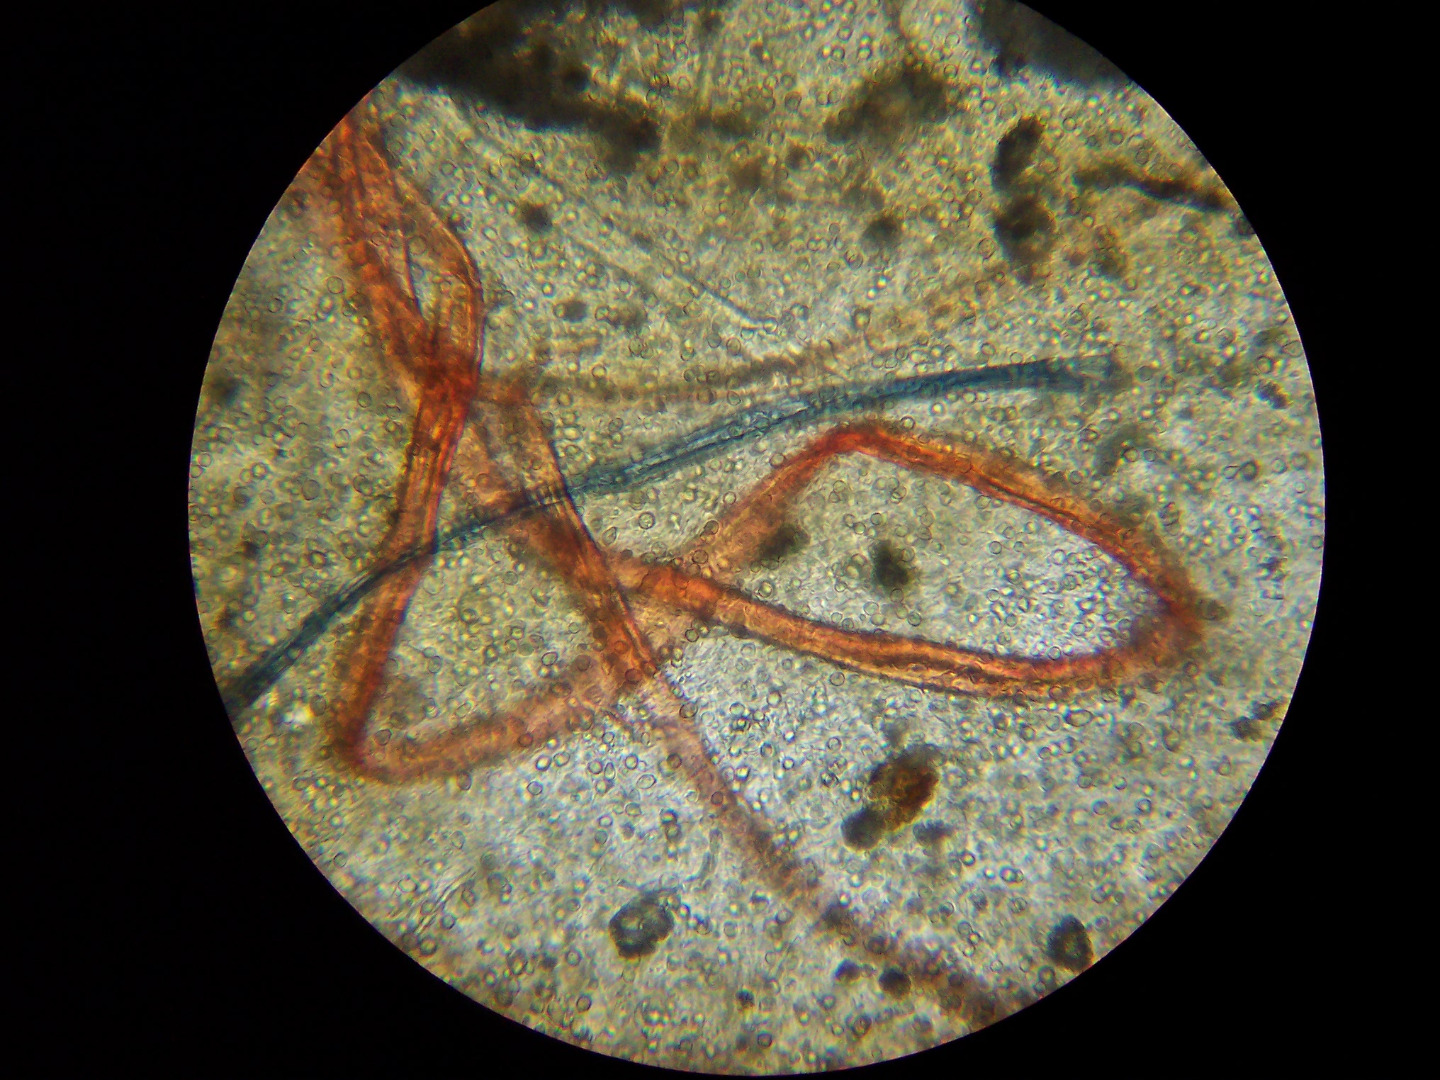
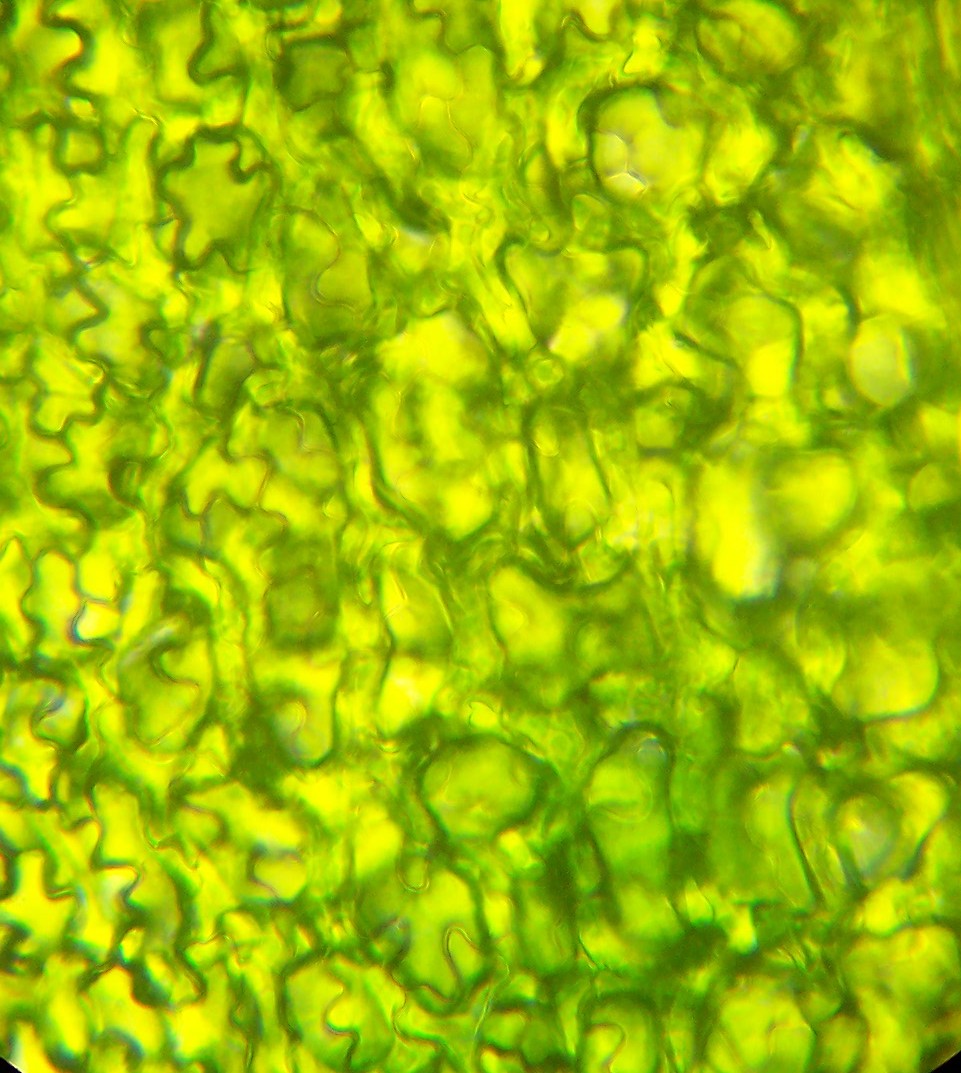
I recently needed an extreme close-up image that was beyond the capabilities of my little point-and-shoot digital camera. So as a retired homeschooling parent, I resorted to a technique I discovered when my kids and I were learning about biology. I set up our old low-tech microscope and used it to get the shots I needed, without fancy equipment. Although even basic phone cameras are pretty good nowadays, it's still a good trick to know if you really want to get small.
If our methods seem a little slapdash, the results are apparently impressive. I've been asked several times for the right to reprint our photos by college researchers and even a science textbook publisher! And the image of paper fibers above is from a series I took for my book Paper Inventions (Maker Media, 2015).
A note about terminology: The terms micro-photograph and photomicrograph are both used to describe photos taken through a microscope. Then there is macro photography, which is done using a camera lens capable of taking extremely close-up photos. For our purposes, micro-photograph is the simplest and clearest word to use.
What You'll Need
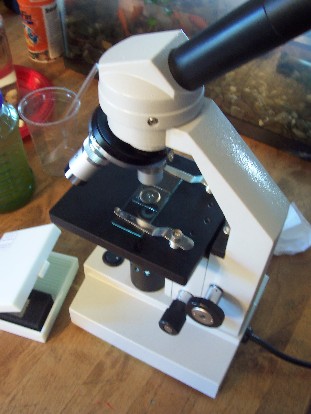

1. A real microscope
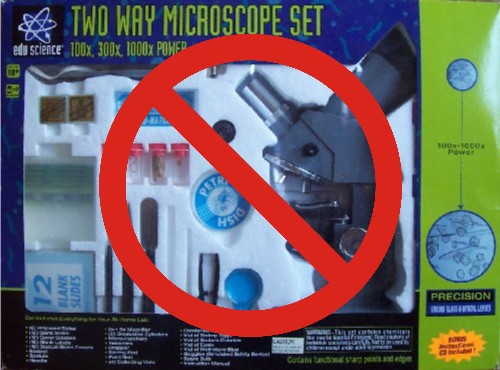
Yes, I'm happy to use cheap/low tech equipment. But even I will admit there is such as thing as too cheap. The kind of microscope-shaped object shown above will not produce the kind of images you are looking for (although it is an inexpensive source of scalpels, slides, etc.).
However, a low-end "student" quality microscope with a sturdy base that doesn’t shake out of focus every time you move, a disc diaphragm to adjust light levels, and a low-temperature fluorescent light bulb that doesn’t fry your living specimen is enough to get you started.
2. Any kind of digital camera.
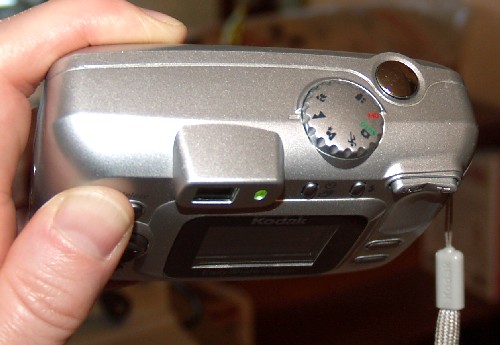
I shot most of the images in this Instructable using a Kodak EasyShare CX6330 that was five years old in 2008. My current camera is a later version but just as basic. The main features you need are the ability to turn off the flash and a zoom lens. Video works great with this method as well.
3. Specimens to observe
In addition to household items like paper and cotton balls, we photographed samples of pond water, assorted plants, and mold that we grew for another experiment. (No, really.)
Prepare Your Slide
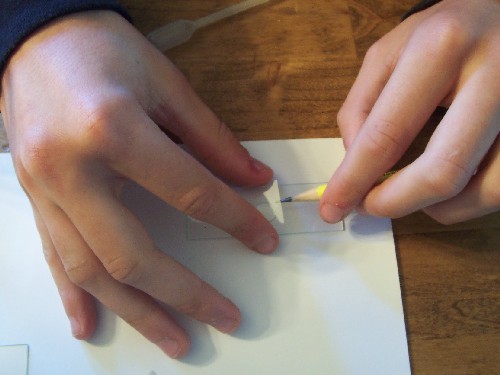
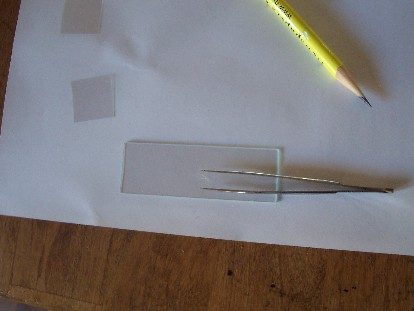
You will need a glass slide for your sample. Our student microscope came with a starter kit that included well slides, which have a slight indentation. These are perfect for viewing a drop of water. A thin glass cover slip protects the sample from being smeared and the lens of the microscope from getting wet. Use a pencil point to carefully tip the cover slip onto the slide with as few bubbles as possible.
Get Your Sample in Focus
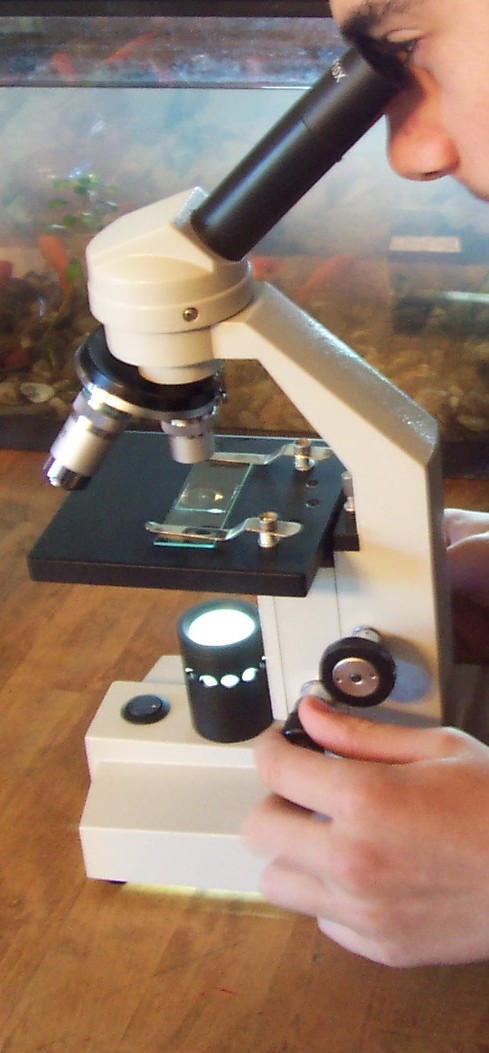
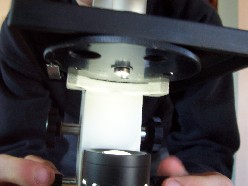
Put your slide on the viewing stage and fasten with the clips. Then look through the lens, find something interesting, and use the coarse and fine dials to get it into focus. If your microscope lets you adjust the light coming in, that can also help you isolate the feature you want to observe.
Always start with the lowest magnification lens. Turn the coarse focus dial, which moves the viewing stage up and down, so that it is all the way up. You want to make sure the lens never bangs into the viewing stage, so always do this while watching from the side.
Once you’ve found something interesting, you can try looking at it with the higher-powered lenses. Use the fine dial to bring it into focus. Be careful not to bump into the glass slide or the viewing stage when you switch to the longer lenses.
Find Your Microscope's Eye Point
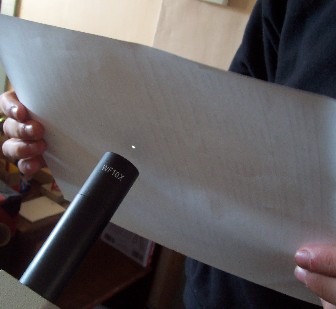
If you're going to be taking photos through the lens, you'll need to find the point where the image coming through eyepiece is in focus.
With the light on and the specimen you are viewing in focus, hold a blank piece of paper above the eyepiece. You will see a projection of the image on the paper. Move the paper closer and farther from the eyepiece until it is in focus. That is your microscope’s eye point.
For us, this is about a quarter of an inch above the eyepiece (which makes sense, since when you are looking through the eyepiece, that's the distance from the eyepiece to your eye's cornea).
Position Your Camera
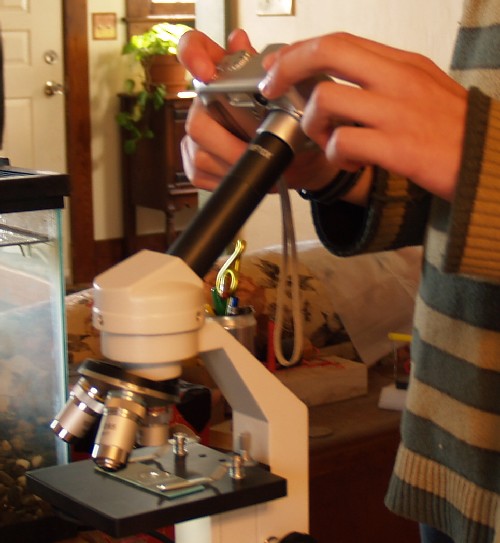
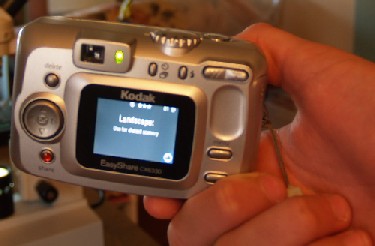
Now it's time to add your camera to the setup. Be sure to turn off your camera’s flash. Set your camera's focus manually to infinity. This is sometimes also called the "afocal" setting. If your camera doesn’t have manual focus, you can set it to "landscape" to get the same effect.
Position your camera above the eyepiece at the focal point. You should be able to simply brace it with your fingers. Check in the viewscreen that what you are aiming at is visible and in focus.
Play Around With the Camera Image
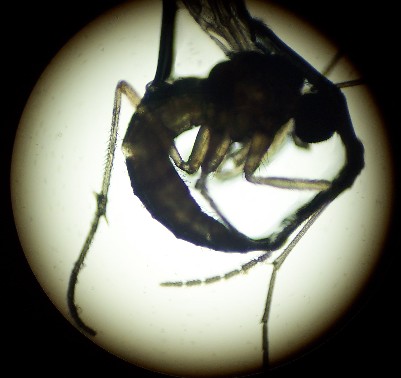
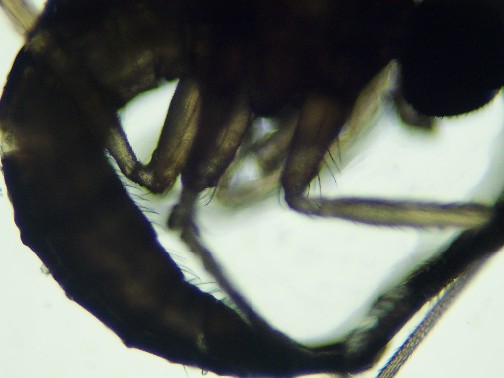
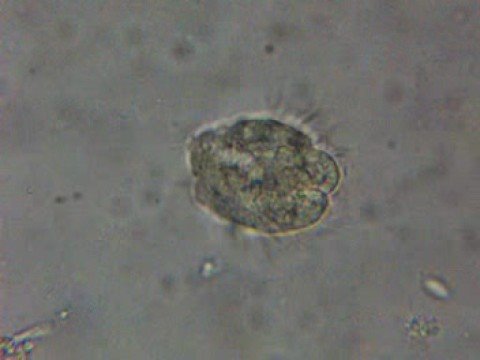
Zoom in using the telephoto setting until the image fills the camera’s viewing screen. Be careful not to hit the microscope's eyepiece. It takes a little practice to hold the camera steady, so take enough shots to make sure you have a few good ones with the right lighting and focus.
If your camera’s zoom is in its normal position, you may get a "vignette" effect. In other words, your image will have a round black border shaped like the eyepiece. I like it because it makes the viewer aware of the microscope. But if you want to get rid of the vignette effect, pull the camera back from the microscope and play around with the zoom to frame the object without the border.
If you’ve got some interesting action on your slide you can also try shooting some video. I added some background music to the video of pond critters swimming above to cover up the sound of the fluorescent lightbulb humming.
Troubleshooting
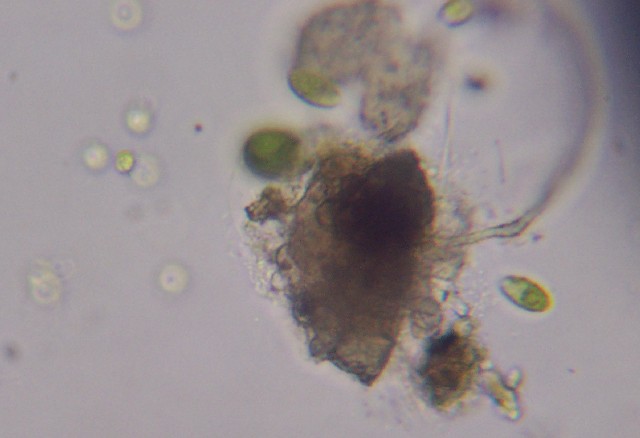
If you’re having trouble seeing anything, try the following:
• Adjust the focus. If whatever you’re looking at is thick or floating in water, you need the change the focus to see different depths. Something swimming around will go in and out of focus and may disappear altogether at a particular focus.
• Change the amount of light. Letting in less light will make transparent objects easier to see.
• Move the slide around. As you go to higher magnification you’re looking at less of the slide, so whatever you wanted to see may be outside your field of vision.