Tabletop Pull Back Tri-Mode Spring Motor Rolling Chassis
by gzumwalt in Workshop > 3D Printing
20074 Views, 191 Favorites, 0 Comments
Tabletop Pull Back Tri-Mode Spring Motor Rolling Chassis
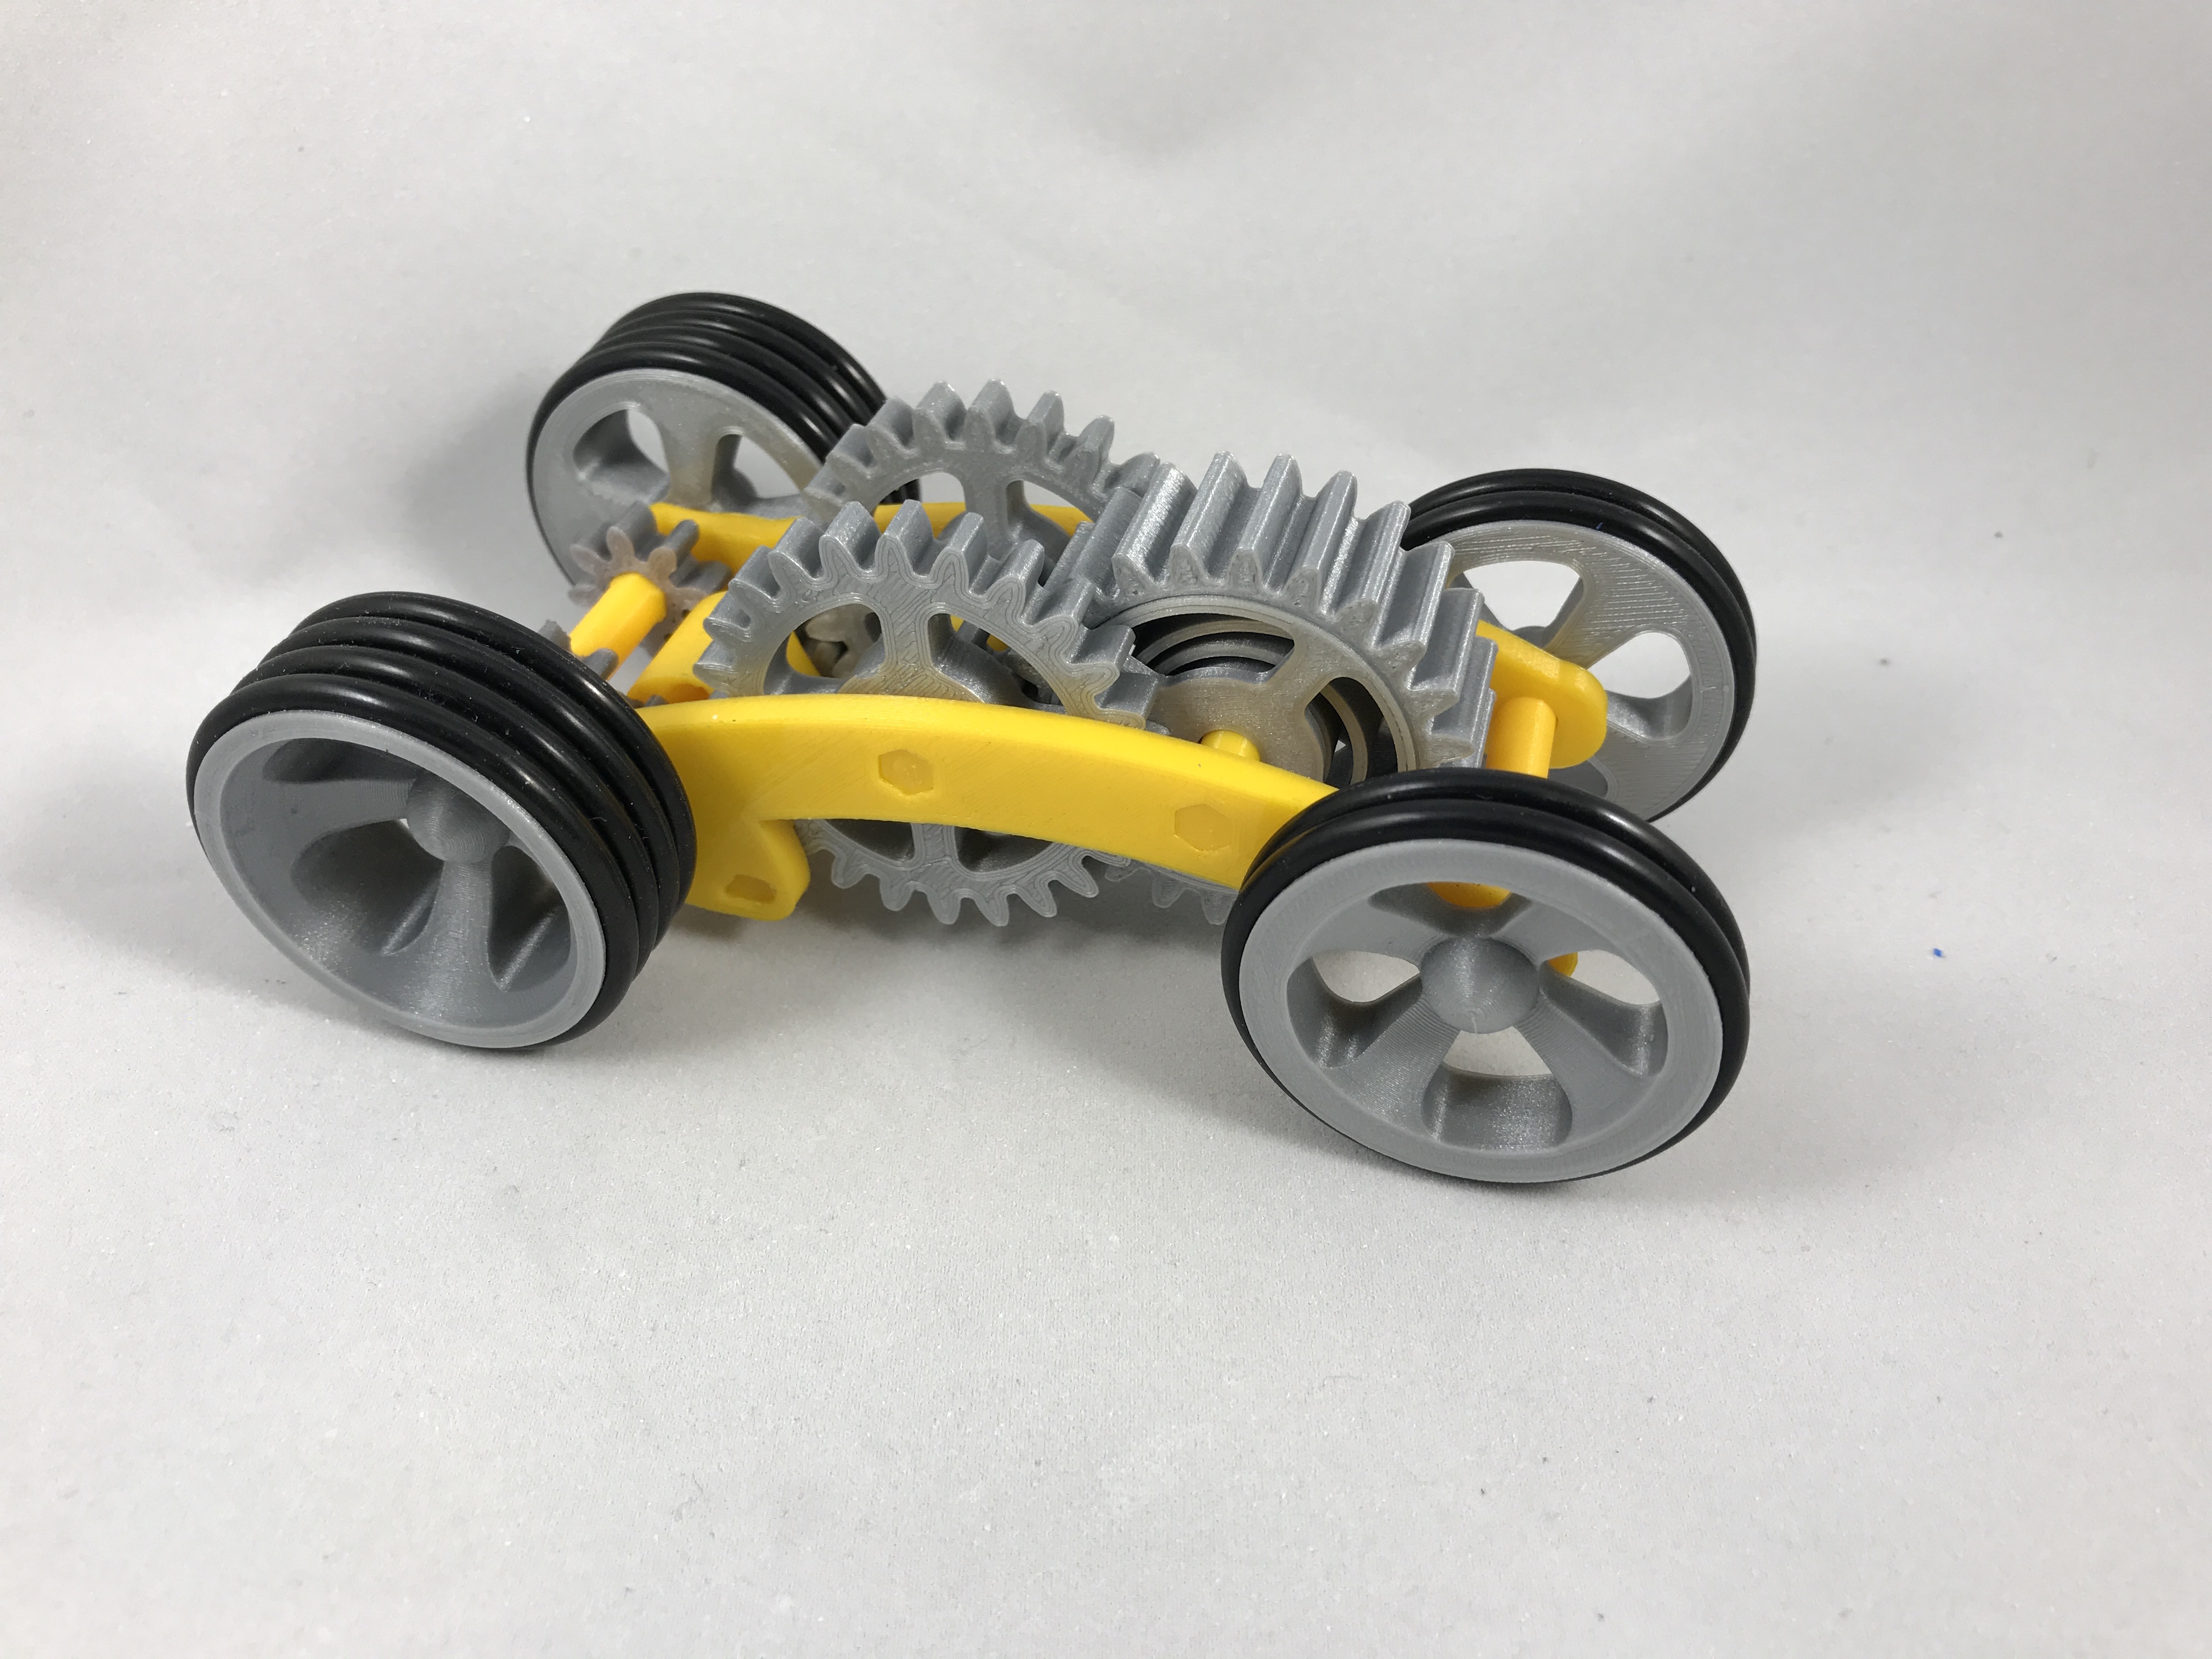
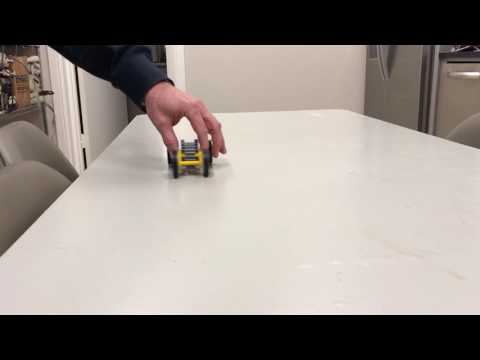
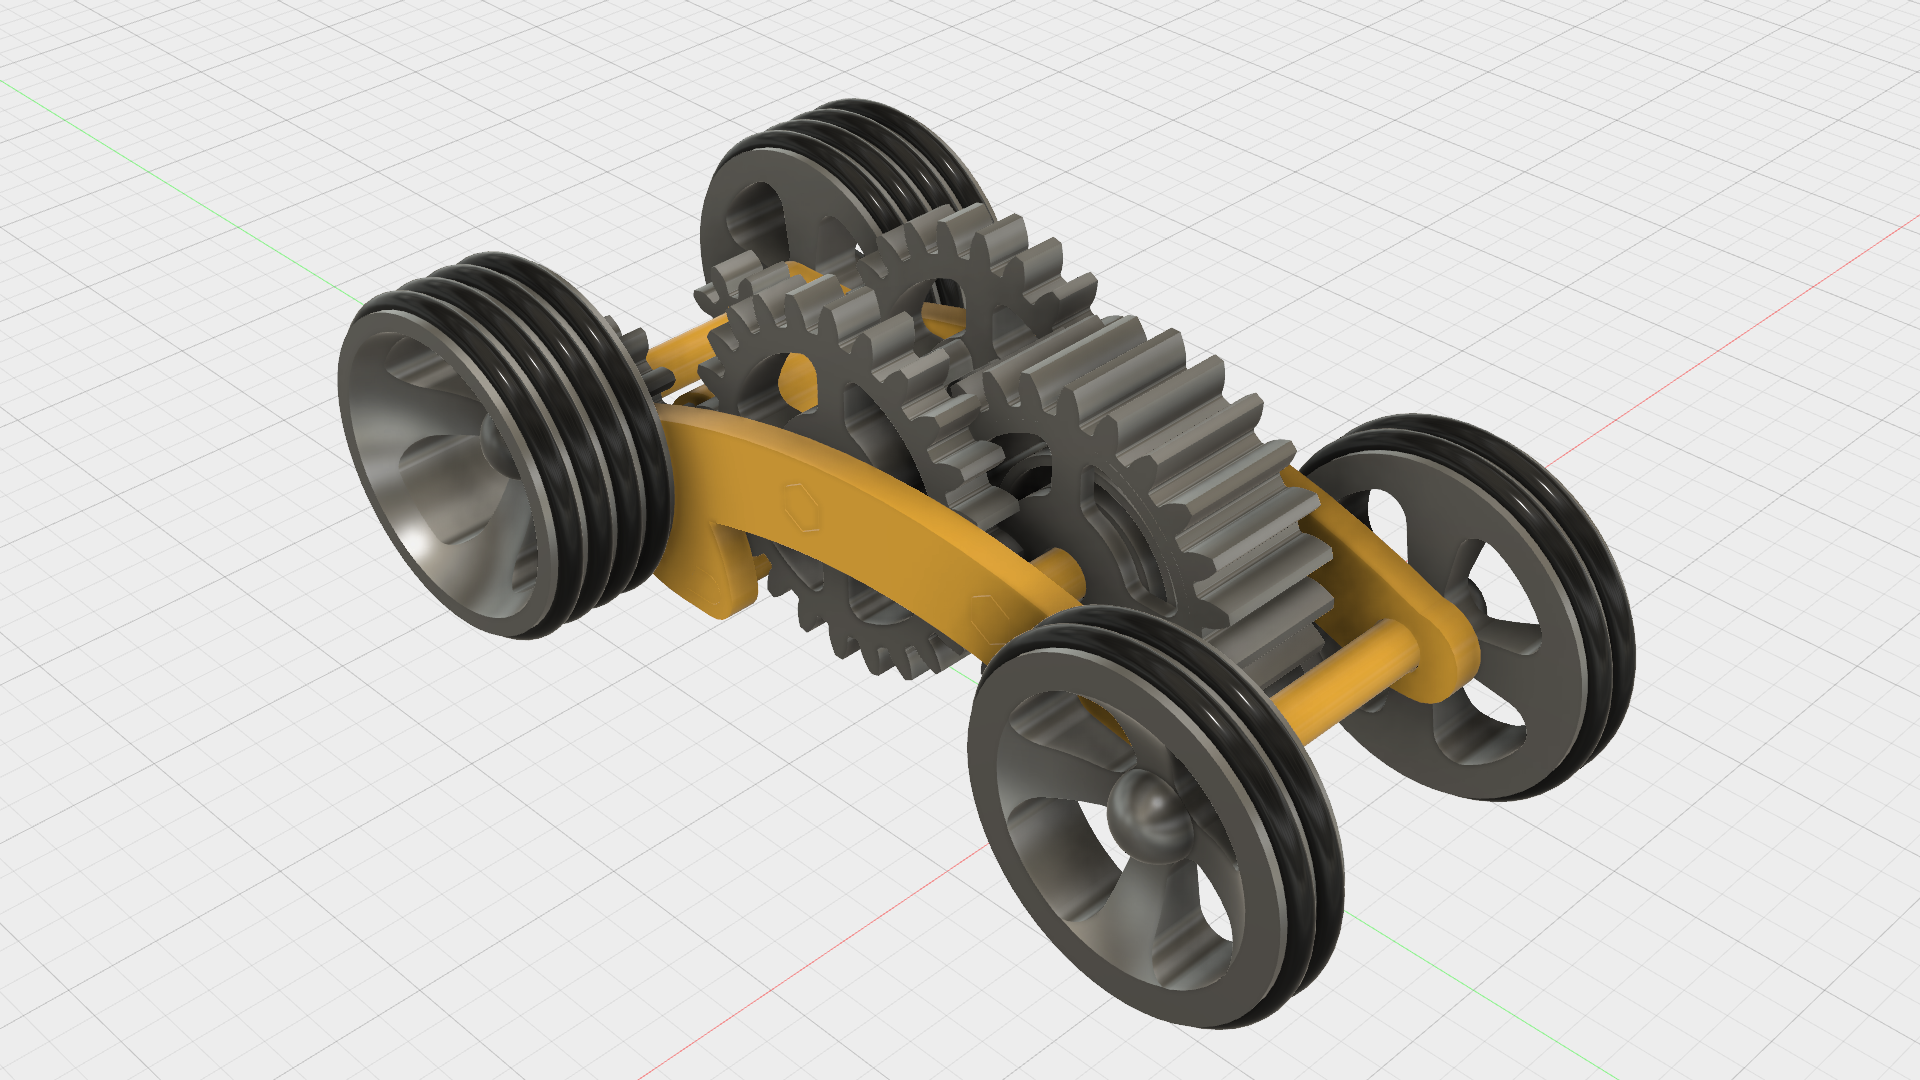
Tabletop Pull Back Tri-Mode Spring Motor Rolling Chassis is a fully 3D printed rolling chassis having 3 modes of operation, wind, power and coast.
My earlier 3D printed windup vehicles used a key or knob to wind the spring. This vehicle uses a floating pinion gear designed to wind the spring when the the vehicle is rapidly rolled backwards. This is the wind mode.
Once the spring is wound, releasing the vehicle propels it forward until the spring is depleted of its stored energy. This is the power mode.
Finally, after the spring is depleted, a second floating pinion gear disengages the spring motor from the rear axle allowing the vehicle to coast. This is the coast mode.
This vehicle does not outperform my earlier designs for distance, but it does illustrate that there's always room for improvement!
I probably forgot a file or two or something, so if you have any questions, please feel free to ask.
Designed using Autodesk Fusion 360, sliced using Cura 2.3.1, and printed in PLA on an Ultimaker 3 Extended.
Downloads
Print, Prepare and Purchase All the Parts.
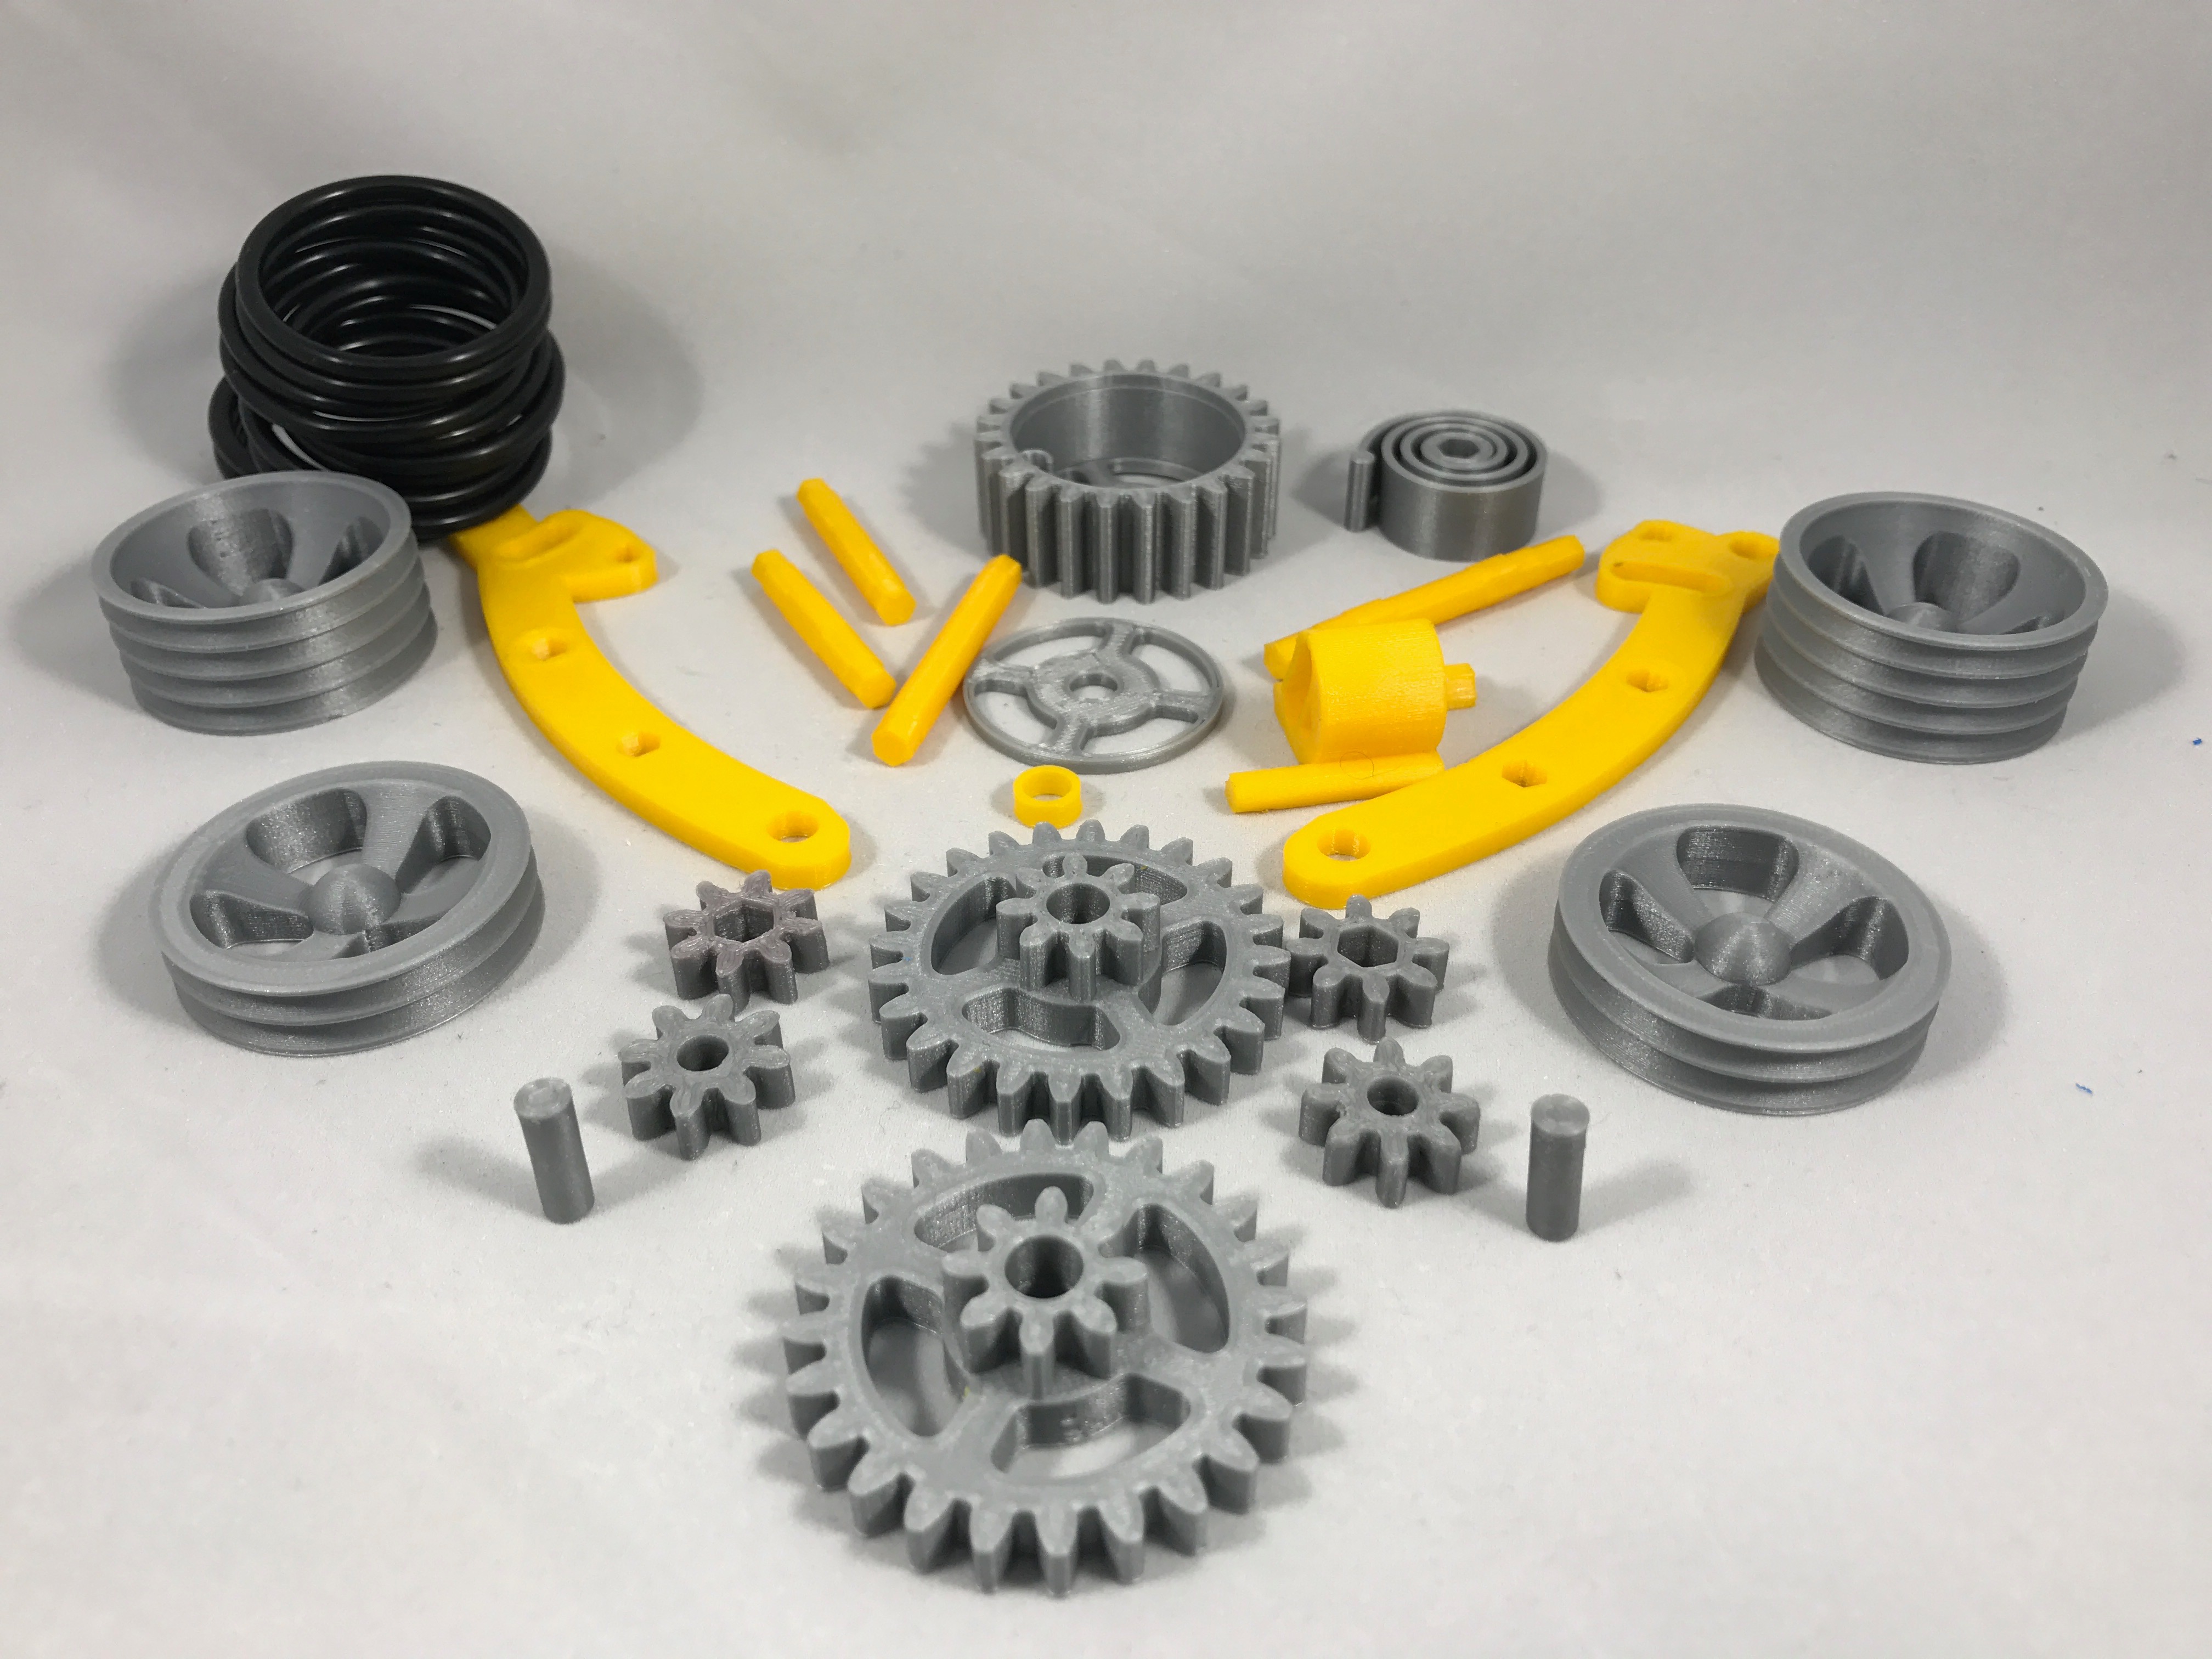
You will need to purchase 12 "AS 568" size 221 (1 11/16 O.D., 1 7/16 I.D., 1/8" section) o-rings for the tires.
I printed my parts on an Ultimaker 3 Extended using .1mm vertical resolution and 100% infill for "Axle Spring.stl", "Spring.stl", "Gear Spring.stl" and "Axle Rear.stl", the remaining parts at 20% infill.
Prior to assembly, test fit and trim, file, sand, etc. all parts as necessary for smooth movement of moving surfaces, and tight fit for non moving surfaces. Depending on the colors you chose and your printer settings, more or less trimming, filing and/or sanding may be required. Carefully file all edges that contacted the build plate to make absolutely sure that all build plate "ooze" is removed and that all edges are smooth. I used a flat jewelers file and plenty of patience to perform this step.
Study "Assembly.stl", carefully noting the locations and positions of the various components as assembly proceeds.
Prepare the Axle Assemblies.
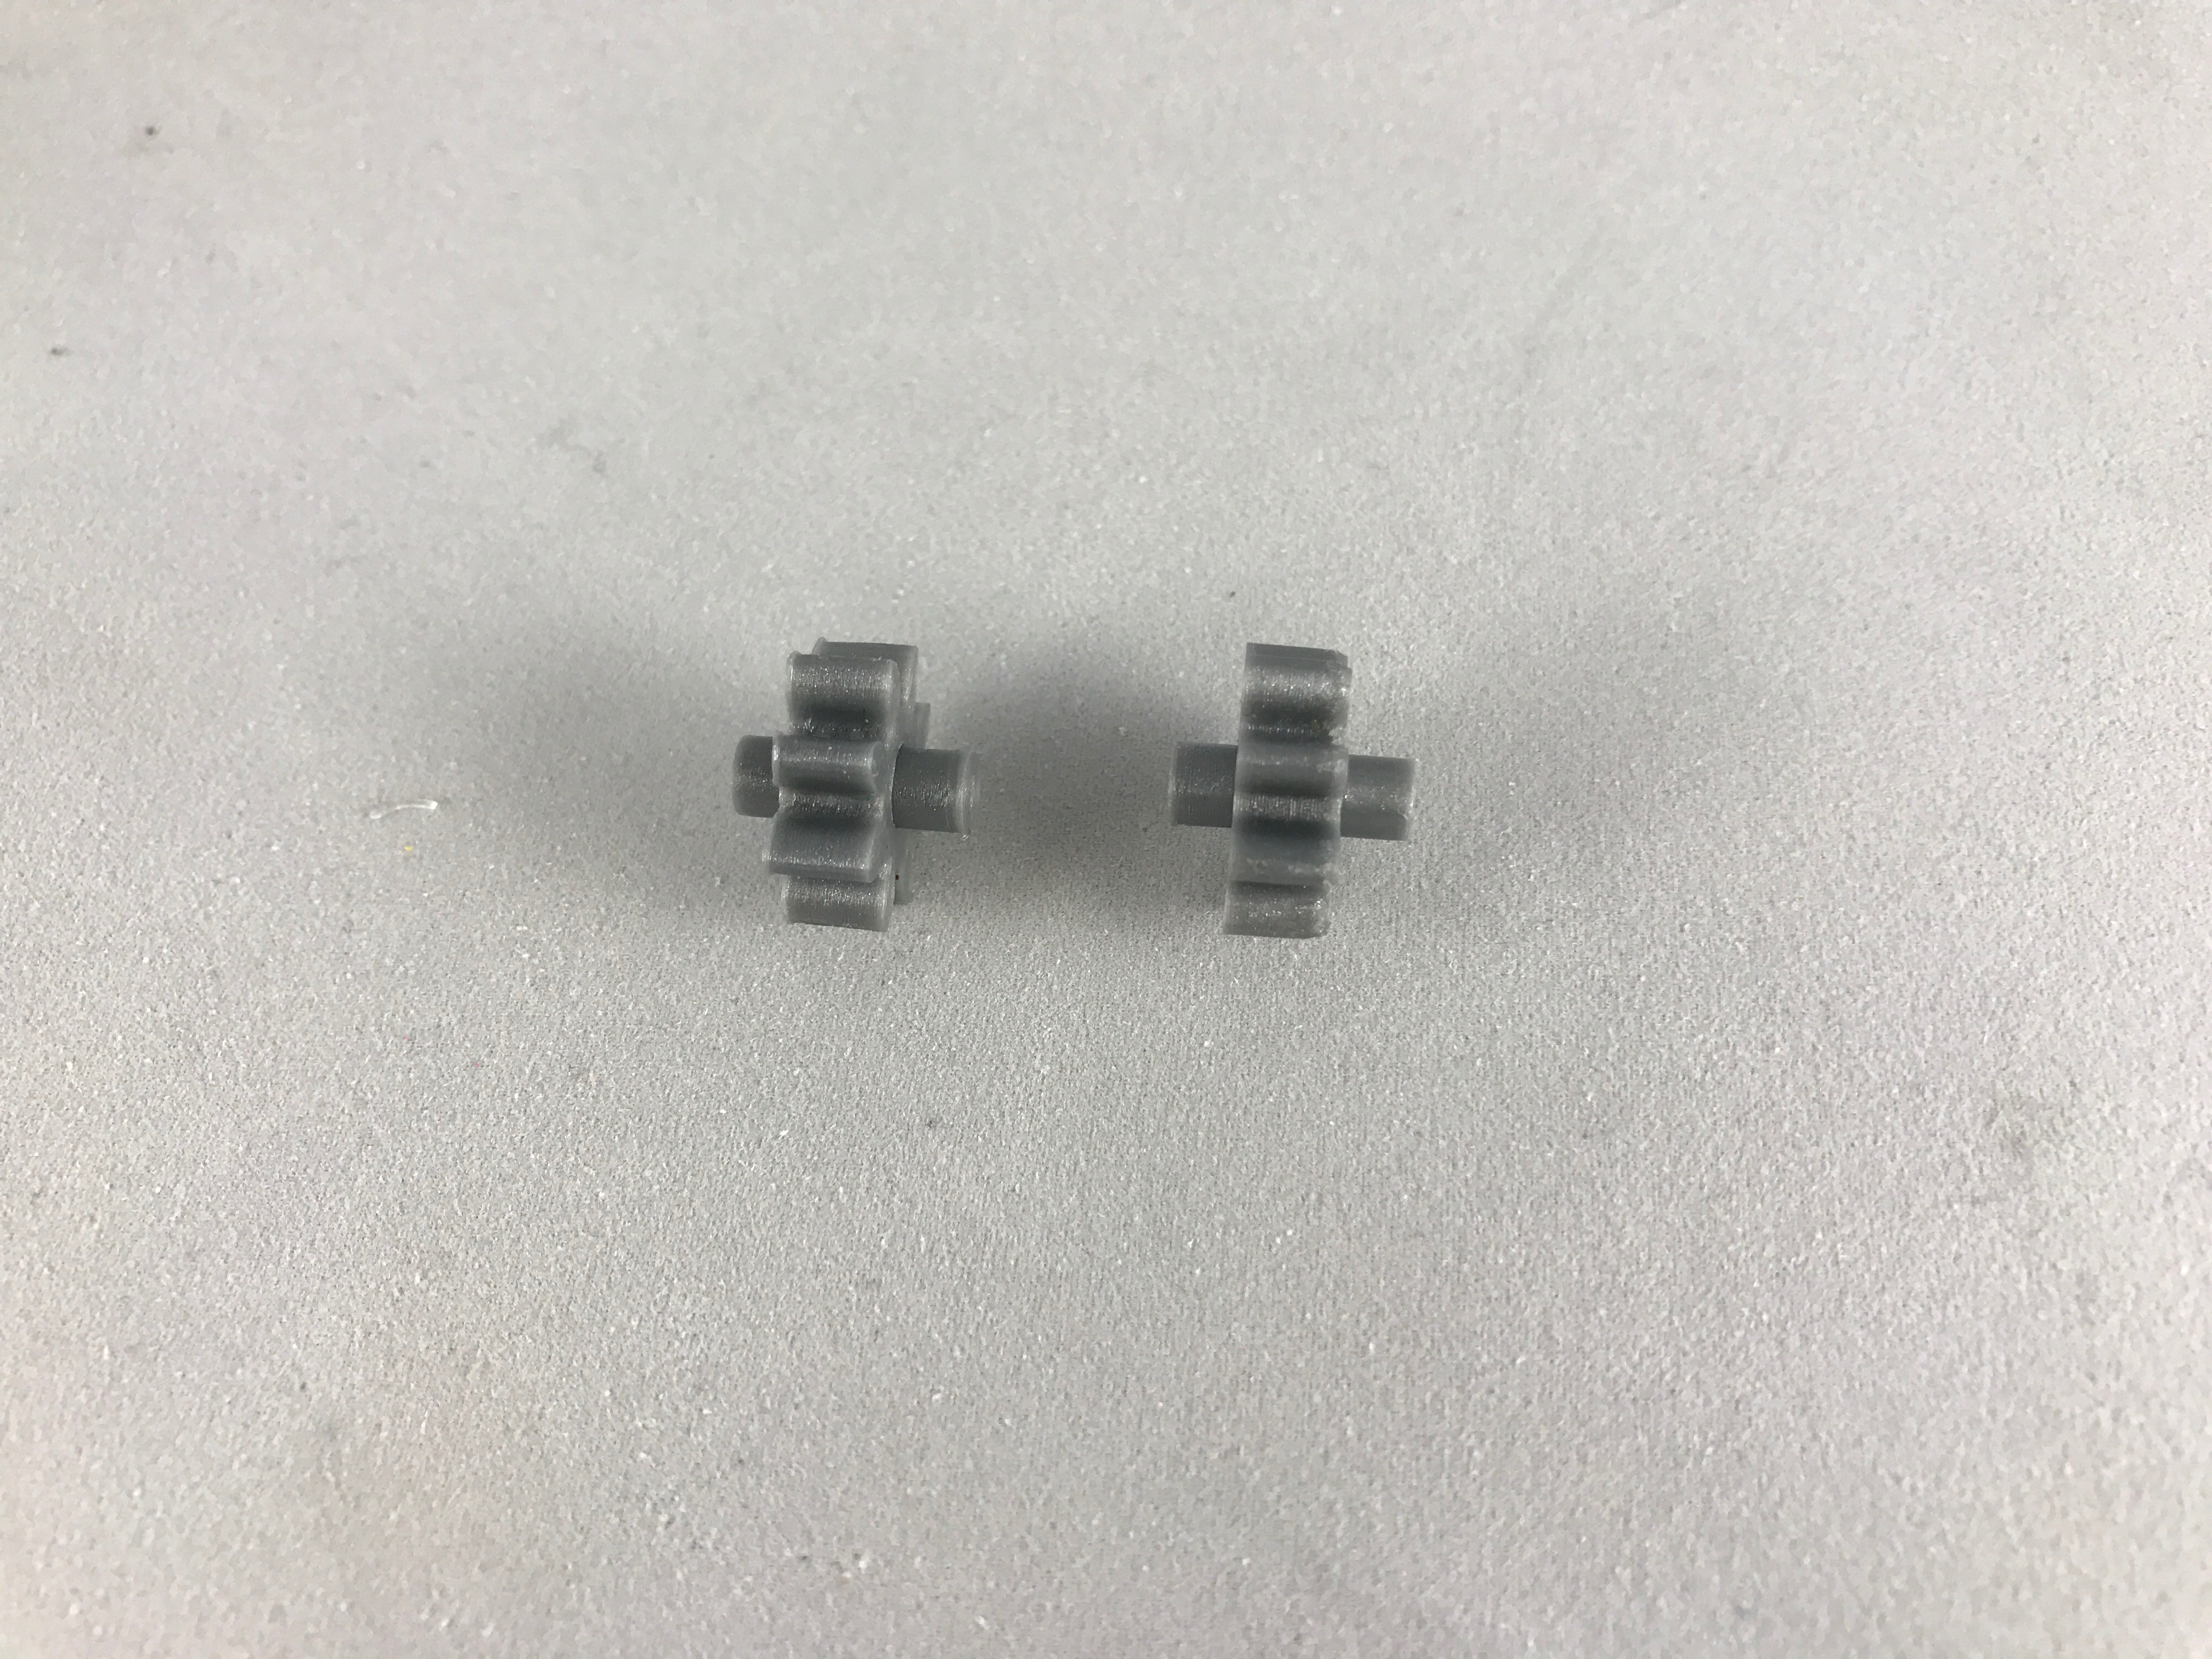
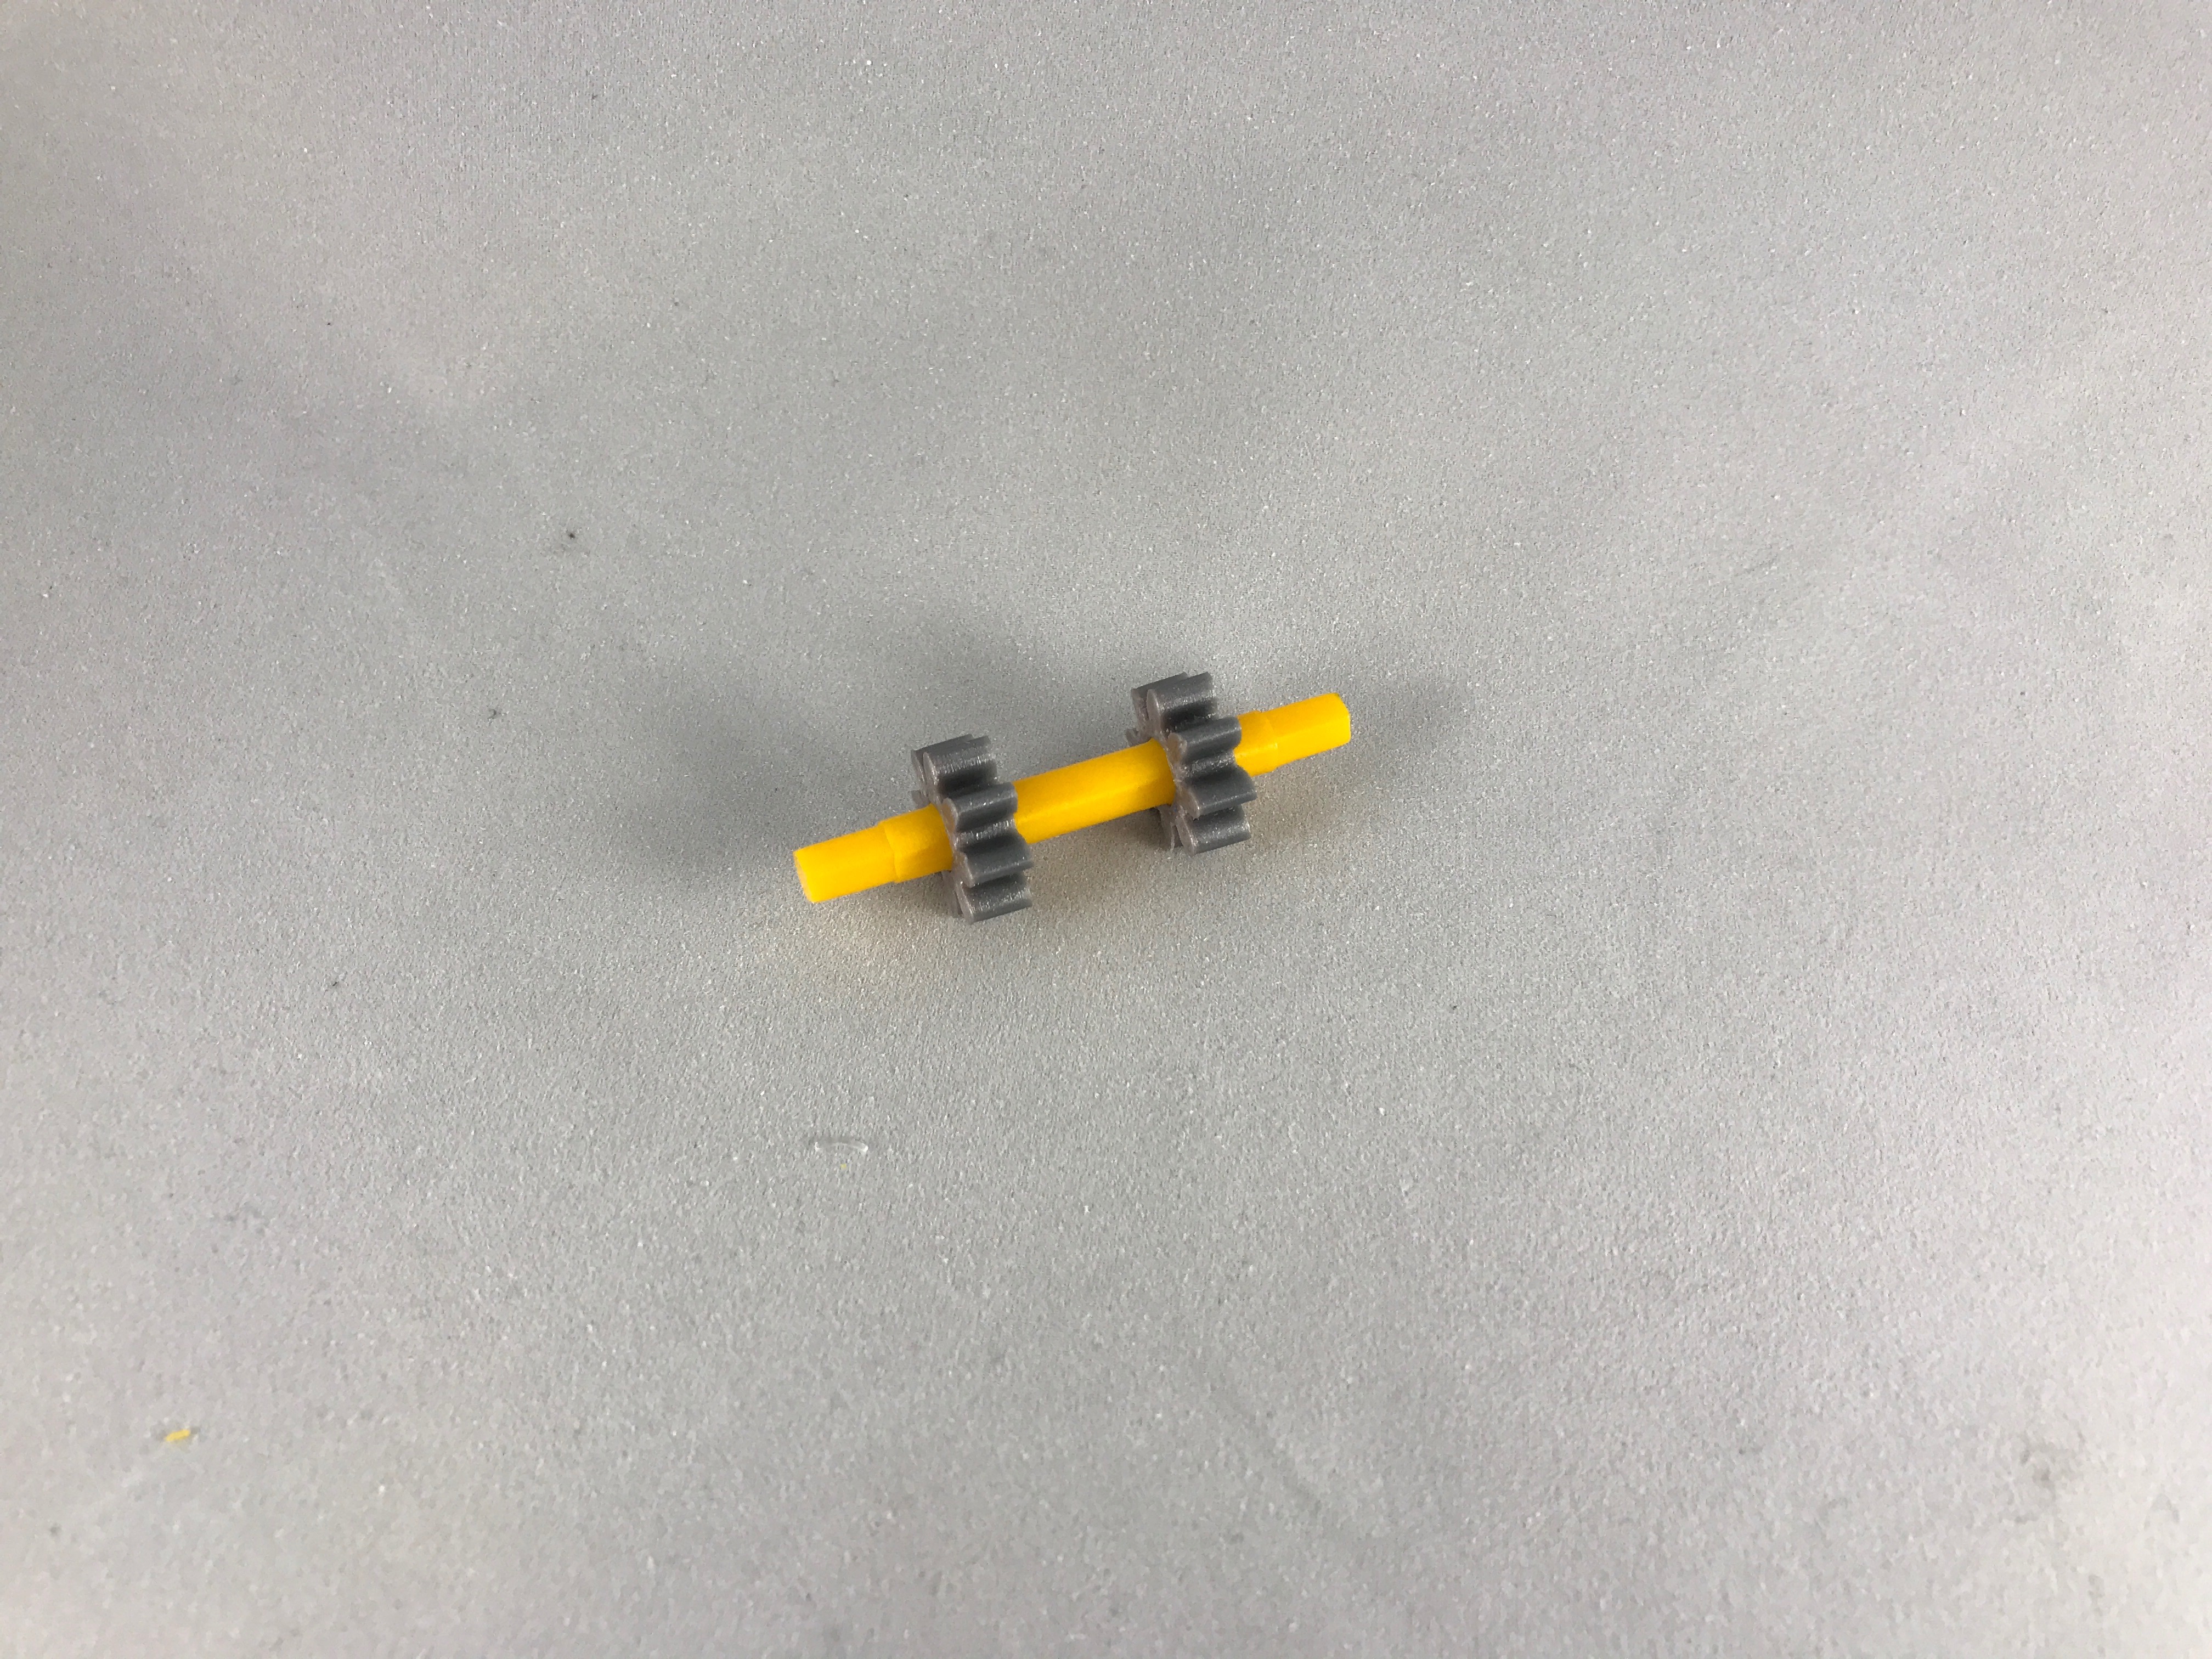
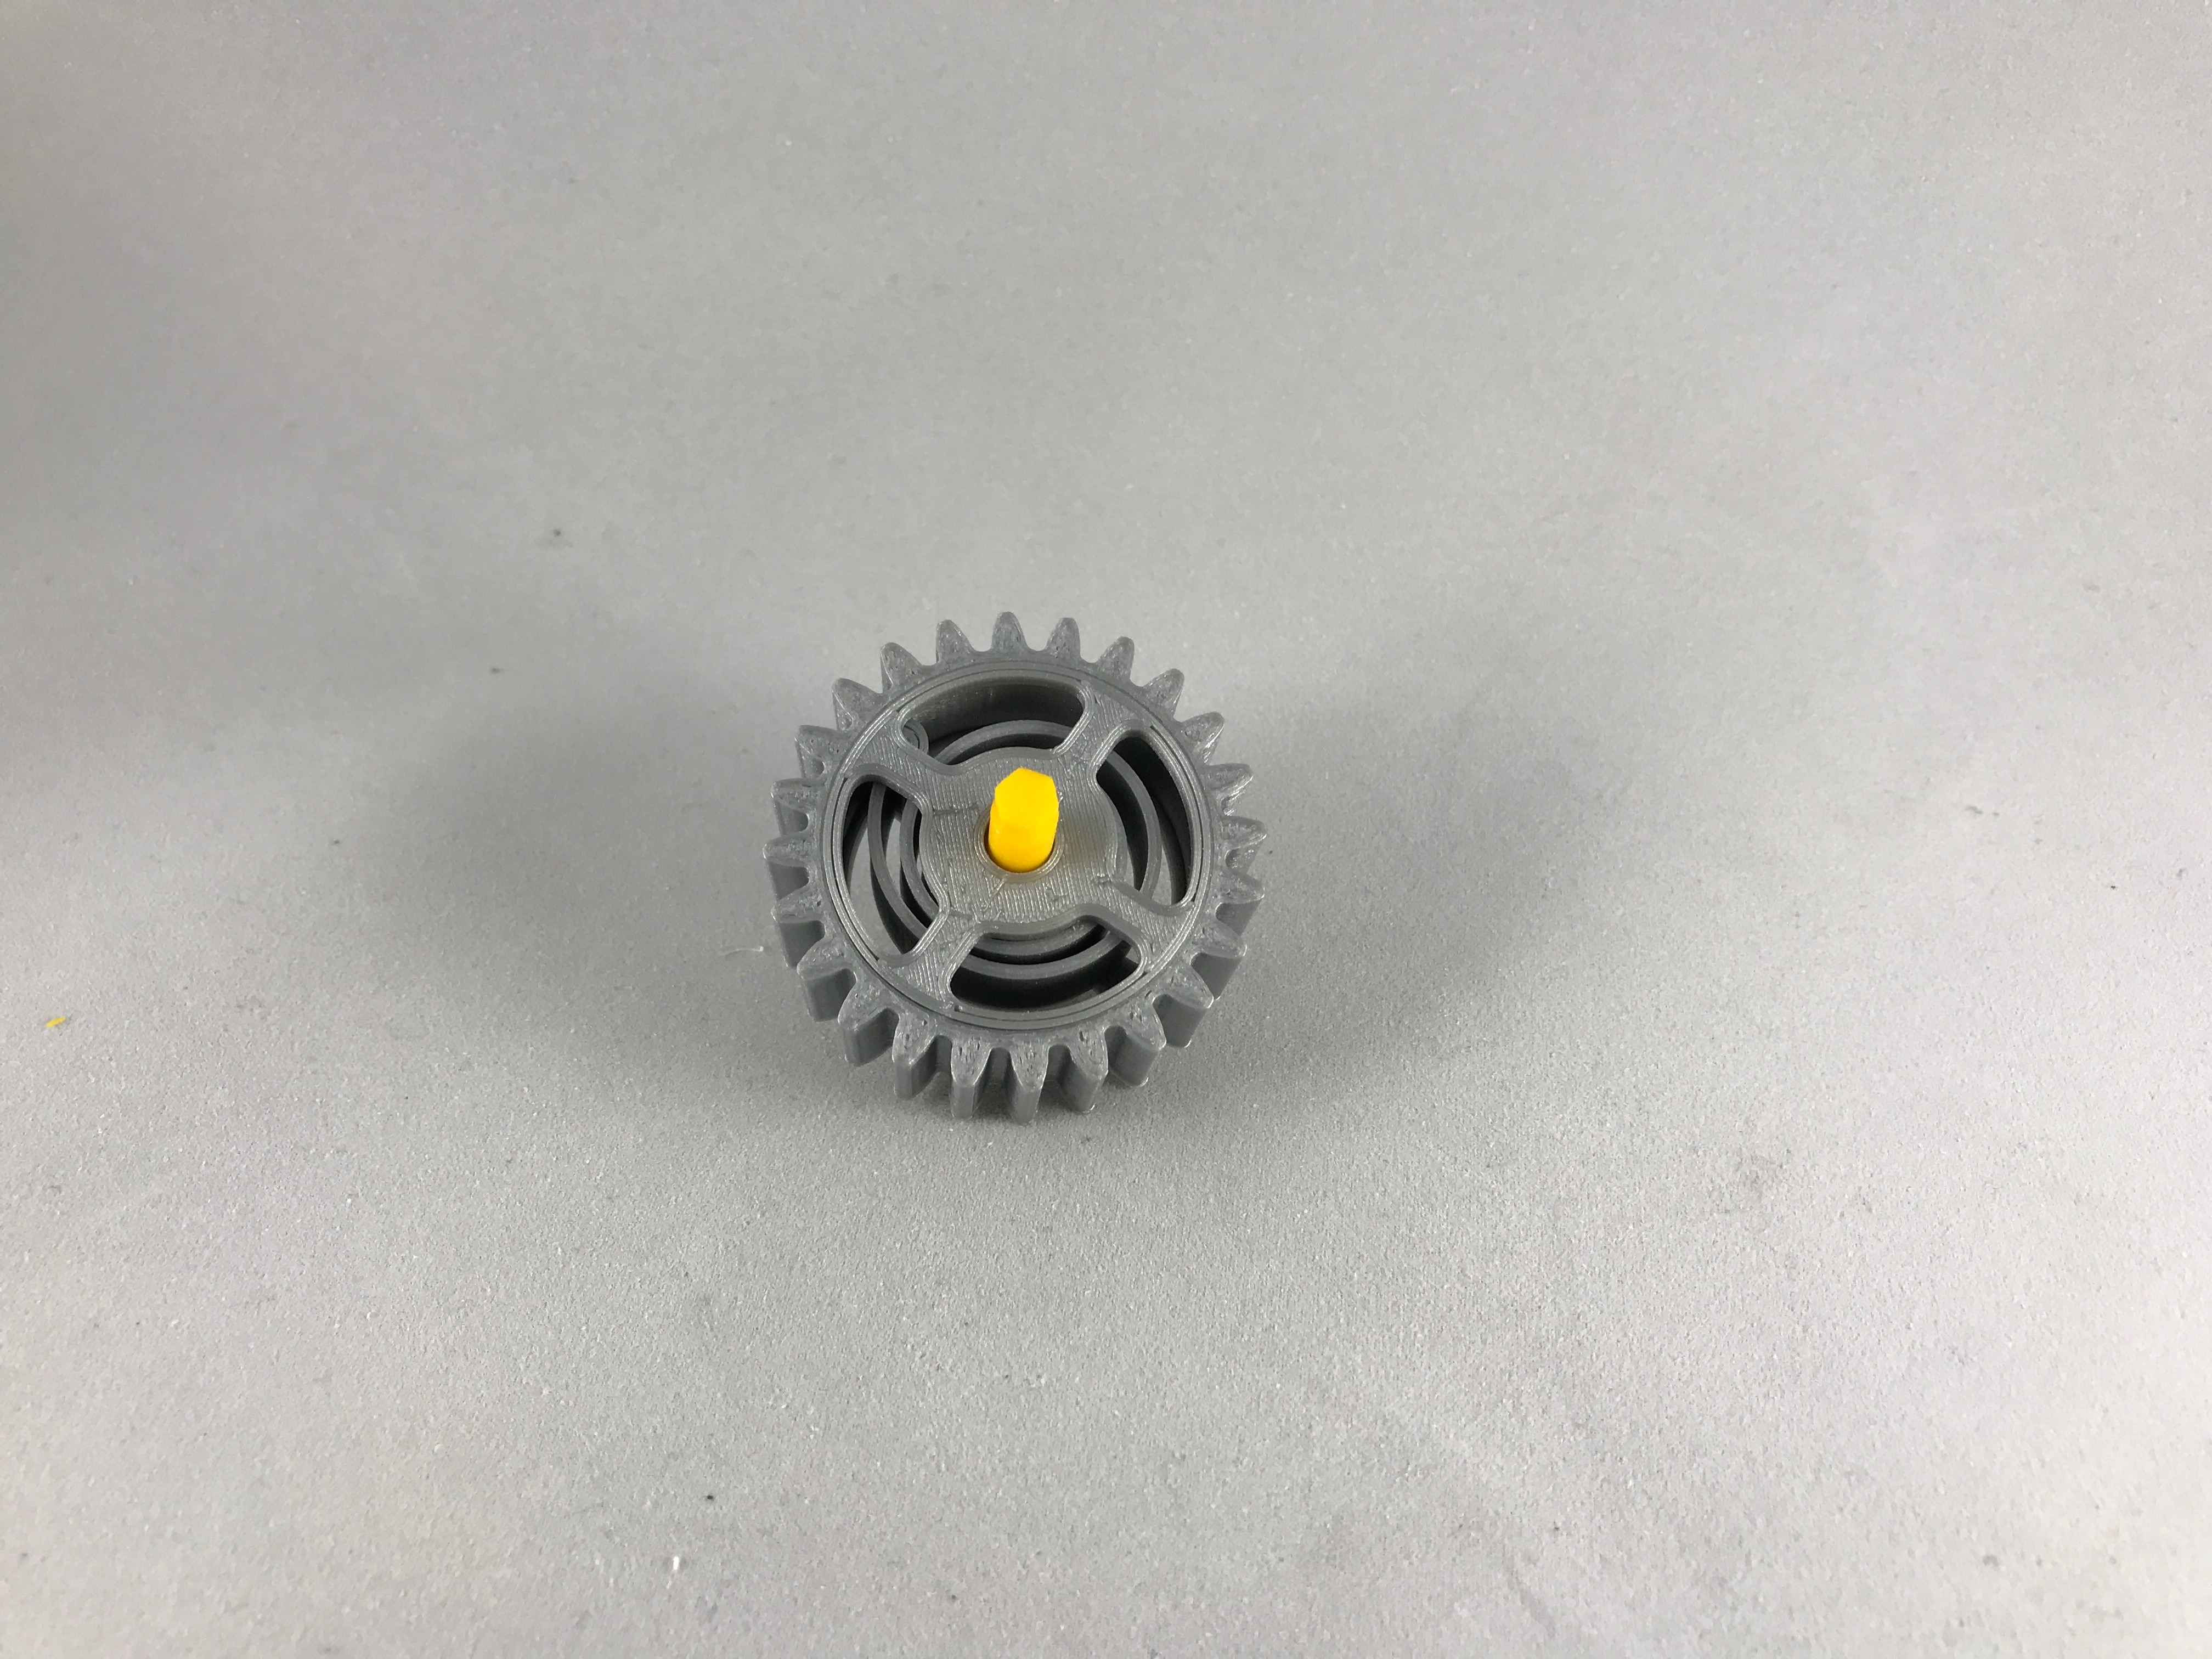
There are four axle assemblies to make; two gear idler small, one axle rear, and one axle spring.
Starting with the two gear idler small axles, press one "Axle Gear Idler Small.stl" into one "Gear Idler Small.stl". Once in position, there must be 4mm of "Axle Gear Idler Small.stl" extending from each side of "Gear Idler Small.stl".
Next, is axle rear. Press one "Gear Axle Rear.stl" onto one of the splines on "Axle Rear.stl". The gear must be centered on the spline. Press the remaining "Gear Axle Rear.stl" onto the remaining spline on "Axle Rear.stl" and center the gear on the spline.
The final axle is axle spring. Start by pressing "Spring.stl" onto the spline on "Gear Axle Spring.stl". The spring must be centered on the spline. Next slide the spring and axle assembly into "Gear Spring.stl" noting that the correct orientation is when the cylinder on the end of "Spring.stl" aligns with the cylinder slot on "Gear Spring.stl". Make sure the cylinder on the end of "Spring.stl" is fully inserted into the cylinder slot on "Gear Spring.stl". Finally, press "Cap Gear Spring.stl" into position on "Gear Spring.stl".
Assemble the Right Side of the Chassis.
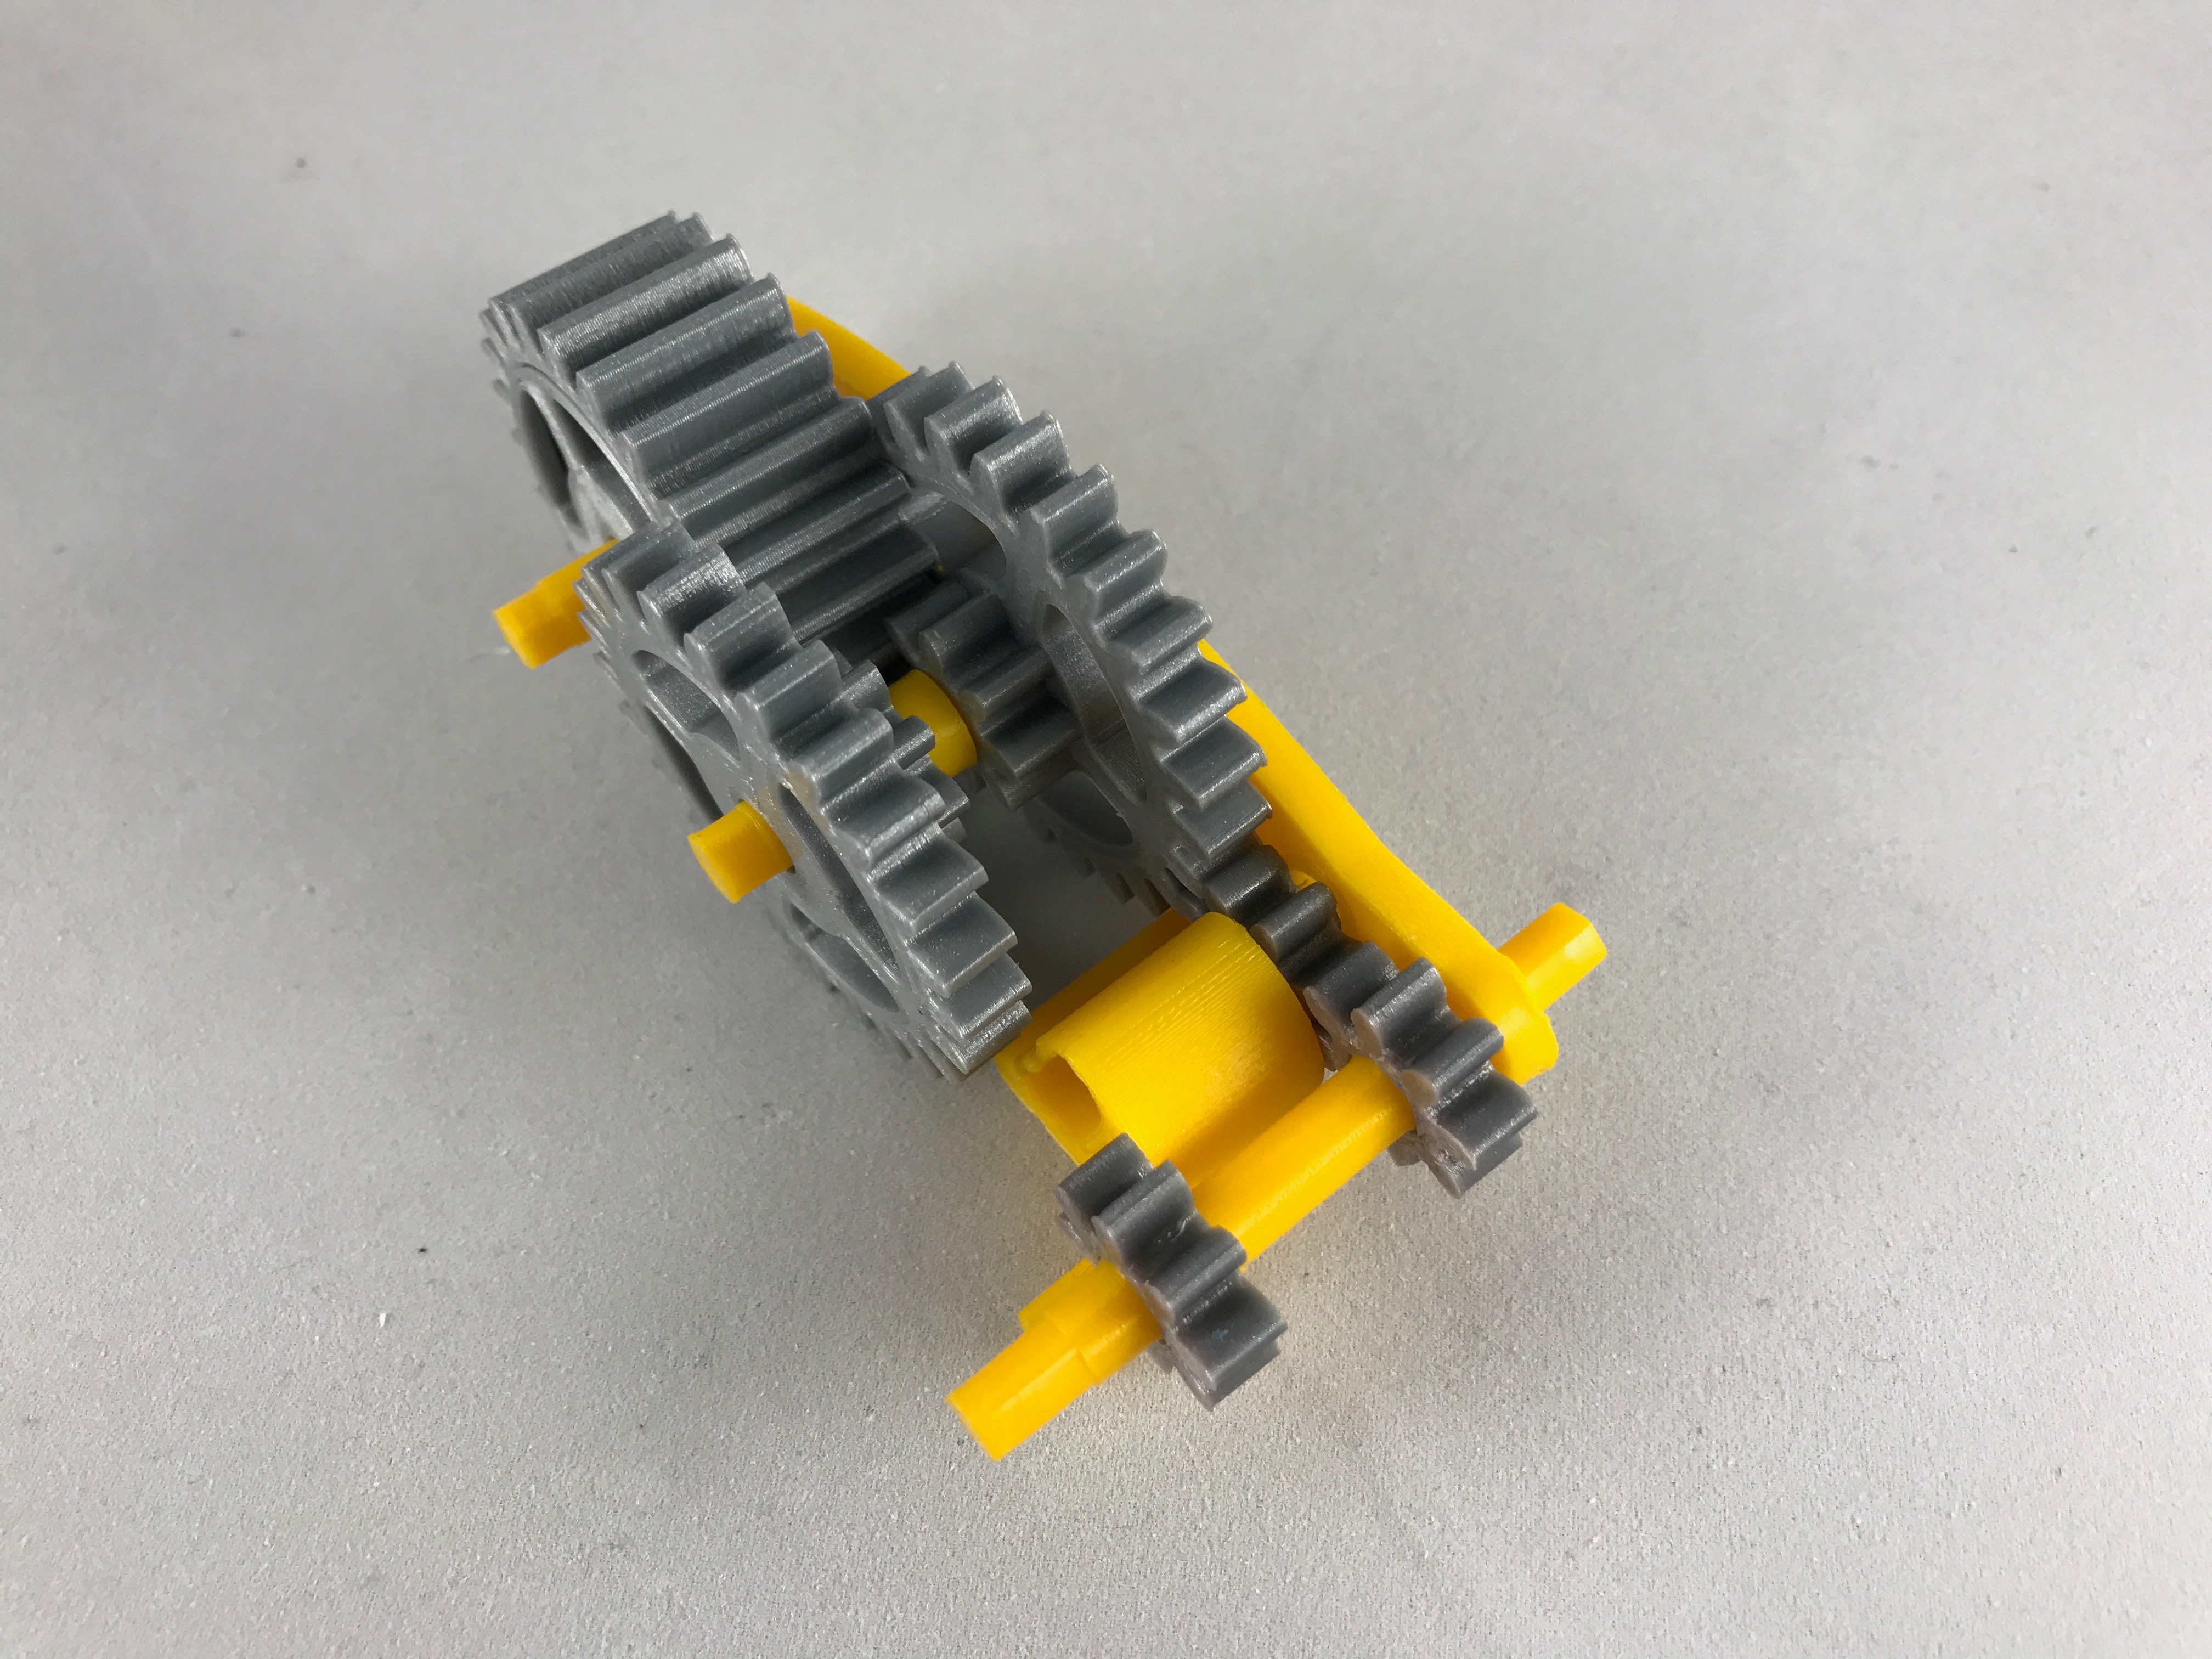
Place the rear axle assembly into position in "Chassis Right.stl".
Place one of the gear idler small assemblies into position in "Chassis Right.stl", then press "Chassis Center.stl" into position in "Chassis Right.stl".
Press "Axle Gear Idler Large.stl" into position in "Chassis Right.stl". Slide one "Gear Idler Large.stl" onto this axle noting the orientation. Slide "Spacer Axle Gear Idler Large.stl" onto this axle.
Press the axle spring assembly into position in "Chassis Right.stl", noting that the cap gear axle spring part is nearest "Chassis Right.stl".
Slide the remaining "Gear Idler Large.stl" onto "Axle Gear Idler Large.stl" noting the orientation.
Finish the Chassis.
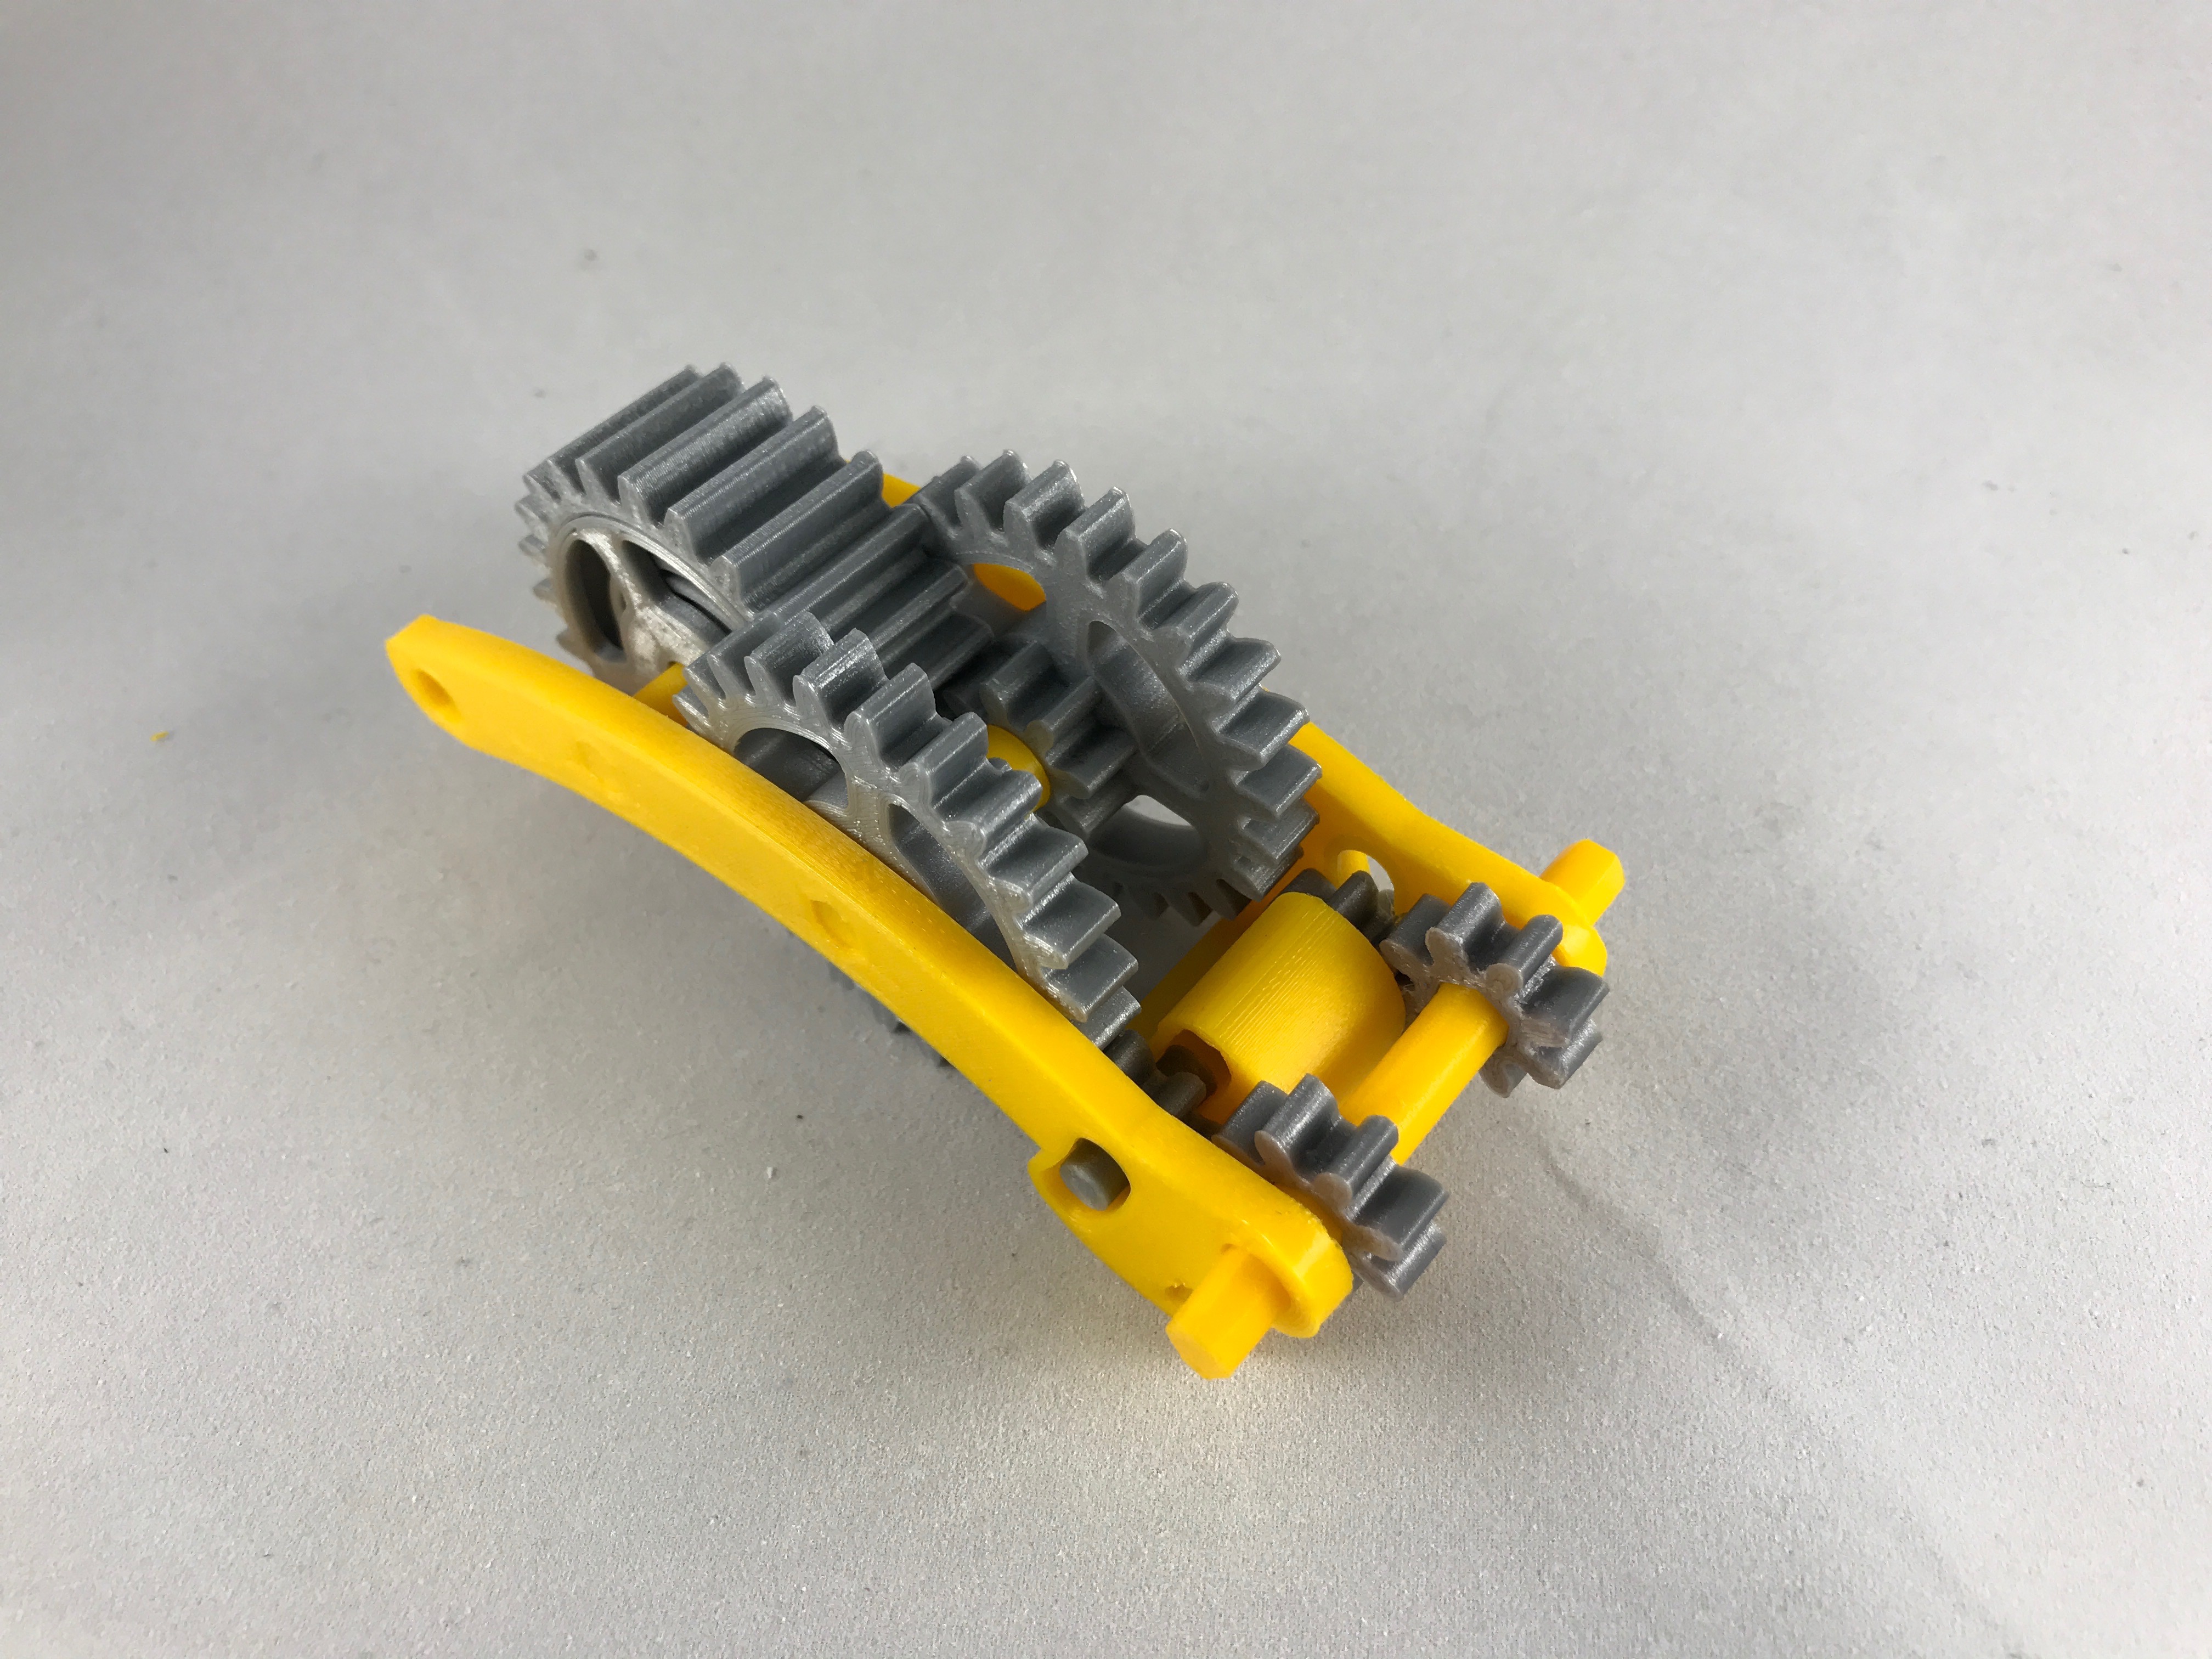
Press "Chassis Left.stl" onto the chassis right assembly. This can be tricky to align all the axles, so be patient.
Prepare the Wheels.
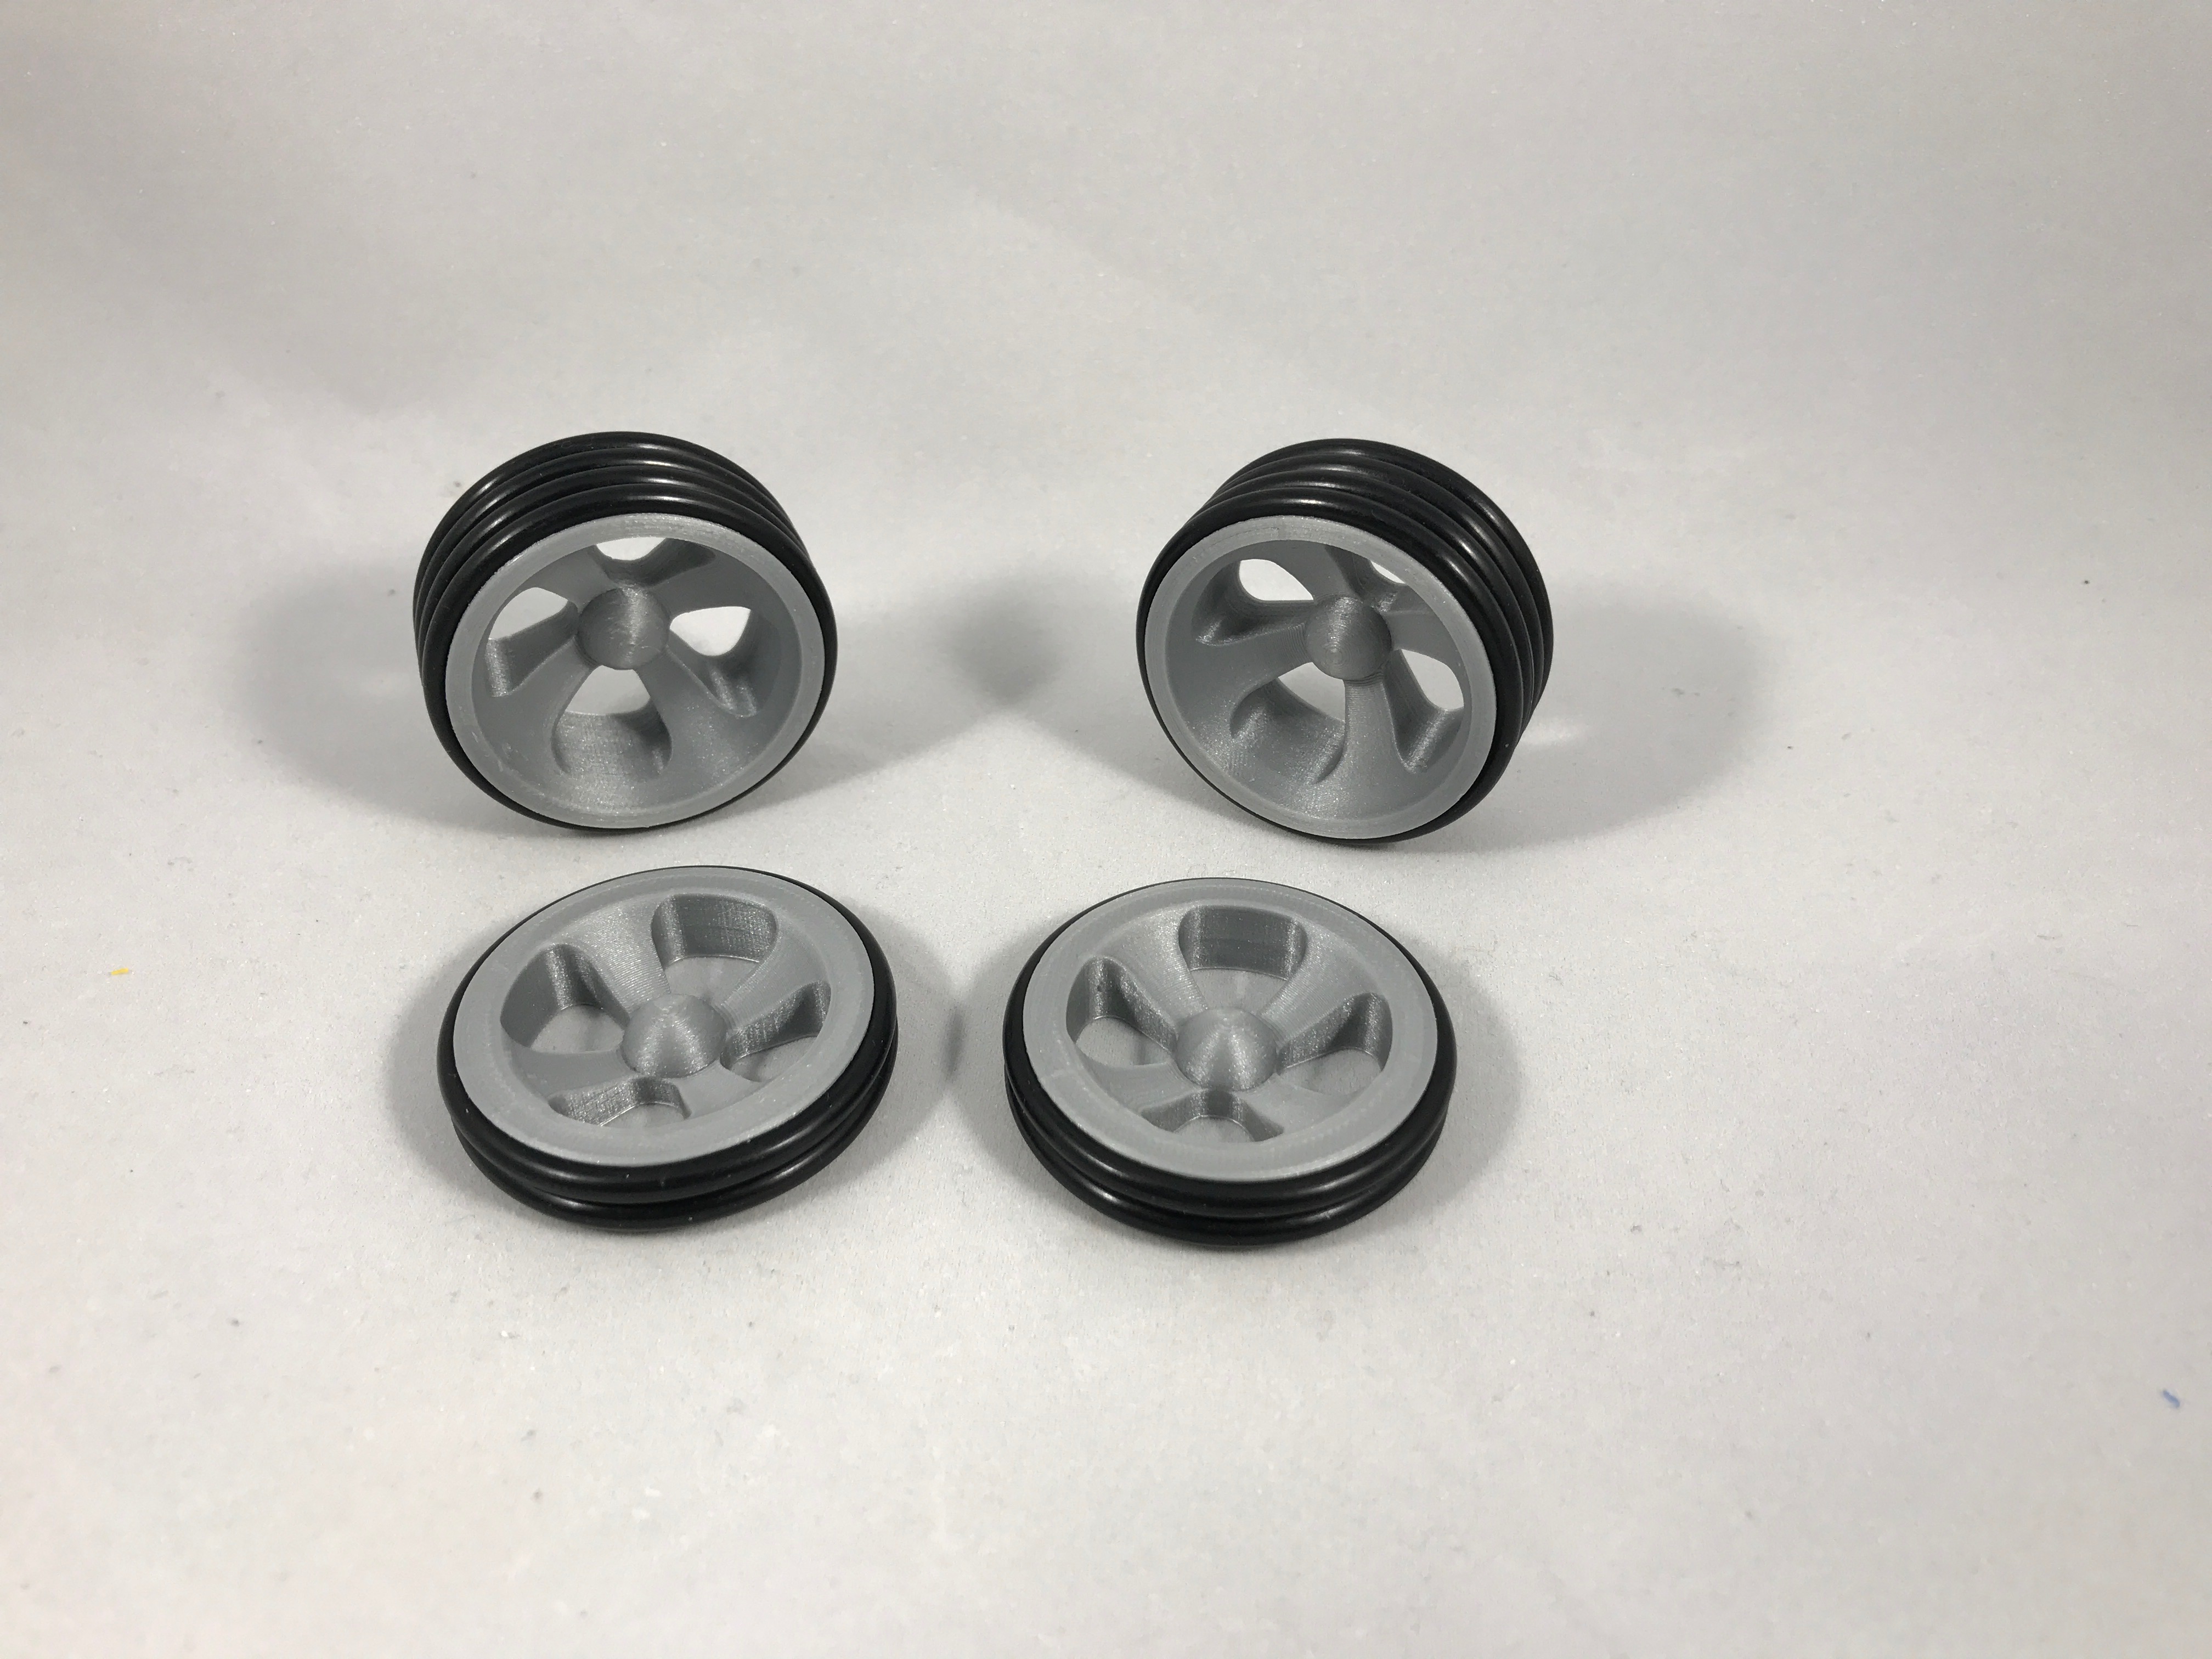
Place one of the purchased o-rings into each o-ring slot on all wheels. The rear wheels require 4 o-rings each, the front 2 o-rings each.
Install the Wheels and Test.
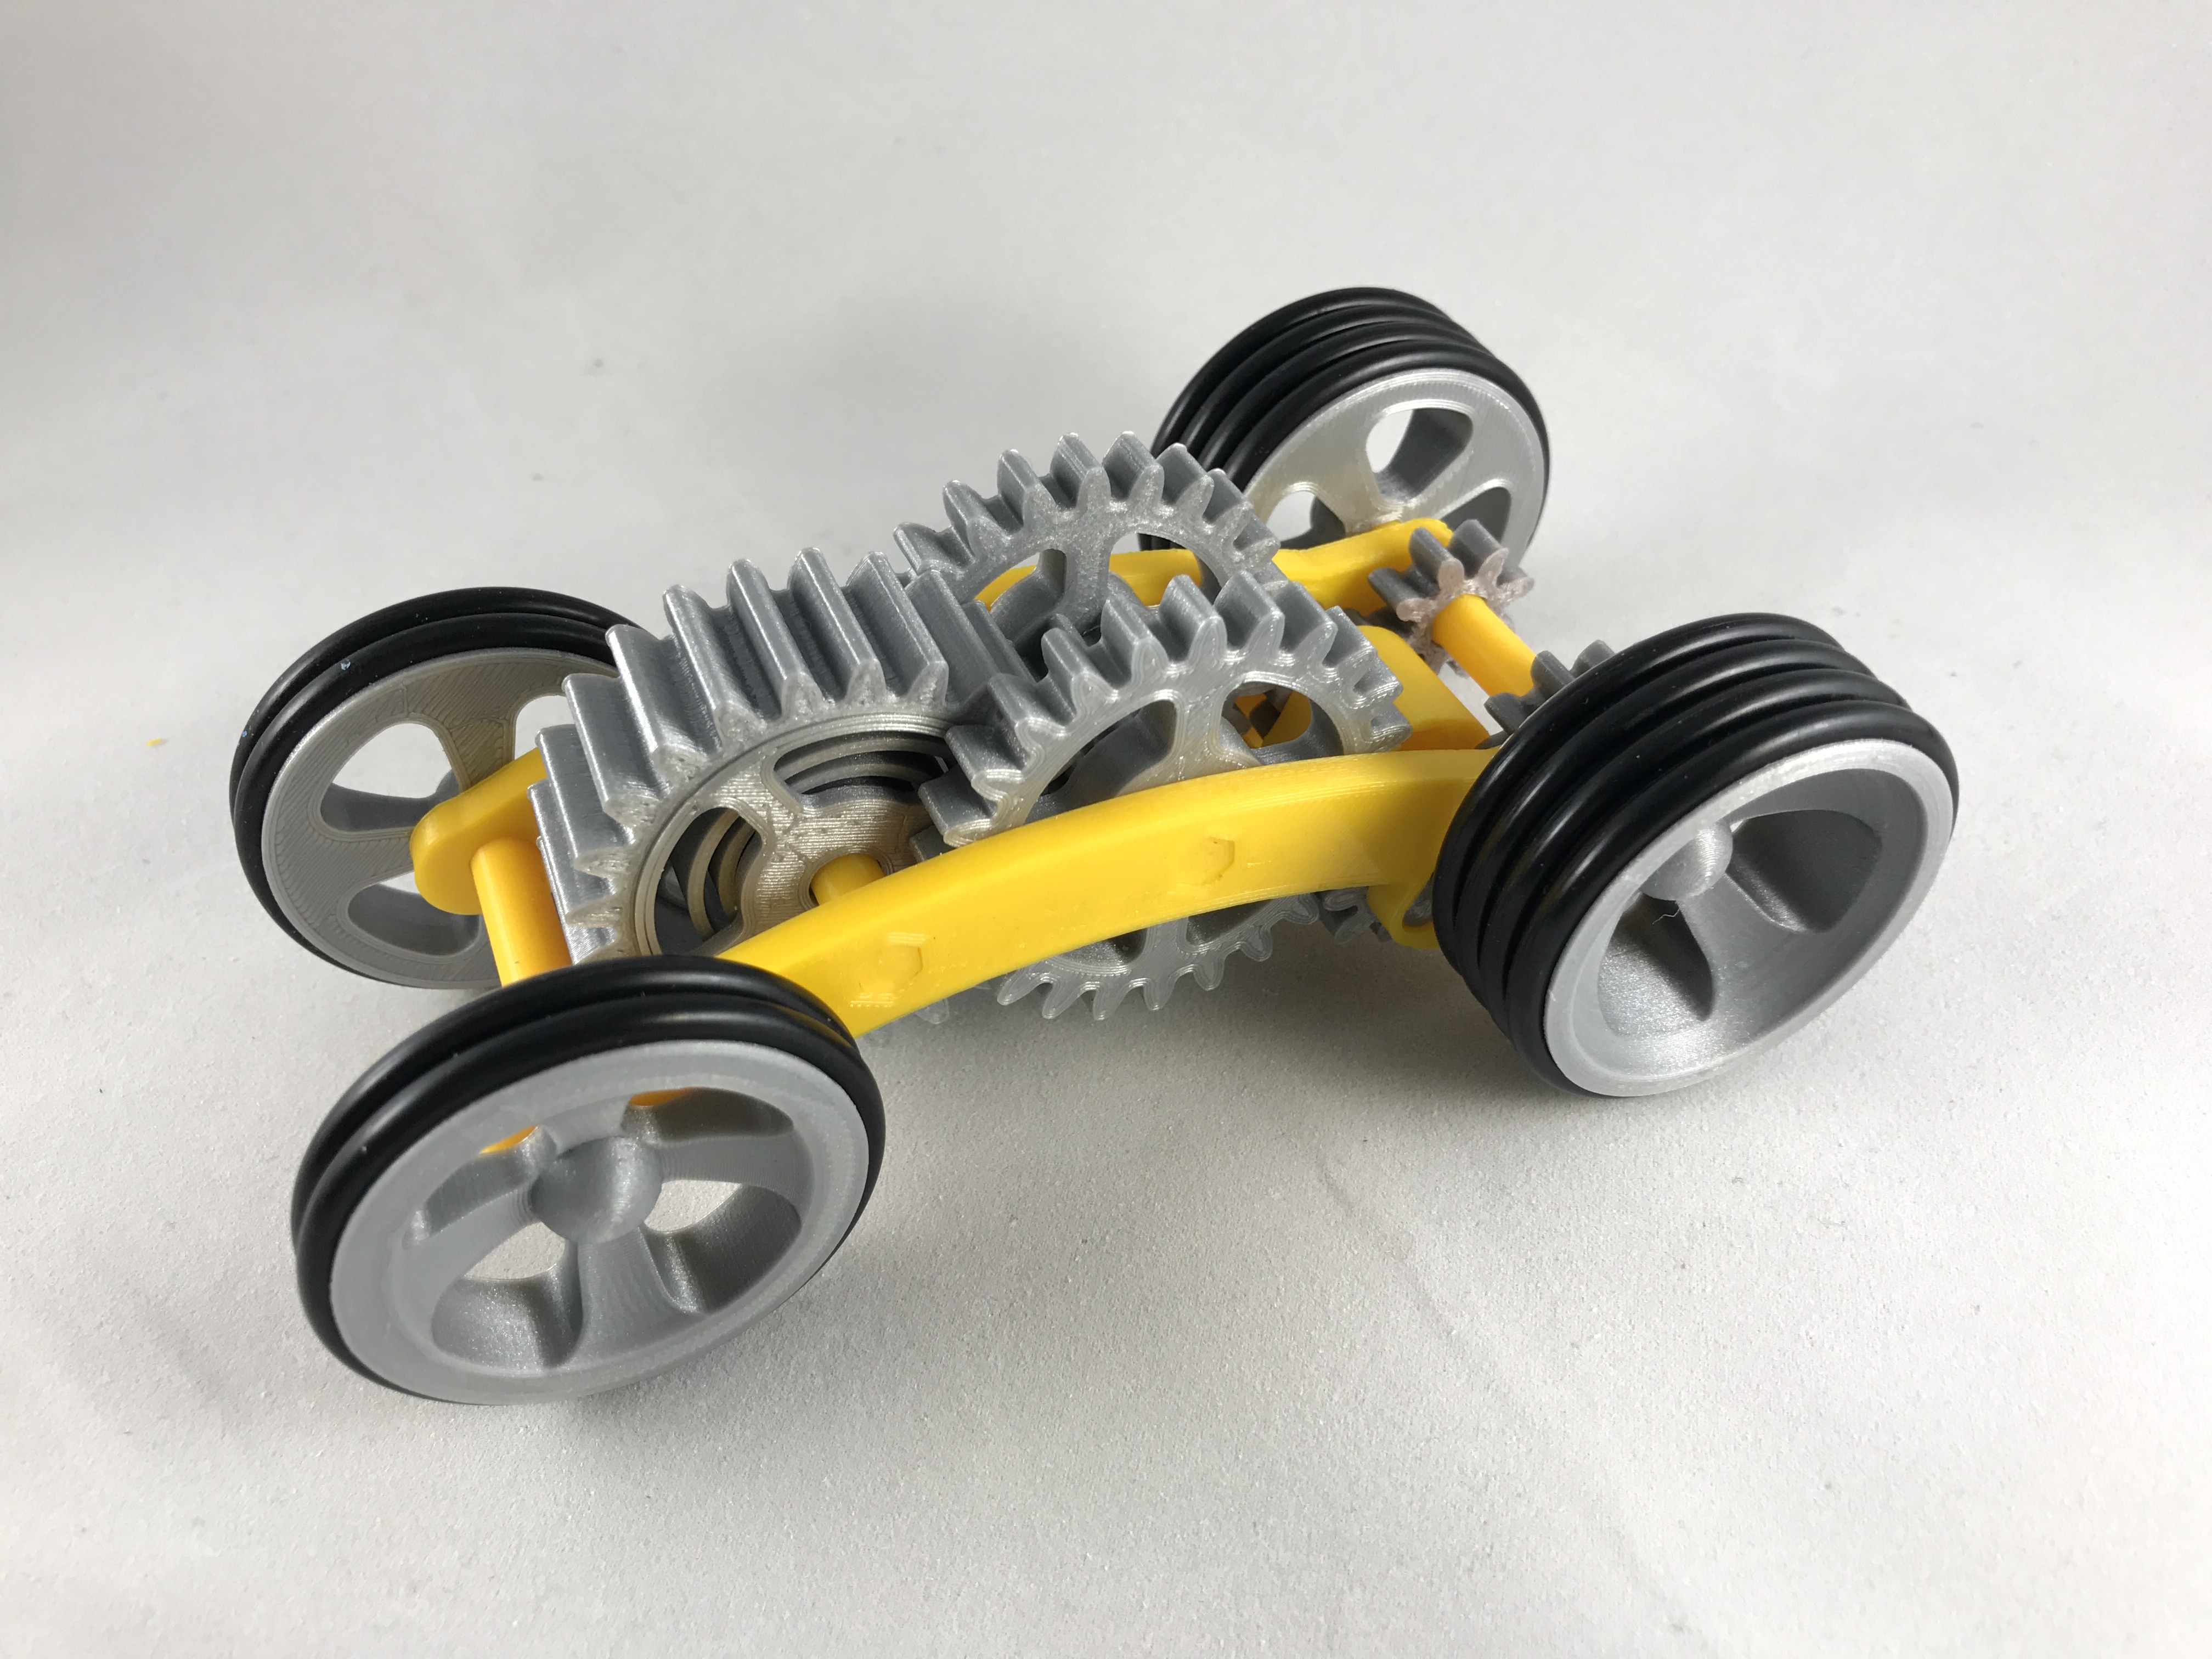
Press one of the rear wheel assemblies onto one end of "Axle Rear.stl". Press the remaining wheel onto the remaining end. Carefully note the alignment of the wheel spokes.
Press "Axle Front.stl" into one of the front wheel assemblies, slide the axle into position in the chassis assembly, the press the remaining front wheel assembly onto the remaining end of the front axle again noting the alignment of the wheel spokes.
The front and rear wheels should rotate freely in the forward direction. When the rear wheels are rapidly rotated in reverse, the wind floating pinion (the gear idler small assembly nearest chassis right) should rotate into position and engage with the winding gear (the gear idler large nearest chassis right) and wind the spring. Rolling the vehicle rapidly in reverse (no further than 30") should wind the spring. When released, the vehicle should accelerate forward and coast after the spring energy is depleted. If there is any binding, make sure "Chassis Right.stl" and "Chassis Left.stl" are not warped, and are parallel to each other.
Good luck and I hope you like it!