Table Top Kinetic Lego Haunted House Using Mindstorms Robot Inventor
by bmohnsen in Living > LEGO & K'NEX
989 Views, 2 Favorites, 0 Comments
Table Top Kinetic Lego Haunted House Using Mindstorms Robot Inventor
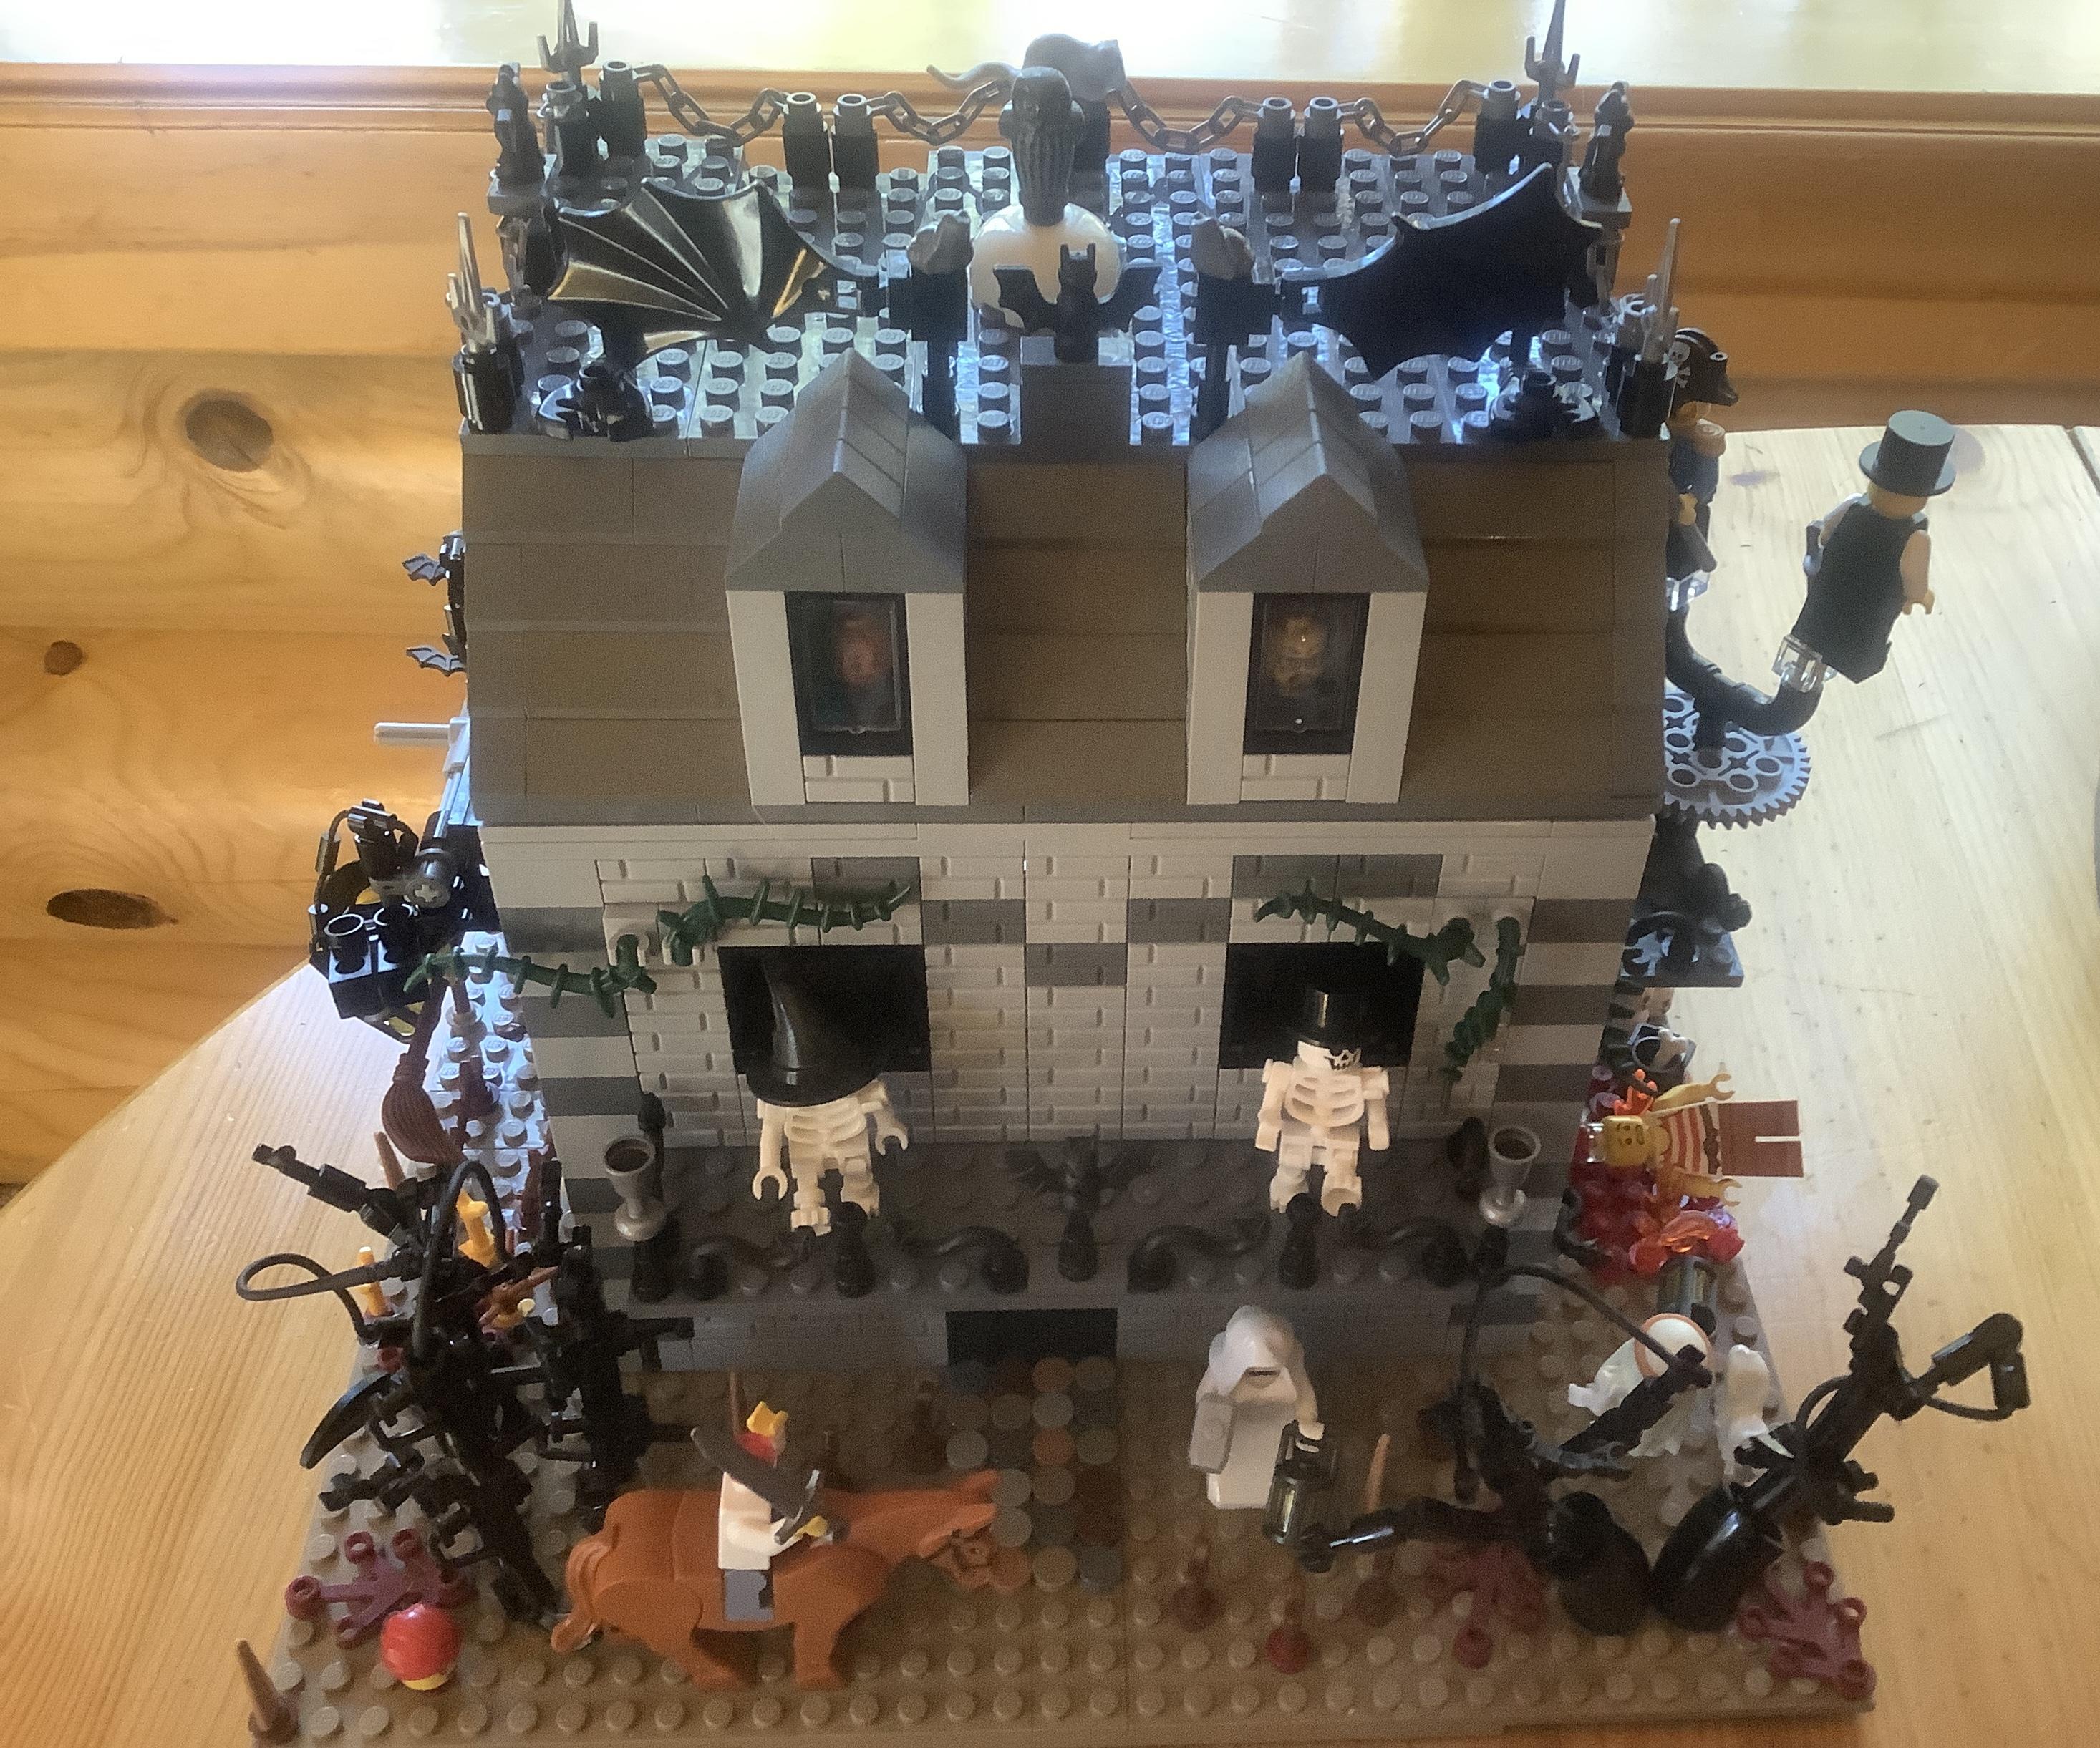
The purpose of this project is to create a 360 degree table top haunted house which displays movement on three of its sides. Additionally, this project adds to Instructables Knowledge Base on how to use and create projects using Mindstorms Robot Inventor.
Supplies
Lego Mindstorms Robot Inventor set
Lego bricks, slopes, tiles, windows, doors, and plates for building a house.
Minifigures, animals, plants, and other miscellaneous parts to create decorations.
Making the Base
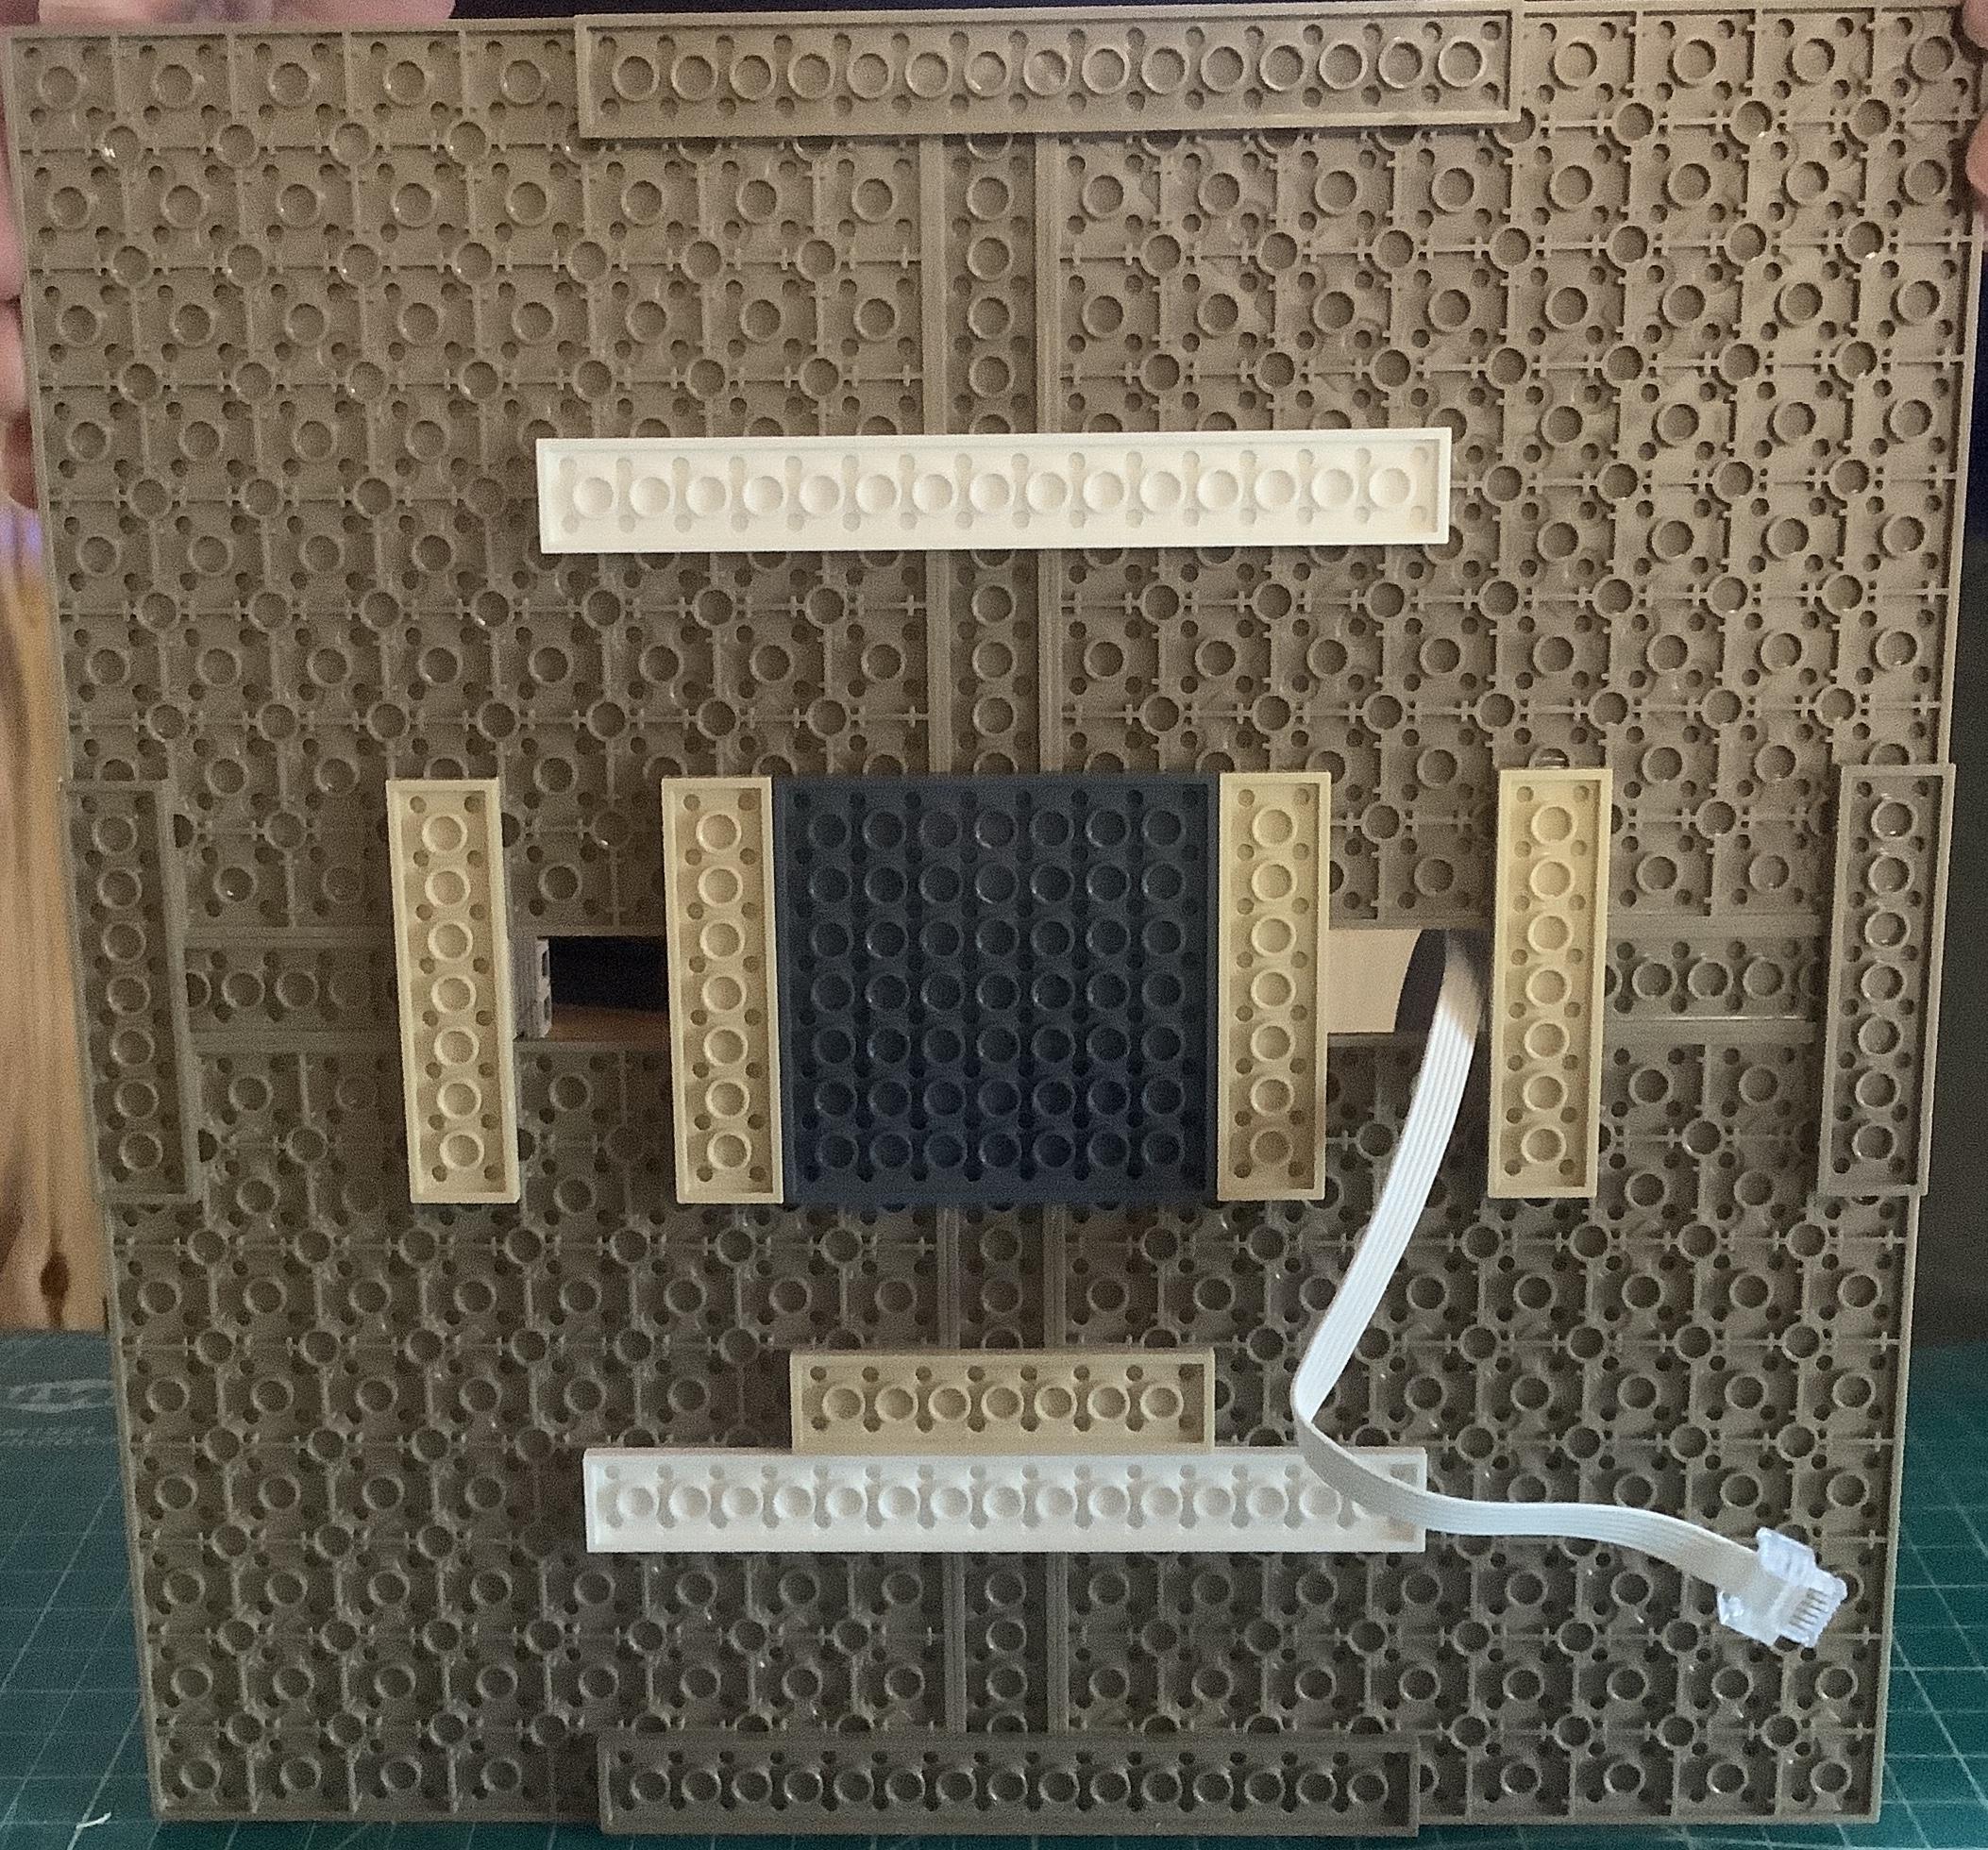
The base plate can be any size you want. My base is 34 studs by 34 studs (four 16x16 plates, two 2x16, and two 2x8 plates). I have used two 2x8 plate on the left and right sides of the base to allow for two openings. These openings offer the choice of having the controller underneath the display. It is important to lock the baseplates in place using additional plates (see image 1), so that they do not separate.
Building the First Floor
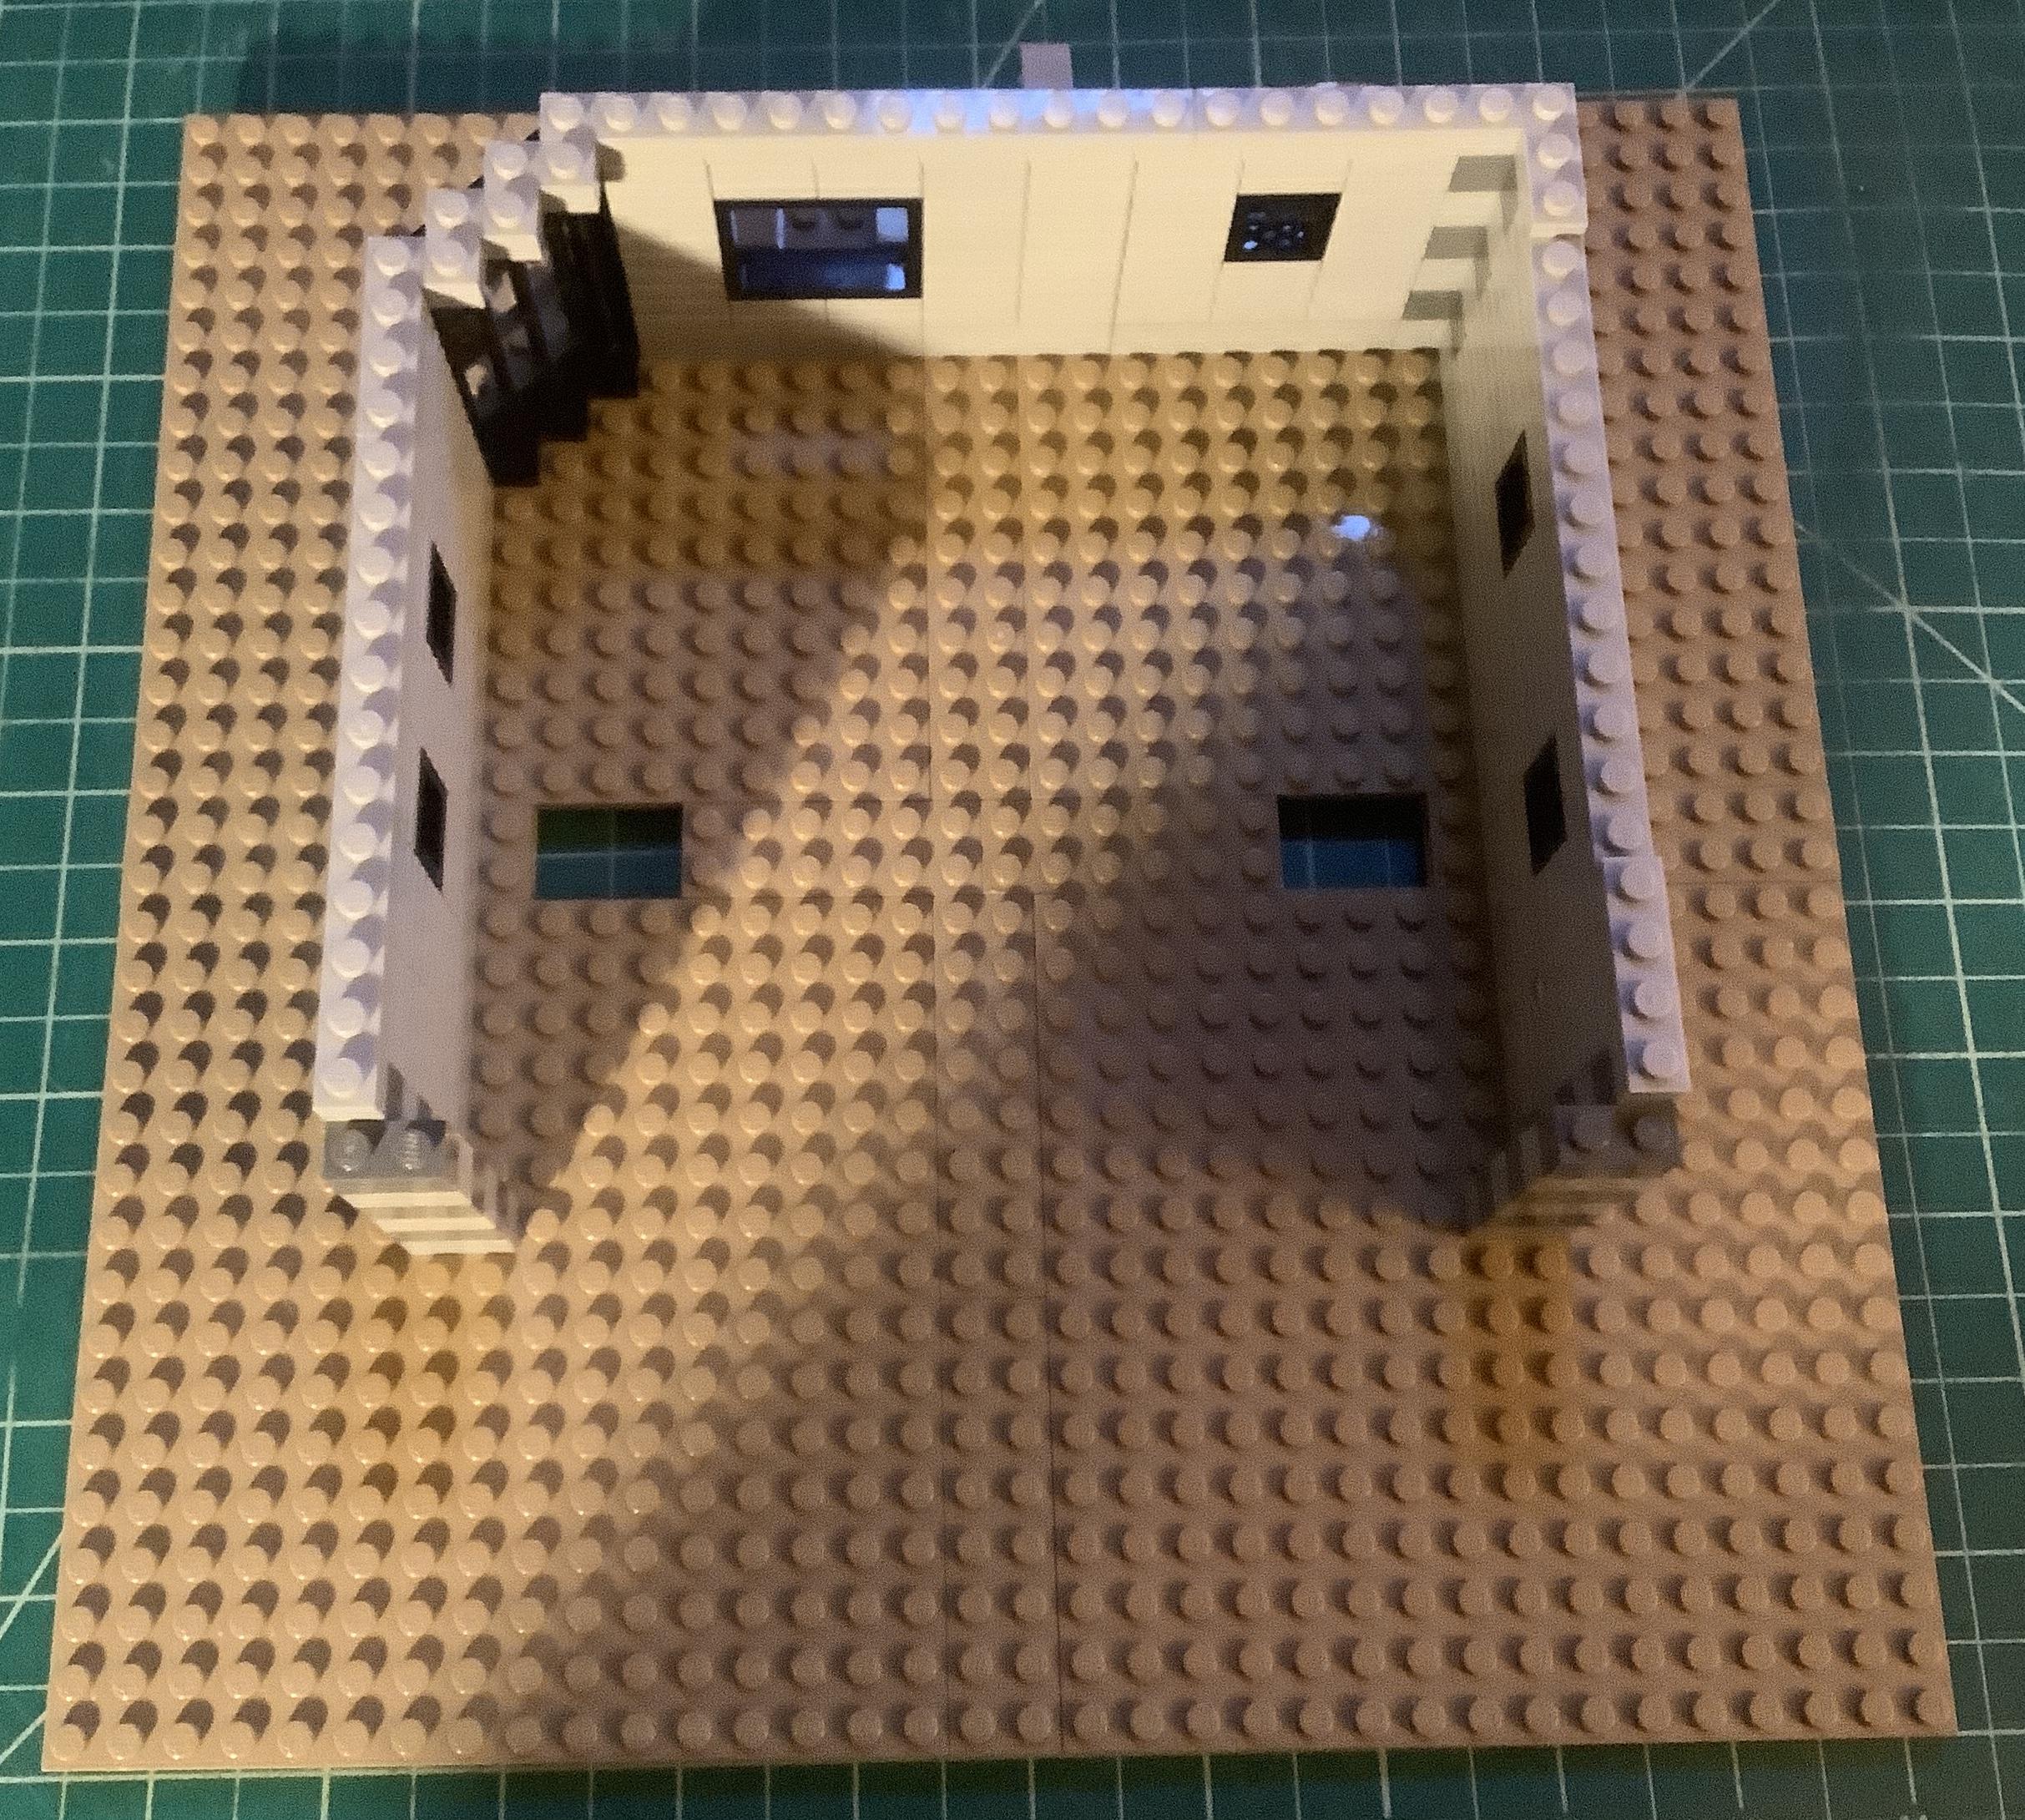
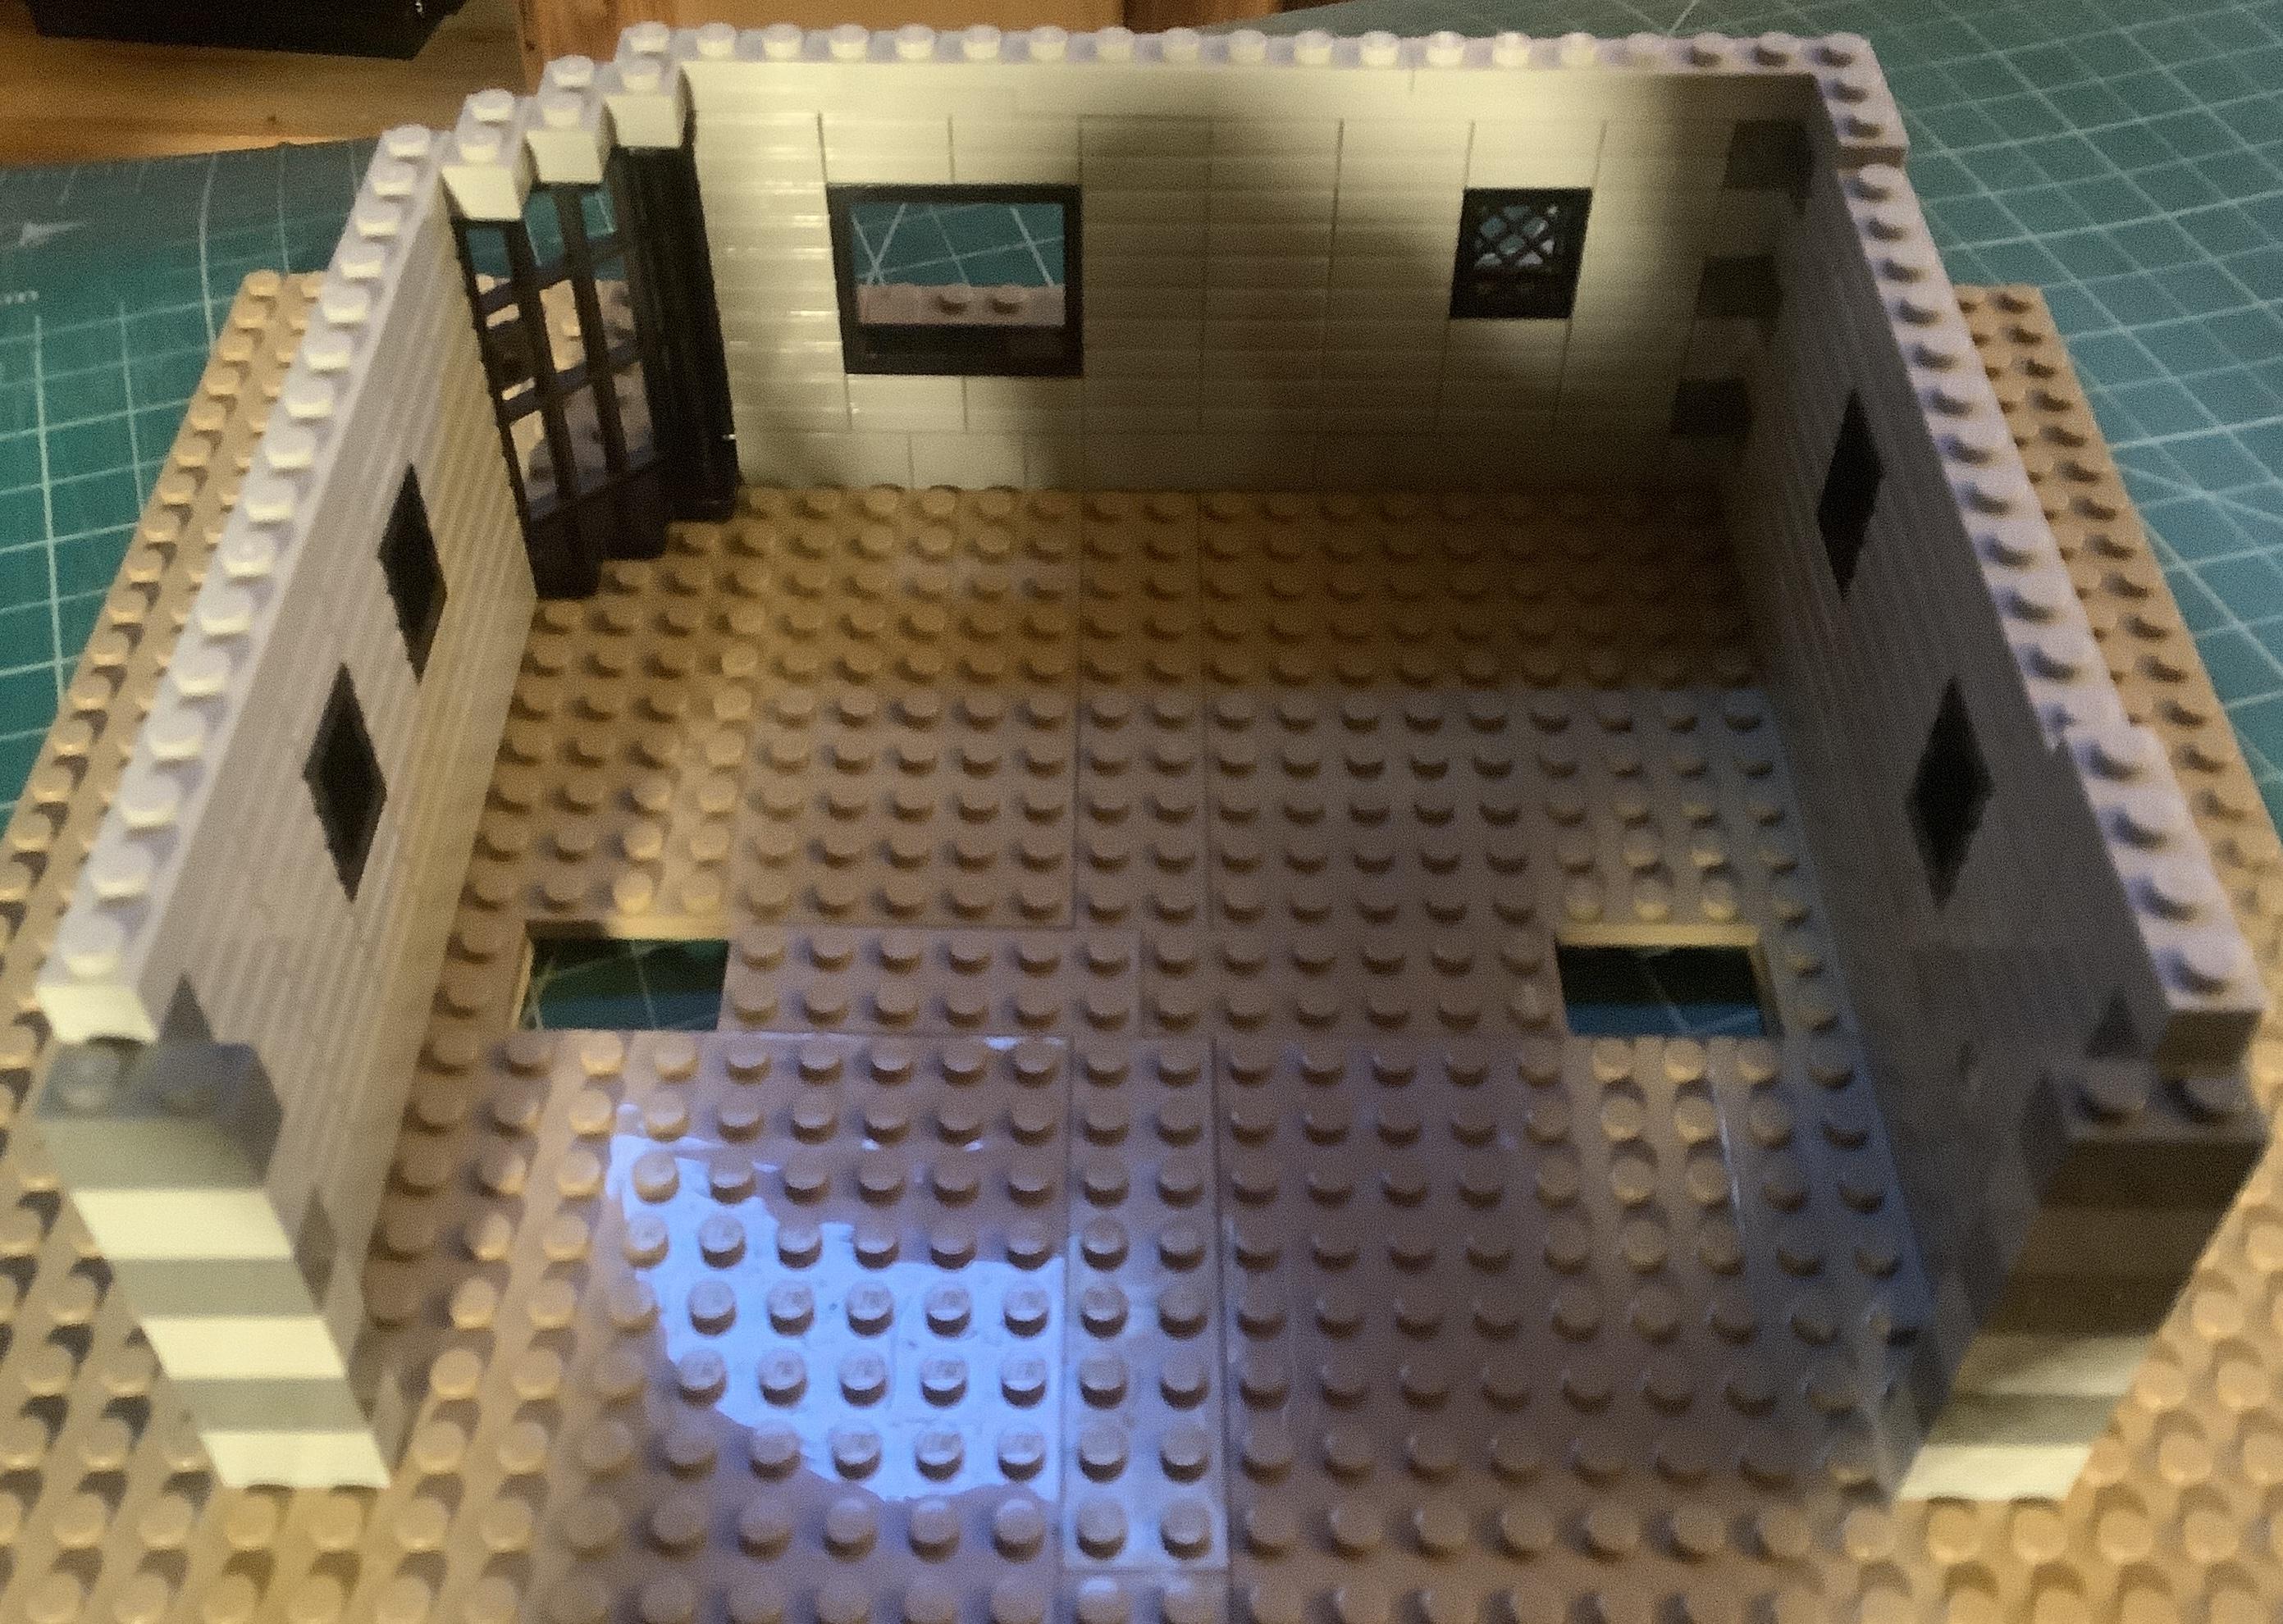
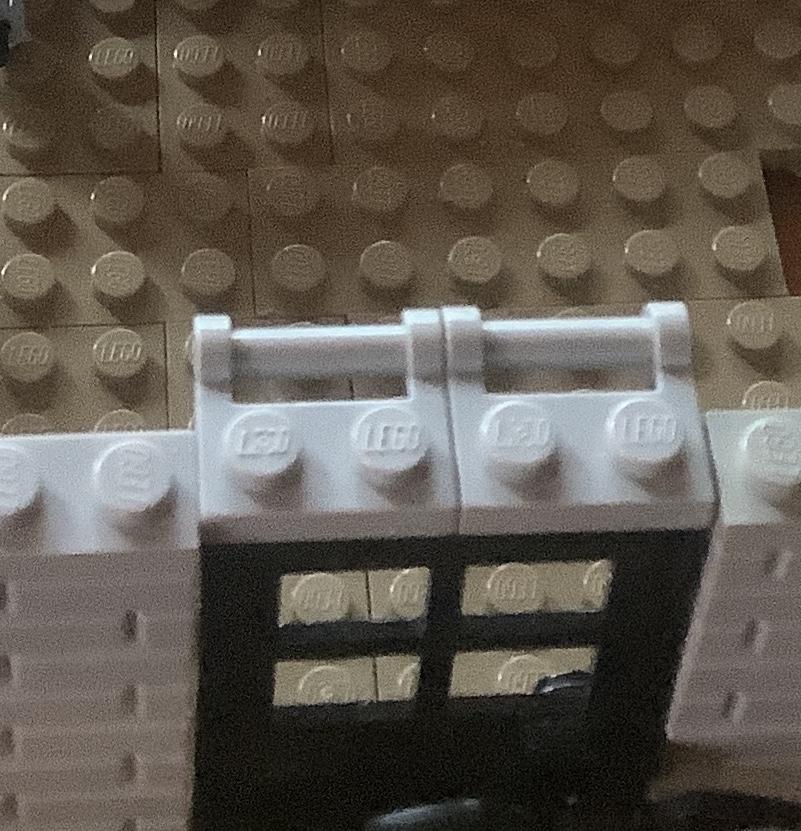
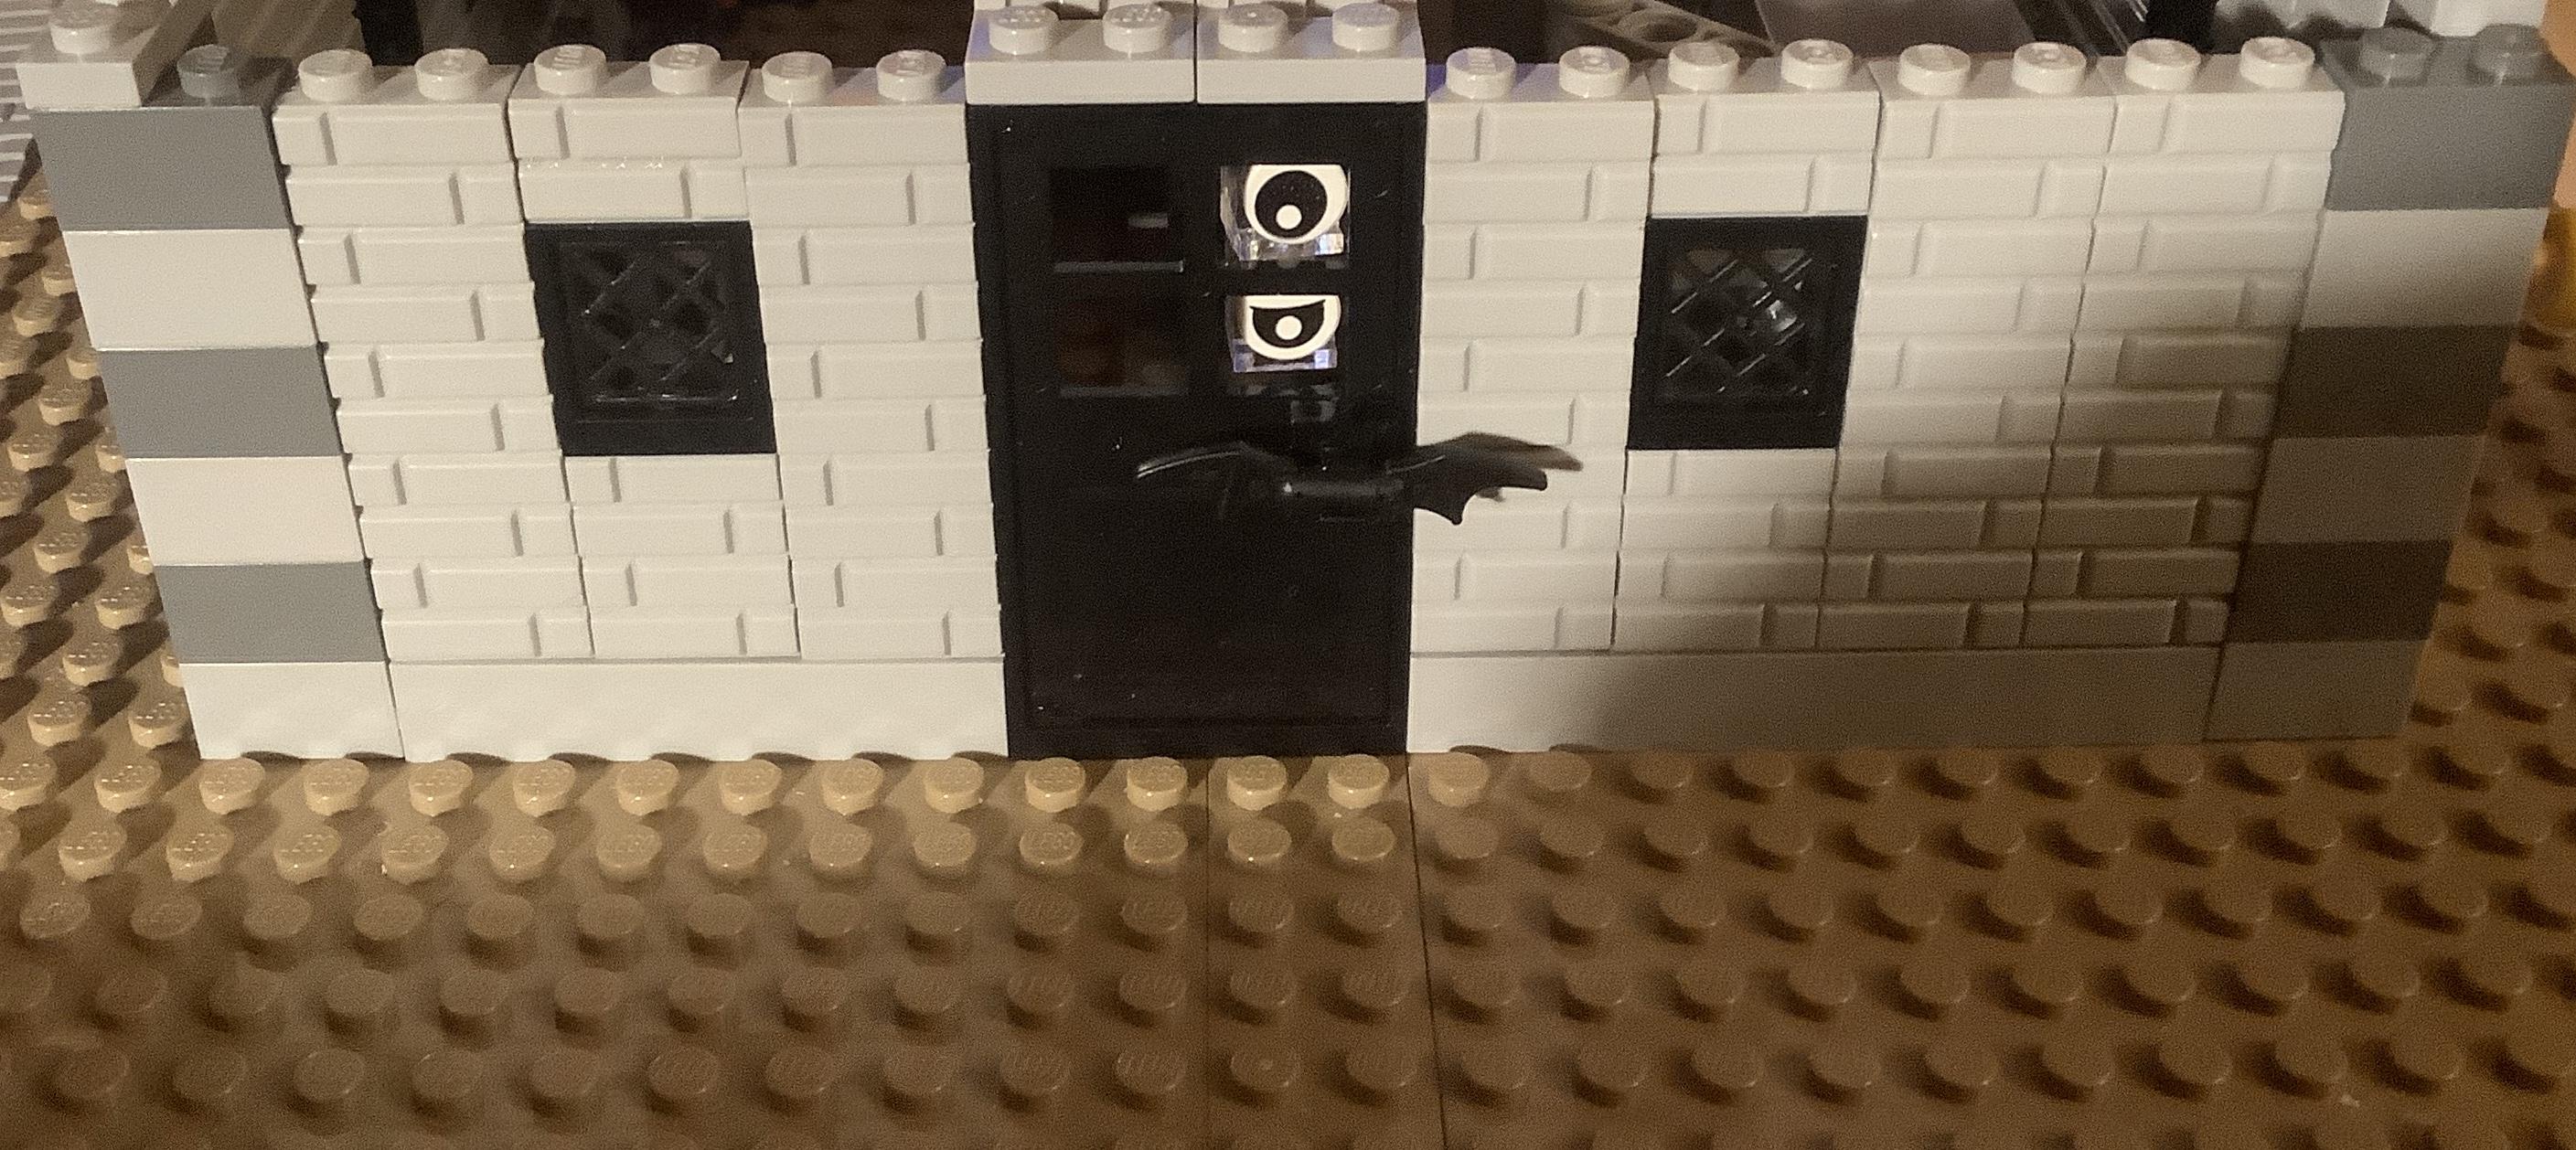
You can build any haunted house you have or create one on your own. However, leave the interior empty (see images 1 and 2). I have used masonry bricks (I had a lot from the new castle), regular bricks, windows, and doors to create the first floor of the house. I also put plates with bars (see image 3) above the front door knowing that I want something to hang in front door's windows. It is important to note that the rear window is clear for positioning the kinetics. It also is important to place a 1x2 technic brick (with one hole) on the right wall near the front and three levels up (see image 2).
Building the Kinetics
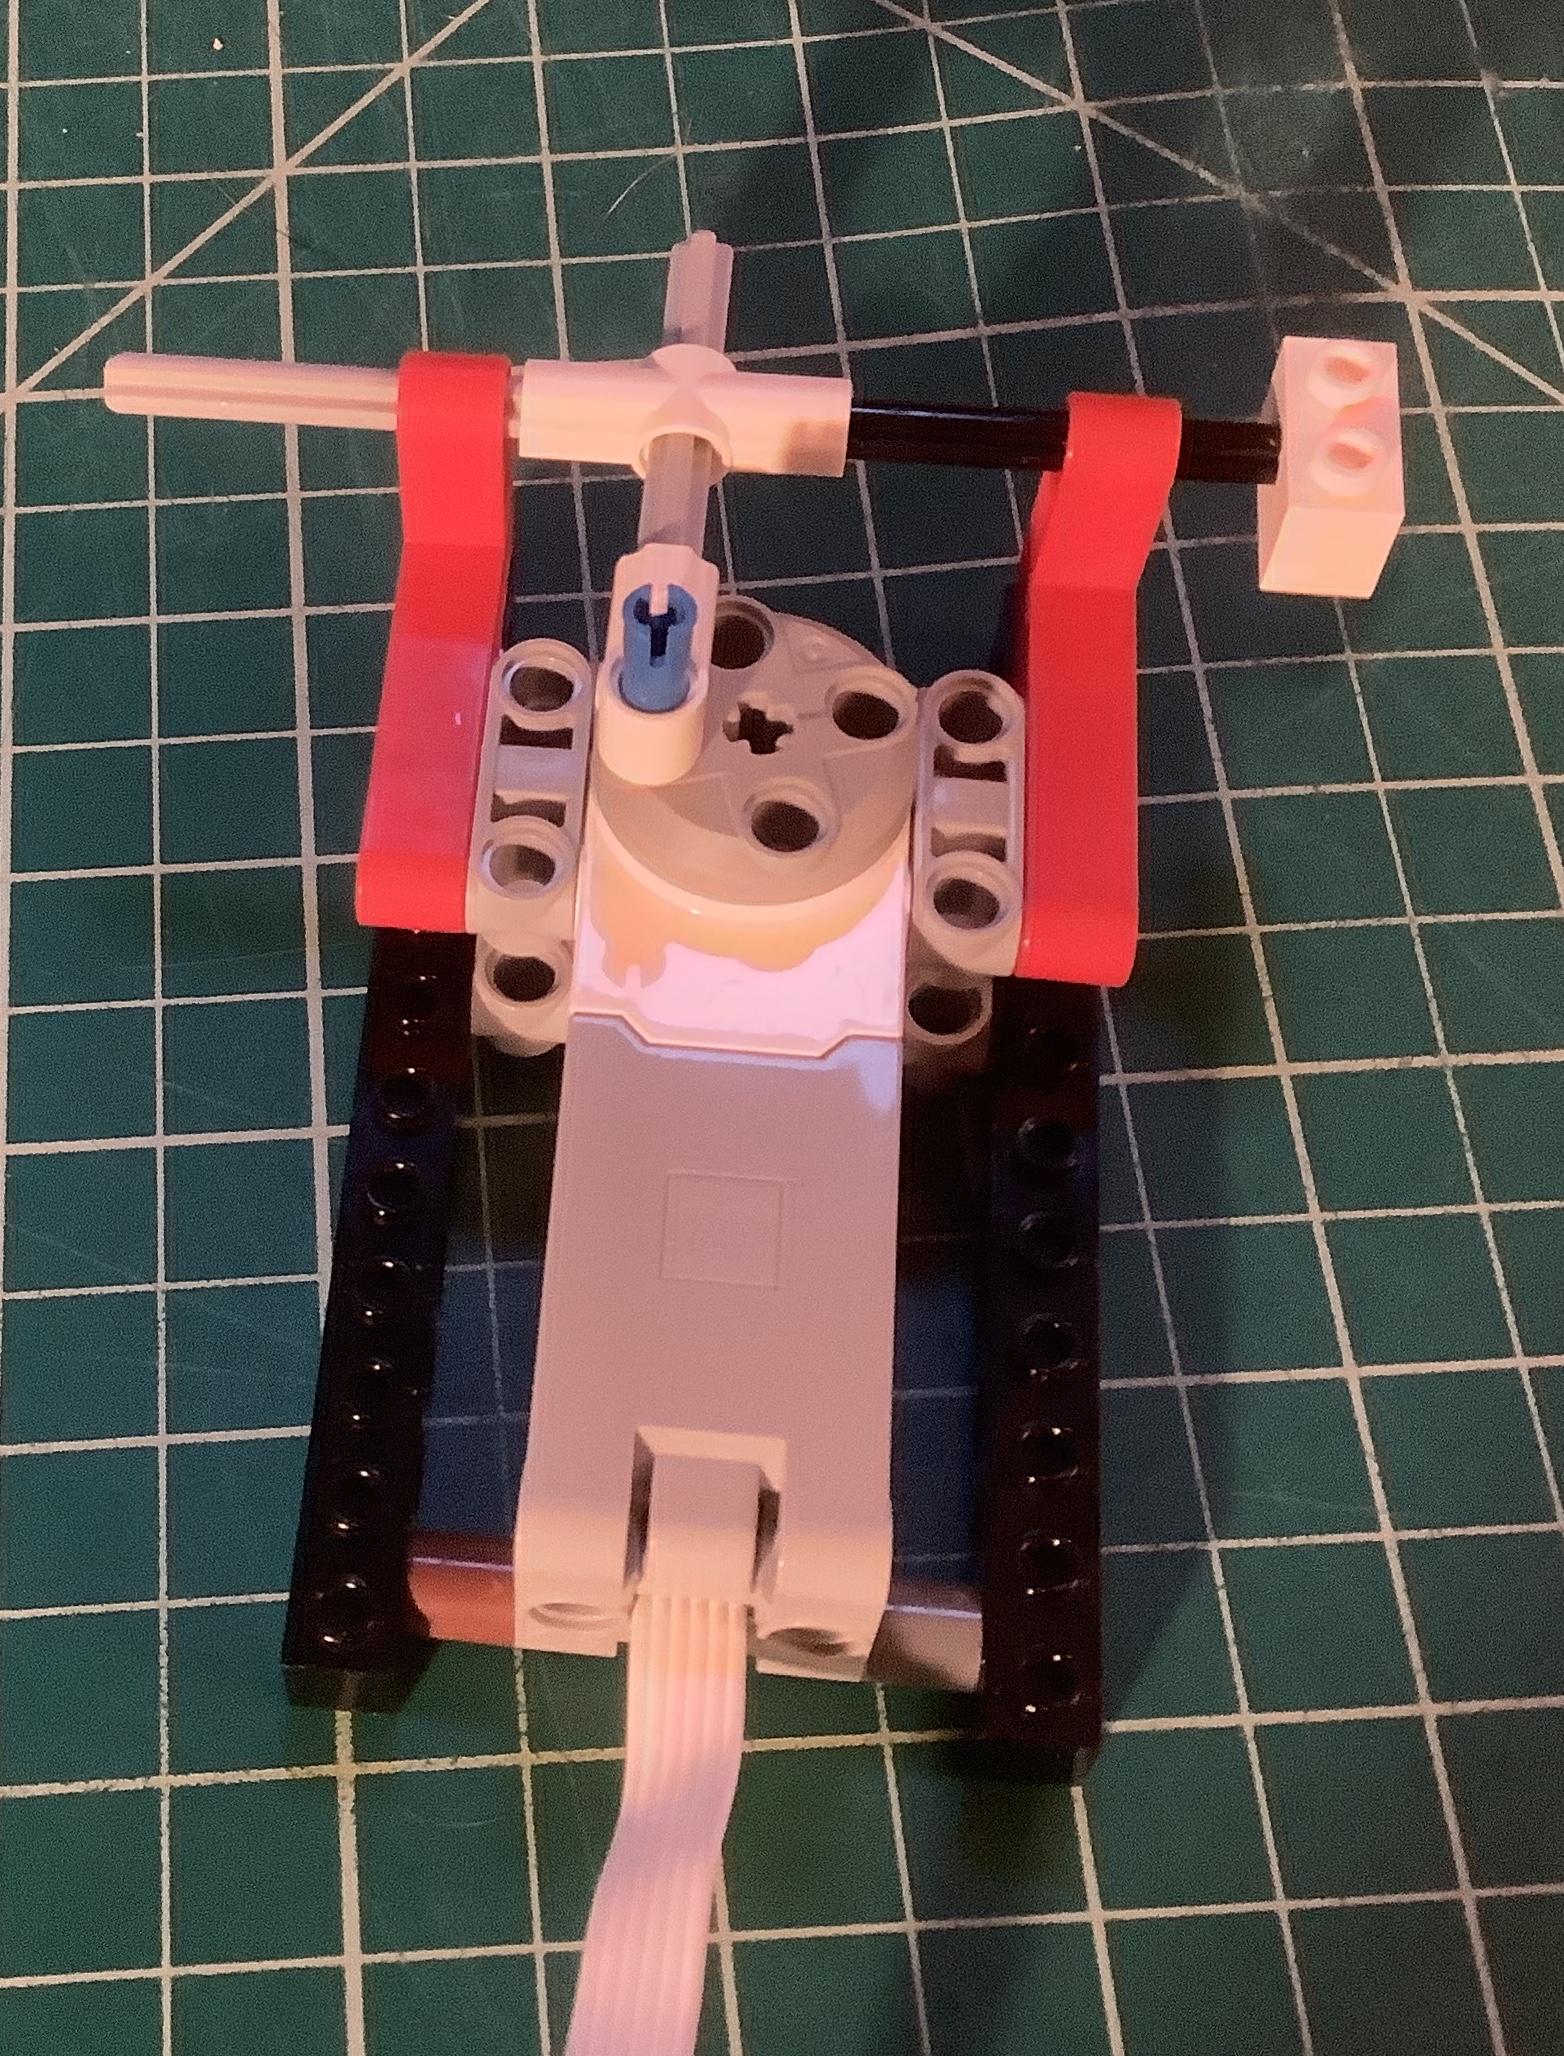
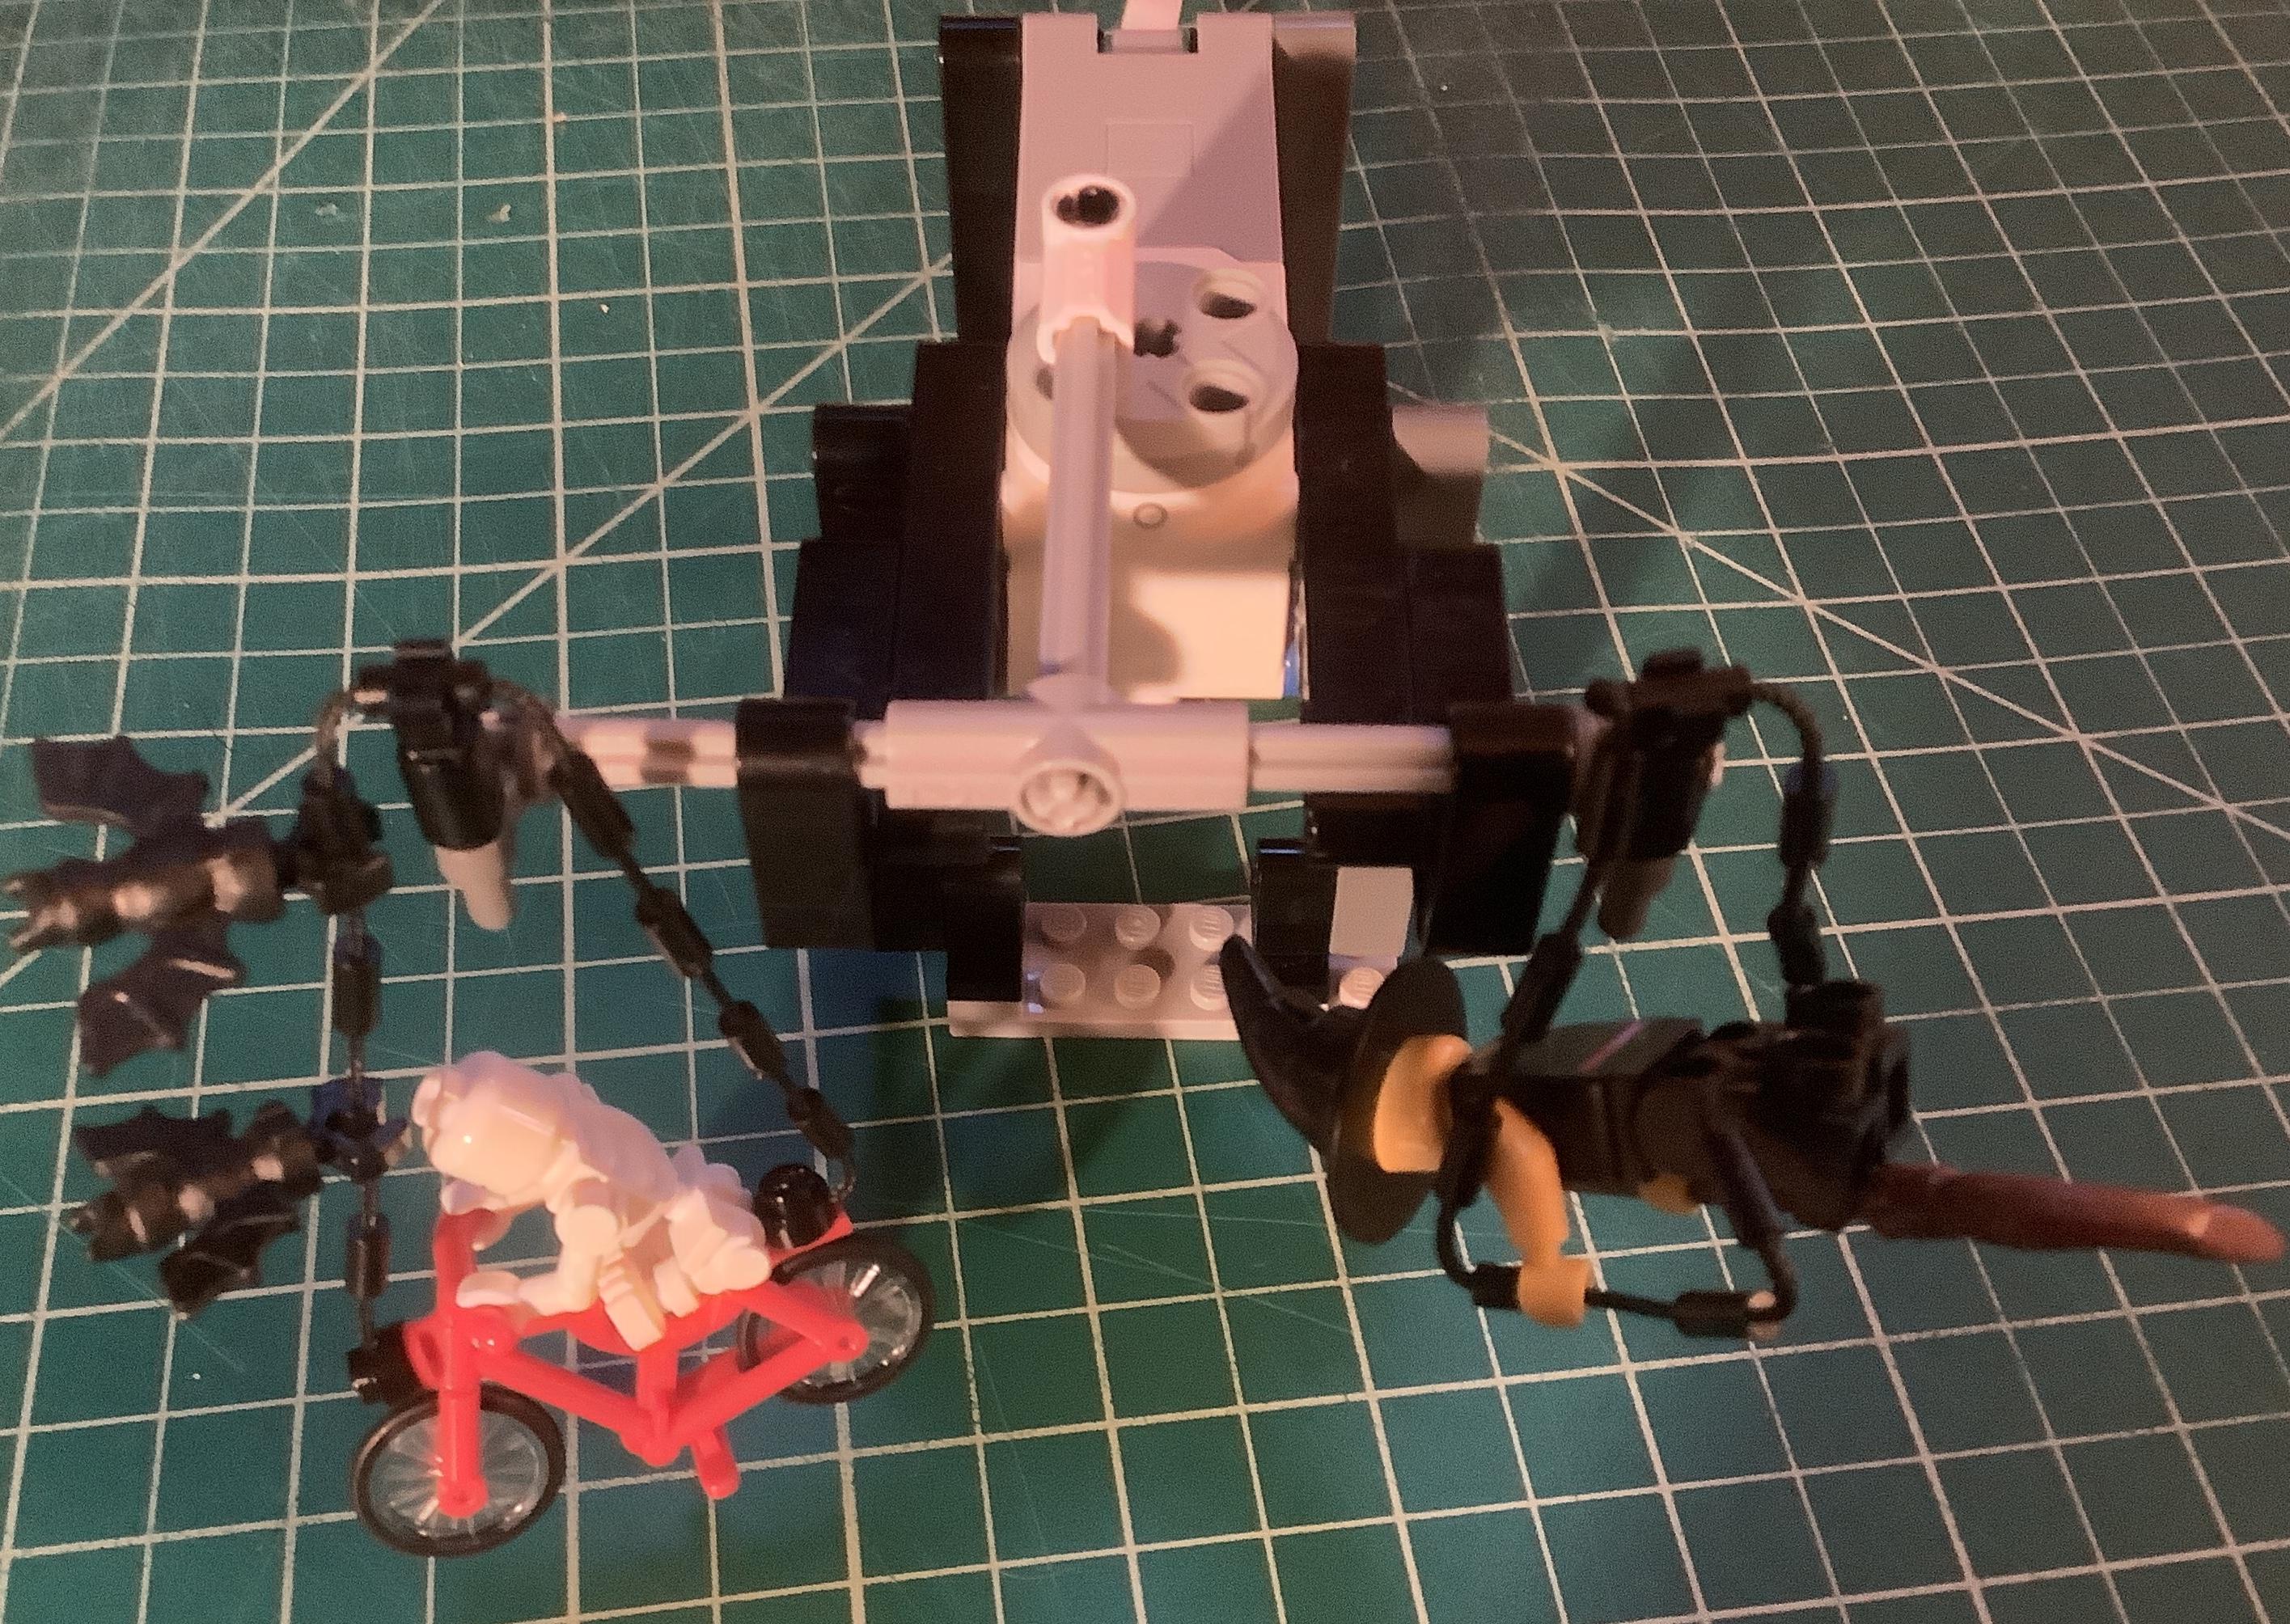
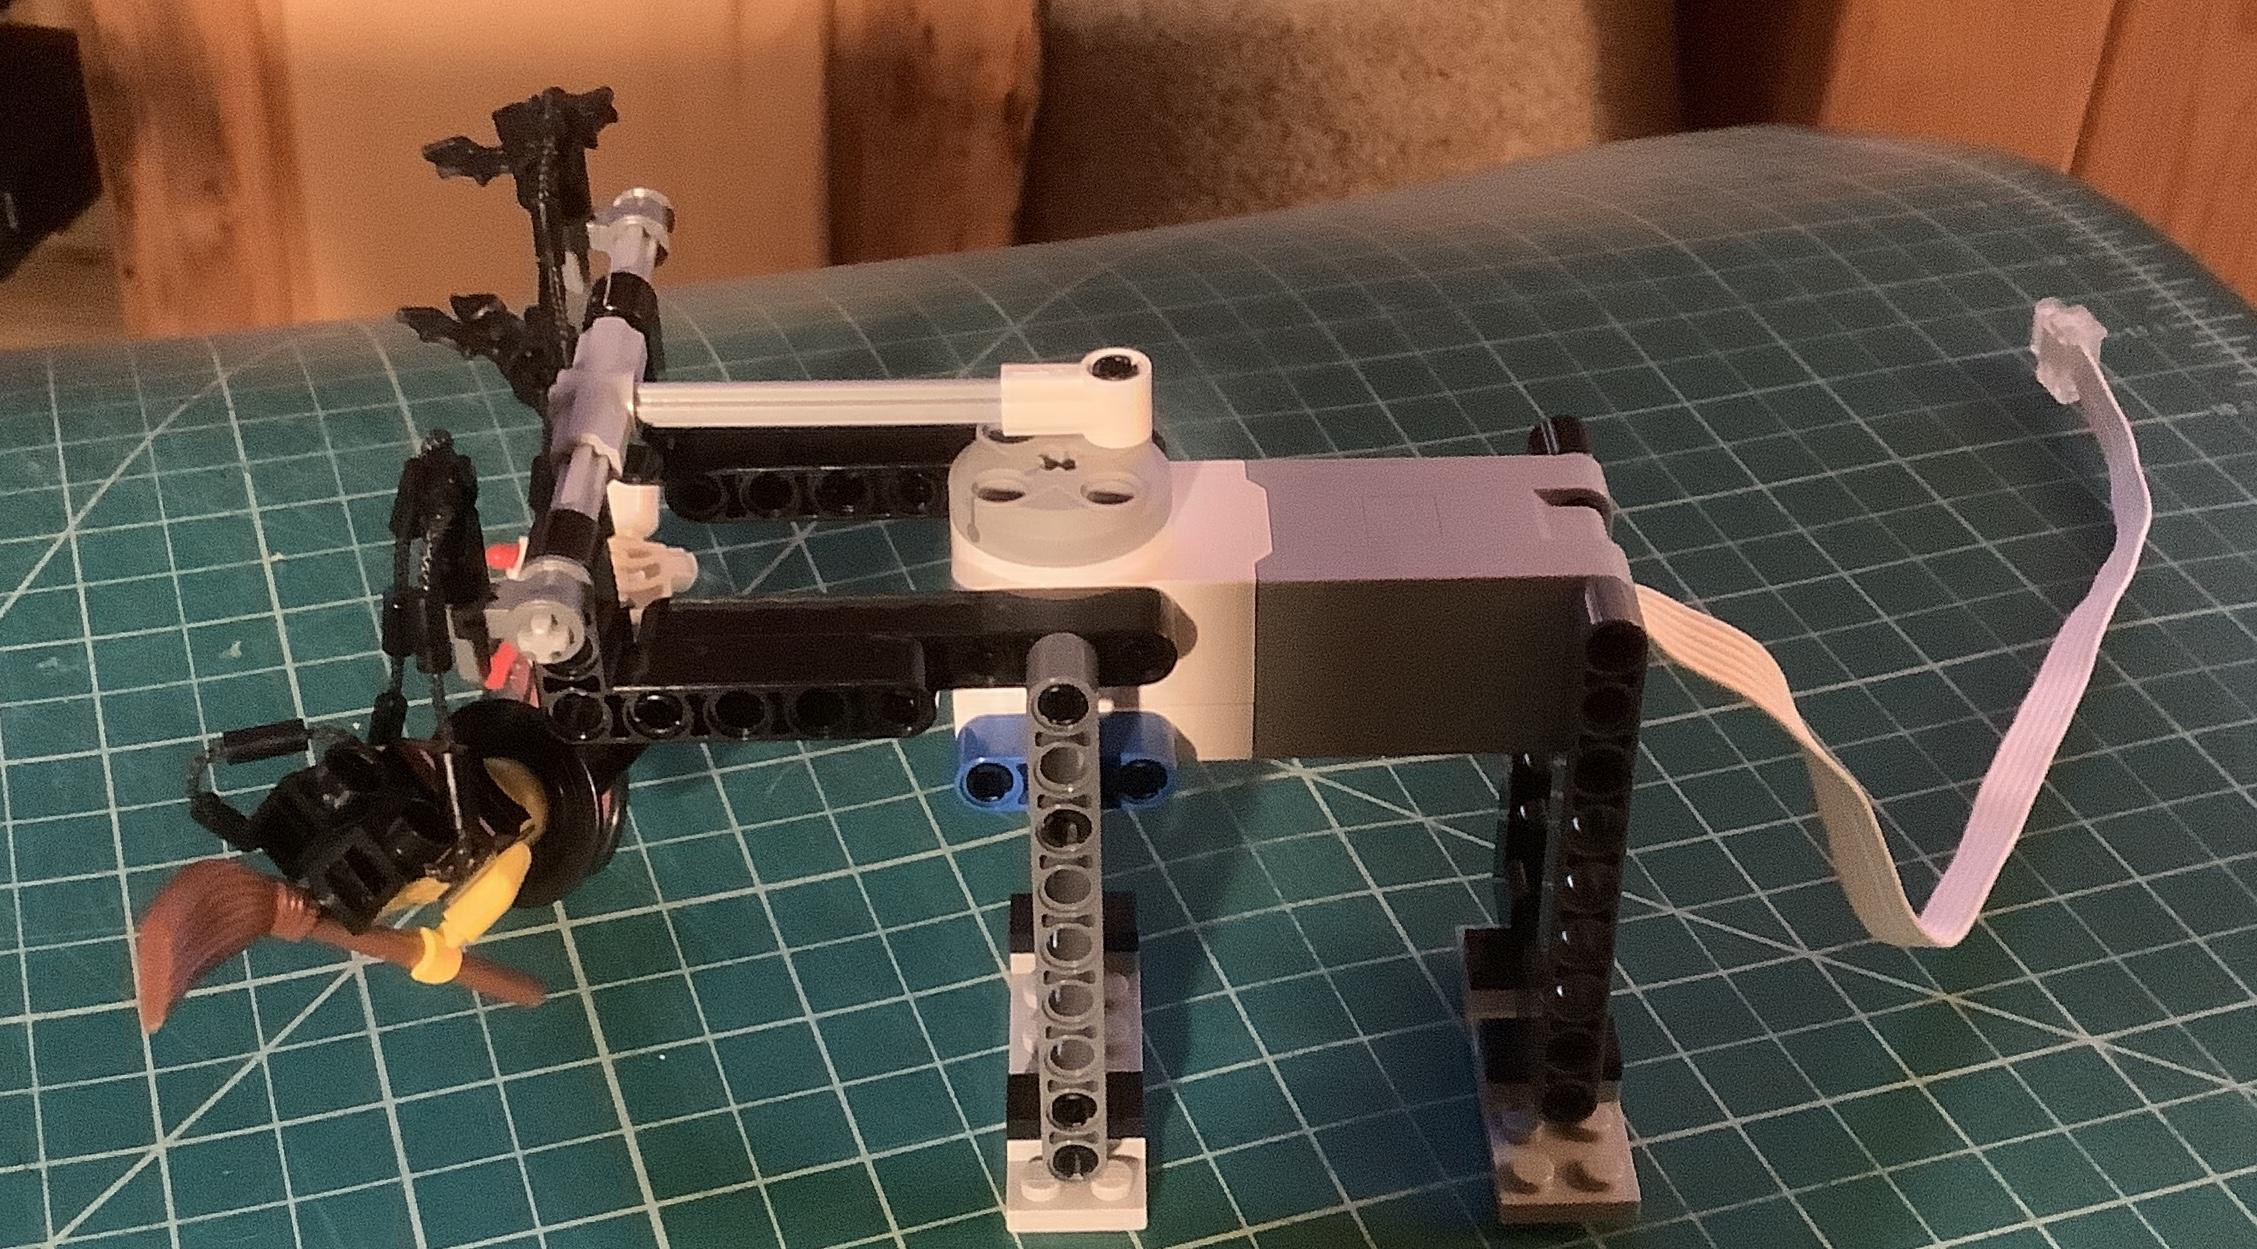
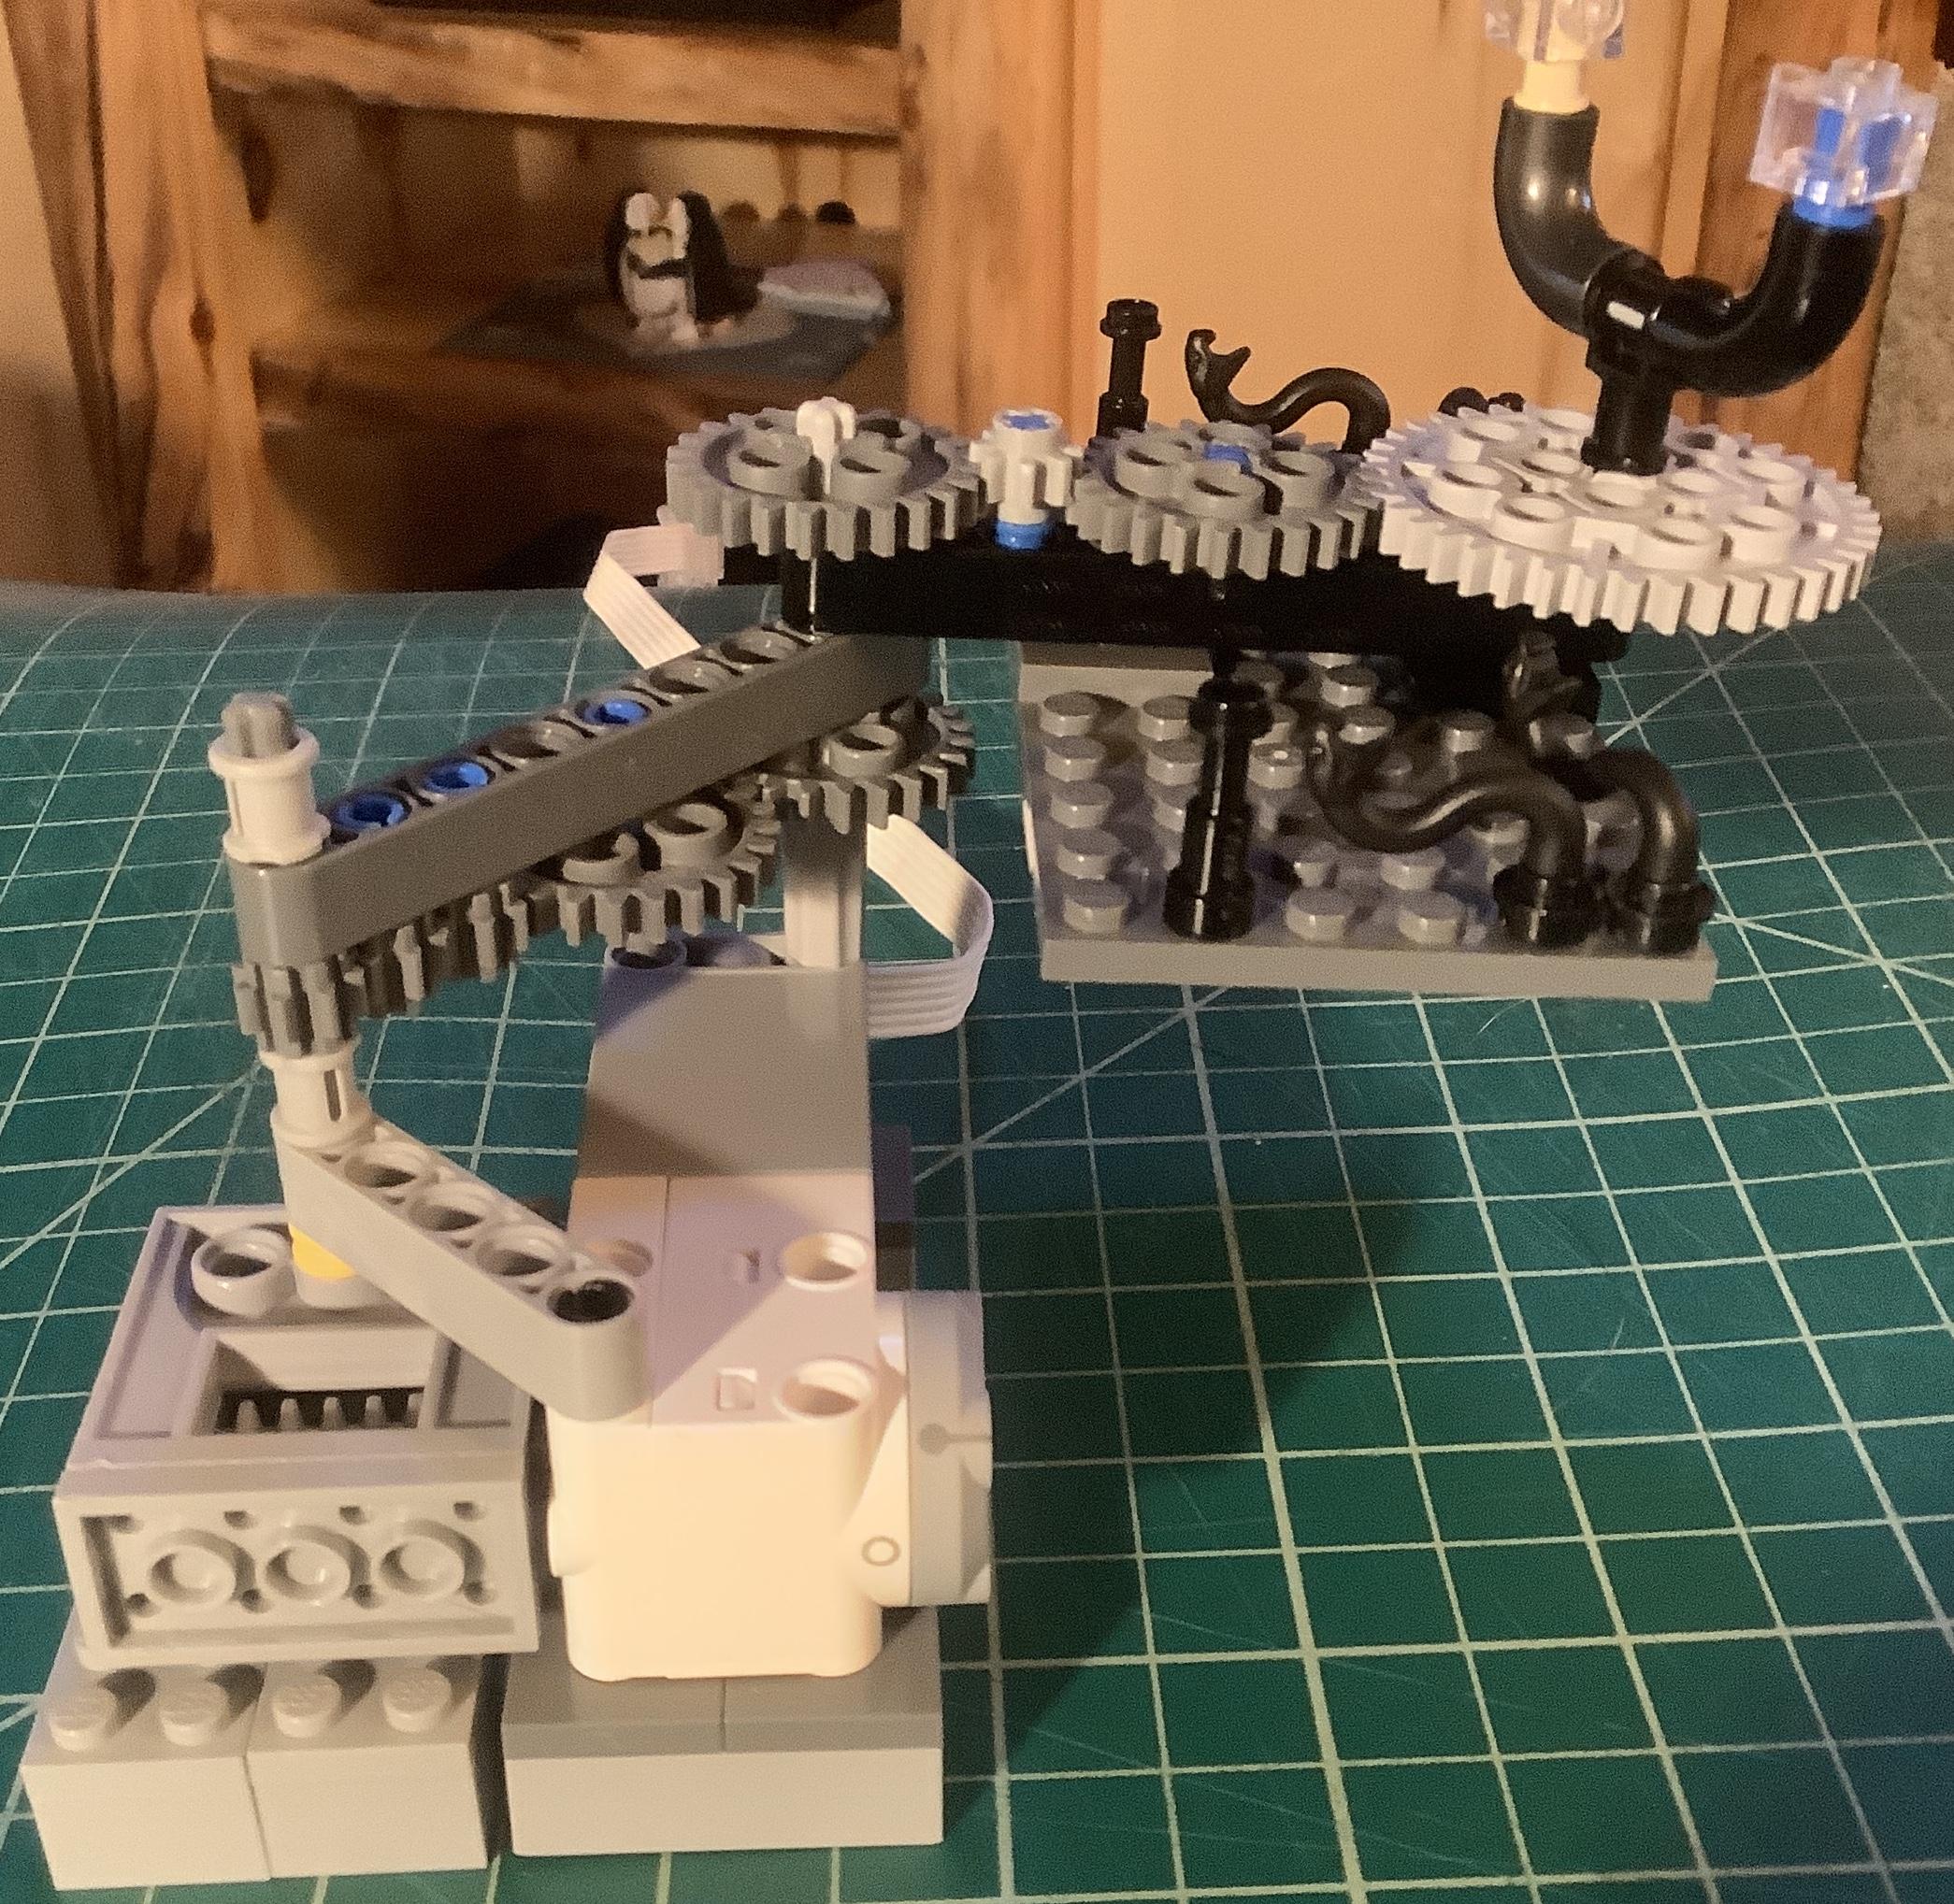
This step describes the kinetic lego builds for the house. Three motors are used so two movements each are associated with two of the motors and one movement is associated with one of the motors. We will label the motors: B, D, and F since those are the ports on hub to which the motors are attached. Motor B controls the ghost moving in and out of the window in the rear of the house. Motor D controls the flying witch and bicycling ghost. Motor F controls the chasing mini-figures and the roasting mini-figure.
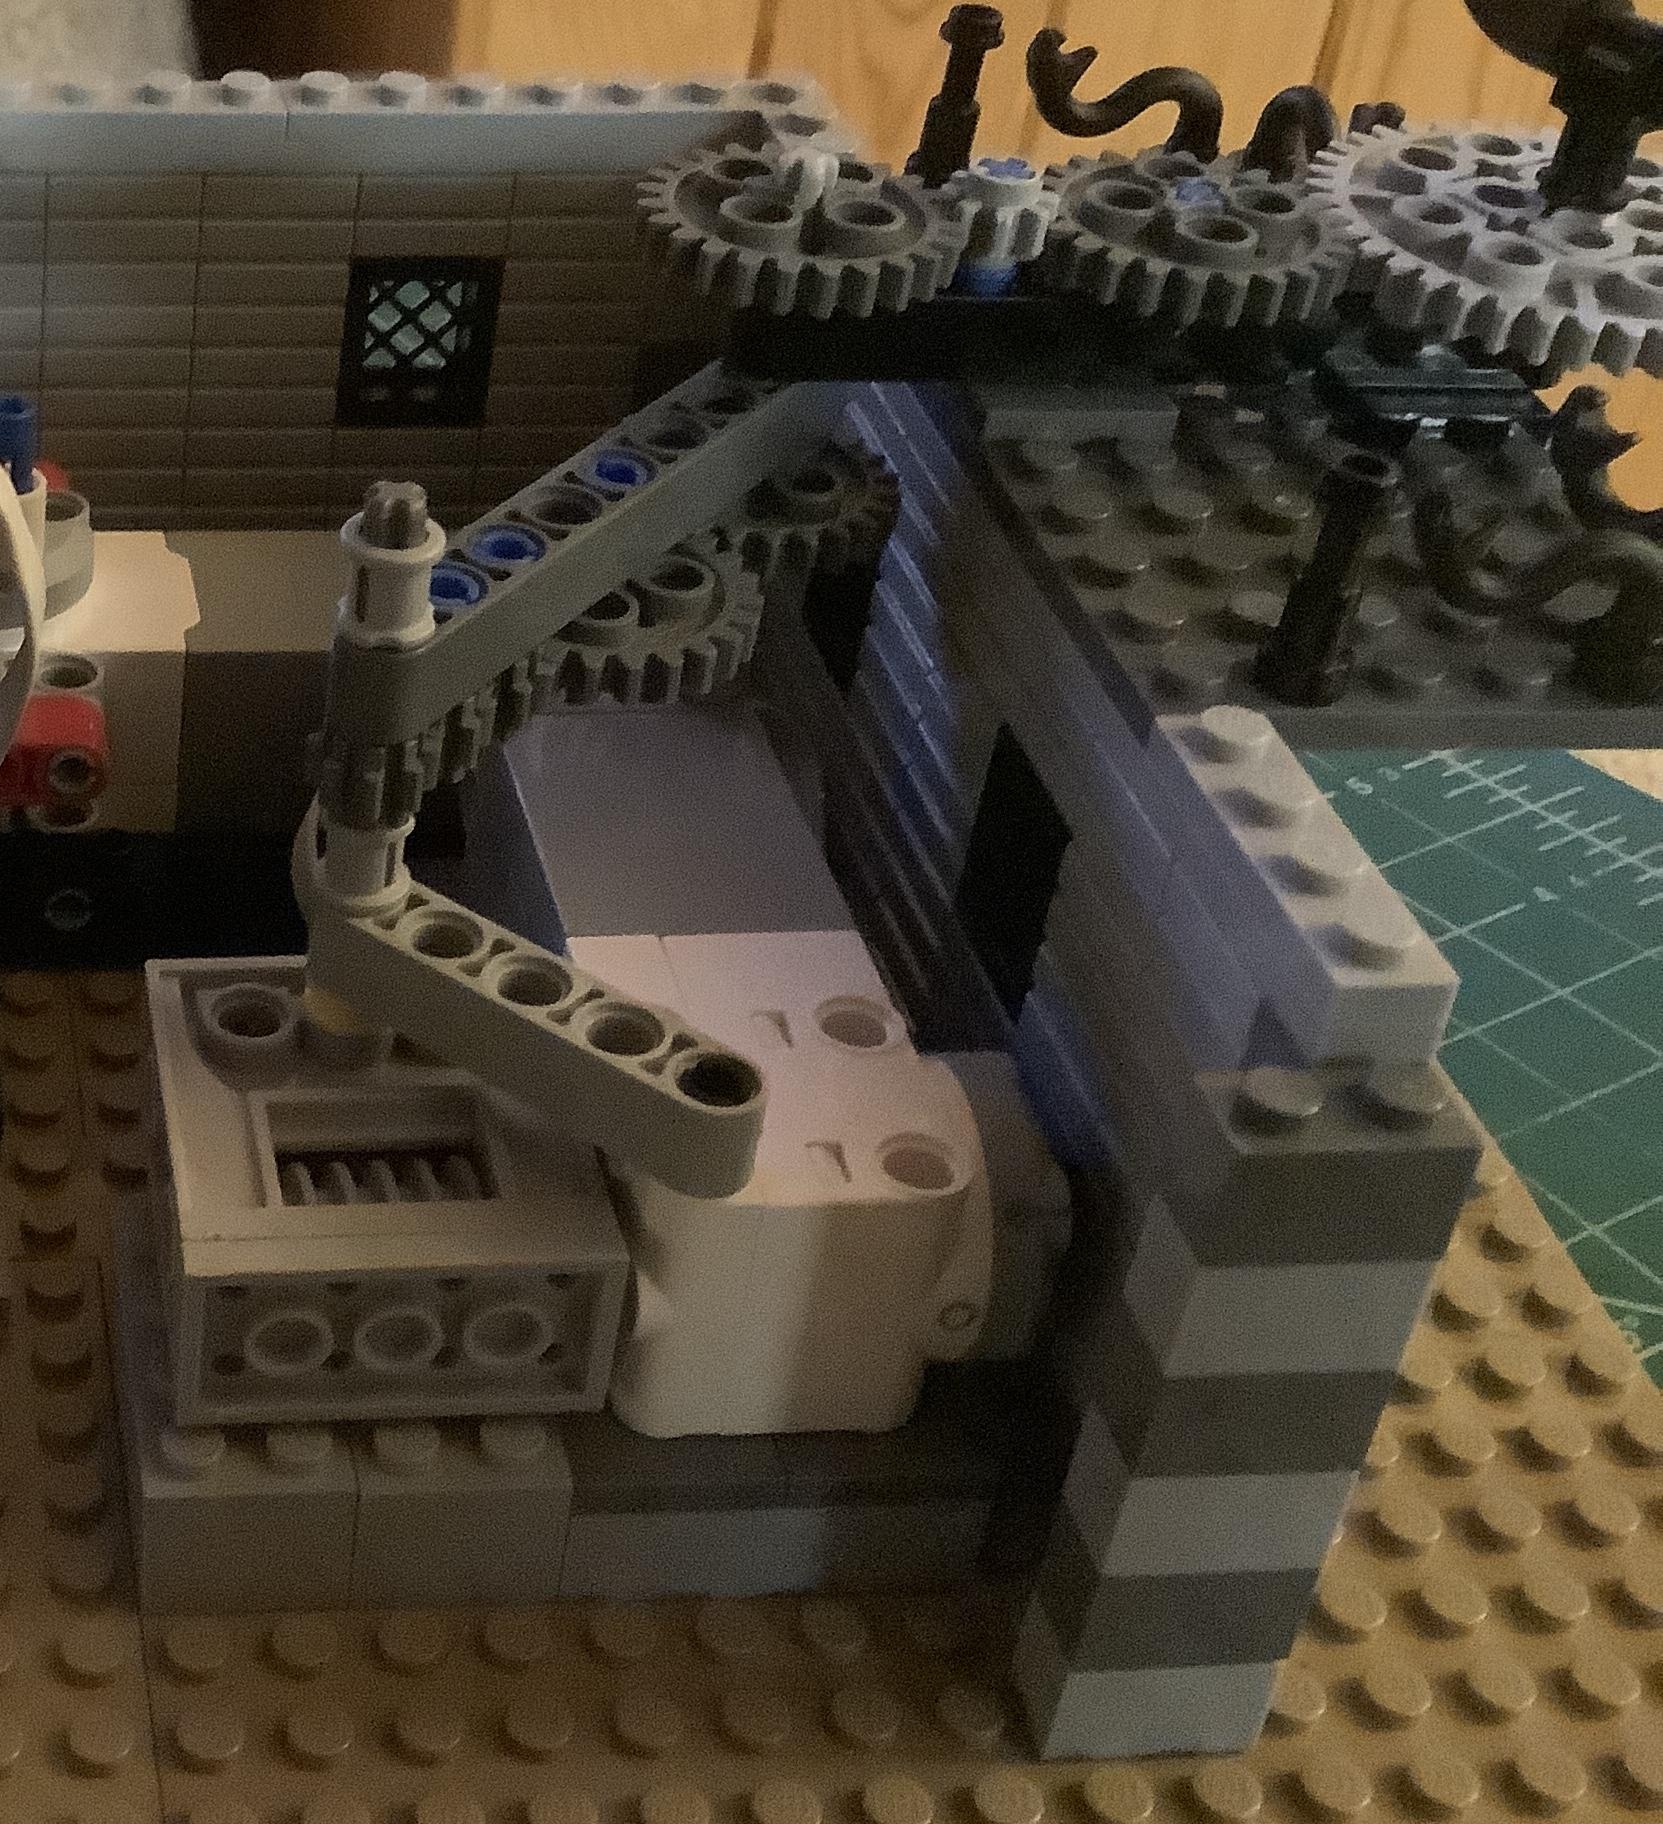
Image 1 shows the build for Motor B. The ghost sits on the white brick. The off-center connection moves the axle attached to the white brick back and forth as the motor rotates. The two technic bricks and two 3x5 lift arms are connected to the motor using four technic pins (perpendicular 3L with 4 pins). The technic bricks also are connected to the motor using two 3L pins.
Images 2 and 3 show the build for Motor D. Lift arms connect the motor to the moving axle. The axle moves back and forth as the motor rotates the off-center connection. On one end of the axle is the ghost riding a bicycle and at the other end is a flying witch. The ghost and witch move in unison since they are on the same axle.
Image 4 shows the build for Motor F. An axle with the roasting mini-figure is attached to the front of the motor (see Step 4). The motor is positioned on bricks so that the roasting mini-figure has enough room to rotate fully. The back side of the motor controls the chasing mini-figures. The back side of the motor is attached to a worm gear which moves the next nine gears (the first gear is inside the worm gear box) in order. The reason for so many gears is simply to transverse the space between the motor and the location of the movement. The lift arms hold the gears in place. The two mini-figures are attached to the top of the largest gear at the end of the sequence.
Placing the Motors
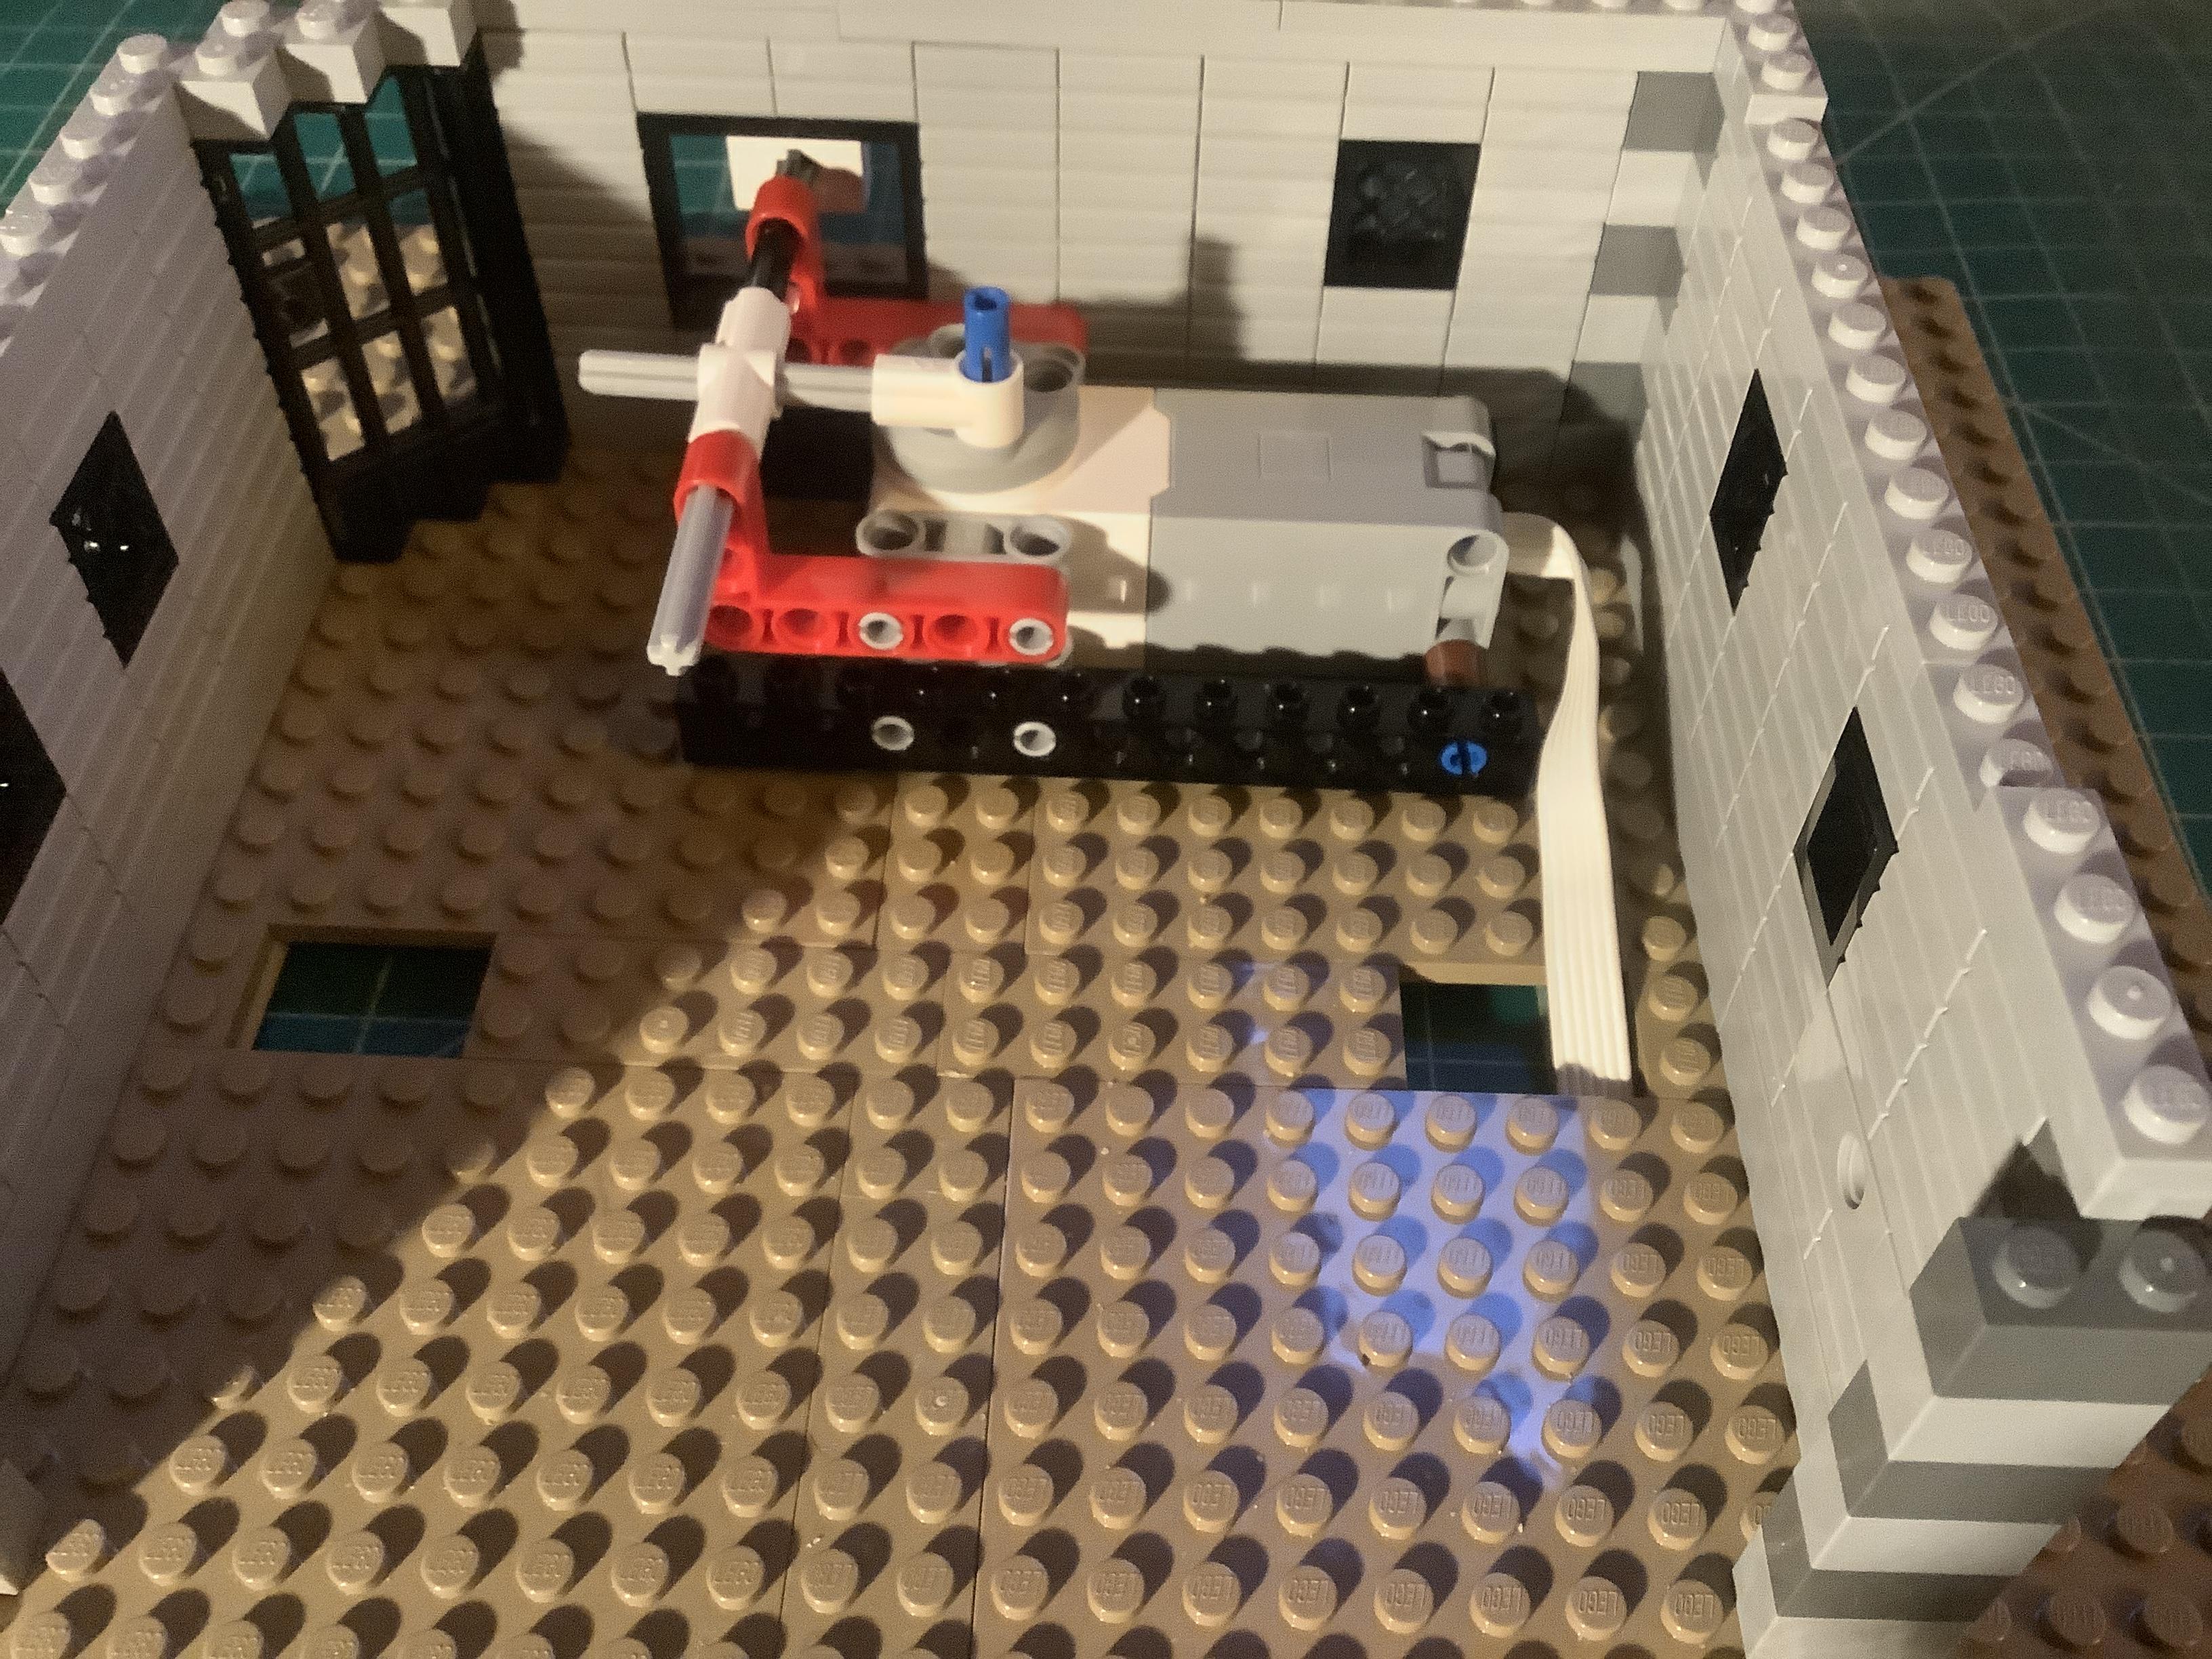
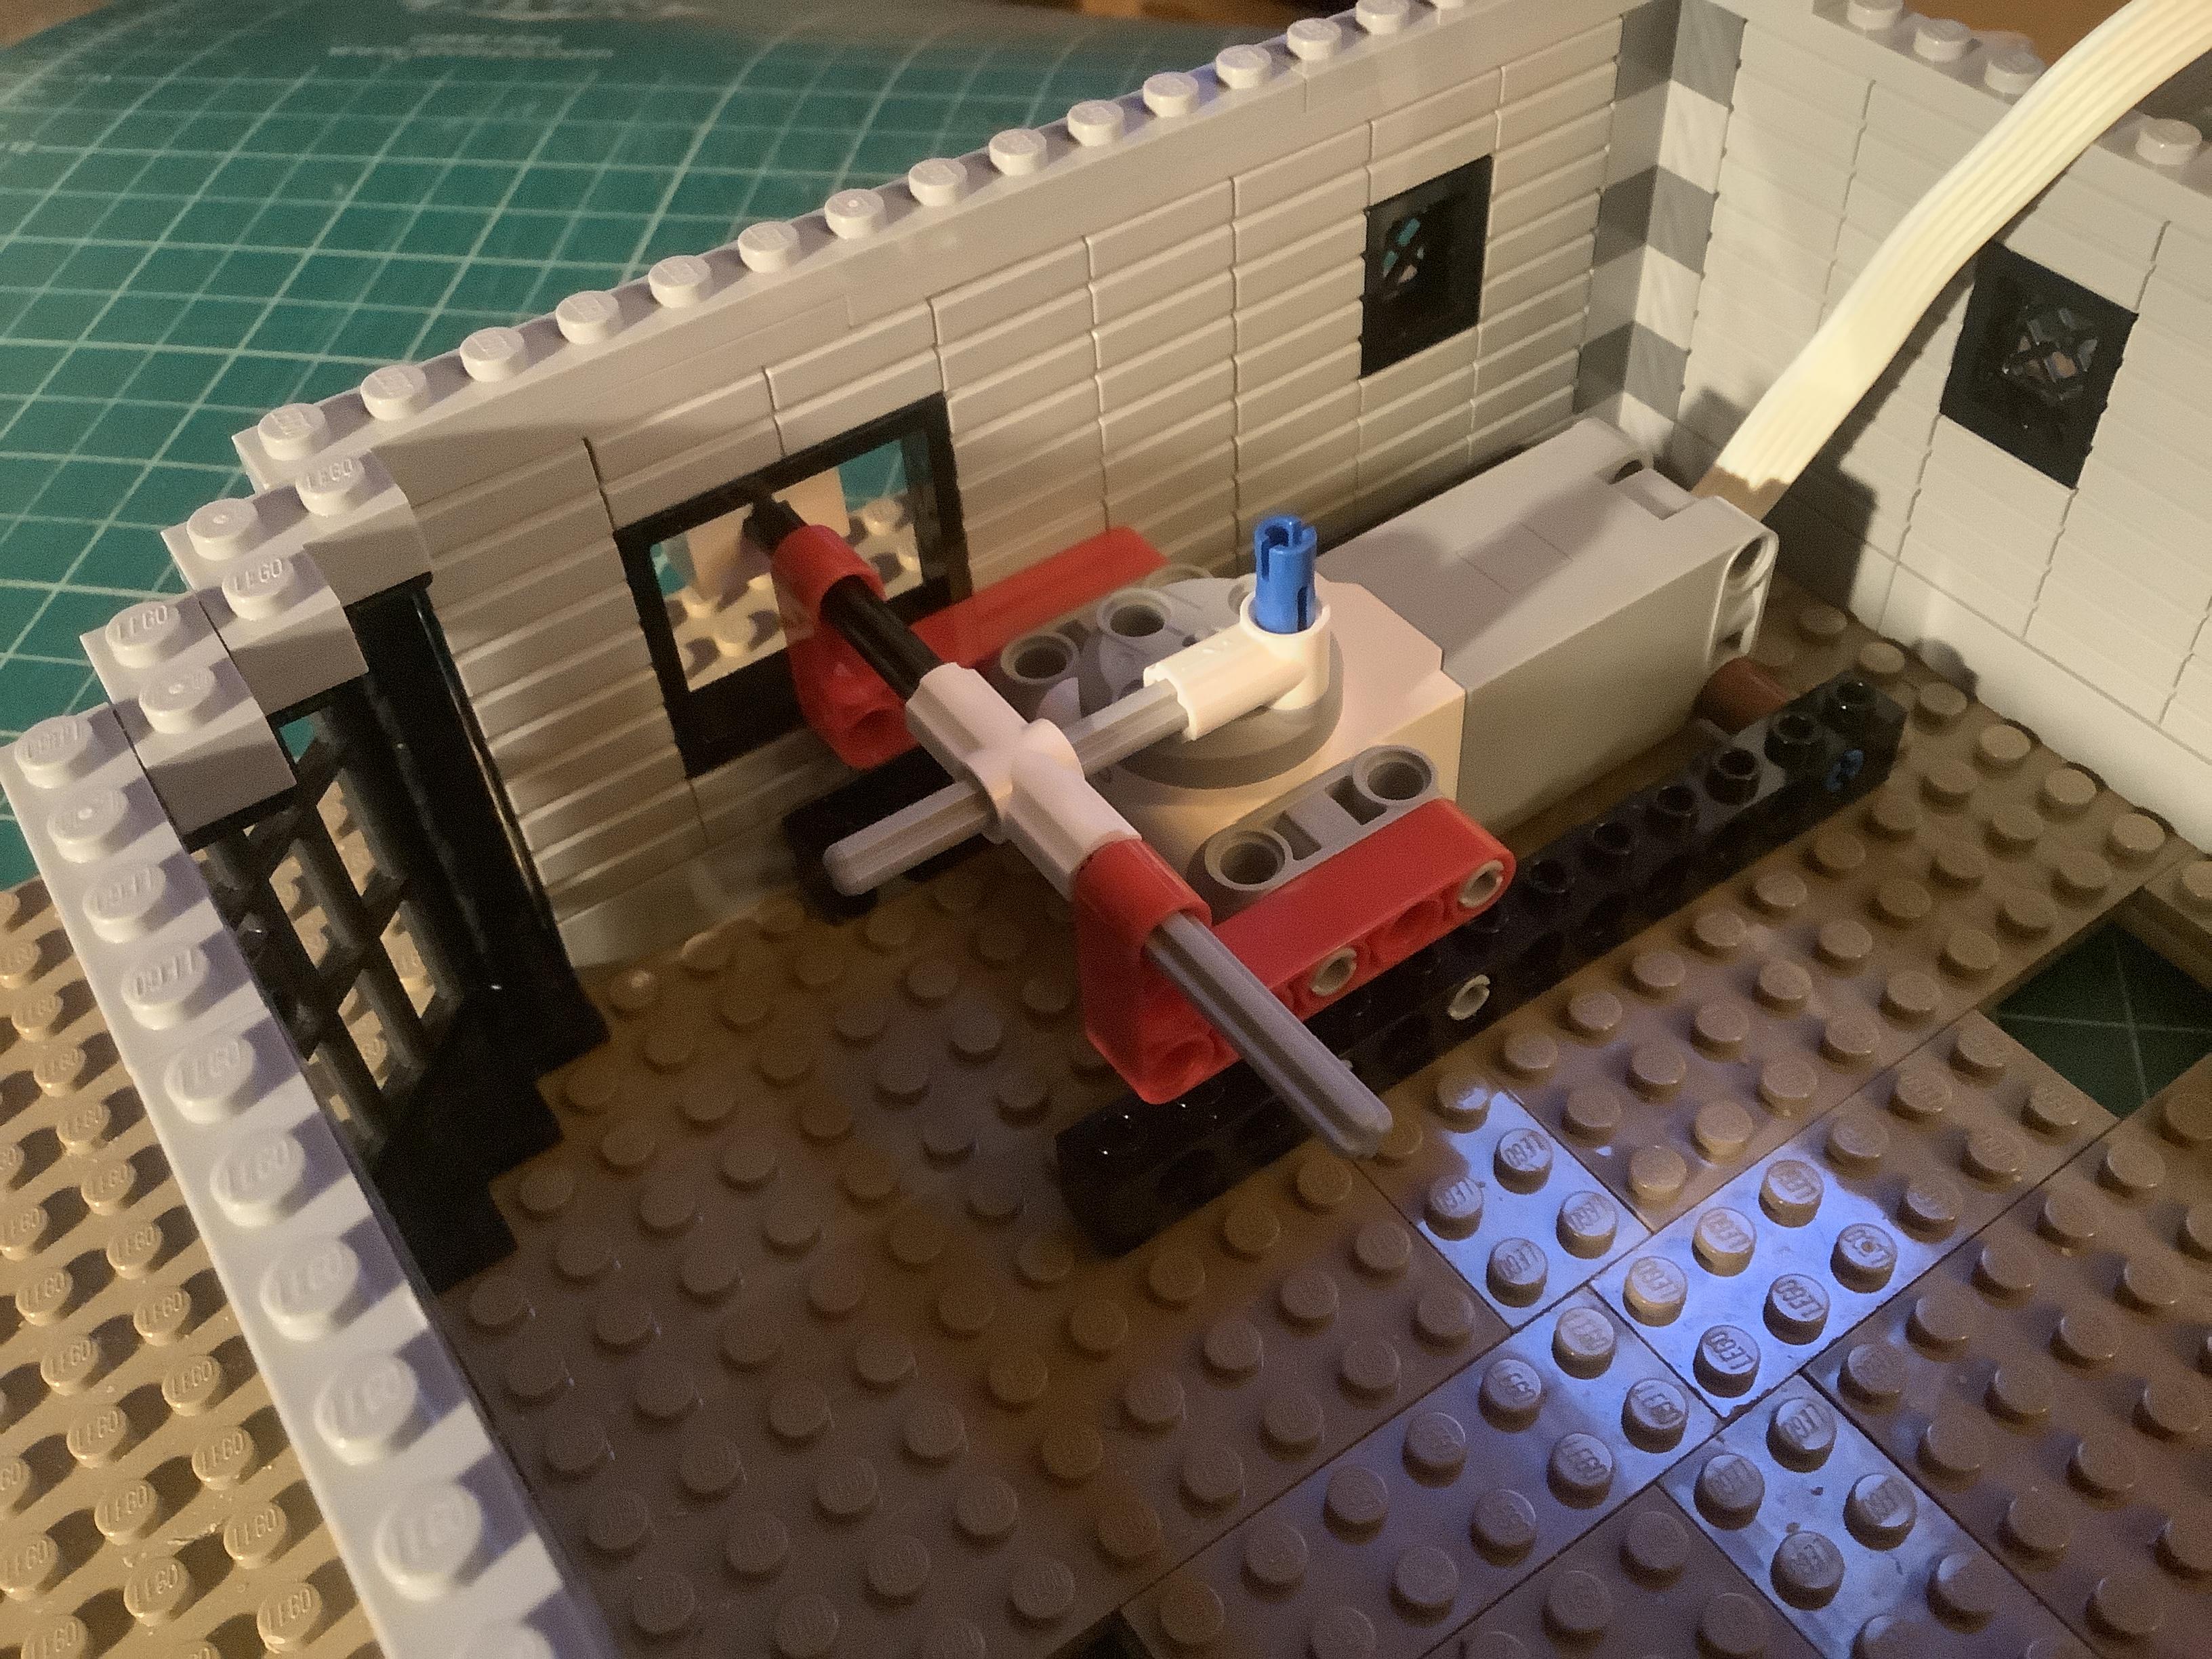
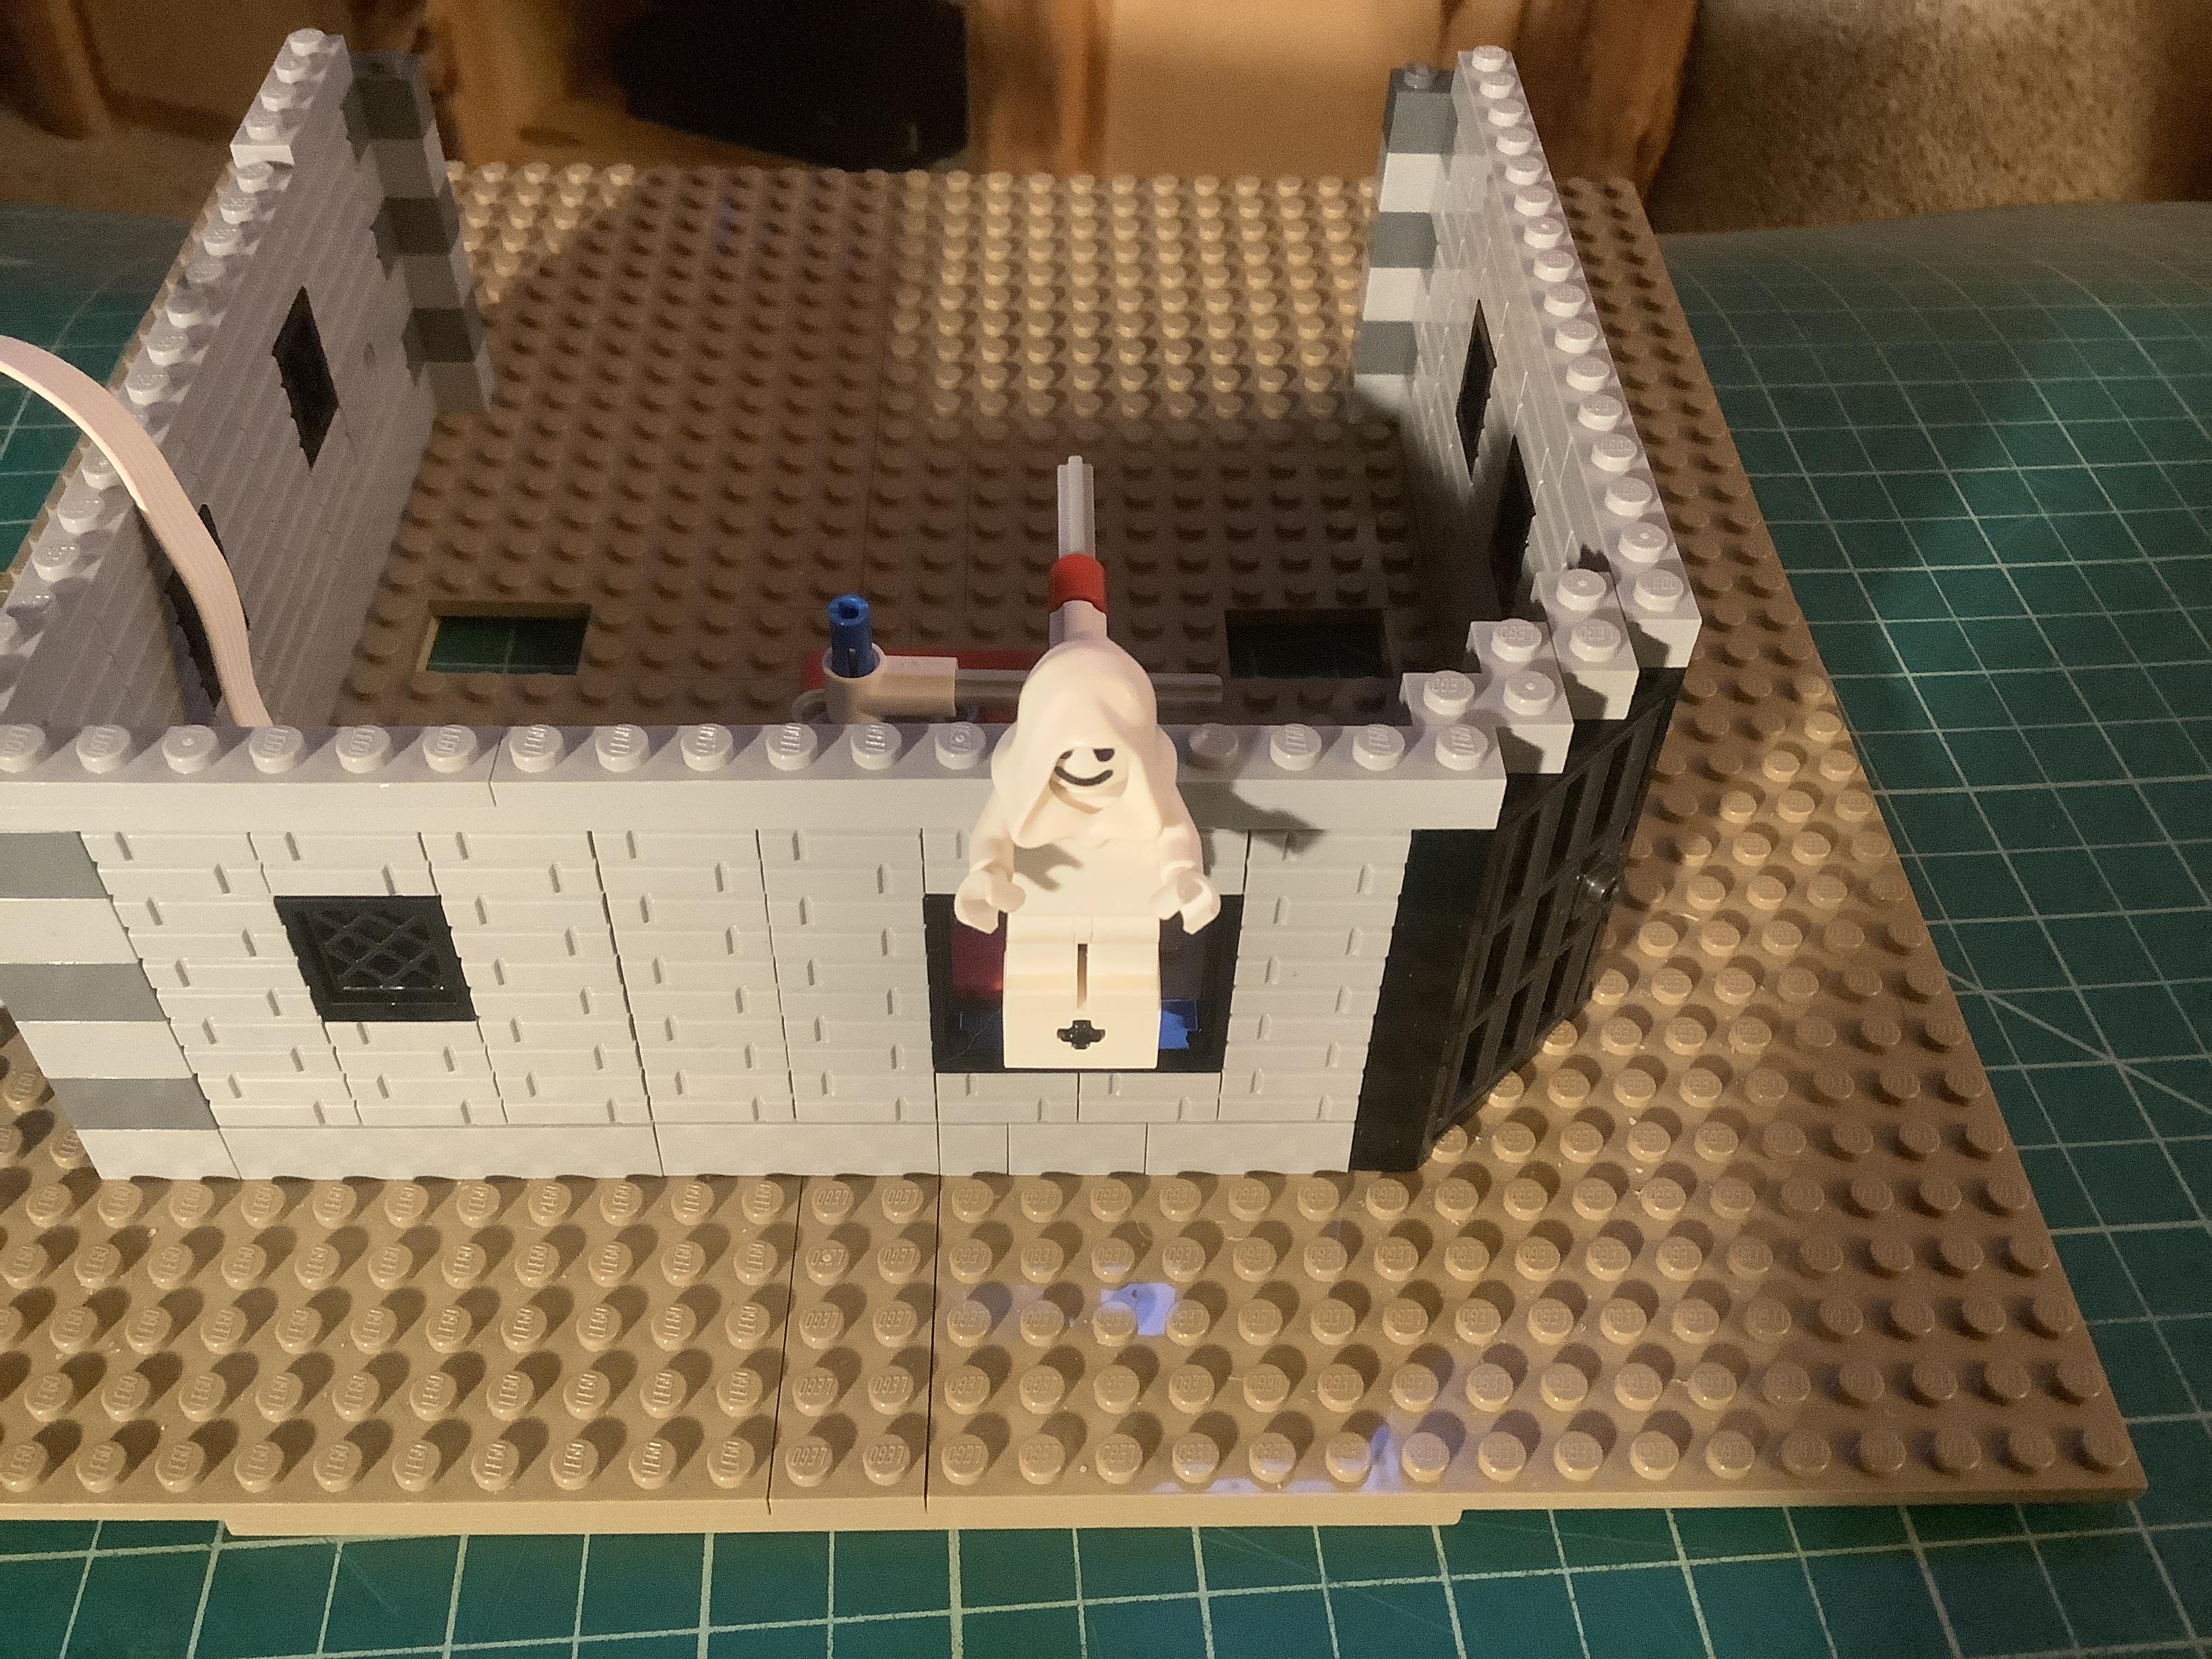
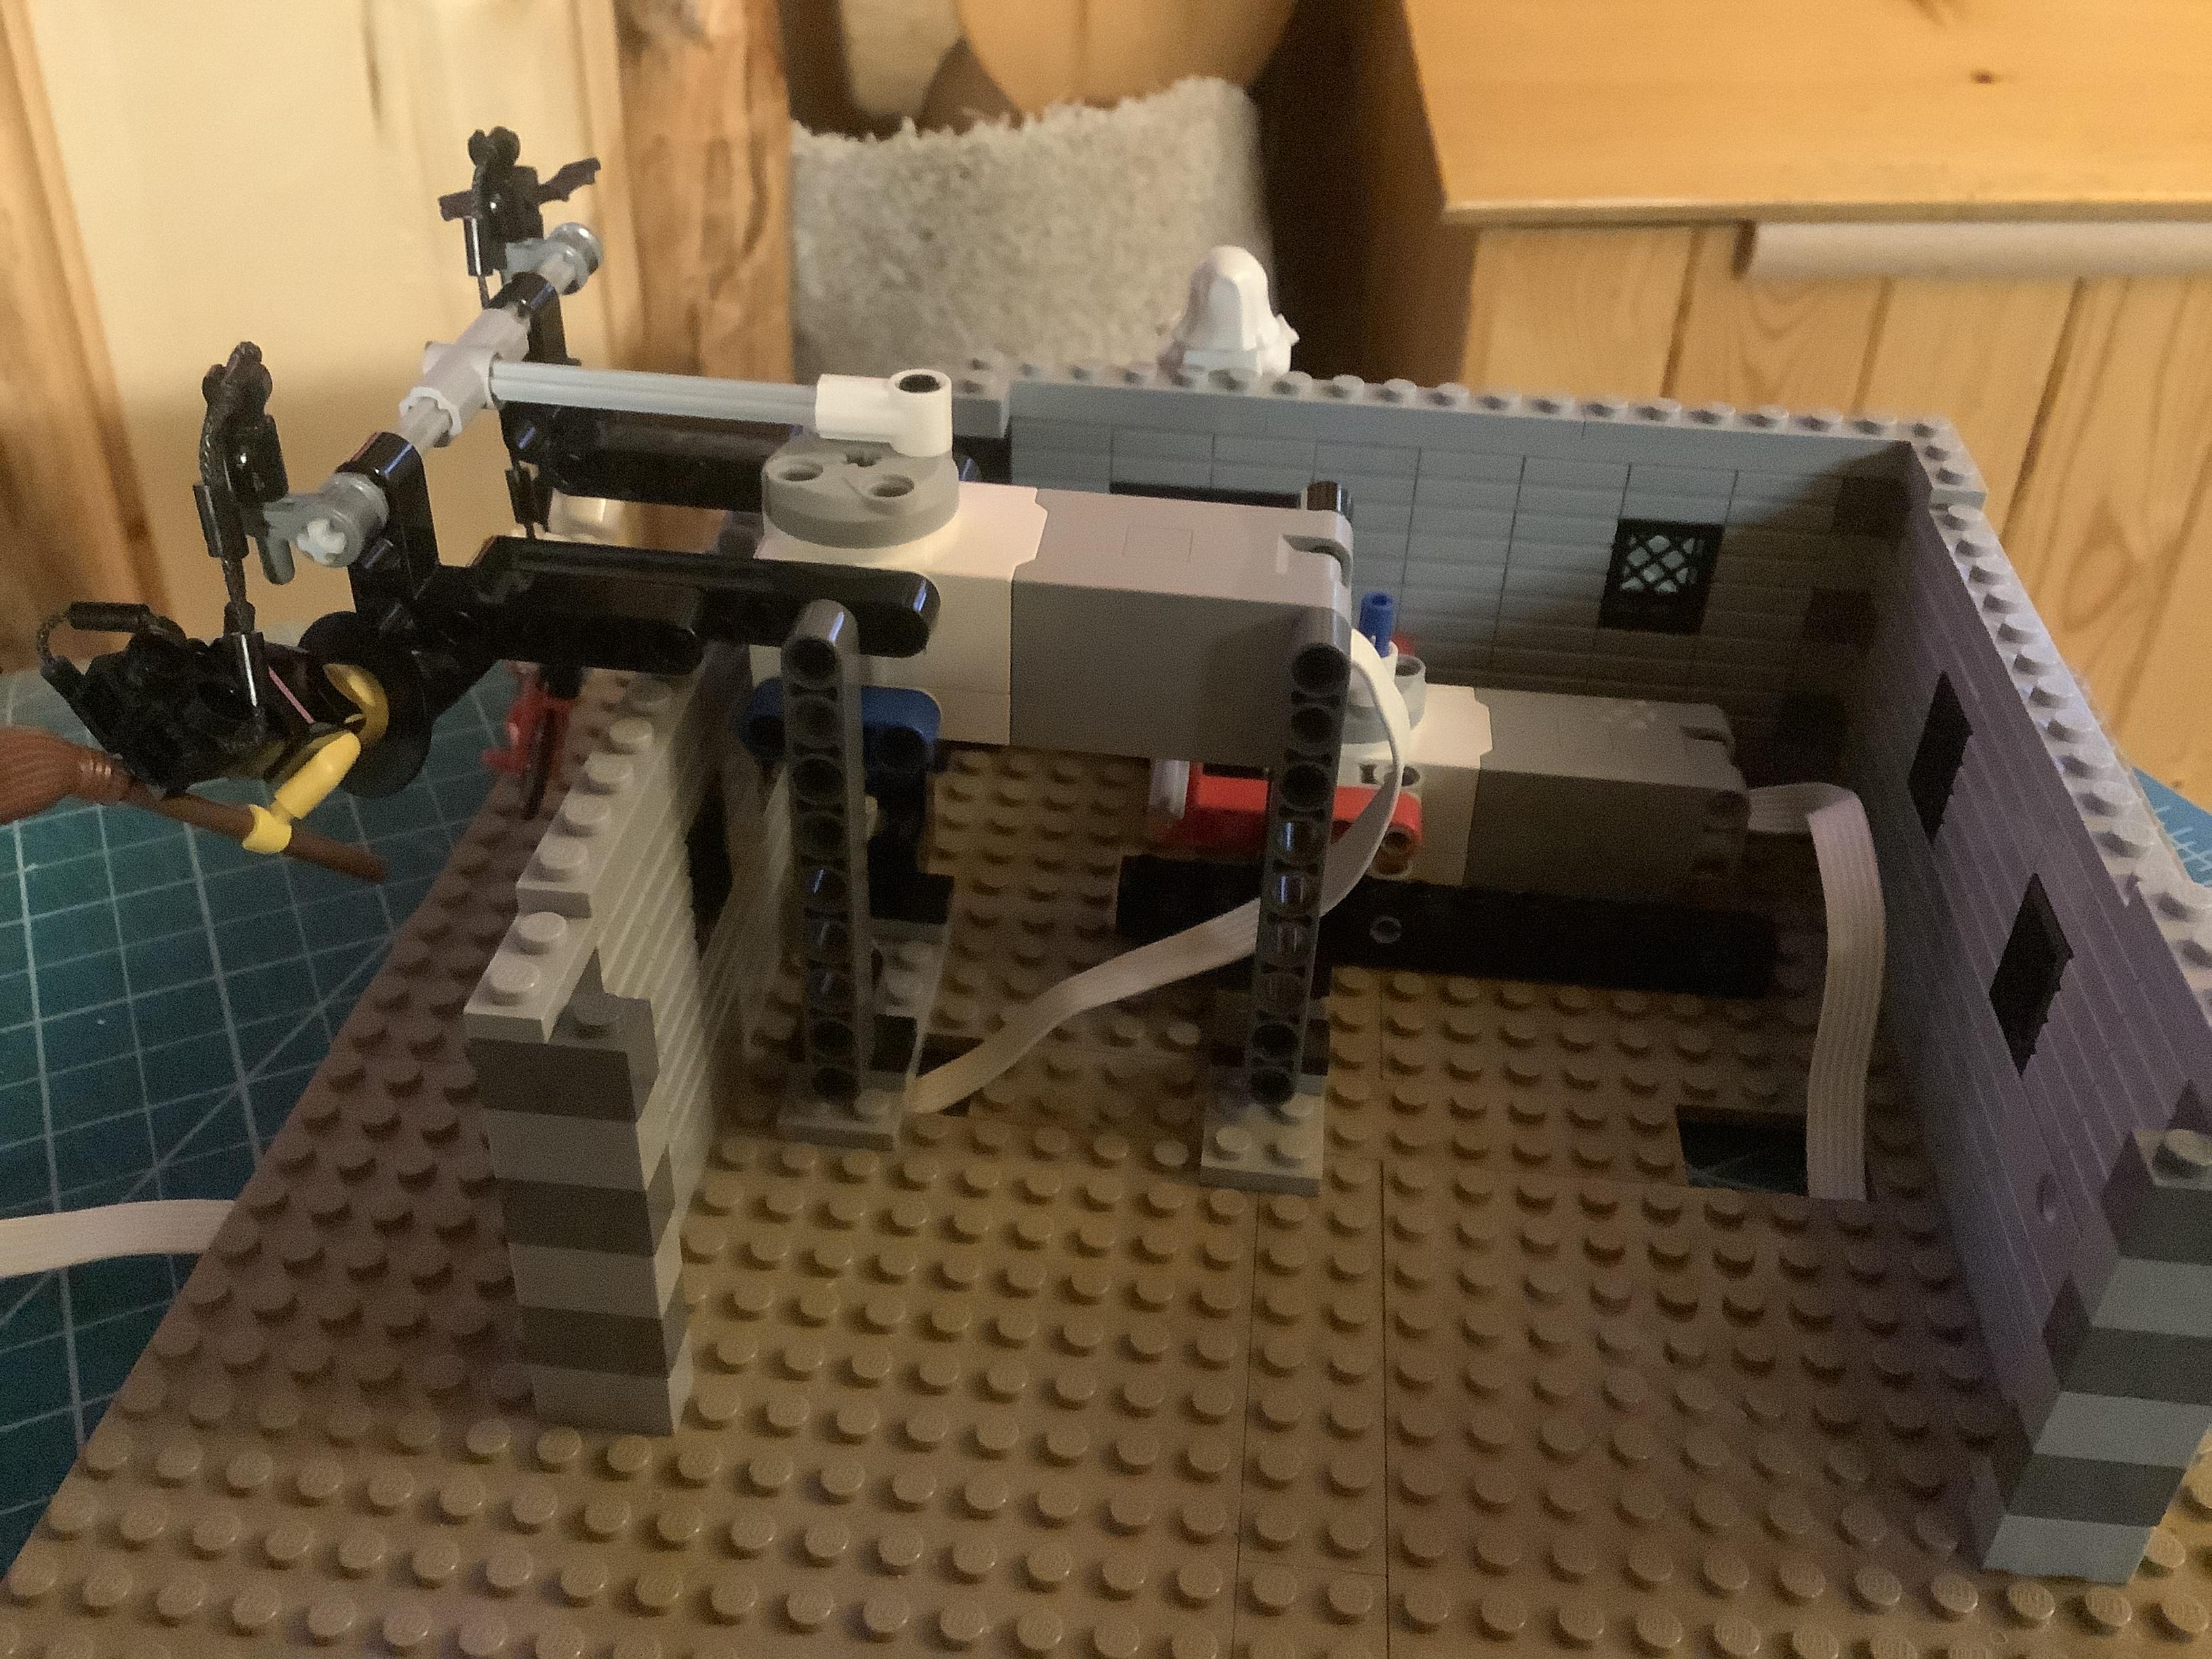
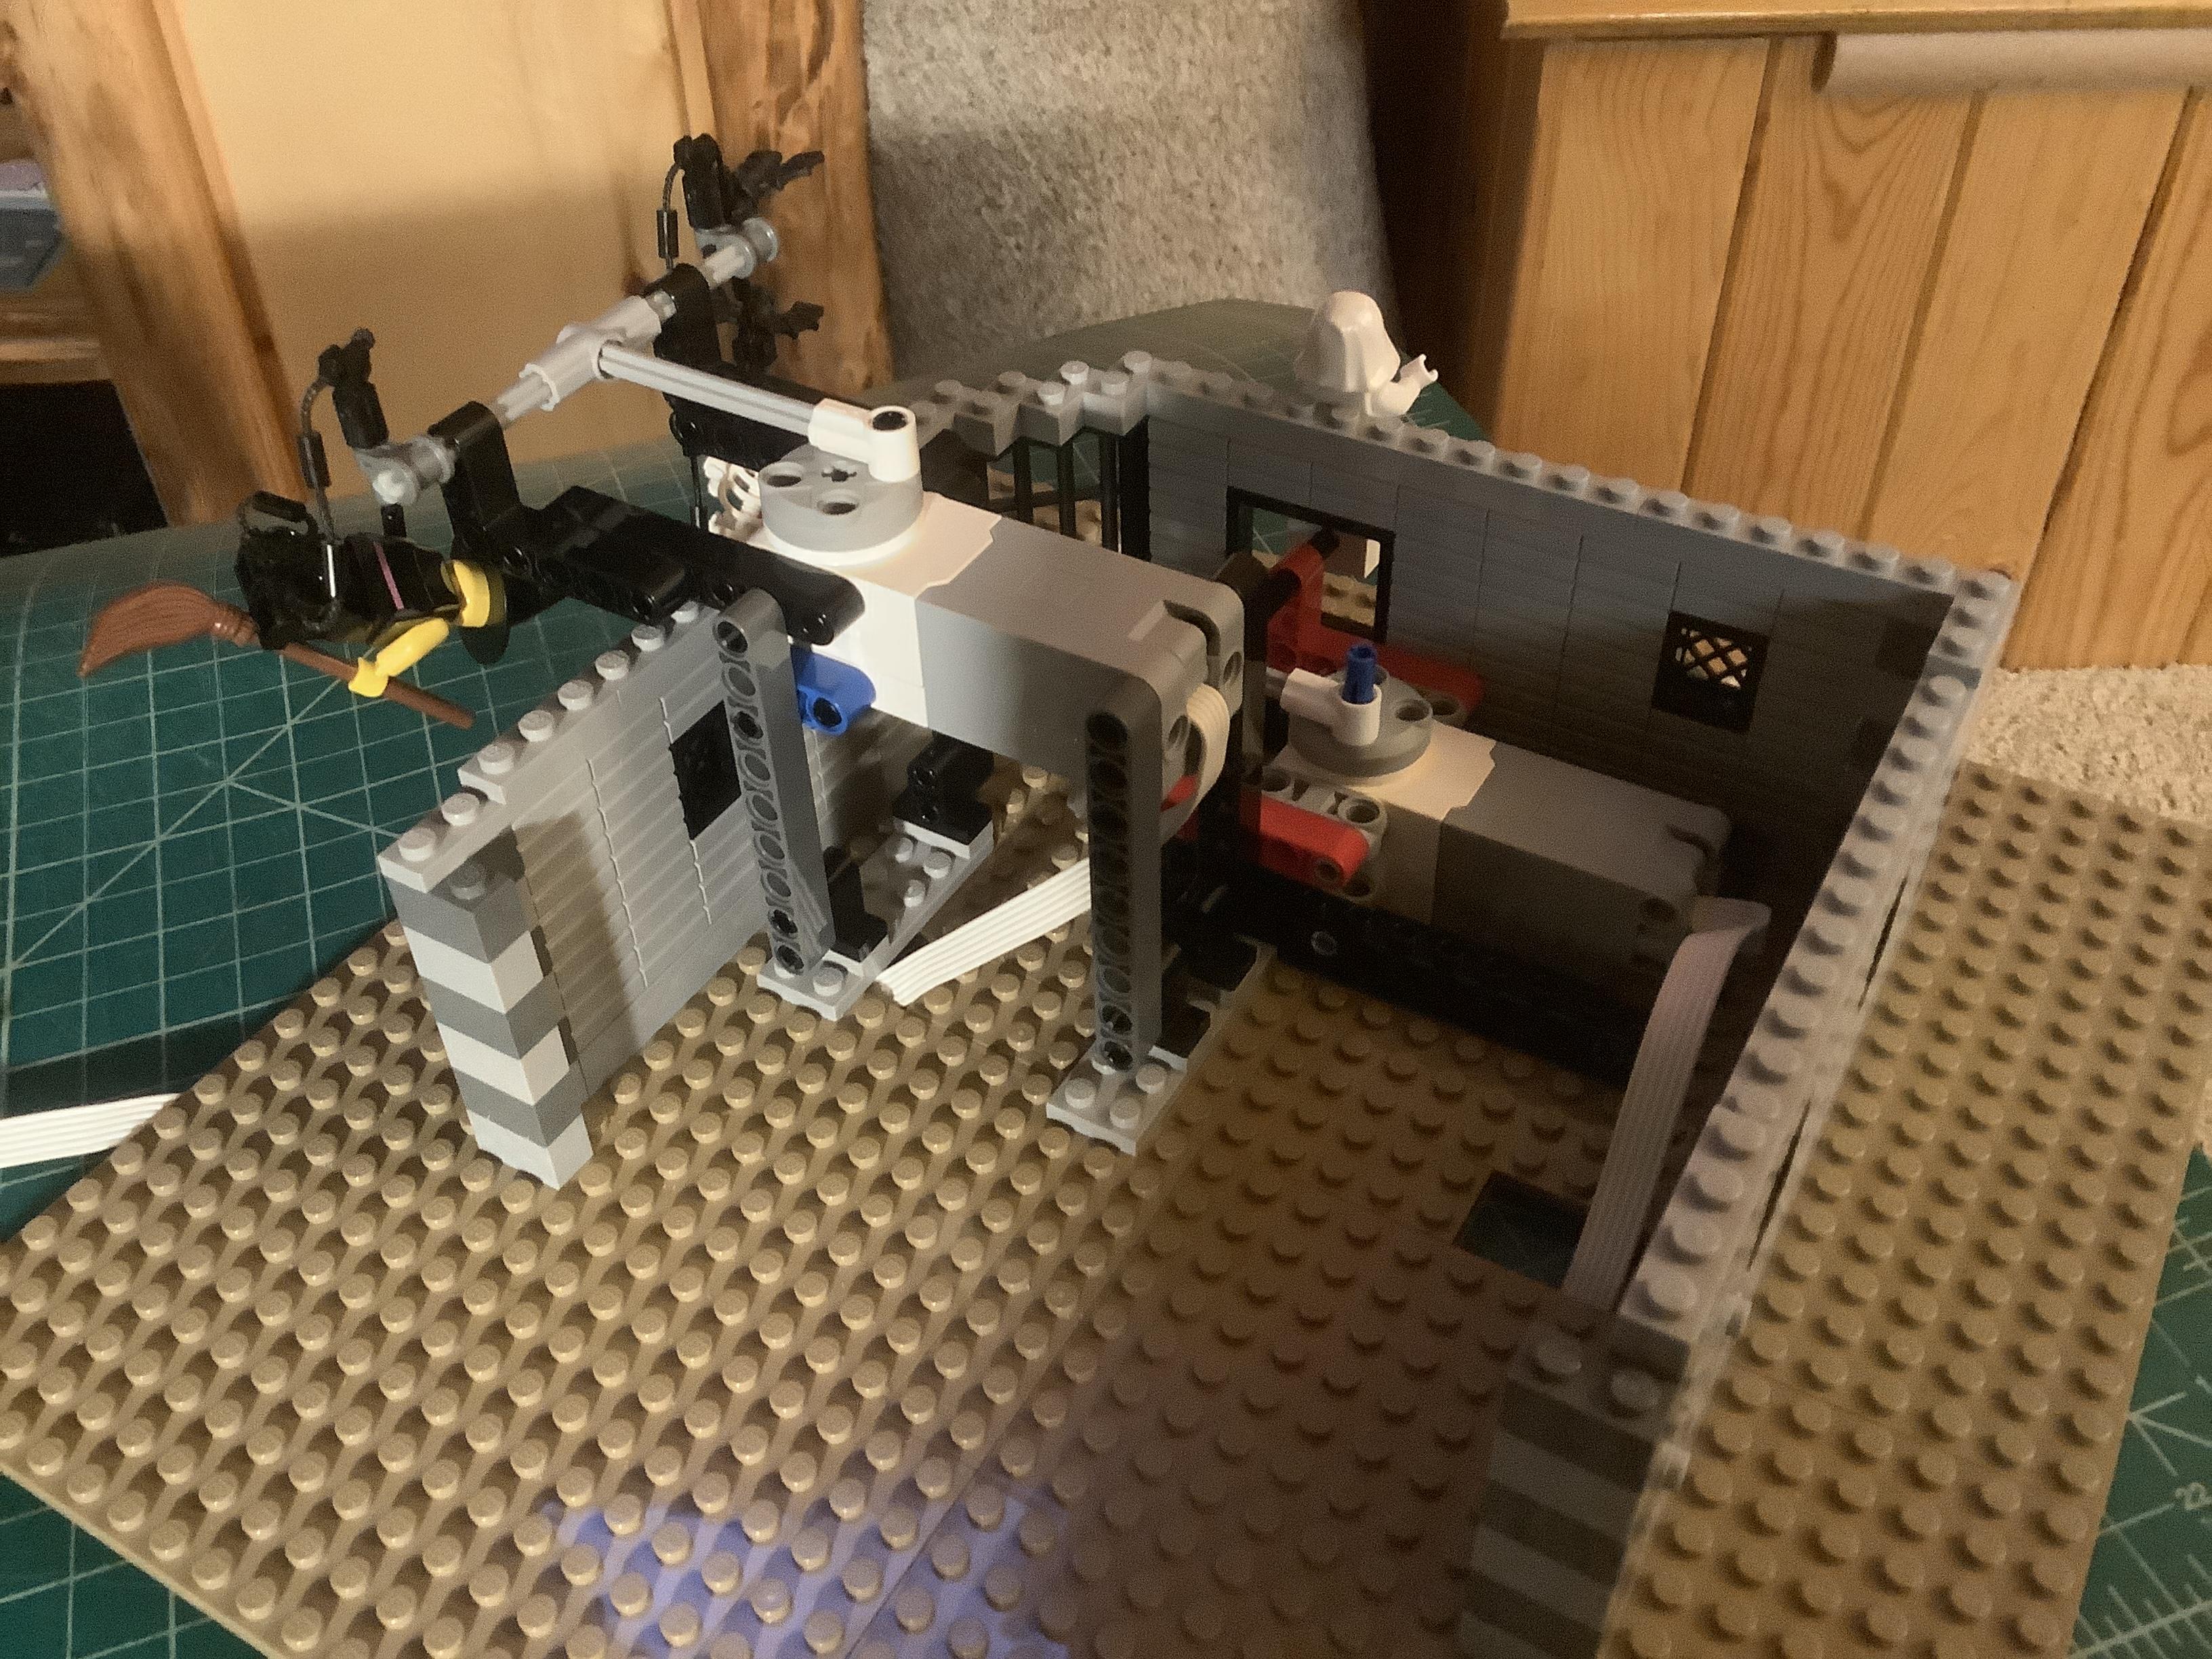
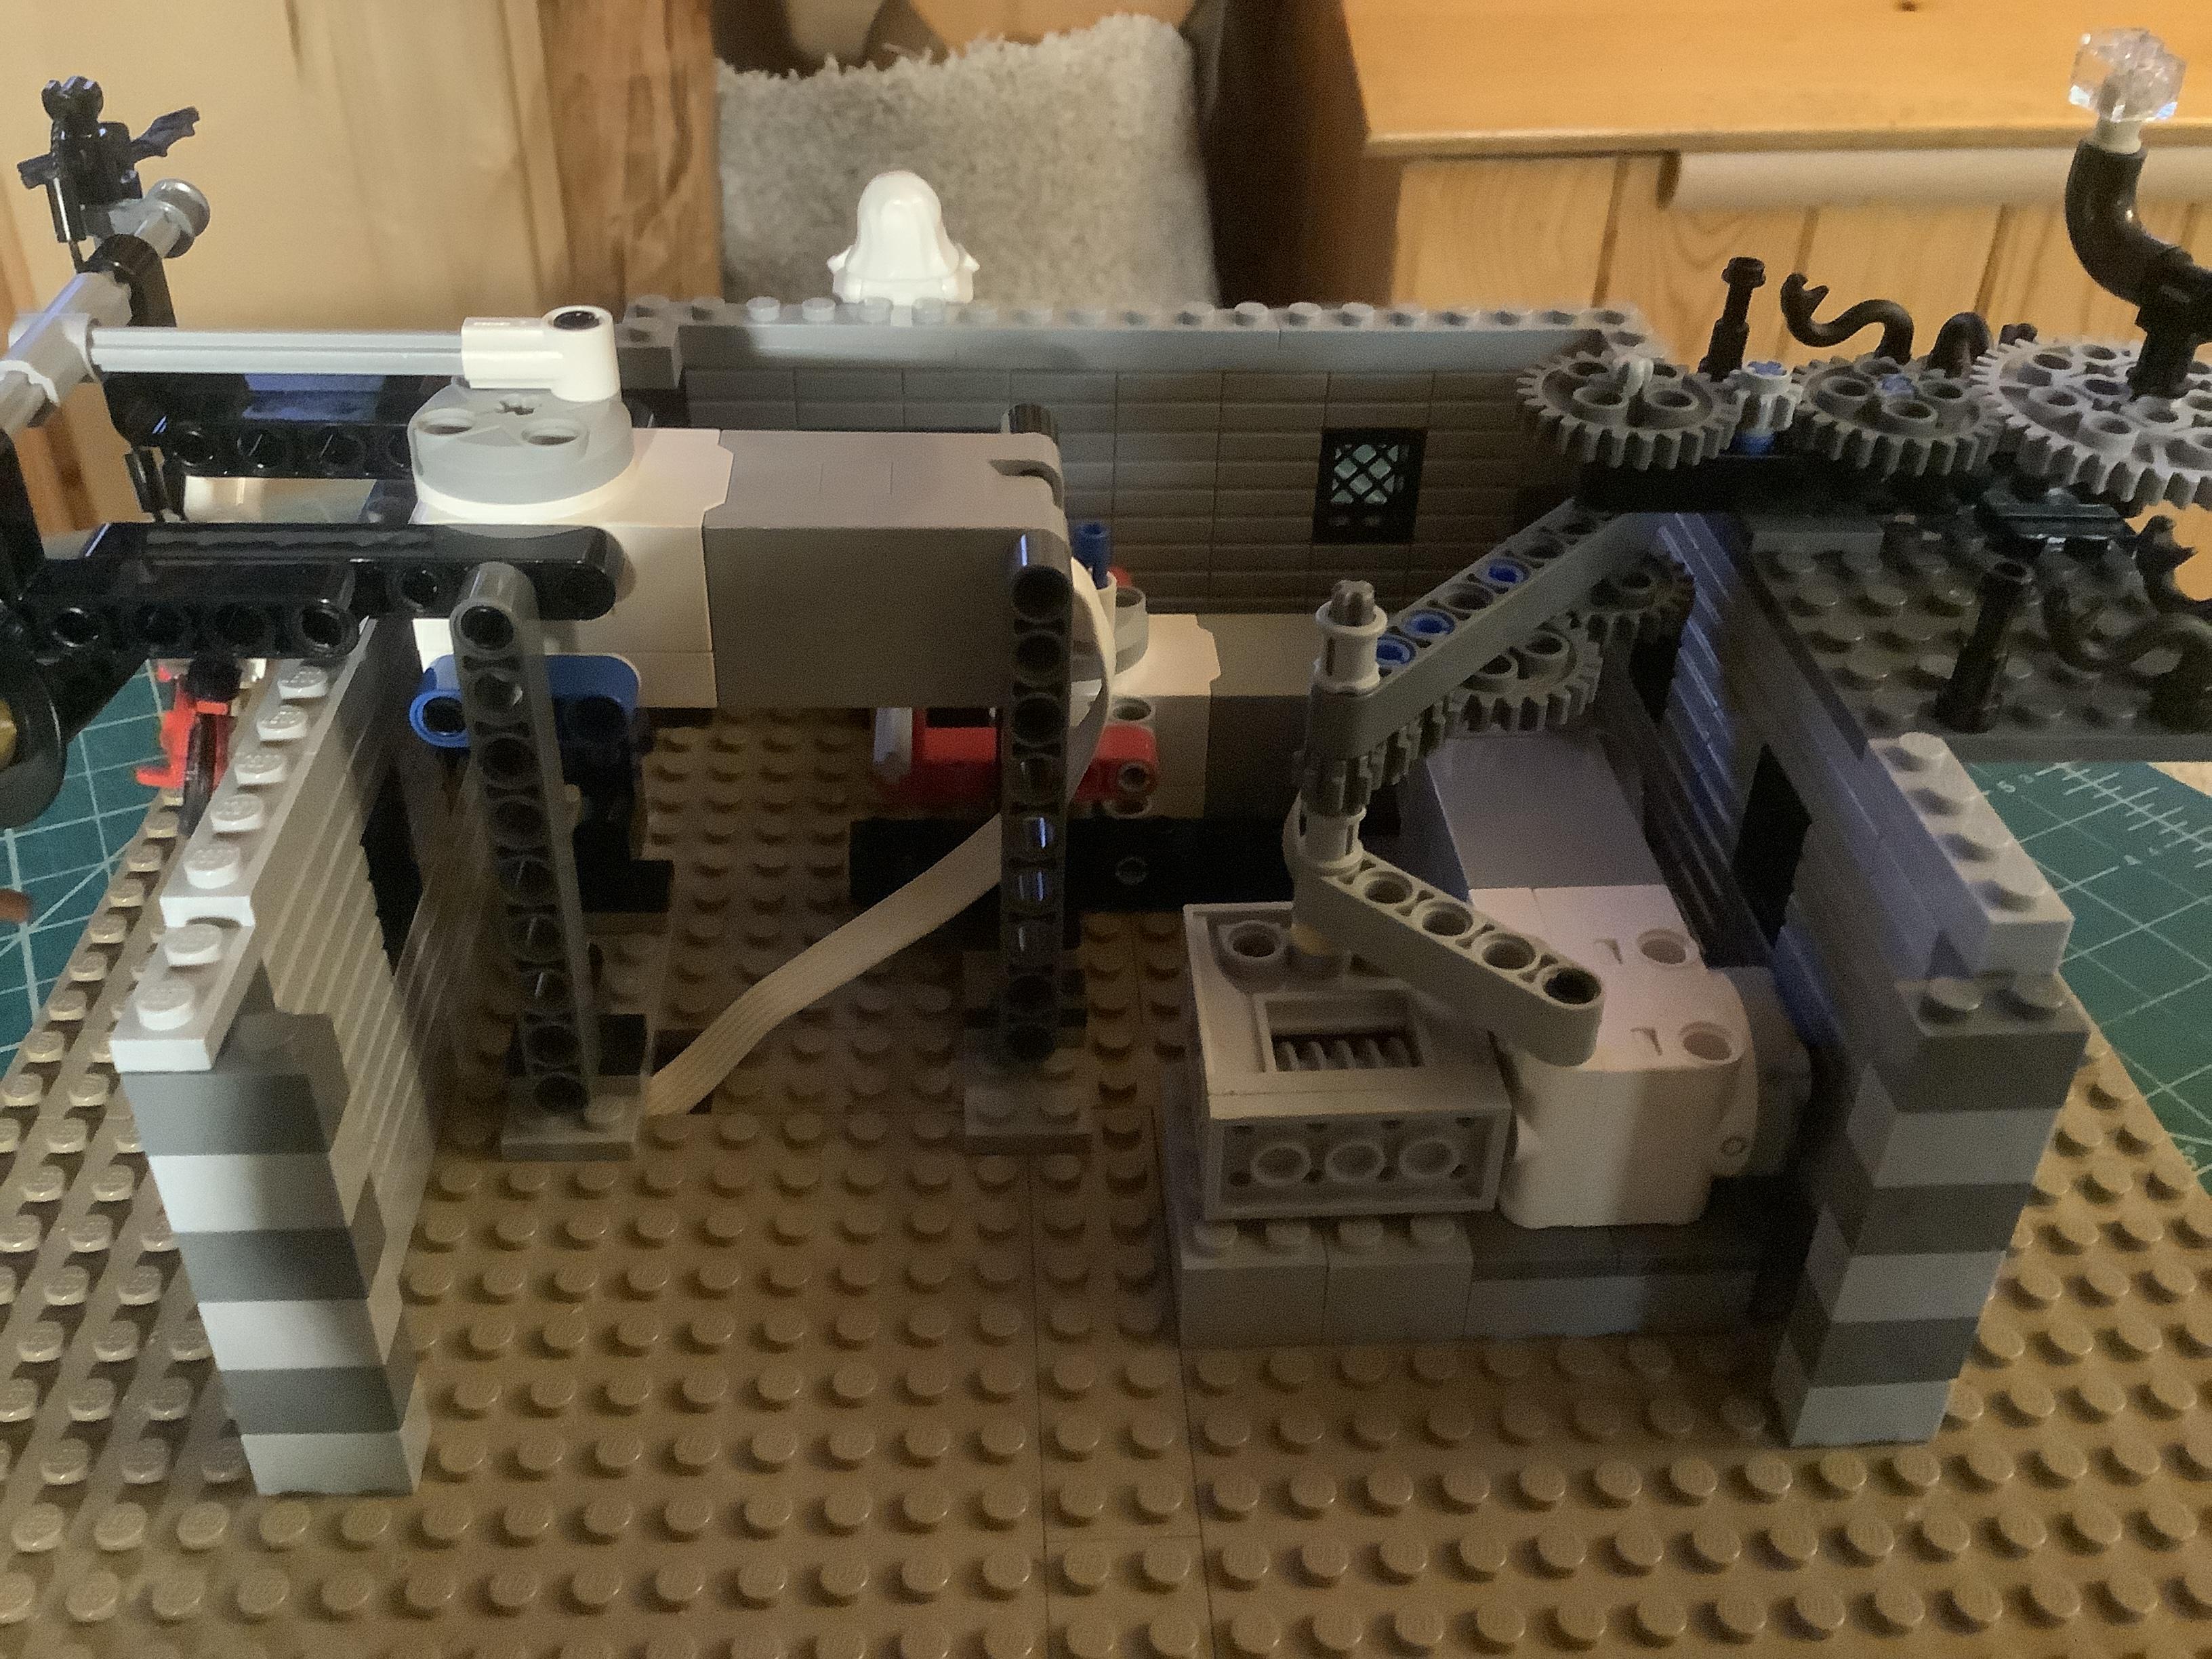
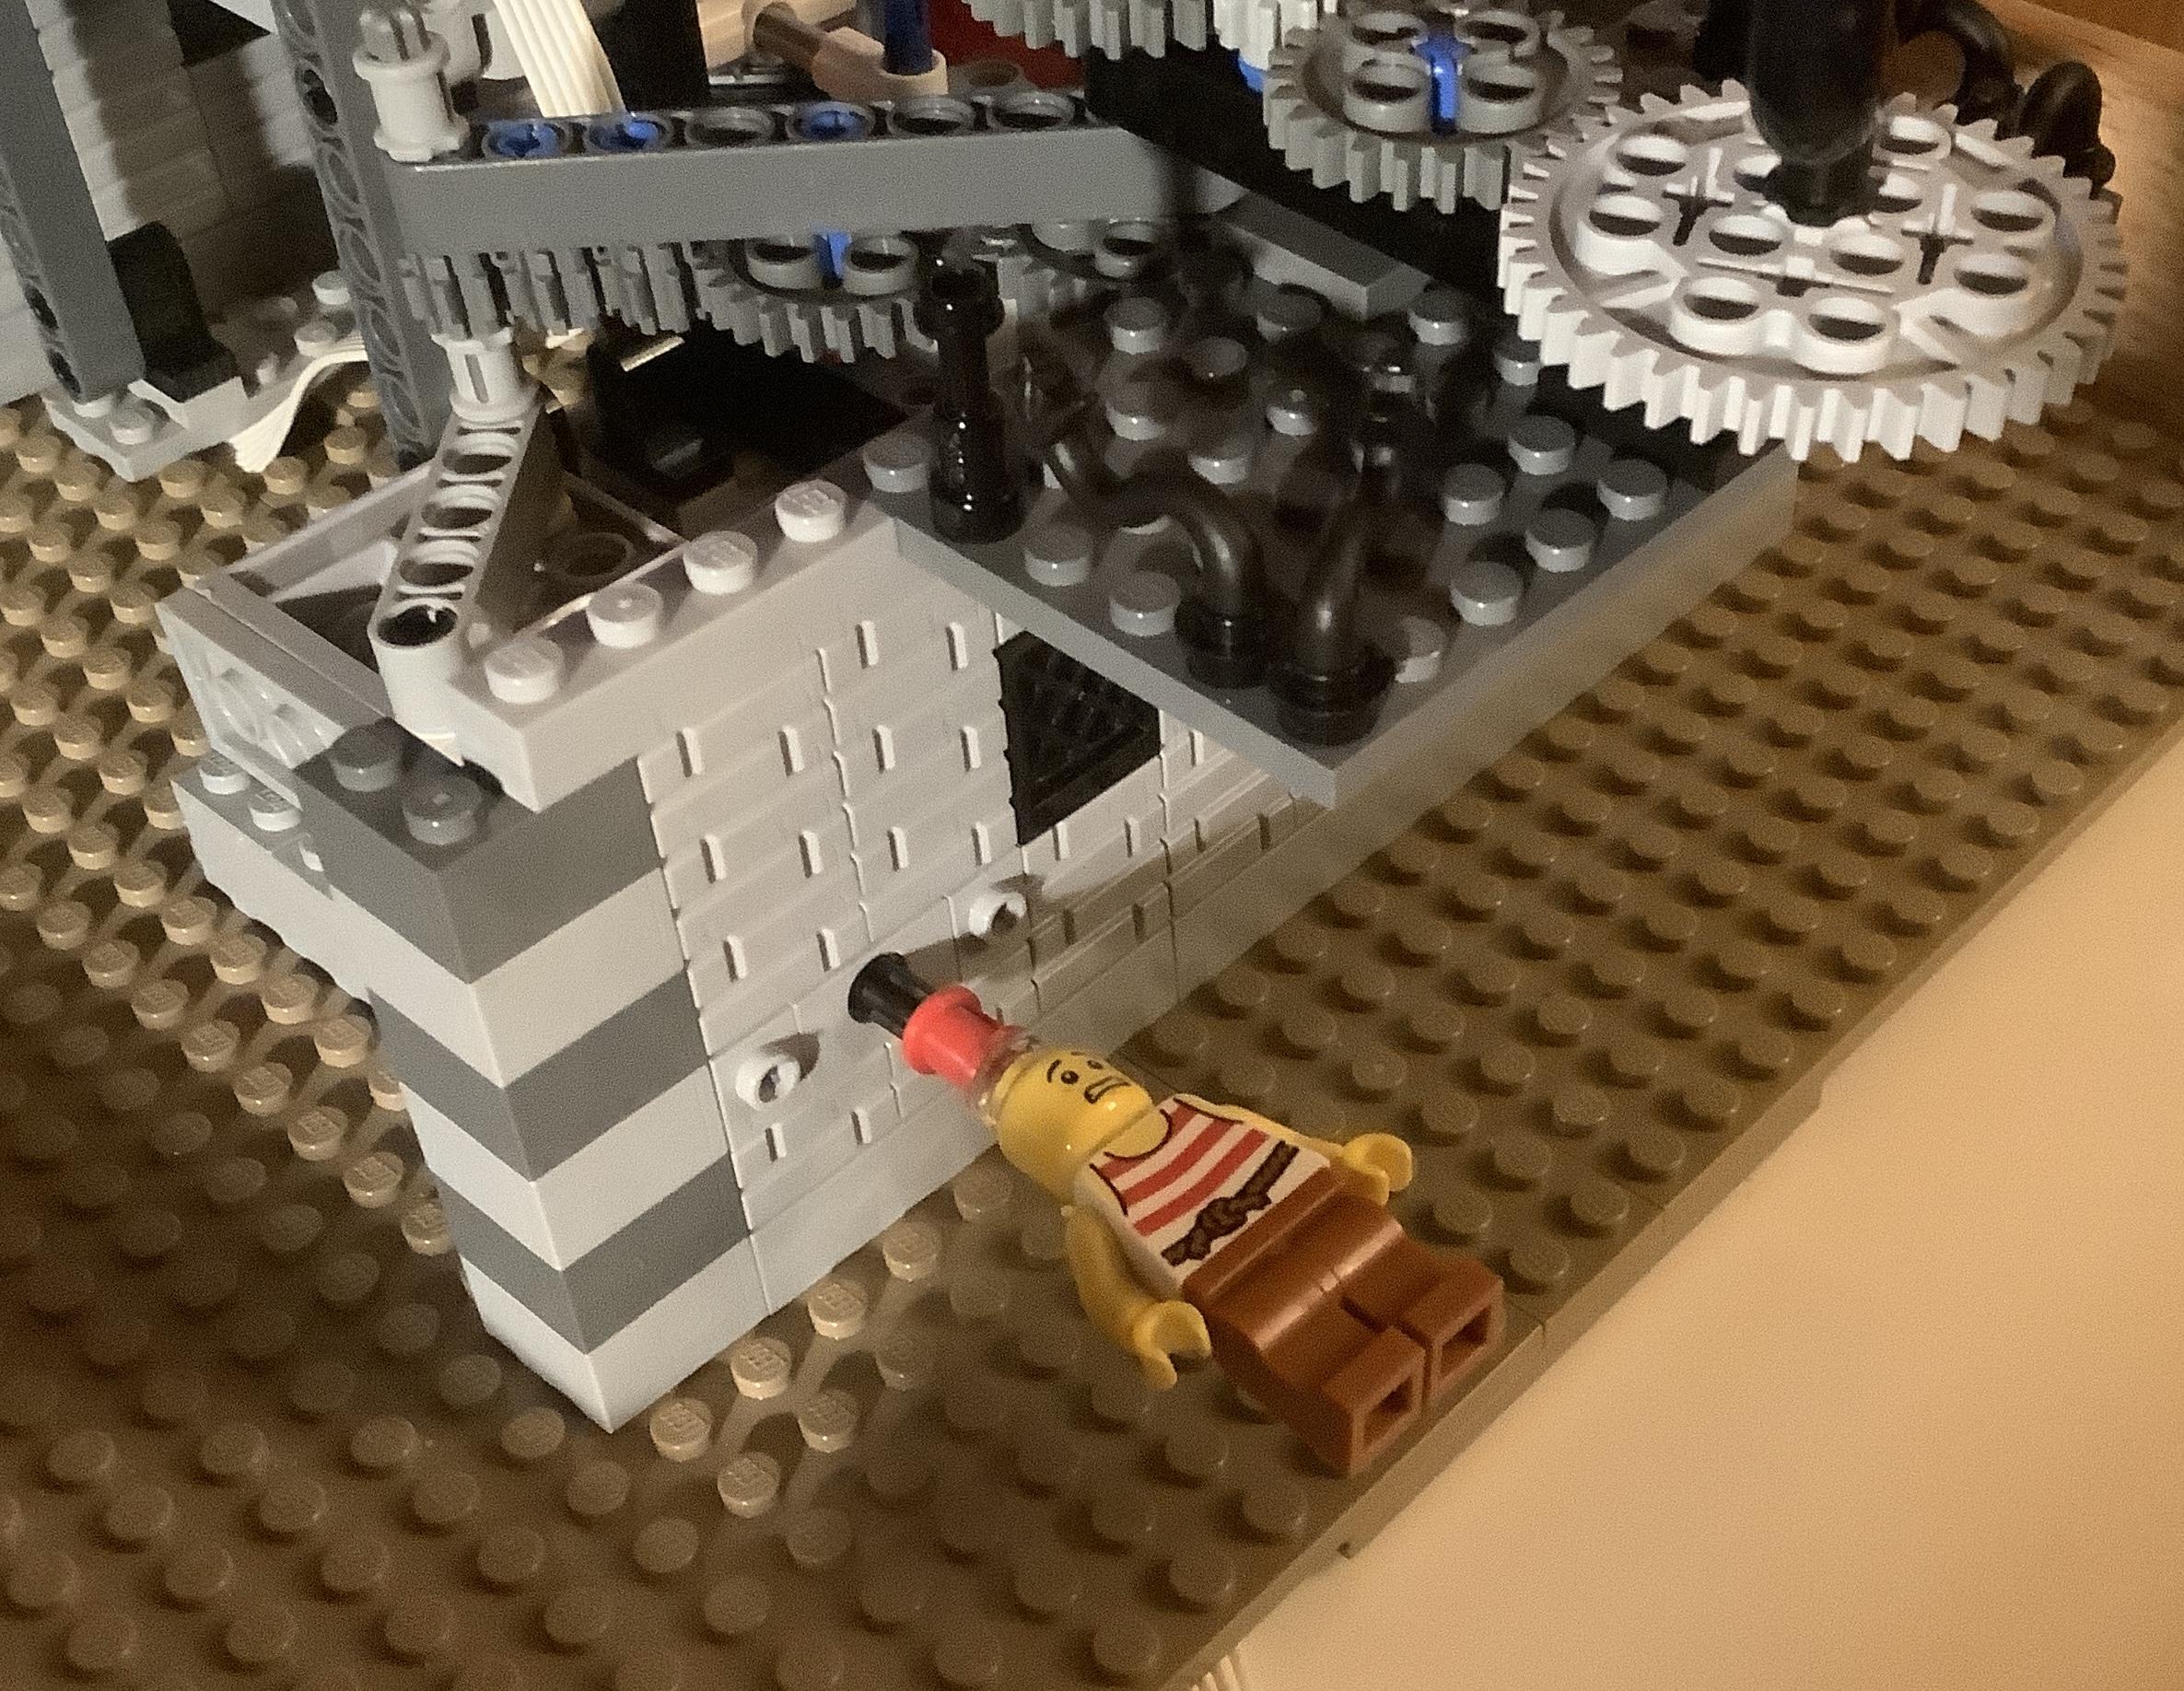
The images show the placement of the motors for the build. See images 1, 2, and 3 for the placement of motor B (moving ghost). See images 4, 5, and 6 for the placement of Motor D (flying witch and bicycle riding ghost). See images 6, 7, and 8 for the placement of Motor F (chasing mini-figures and roasting mini-figure).
Building the Second Floor and Balconies
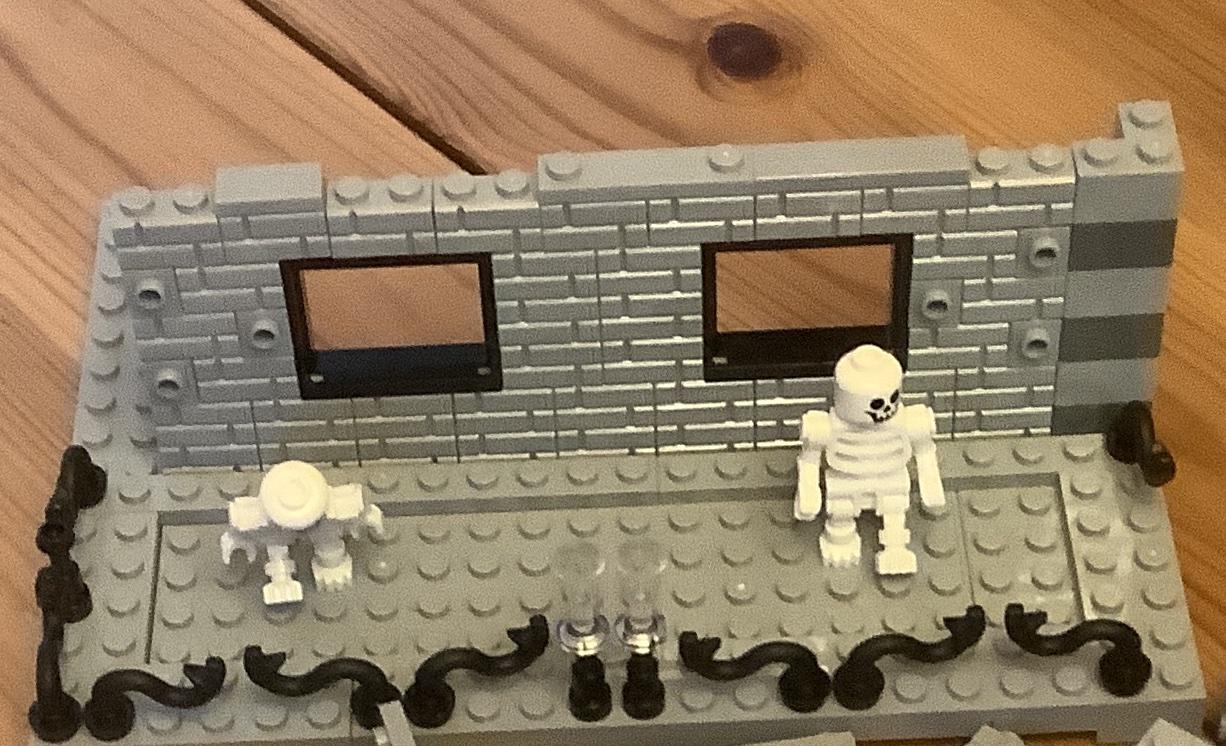
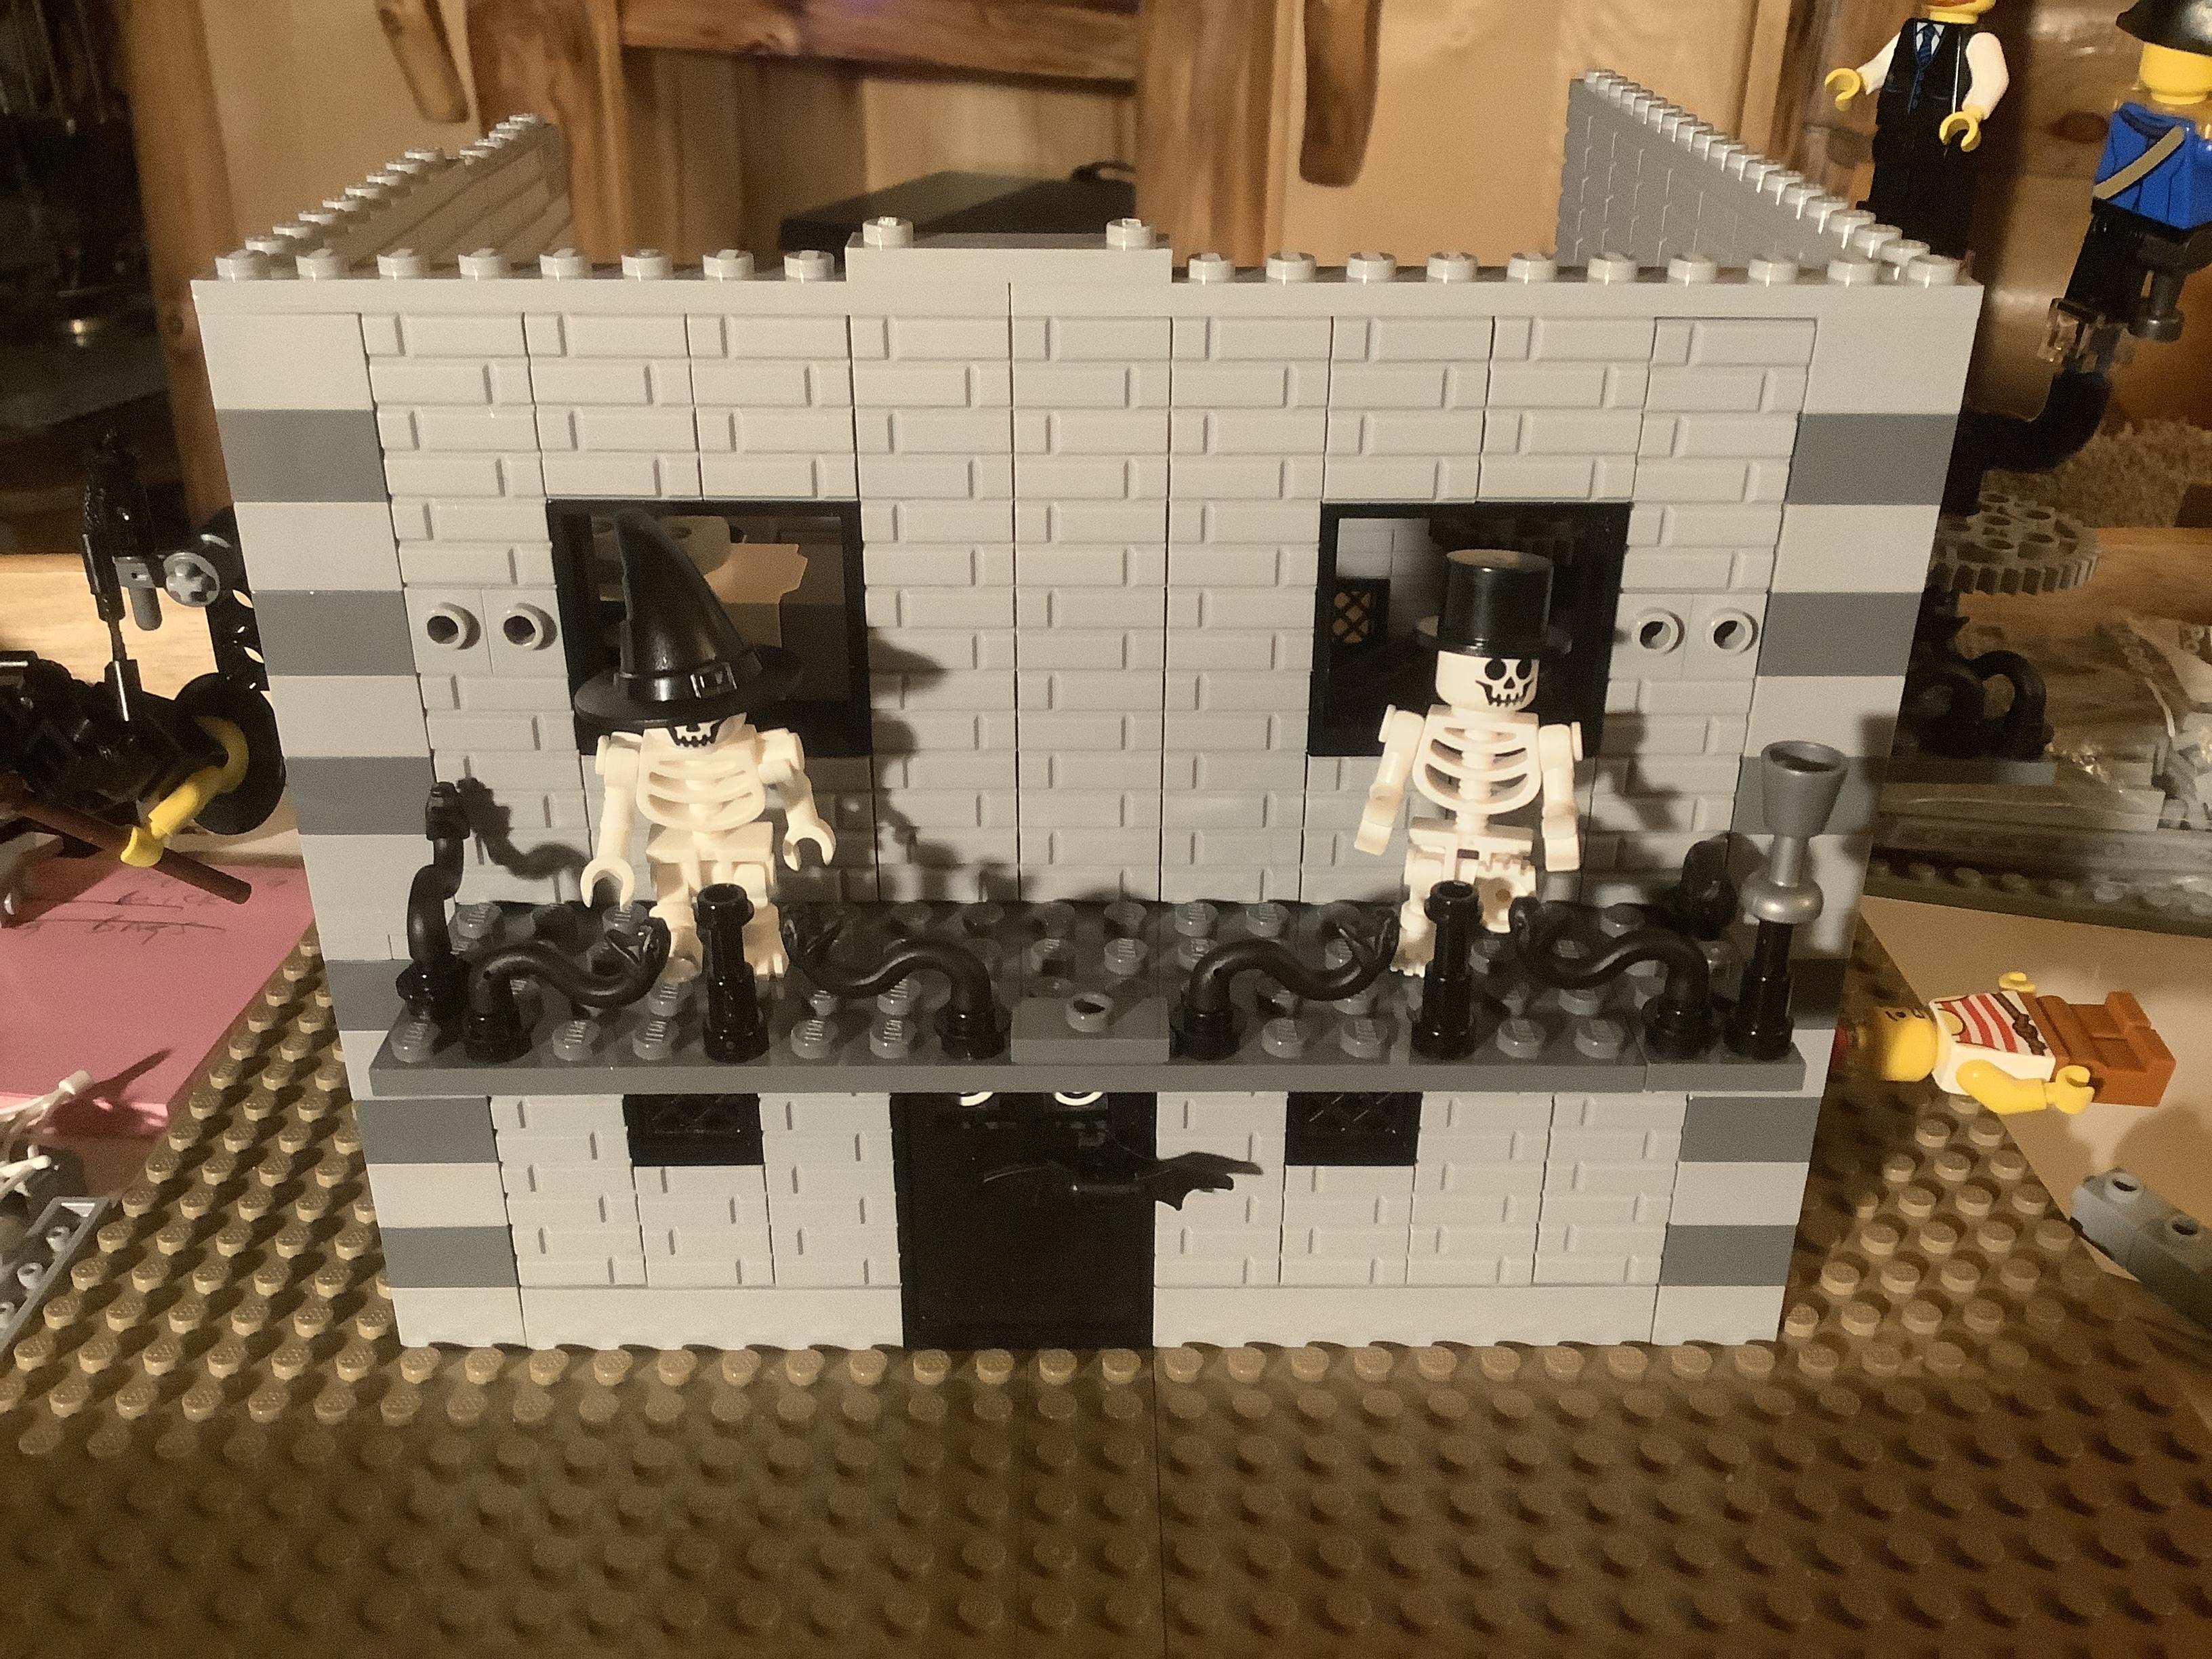
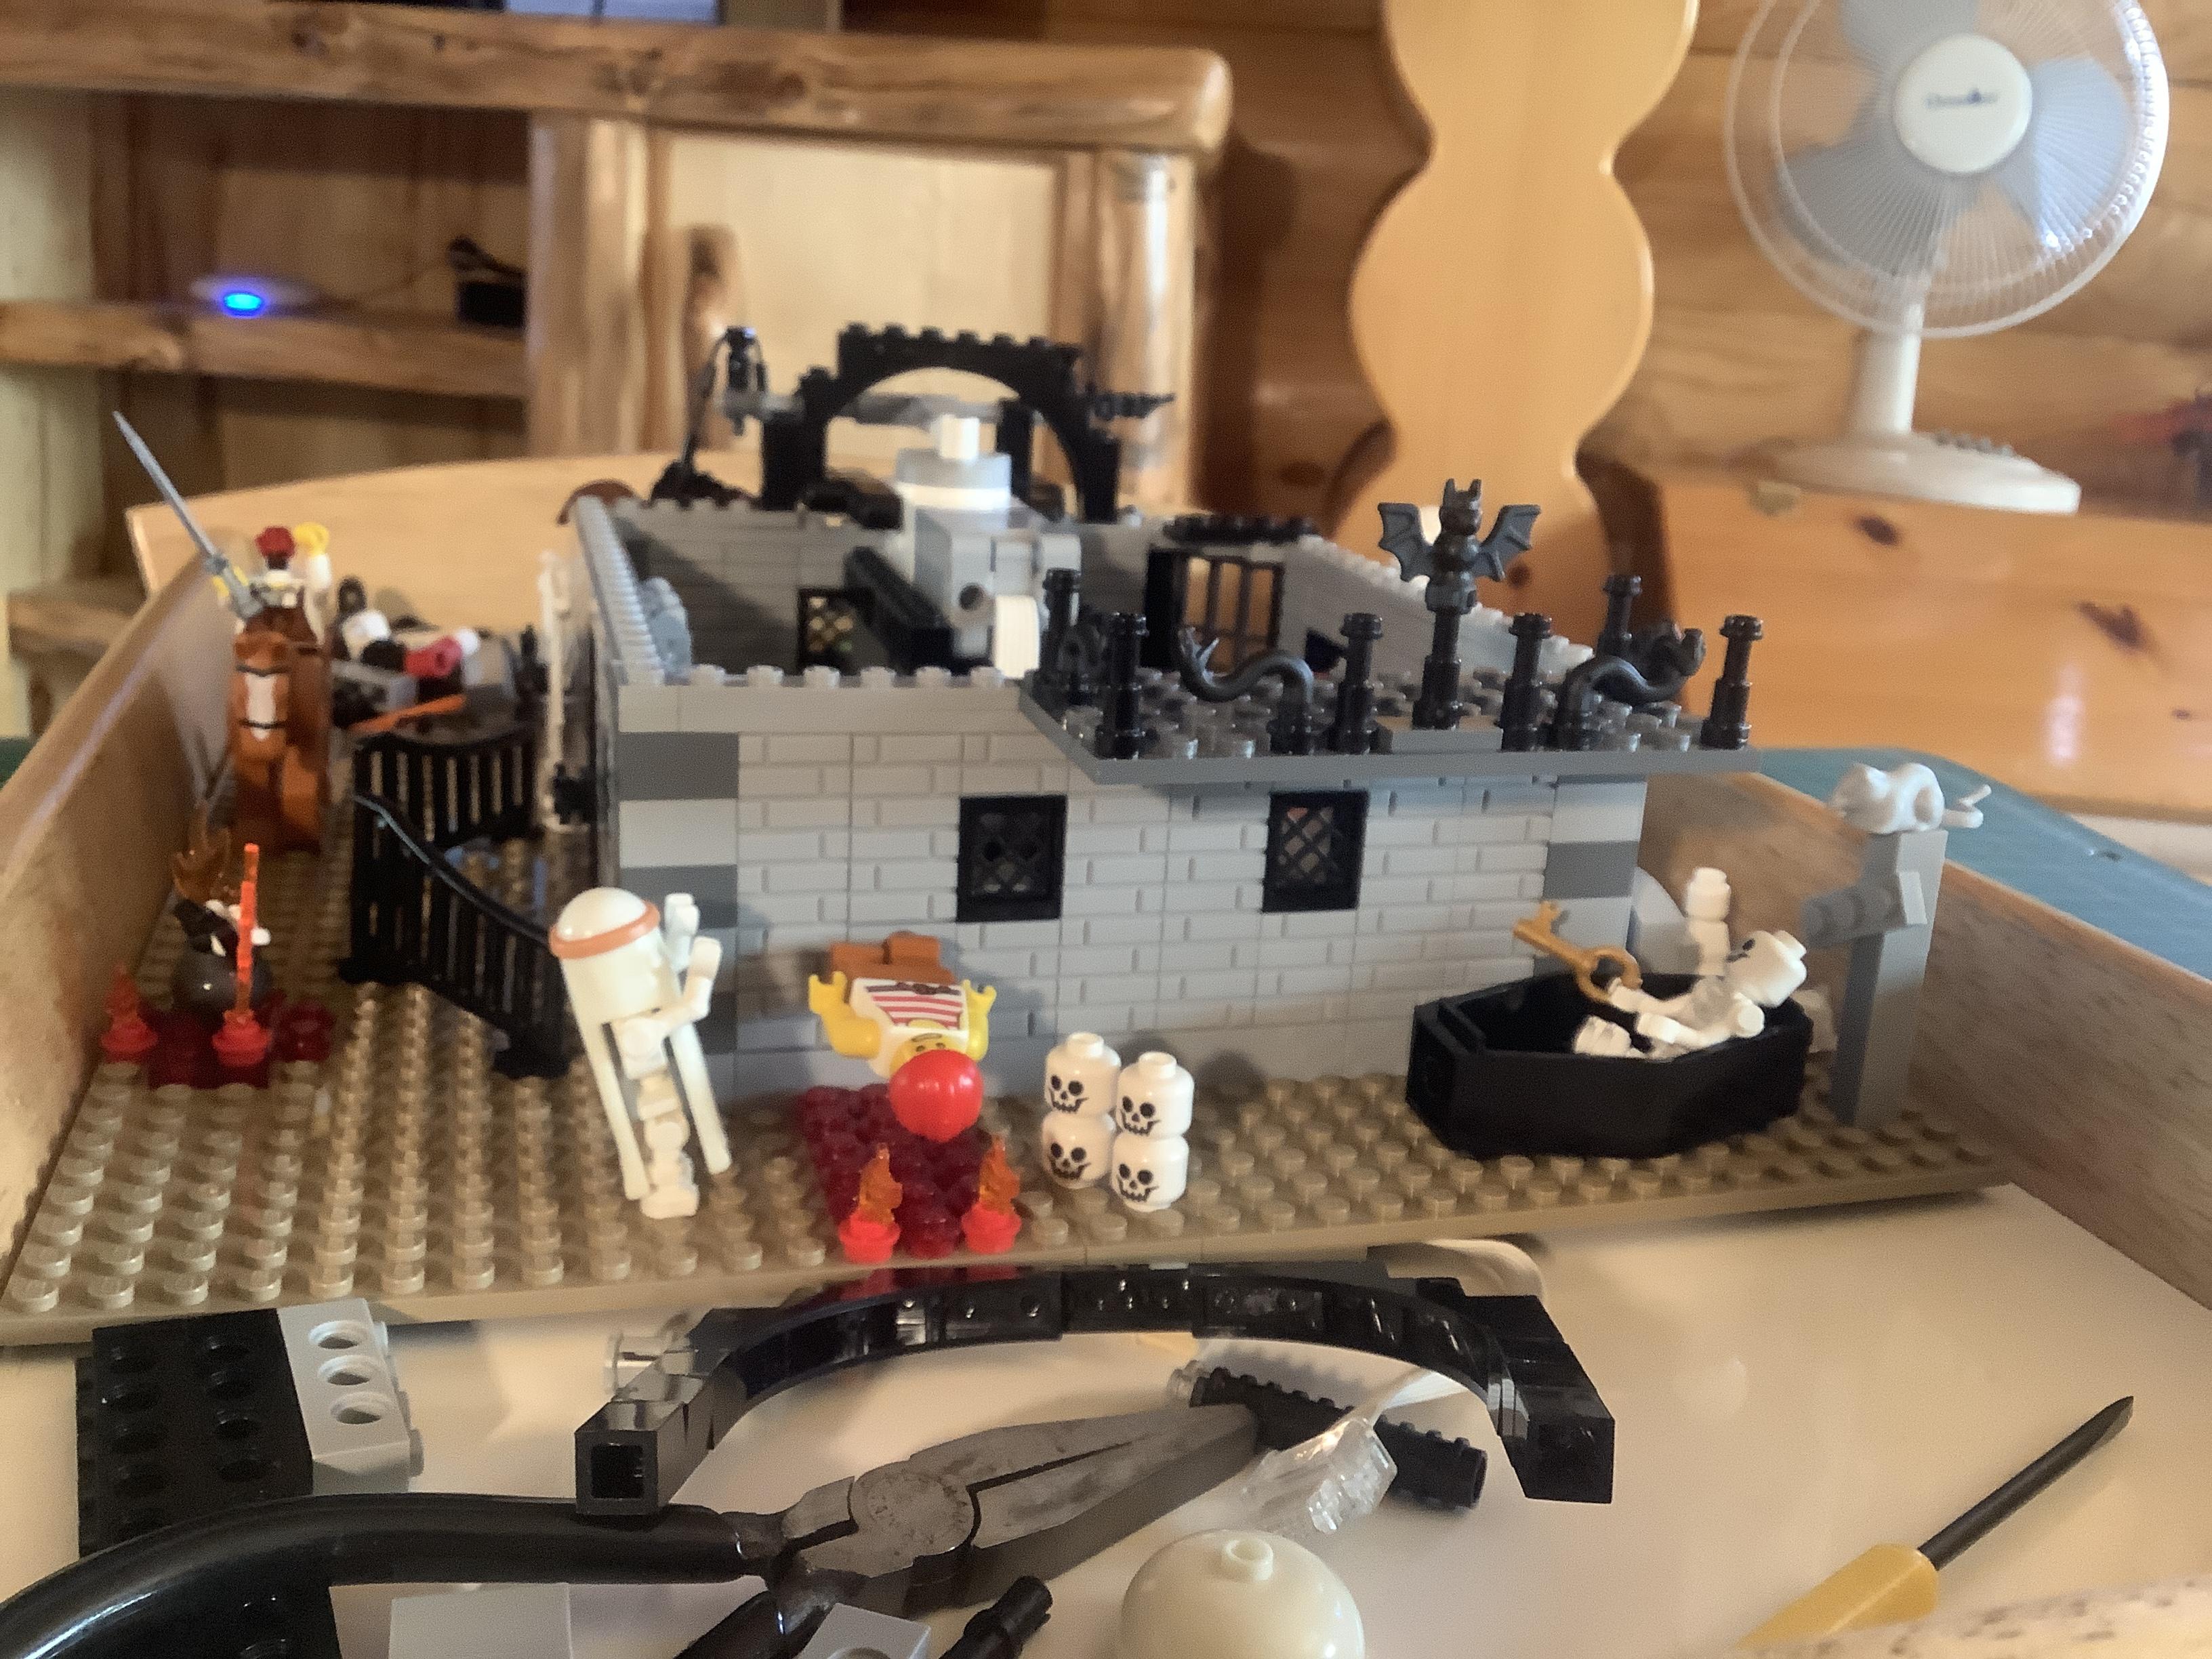
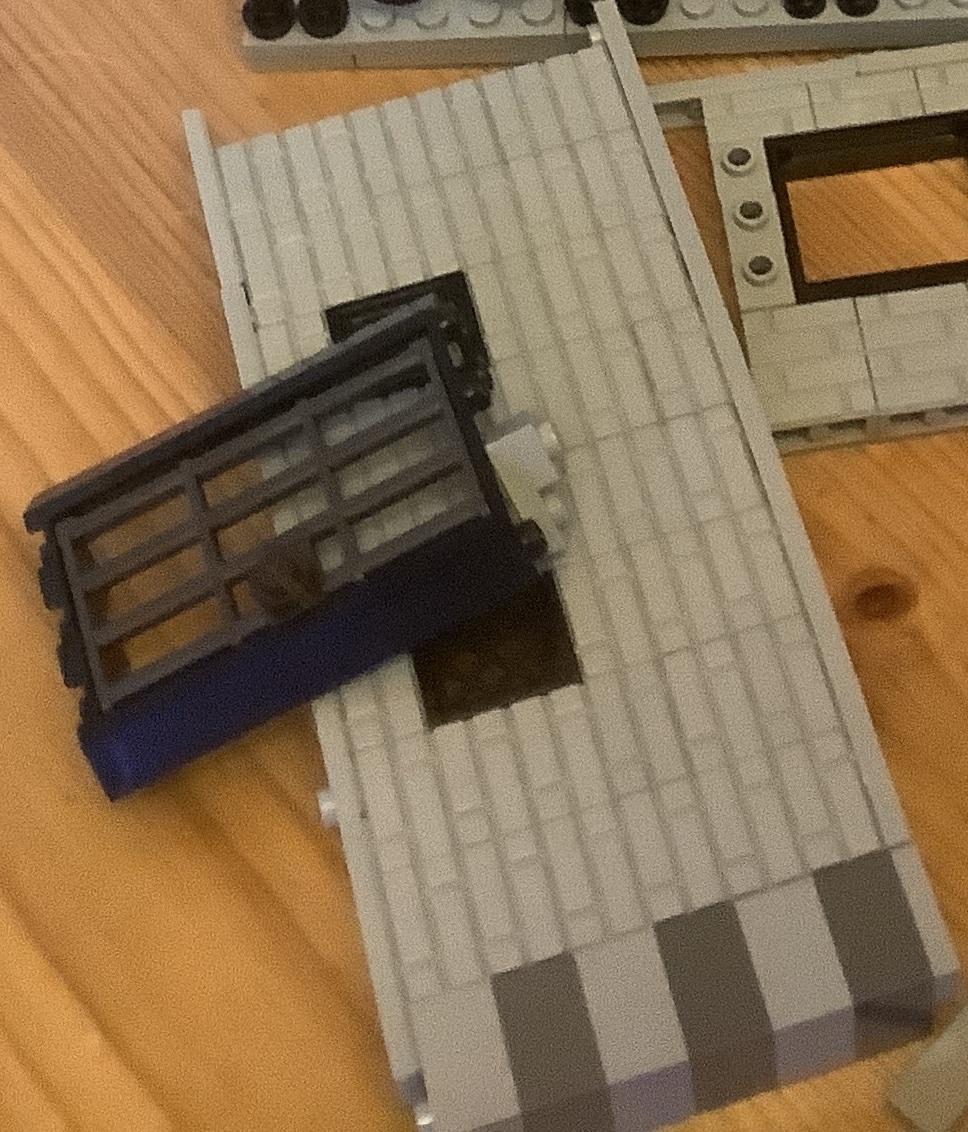
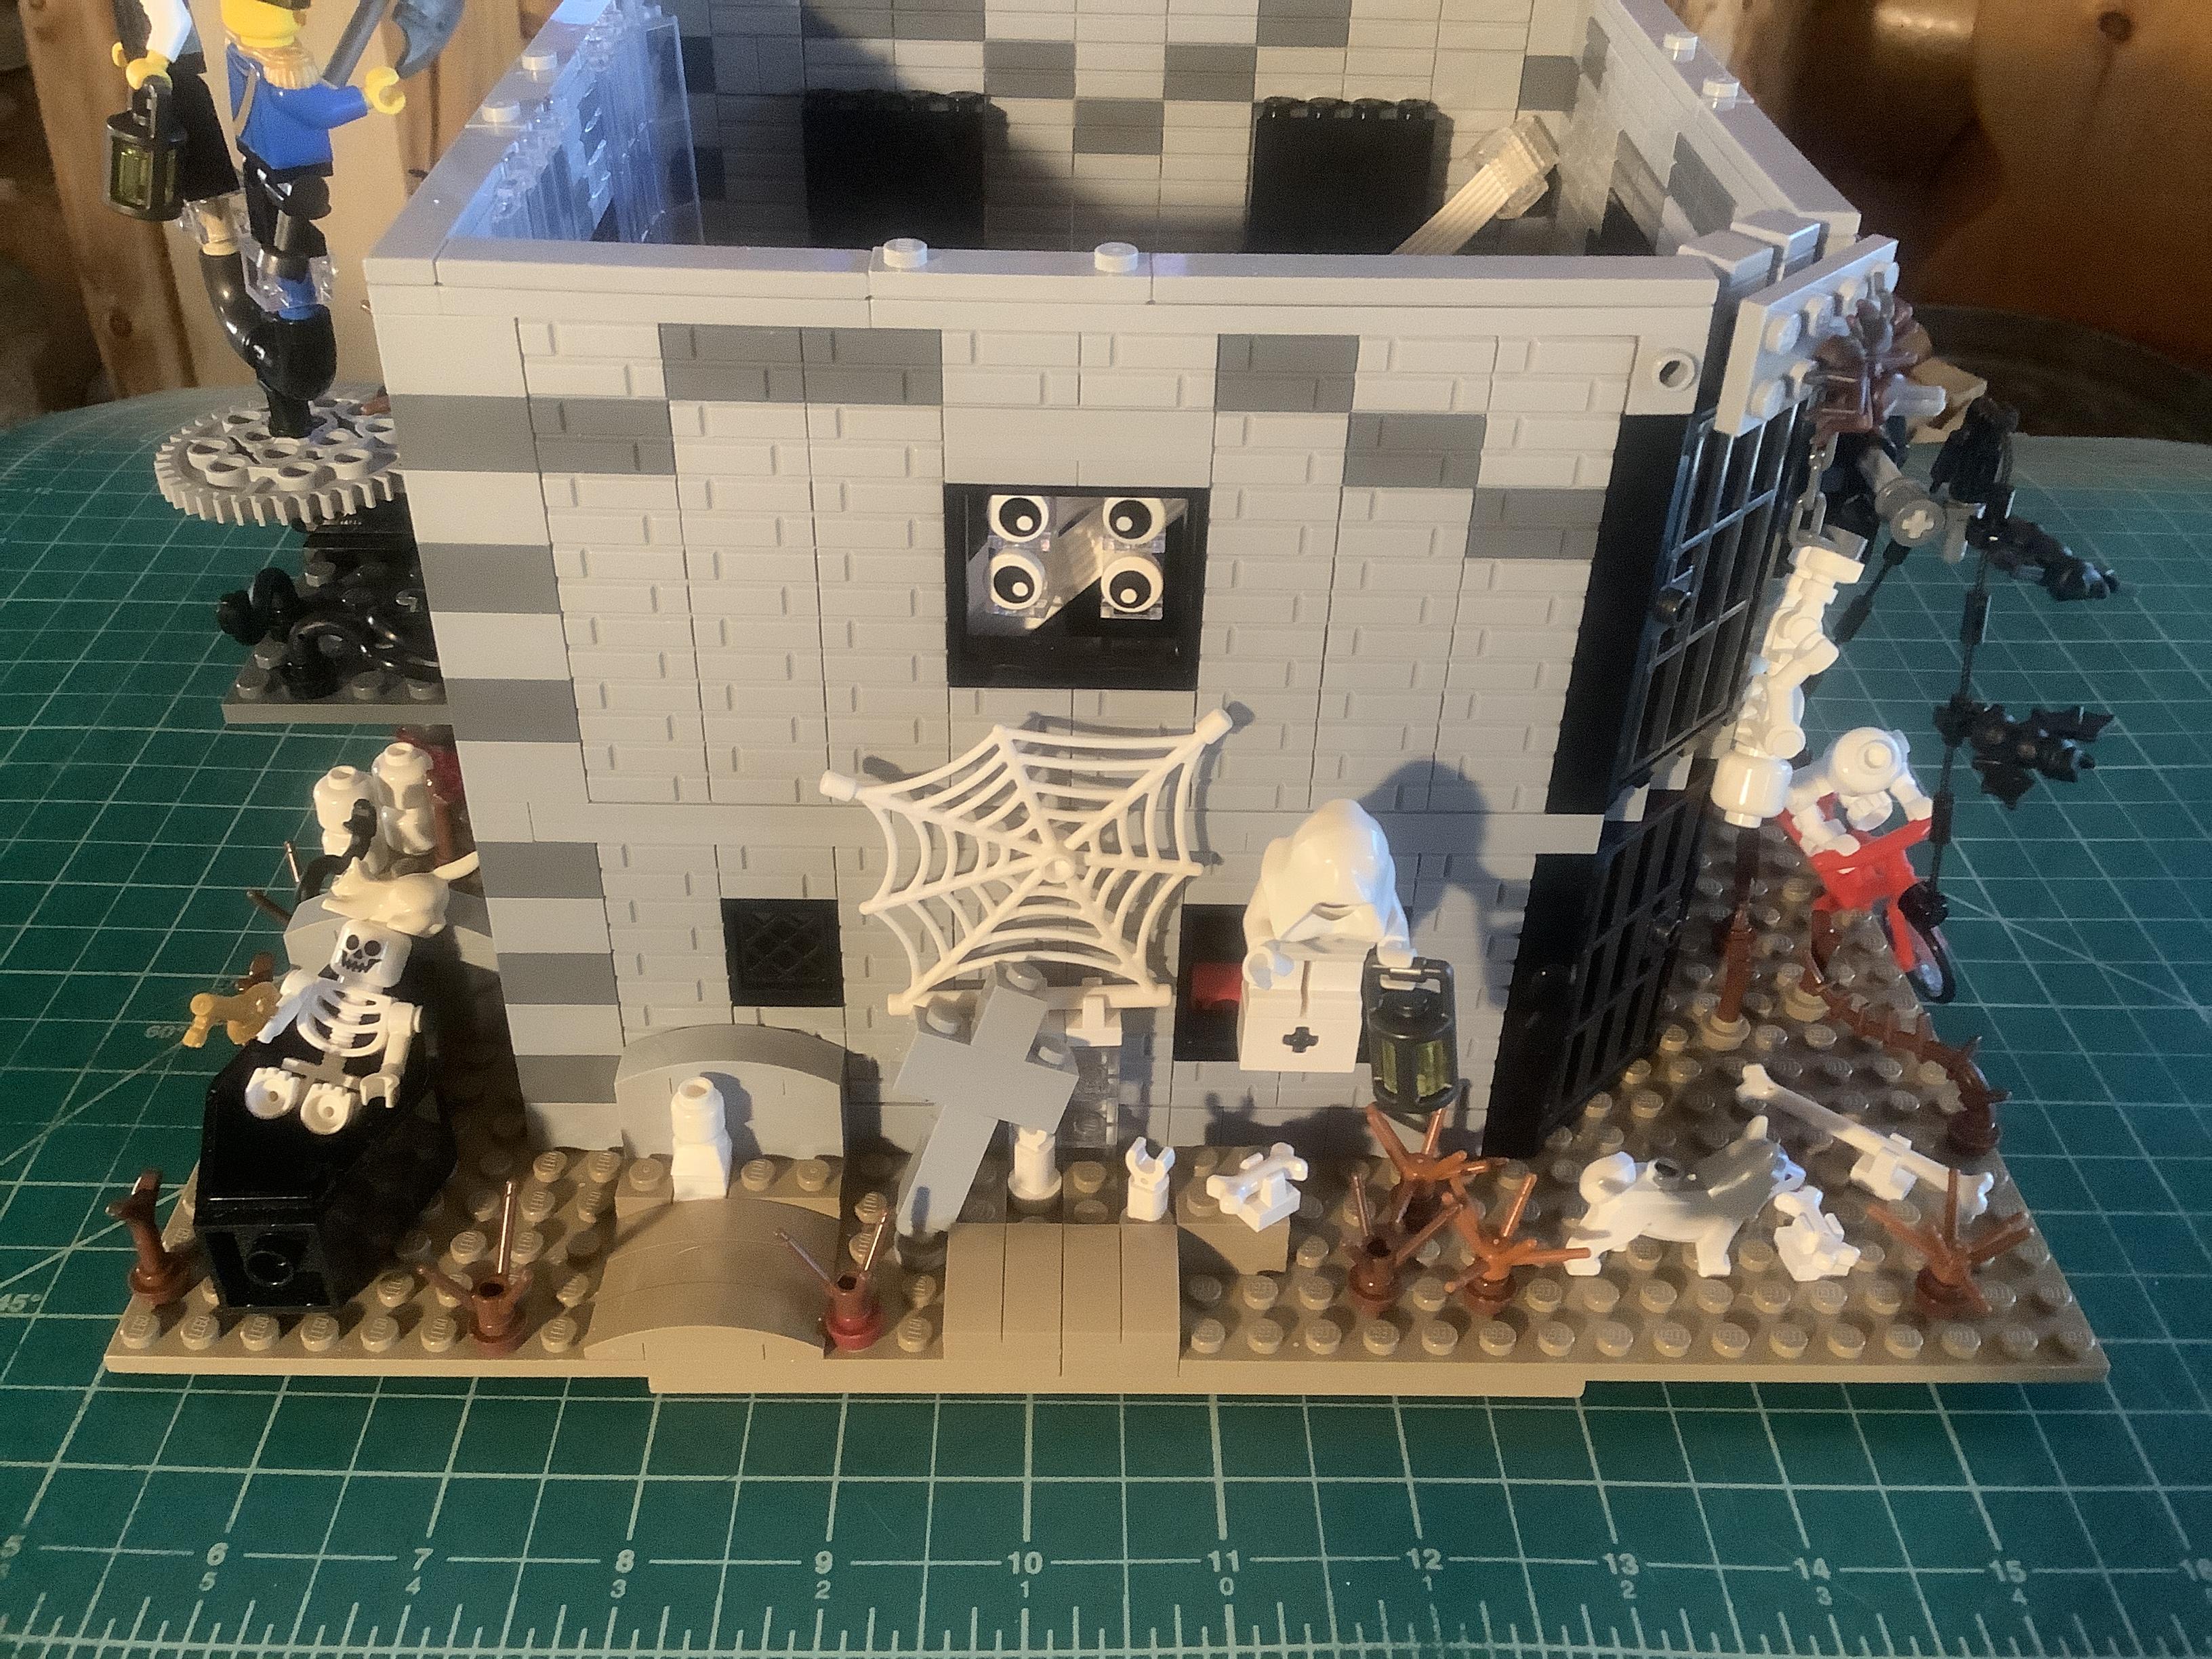
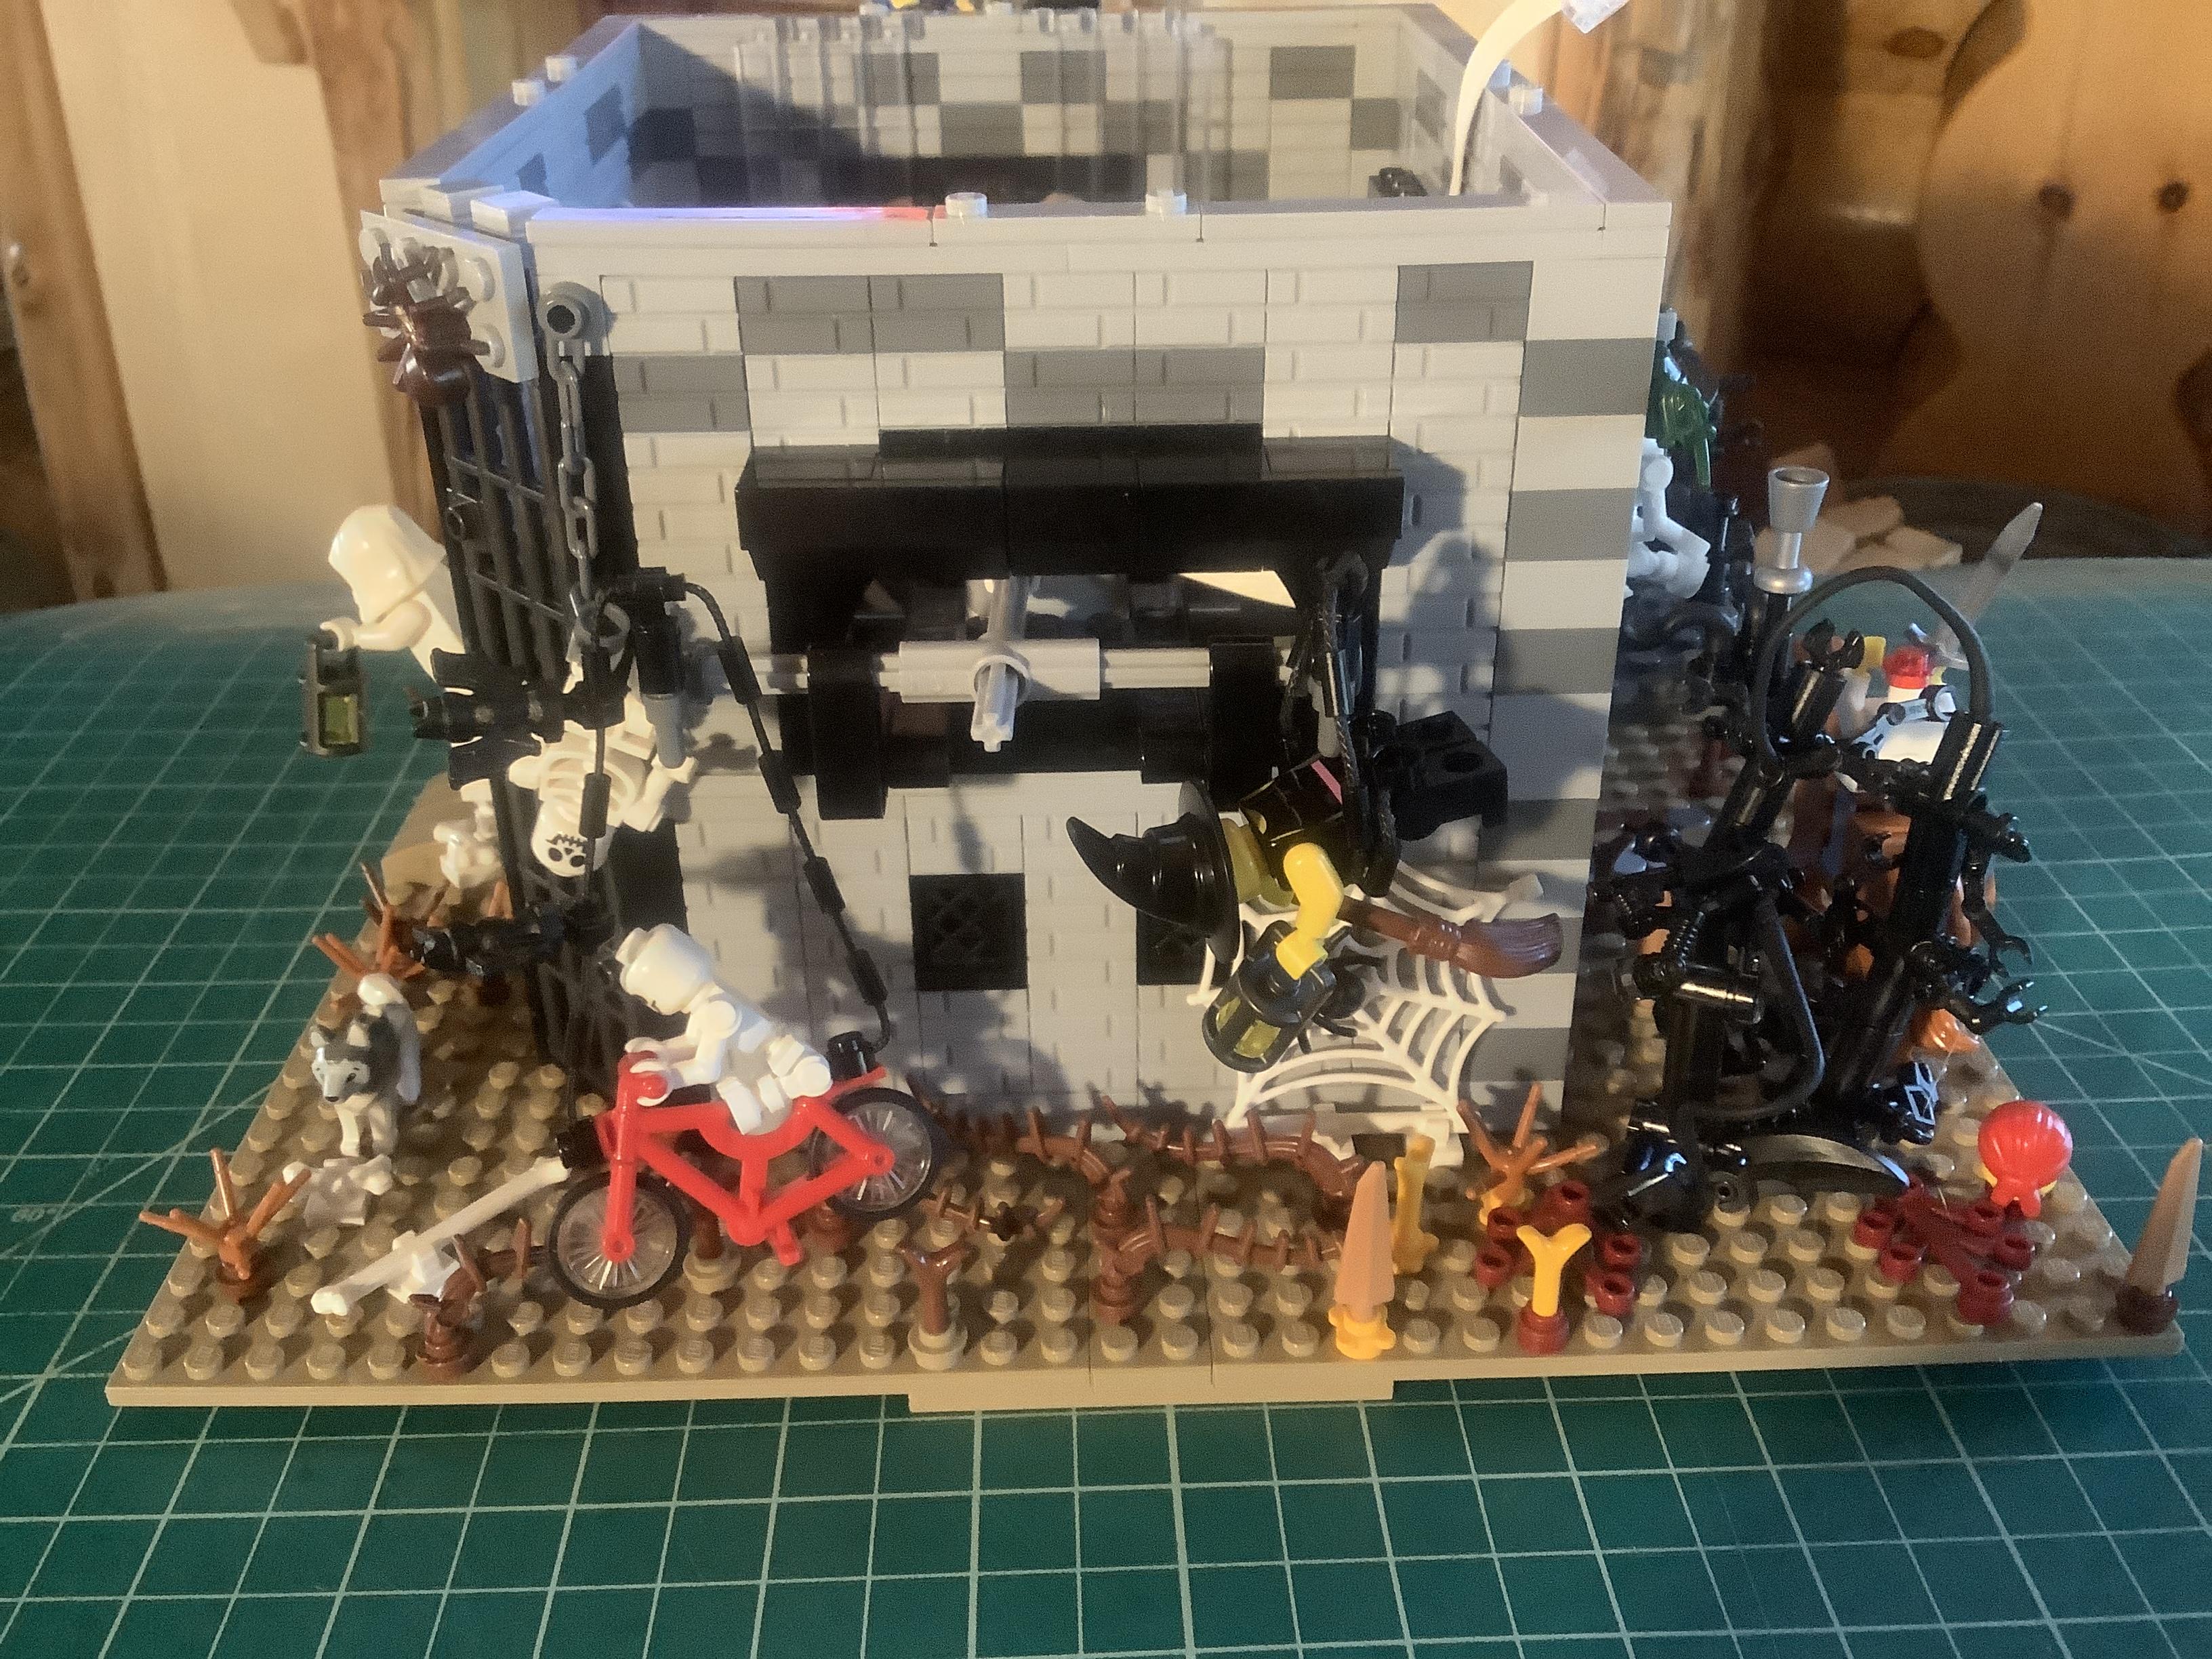
My second floor is built from masonry bricks, regular bricks, plates, windows, and doors. The front (see images 1-2) shows the second floor wall along with the front balcony. The right side has a small half balcony (see image 3). The rear (see images 4-5) contains a window and a door. The left side (see image 6) contains one large window formed using arches (see image 3 for a view of the arch placement). It is important to note that the small half balcony opening and the left side large window are clear for positioning the kinetics
Adding the Attic
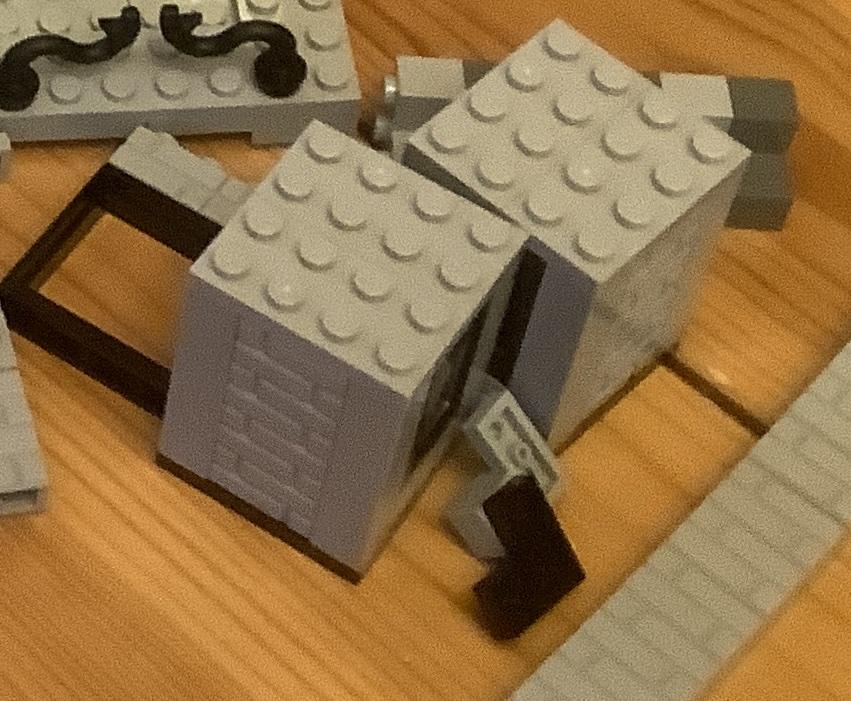
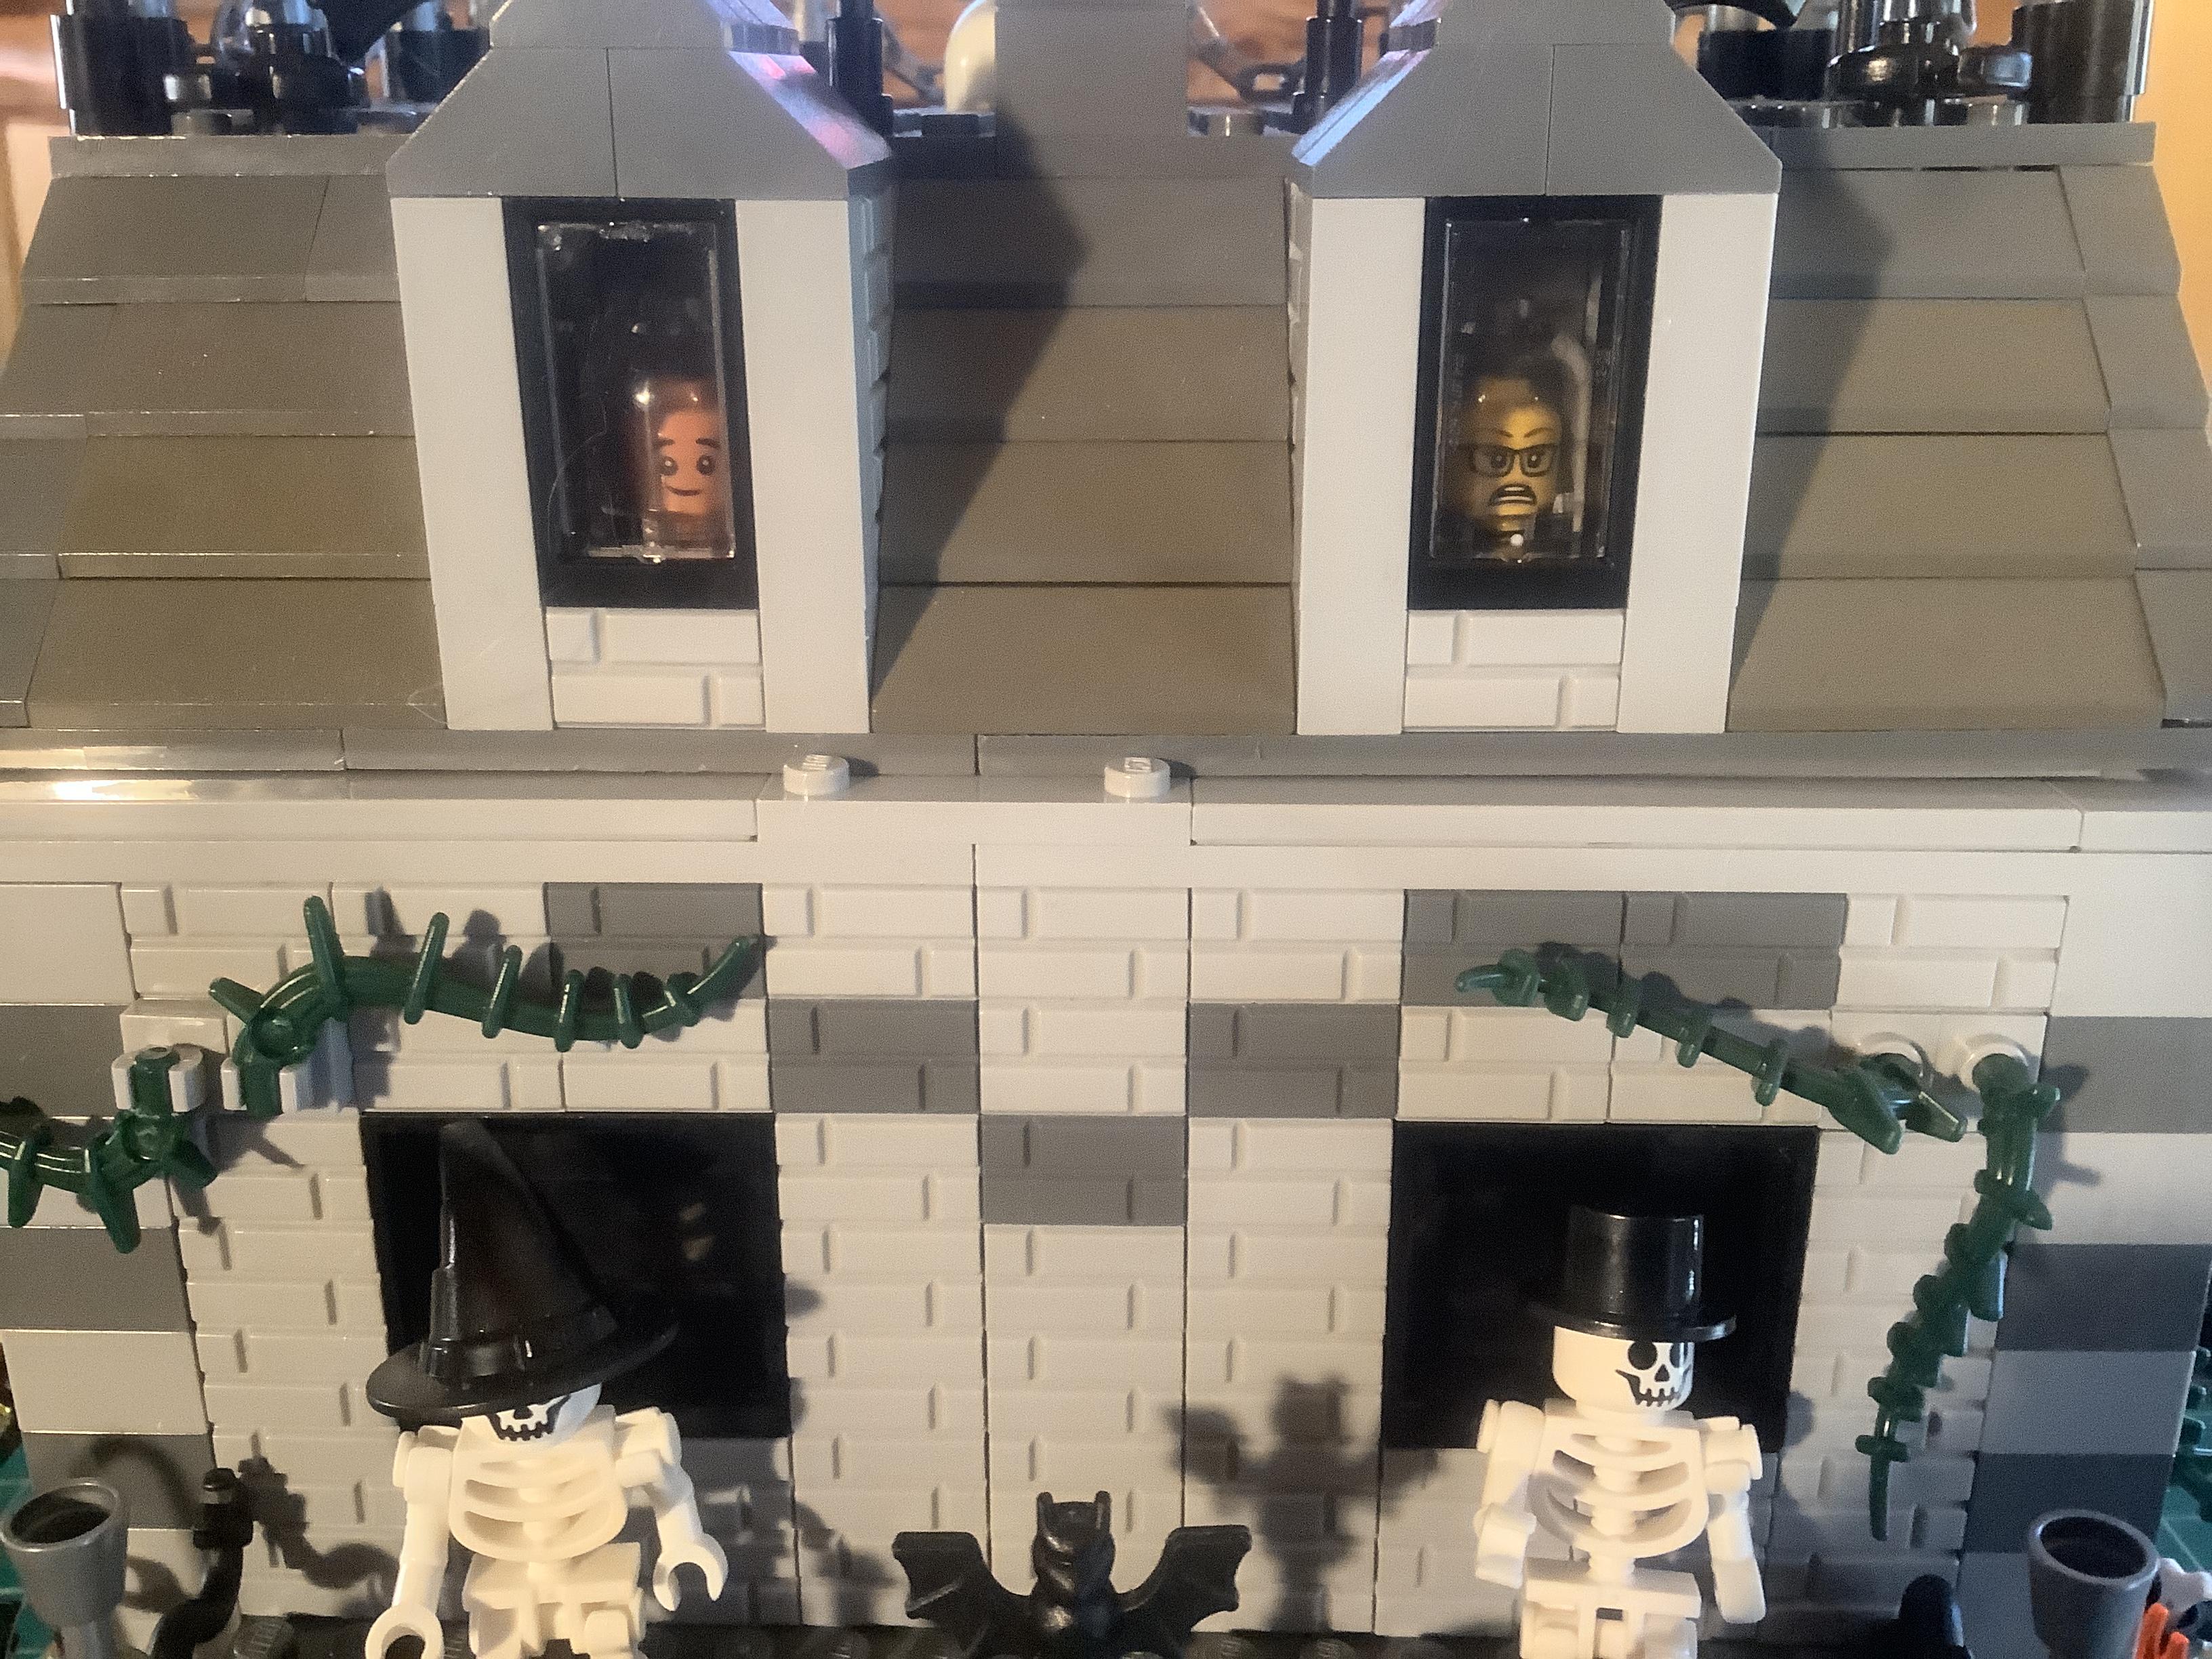
I built two boxes with a window on one side (see images 1-2) for the attic. I choose to place heads in jars inside the windows (see image 2). I created the lower part of the roof using forty-five degree slopes and inserting the windows (see image 2).
Adding the Roof
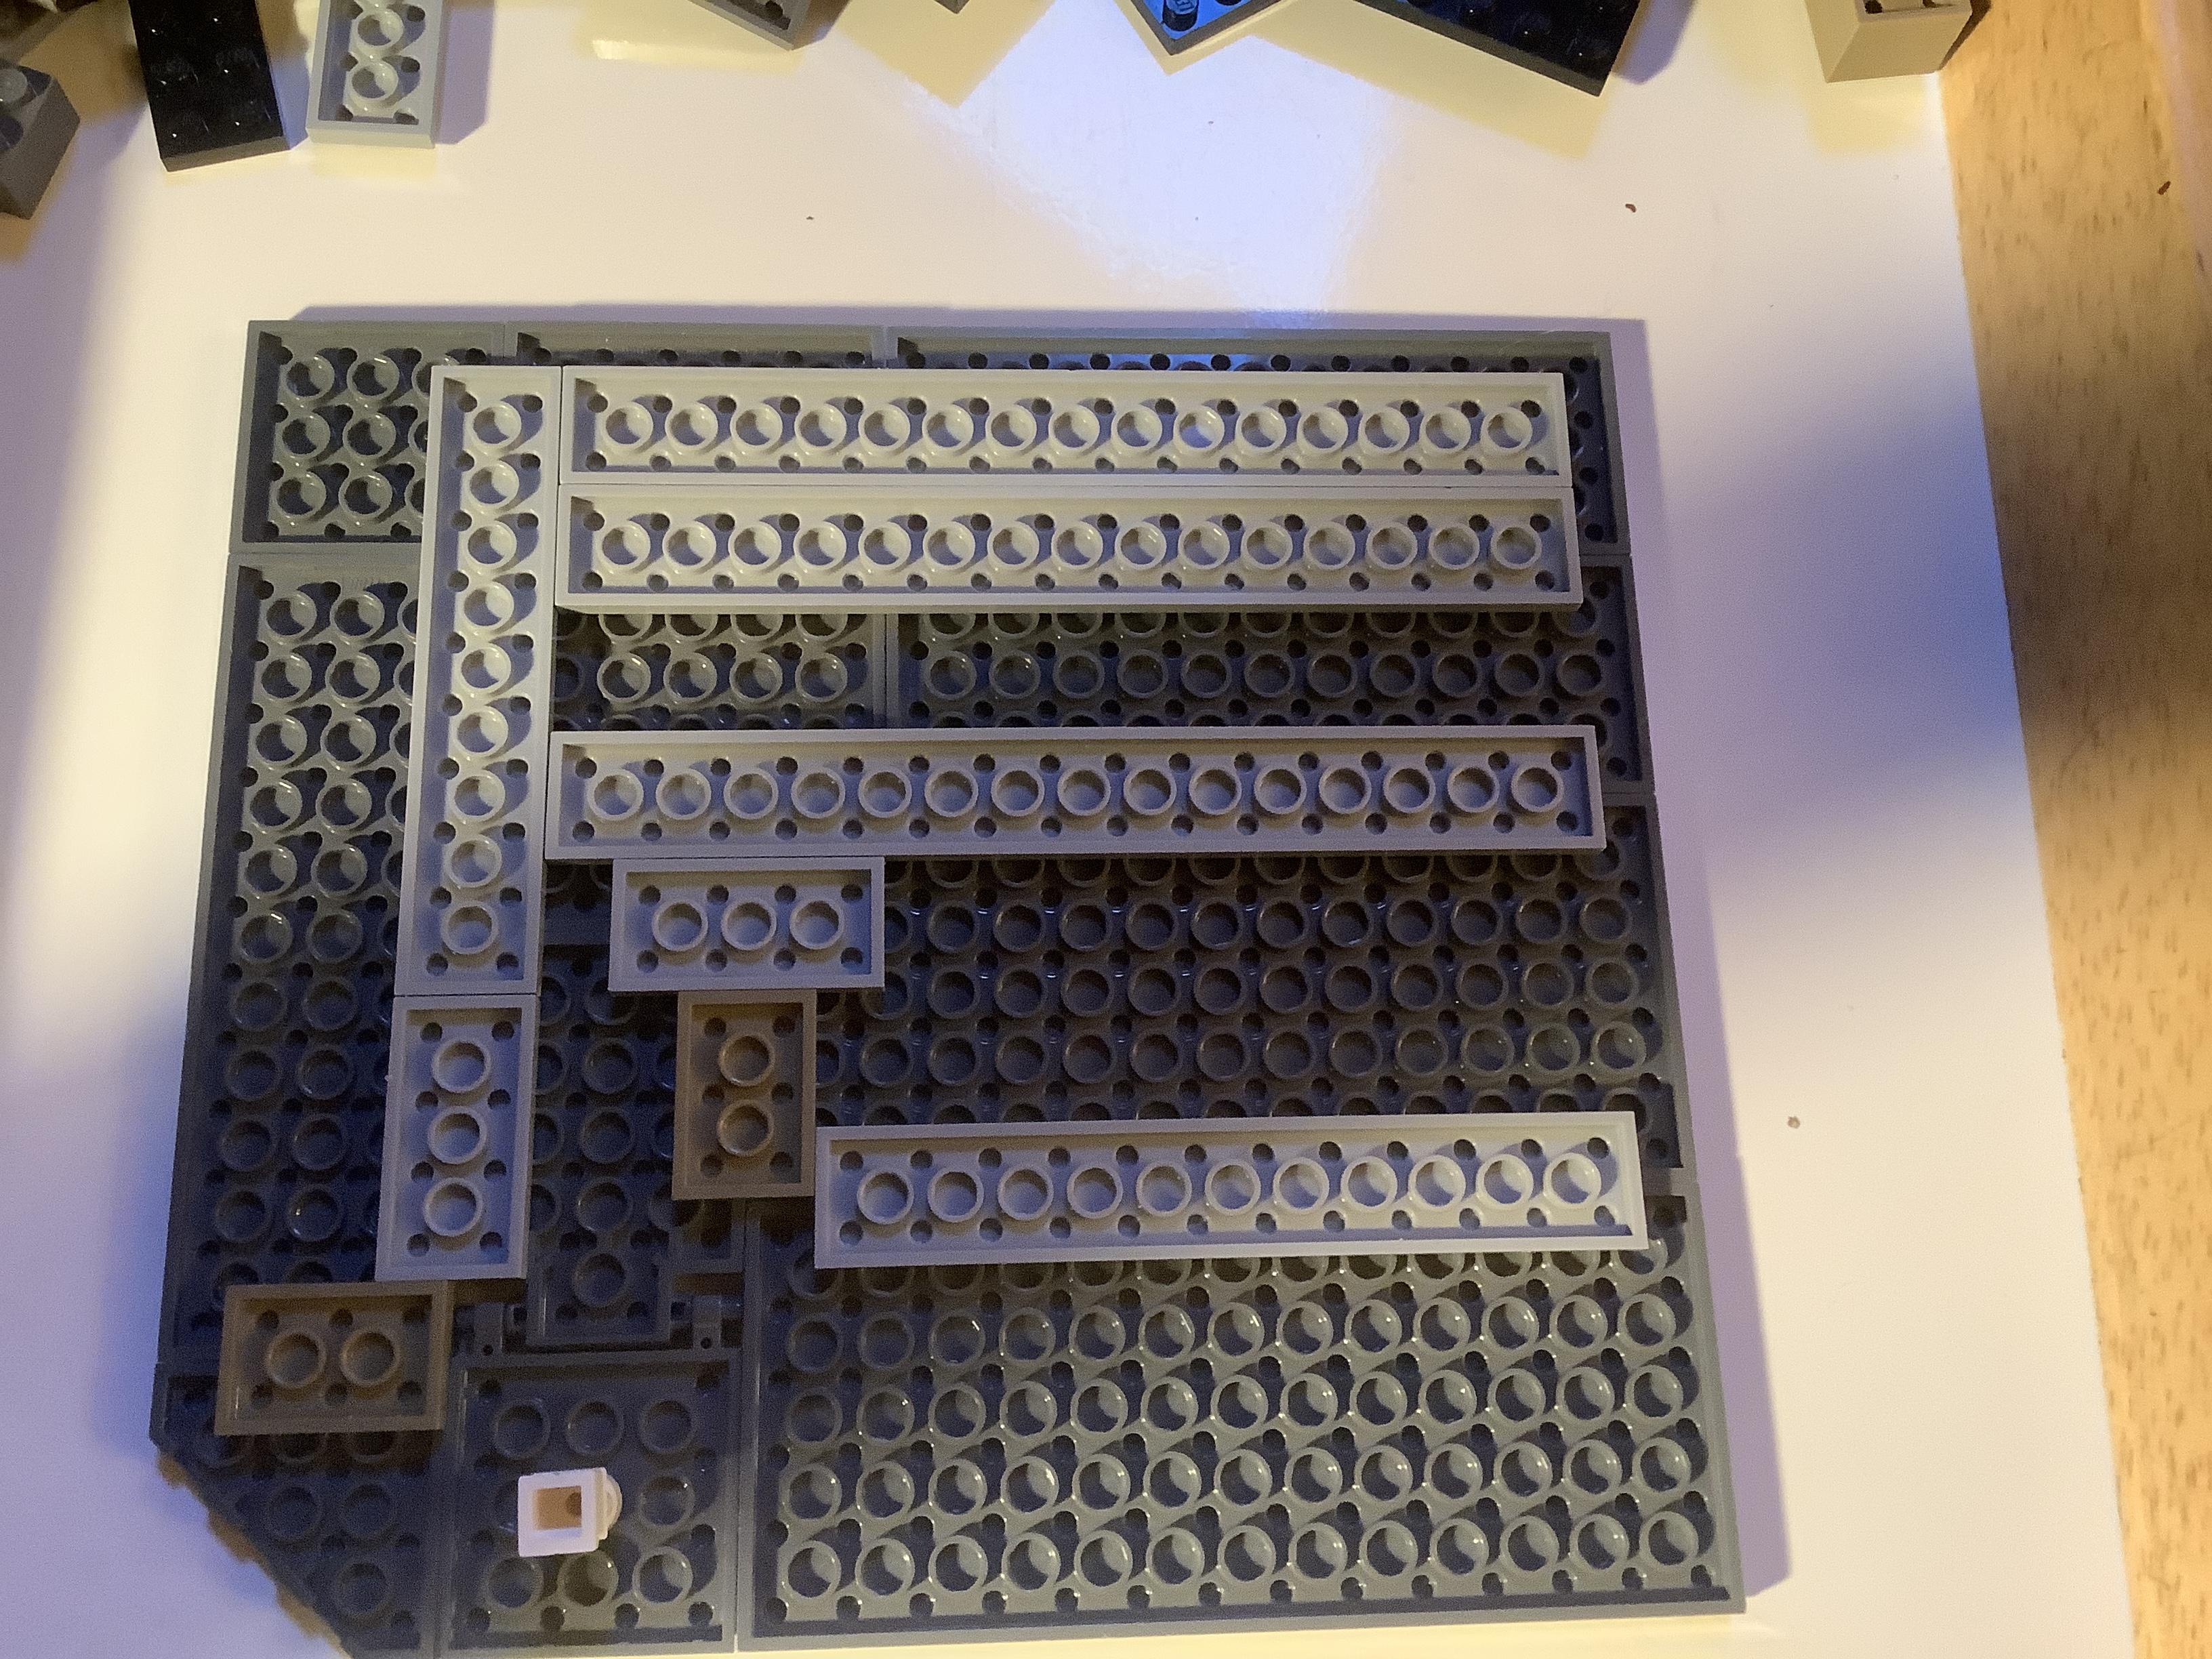
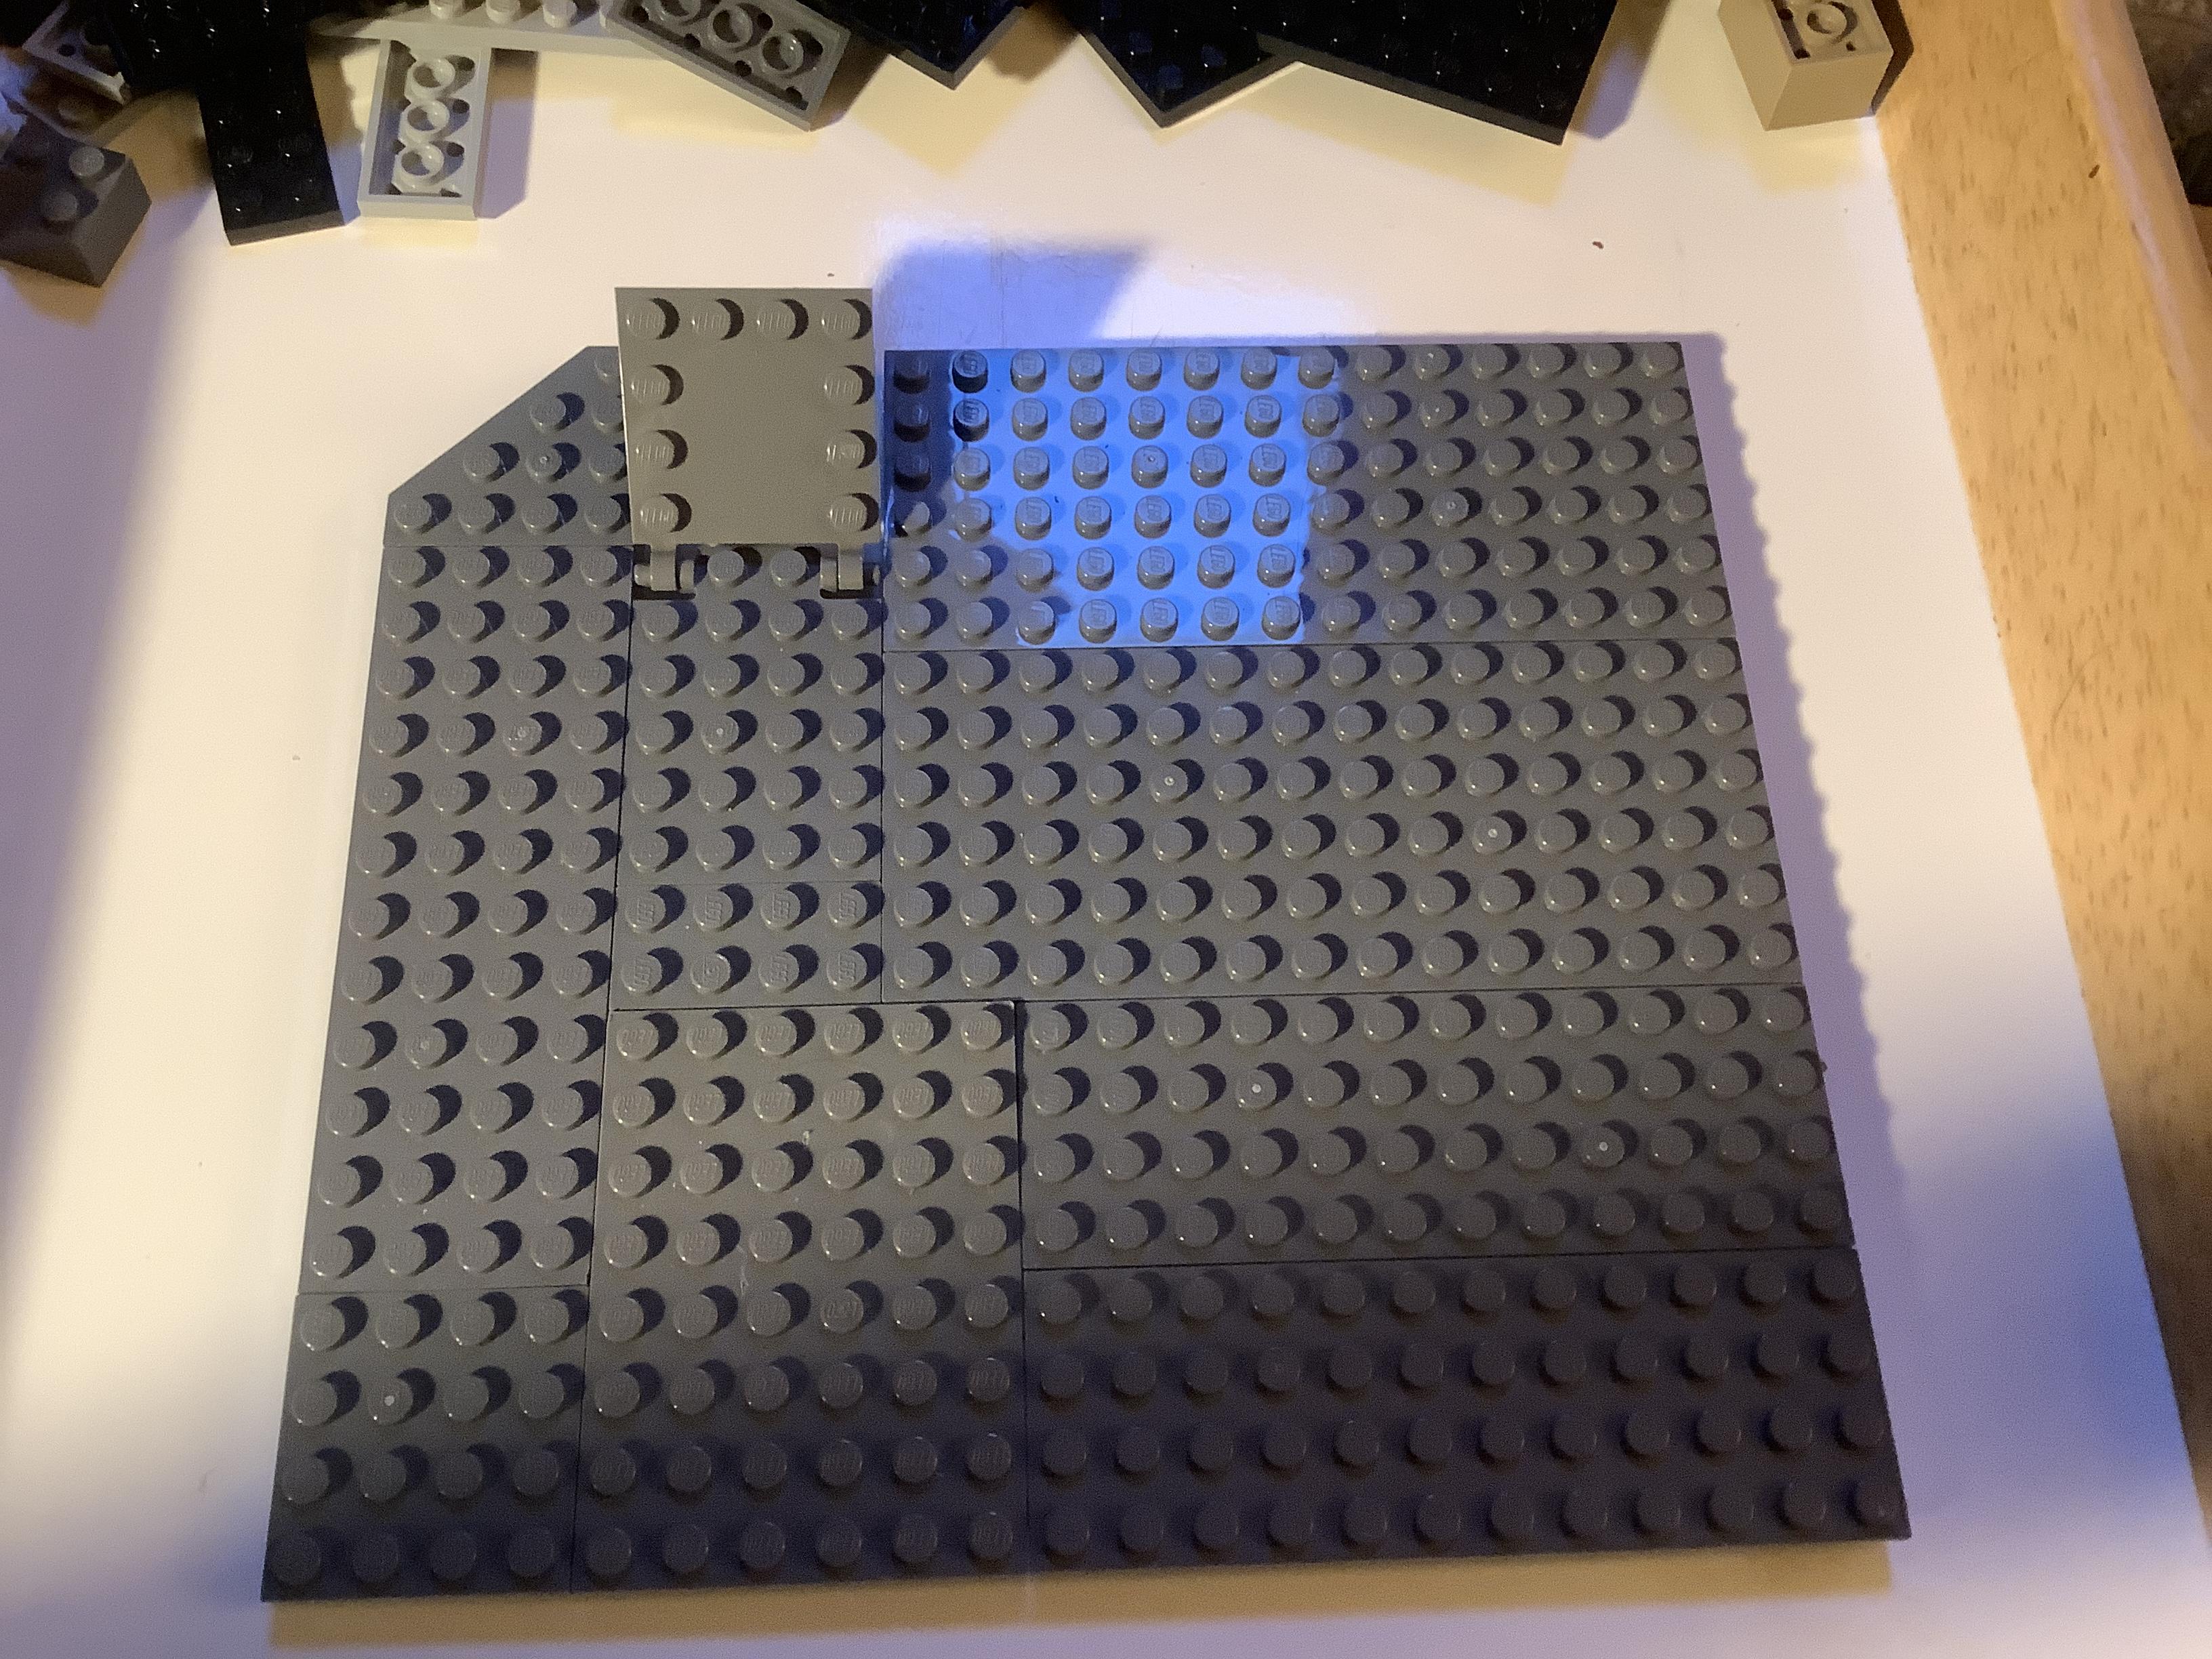
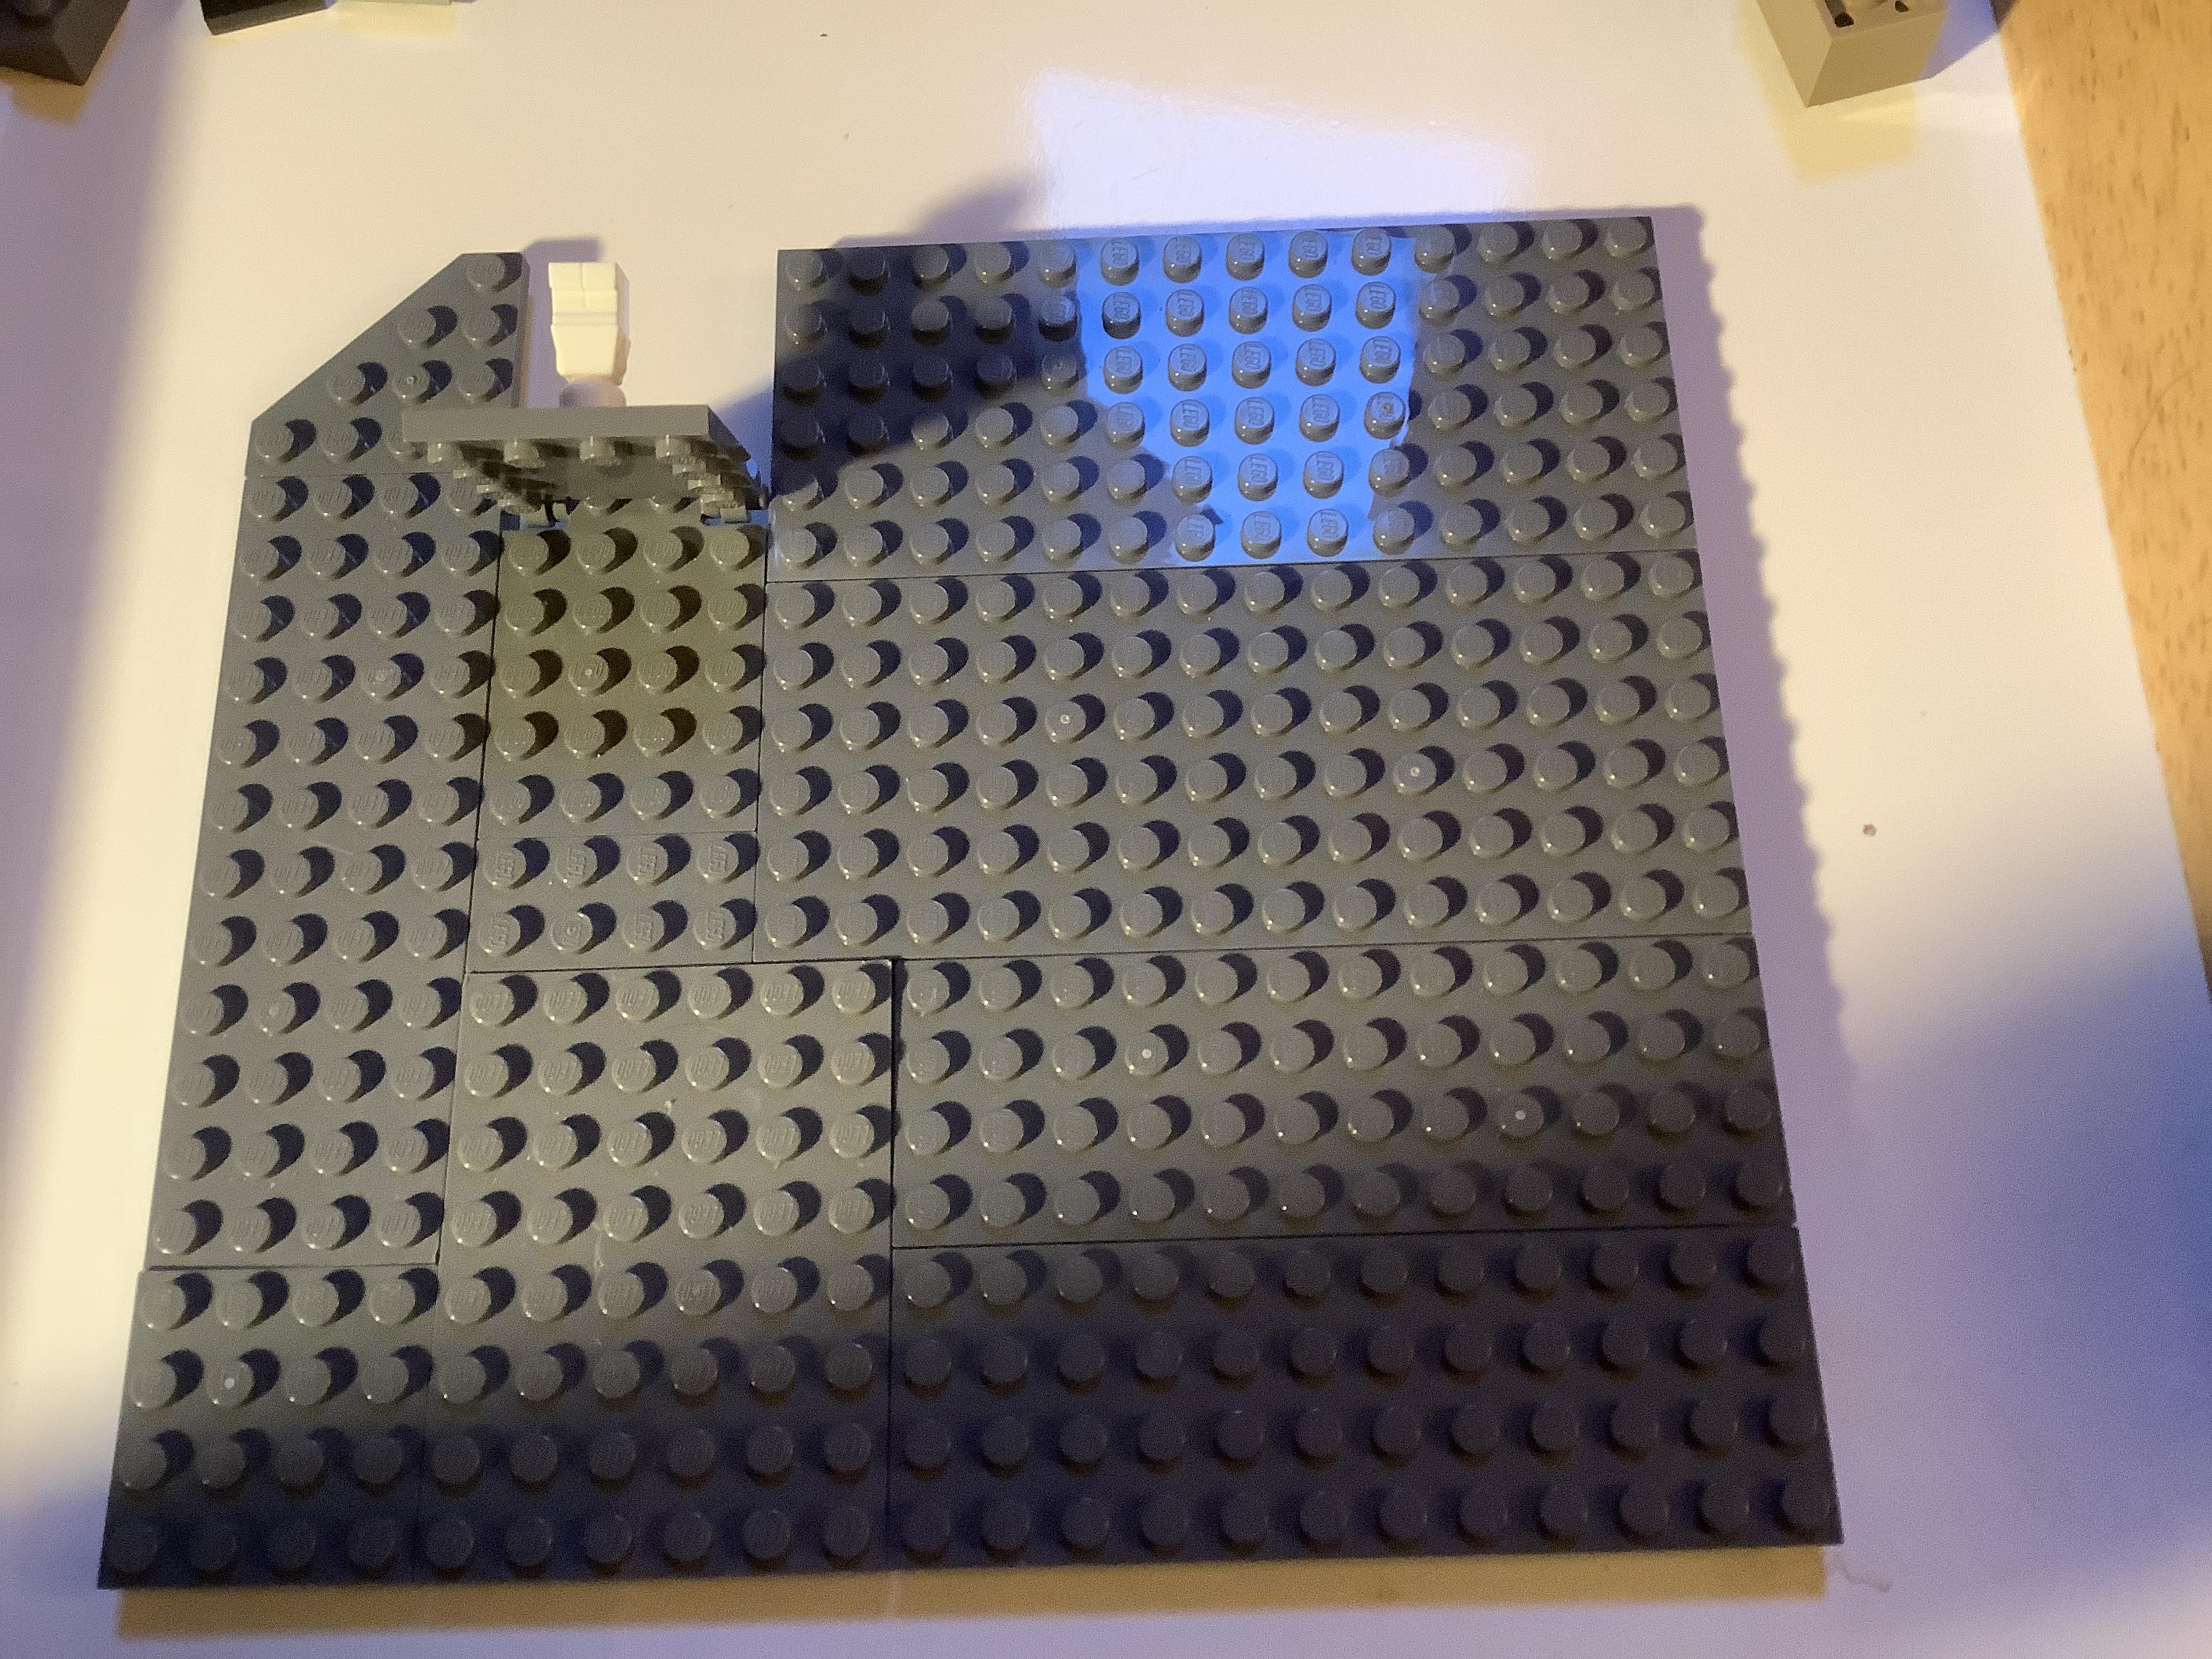
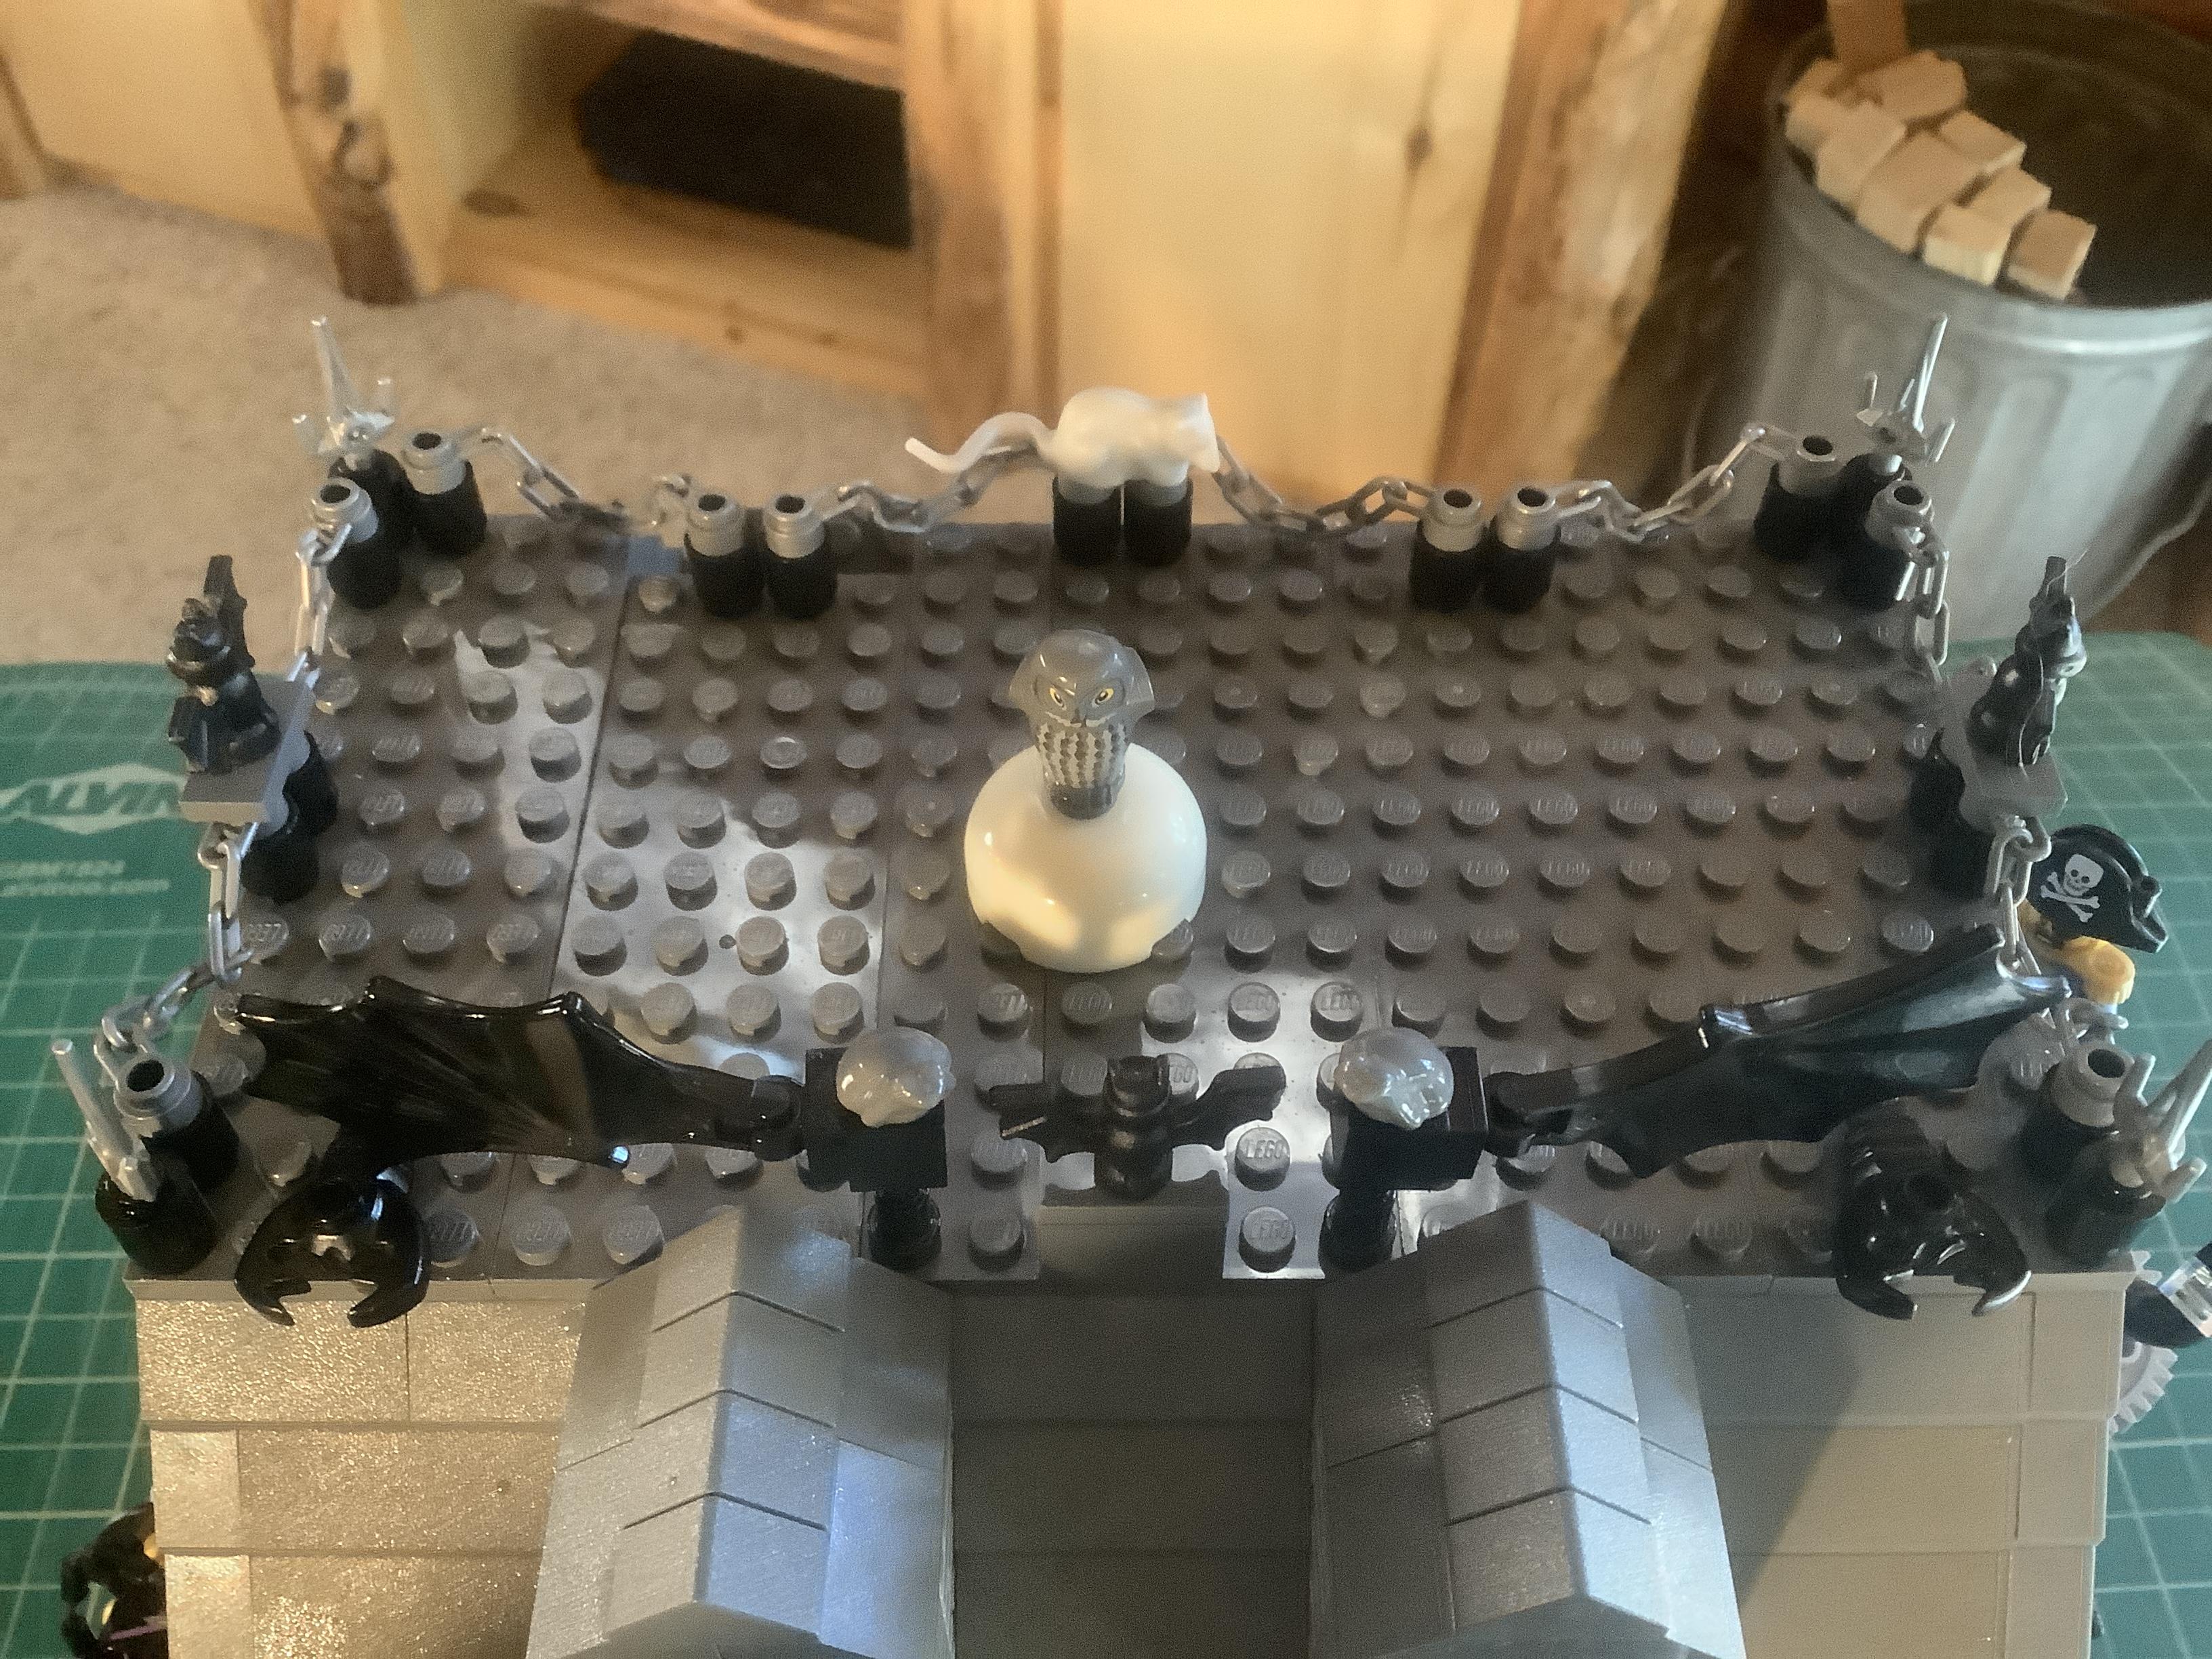
I created a flat roof by connecting plates to cover the exposed area (see image 1). I added a hinge piece (see images 2 and 3) to the roof as an added access point for a small ghost. Image 4 shows my completed roof with decorations.
Programming and Positioning the Controller

For those of you new to Lego Mindstorms Robot Inventor - see my previous projects: Lego Robot Inventor Kit: Blast on His Own, Happy Pi Day! The. Circling Billboard, and Animated Cat Toy for programming basics.
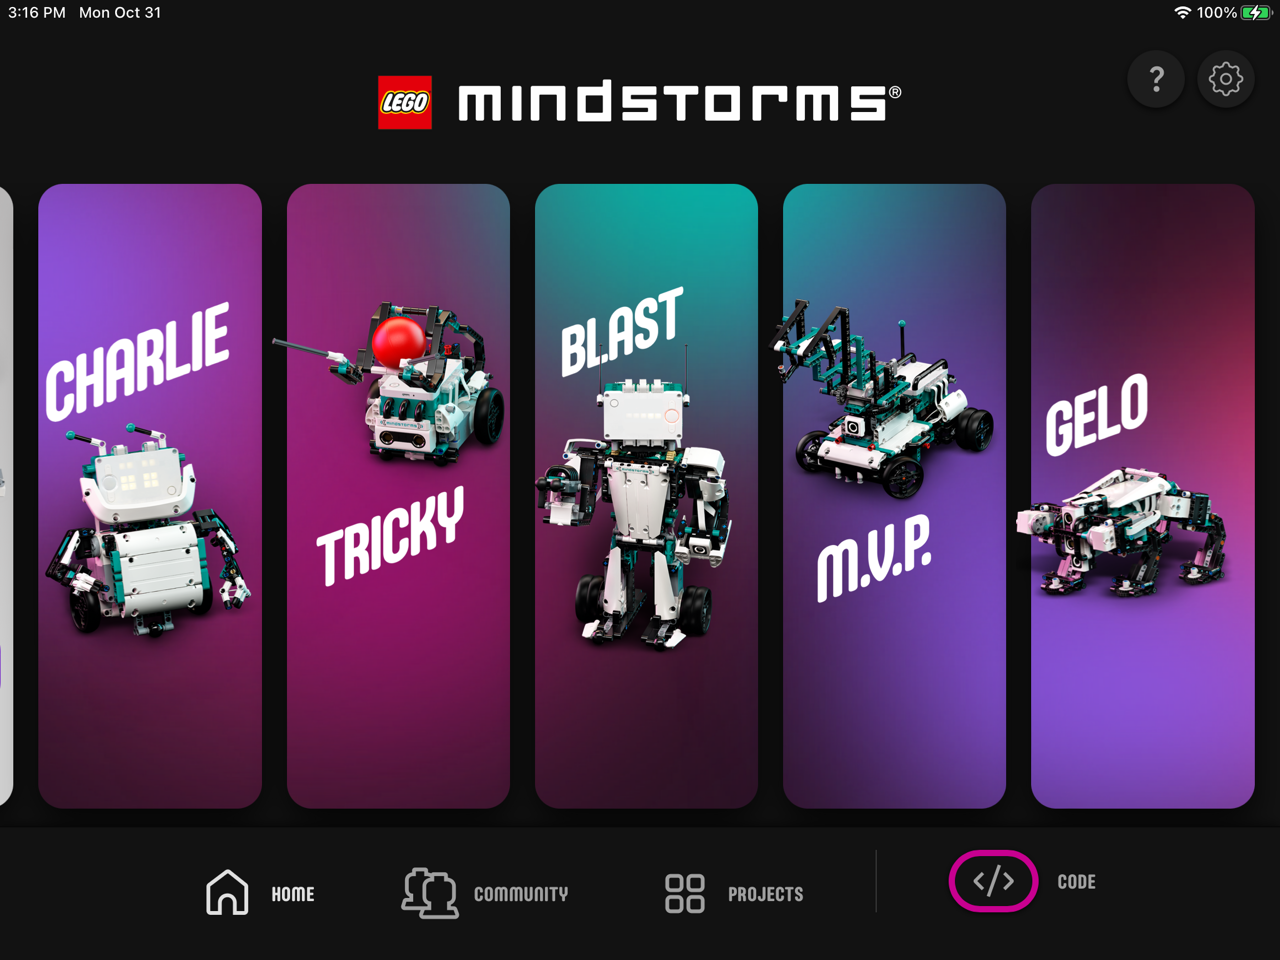
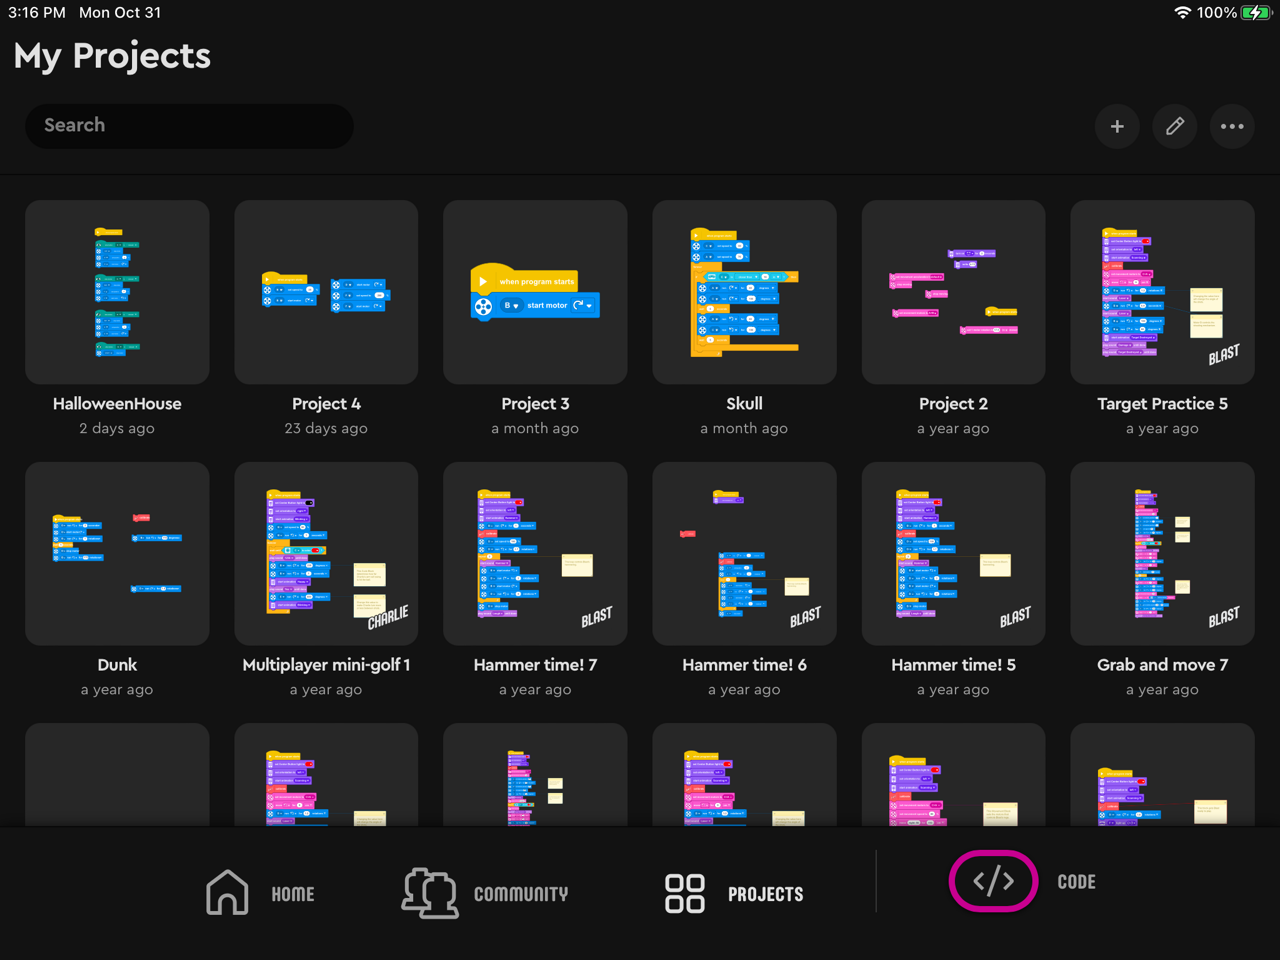
Open the Lego Mindstorms Robot Inventor software (comes with the set) and click on Code (see image 1) to start a new program (see image 2). Once you start writing your program you can access your code by clicking on Projects from the opening screen (see image 1). Then, select the project you want to work on (see image 3).
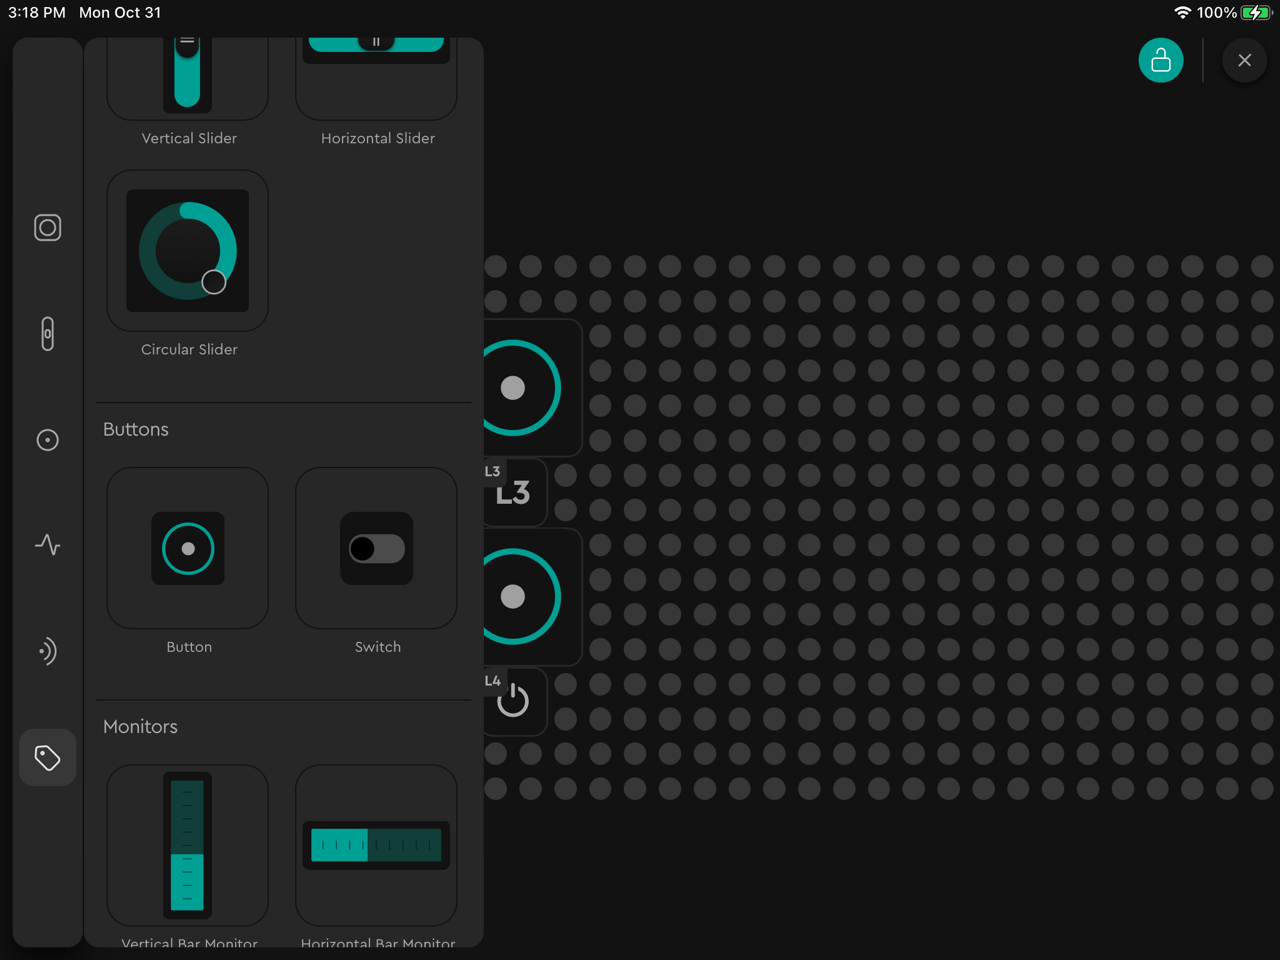
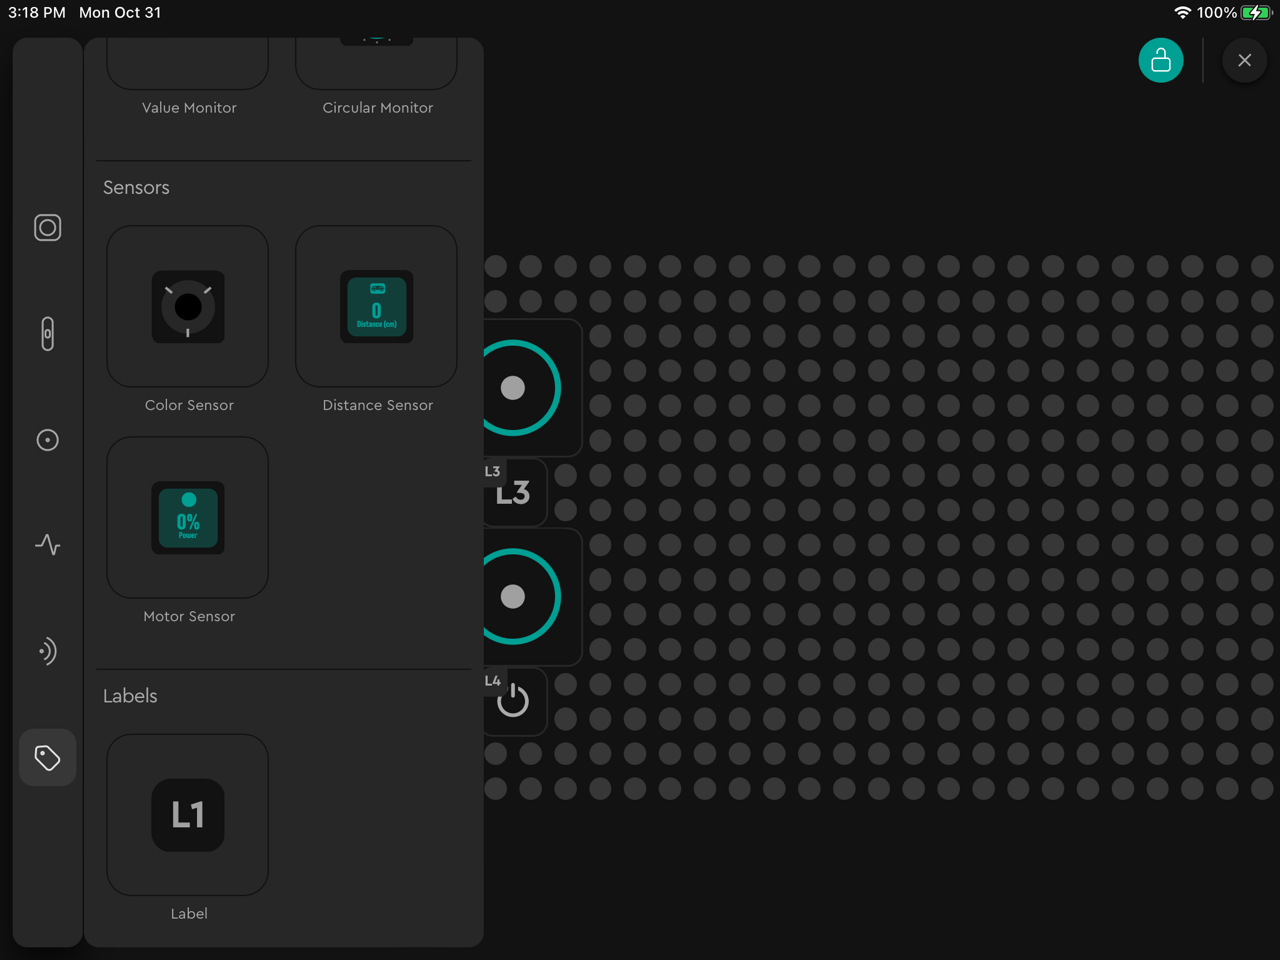
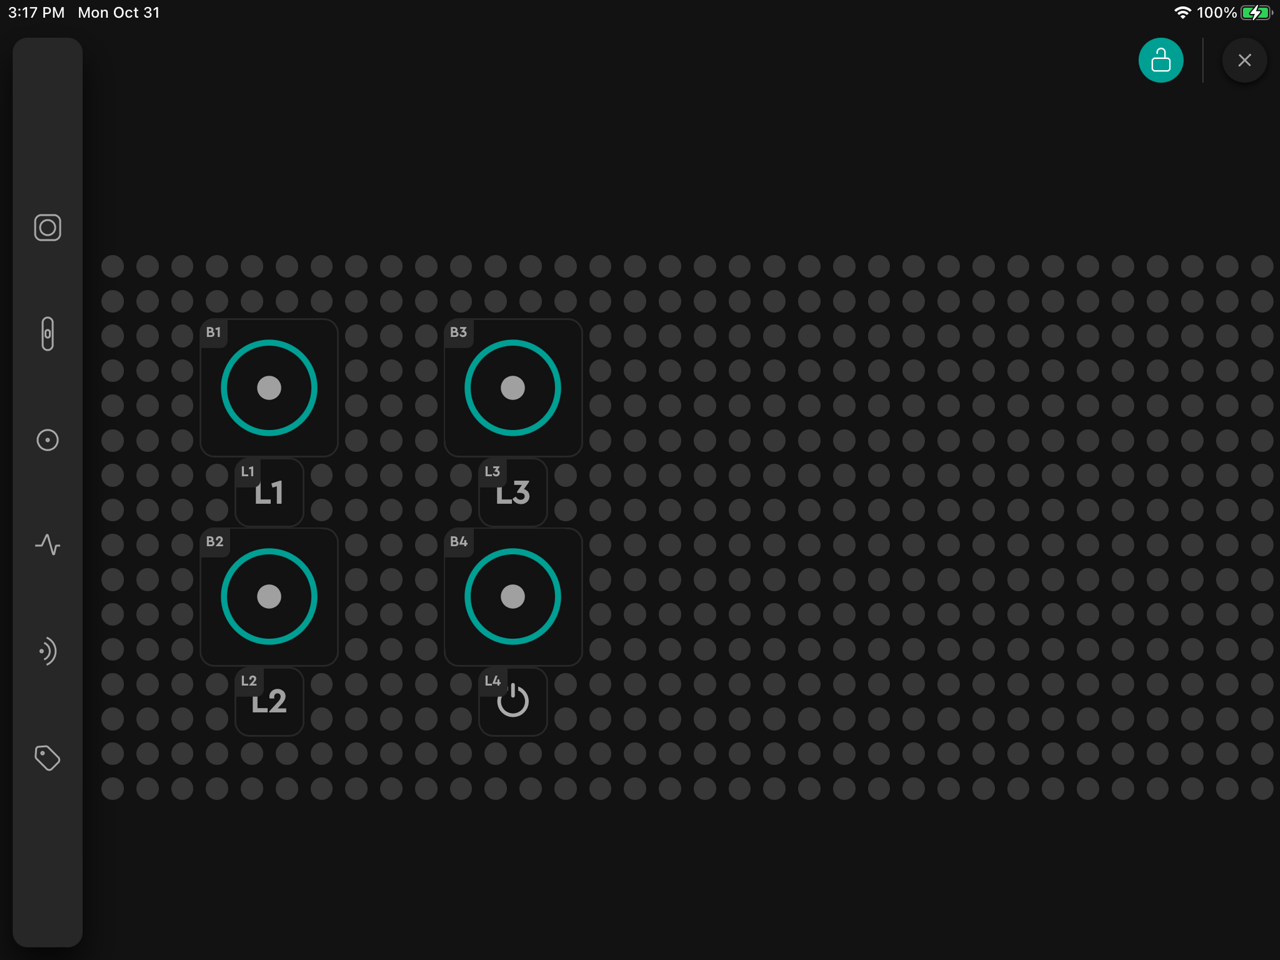
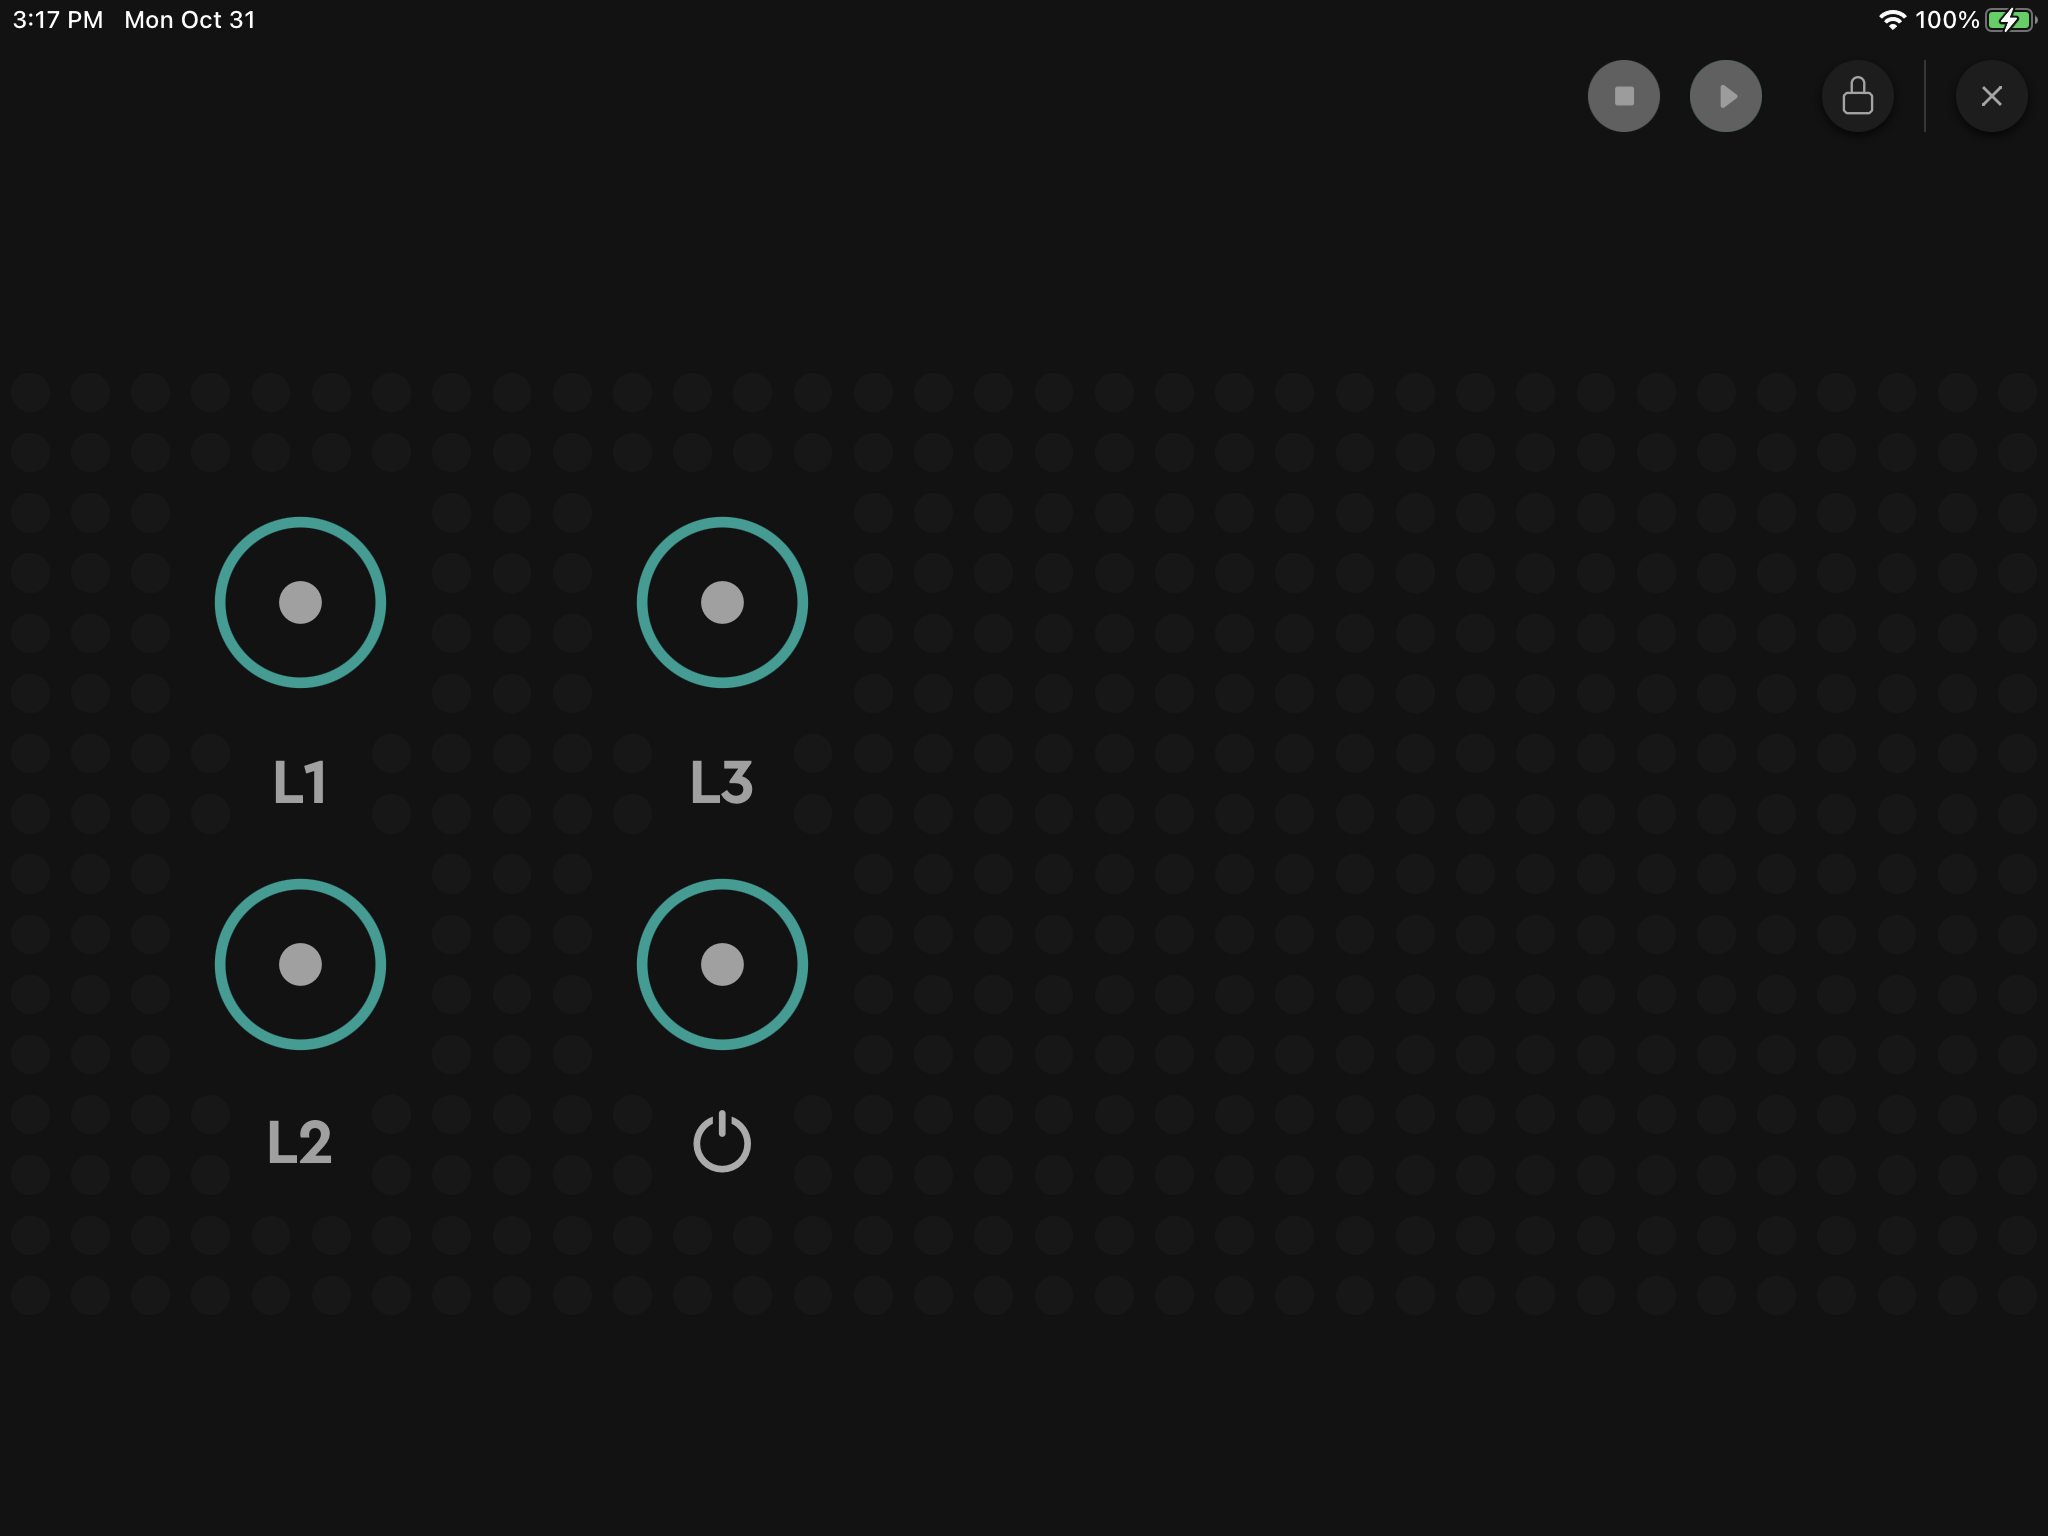
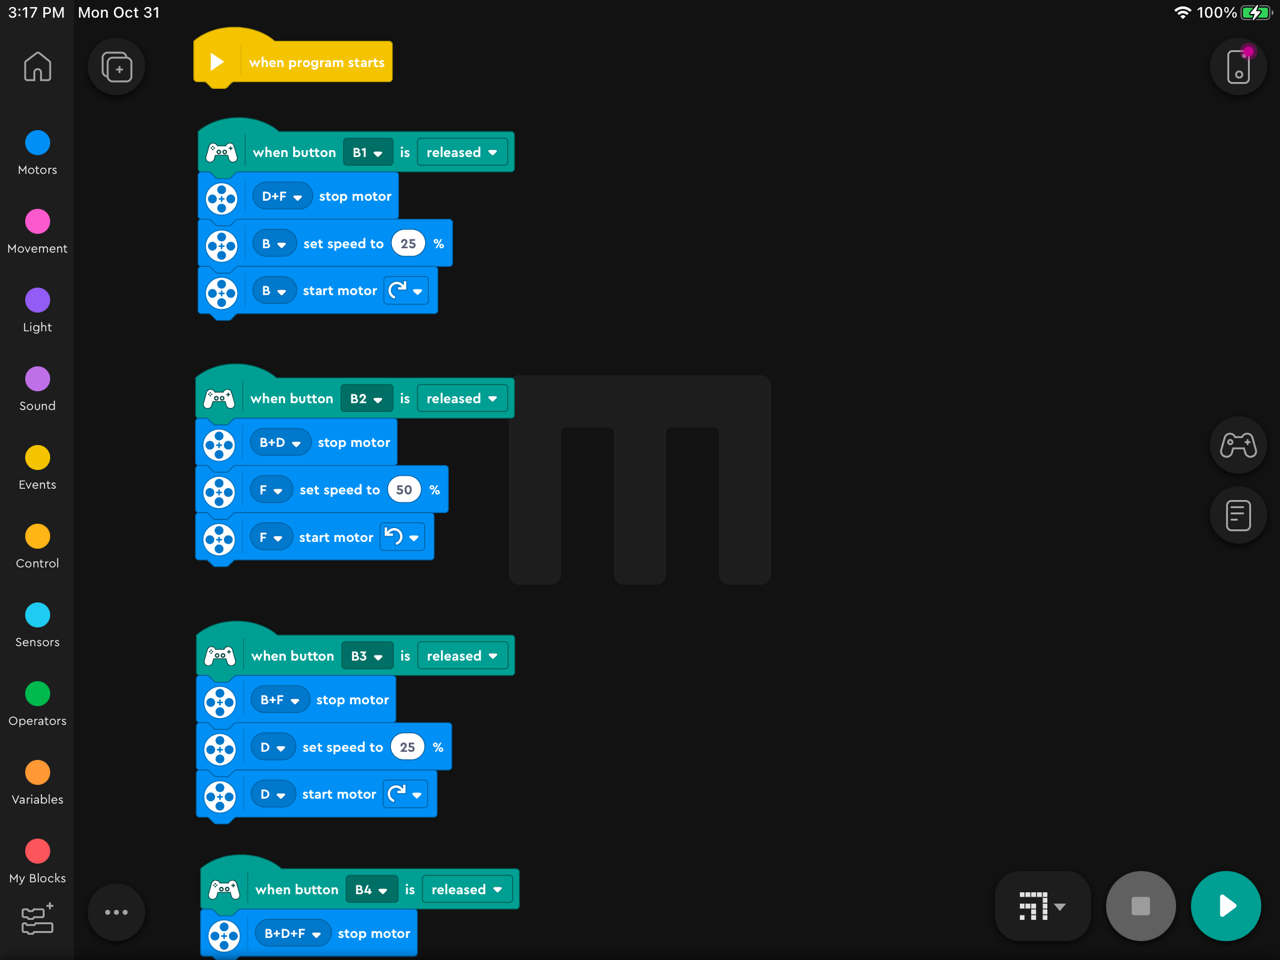
The new skill for this Instructable is programming a controller icon (your phone or iPad) so that you can interact with and control the options as the program runs. Click on the game controller icon (see image 2 - right side of screen). Click on the Button (see image 4) and drag into the work area (repeat three more times so you have four buttons. Click on Label and then click on each button renaming if you like (see images 5-6). Click on the lock (see images 6-7) in the upper right hand corner to save you controller display. Click on the X in the upper right hand corner to return to the coding screen. Now, you have the opportunity to program each button (see image 8). The sample program (image 8) allows the user to turn on one side of the house (display) at a time.
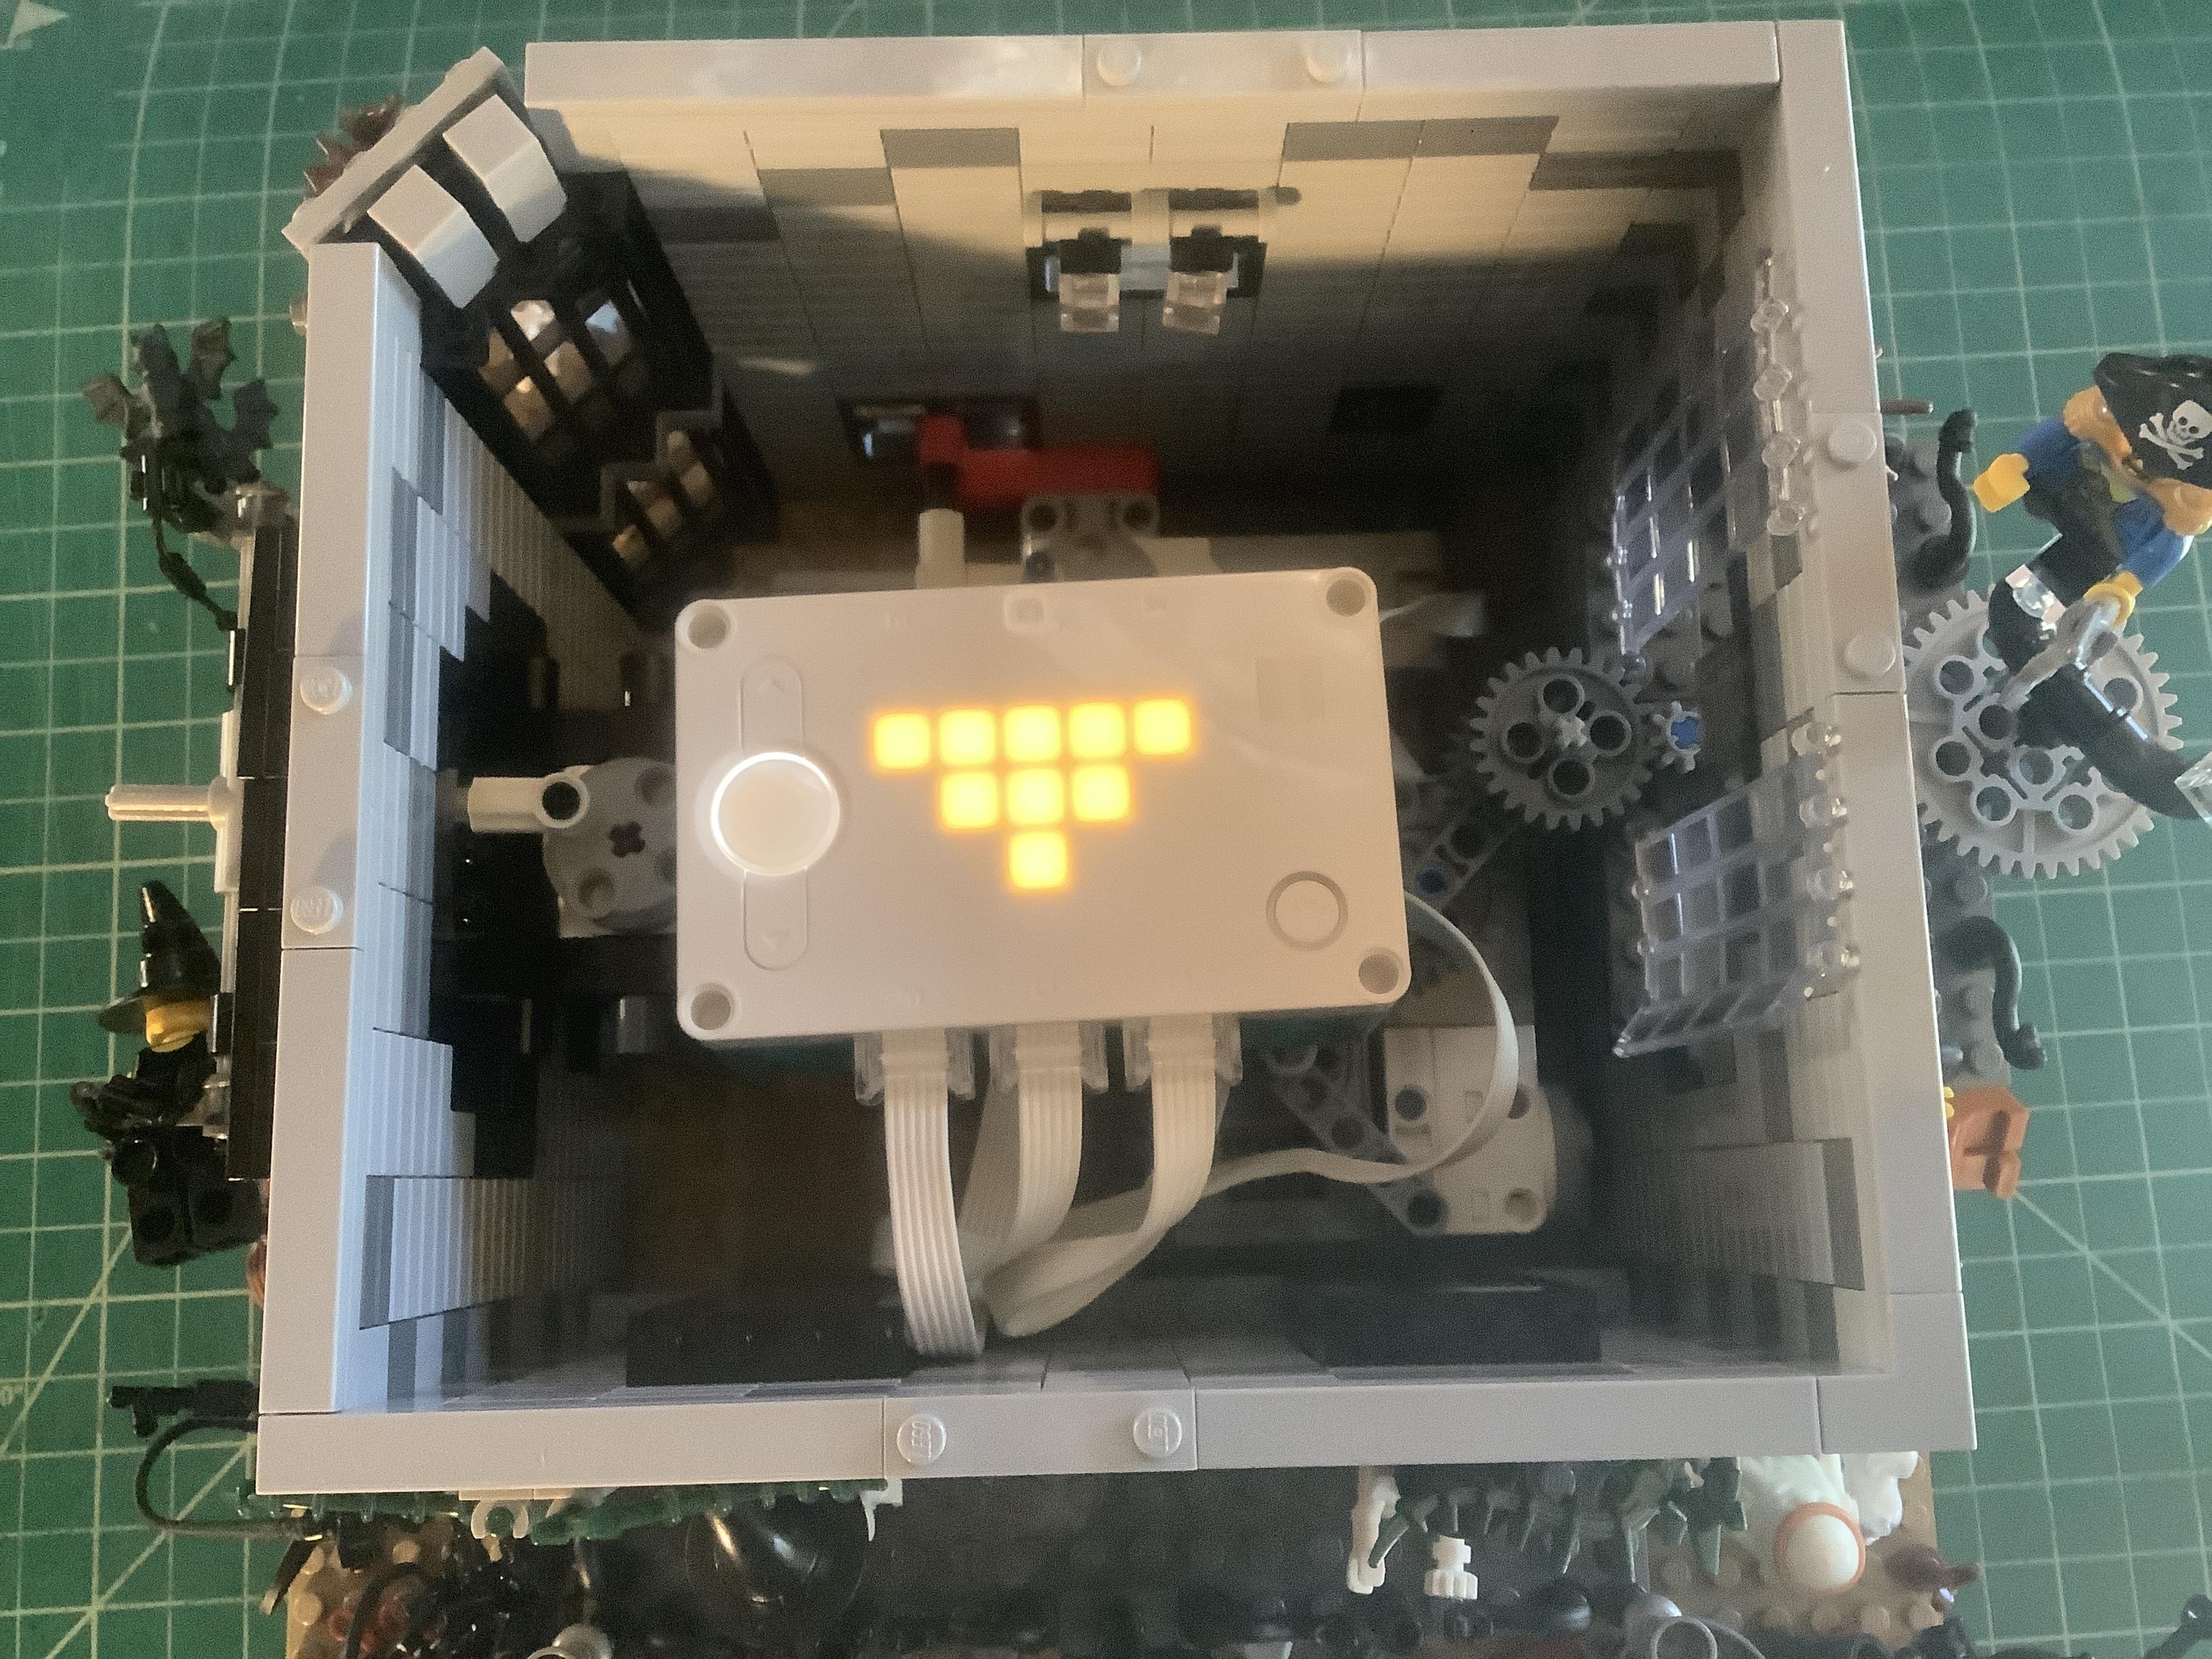
Once you have programmed the hub, place it either inside the house (see image 9) or underneath the house.
Front Side Details
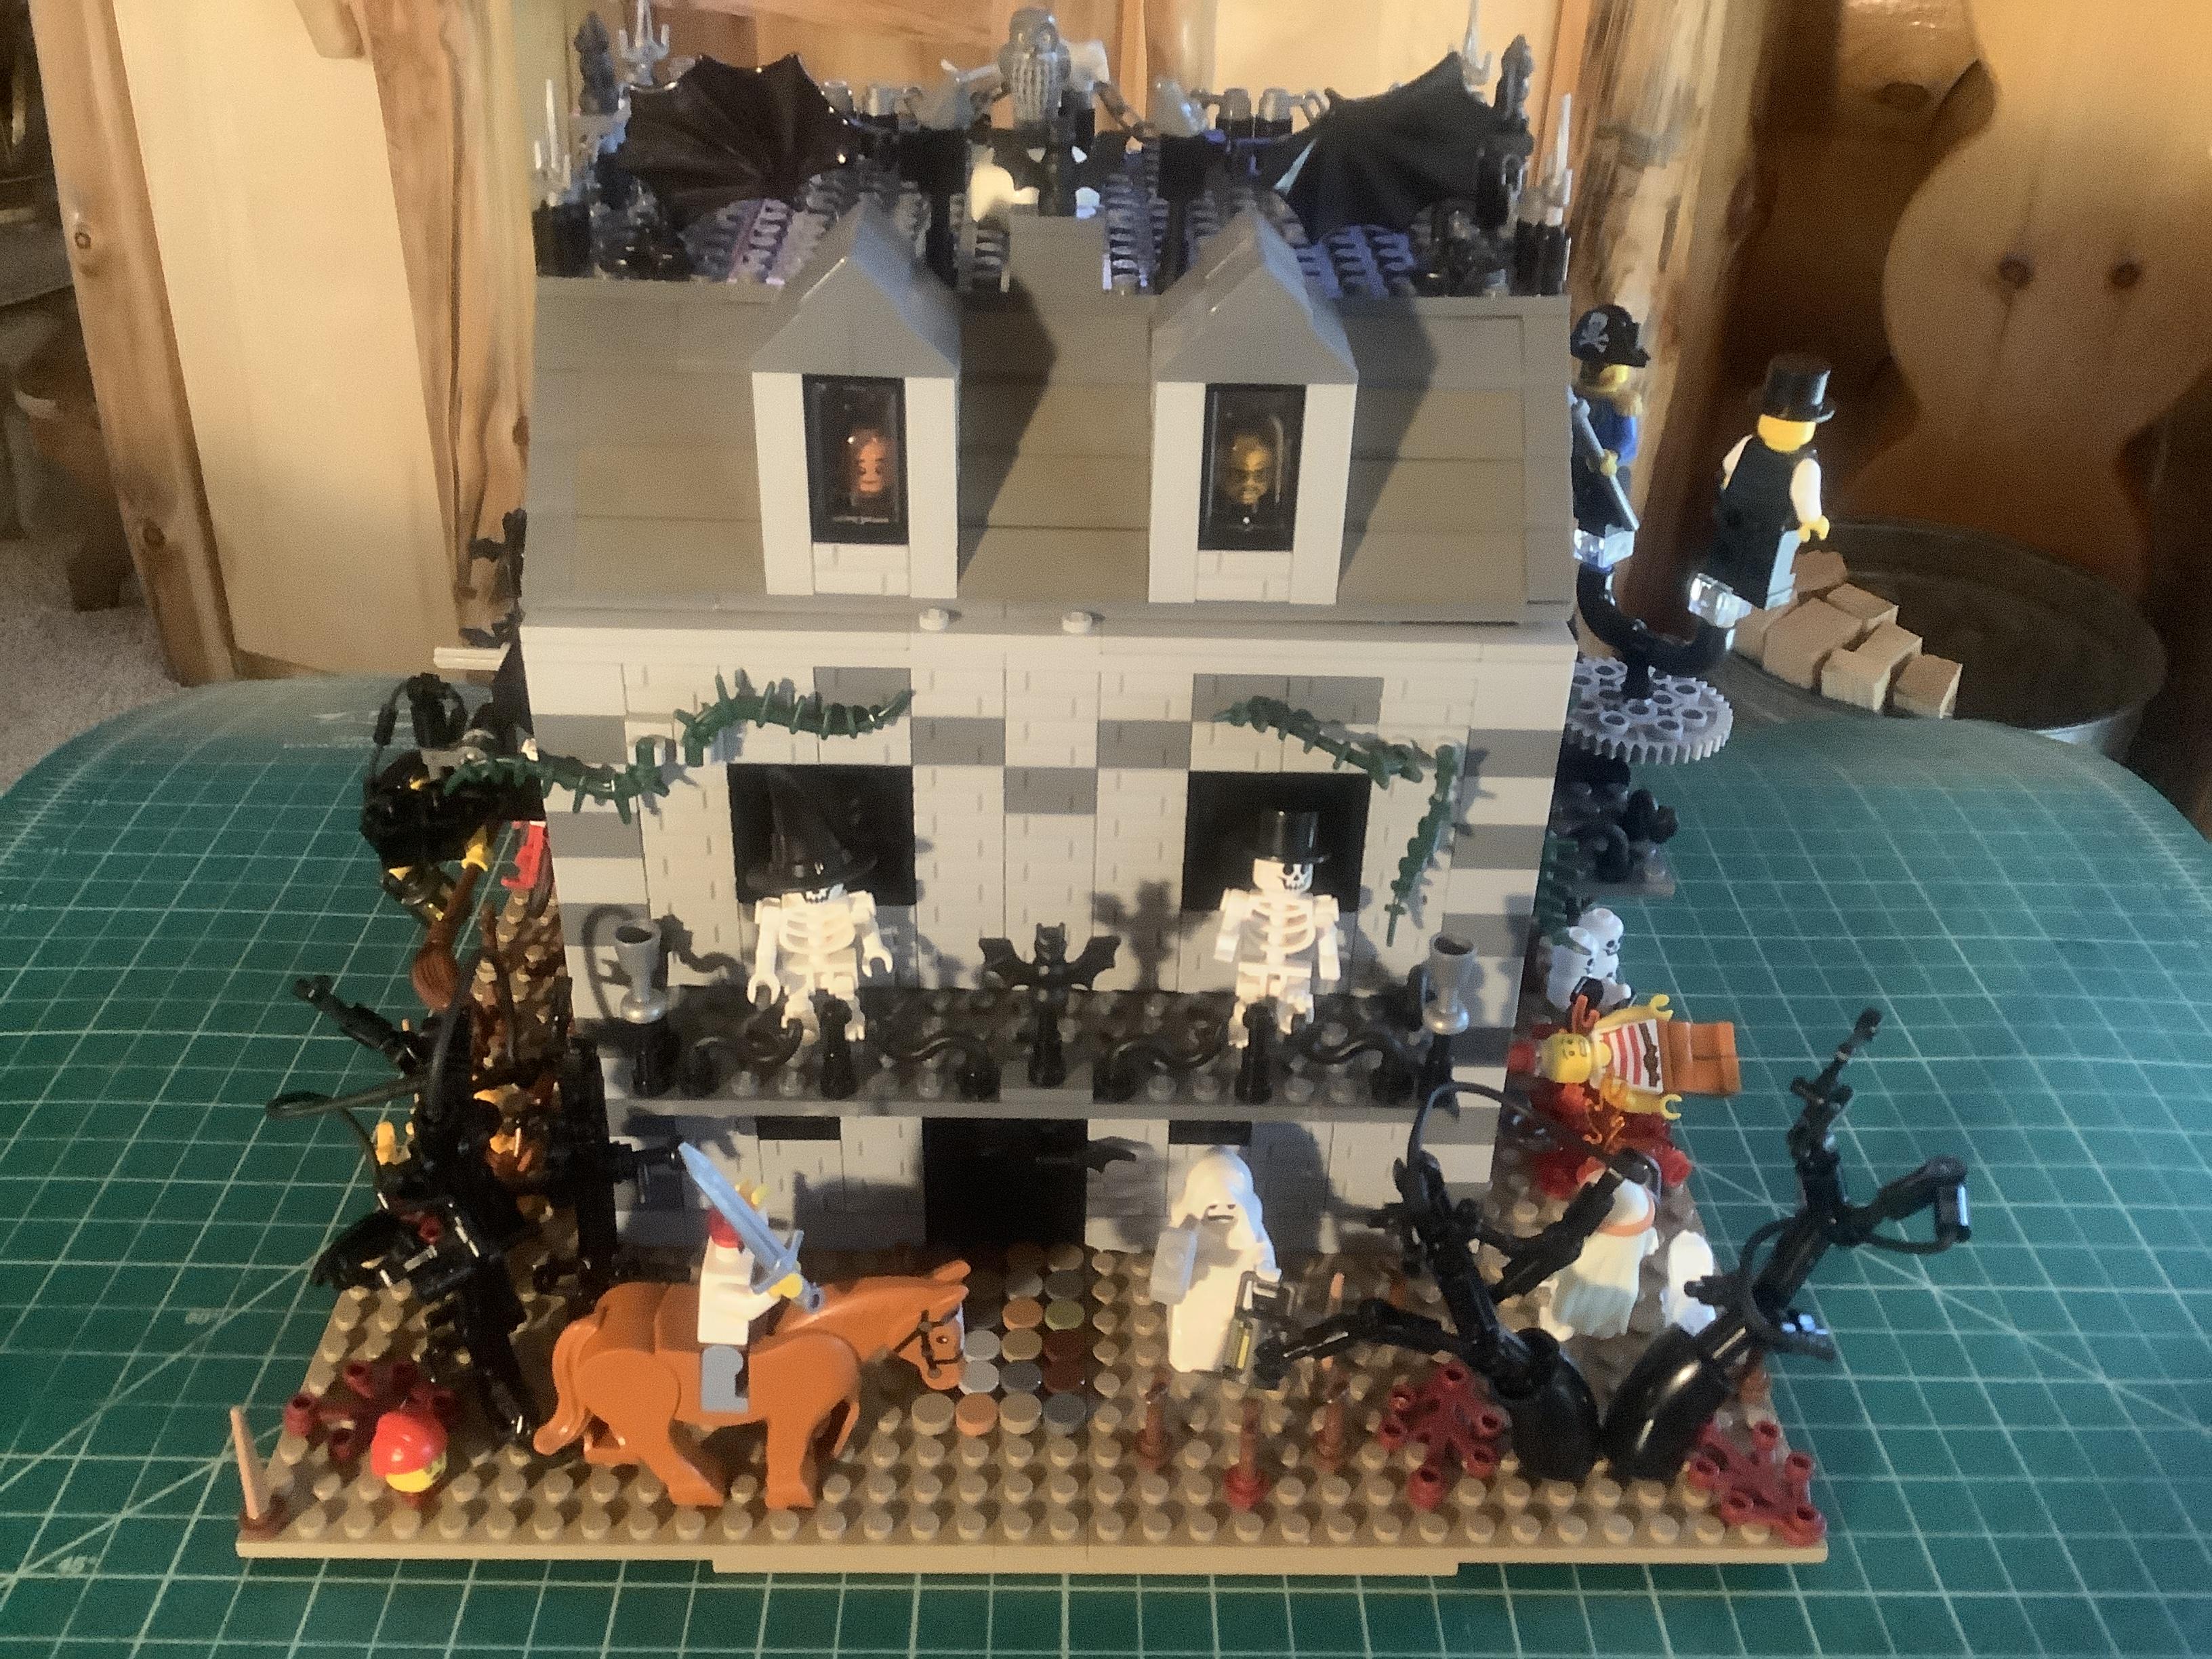
Here is the completed front side of the haunted house (see image 1).
Right Side Details
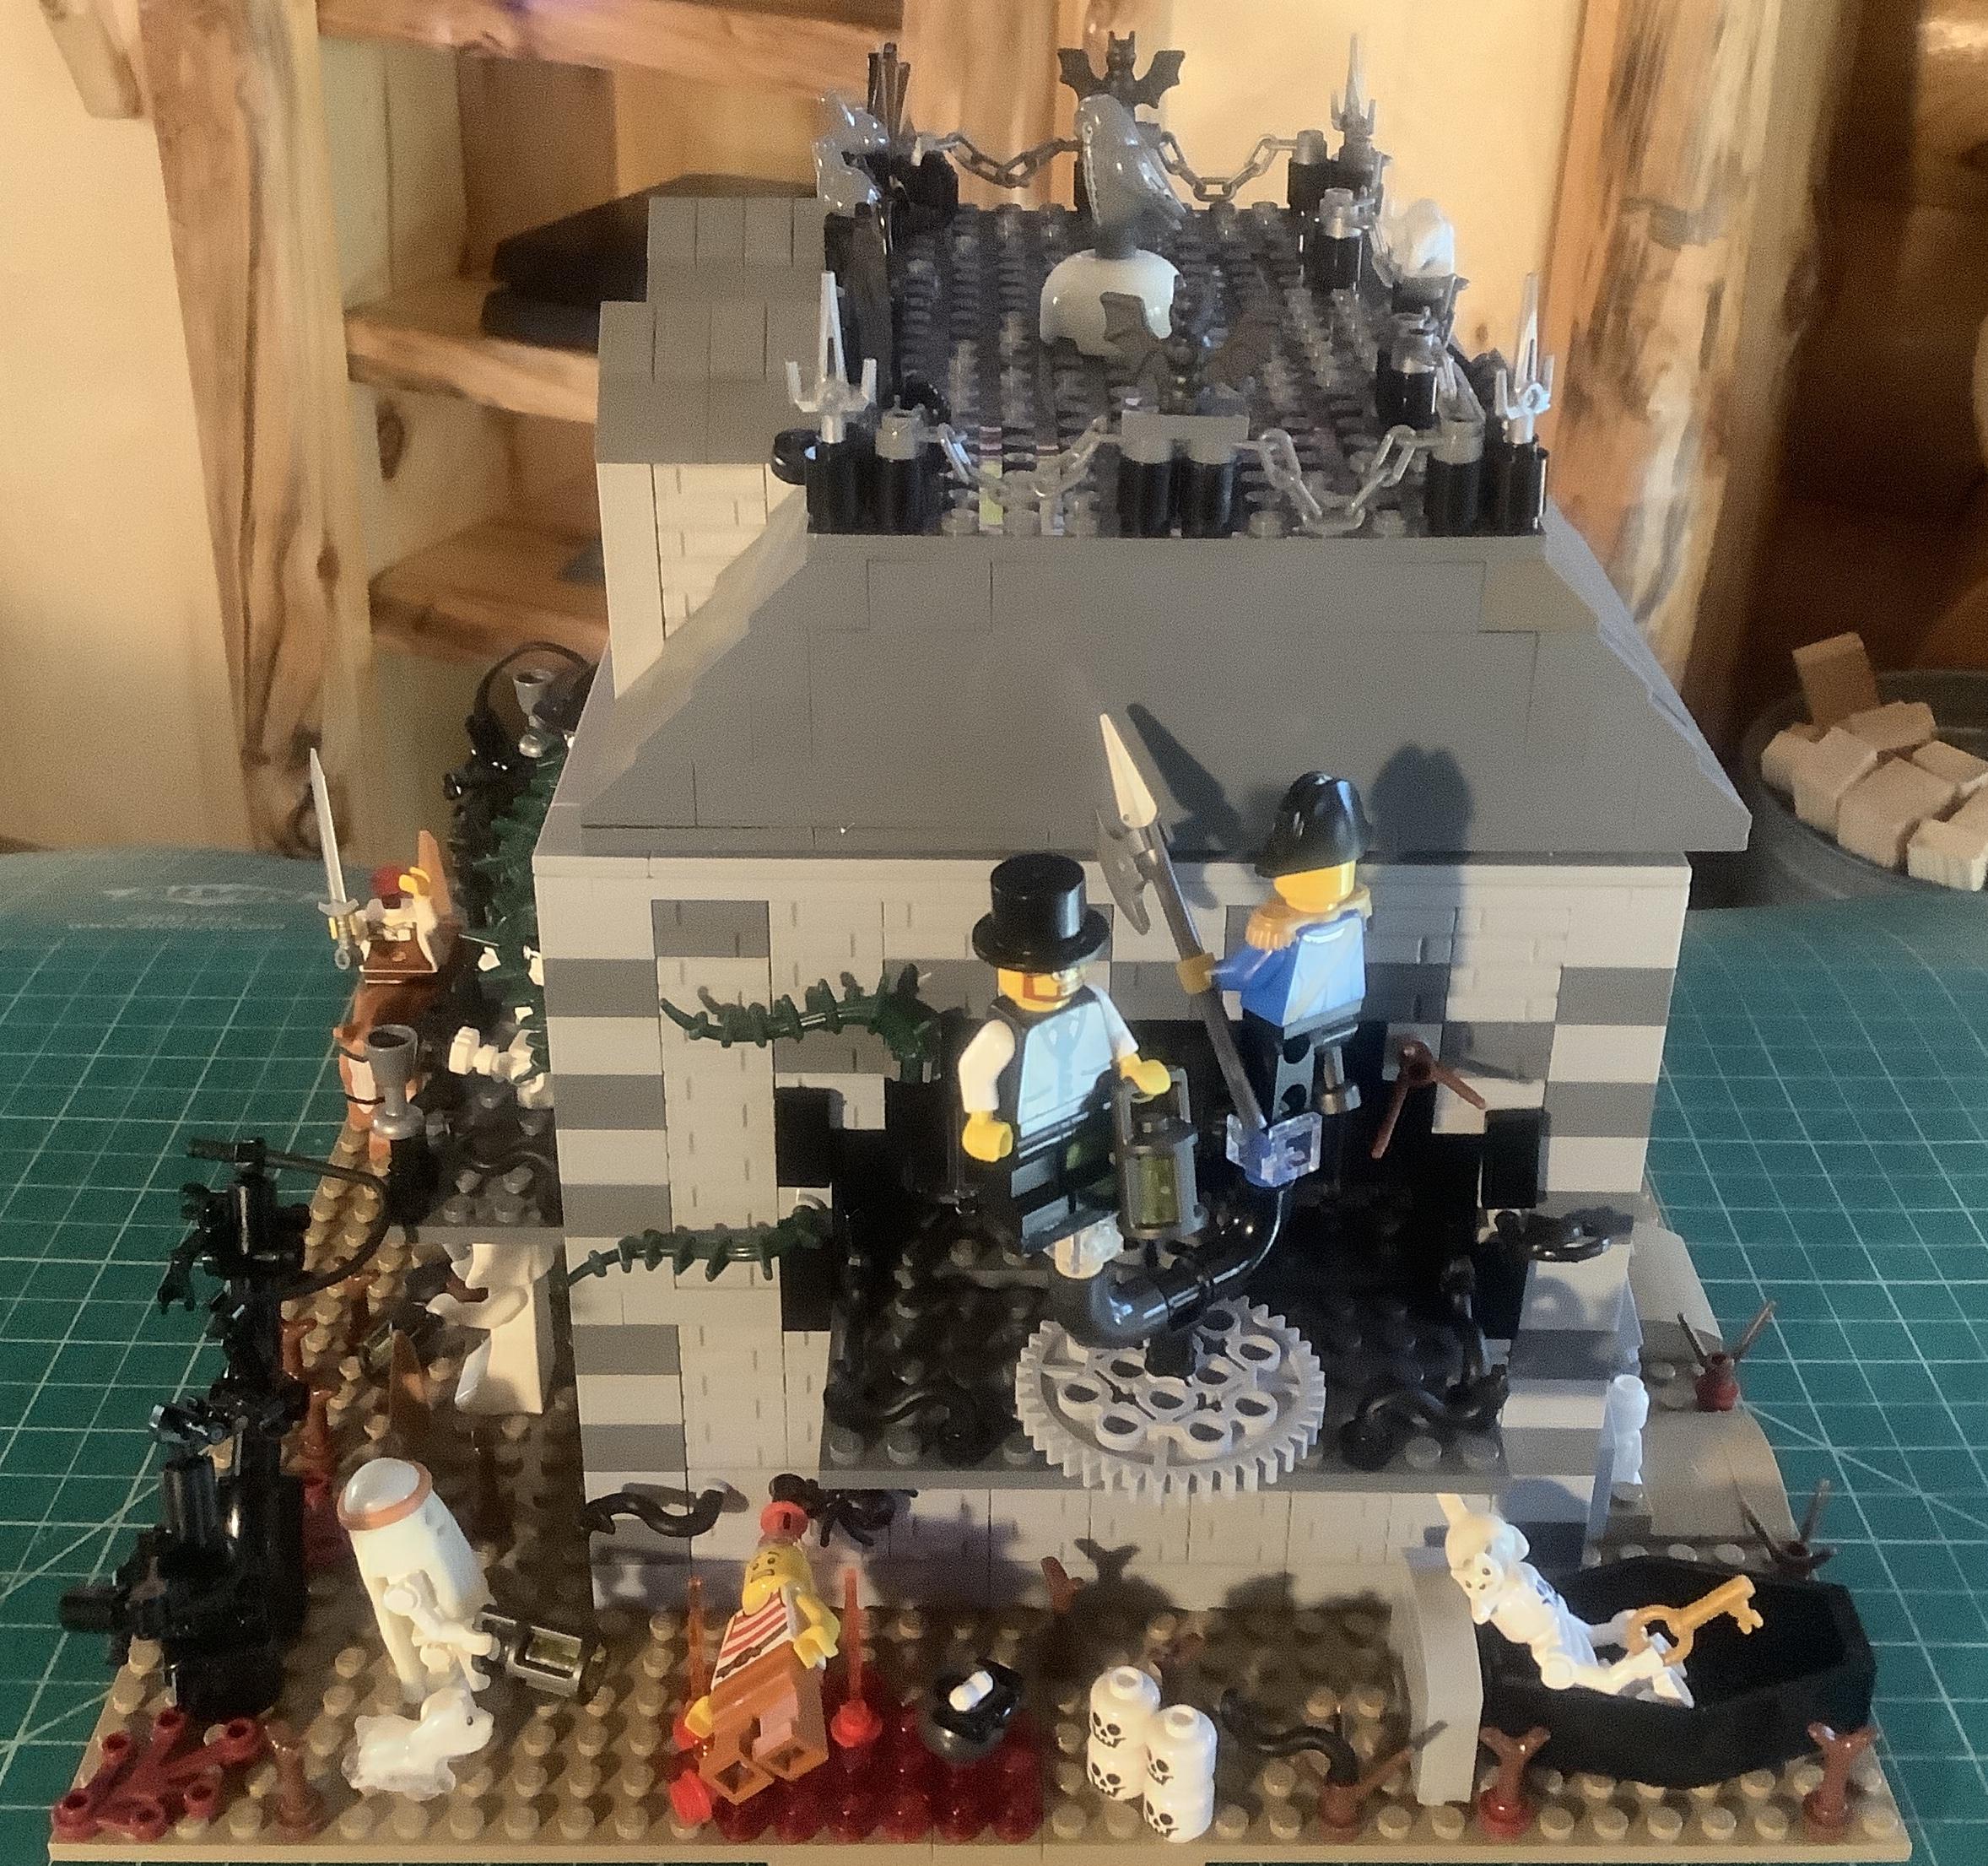
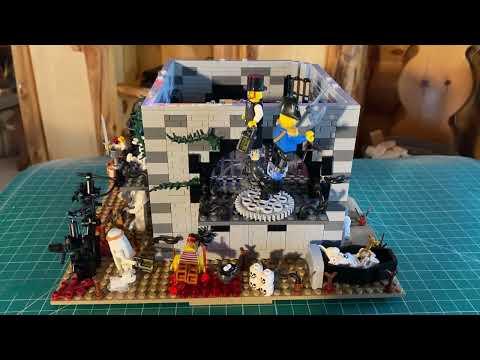
Here is the completed right side of the haunted house (see image 1). The video shows one minifigure being roasted while two minifigures chase each other on the balcony.
Rear Side Details
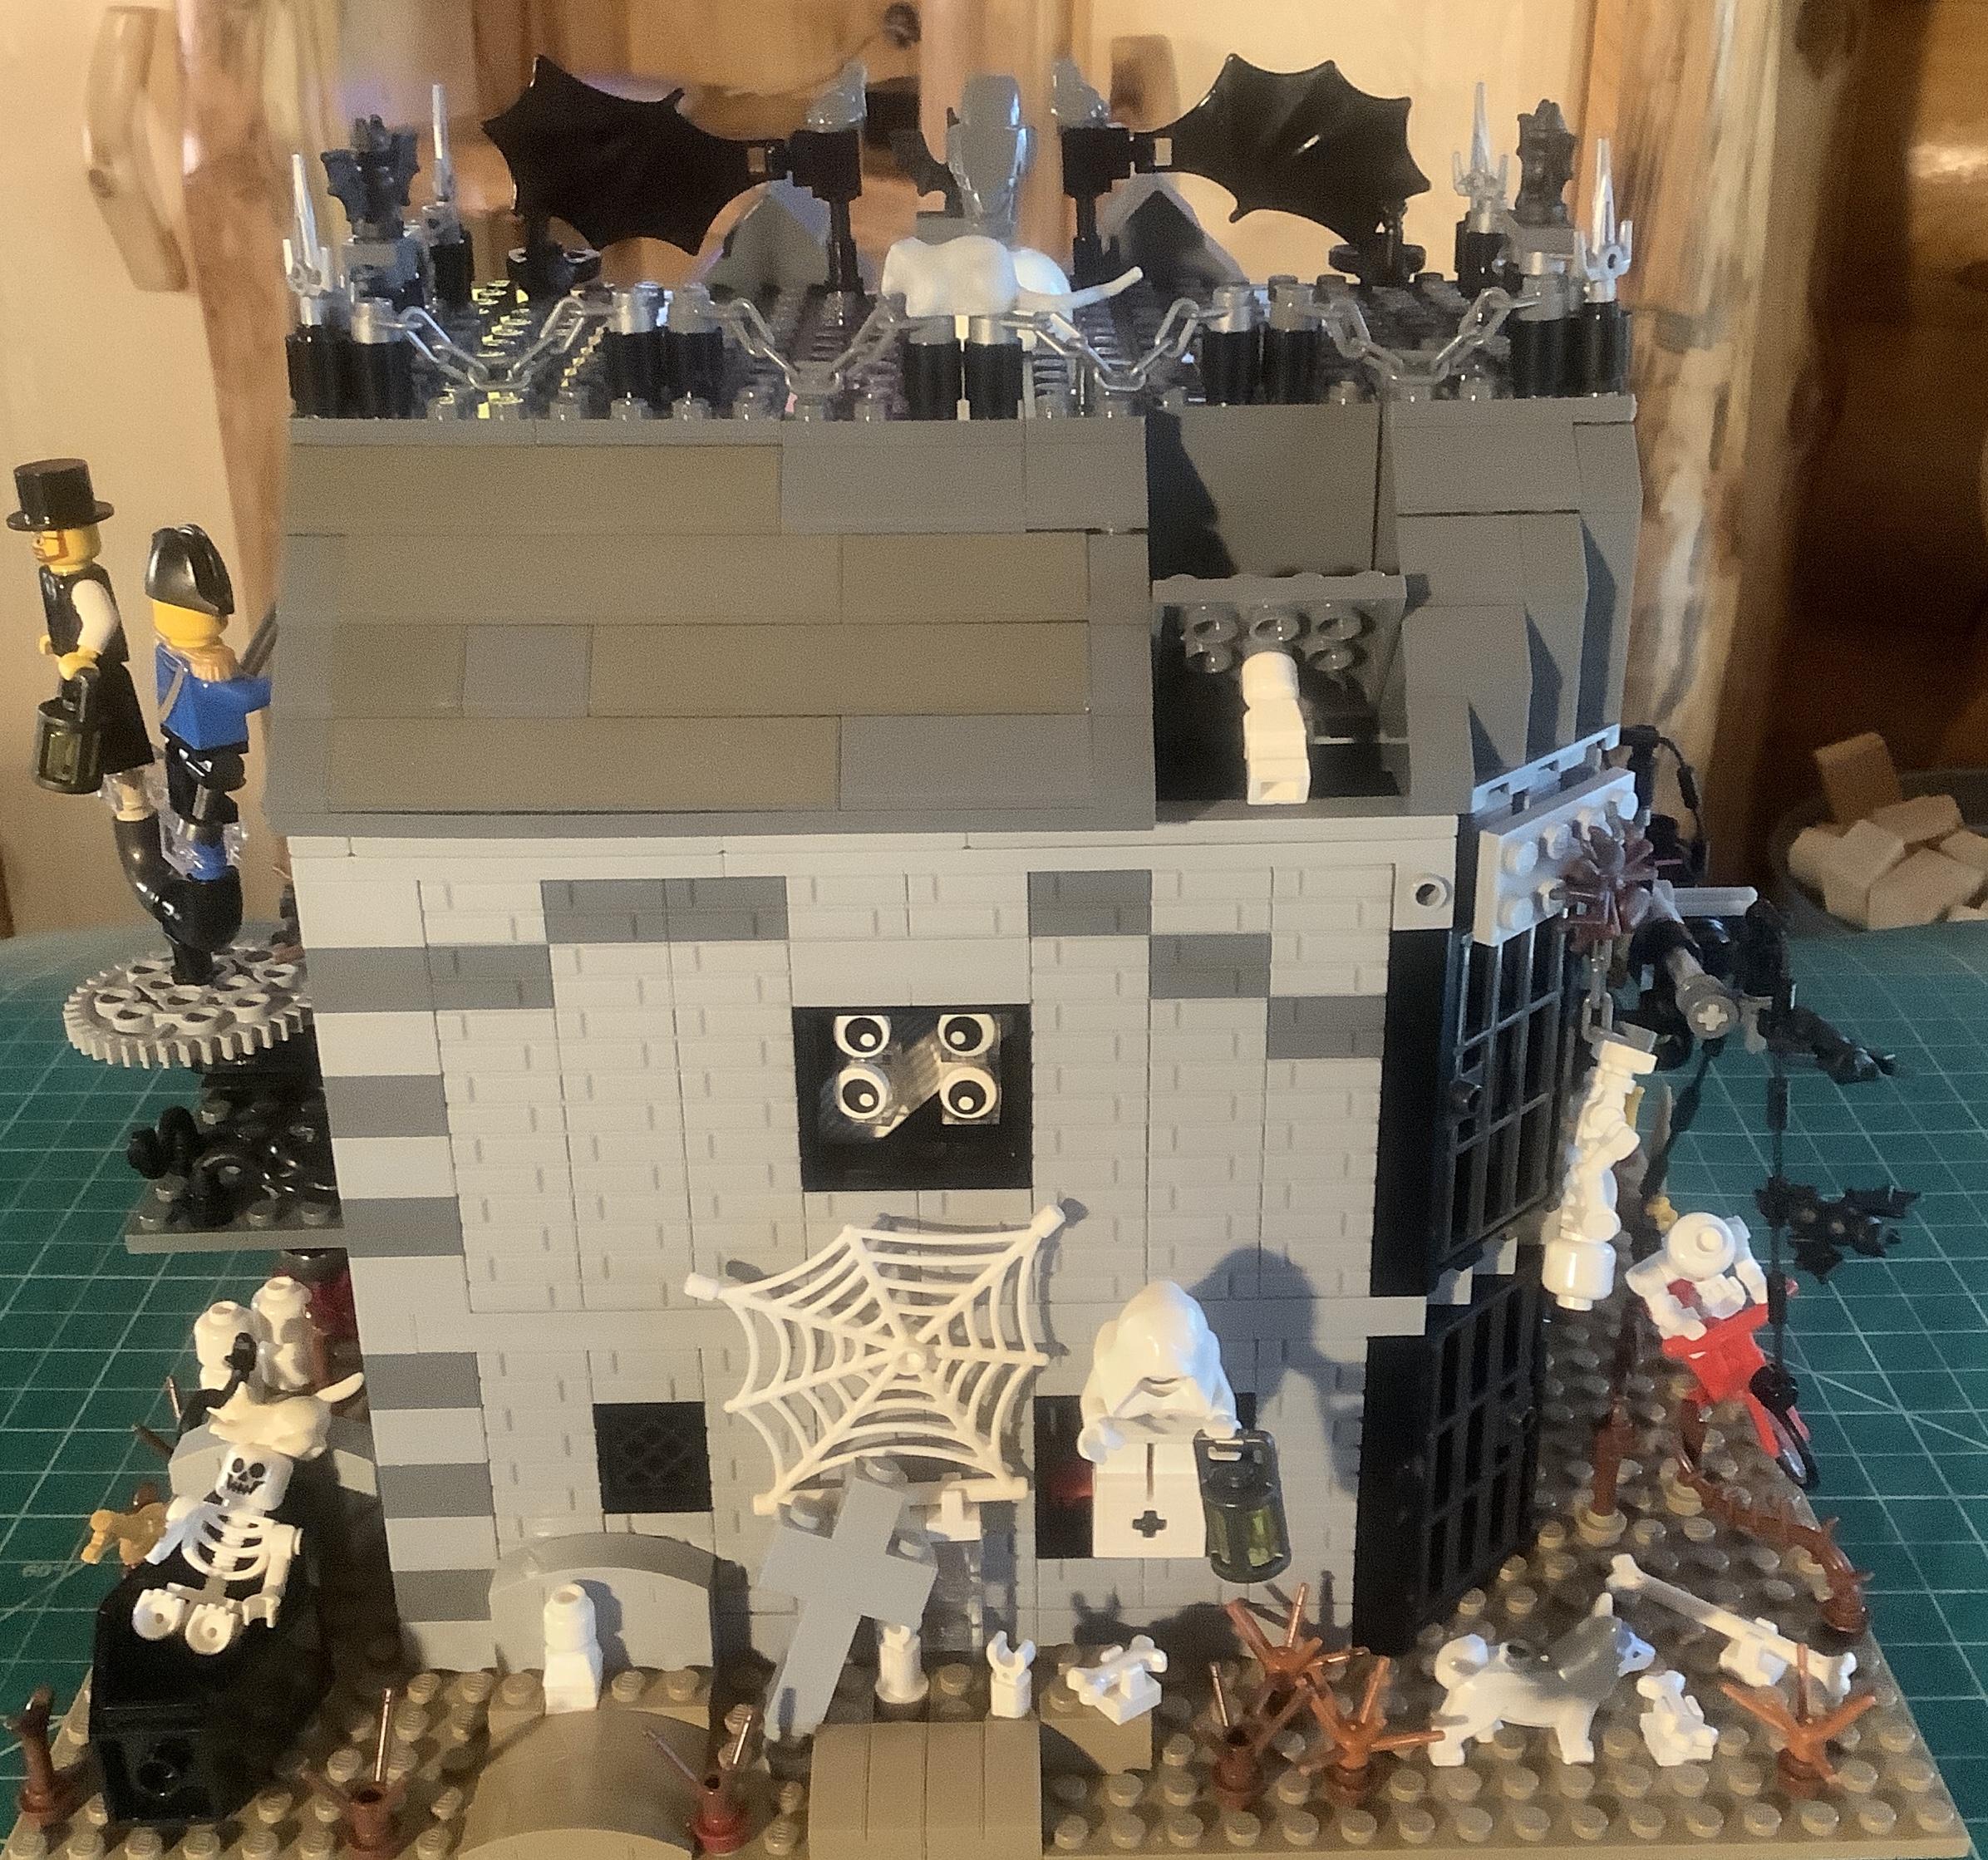
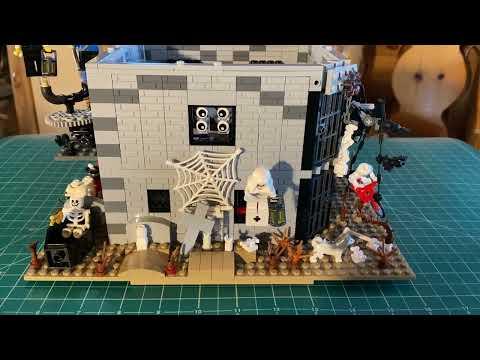
Here is the completed rear side of the haunted house (see image 1). The video shows the ghost moving.
Left Side Details
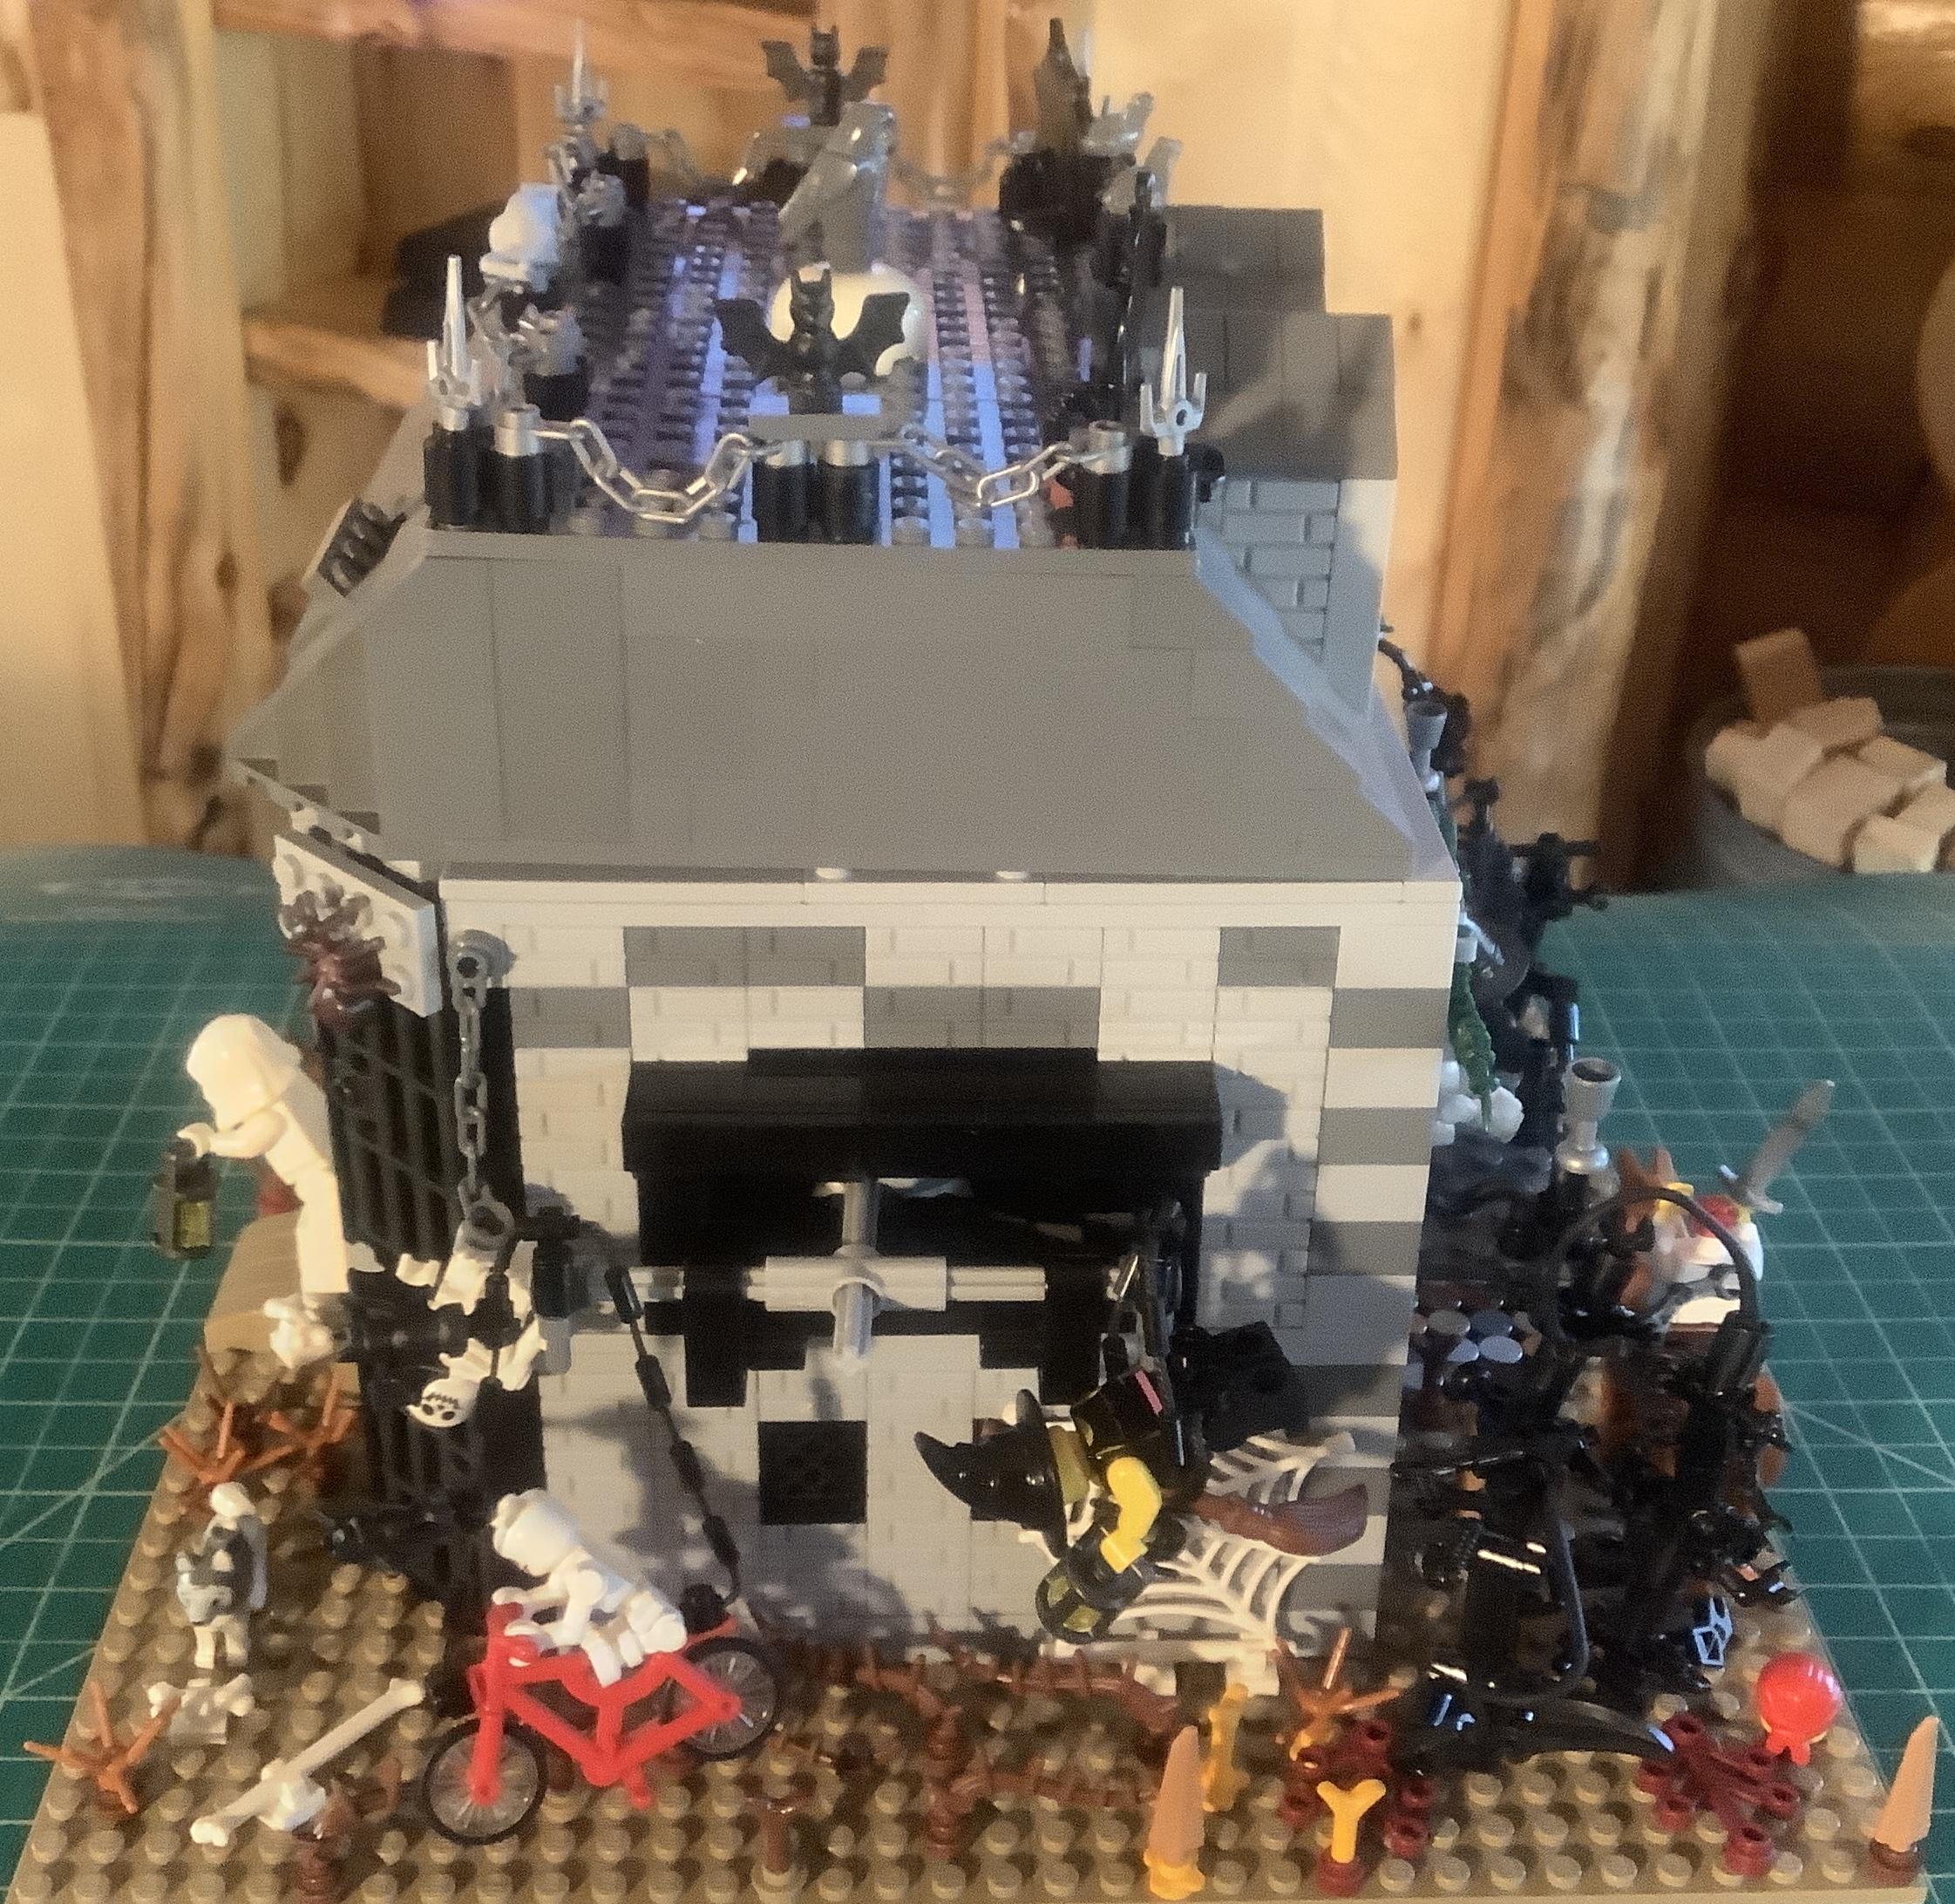
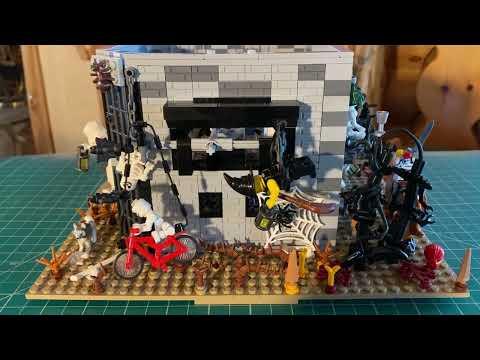
Here is the completed left side of the haunted house (see image 1). The video shows the ghost and witch moving.