A Table Tennis Table With a Twist!
by LeeLee- in Workshop > 3D Printing
187 Views, 1 Favorites, 0 Comments
A Table Tennis Table With a Twist!

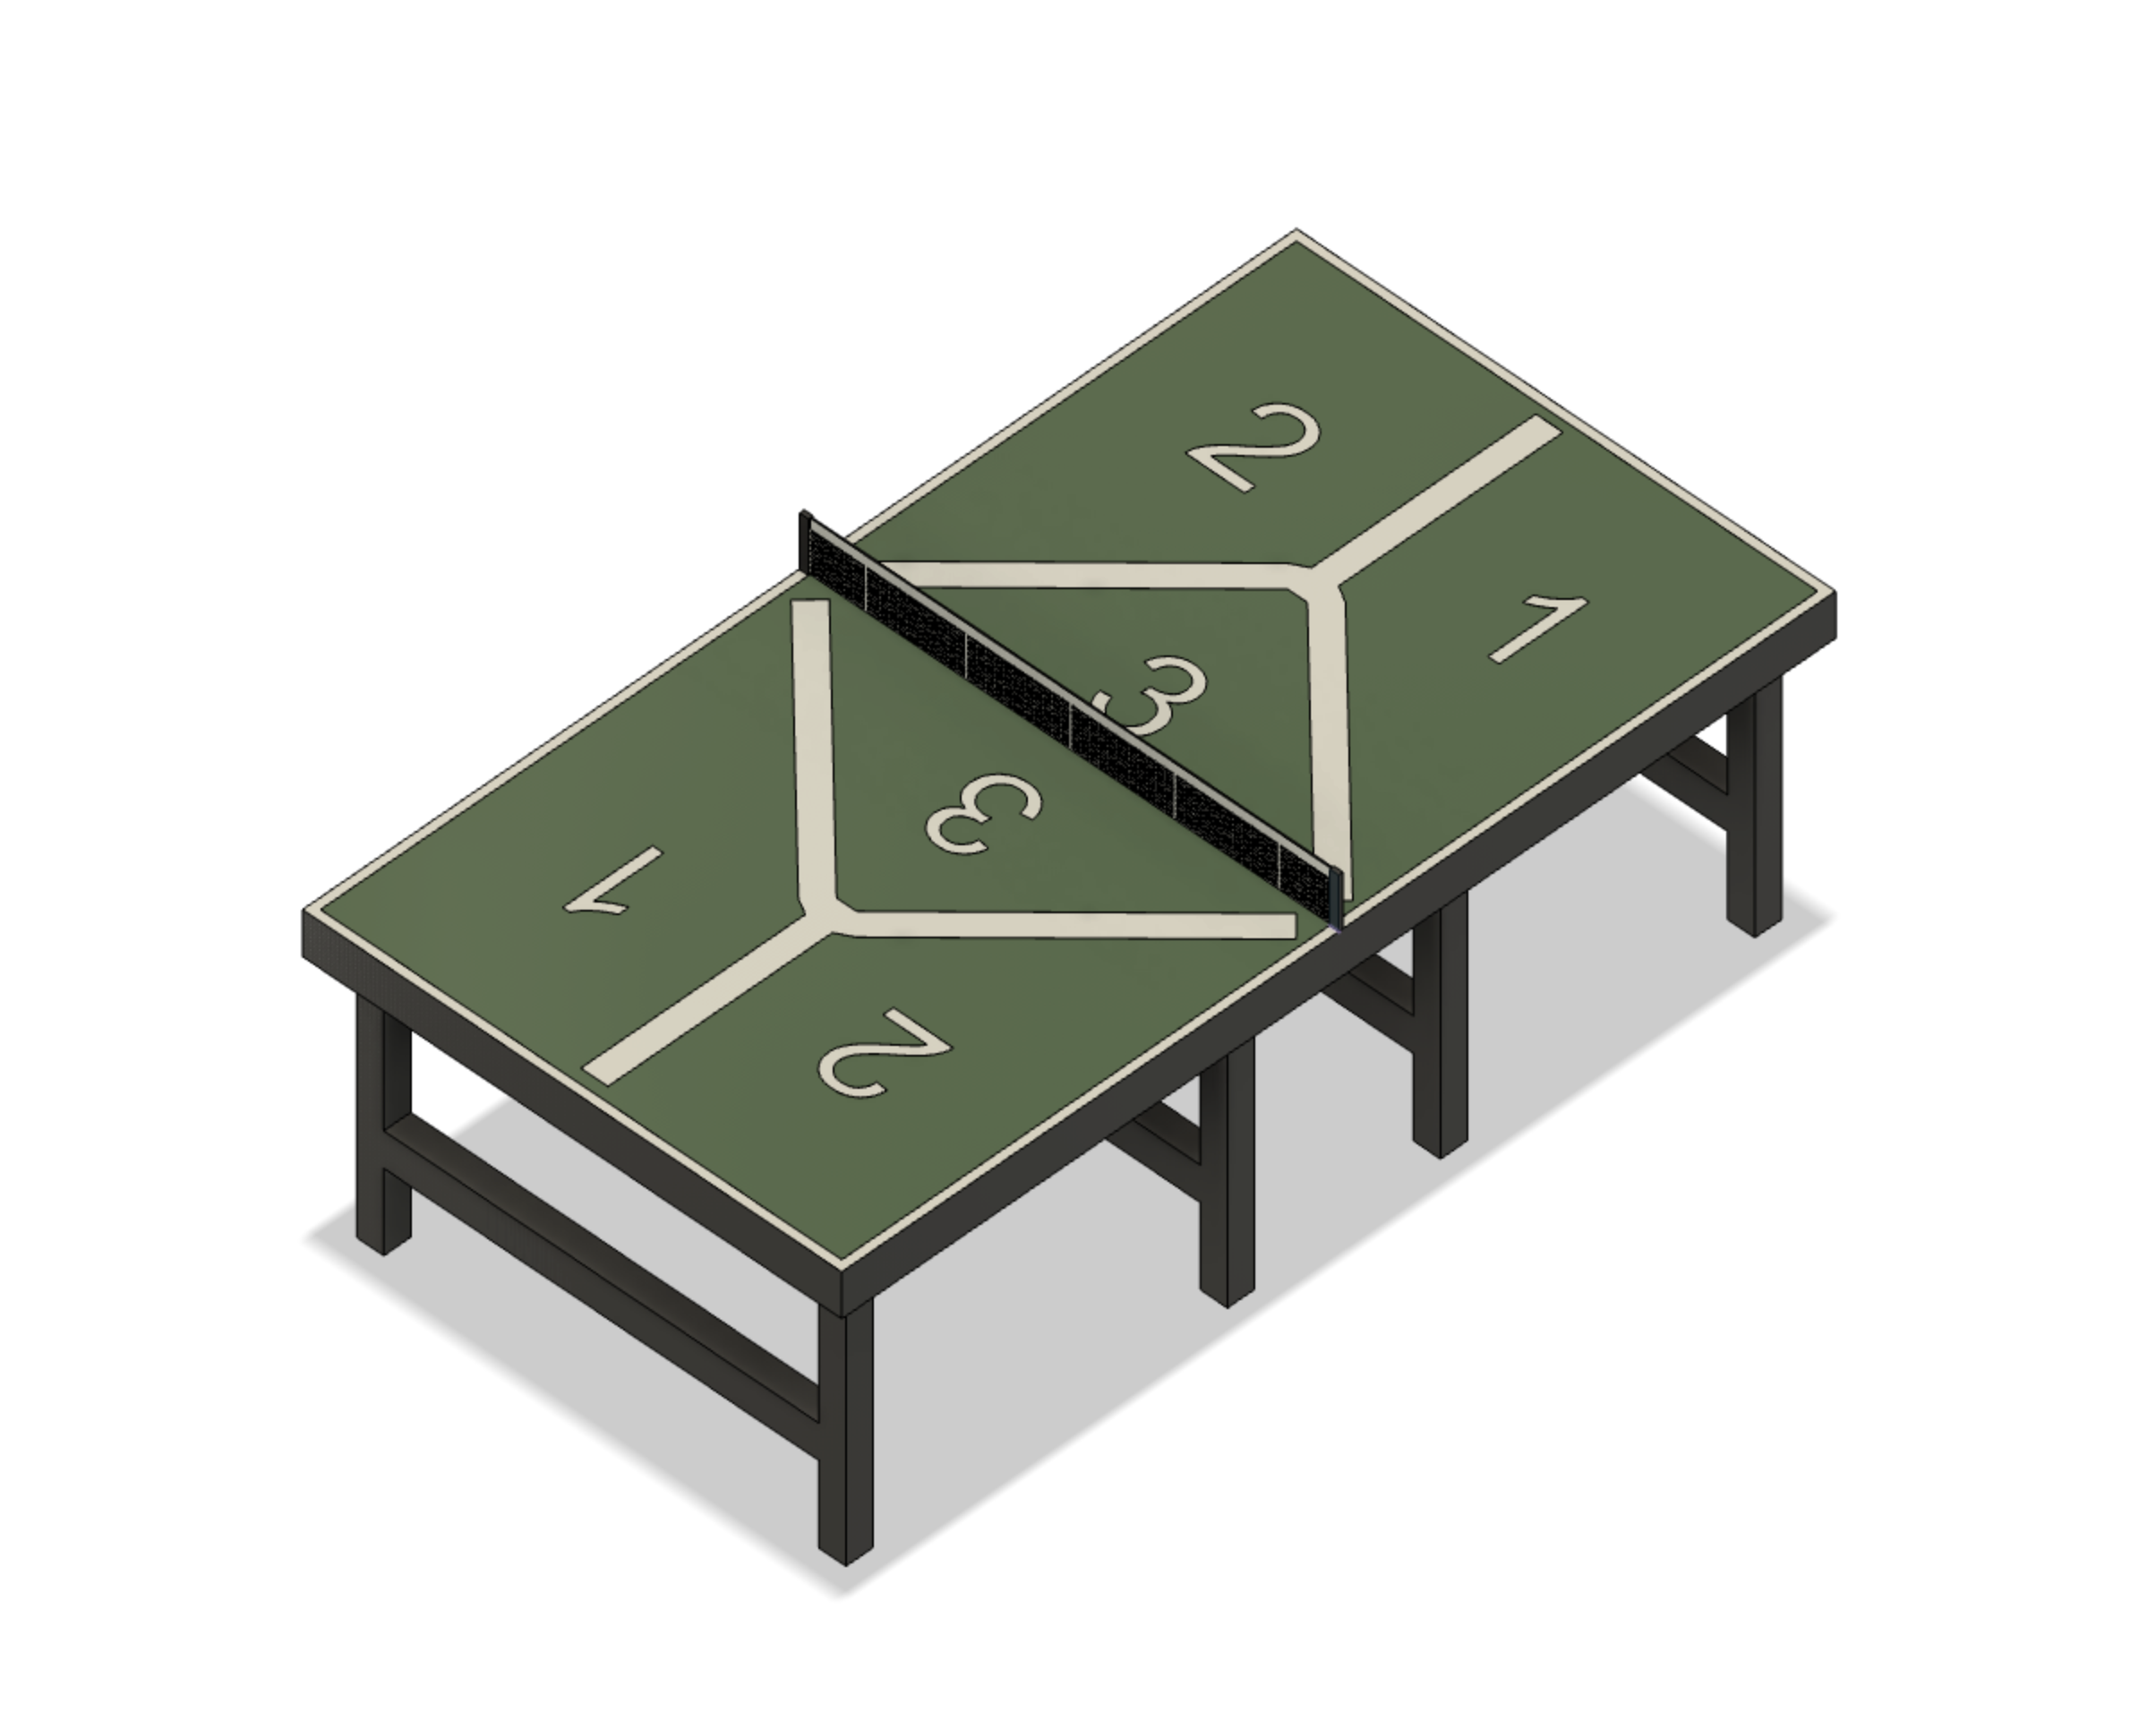
Hello, I am a sophomore at Dublin Jerome High School, and I made a Table Tennis table.
I wanted to make a Table Tennis table due to my love of the game, but I also wanted to add a twist to the game. The numbers you see on the board are related to that twist. With the twist, the rules of Table Tennis should stay the same except for a few things. The rules that change with this board are when serving. Whichever number section the ping pong ball lands or hits first on the opponent's side will be the point value scored to the server unless the opponent can recover the ball without it double bouncing, or the ball going off the table in the opponent's account. If the server hits the ping pong ball to a place where the divider does not reach the table or the divider and the opponent cannot recover the ball, the server earns 2 points.
Supplies
For this project, the one source I used was Fusion 360.
Make the Table Legs
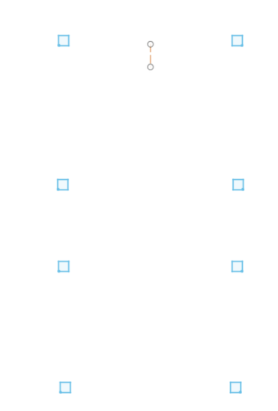
First, I started with the sketch option in Fusion 360. The idea is to make 8 squares to create a rectangular shape and dimension set distances between the squares.
The dimensions I used:
- Squares: 3" by 3"
- The distance between the outer group of squares and the group of squares in the middle is 32.5"
- The two inner square groups are 21" apart from each other
After doing what's above, you want to extrude all the squares upward by 30".
Make Table Top
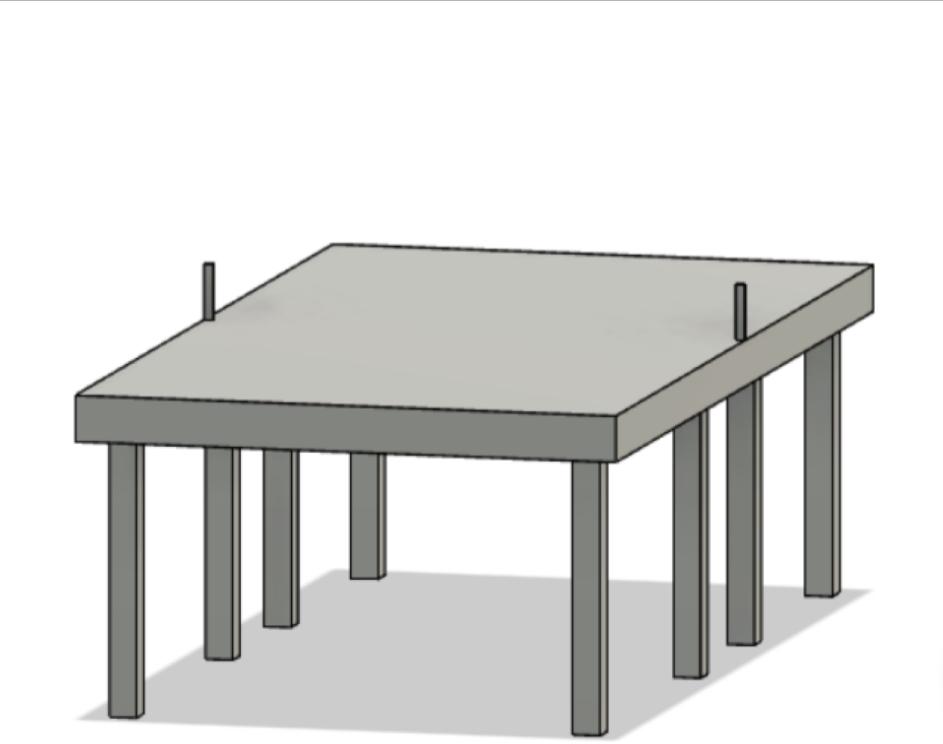
Next, you'll want to sketch the table top. For this, I sketched a rectangle that is 60" by 111". You'll want to make sure the table legs are all equally inside the table top sketch before extruding and cutting the sketch until the table top touches the top of the table legs.
Dimensions I used:
- Extruded table top upwards by 5"
- Sketched rectangle 60" x 111"
Starting to Make the Net
Now you're going to want to start on the net. For the sides of the net, I sketched and centered squares in the middle of the sides of the table top like above. After doing all of that, I extruded the squares upwards.
The dimensions I used:
- .5"x 1" for the squares
- Extruded upwards by 6"
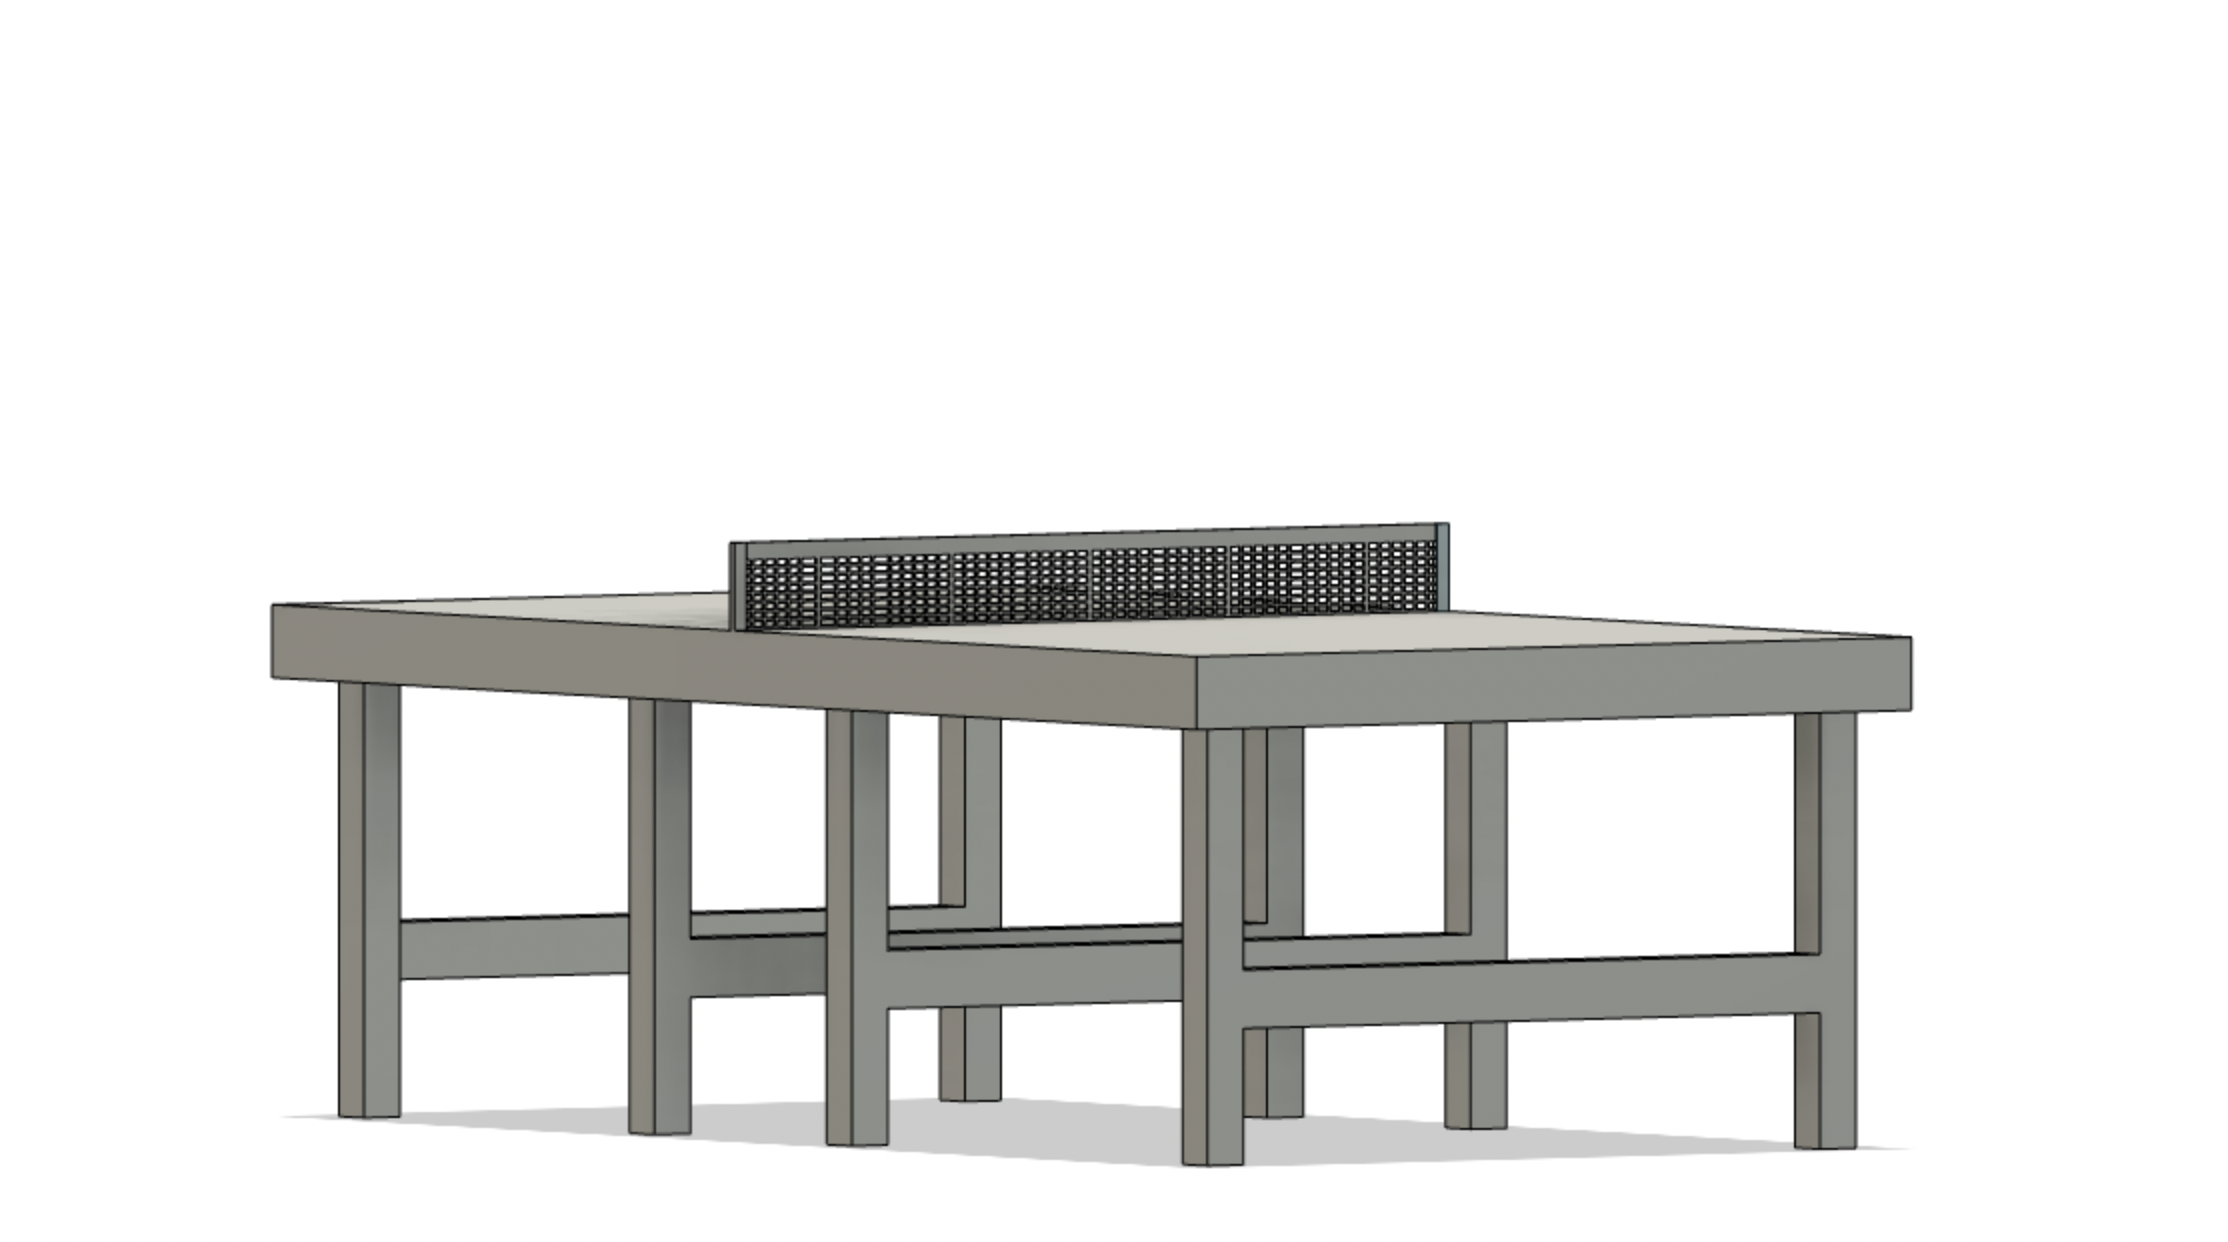
Making the Net
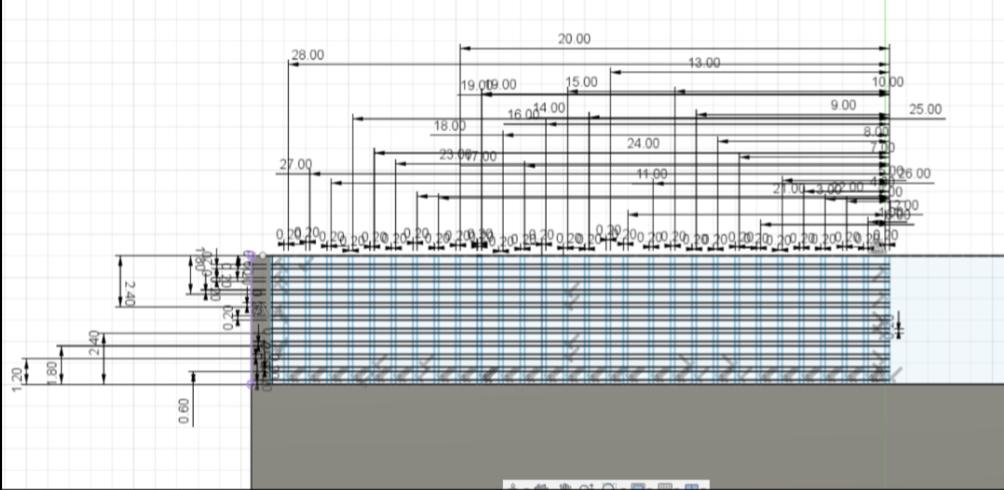

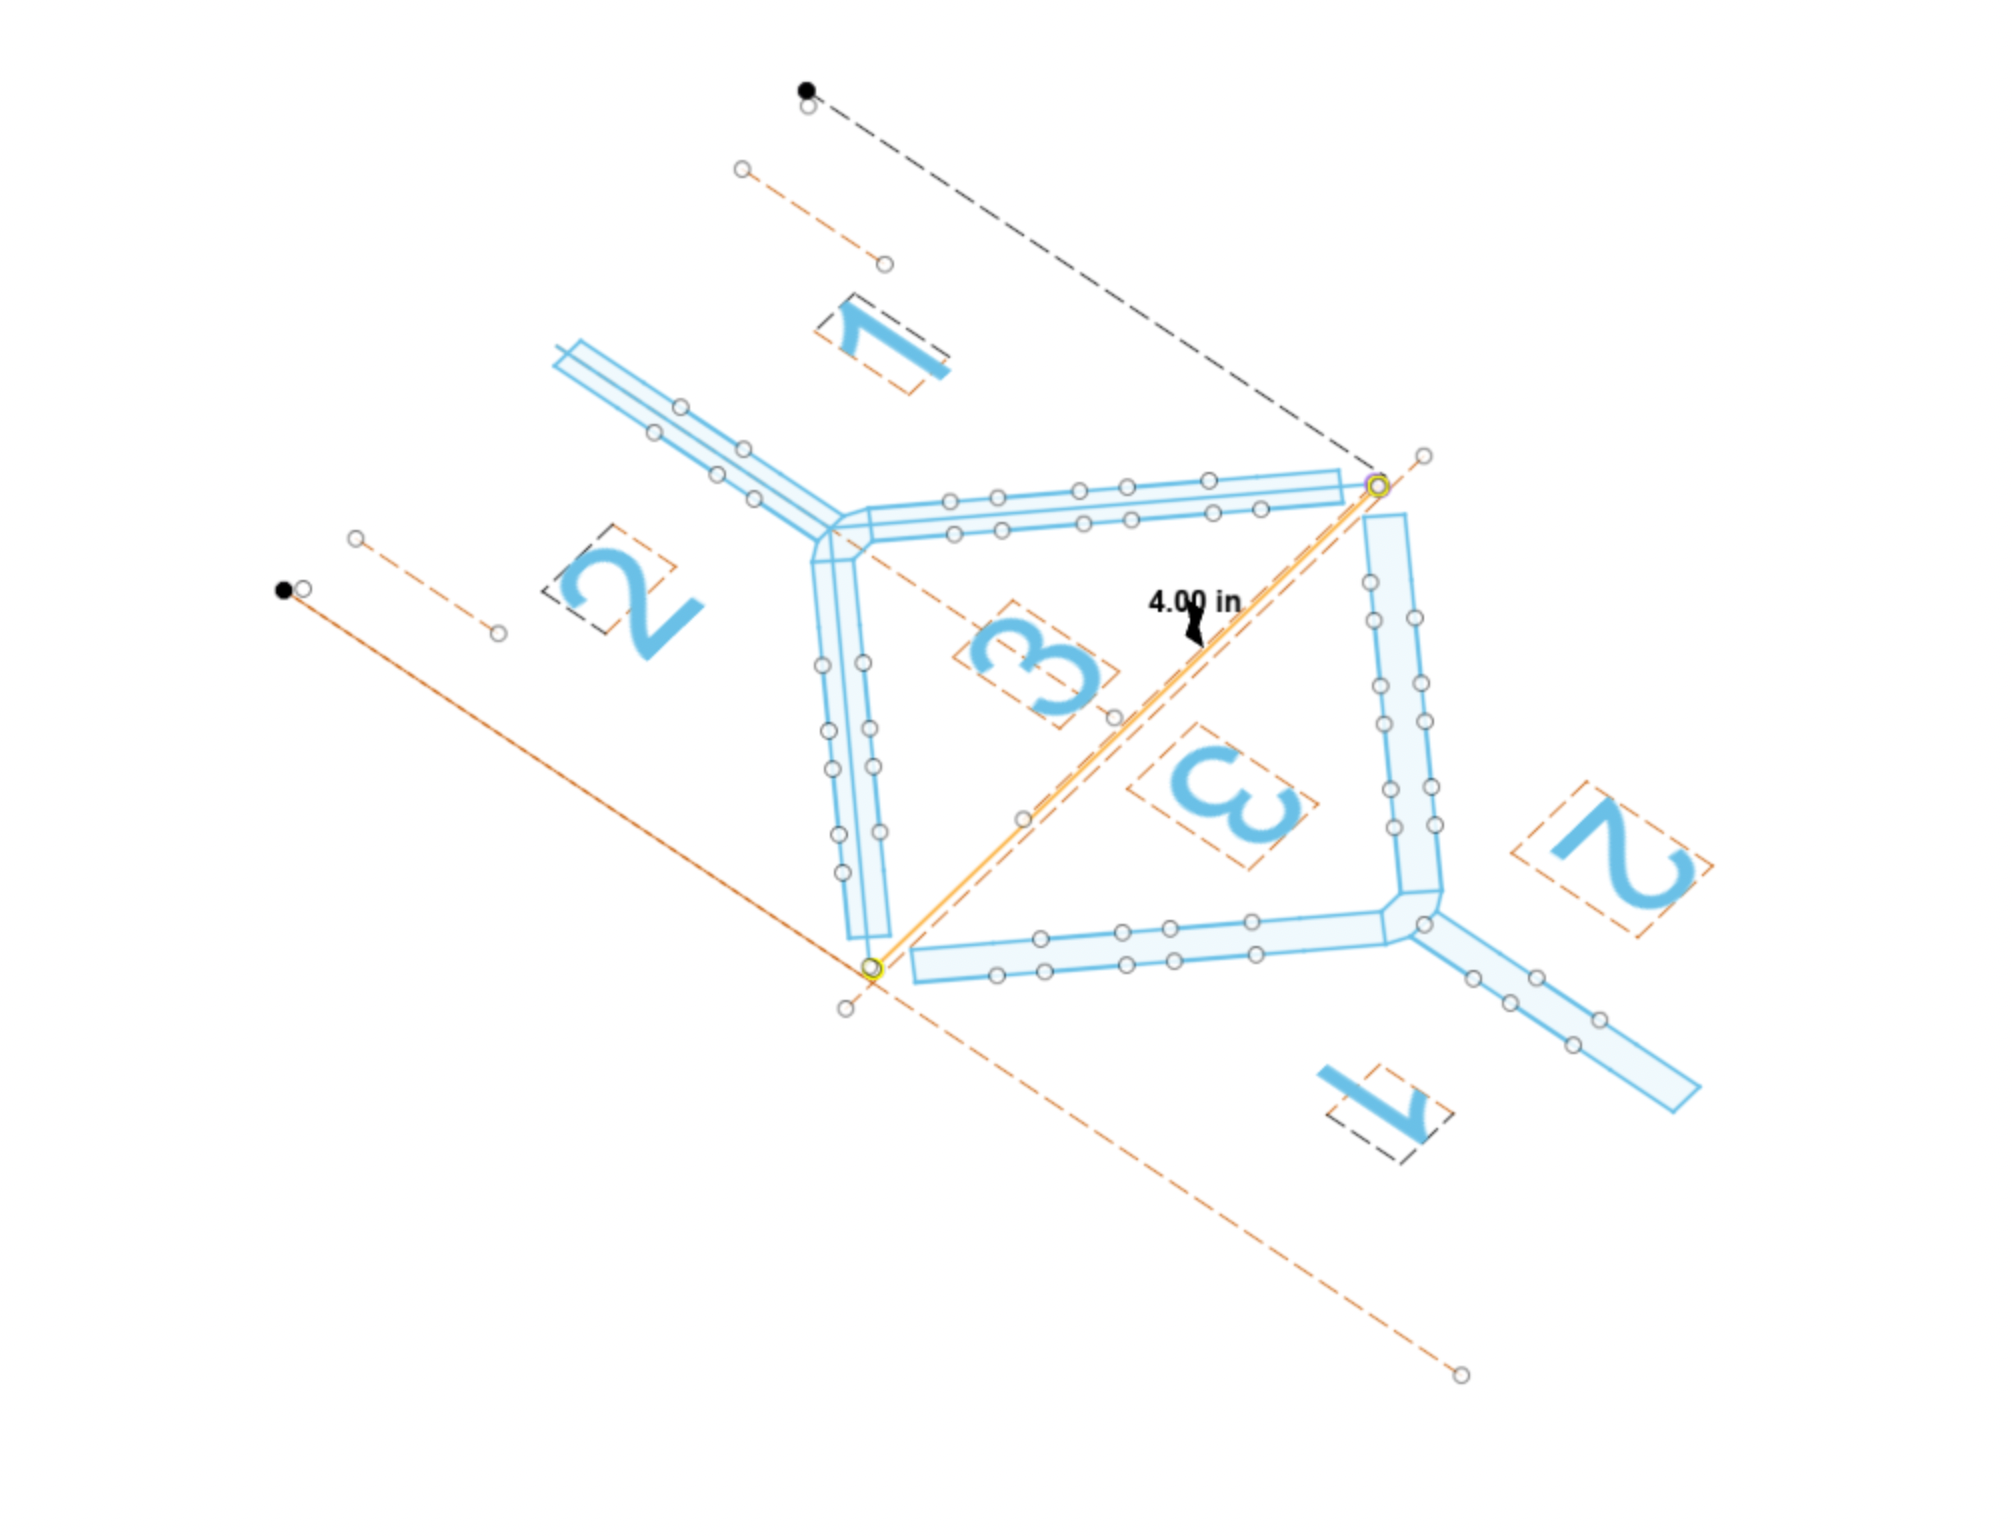
Next, It's time to make the net. This is a big step, but it's worth it as the net makes it a table tennis table. It helps a lot if you look at the picture of the dimensions above. To do this I found the center between the parts of the net already built and marked it with a construction line. I then began sketching to the construction line where I made a rectangle from the net to the construction line. Then, I started making lines that intersected each other like in the first photo above. After dimensioning, I mirrored the sketch across the construction line I made originally. I then extruded all of the smaller rectangles and squares to make a net-like shape and then I was done with the net.
Connect the Table Legs
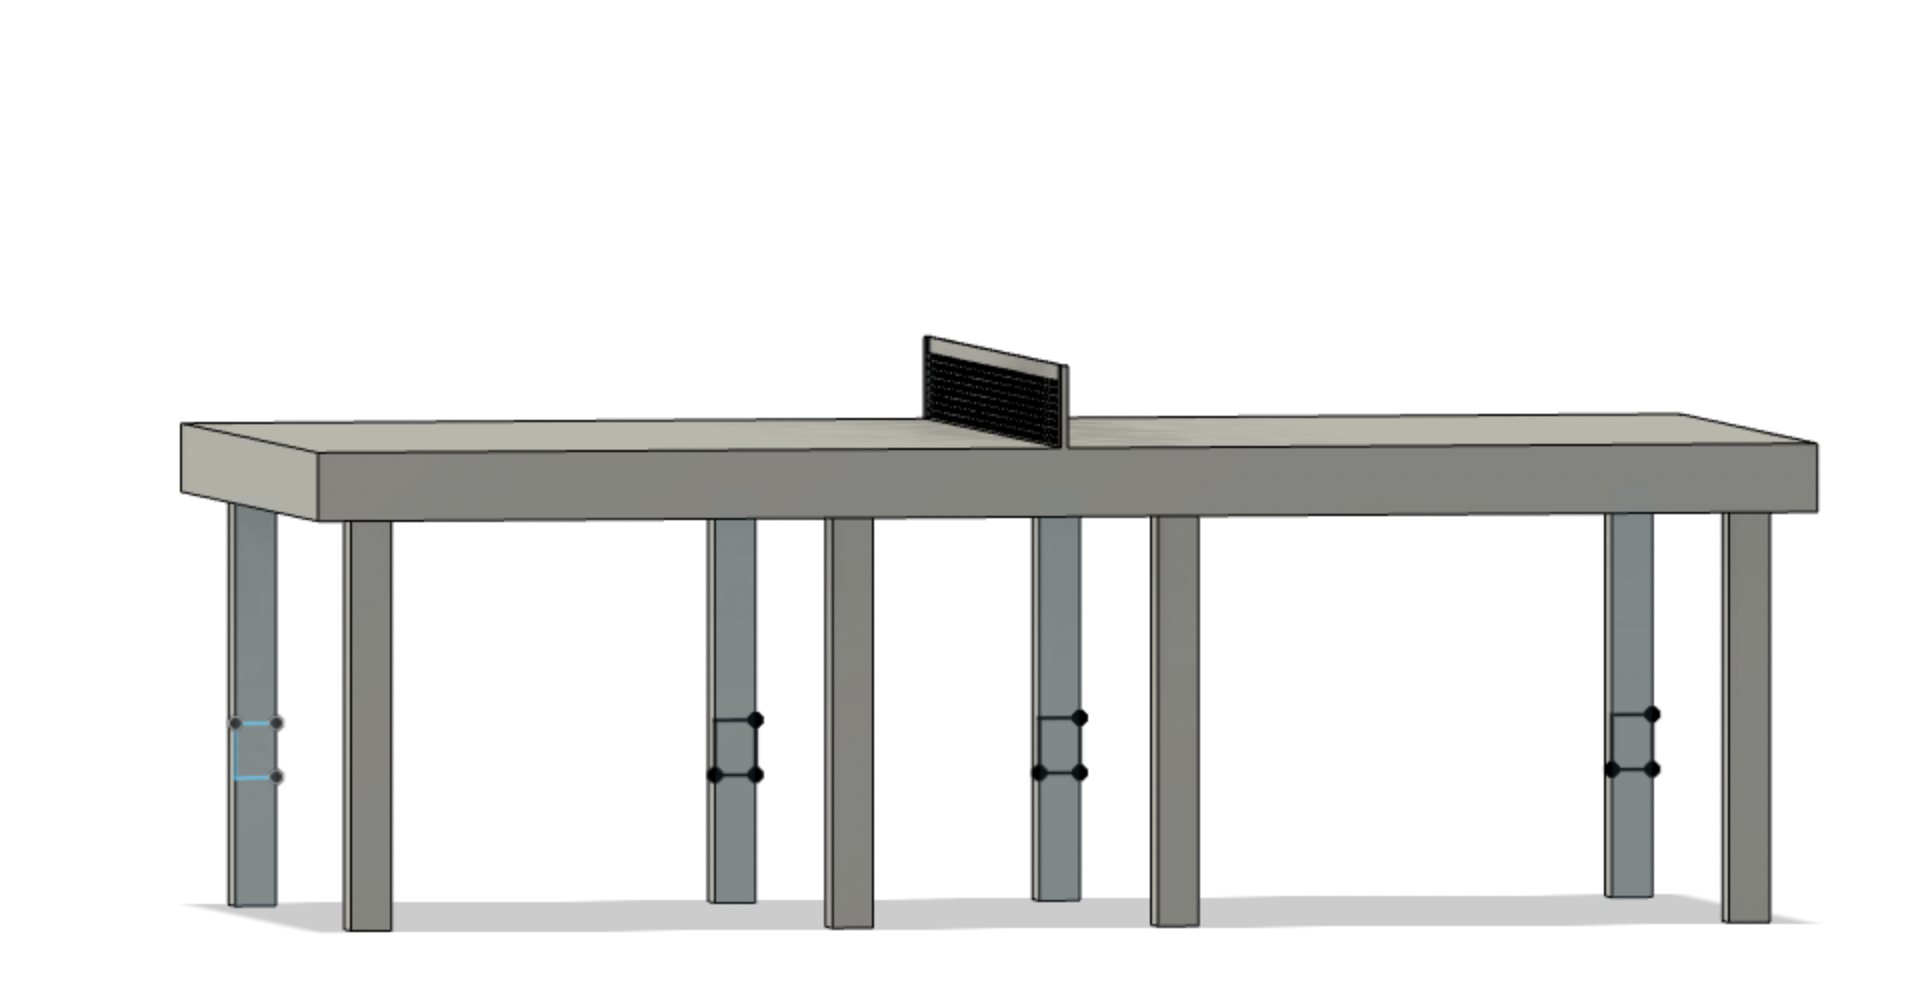
After making the net you'll want to connect the table legs. I added sketches of rectangles on one side of the legs as seen above. Make sure the rectangle sketches are all at the same height. Once doing this, extrude the rectangles until they reach the other side of the table legs.
The dimensions I used:
- 3" x 4" for the rectangles
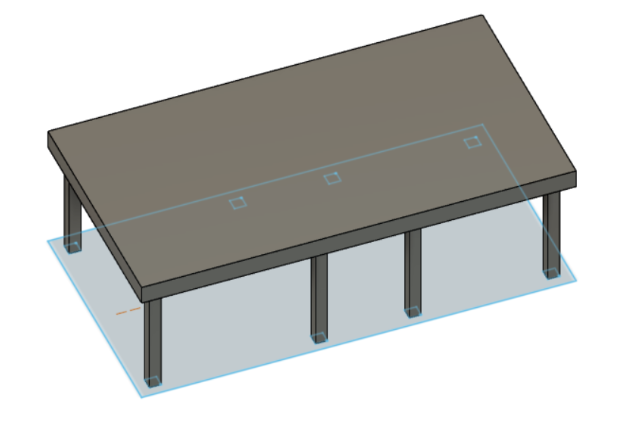
Add Rectangle to the Table Top
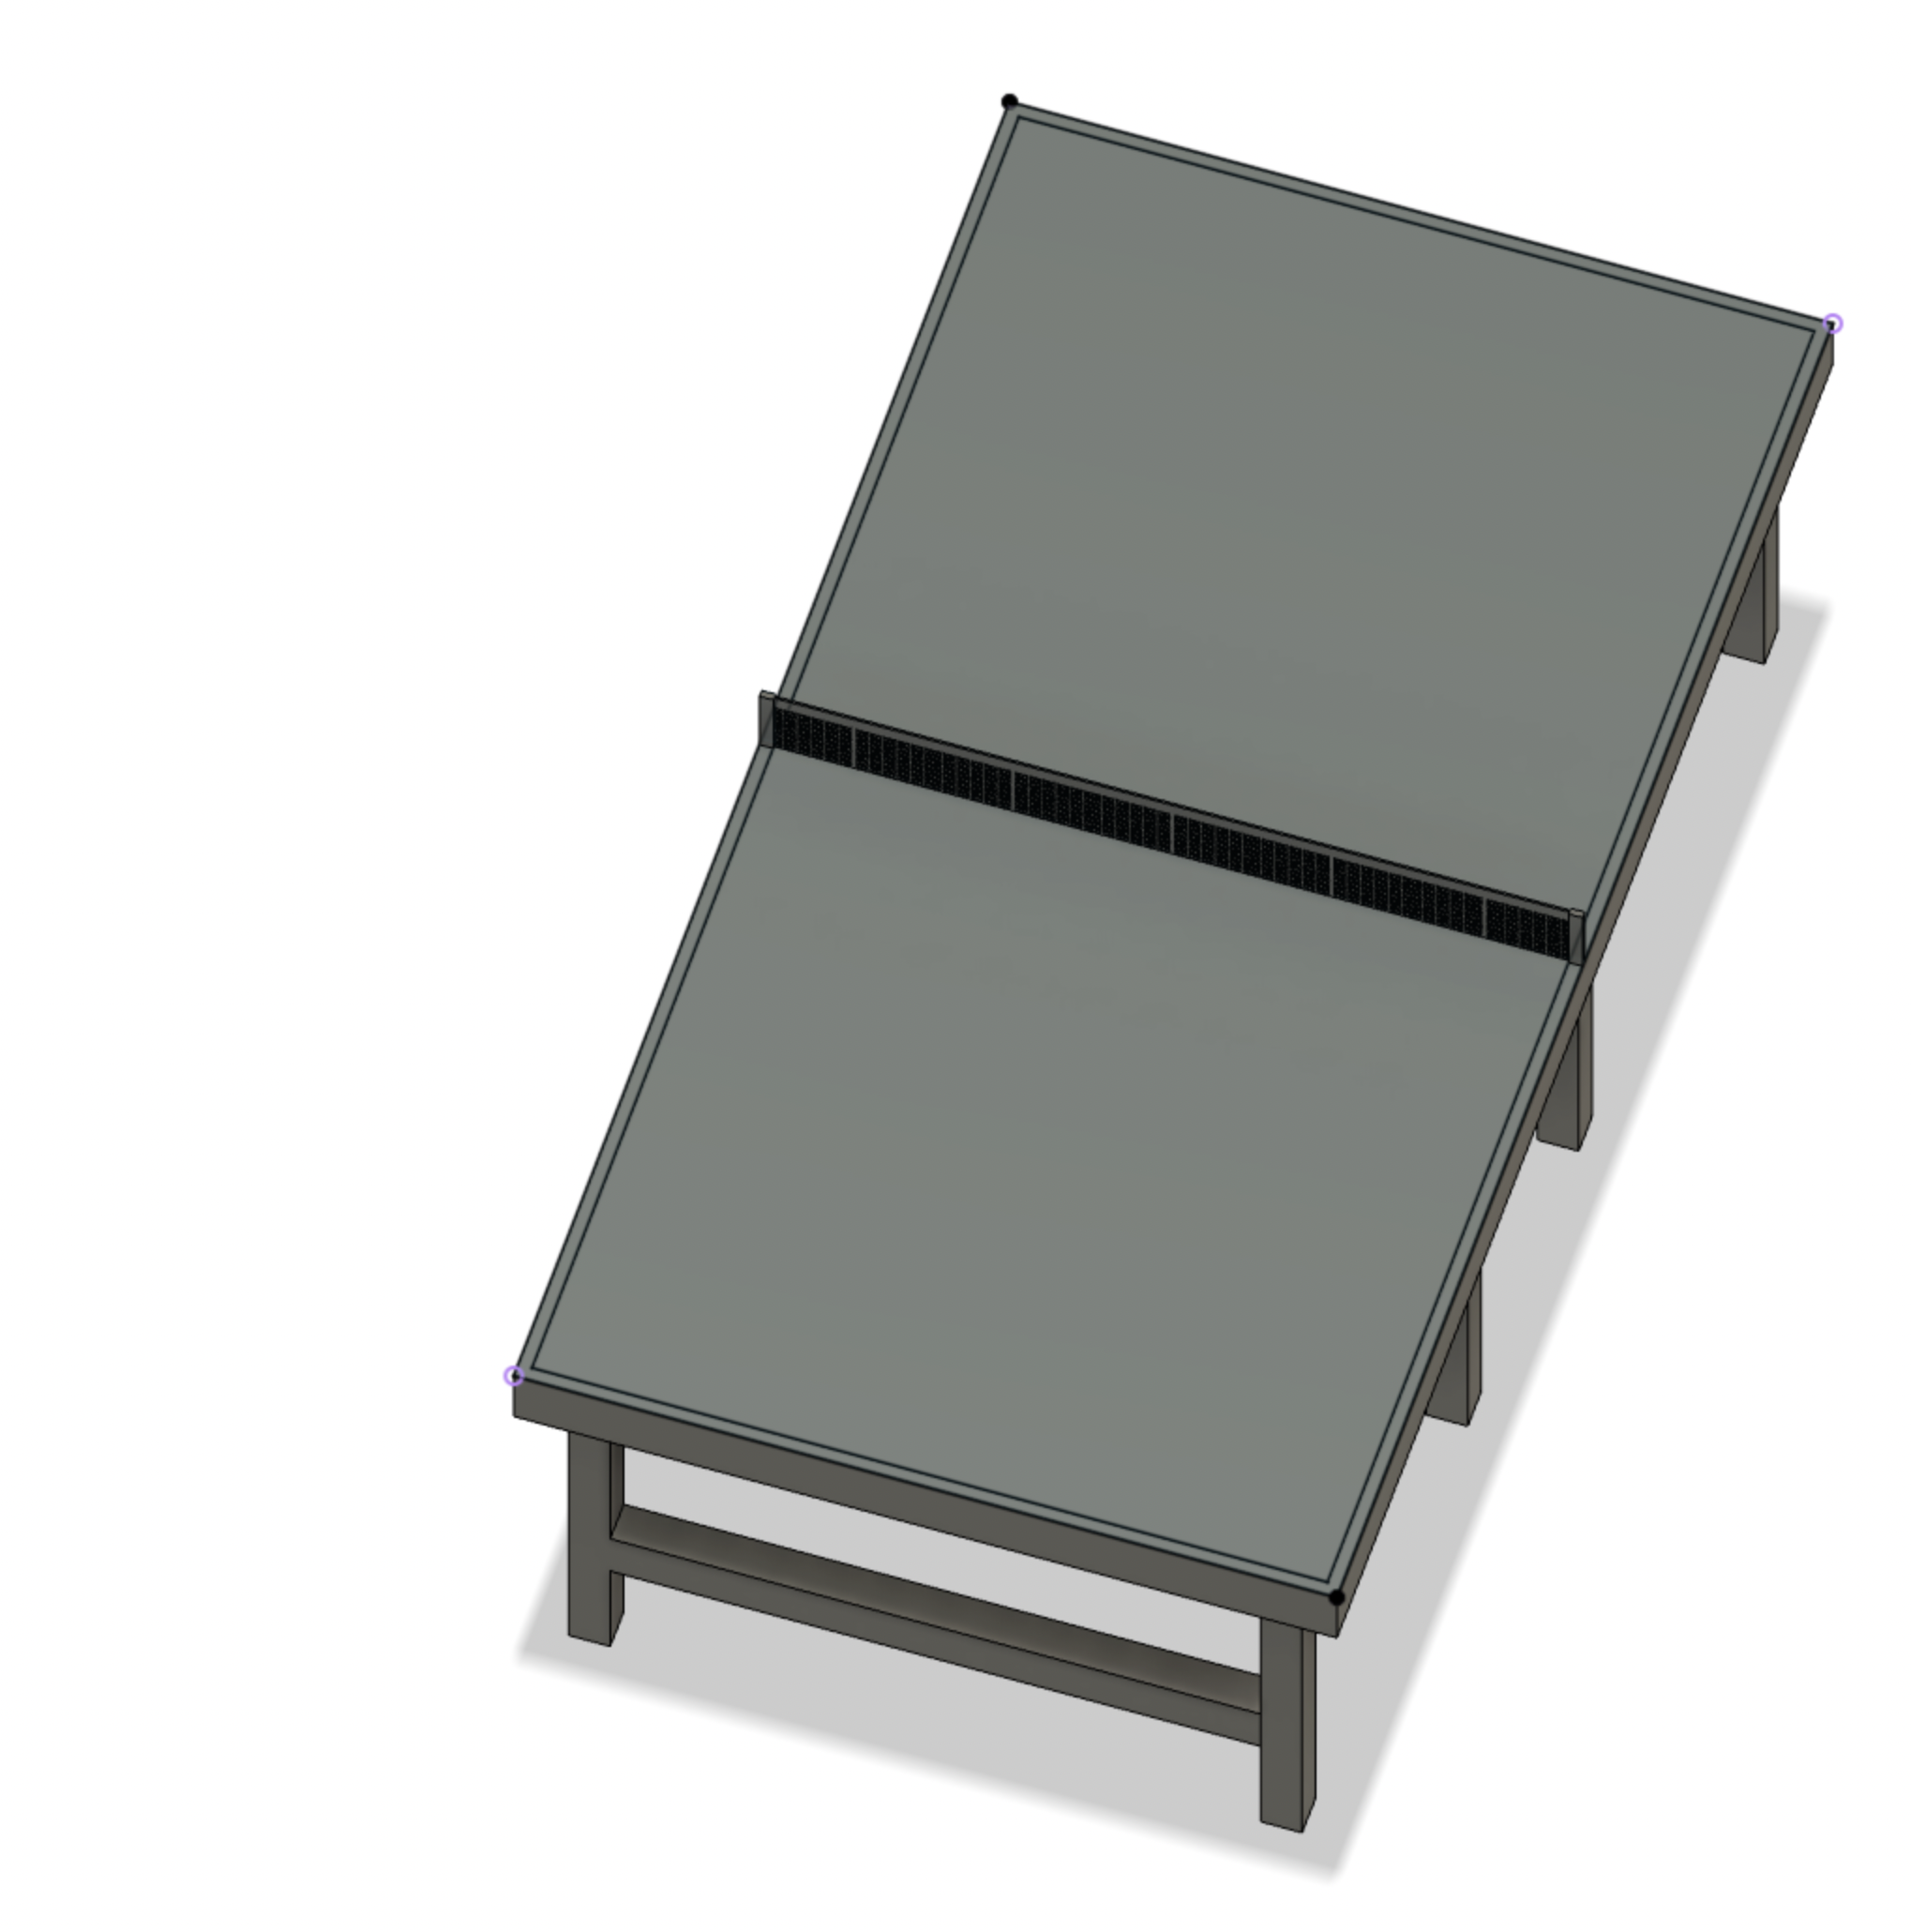
I suggest to help color the Table Tennis table later that you sketch a rectangle that is slightly smaller than the table top. For reference take a look at the one I made above on the table top. You can make it as big or small as you want.
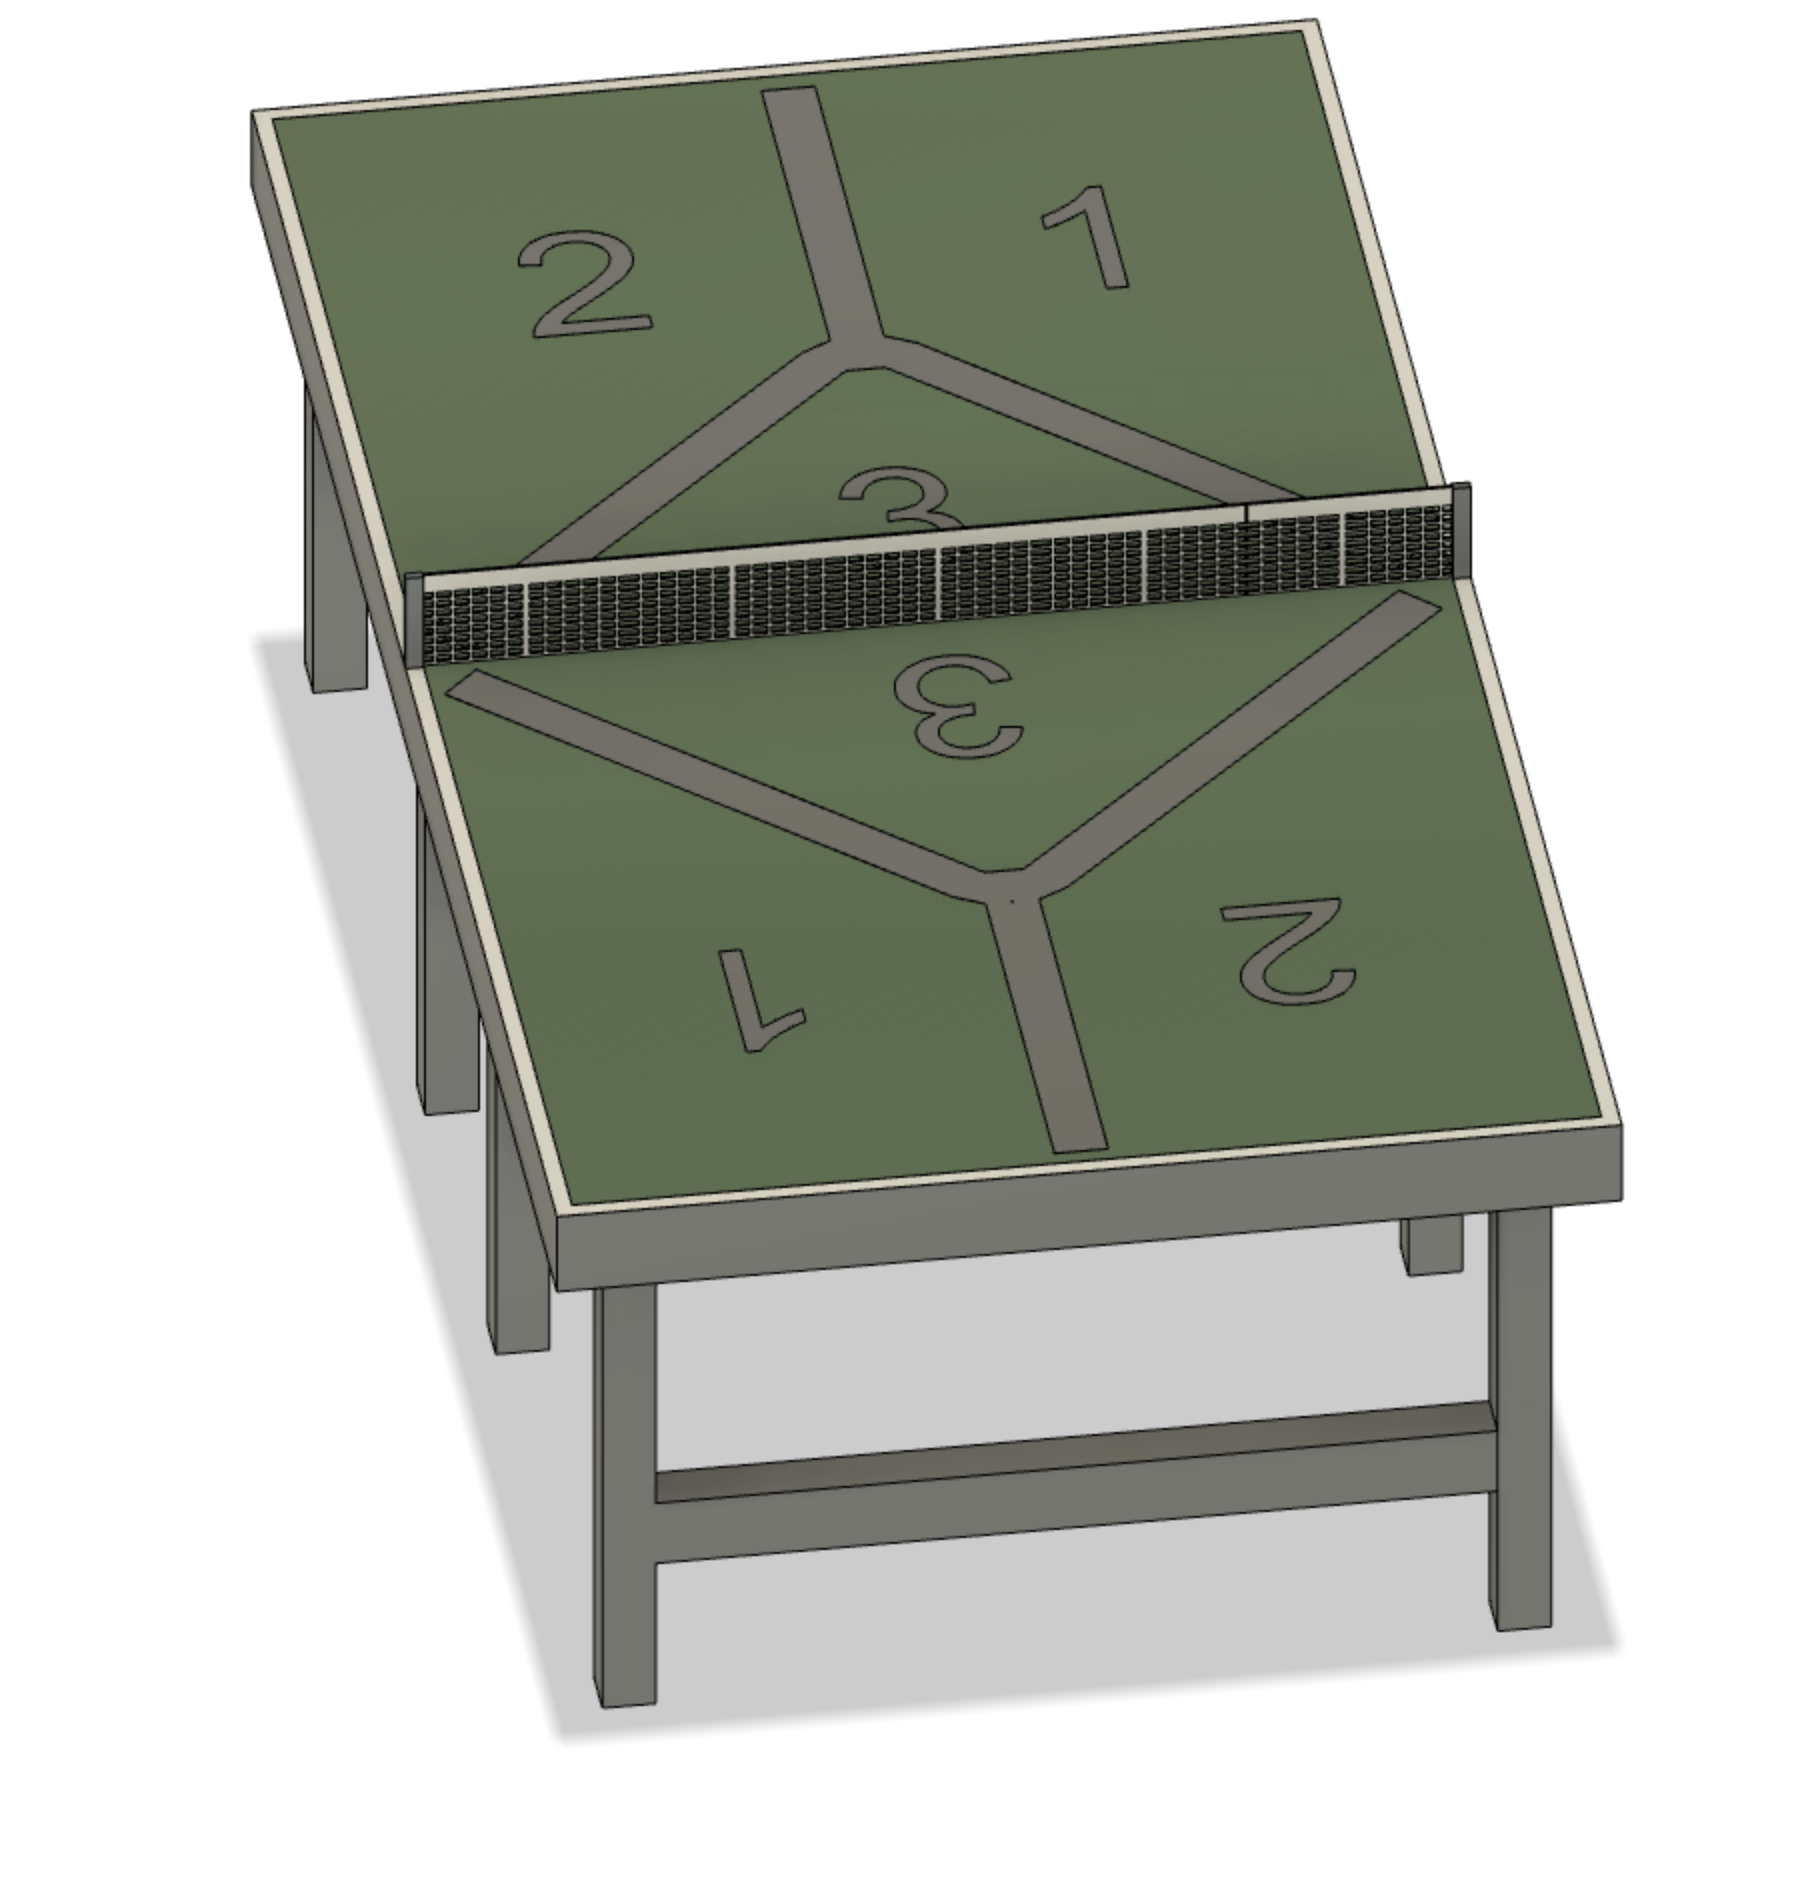
Creating Divider for Number Values
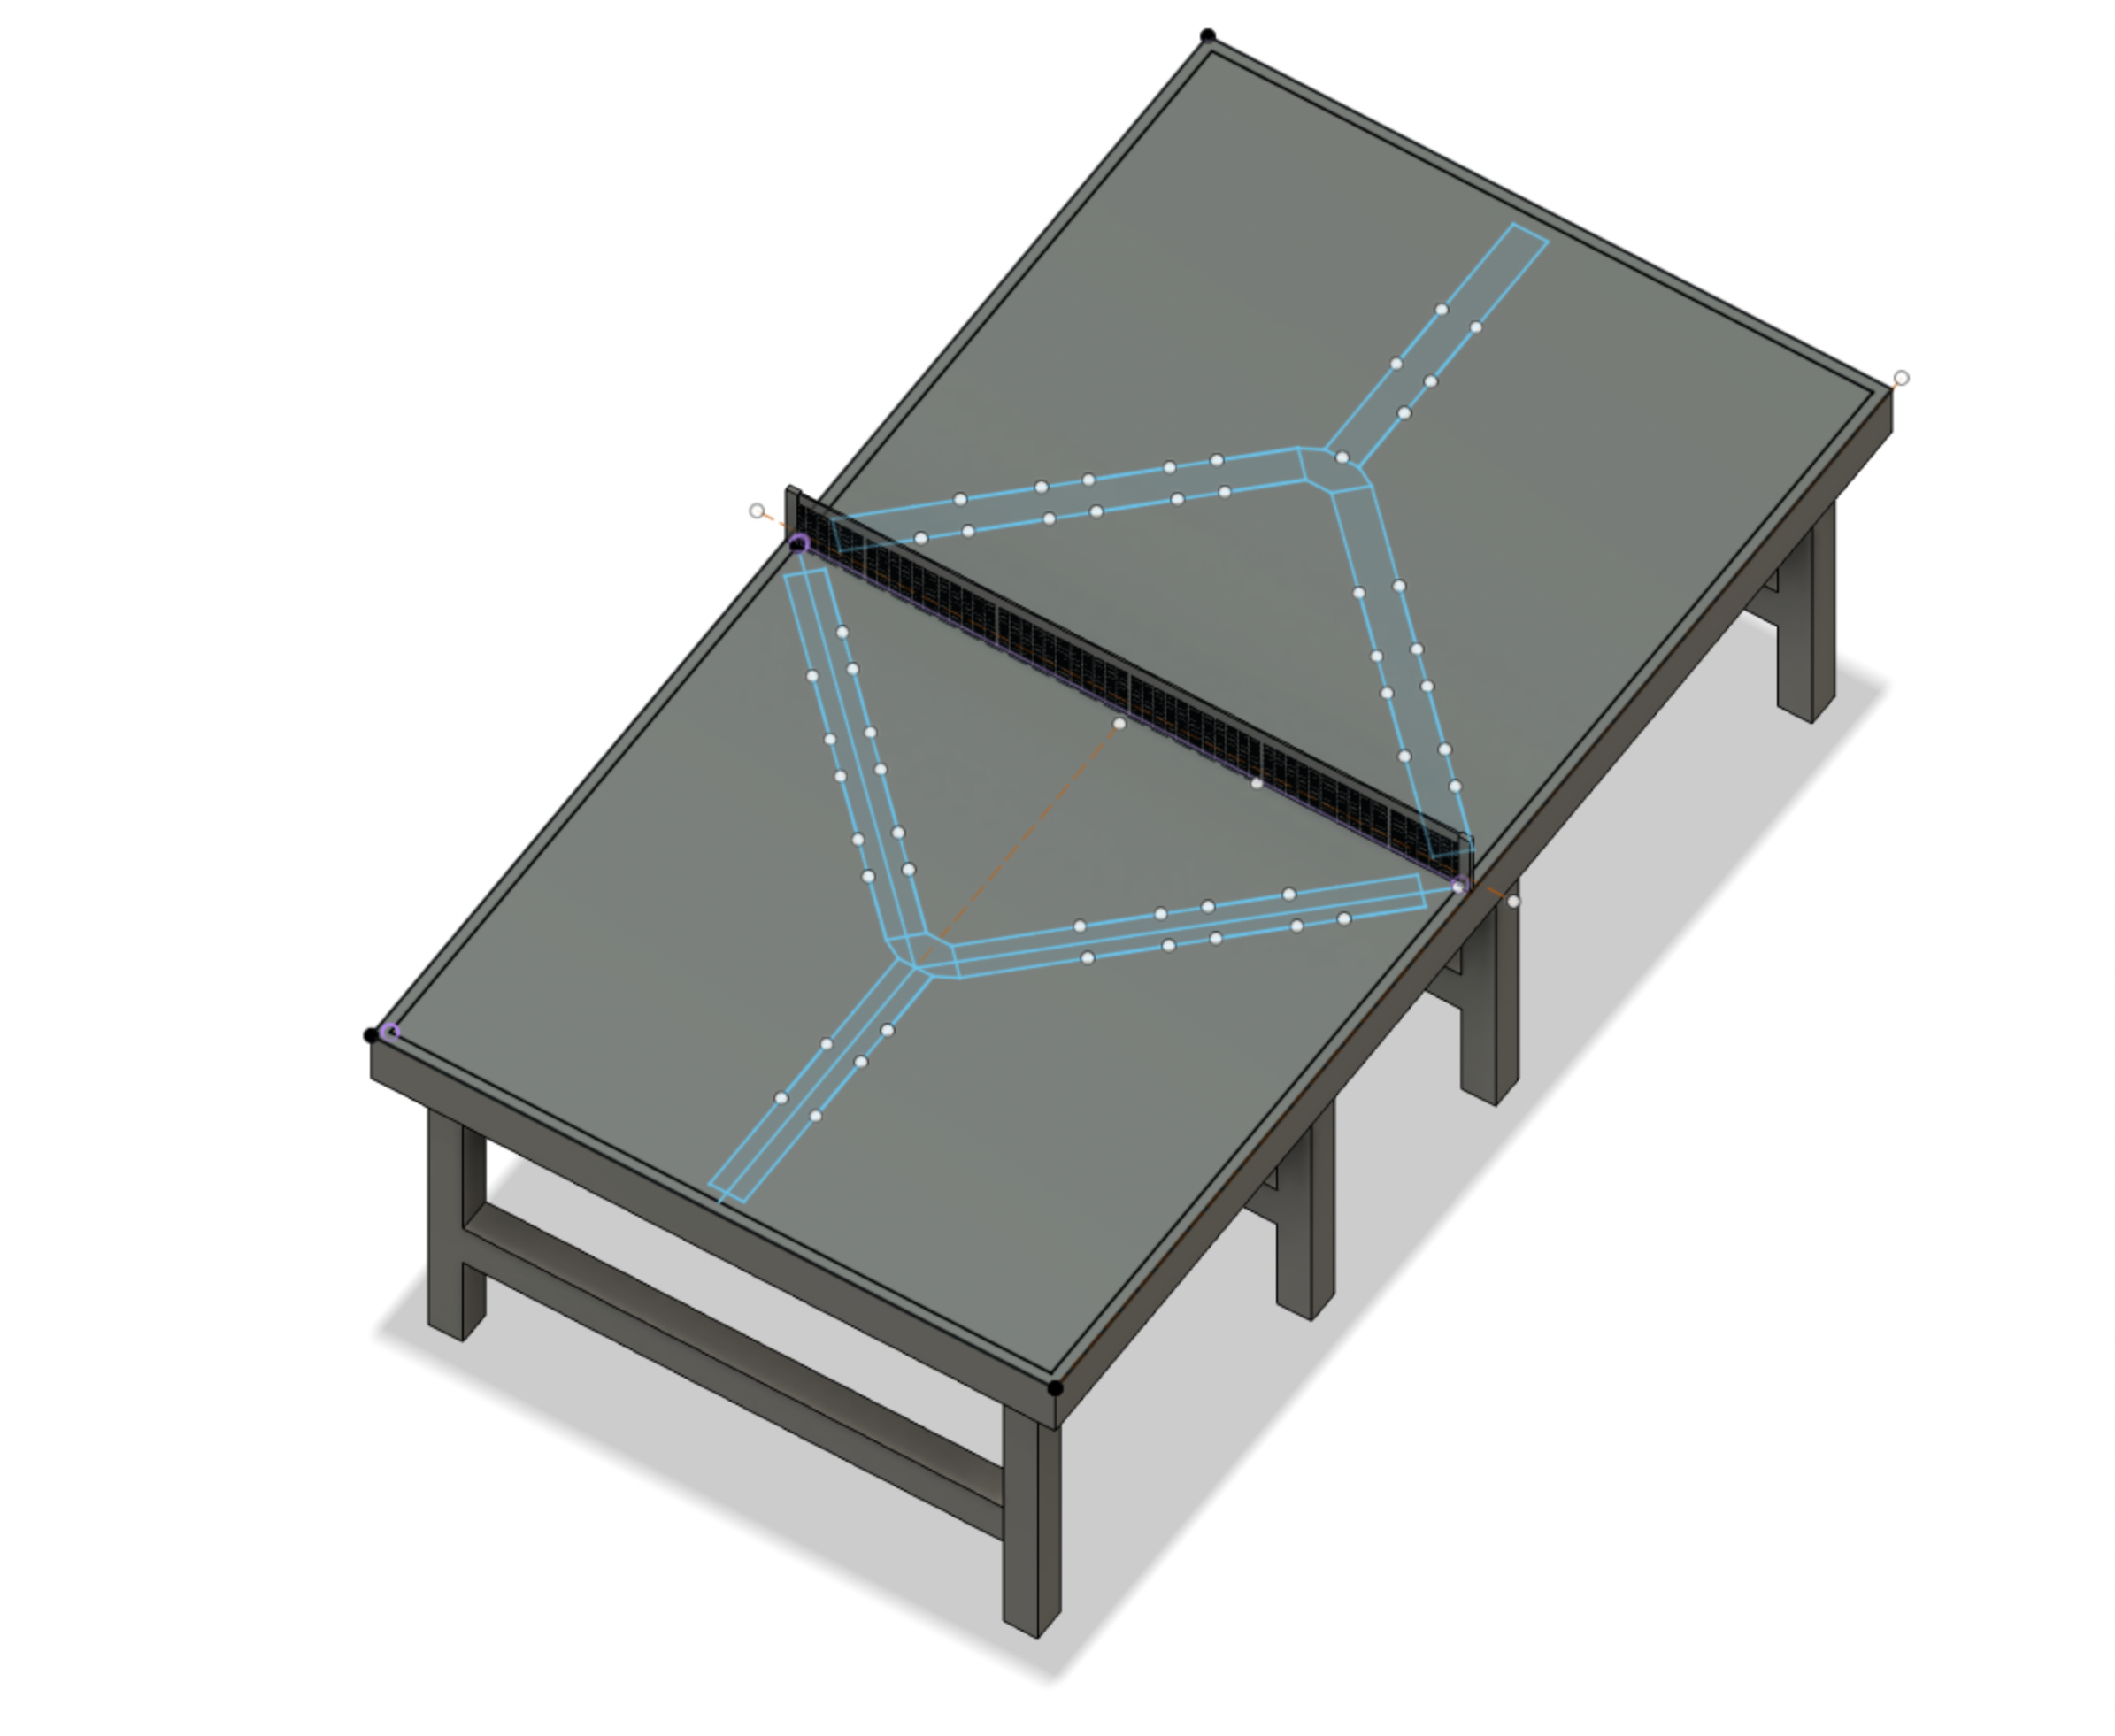
Once you add a rectangle to the table top, you'll want to create a divider for the number values. I created a divider by sketching a Y shape, added sketching around it like above, created a construction line in the middle of the table top, and then mirrored the Y-shaped divider using the construction line to the other side of the table top.
Placing Numbers
Next, use the text tool and place numbers on the table top on one side. I personally made the size of the number 10 and then I centered them. After centering them, I used the construction line in the middle of the table to then mirror the numbers onto the other side.
Coloring the Table Tennis Table
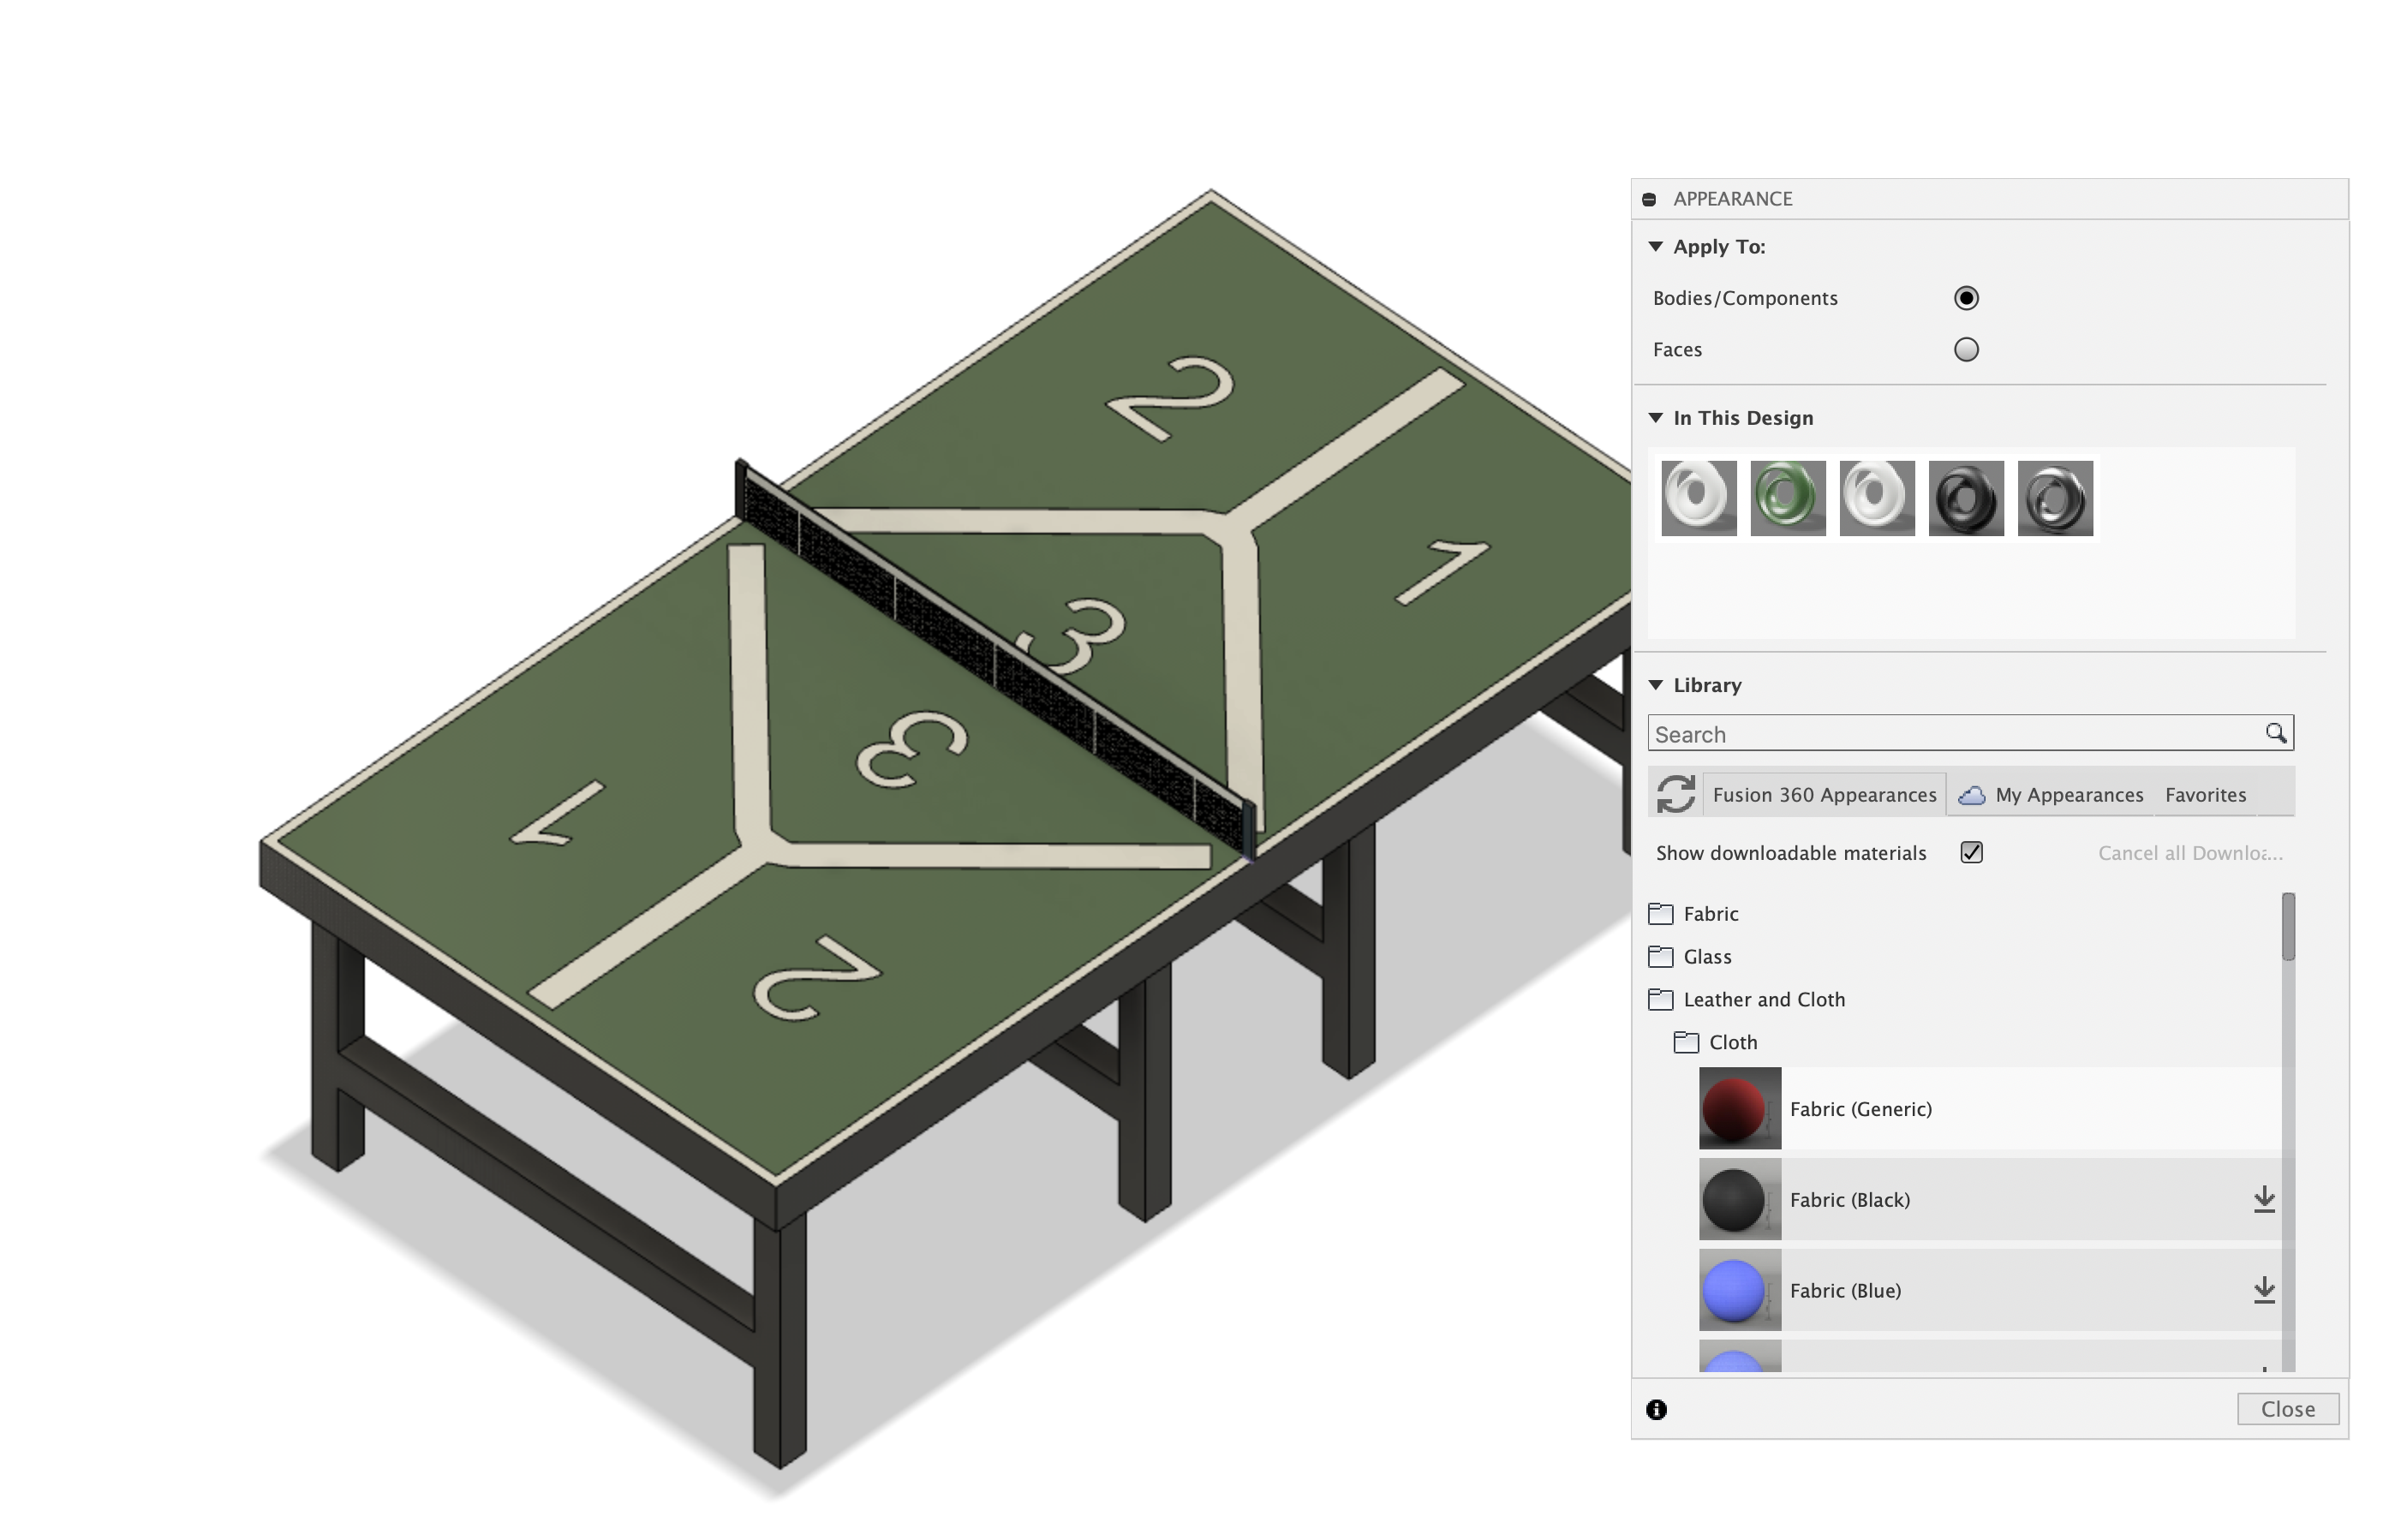
Lastly, you want to color your Table Tennis table. It makes it looks more lively. You can use whatever materials or colors you want of course, but if you wonder which ones I chose, I chose the bright white carbon fiber, the green artichoke carbon fiber, and the regular color for carbon fiber on Fusion 360.
After completing this step, you're done! If you want to 3D print this I would suggest downsizing the table as if you followed most or all the dimensions I used are for a life-size Table Tennis Table.