Table Skittles From 2x4
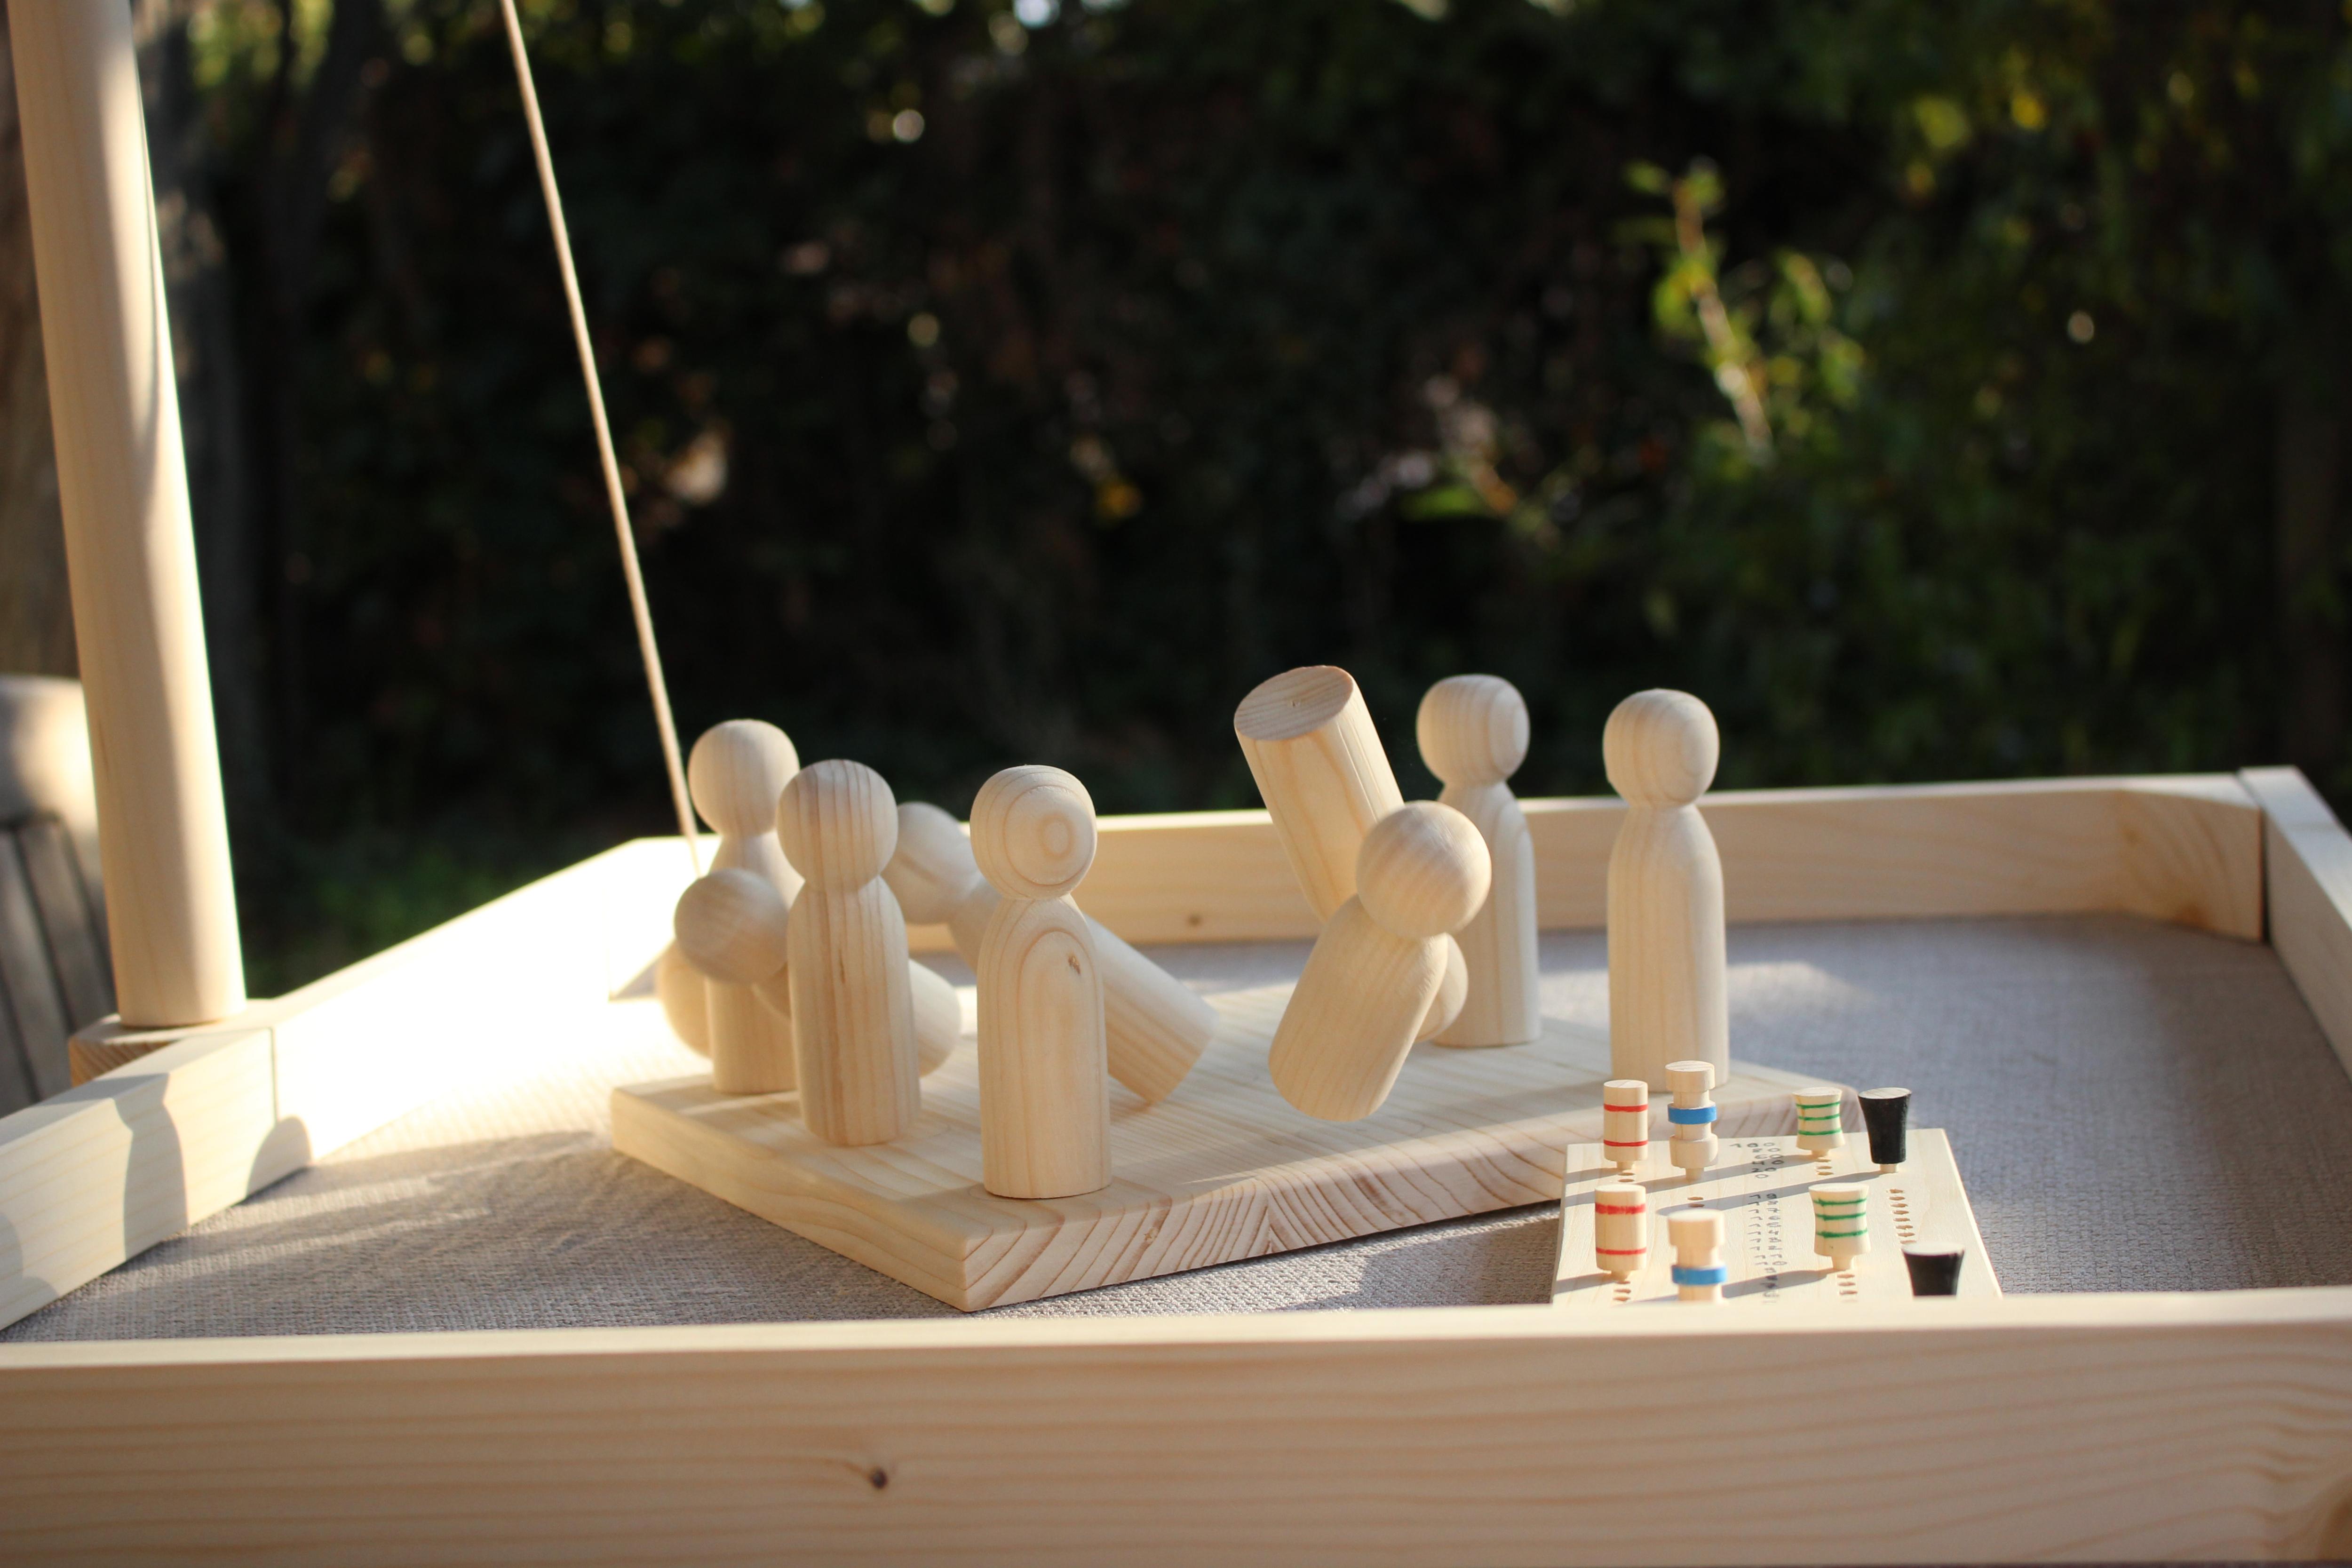


I recently discovered what a table skittle is, and wanted to try it...but also make one. This "one board" contest was an excellent opportunity to go ahead and make one from a 2x4
If you do not know about this pub game from UK (but also played in french Brittany under the name of "birinig"), here are some info on tradegames site .
A table skittles is quite big and I wanted mine to be easily stored when not played (this will explain some of my design choices).
Supplies

- a 2x4 board (I am not in north America but I found a 45x90 mm 2.5 meter long which is really close to a common 2x4 x 8 ft)
- wood glue
- a string (about 1 meter - about 3 feet)
- one 15gr (0.5 oz) fishing sinker
Tools :
- saw
- planer
- sander
- lathe (well, I love wood turning but with some creativity or concession I think a table skittles can be done without a lathe)
- drill
Plan...
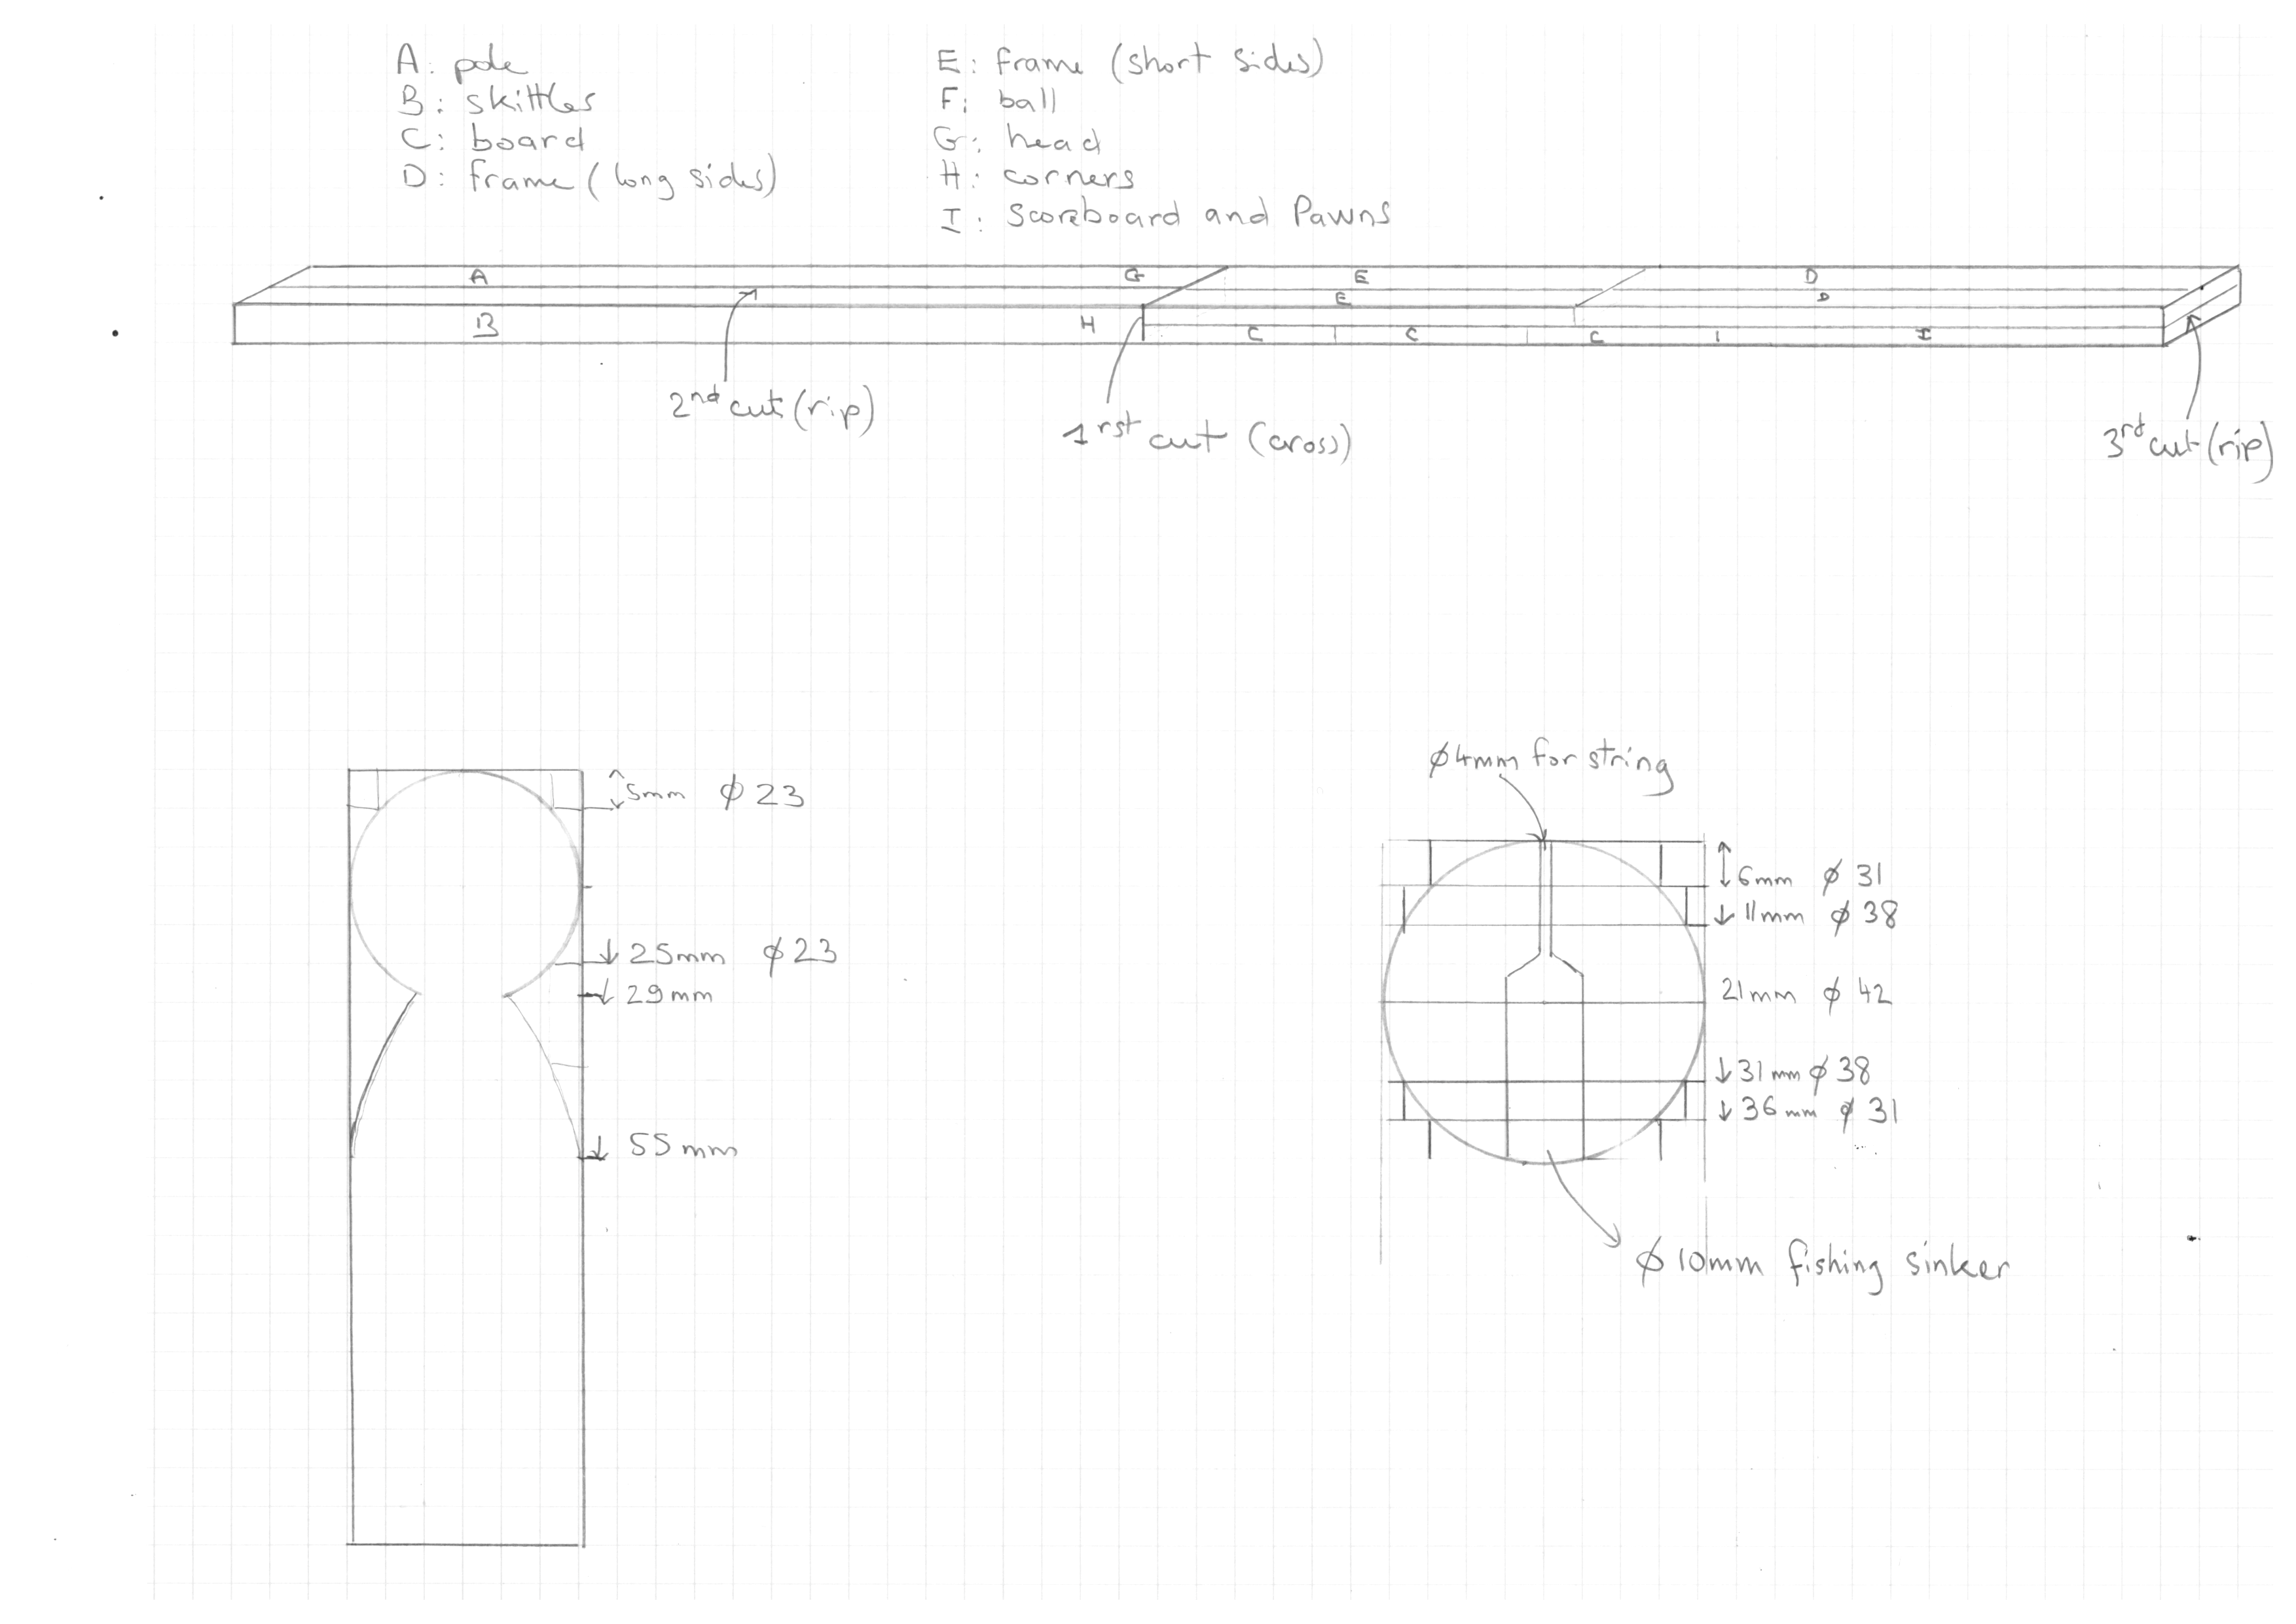
A "standard" table skittle is made of :
- 9 skittles : common size is 2,5 to 3 cm in diameter (1 to 1.2 inches), 9 to 11 cm height (3.5 to 4.3 inches) (3 cm diameter and 10 cm for my project)
- a plate : common size is 23x23 cm (nine inches square) . Rule of thumb is that distance between skittles is height minus 1 cm, this gives an approximate idea of the plate size based on your skittle height choice. (I choose 25x25cm)
- a pole : about 90 cm (about three feet) (It is quite high but it needs to as it impact the ball movement)
- a ball : about 4 cm (1.6 inch)
- a frame : 60x80 cm (about two feet by two feet six inches), the frame stabilizes the pole and holds the falling skittles, size is not that important.
- since I had some spare wood after planning for the main parts, I included a scoring cribbage board.
Cut the 2x4
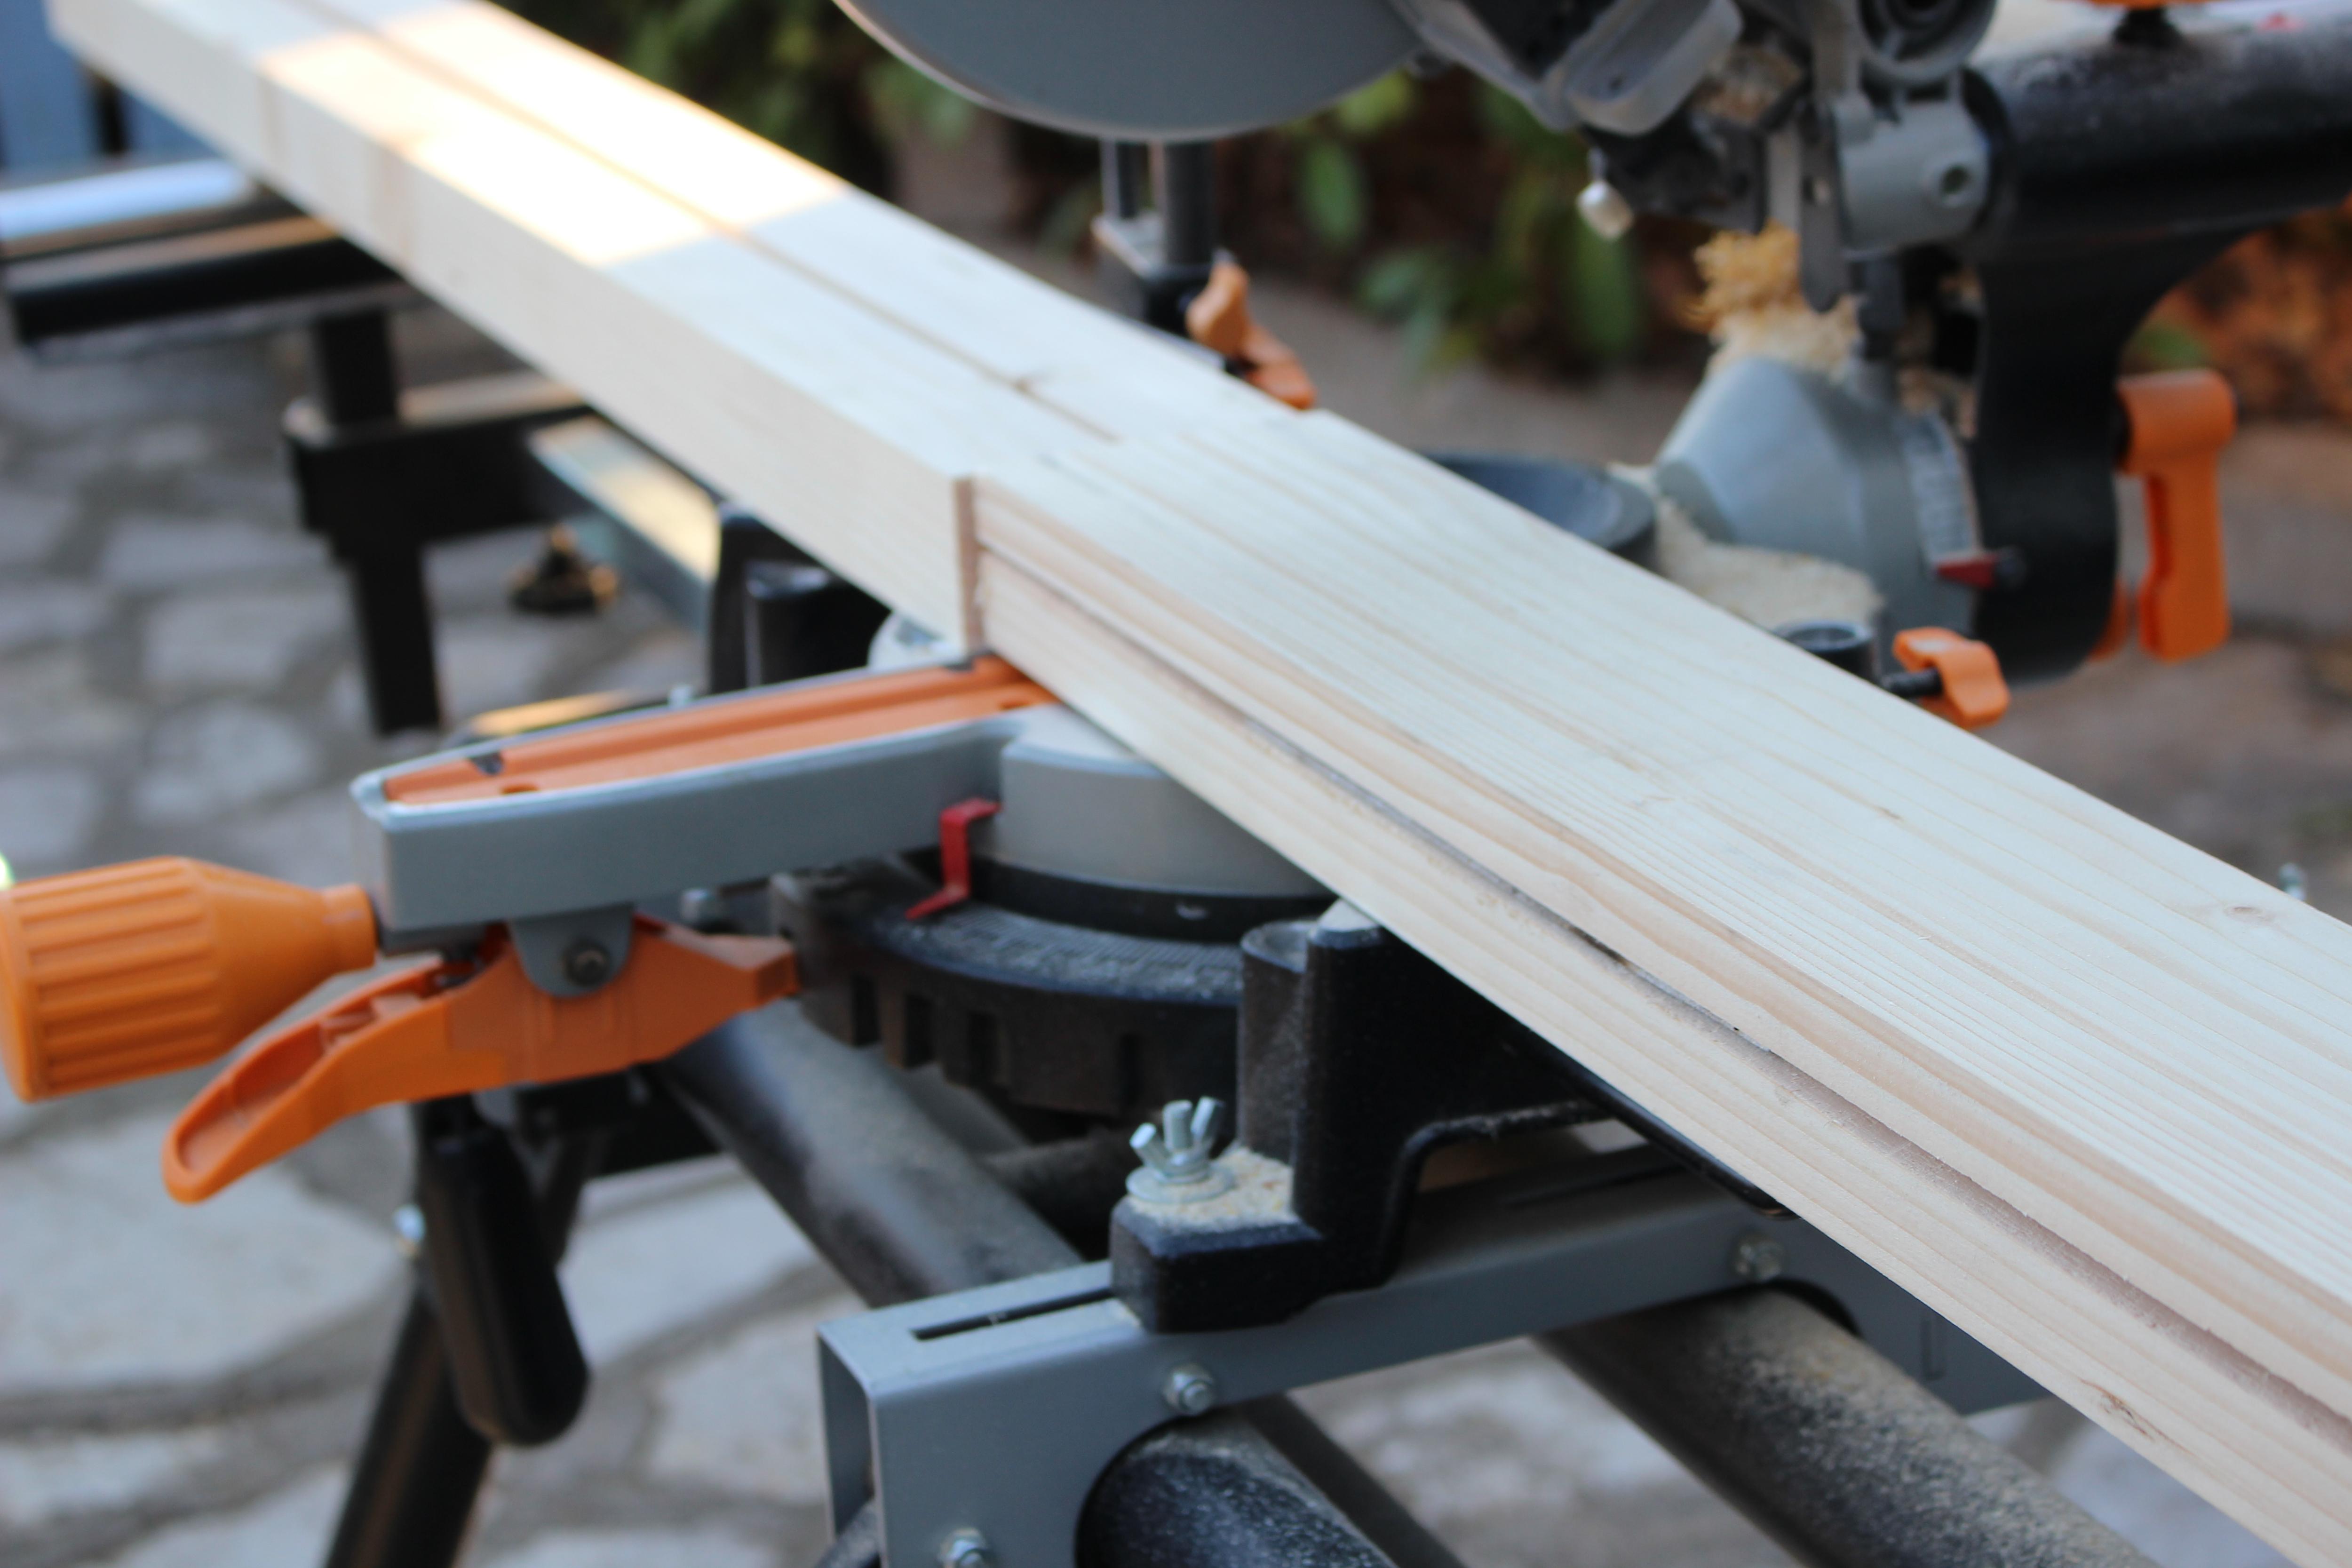

Cuts are performed per the plan using circular saw for cross cut and on a table for the rip cut.
2 inches is thick enough to cut it in two one inch thick board on a table saw (I did it in two passes as my saw cannot cut 4 inches in a single pass).
Plane and Sand the Pieces

Those boards need planing and sanding, especially the pieces that have been rip cut in two passes, the surface on the cut side needs to be planed.
The Skittles
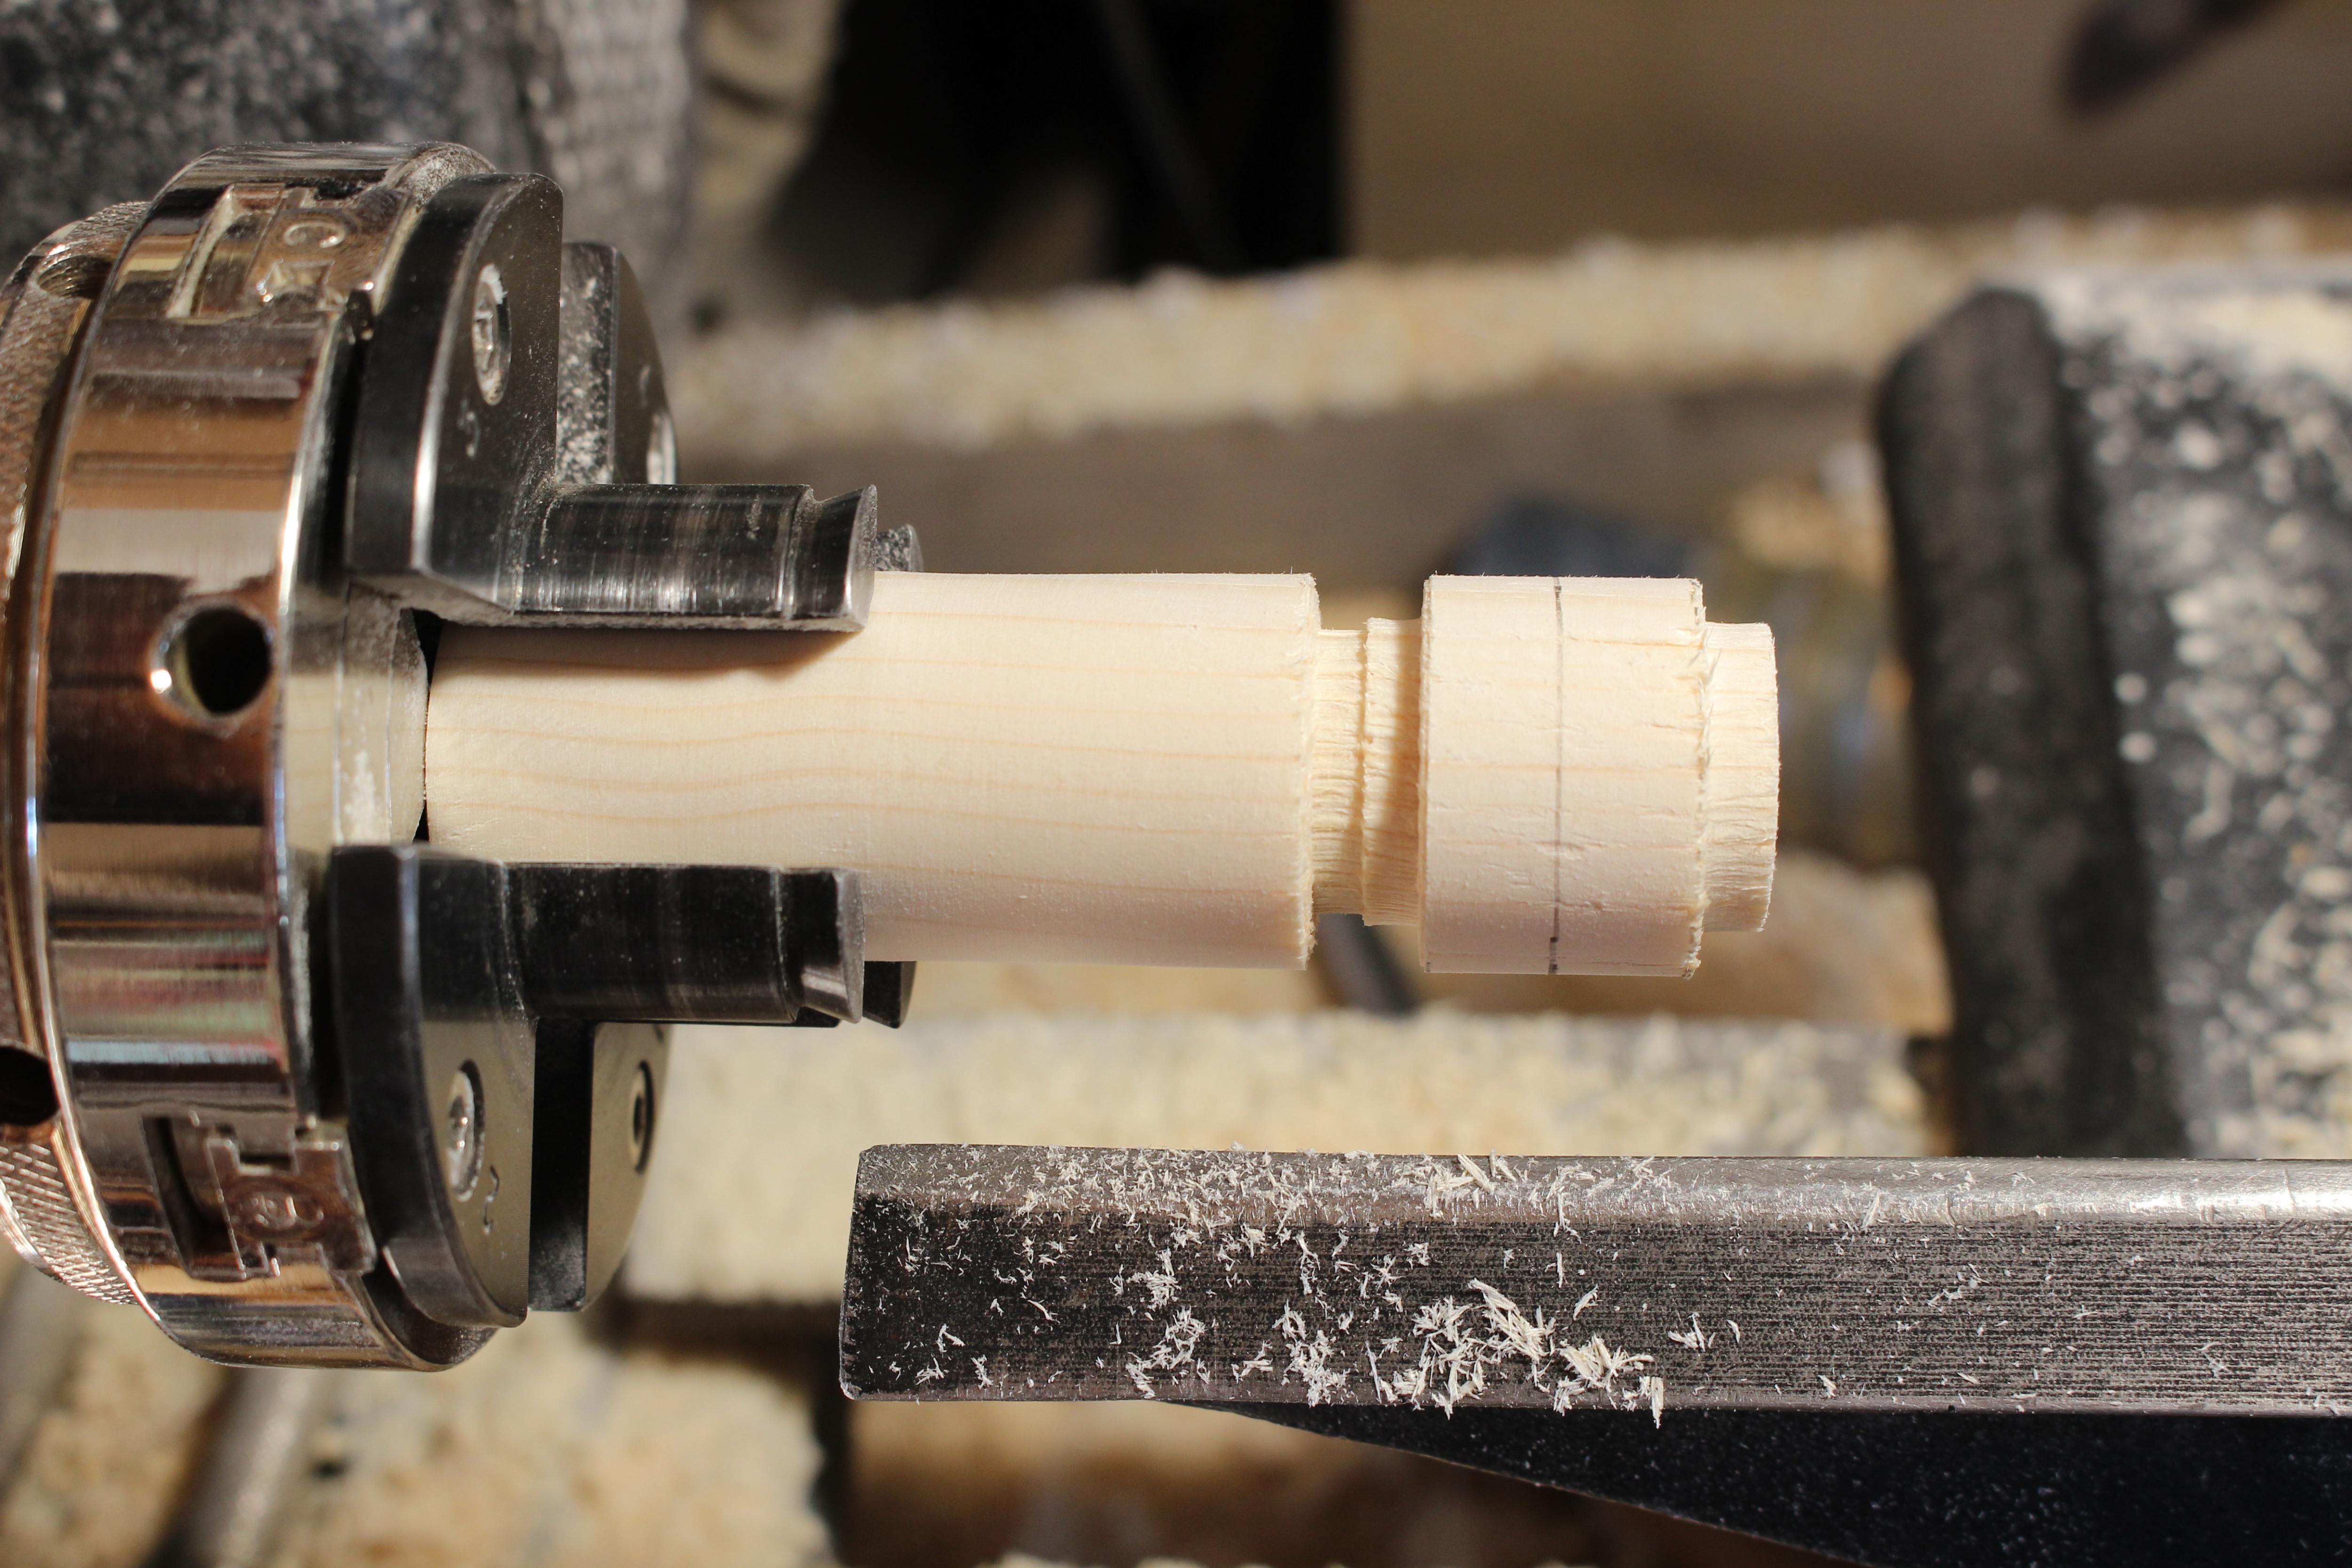
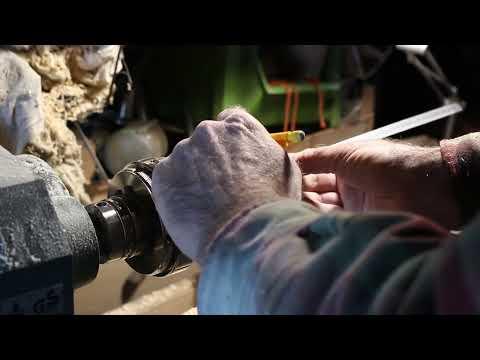

My skittles are not clones...more sisters and brothers but with a few references for the position of some cuts it is not so hard to have nine skittles that look alike.
The piece of 2x4 dedicated to the skittles is cut in nine pieces of 10 cm
Progression :
- turn a cylinder
- mark some known diameter of the head and body
- turn down to the known diameters
- continue shaping to the final design
- sand
The Skittles Board
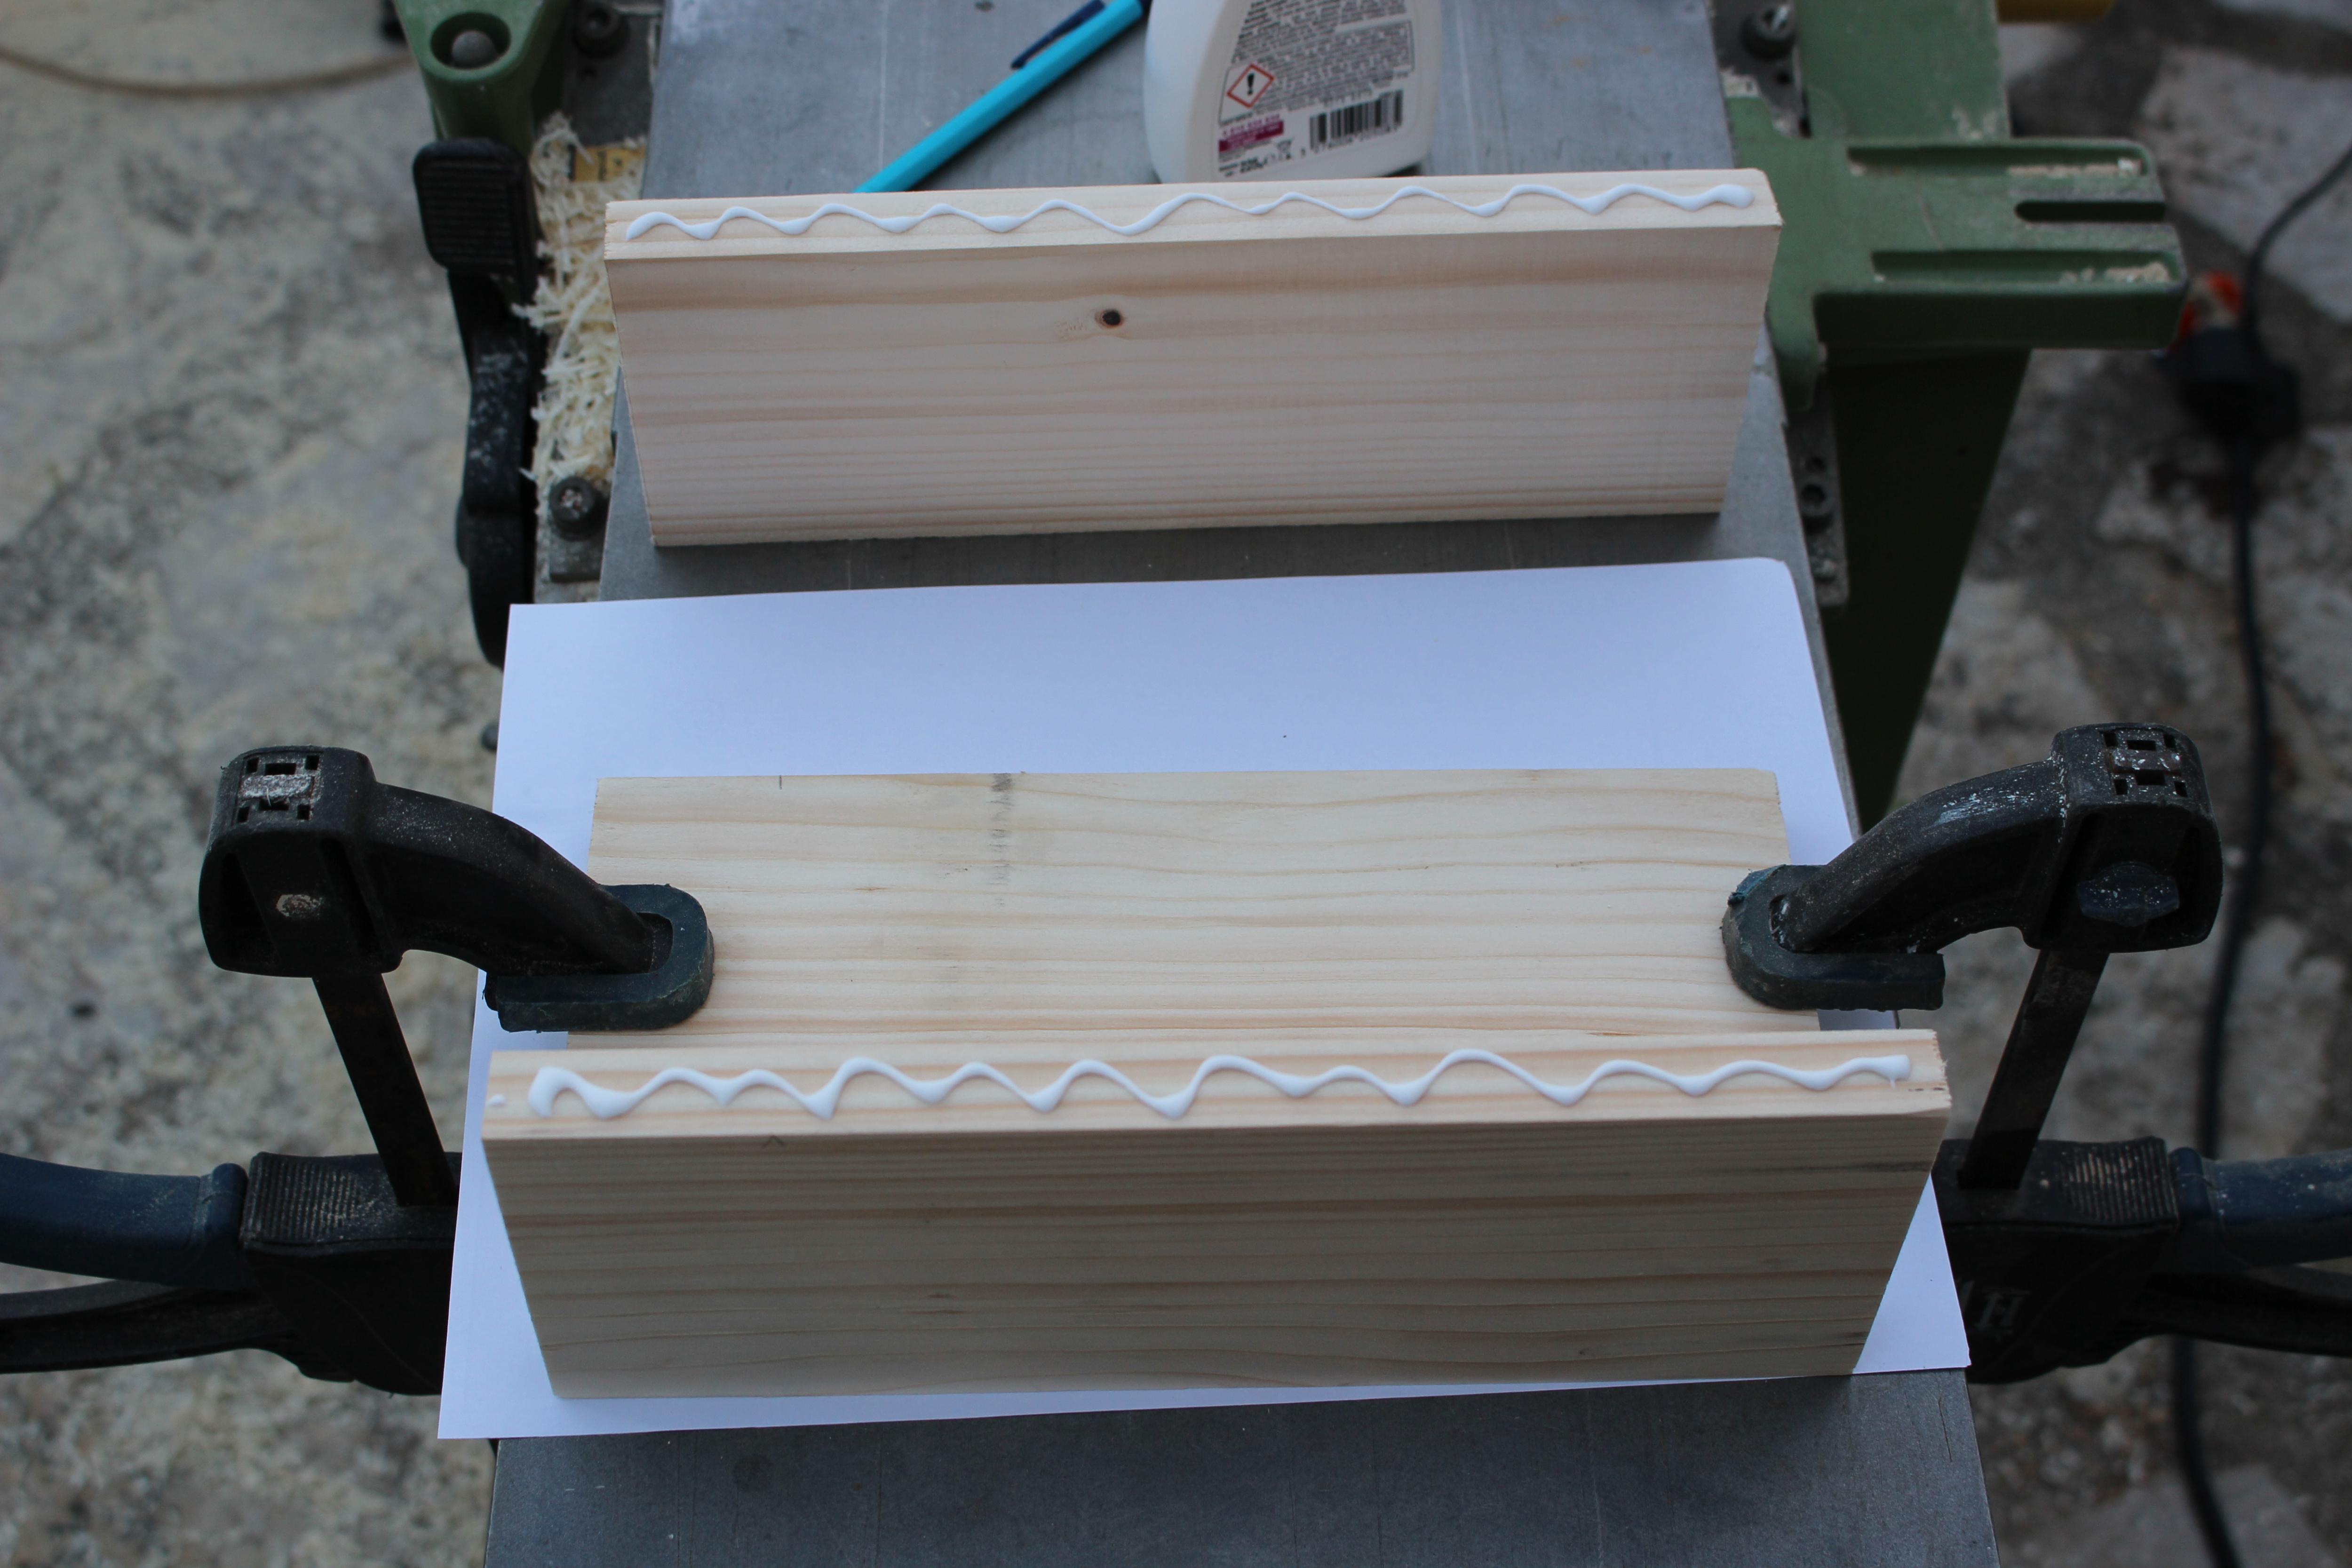

2x4 is not wide enough, it is made with three pieces glued together.
the board is then cut to its final size (25 x25 cm) and skittle positions are marked with a drawing compass.
The Pole and Its Head


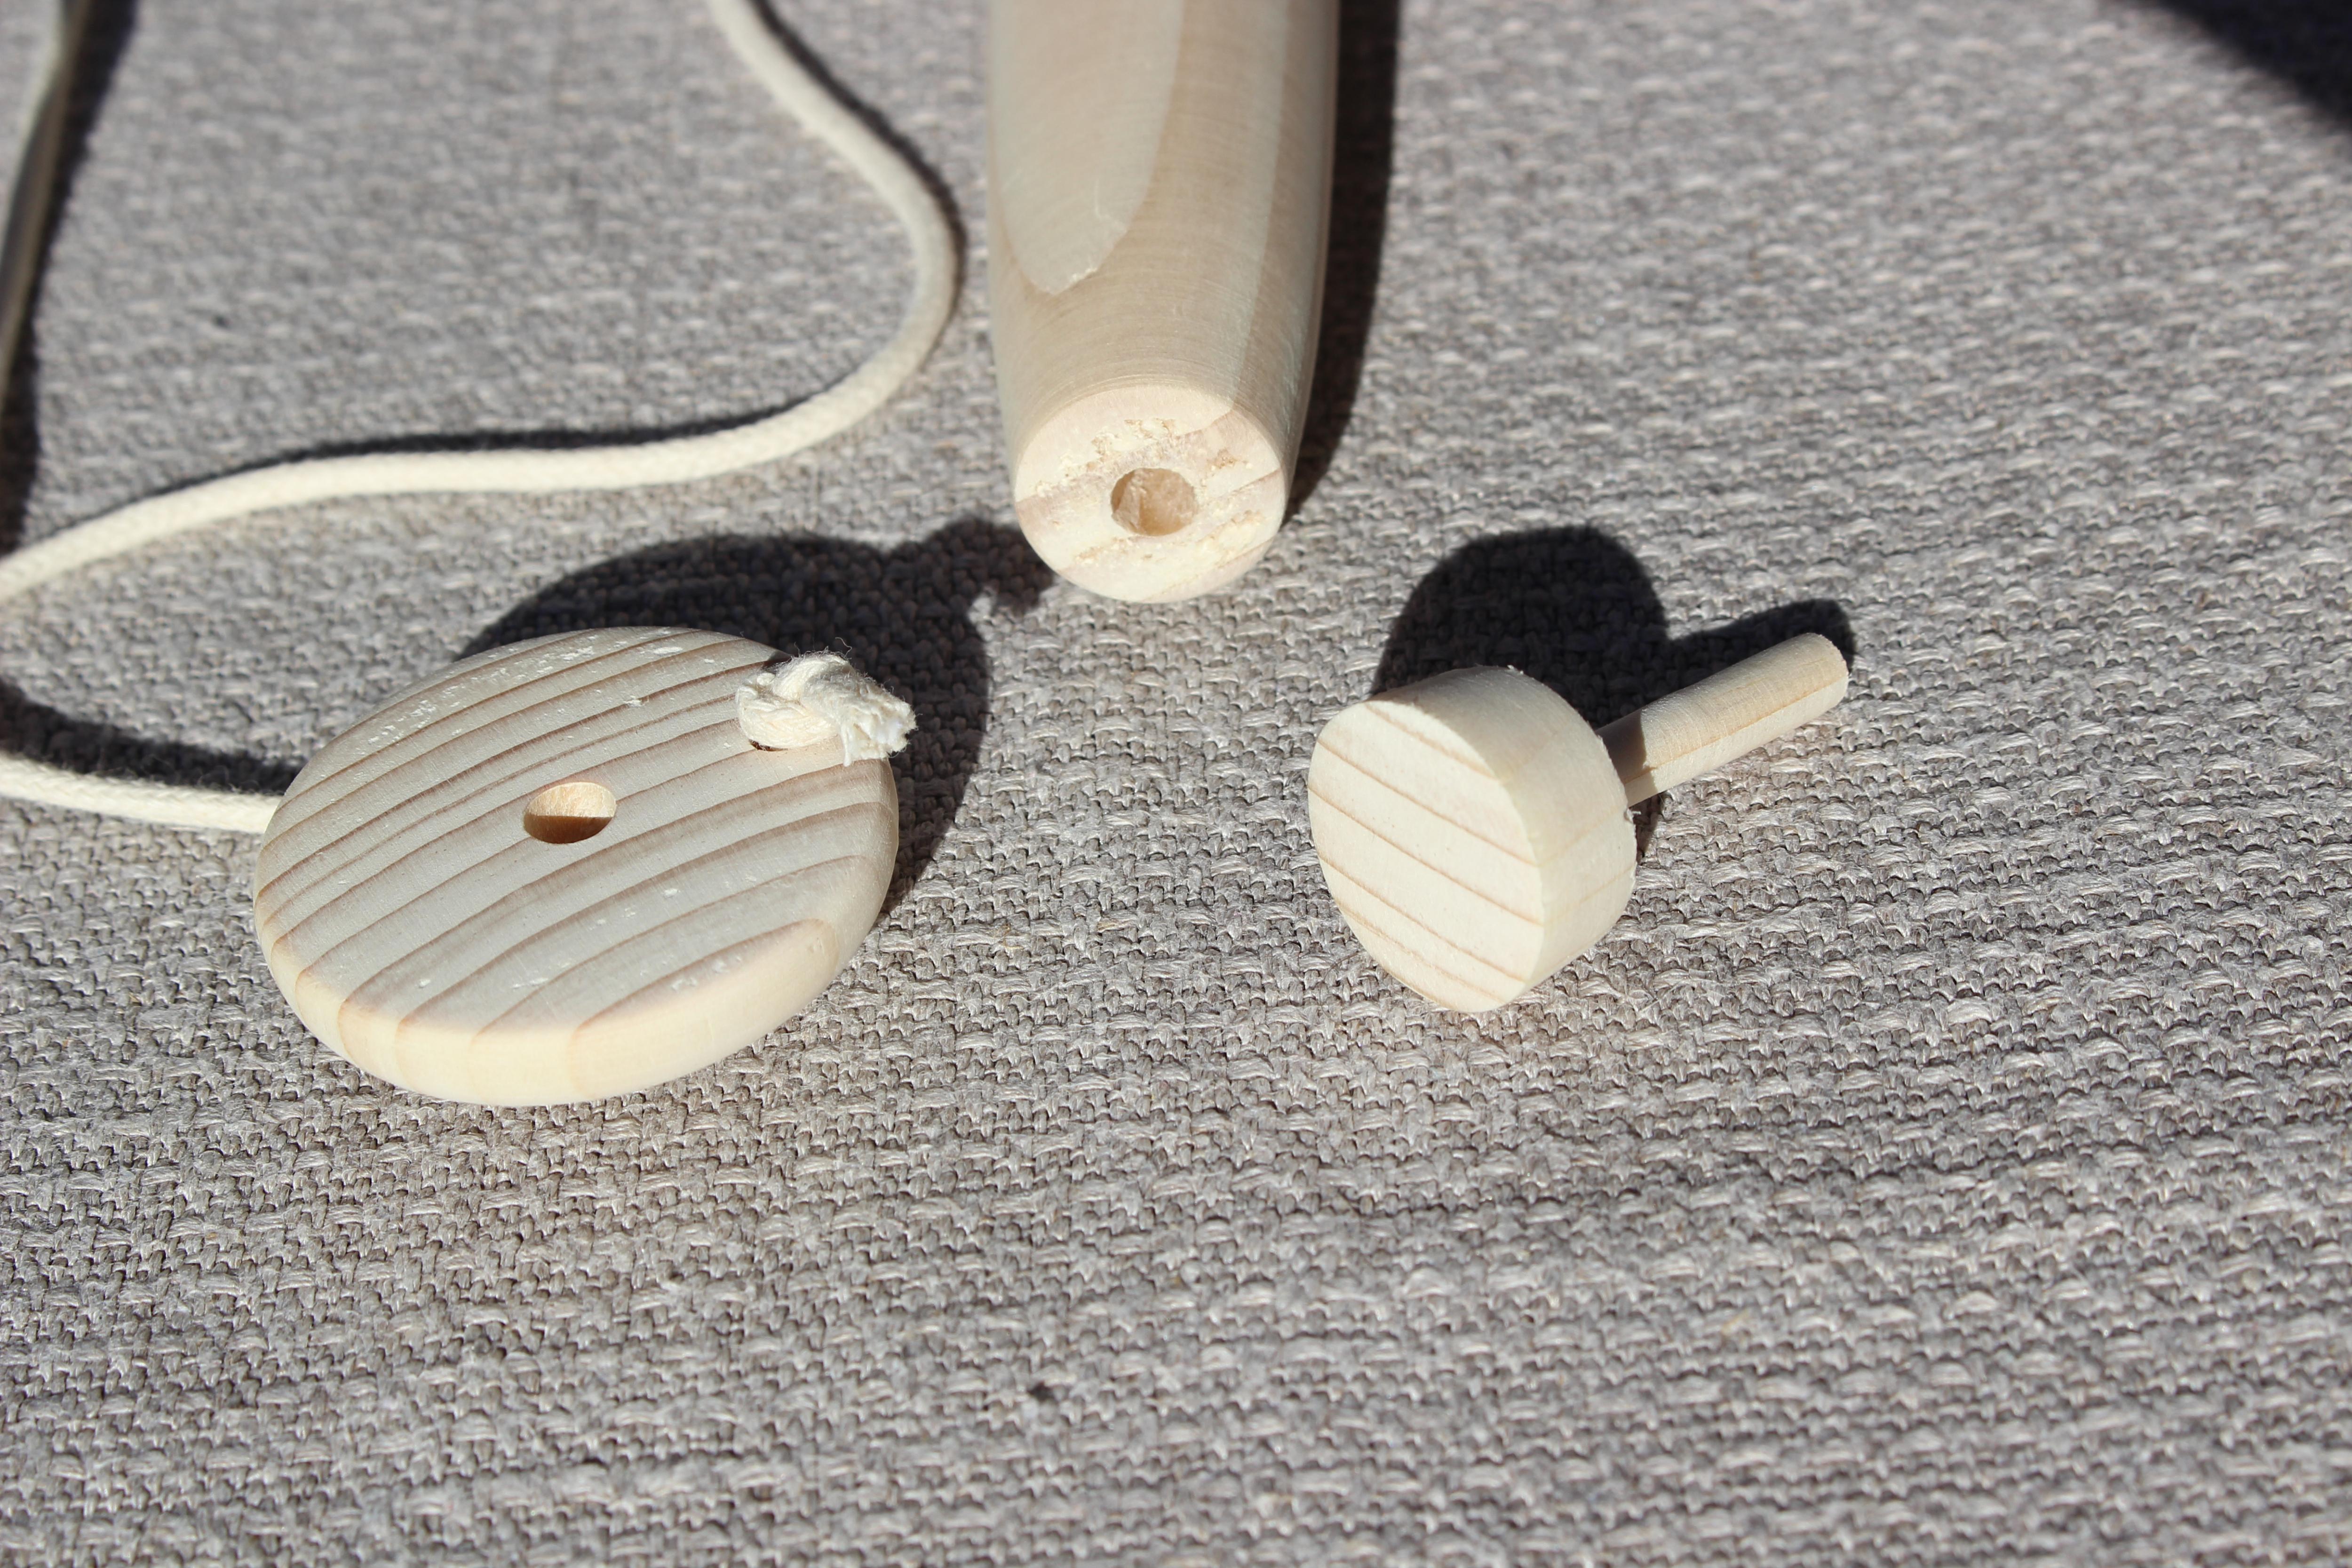
The pole is made of two pieces (it makes it shorter for easier storage) one will be inserted in the frame, the other one can be inserted in the first one.
It requires a head to allow the "free" rotation of the string and ball. It is a simple disk attached to the pole with a pin (see pictures).
Progression :
- turn the lower part of the pole, one end is sized to match the frame insert, the other end is drilled to receive the upper part of the pole (I used a home made support for this operation)
- turn the upper part of the pole, one end is sized to match the lower pole insert, the other end is drilled to receive the pin for the head.
- turn a disk for the head
- turn a pin for head attachment
The Ball
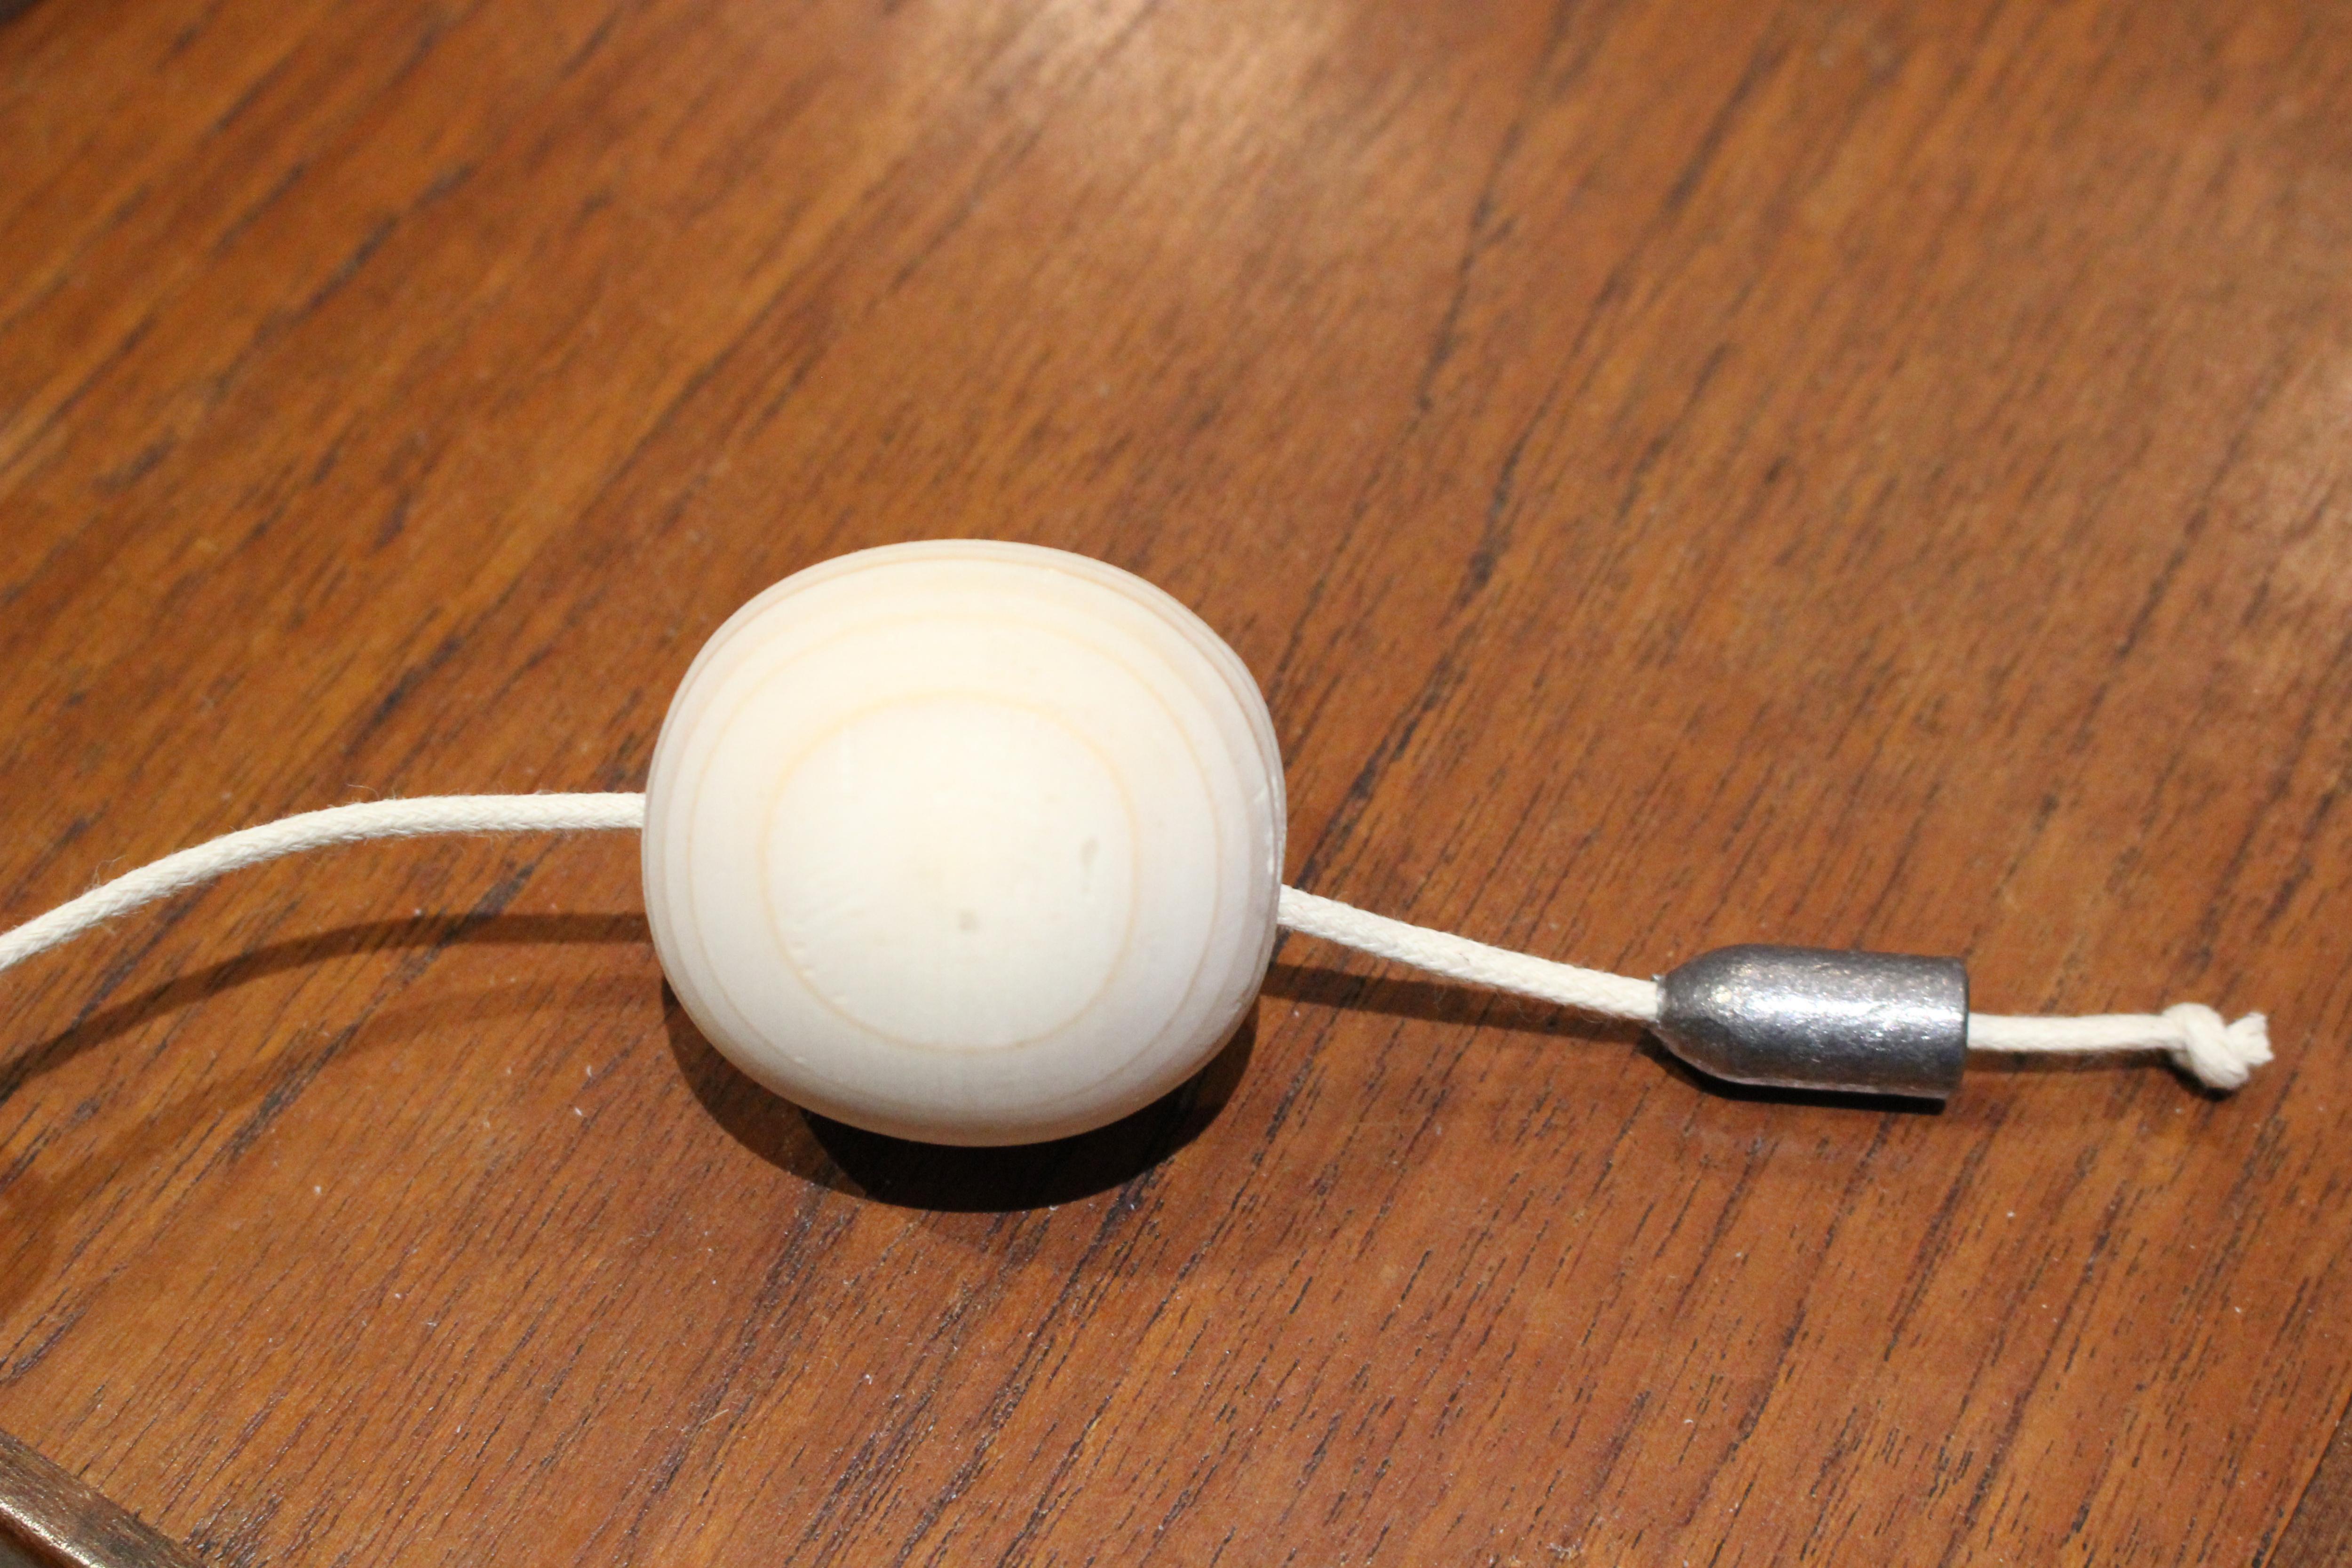

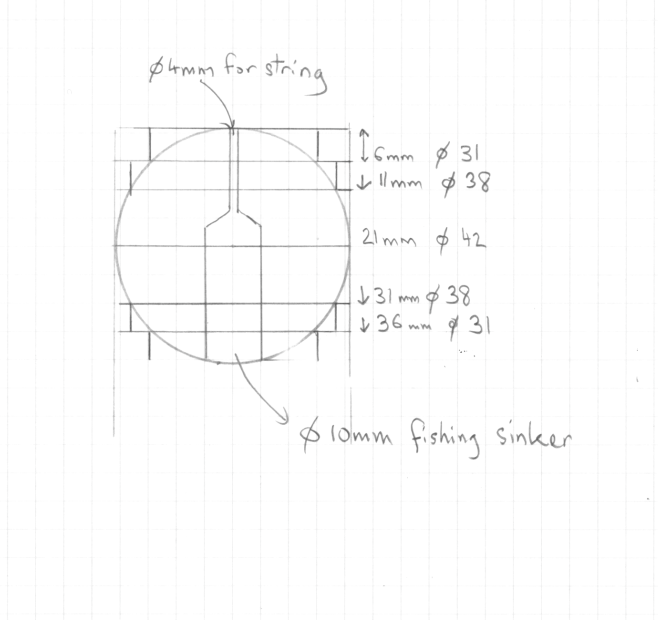
As for the skittle heads, diameters on various ball part are measured, it helps turning a symmetrical and almost spherical ball. Result is good enough (this ball does not need to roll...)
Pine wood is very light and the first test results were disappointing... the ball was almost bouncing on the first skittle it hit and I could barely have three skittles down on a throw.
Easy adjustment, I gave it some weight with a 15 gr fishing sinker (see pictures).
Progression :
- turn a cylinder (longer the diameter of the final ball, one part is lost in the chuck, and free space between the chuck and the ball is more comfortable)
- mark some known diameter of the sphere
- turn down to the known diameters
- continue shaping to the final design keeping a small attachment to the chuck.
- drill a hole for the string
- sand
- remove from the lathe
- drill a hole to the fishing sinker insertion
The Frame
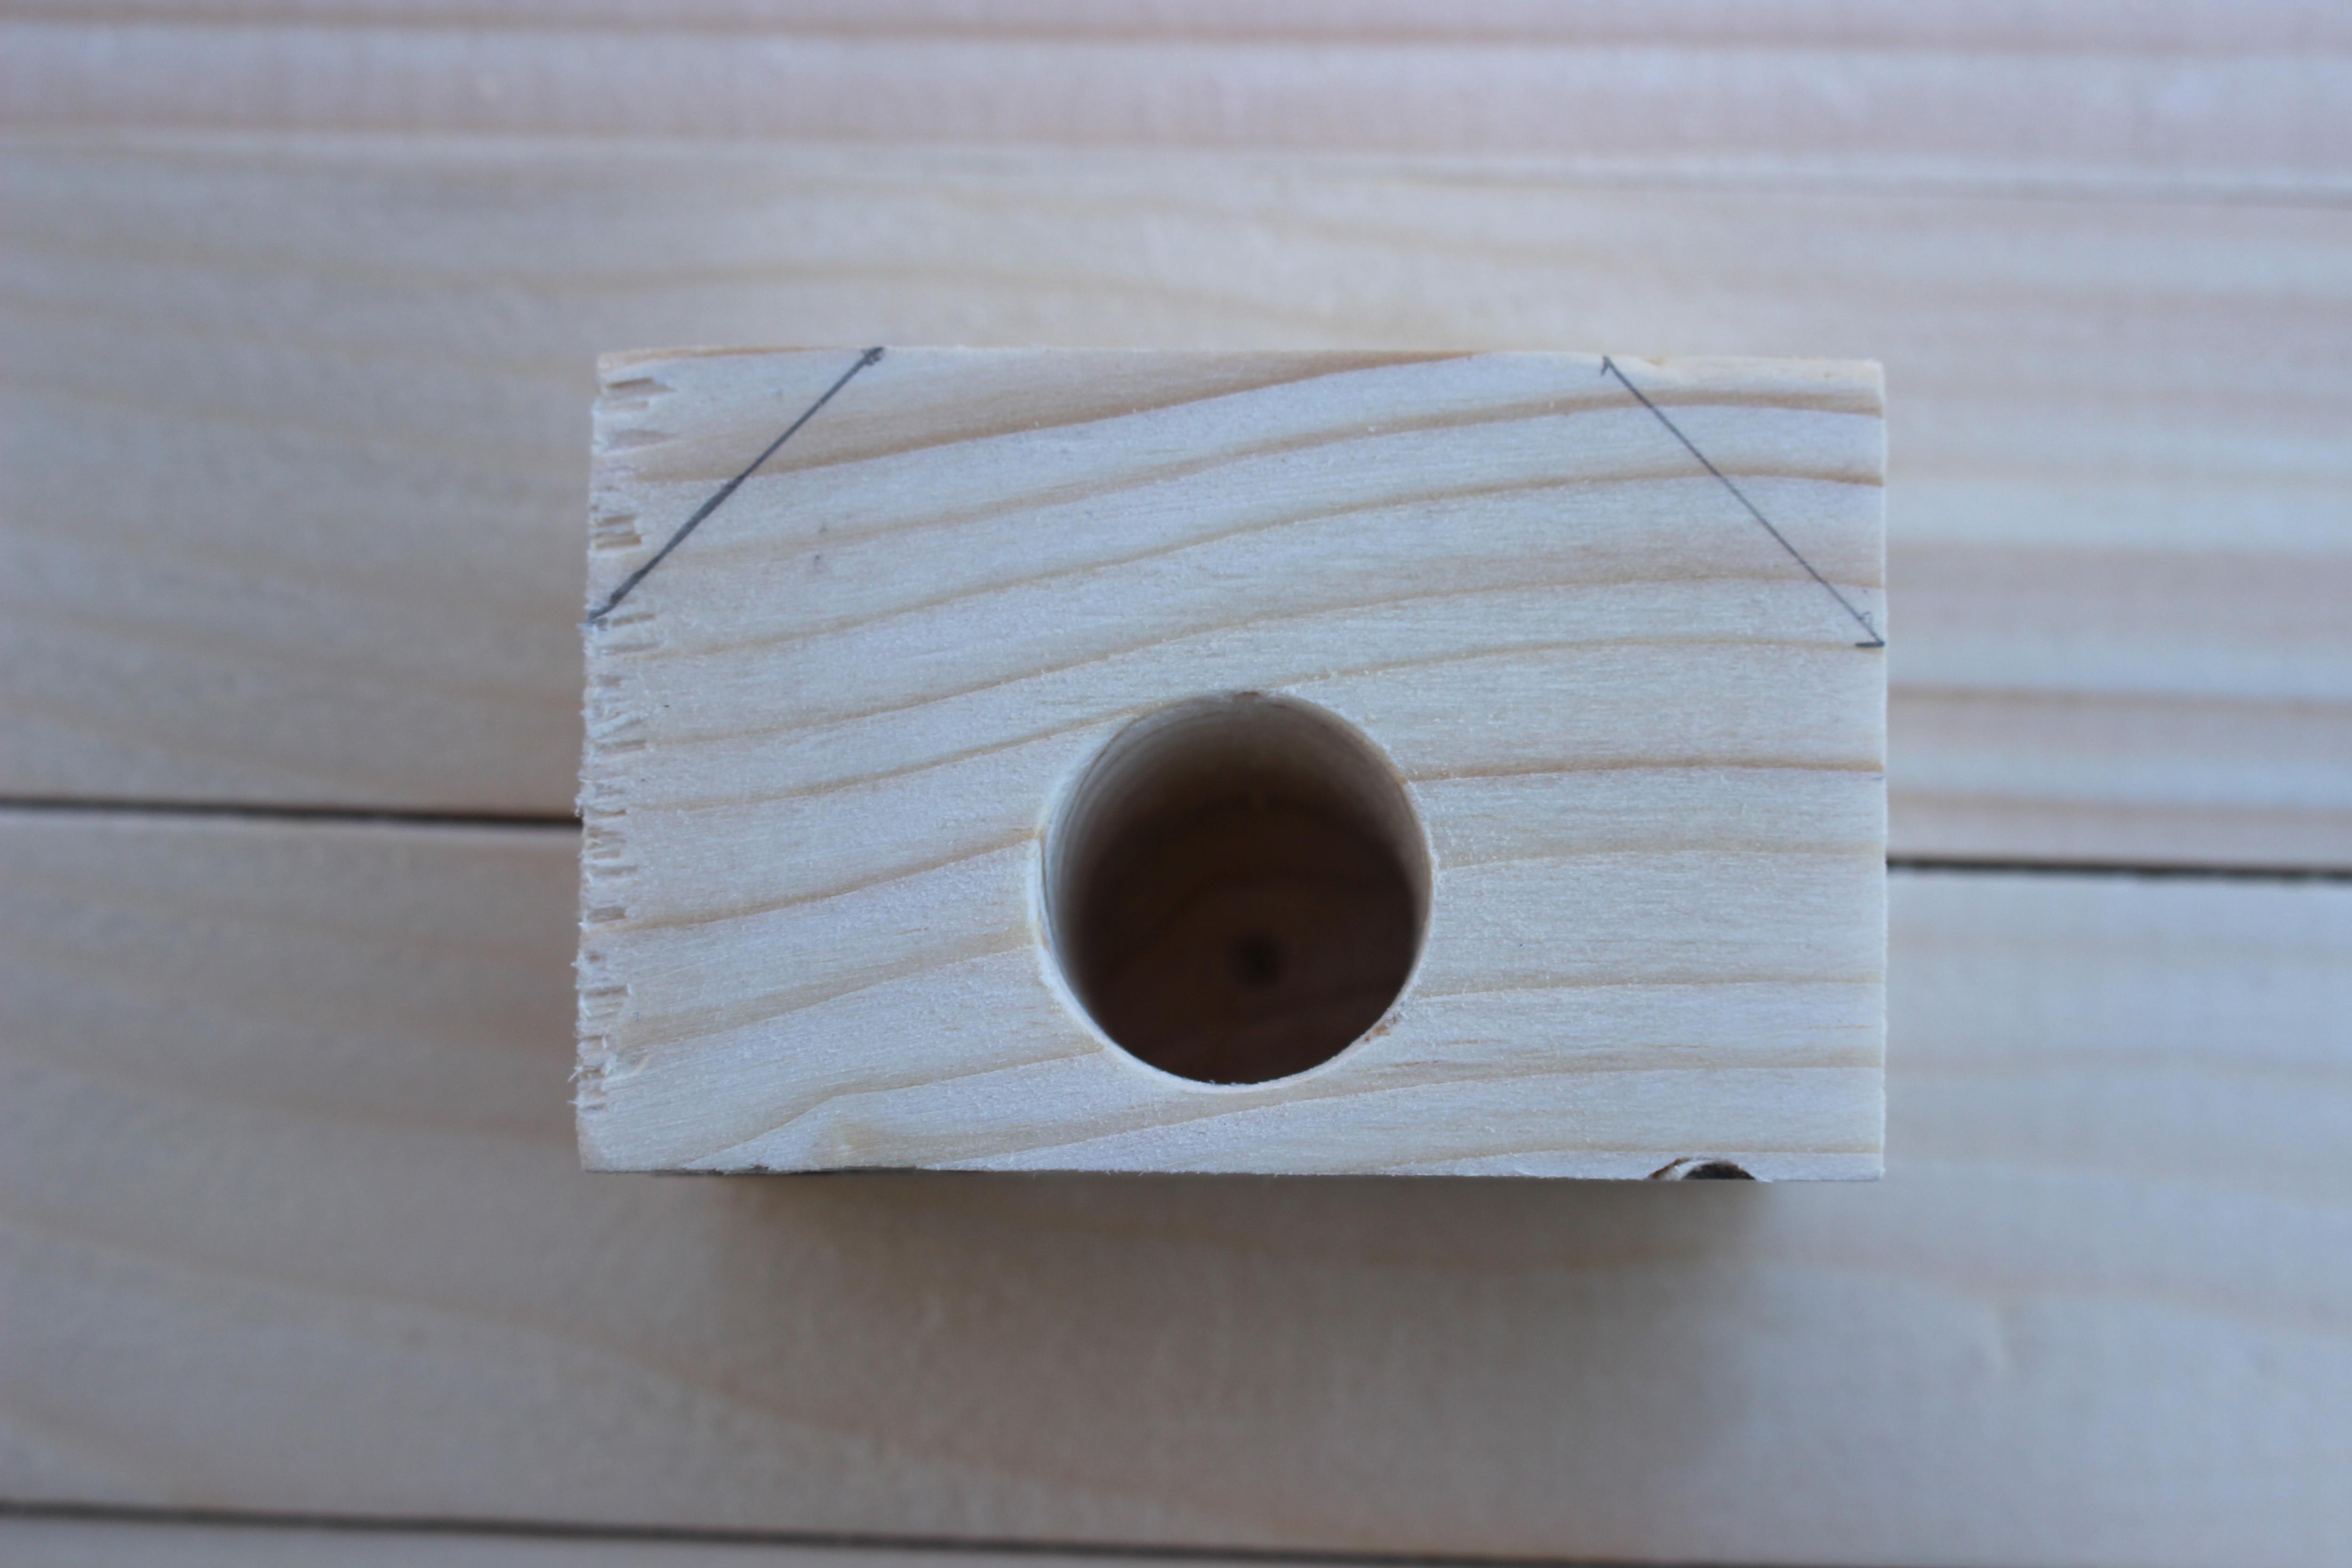


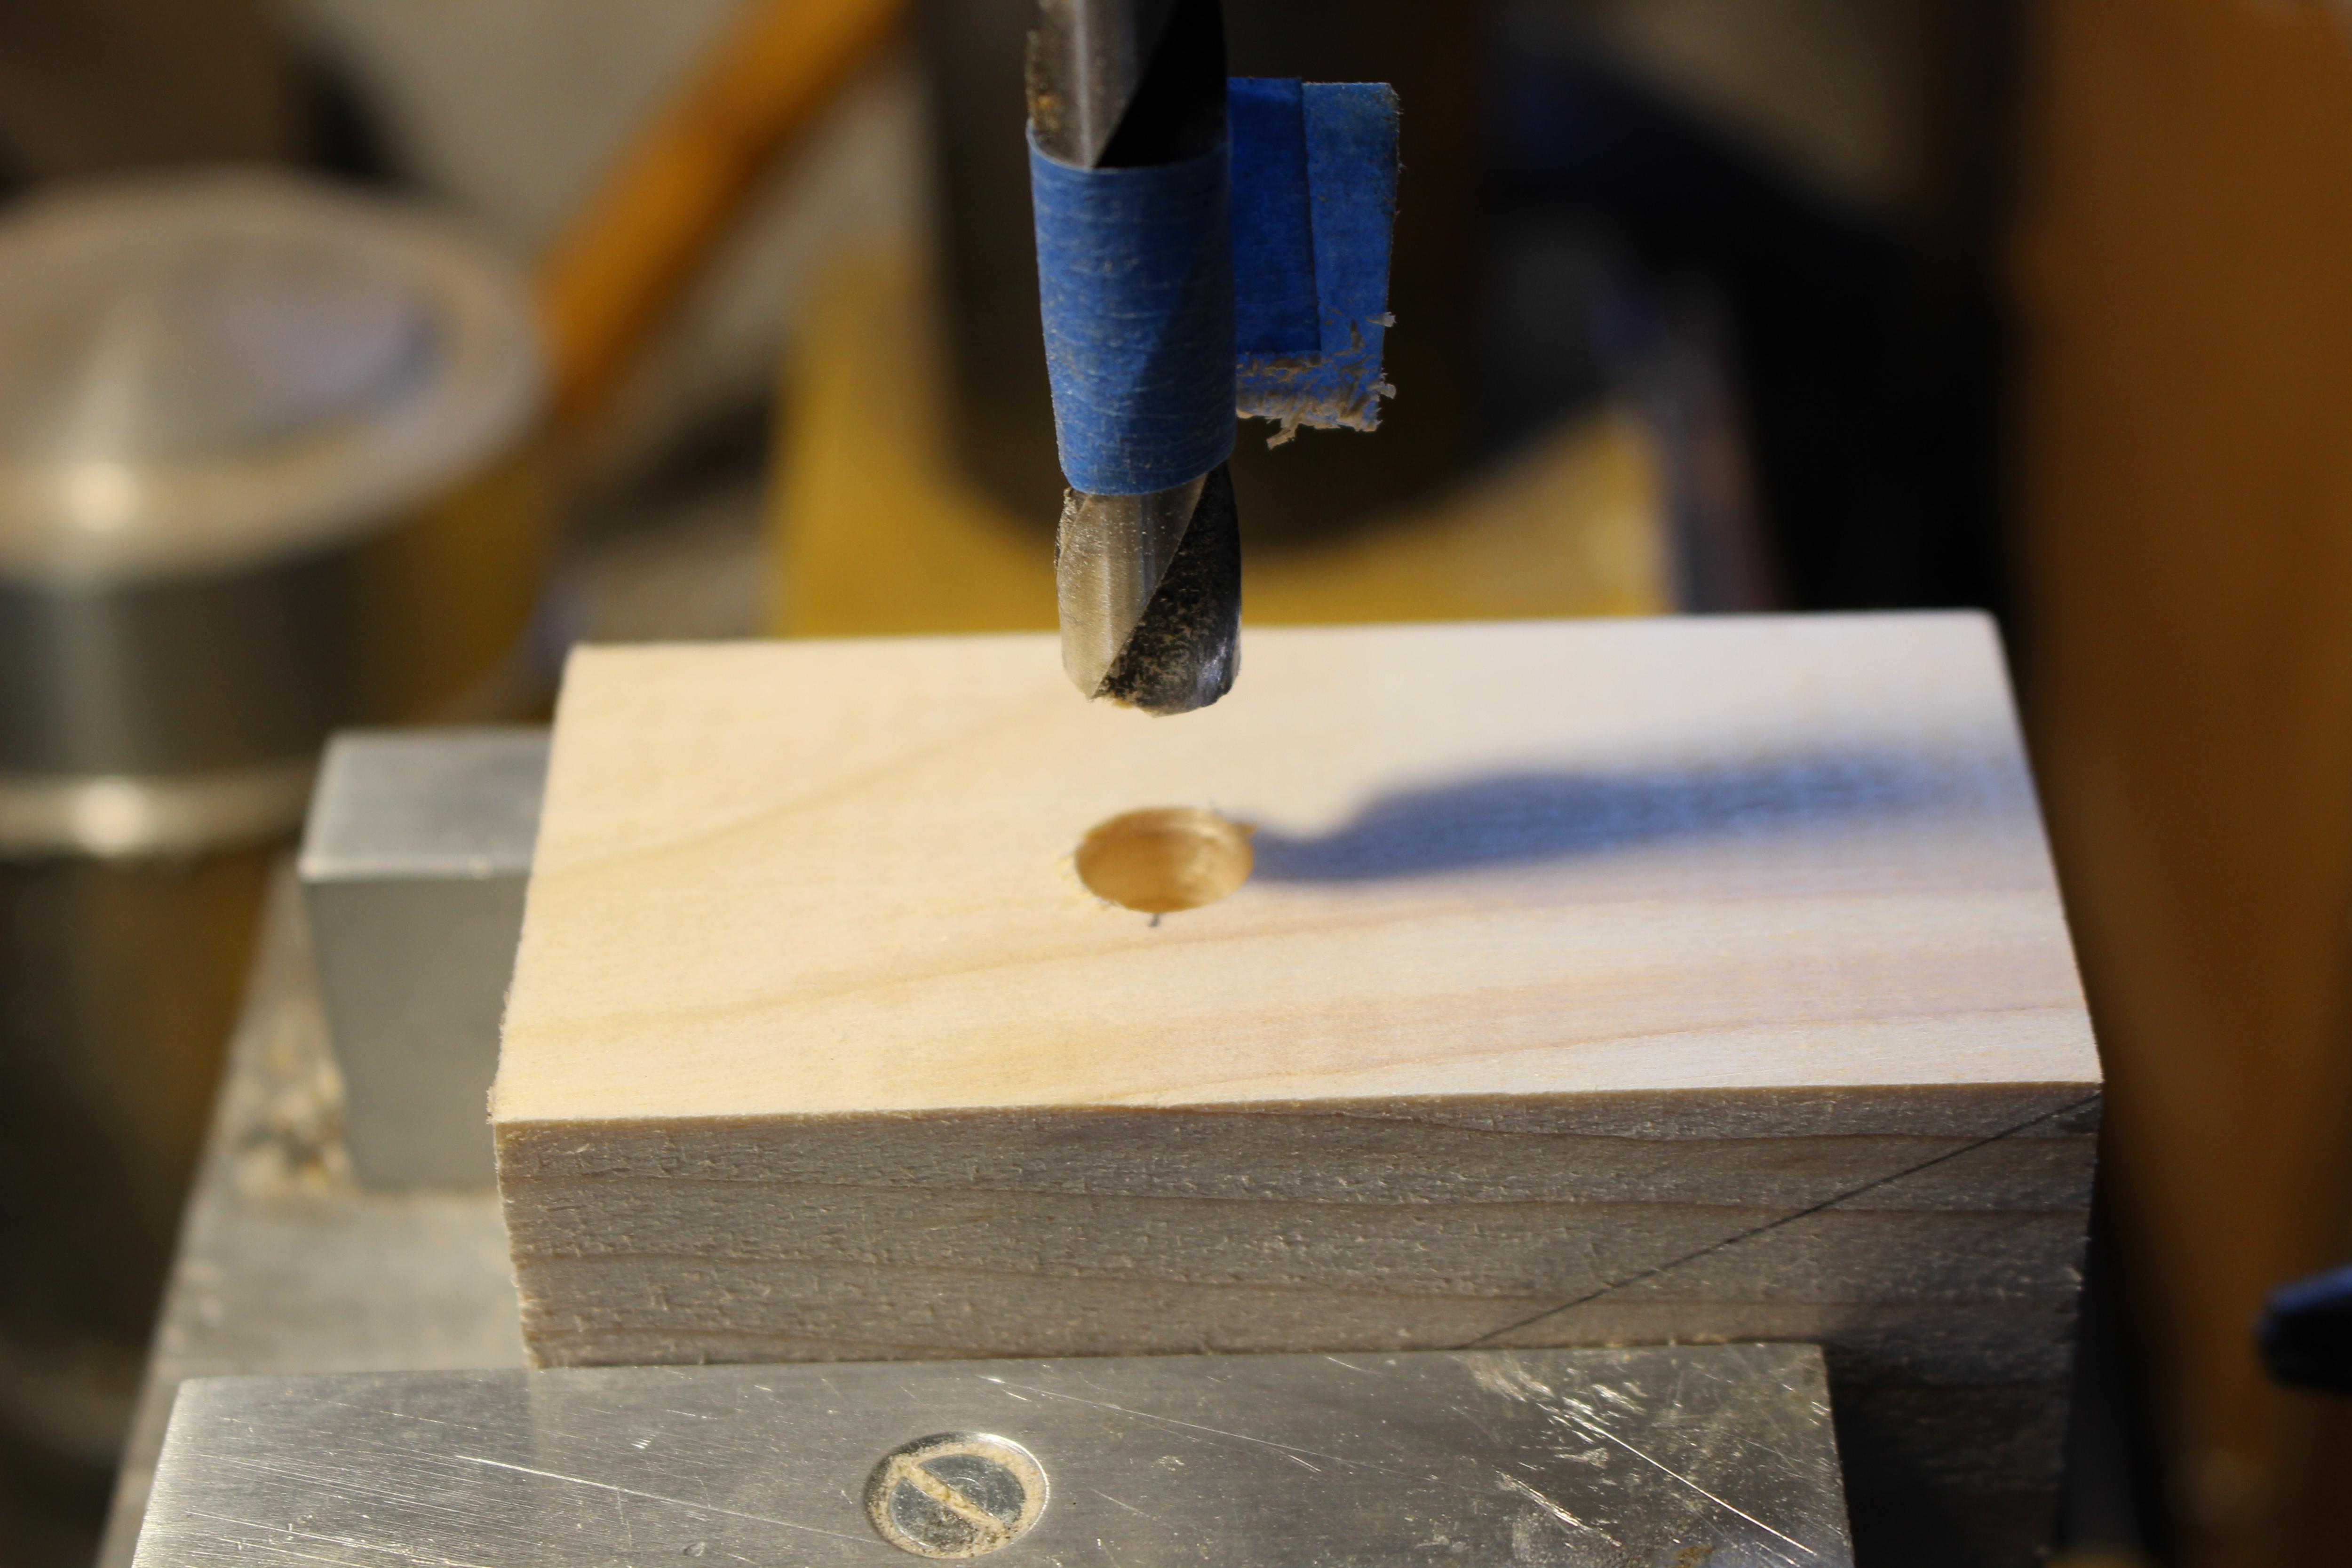


It is made of four main pieces (the four sides), a block where we can insert the pole, four corners to help assembly
For the corners, one side is glued on one side of the frame, while another side is drilled and a tenon will allow assembly/disassembly with another side.
A block is drilled to 20 mm (it will receive the pole) and glued in the middle of one of the long side
Progression:
- prepare the block for the pole insertion (drill according to the pole end - I used a 20 mm forstner bit) eventually cut some edges and round them.
- glue the block in the middle of one of the longer side
- turn some 10 mm tenon
- drill 10 mm holes in the pieces that will become the corner (it is easier before the cut to drill perpendicularly)
- cut each block into two pieces (right triangular prism)
- glue the corner to the two short sides of the frame
- mark the position of the insert for the tenons on the two longer sides
The Scoring Cribbage Board
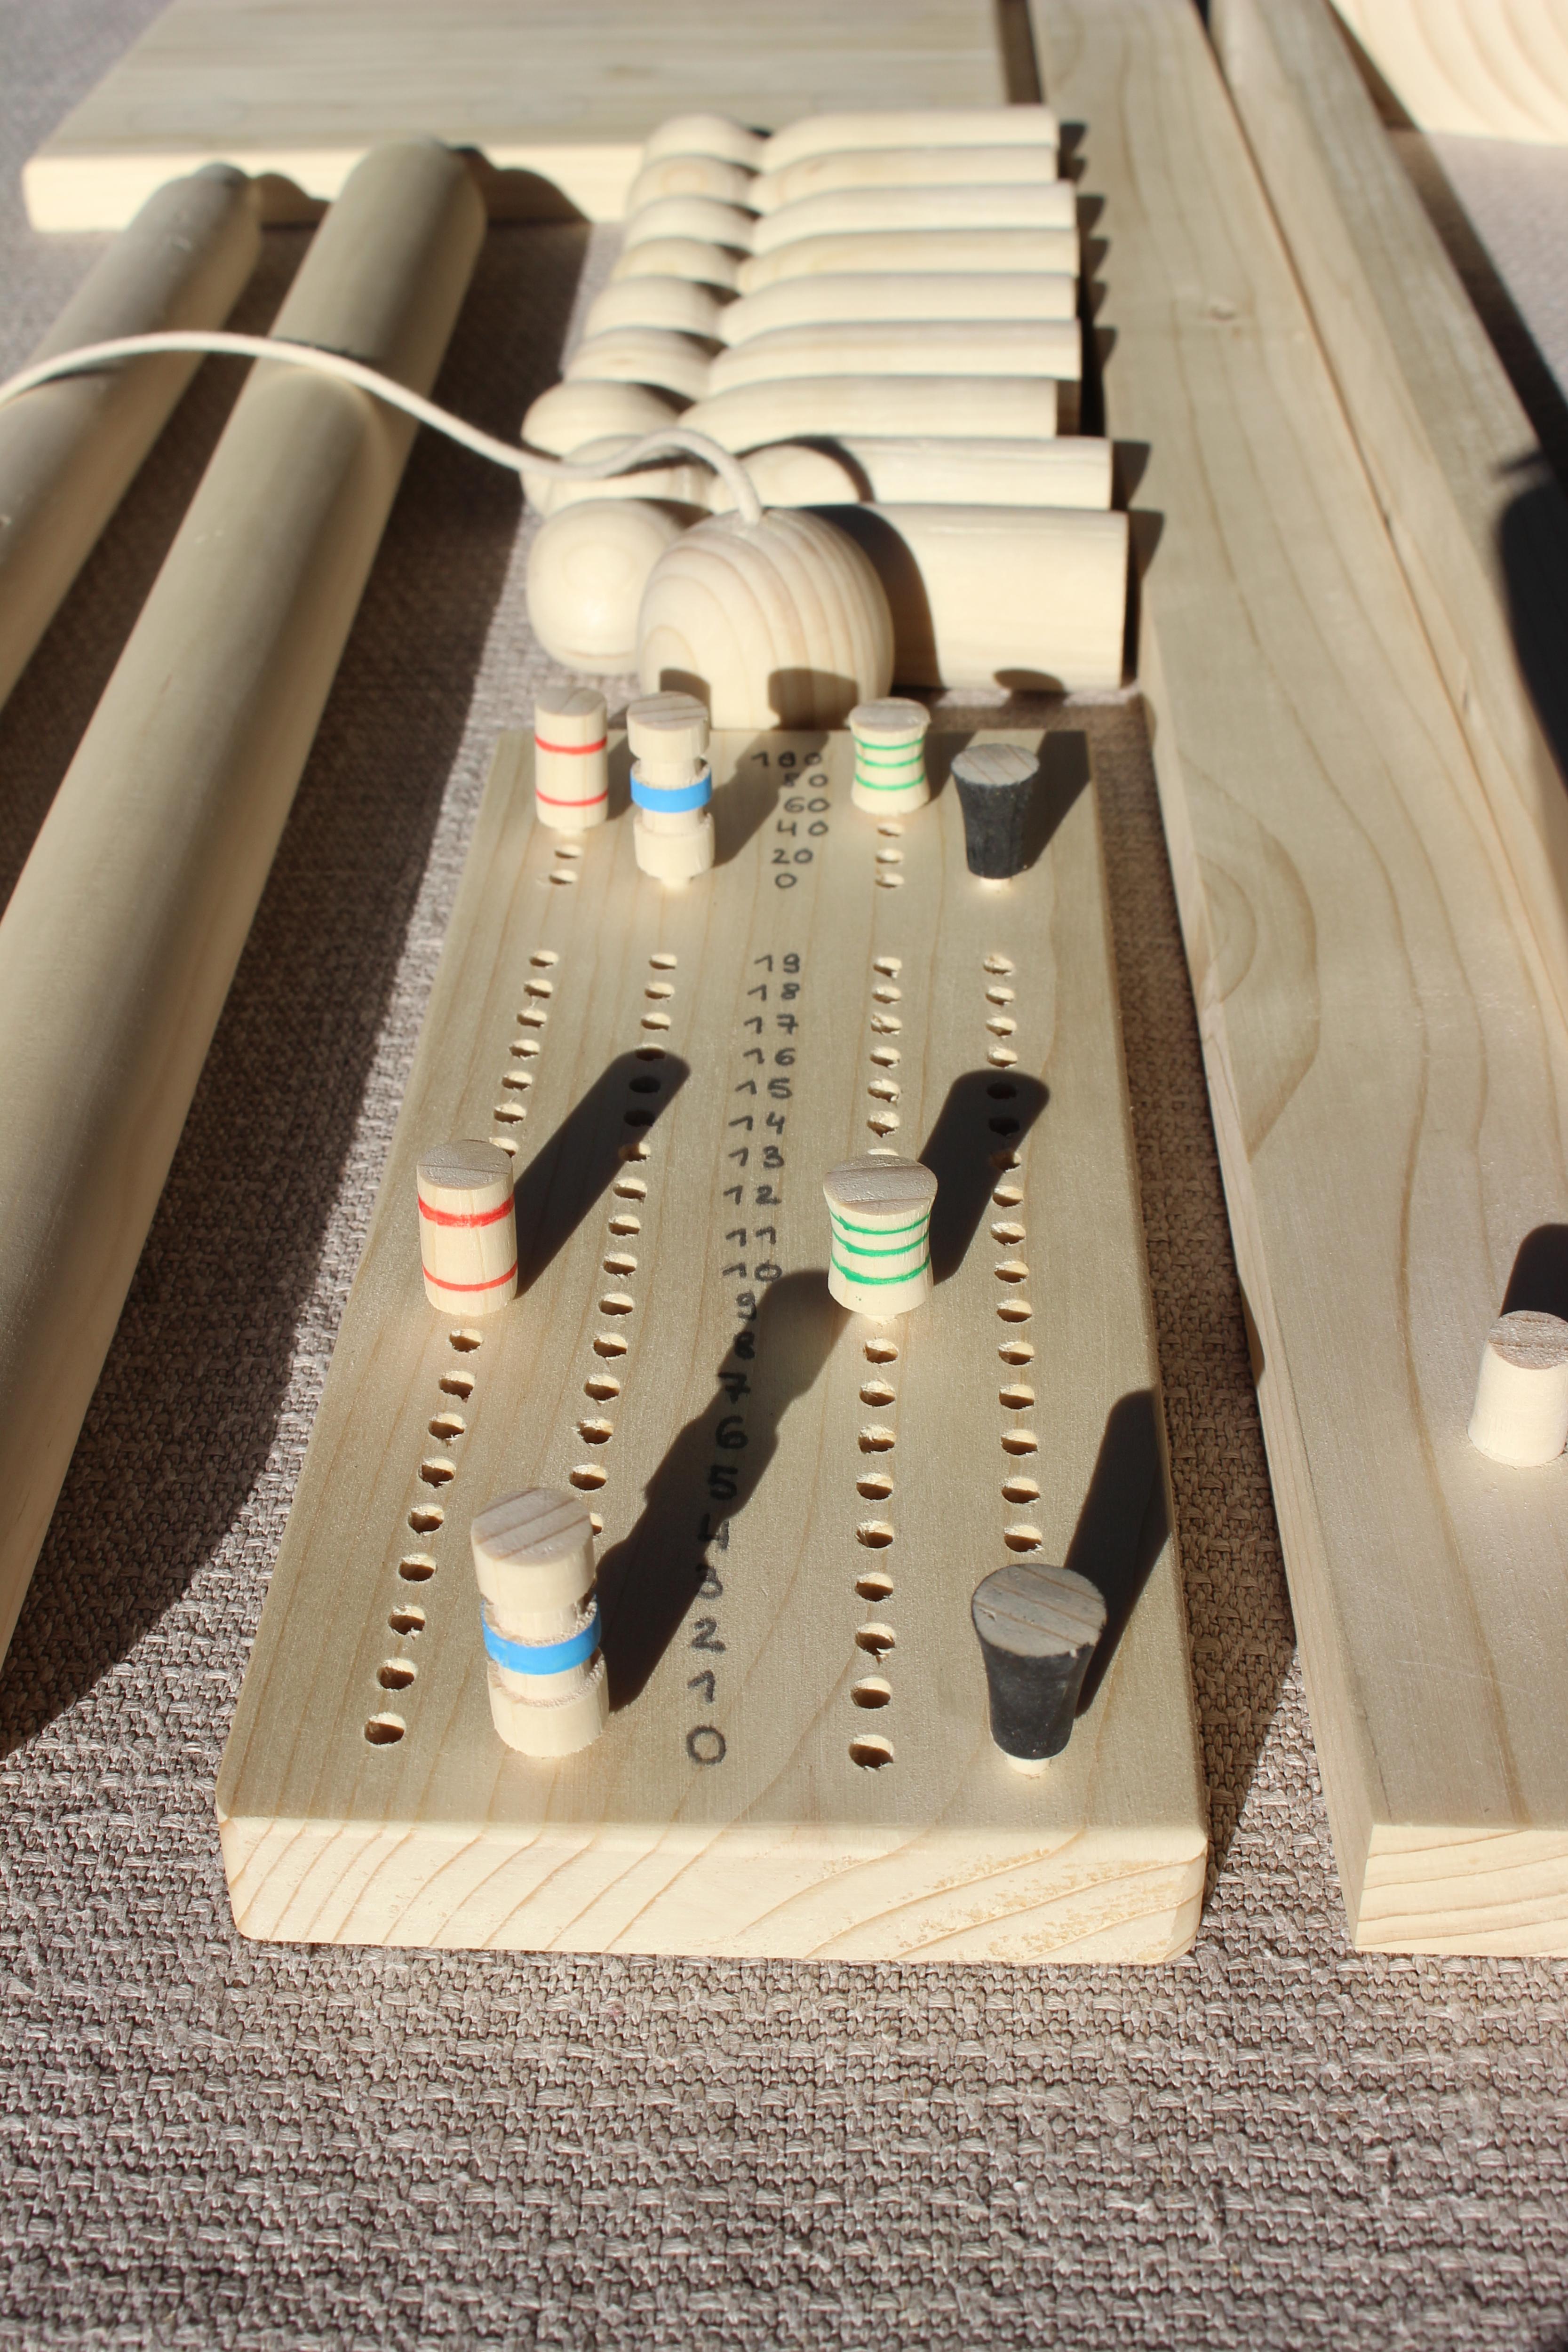
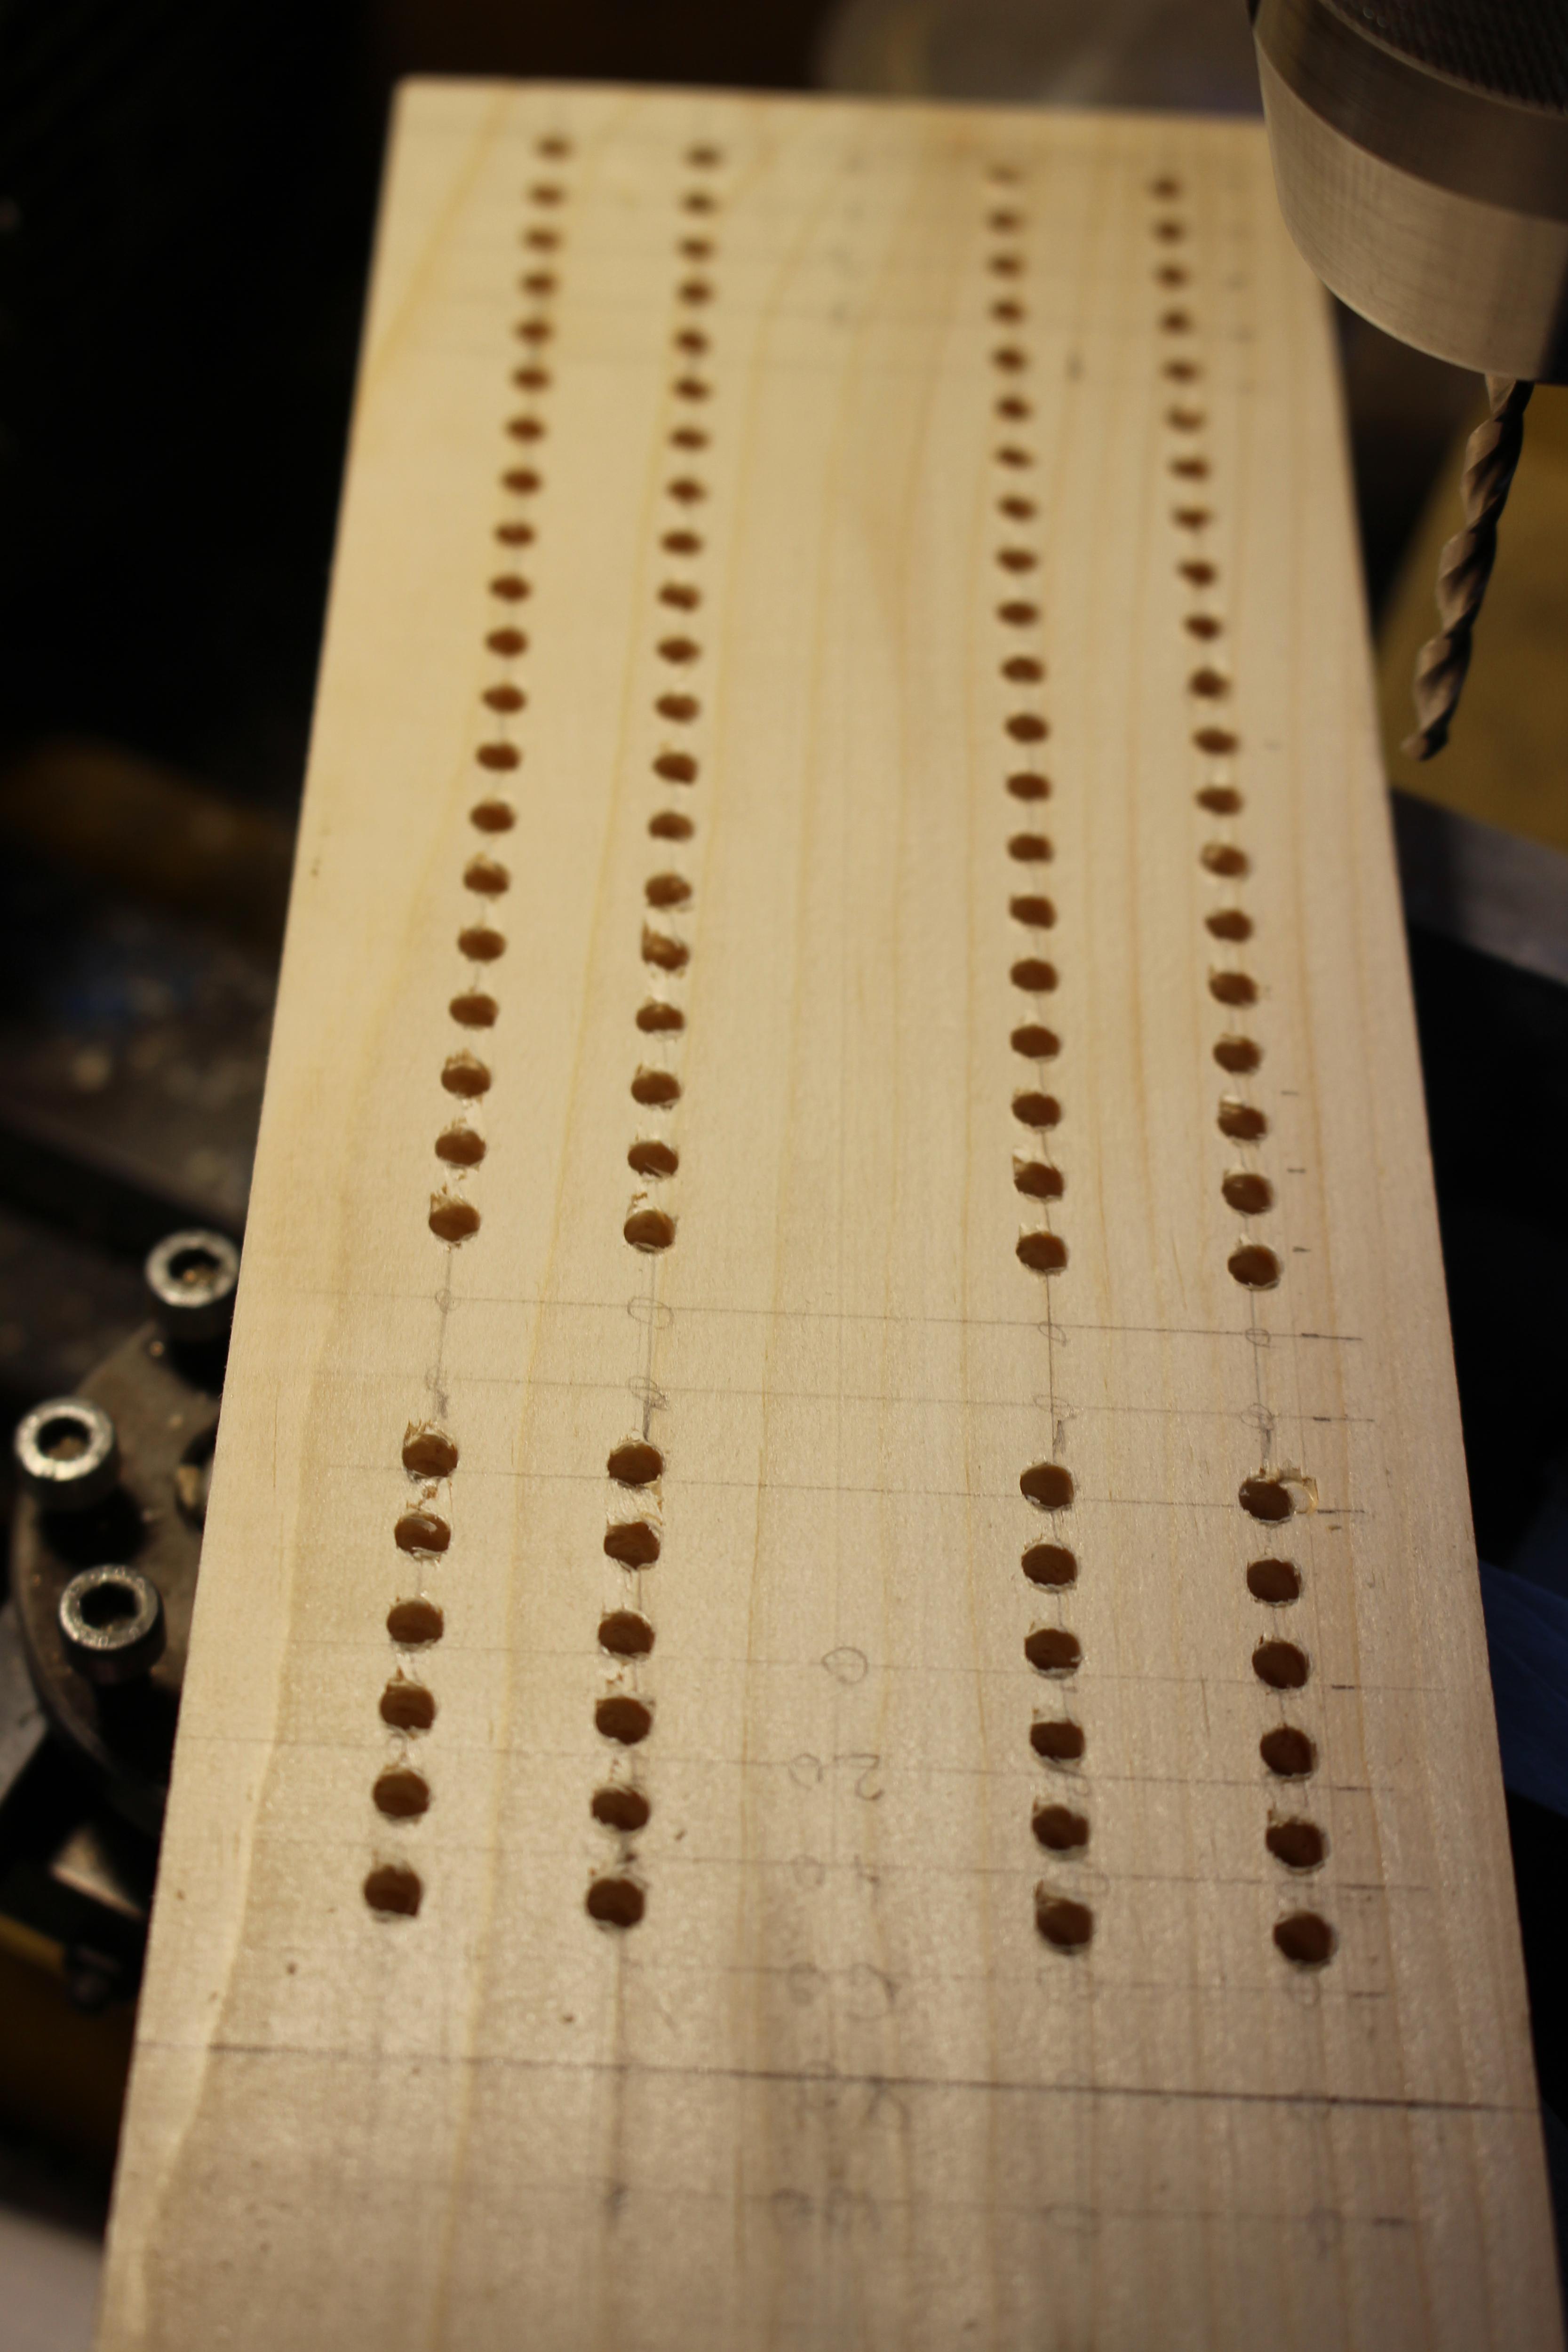


Since I had some wood left, I thought it would be nice to have a score board. I used what seems to be a "traditional" way of scoring, this is in base 20, so we have a pawn for 0 to 19 and one for 0, 20, 40, 60, 80 and 100 (Table skittles can be played 101 down)
The trick here is how to get a nice alignment of the 100 holes (I had enough room for four players).
I made this simple hole mark tool that can be used (once the fist hole is drilled, progress through the whole board by inserting a 4mm screw in the previous line (see pictures).
Pawns for the Score Board

Pawns are turned and colored on the lathe
Let's Play


Each player has three throws. You throw the ball around the pole, the ball should hit the skittles when returning to the player. The player should not allow the ball perform more than one swing.
If the player knock down all skittles at first or second throw, skittles are set up again (therefore up to 27 points could be scored in three throws).
The game is played 91 or 101 down.
What's Left

Pretty good yield for the 2x4 board usage...not much left for another project.