Tab-Switcher
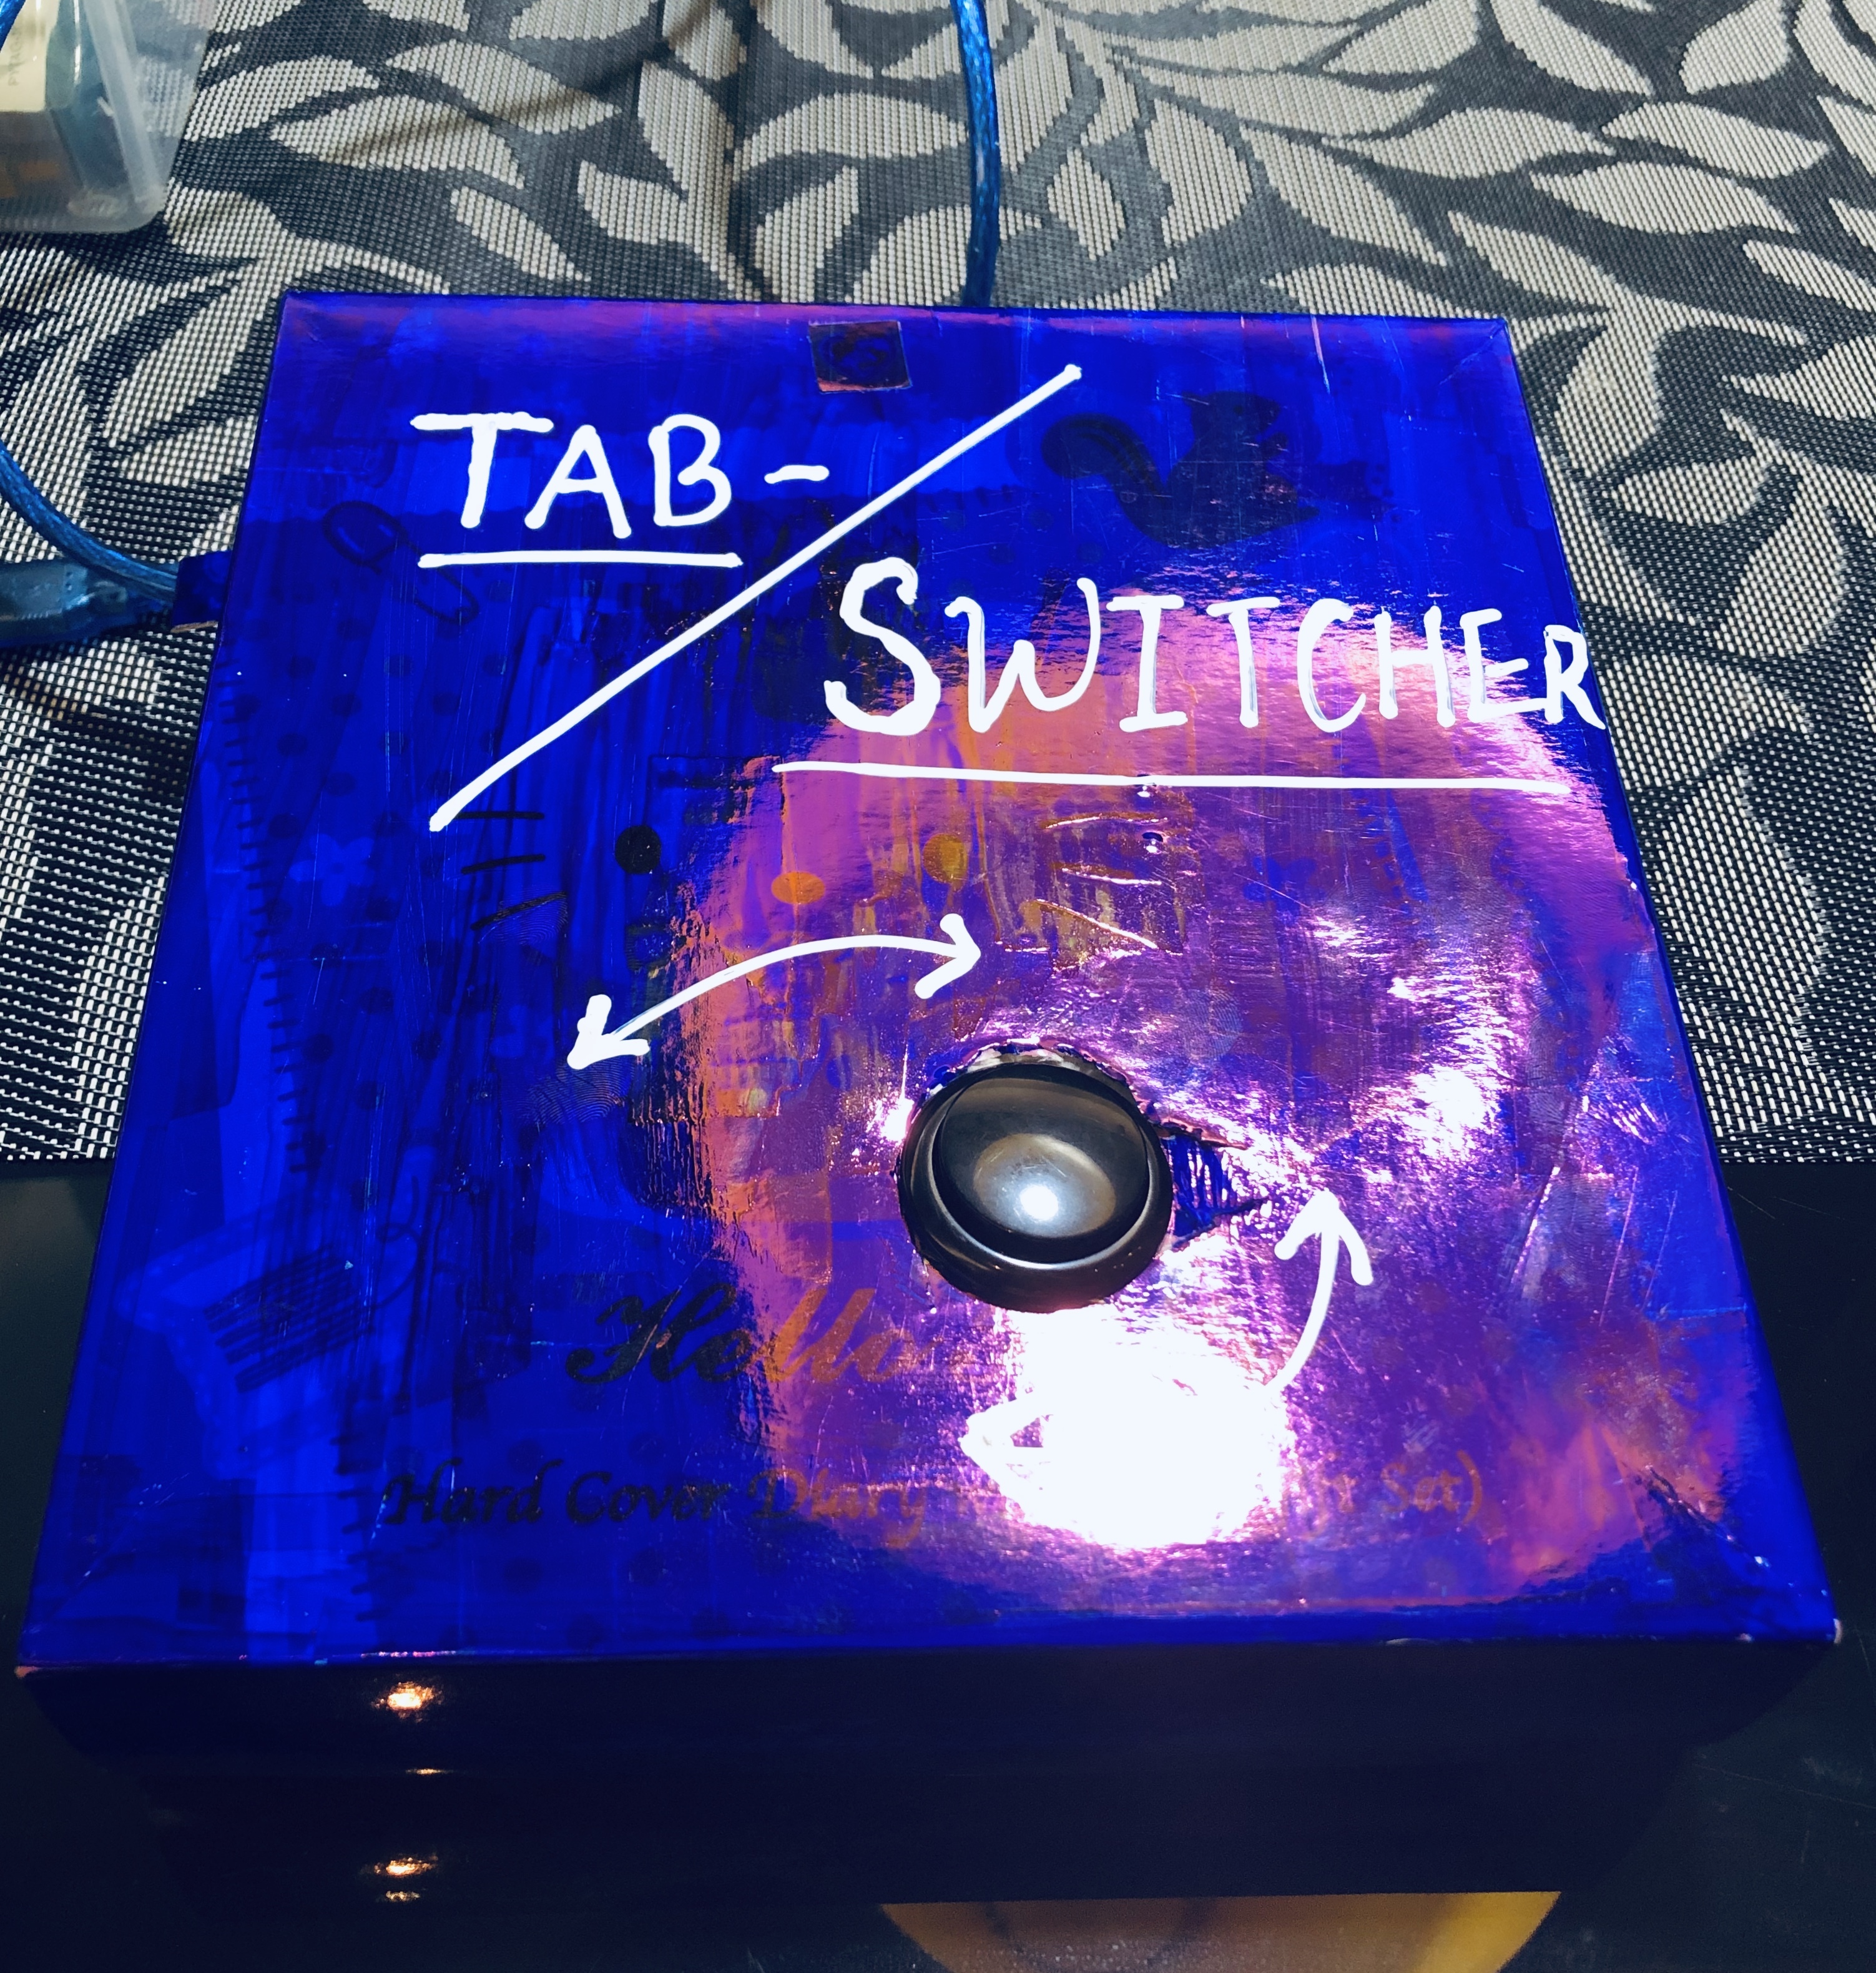
Tab-Switcher can switch tabs with a push of a button, don't need to drag the mouse to click or scroll your hands on the touchpad to switch tabs anymore, make your own Tab-Switcher, it's easy and simple.
Supplies
For making the Tab-Switcher you will need:
Circuit_
- 1 Breadboard
- 1 Arduino board (I'm using Arduino Leonardo)
- 1 Button
- 4 Circuit wires
- 1 Precision resistance
- USB cable (connect your board to your laptop)
Out-Box_
- Any kind of box is ok, as long as you can fit your board in
- Paint (if you want to paint the outside box)
- Scissors or a cutter
Circuits
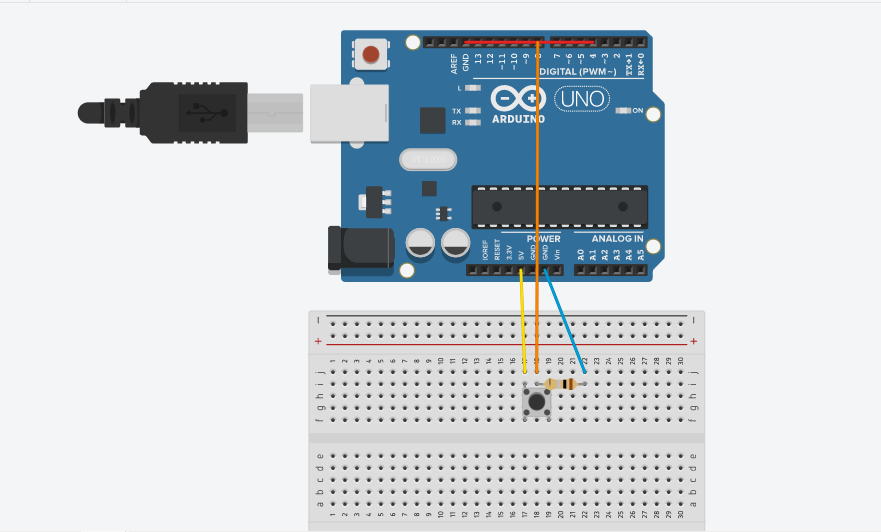

- Connect GND and Pin 4 together
- Connect 5V to the button
- Connect Pin 8 to the button
- Connect the precision resistance to the same line of the Pin 8 wire
- Connect GND to the other end of the precision resistance
Code
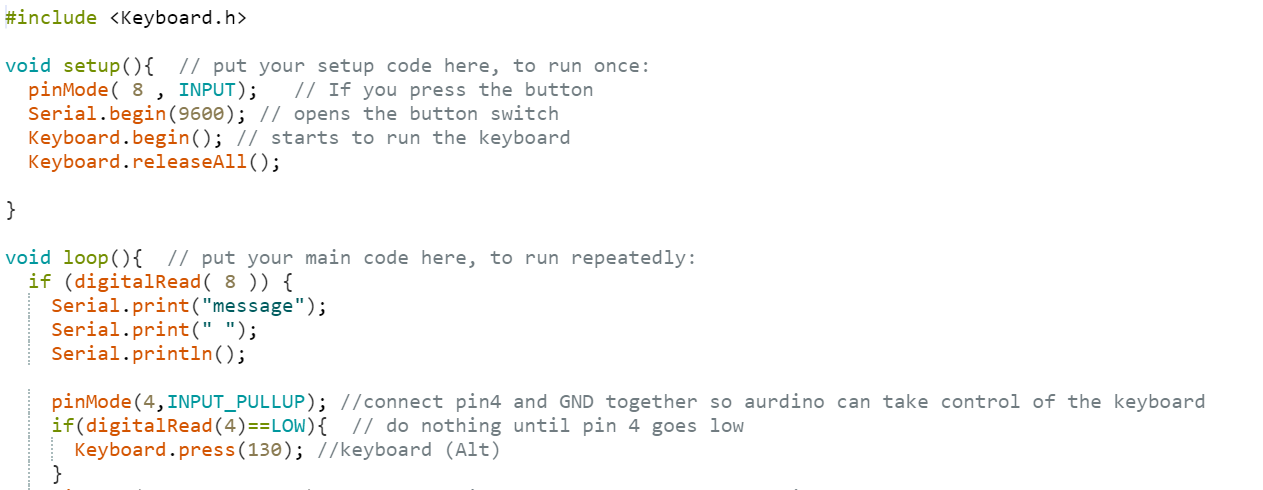
You can copy the code from here:
Out-box
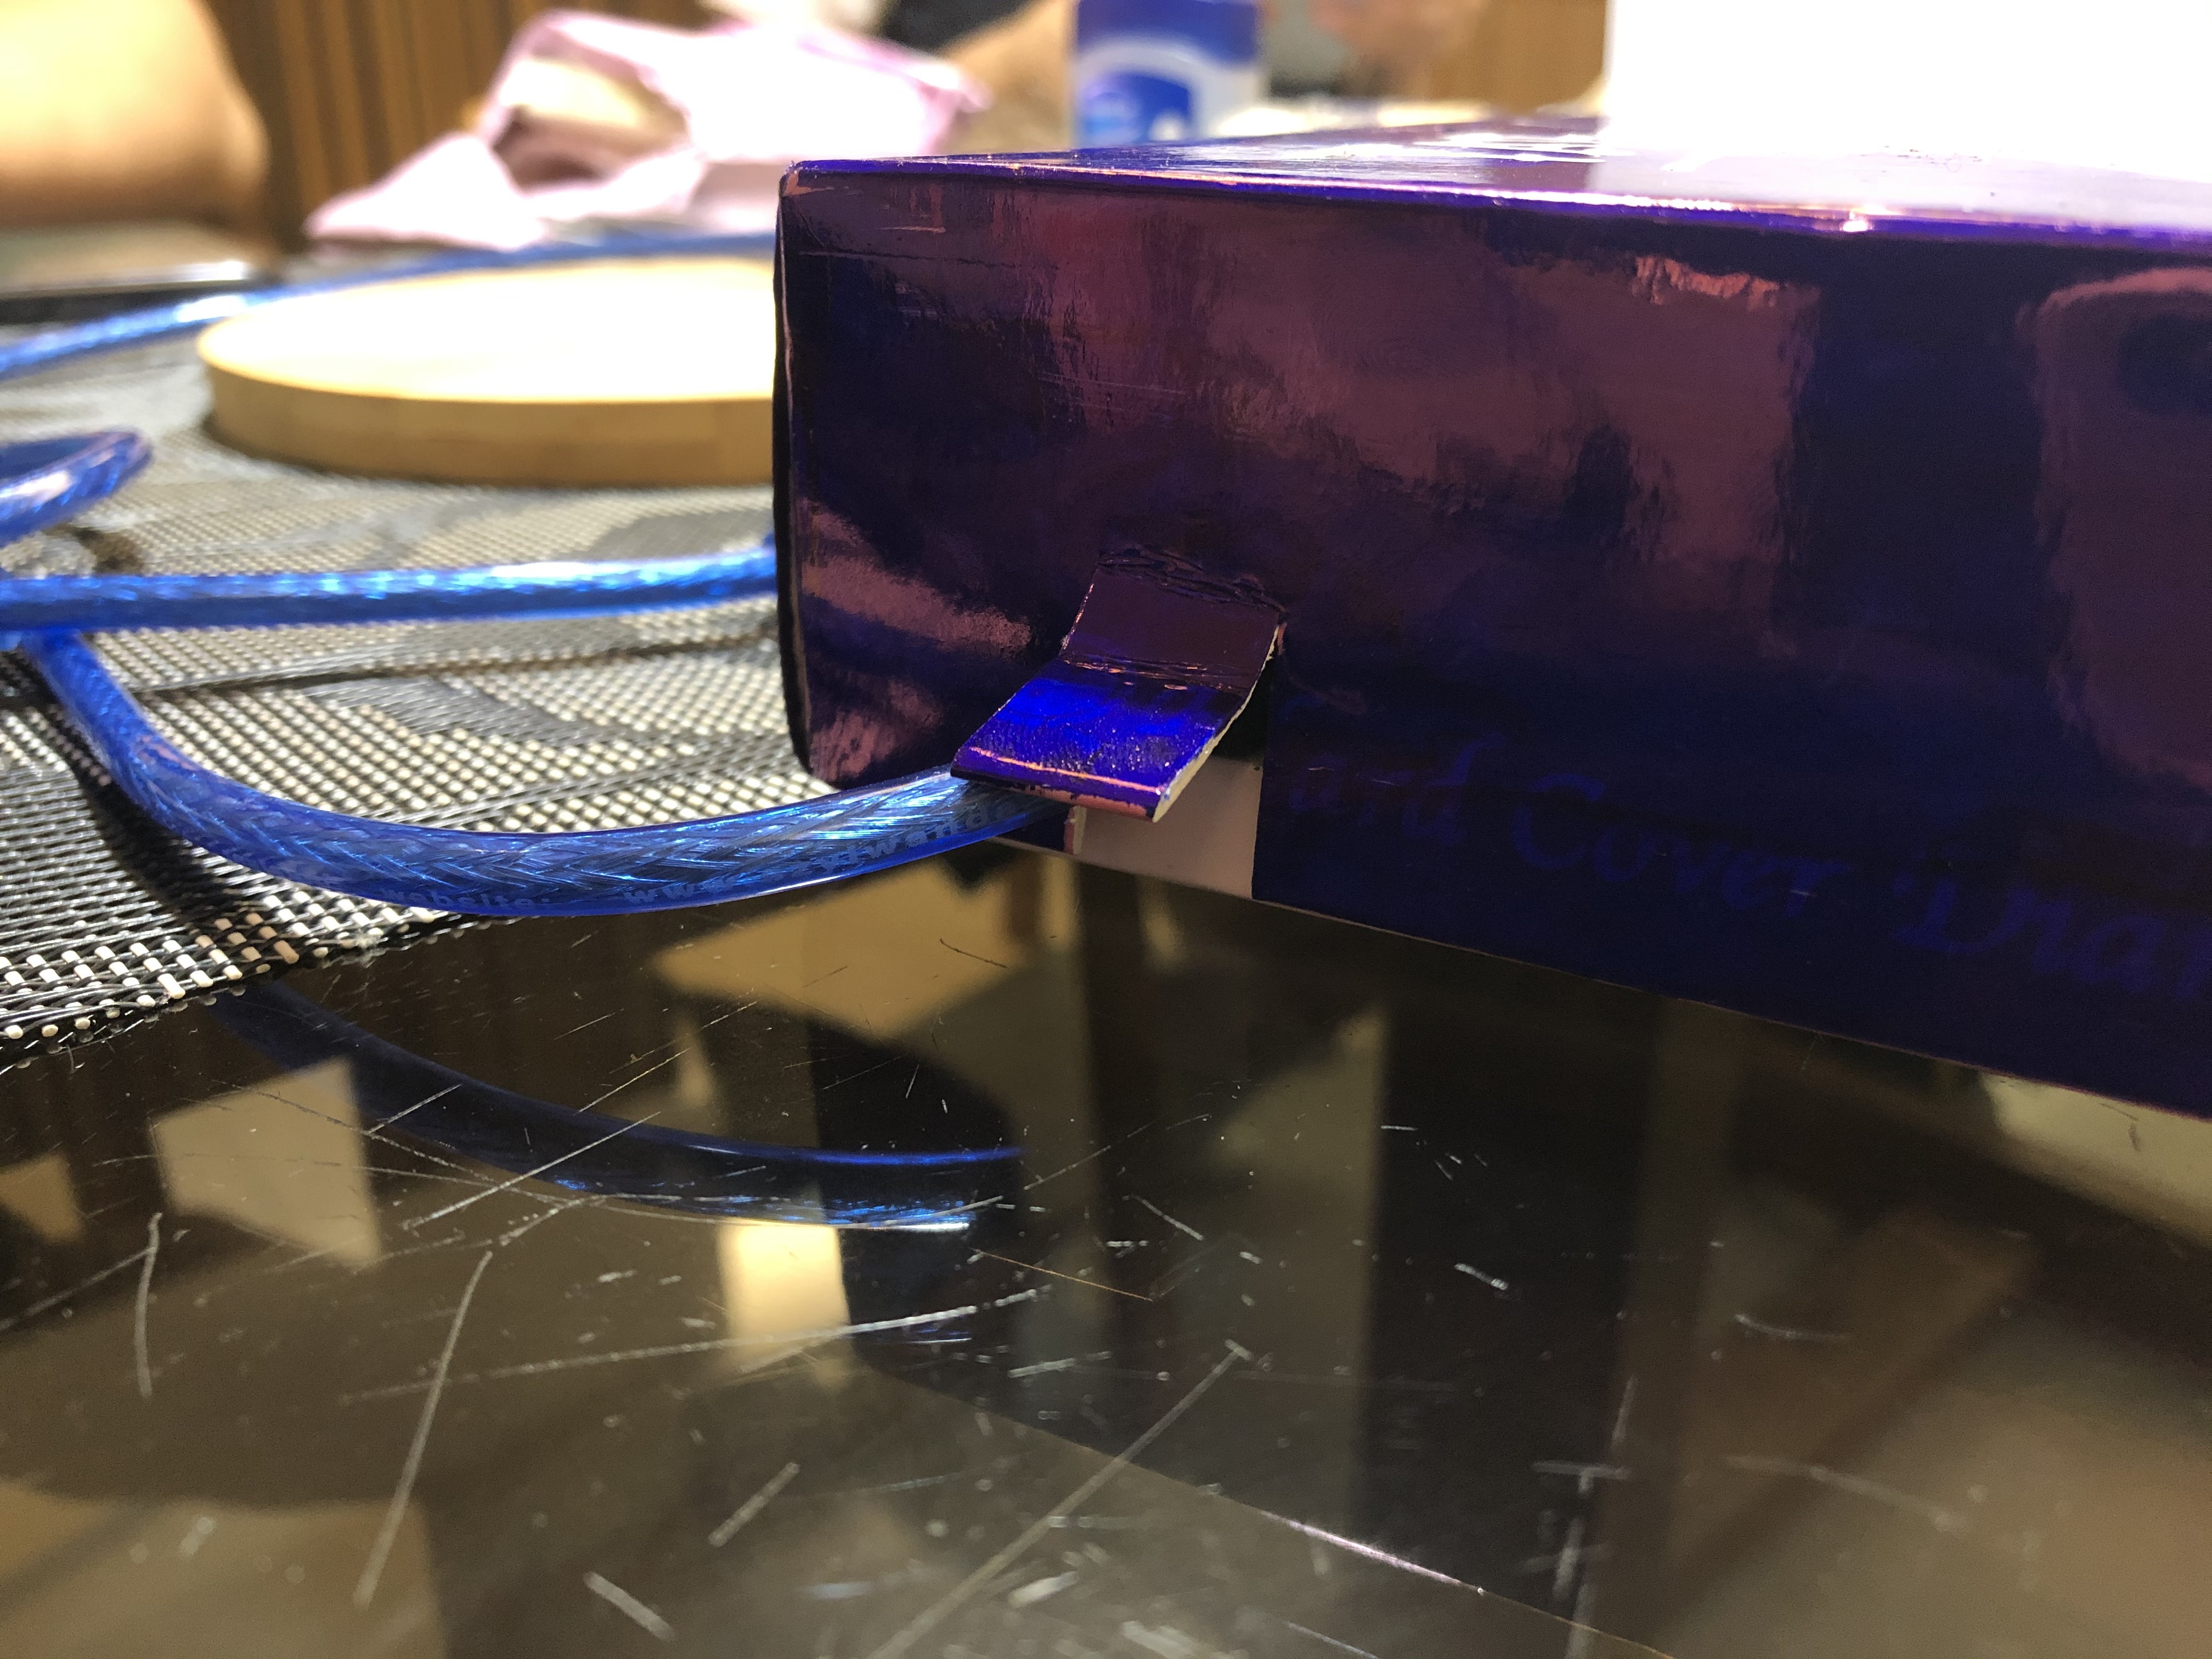
Place your board inside the box, make sure to cut two holes or squares for the USB cable and the button.
And you're done !!
<<<<<<<<<<<<<<<<<<<<<<<<<<<<<<<<<<<<<<<<<<<<<<<<<<<<<<<<<<<<
Final Project / Video