TV Grounder
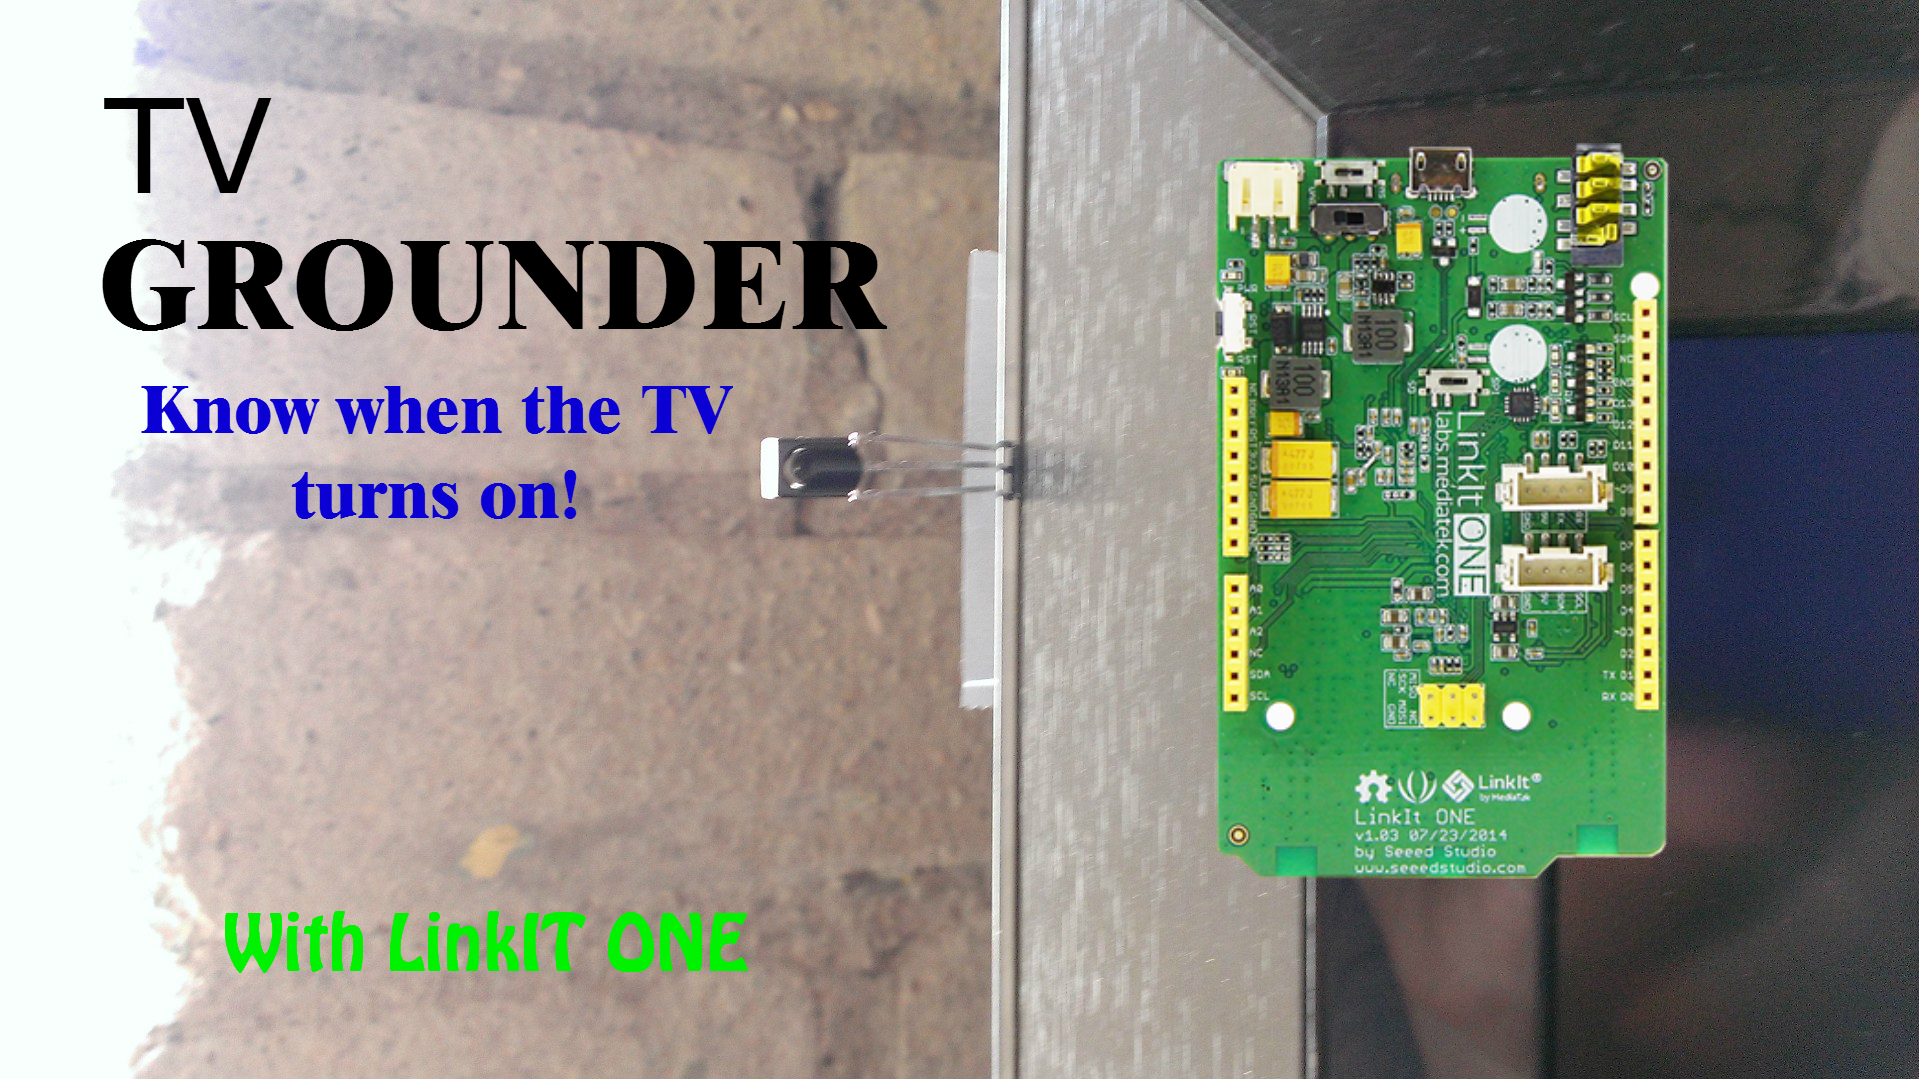
Keeping track of when the TV is on and off can be difficult. With so many people in the house, it can be hard to constantly monitor if the kids have sneaked into the basement to watch a show. What's worse is that 'Grounding' kids from the TV these days is nearly impossible. What happens when you go out for errands? Or when the babysitter comes over? You don't really want to unplug the tv and go hide the power cable somewhere, that's just more work for you! Instead, I've built a handy device that will alert you when the TV has been turned on. This way, you know when your kids have broken the rules and you will cement your status as a parent who knows everything.
Supplies
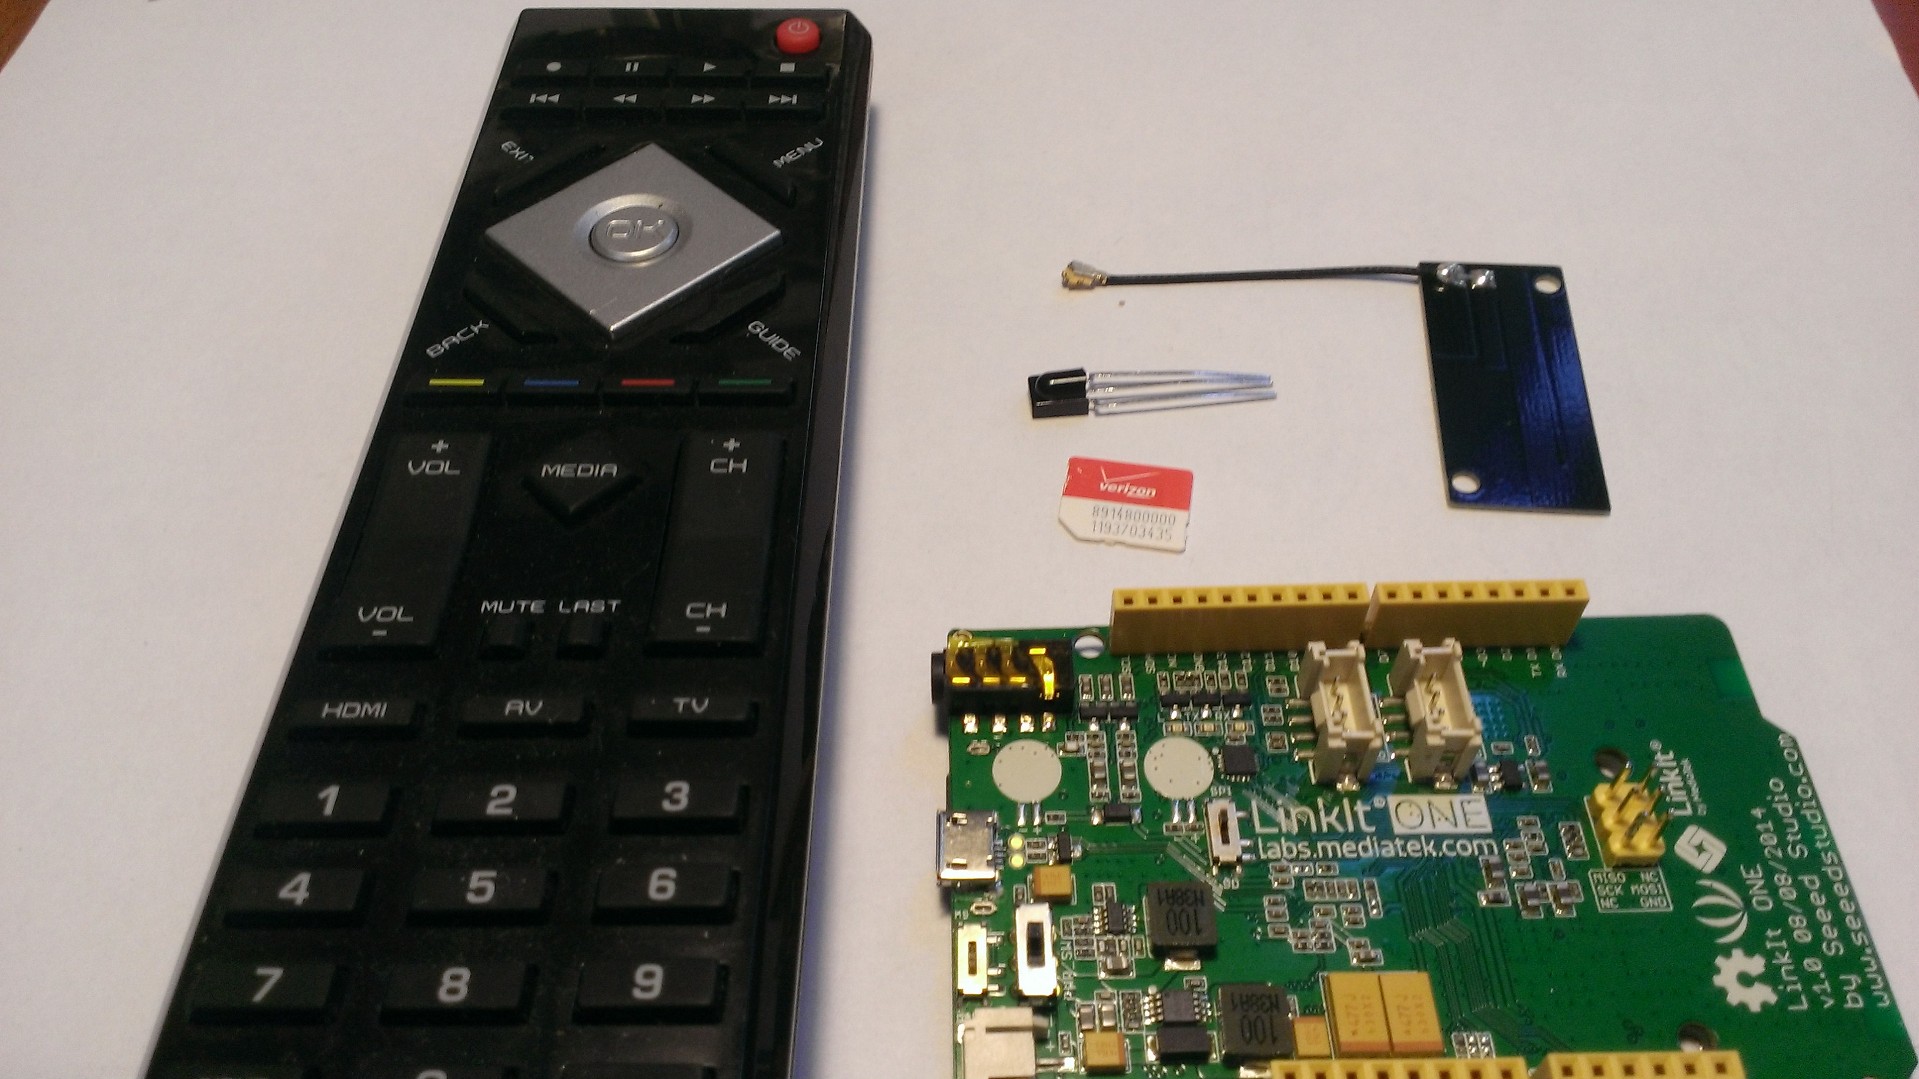
We'll try not to get too complicated here and keep it simple.
- LinkIT ONE
- IR Receiver Diode
- PrePaid Sim Card
- TV Remote
- Jumper wires and Breadboard for prototyping
Setting Up Your LinkIT ONE Board
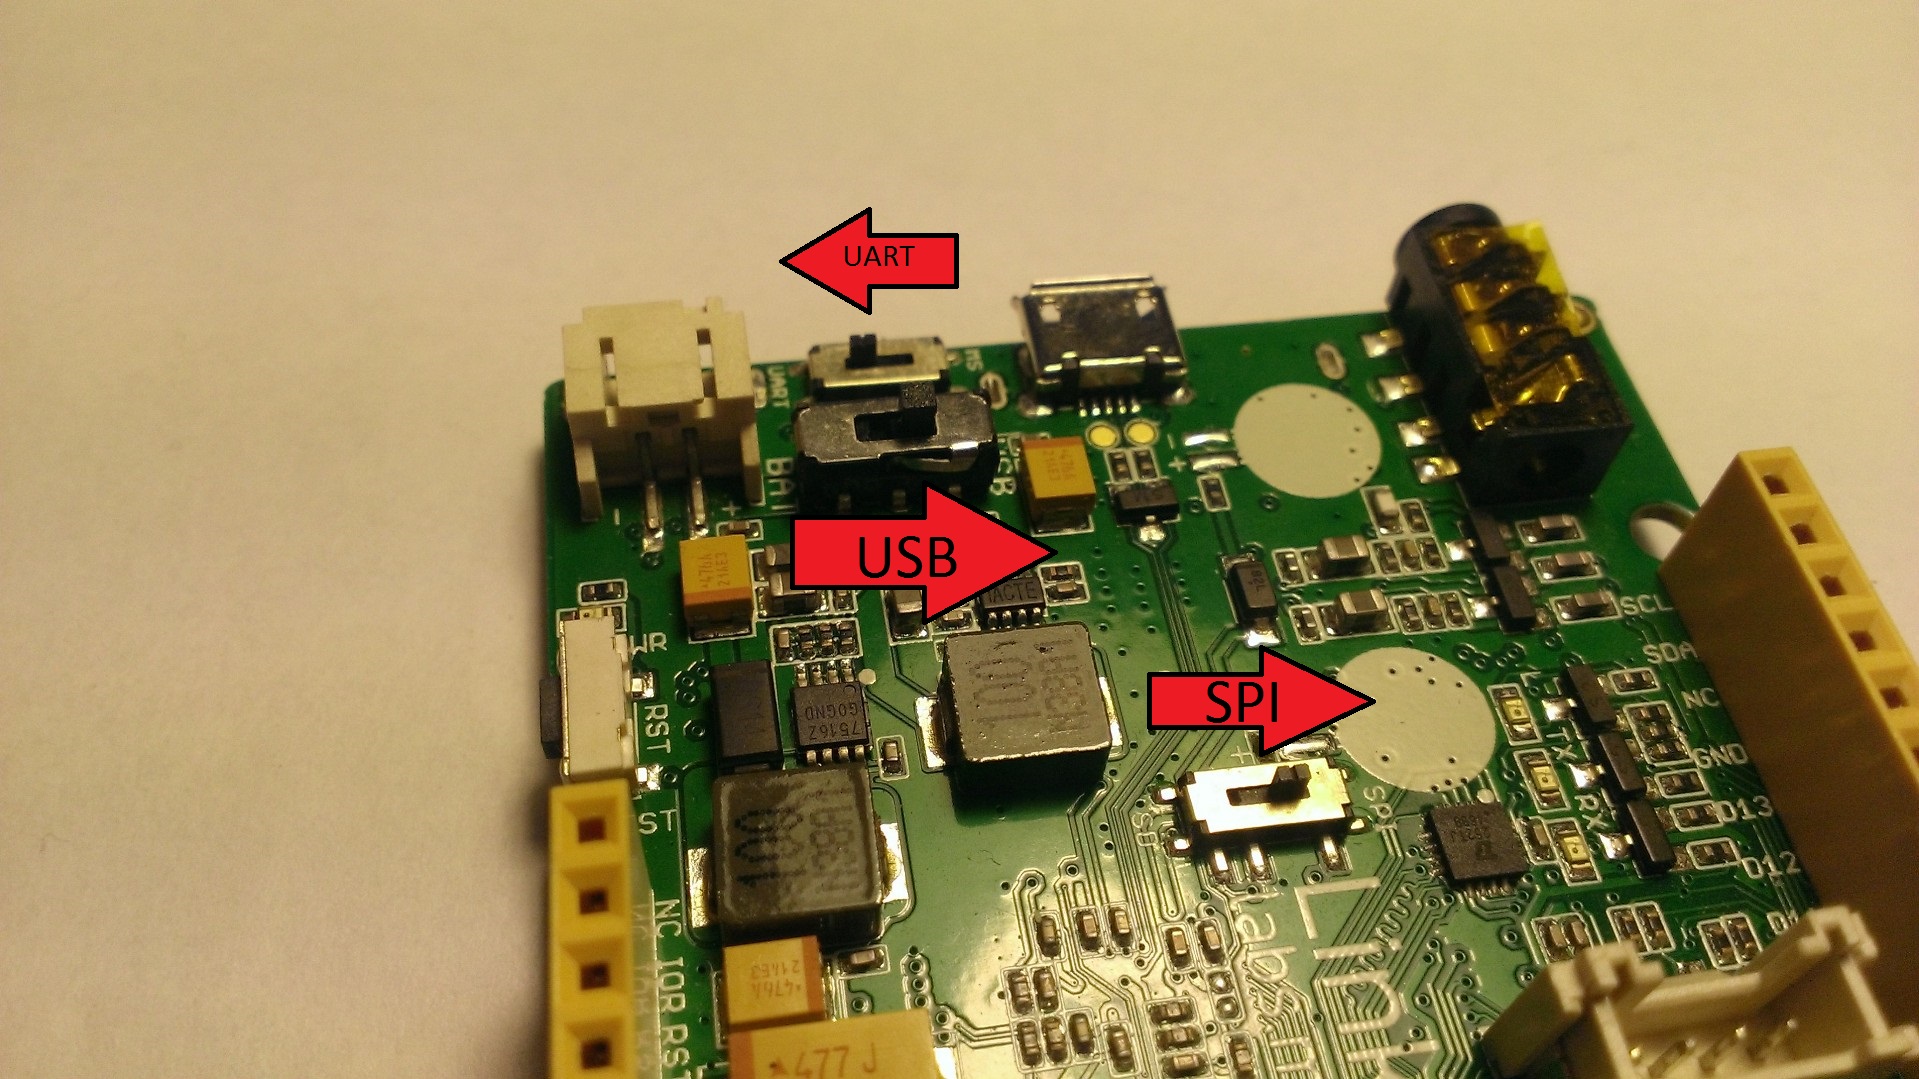
Because we're using the LinkIT ONE, we have a lot of different powerful capabilities (Wifi, SD cards, GSM, GPS, etc). Unfortunately, that also means there are a lot more switches and buttons to press in order to get the correct settings.
For this project, you'll want to make sure your LinkIT Board's switches are aligned like the diagram above. This will ensure you're ready to execute the project correctly.
Insert Your SIM Card
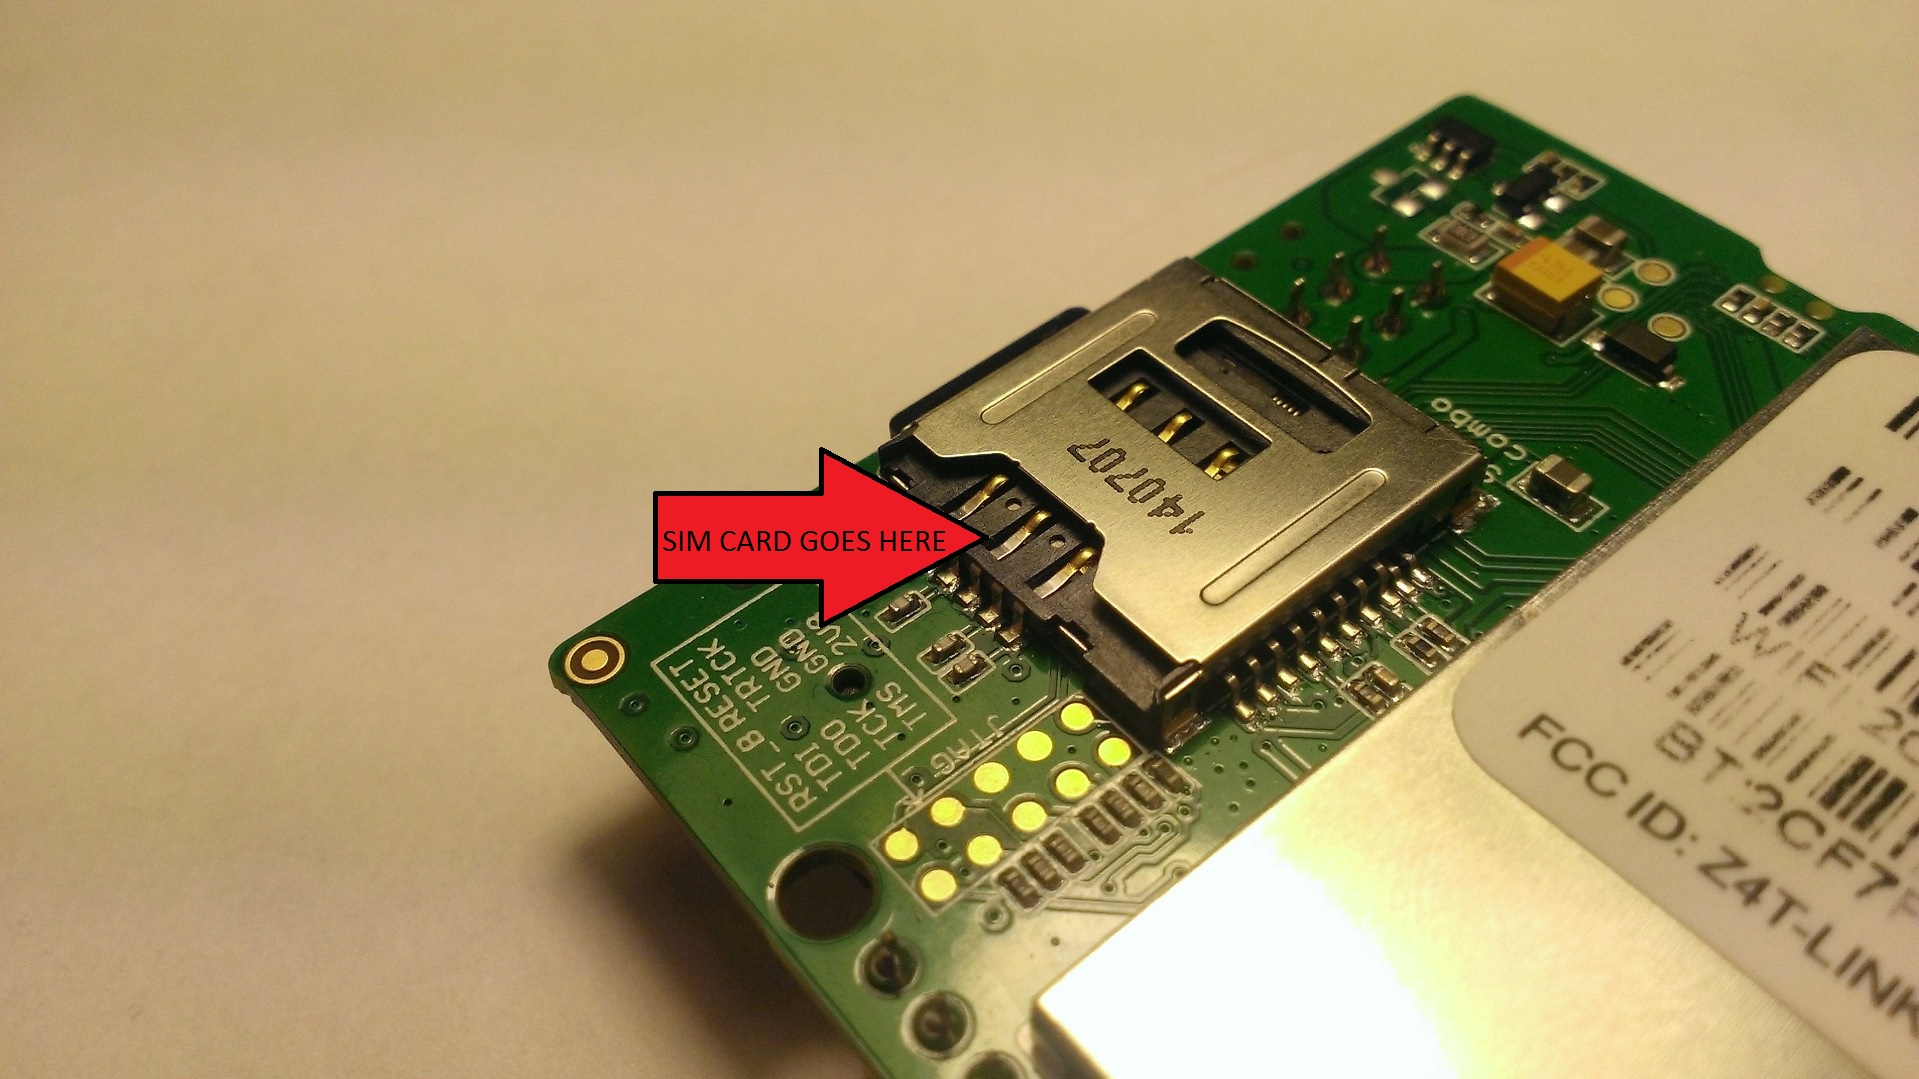
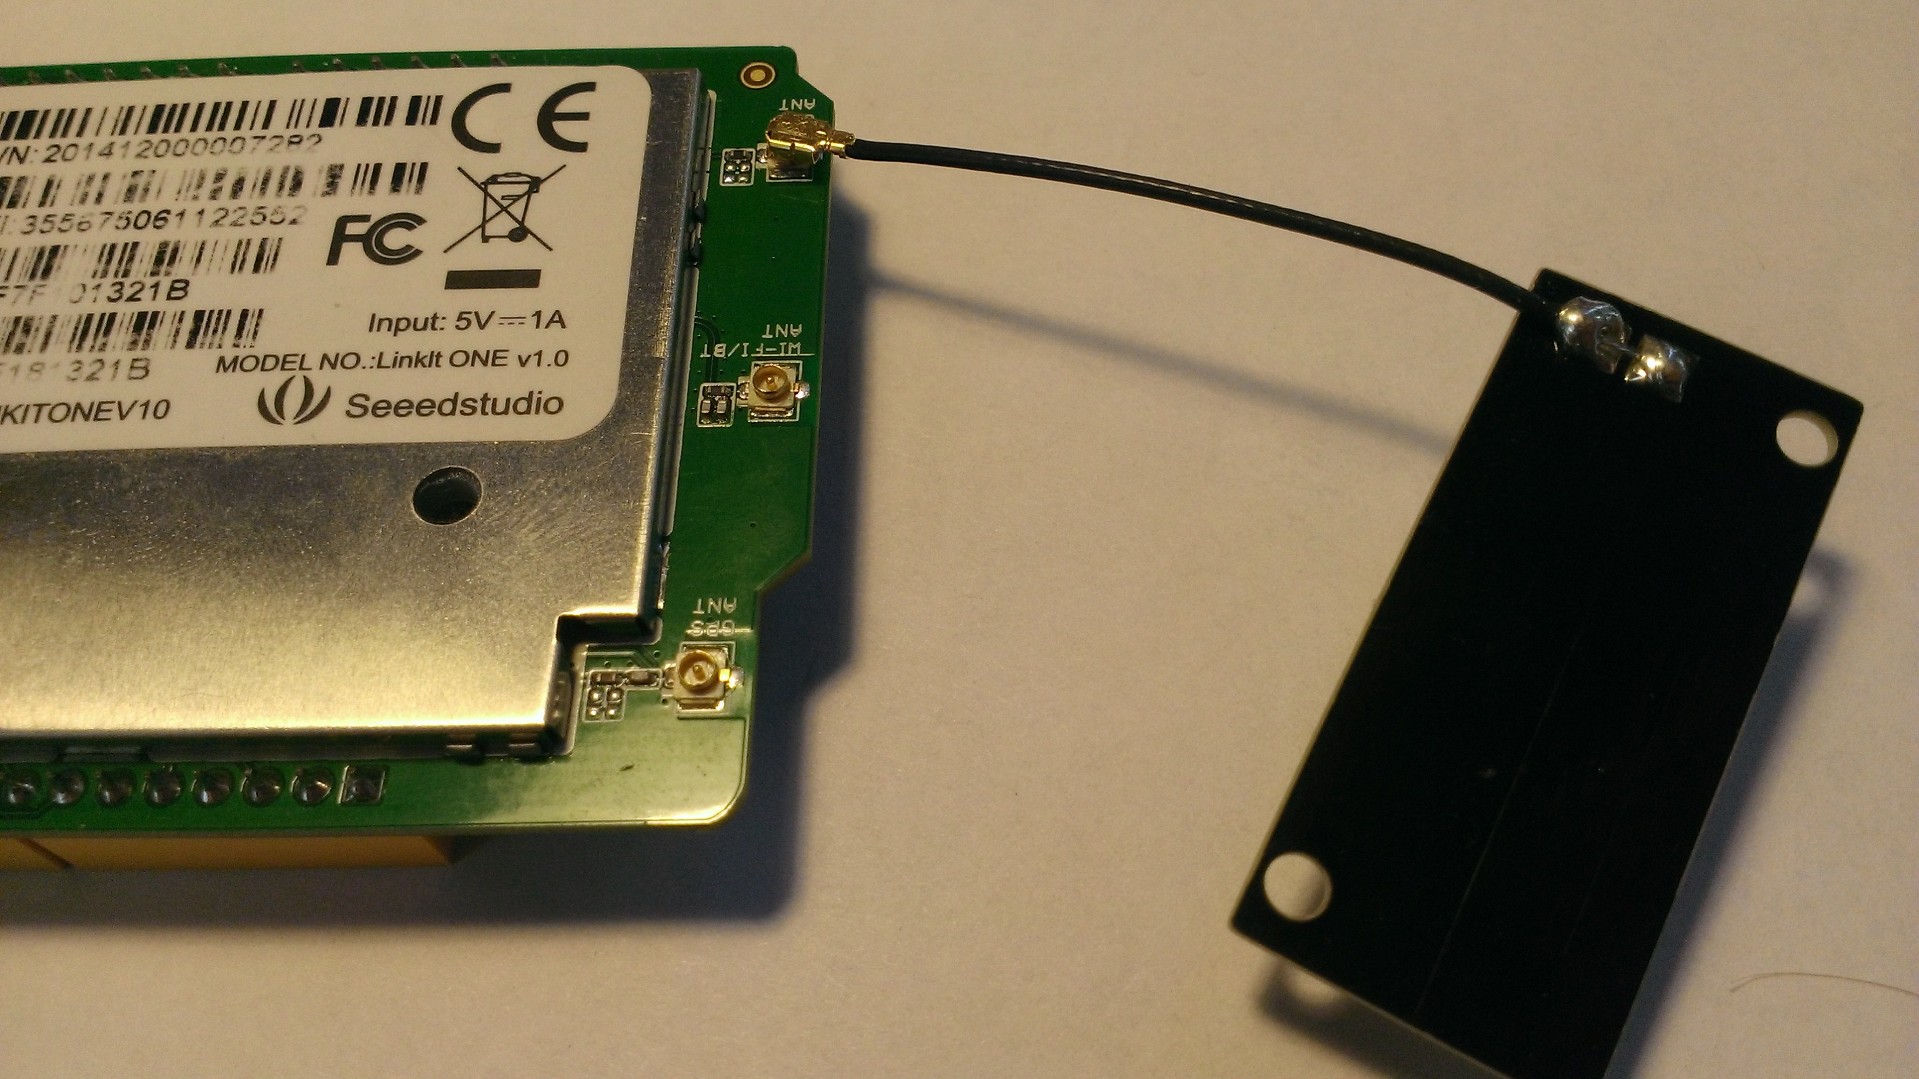
The SIM card slot can be confusing. It's a double slot, and one way you put in the SD card, while the other way you put in the SIM card. Yes, I know, not the simplest set-up. Make sure you enter in your SIM card the same way the arrow shows it in the above diagram.
If you just want to mock-up a quick prototype, then feel free to borrow a sim card from a friend's phone to test this out. For long term use, you'll want to pick up a pre-paid one. They are pretty cheap on Amazon and can bounce from device to device.
Hook Up Your IR Receiver
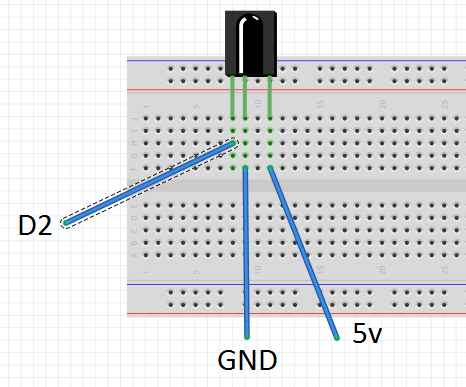
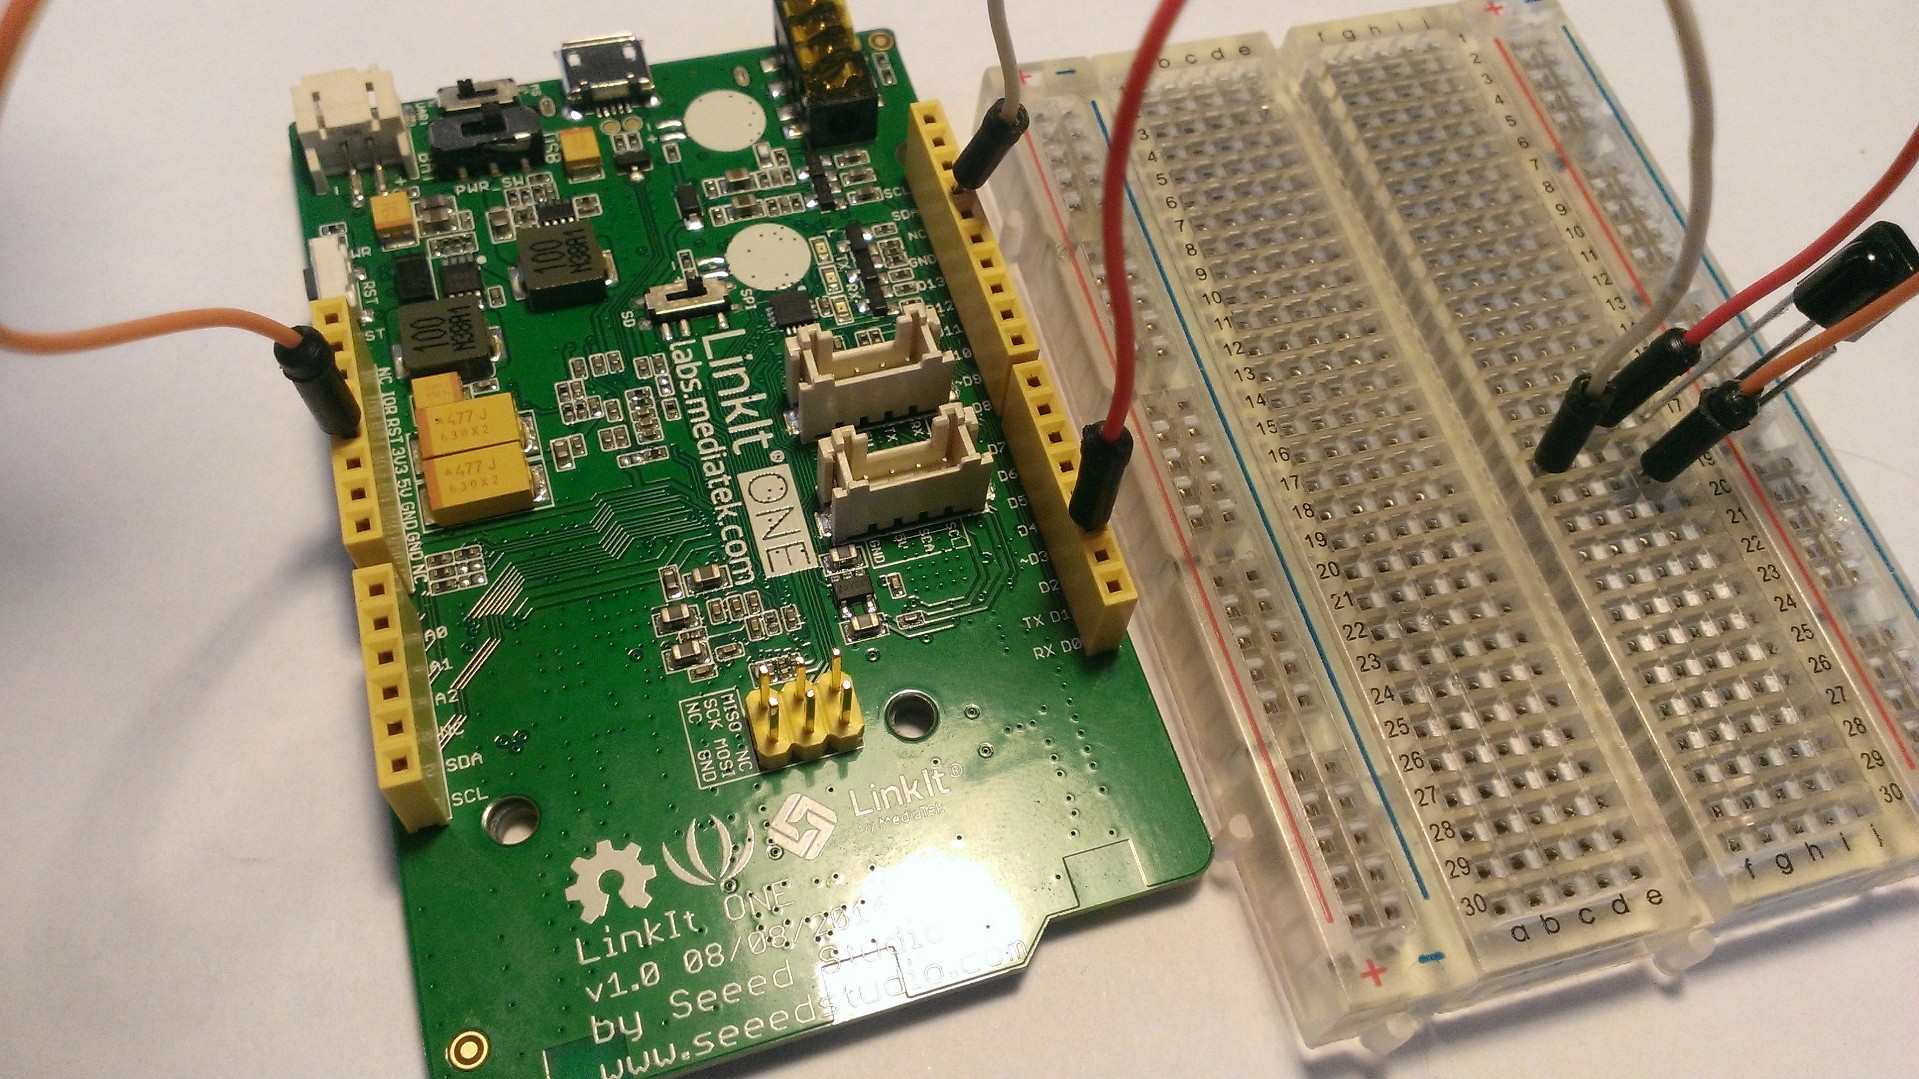
Now we will want to hook up our IR Receiver circuit. This will be a pretty basic circuit. Follow the diagram above. I've included a more formal schematic, along with a visual diagram for help.
Take note that I've hooked up the IR sensor to D2. The LinkIT ONE IR library only works on D2, so you must hook it up to D2! If you fail to do this, your project will not work.
Map Out Your TV Remote's IR Signal
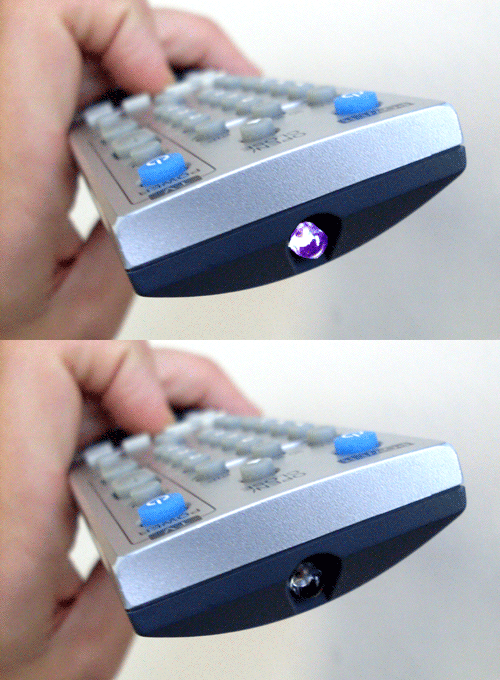
Now that we have everything hooked up, we'll want to figure out the signal that our TV Remote emits when we press "Power" so we know when the TV is being turned on.
To do this, we'll need to fiddle with the code quite a bit. One of the first things we will need to do is install the LinkIT ONE IR Library to our Arduino IDE. Then, you'll probably also have to uninstall the RobotIRRemote Library. These two libraries bump into each other, so it's good to use uninstall the other since we won't be using it.
Deploy the code attached and open the serial monitor. Point your remote at the IR receiver and click on the TV Power button. Hopefully you'll get an output that looks something like this:
*********GET DATA FROM IR REMOTE***************************
len	 = 9
start_h	 = 8810
start_l	 = 4420
short	 = 587
long	 = 1761
data_len = 4
32	223	16	239
*************************************************************
Now, focus on this line of code:
32 223 16 239
This string of numbers if the IR code associated with that button of the remote! Awesome! Now we know what to look for in our application!
Downloads
Sending a Text Message With Code
.jpg)
Because we're using the LinkIT ONE, we have some really powerful hardware here. A key feature is the use of GSM technology to be able to send text messages. In the final code download, you'll see some code that looks like this:
LSMS.beginSMS("5551112222"); //Insert phone number you wish to notify
                LSMS.print("TV IS POWERED ON");
                LSMS.endSMS();
LSMS is part of the LinkIT ONE's GSM library. This is the library that allows us to send text messages and make phone calls. This code should be pretty self explanatory: It takes in a number (the number to text), a message, and then an 'endSMS' call. that 'endSMS' call is actually what makes us send the text message.
Take note that you could also duplicate this code to have it send a text message to multiple numbers!
Coding Your TV Grounder
Now that we know what IR code to look for, we'll want to write that into our logic. Take note that you'll also need to modify the code to include the phone number you want it to text as well. Both of those lines are highlighted in comments in the code.
The code logic goes something along the lines of this:
- IF we get an IR signal, we start comparing it.
- If it matches up with the TV Powered signal, then the TV has been powered on!
- If the TV has been powered on, then send a text alerting the parent! Somebody is breaking the rules!
Go ahead and download the attached code file and copy it into your Arduino IDE. Then deploy it to your LinkIT ONE board.
Downloads
Going Forward
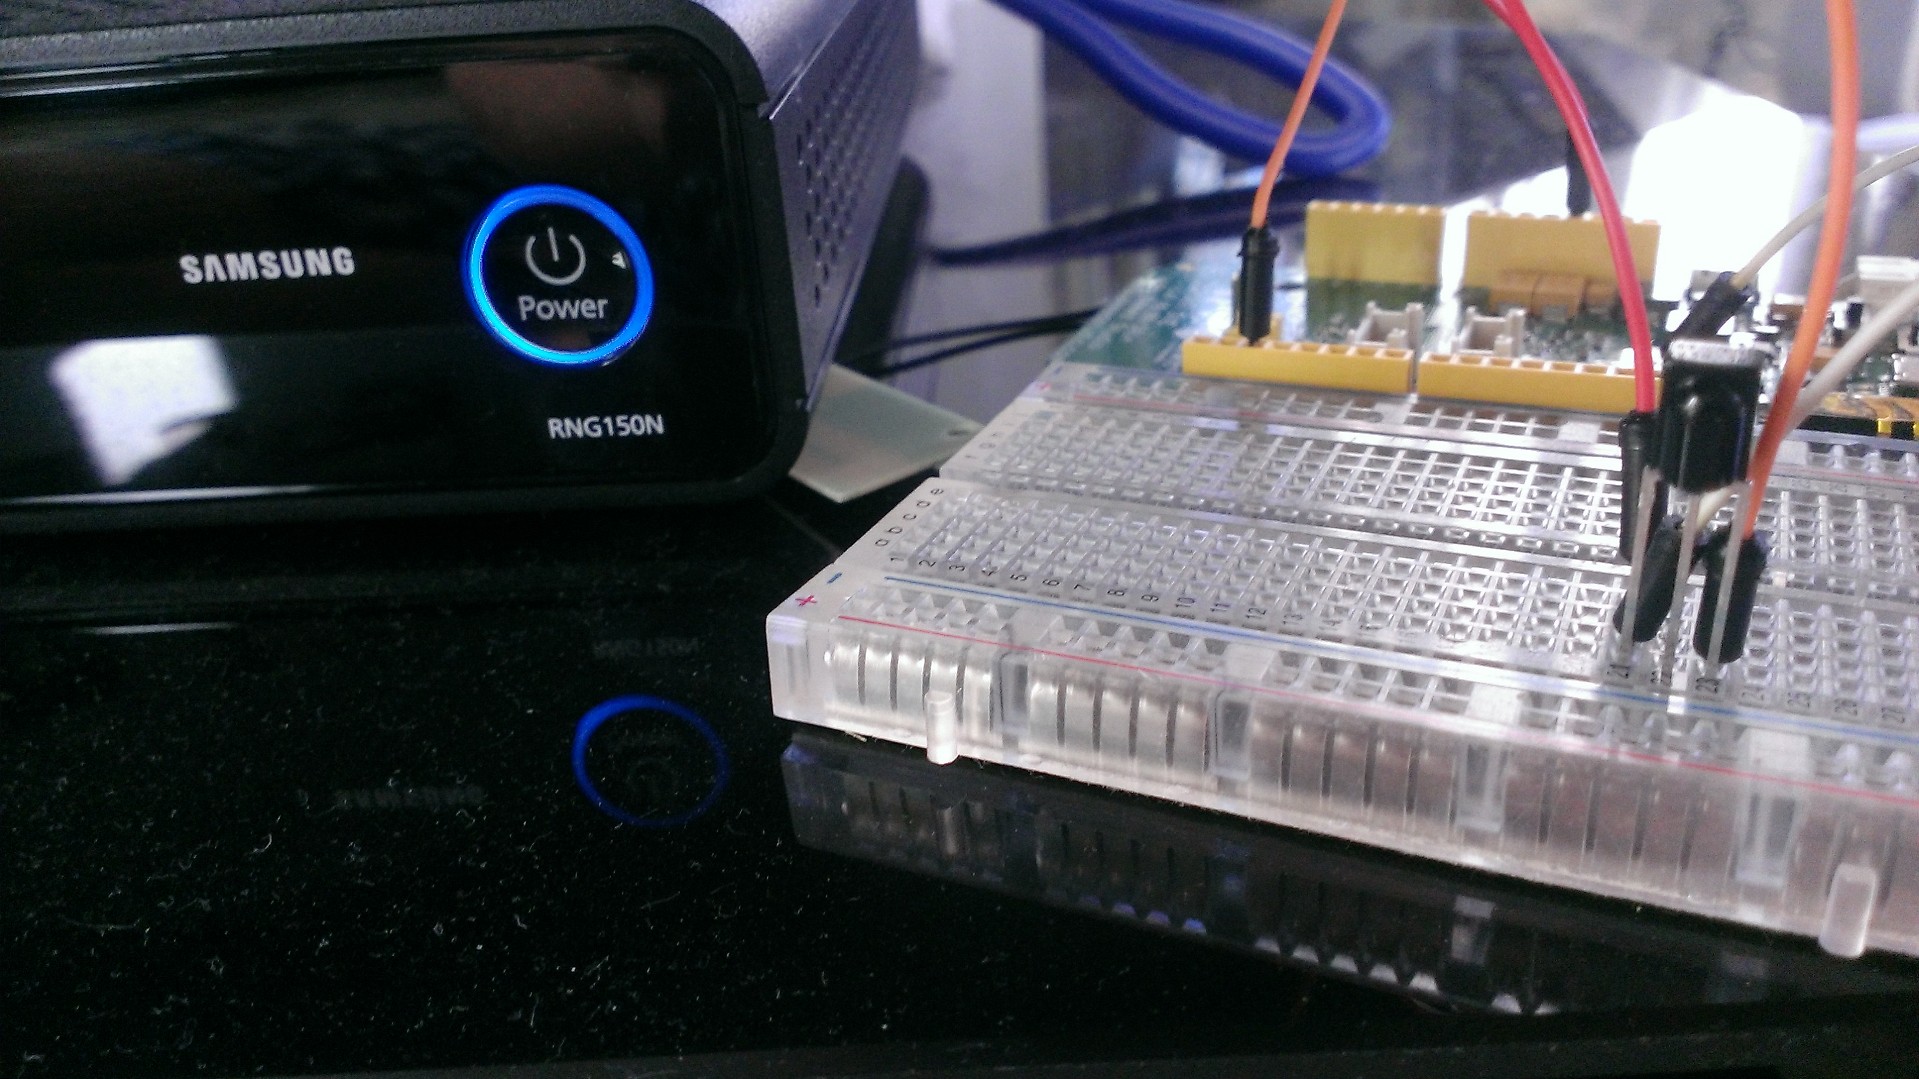
And there you have it! You are now the super all-knowing parent who can always tell if the TV has been turned on or not, even if you're miles away! This project takes "You're grounded from the TV" to a whole new level!
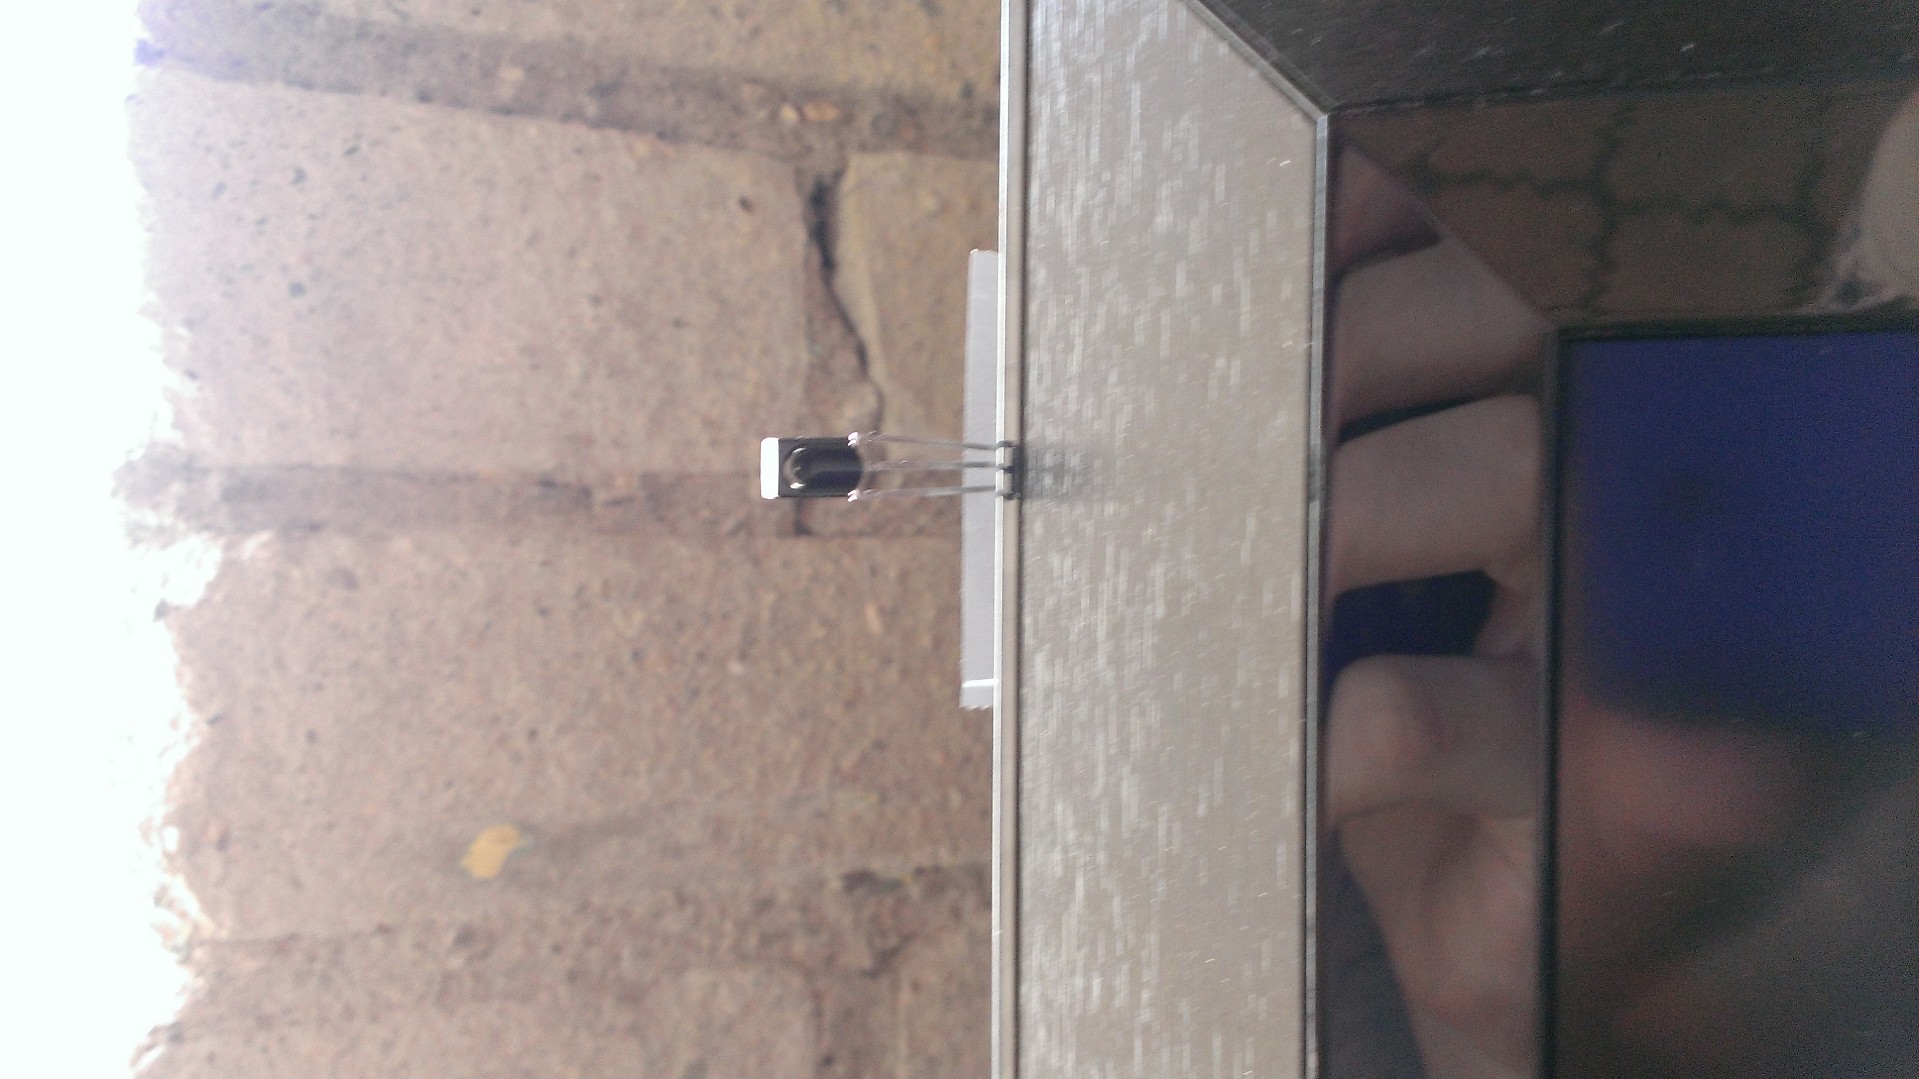
I wasn't super discrete with my IR receiver at first. I put the prototype there for a day, but the kids quickly picked up on it and started asking questions. I soldering together the ends of the IR Receiver and then hid on the side of the TV. Much less obvious, and the kids haven't noticed yet :)
Hopefully this instructable has taught you a thing or two about the powerful capabilities of the Linkit ONE!