TRADITIONAL INDIAN MASK USING CLAY
by Mahmood Sinan in Craft > Clay
126 Views, 0 Favorites, 0 Comments
TRADITIONAL INDIAN MASK USING CLAY
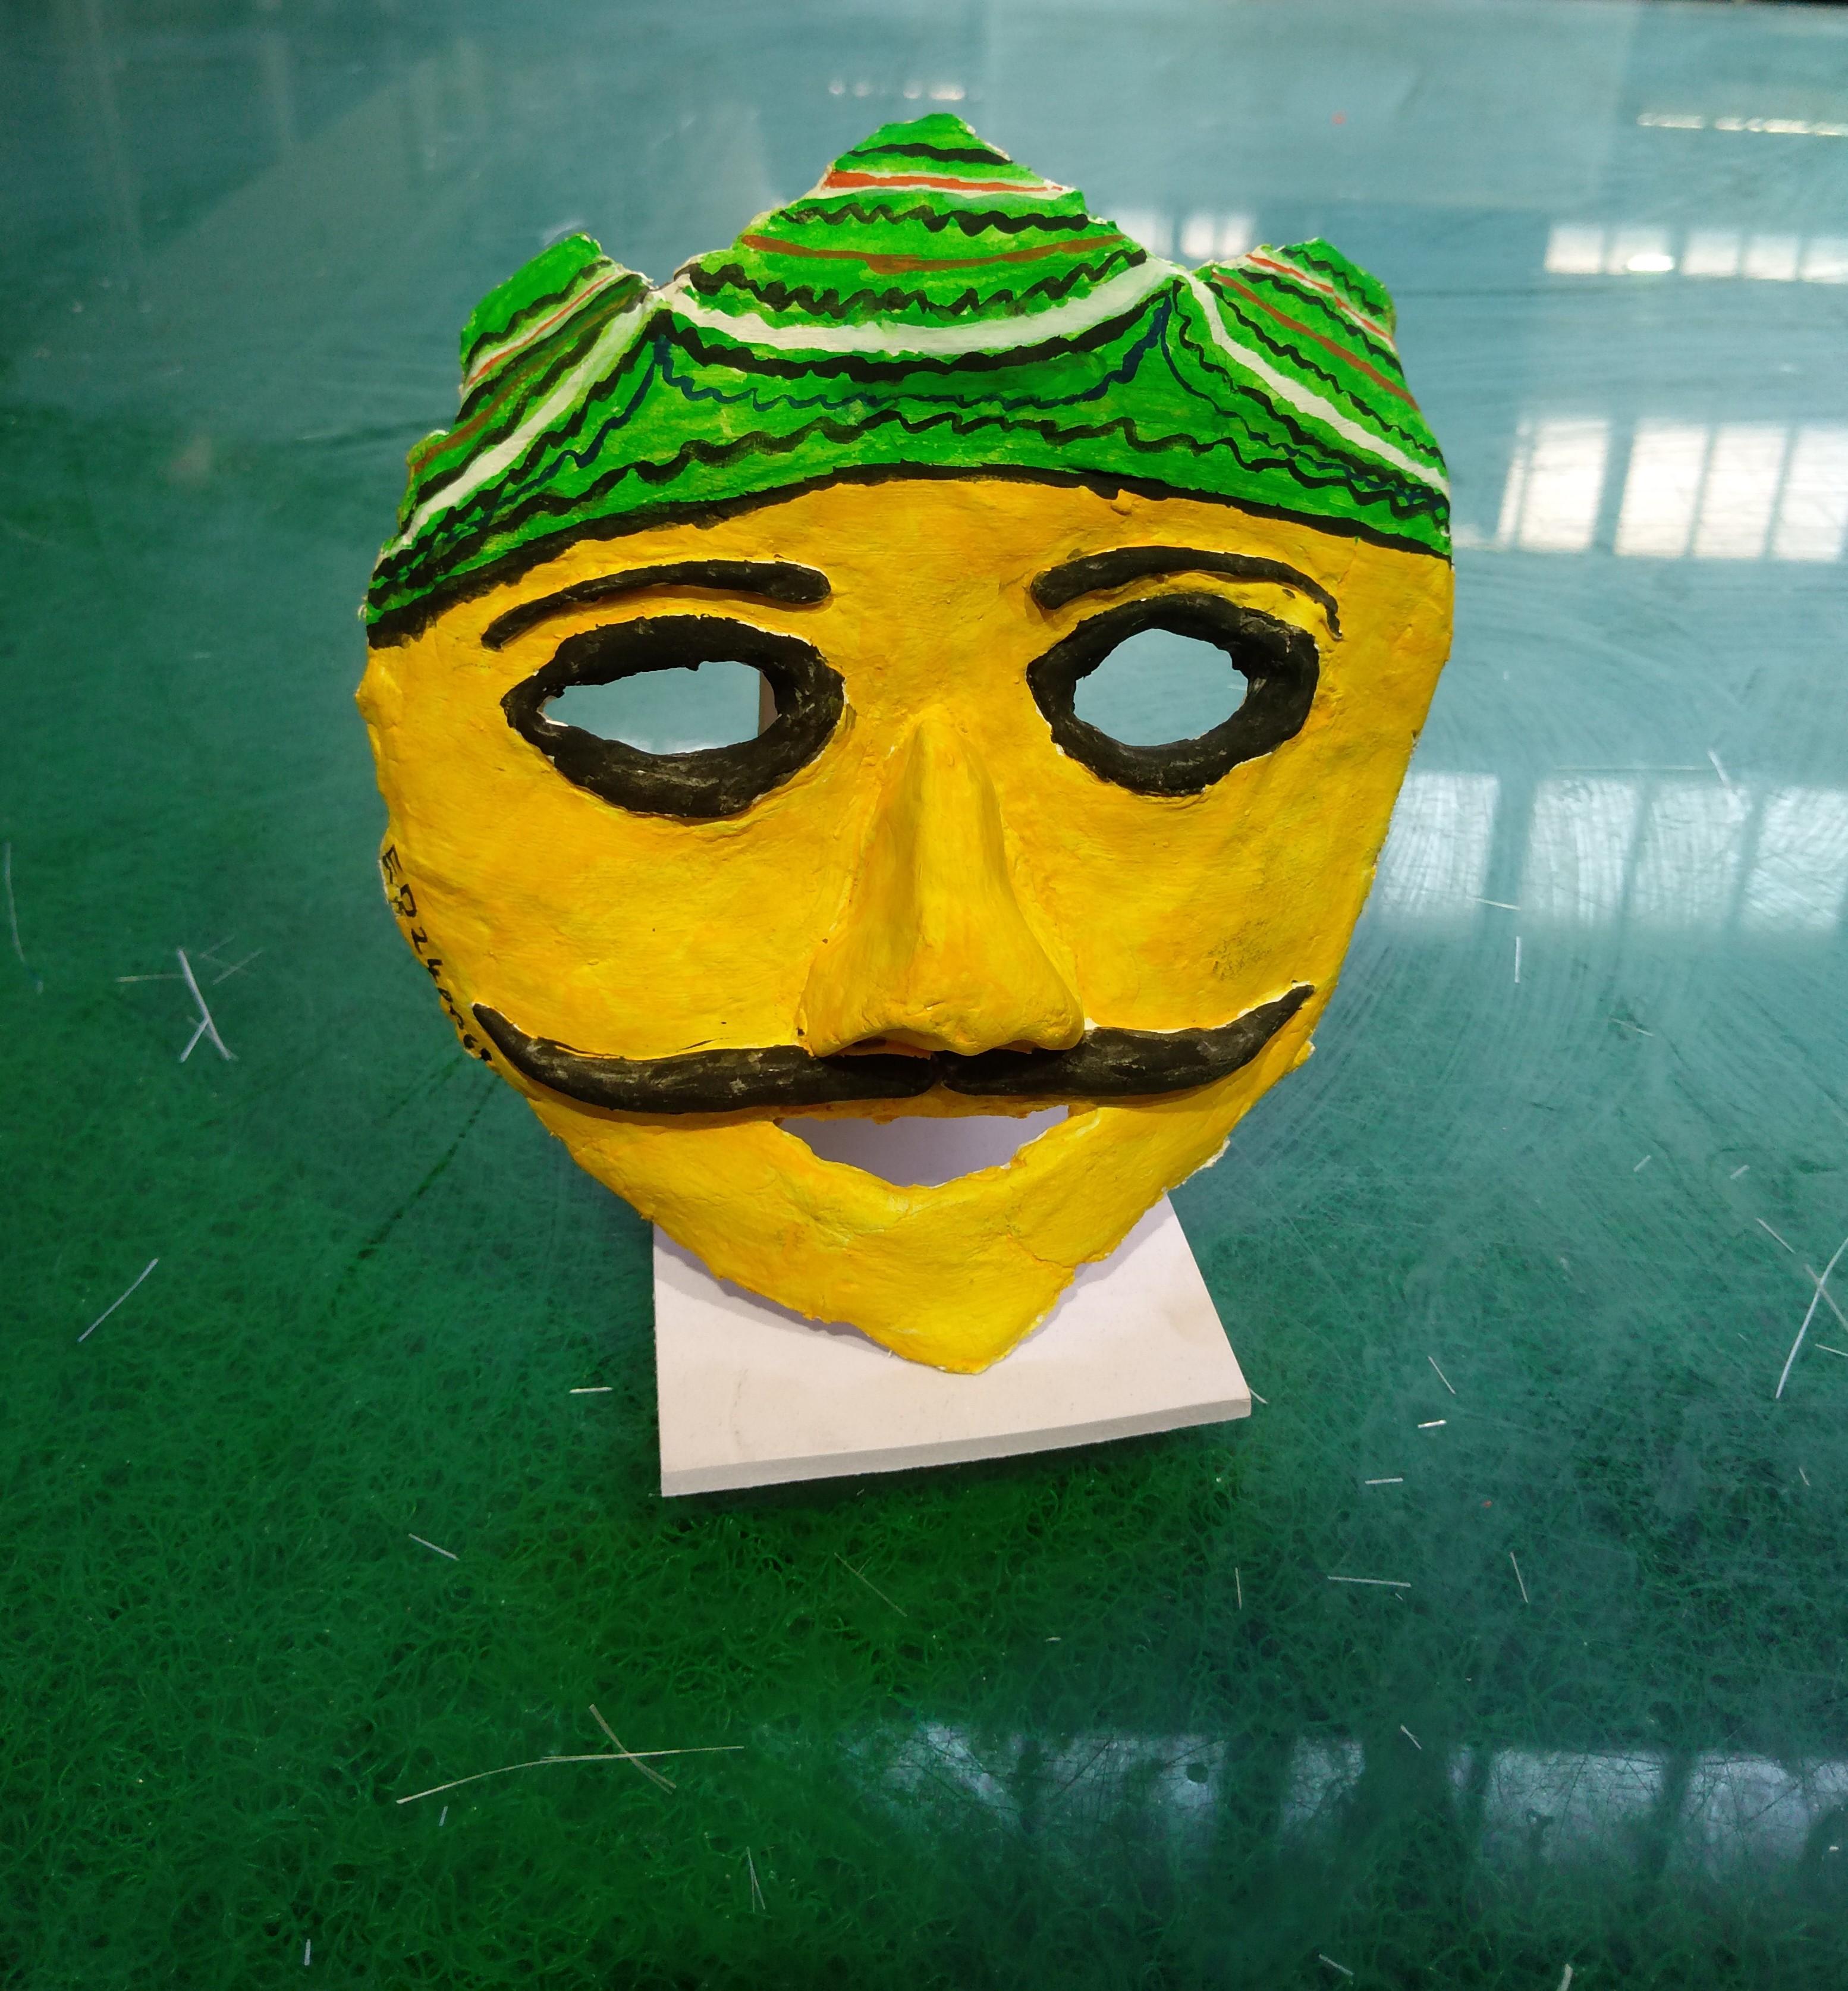
Hey! Through this project, I am making a clay mask inspired from Indian traditional masks.
Supplies
Materials required : Clay, Sculpture tools, Newspaper, Cotton cloth, Tape, Primer, Water color and Brush
Making the Base
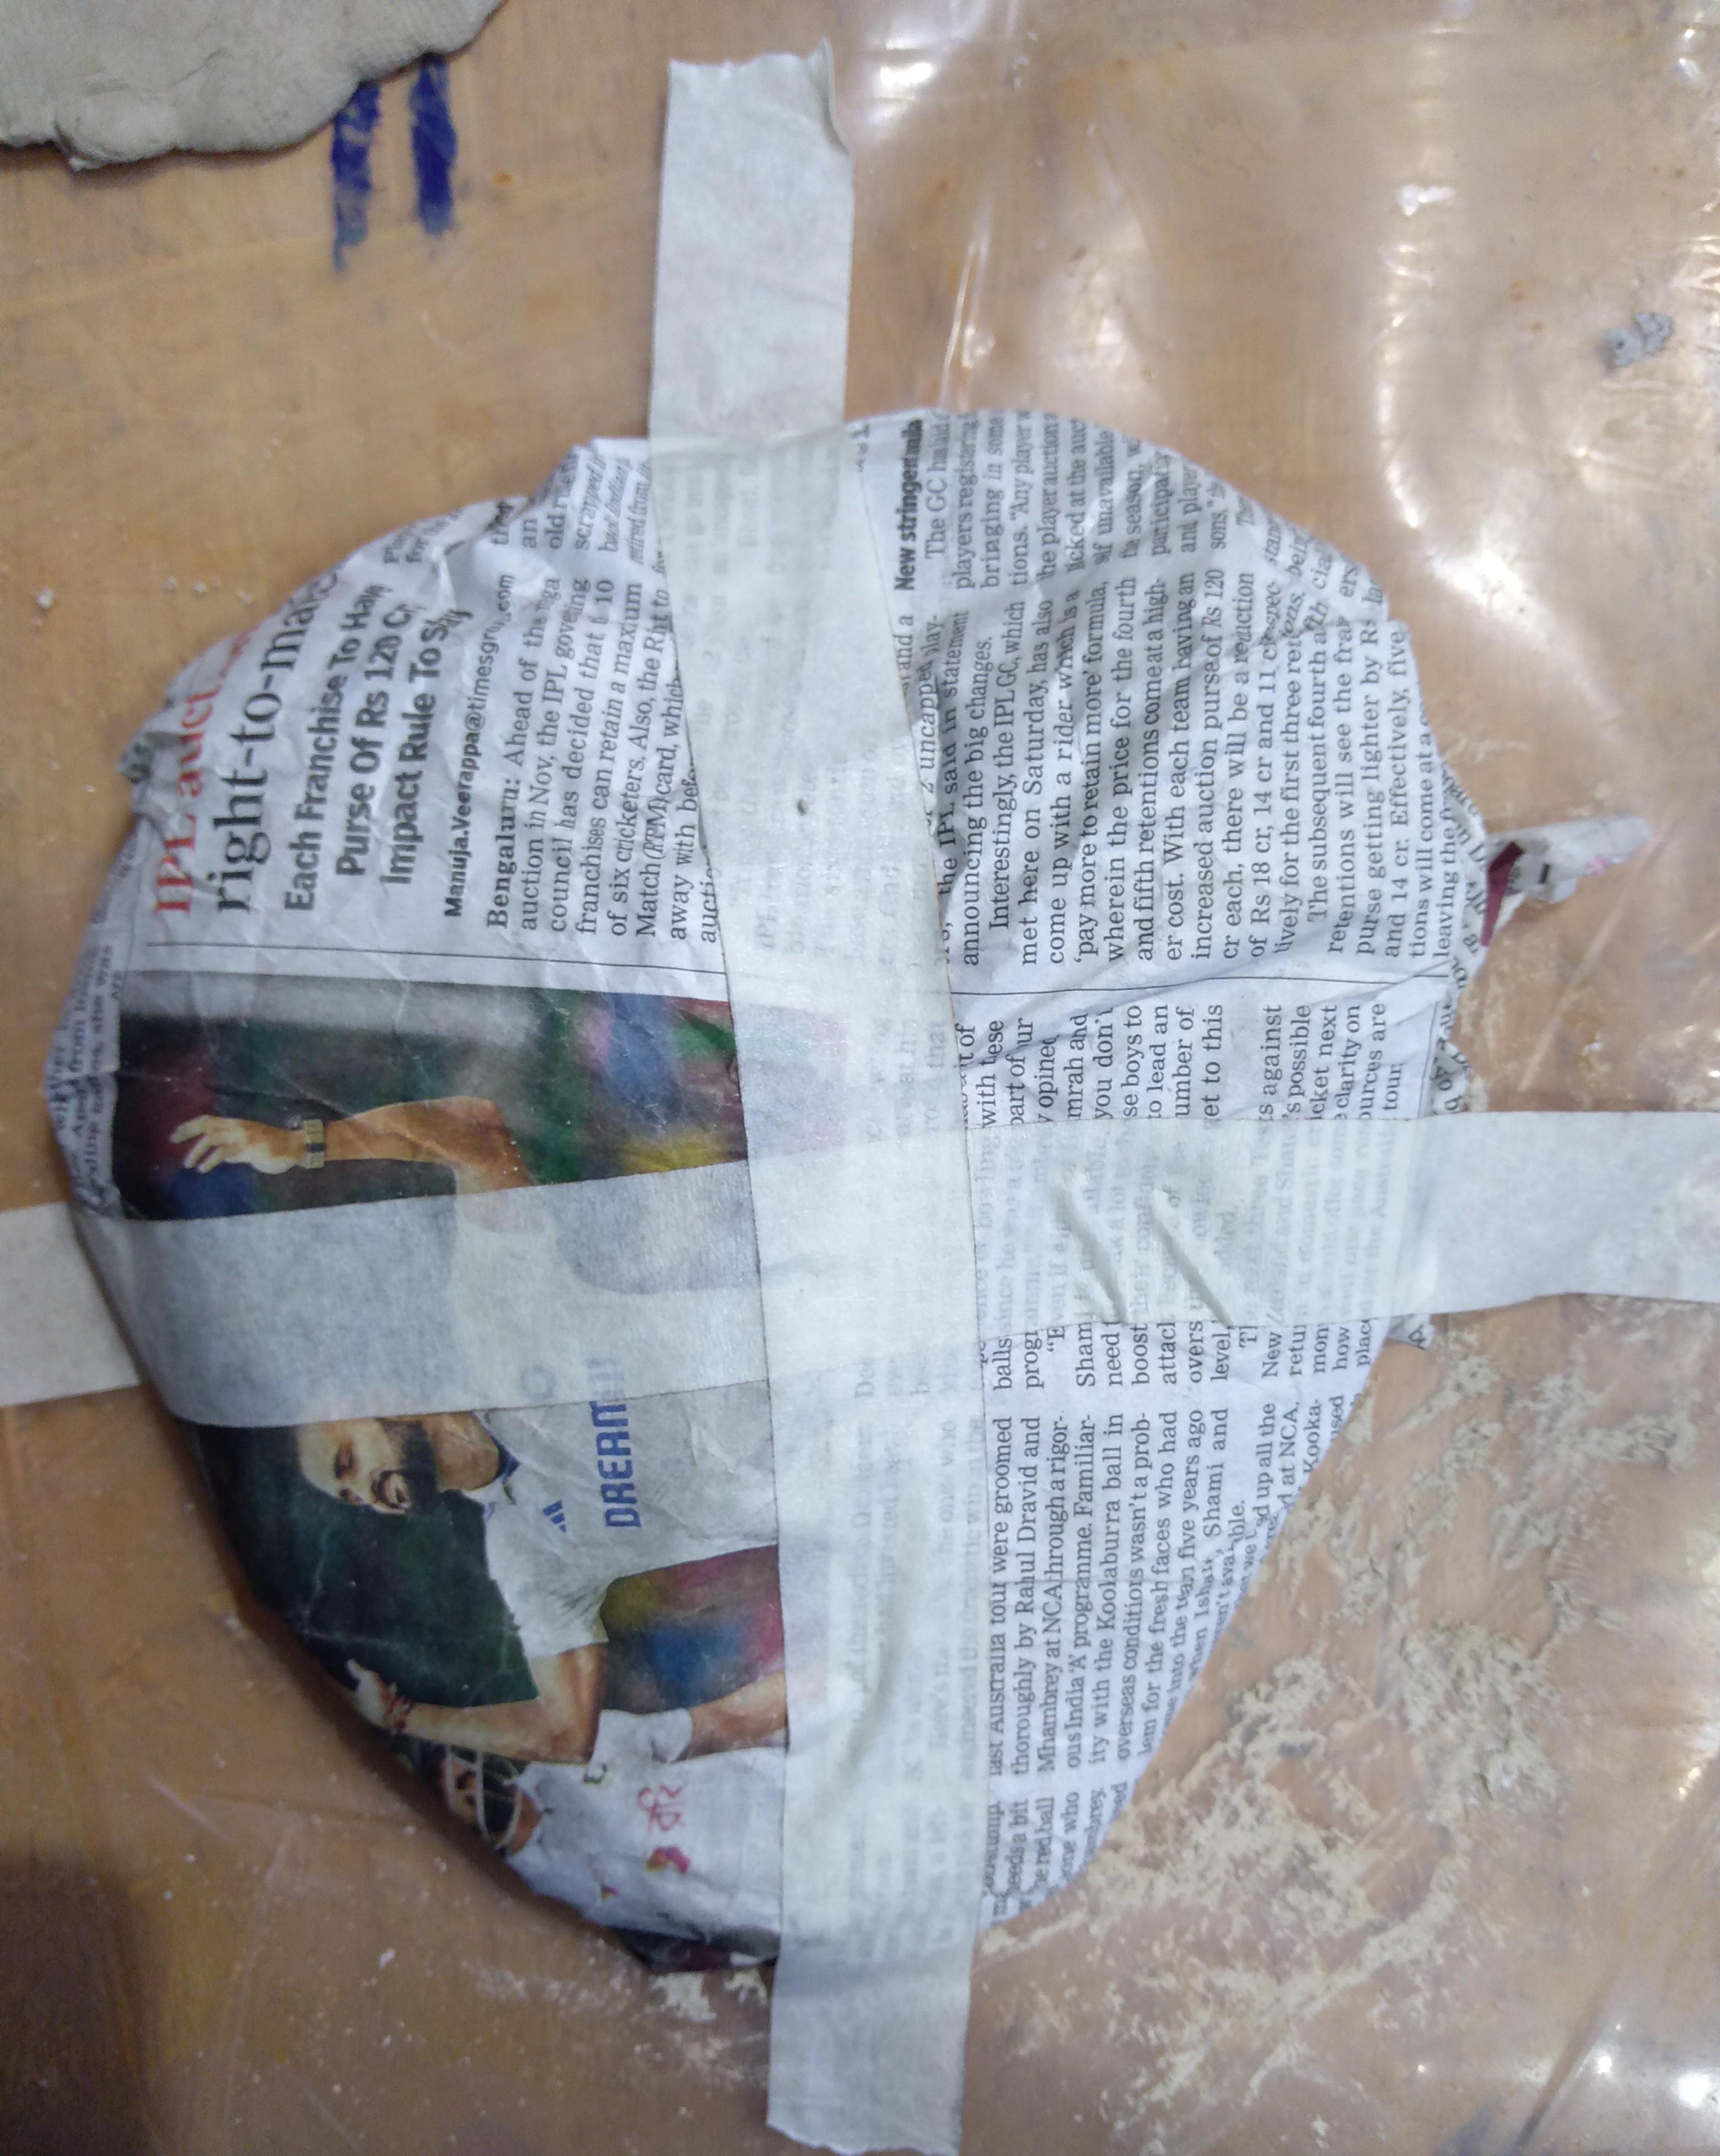
Crumble and shape the newspaper into the form of a face, then tape it down to workspace.
Laying the Clay on the Base
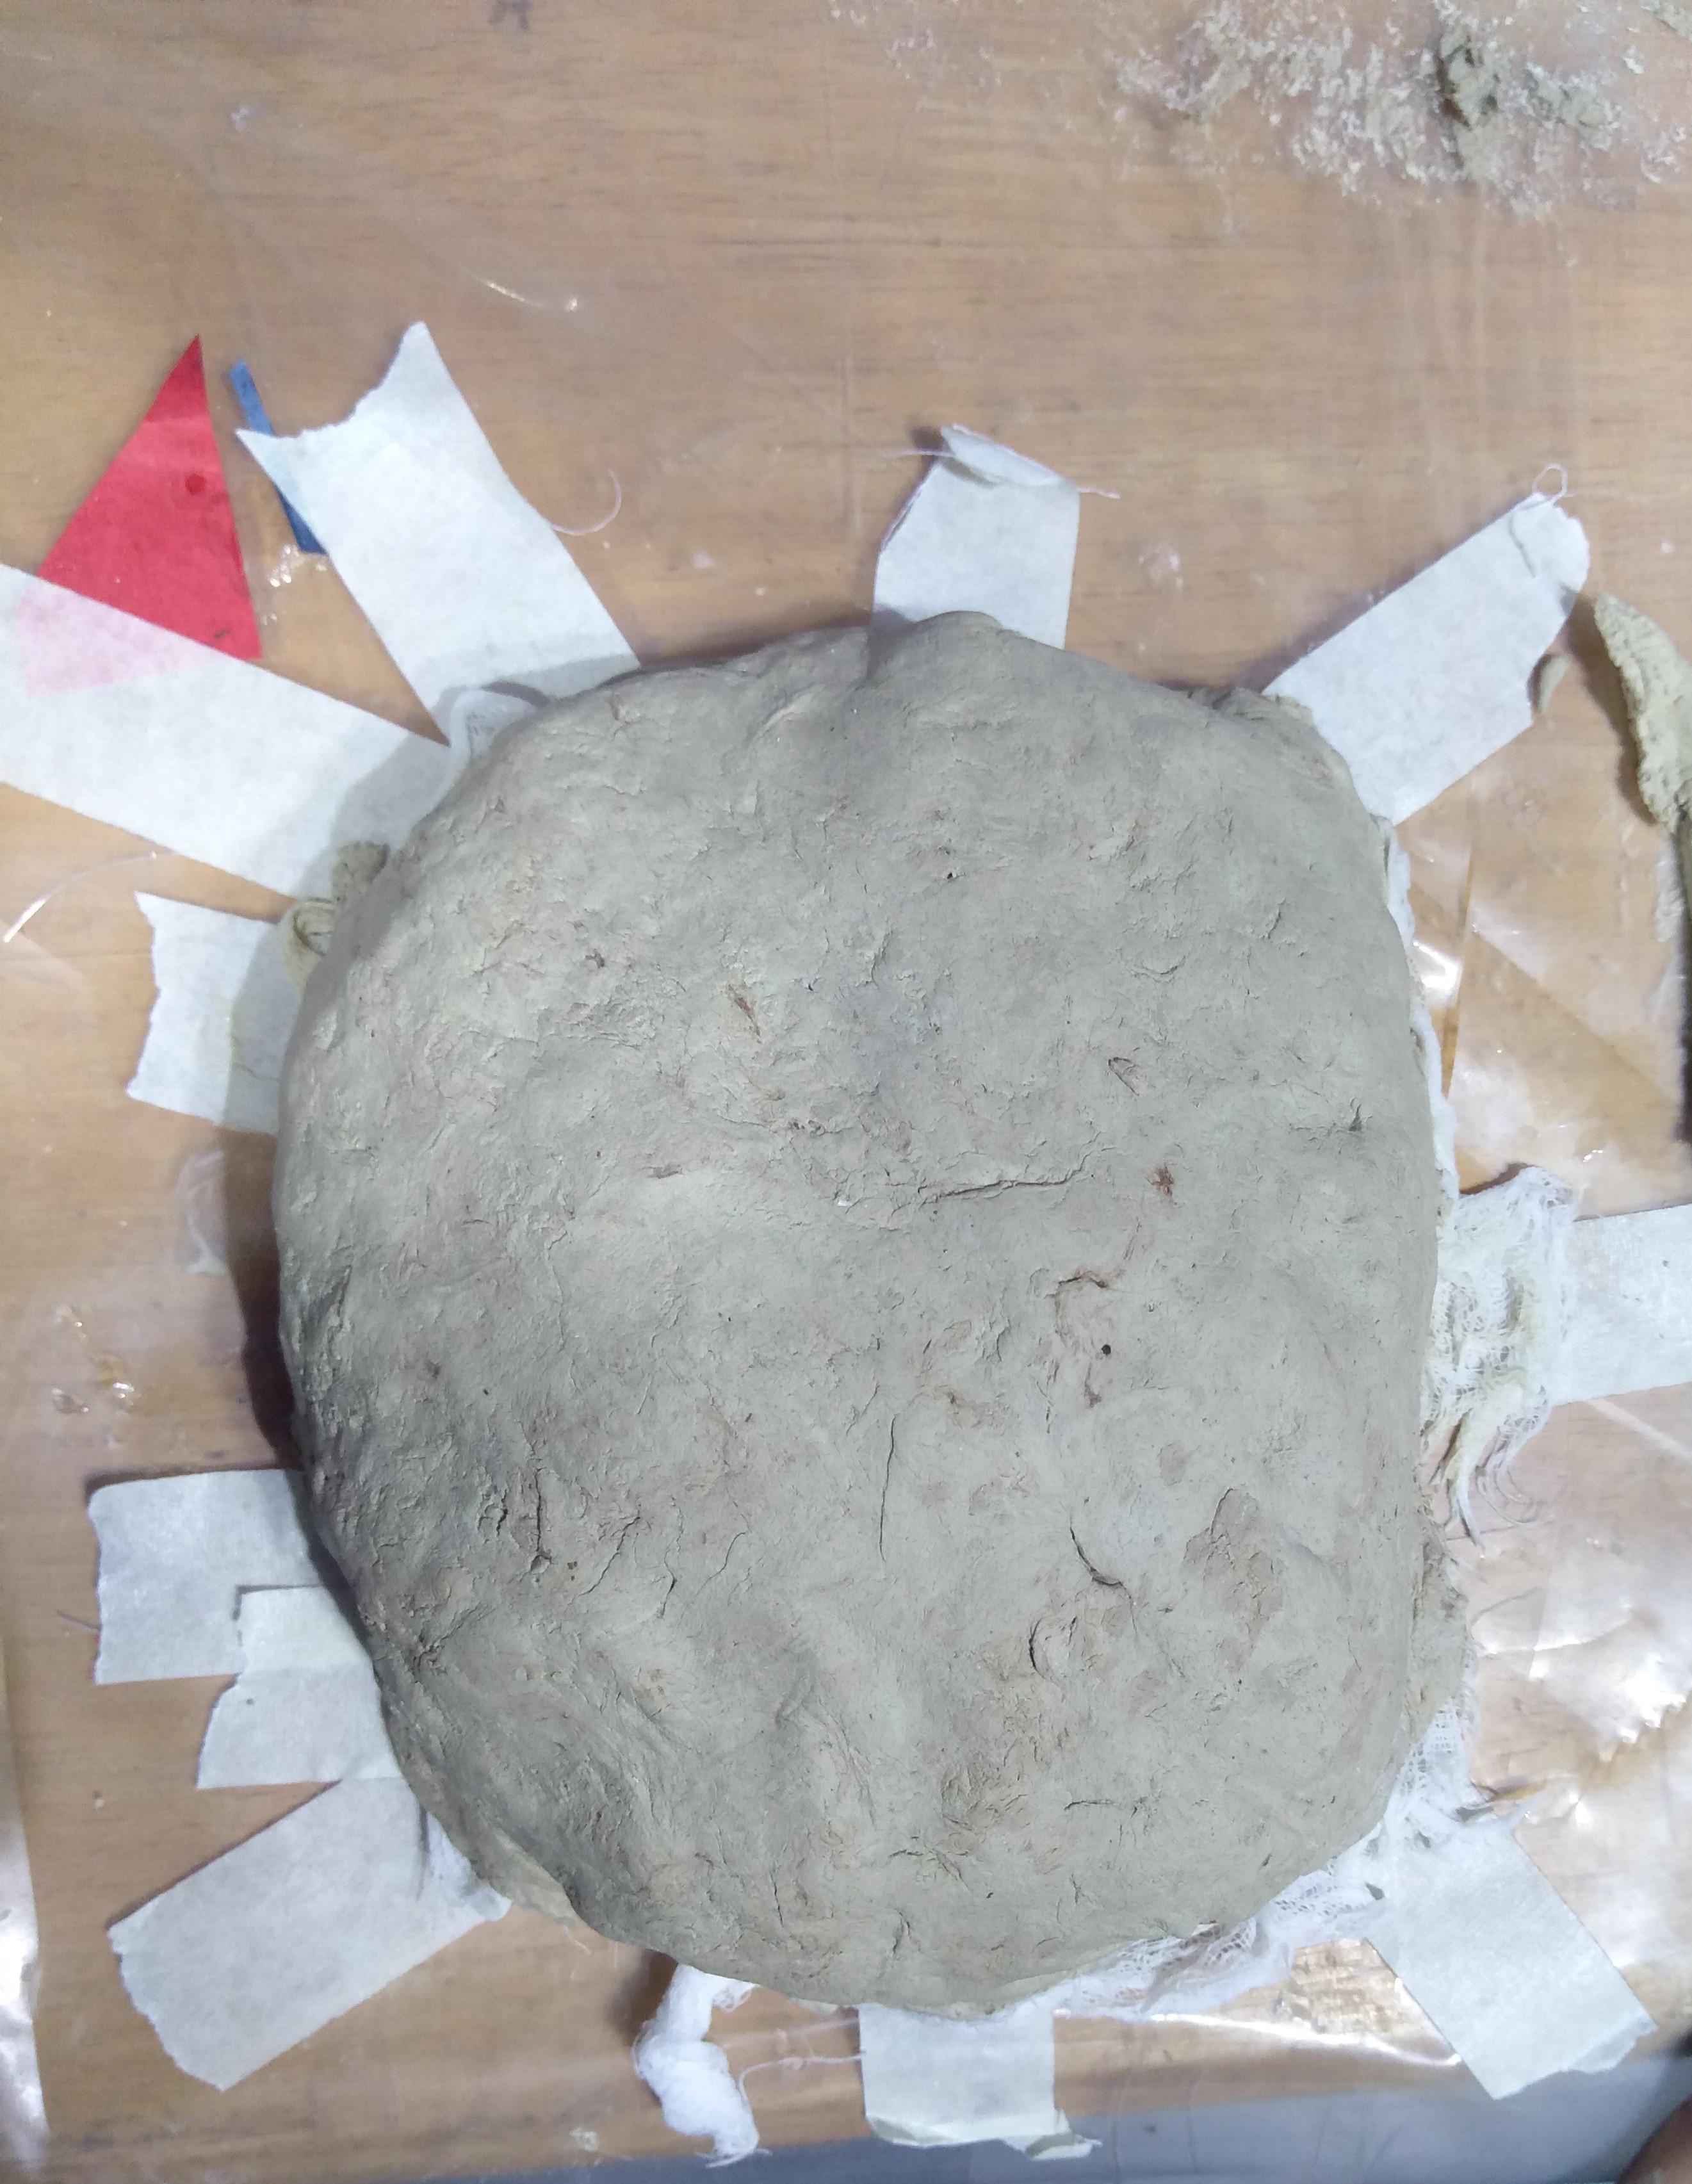
Take a piece of wet cotton cloth and put it down on the mask base and make sure it covers the place such that the clay comes over it. This prevents the mask sticking on to the newspaper. Roll and press the clay into a flat even layer about half a centimeter thick. Now carefully lift the clay up and place it down on to the mask base. Press it gently and make sure it covers the area where you need it to.
Shaping the Mask
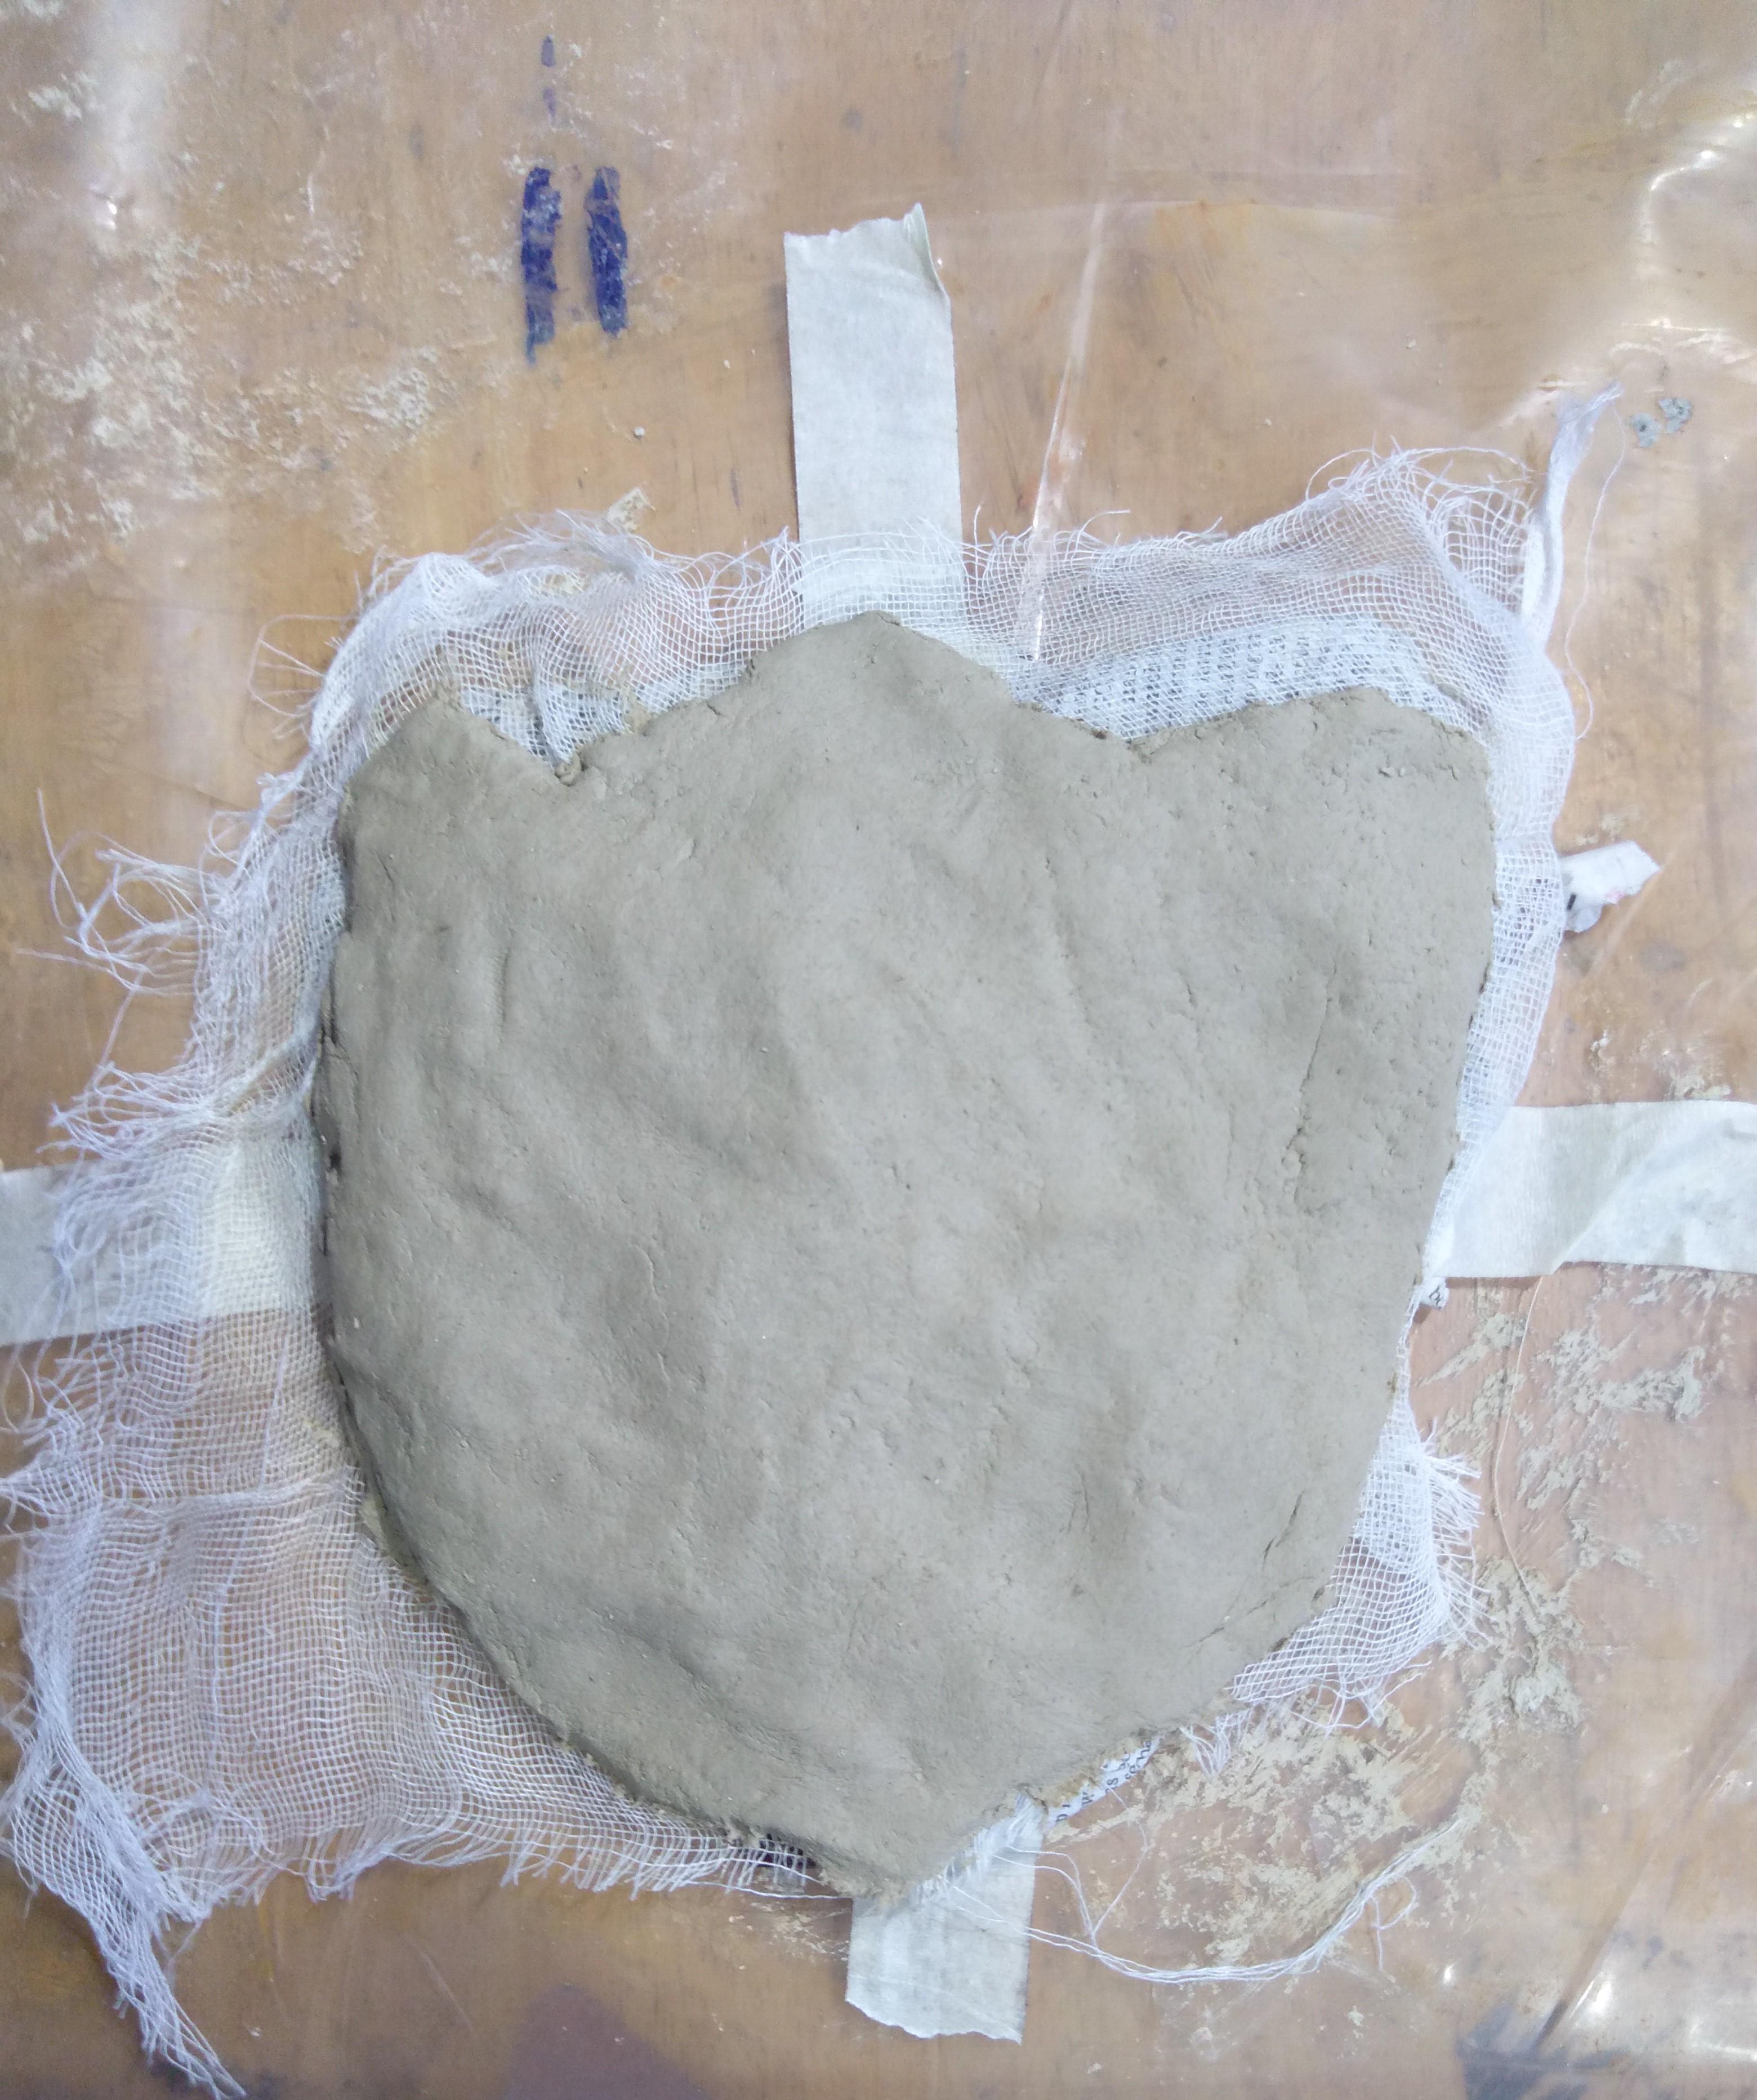
Look over the mask and identify the sections that are not needed. These might include the areas around the edges and some parts that does not contribute to the shape. Remove those extra parts of the mask face that you do not need by using sculpture tools. After removing, be sure to smooth the surfaces and edges by using sculpture tools or fingers.
Making the Face Parts
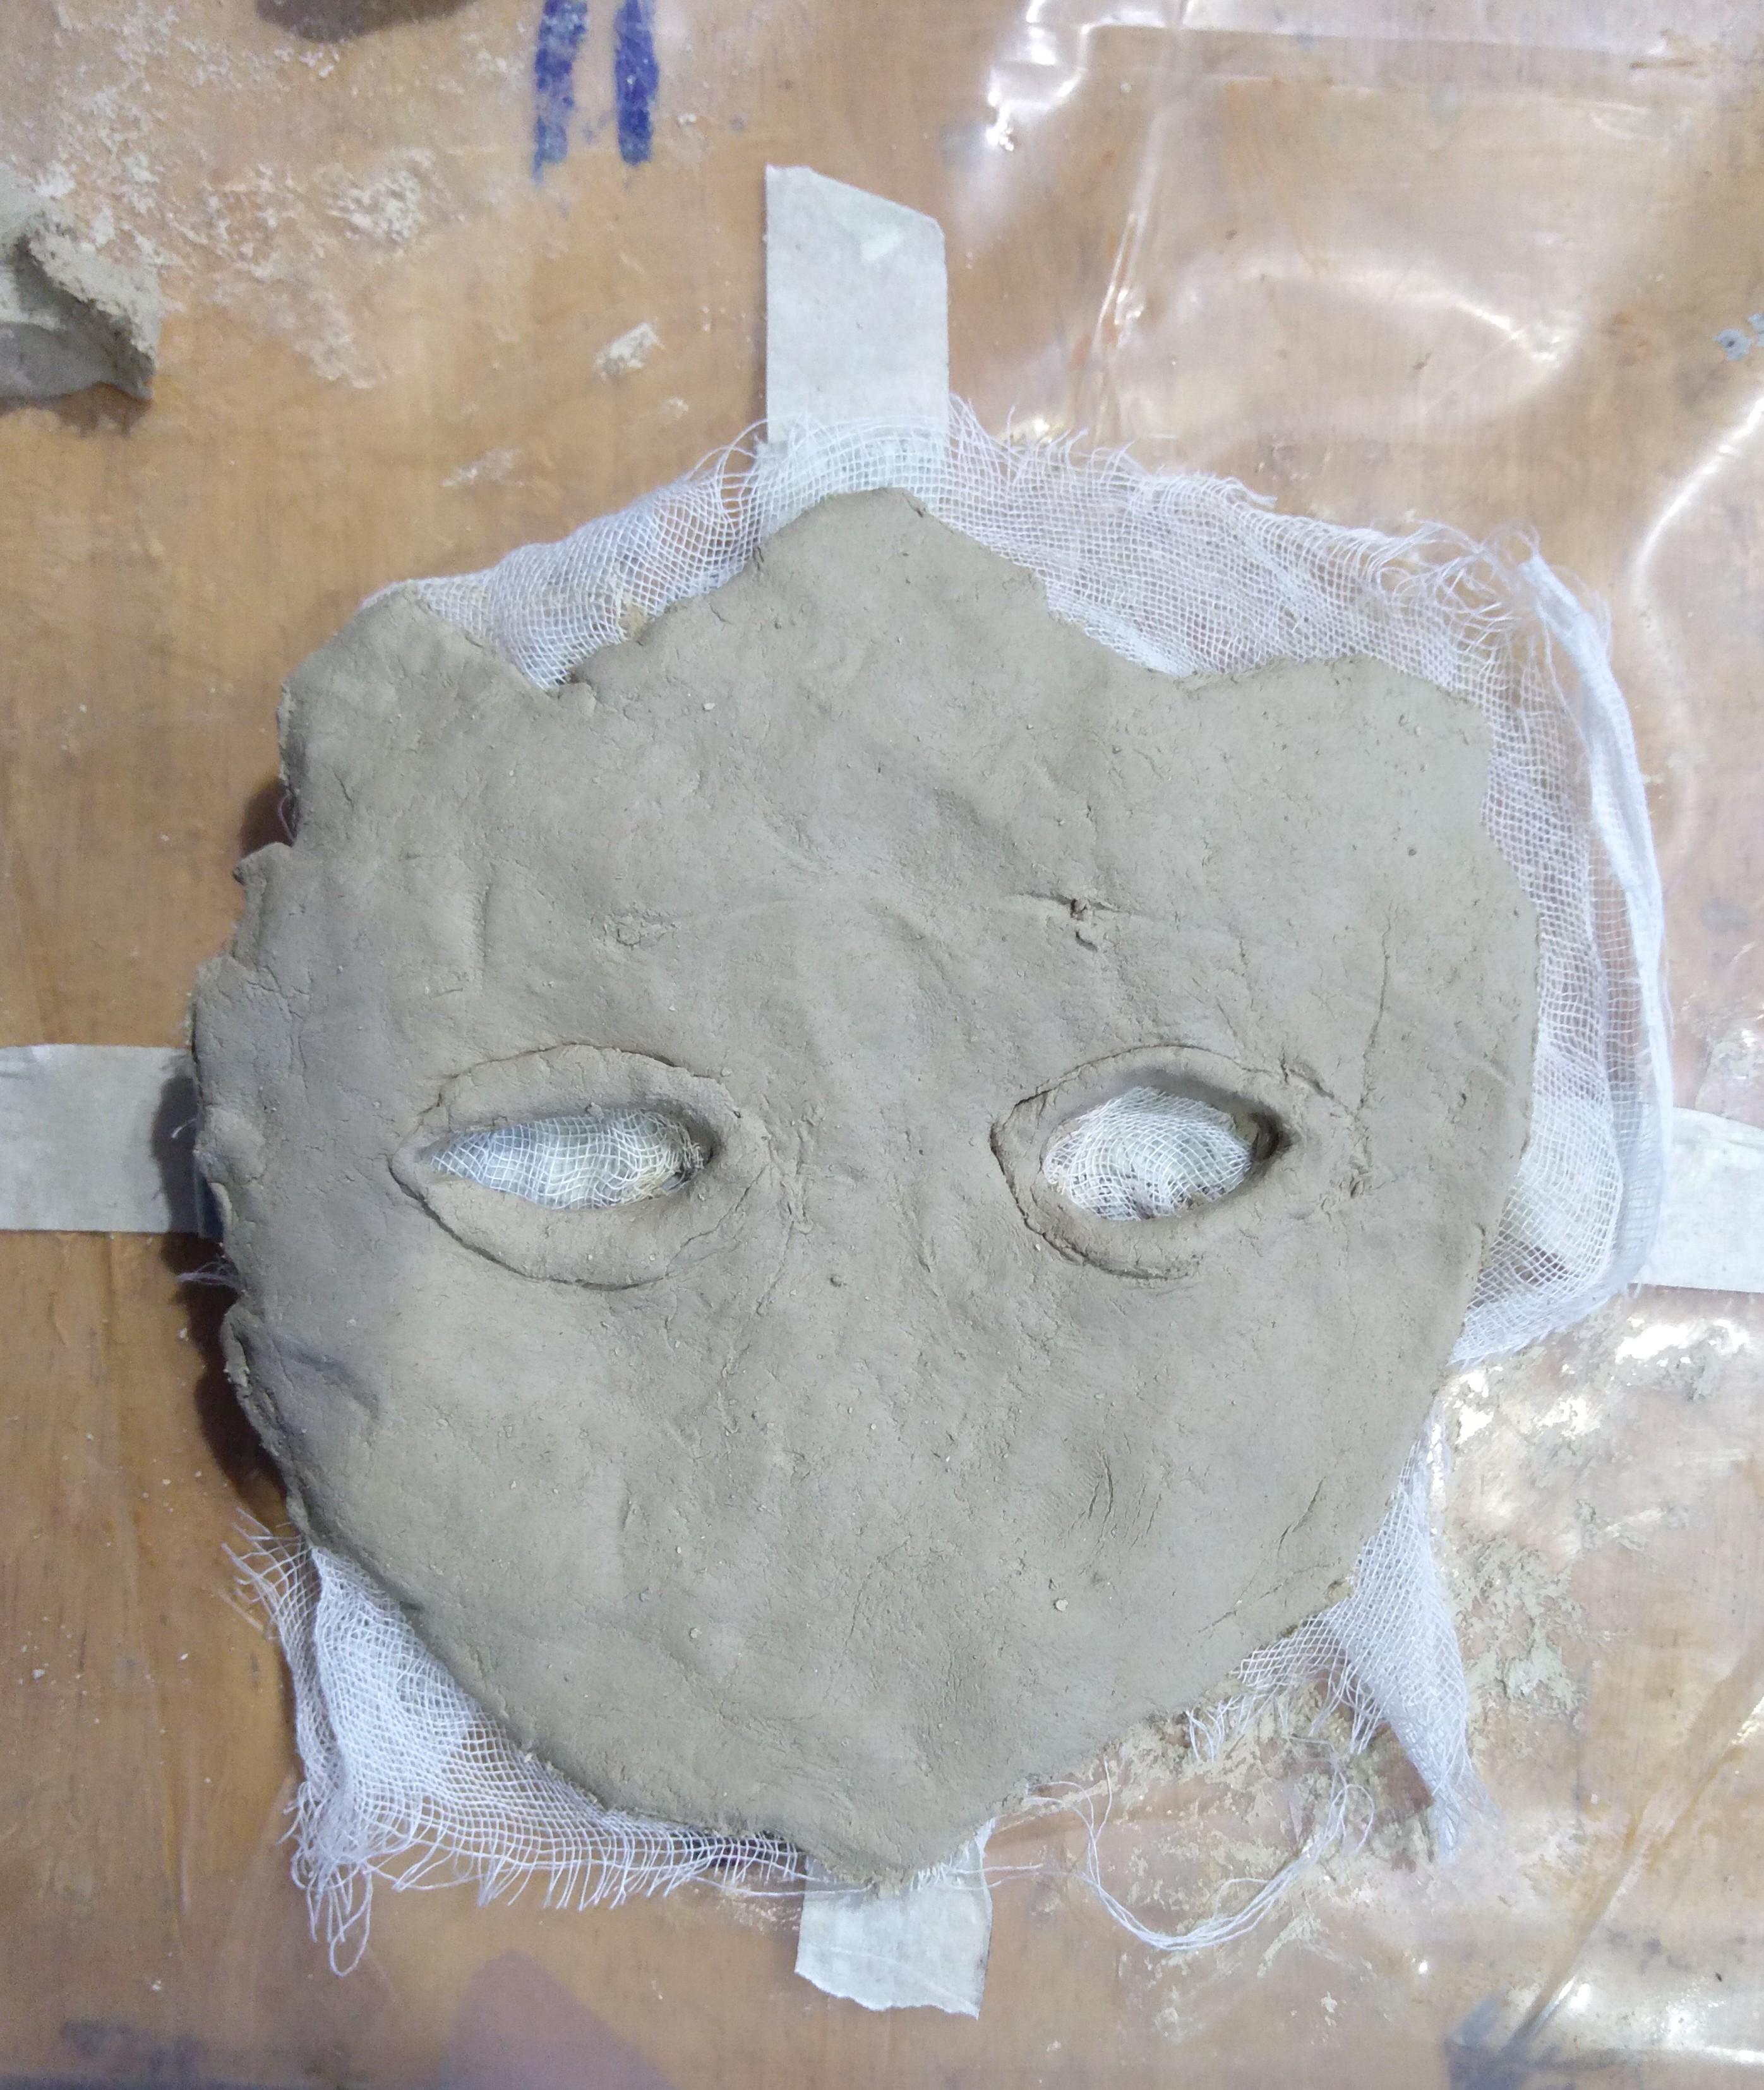
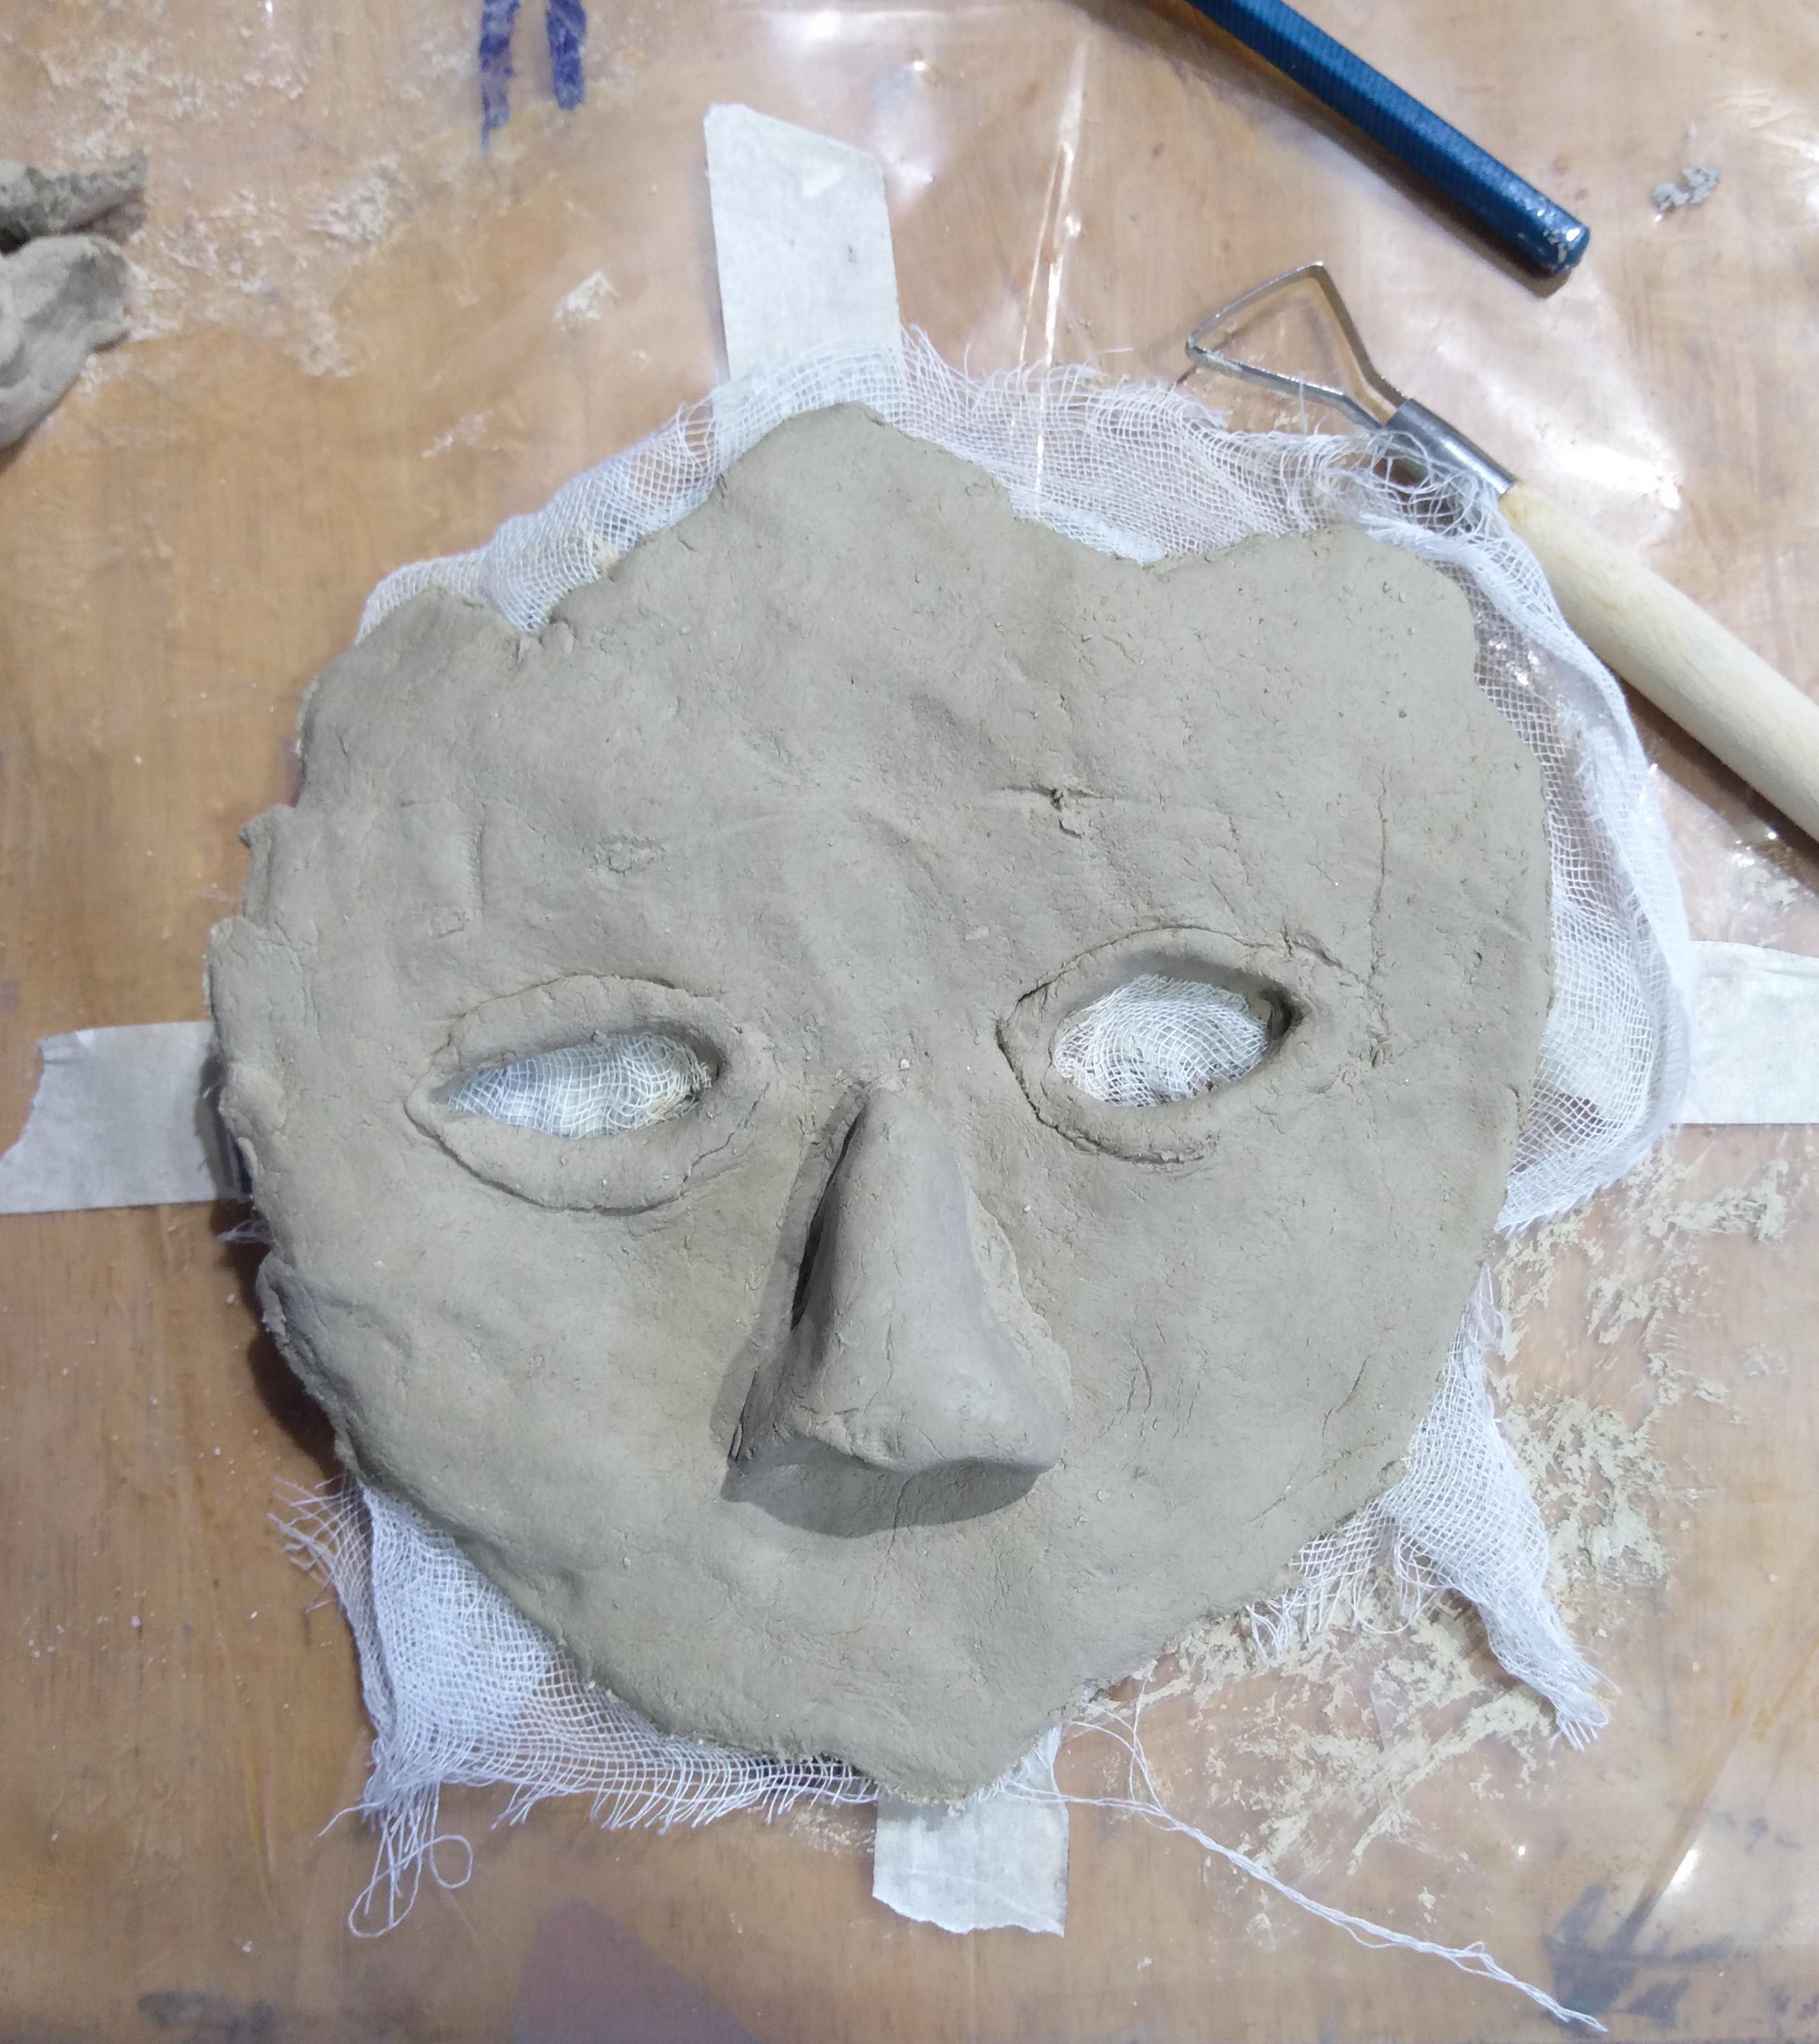
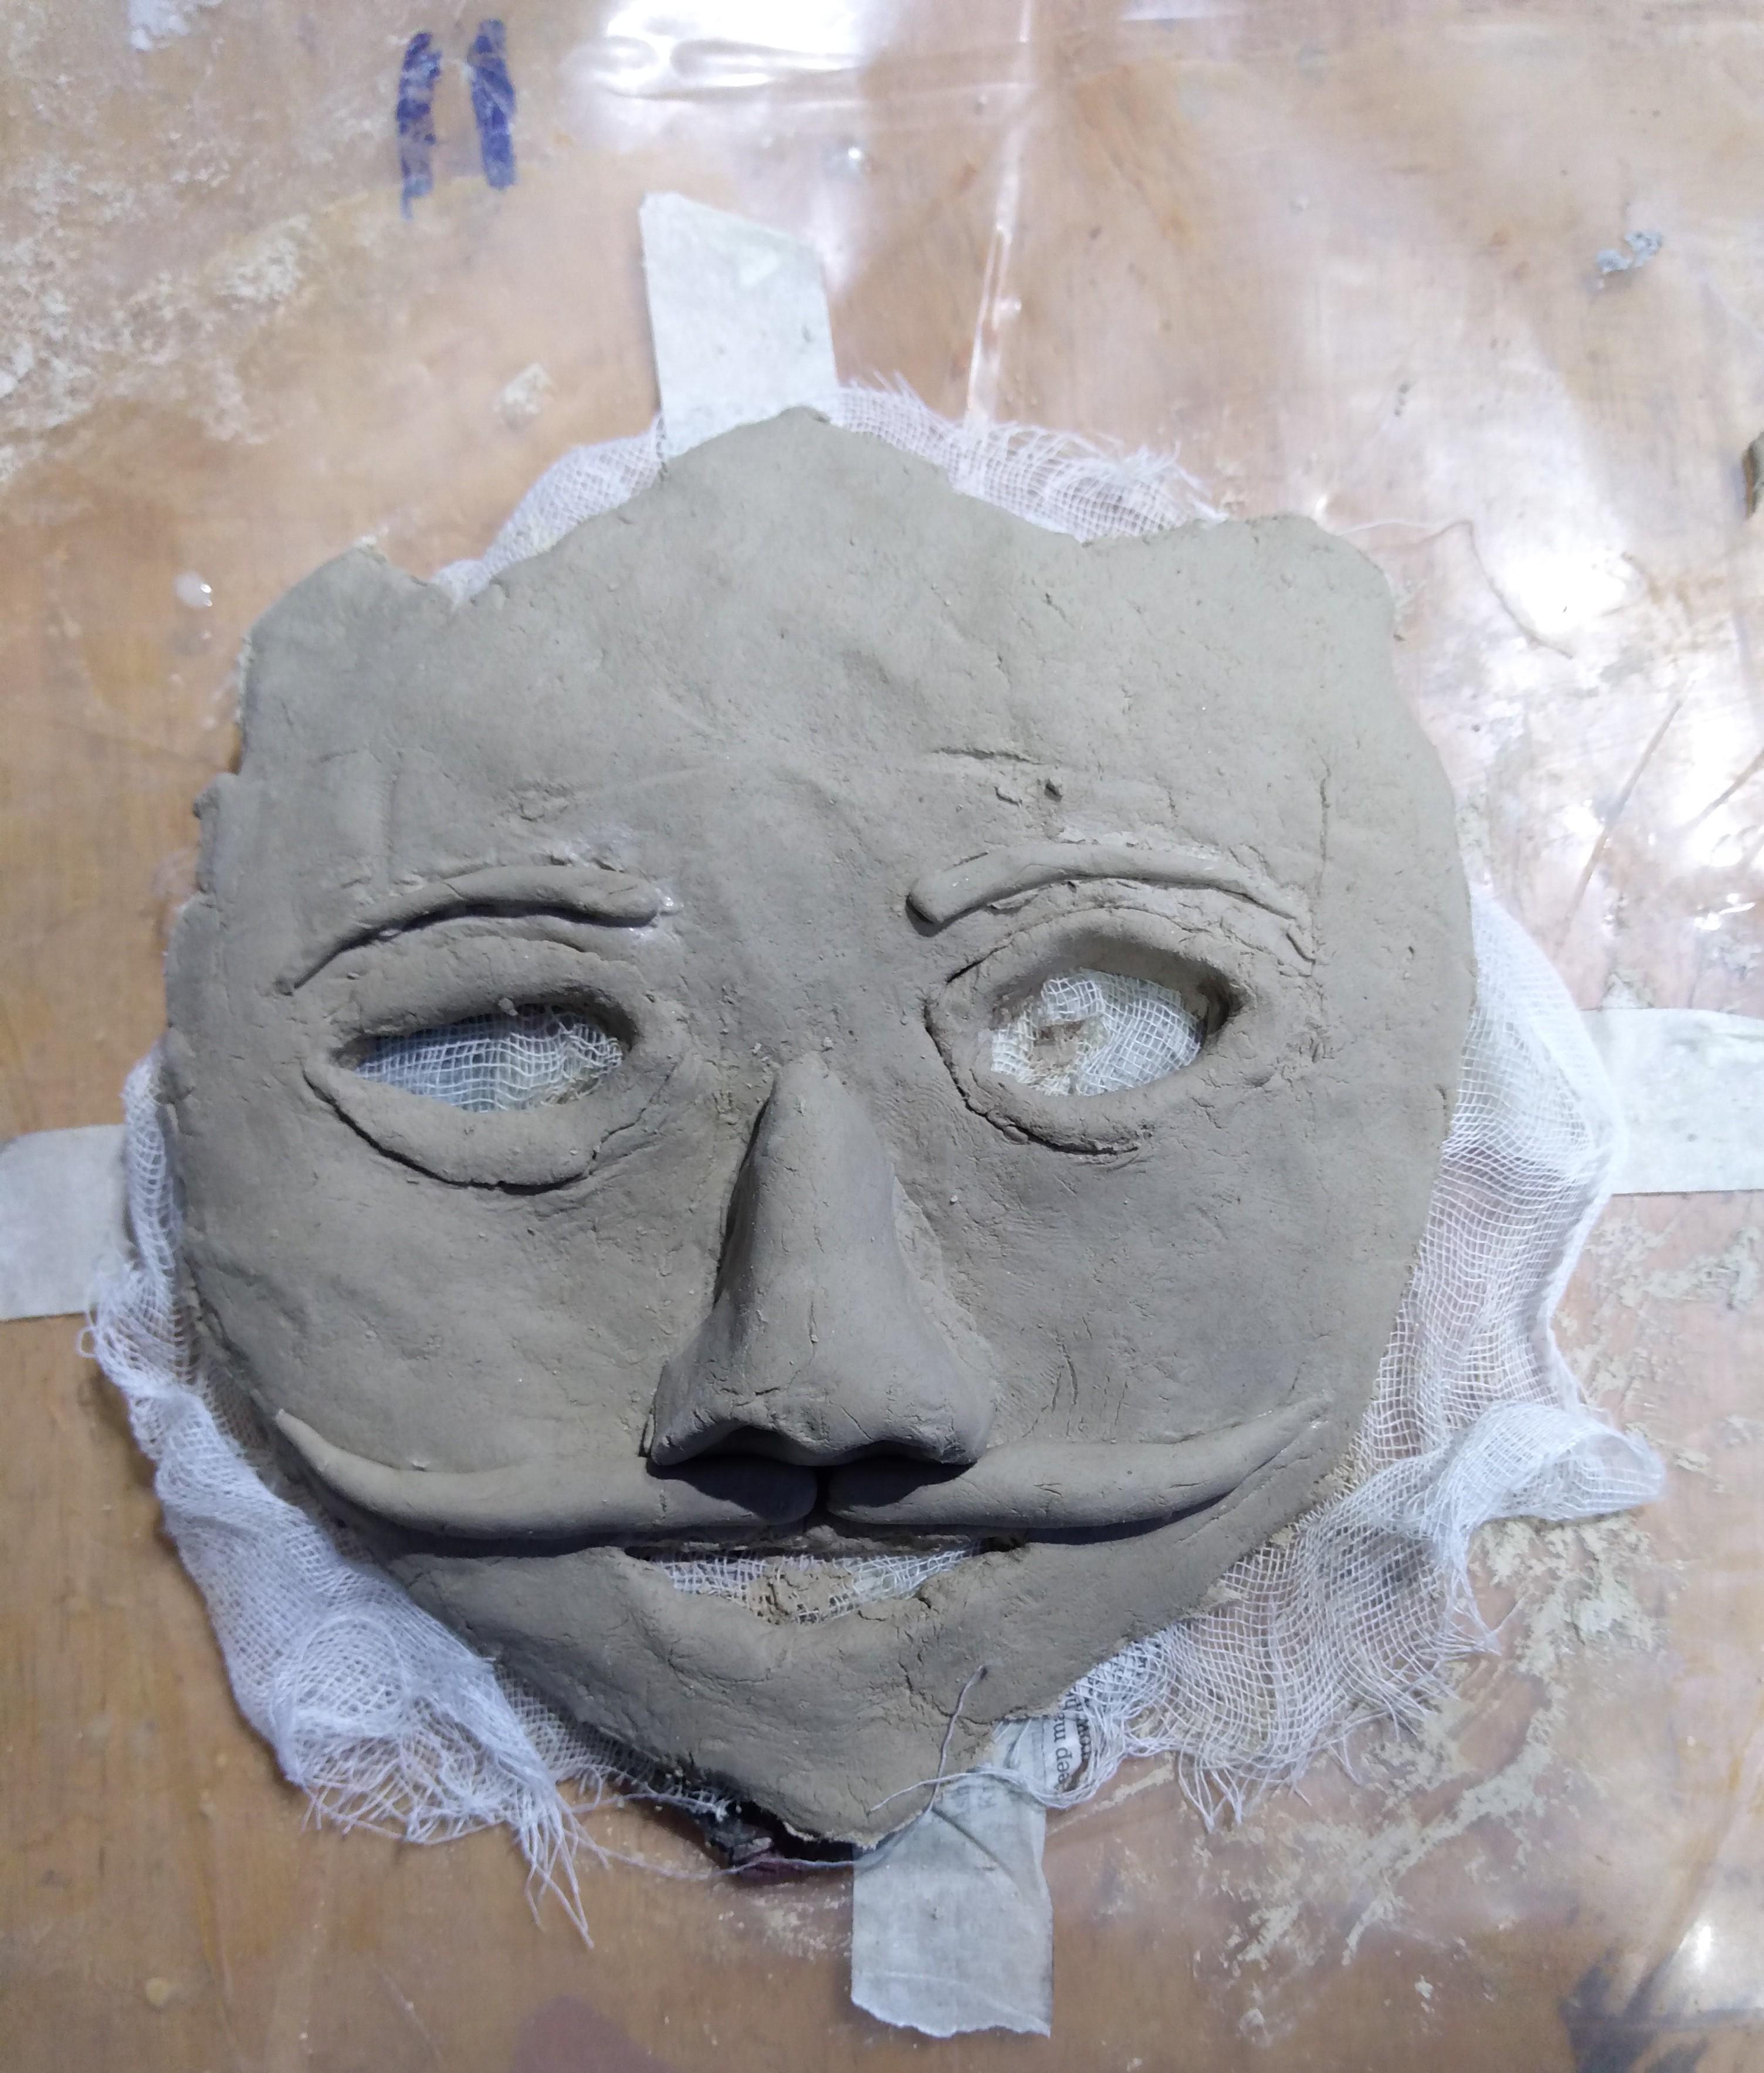
To make eye :
Gently carve out the clay from the mask using a sculpture tool to make the eyeholes. Also shape the eye the way that you want it to be. Make sure to keep the edges smooth for a clean finish.
To make nose :
Take a small piece of clay and shape that into a nose. Now lightly score the back of the nose and the area on the face where it will attach and moisten those areas lightly and attach the nose to the face.
To make moustache, eyebrows and mouth:
Gently carve out the clay from the mask using a sculpture tool to make the mouth. After that take four pieces of clay and make it into the shape of a moustache and eyebrows and attach it into the face using the same technique used to attach the nose. Make sure to keep the edges smooth.
Allow the mask to set and harden.
Apply Primer
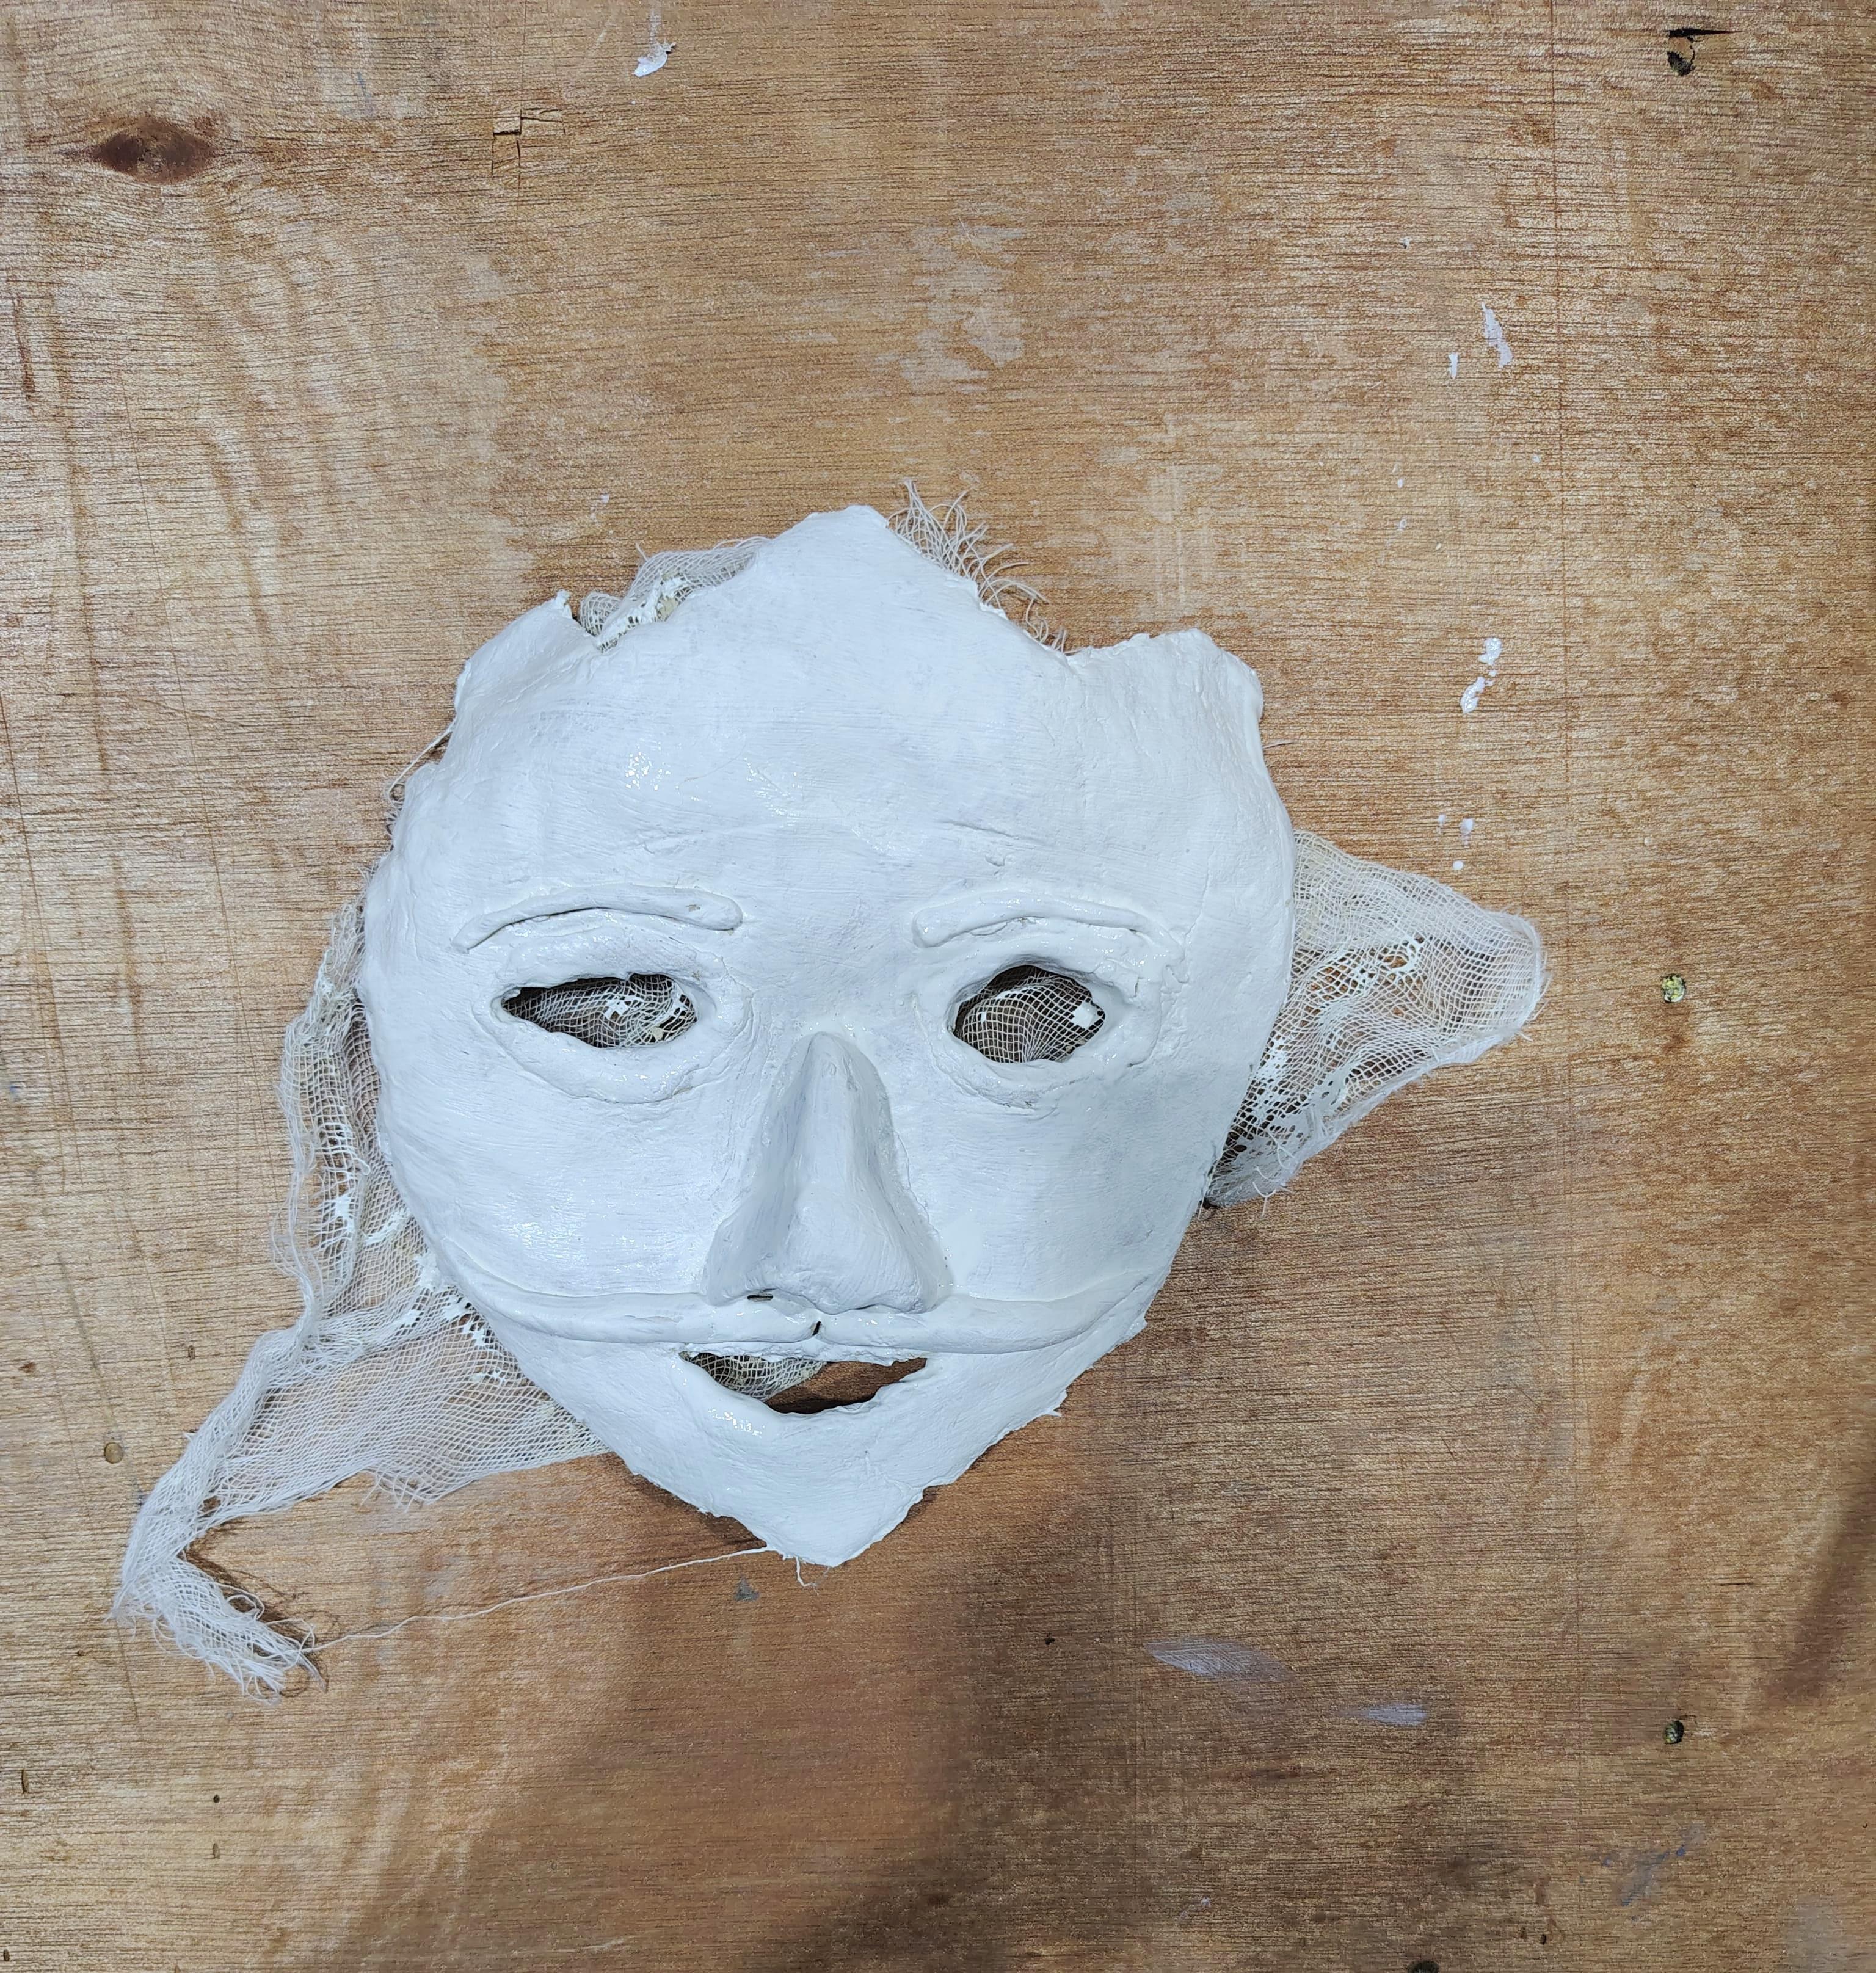
After taking the mask from the newspaper, apply the primer on the mask and let it dry.
Coloring the Mask
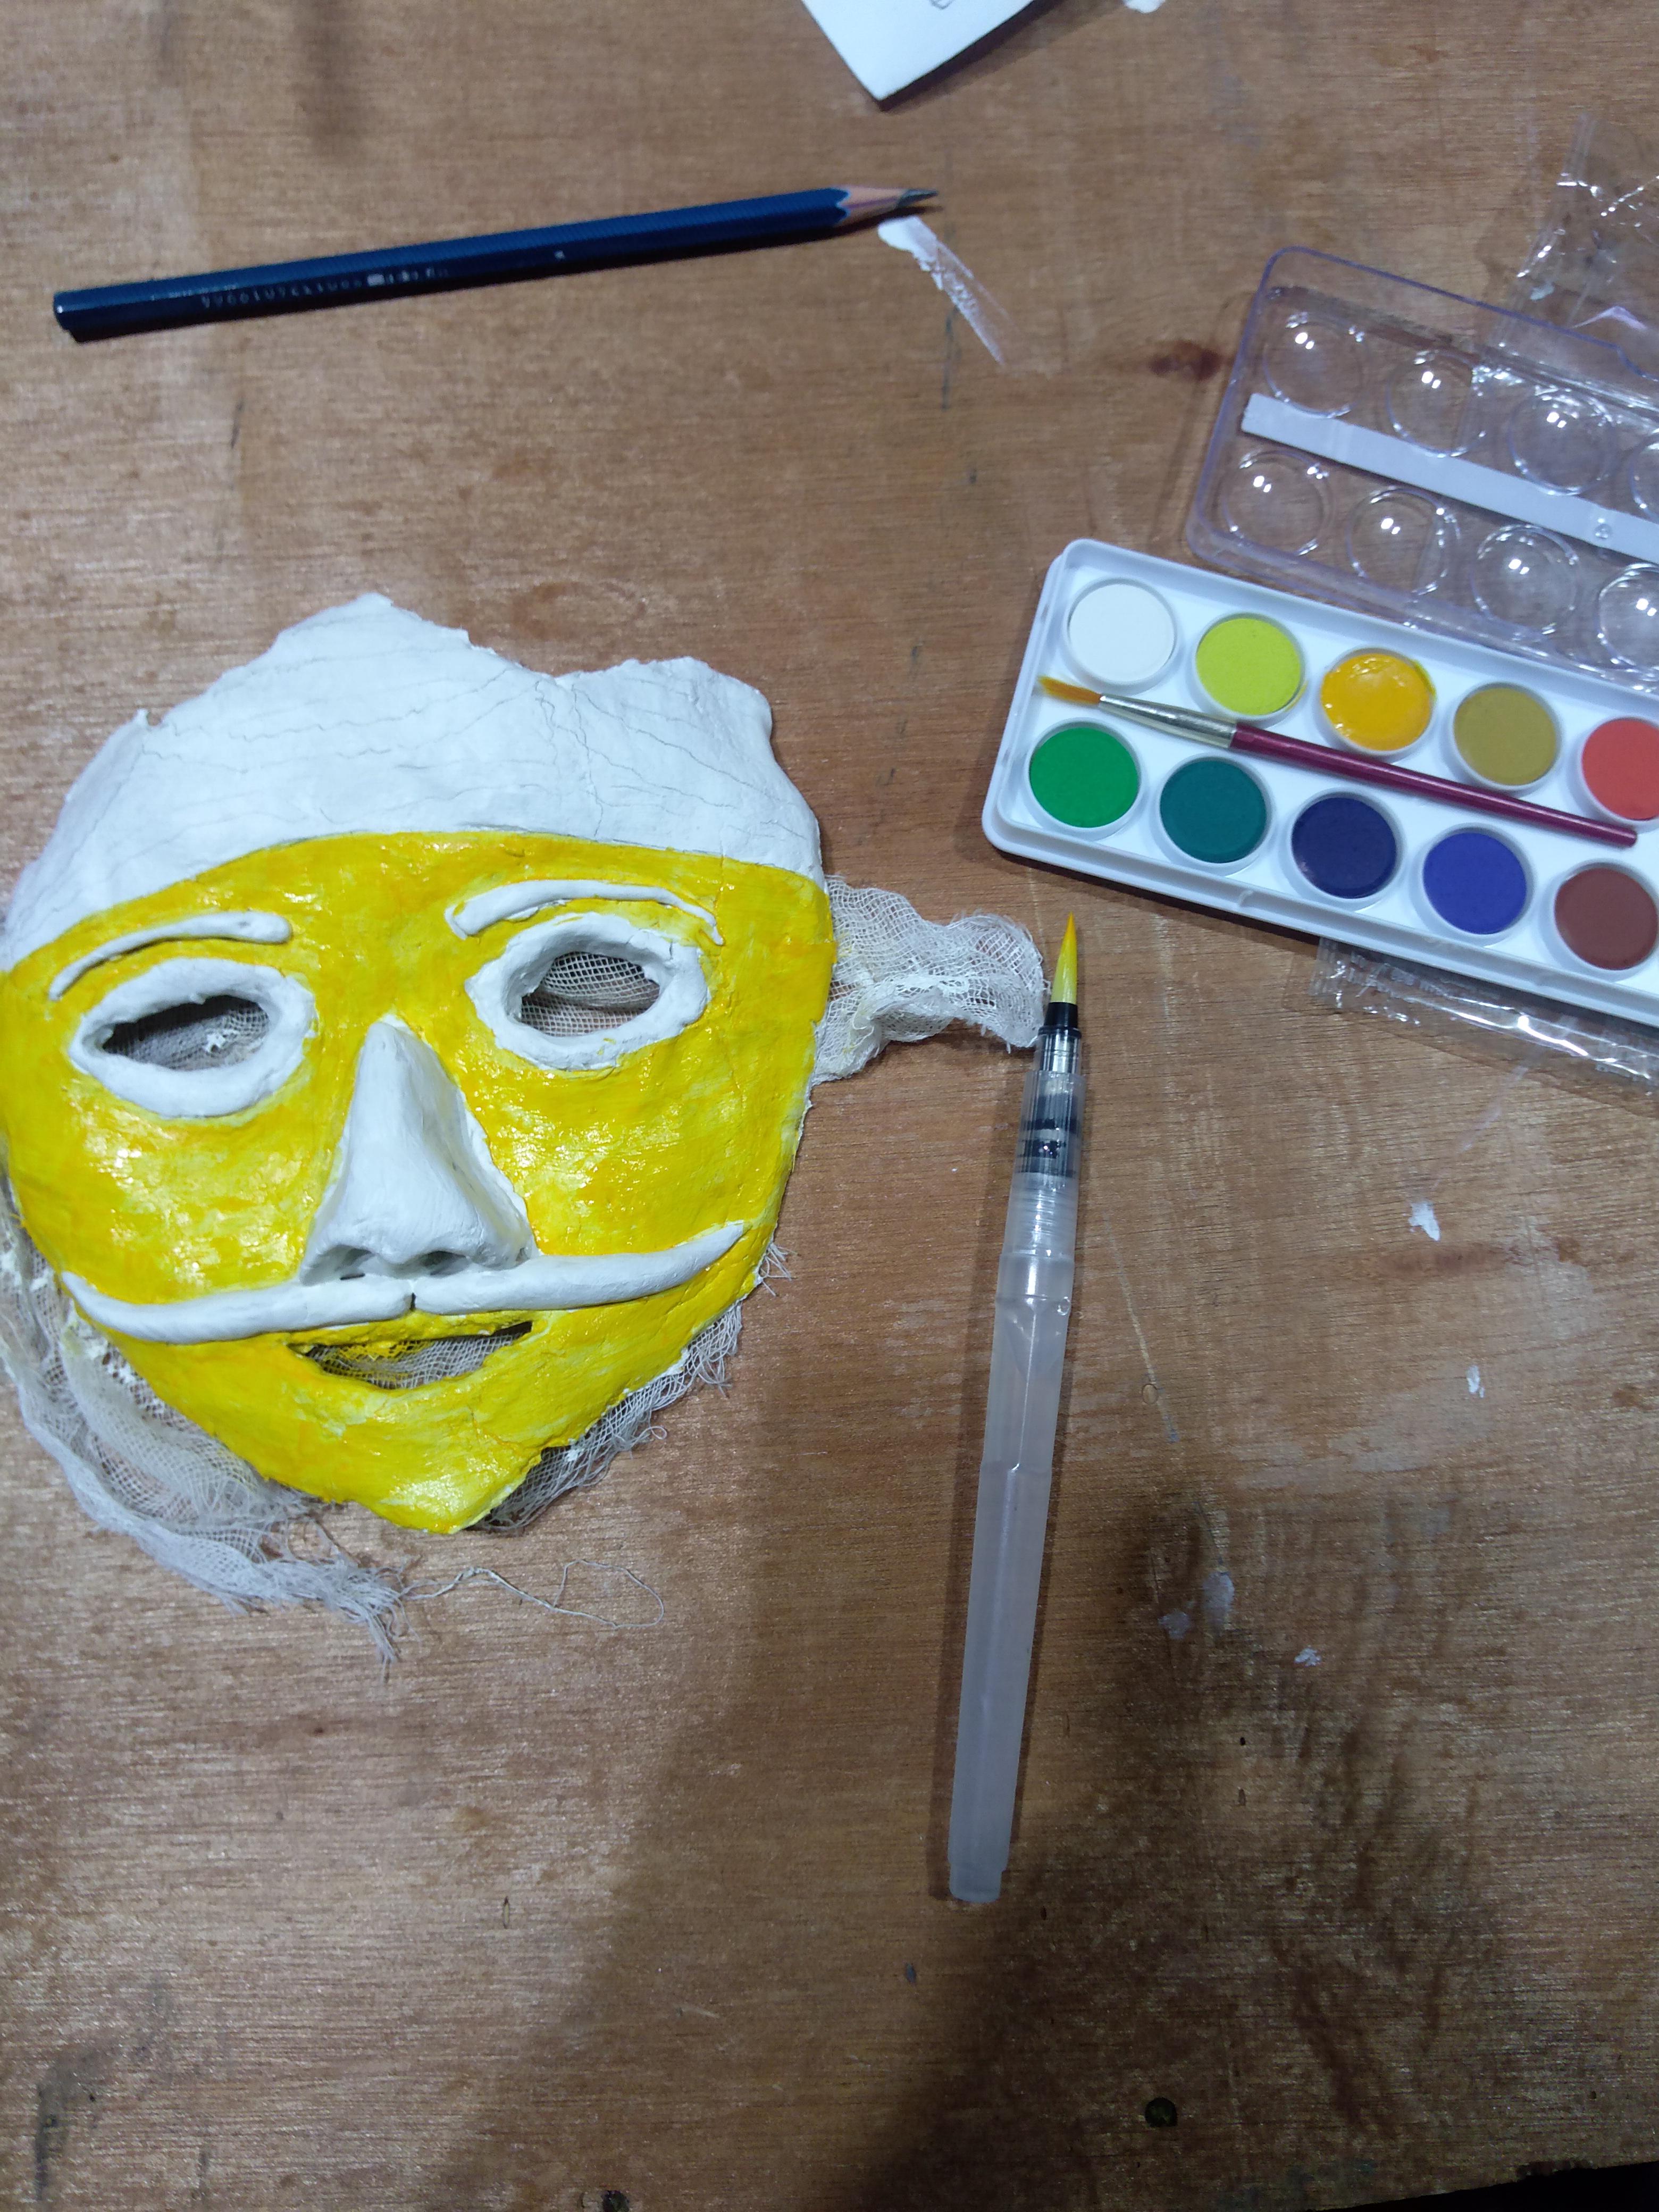
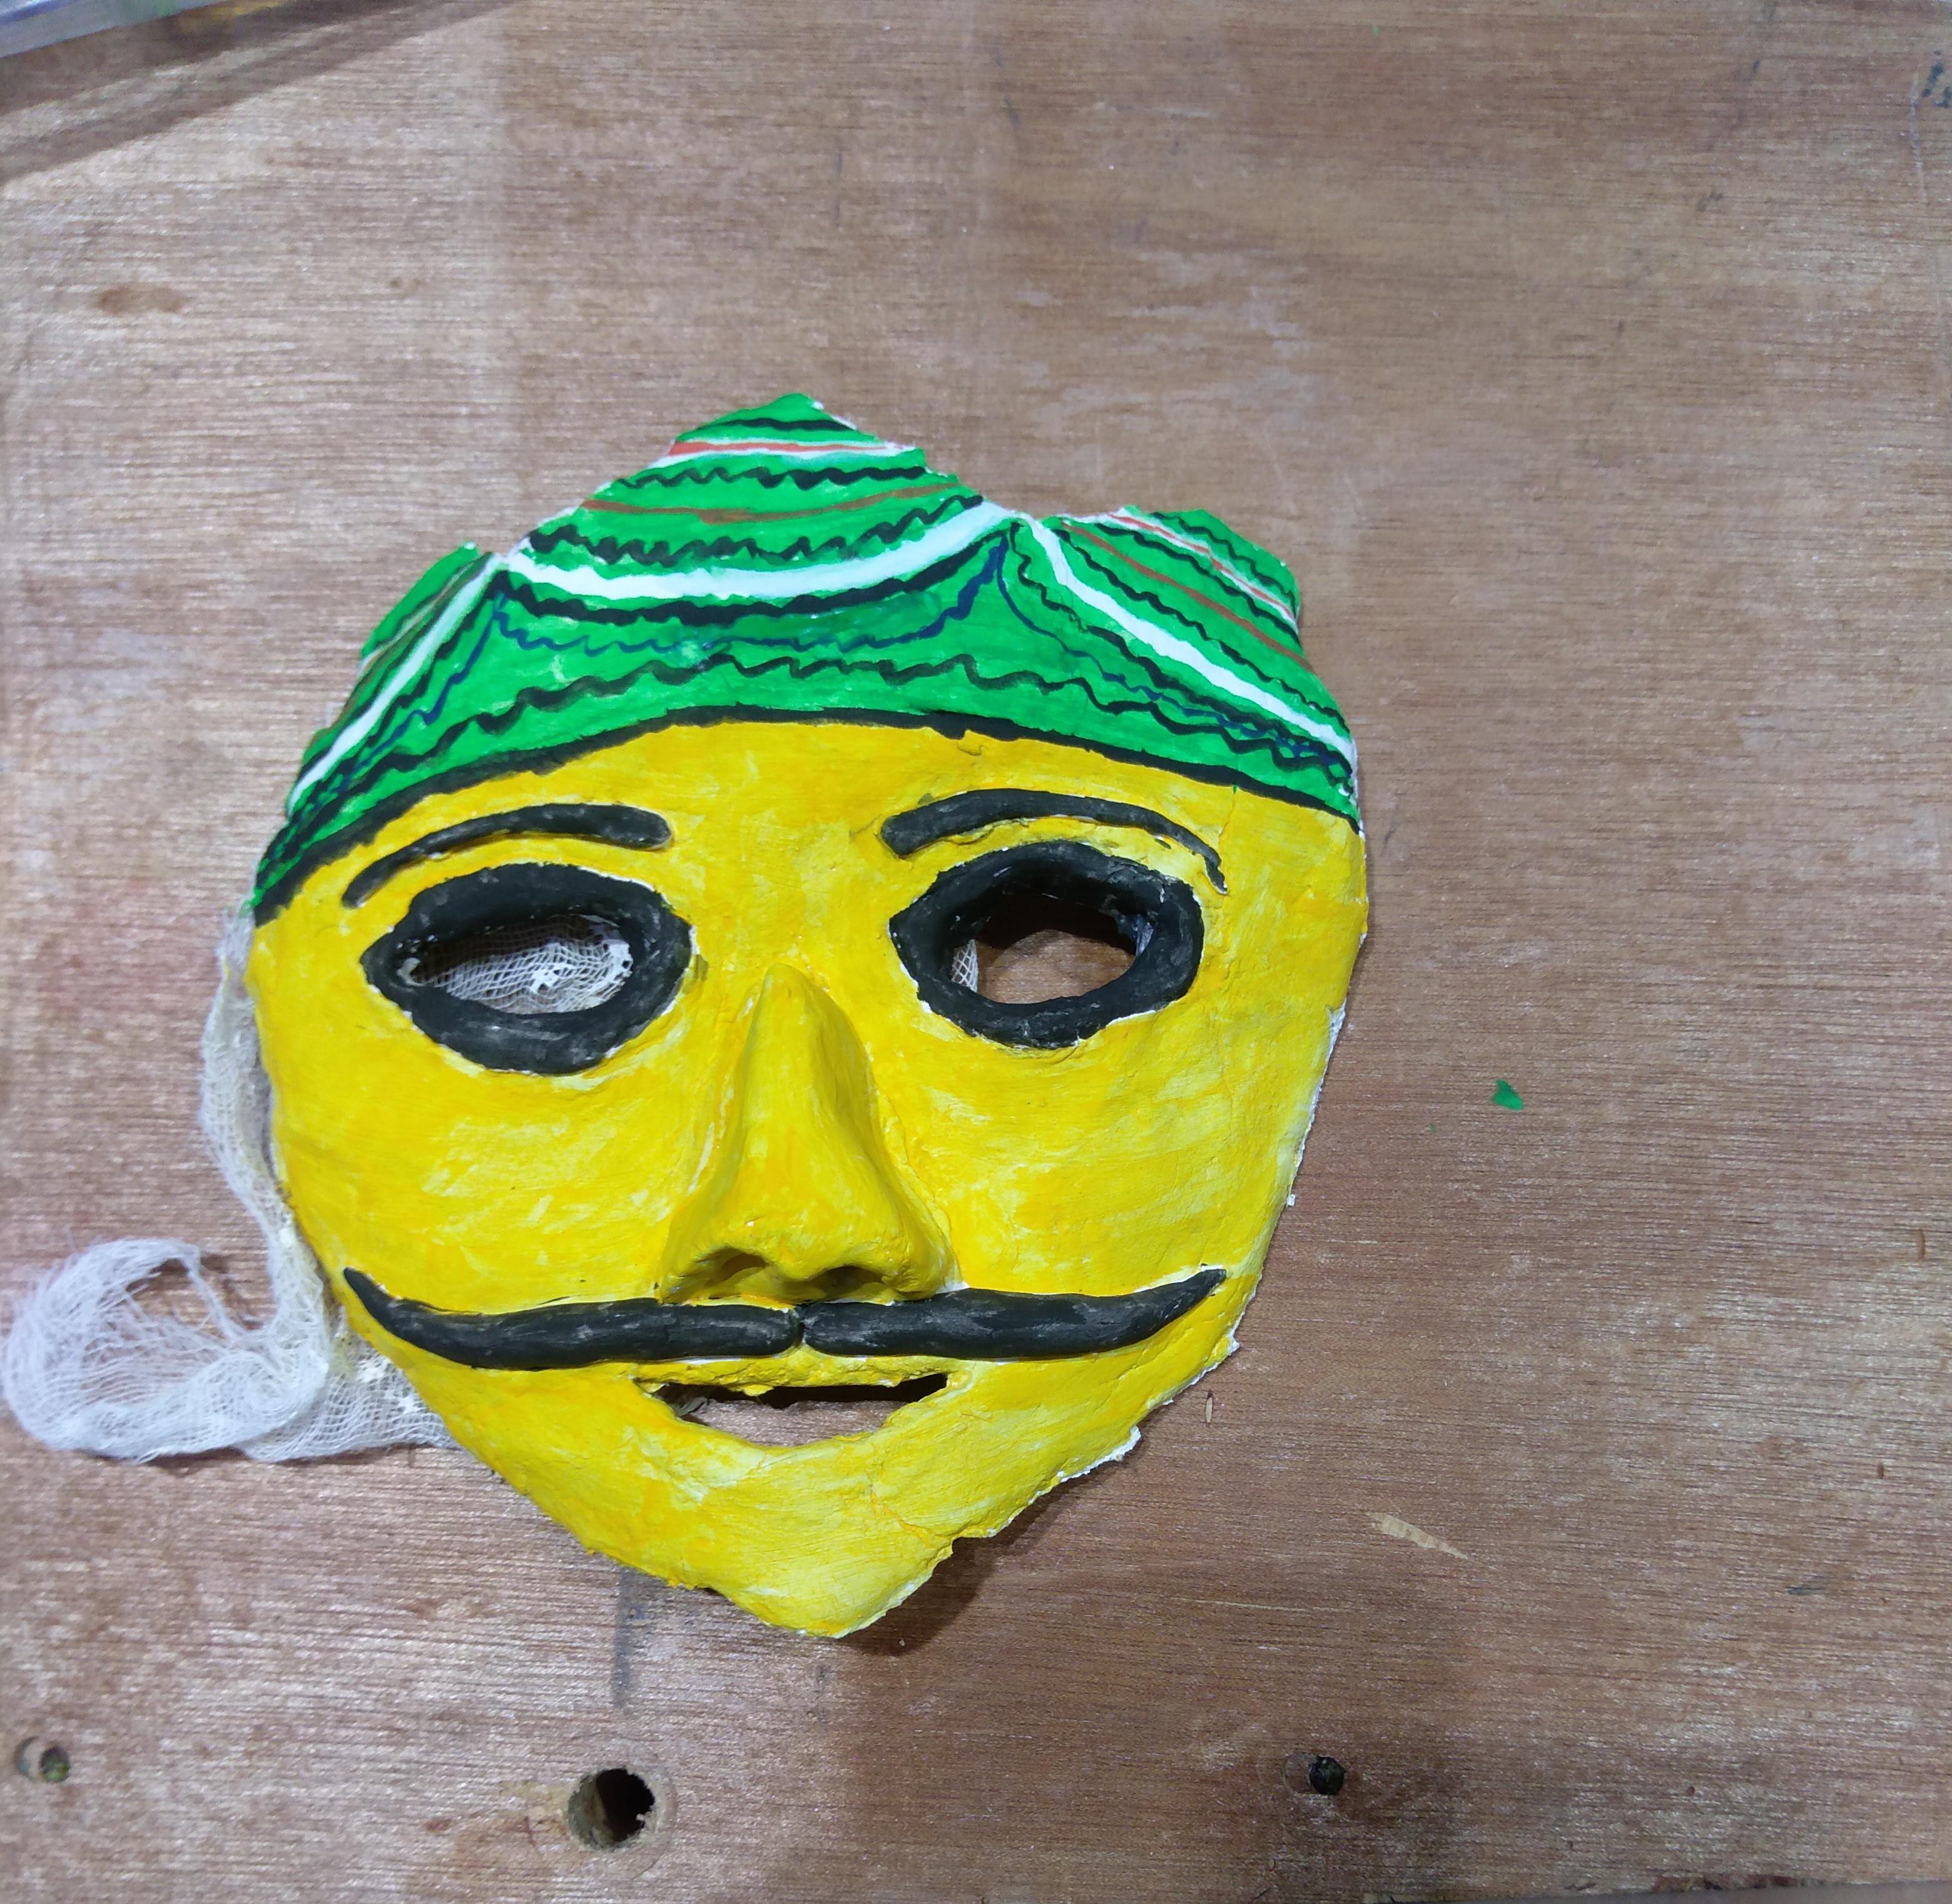
After letting the mask dry, paint the mask using water color or acrylic color. You can use a pencil to mark the areas that you want to paint different colors. After painting the mask, let it dry. Make sure to gently remove the cotton paper on the backside of the mask before handling.