TORUS | Visual Music Installation


We created the Torus as a VJ installation. Torus is a mathematical object based on the golden ratio. This Golden Ratio can be found in various places in nature like sunflowers, fingerprints and animals. We combined technology with the beauty of nature. The shape of the Torus is inspired by the works of Yoshinobu Miyamoto. The Torus contains the Golden Ratio inspired by nature. We combined the Torus with projection mapping using Resolume Arena, Raspberry Pi, Fadecandy and LEDS which corresponds with the visuals.
Things you need:
- LEDS
- 6mm MDF wood / plywood
- Lasercutter / jig saw
- Wall Paint (4L)
Download the Template
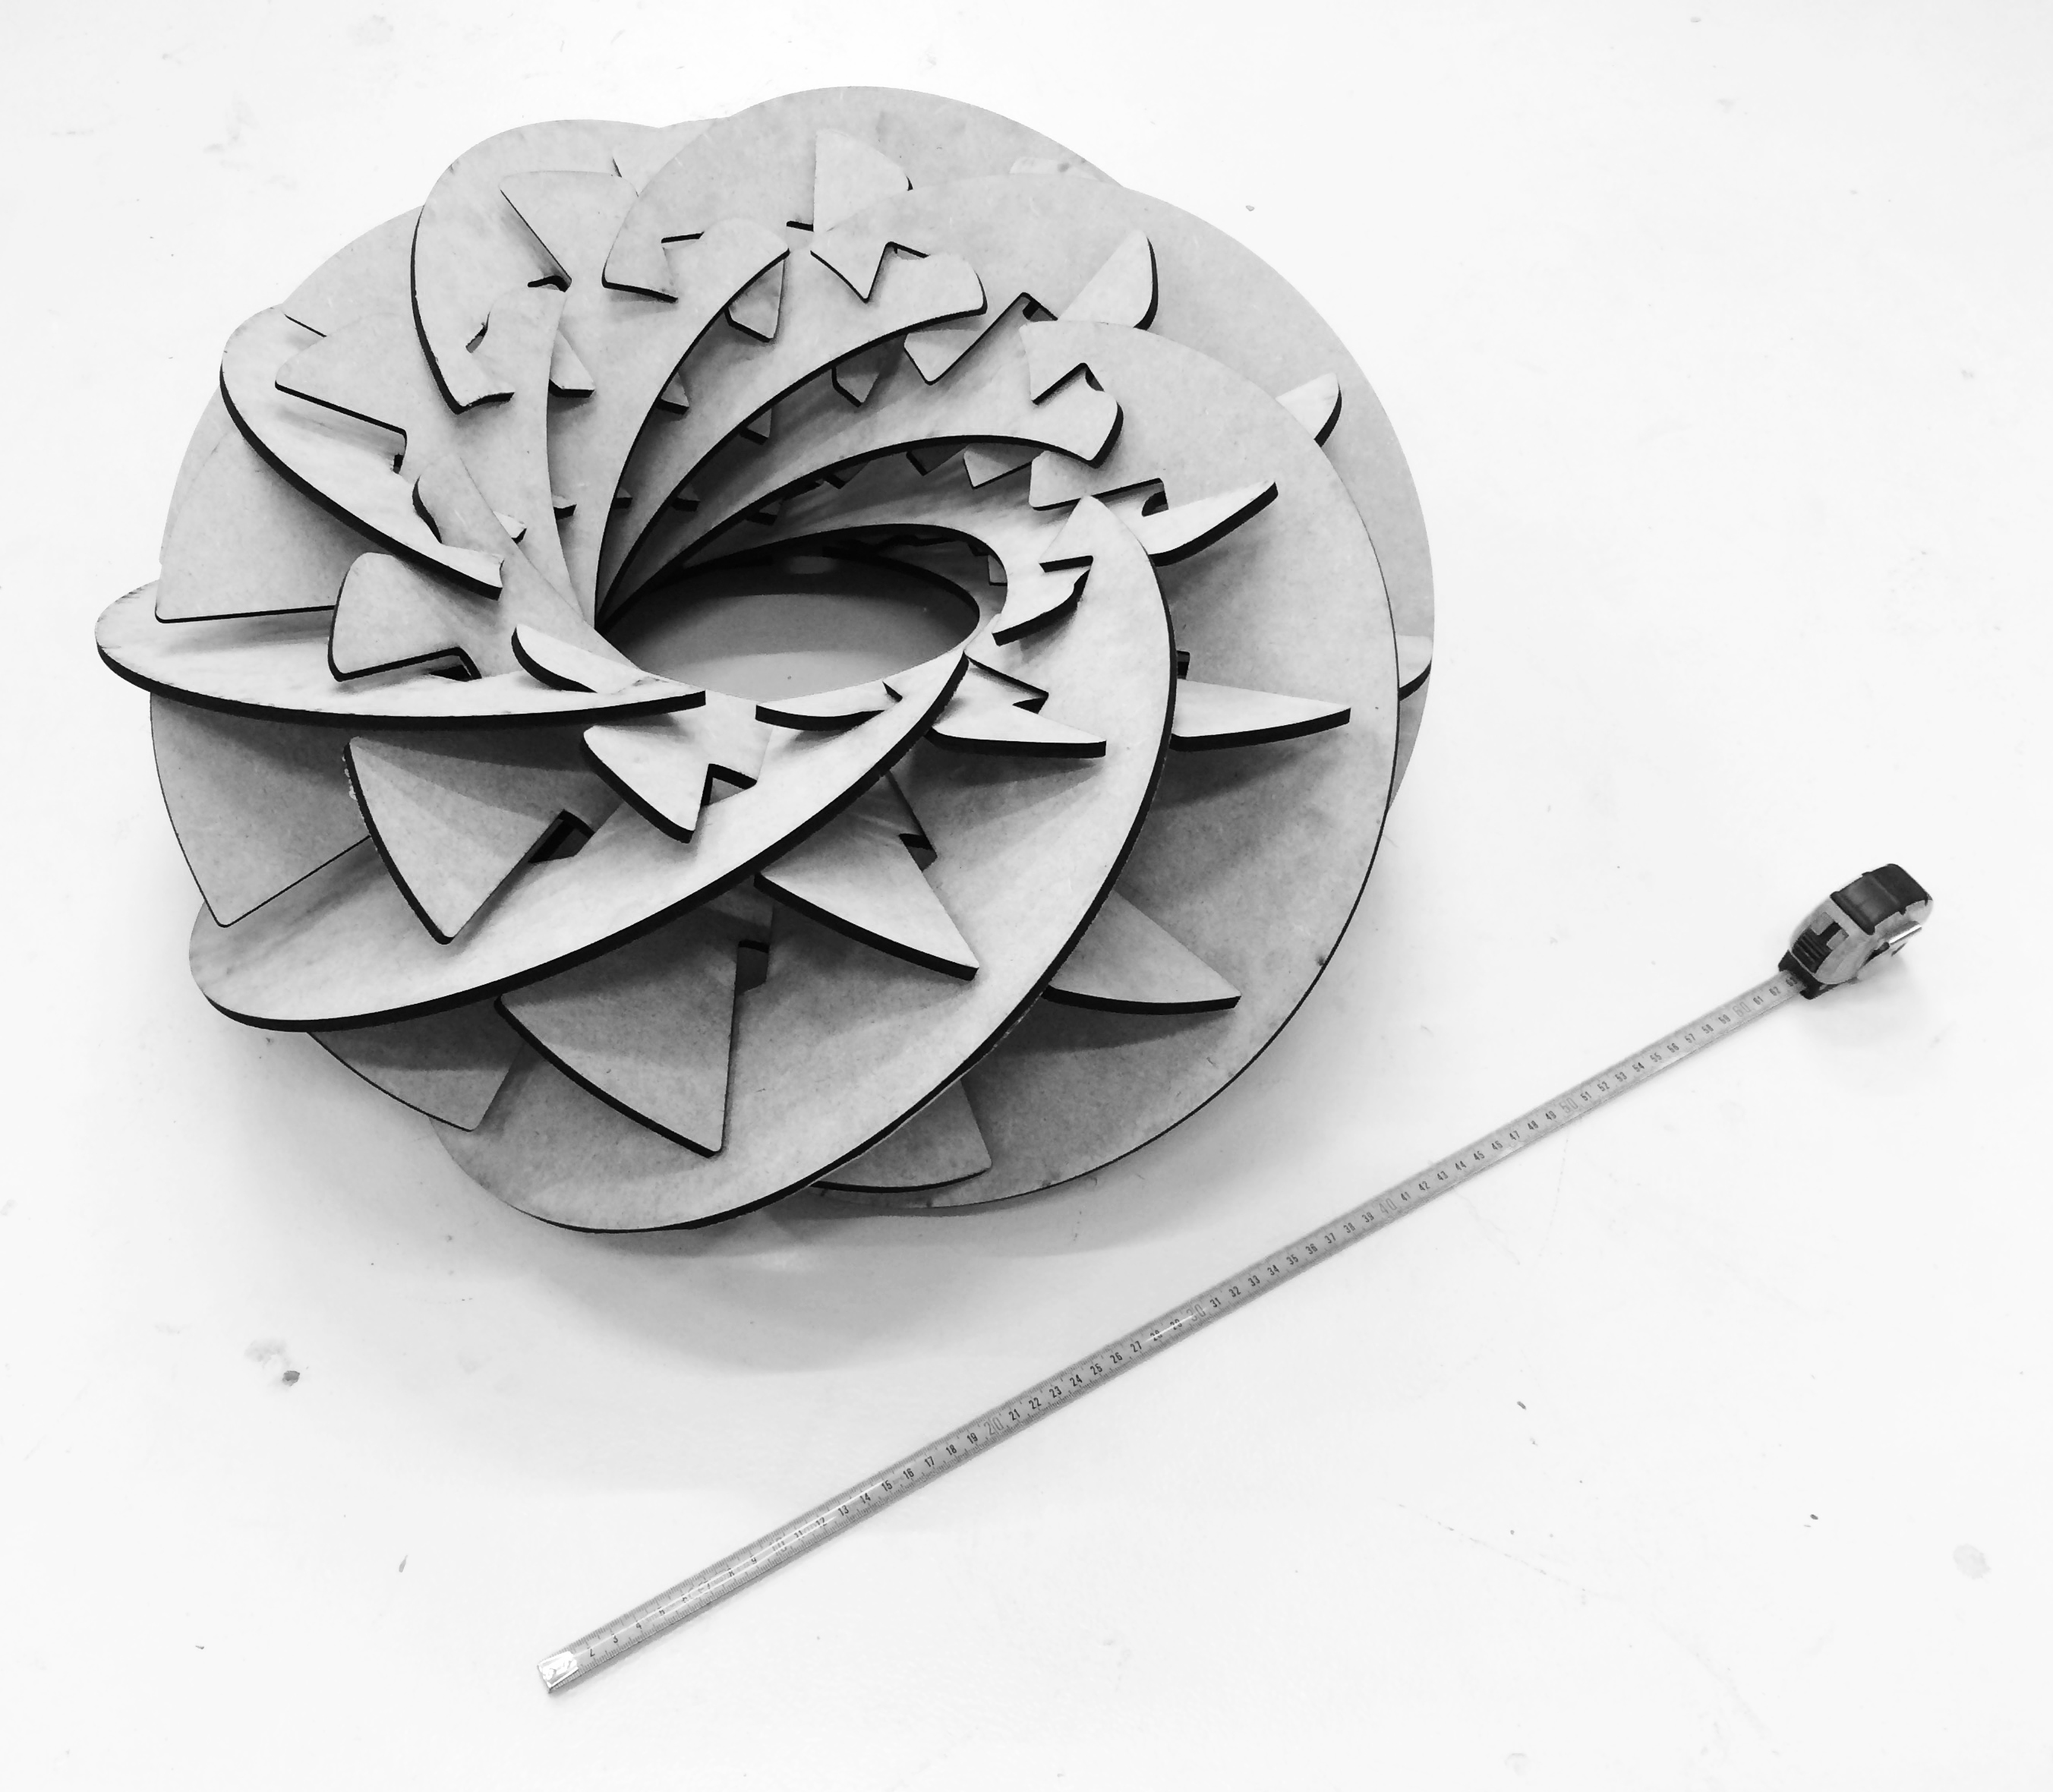
Download the template. Convert the vector file to the desired file format for your laser cutter. The template which we attached is intended for the 60 centimeter version of the Torus. We used 9 inside wings and 9 outside wings.
The dimensions of the big Torus are around 2 x 2 x 1 meter
Downloads
Cut Out the Blades
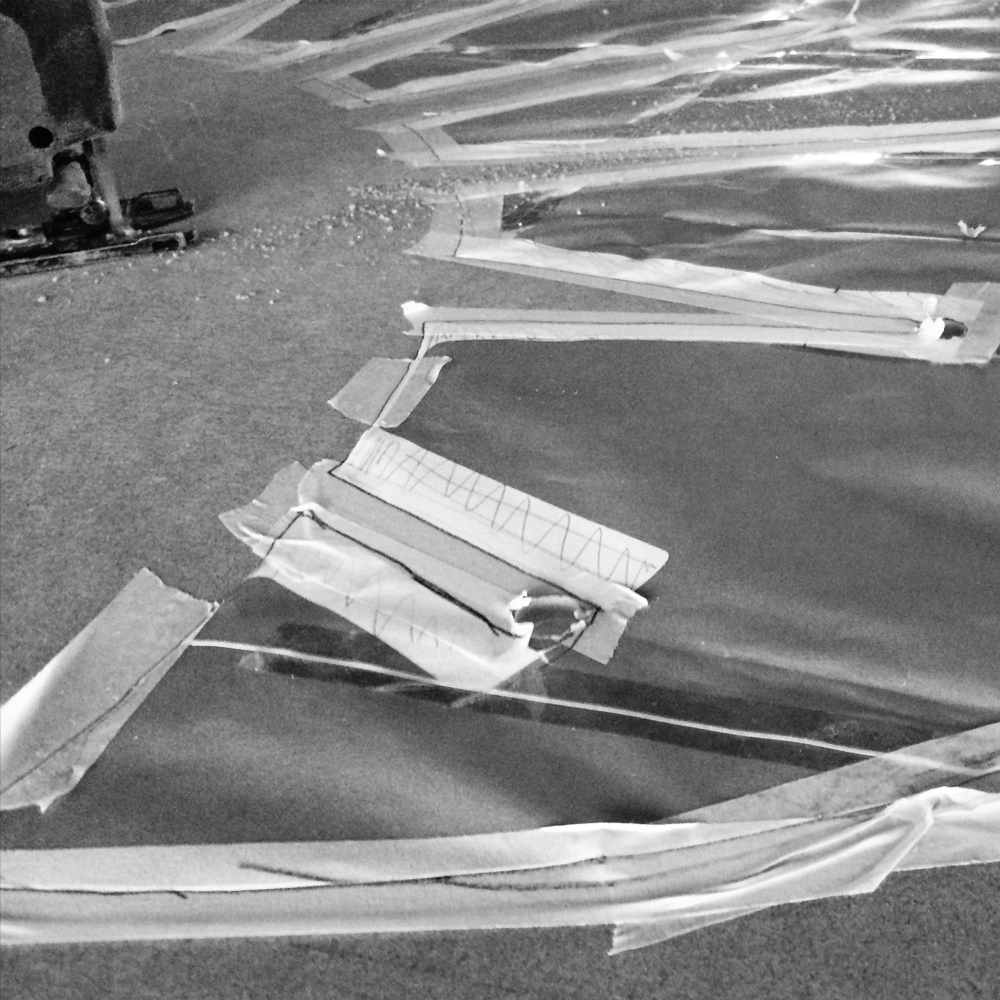
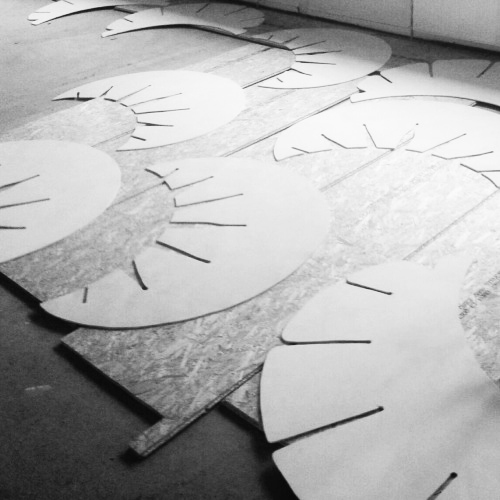
For the small version of the Torus we used a lasercutter to create and develop the model. For the bigger version we printed the full size model and stick the A4 papers together. This paper model we use to saw out the model for the two different shapes.
Assembly
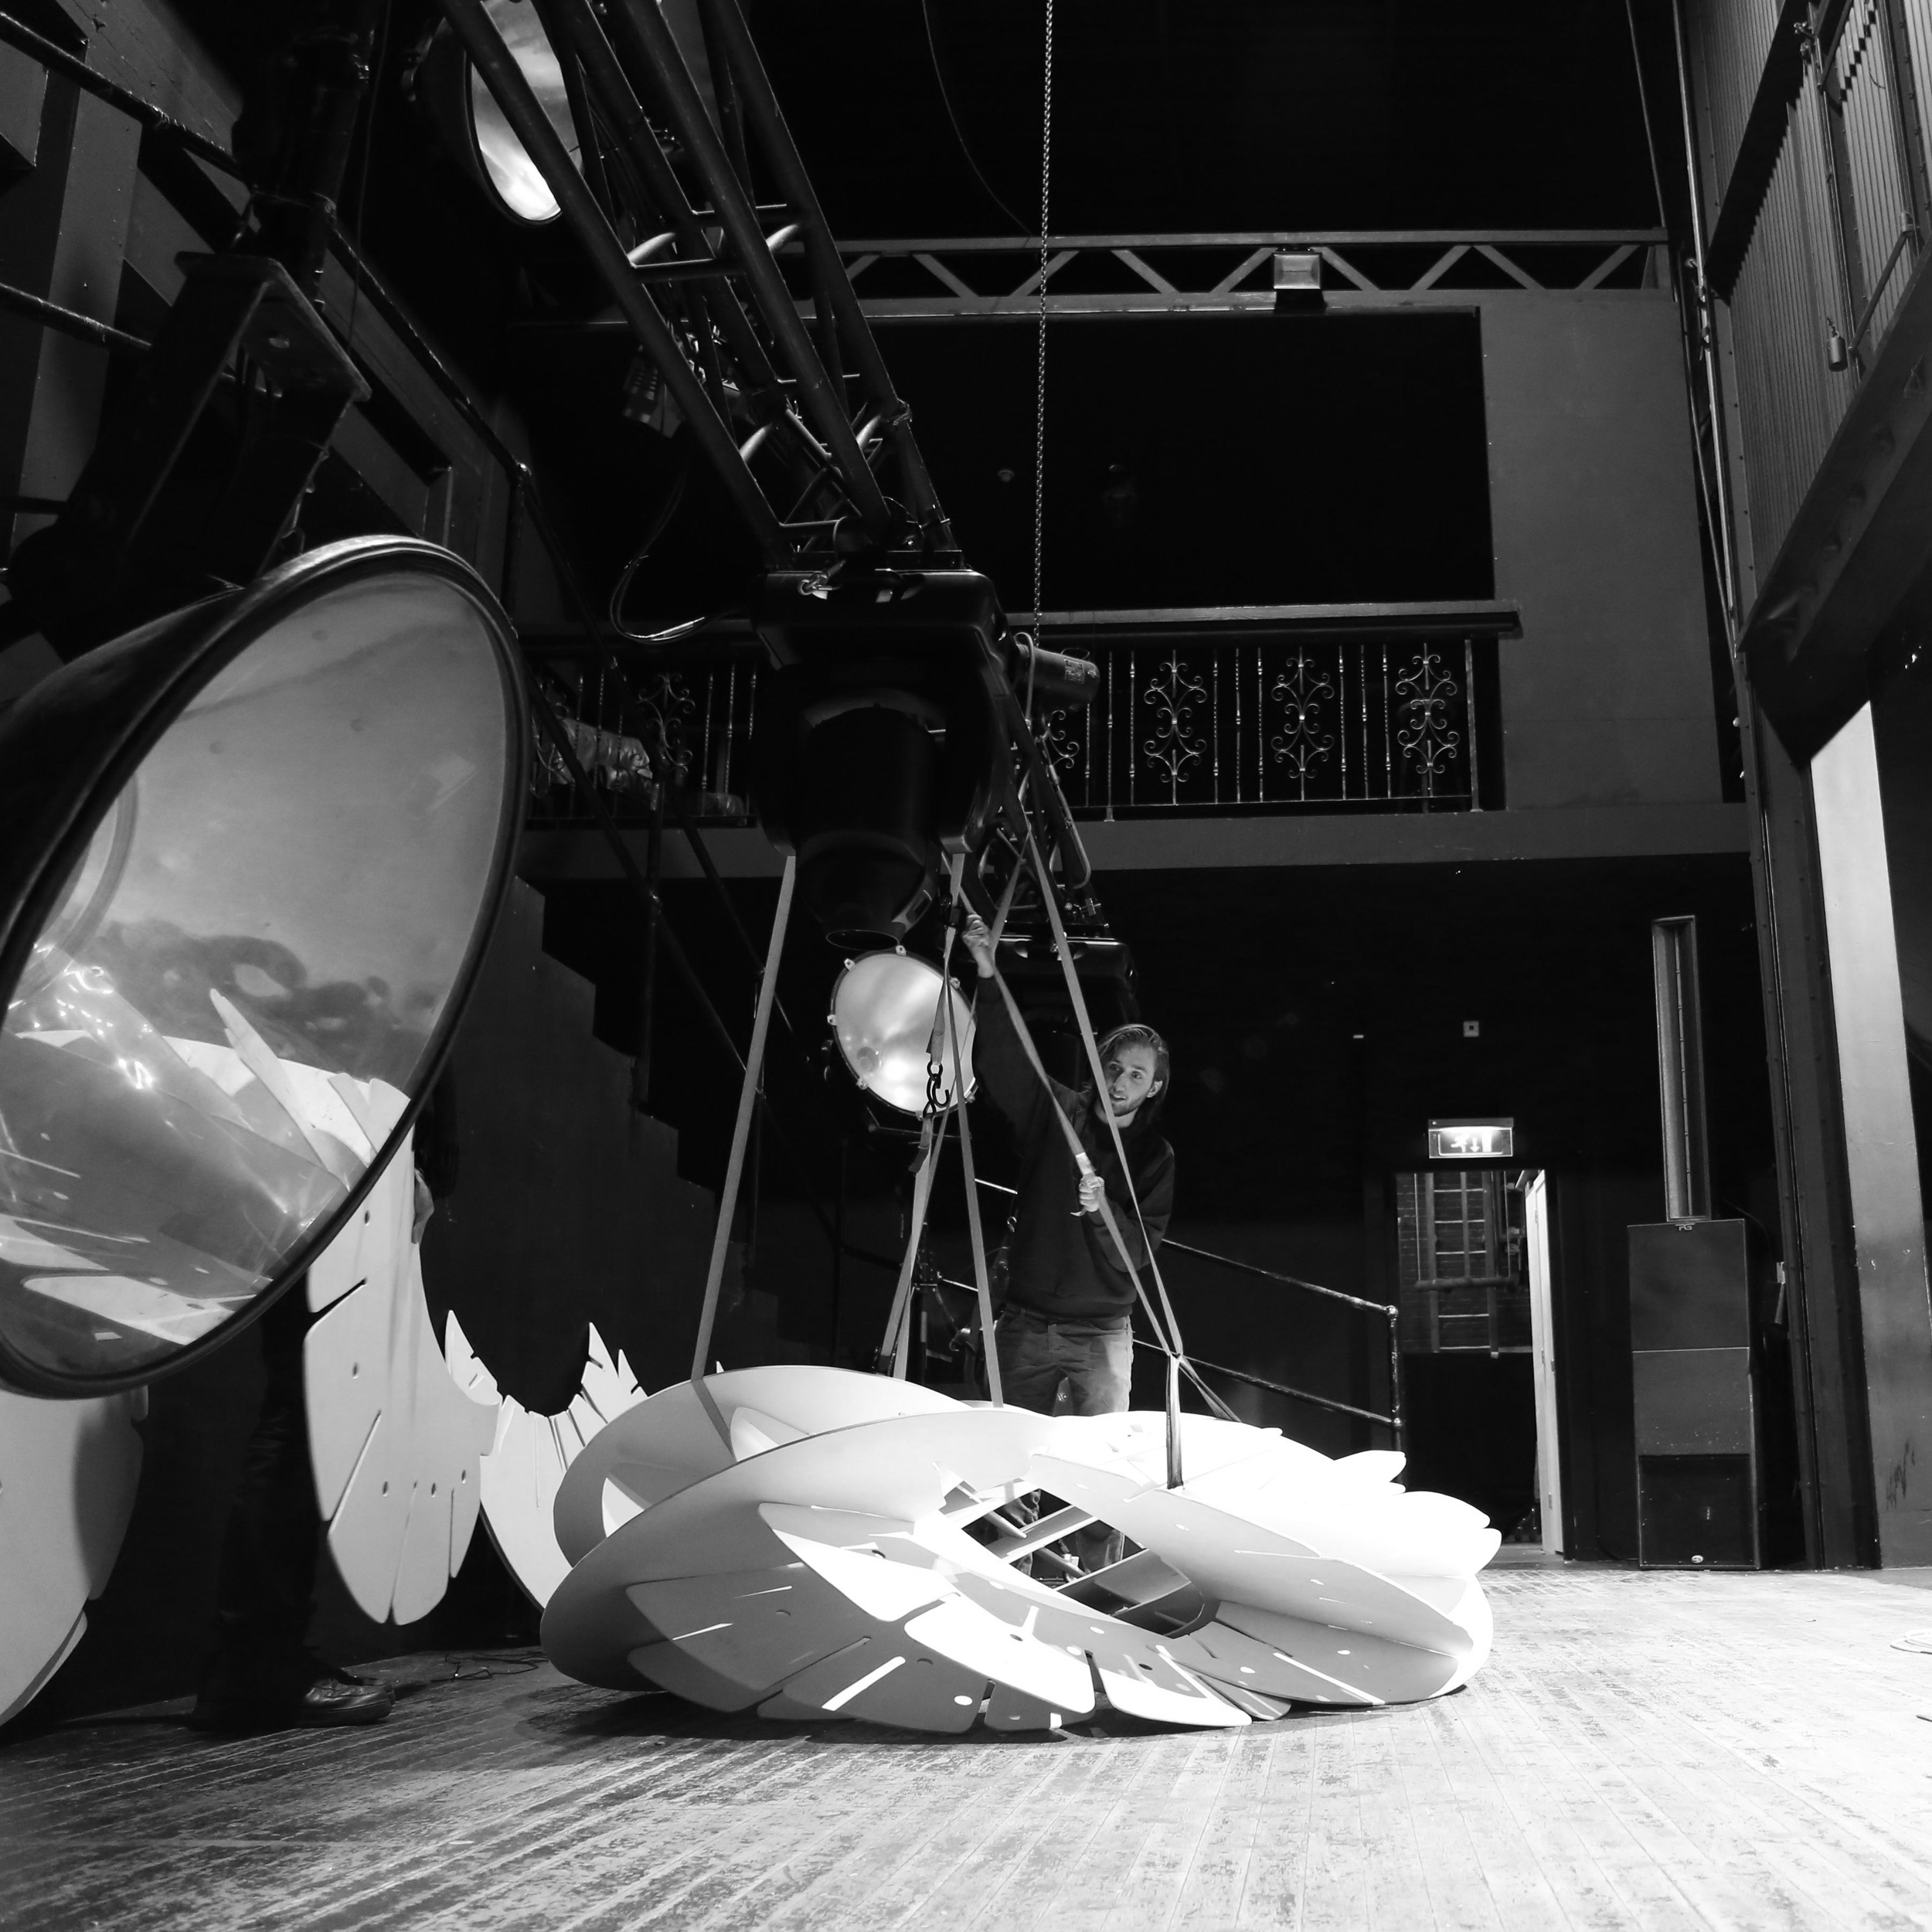
The first time assembly of the 18 wings takes a while. The technique to put the different pieces together is hard to understand the first time but when you have tried it a few times it becomes more easy. The best way to start is to slide the inside-wing and outside-wing together starting from the middle of the wings.
The Source Code
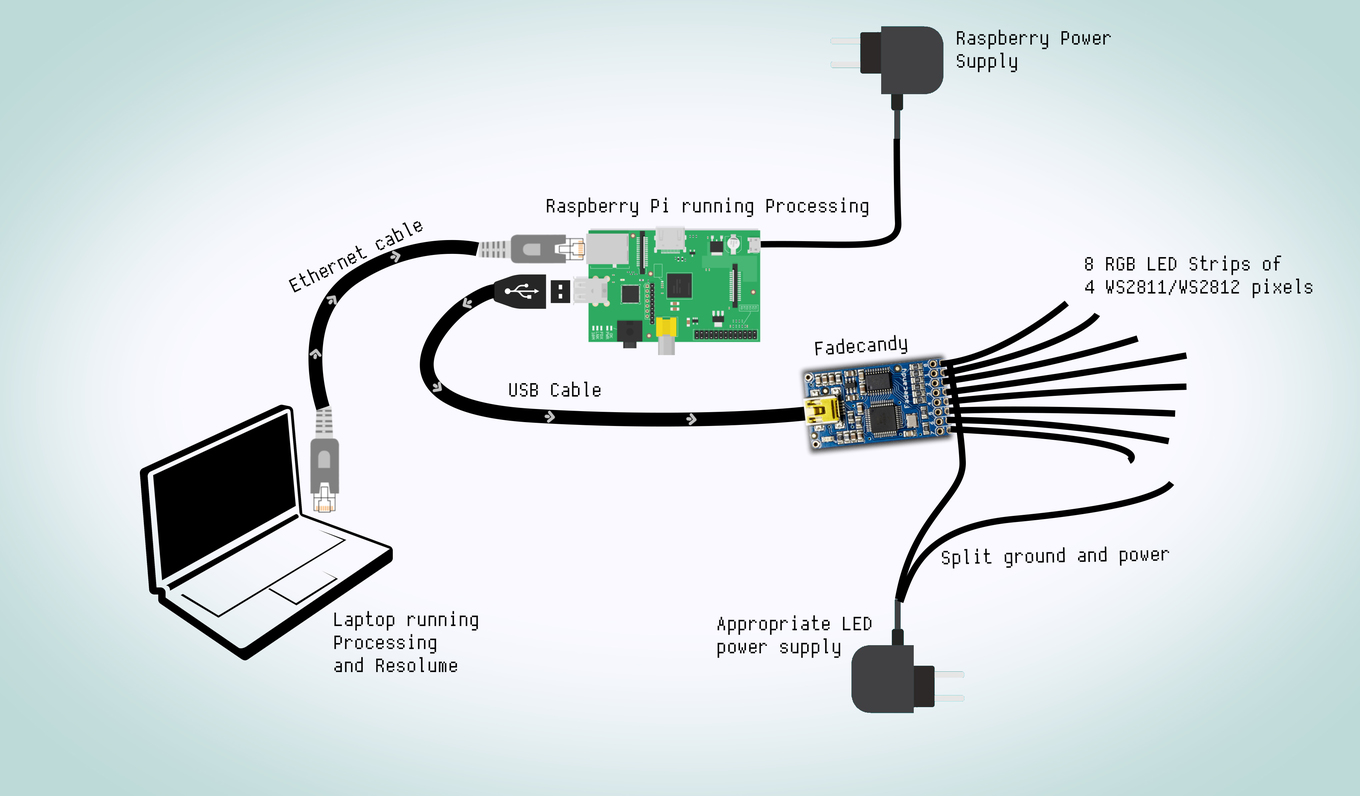
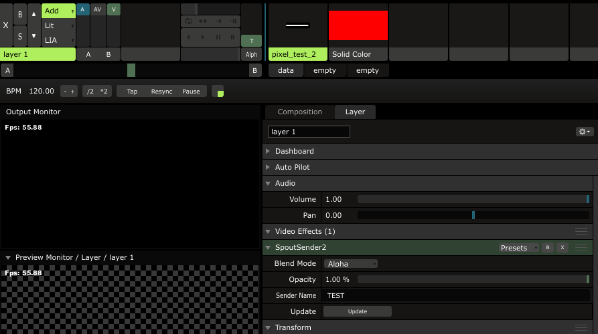
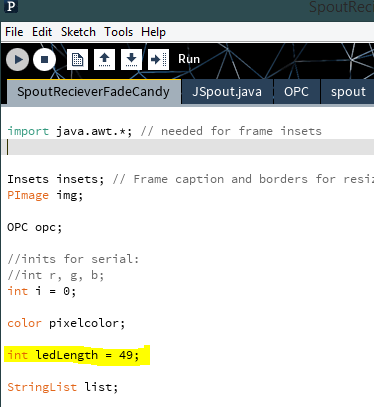
We first tried to program it ourself, but we couldn't figure out how to write the code we needed. So we asked around and found Nathan Marcus. He figured out how to connect the LEDs to the visuals in Resolume. We connected the computer by an ethernet cable to the Raspberry Pi. We connected this Raspberry Pi to the Adafruit Fadecandy. Fadecandy is designed to enable art that is subtle, interactive, and playful - exploring the interplay between light, form, and shadow.
FROM RESOLUME TO FADECANDY
1. Install Processing and Adafruit's Neopixel library by using this guide: https://learn.adafruit.com/led-art-with-fadecandy...
2. Install the oscP5 library for Processing. To do this: run Processing and select sketch > Import library > Add library... > type osc in the search bar and download and install oscP5
3. Check if your LEDs are working by connecting them to the FadeCandy and power supply explained here: https://learn.adafruit.com/led-art-with-fadecandy/wiring-your-leds and here: https://learn.adafruit.com/led-art-with-fadecandy/try-some-examples
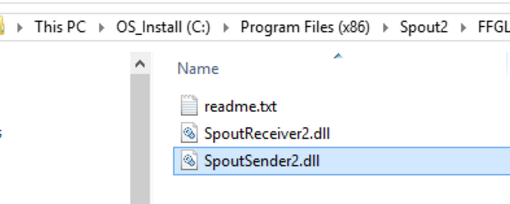
4. Install Spout to share the video between Resolume and Processing. You can download it here: http://spout.zeal.co/download-software/
NOTE: this is Windows only, without Spout, nothing will work. Although I think you could pretty easily make a Syphon version as well.
5. Clone everything from this repository to your disk: https://github.com/n-marcus/Spout_to_RasbPi_to_LE...
Now you should be able to run the SpoutRecieverFadeCandy sketch without a problem.
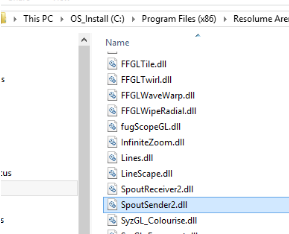
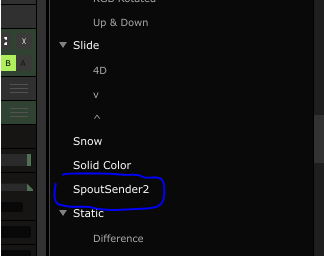
6. Open Resolume, make a layer with some footage and add the SpoutSender2 effect to it.
7. Run the SpoutRecieverFadeCandy sketch and right click to select the Resolume Spout sender from the dialog. You should now see some dots changing color in the window and your LEDS should be following. This sketch will receive video from Resolume or any other Spout sender and send it to the FadeCandy to display. This makes sure Spout is working.
8. Grab your Raspberry Pi and download and install the stuff described in steps 1-3. Also clone the repository to the Raspberry Pi https://github.com/n-marcus/Spout_to_RasbPi_to_LE...
9. Connect the Ethernet cable, FadeCandy and LED's as described in the schematic.
10. Test the FadeCandy/LEDs with the Raspberry. This is how you can get the IP of the Raspberry Pi: https://learn.adafruit.com/adafruits-raspberry-pi...
11. Copy the one after "eth0" and replace the IP in the line with yours: "myRemoteLocation = new NetAddress("169.254.5.32", 12000);"
12. Open Resolume and make a SpoutSender2 layer with some footage.
13. Start SpoutRecieverOSC and select the appropriate Spout sender.
14. Start the FadeCandy Server on the Raspberry Pi.
15. Start OSCRecieverFadeCandy on the Raspberry Pi and you should see dots in the Processing window and the LEDS lighting up.
The Final Result



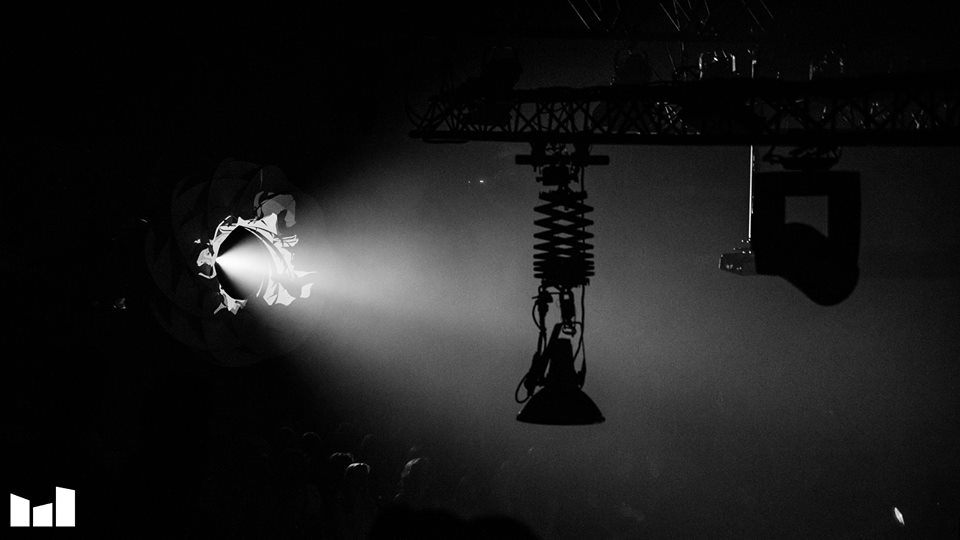
The club where we showed the big version of the Torus also interviewed us about our inspirations and motivations. You can read the interview over here: http://www.marktkantine.nl/a-marktstroll-with-torus-creators-ridwan-and-guust/