Home Automation Switching Bulbs ON and OFF in Mobile Application
by raguramkasthurisamy in Circuits > Electronics
663 Views, 5 Favorites, 0 Comments
Home Automation Switching Bulbs ON and OFF in Mobile Application
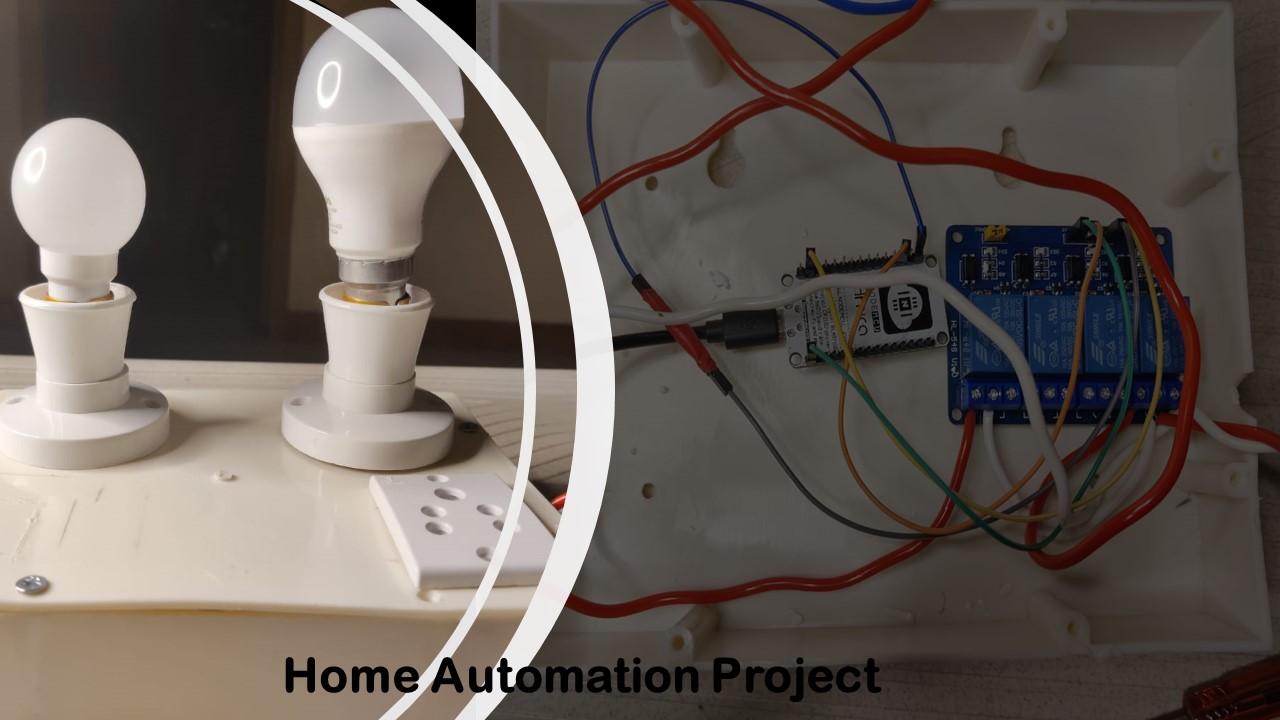
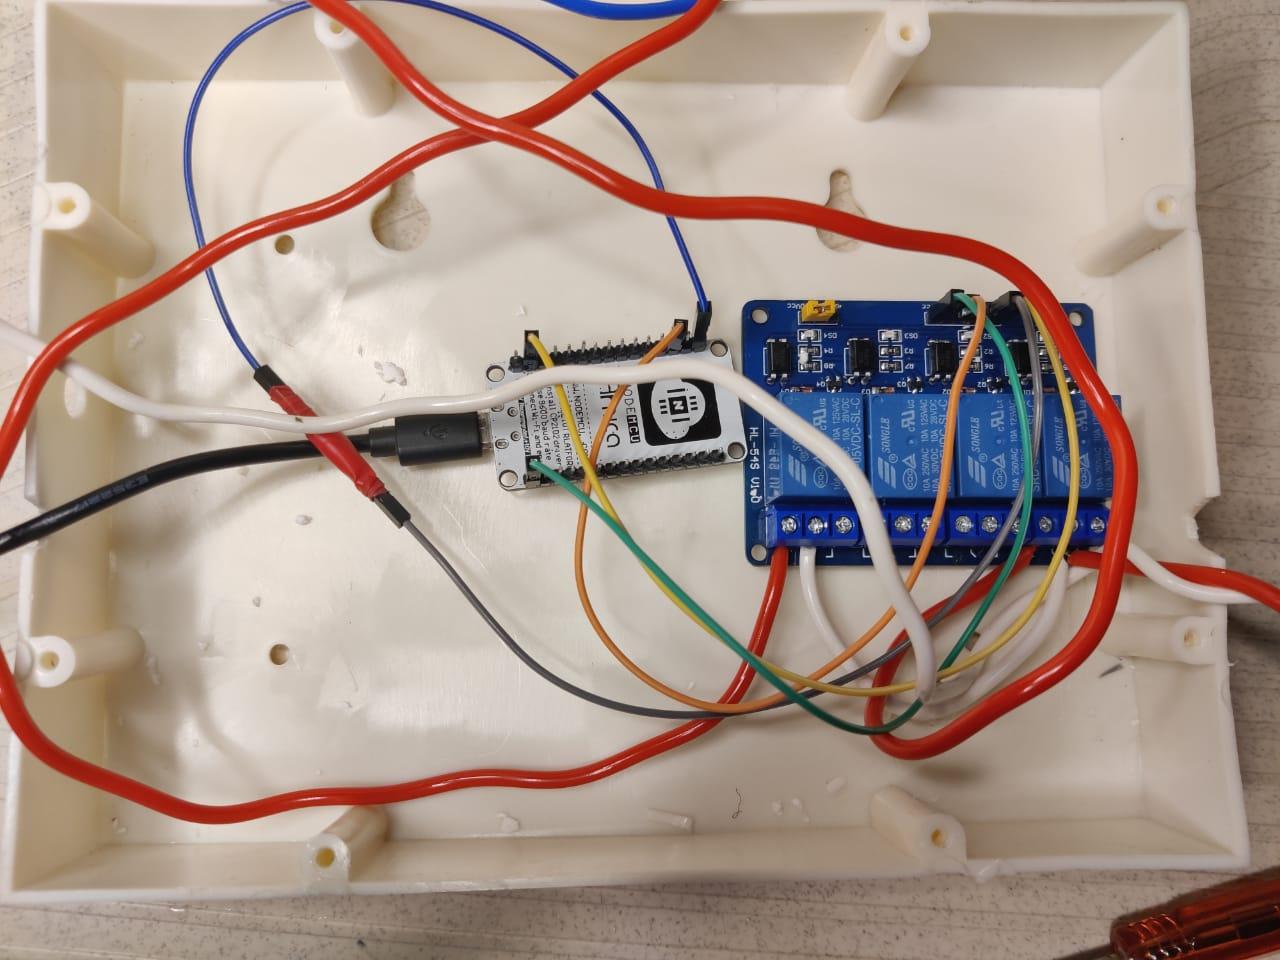
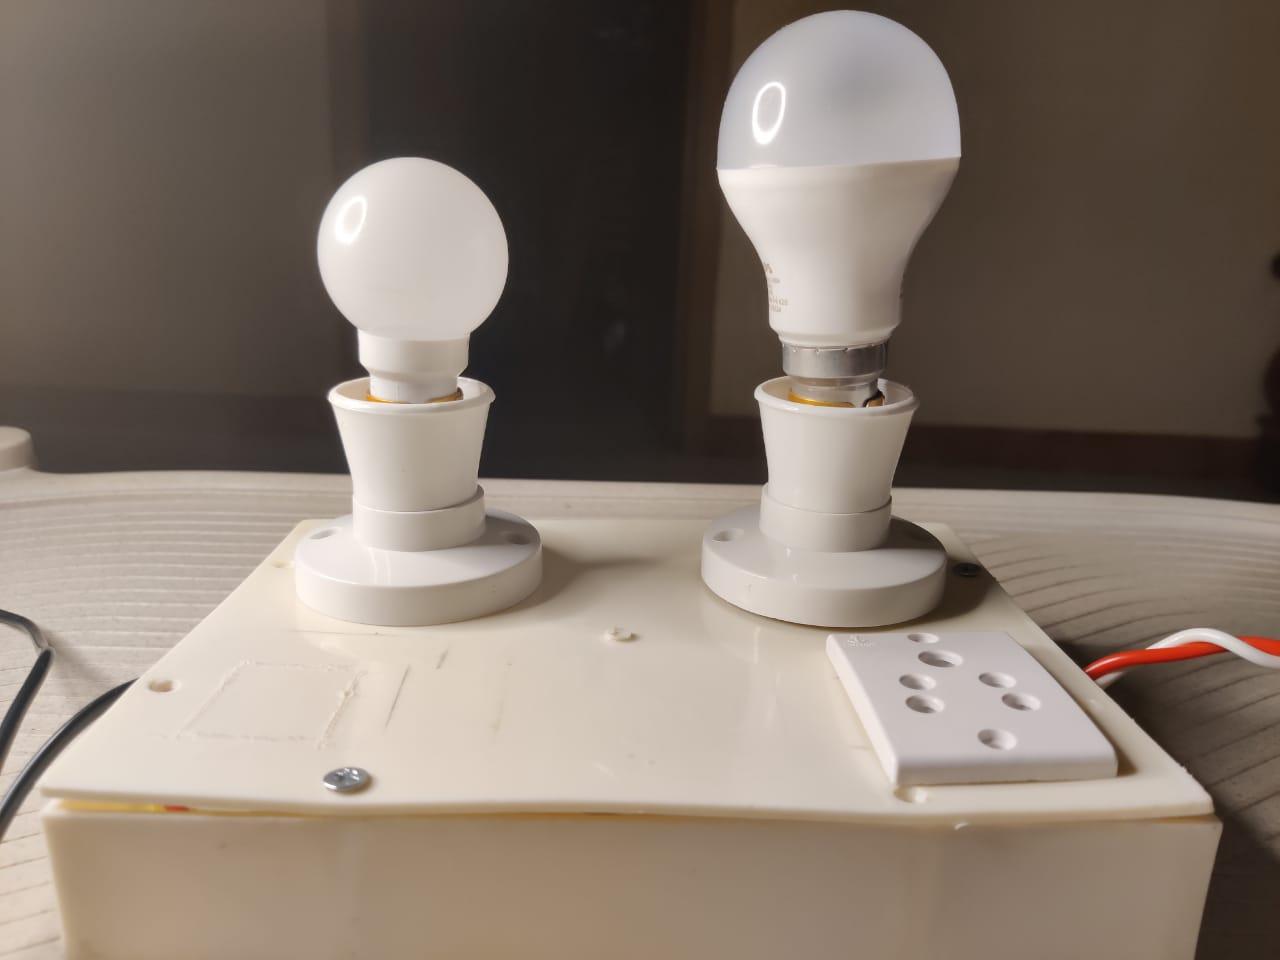
This is Basic IOT home Automation Project in which we can Turn ON and OFF Bulbs and other appliances using Blynk in our Mobile phone through internet...
Components Used
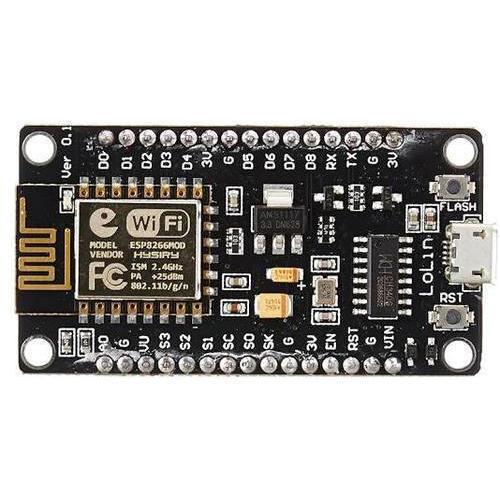
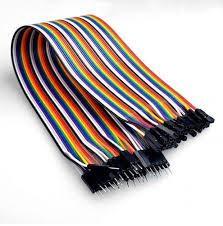
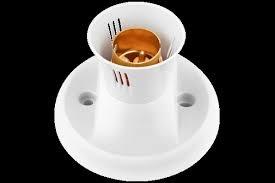

- ESP8266-Nodemcu Board
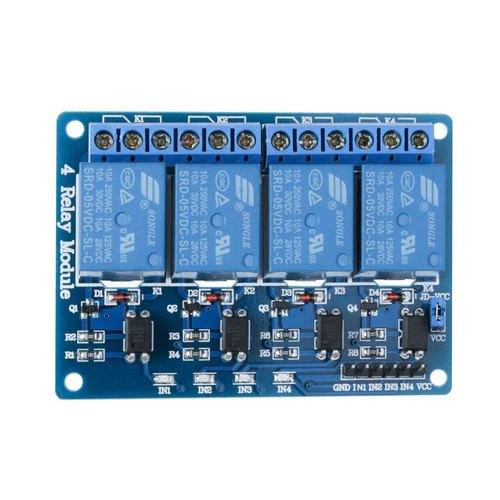
- 4-Channel relay Module
- AC Power Supply
- Bulbs
- Bulb Holders
- Connecting Wires and
- Jumper Wires
These are the things that i used in this product...For your Convenience you can connect more Bulbs if You needed.
Programming NodeMcu Board
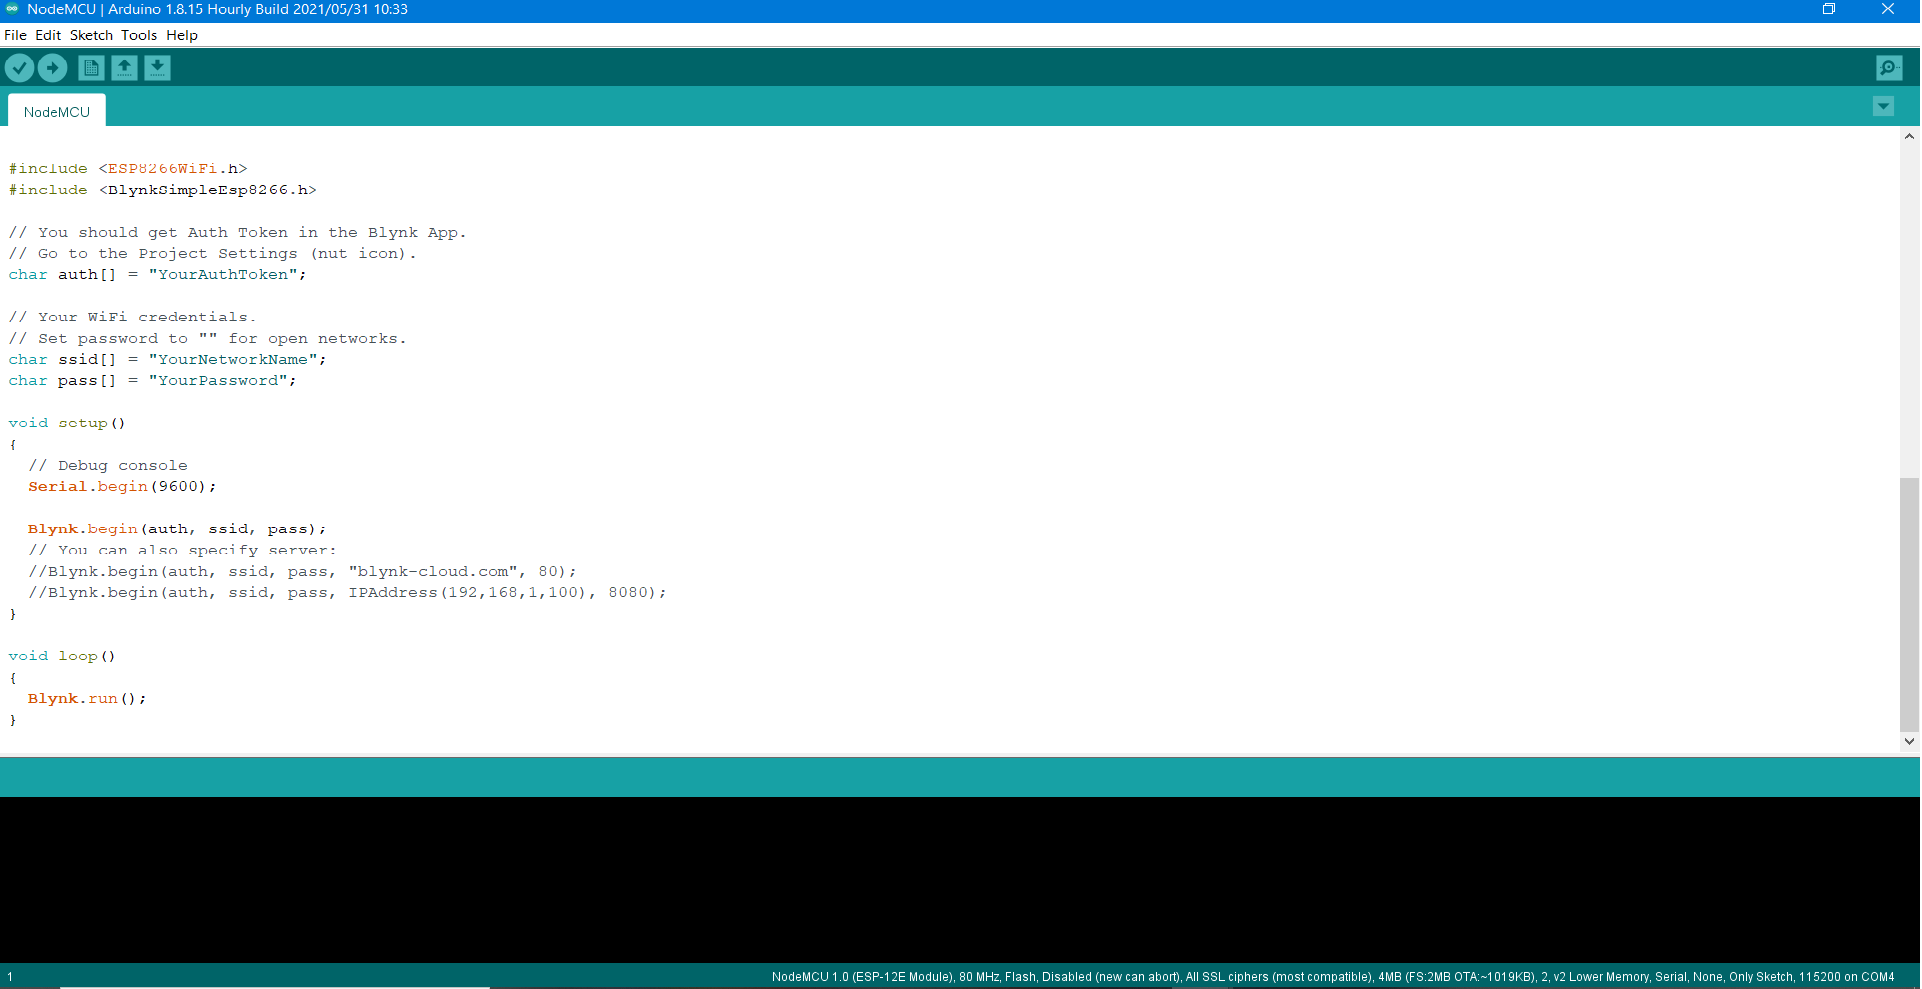
- At First, to use Nodemcu Board in your Arduino IDE, You need to add this board in your Arduino IDE
In Our Arduino IDE, Click File -> Preferences -> Add additional Board links :
Nodemcu board Copy and add this link in that box
- Then, In Arduino IDE -> Click 'Tools' -> Manage Libraries -> Search for "ESP8266"
Download that "ESP8266" library and Tools -> Boards -> Select 'Nodemcu 1.0 ESP-12 Module'
Tools -> Ports -> Select correct port in which your Nodemcu board is plugged in
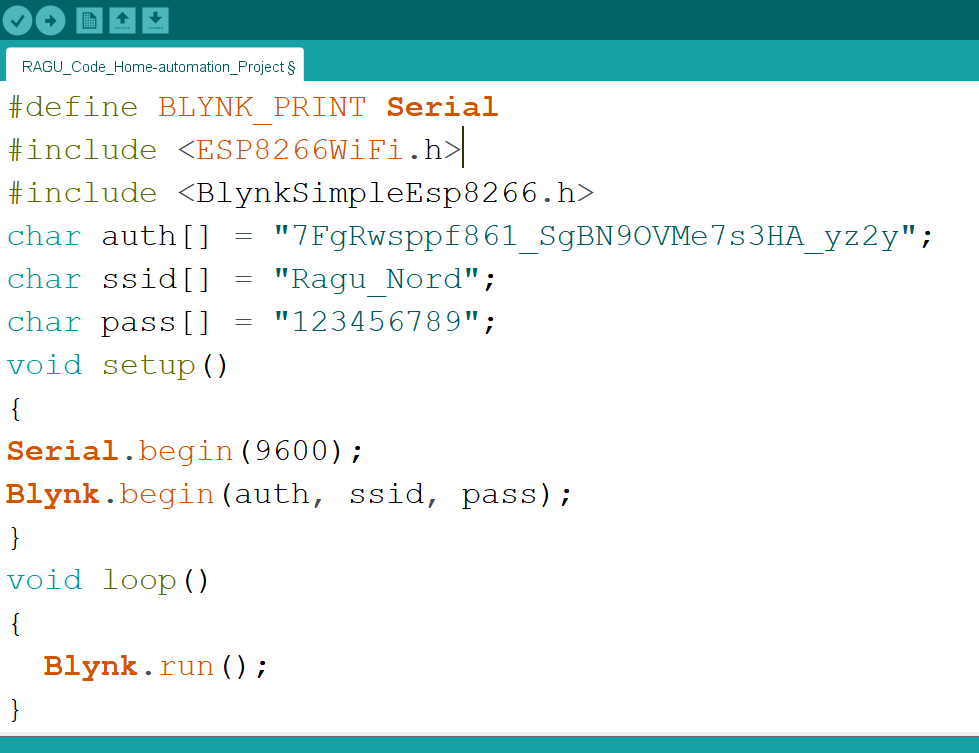
Add the following Lines of code in your Arduino IDE which i given as a picture
#define BLYNK_PRINT Serial
#include < ESP8266WiFi . h >
#include < BlynkSimpleEsp8266 . h >
char auth[] = "YourAuthToken"; //enter your token id which is sent to your registered email id by blynk
char ssid[] = "open-wifi"; //enter your wifi id and Password
char pass[] = "1234509876"; //enter your wifi id and Password
void setup()
{
Serial.begin(9600);
Blynk.begin(auth, ssid, pass);
}
void loop()
{
Blynk.run();
}
Installing Blynk Application in Mobile Phone
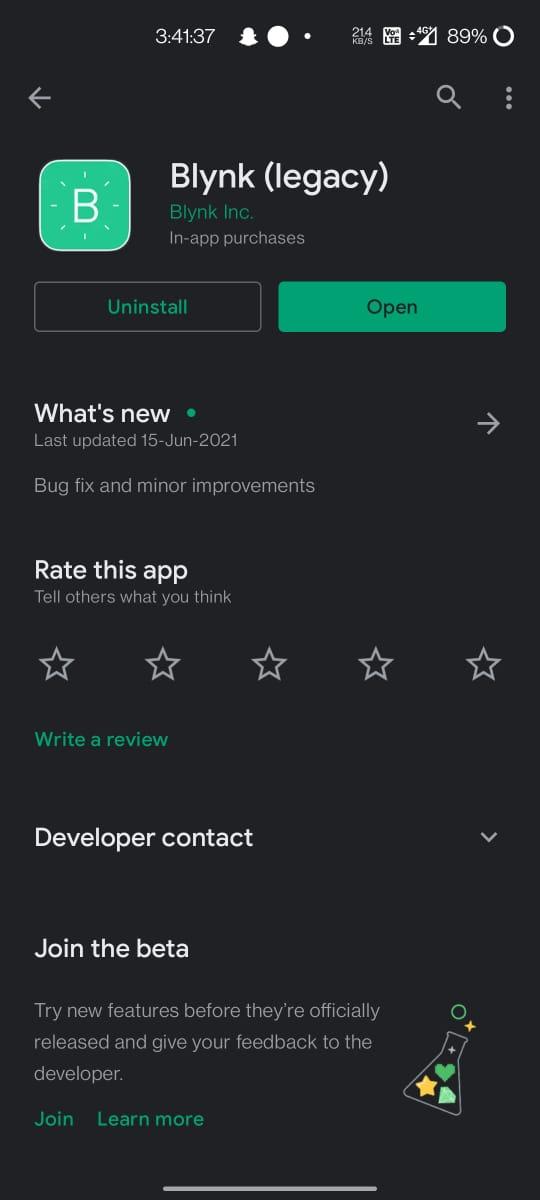
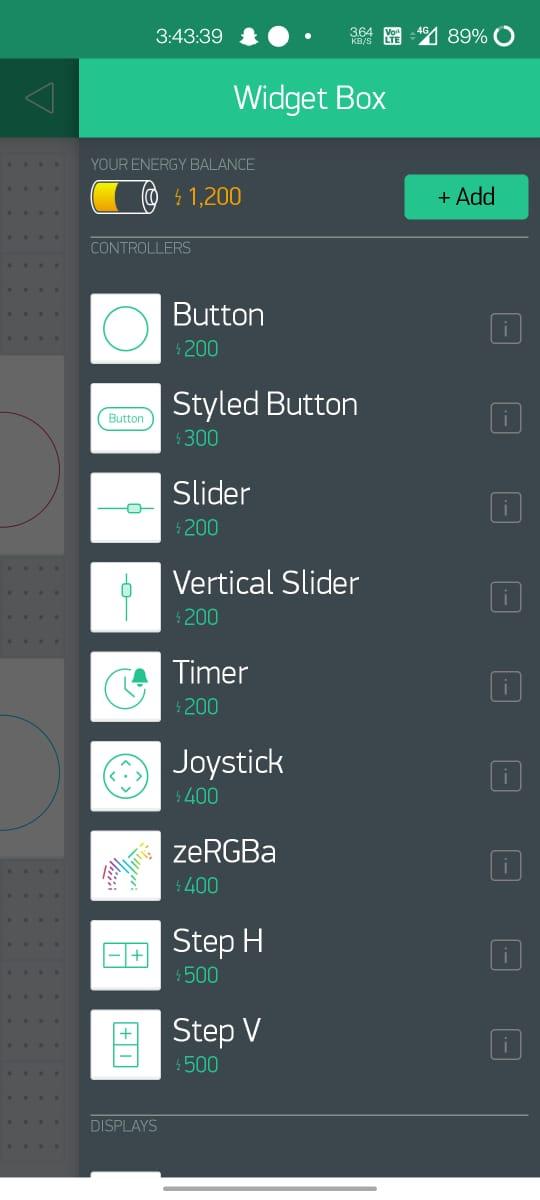
- For Android Users, in playstore Search for "Blynk" app and download it for IOS users do the same in Appstore.
- Once You downloaded Signup with your Email-id (Make sure that email-id is active since the authentication code will be sent to this email-id, which will be used in coding in arduino IDE)
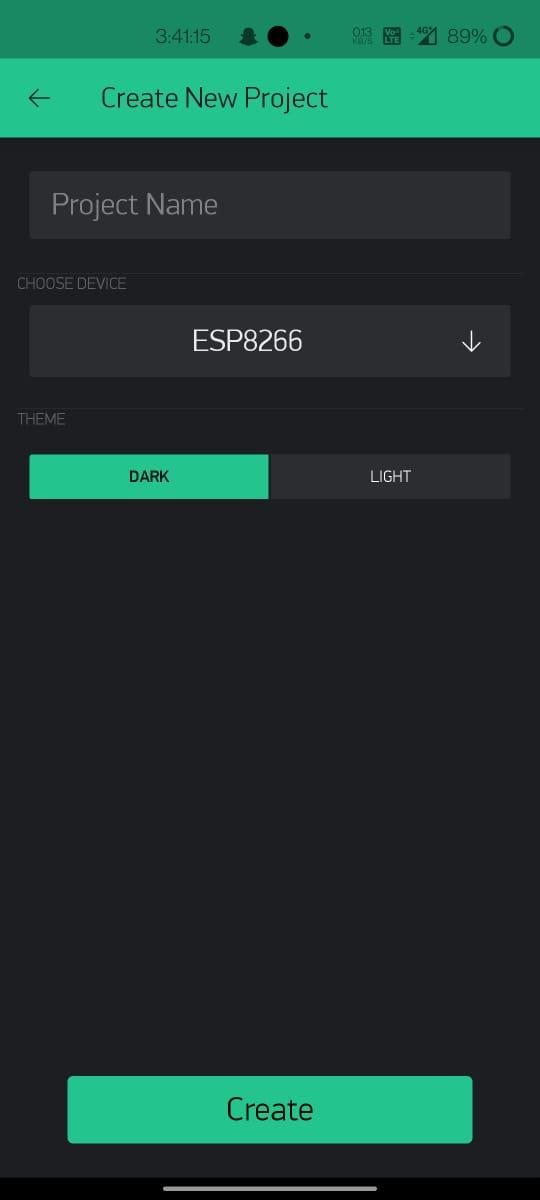
- Click Create New project and give a related name to it and select device here we are using "ESP 8266" select it.
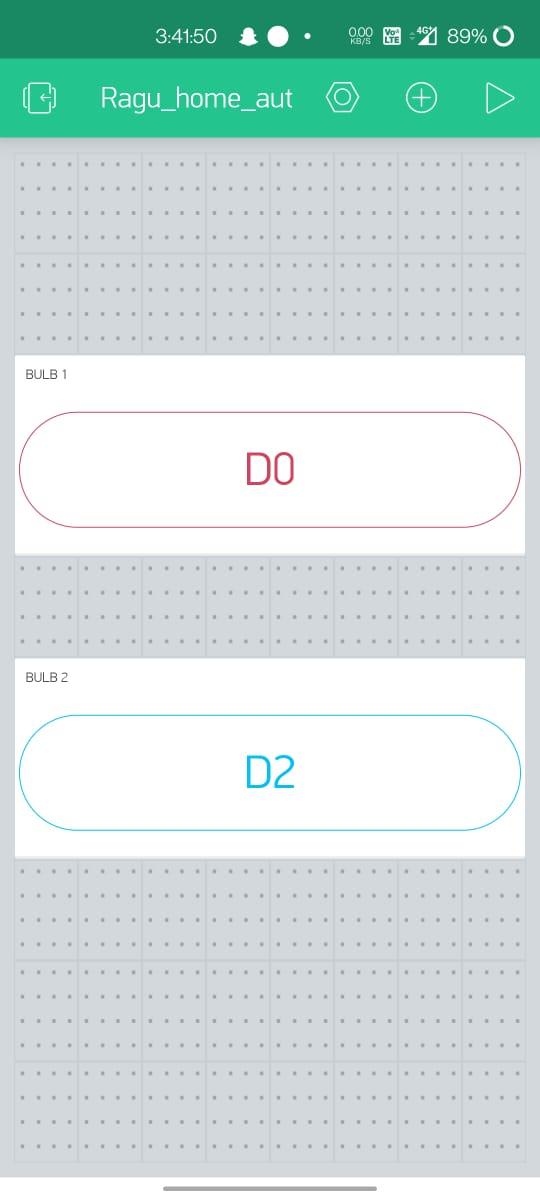
- Click Plus Button on the top right corner to add widgets...Here we need 2 buttons to control 2 bulbs so add it by clicking and change the properties of the button if you need and don't forget to add the pin number in which nodemcu is connected which relay module (for ex: D0,D2,D3,etc...)
Connecting Nodemcu With Relay Module
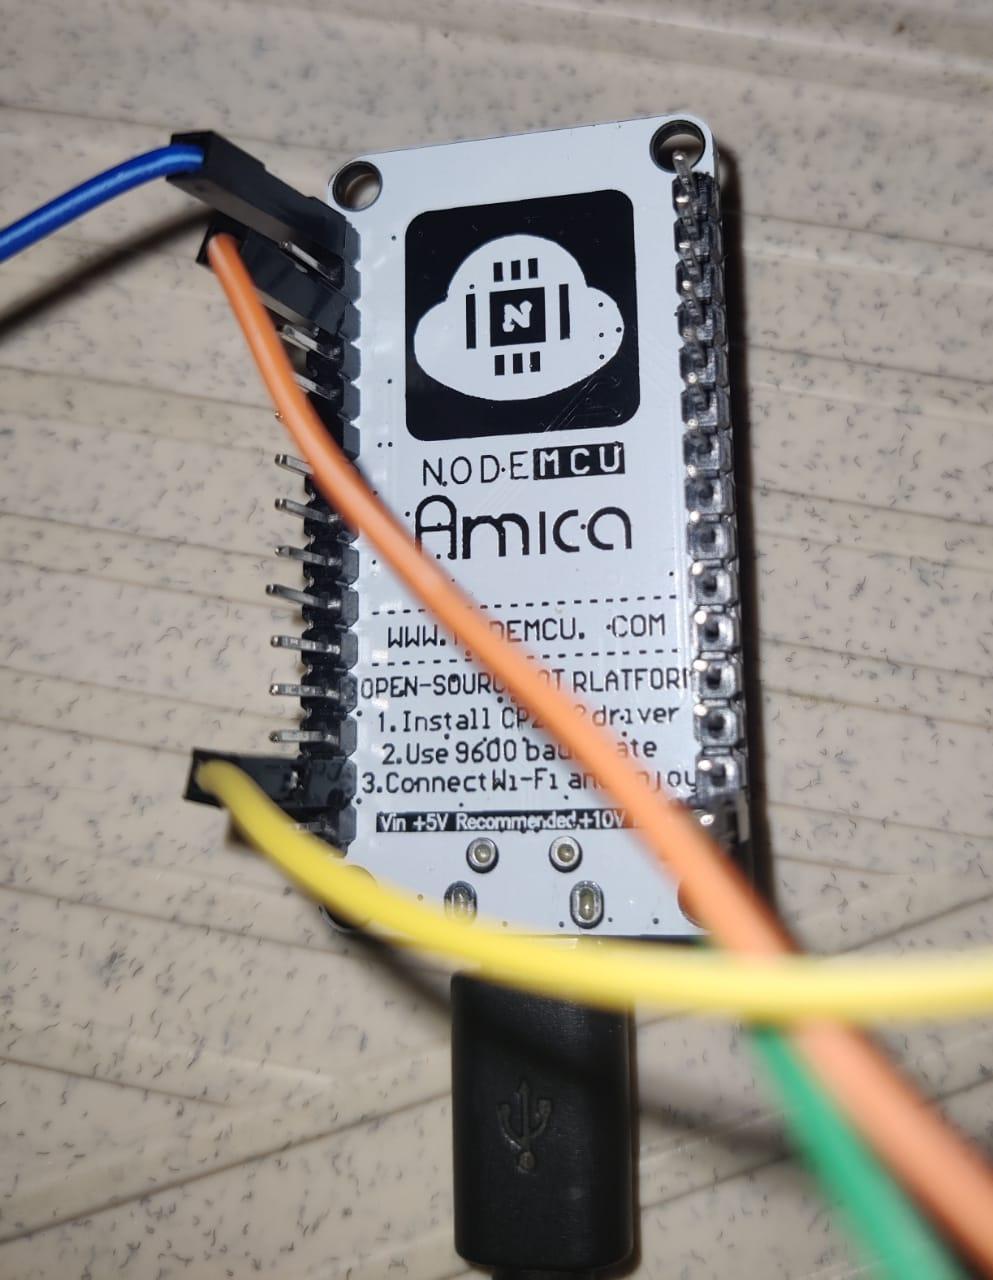
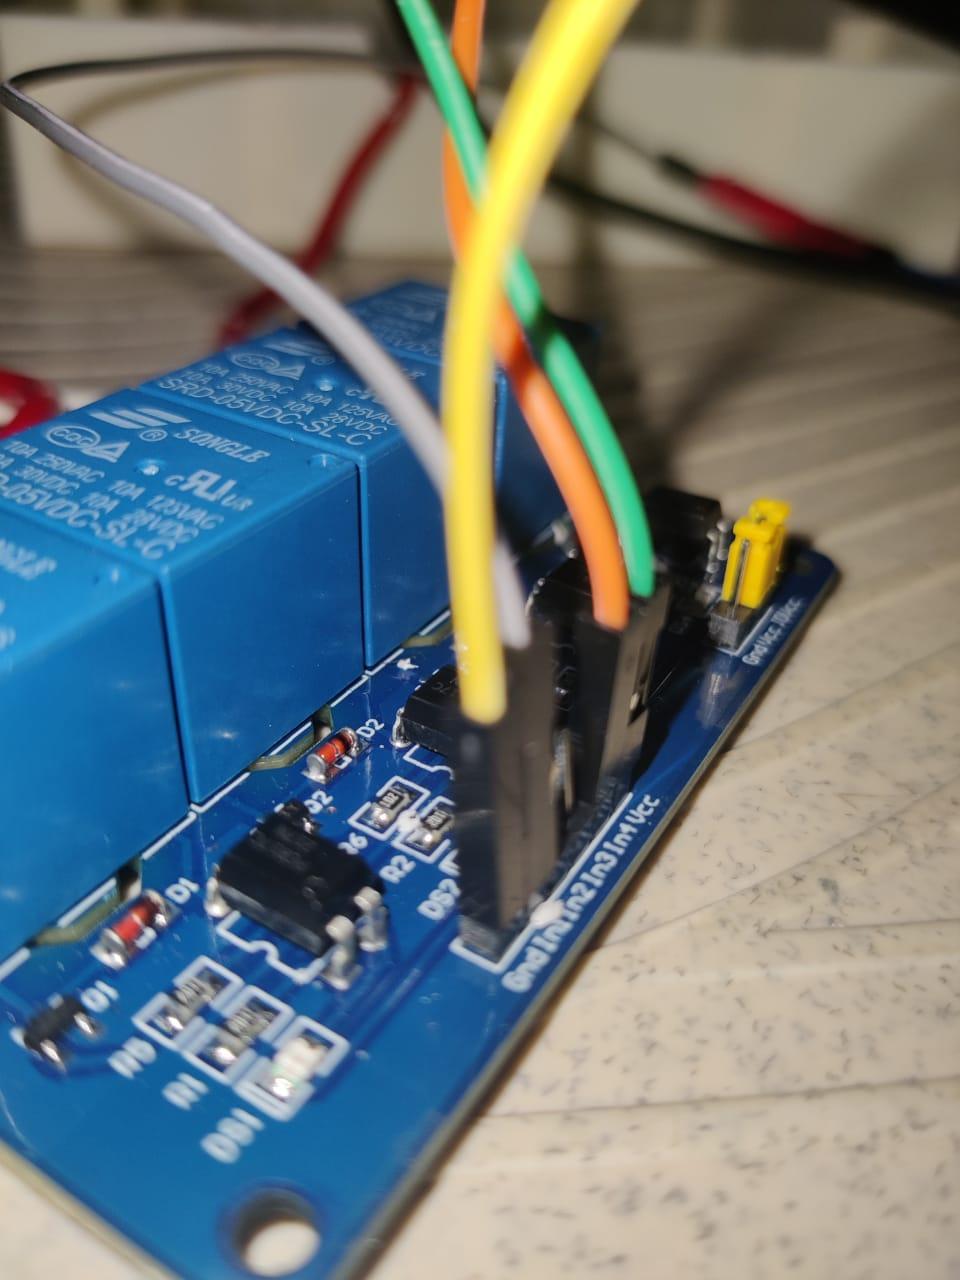
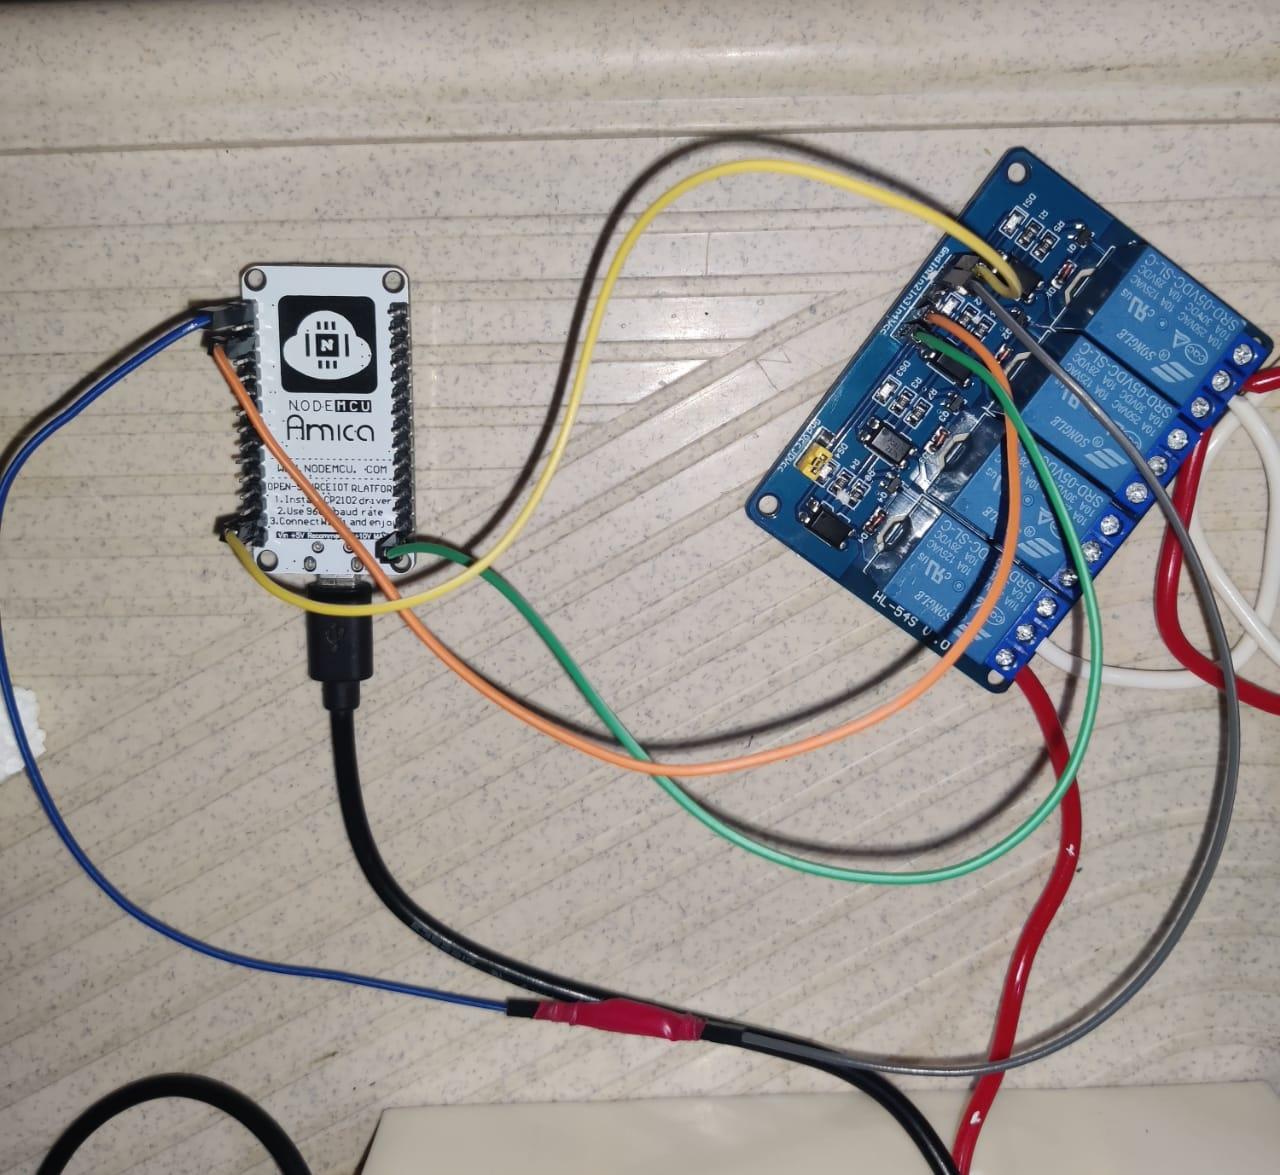
- Here we are using 2 bulbs hence we need only two relays to switch on.
- So connect VCC pin and GND pin of Relay module with Vin and GND pin of ESP8266 Nodemcu Board respectively with the help of Jumper Wires (F-F)
- Then connect Input1 and input2 pins of relay 1 and 2 with any GPIO D0,D1 pin in ESP8266 Nodemcu board. Here Input1 pin and input2 pin is connected with D0 and D1 pins Respectively using Jumper Wires (F-F)
Connecting AC Power Supply With Relay Module
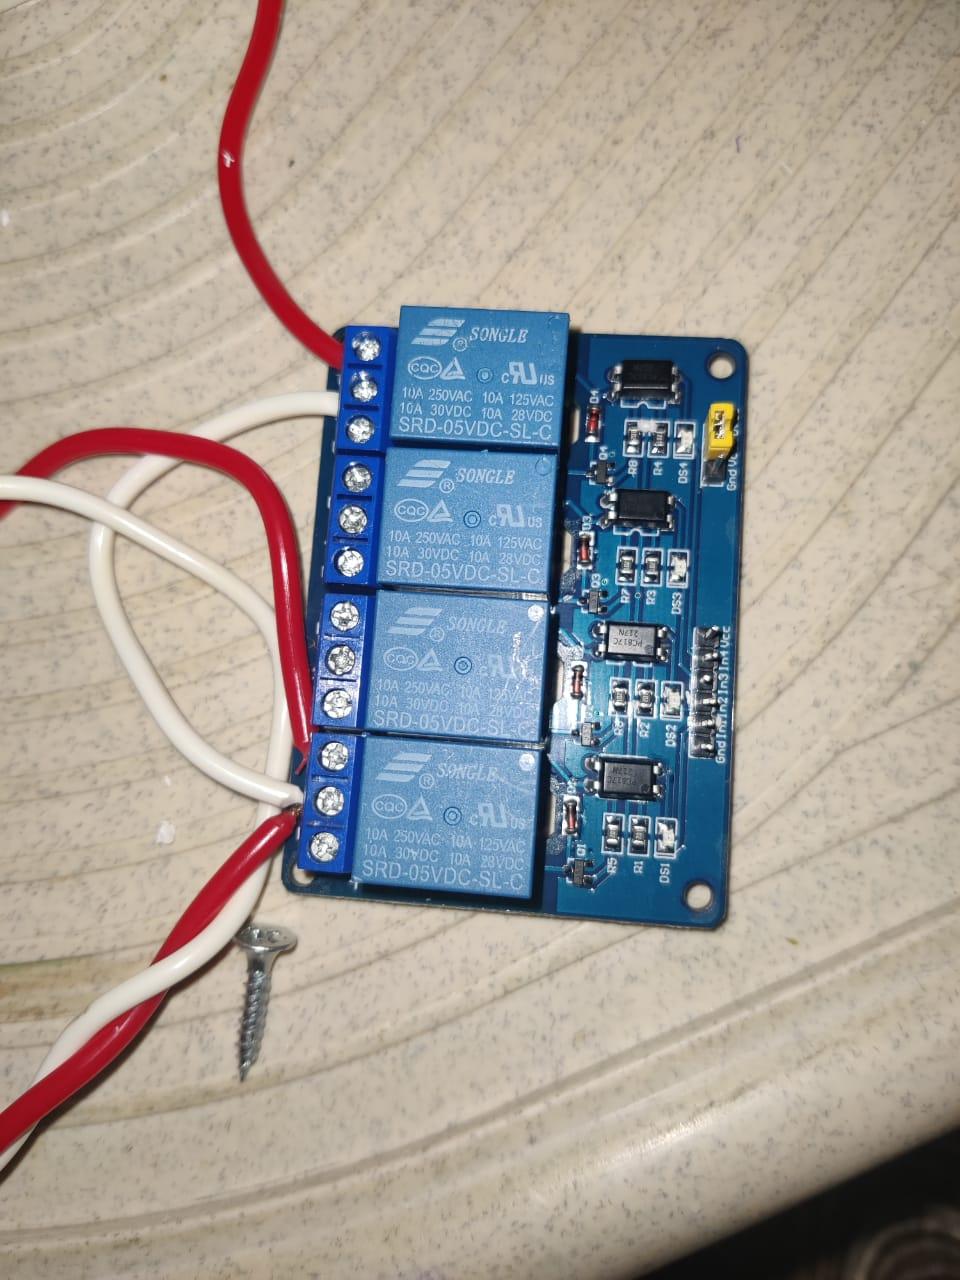
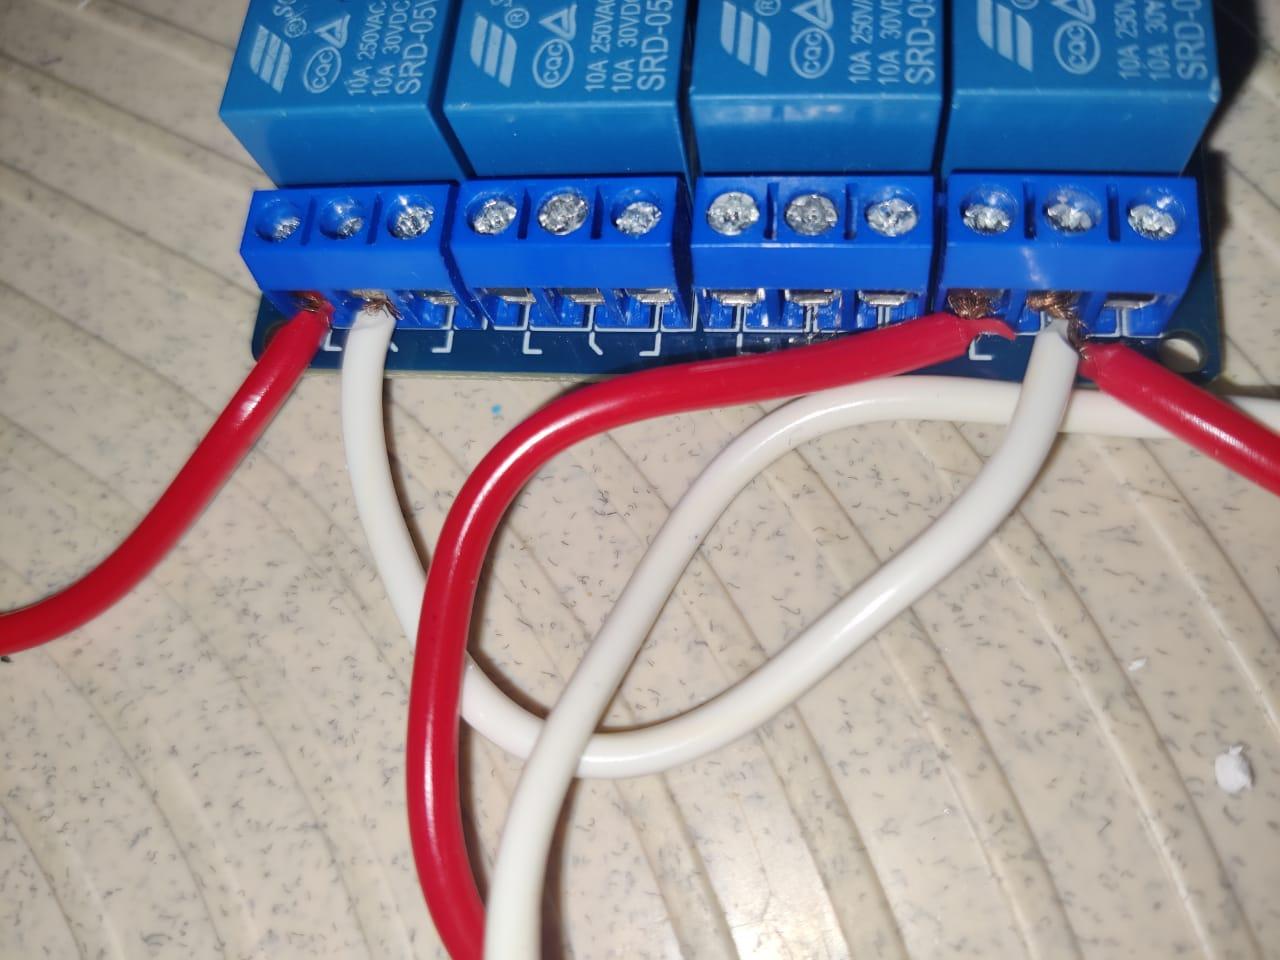
- While doing these kind of IOT projects, Netural connection from Main AC supply should be connected directly to the home appliances here we connected netural wire directly with two Bulbs.
- Whereas the phase or line Wire from Main AC should connected with two 'Common' poles of two relays respectively.
- The output from the relays which is from the "Normally Open" is connected with the phase of the two bulbs respectively
Working
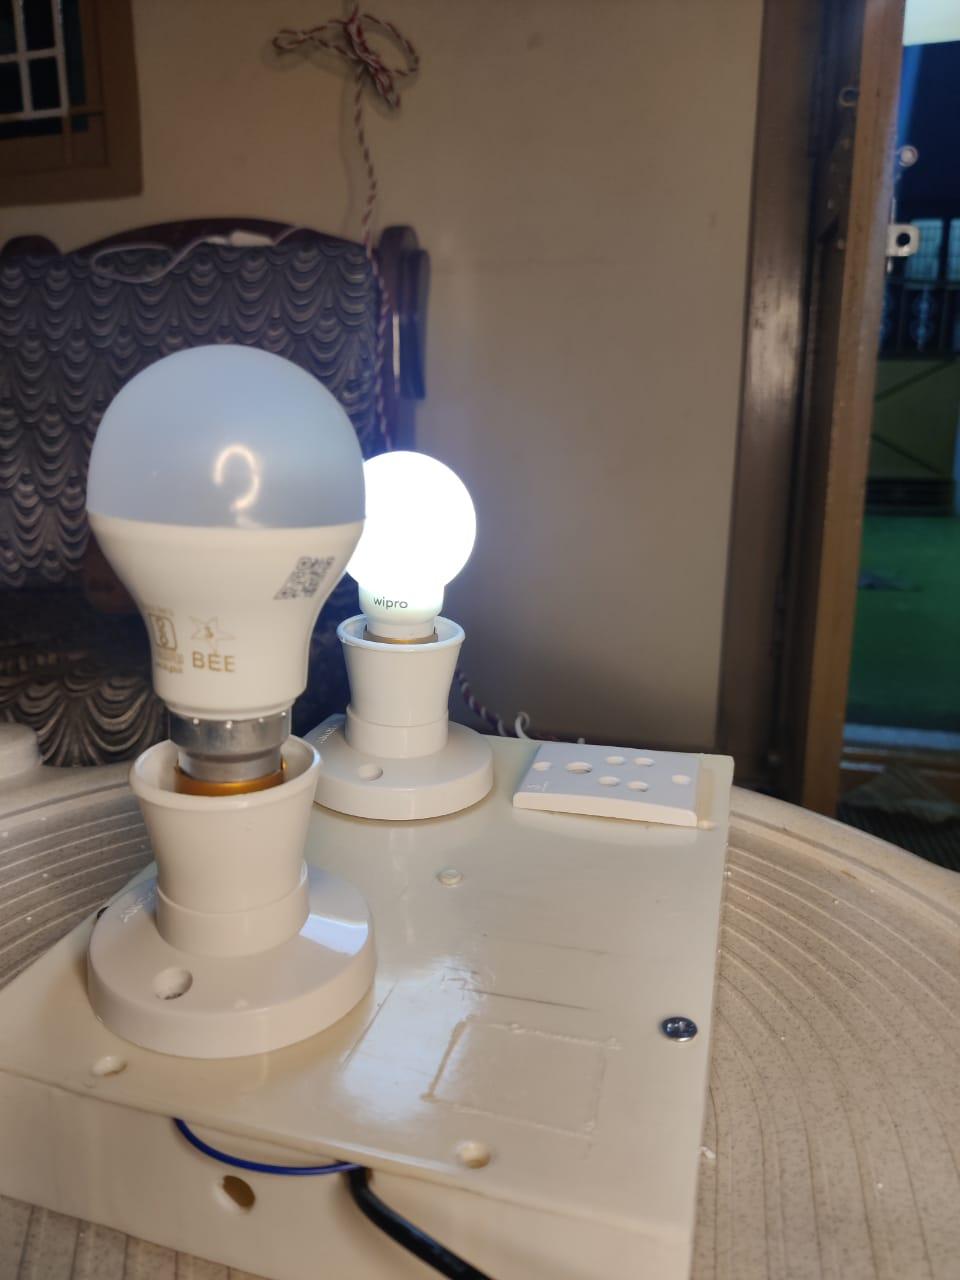
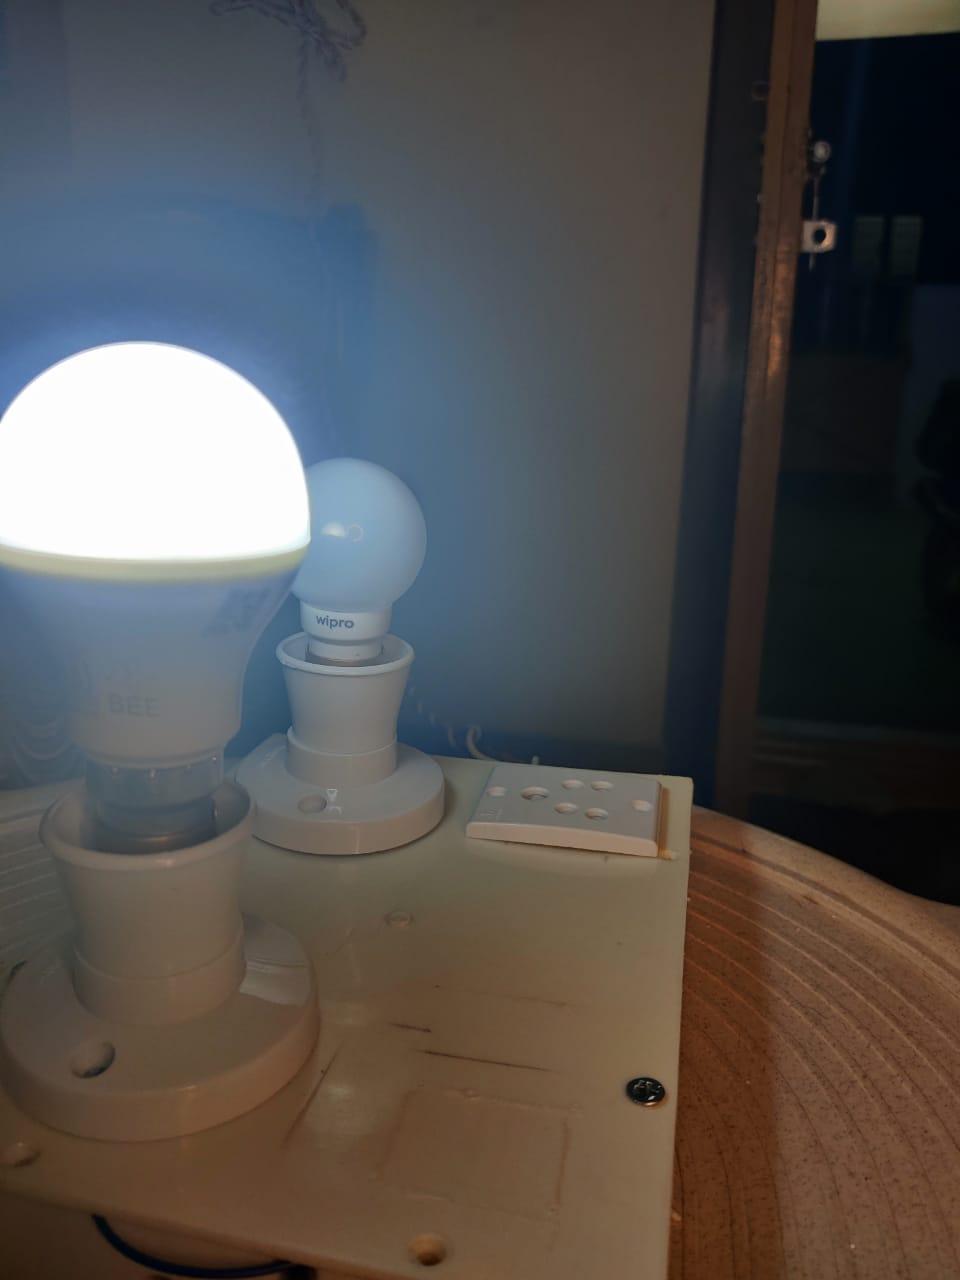
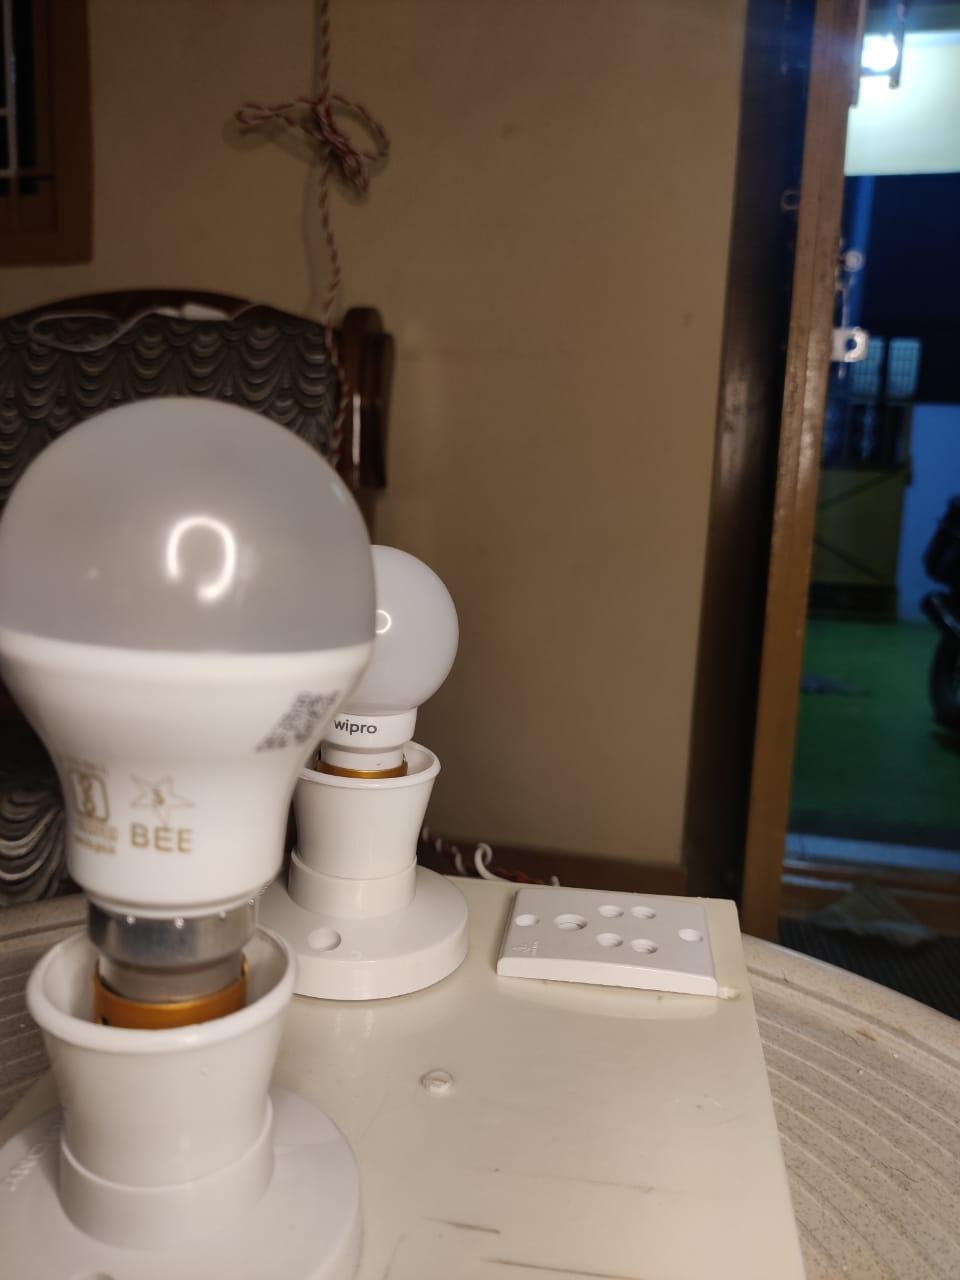
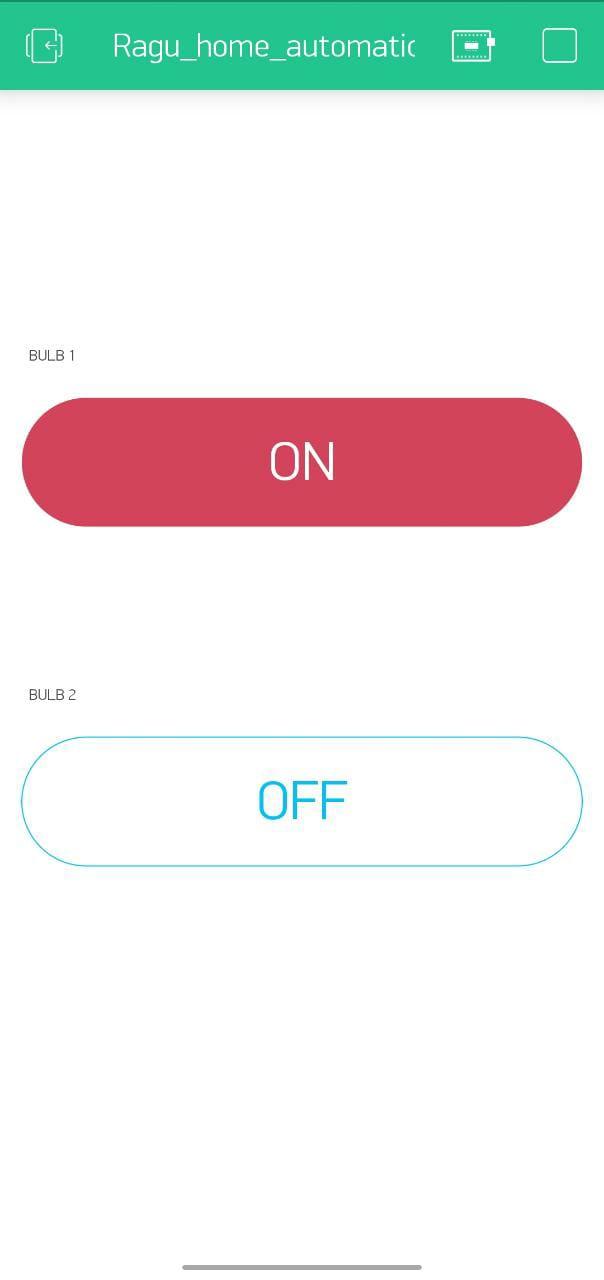
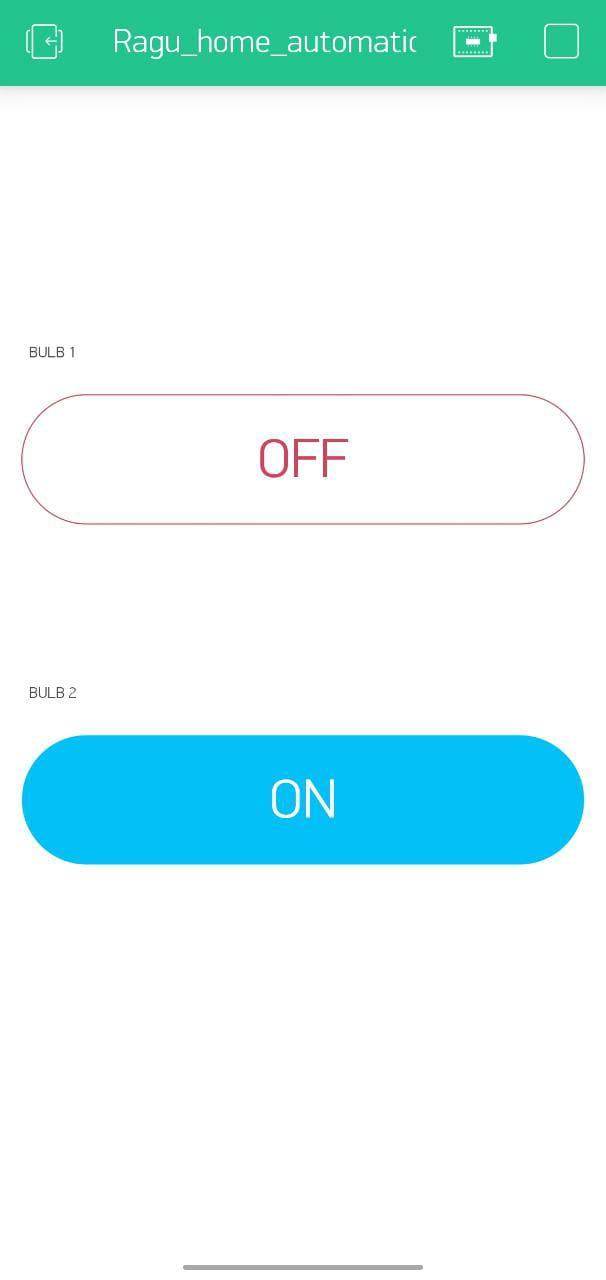
Once All the above connections were made
Final product is ready to use. Now switch ON the AC power supply to relay module
Make sure that Nodemcu board is also connected with power of minimum 5V And check wheather nodemcu is connected with respective hotspot that is given while coding
Then open your Blynk app in your mobile phone and switch ON and OFF bulbs just by clicking it...
Thanks for reading my instructable
Hence we done this small IOT automation project and also i attached the my Youtube video on the working of this final product....
Circuit Diagram
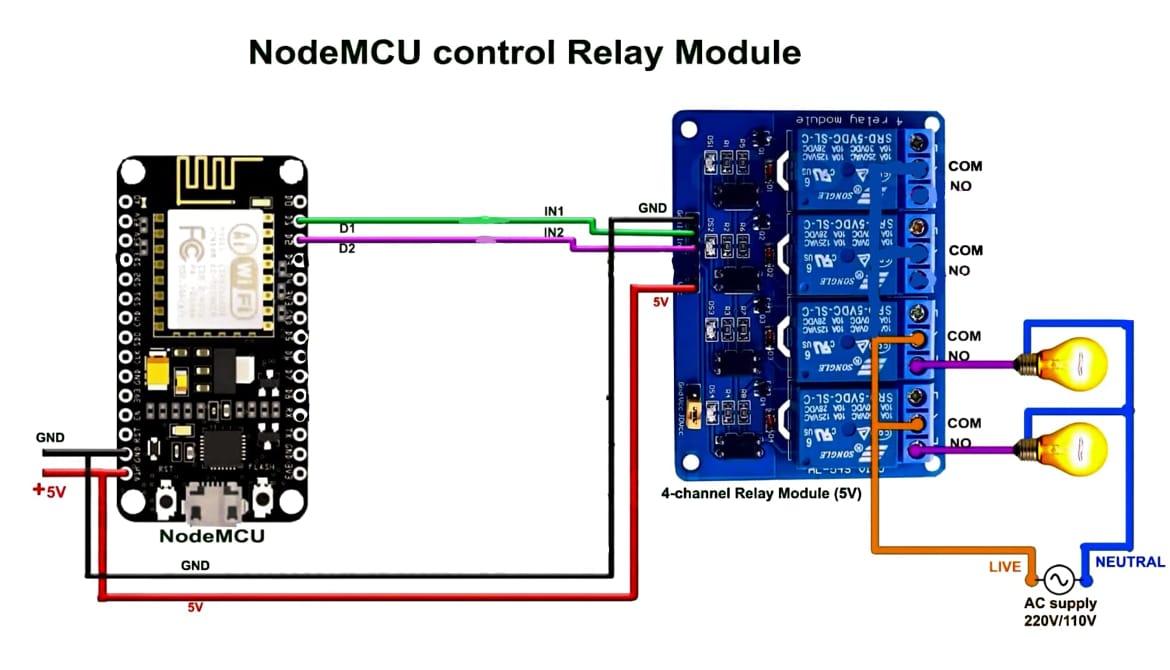
I attached simple circuit diagram for better understanding purpose
Youtube Video
THANK YOU....................