Sweetheart Box (made at the TechShop)
by JonesDevelopmentAndDesign in Workshop > Laser Cutting
3357 Views, 17 Favorites, 0 Comments
Sweetheart Box (made at the TechShop)
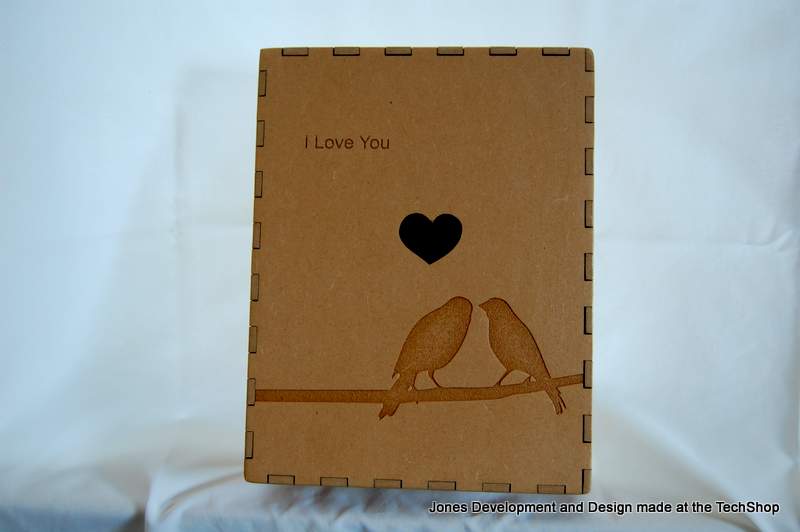
Quick to build, a sweet gift box for your sweetheart. Using CorelDraw, a Laser Cutter, MDF (Medium Density Fiberboard), Glue, and a little finish, this will make a gift box for an anniversary, birthday, or valentine's day.
Downloads
Inside the Box and List of Materials
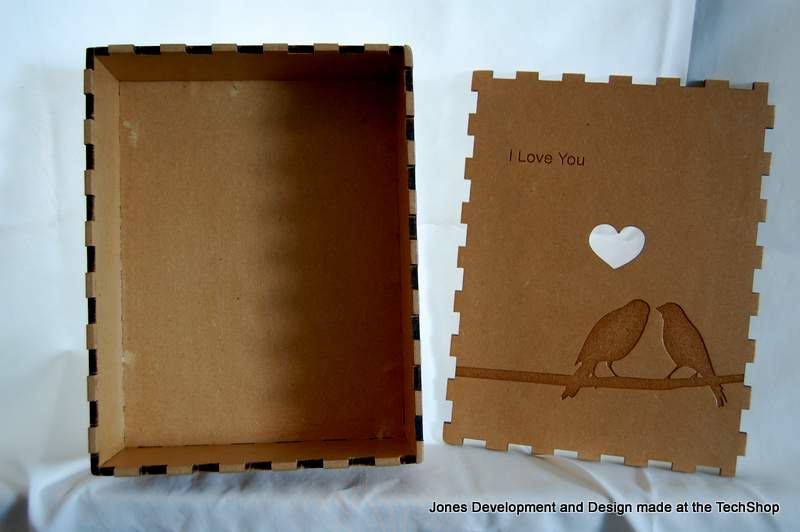
Image of the inside. To build the box you will need:
1. A laser cutter capable of cutting 1/4" MDF.
2. On piece of MDF 24"x18"x1/4".
3. Wood glue.
4. Clamps or a brad nailer. (Brad nailer not recommended, see filler on inside of box where I missed the shots).
5. Finish. I used Wipe On Poly from MinWax. Easy cleanup and easy to use, and virtually no odor.
6. Fine sand paper.
7. Wood filler (if a brand nailer is used).
The non-consumable items listed above are available at the TechShop.
Side, Inside, Outside and Image of CorelDraw Drawing
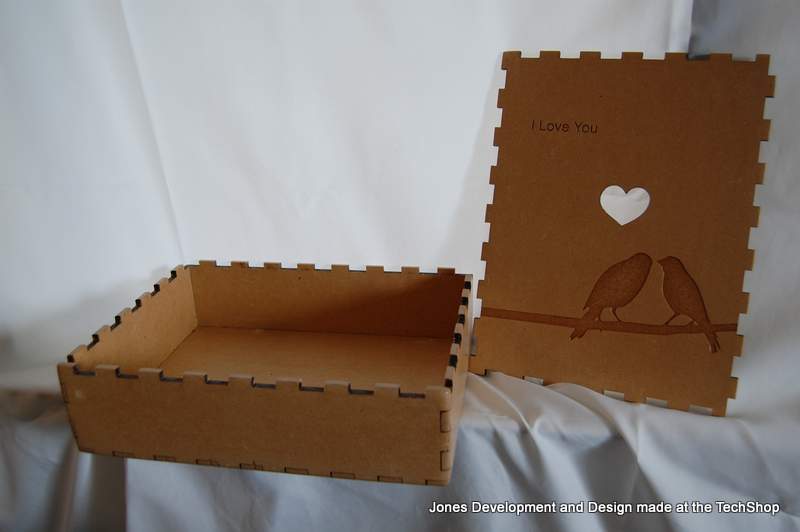
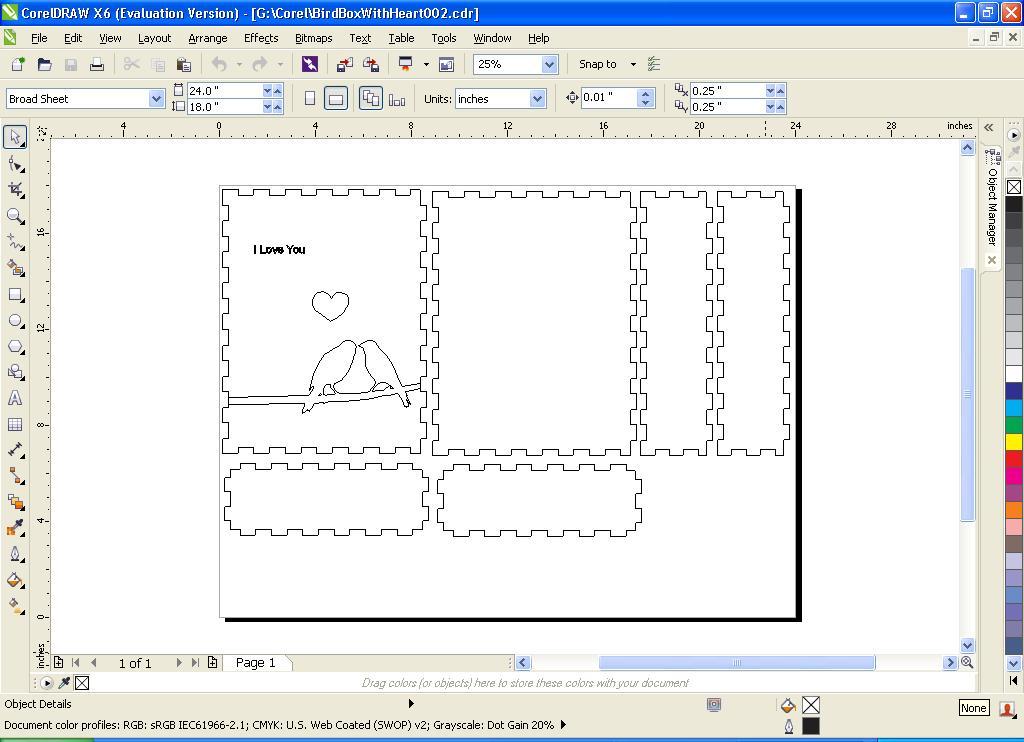
If you want to build a different size box, use BoxMaker at http://boxmaker.rahulbotics.com/ .
I used BoxMaker and then edited the box down to a size that would fit a 24"x18"x1/4" piece of MDF as this is the size of the Epilog Laser Cutter at the San Jose Tech Shop. The finished box size is 8.5"x11"x3", outside dimensions. The drawing for my size box is attached to the introduction of this Instructable. To build the box I made, use the drawing attached.
Attached to this step is an image of CorelDraw with the drawing of the box I made.
How to Build
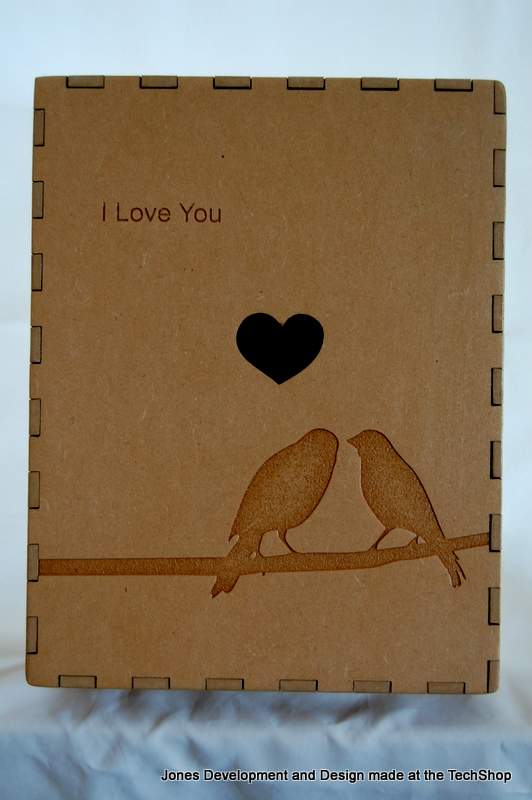
1. Open drawing in CorelDraw on a PC attached to a laser cutter.
2. Follow instructions for 1/4" MDF for Speed, Frequency and Power (in the print driver for the laser cutter). I used 12, 1000, and 90, respectively).
3. Select Raster and Vector on the Print Setting. (Raster for the birds and branch etching and vector for cutting out the box.)
4. Set the focus and home position on the laser (get help from staff if you are unfamiliar with doing this).
5. Send the job to the laser (click print).
6. Run the job twice if the laser did not cut all the way through the MDF.
7. Remove your cut pieces from the laser cutter.
8. Sand as desired to remove burn marks.
9. Glue and clamp bottom and sides.
10. Finish box as desired. Try not to apply too much finish to the areas of the finger joints where top meets the box.
11. Scrape sand or file excess finish for the top and top of the box where the finger joints intersect, or the lid may fit to tightly.
That's it!