Swap Faces in Photoshop
by john_psddude in Design > Digital Graphics
1374 Views, 1 Favorites, 0 Comments
Swap Faces in Photoshop
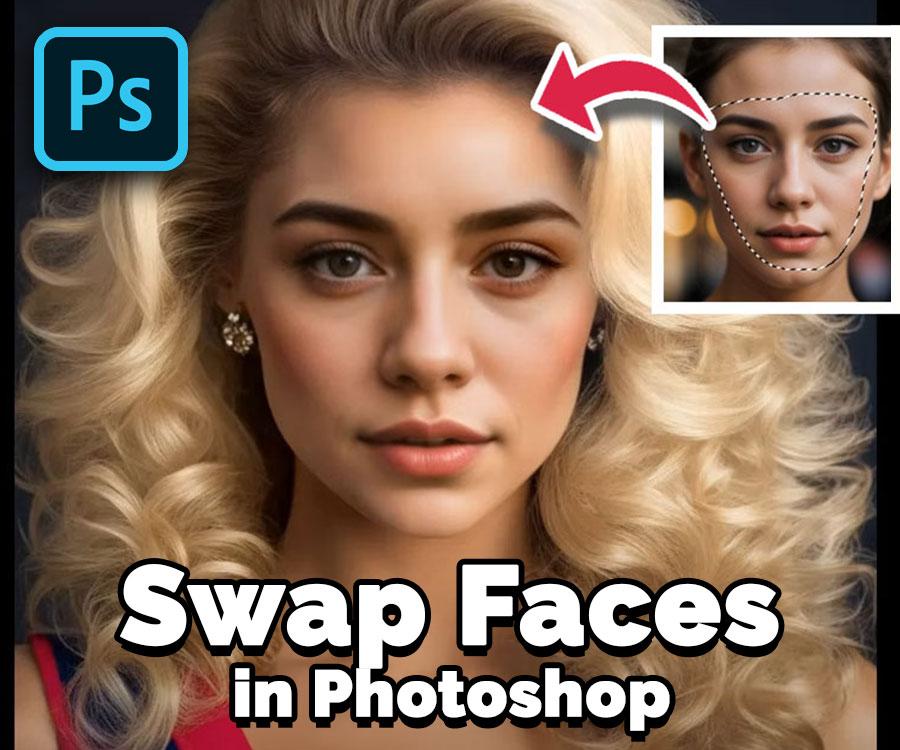
In this Photoshop tutorial I will show you how to do face swap in photoshop. This is an easy method that works in most cases. At the end of this tutorial, I will show you a better method for photo face swapping using A.I.
Supplies
So, you want to know how to swap heads in Photoshop. First you need access to Photoshop. Or, you can try Photopea which is a free online alternative to Photoshop.
Add the Face and Body Photo
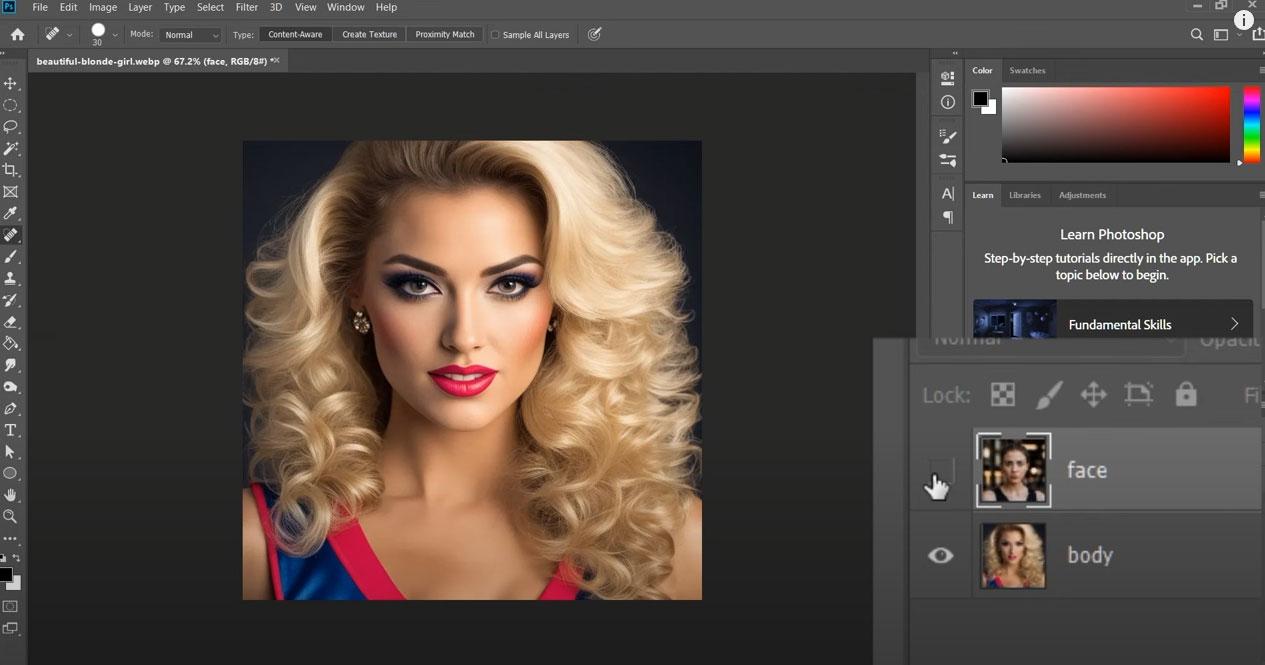
So, let's start by dragging our photos inside Photoshop. We need a body photo and a face photo to swap faces in Photoshop.
Select the Face
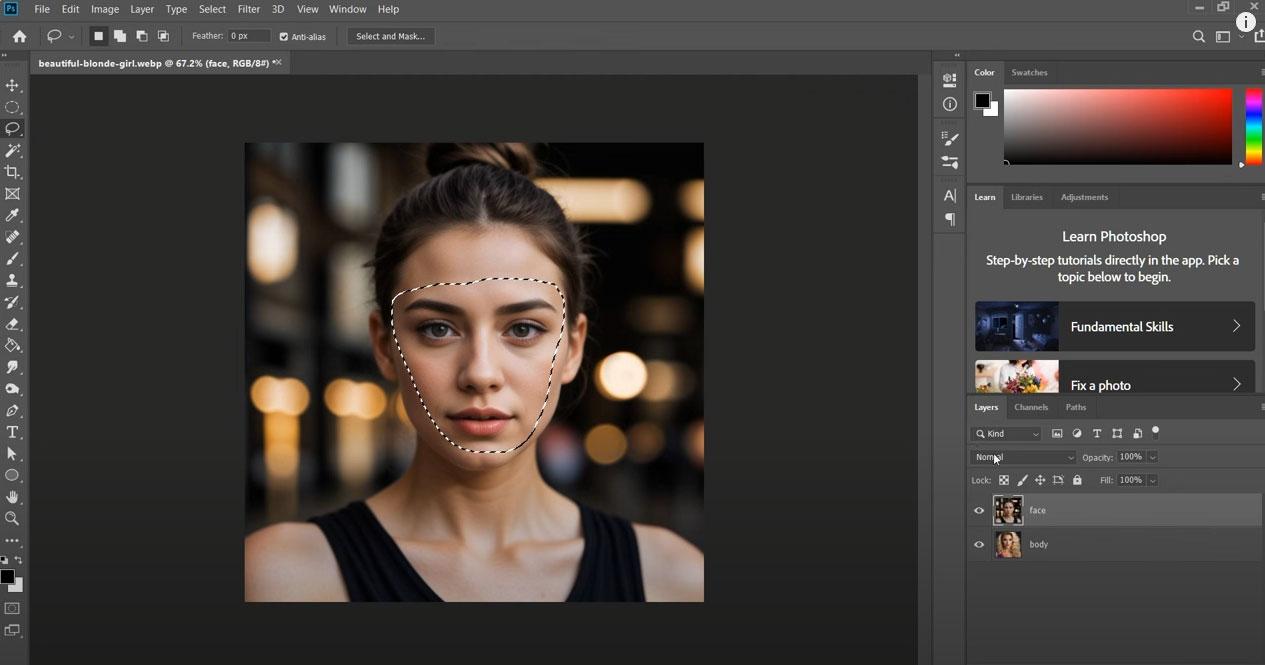
Using the Lasso tool, let's draw a selection around the face we want to use in the final result. We will swap the face in the body layer with this face.
Go to "Select" in the top menu, then click "Inverse" to invert our selection and then, hit the delete key to remove everything except for the face.
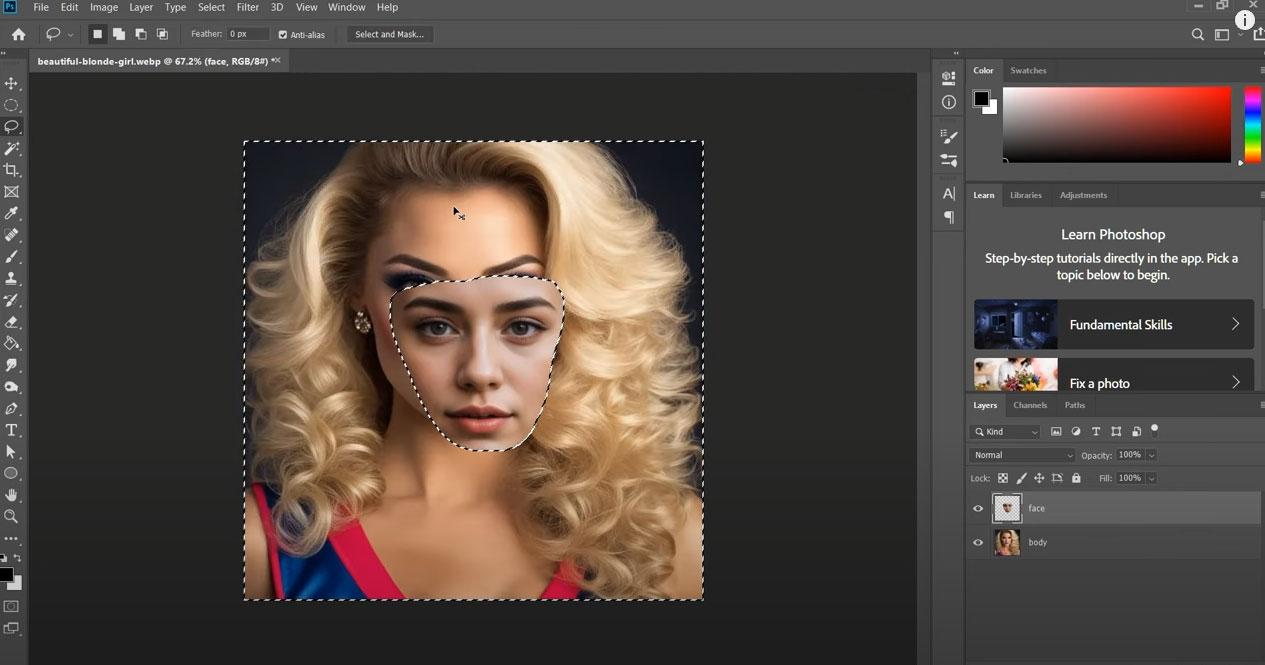
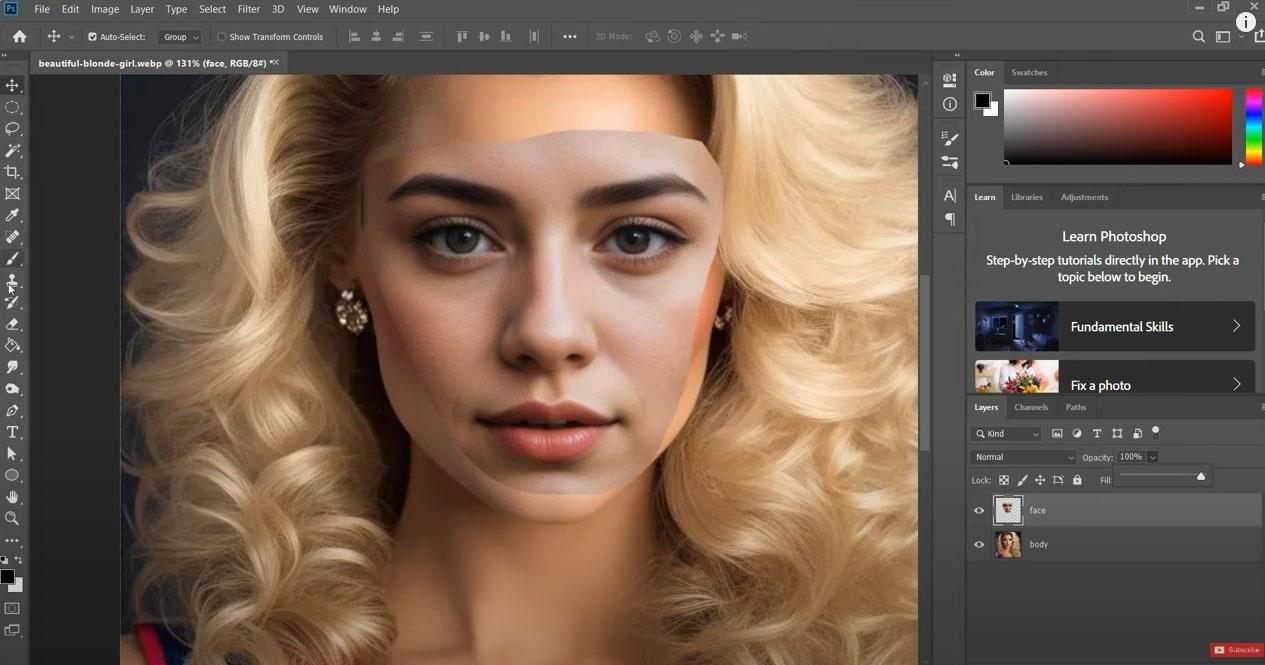
Now, we need to match the position of the face with the position of the face in the body image. Use the "Move" tool to do this. Let's zoom in and lower the opacity of the "face" layer to make them overlap as precisely as possible.
I do want to say here that it helps a lot that the starting face photo and the body photo are taken from the same angle. Front view photos are kind of a requirement for swapping faces like this in Photoshop. For faces in different positions, read until the end for an alternative face swap method.
Delete the Face Area From the Body Photo
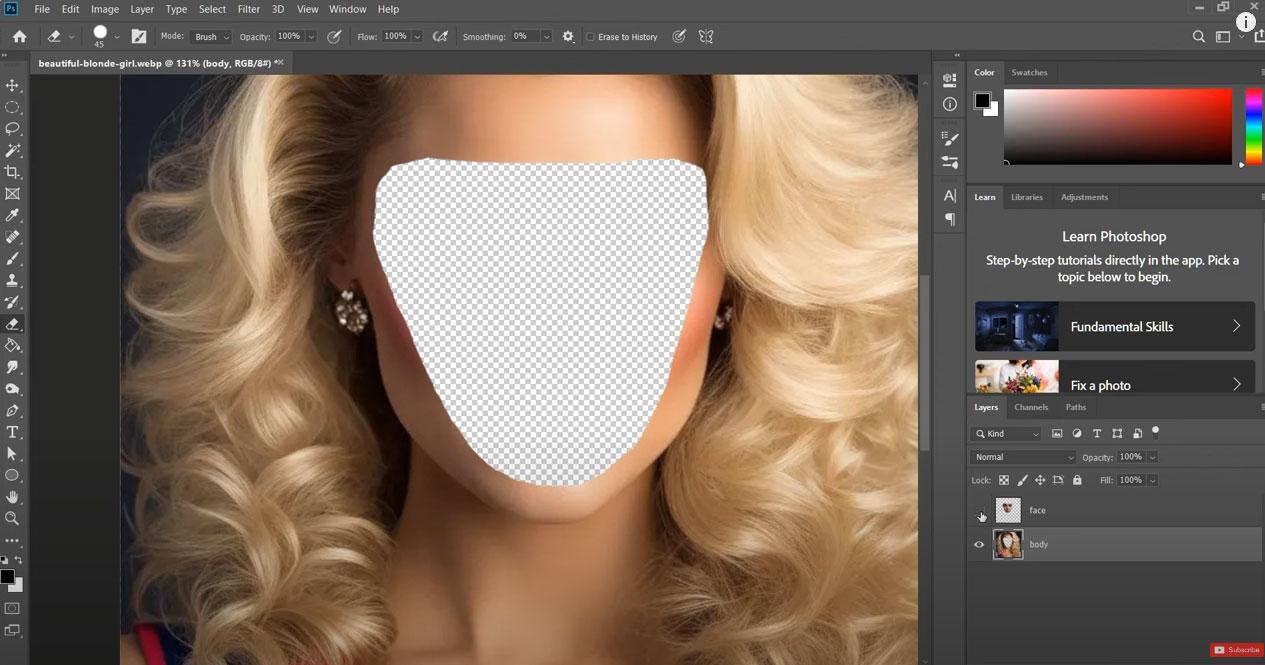
Ok, the position looks good enough. Turn the opacity back to 100 percent. Use the eraser tool to remove the edges that look a bit out of place.
Use control and click on the face layer thumbnail to make a selection from visible pixels. Then, go to "Select", "Contract" and contract the selection by 10 pixels. Switch to the body layer and delete the selected pixels. This will remove the face in the original body image.
Swap Face in Photoshop With Auto Blend Layers
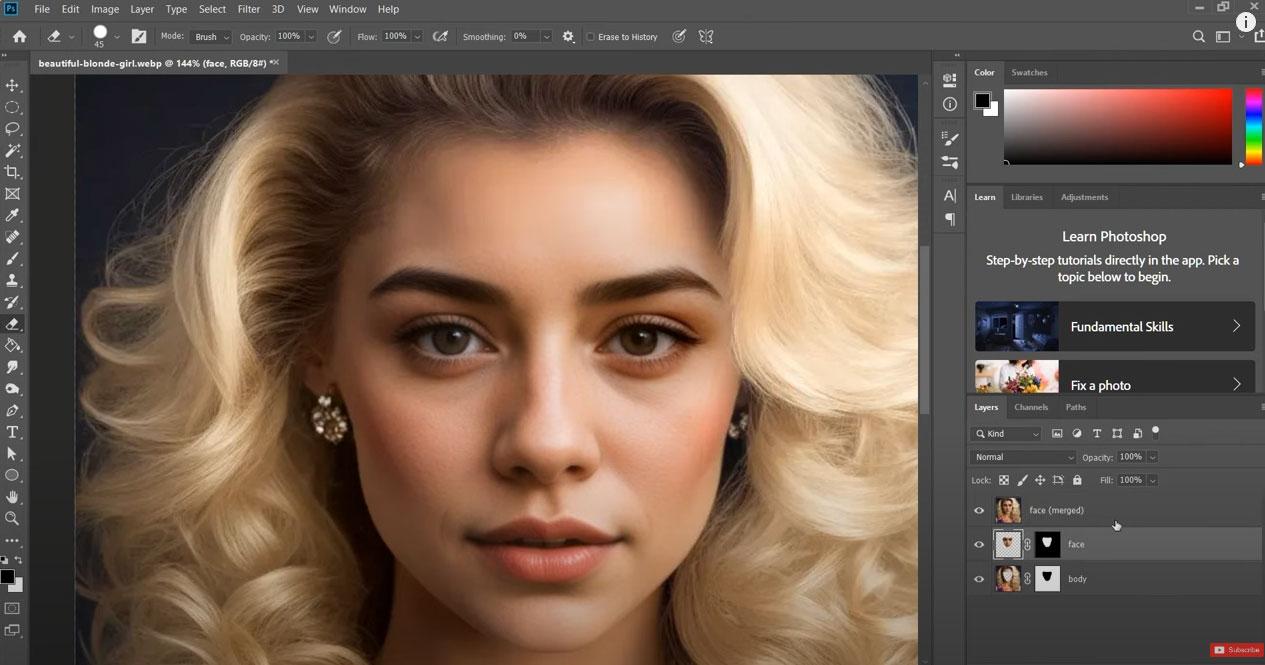
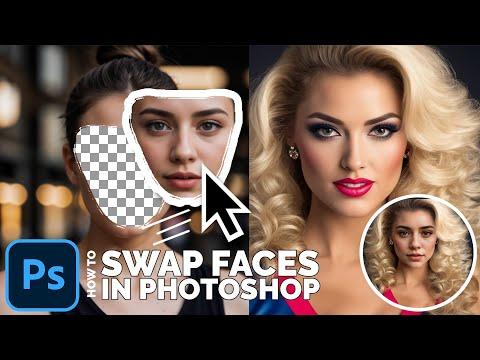
Select both the face and body layers and go to "Edit" then find the option called "Auto blend layers". Make sure to select the option "Stack images" and click OK.
Photoshop will work its magic and swap the face in the original photo with the face in the new image. Now you know how to swap faces in Photoshop and you must admit that the end result looks very impressive.
As an alternative you can try this face swap in Photoshop free action. The results are even faster with this plugin.
Swap Face With AI Tools

I have to admit that I don't use this method for face swapping very often. With the advance of A.I. image tools lately, I've been using AI face swap online free tool.
Just upload your face photo, choose or upload the body photo and click the "FACE SWAP" button. In a few seconds you will get a perfect face swap photo.
You will notice that this method for face swapping keeps details from the original image like makeup and even the smile gesture. Also, A.I. face swap tools work for face images from different positions and extreme lighting, which might not work in Photoshop.
This face morph online free tool works for photos in JPG, PNG and WEPB format.
In Conclusion
Now you know how to swap faces in Photoshop by using two different methods. You can also try the AI face swap tools that produce faster and more accurate results.