Sustainable Homeless Shelter
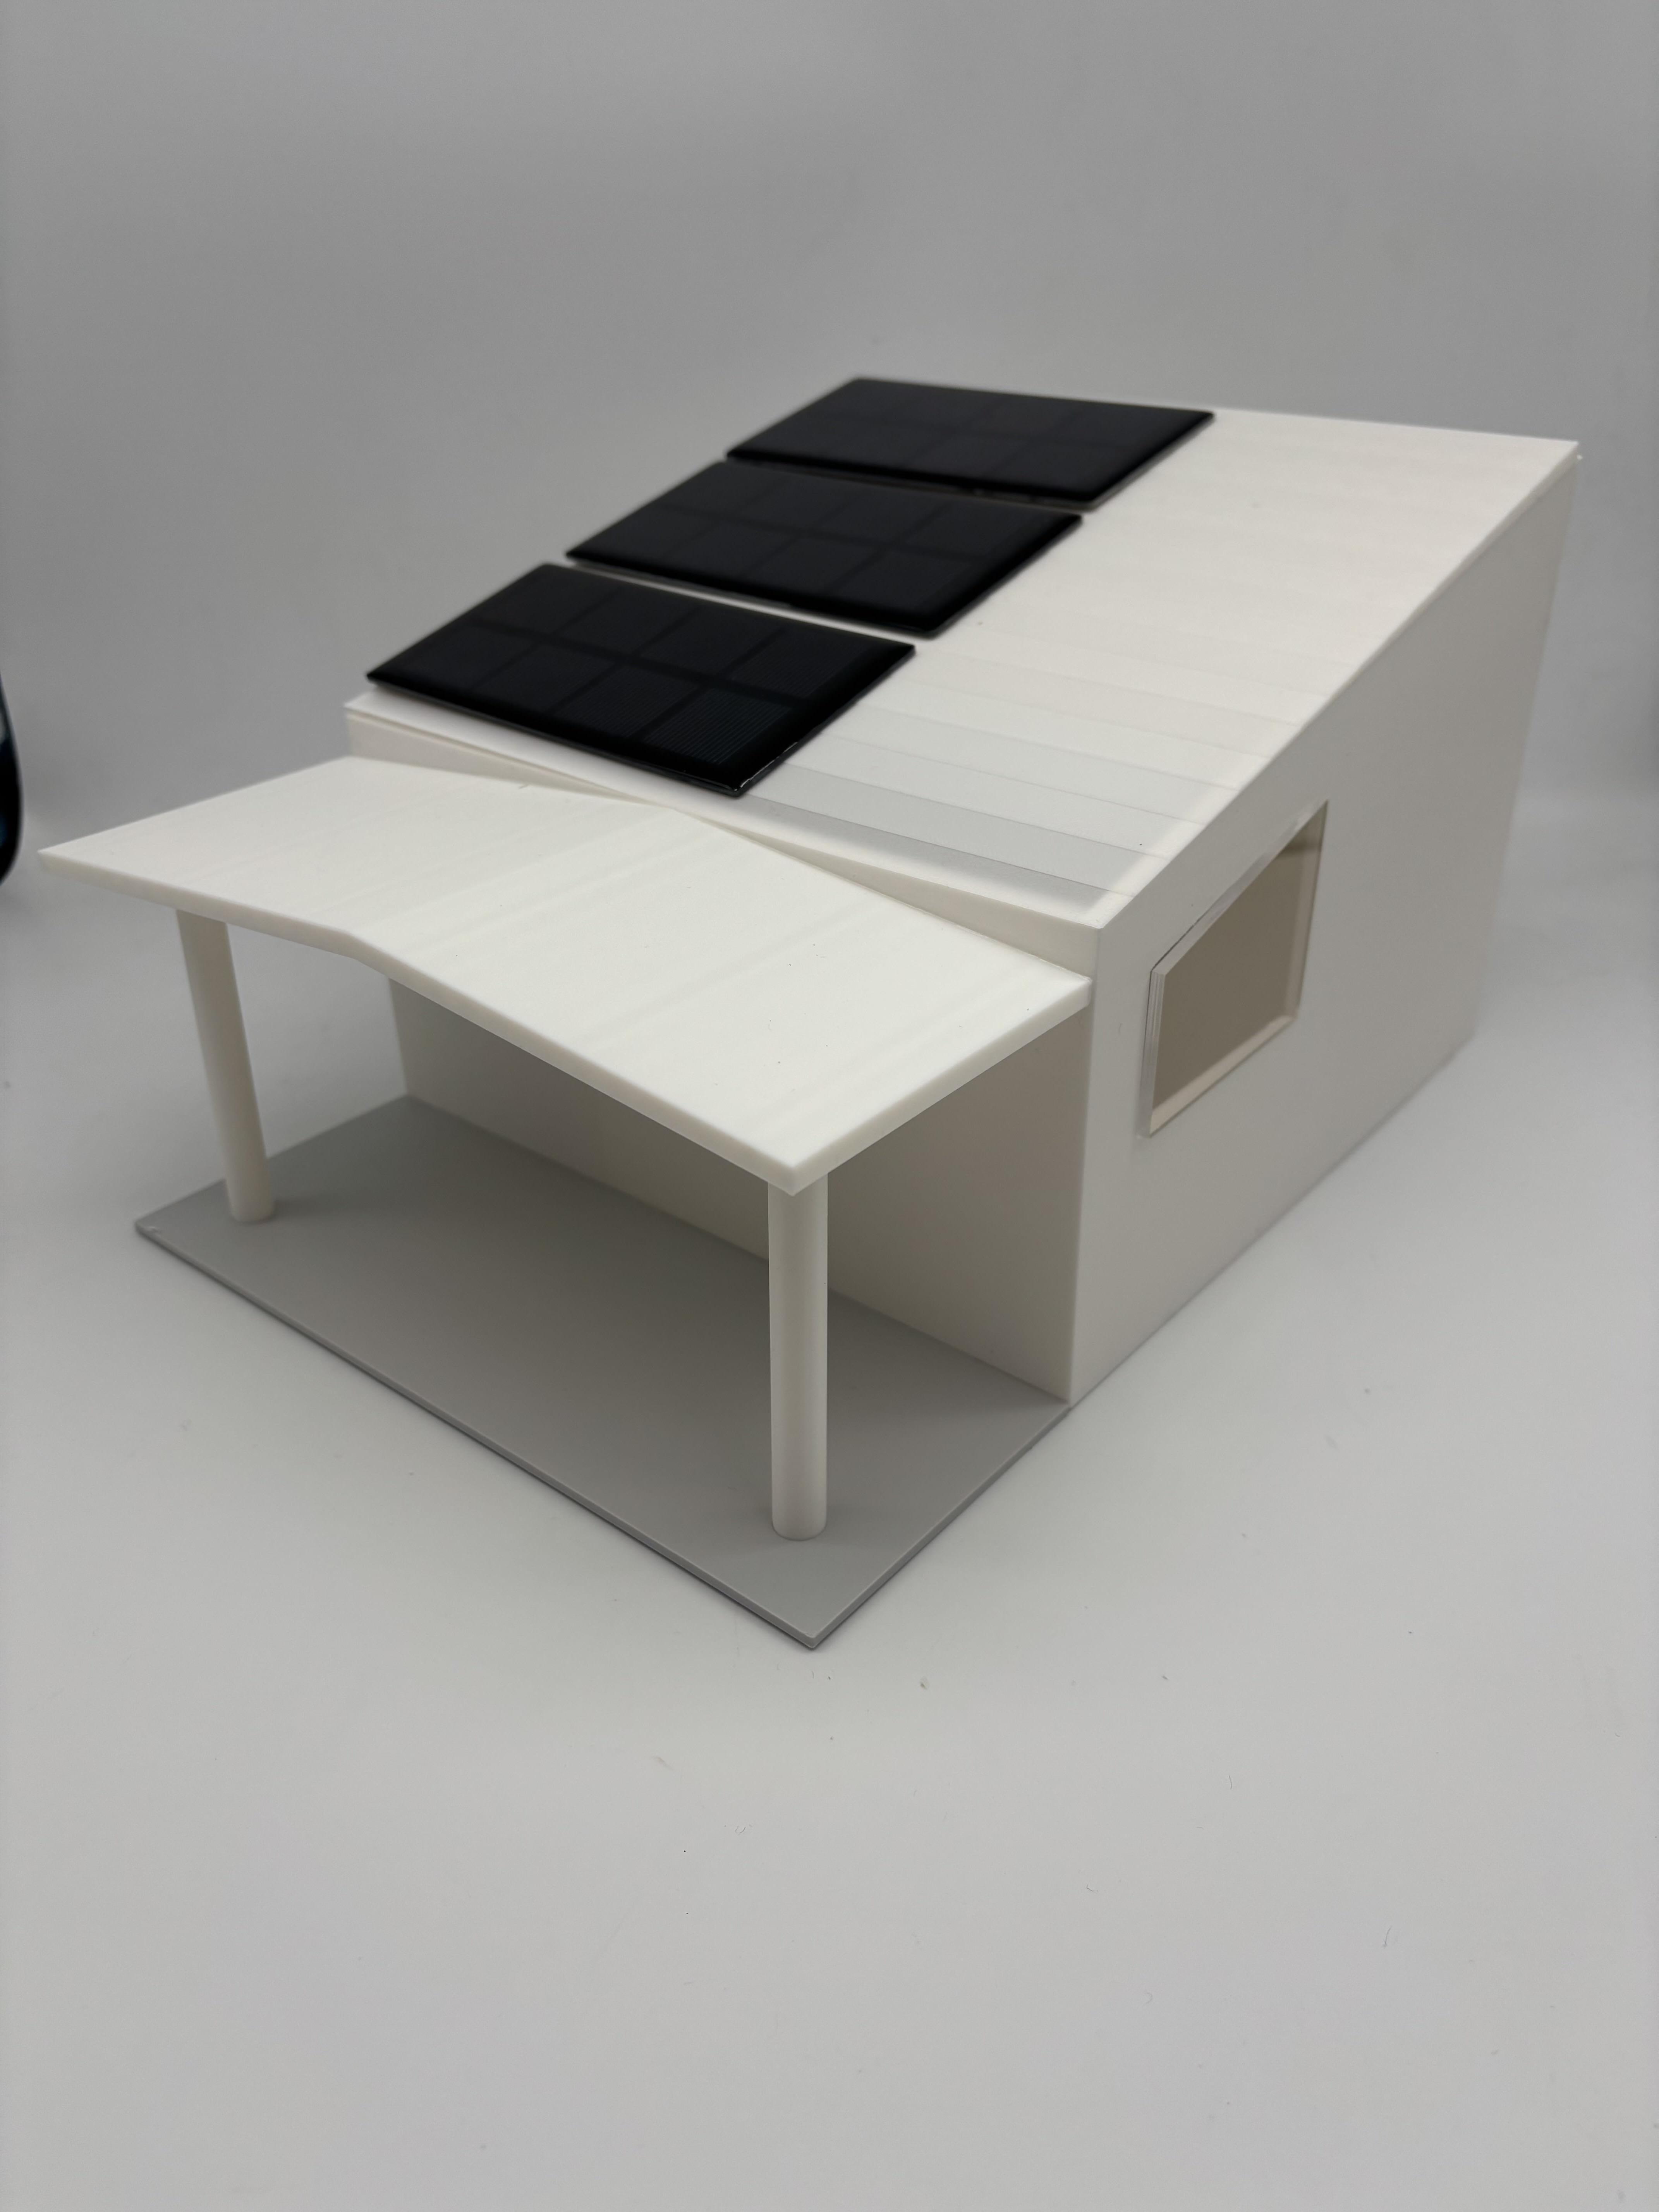
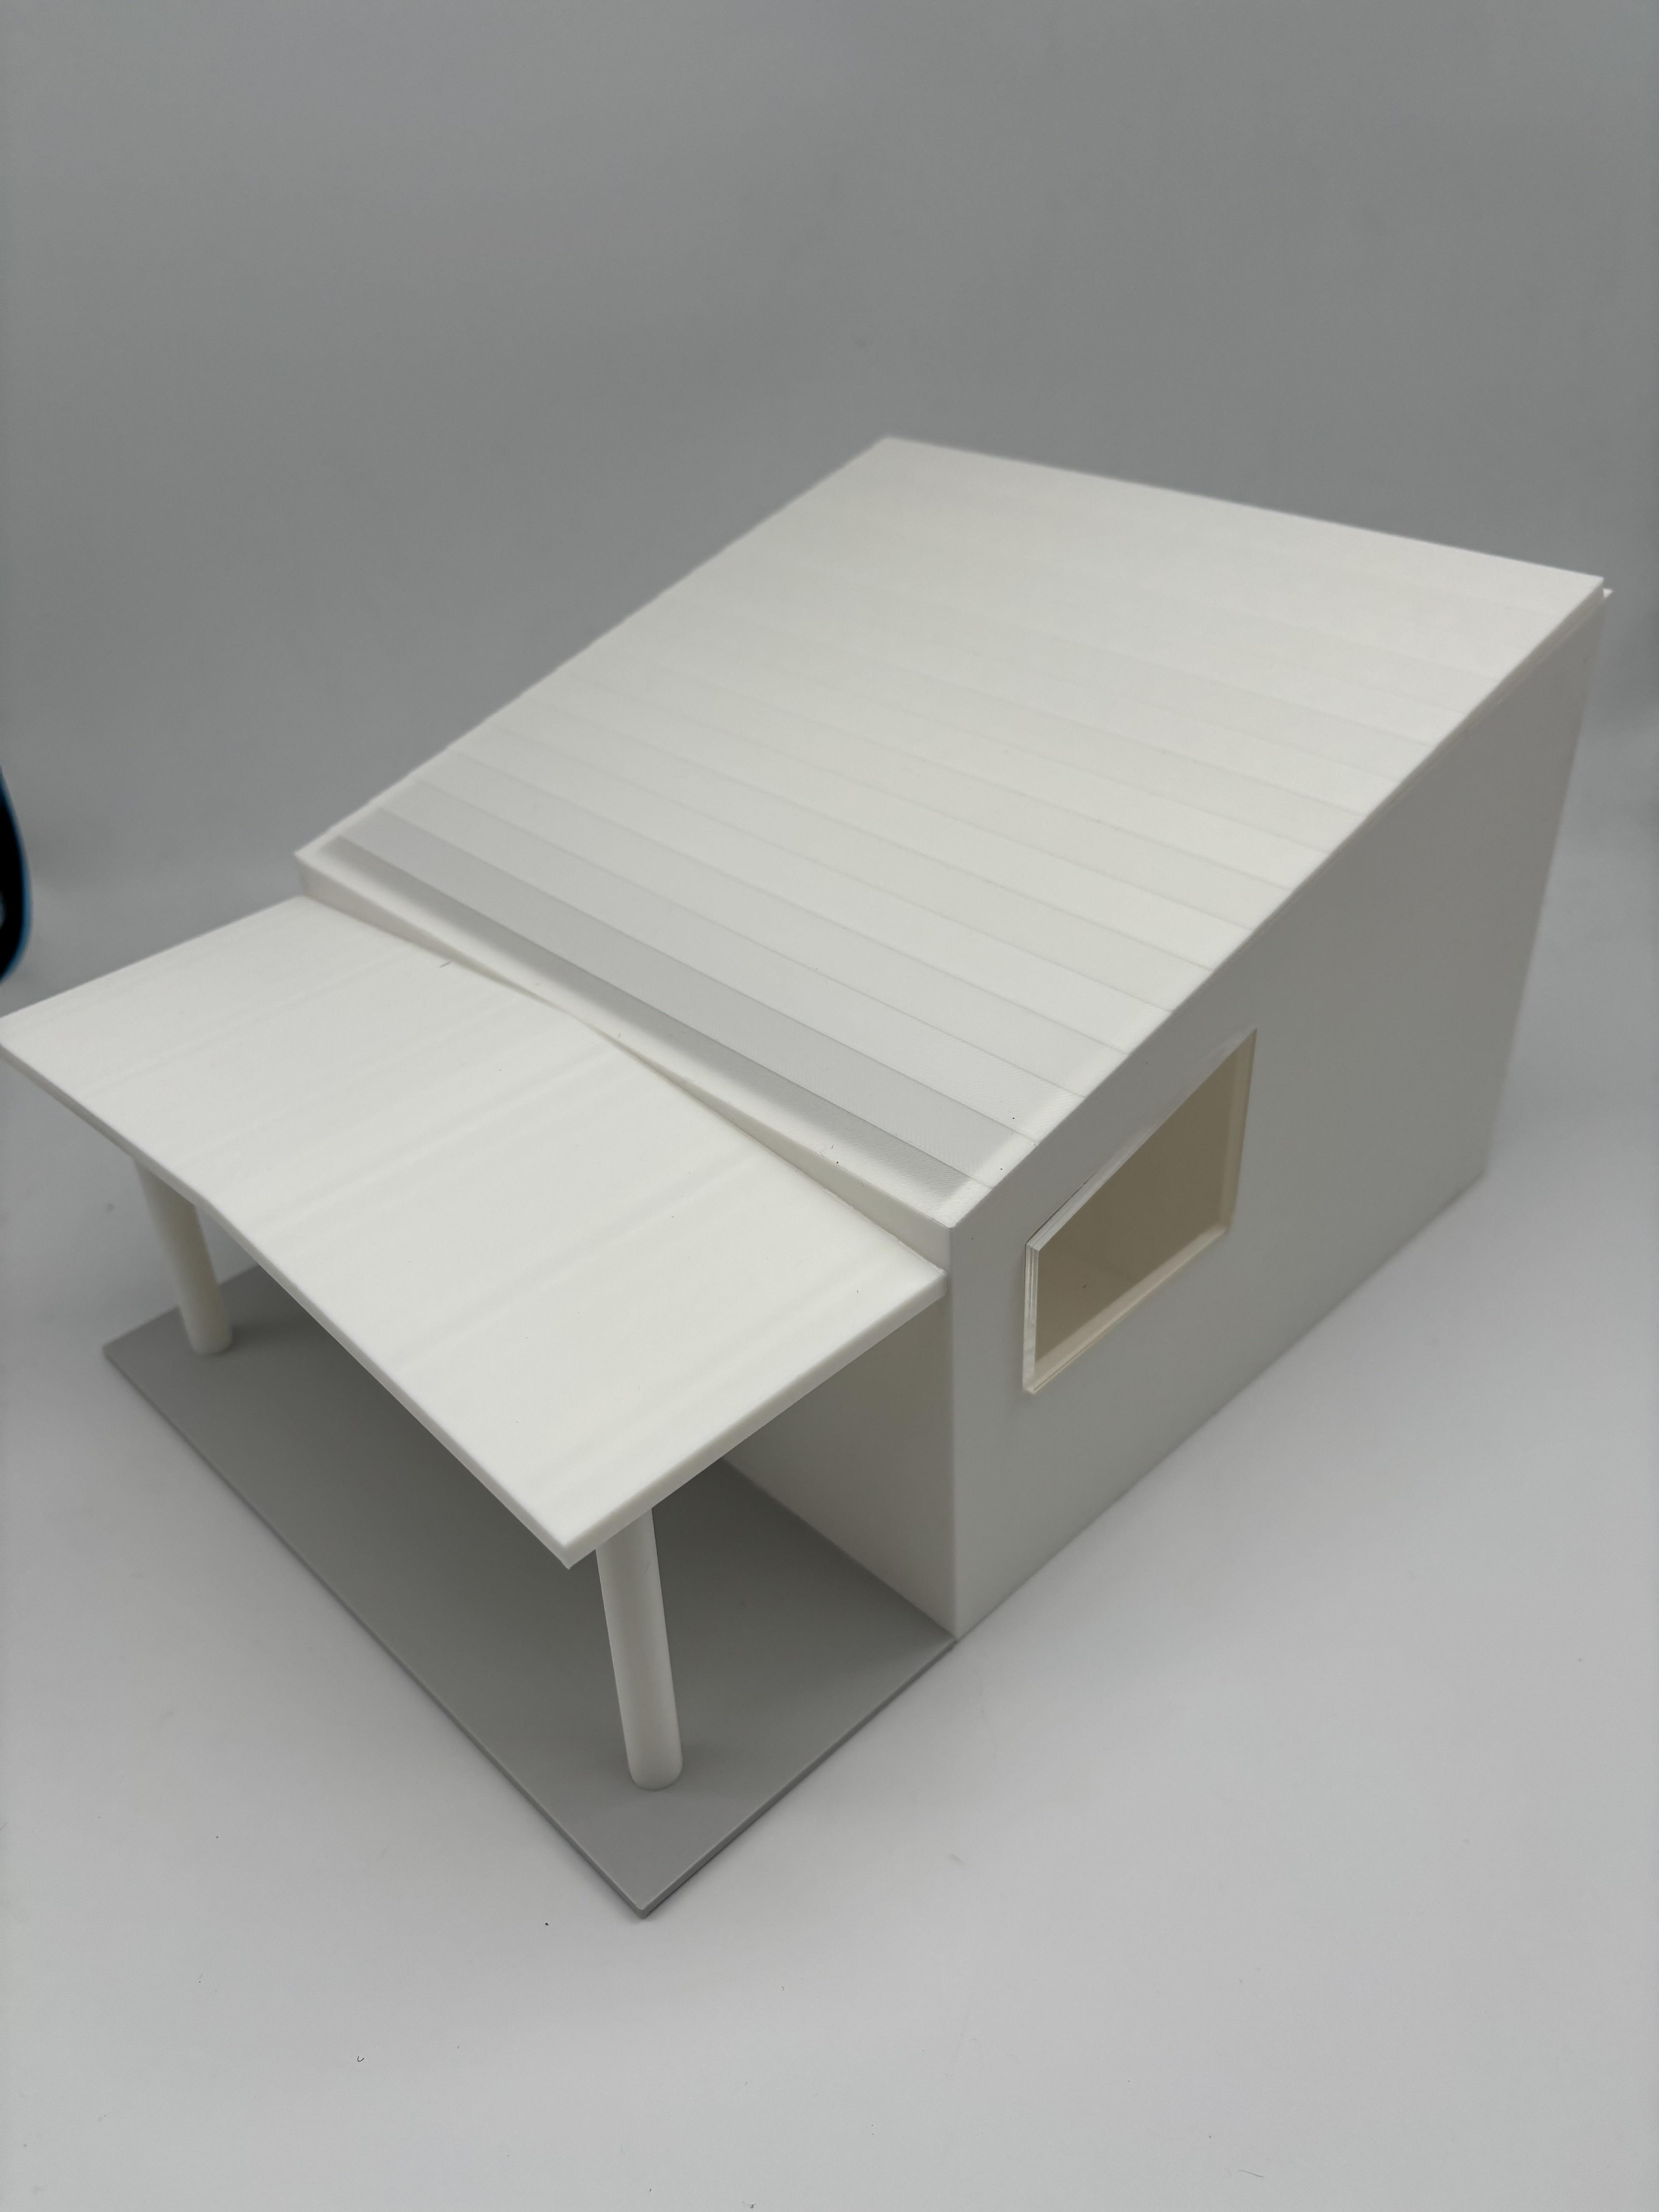
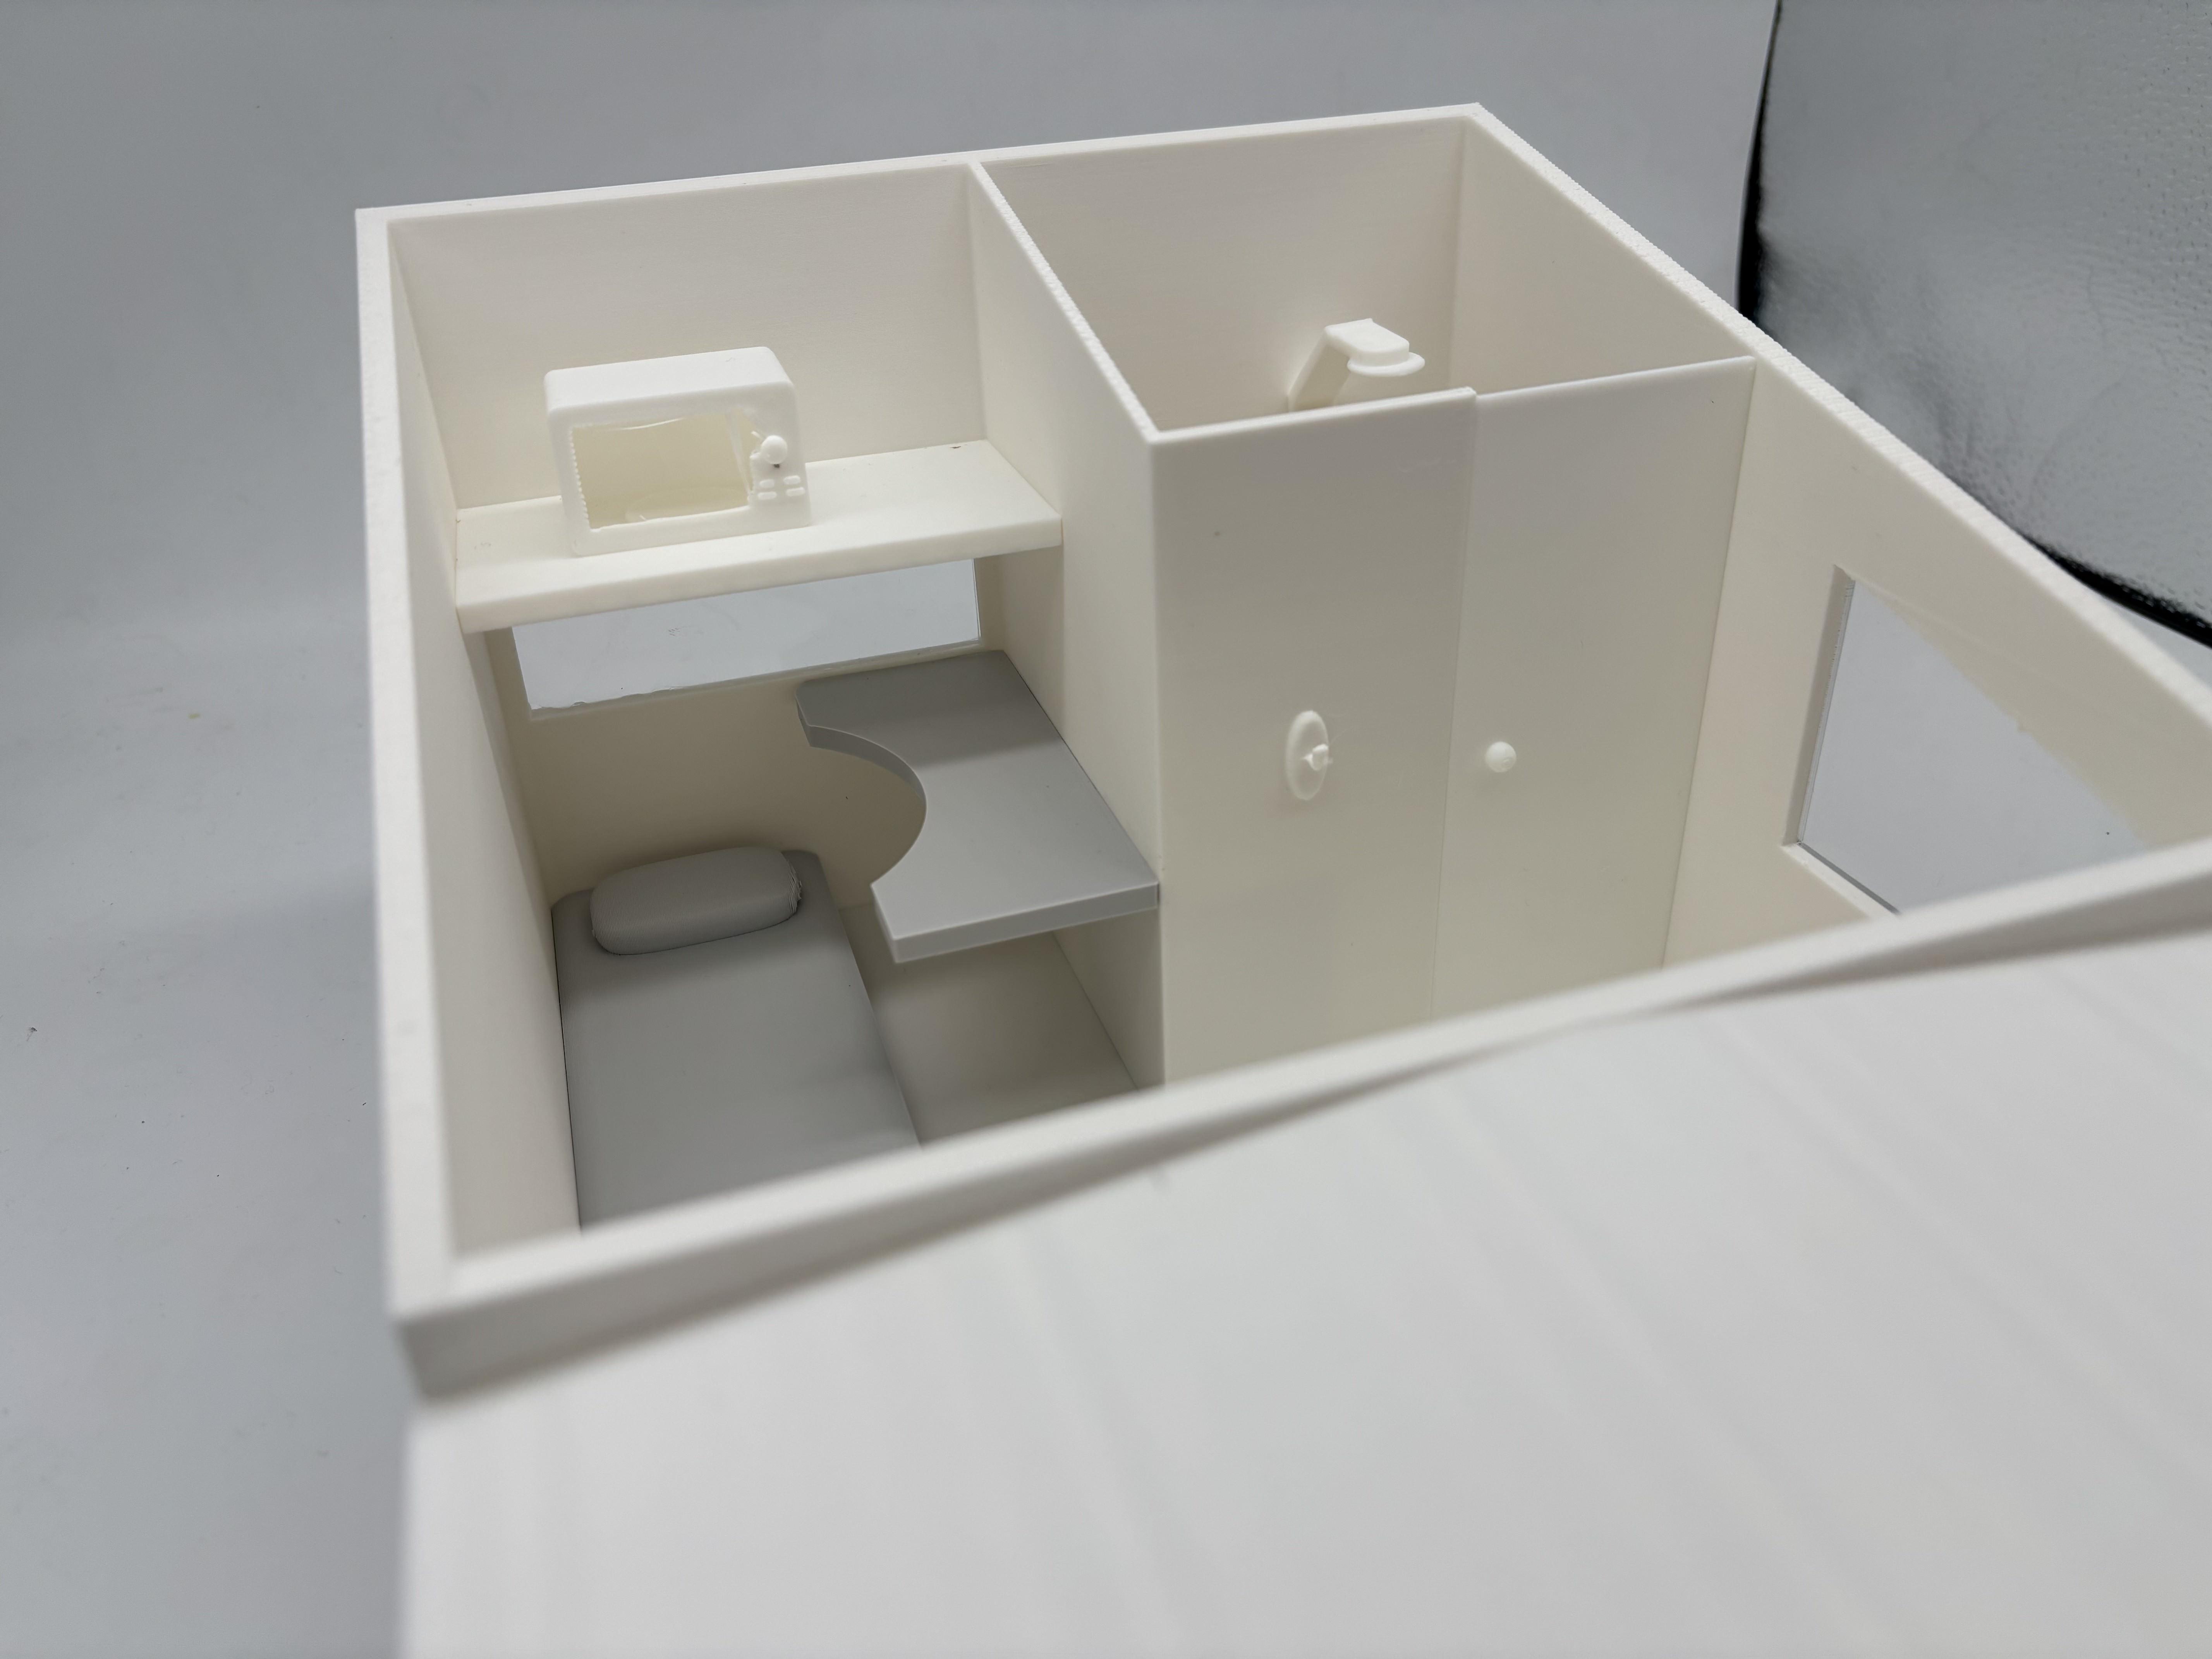
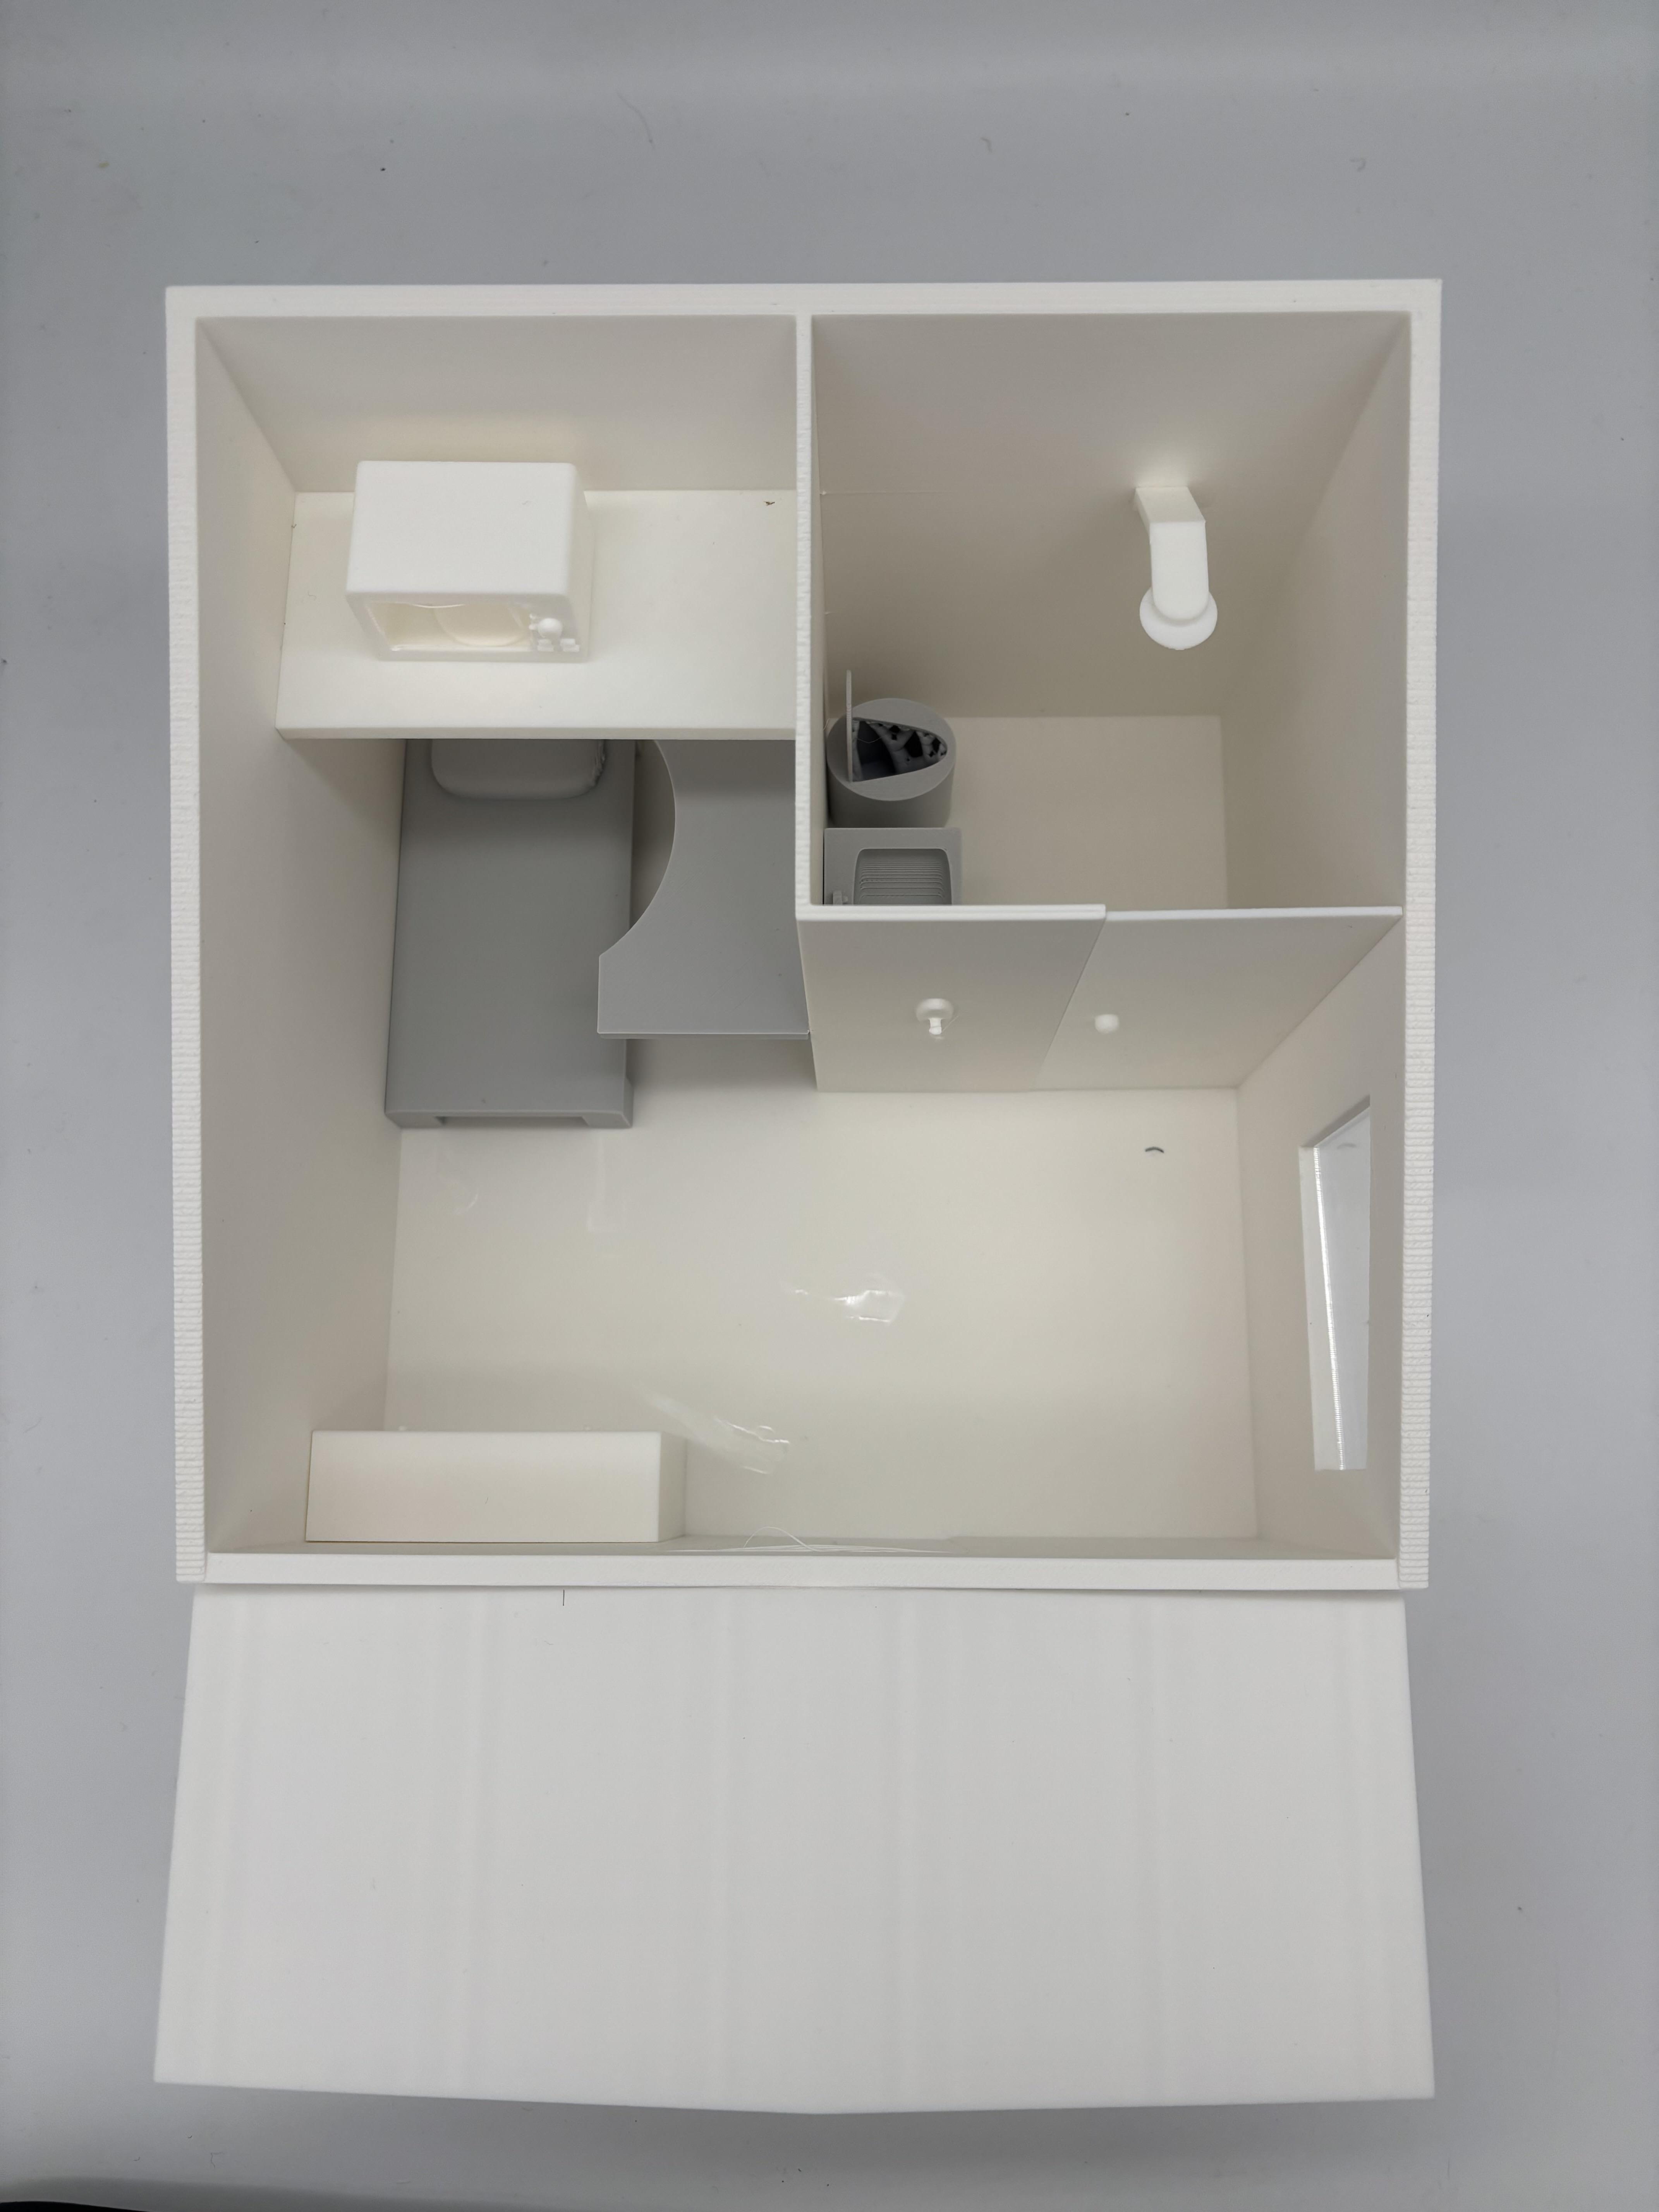
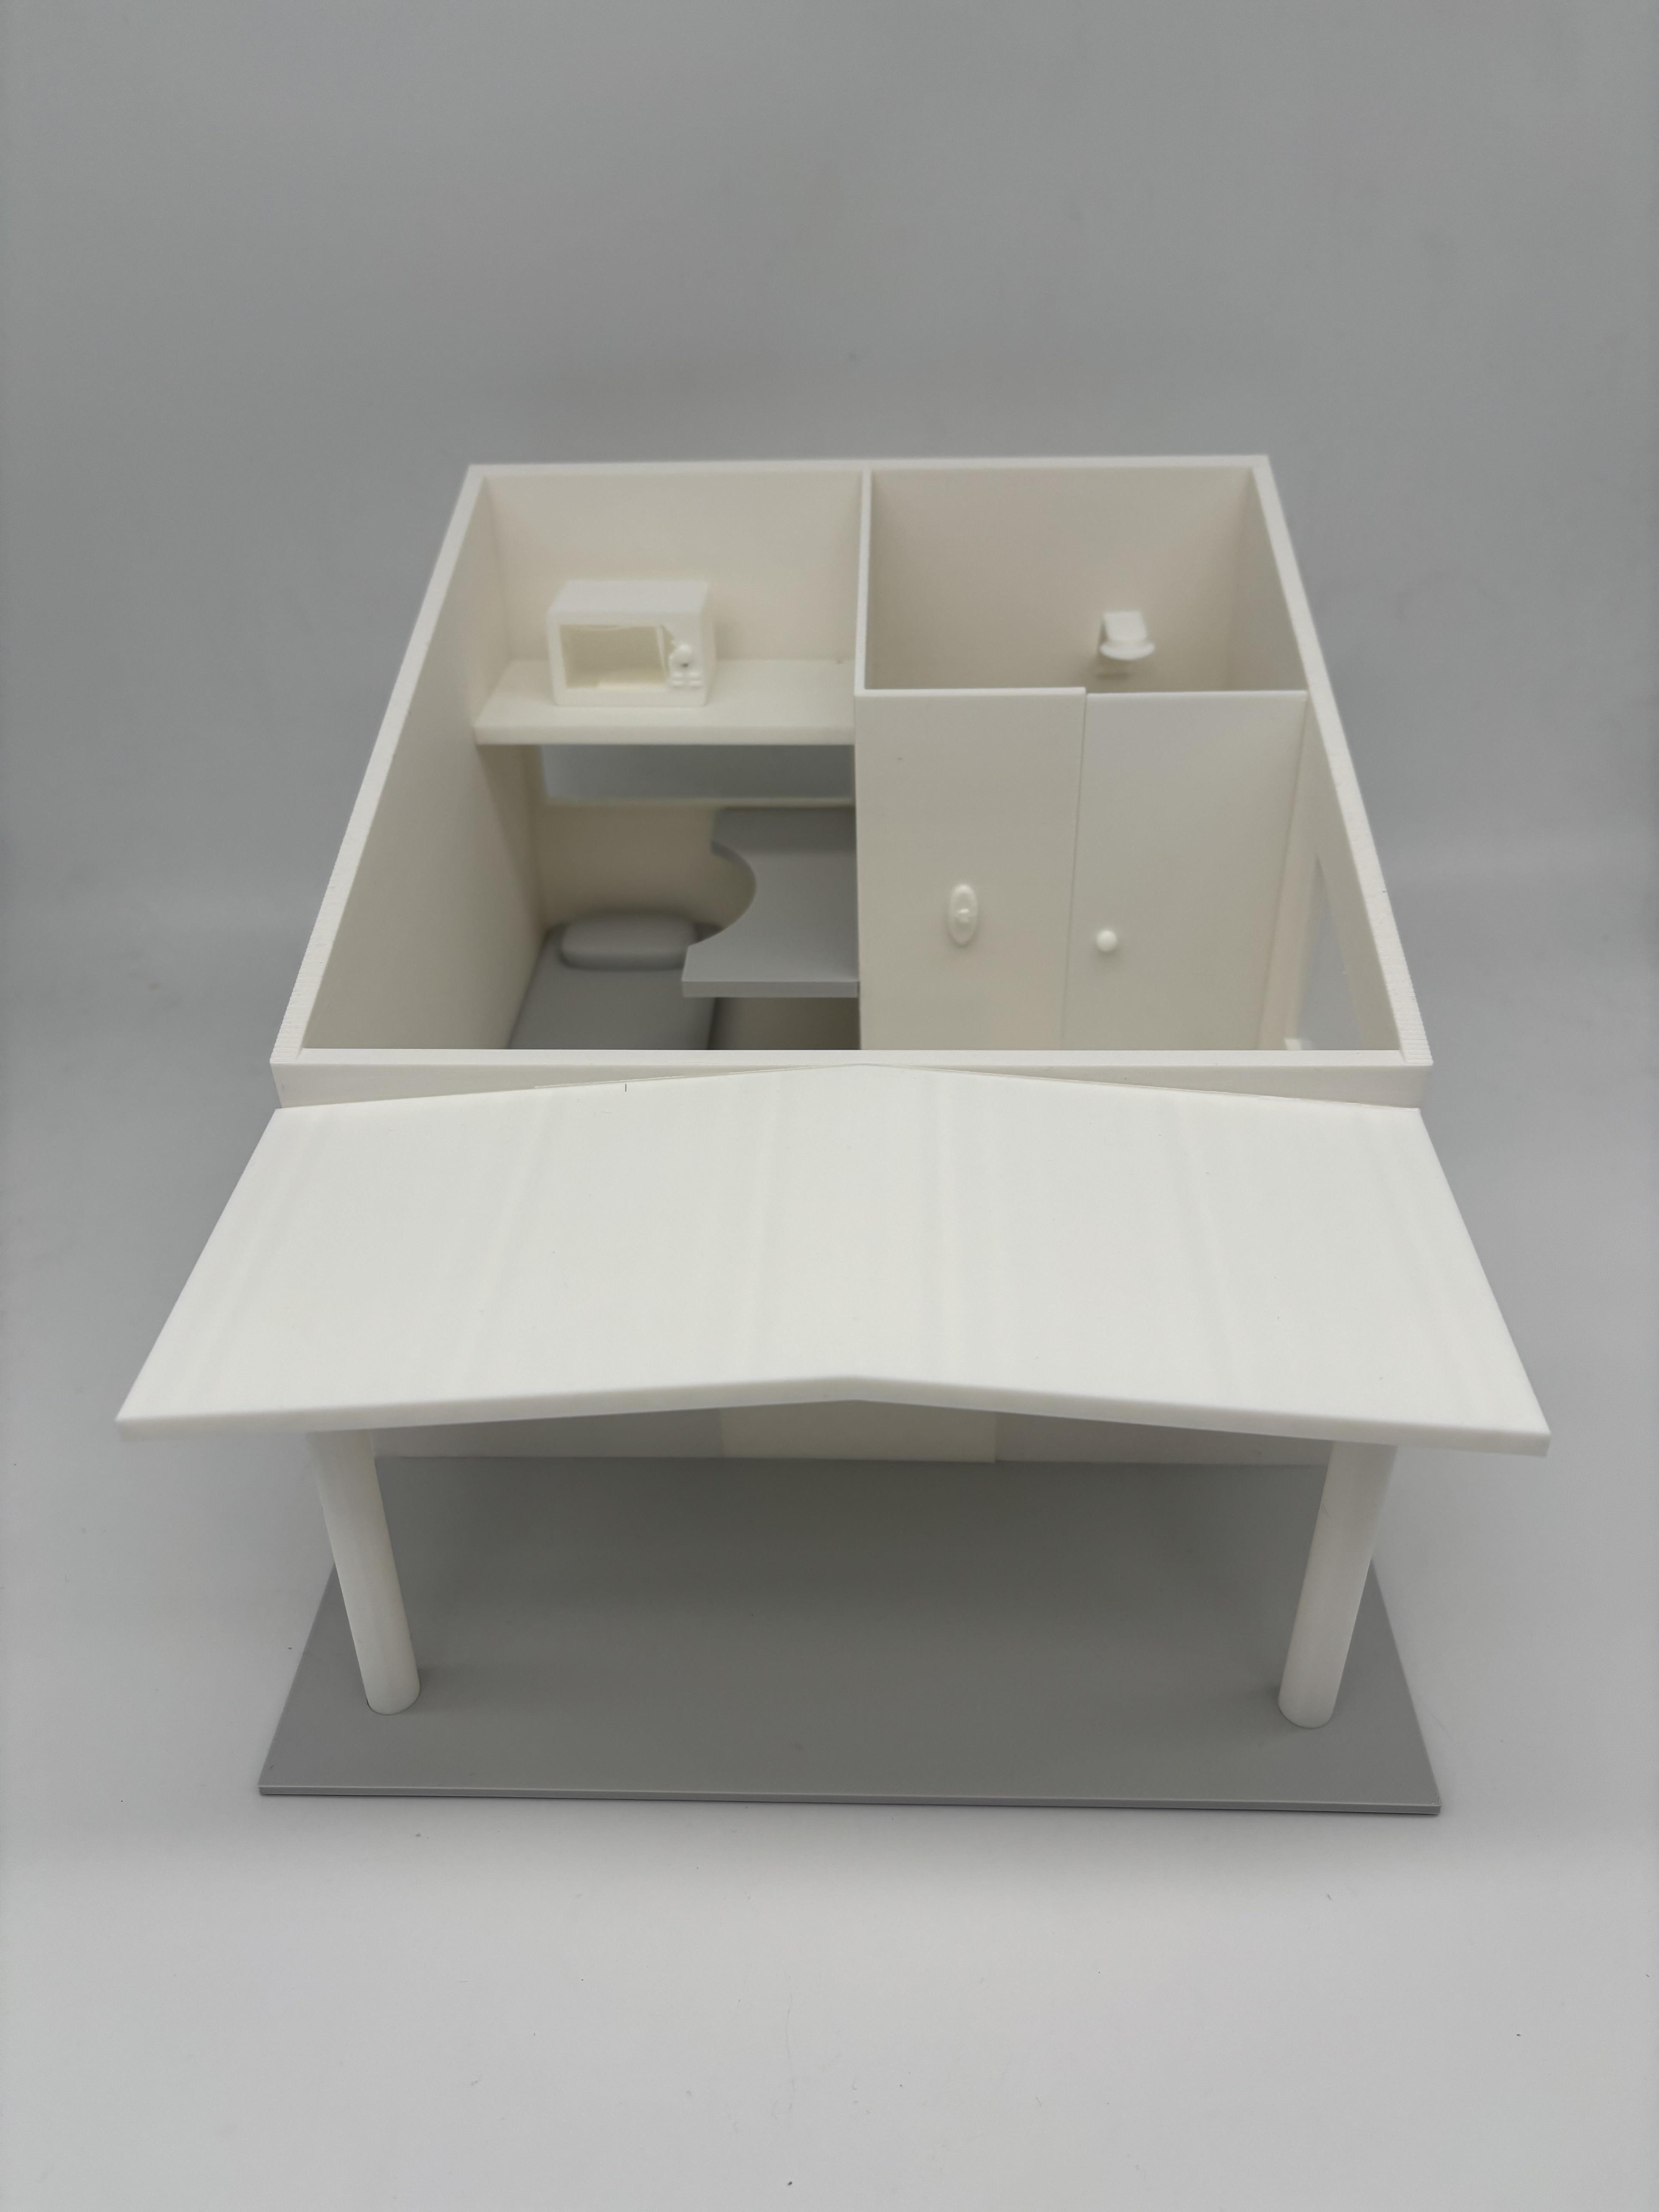
In today's world, homelessness remains one of society's most pressing challenges that affects millions globally. Although there are traditional homeless shelters that does provide immediate assistance, these weren't often designed with the specific needs of their residents in mind, which often leads to environments that can feel institutional and impersonal.
So then, I designed a 3D model that aims to re-imagine homeless shelter design by prioritizing both functionality and human dignity. It was also designed with the intention to reduce energy costs by introducing sustainable practices into the shelter, making the shelters permissible for mass production.
In this instructable, I will demonstrate step by step on how to design a homeless shelter!
Supplies
Material List:
- A Laptop with a 3D Modelling software (Fusion was used for this model)
- Paper, pencil, erase to design the model
If you want printout the model:
- 3D Printer
- PLA Filaments (for the overall model)
- Acrylic (only if you wish to printout the window)
- Laser cutter (Only needed if you wish to printout the windows)
- Super glue
- Solar panels (only used as display)
Shelter Design
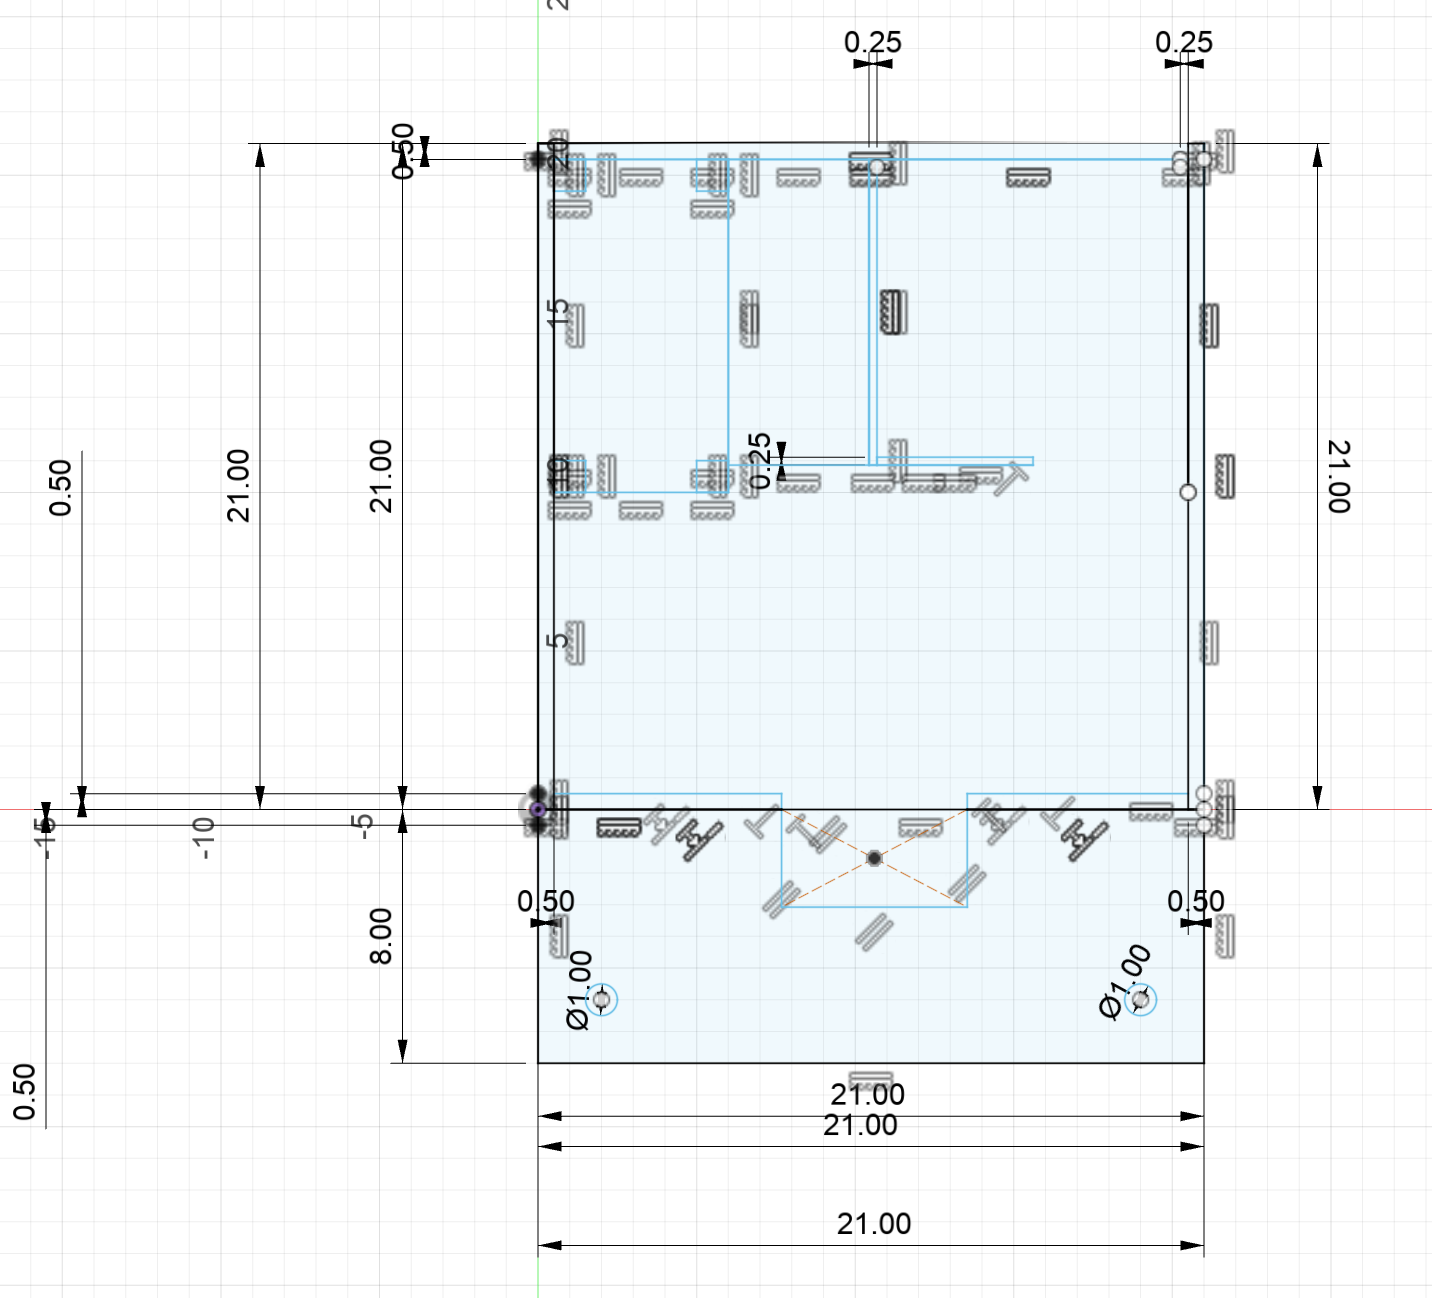
The first step is planning out how big your shelter will be and what to put inside it. You can see the measurements (in centimeters) of my model in the image above. But don't worry - you can make yours whatever size you need based on your 3D printer!
When planning, think about what someone living in the shelter would need day-to-day. You'll also need to figure out where everything should go. Think about what makes sense, like keeping the toilet away from the bed area, or making sure there's enough space to move around. This helps make the shelter as comfortable and useful as possible.
In my design, I included basic necessities like:
- A bed to sleep in
- A microwave to heat up food
- A shelf for storage
- A desk
- A sink and toilet
- A shower place
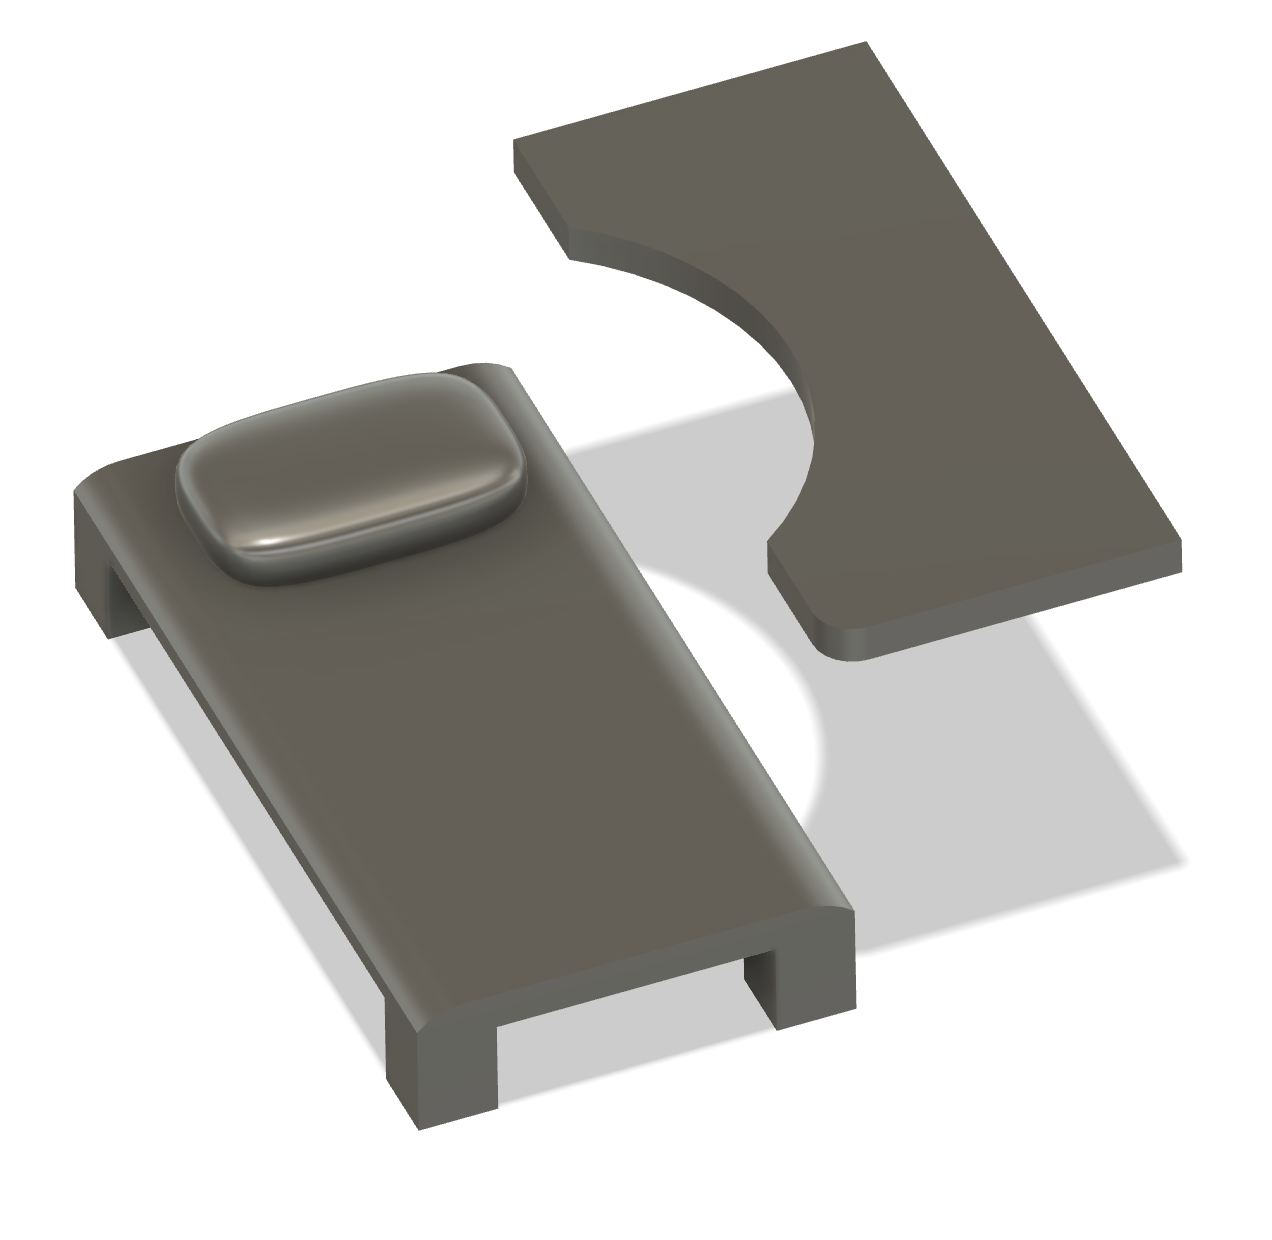
To keep production costs down for mass manufacturing, I made some smart choices about combining furniture. Instead of adding a separate chair, I placed the desk right next to the bed. This way, the bed can be used both for sleeping and as a place to sit while using the desk. This kind of space-saving design helps make the shelter more affordable for mass production while still giving people the features they need.
You might want to add more or less furnitures as you design the shelter, and you might even realize it is too big or small! It is perfectly fine to adjust the dimensions of the shelter any time. You can also create another sketch to plan out the sizes of your furniture as well.
Extrude the Skull of the Shelter
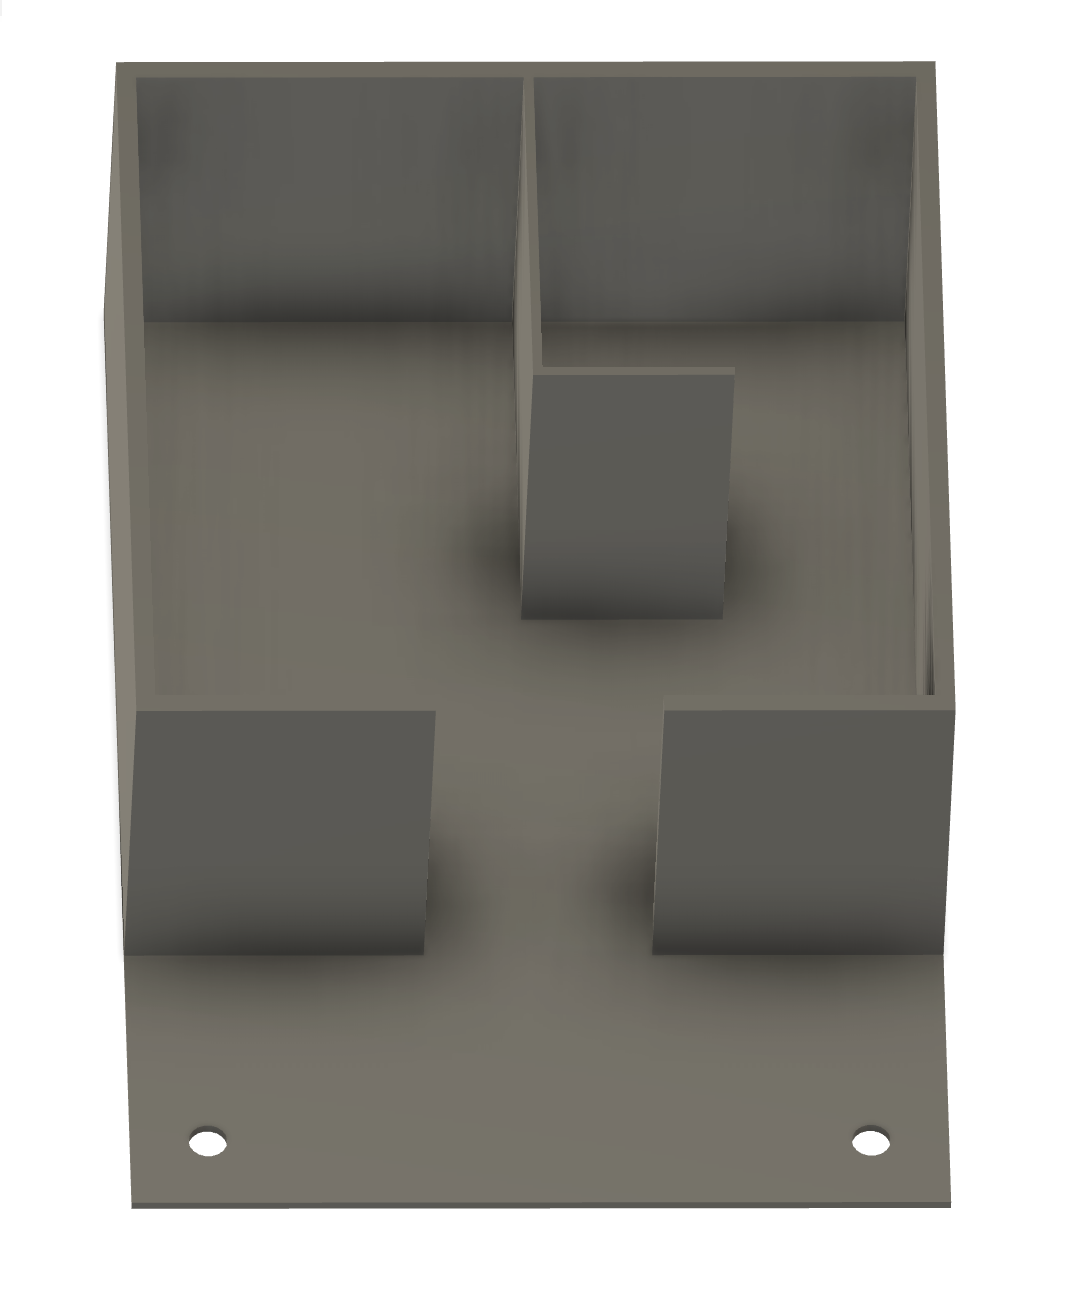
Once you've planned out your dimensions, the next step is to create the basic structure or "shell" of the shelter. This involves:
- Start with the base (floor) of your shelter according to your planned dimensions
- Create the walls by extruding them upward from the base outline
- Make sure the walls reach your planned height
- Remember to leave openings for the doors you want to include
This forms the basic box-like structure that will house all the interior features we planned earlier. Think of it like creating an empty container that we'll later fill with the furniture and fixtures. This way, it is also easy to make changes to the sizes of our furniture as the house dimension is set.
NOTE: It is suggested that the complete dimension of the shelter should be set as this point, changing the dimensions later on may be more difficult.
Create the Designed Furnitures
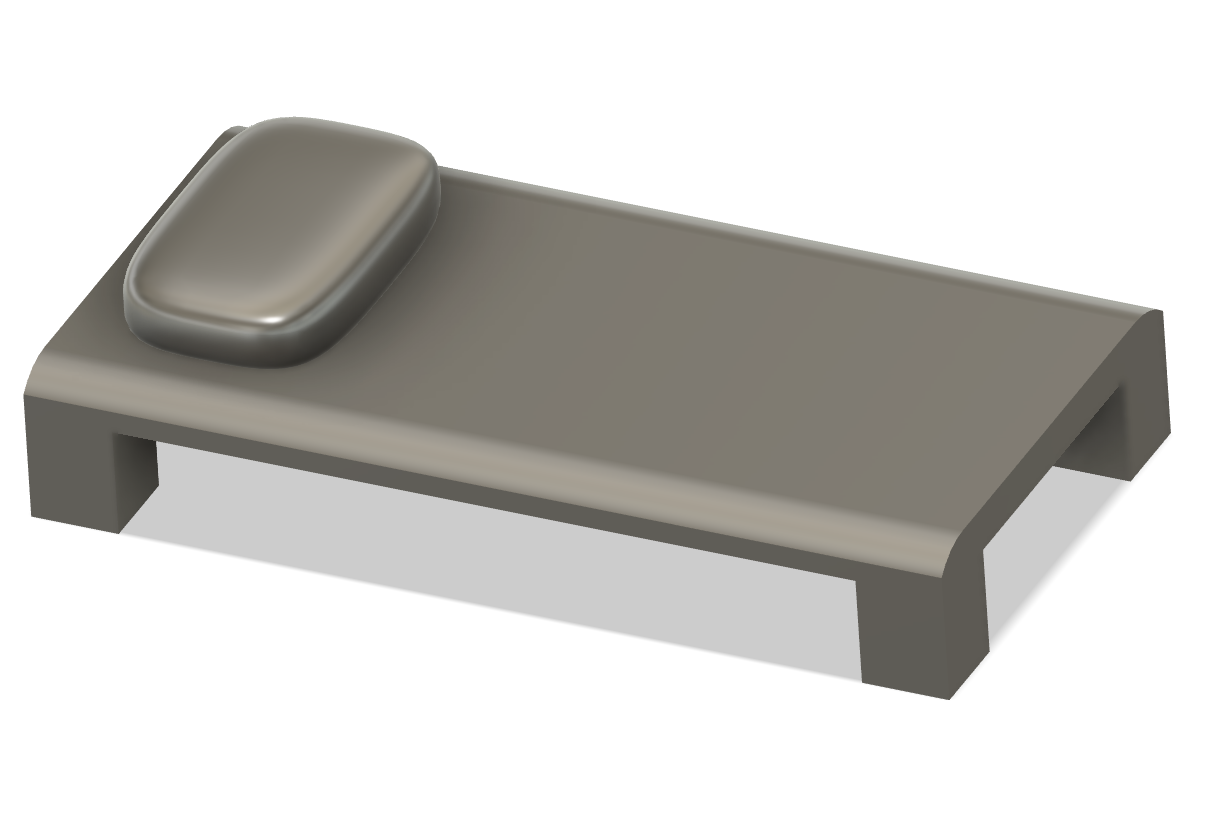
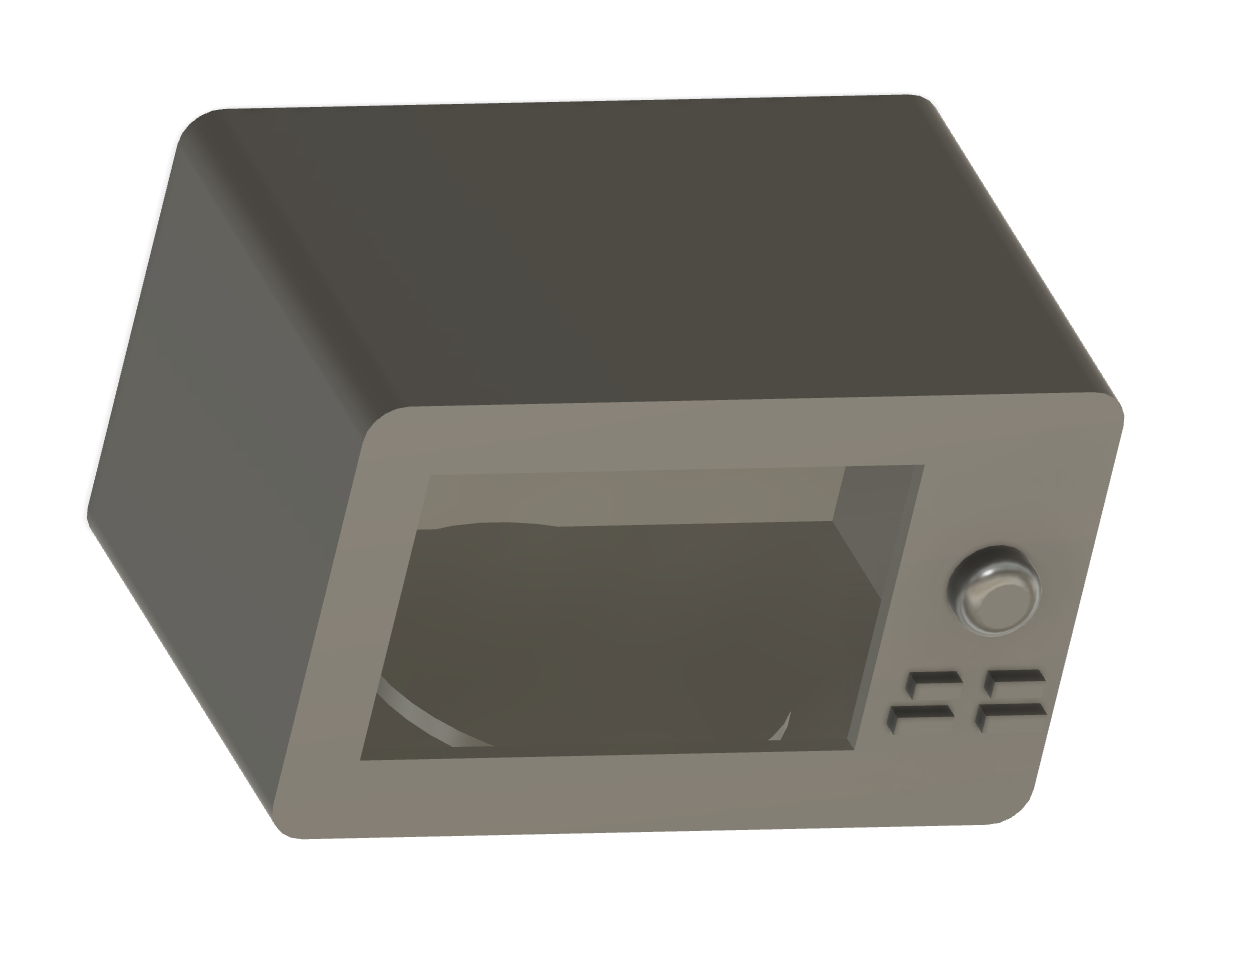
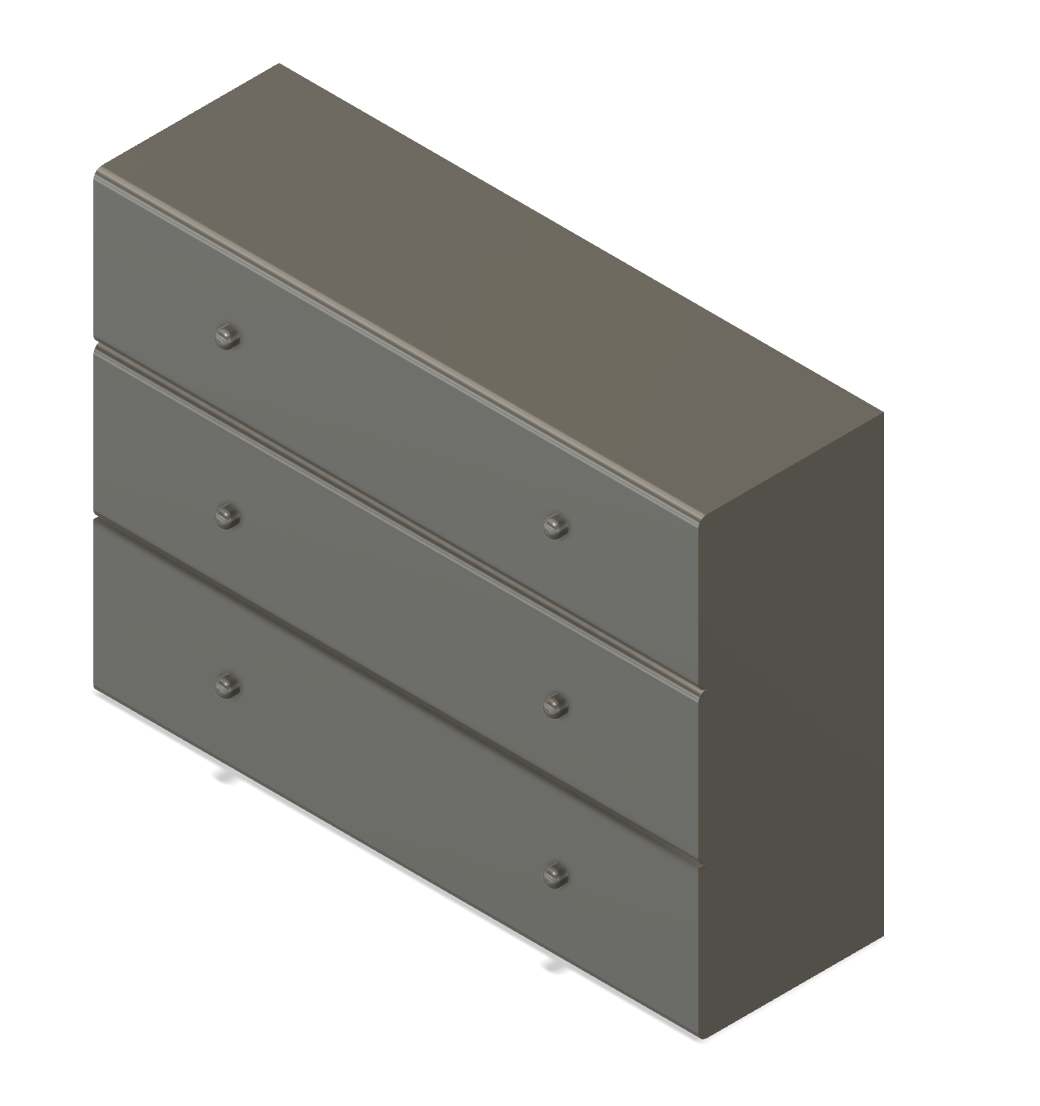
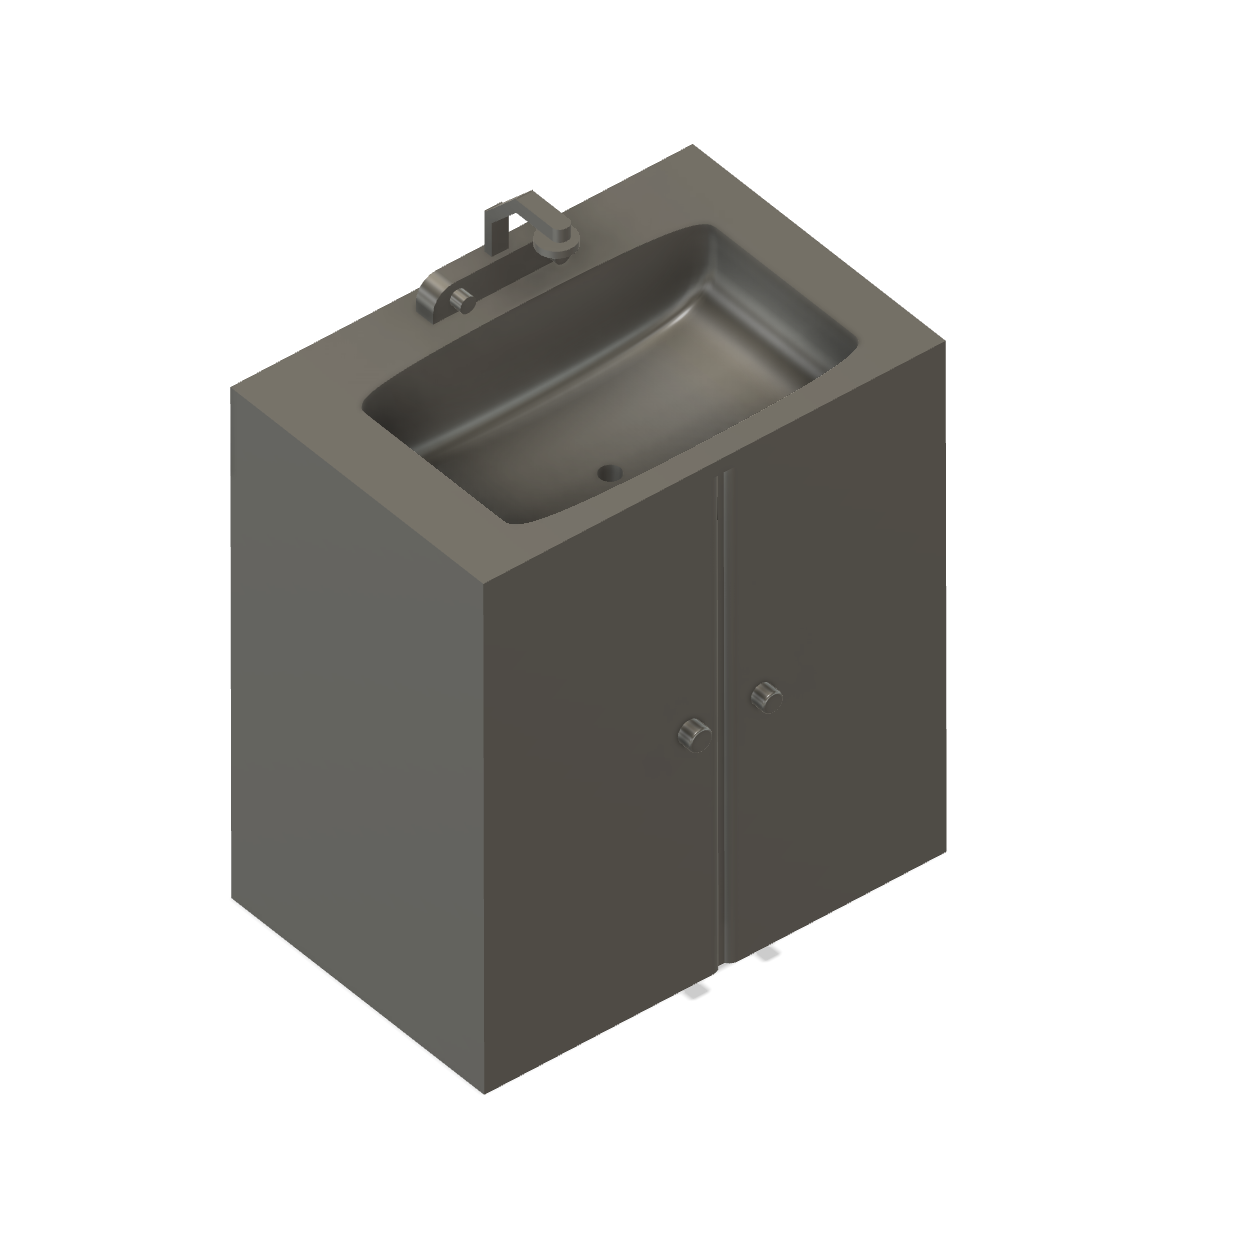
Now that you have the shelter's shell, let's add the furniture we planned. You'll use the measurements from your initial plan to make each piece fit properly in the space.
Here's a helpful tip: Instead of creating all the furniture directly in your main shelter design, make each piece separately first. For example, design the bed in a new file, then the desk in another, and so on. Once you're happy with each piece, you can bring them into your main shelter design. This makes it much easier to make changes to furniture without messing up the whole design. Keep your work organized. Fix any problems with individual pieces
Start with the bed since it's one of the larger pieces:
- Create a simple rectangular platform at sleeping height
- Remember we designed this to also work as seating for the desk
Add the desk:
- Place it right next to the bed
- Make it at a comfortable height for someone sitting on the bed
Install the basic bathroom fixtures:
- Add the toilet
- Put in the sink
- Make sure there's enough space around these for comfortable use
Add storage solutions:
- Create the shelf for personal belongings
- Make sure it's at a reachable height
Finally, add the microwave area:
- Create a platform or shelf for the microwave
- Make sure it's near an area where power could be installed
Keep all the furniture simple and practical - we want these pieces to be easy to 3D print and durable for everyday use.
Bring All Components Together
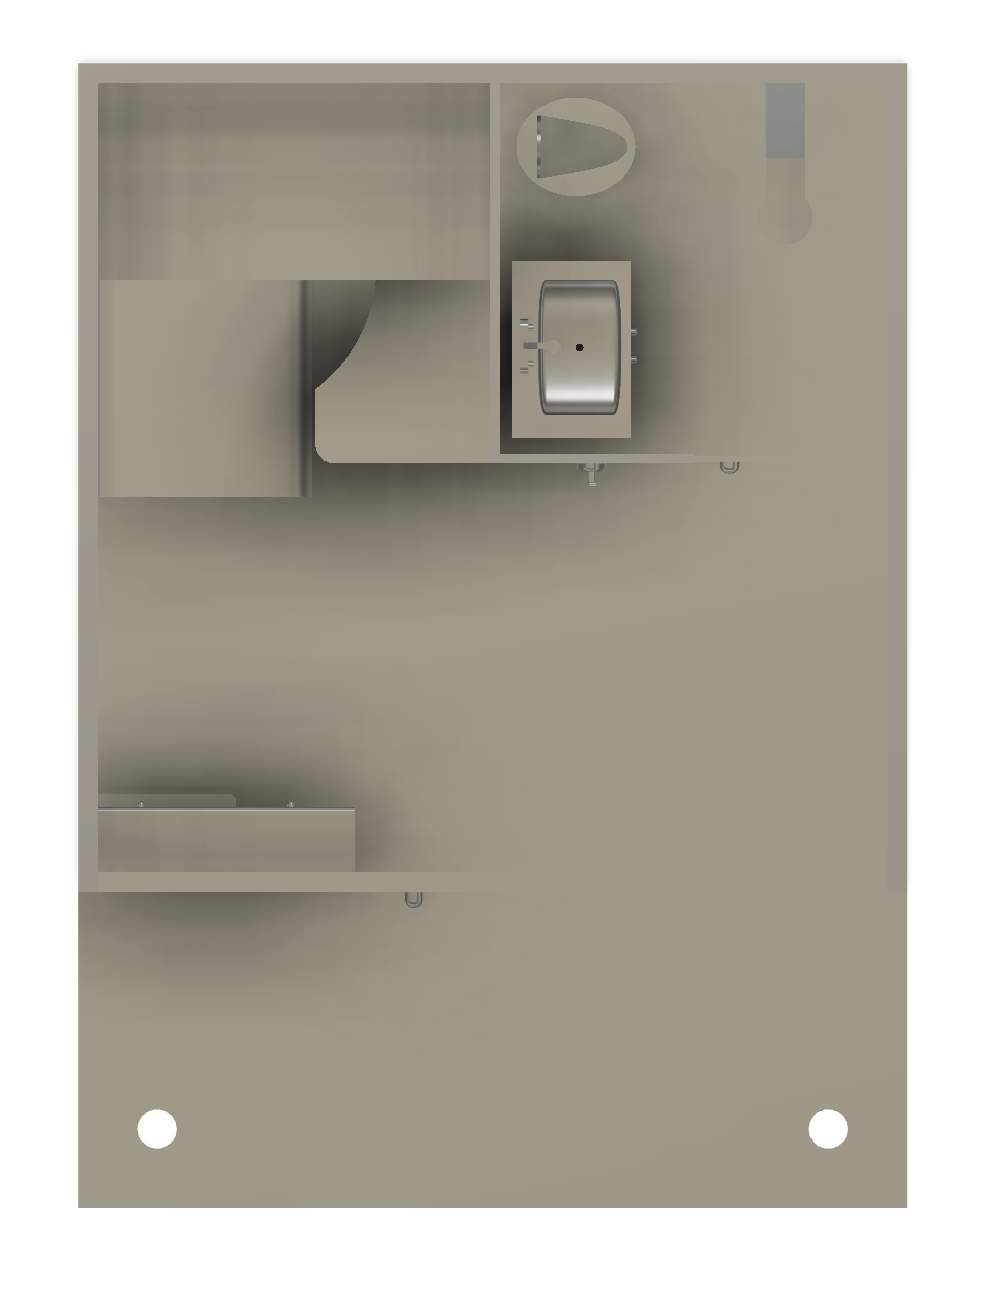
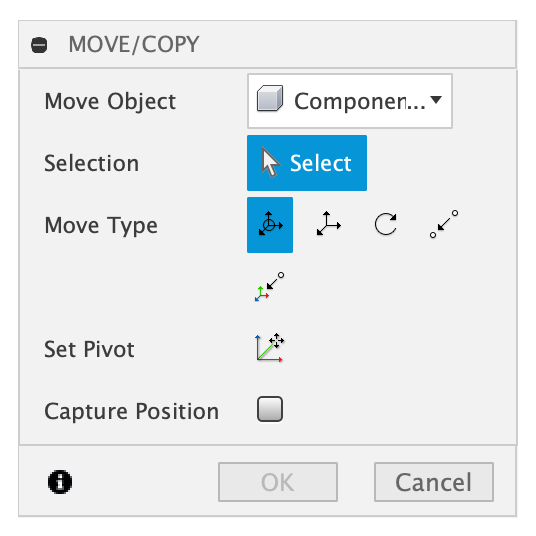
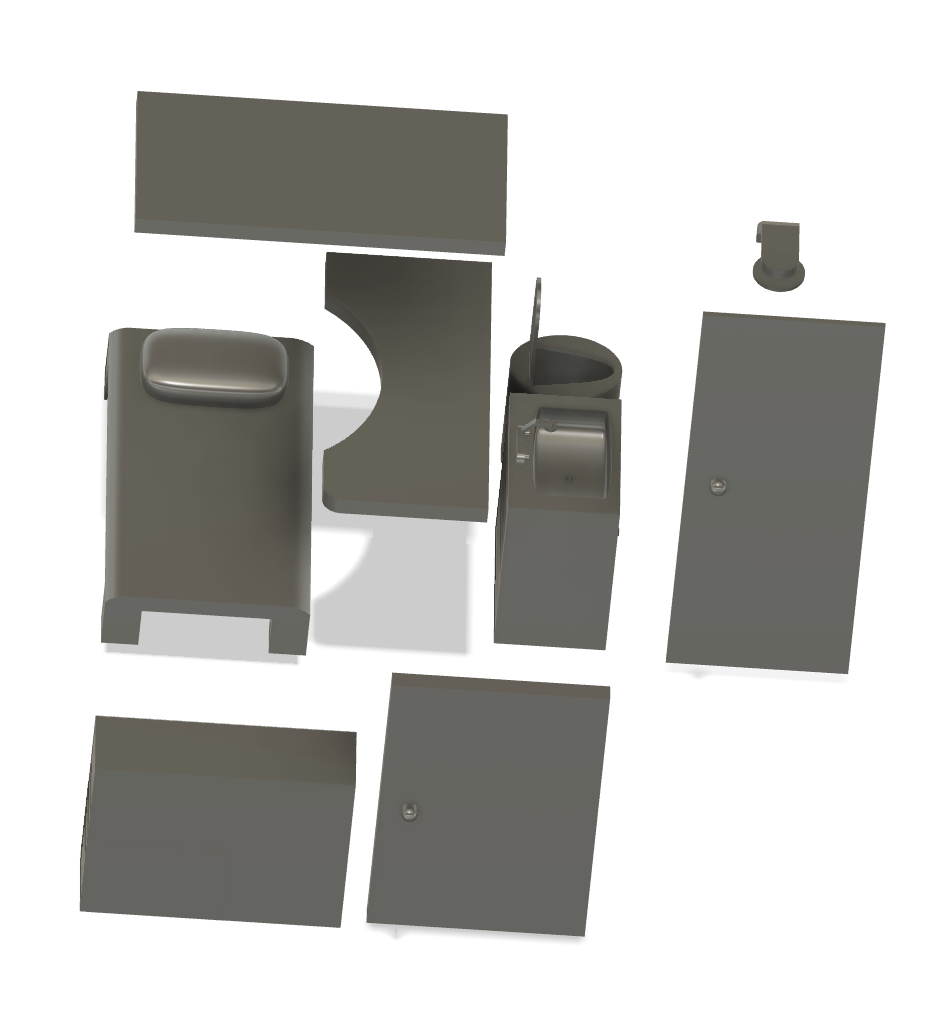
Now you'll bring everything together! Take each piece of furniture you designed separately and place them into your shelter shell using "Insert Component". Follow your original layout plan to position each item exactly where you want it through "Move/Copy." This is where you'll see your shelter design come to life, with all the furniture fitting into the spaces you carefully planned out.
This is also a good time to double-check that:
- Everything fits properly
- There's enough space to move around
- All the pieces line up correctly
- Nothing interferes with other items
If you notice any problems, you can easily go back to adjust the individual furniture pieces since you created them separately.
Finish the Roof/Windows
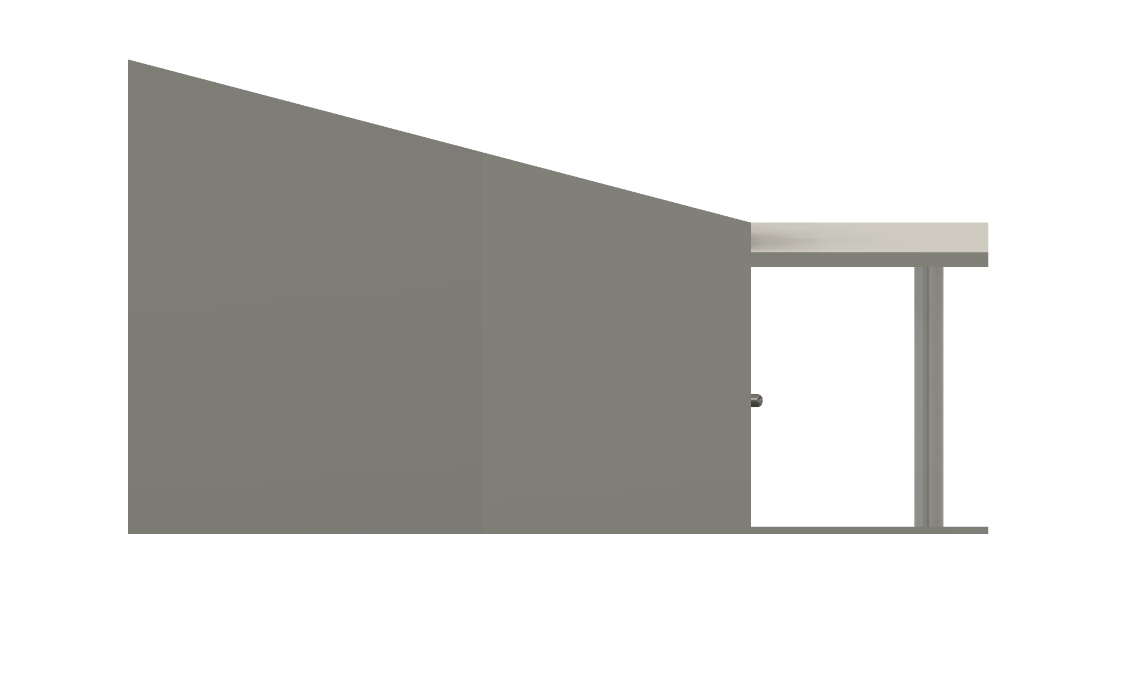
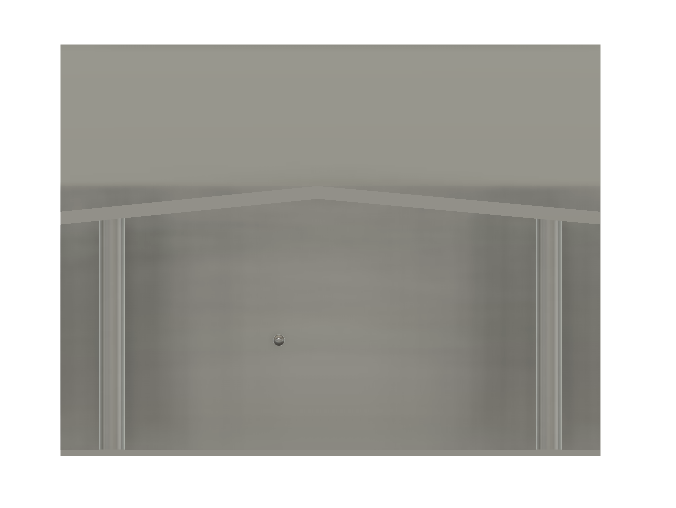
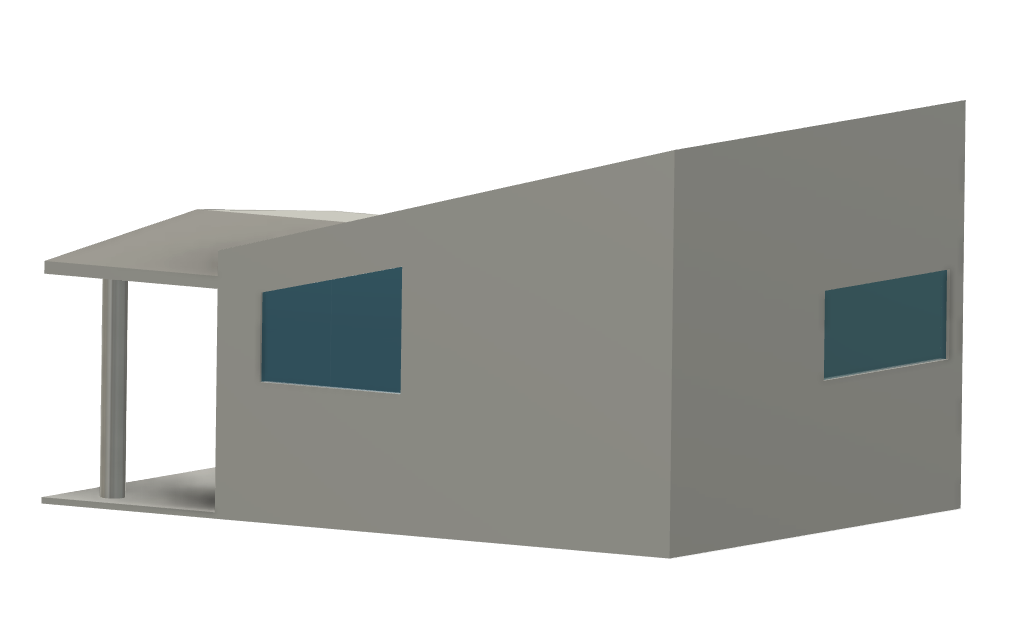
Finally, it is time to finish the shelter's exterior features!
Before adding the roof, I made an important change to the walls. I increased their height and angled them forward, creating a tilt toward the front of the shelter. The slope helps rainwater run off instead of pooling on the roof. When solar panels are installed (in the actual model), this tilt also helps keep them dry and working properly
For the windows:
- Use the "Cut" operation to create window openings in your walls
- Extrude window frames if needed (You could also change the material of the window frame to "glass")
- Make sure to use "Measure" to check your window dimensions match your plan
For the roof:
- Start with a new sketch on top of your walls
- Use "Extrude" to create the roof thickness
- Apply "Fillet" or "Chamfer" on edges if desired
For the entrance awning:
- Create a new sketch on the front face
- Draw the awning shape using "Rectangle"
- "Extrude" to give it thickness
- Add two support posts using "Circle" and "Extrude"
- Use "Join" to connect everything
- Add "Fillet" to smooth any sharp edges
Remember to use "Inspect" to check that everything lines up correctly with your shell and there aren't any gaps or overlapping surfaces.
3D Print and Assemble Your Model!
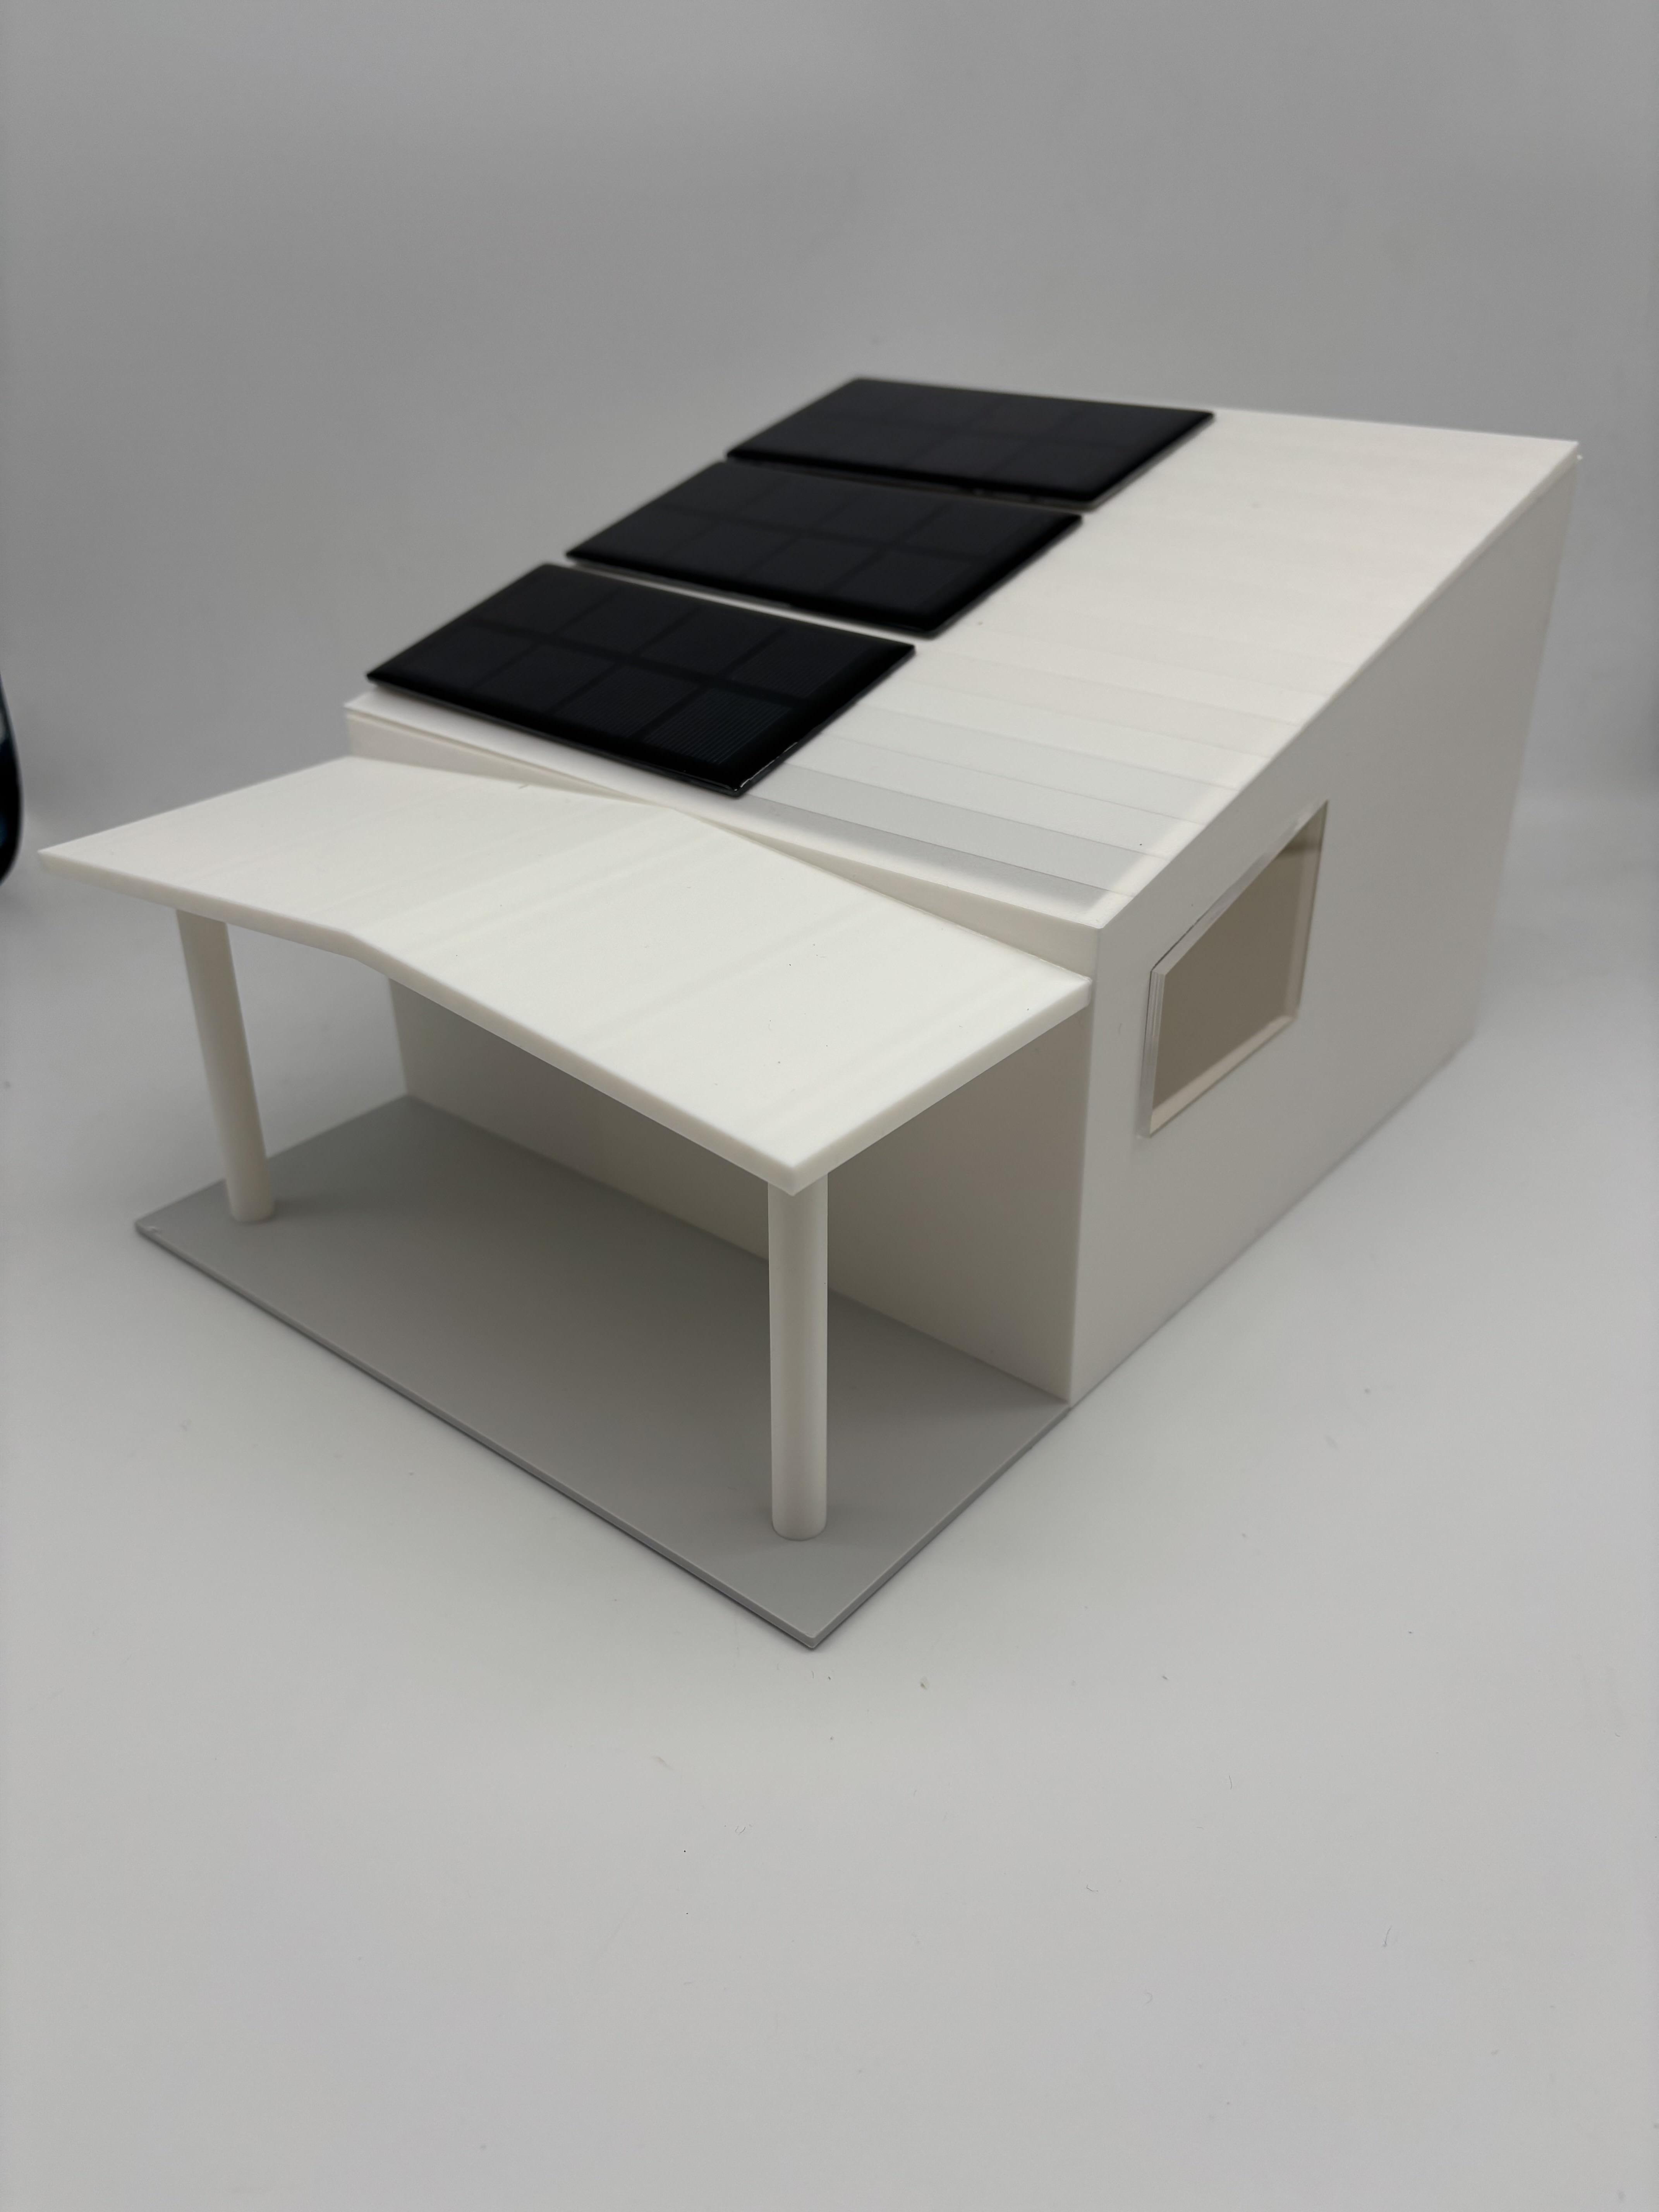
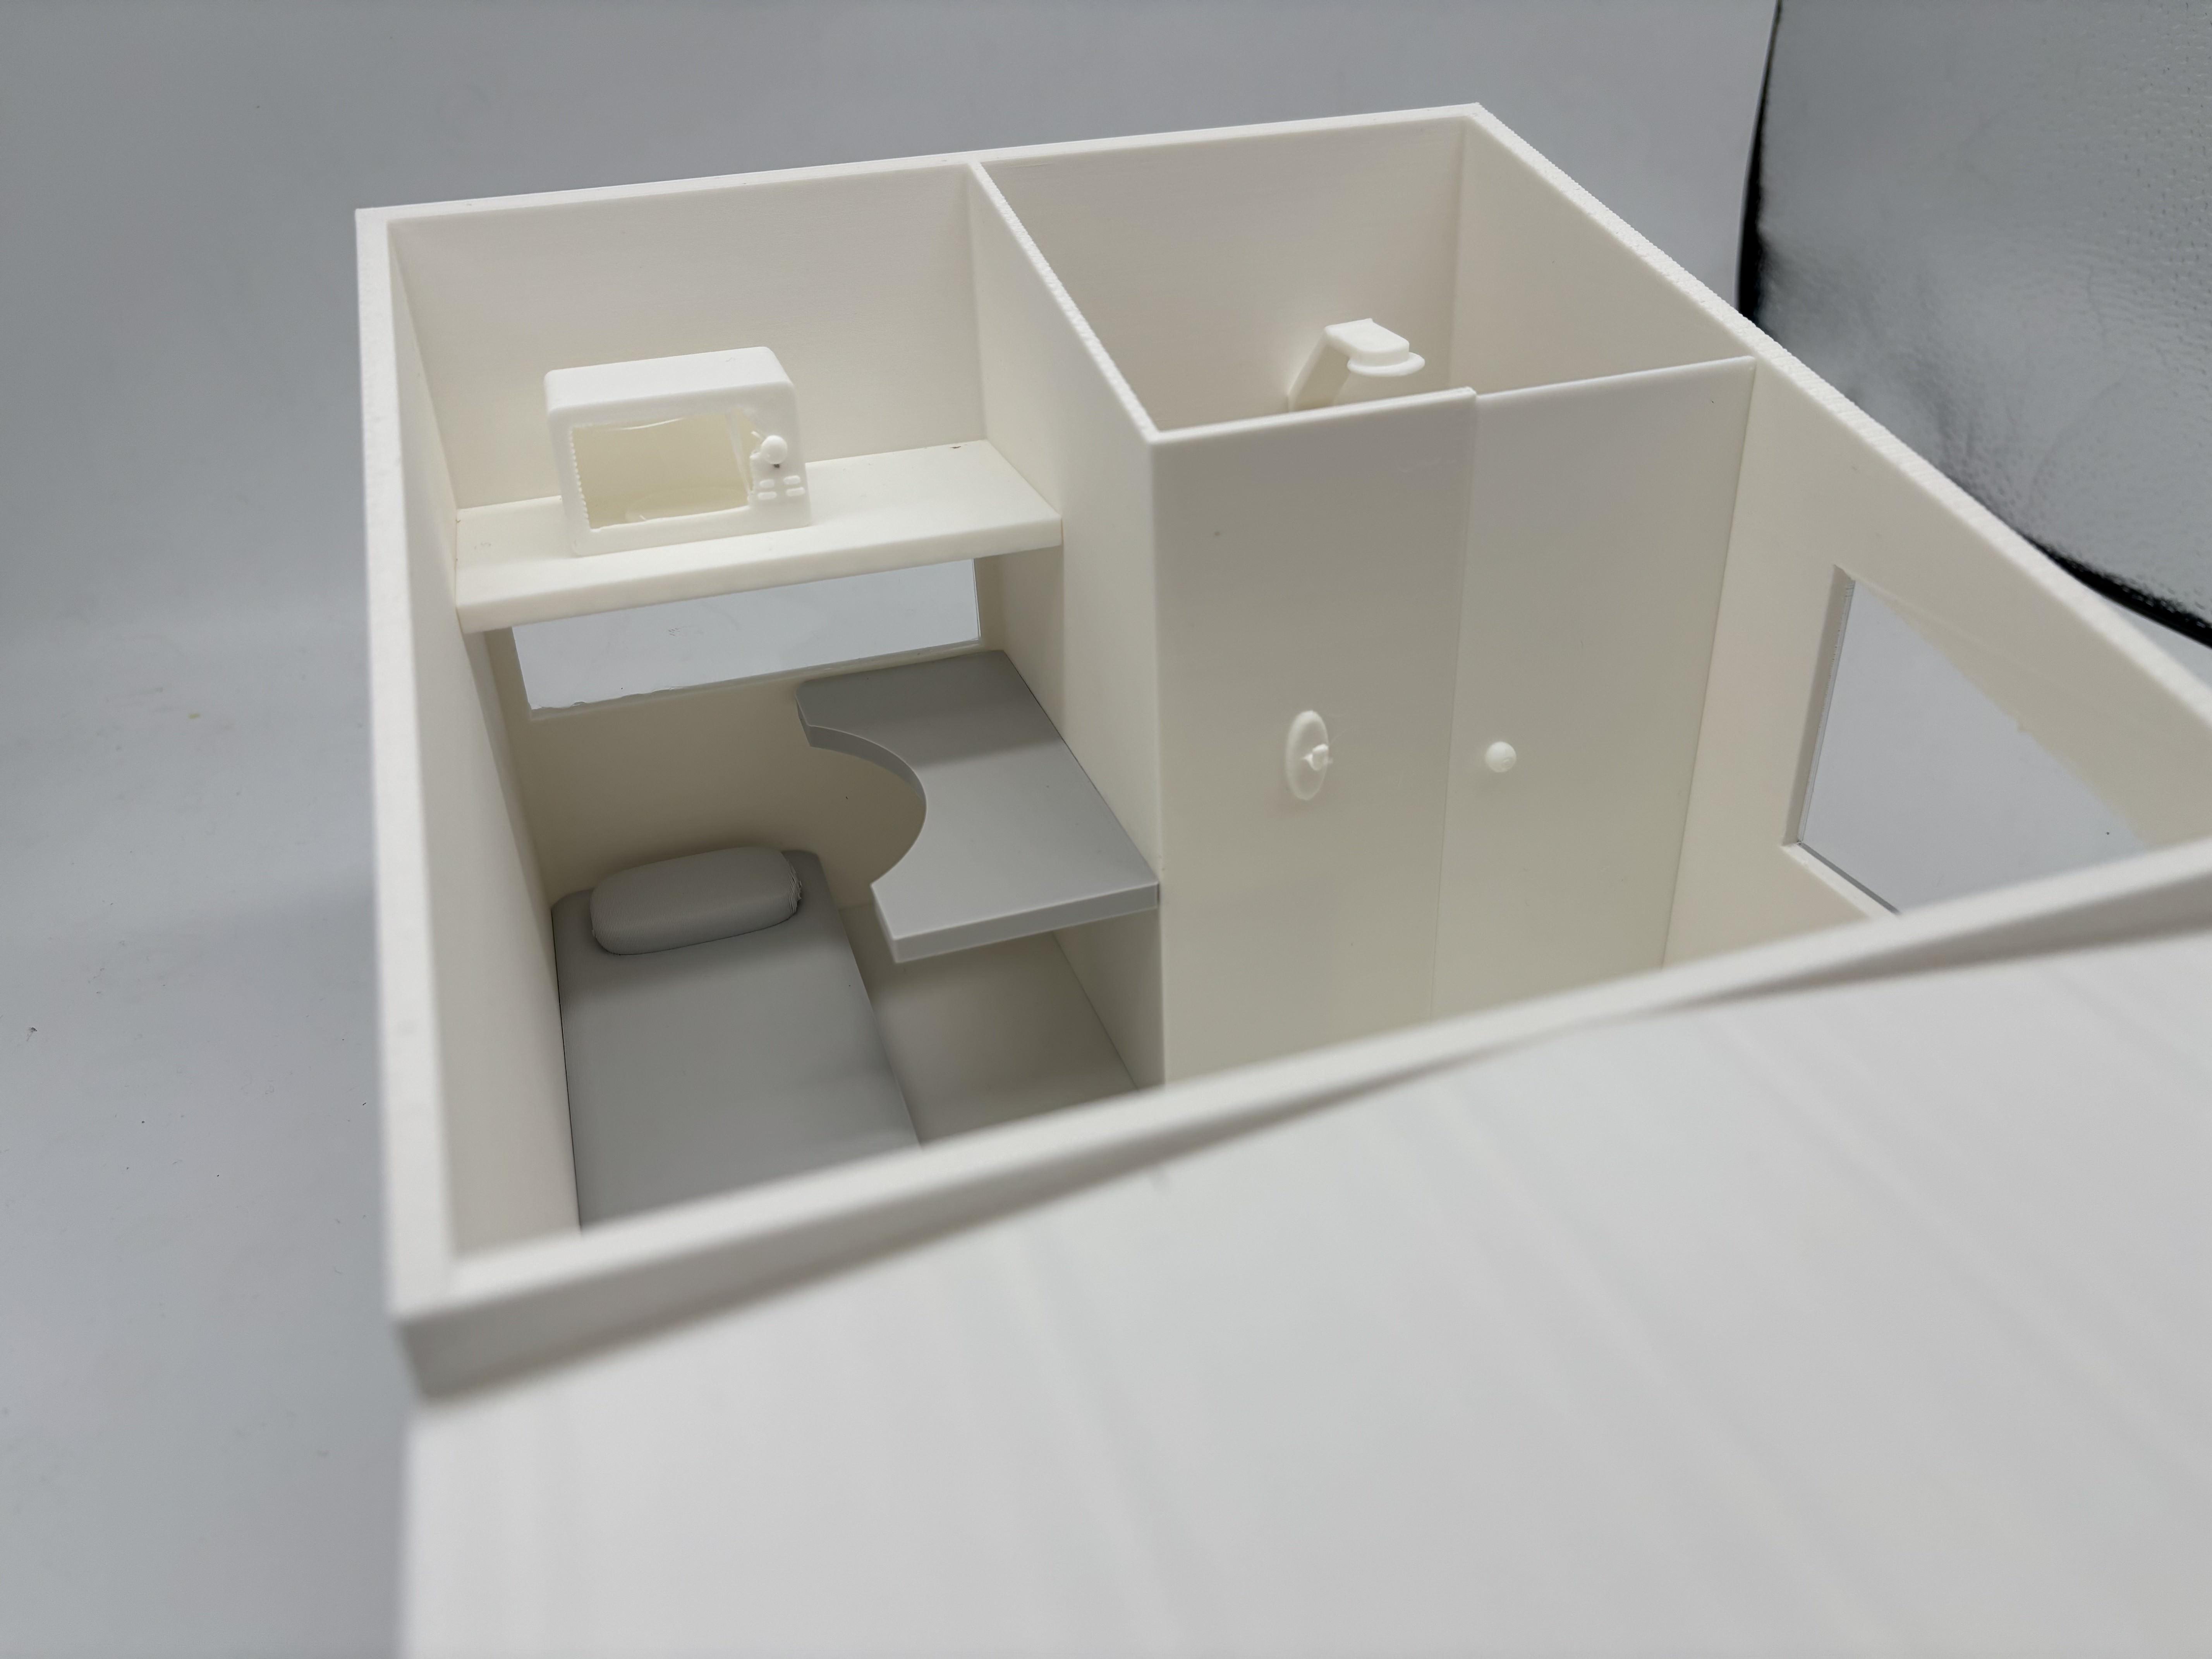
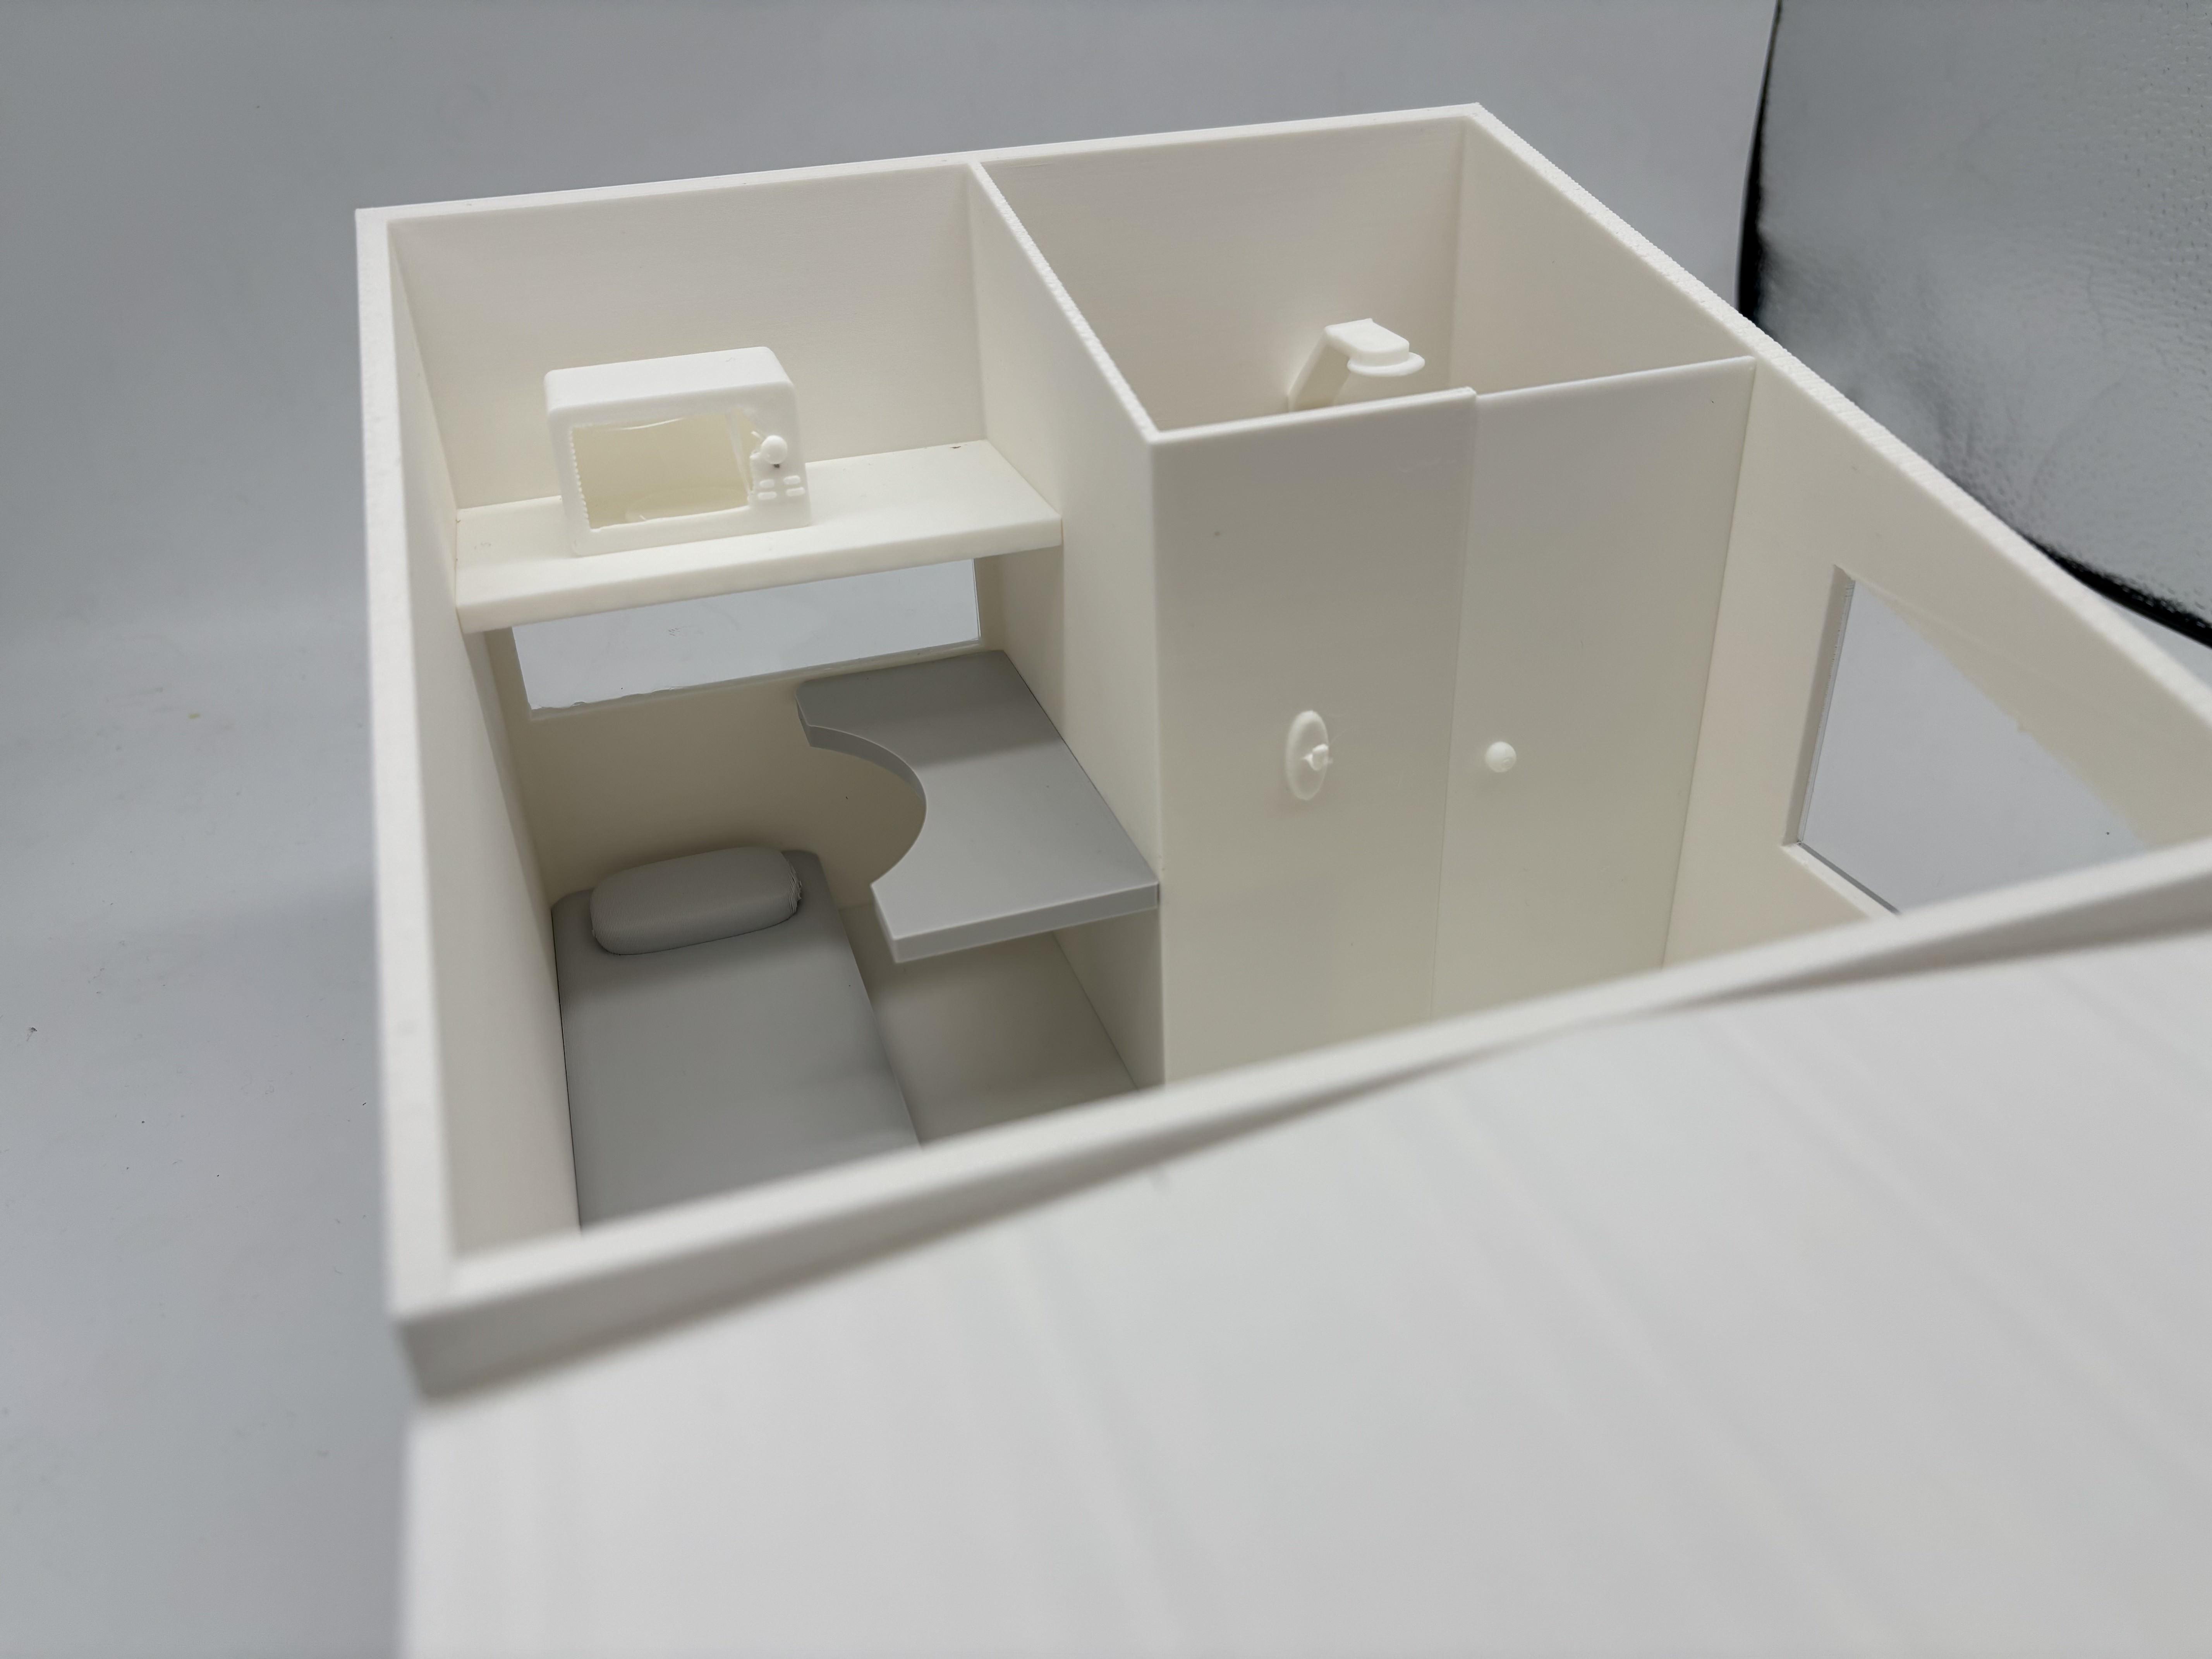
Finally it is time to print out the model:
- Save each piece of furniture and walls as separate files from Fusion 360 for easier handling in the slicer.
- Open Bambu Studio to slice your files and set up your print settings.
- The windows made with acrylic materials needs to be laser cut.
- For large pieces like walls that might be too big for your printer, split them into smaller sections that will fit your print bed.
- Once everything is printed, uses super glue to connect all the pieces together, especially the desk/shower which is at a height and the windows.
- Add the solar panels onto the roof for sustainable practices.
Note* This step is completely optional.