Surreal (just) Black and White Effect With Lightroom 2.0
by billydclam in Circuits > Cameras
4584 Views, 4 Favorites, 0 Comments
Surreal (just) Black and White Effect With Lightroom 2.0
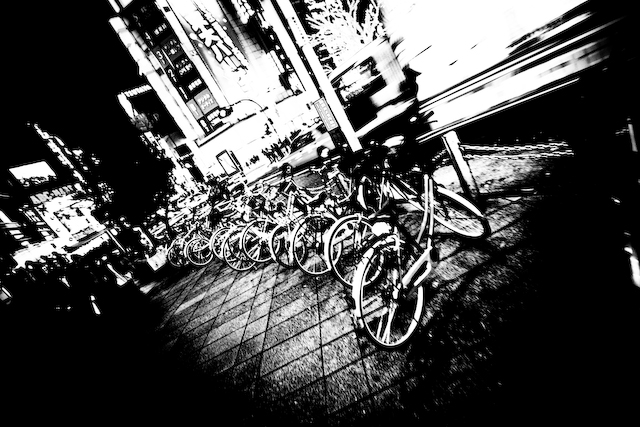
This effect converts your color pictures into highly contrast black and white. The result is a surreal, abstract photo.

1. Choose the picture that you want to have this surreal black and white effect. To get the most from the picture, please remember to shoot the picture in RAW.
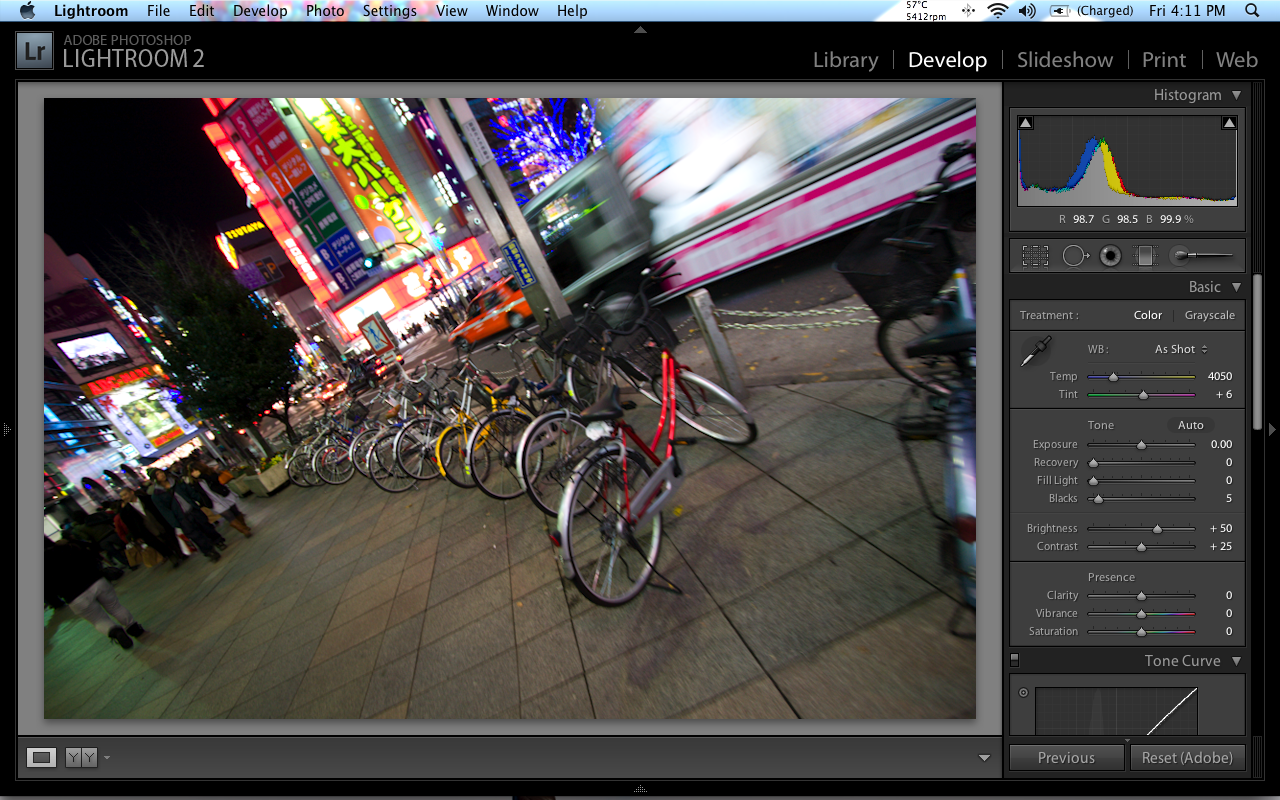
2. Go to
Develop
.
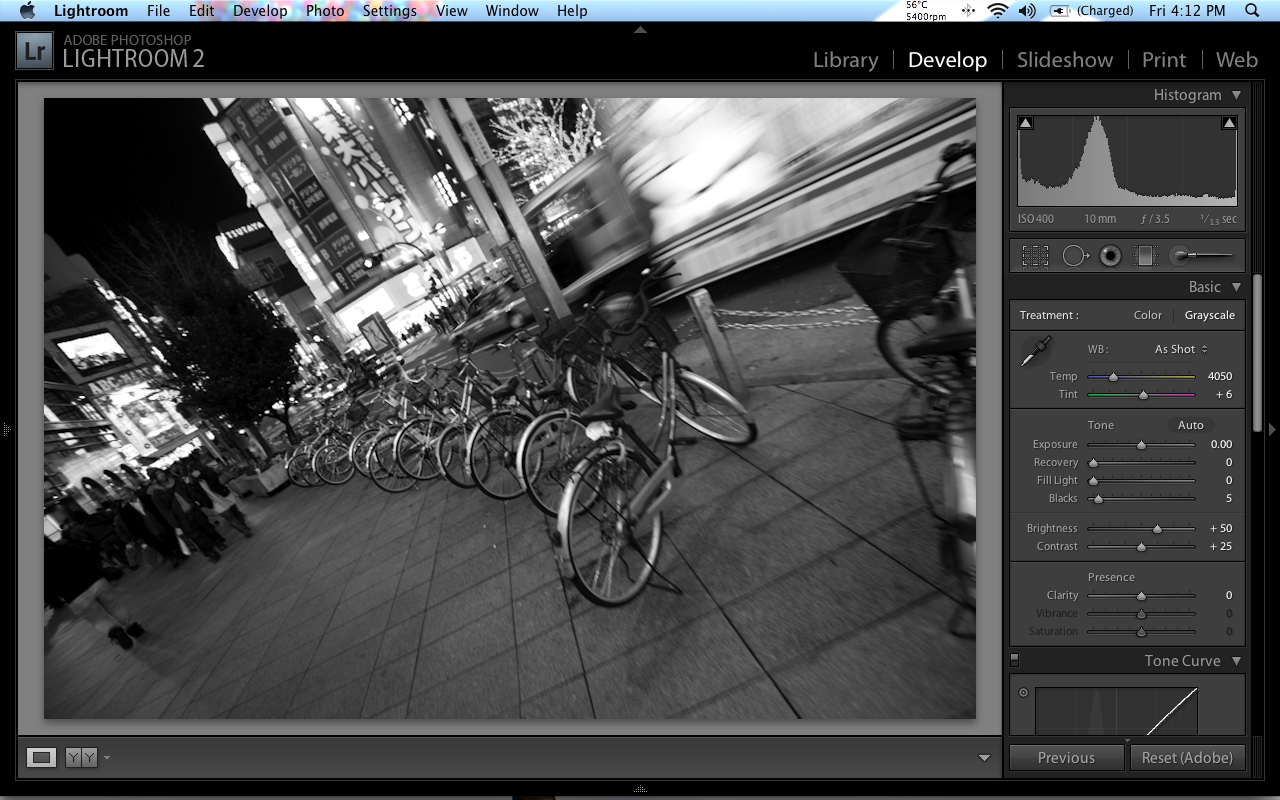
3. On the right panel, under Basic, click on
Grayscale
.
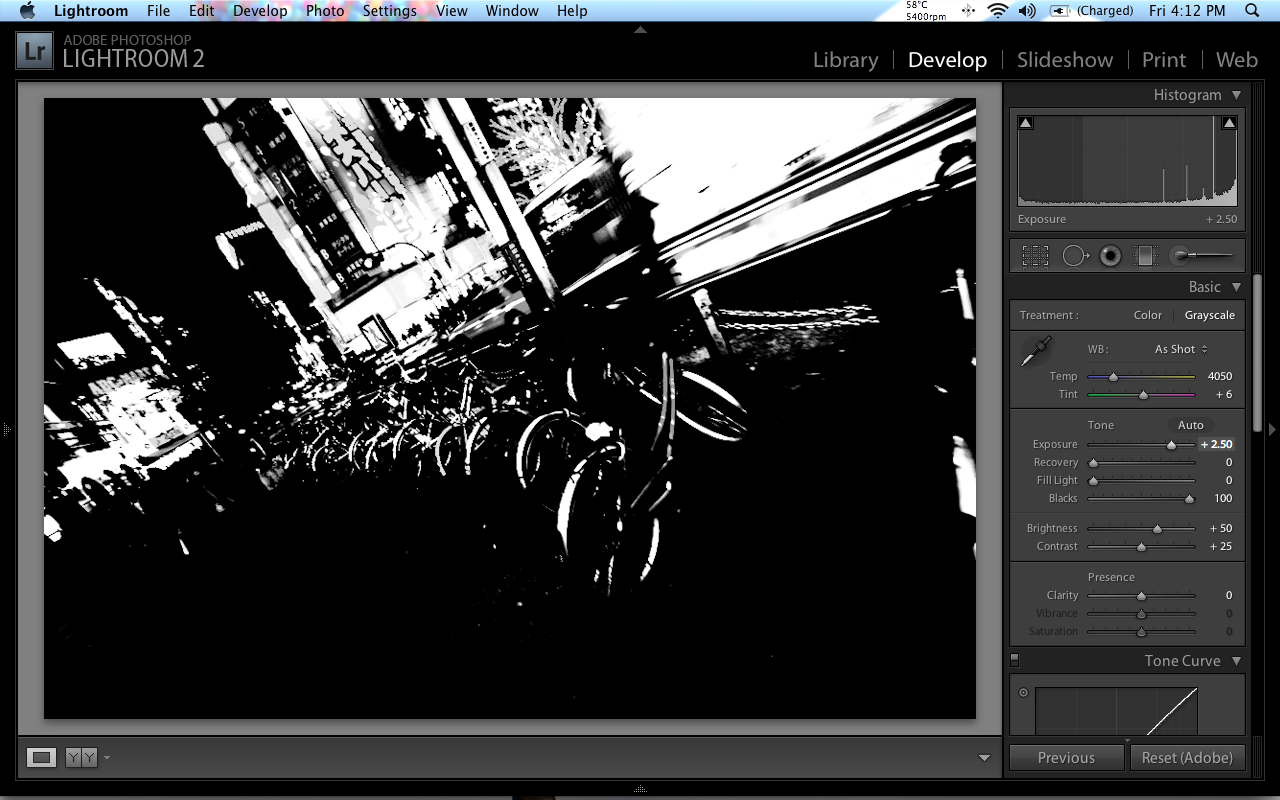
4. On the same panel, under Basic, there is a section called tone. In tone panel, move the
Blacks
all the way to 100, and
Recovery
, if not already 0, move it to 0.
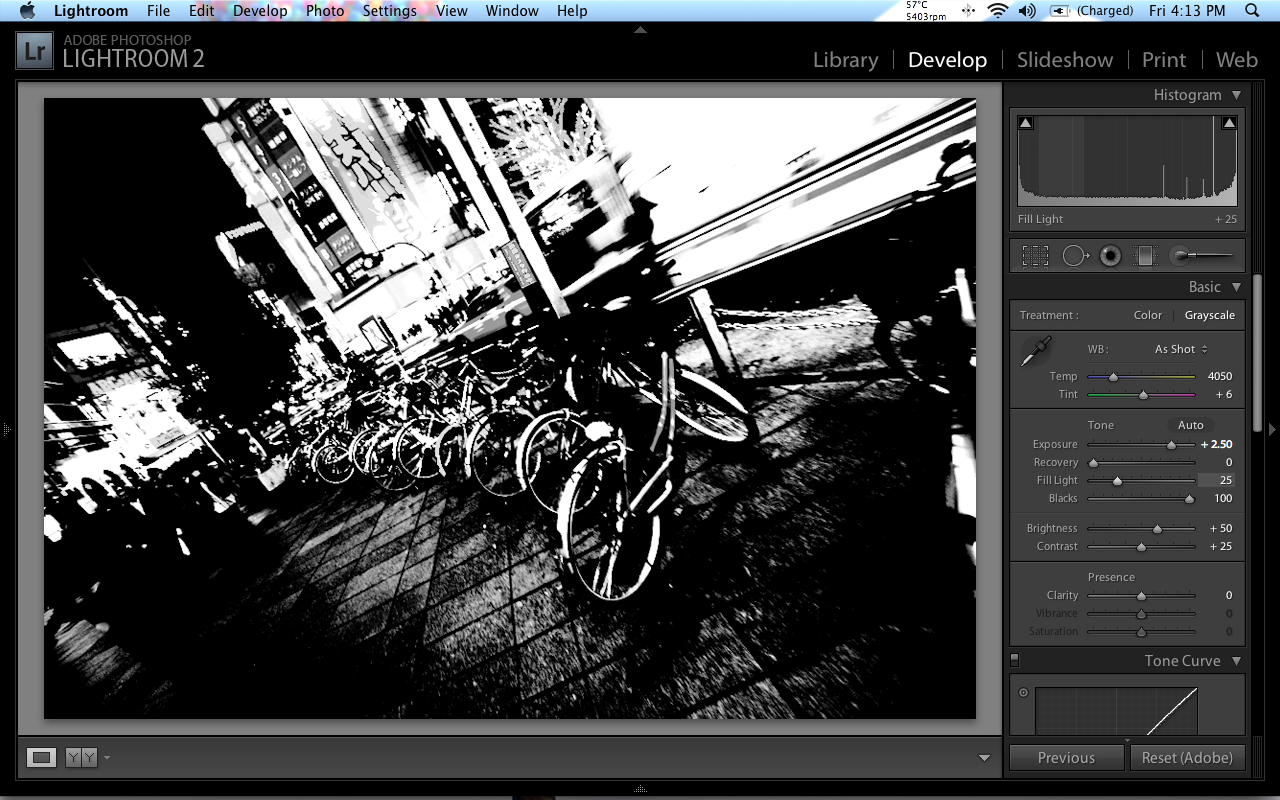
5. Now adjust the
Exposure
to show more highlights of the picture. There is no exact science for these setting; set it to your own taste. For this picture here, I will set it to +2.00. After then, adjust the “Fill Light” to show more details of the picture. For my taste for this picture here, I will set it to 20.
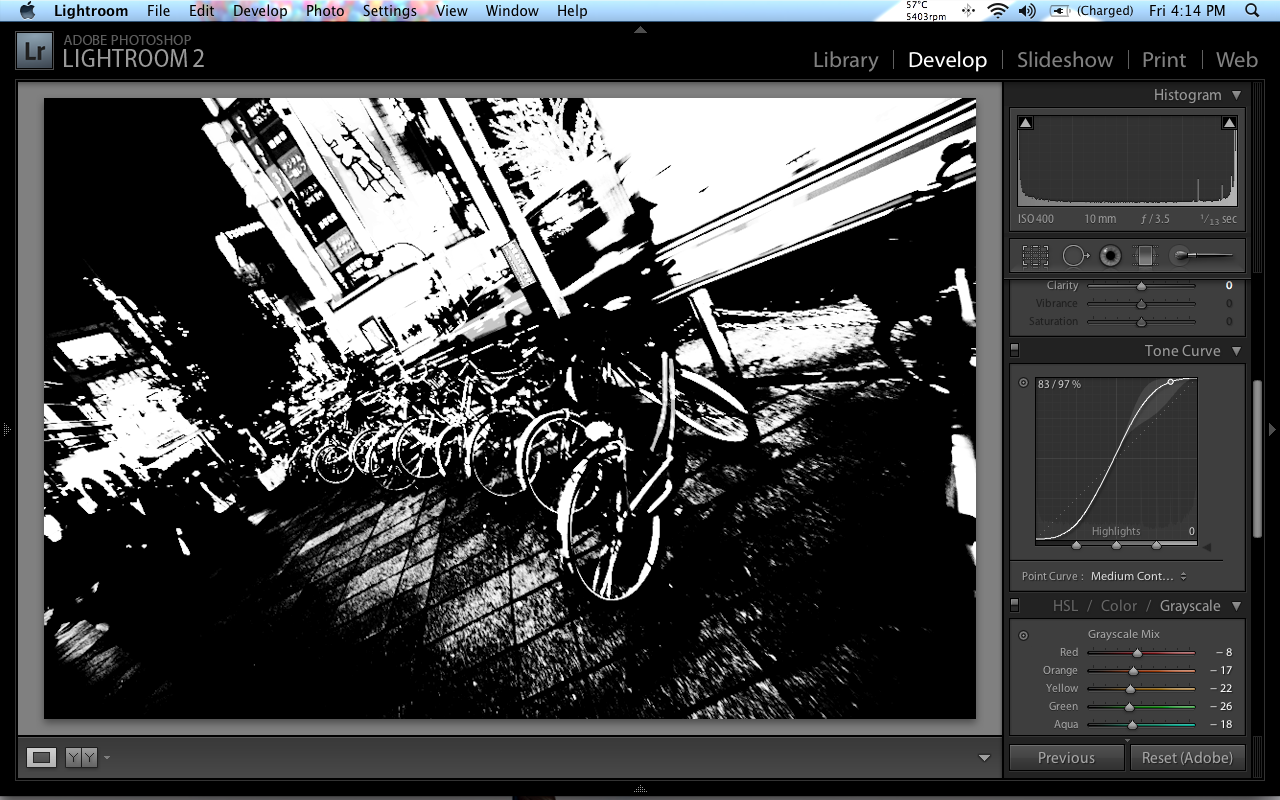
6. To give it an extra punch of contrast, go to the Tone Curve section (right below Basic) and set the curve into an S shape. Again, you can set it anyway you want, as long as you are happy with the result.
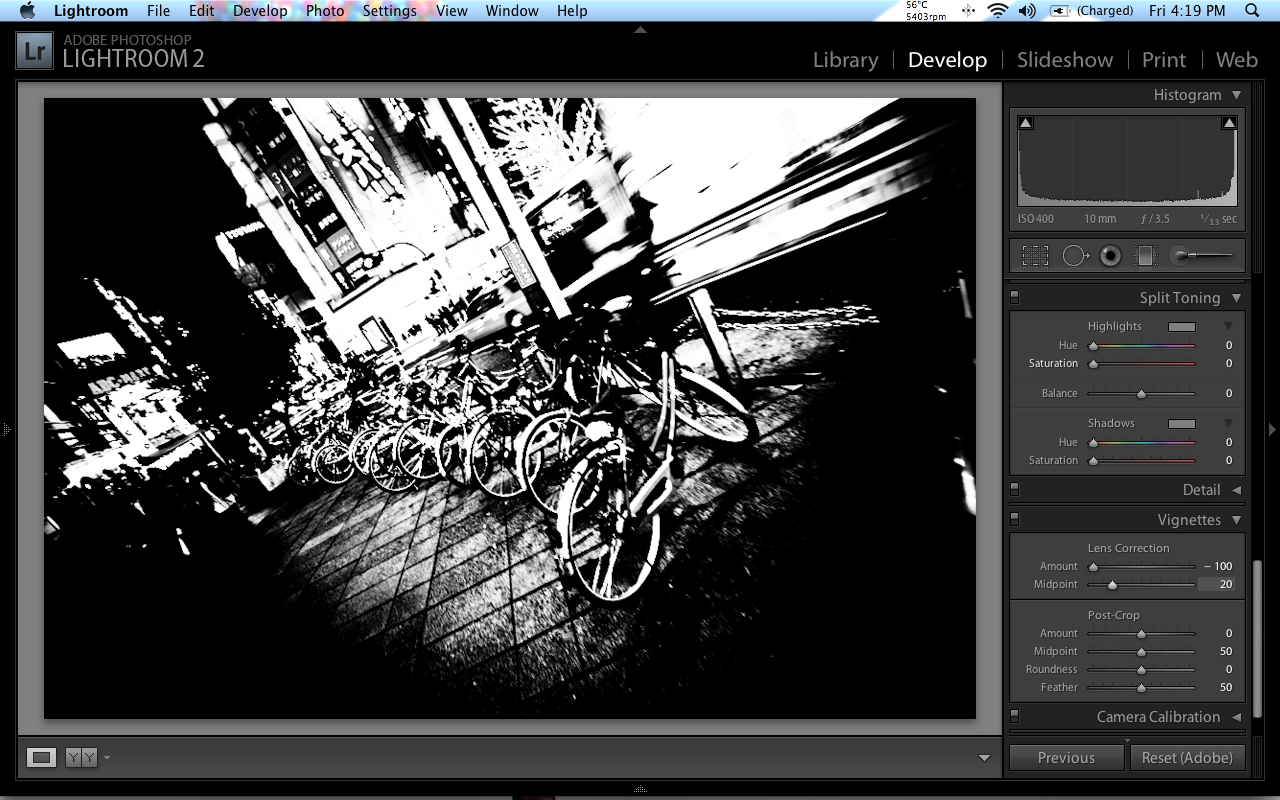
7. The last step is to add vignettes. Roll the right panel to the very bottom and in Lens Correction, under Vignettes, set
Amount
all the way to -100. Twit
Midpoint
to you liking.
8. And you are done.