Sunglass Case - 3D Surfacing With CNC Router
by alepalan in Workshop > Woodworking
17393 Views, 212 Favorites, 0 Comments
Sunglass Case - 3D Surfacing With CNC Router
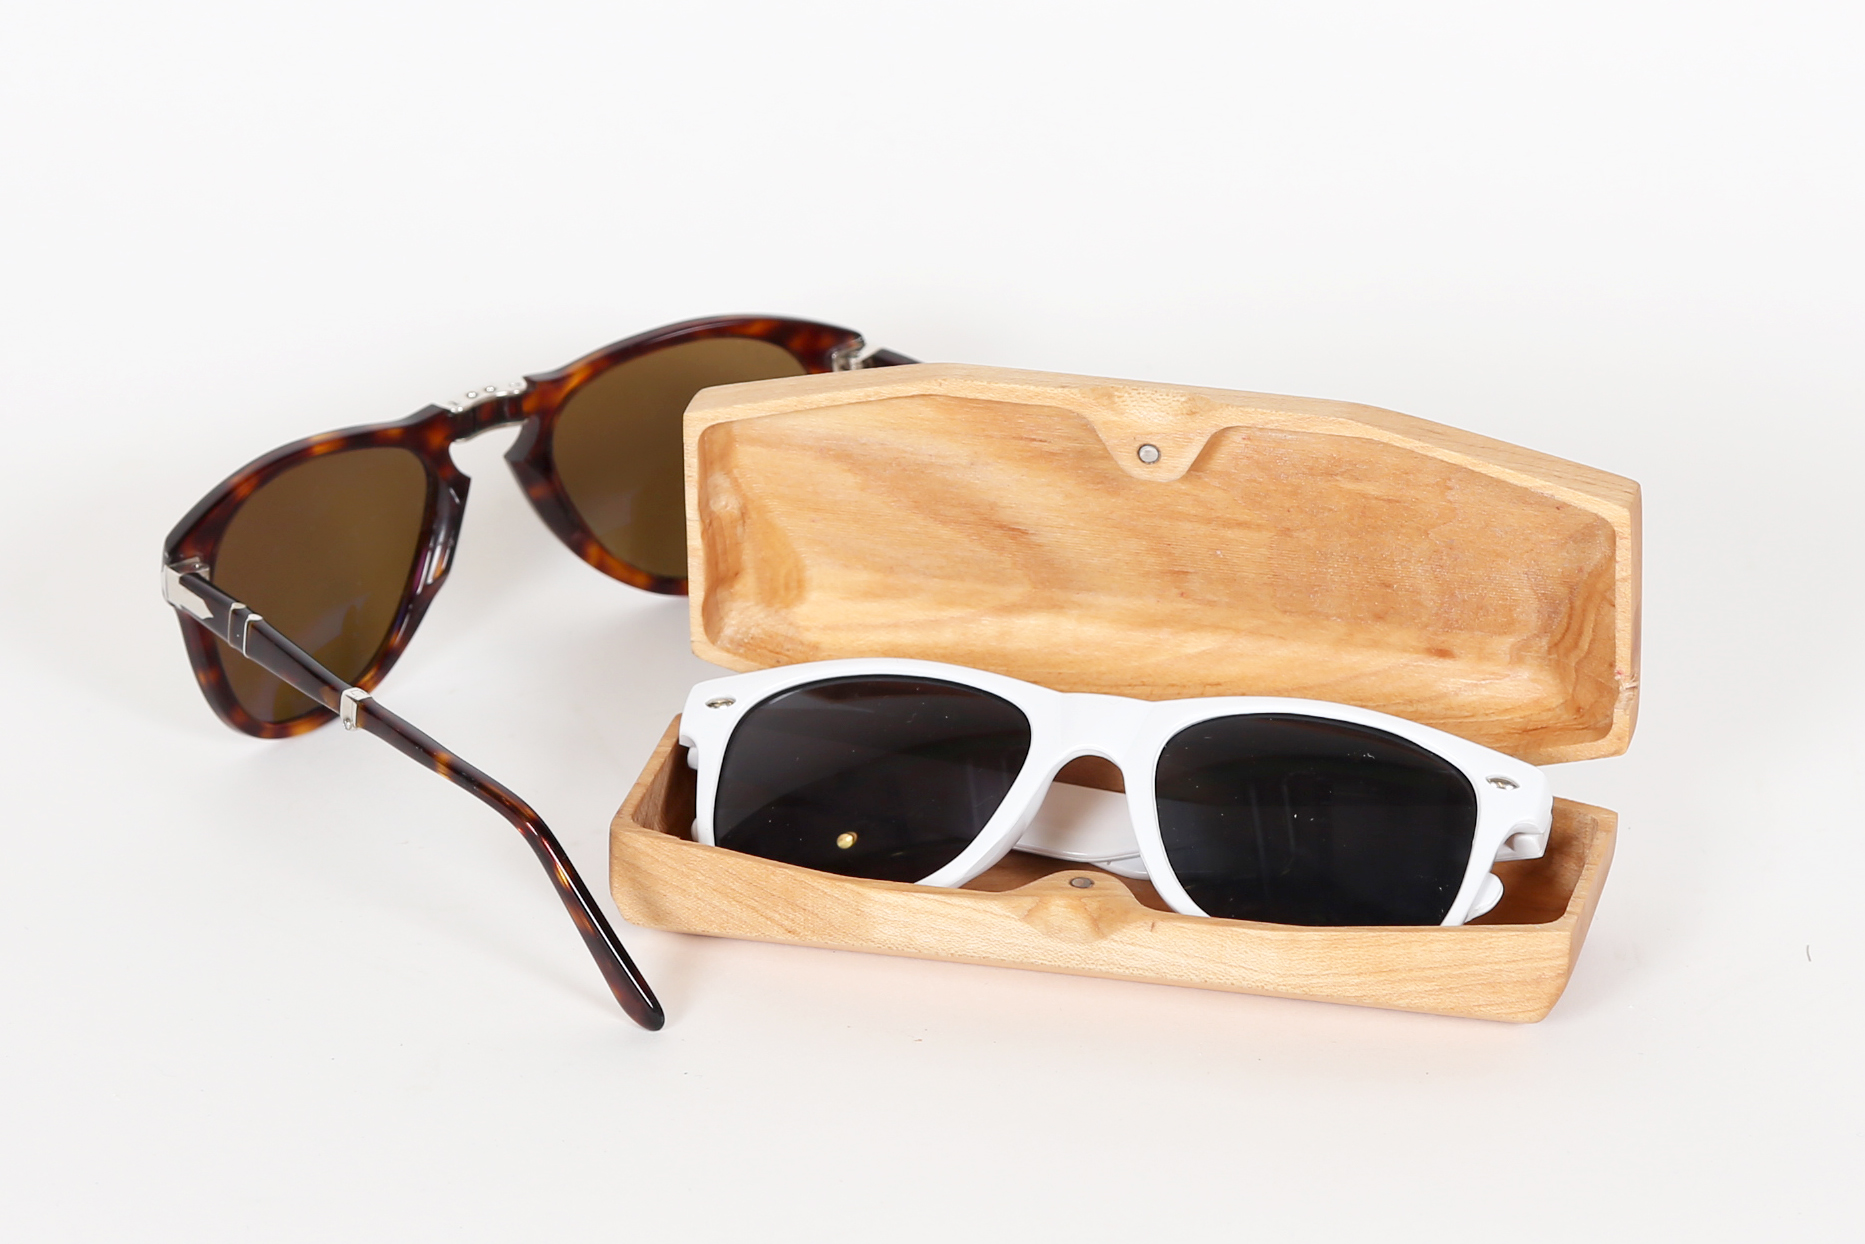
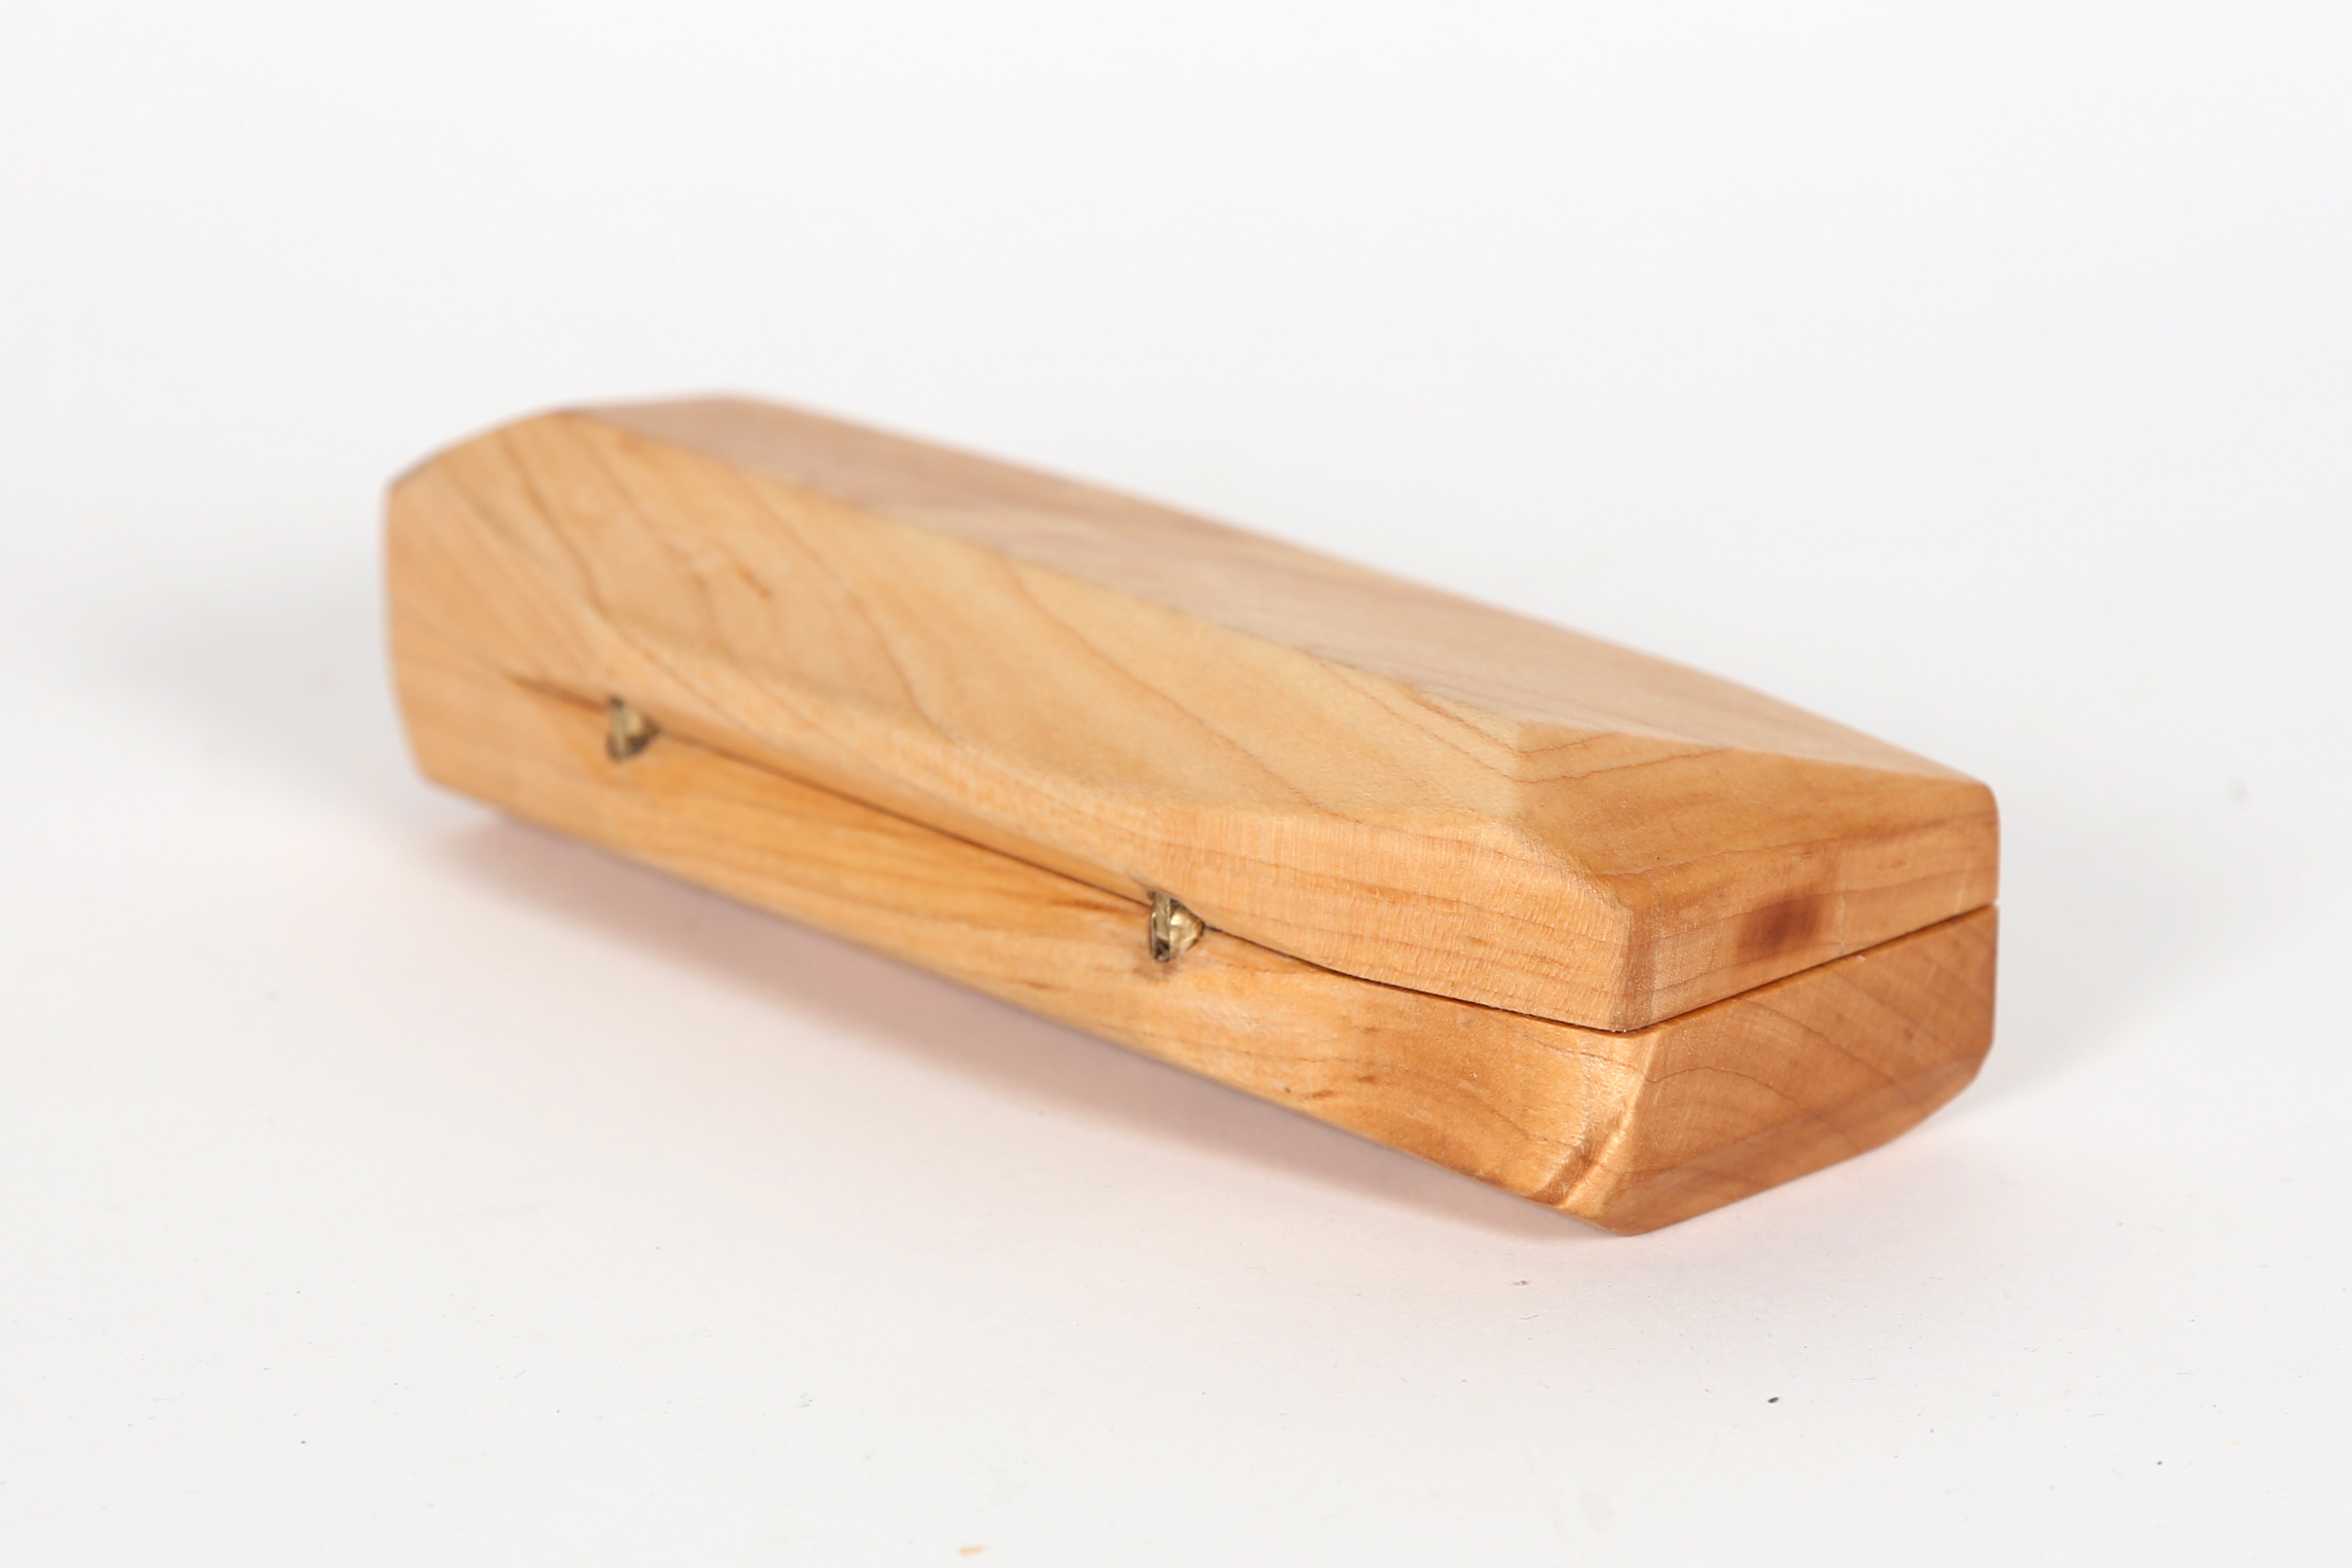
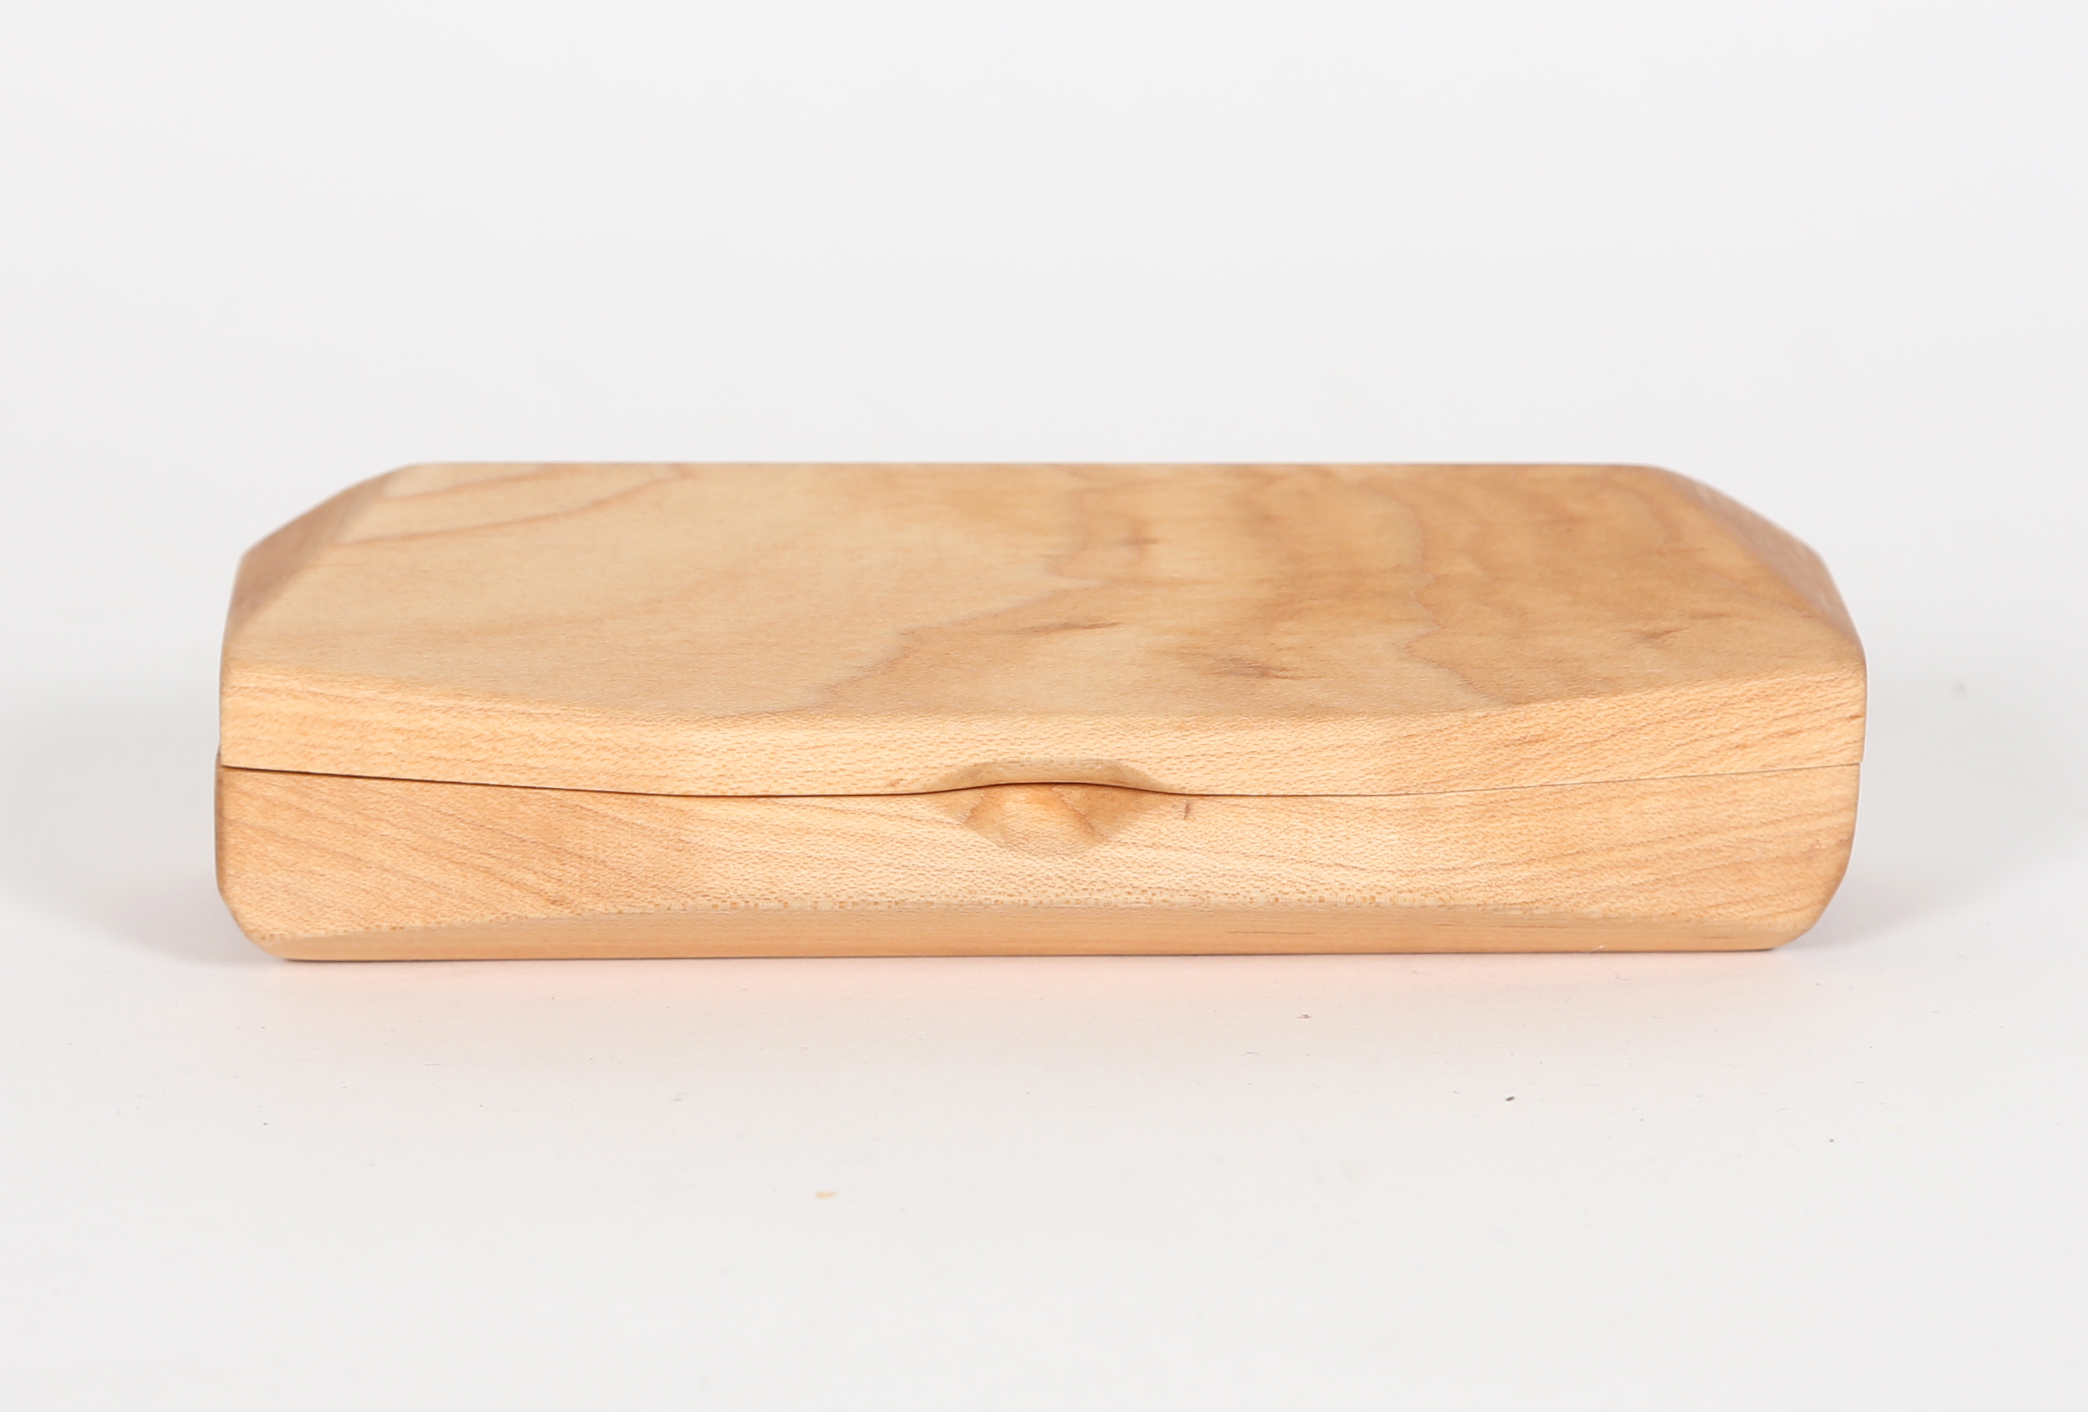
This instructable will show you how to make a sunglass case out of maple using a CNC Router. When I was a kid my dad used to have a really nice eyeglass case carved out of wood. I still remember how beautifully crafted and how nice it was to touch and grab it. I always thought about making a case for myself but never had the patience to do it by hand but when I discovered the CNC Router I knew it was something I was going to make.
Overall I'm pretty happy with the results and plan to experiment other 3D surfacing with the Shopbot. Hope you follow along step by step. Bellow is a short preview to get you excited:
Design
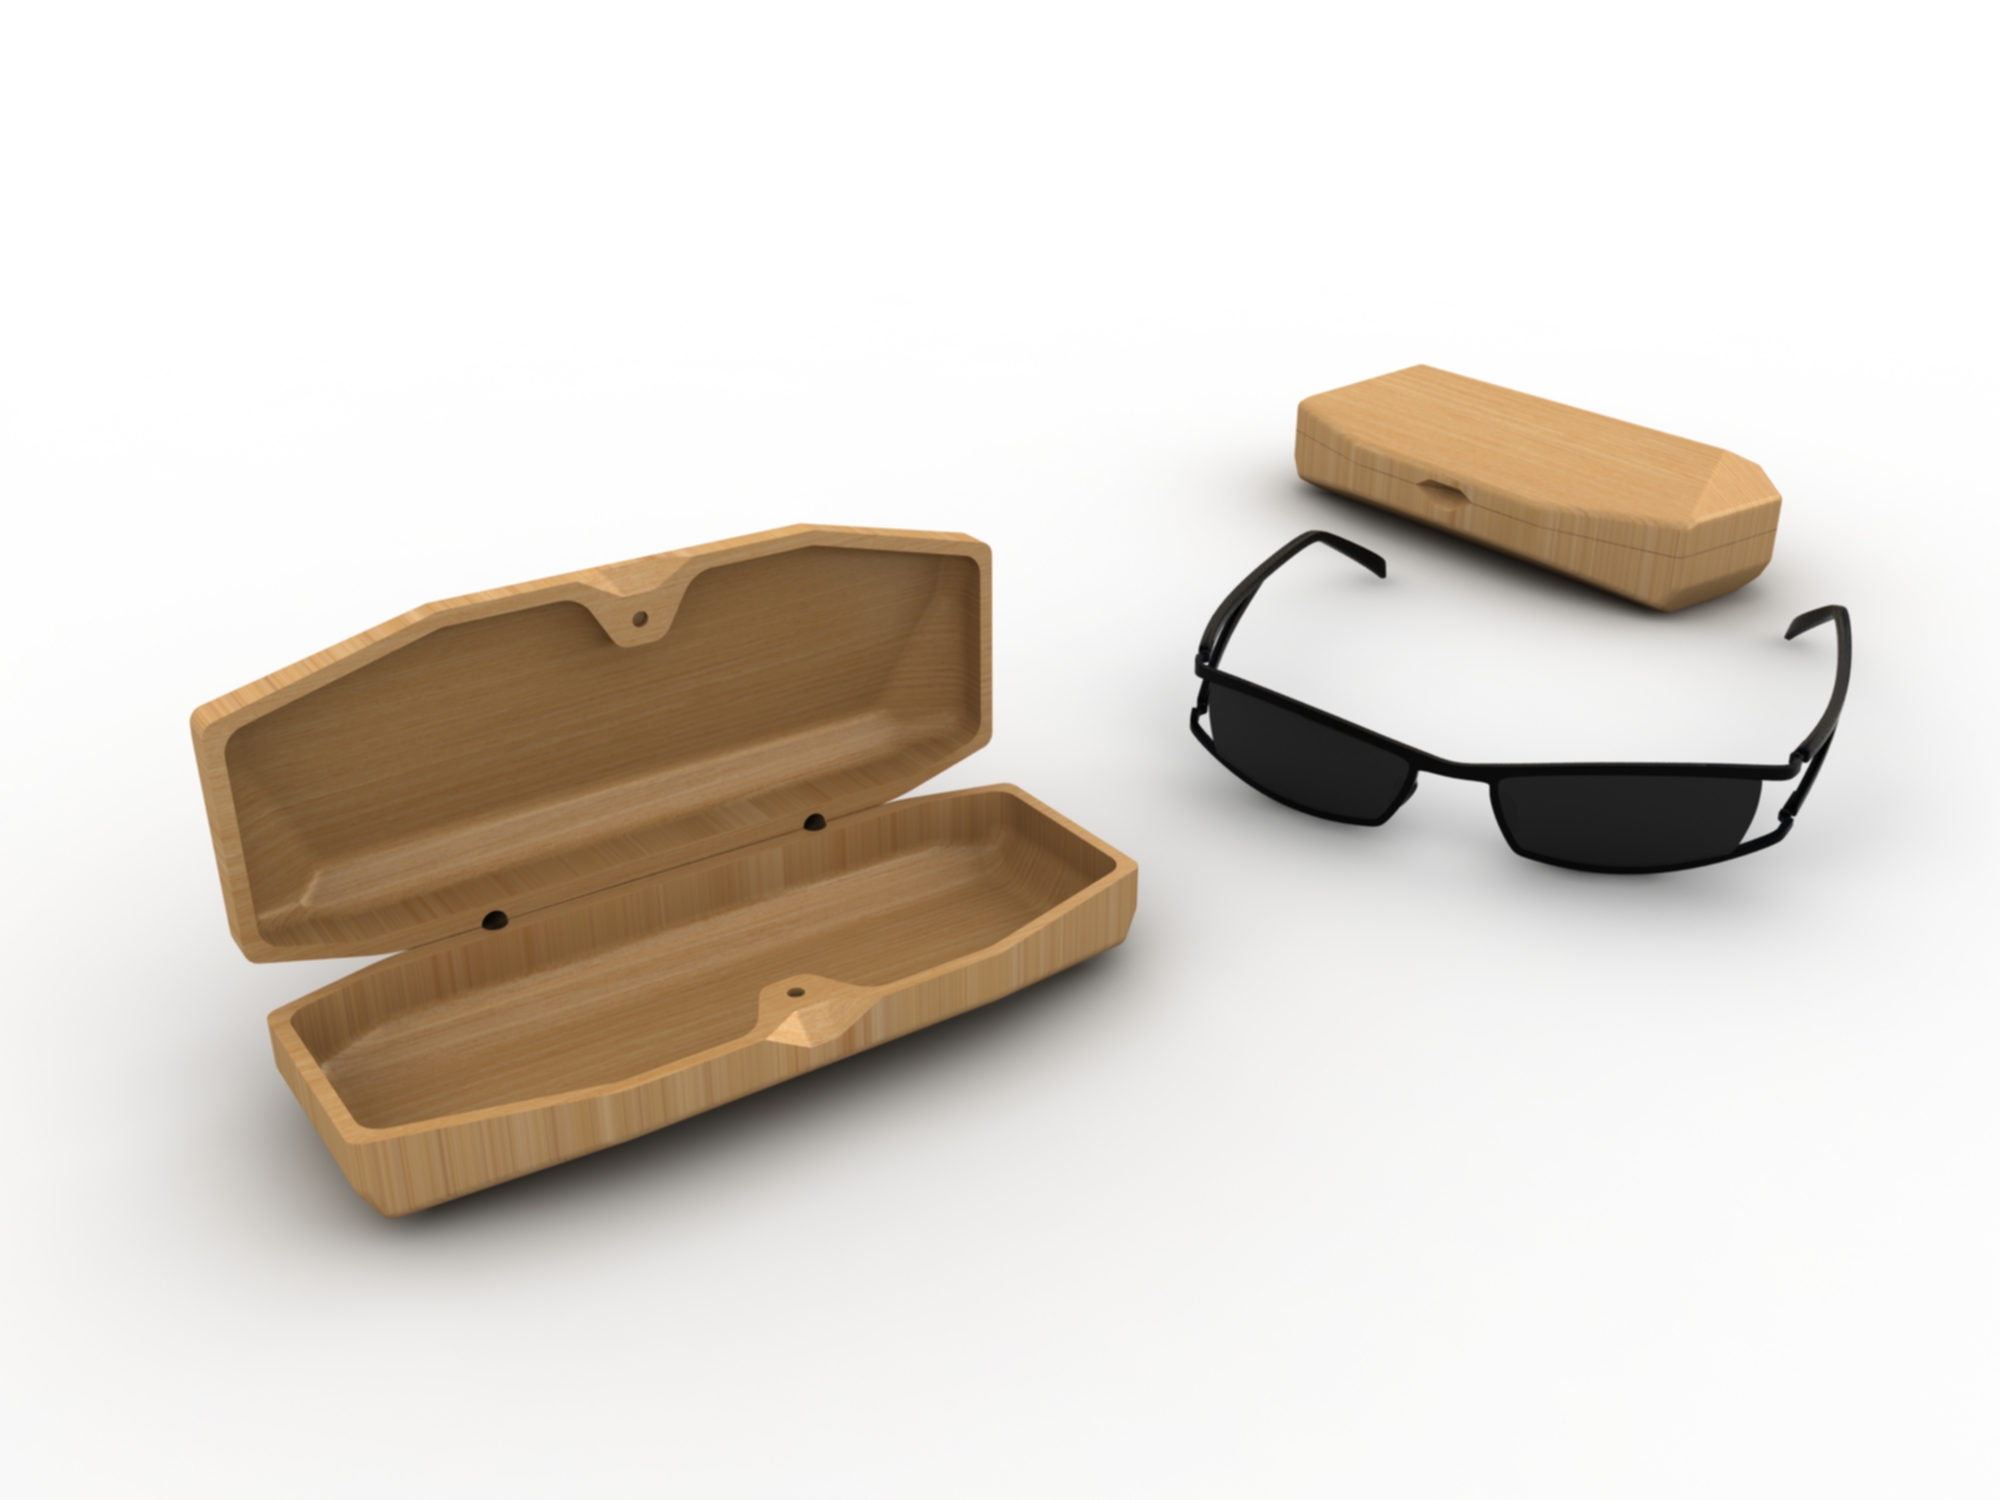
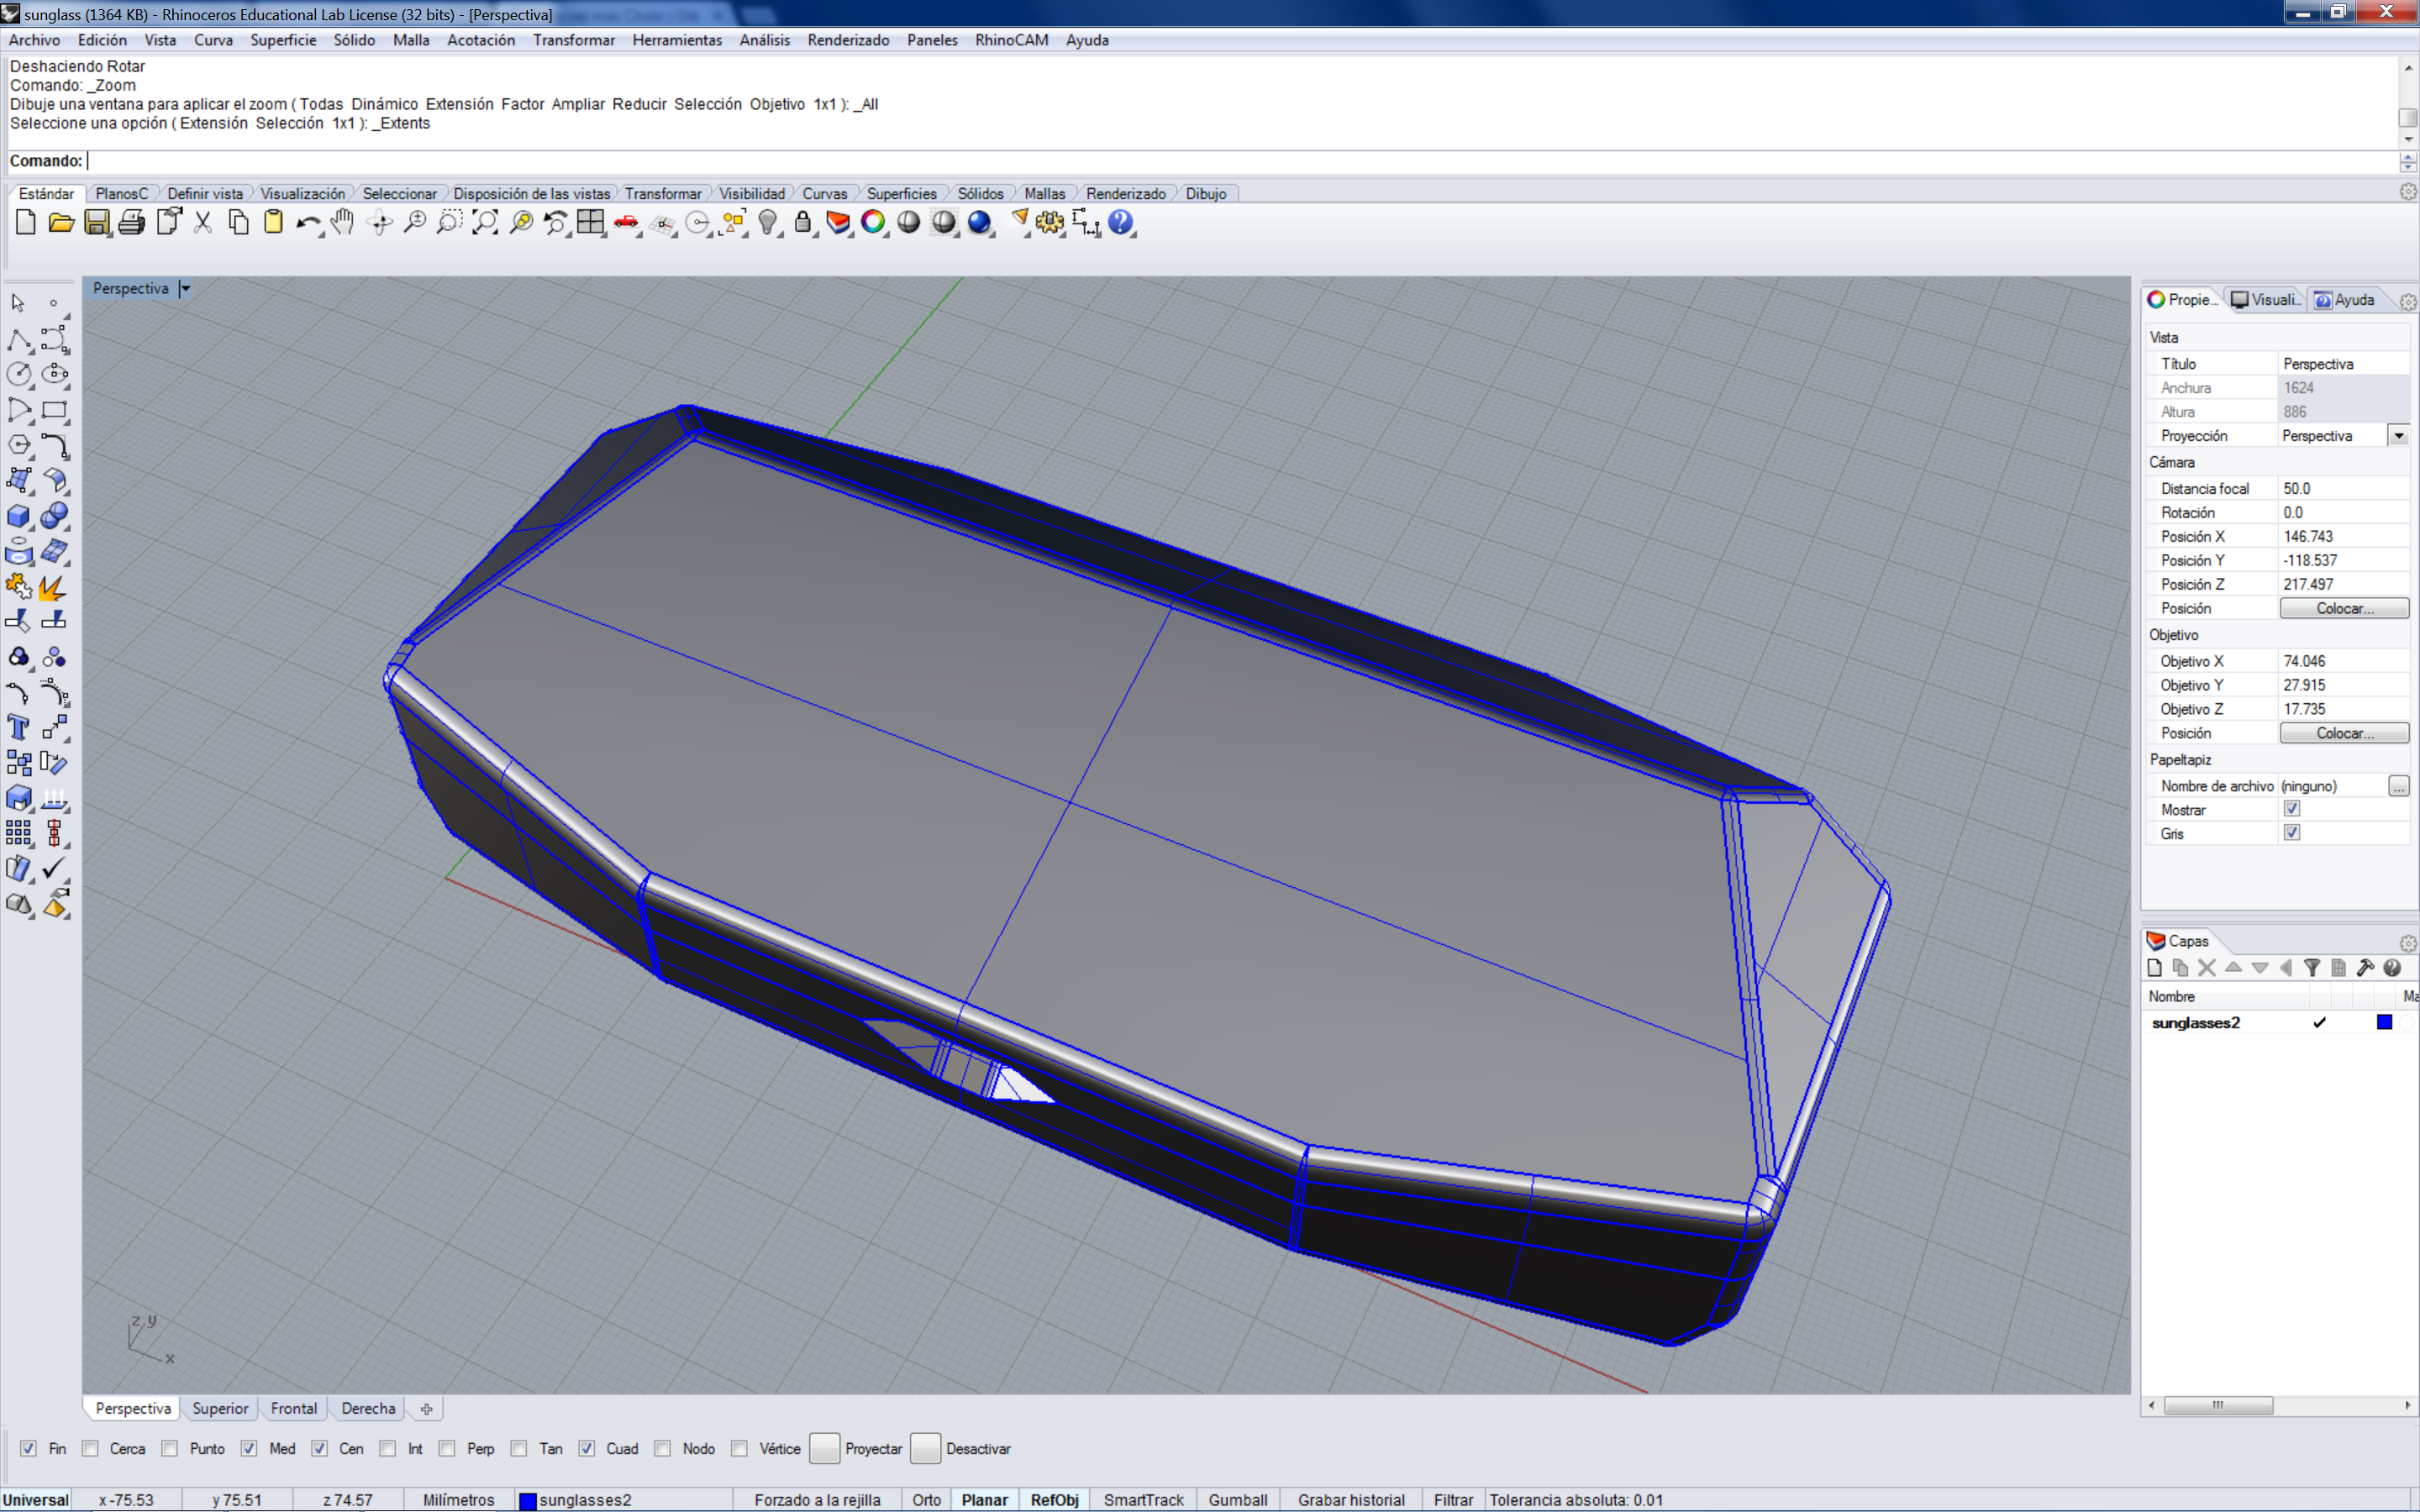
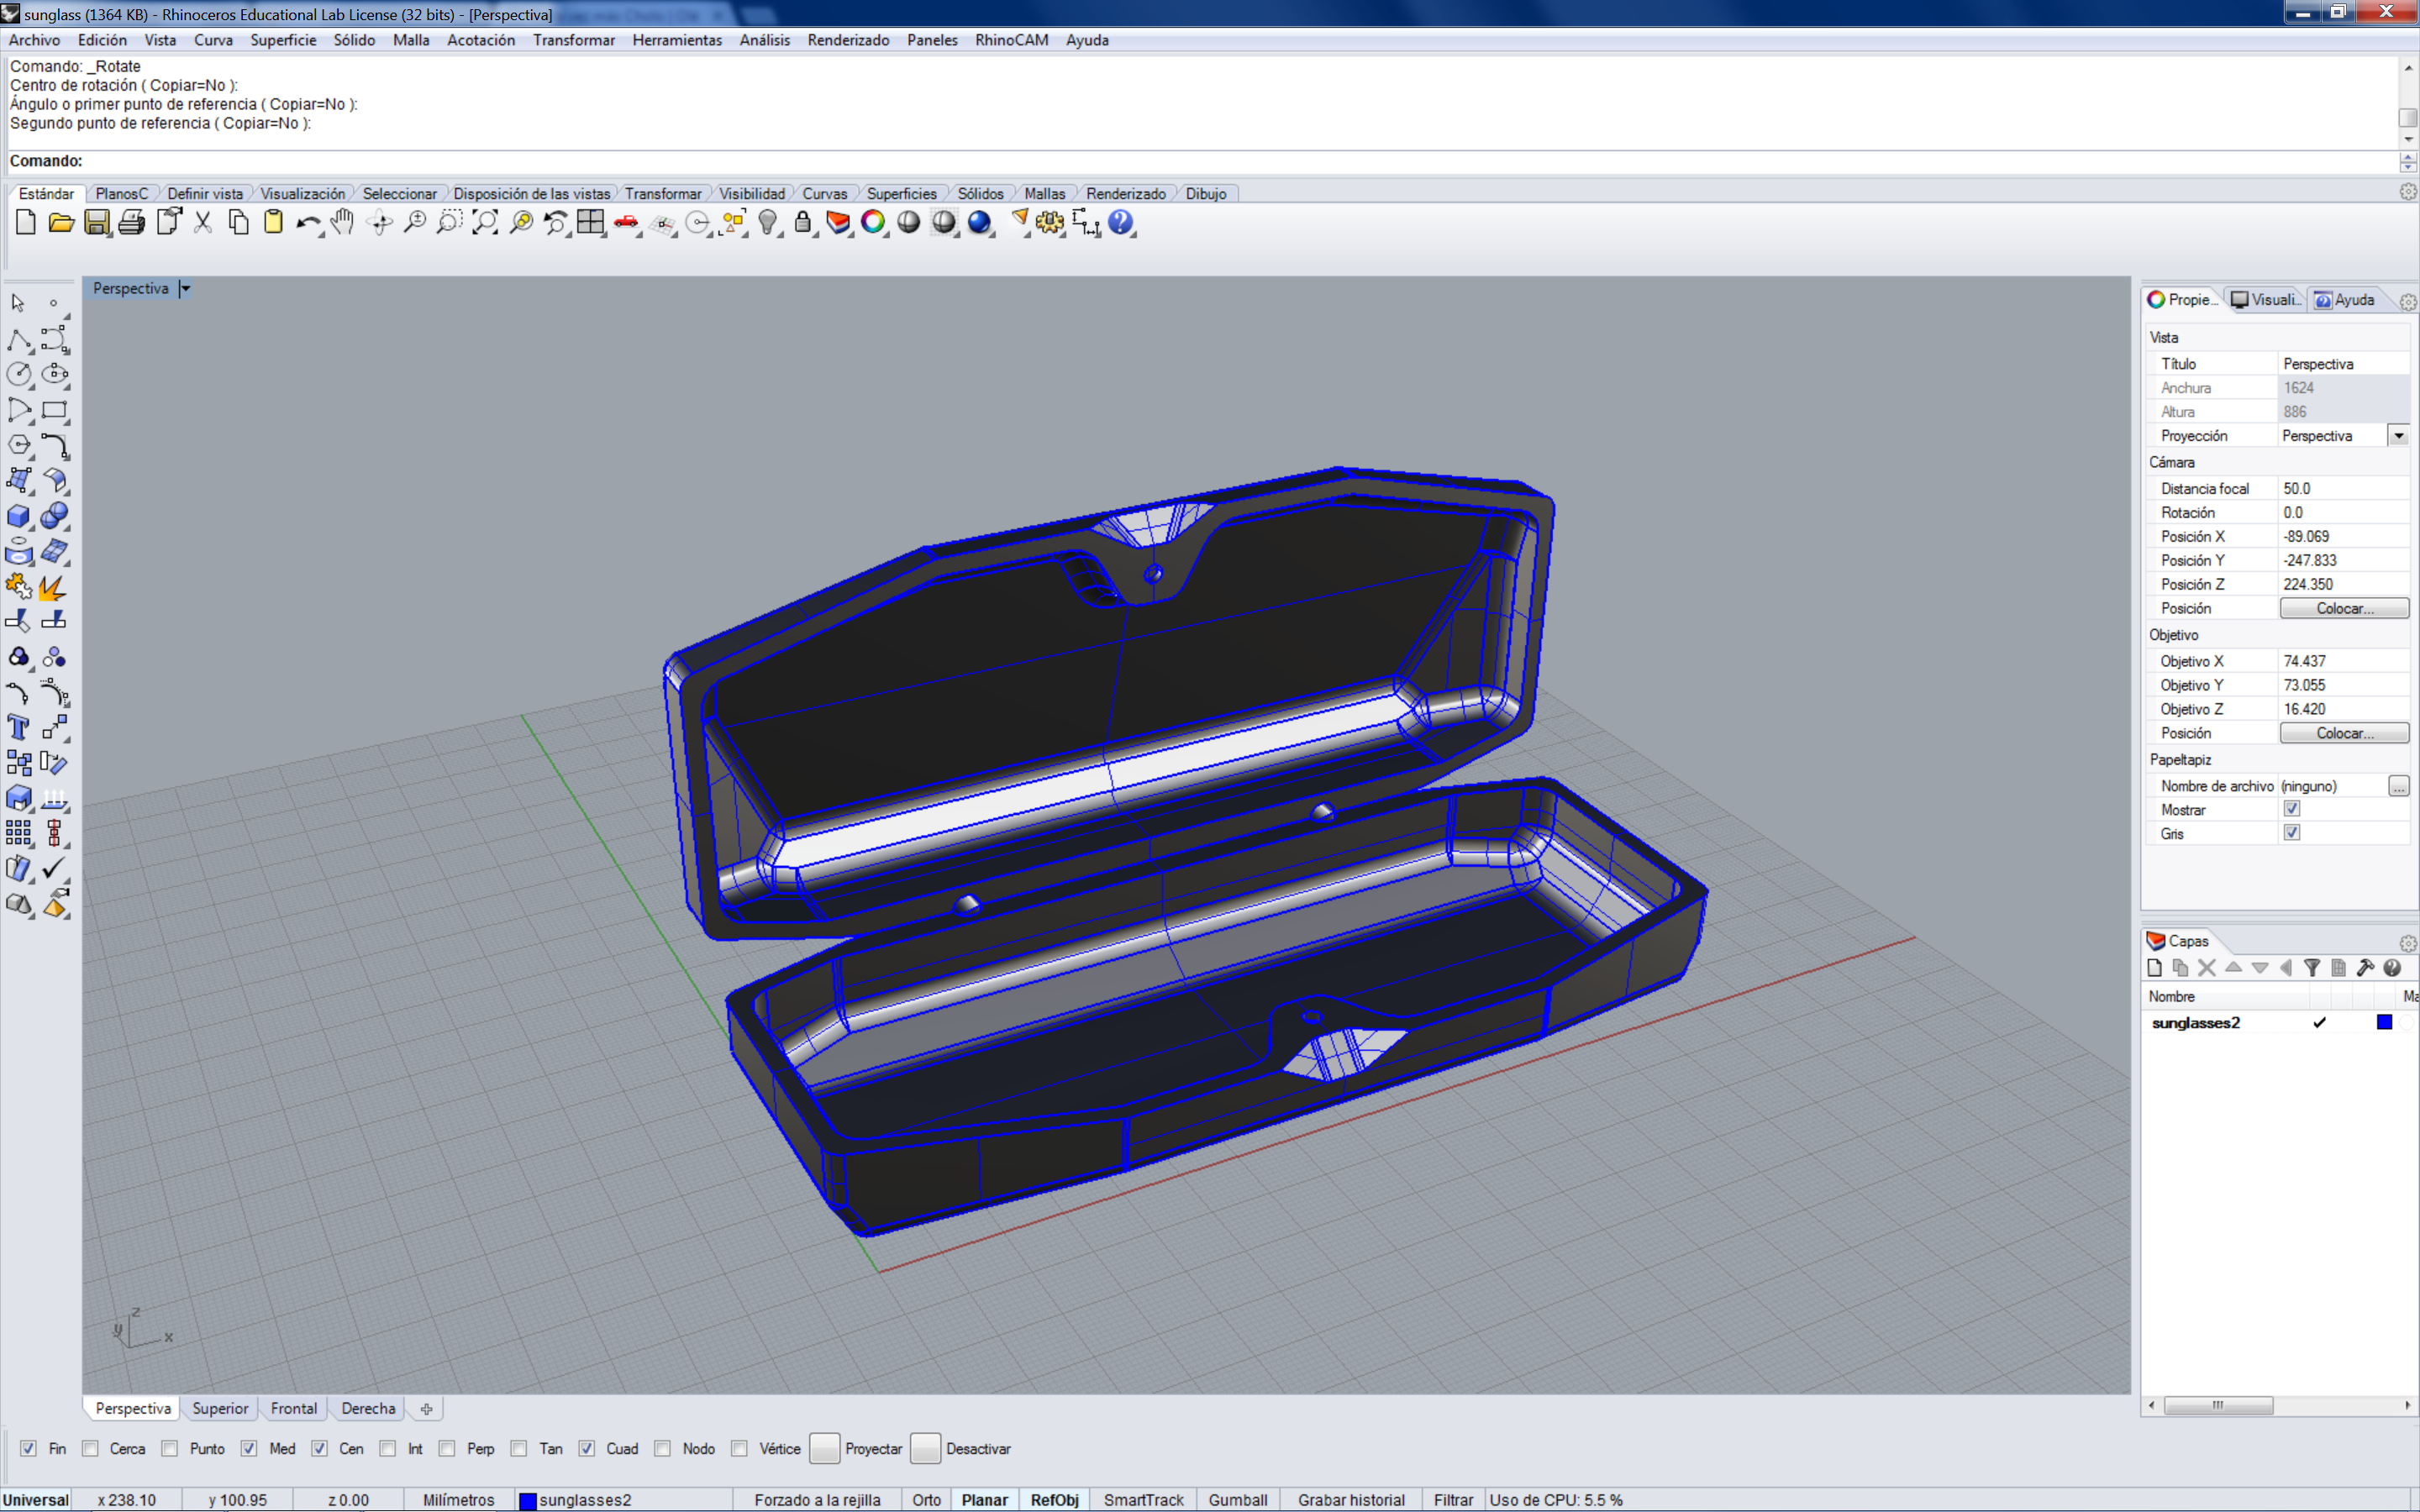
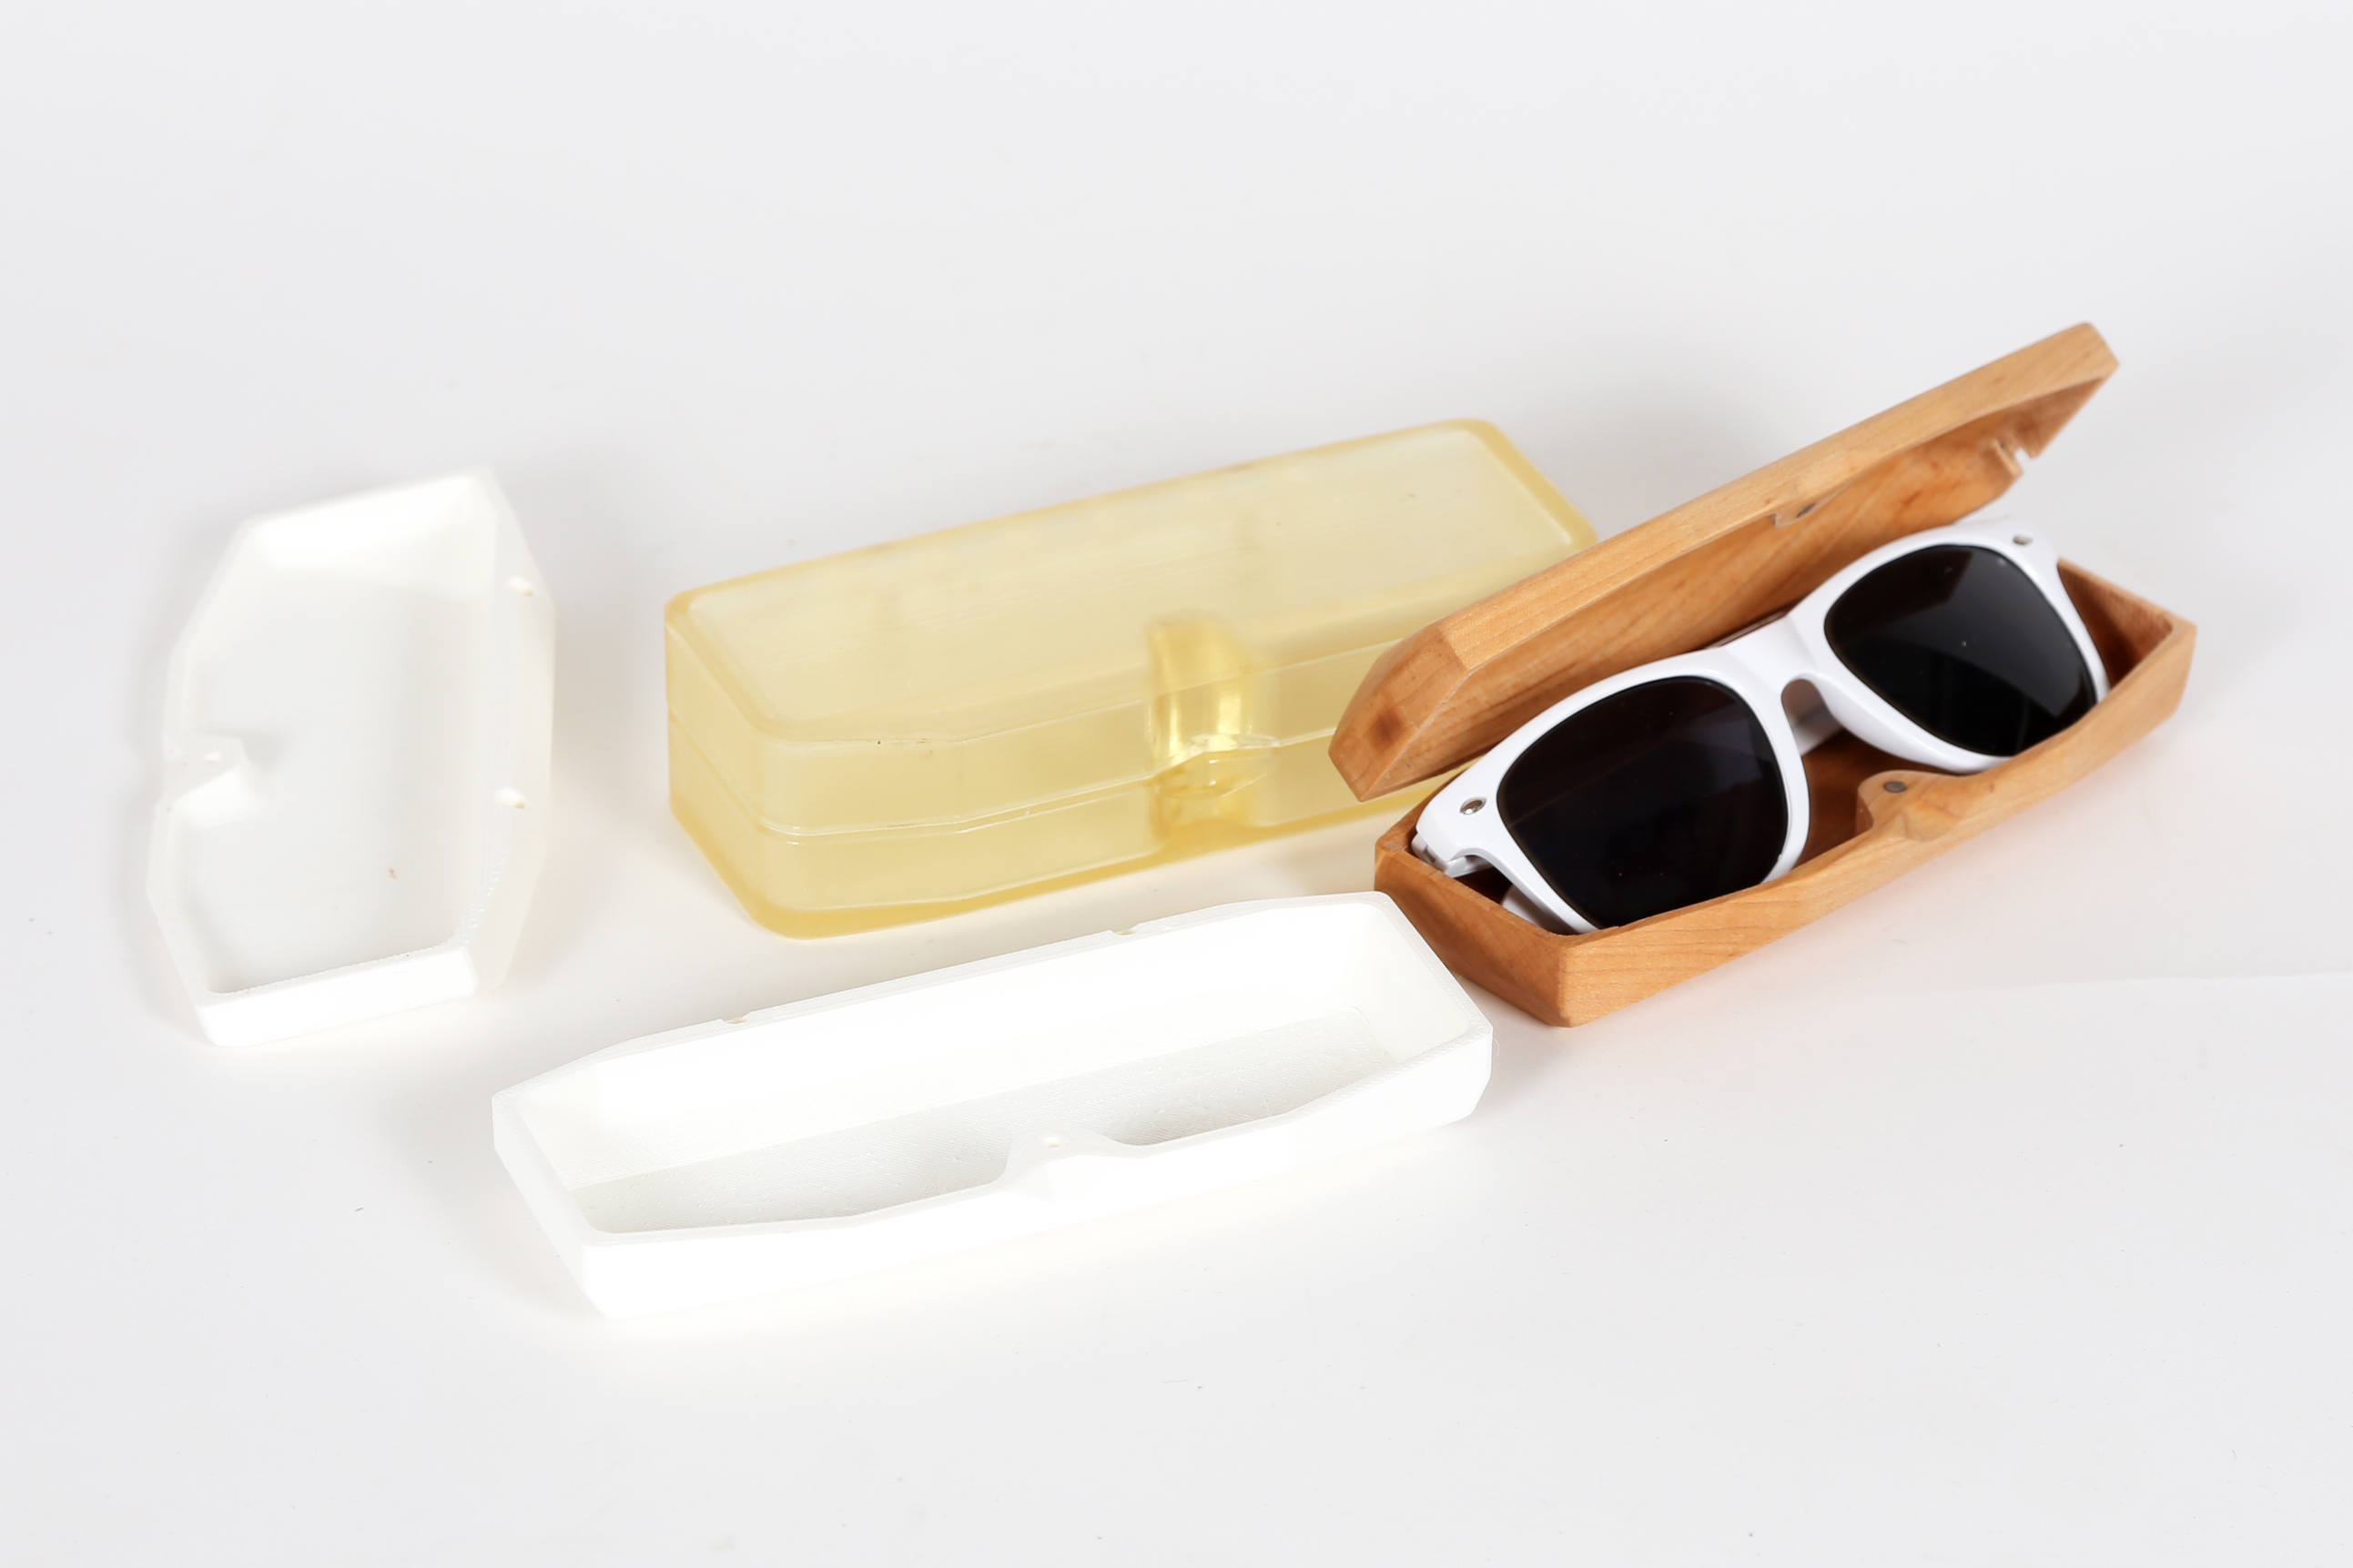
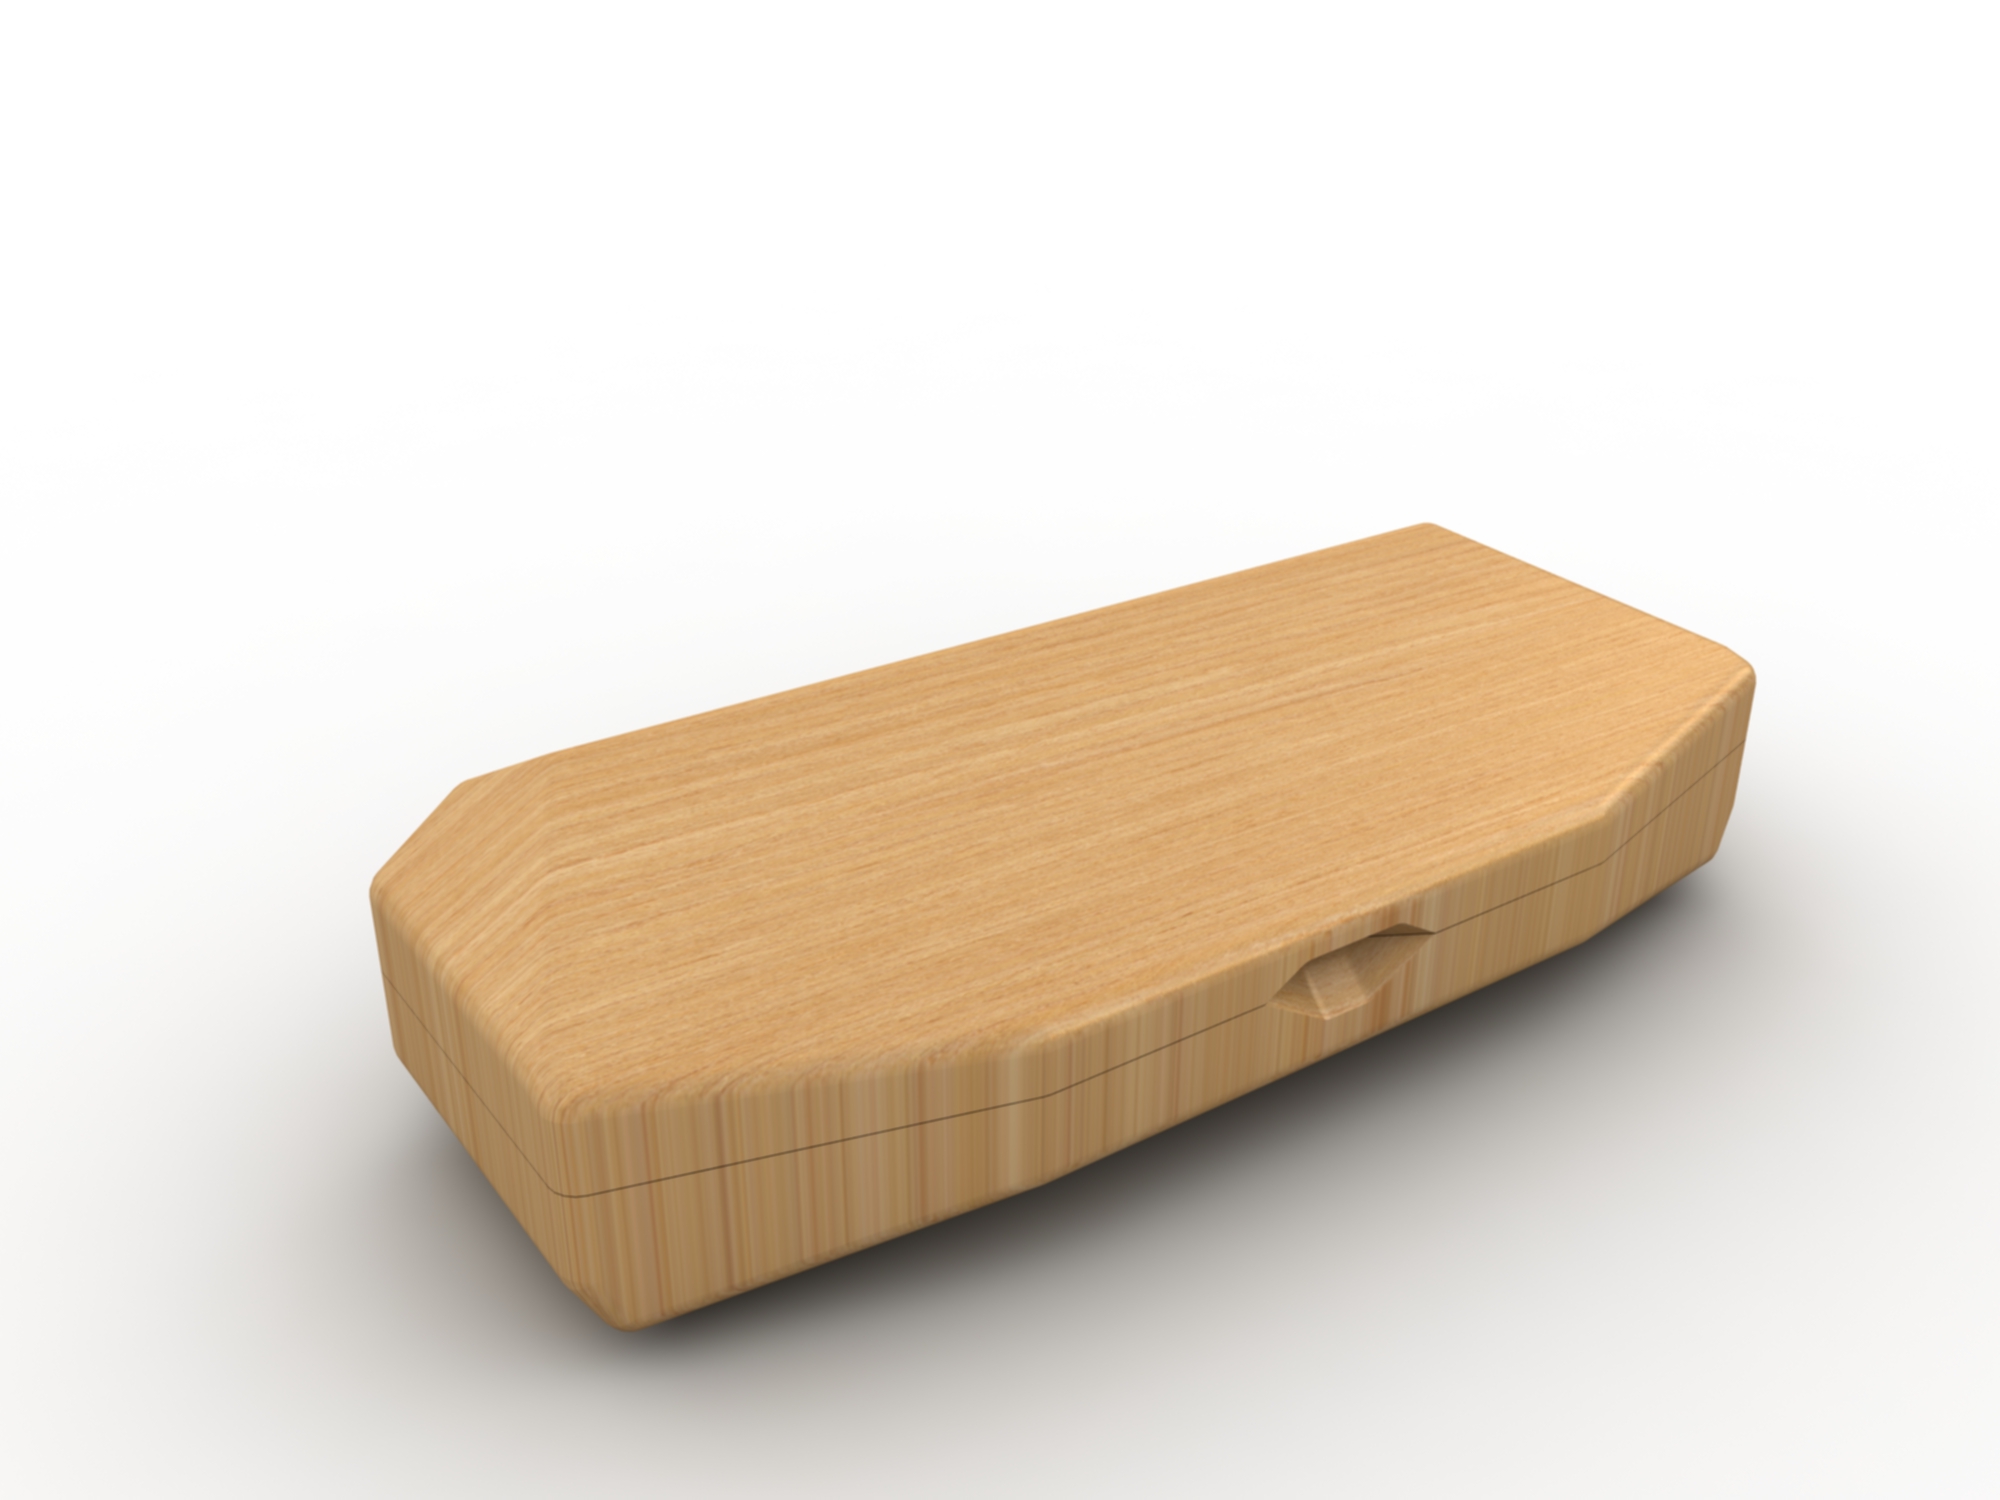
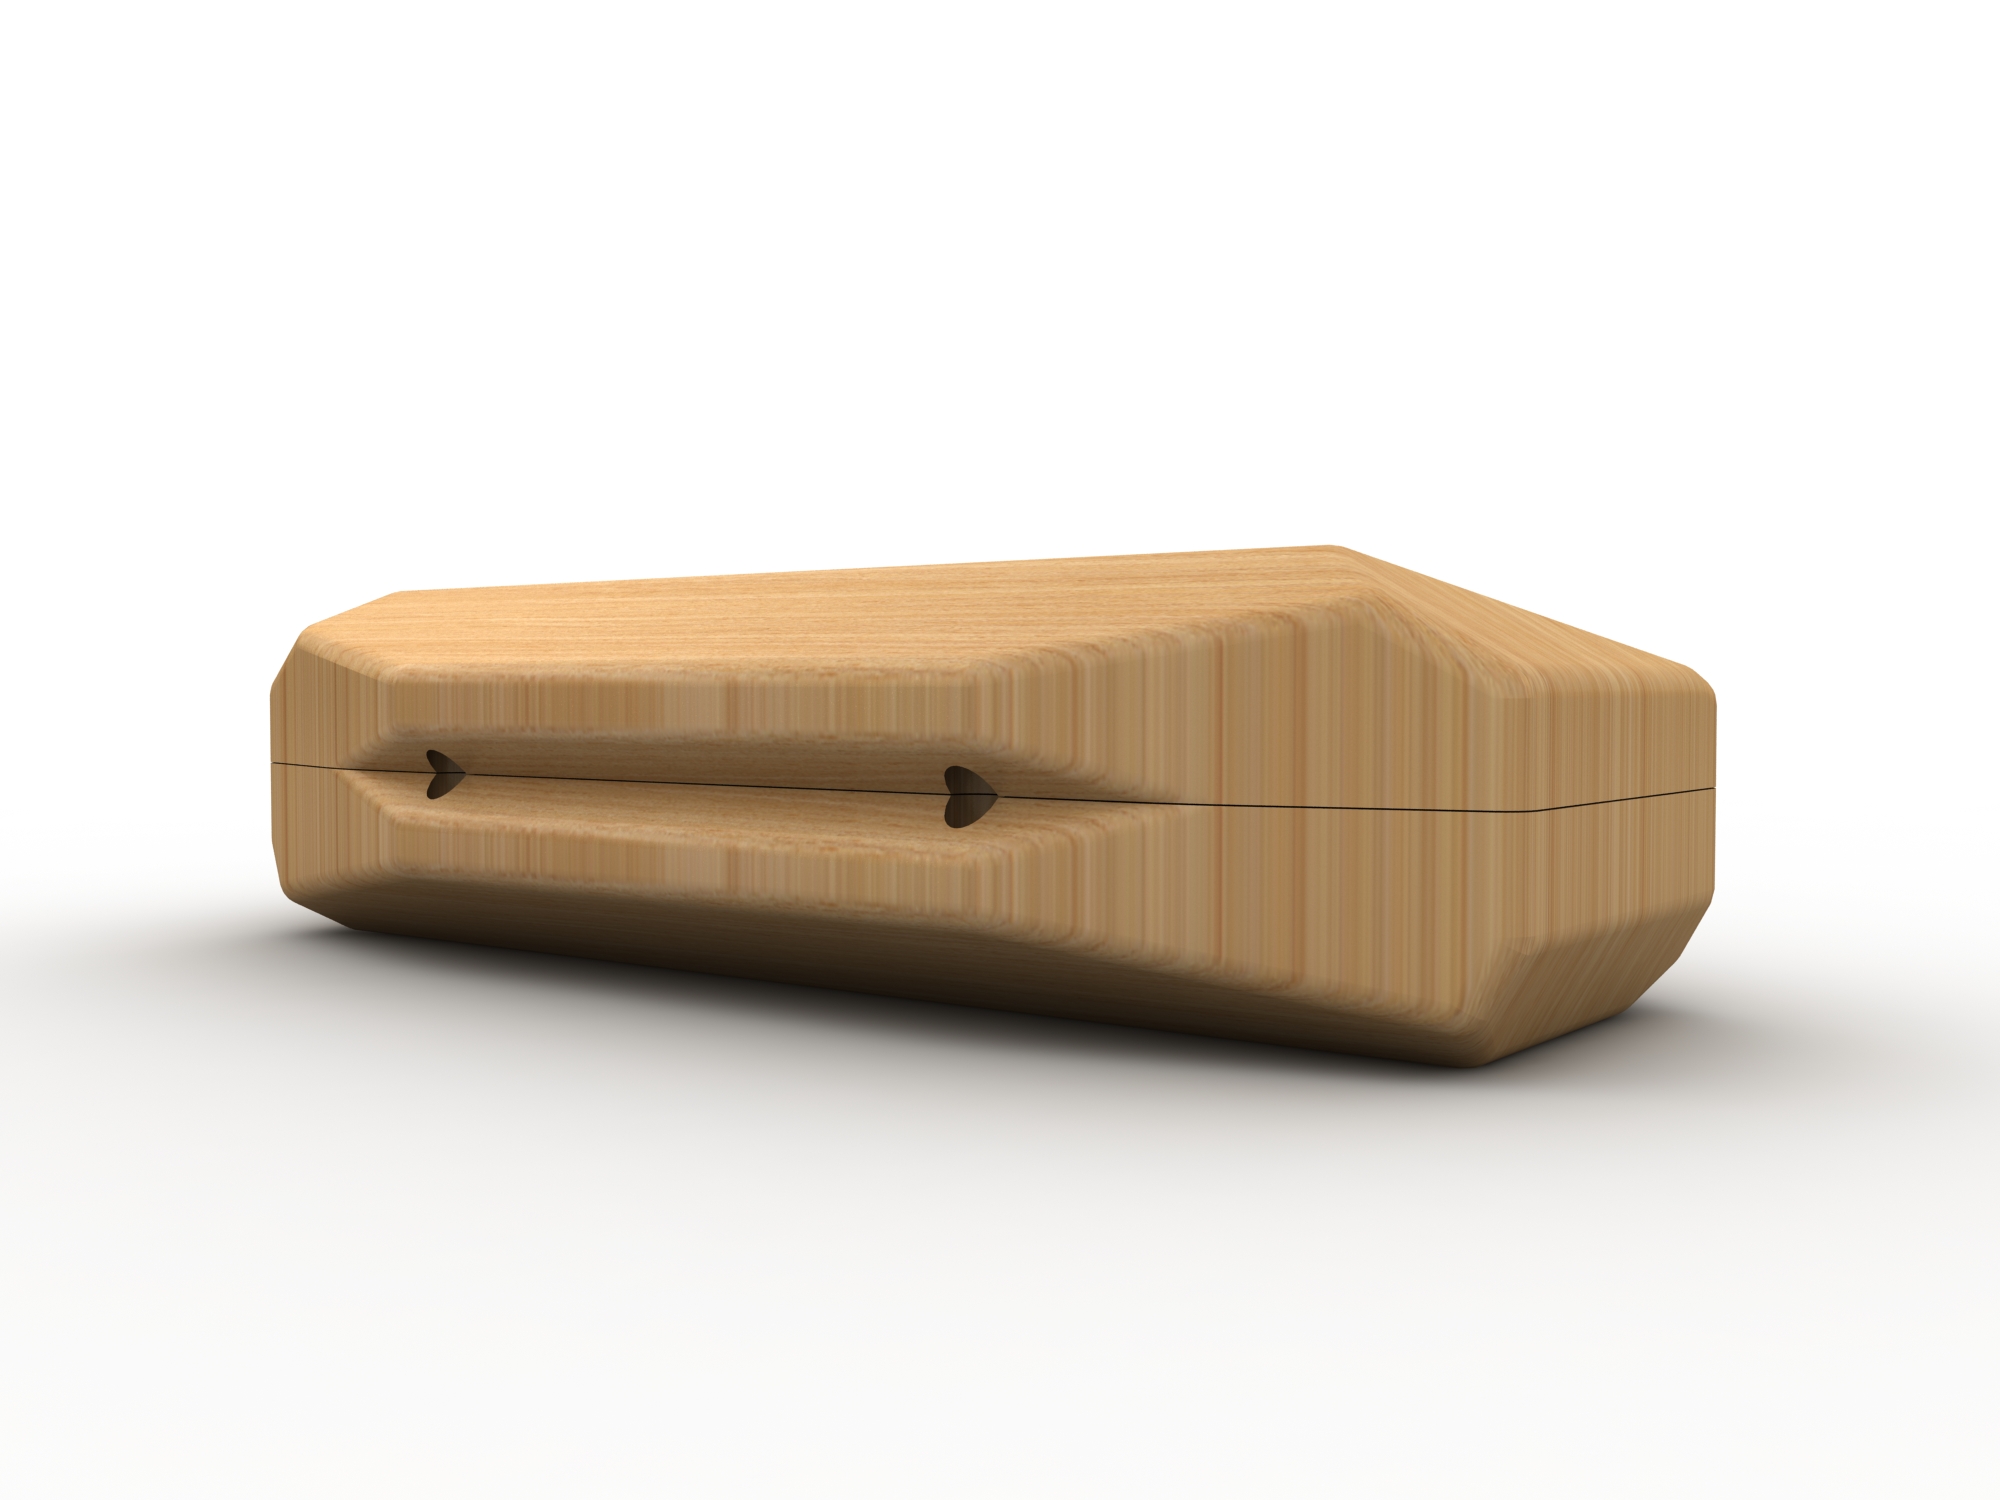
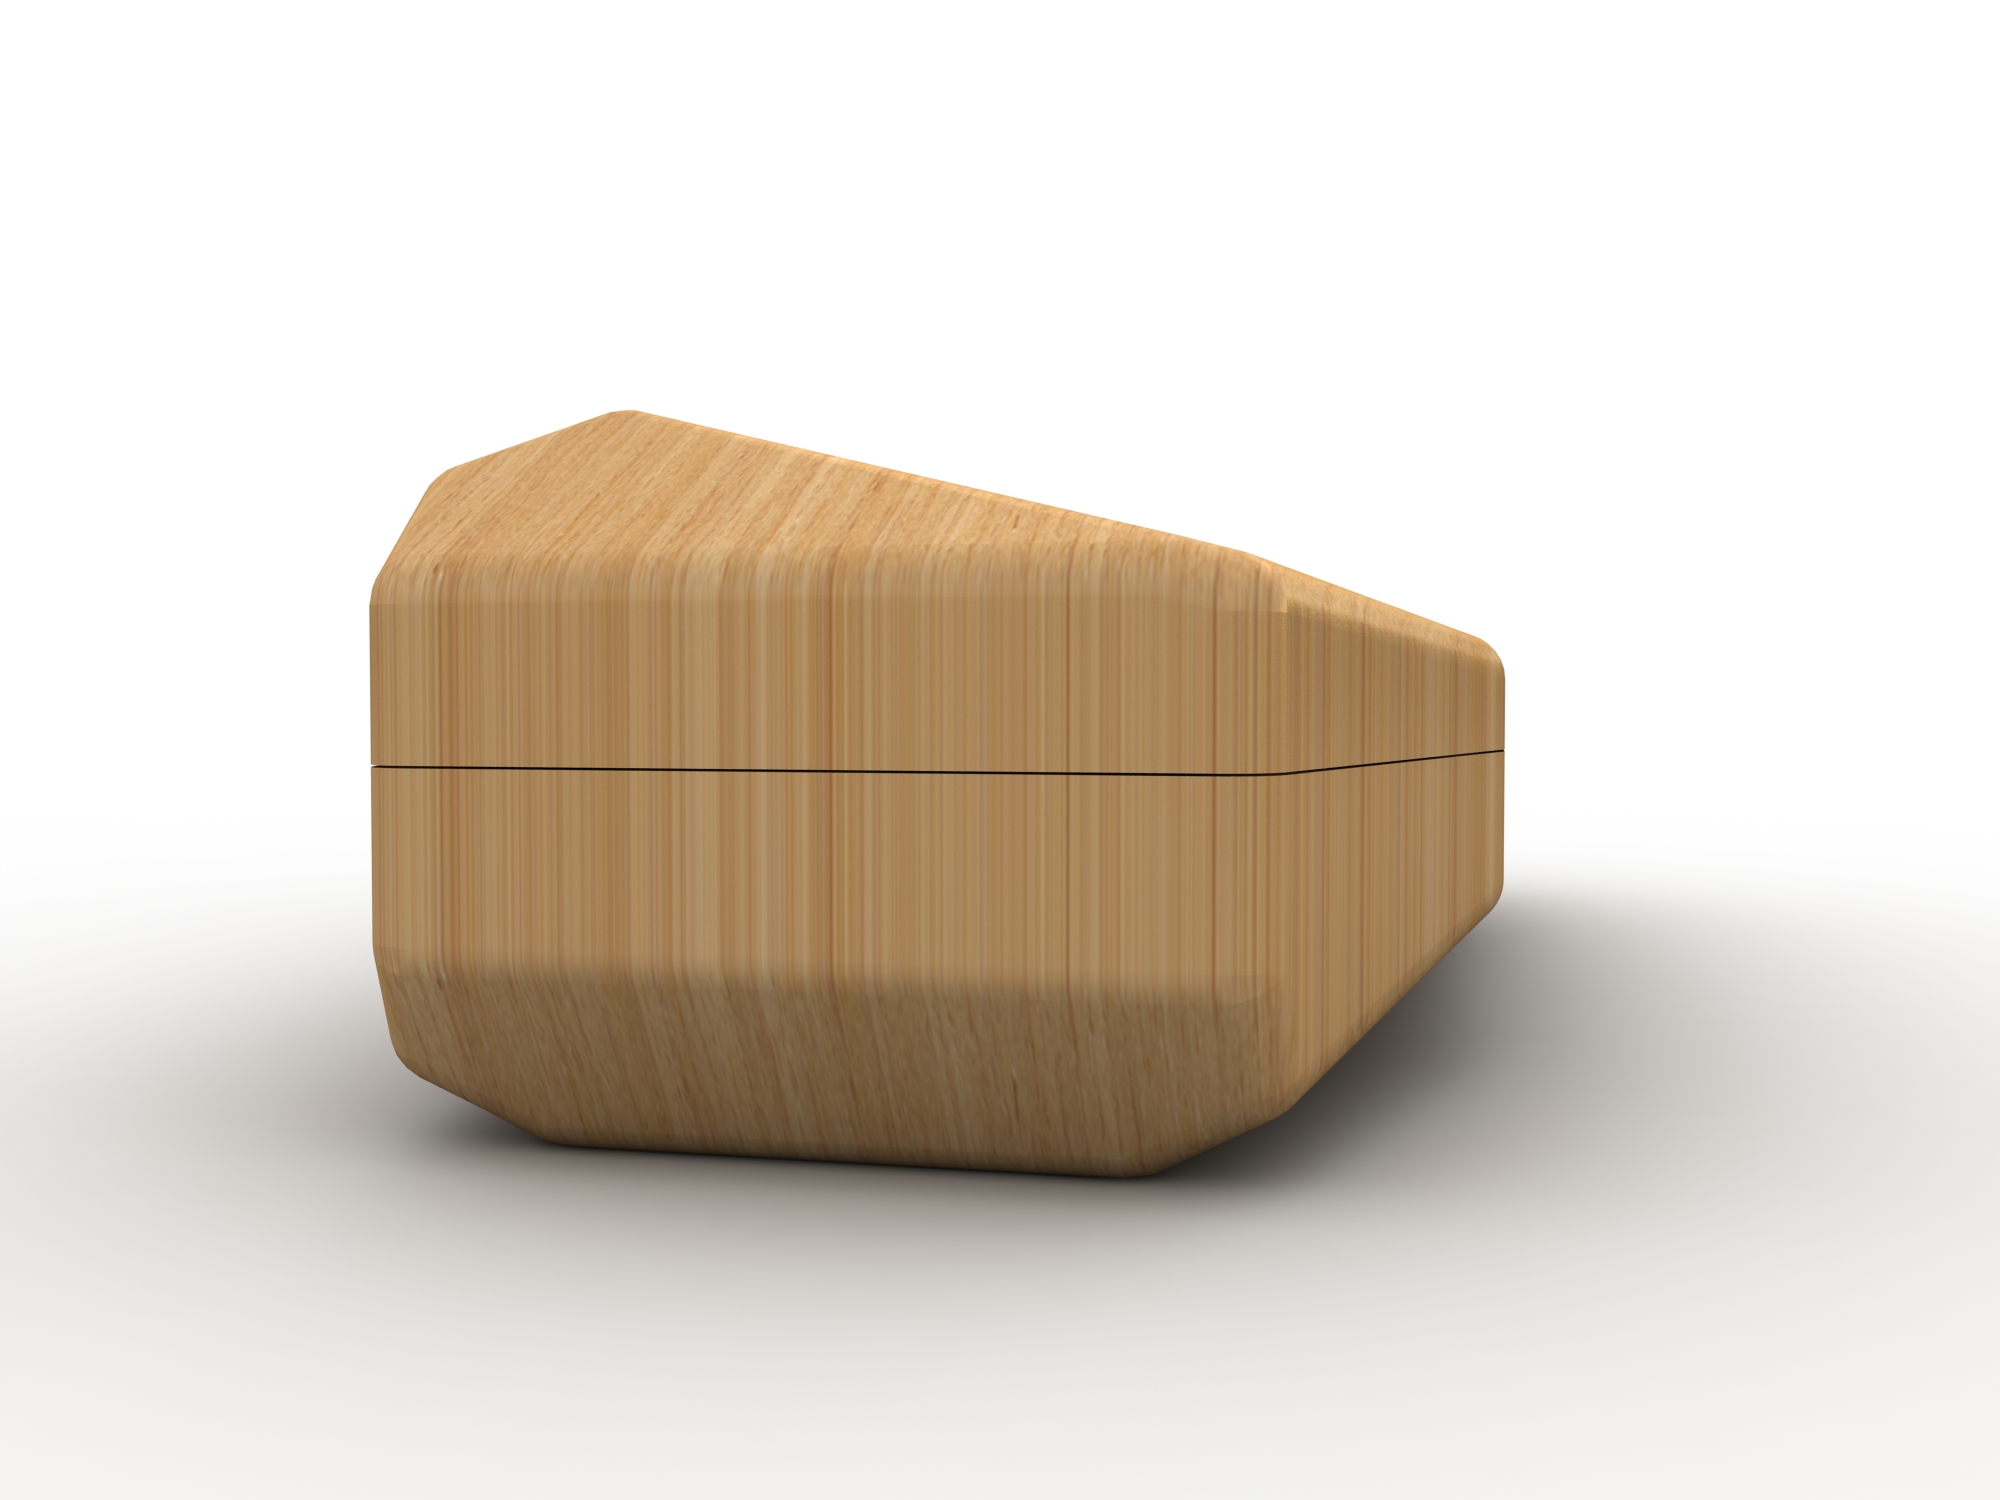
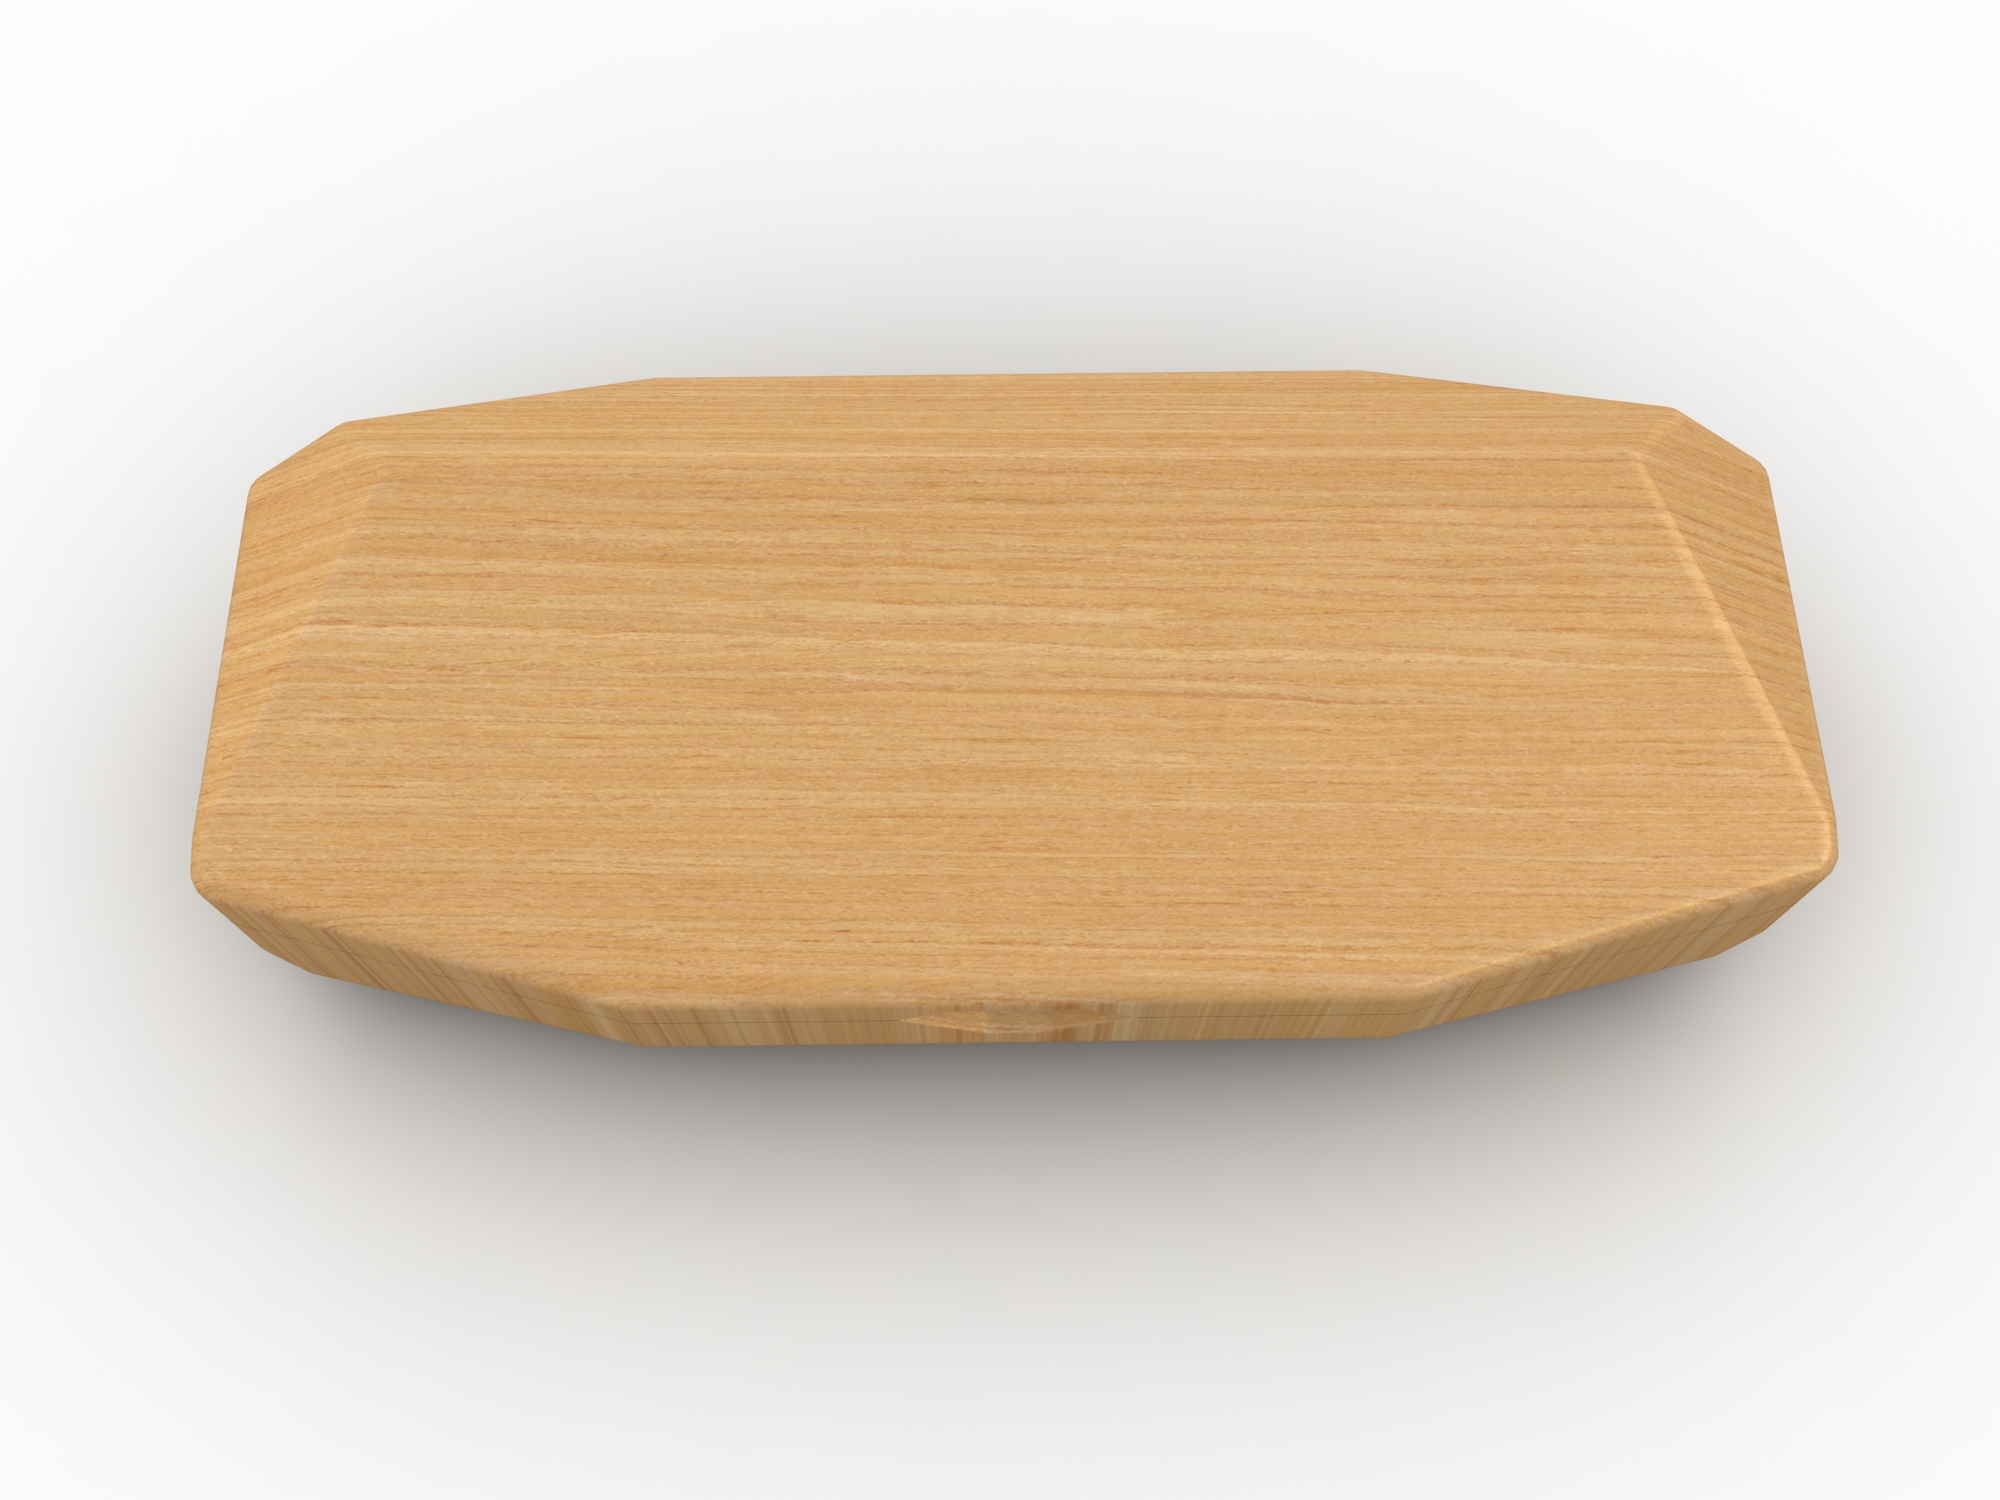
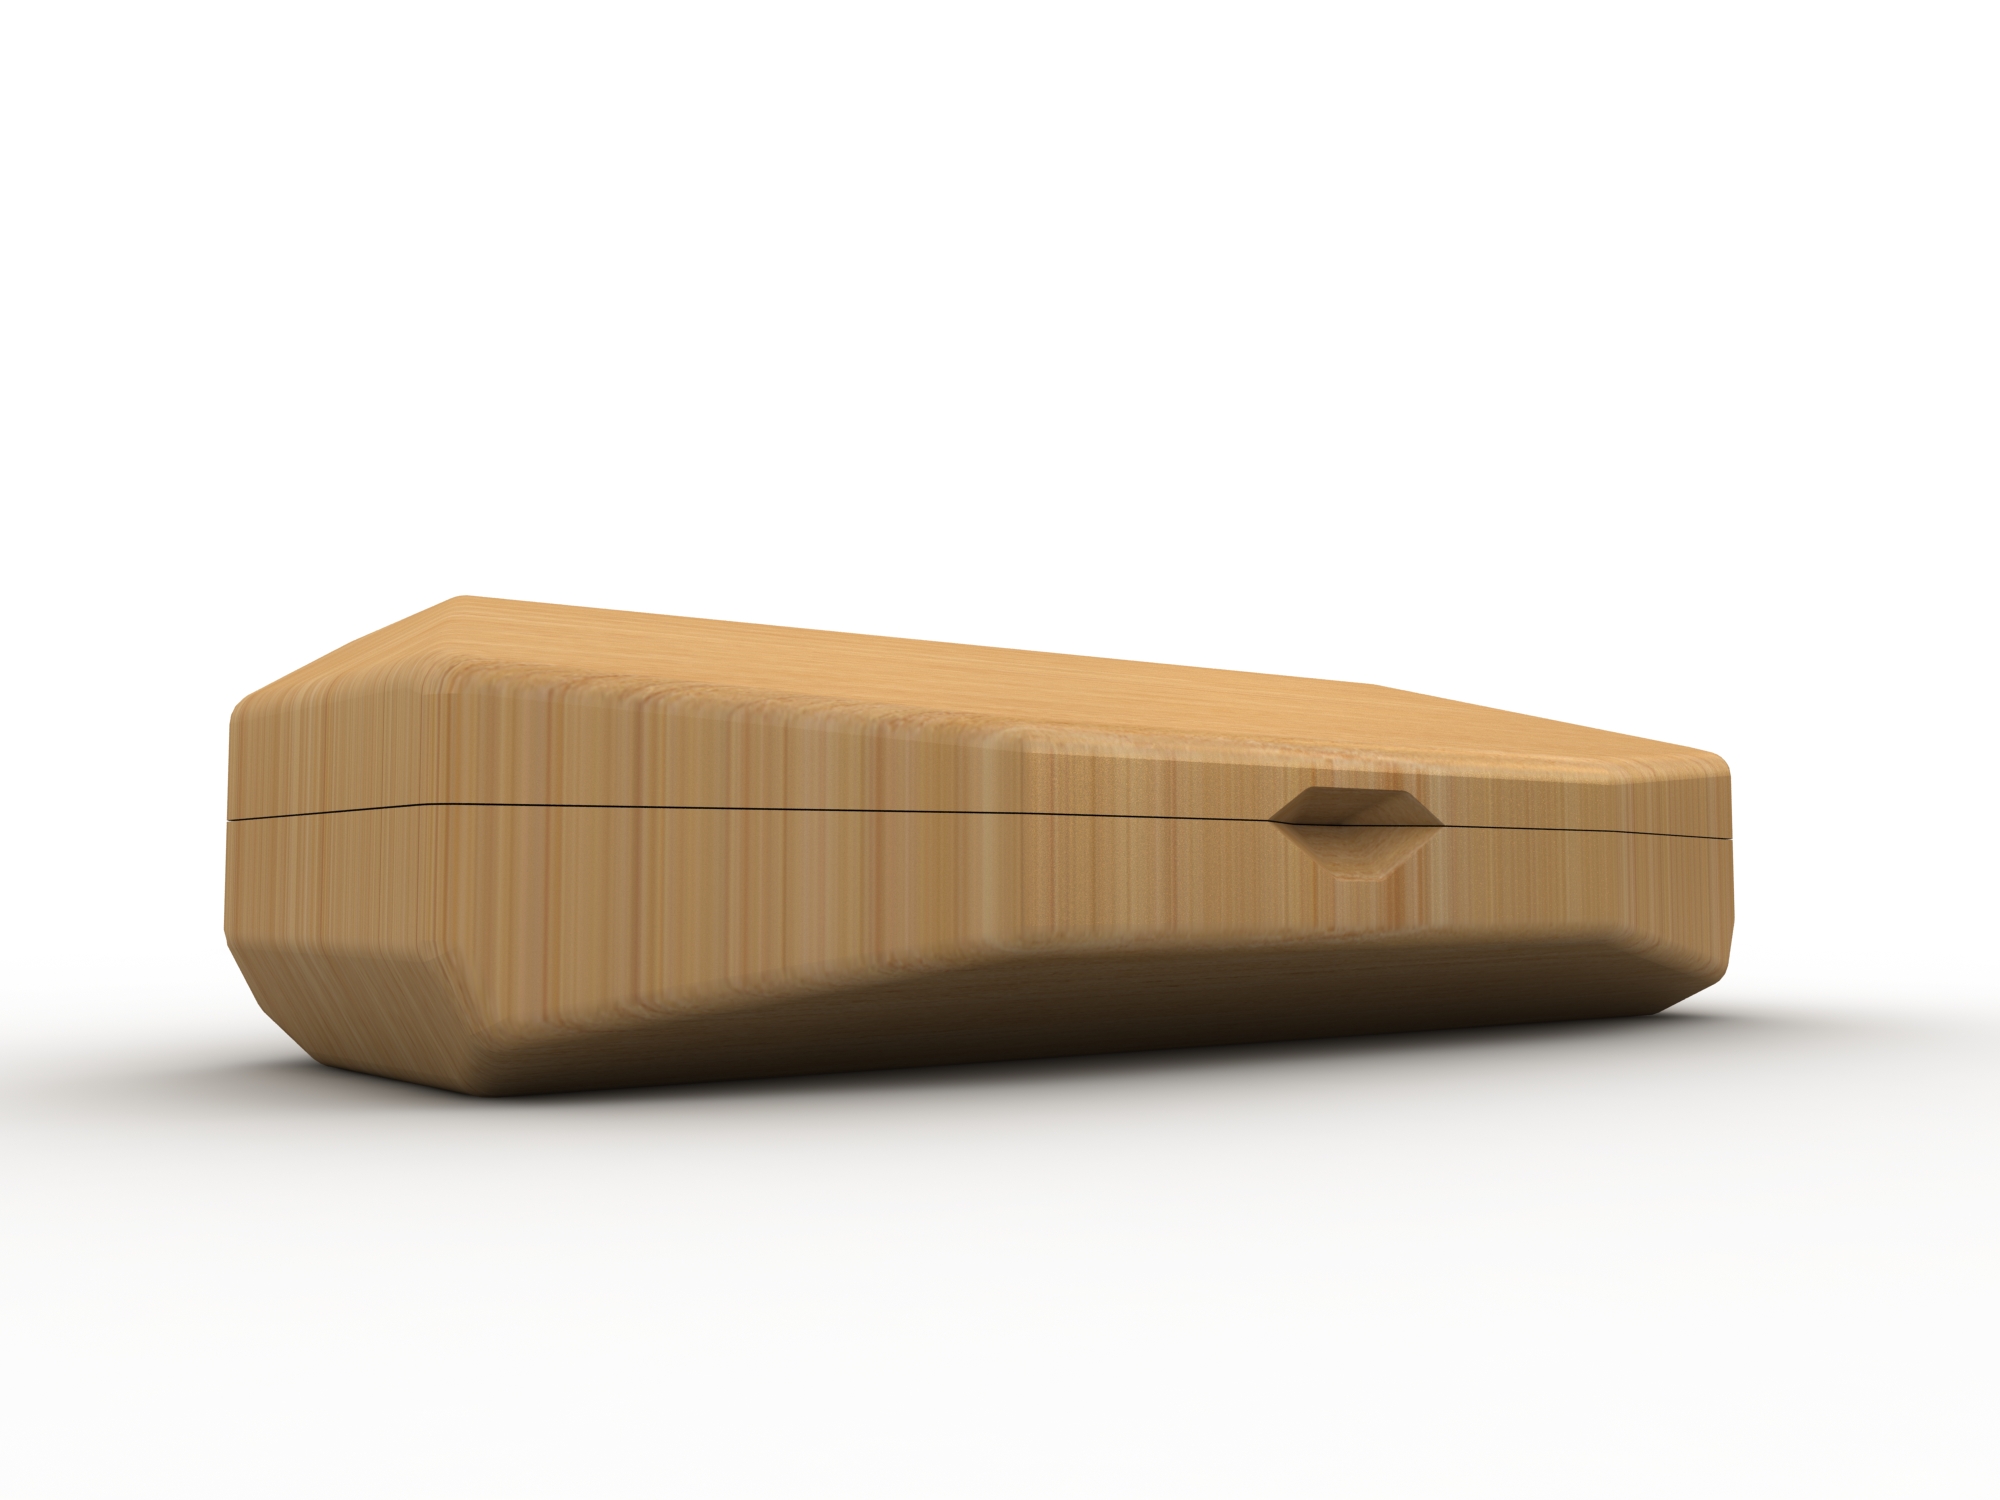
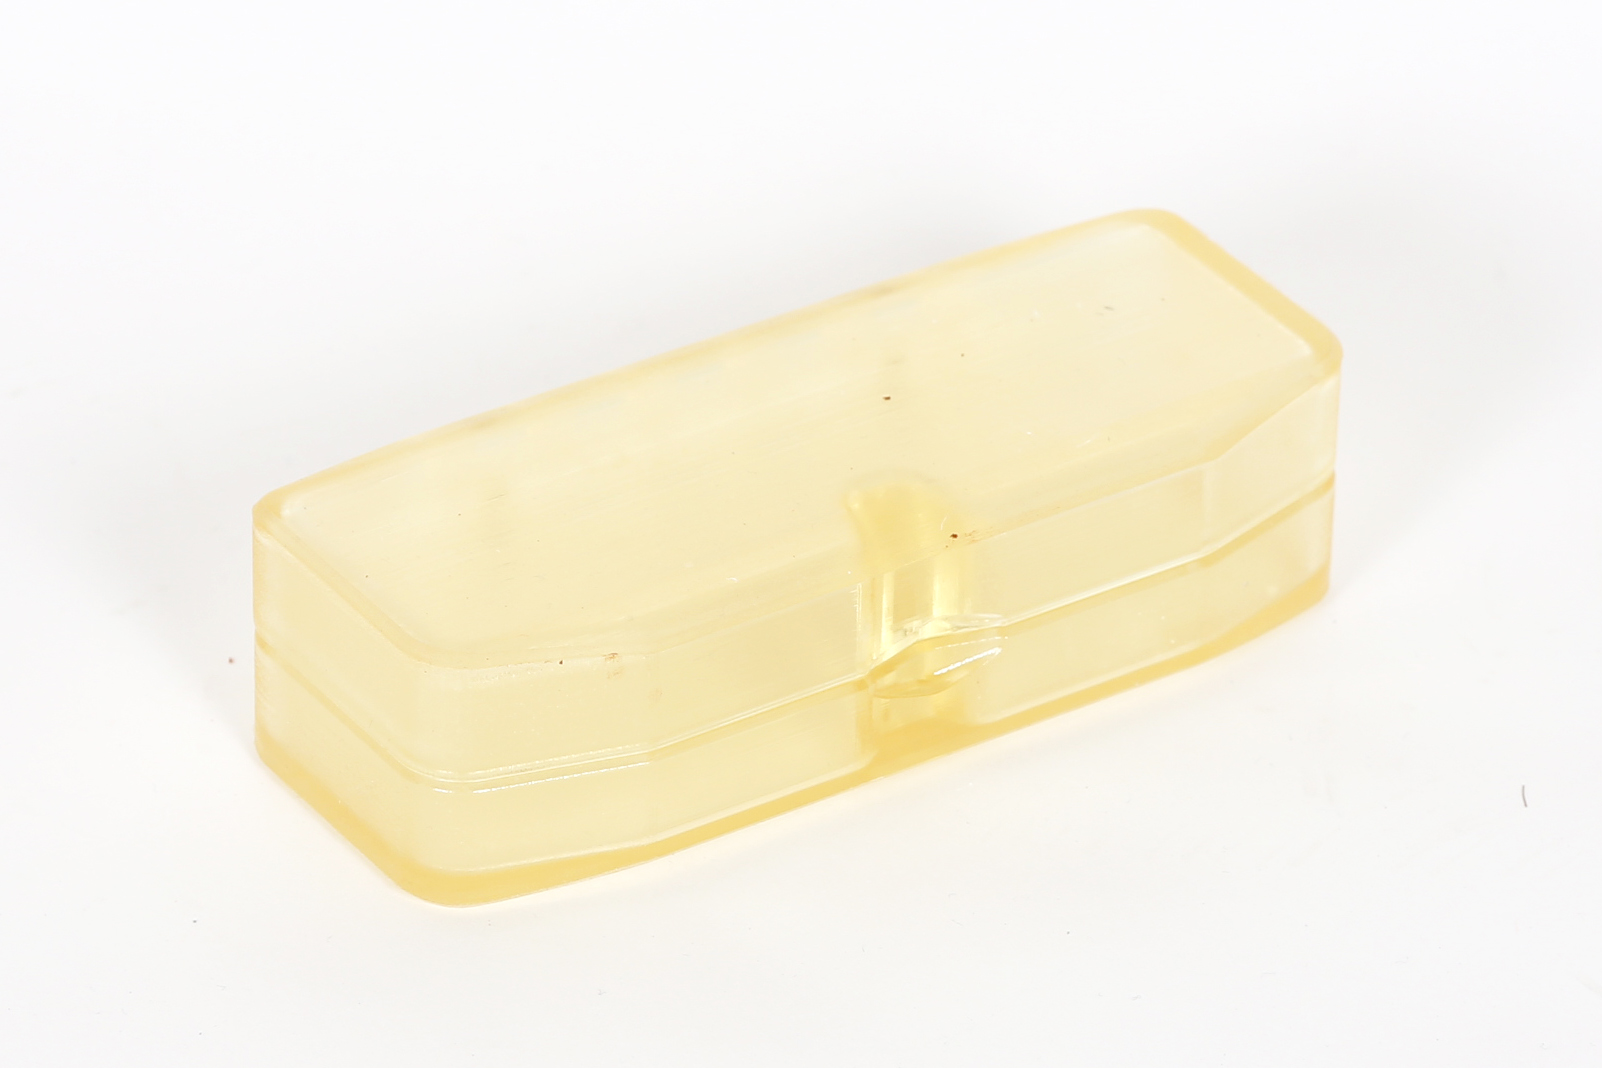
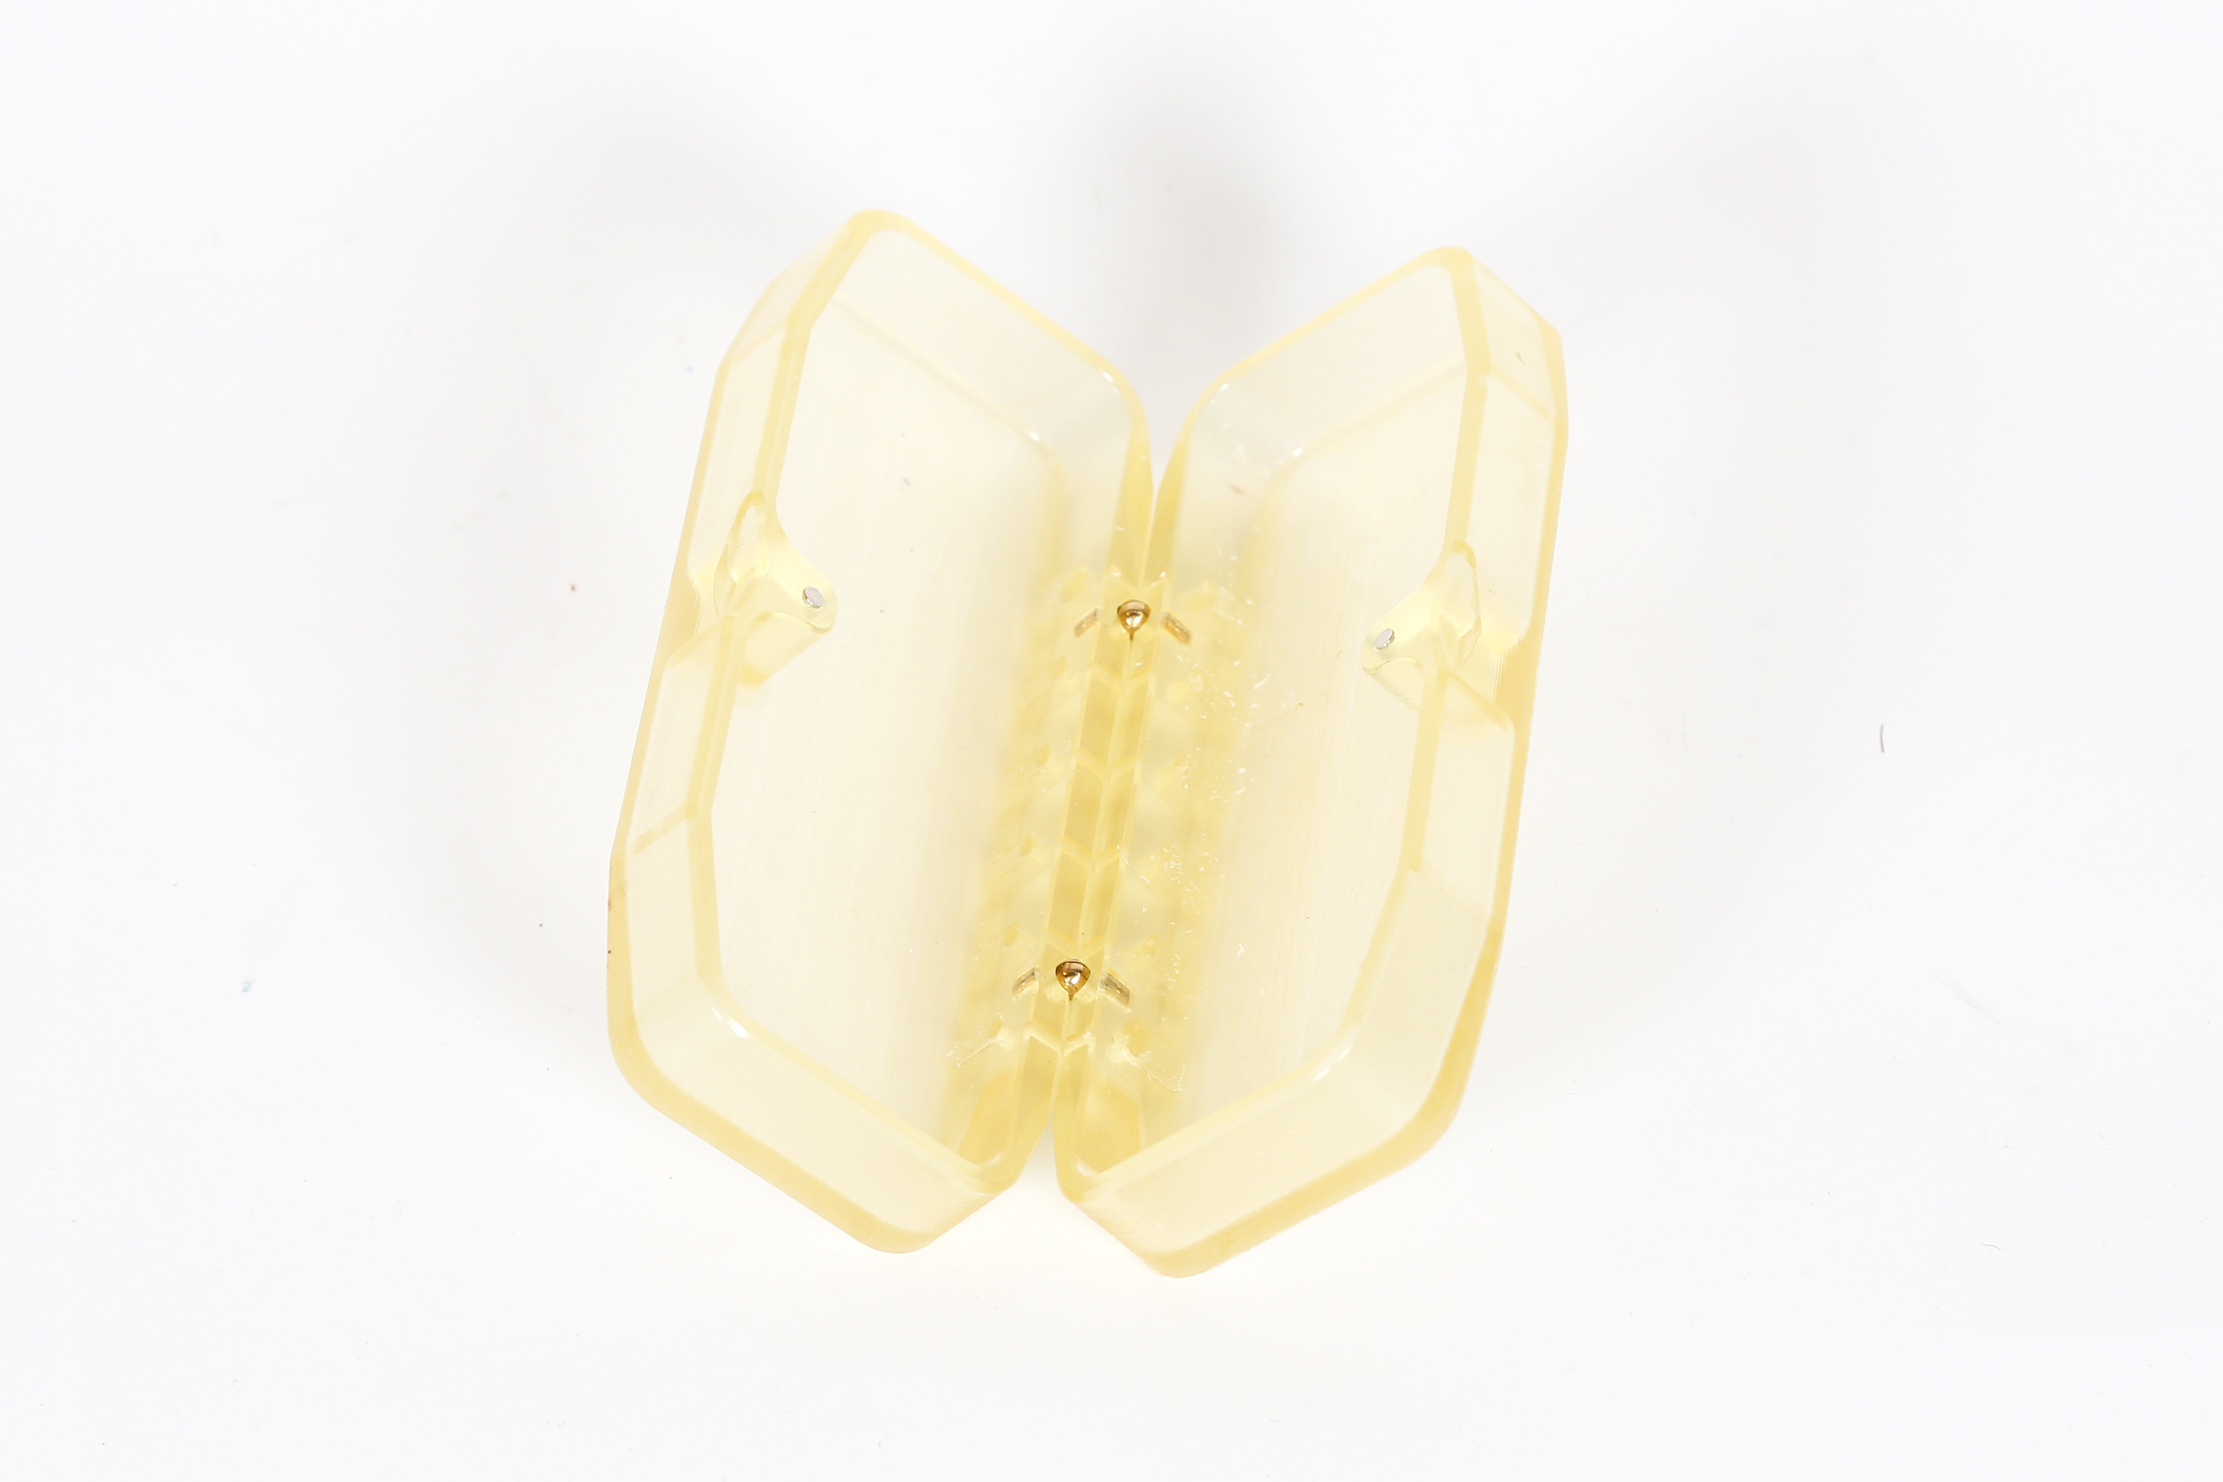
The concept behind this design was to make a block with facets trying to remove as much material as possible but still make it suitable for my sunglasses to fit inside. By facets I mean having all of the faces flat. I first designed a few versions which I 3D printed to test out the size and make sure they work with my glasses. I'm including the STL file so you can do the same.
I used a 3D software called Rhinoceros to model the case. If you want to edit the design on Rhinoceros I'm also including the 3DM file for you to edit.
Files included:
- Sunglass.3dm: is the Rhino with the 3D model
- sunglass.stl: for a 3d preview on this site and if you want to 3d print a version to make sure your glasses fit.
Materials and Equipment Needed
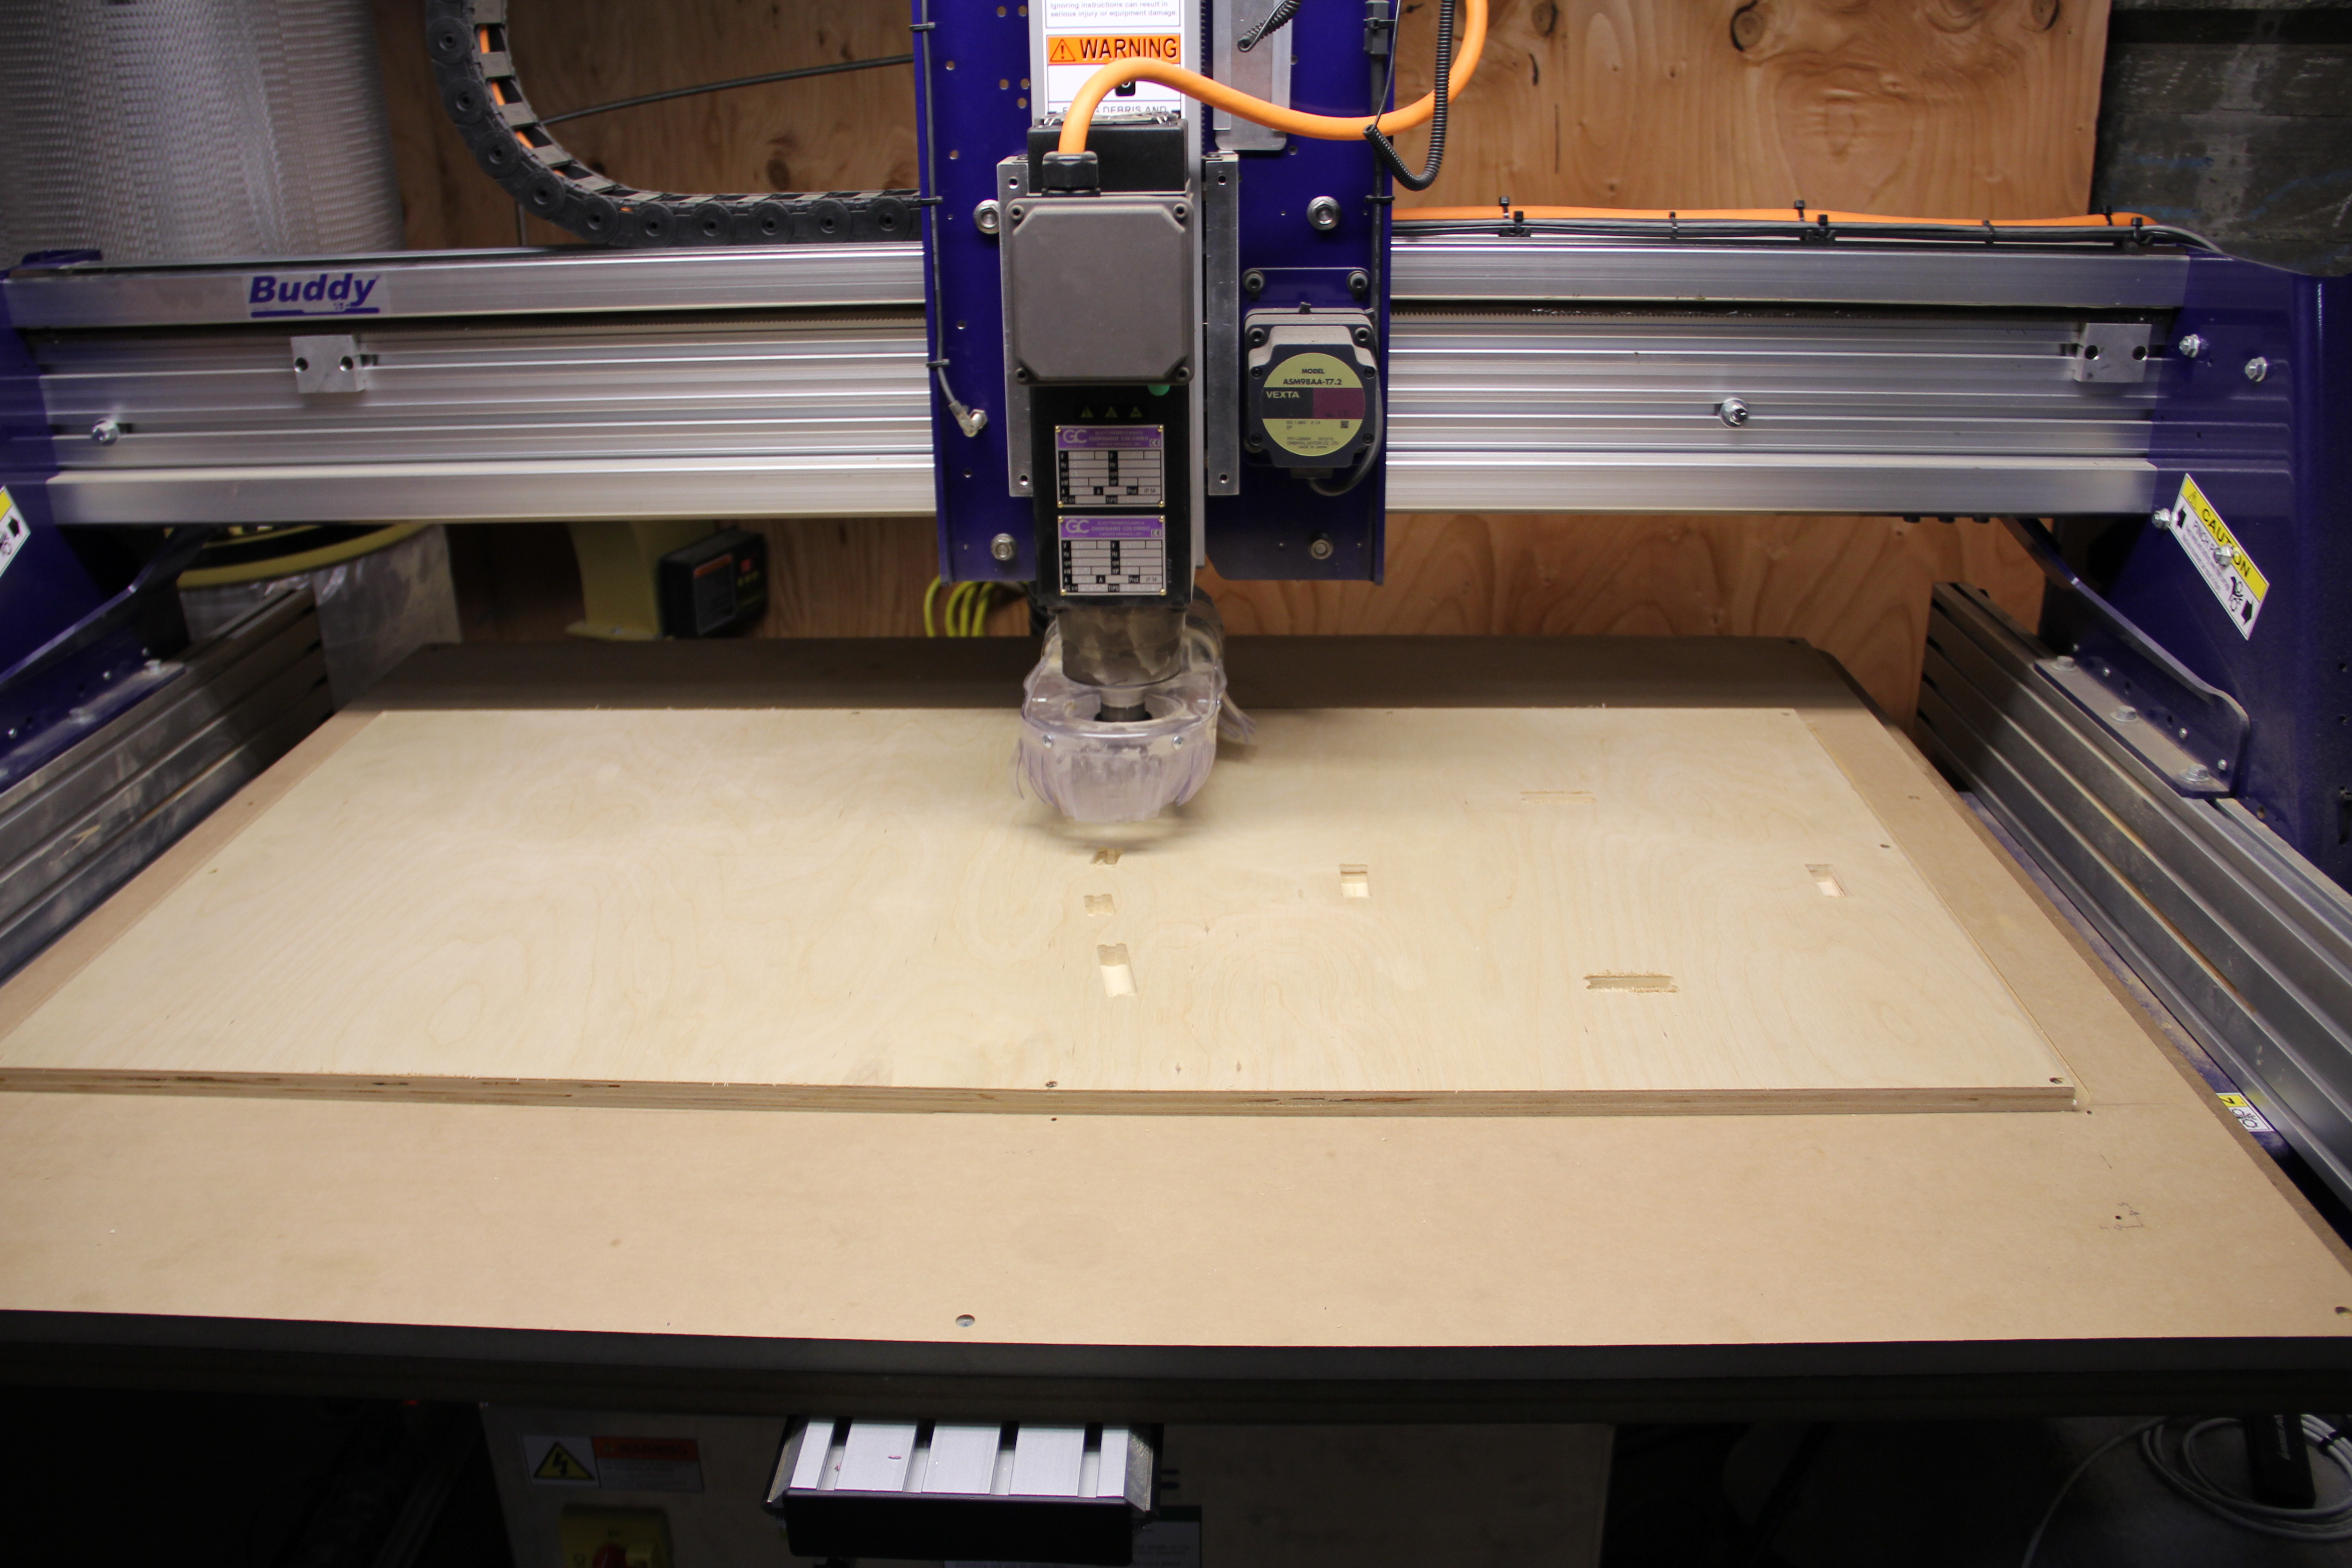



ShopBot Training Tutorials & Videos are a great resource to dig in before doing any operation. I learned a lot from their video: Two Sided Machining [Download Video 75mb] [Propeller File]. If you are starting out I recommend you begin with the Clock I uploaded to instructables a few weeks ago. The sunglass case is really the same process but it's a little more work overall.
Materials:
- Maple wood: (2 blocks, dimensions at least: 13 x 7 x 2 inches). I'm now looking to make it of a harder wood such as Walnut.
- Danish Oil (Natural)
- Satin Wax (Natural)
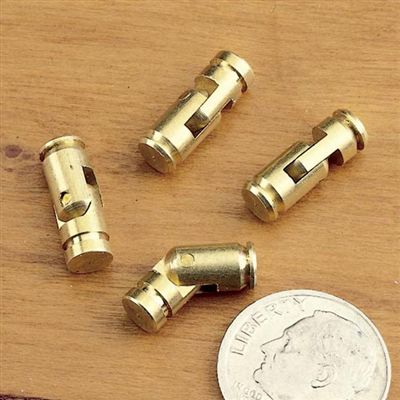
- Miniature Barrel Hinge
- Epoxy Glue
- Sanding paper
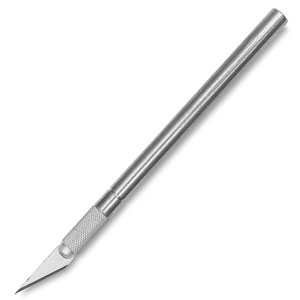
- X-ACTO Knife
Tiny Craft Hobby Neodymium Rare Earth Super Magnets 1/8 x 1/16 in. (3x1.5mm)
Machines/Equipment:
- Jointer and Planer
- Chop Saw
- Table Saw
- Shopbot Buddy + software included
- 1/4 inch Ball Nose
- Band Saw
- Belt Sander
- Drill Press
- 5 mm drill bit
Partworks: Orient, Material Size and Tabs
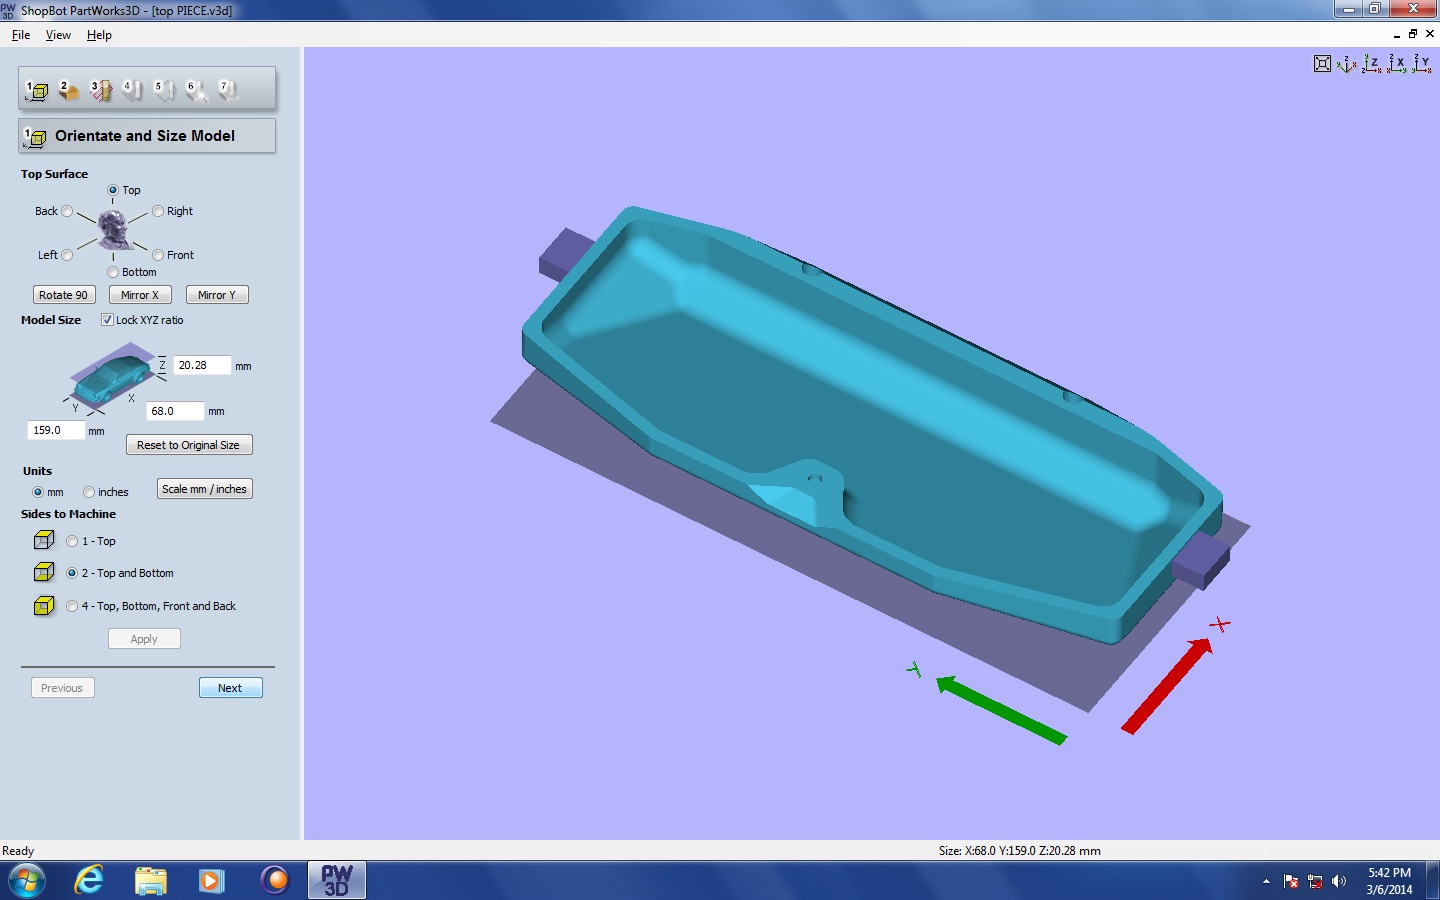
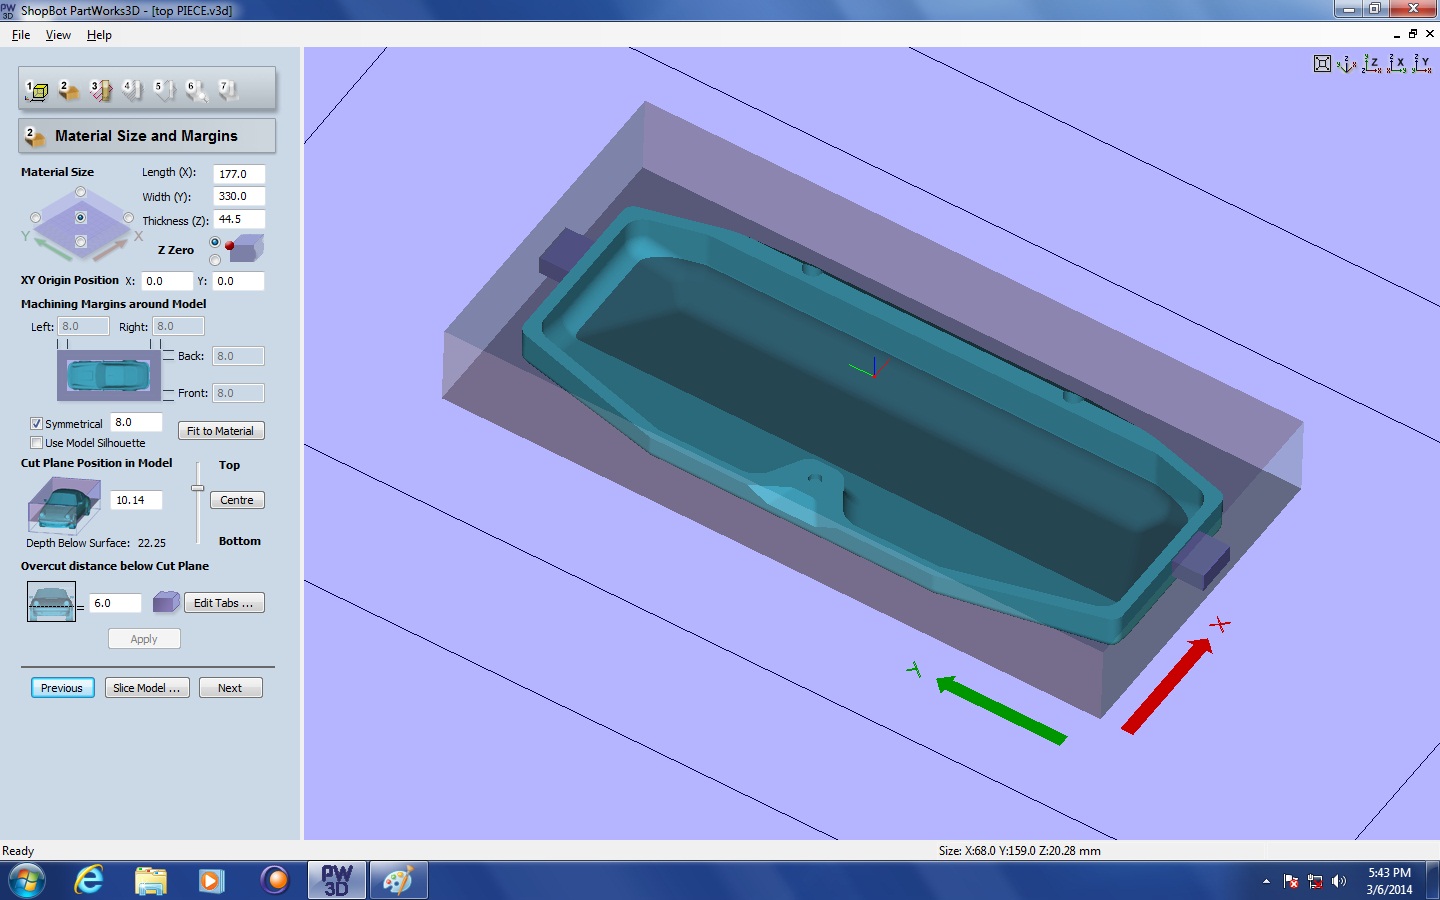
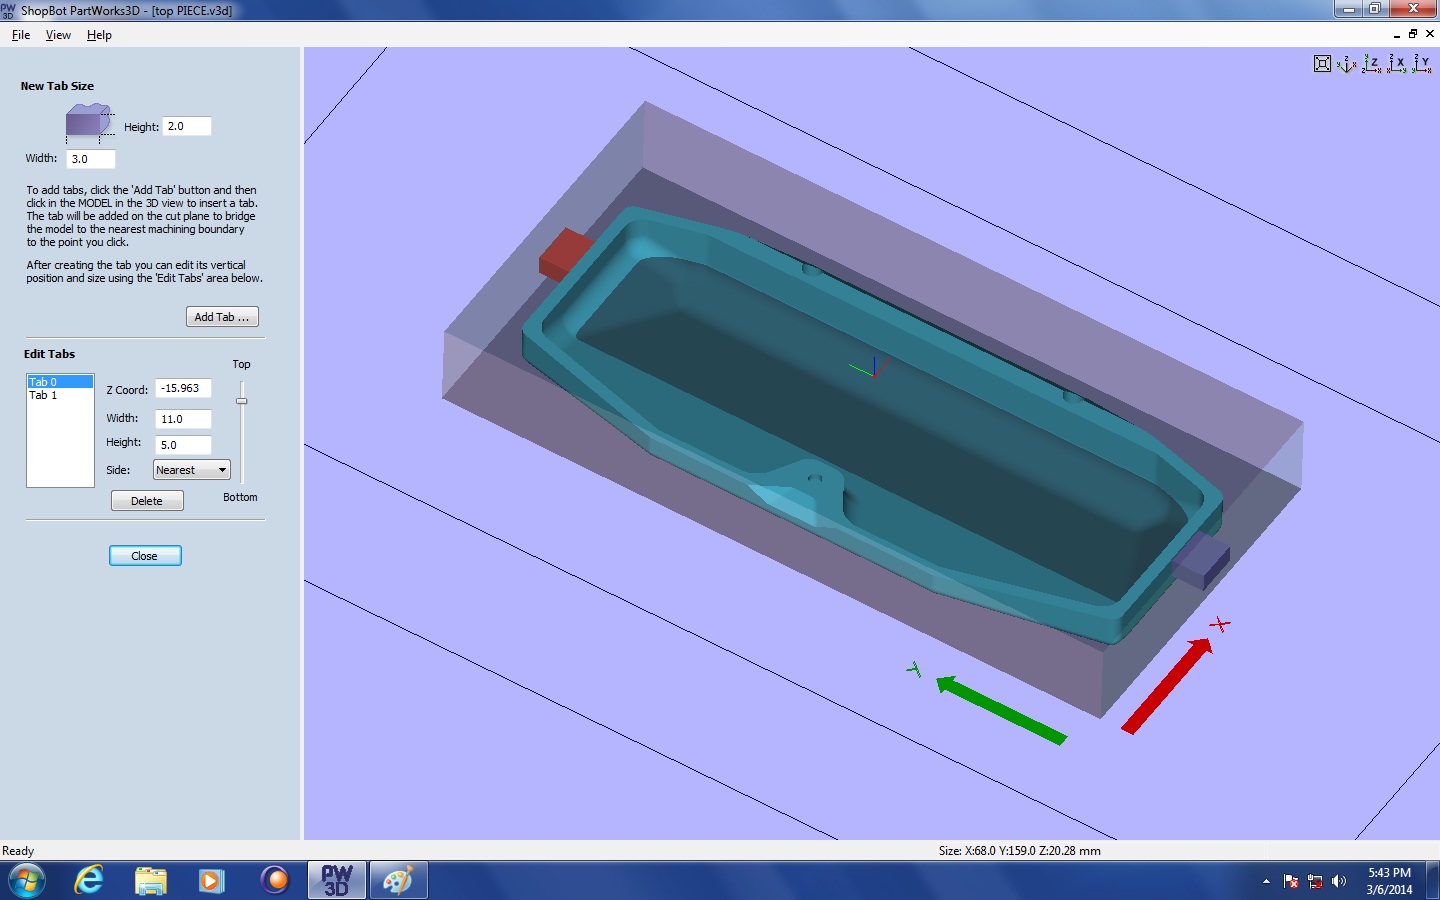
The case is composed by 2 pieces: Top and Bottom. We will first begin with the Top piece.
I will be using PartWorks 3D (free software included in all new Shopbots) to make the toolpaths of the clock. So go ahead, Open PartWorks 3D. Click on Load 3d File and load: top.stl (file included in this step).
Here is where you will see the 3d model and a 7 step process to get your toolpaths for the shopbot.
Step 1: Orientate and Size Model
The model size is in mm: 159 x 68 x 20.28
As it is a 2-sided part we will need to select:
Sides to Machine: 2 Top and Bottom and hit Apply
You can rearrange the orientation. The clock is squared so it doesn’t really matter. Either way it is kind of a good practice to know which is your X and Y axis in your Shopbot. I’m going to use a Shopbot Buddy and my Y axis runs from my right to left when I’m facing the machine.
Step 2: Material Size and Margins
We need to put in the piece of wood that will be slightly bigger than our clock. I cut down a piece of maple wood with the table saw in these dimensions and it worked fine: 177 x 330 x 44.5
You can now see a few things:
- The model size is the blue box
- The material size is the purple box with black lines
- The cut plane is in gray
- X and Y axis
It is very important to know where your ZERO is. We will put this on the center of the part and on the top surface. It will help us when we do the flipping to machine the other side. Cut plane is where your middle of the cut is, in this case the cut plane position is the middle. In Machining margins around the model use Symmetrical. It’s a good practice to do an overcut bellow the cut plane. In some cases your centre point will not work as a cut plane and you need to cut more material. I put in 6 mm but it doesn’t really need it. Select Apply.
Click on Edit Tabs:
Since we will be flipping the material to do the 2 sides we need to add a tab (or more) so the part does not go flying. A tab is piece that won’t be cut of the material that will keep the material in place. You can put in any dimension you want. In my case I used a rectangular tab of 11 x 5, you then click on Add Tab and you click one more time on the side of the part you want to make the tab. You can then edit the size and location of the tab if you are not satisfied. Next, repeat and put a second tab on the opposite side. I
I didn’t put tabs on the other 2 sides of the square because it was a pretty short piece, If you want have a long rectangular piece you might want to put 4 tabs (1 on each side).
The dimension 11 x 5 work well and I wouldn't go any slimmer because the wood can shake a little and the tab can eventually break.
Downloads
Roughing Toolpath
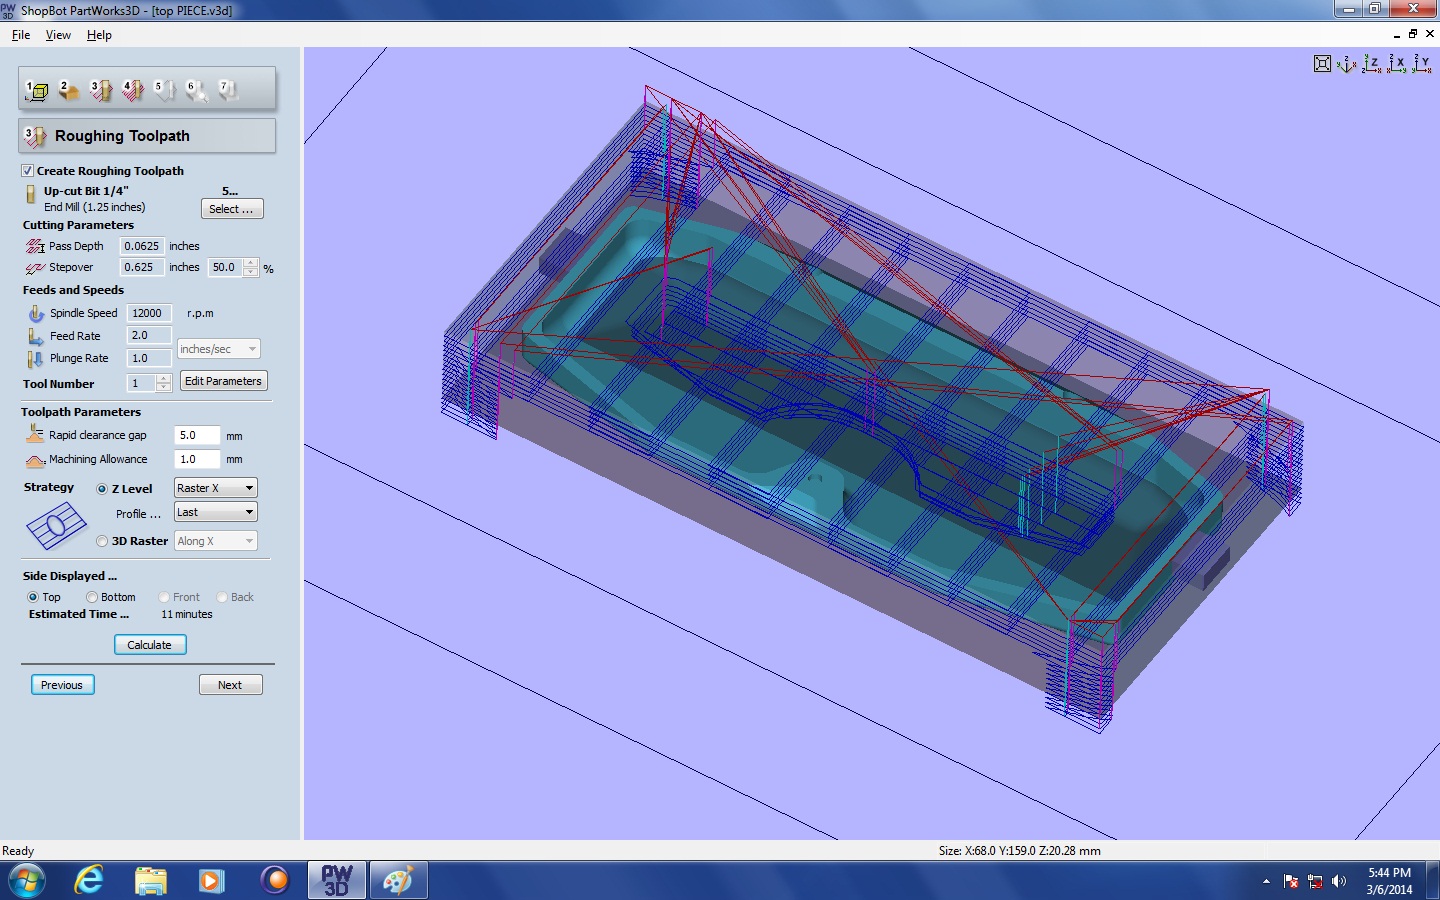
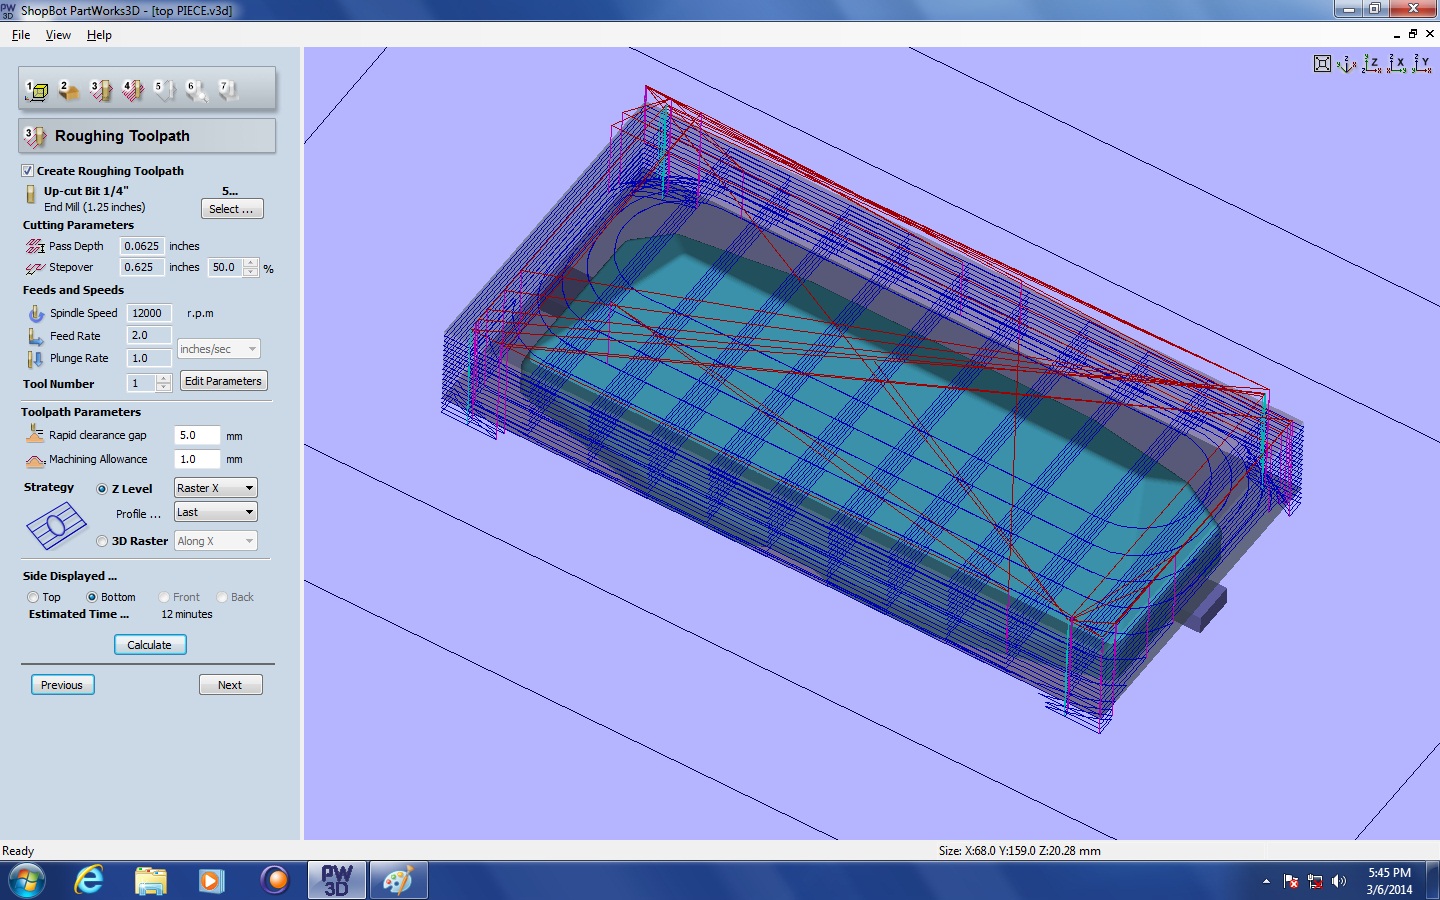
3D machining it is frequently divided into two distinct stages: roughing and finishing. The bulk of the stock material is removed by the roughing toolpath, it is a quick process but leaves poor quality surface finish. Finishing toolpaths remove small amounts of material and give the desired quality. We will begin with the first stage: Roughing toolpath
We will use a ¼ inch End Mill for both the roughing and finishing toolpath. I know some people will not agree with this one but to me it seemed like a waste of time to change the toolbit on this specific job. We are going to select it and change some of the parameters as following:
ROUGHING END MIL ¼ (name and save it for future jobs):
- ¼ Ball Nose
- Stepover 50%
- 12000 rpm
- 2 feed rate
- Plunge rate 1
- Tool number 1
- -
- Rapid clearance 5 mm
- Machining allowance 1 mm
- -
- Z Level: Raster X
Now you should hit Calculate for both TOP and BOTTOM. Make sure you do both!!!
- TOP- Estimate time: 11 minutes
- BOTTOM- Estimate time: 12 minutes
If you see the blue bar at the bottom “Calculating xx%” that is moving really slowly you can cancel and check back your parameters. For us, 8 and 7 minutes sounds like a decent amount of time, so lets continue with Step 4.
Finishing Toolpath
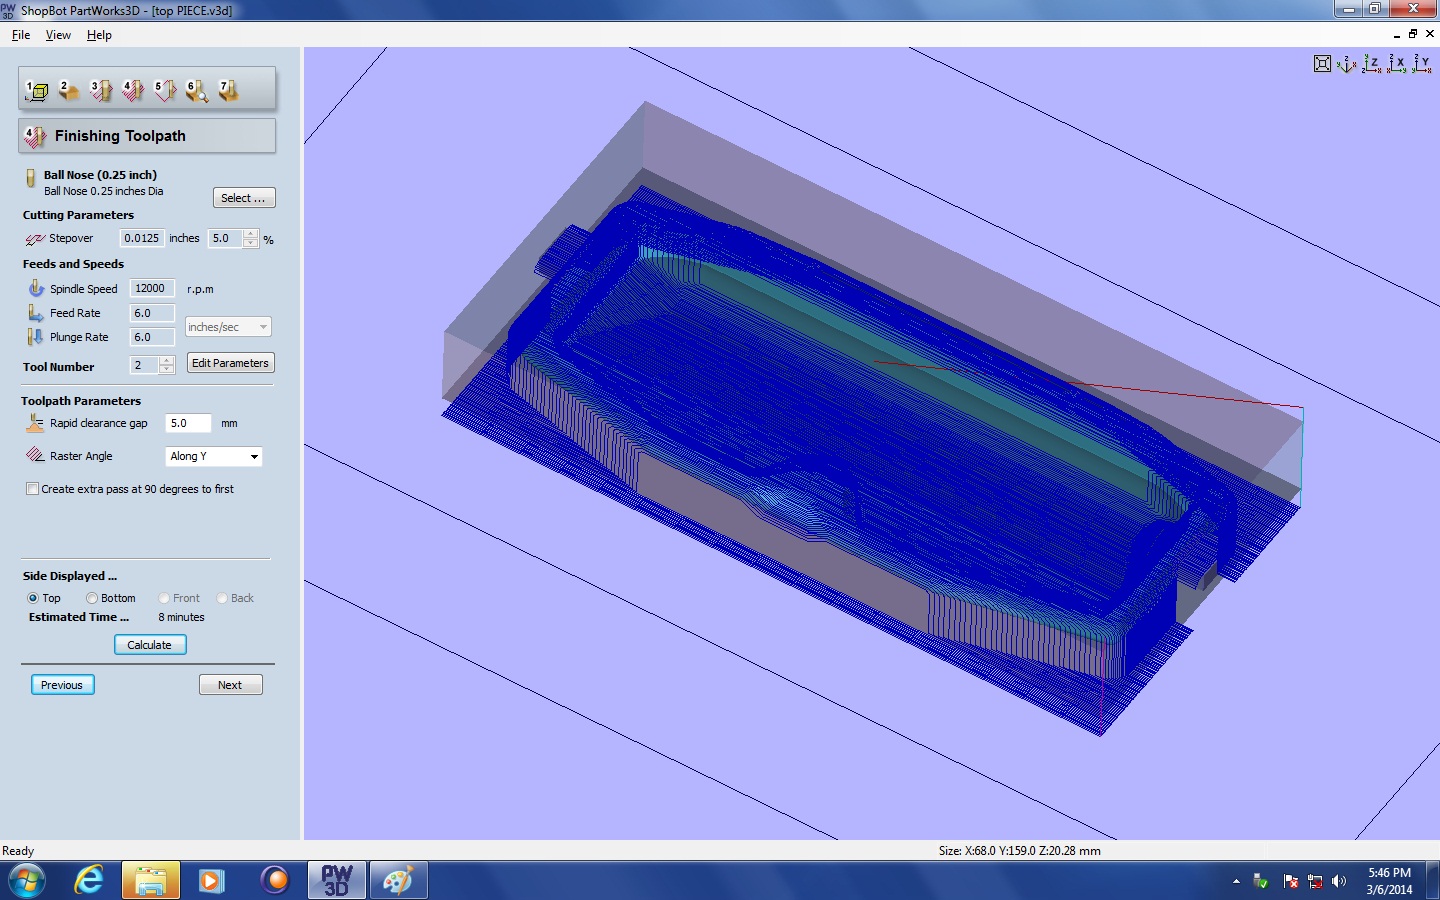
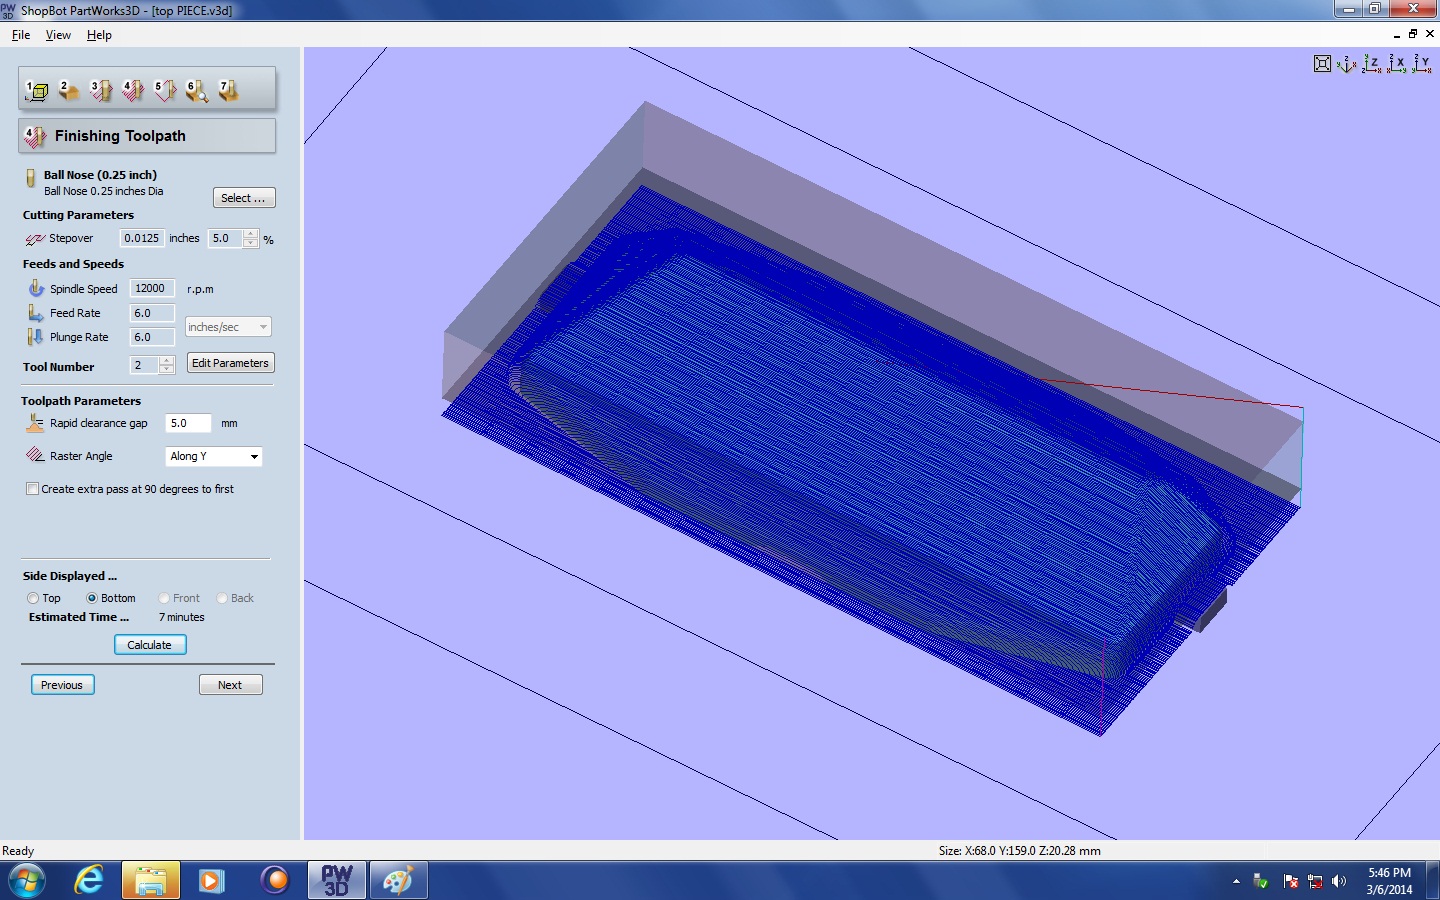
As I mentioned earlier, we will still use the ¼ inch Ball Nose but we need to change a few things in order to make a finer and detailed pass. In order to speed the process, make a copy of the Roughing Toolpath and name it Finishing Toolpath.
- Stepover 5%
- 1200 rpm
- Feed rate 6
- Plunge rate 6
- Keep Tool number 1 so the machine doesn’t prompt to change the toolbit. (I forgot to do this and named it 2).
Now hit Calculate for both Top and Bottom. Top: 8 minutes, Bottom: 7 minutes
Preview Machining and Save Toolpaths
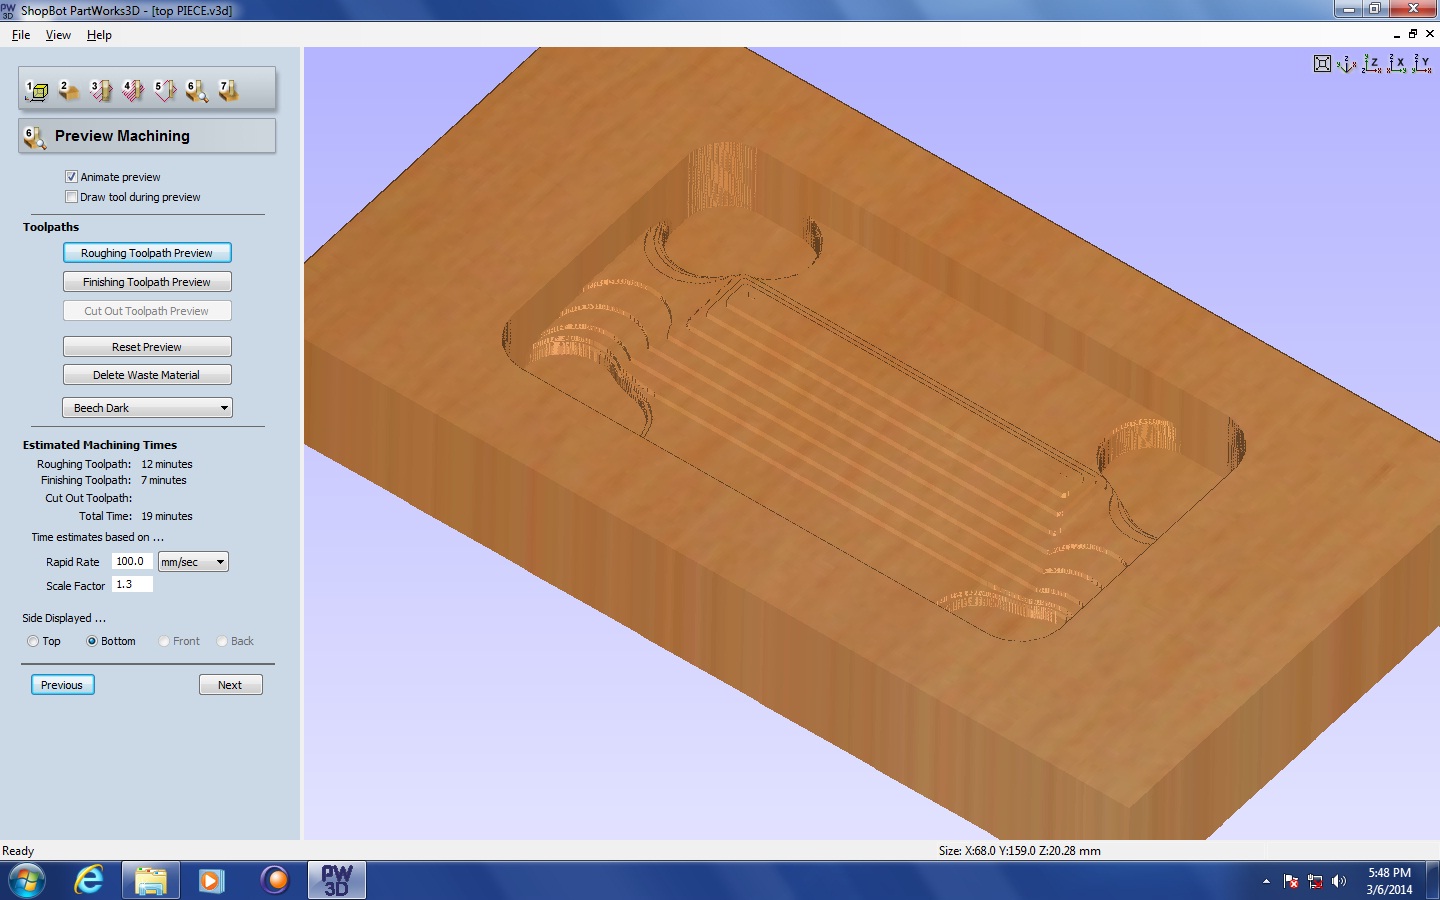
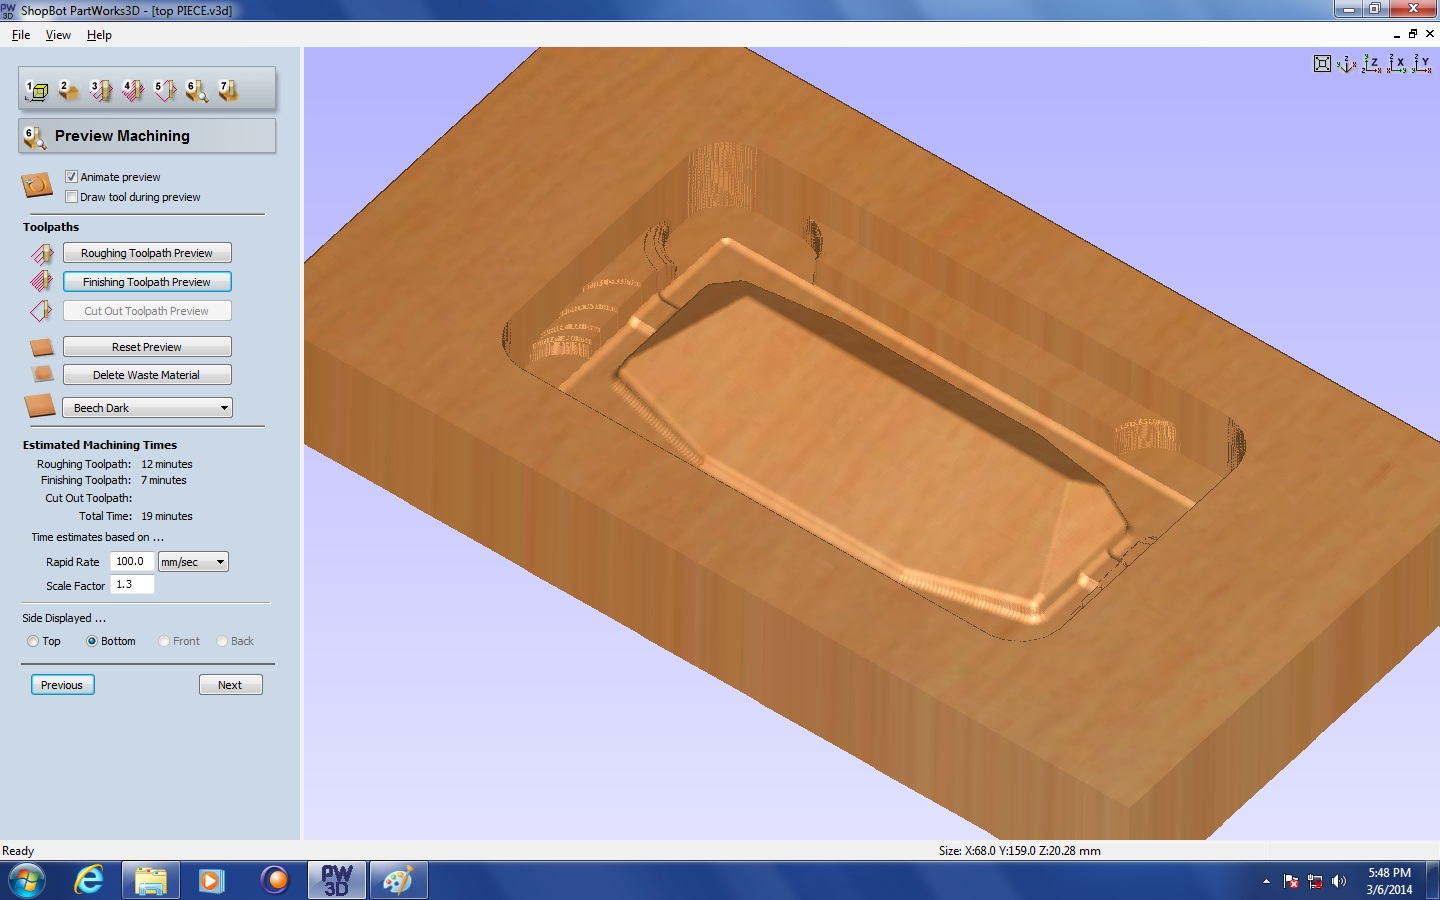
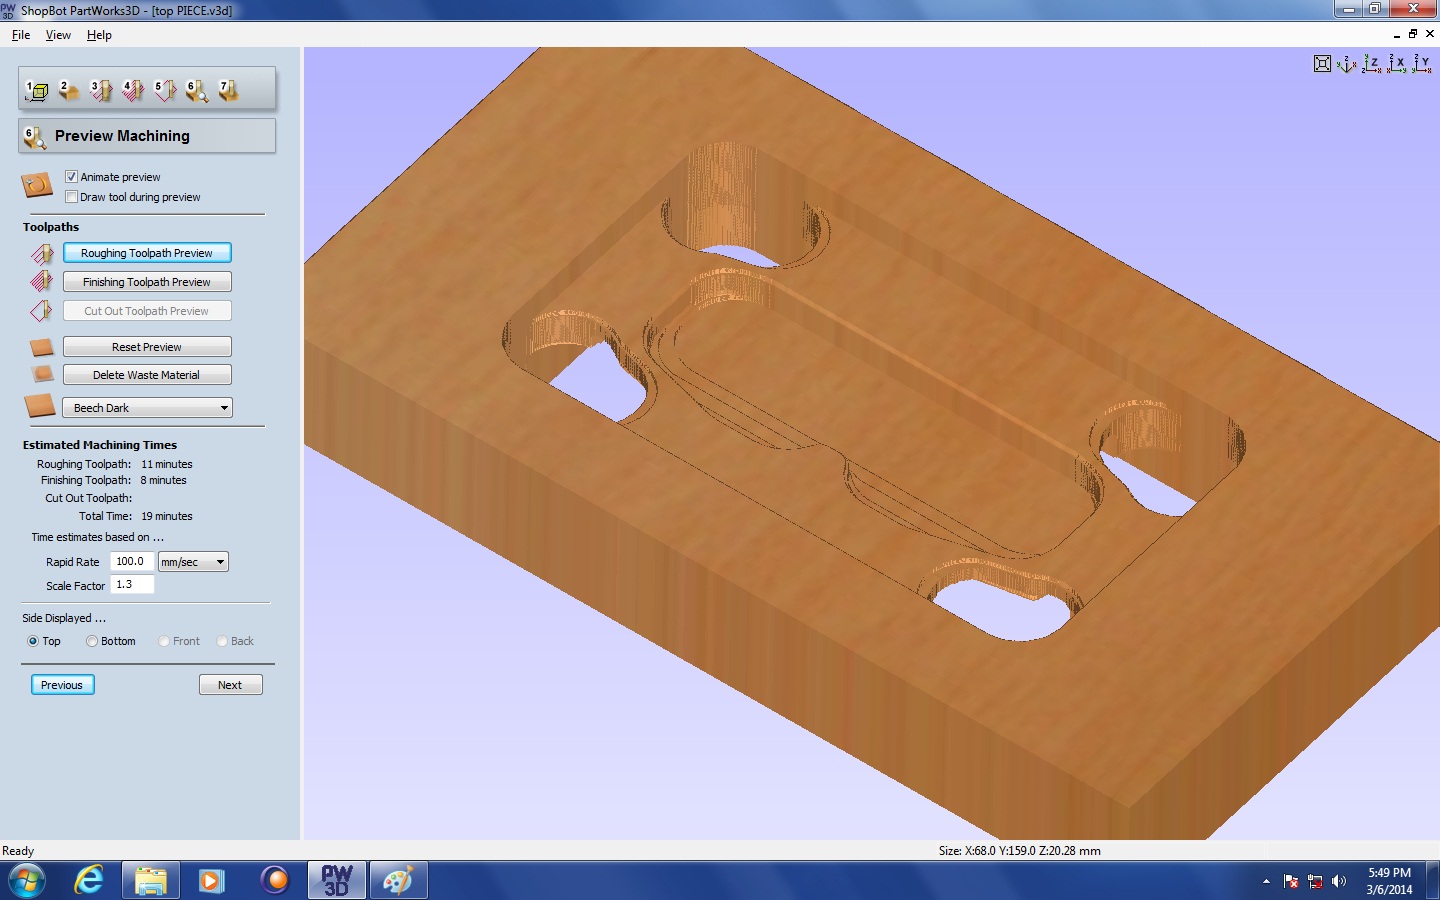
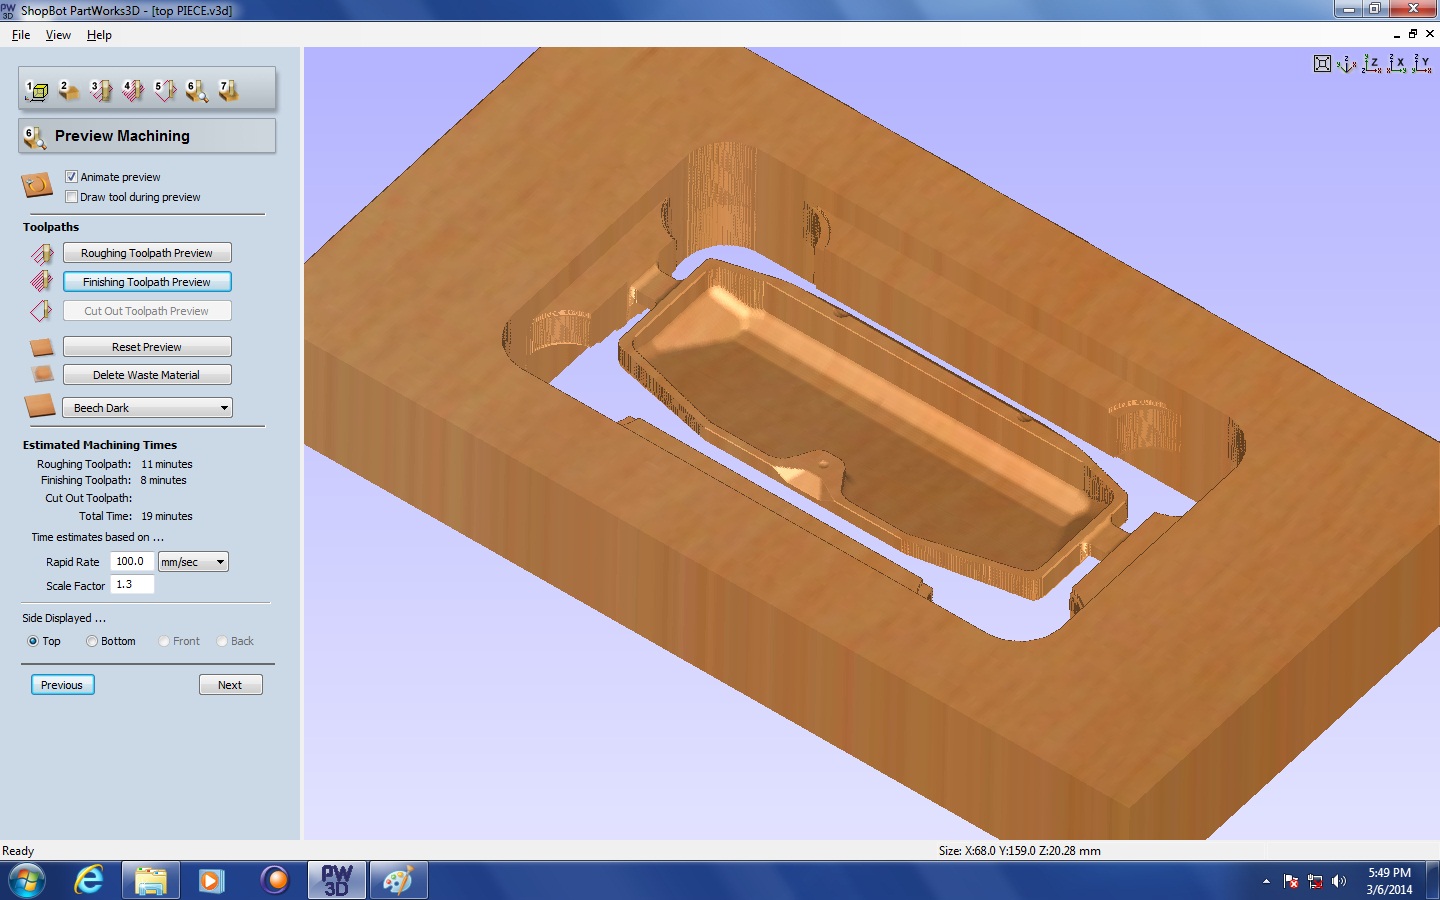
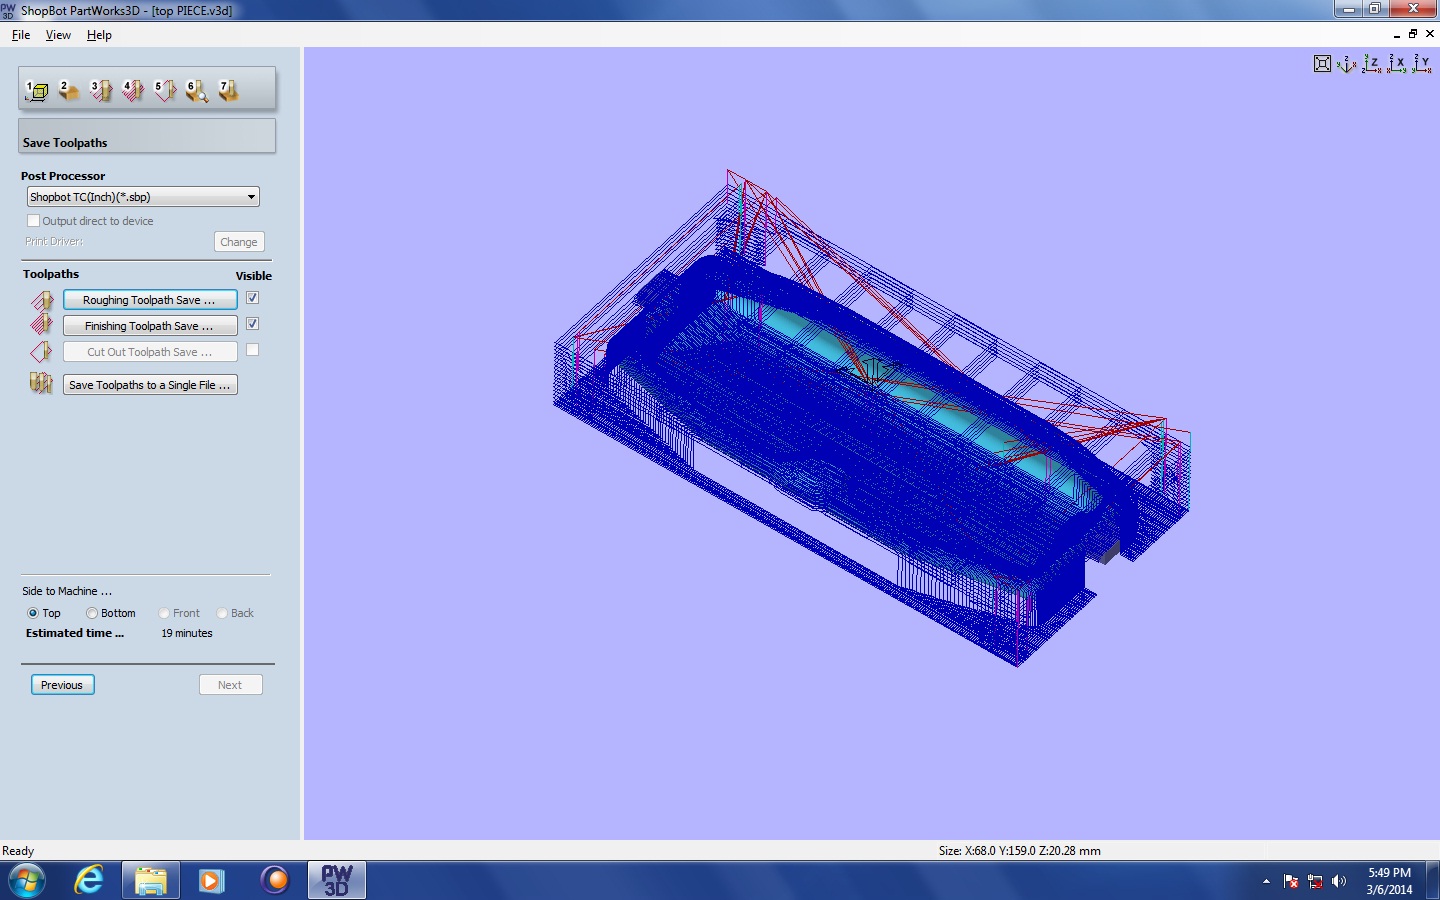
On Step 5, we are not doing a cutout so we will skip by clicking next.
Step 6: Here is where we can preview and check a simulation of our toolpaths. First, we will preview the top side by clicking on Roughing and then Finishing. Then do the same to check the bottom as well, both roughing and finishing.
Step 7: Save Toolpaths
Since we are using the same bit we can select Save Toolpaths to a single file (maybe its faster). If you might change bits it could be a better option to save it as multiple files.
Click on:
- Save toolpaths to a single file
- Select top
- Save
Do the same for Bottom.
I'm attaching bellow:
- Top Piece.v3d: The Partworks file with the toolpath
- Combined Toolpath: The complete toolpath ready for the Shopbot
Making Pin Alignment on the Sacrificial Board
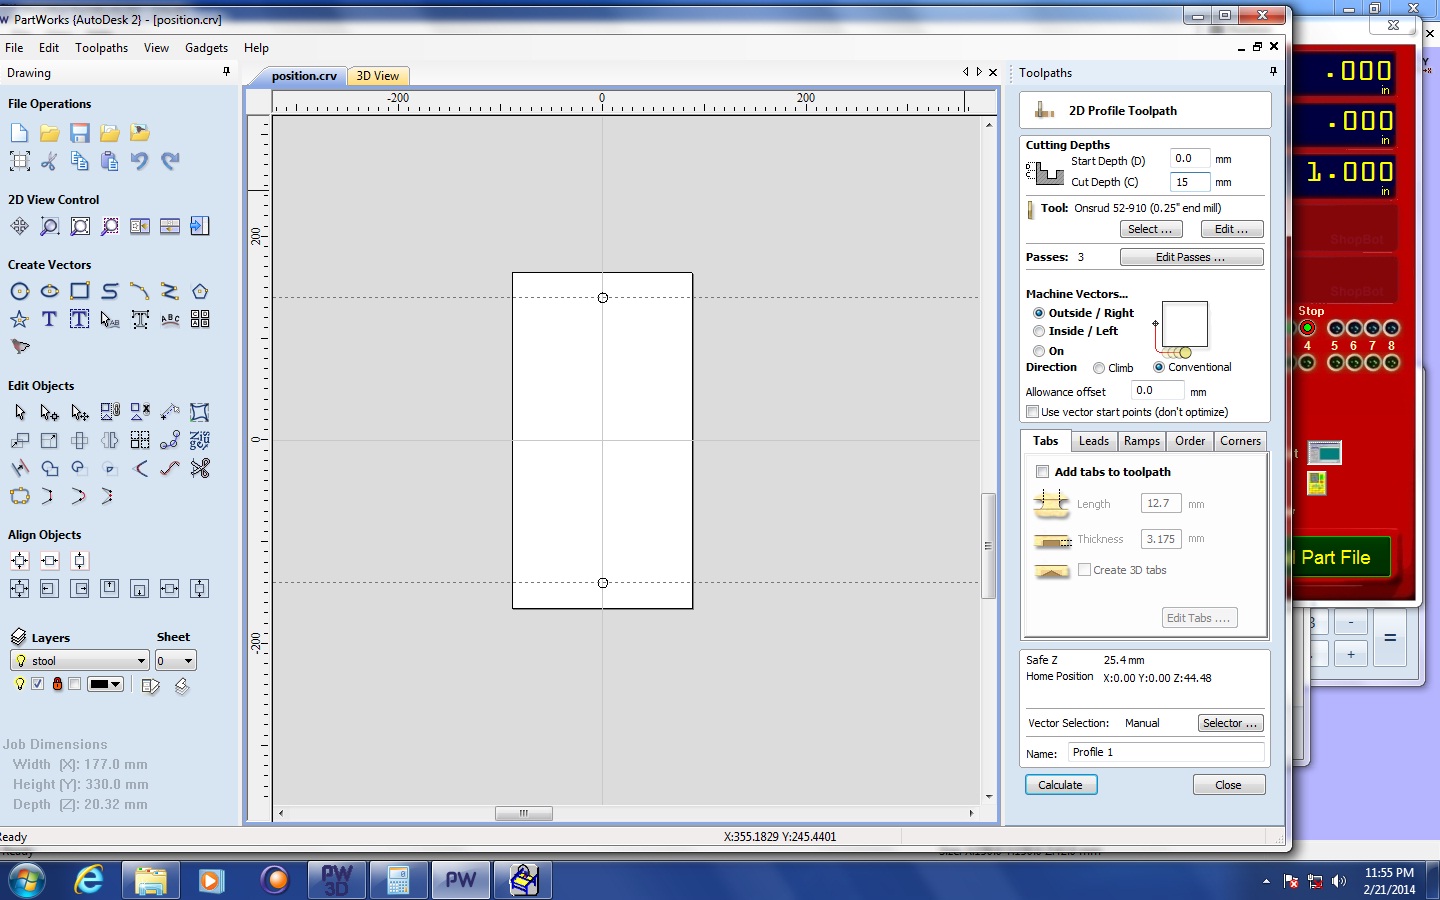
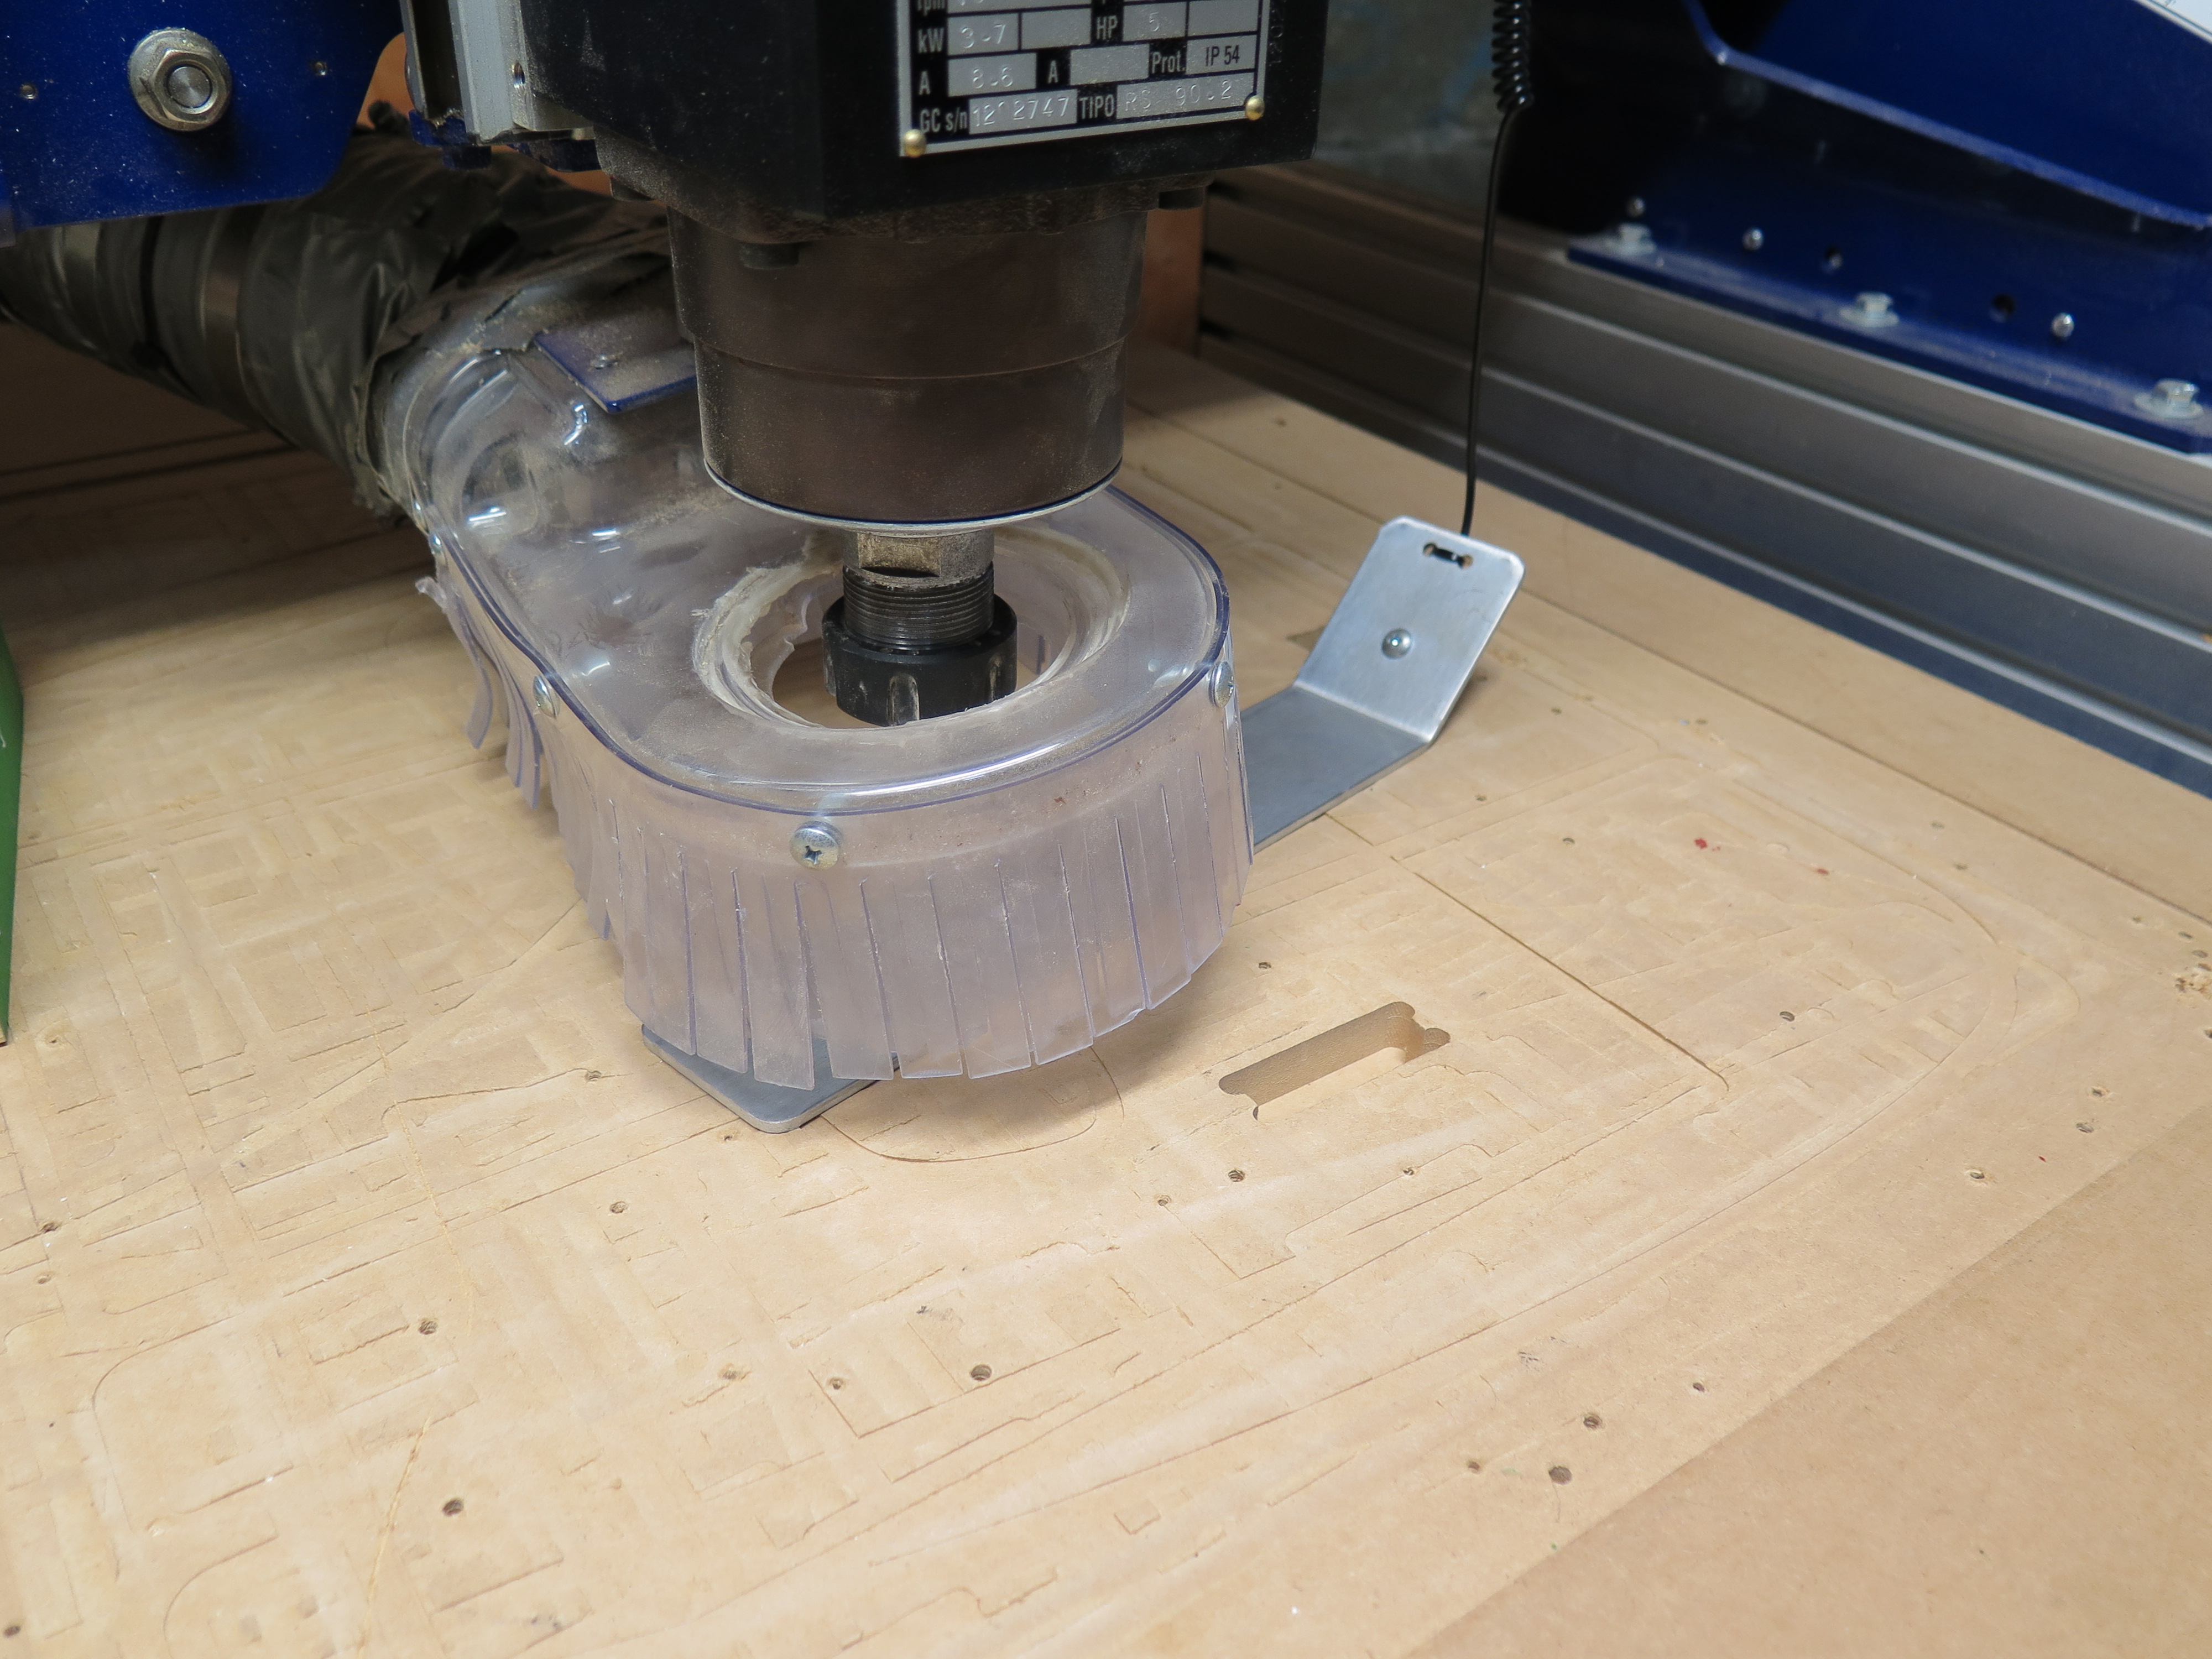
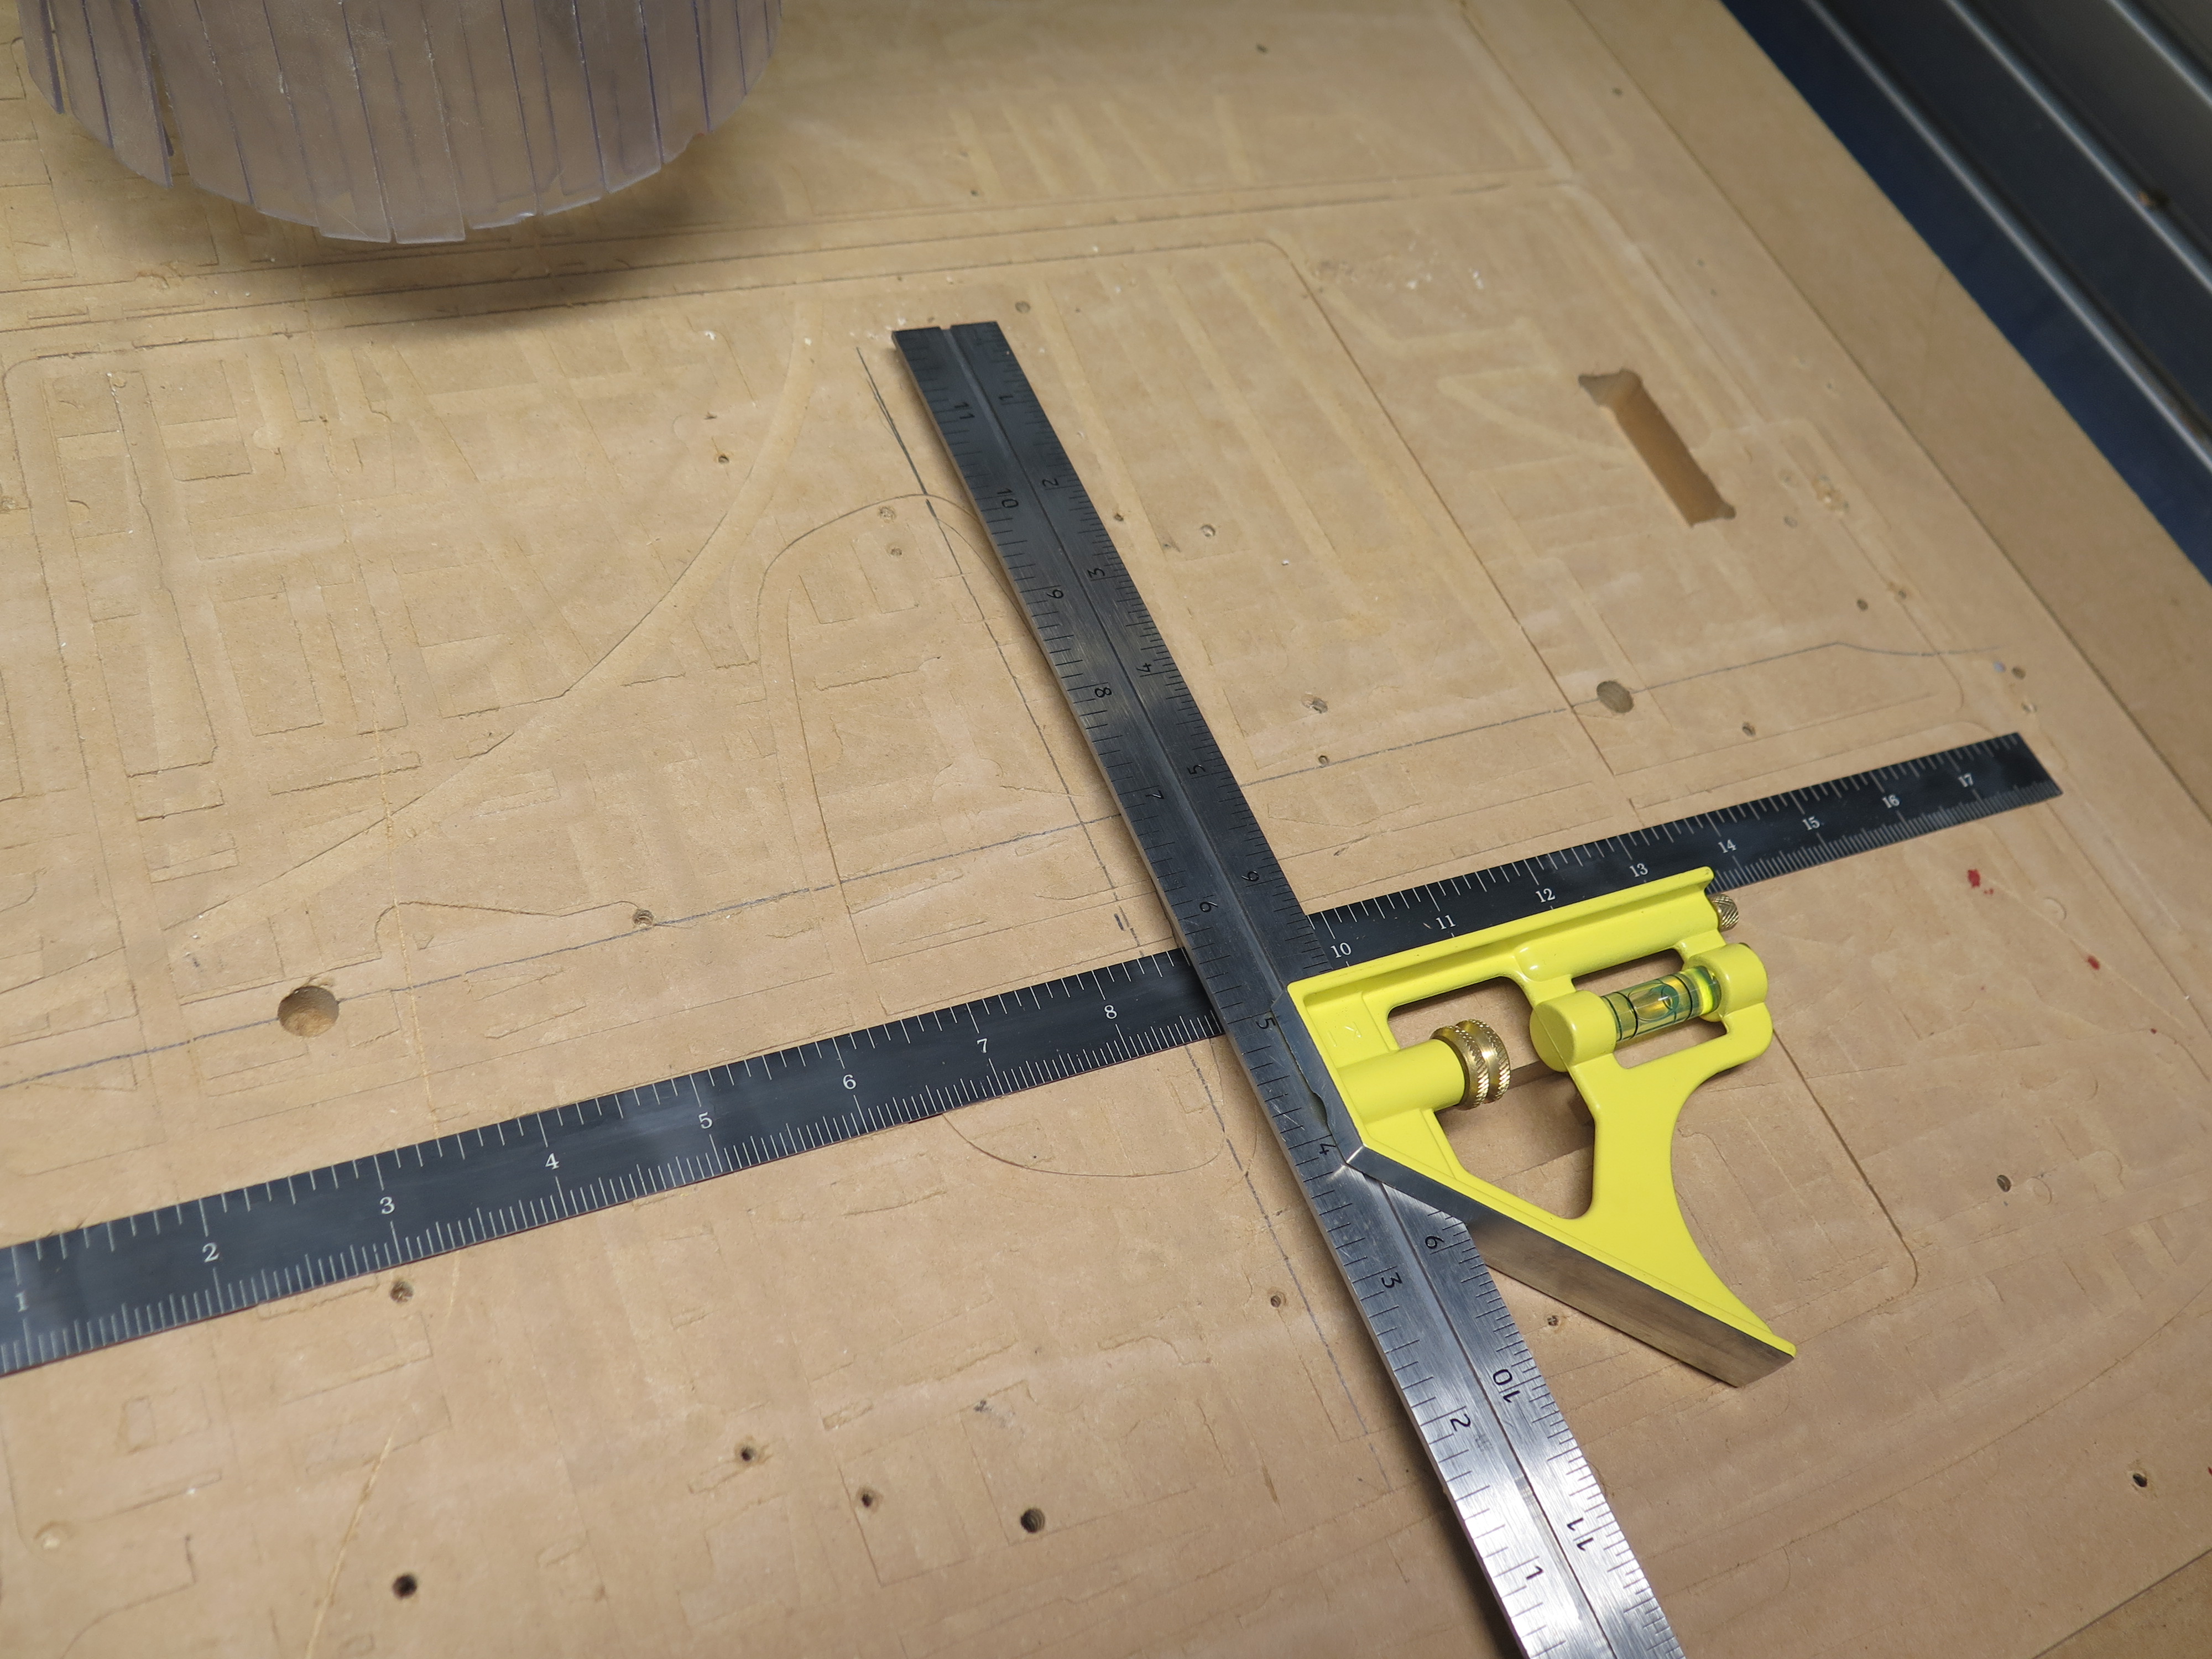
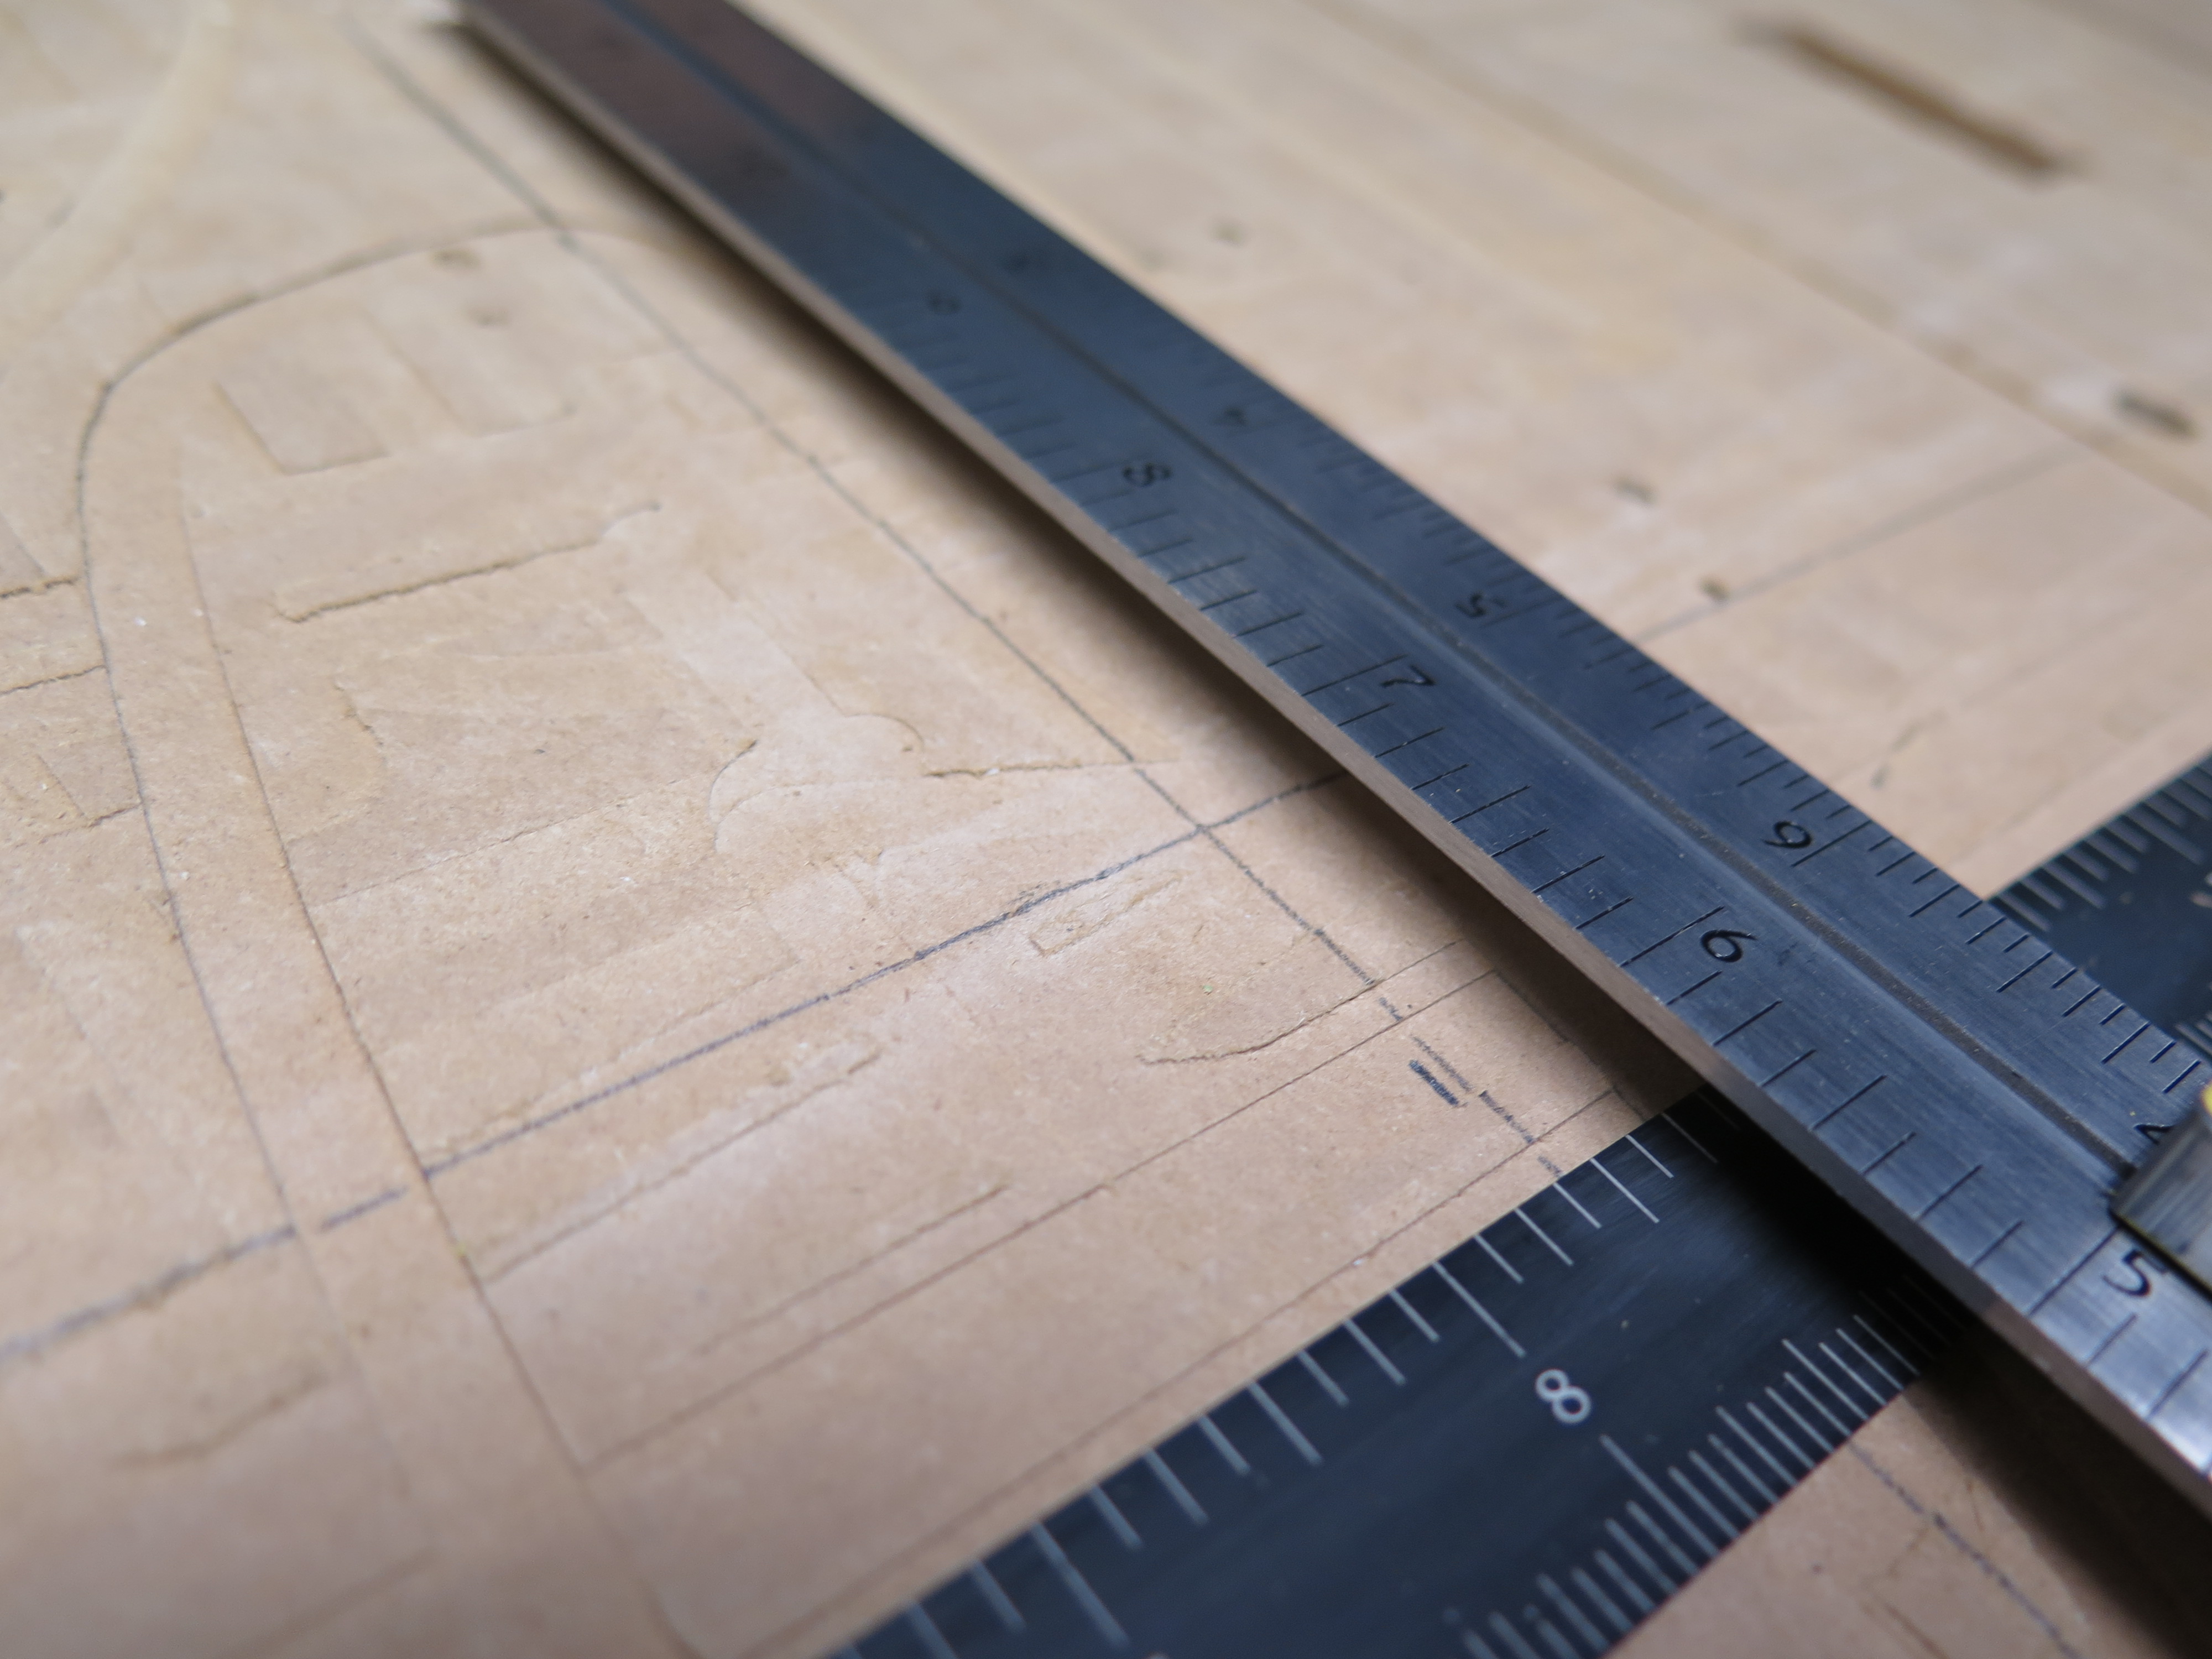
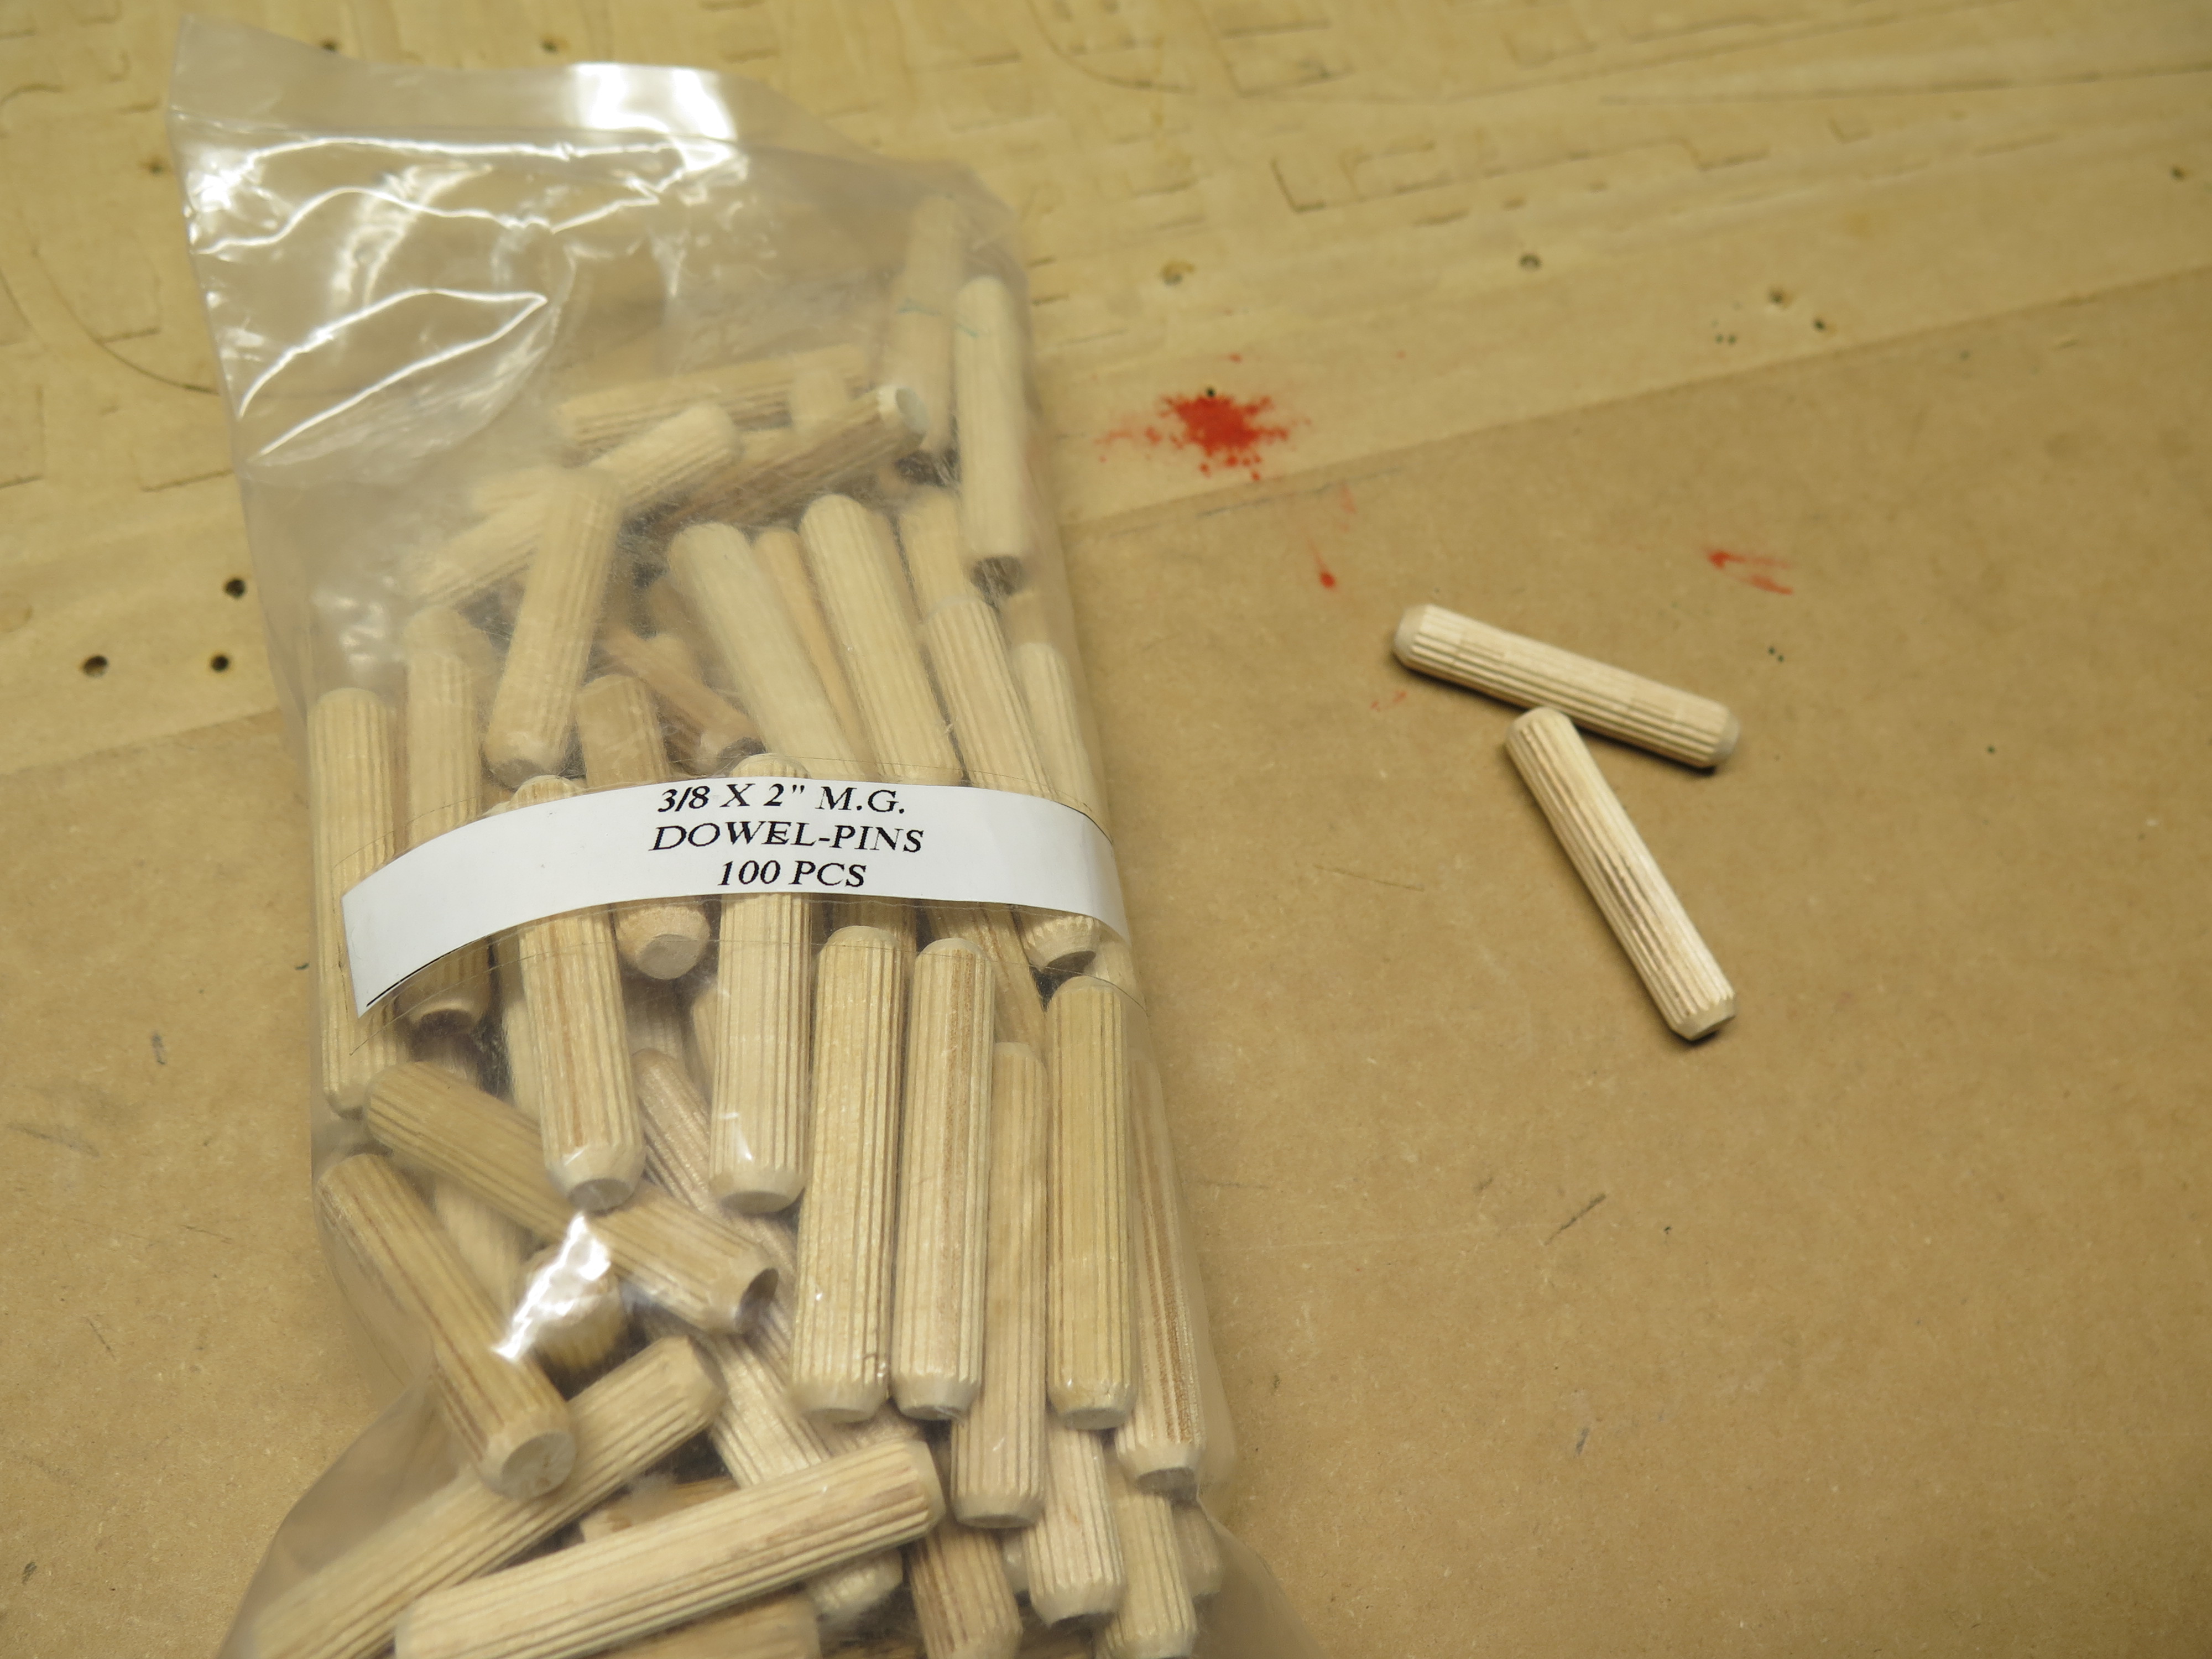
We now need to figure out how to set it on the Shopbot. On step 2 of Partworks 3D we selected the zero origin as the middle top of the part. This is important to know because we are going to put in the indexing pins. These will help us orient the stock material when we flip the piece to machine the bottom side. I found some dowels that worked fine, they are: 3/8-inch diameter, 2 inches long. We will now use another Software that comes for free with any new Shopbot: Partworks.
Open Partworks
We will create a file with the size of the stock material we will use 177 x 330 (it should be the same from Step 2 of Partworks 3D).
- In Job Size type in the same dimensions: 177 x 330 x 44.5
- Remember to Zero to the Top
- Only make 2 holes
- Center them in the material
We are going to put in 2 circles that we will neet to cut on to the sacrificial board of the Shopbot. We will use a cut depth of 15 mm for the pins to fit snugly. To minimize bit changes we will also use the same ¼ inch End Mill. Save the toolpath for the 2 holes.
Turn on the Shopbot and the Shopbot control software.
Jog 2 Axis and move the Shopbot spindle wherever you want to machine it. I recommend selecting a place where you don’t mind making 2 holes on the sacrificial board.
Zero the X and Y axis.
Now use the Z plate to zero the Z axis.
Open the toolpath for the 2 holes and Start the job. Remember to start the spindle.
Once you have the 2 holes on the sacrificial board, grab a pencil and ruler and draw a line that passes through the center of the holes. Draw a perpendicular line from the middle point between them. This will help you align the stock material.
The files included in this step are attached:
position.crv - is the Partworks file with the material dimension and the 2 circles
holes in table 1-4 ball 15 mm.sbp - is the Shopbot toolpath for 1/4 inch ball nose and 15 mm depth
Making Pin Alignment on Wooden Piece
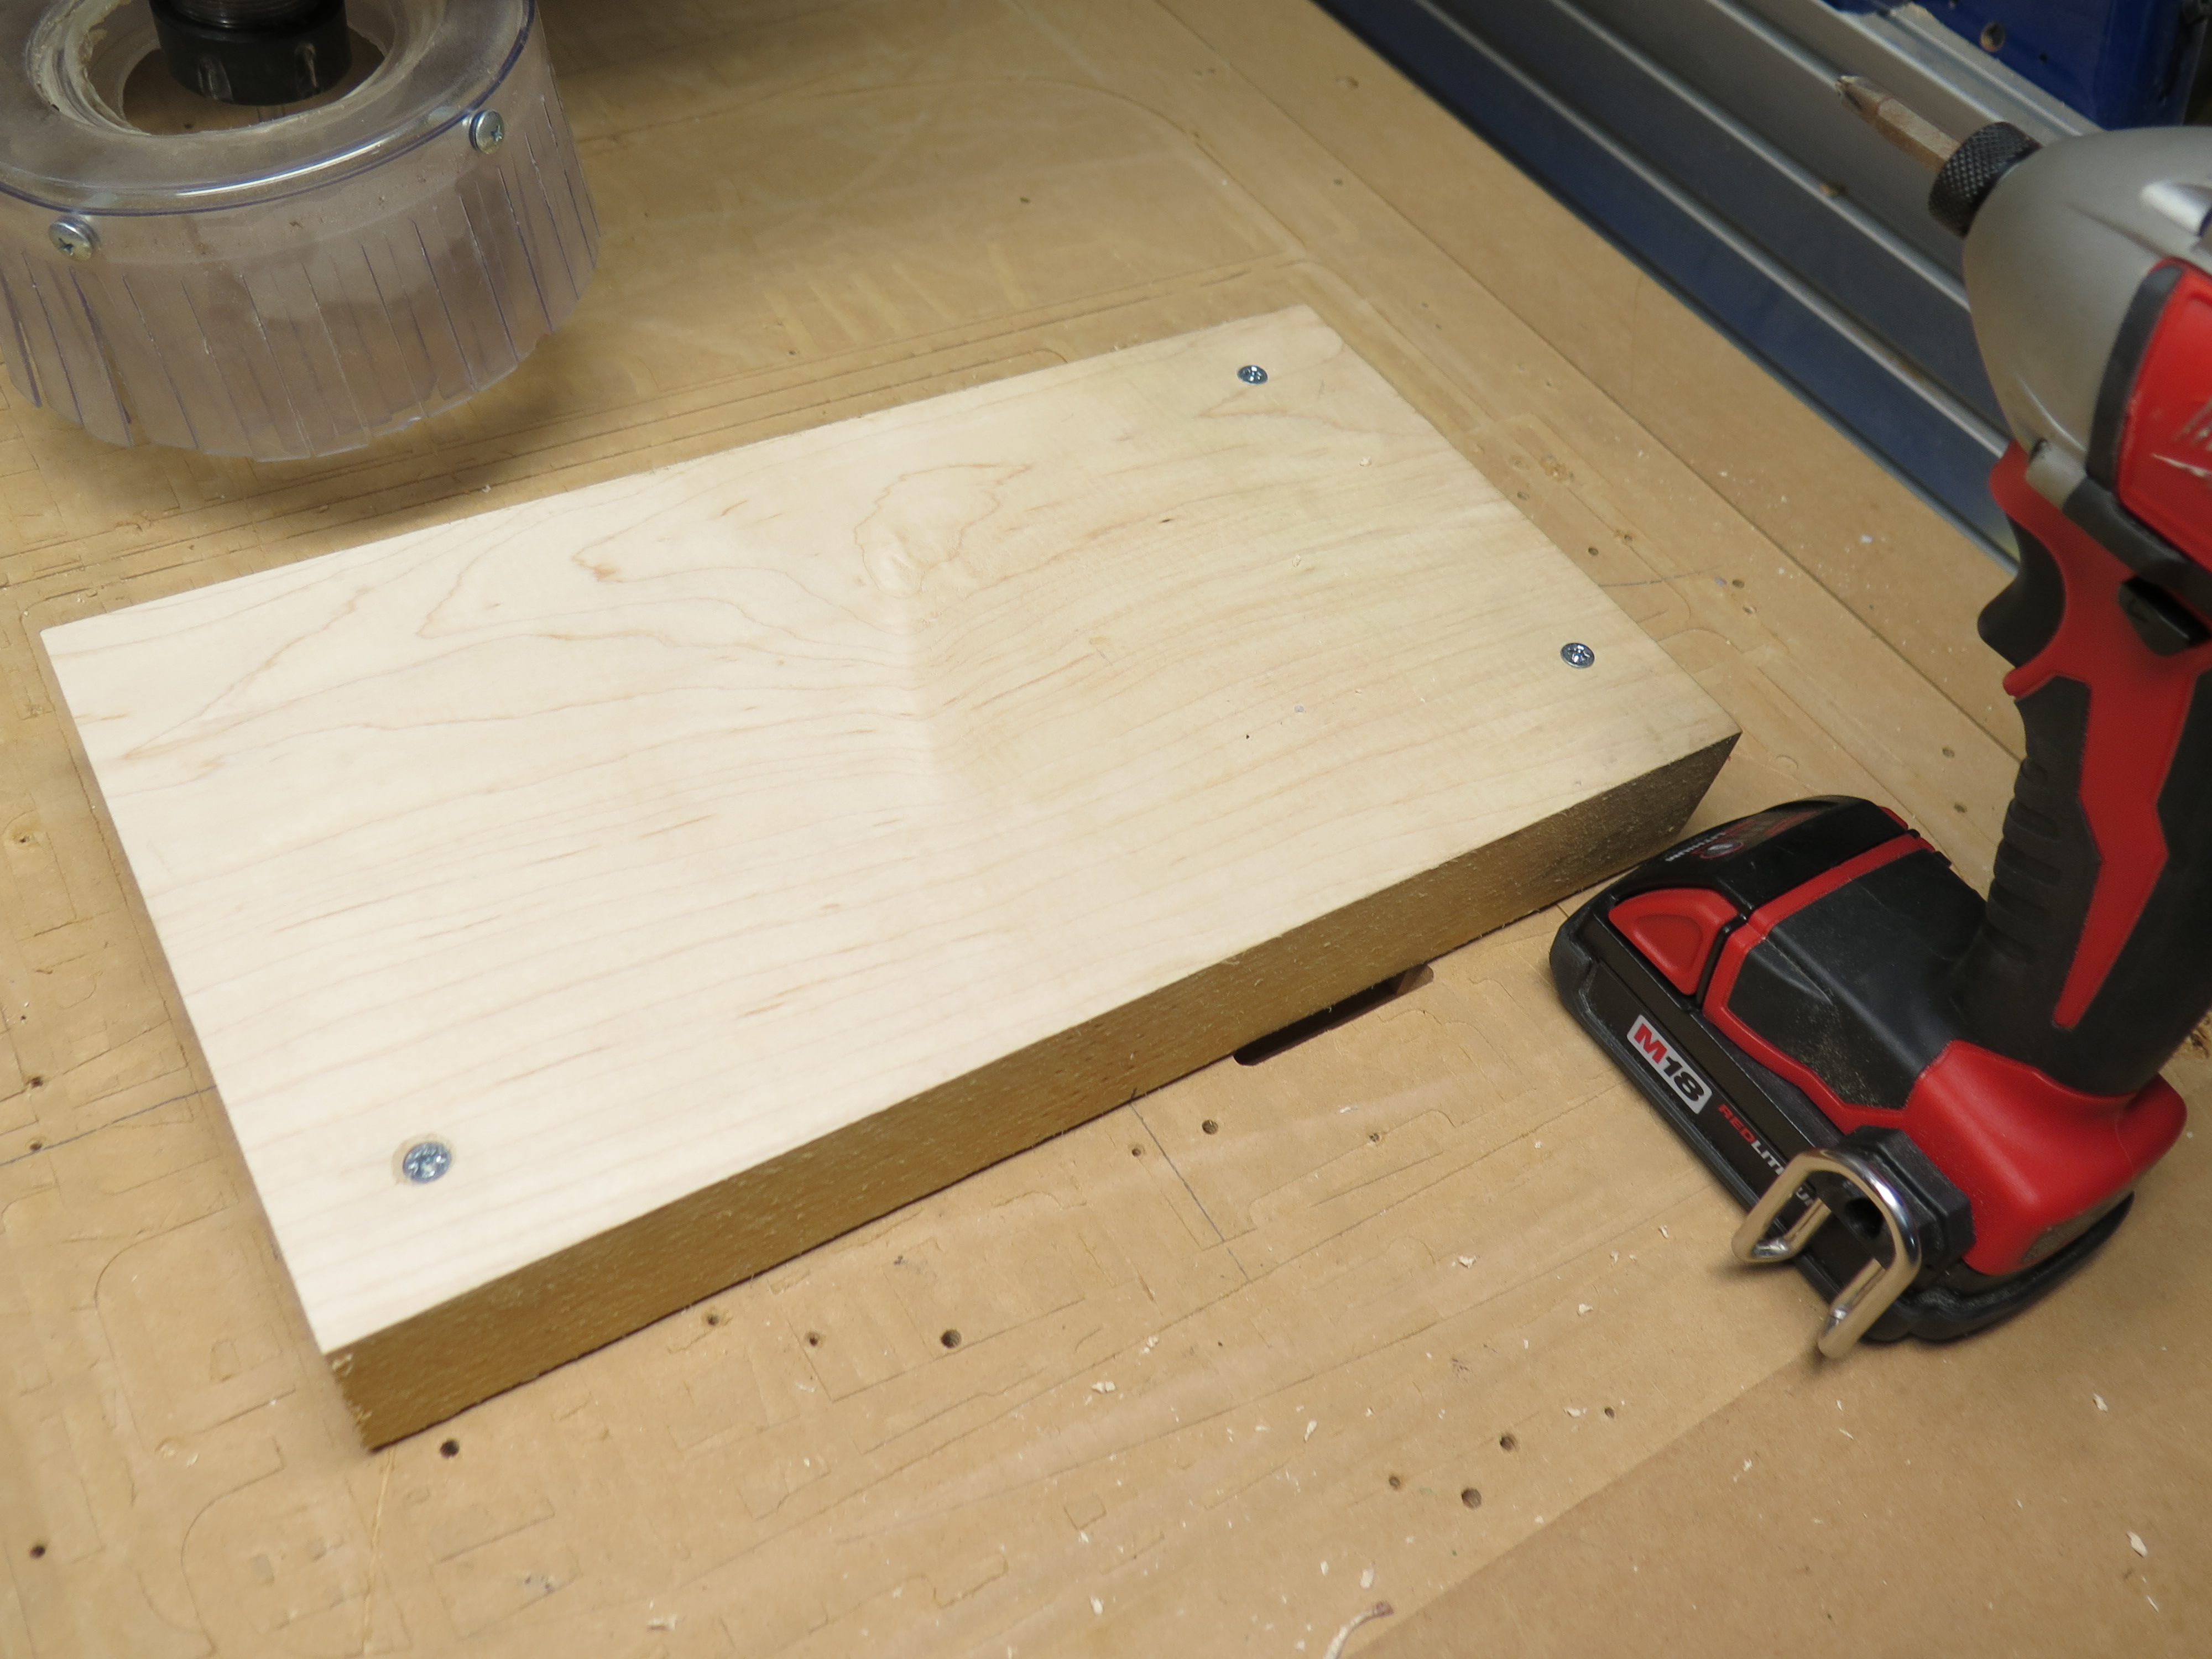
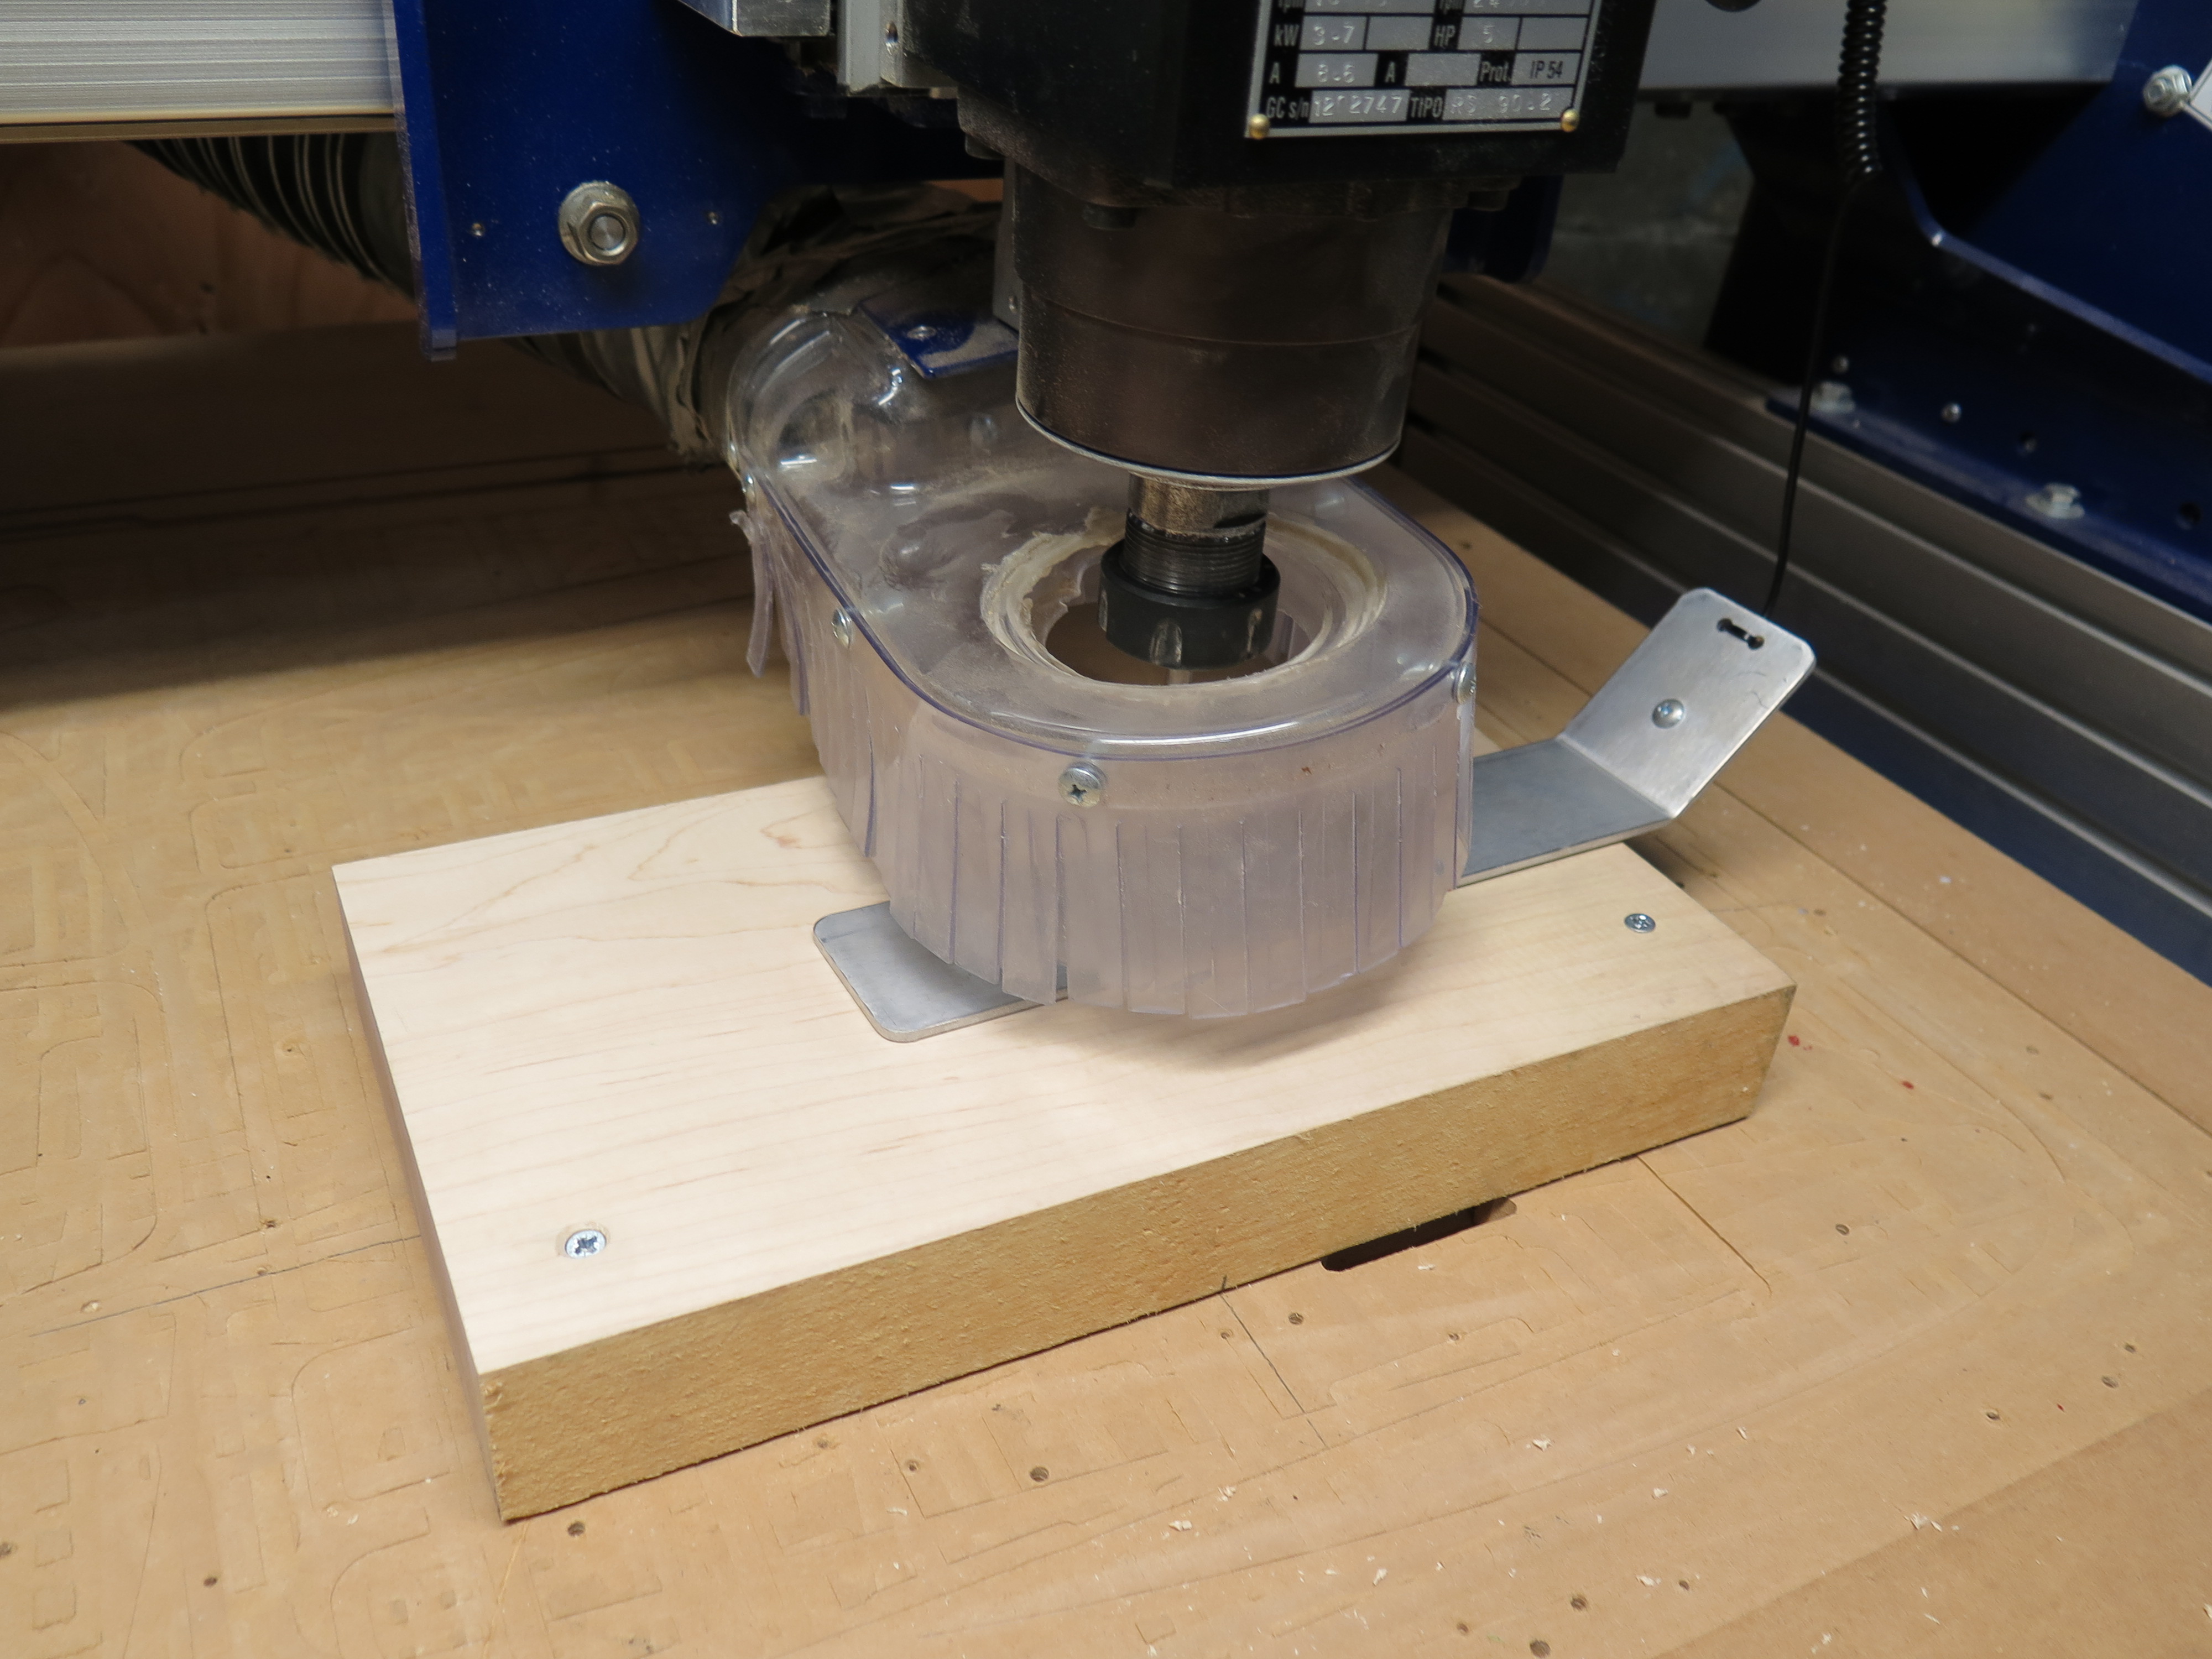
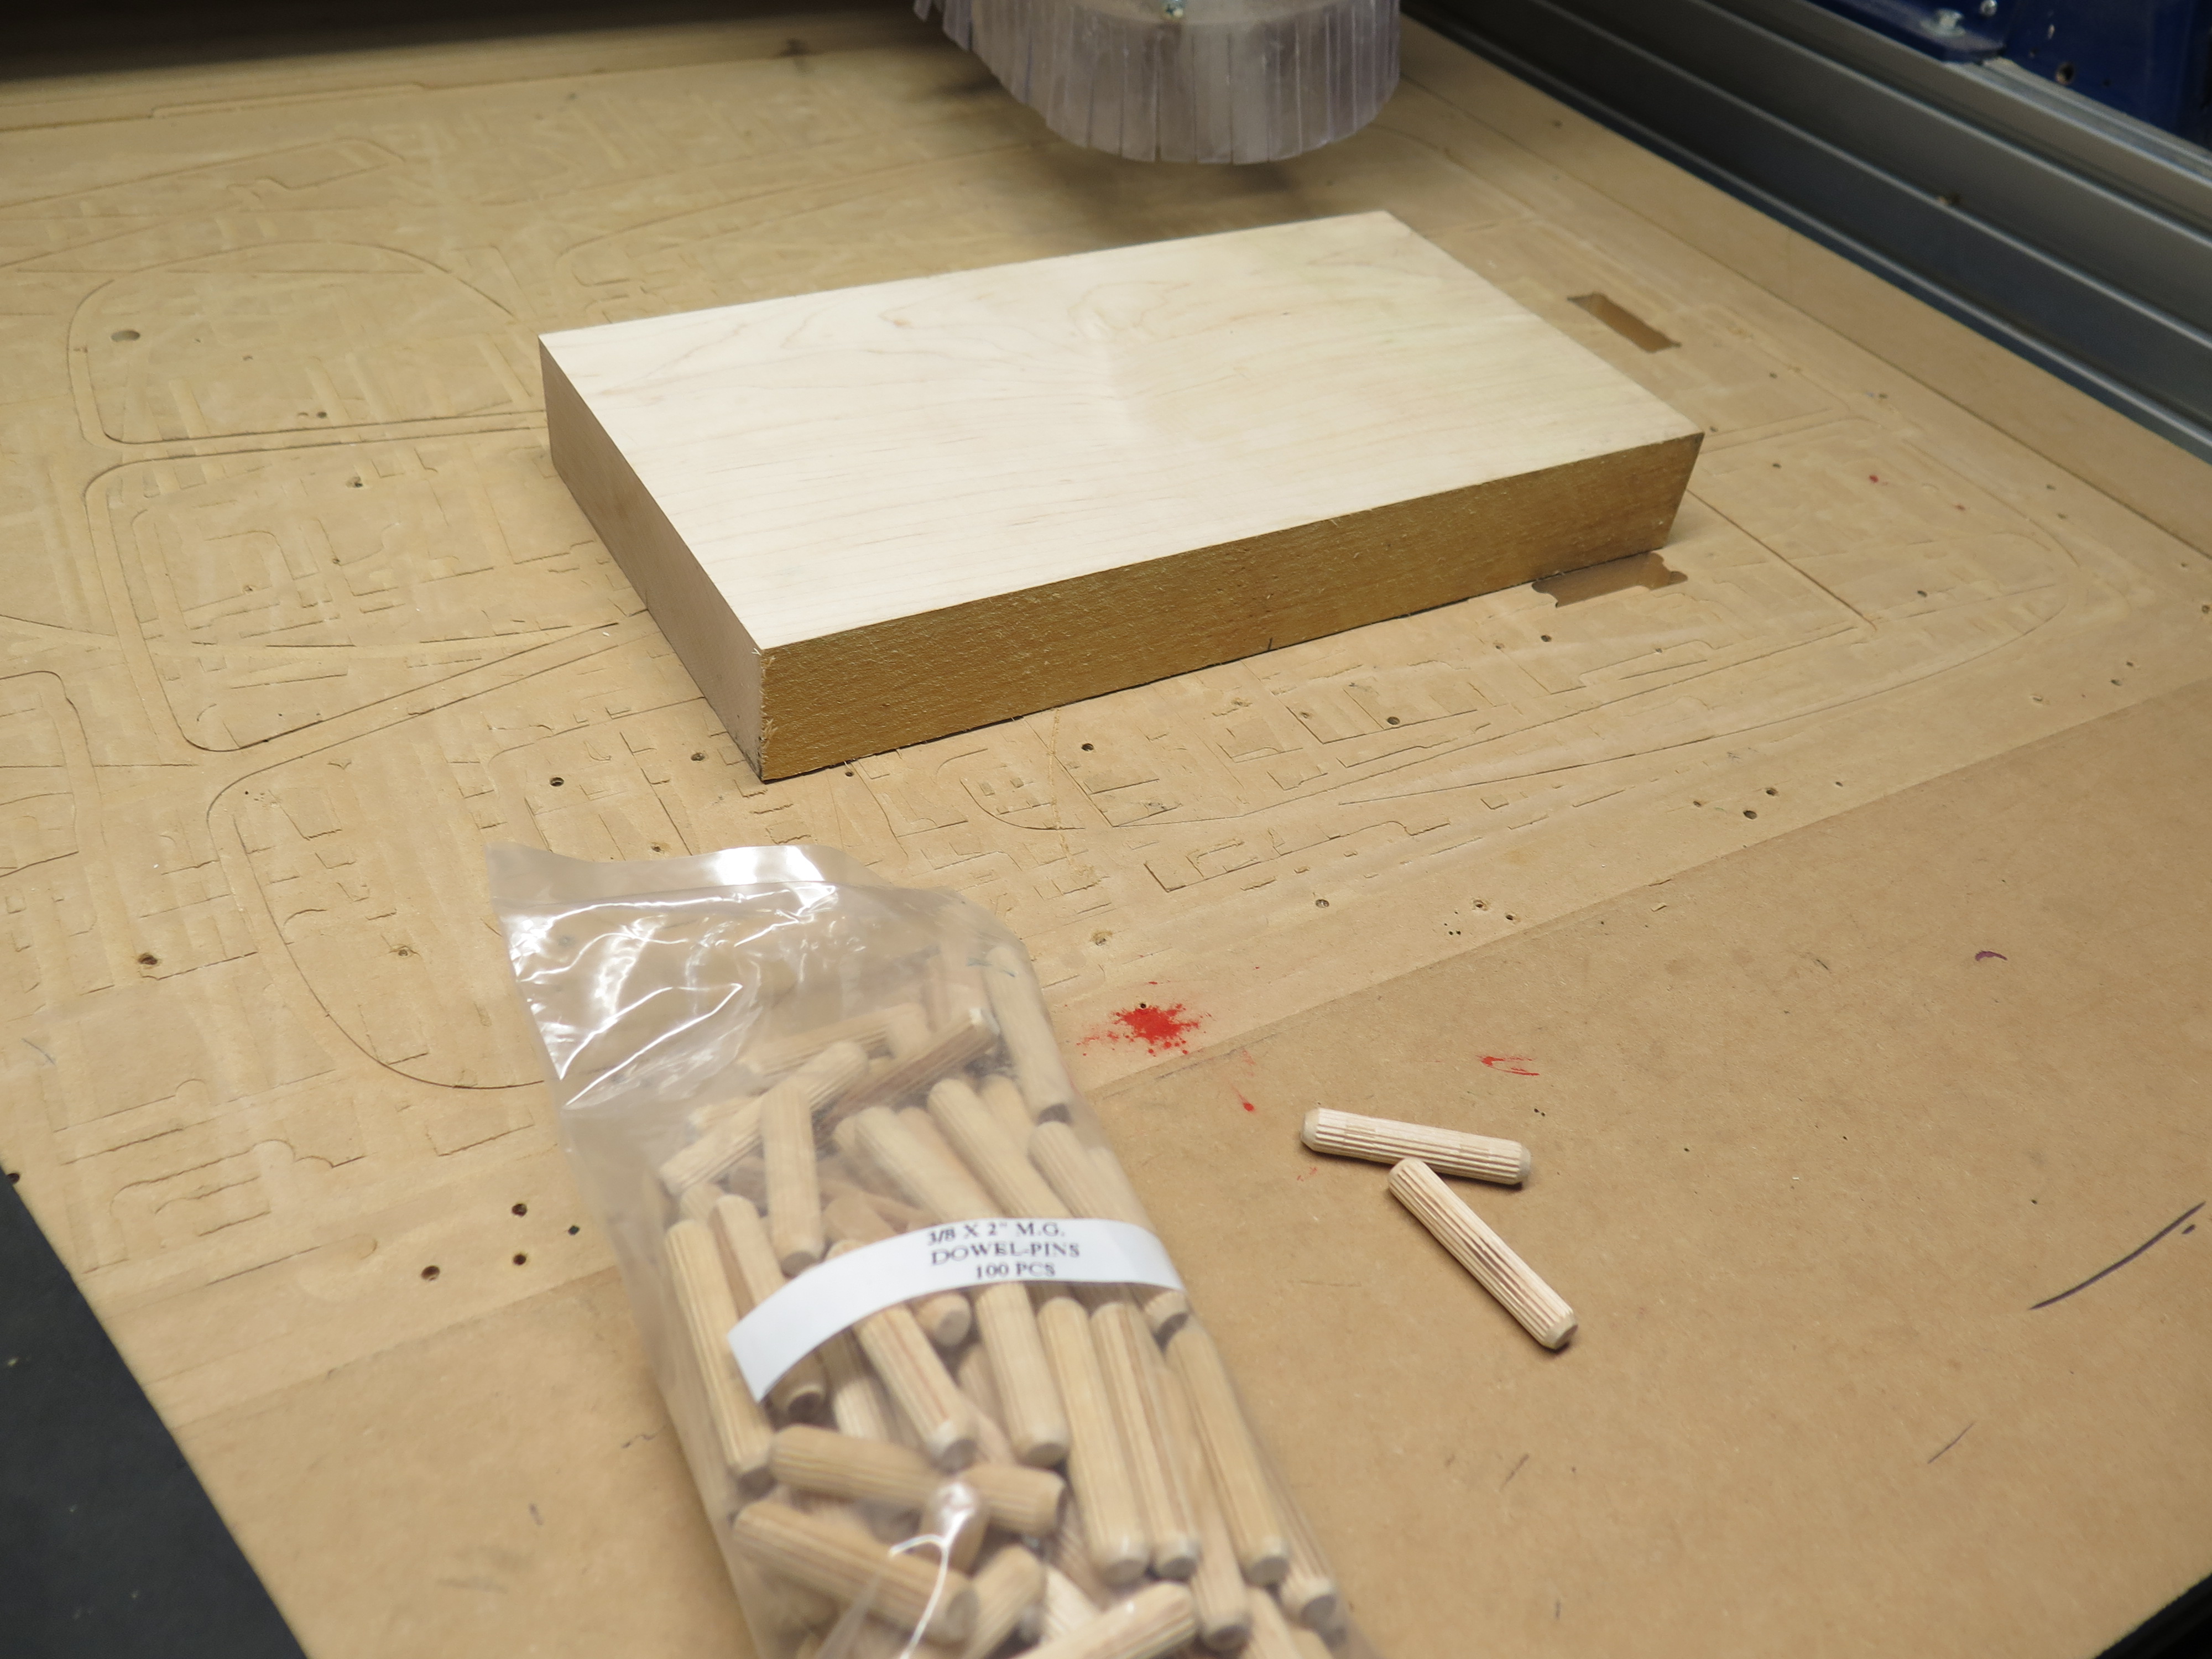
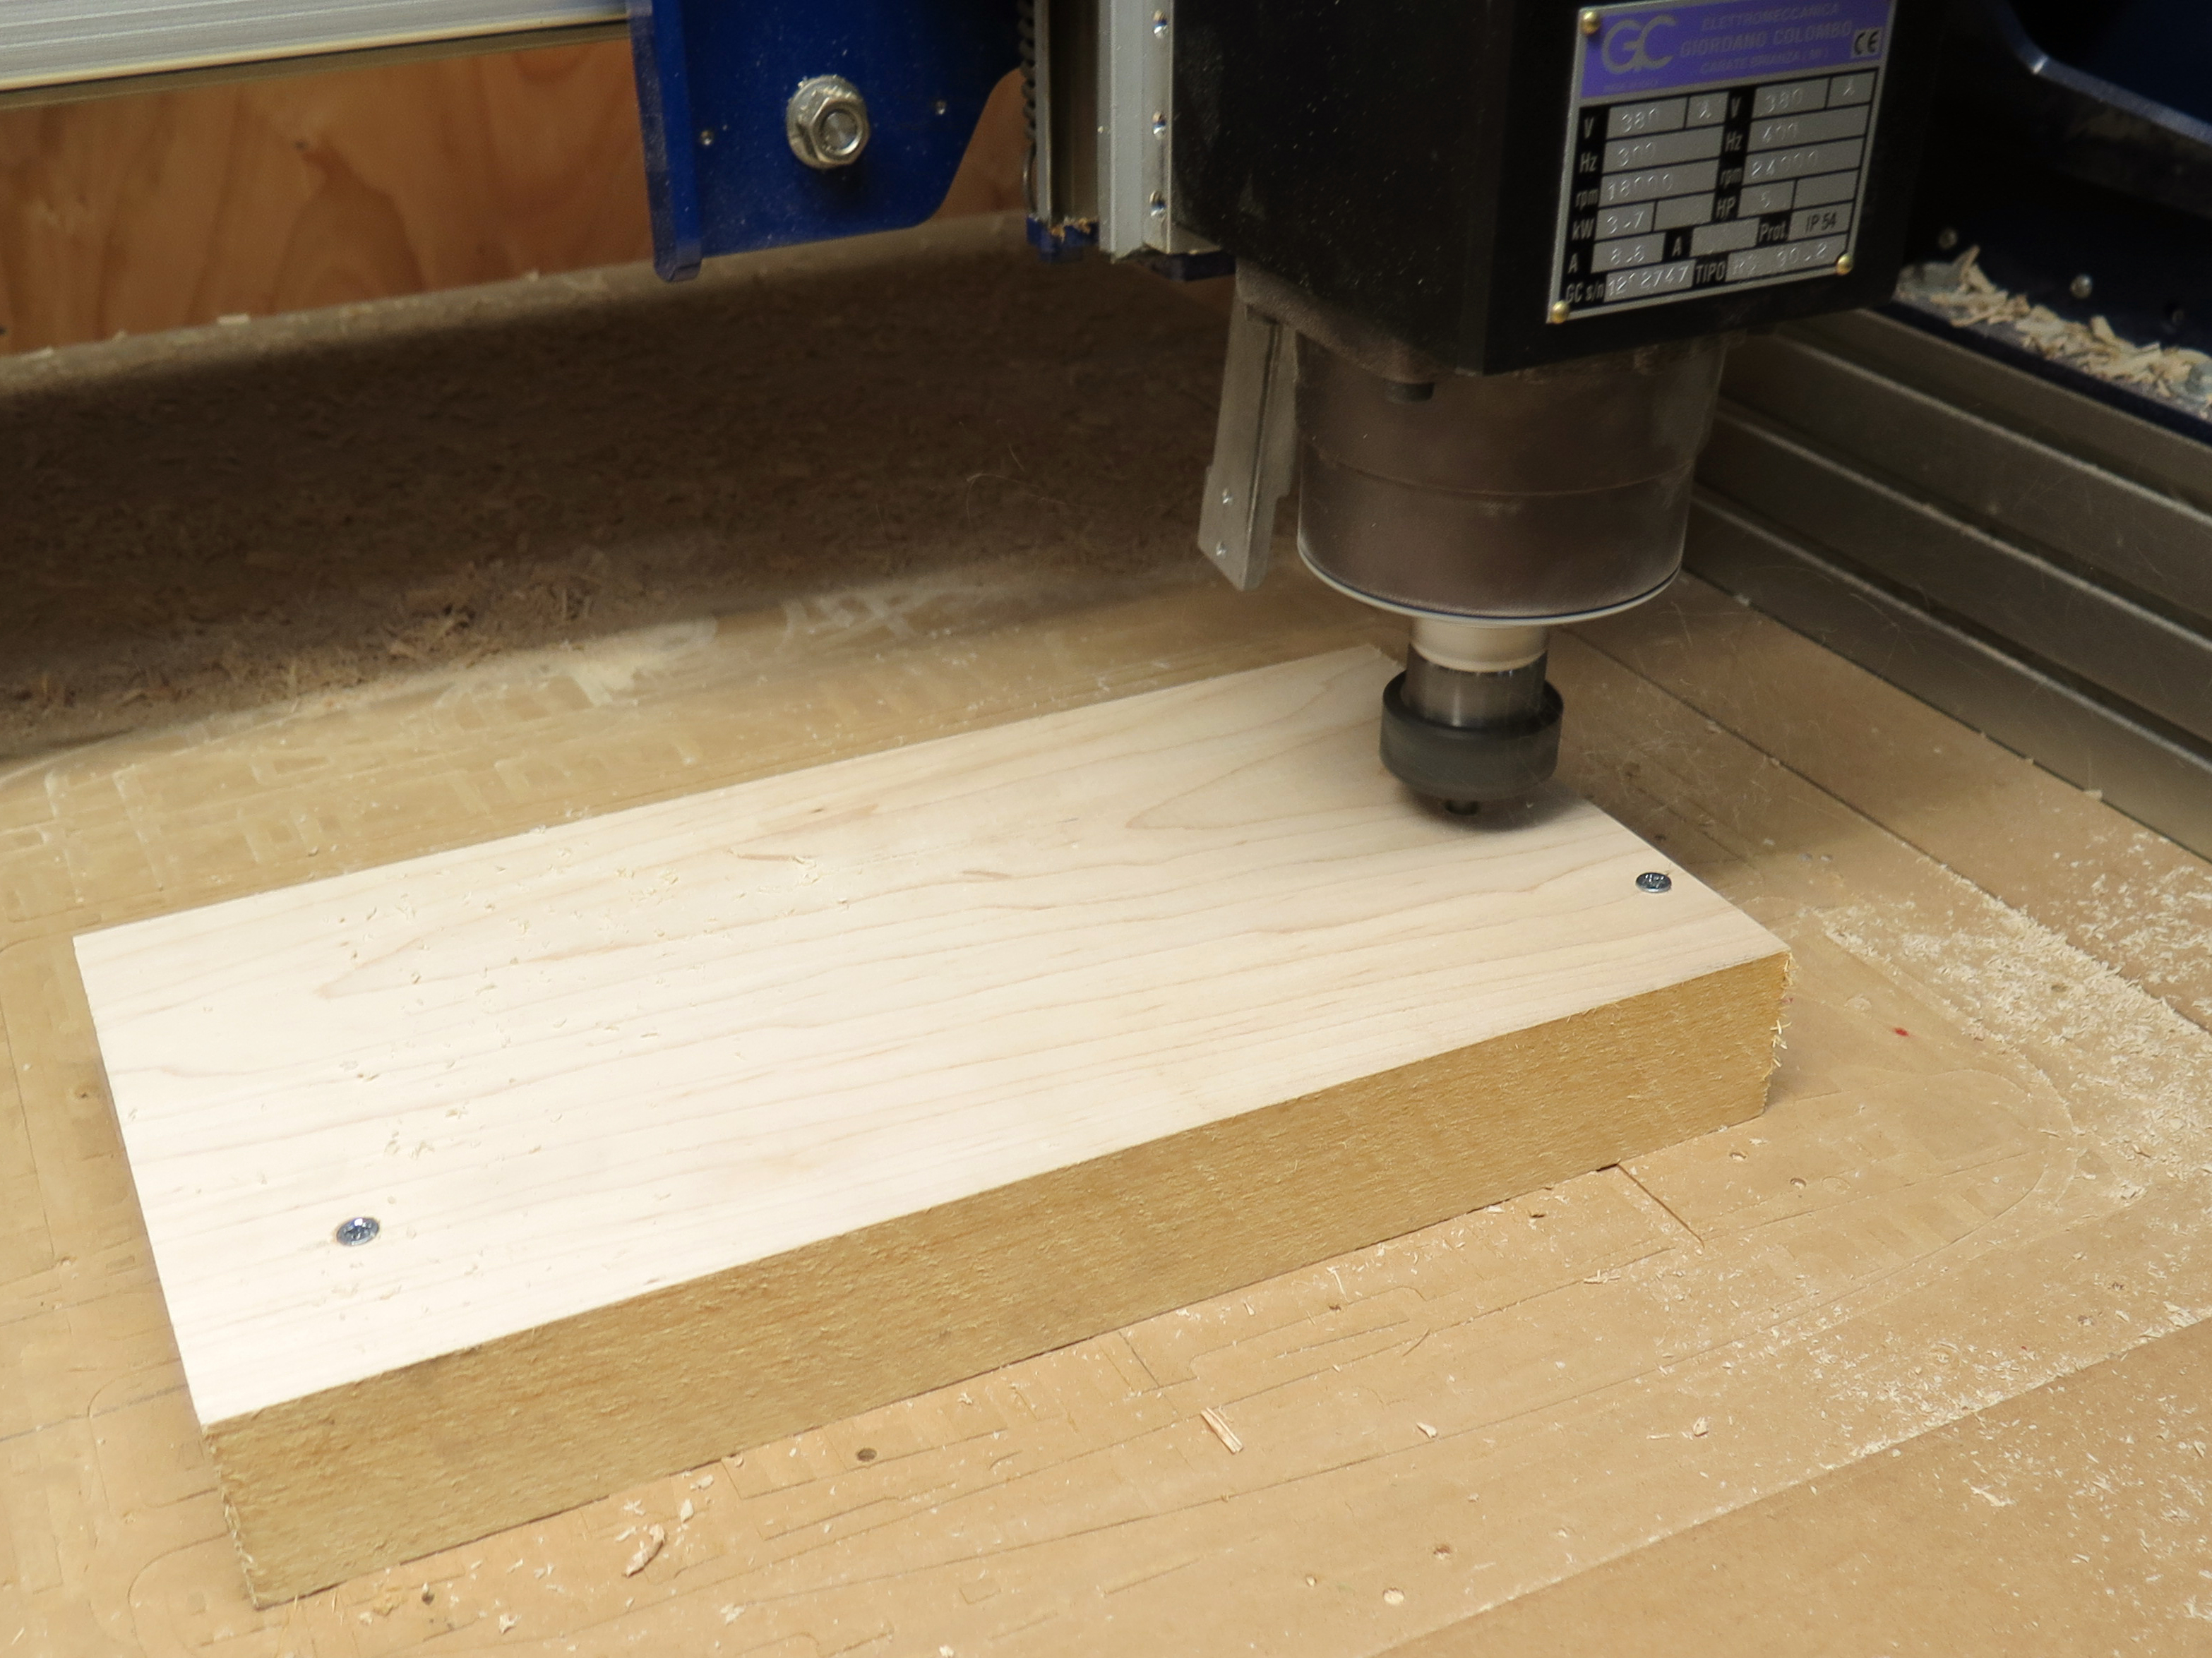
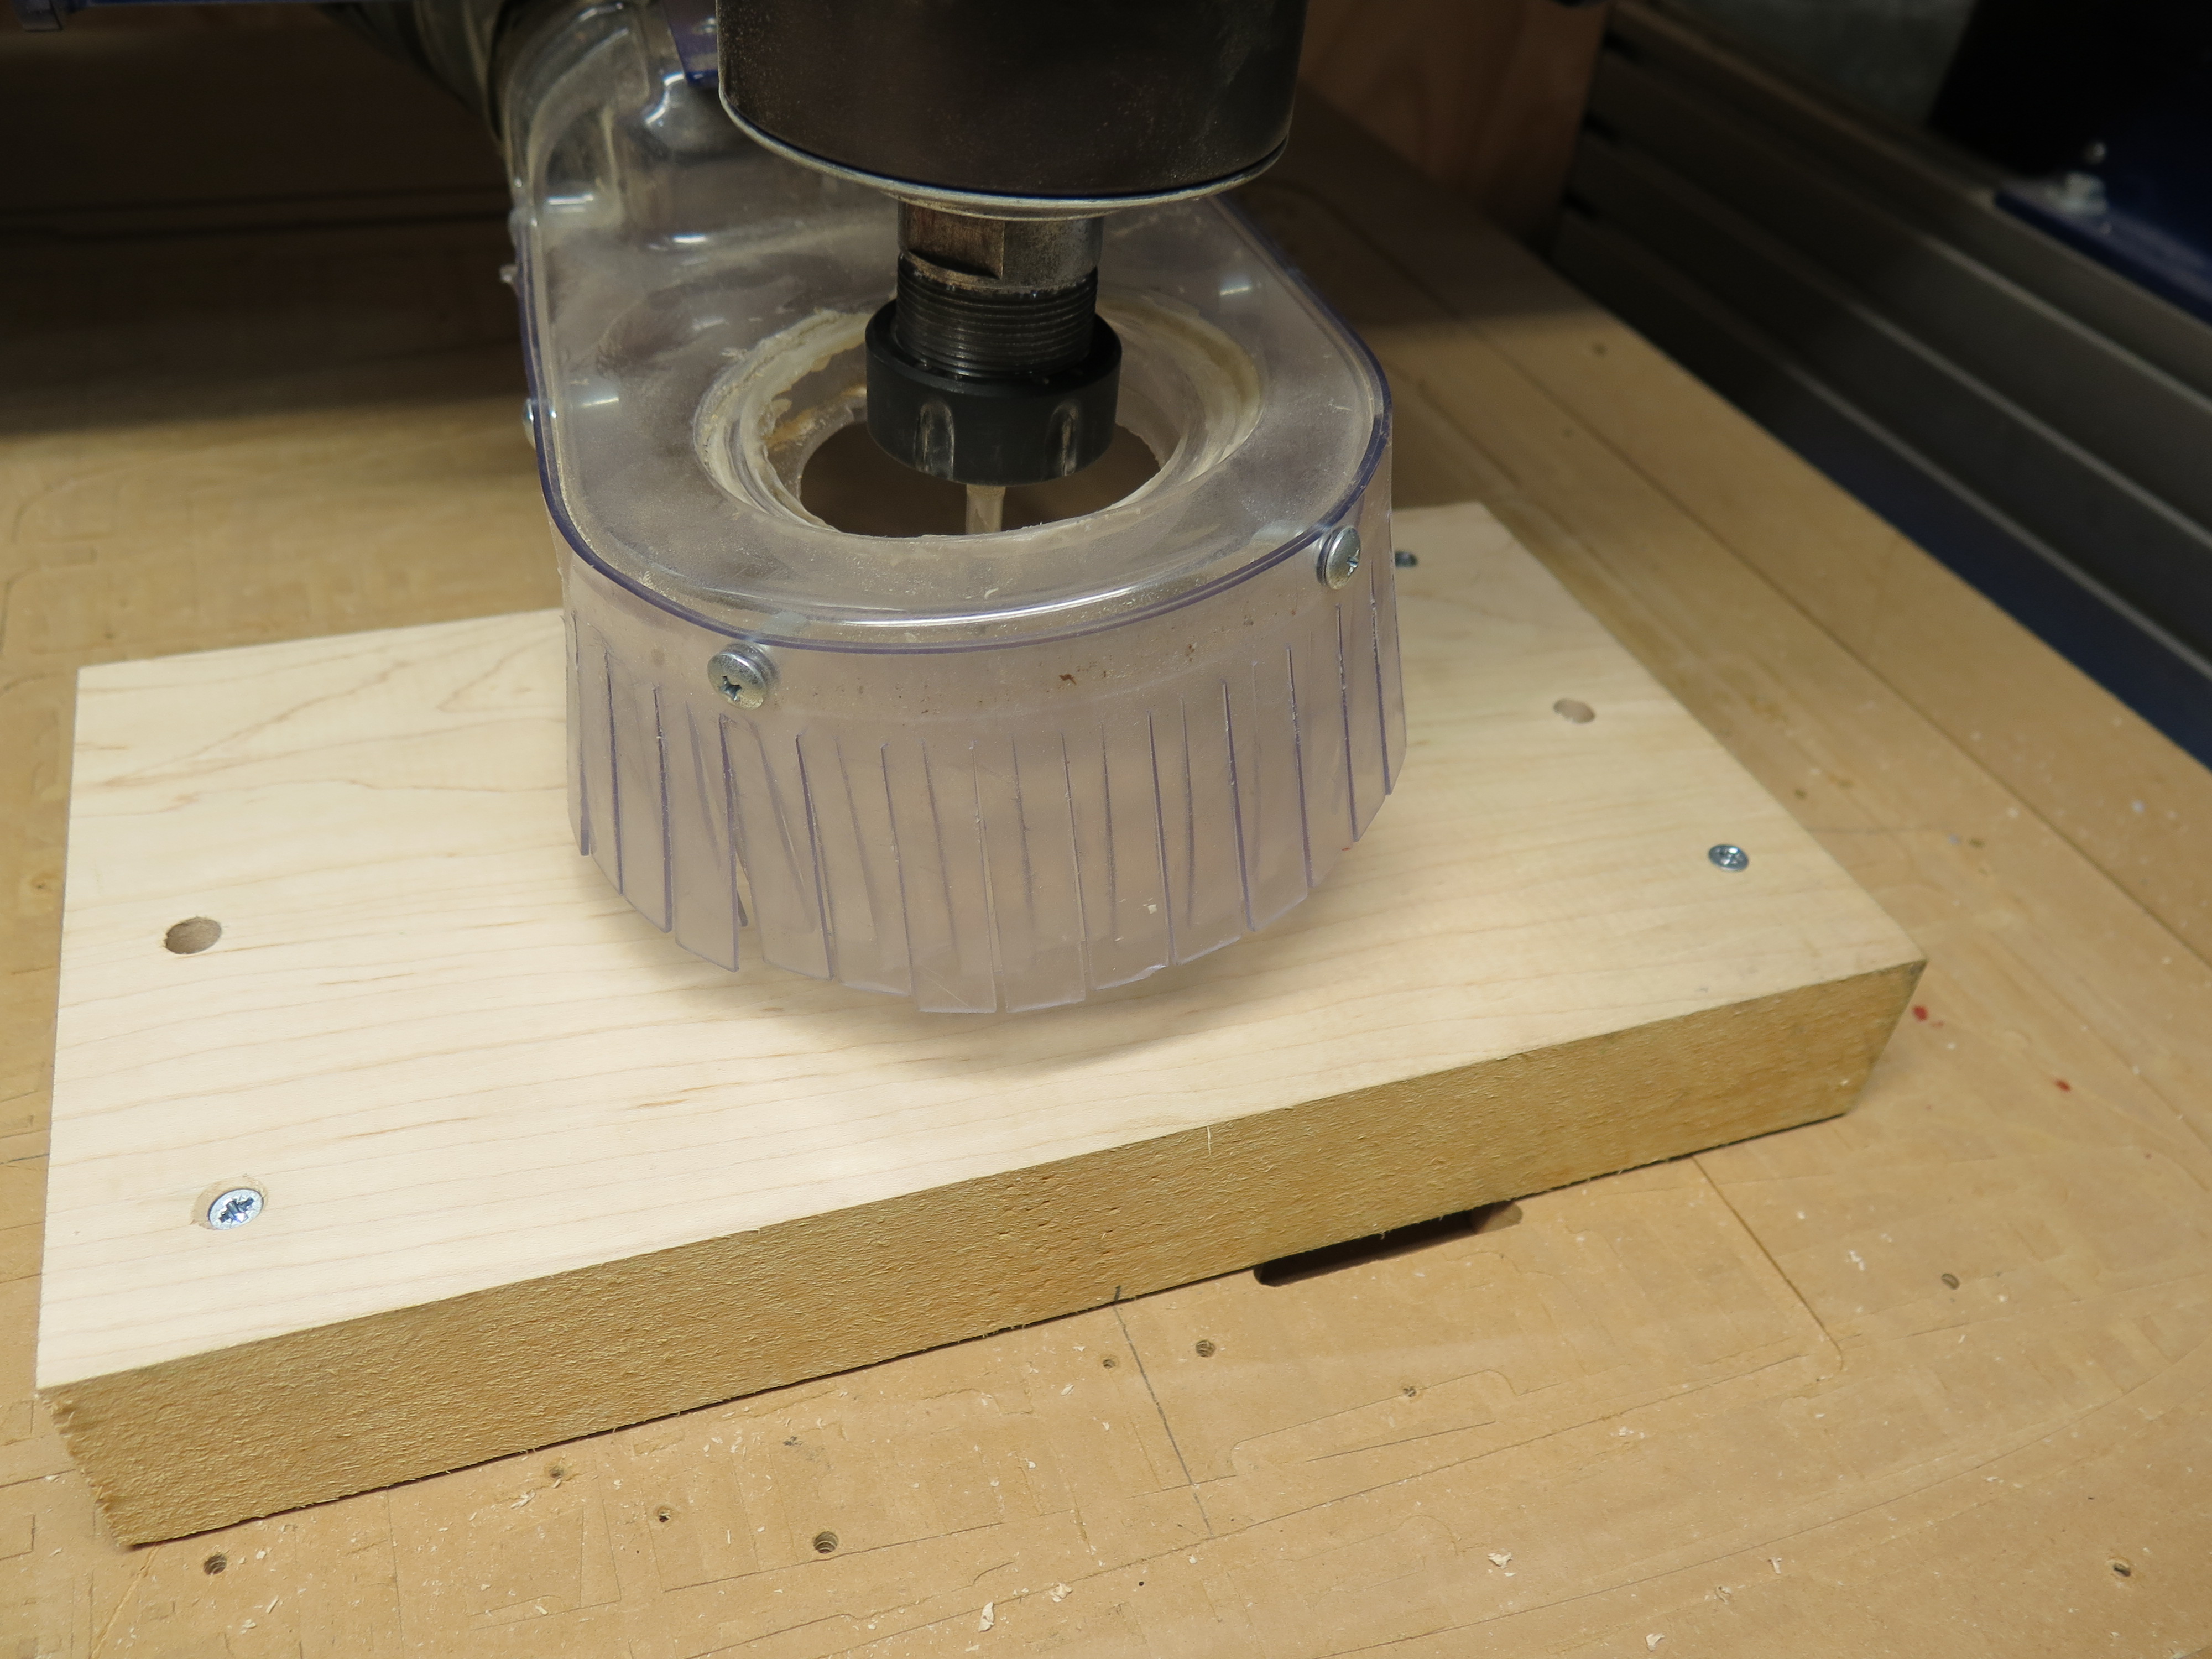
Cut a piece of wood with these dimensions: 177 x 330 x 44.5. I'm not going to cover how to cut this to these measurements but I used the Chop Saw, Jointer, Planer and Table Saw to do this.
Once you have it to the desired dimensions, mark the middle point of the 4 sides of the maple. Align it over the lines you draw in the sacrificial board and hold it down with screws to the sacrificial board. If things aren’t perfectly aligned no worries.
Now we will make the holes on top of the stock wood. Use the Z plate and Zero the Z on top of the wood. Run the same Toolpath file. You will now have 2 holes on the piece of wood and 2 holes on the sacrificial board exactly bellow.
The file included in this step is attached:
holes in material 1-4 ball 36 mm.sbp - is the Shopbot toolpath for 1/4 inch ball nose and 15 mm depth
Downloads
Machining the Top: Roughing and Finishing.
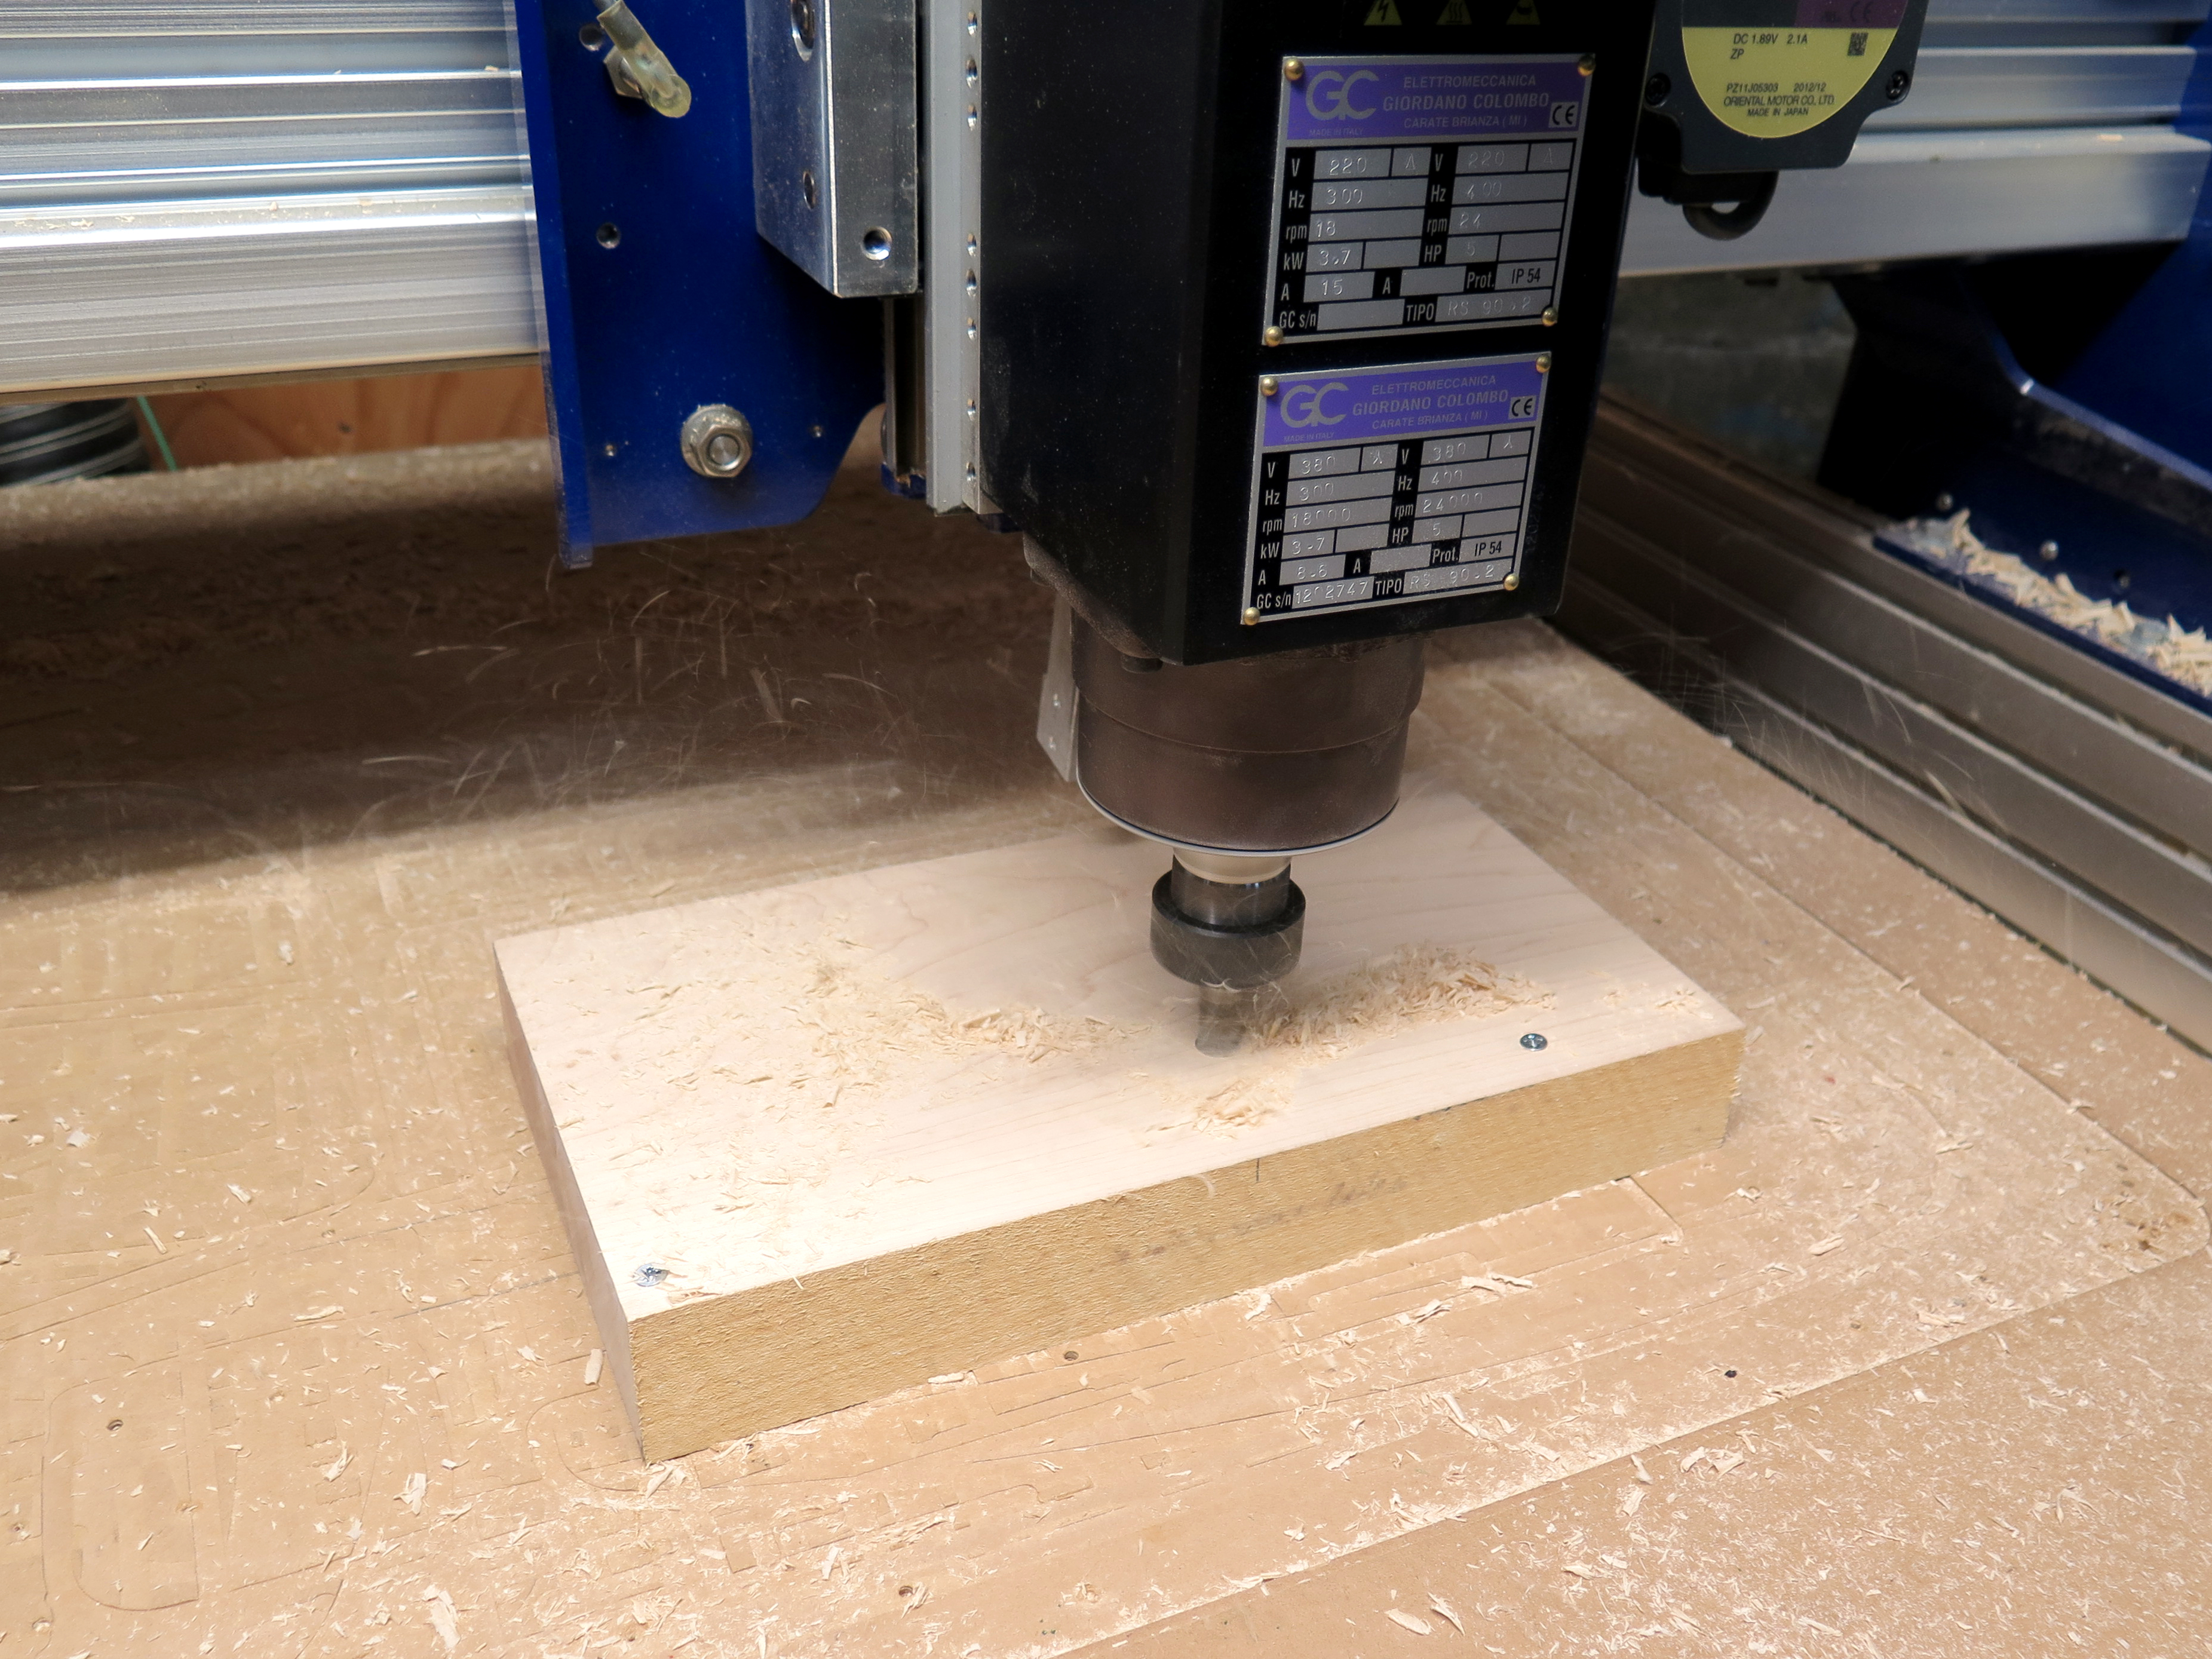
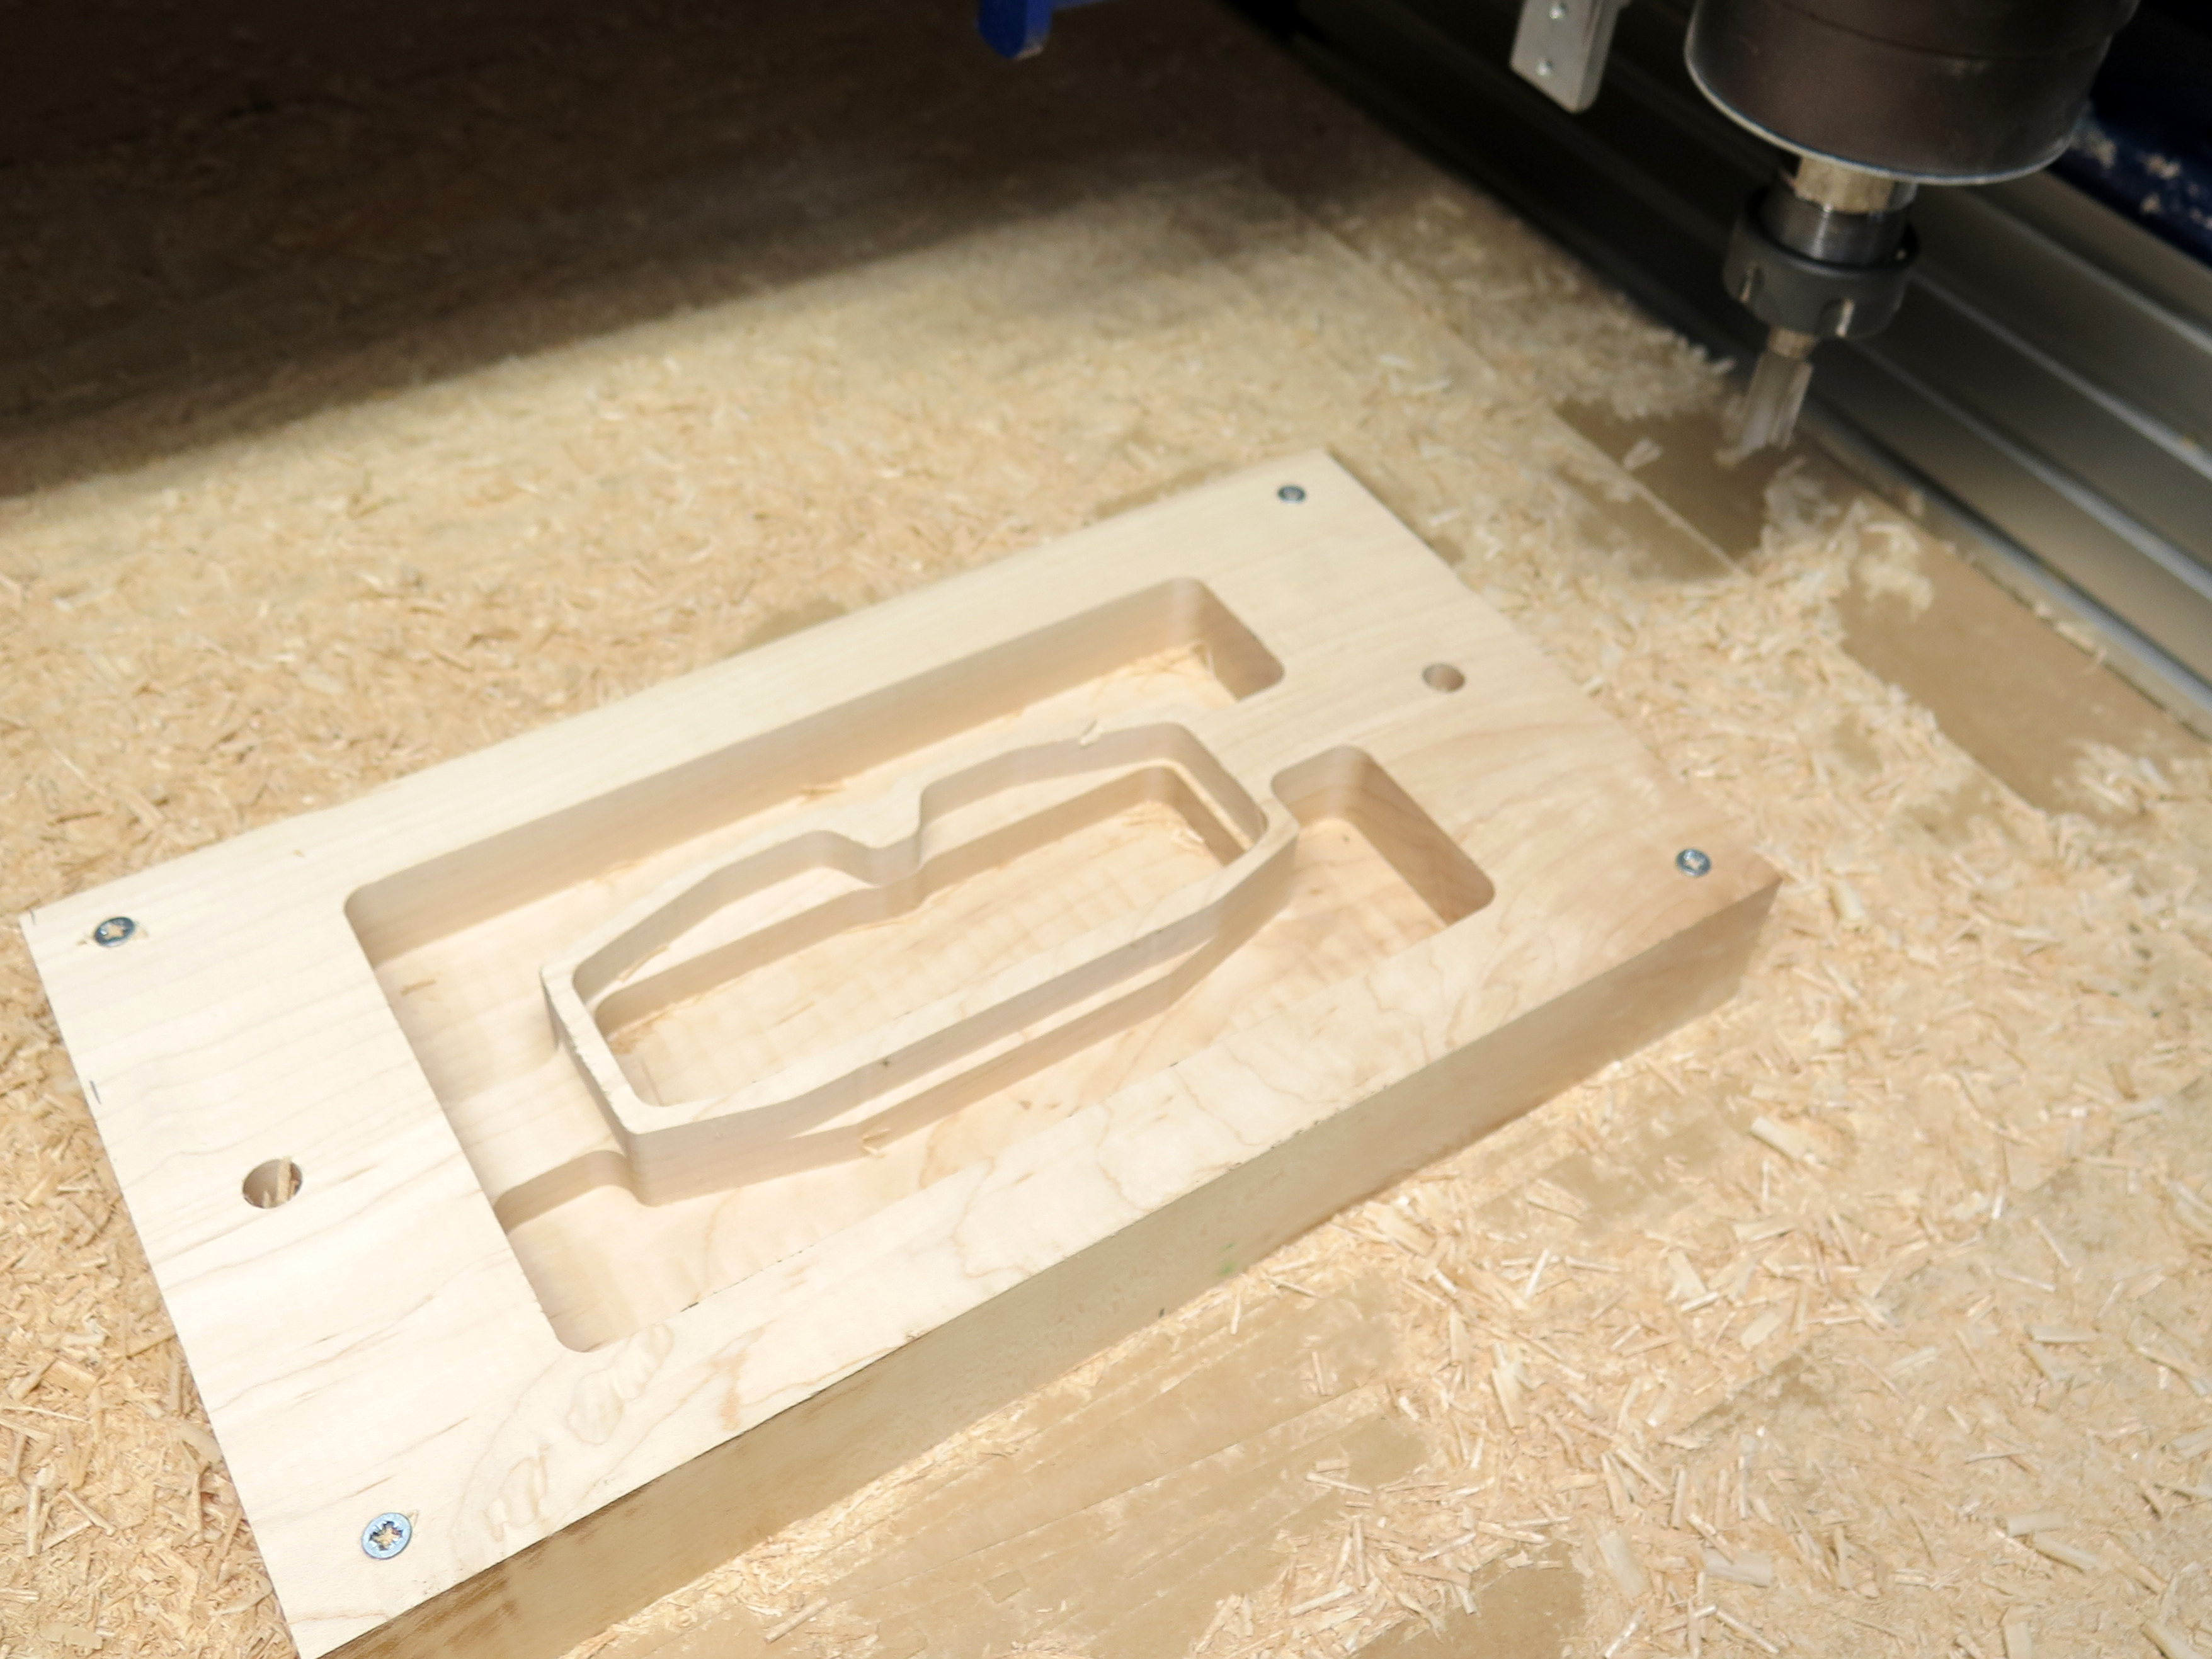
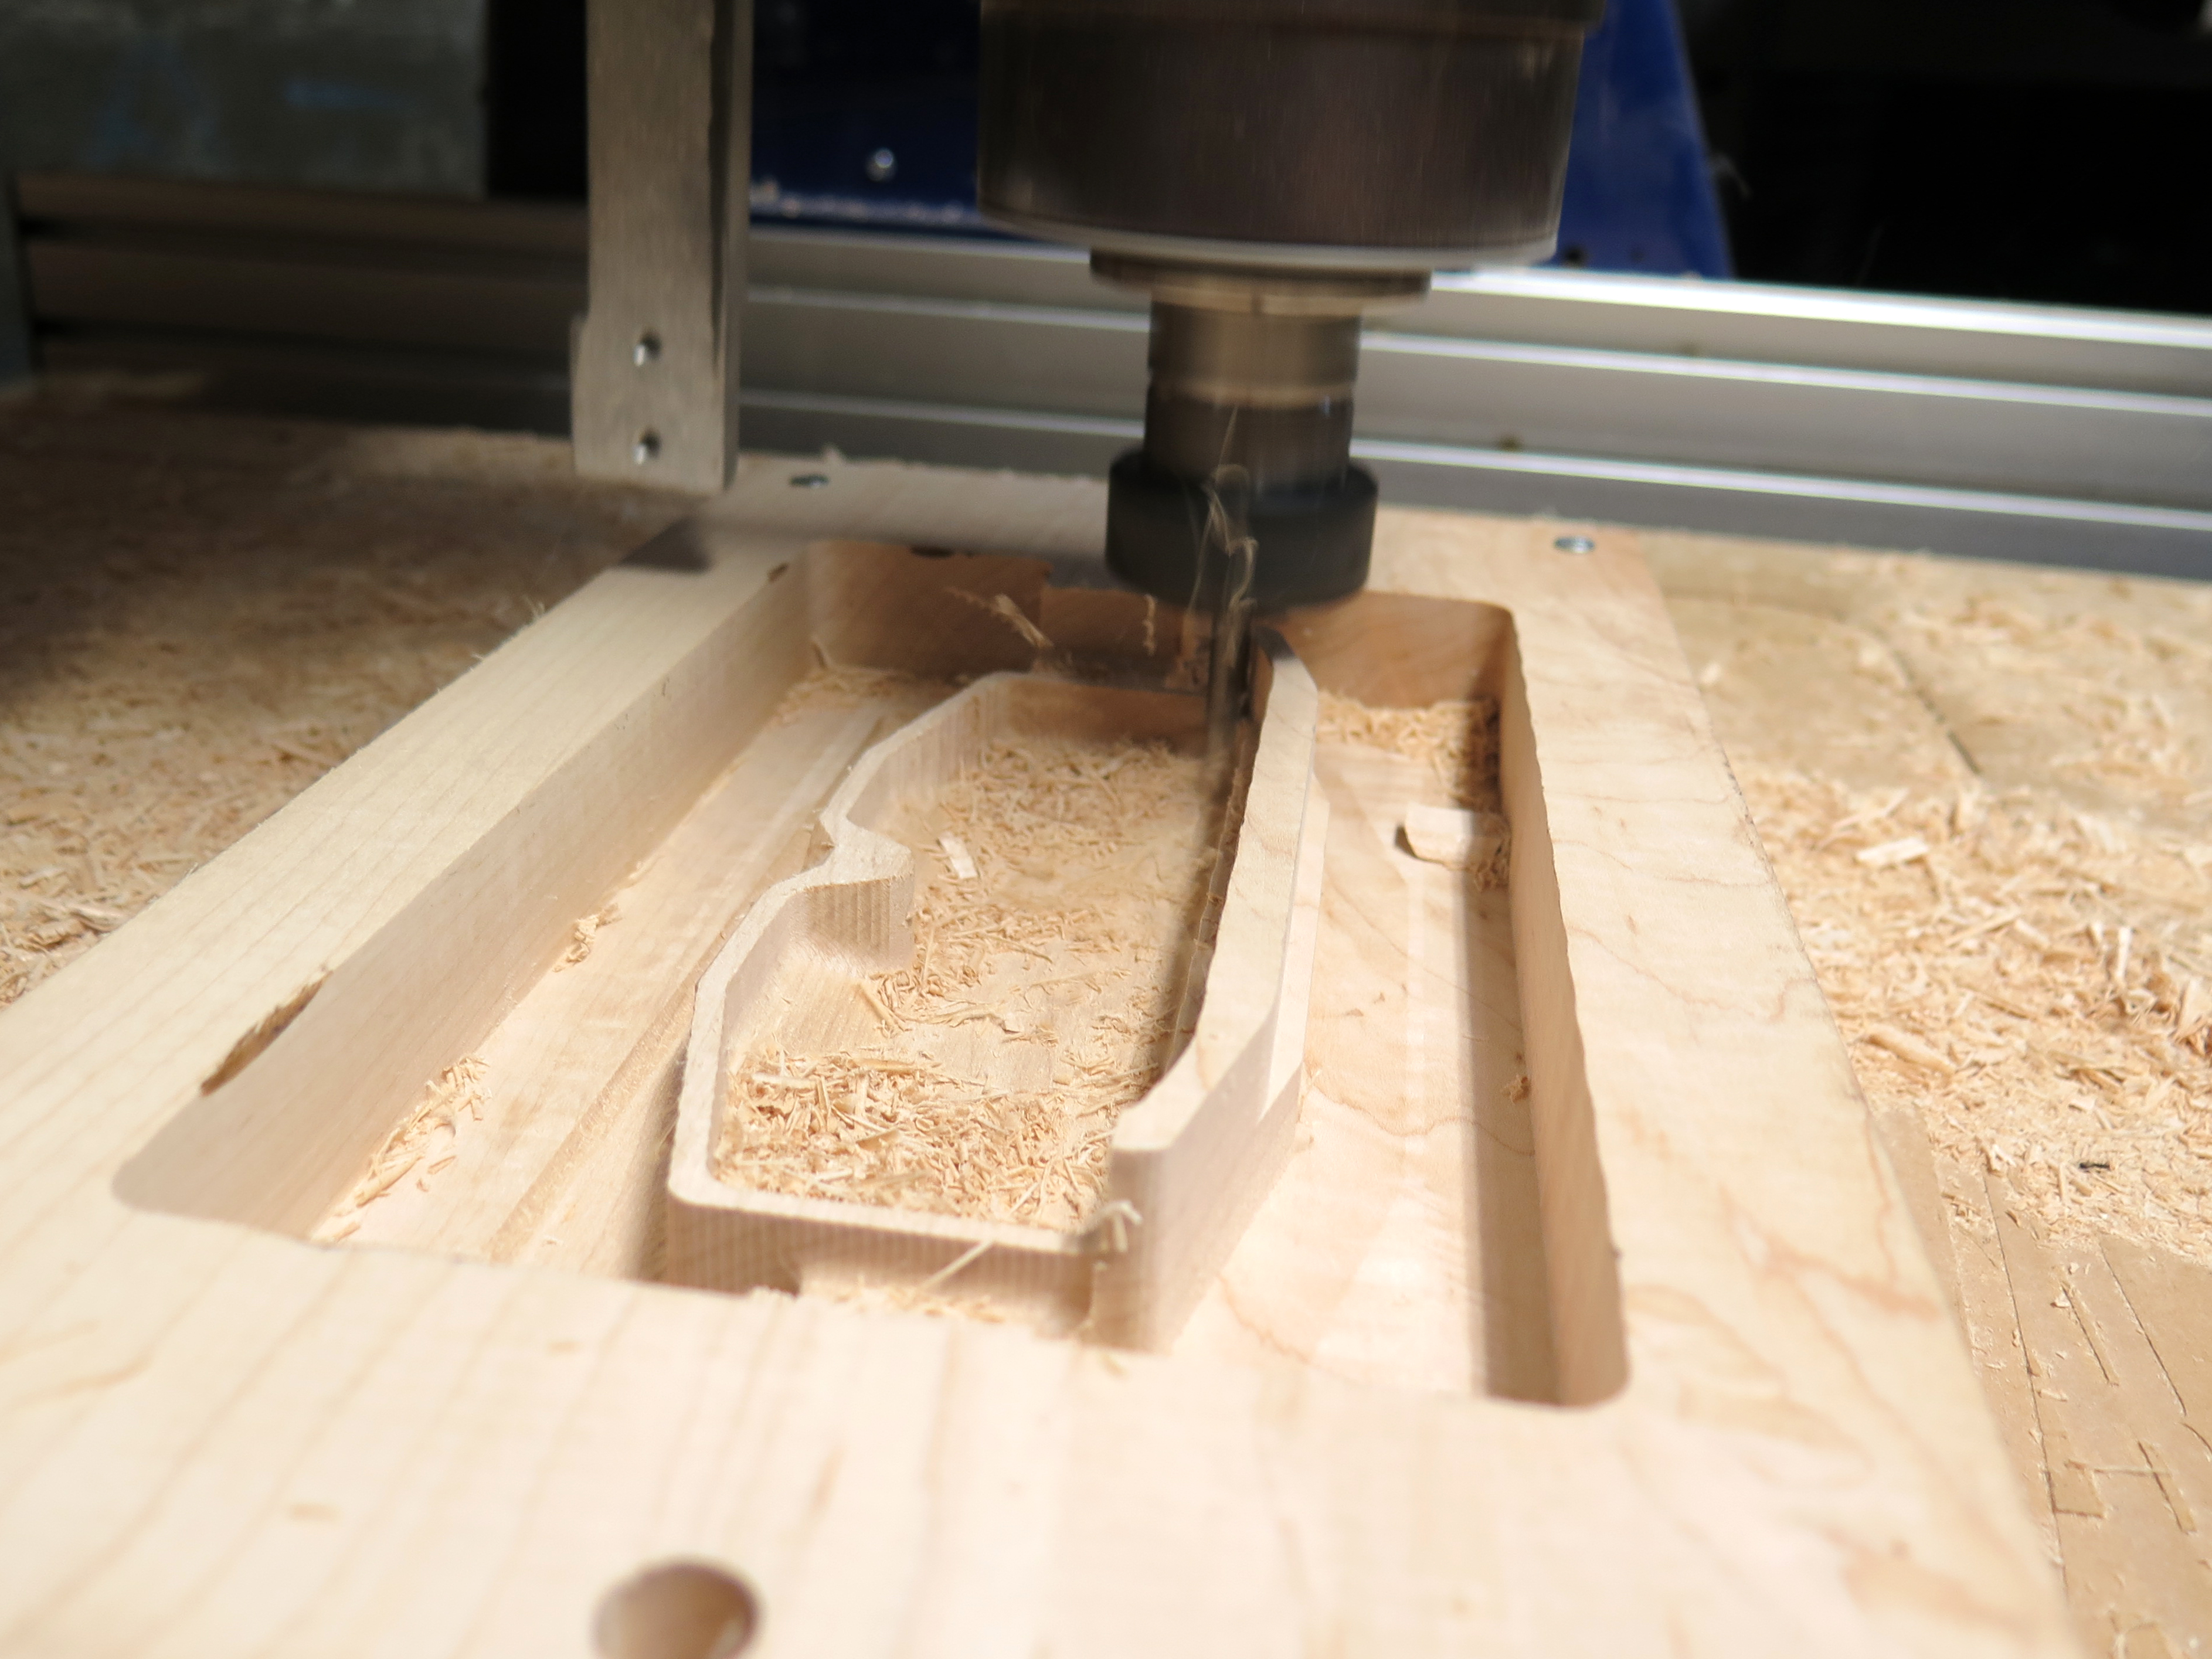
Now we are ready to run the Clock toolpaths! Load the file, do the top first. It will start doing the roughing pass first and once it finishes it will start doing the finishing pass.
Once the top is done, unscrew the piece and clean up all of the table bed. Make sure you vacuum and blow all of the wood chips and dust away. Any small piece that gets in the way will make the height of the piece change.
Flipping the Piece and Machining the Bottom
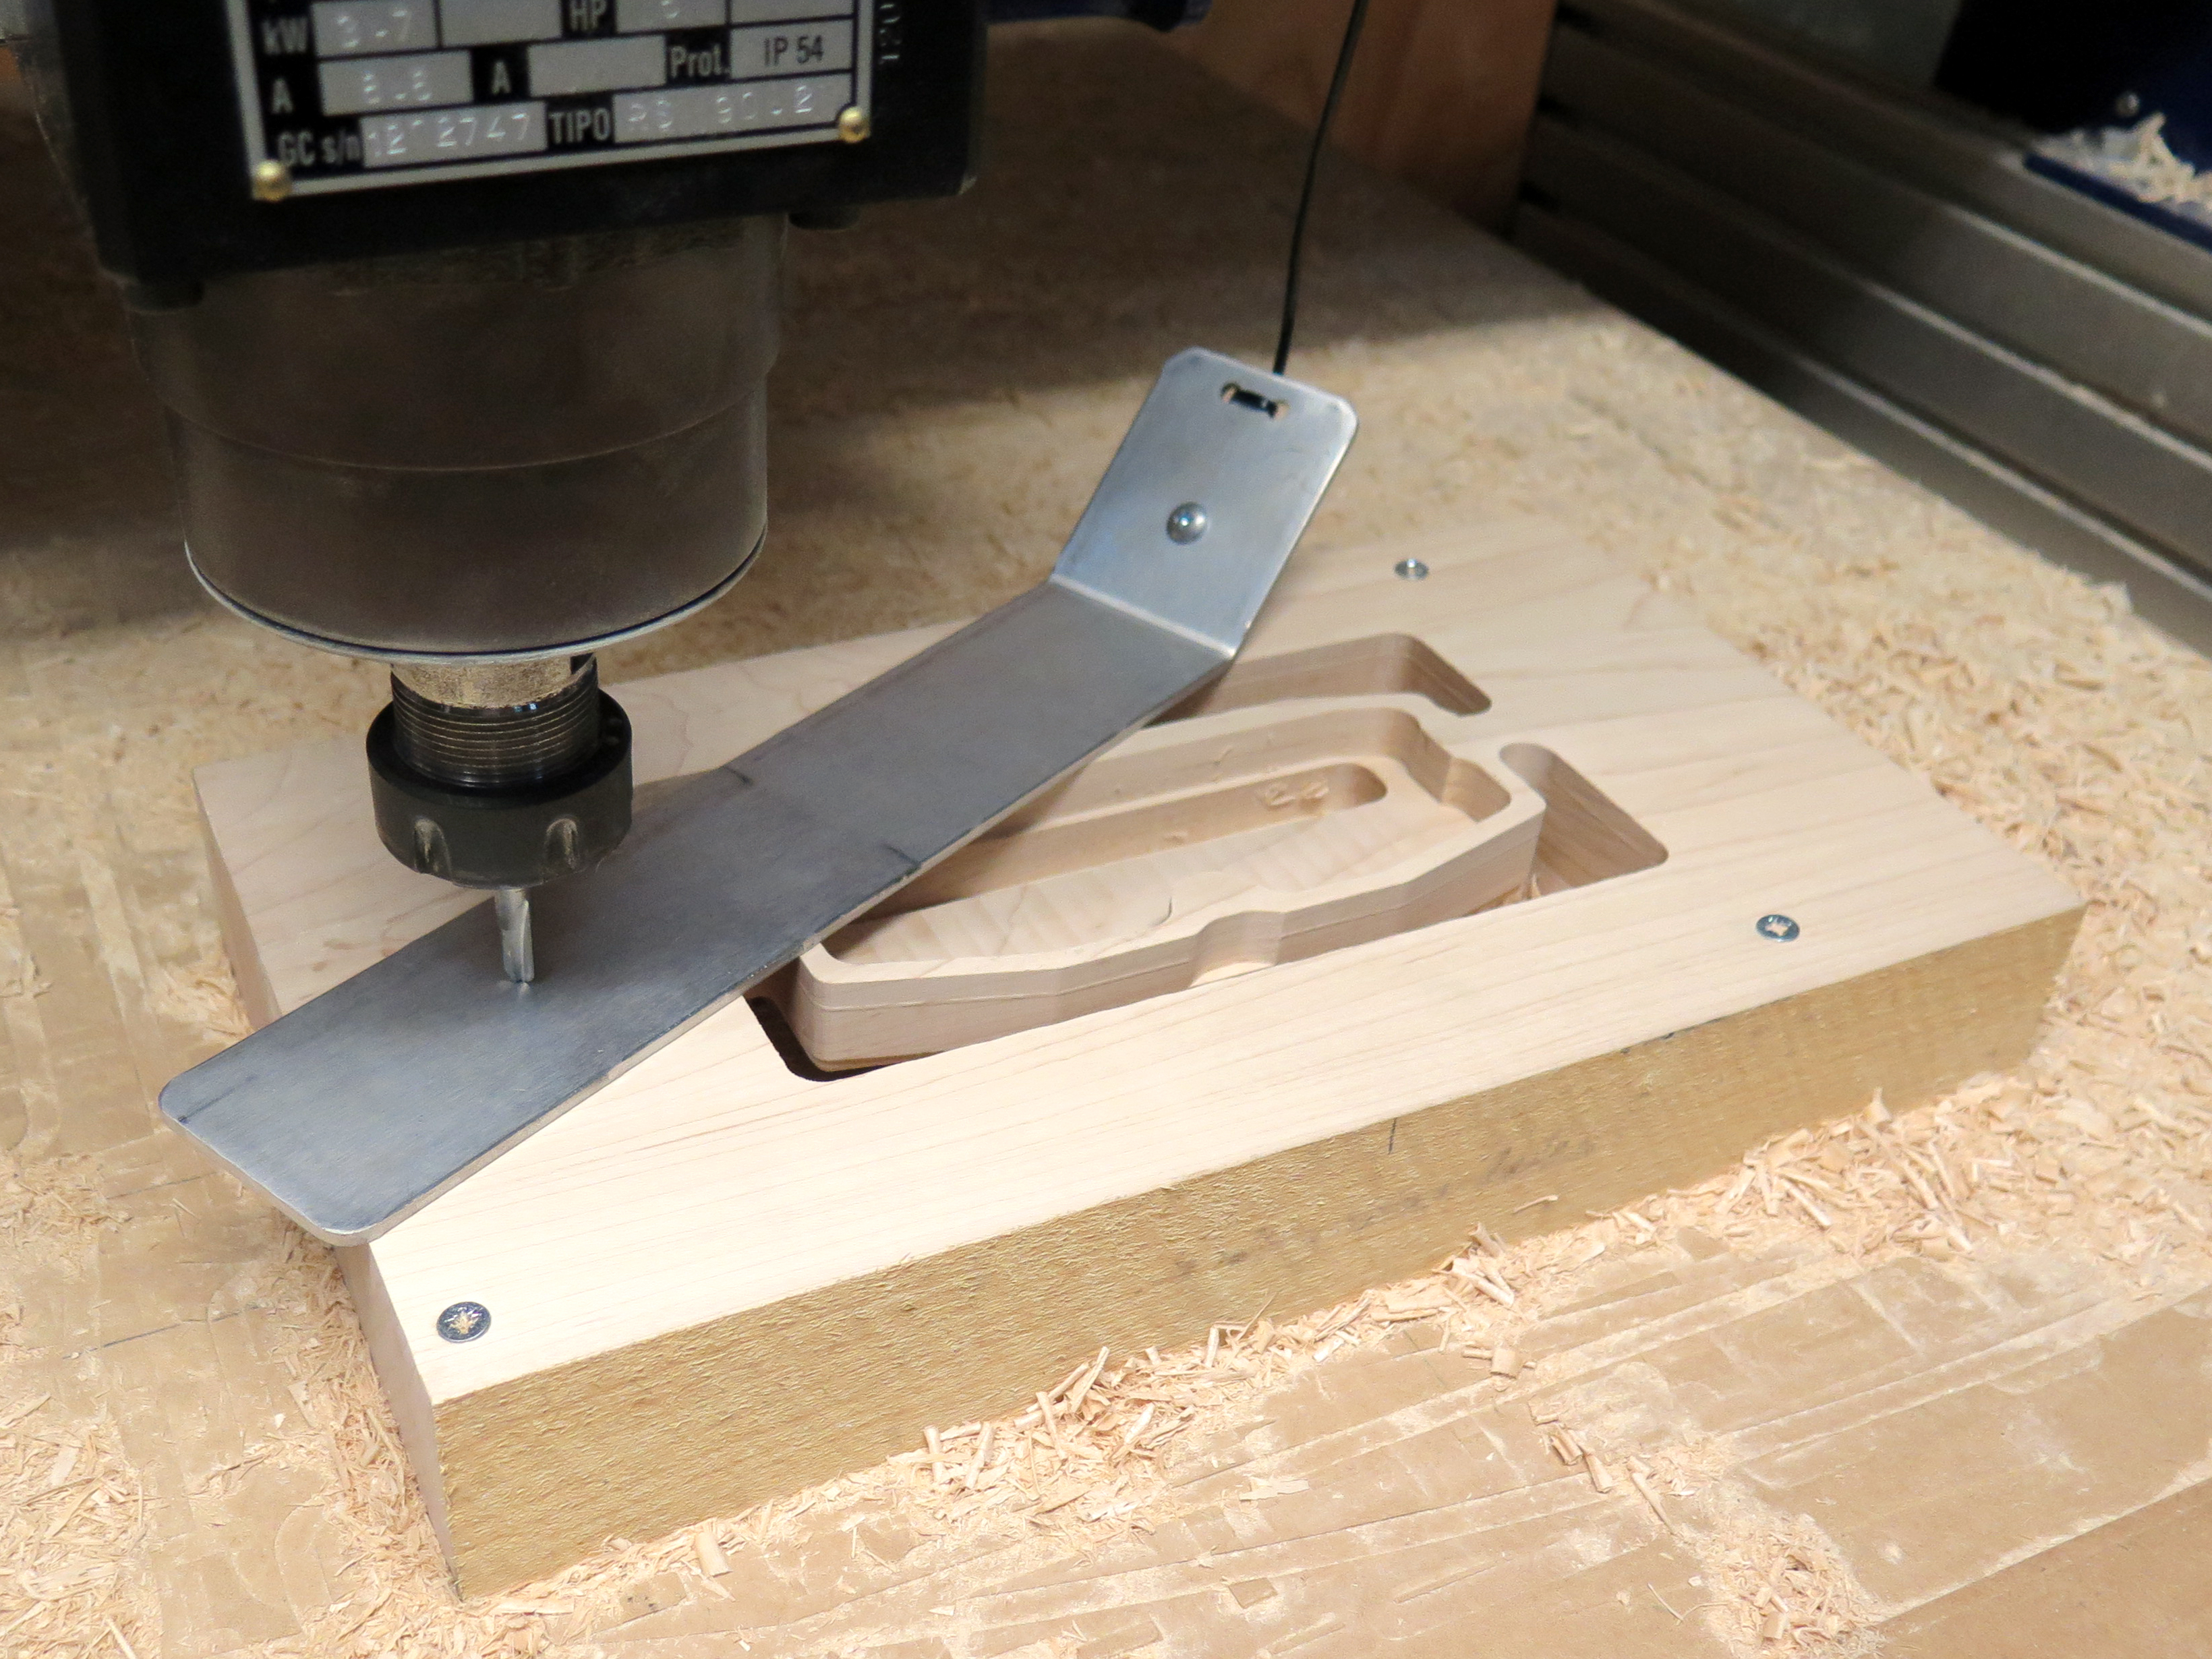
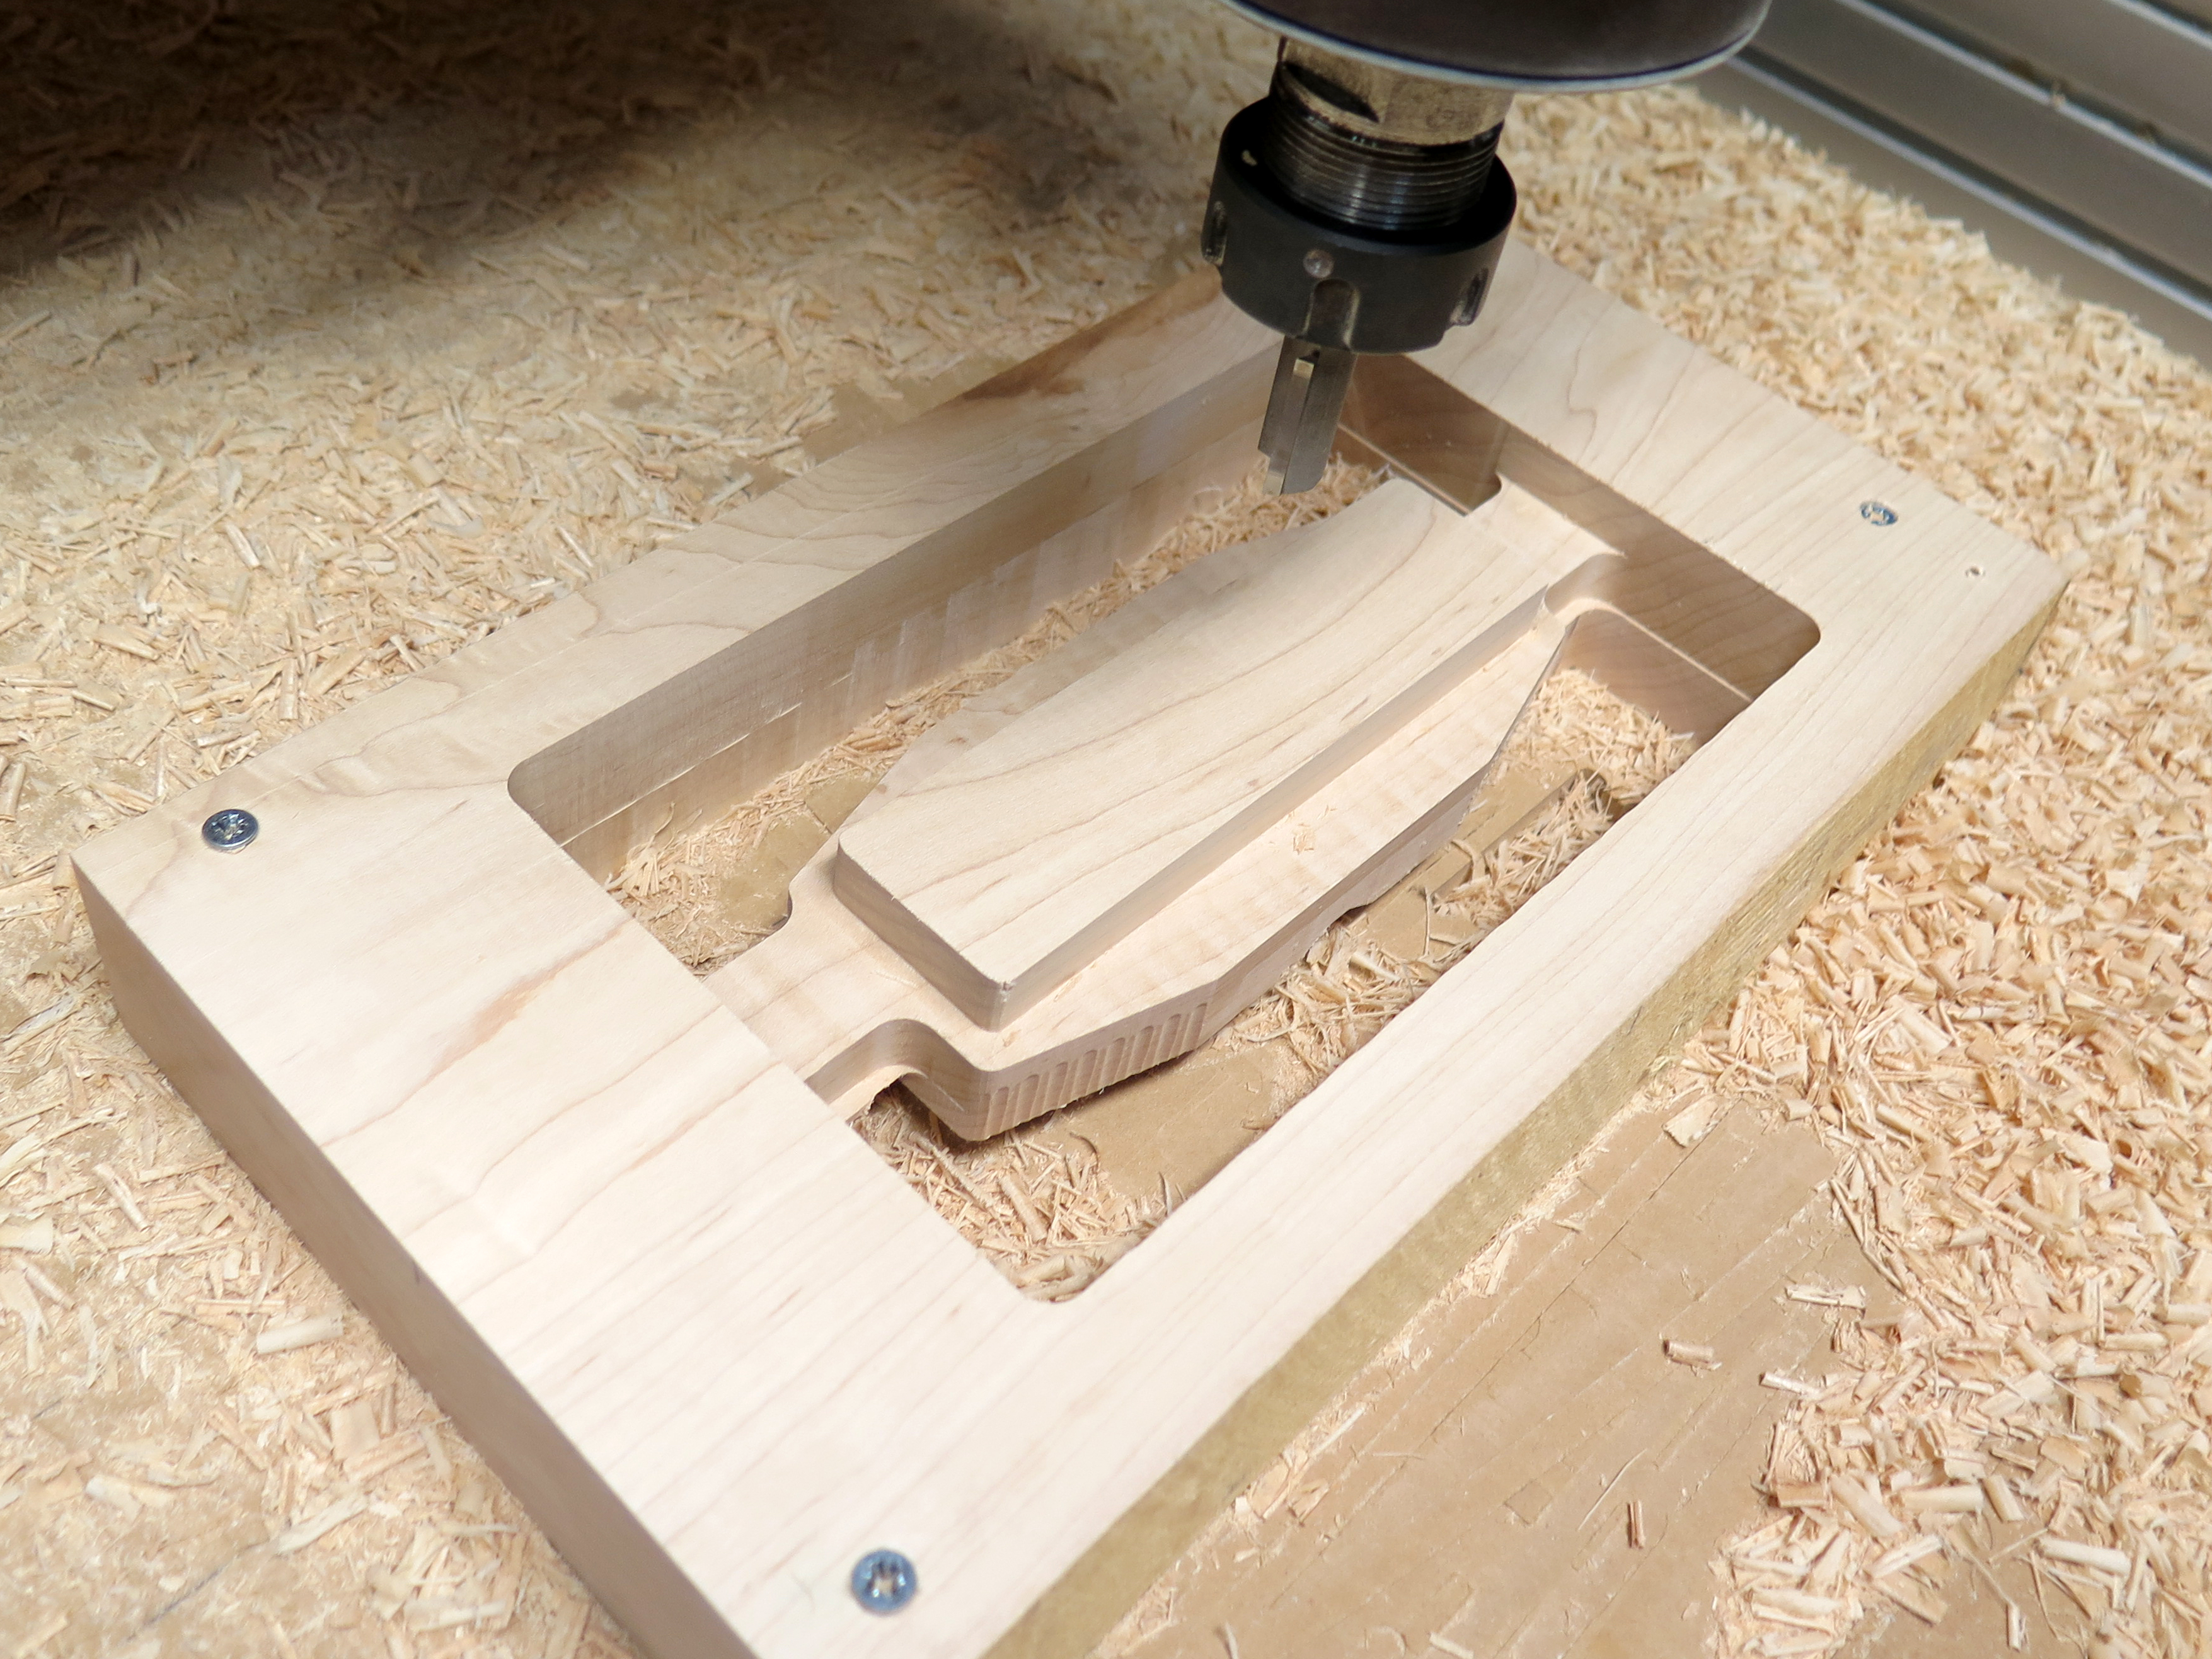
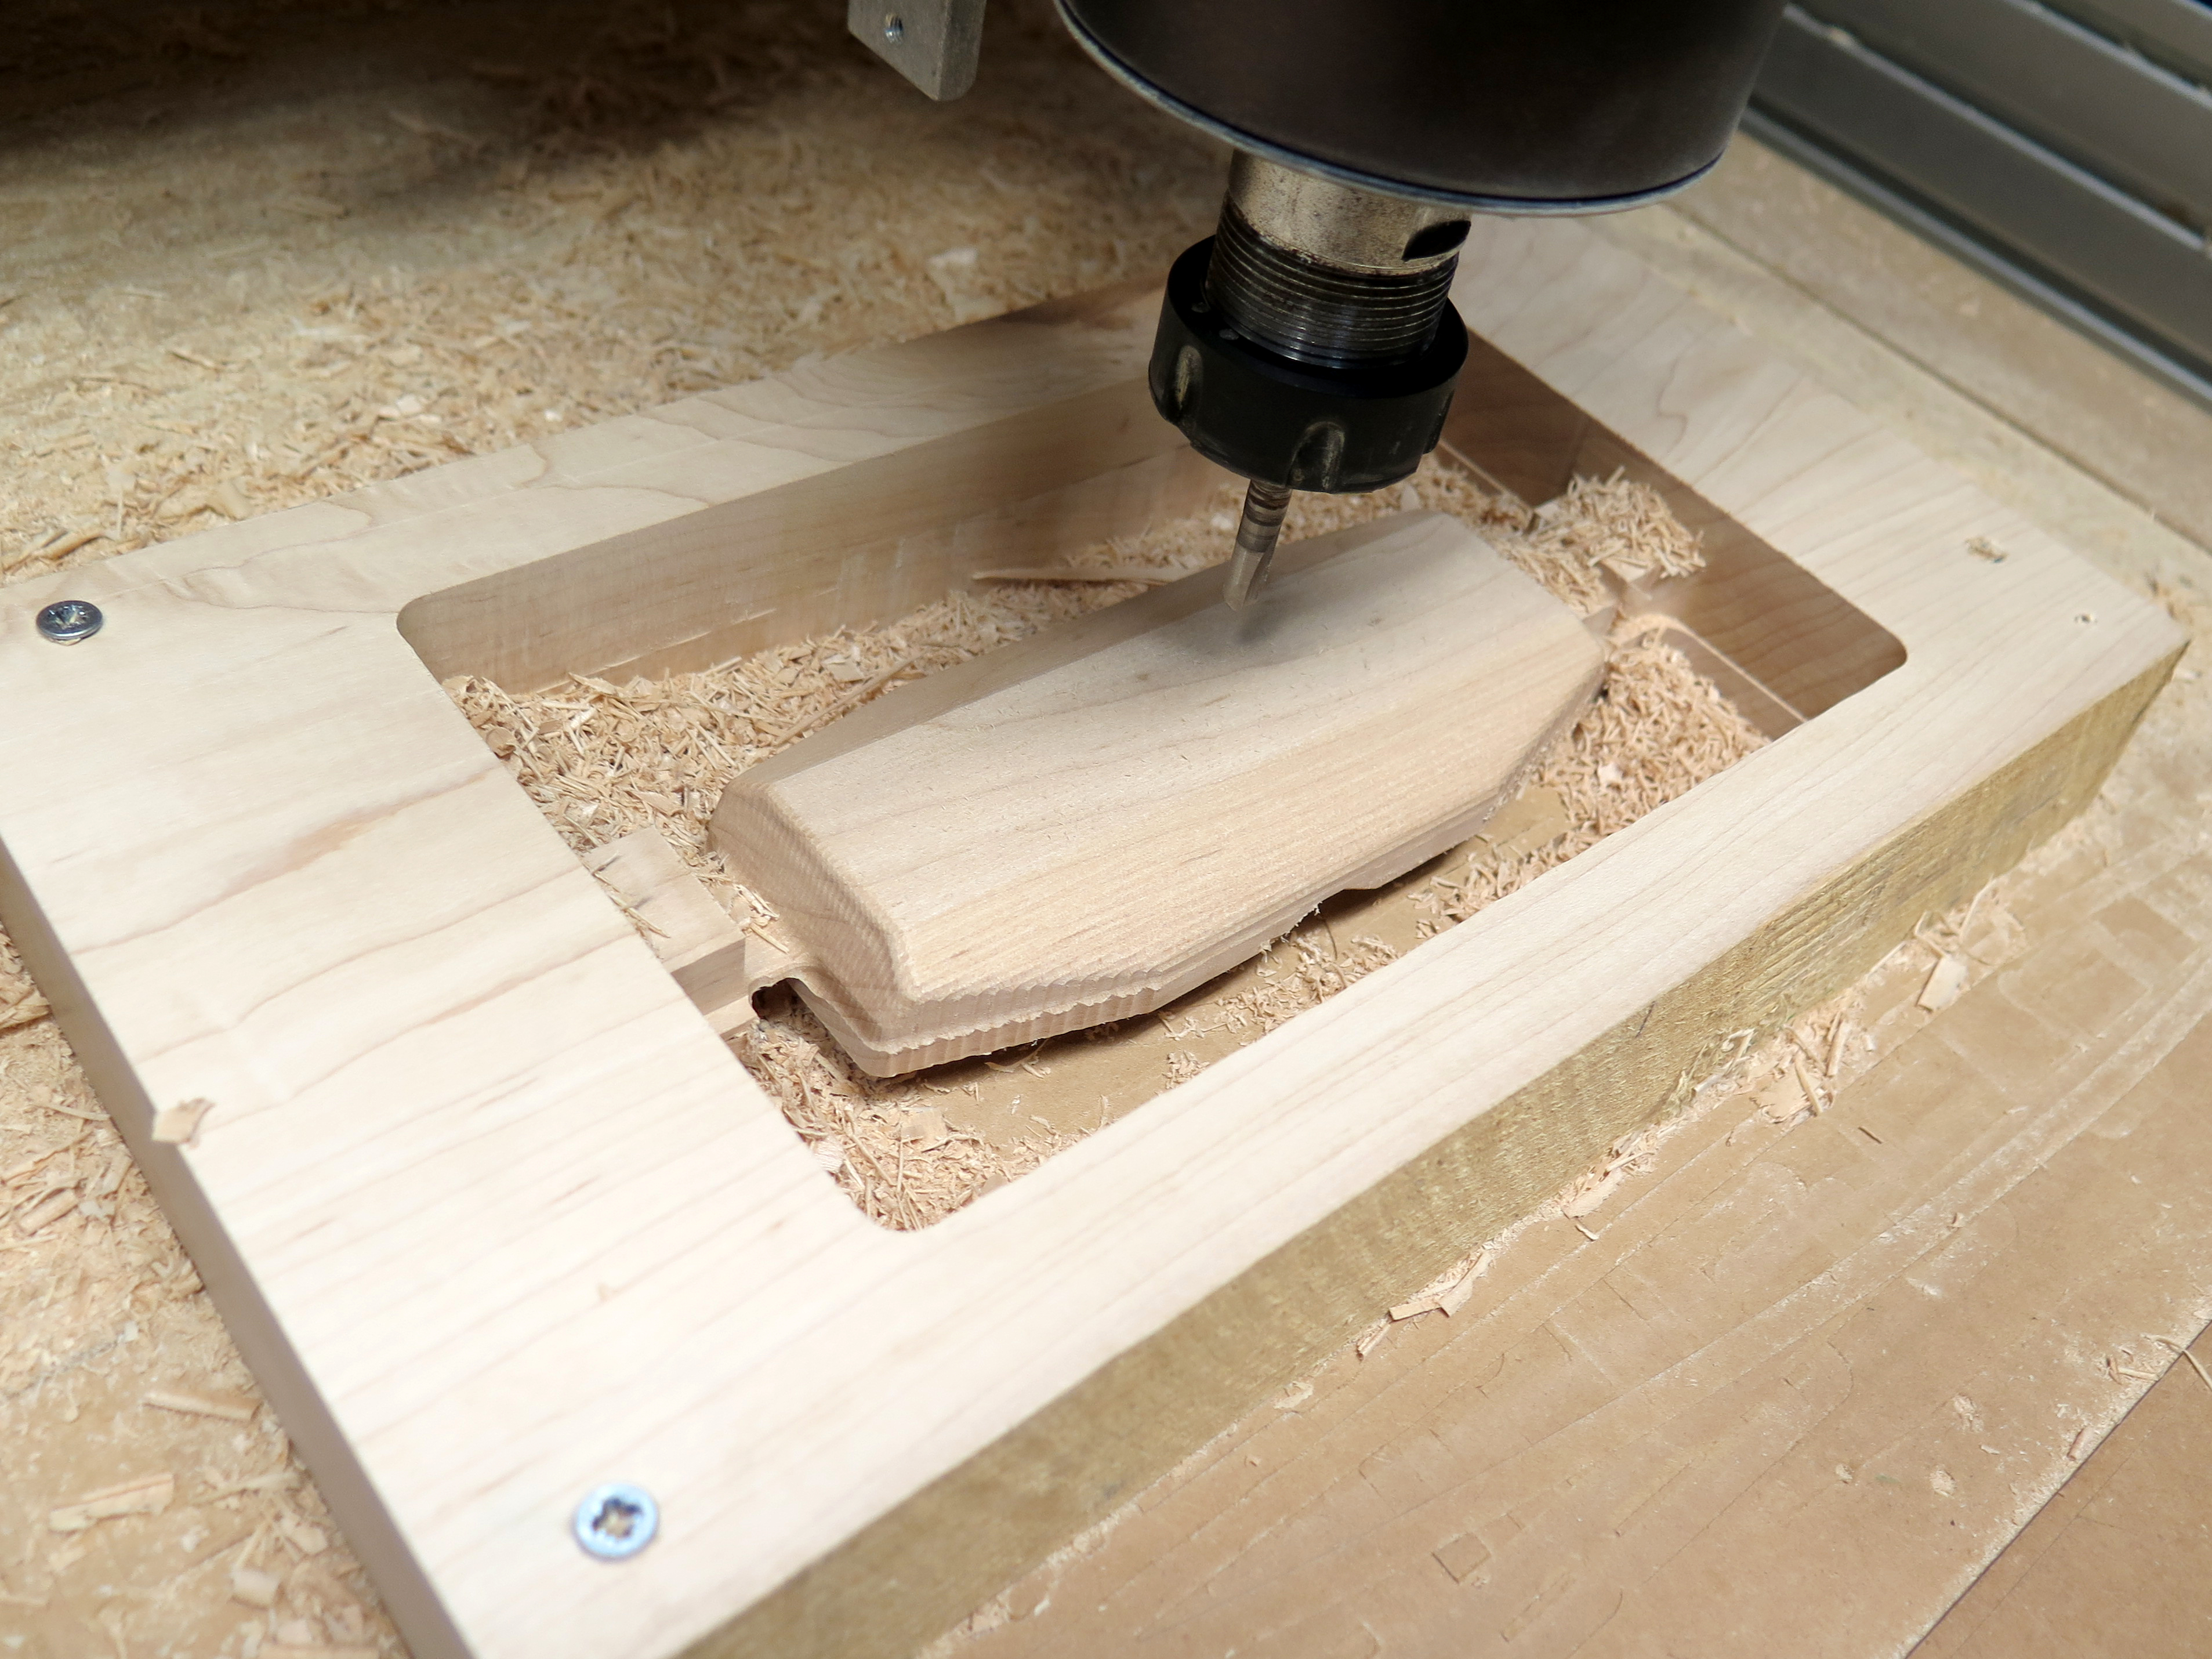
Put the pins in place and flip the wood placing the pins over the 2 holes on the sacrificial board. You still need to screw the piece down to the sacrificial board because the pins only align it correctly. Zero the Z using the Z plate and start the Bottom toolpath. It will do the roughing and then the finishing toolpaths.
Unscrew and remove part.
Bottom Piece - Toolpath
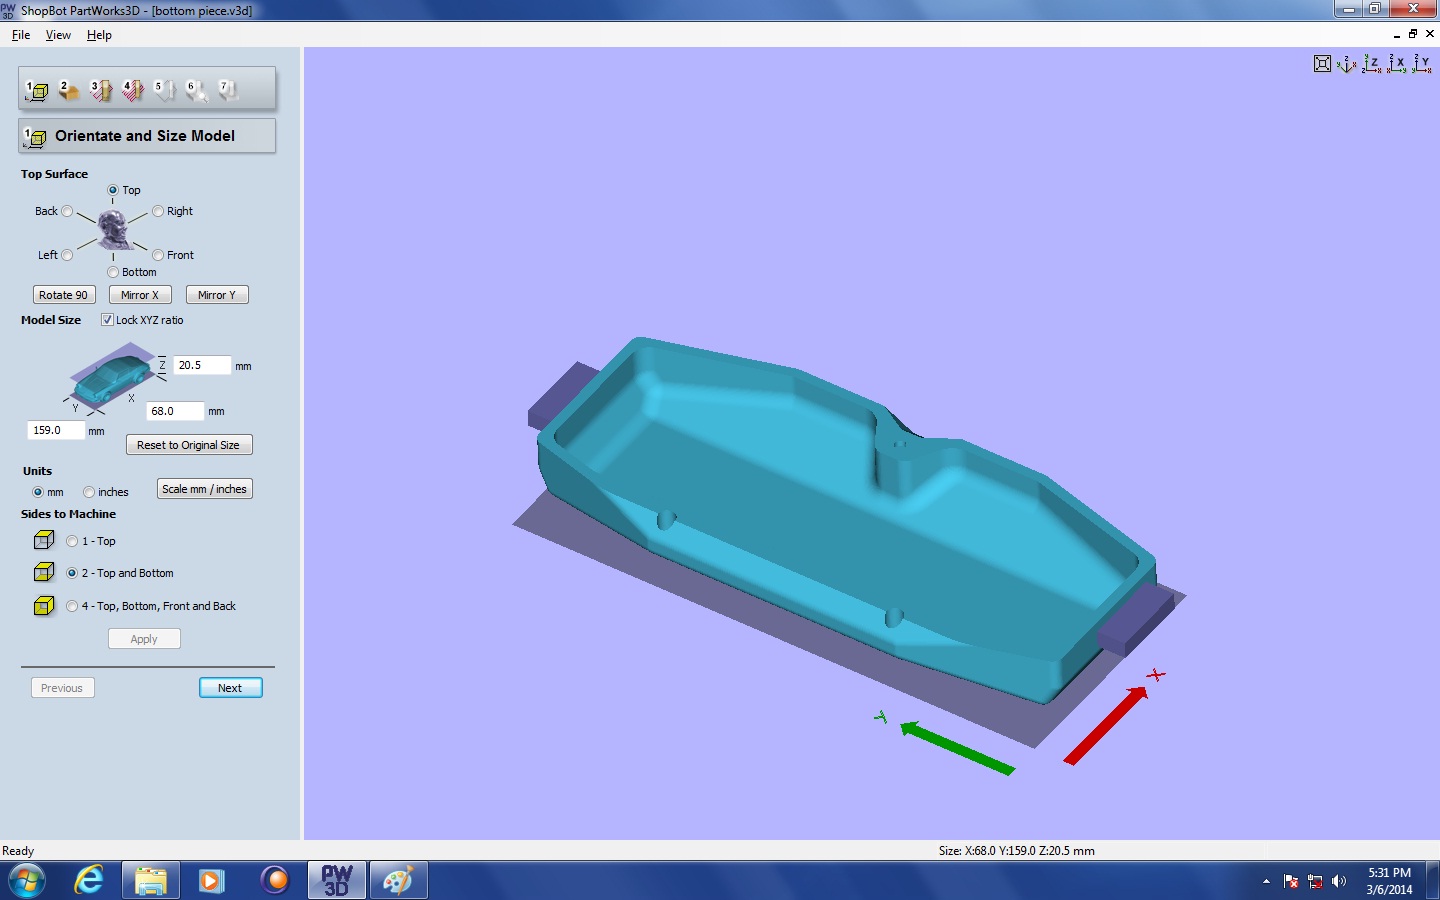
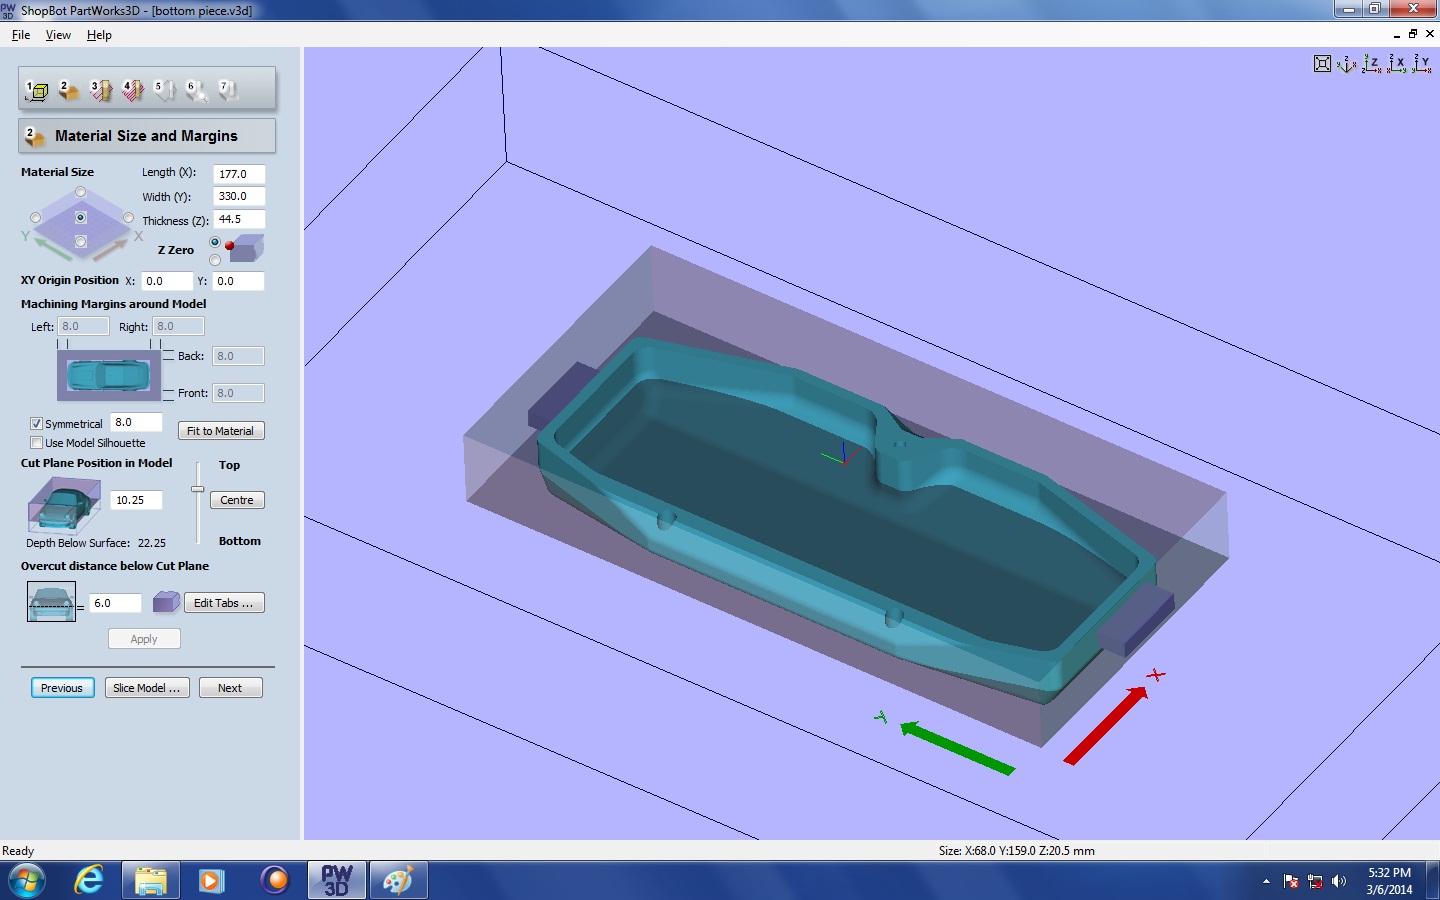
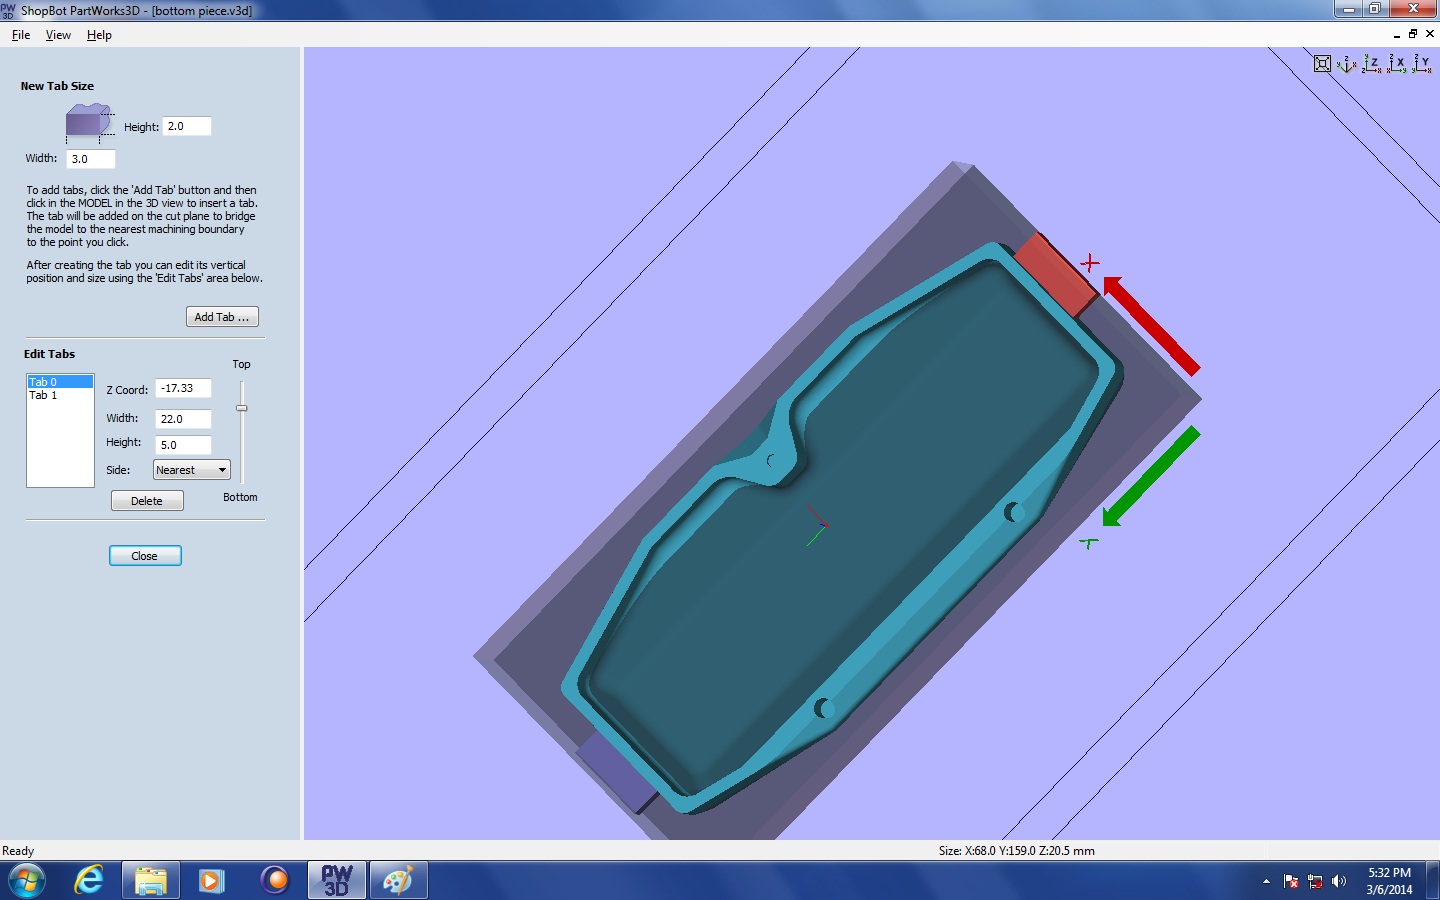
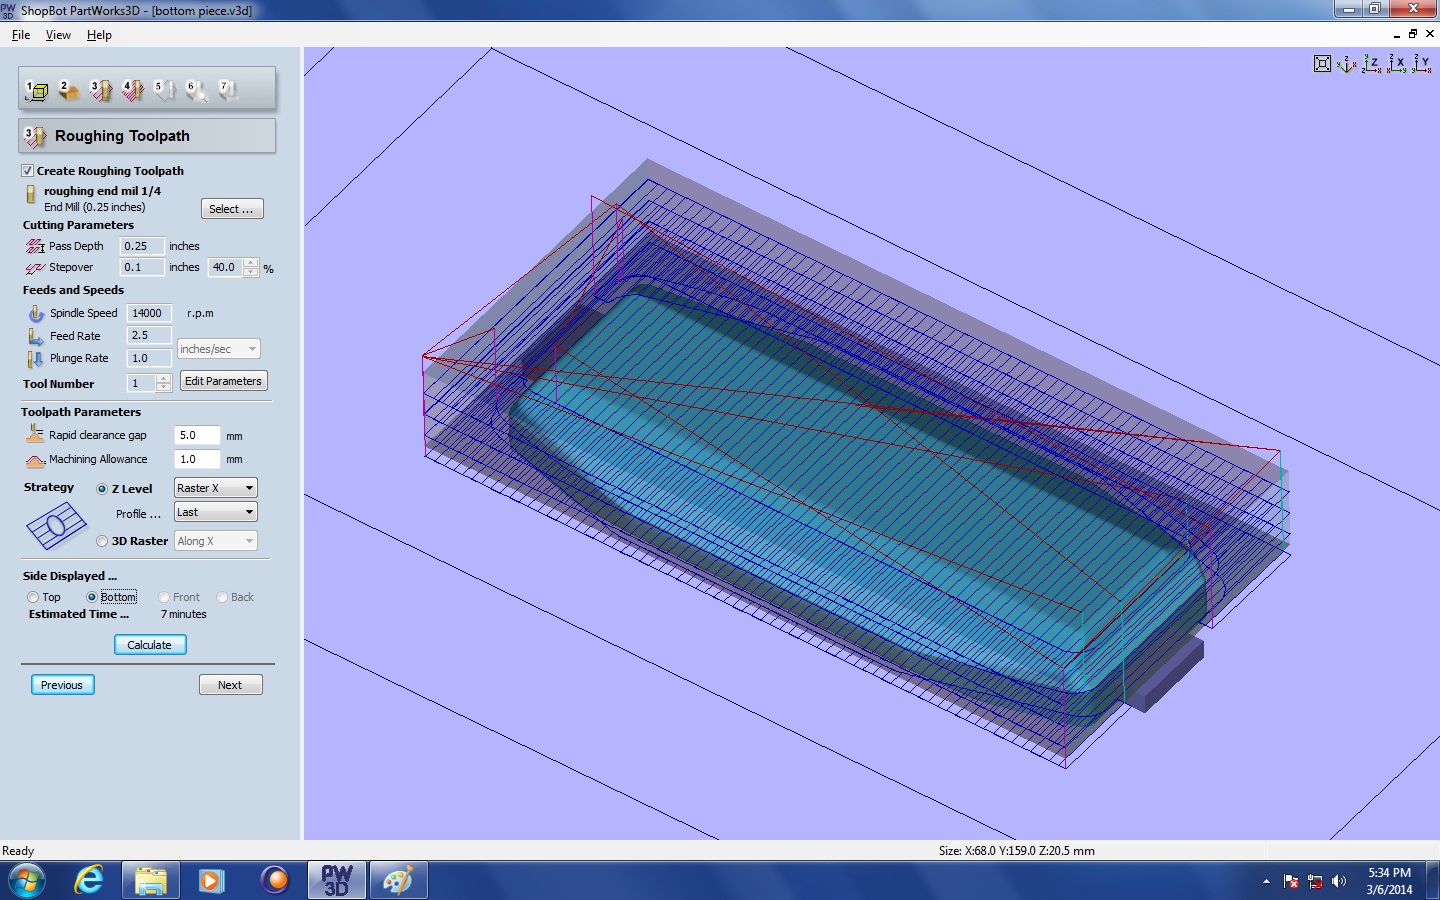
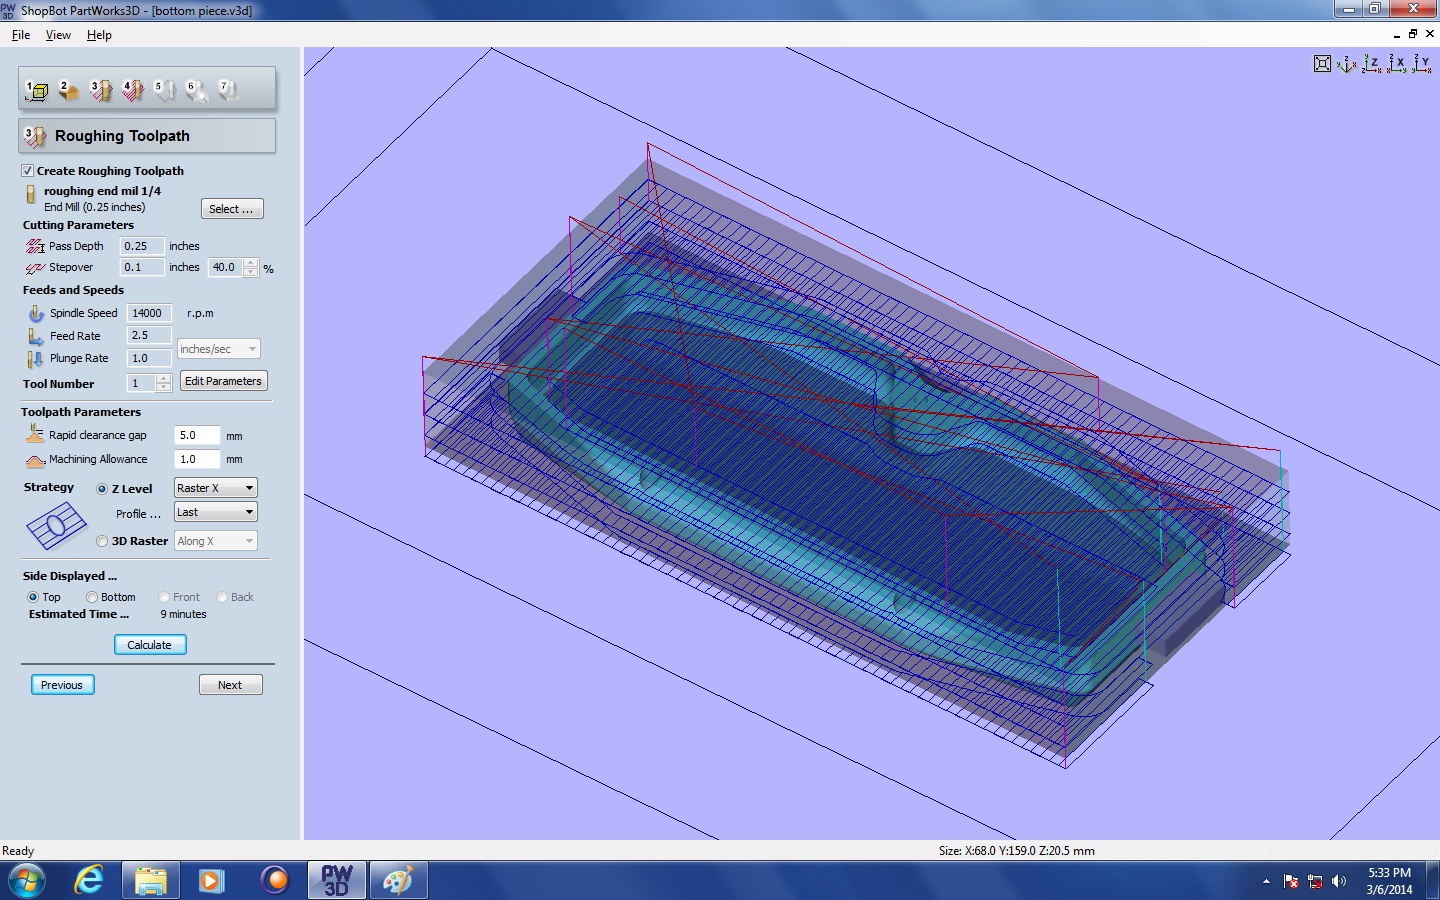
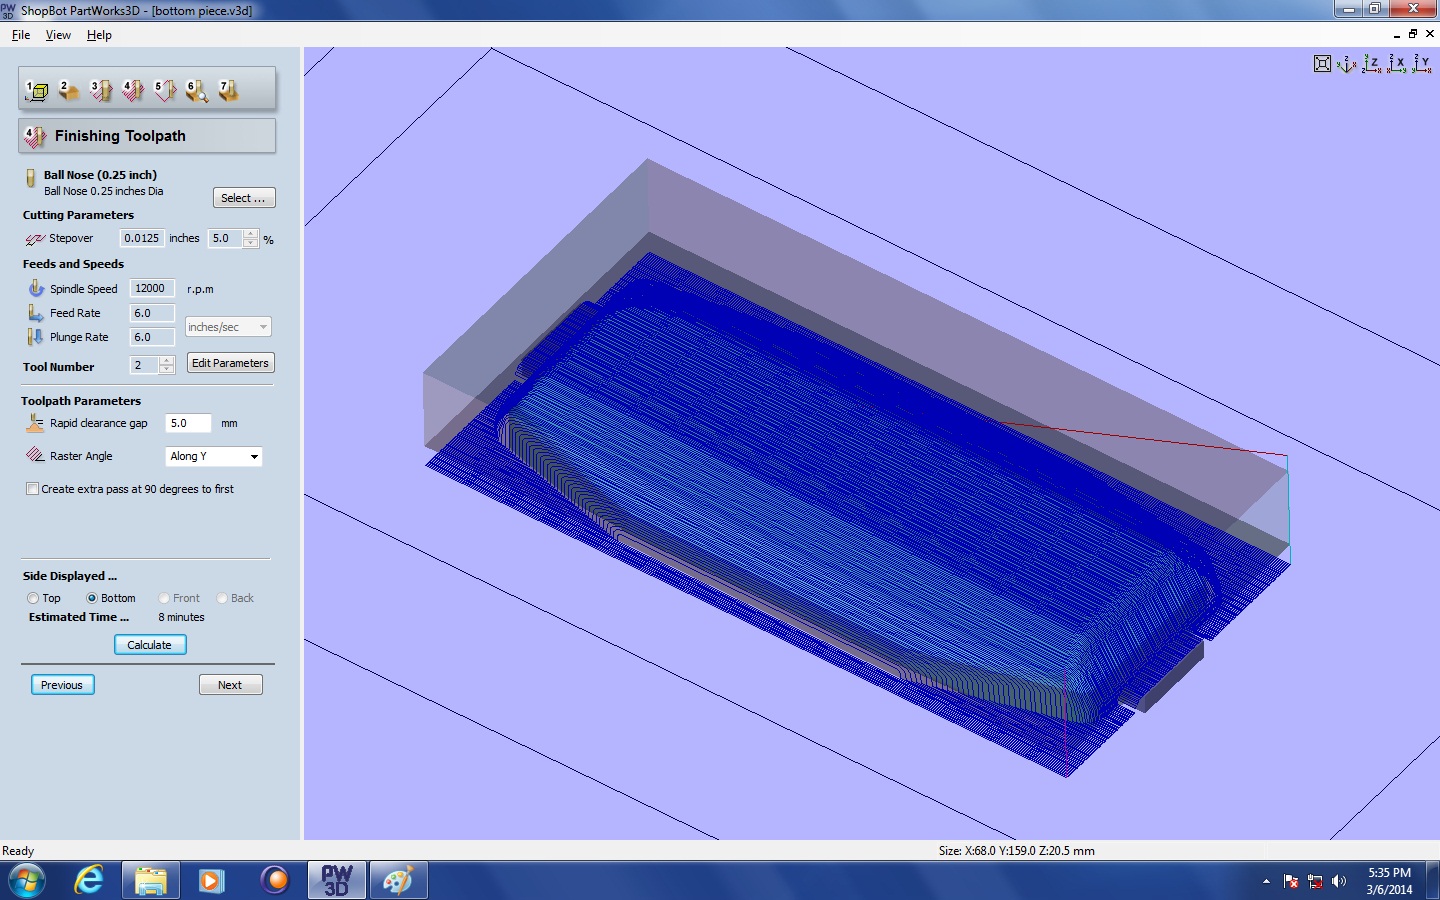
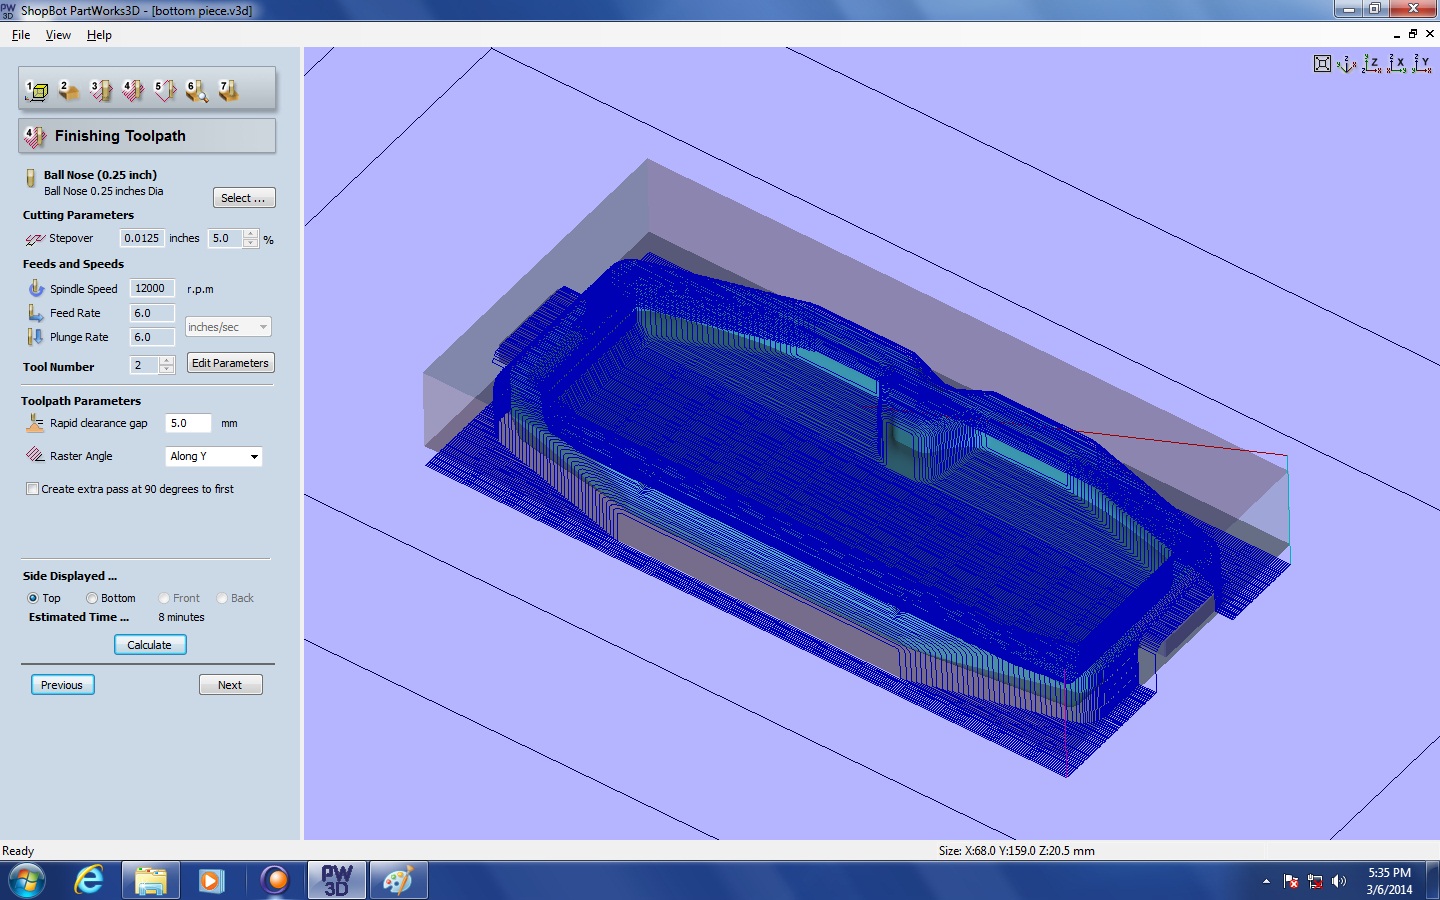
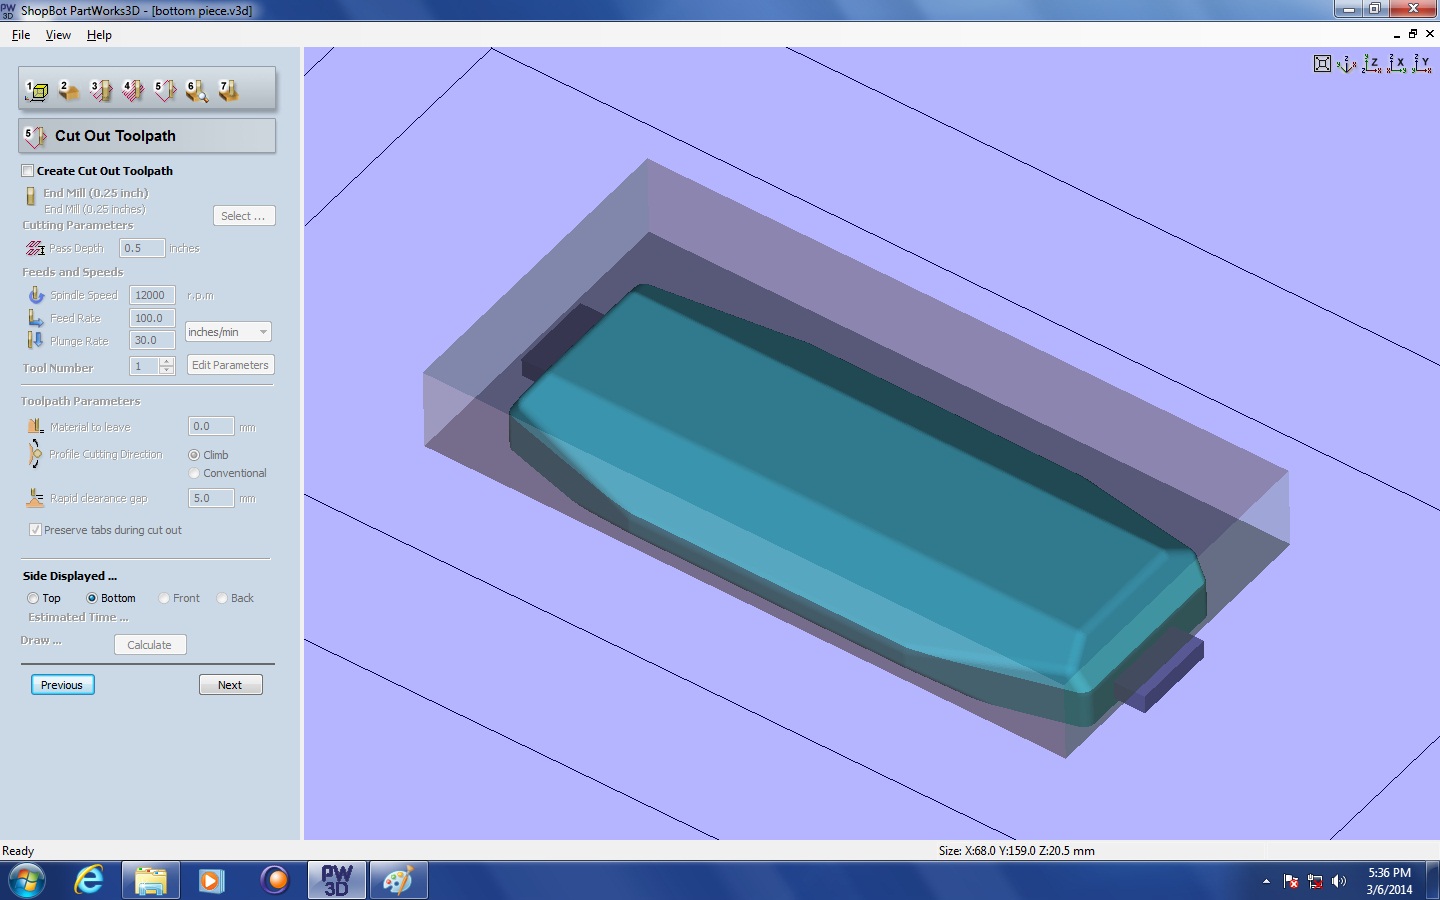
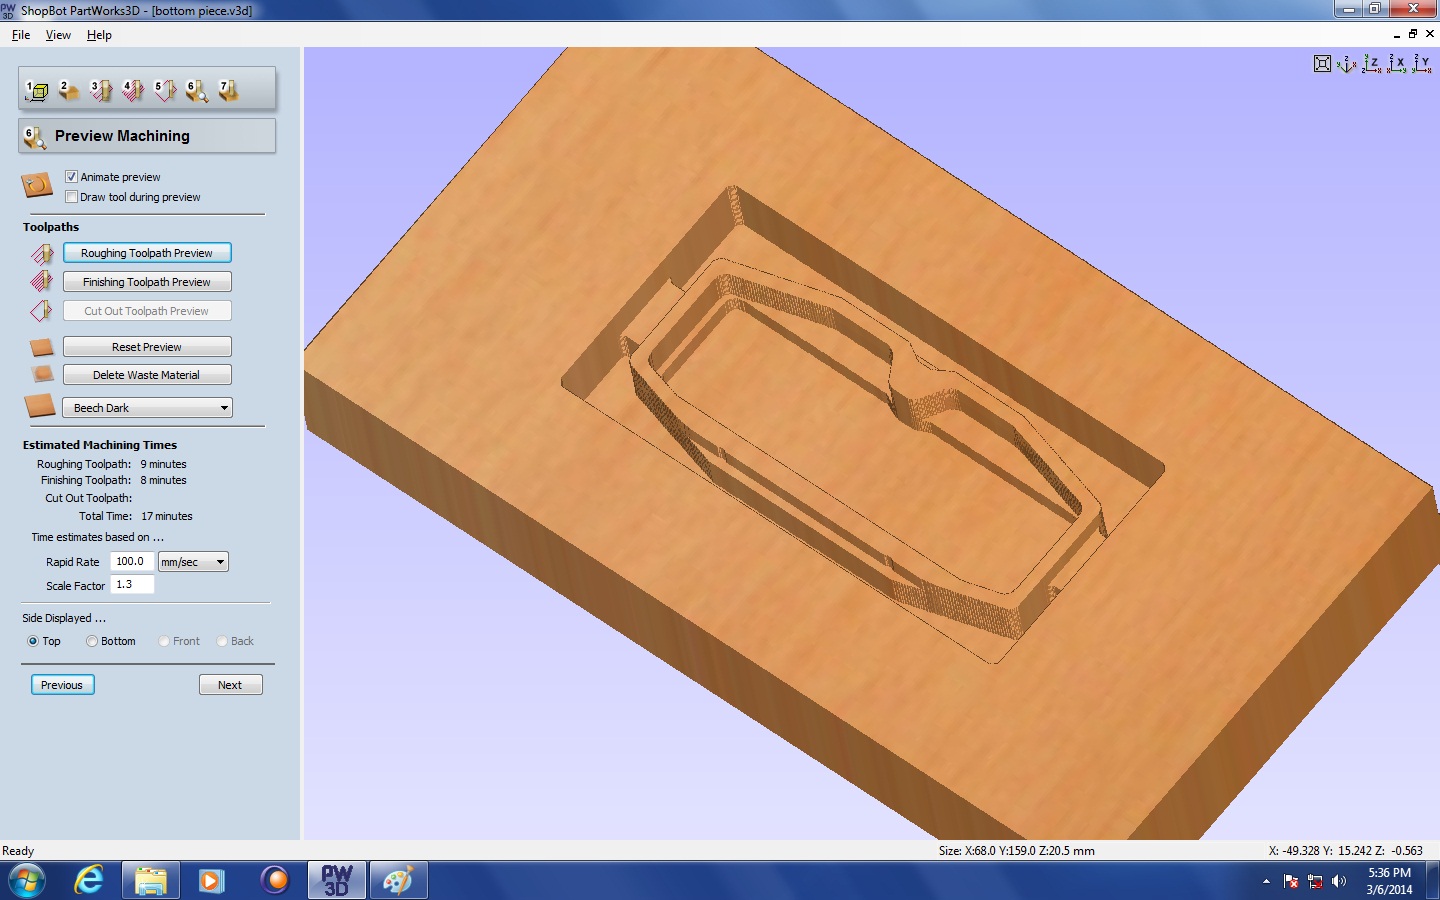
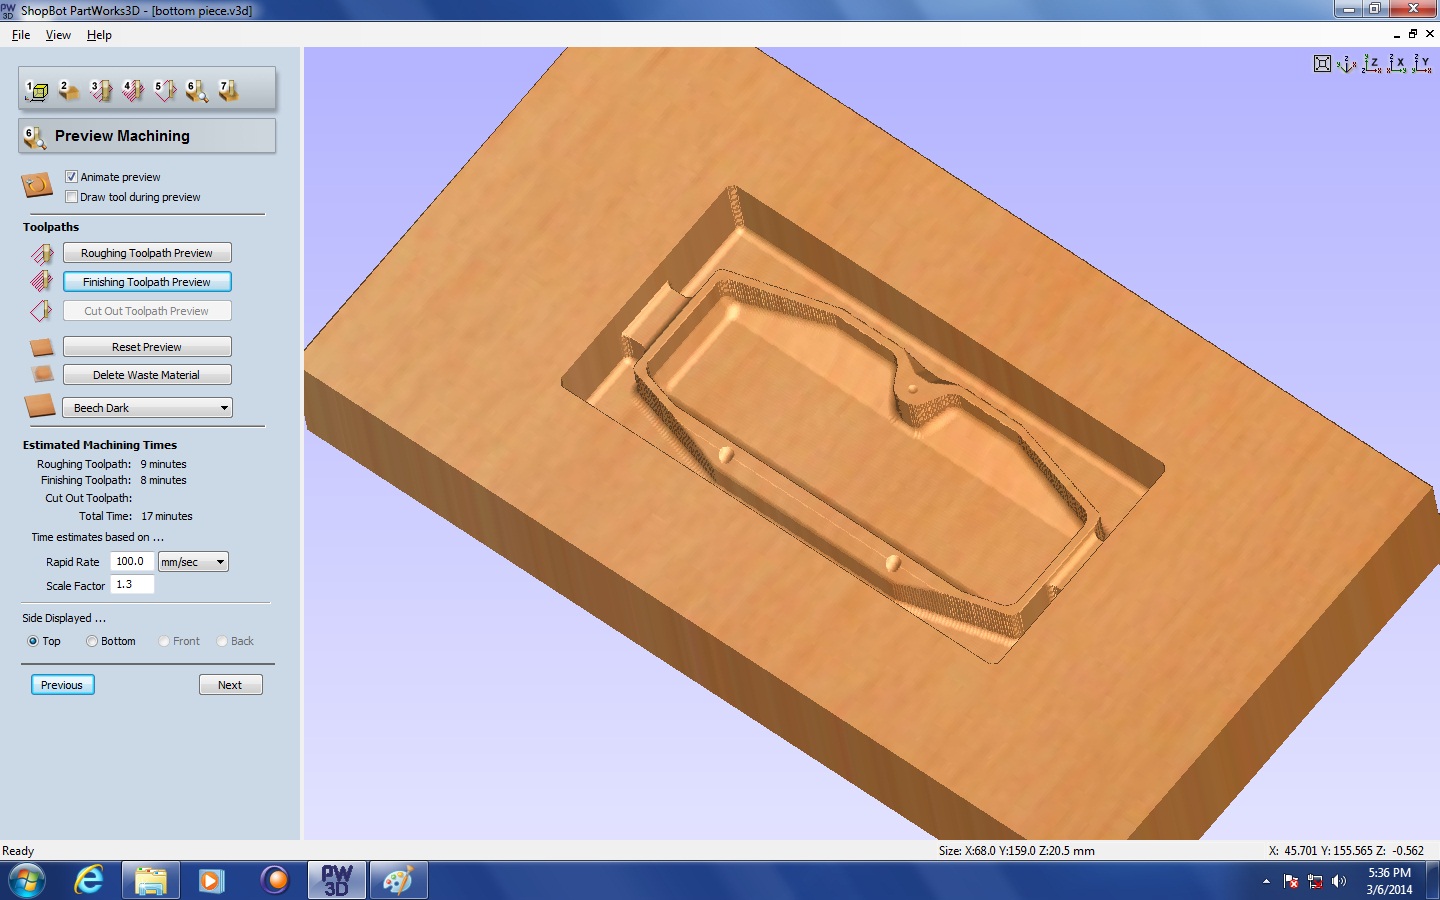
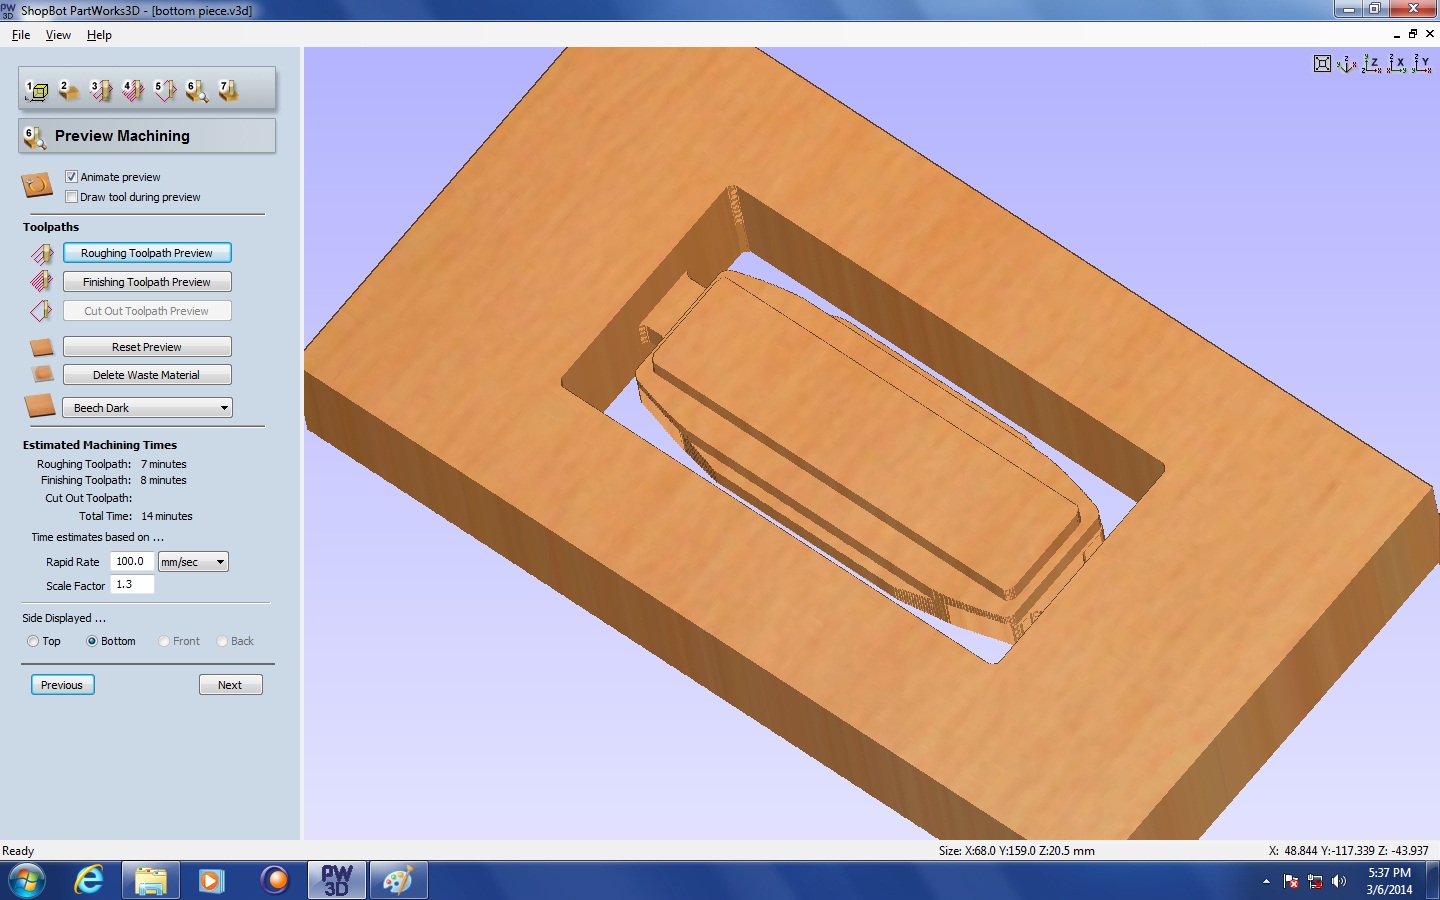
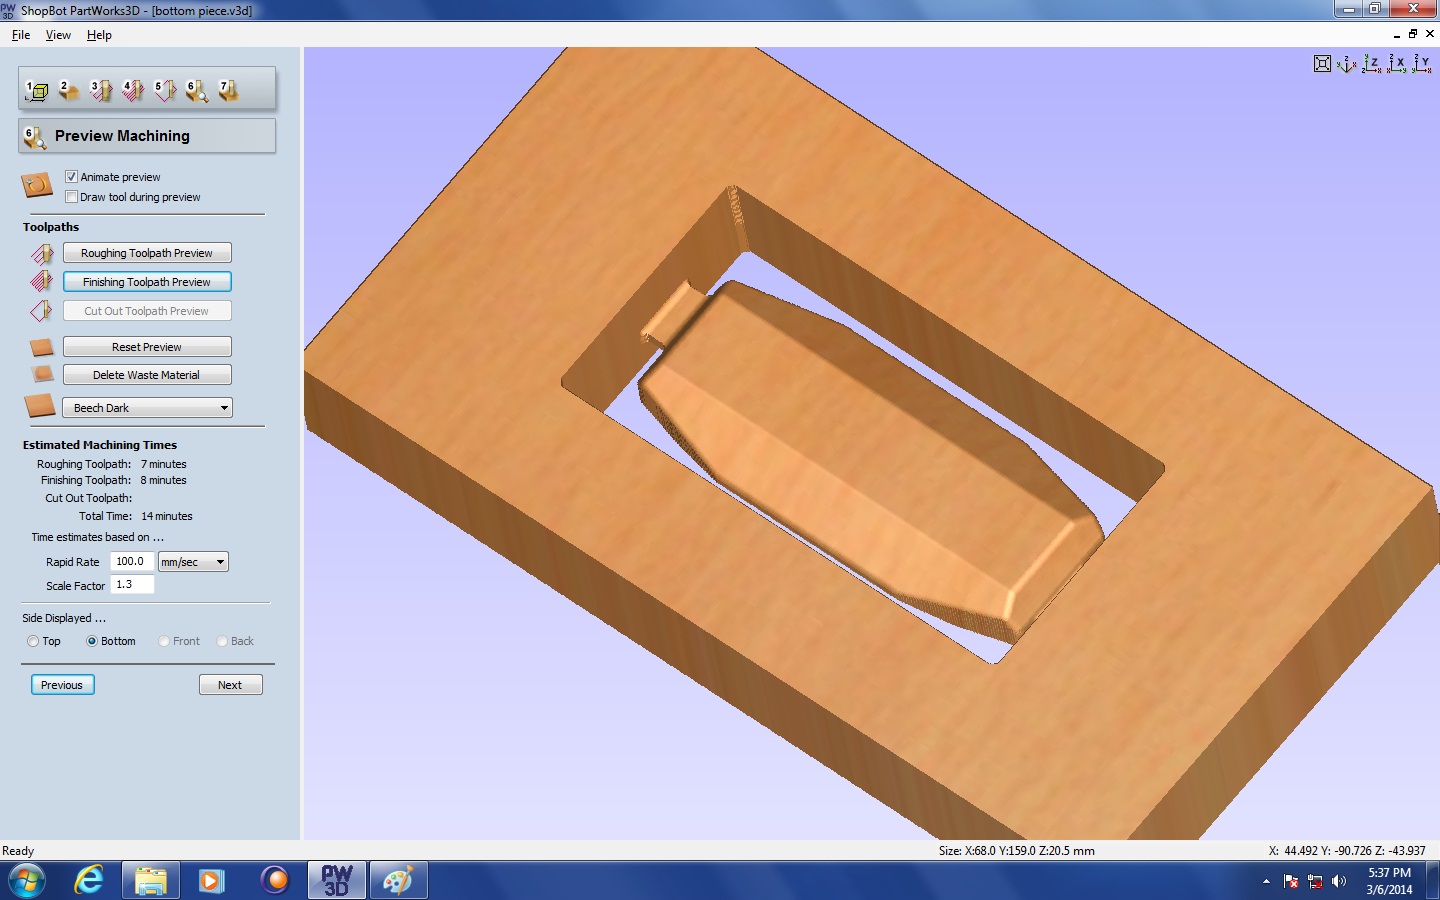
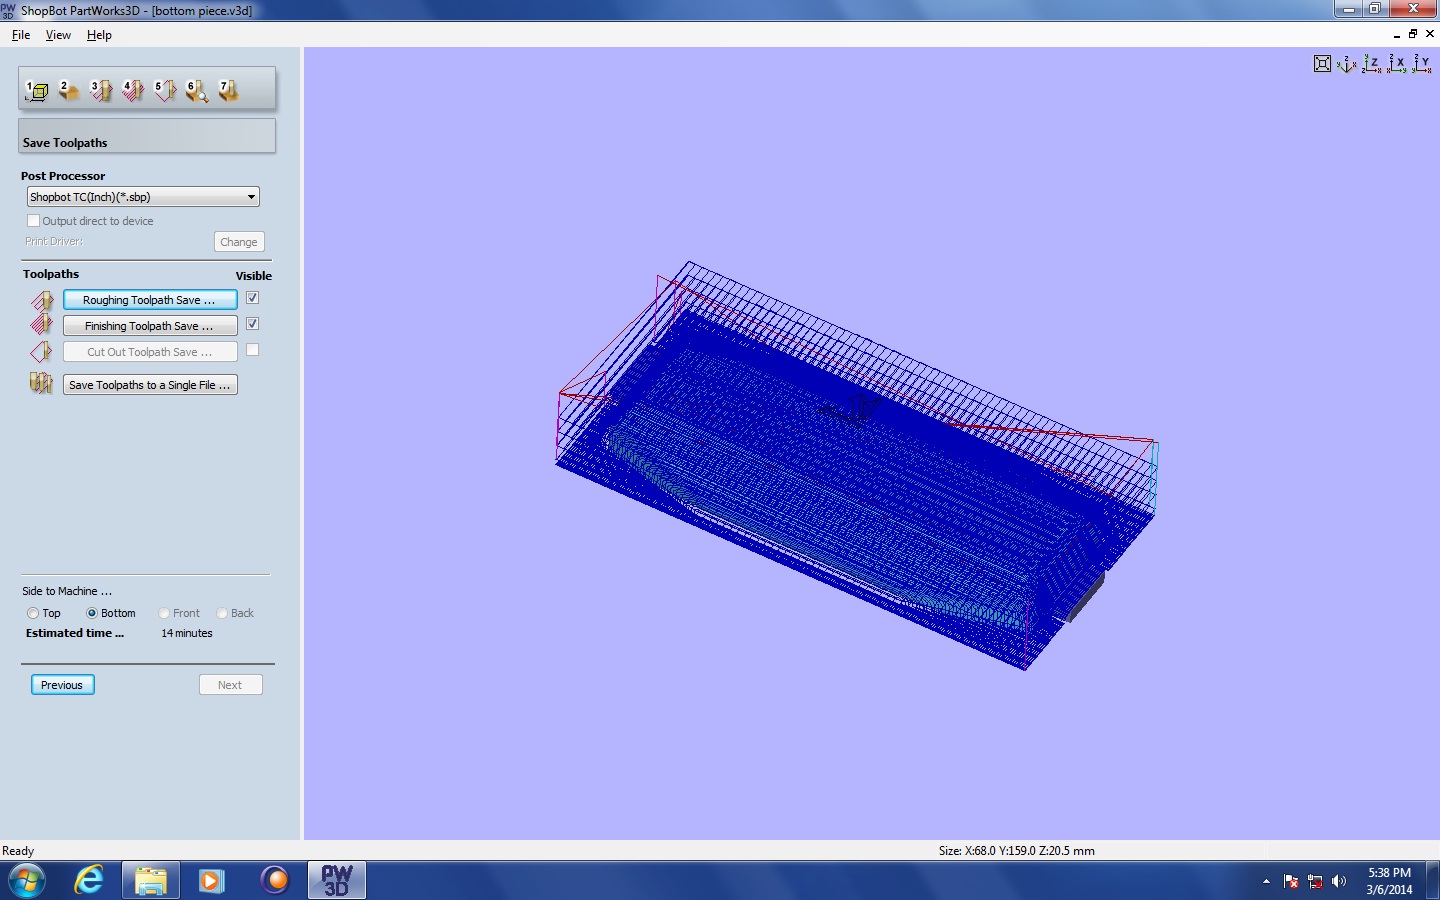
Now repeat the same for the Bottom part of the Sunglass Case. This will be a single step on this instructable with all of the files/photos included. In short you need to repeat from STEP 3 - STEP 10. It is basically the same process but for the other part of the case. Check the images and follow them step by step.
Drill Holes for the Hinges and Magnets
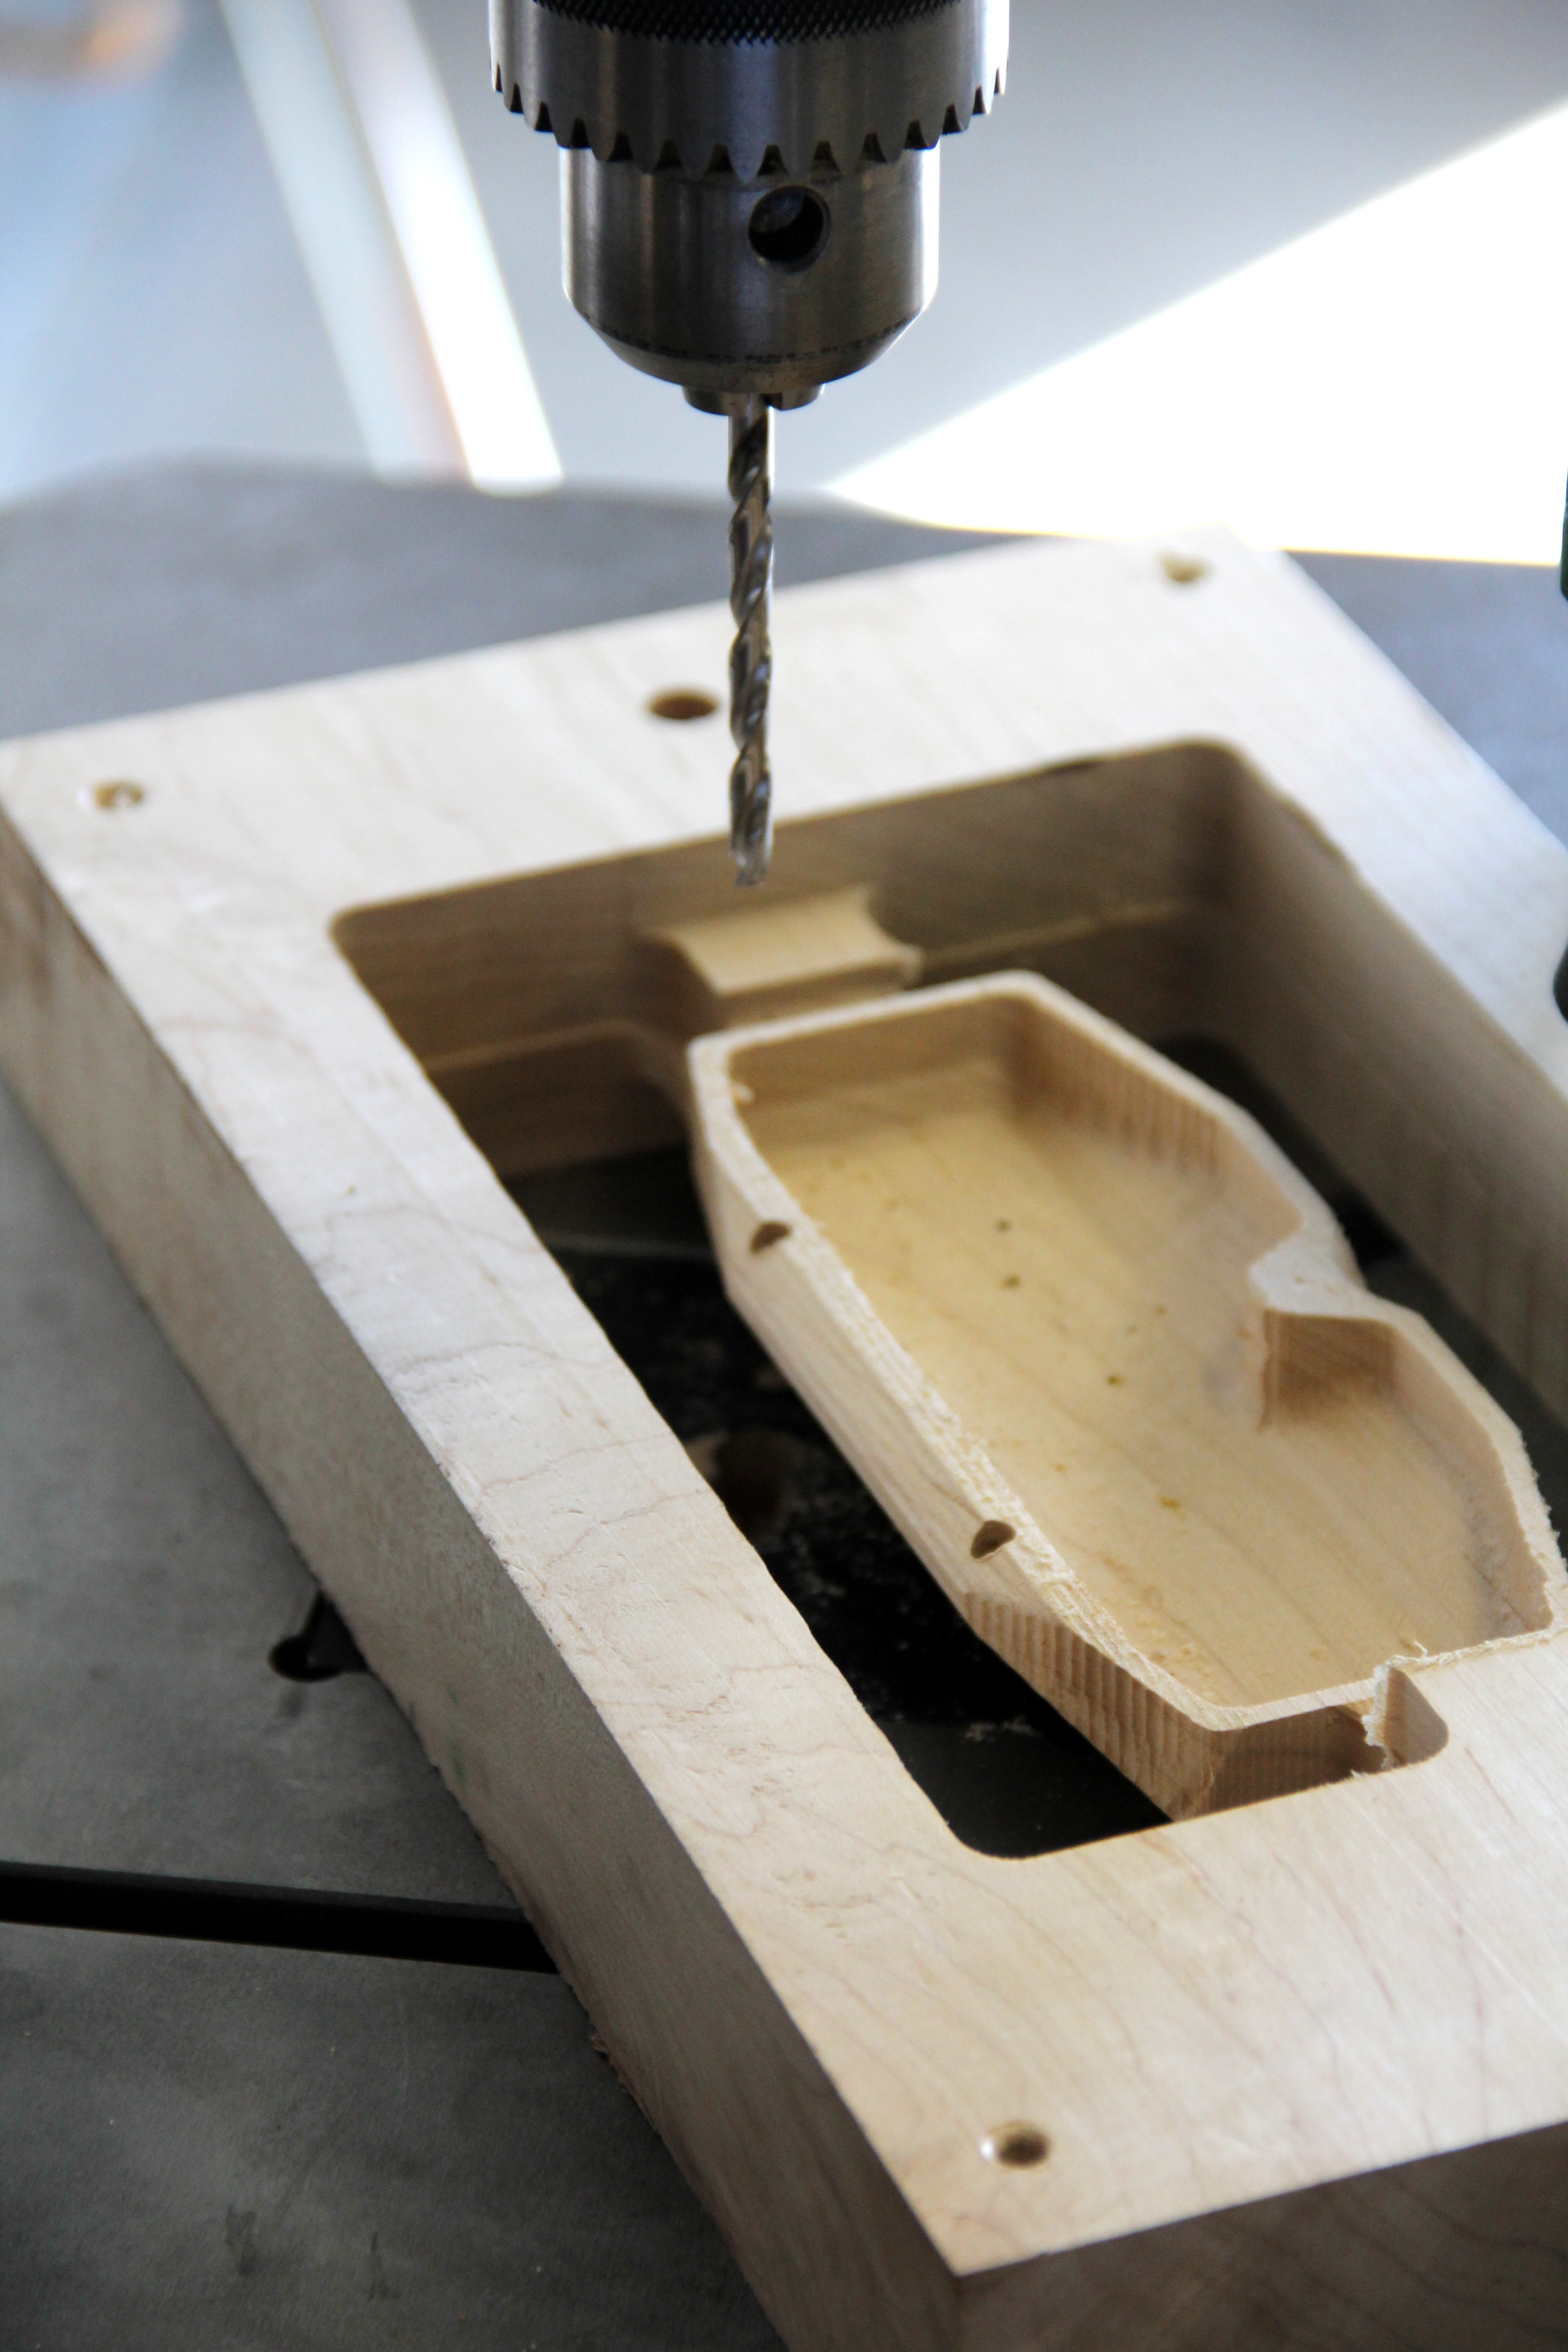
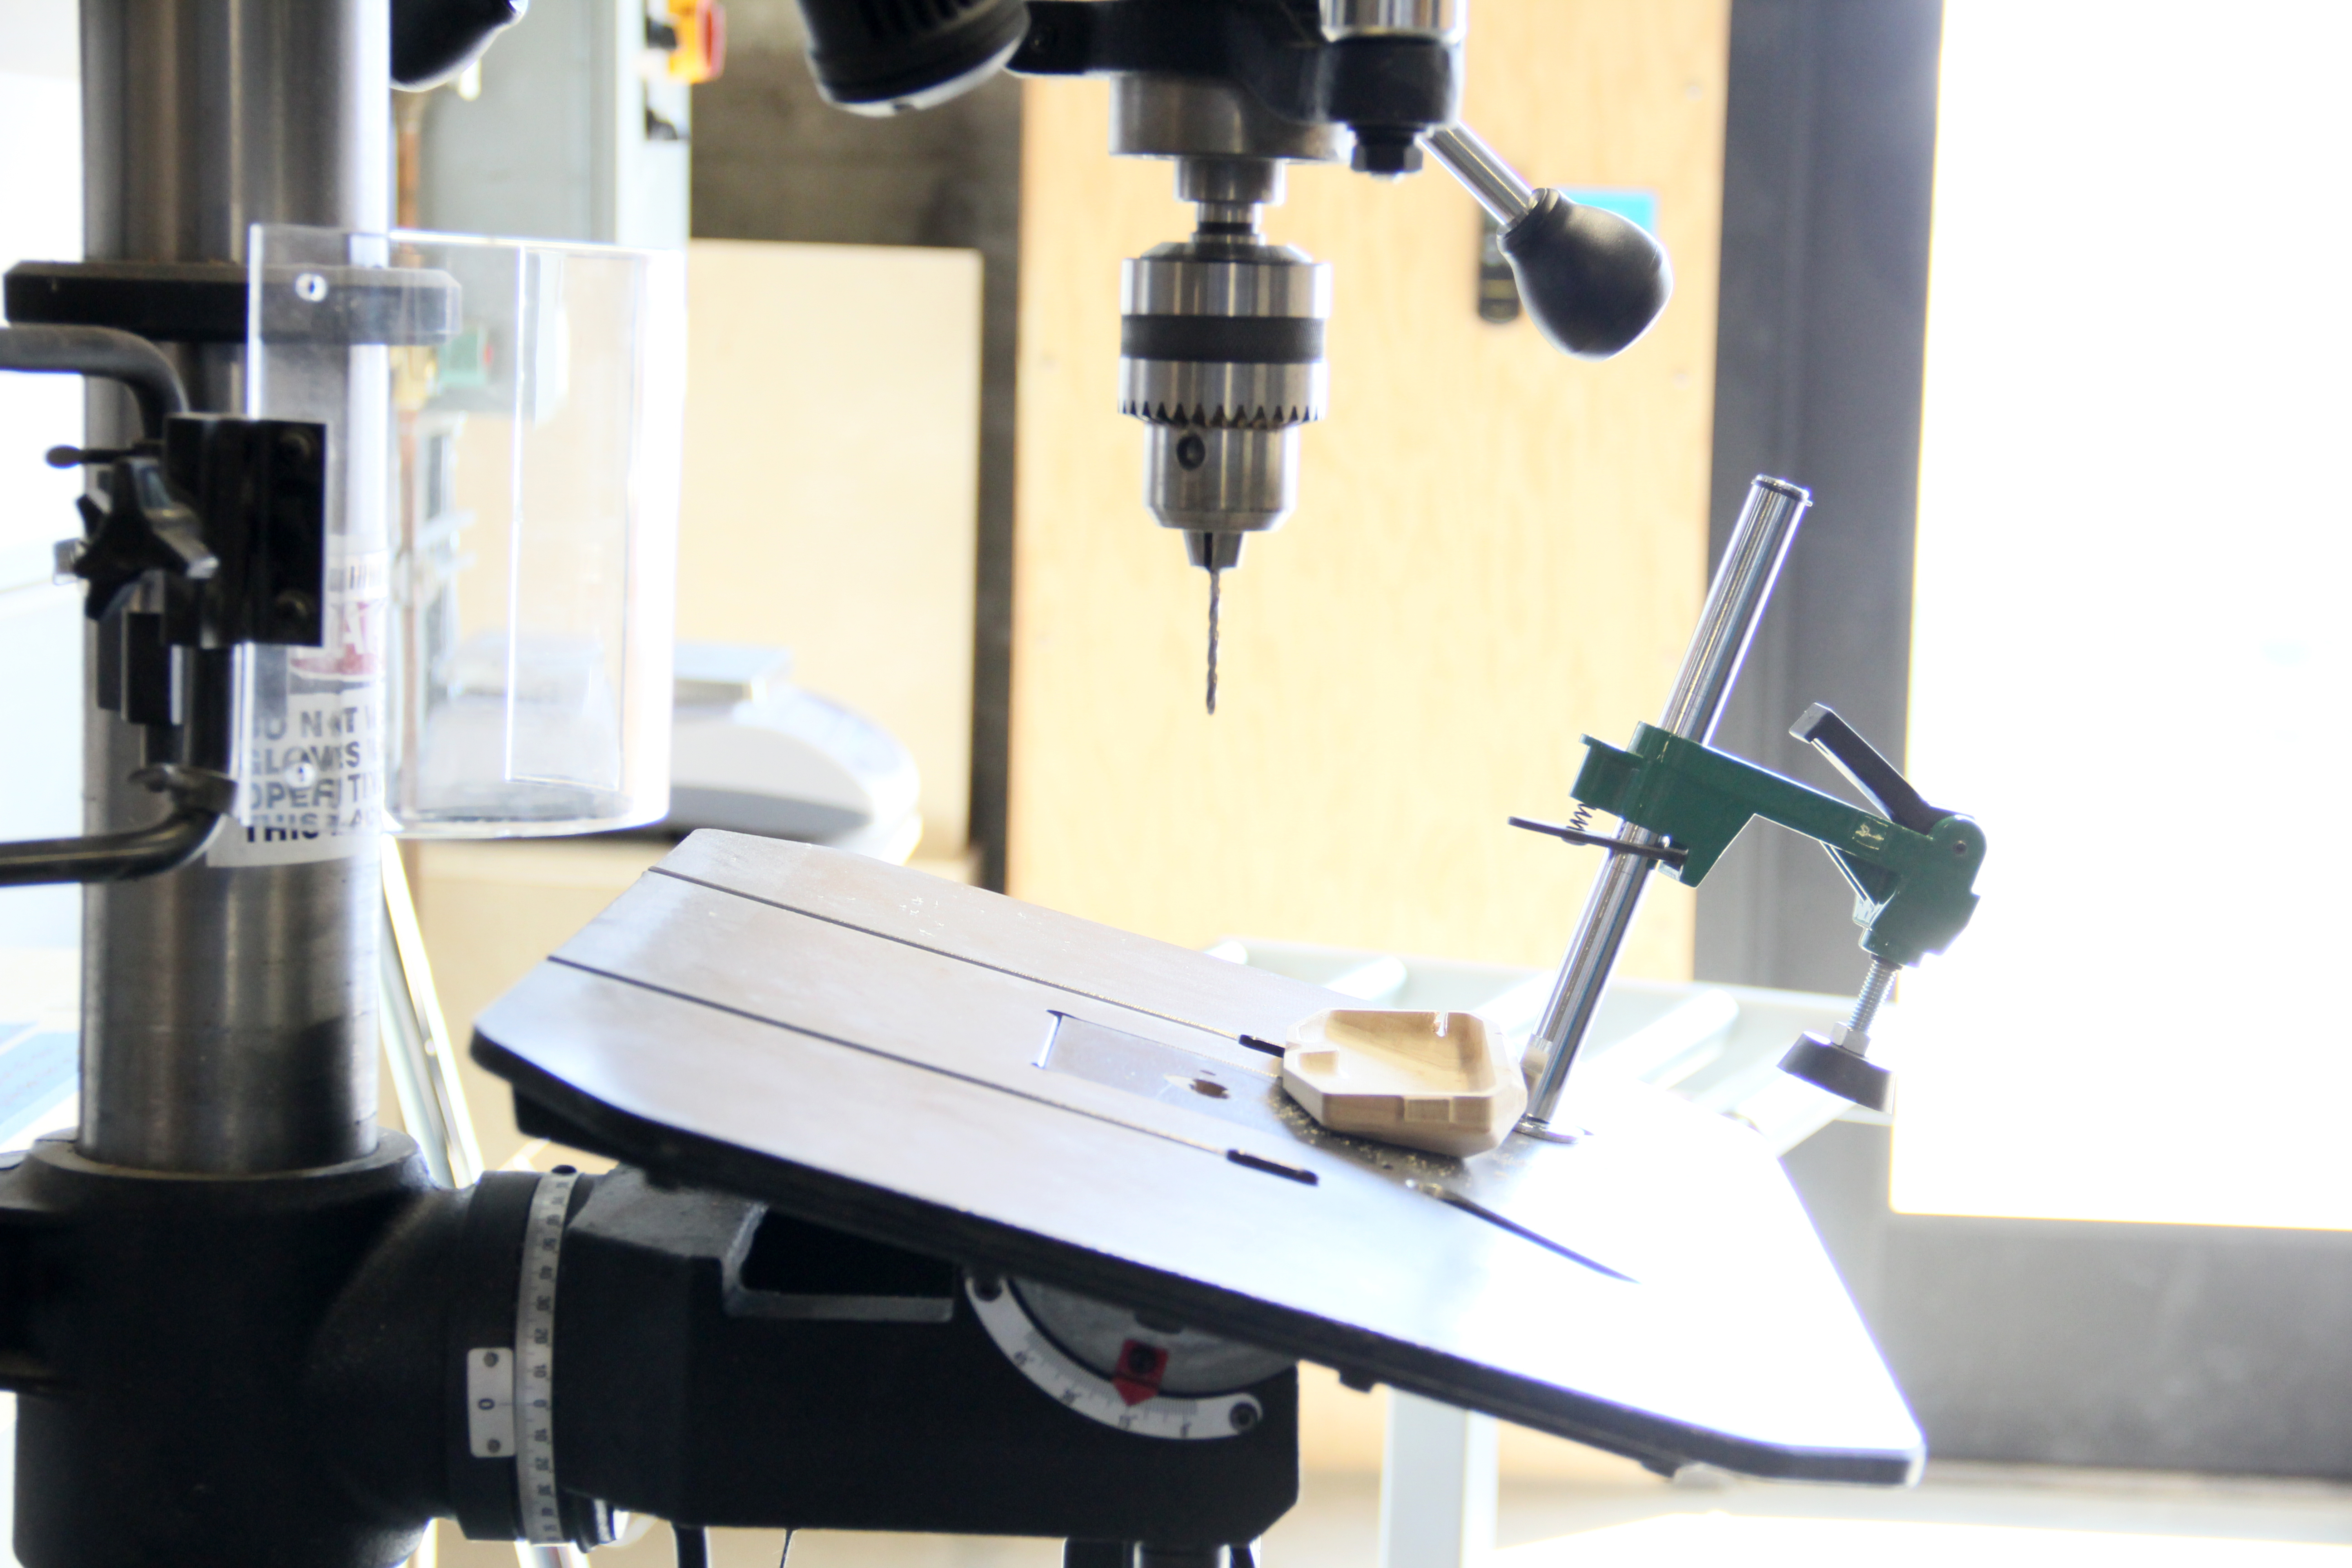
If you used a 1/4 inch Ball Nose for the finishing pass you still have to do some processing work. 1/4 inch = 6.35 mm and the hinges are 5 mm in diameter so the hole for the hinges was not done completely. We can see that the shopbot made only a small tiny 5 mm ball. We will use that hole to align and drill a hole 5 mm in diameter and 7.5 mm deep.
You can see that this is done easily before cutting the tabs from the stock material. If you skip this test you will need to incline the bed of the drill press to make the hole align for the top part (as in 2nd photo).
You aso need to drill a 3 mm diameter hole on both the top and bottom piece for the magnets. Make both holes with the drill press 1.5 mm deep.
Cutting Part With a Band Saw
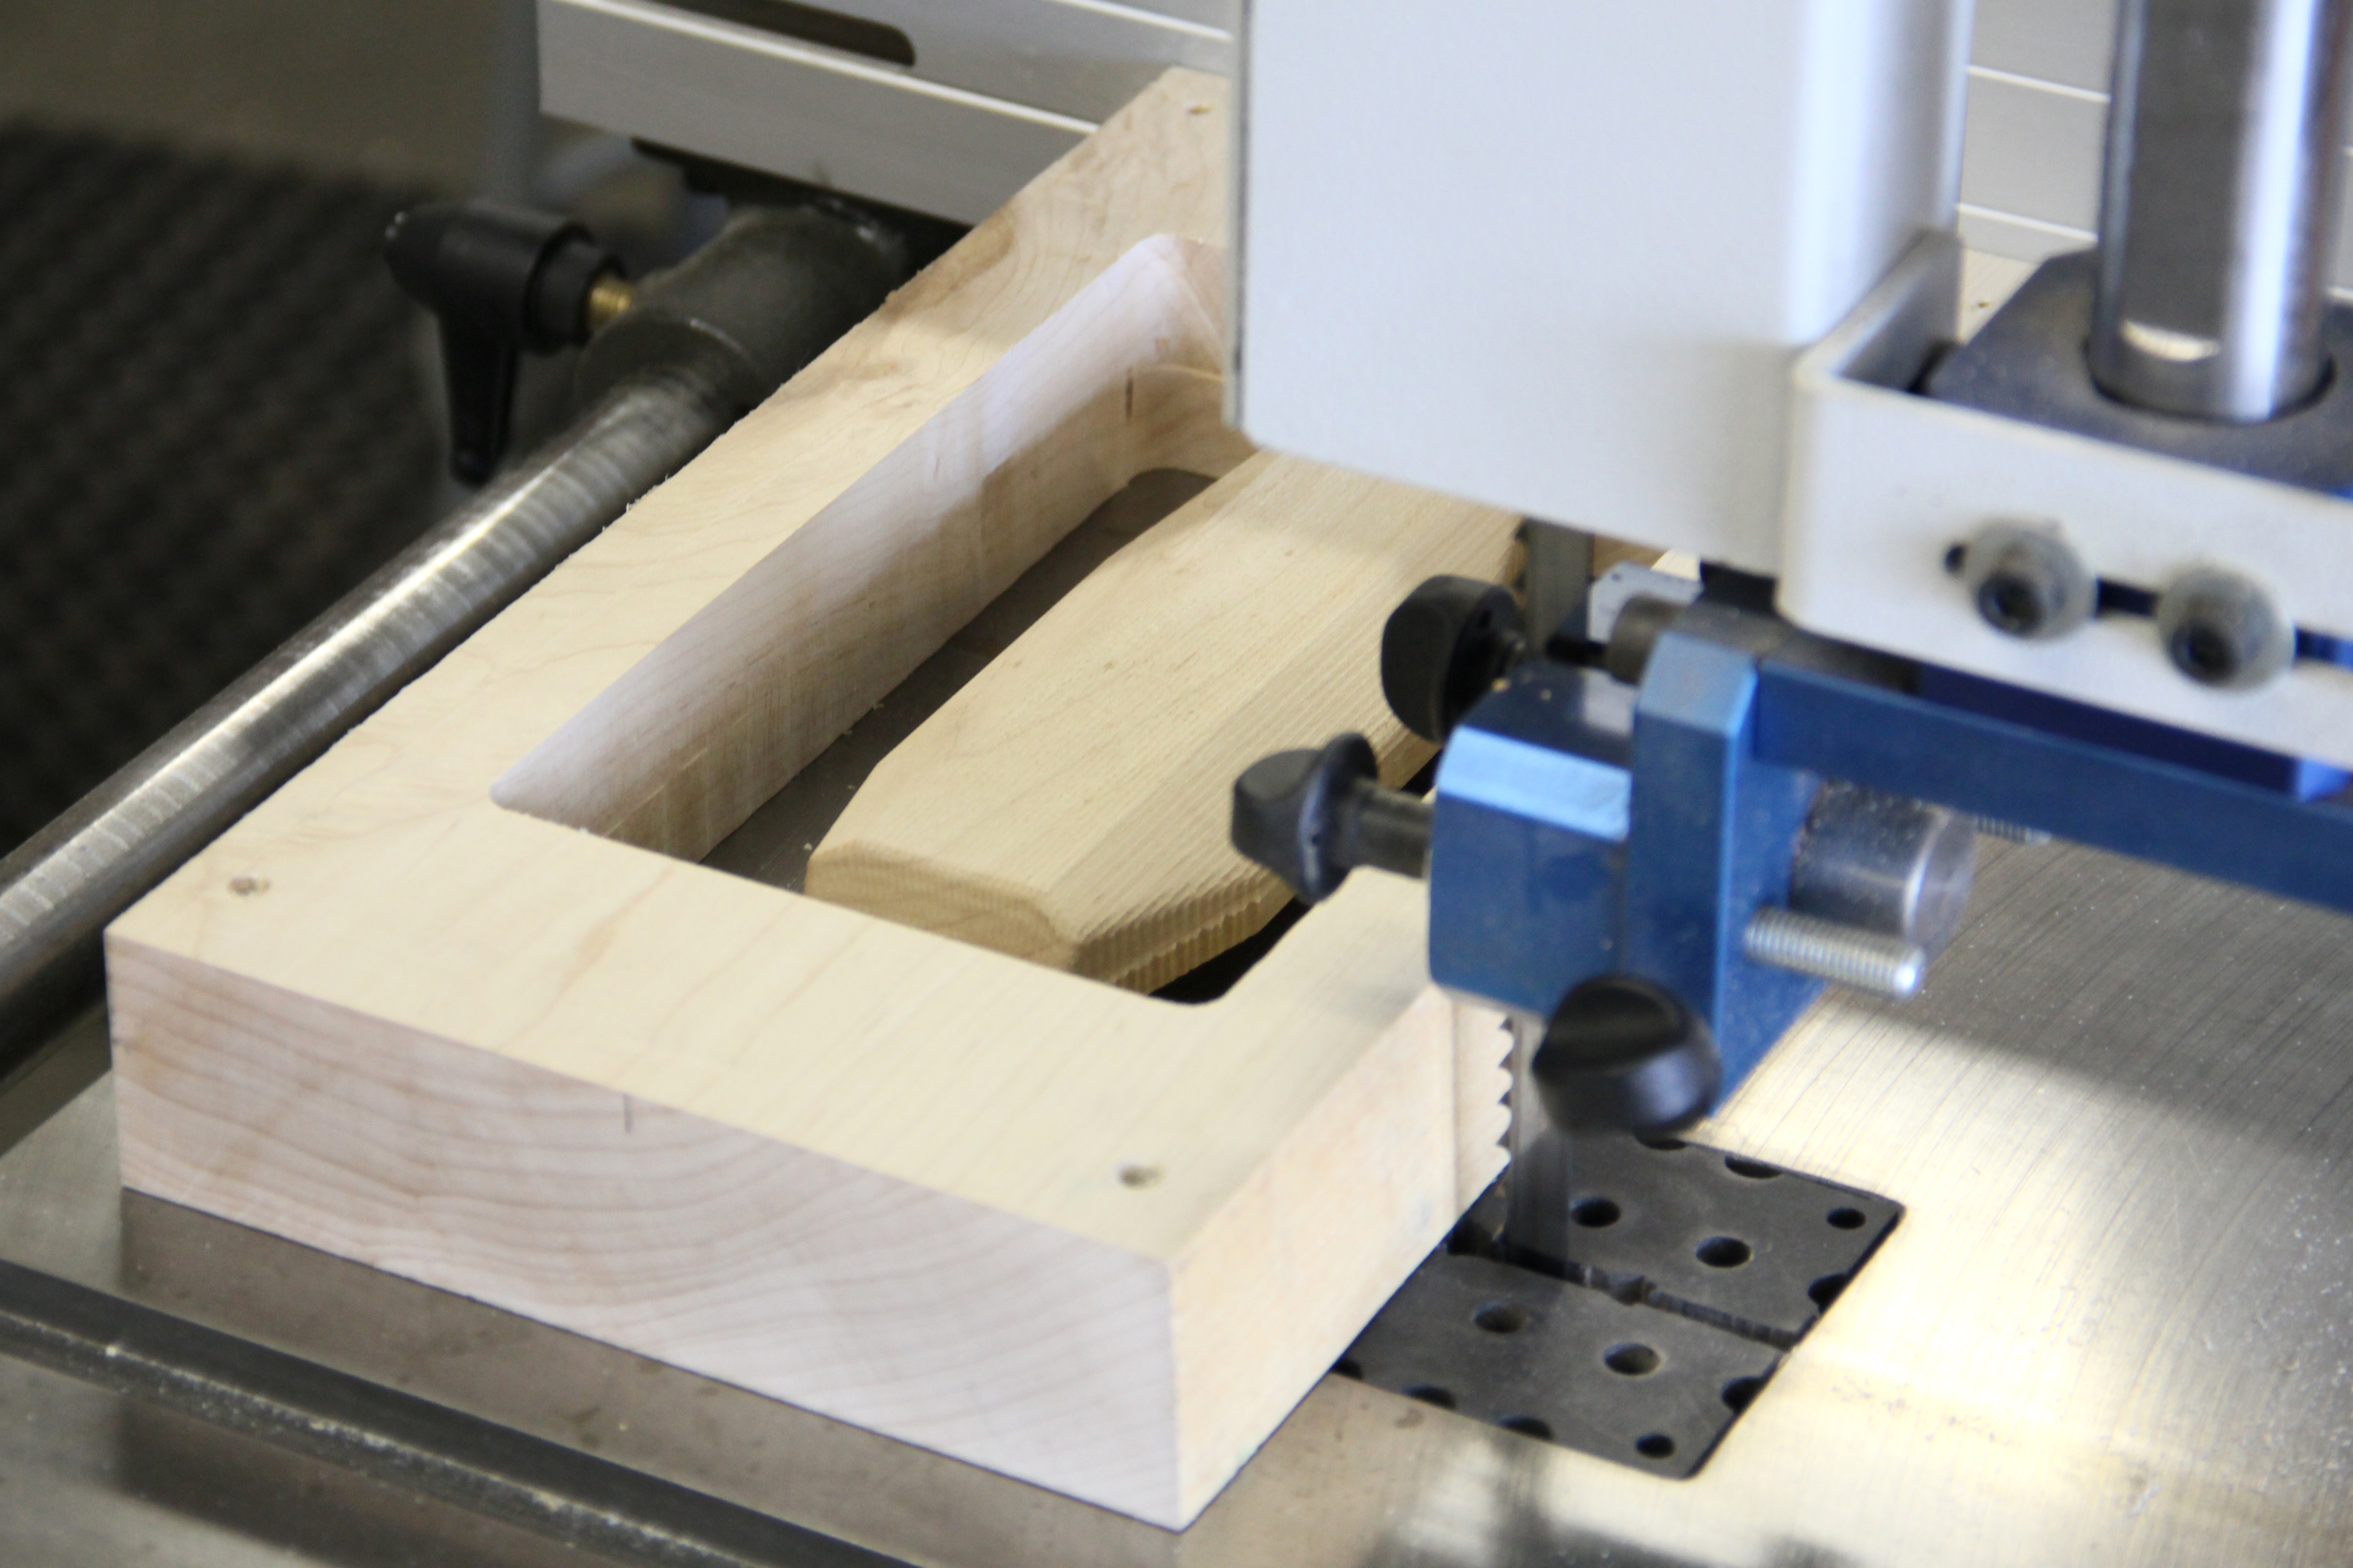
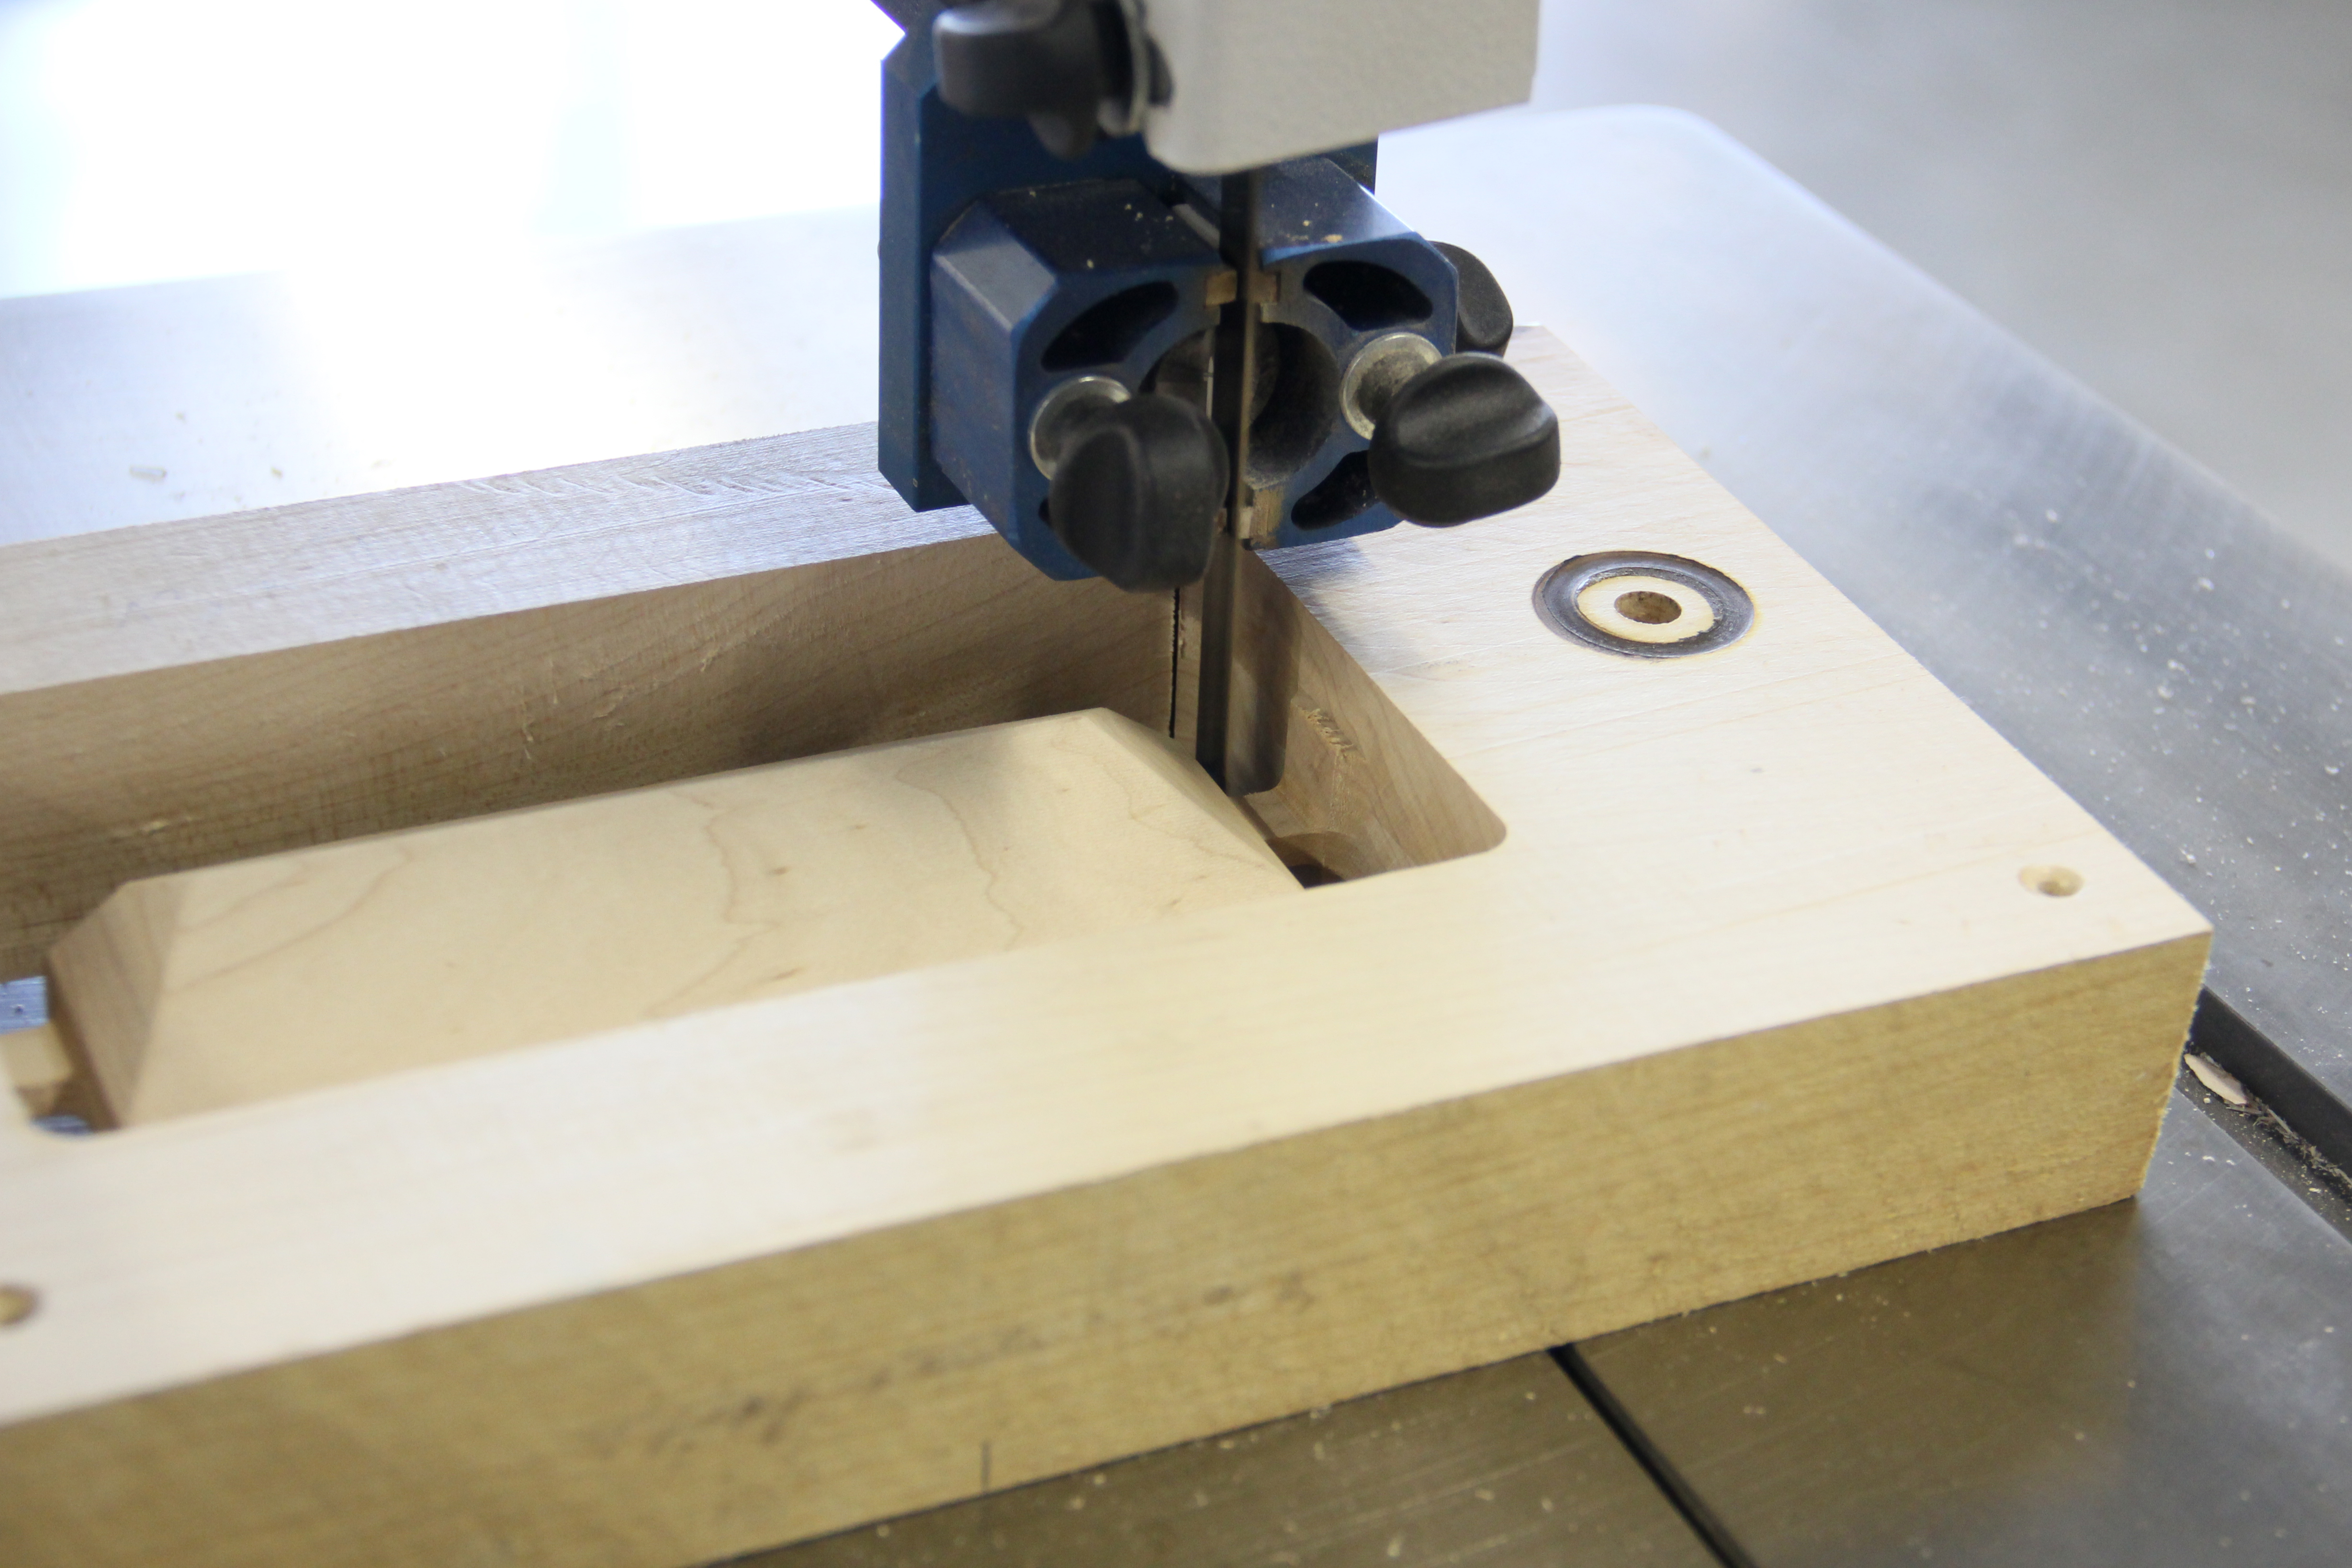
Once you have the two parts machined on the Shopbot you need to cut the tabs that are holding together each part. This is pretty easy if you have a band saw. My biggest advice is be careful and don’t get the saw too close to your piece because you might cut it and need to start over with the Shopbot. Align the material to the saw and make a straight cut. Repeat this step with the other tab. Next step will be sanding the tap out so don't be too aggressive on the cut.
Sanding Details
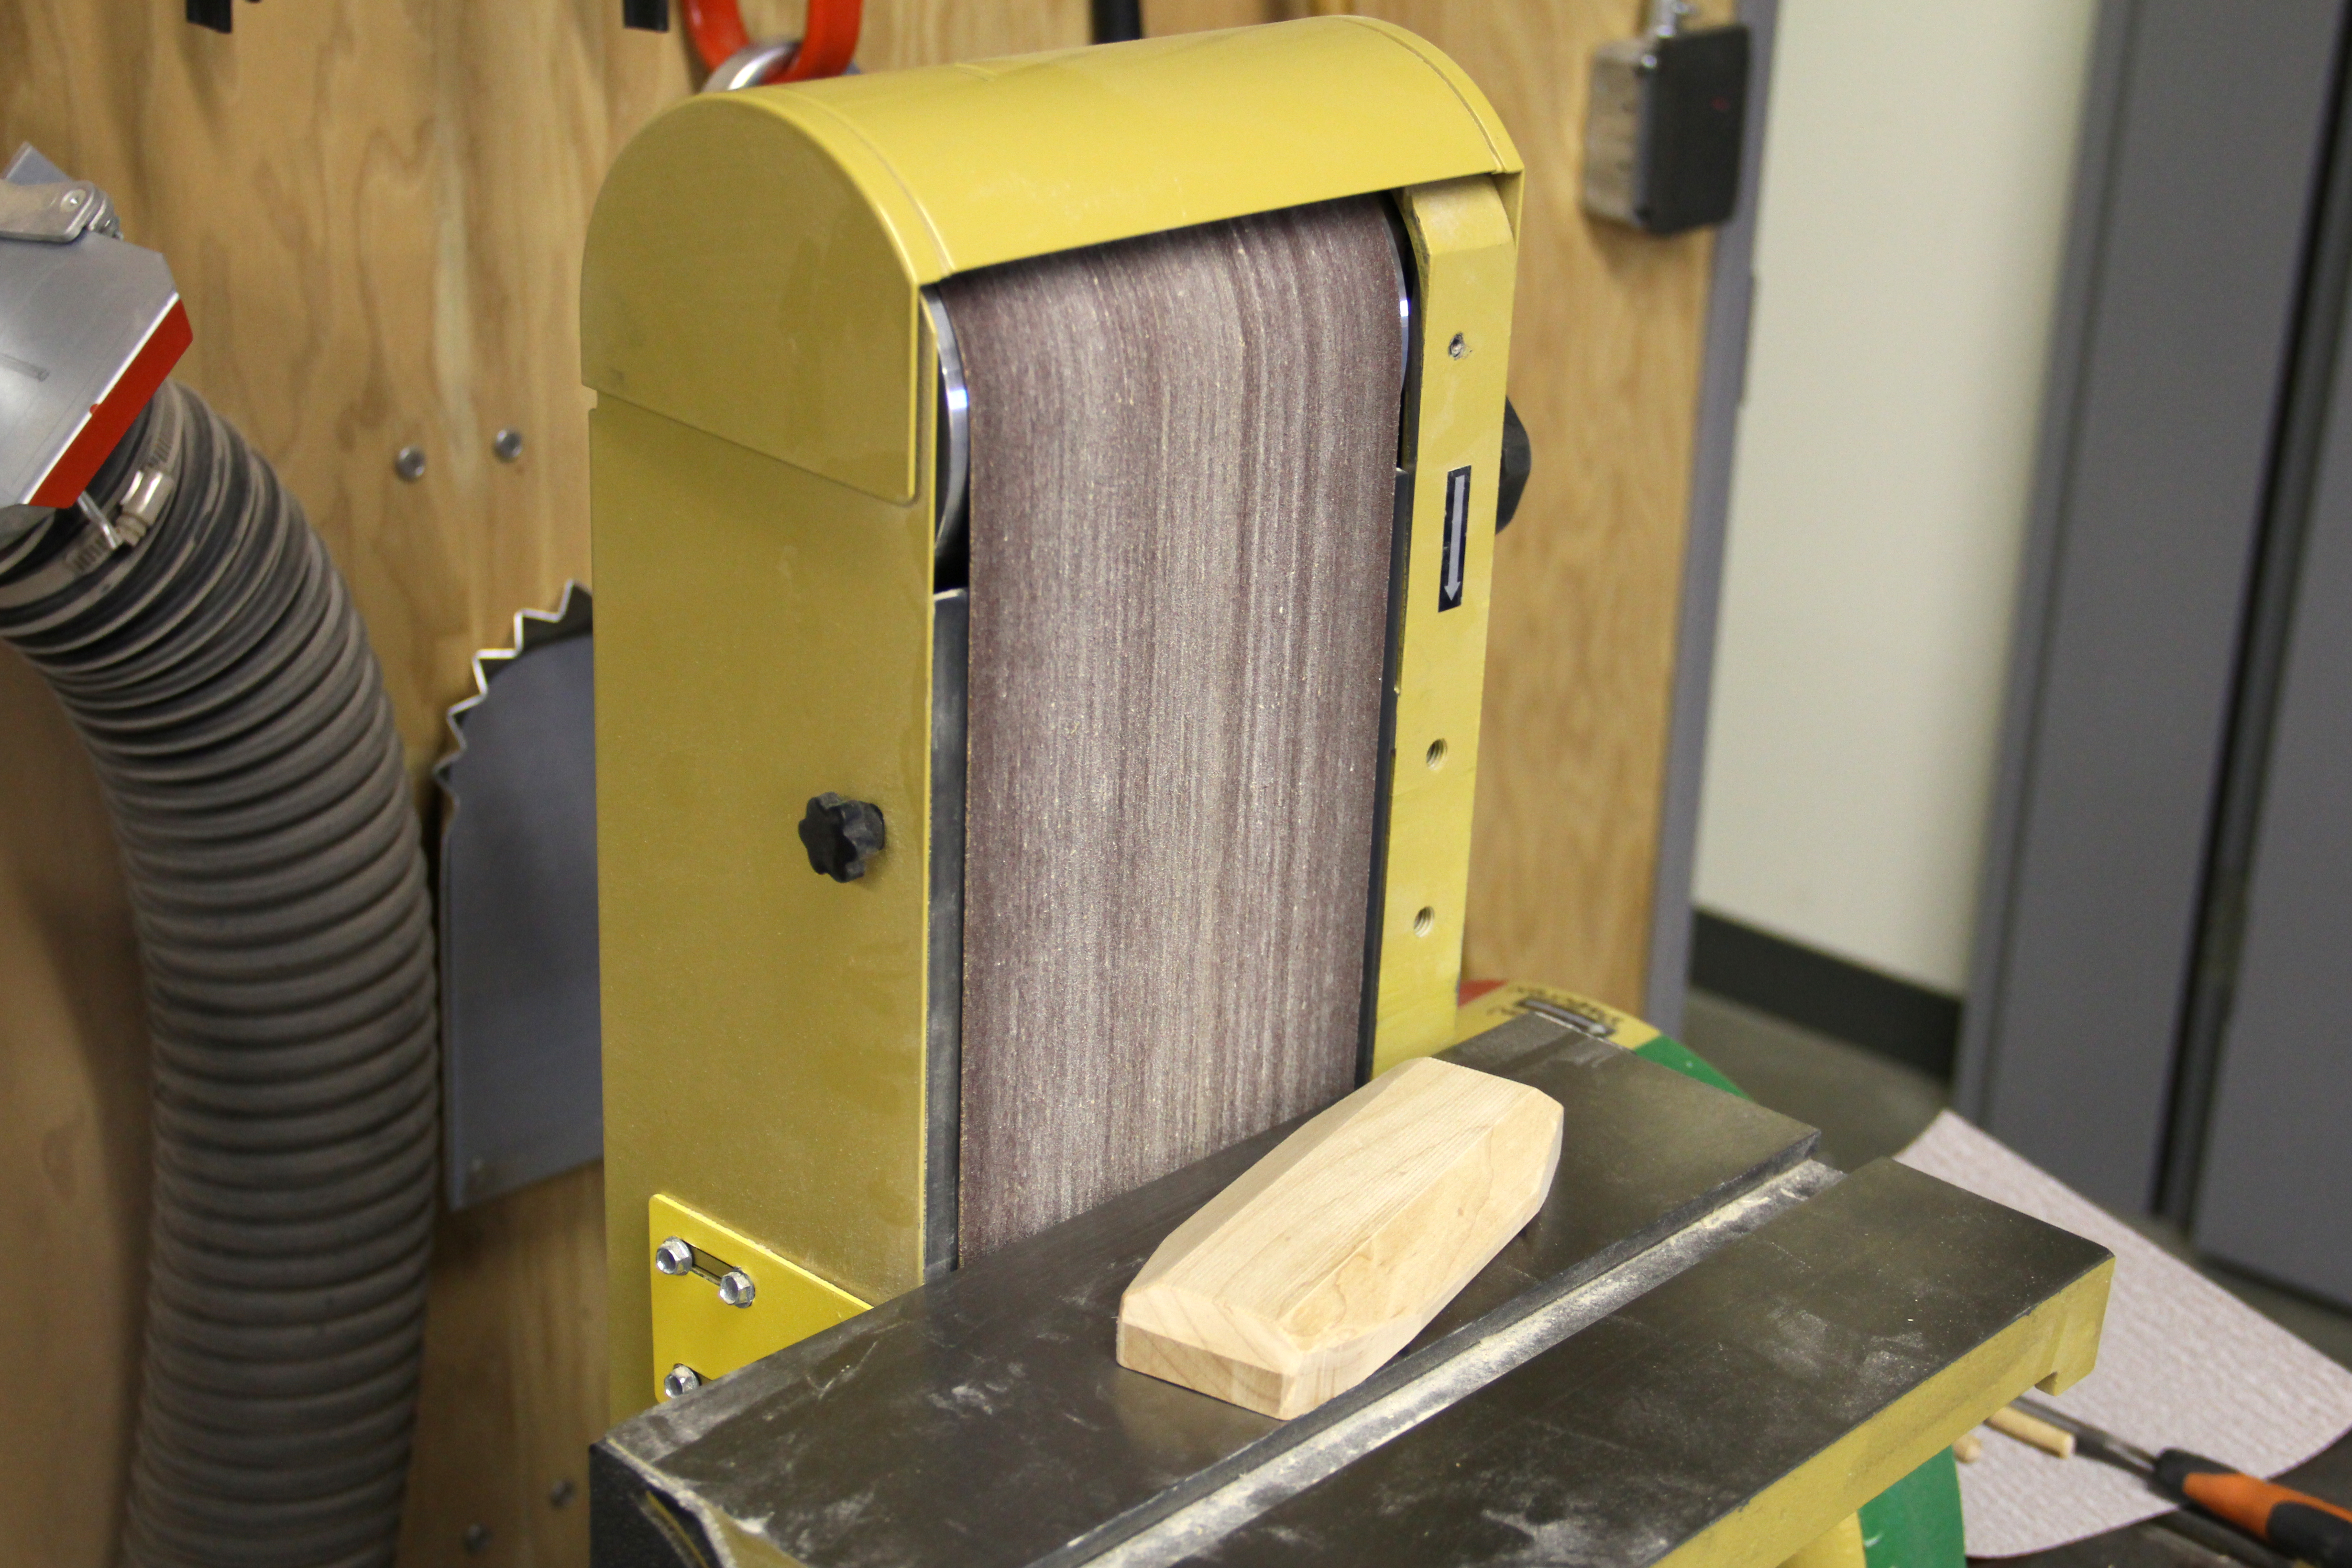
We should have a pretty nice finish on the two parts of the case but with a little more sanding we can take it to a next level. First we will start by sanding down the 2 tabs. Since the tabs we created on flat surfaces we will use the belt sander. Be careful and don’t but too much pressure with your hand because you might get the maple wood burned.
As we used a ¼ inch Ball Nose some of the surface finish is not as I would have desired. I can see some minor steps made by the ball nose that I would like to flatten out. To sand this off I used sand paper. Don't sand to much because we will make minor adjustments later on.
Placing Barrell Hinges and Magnets
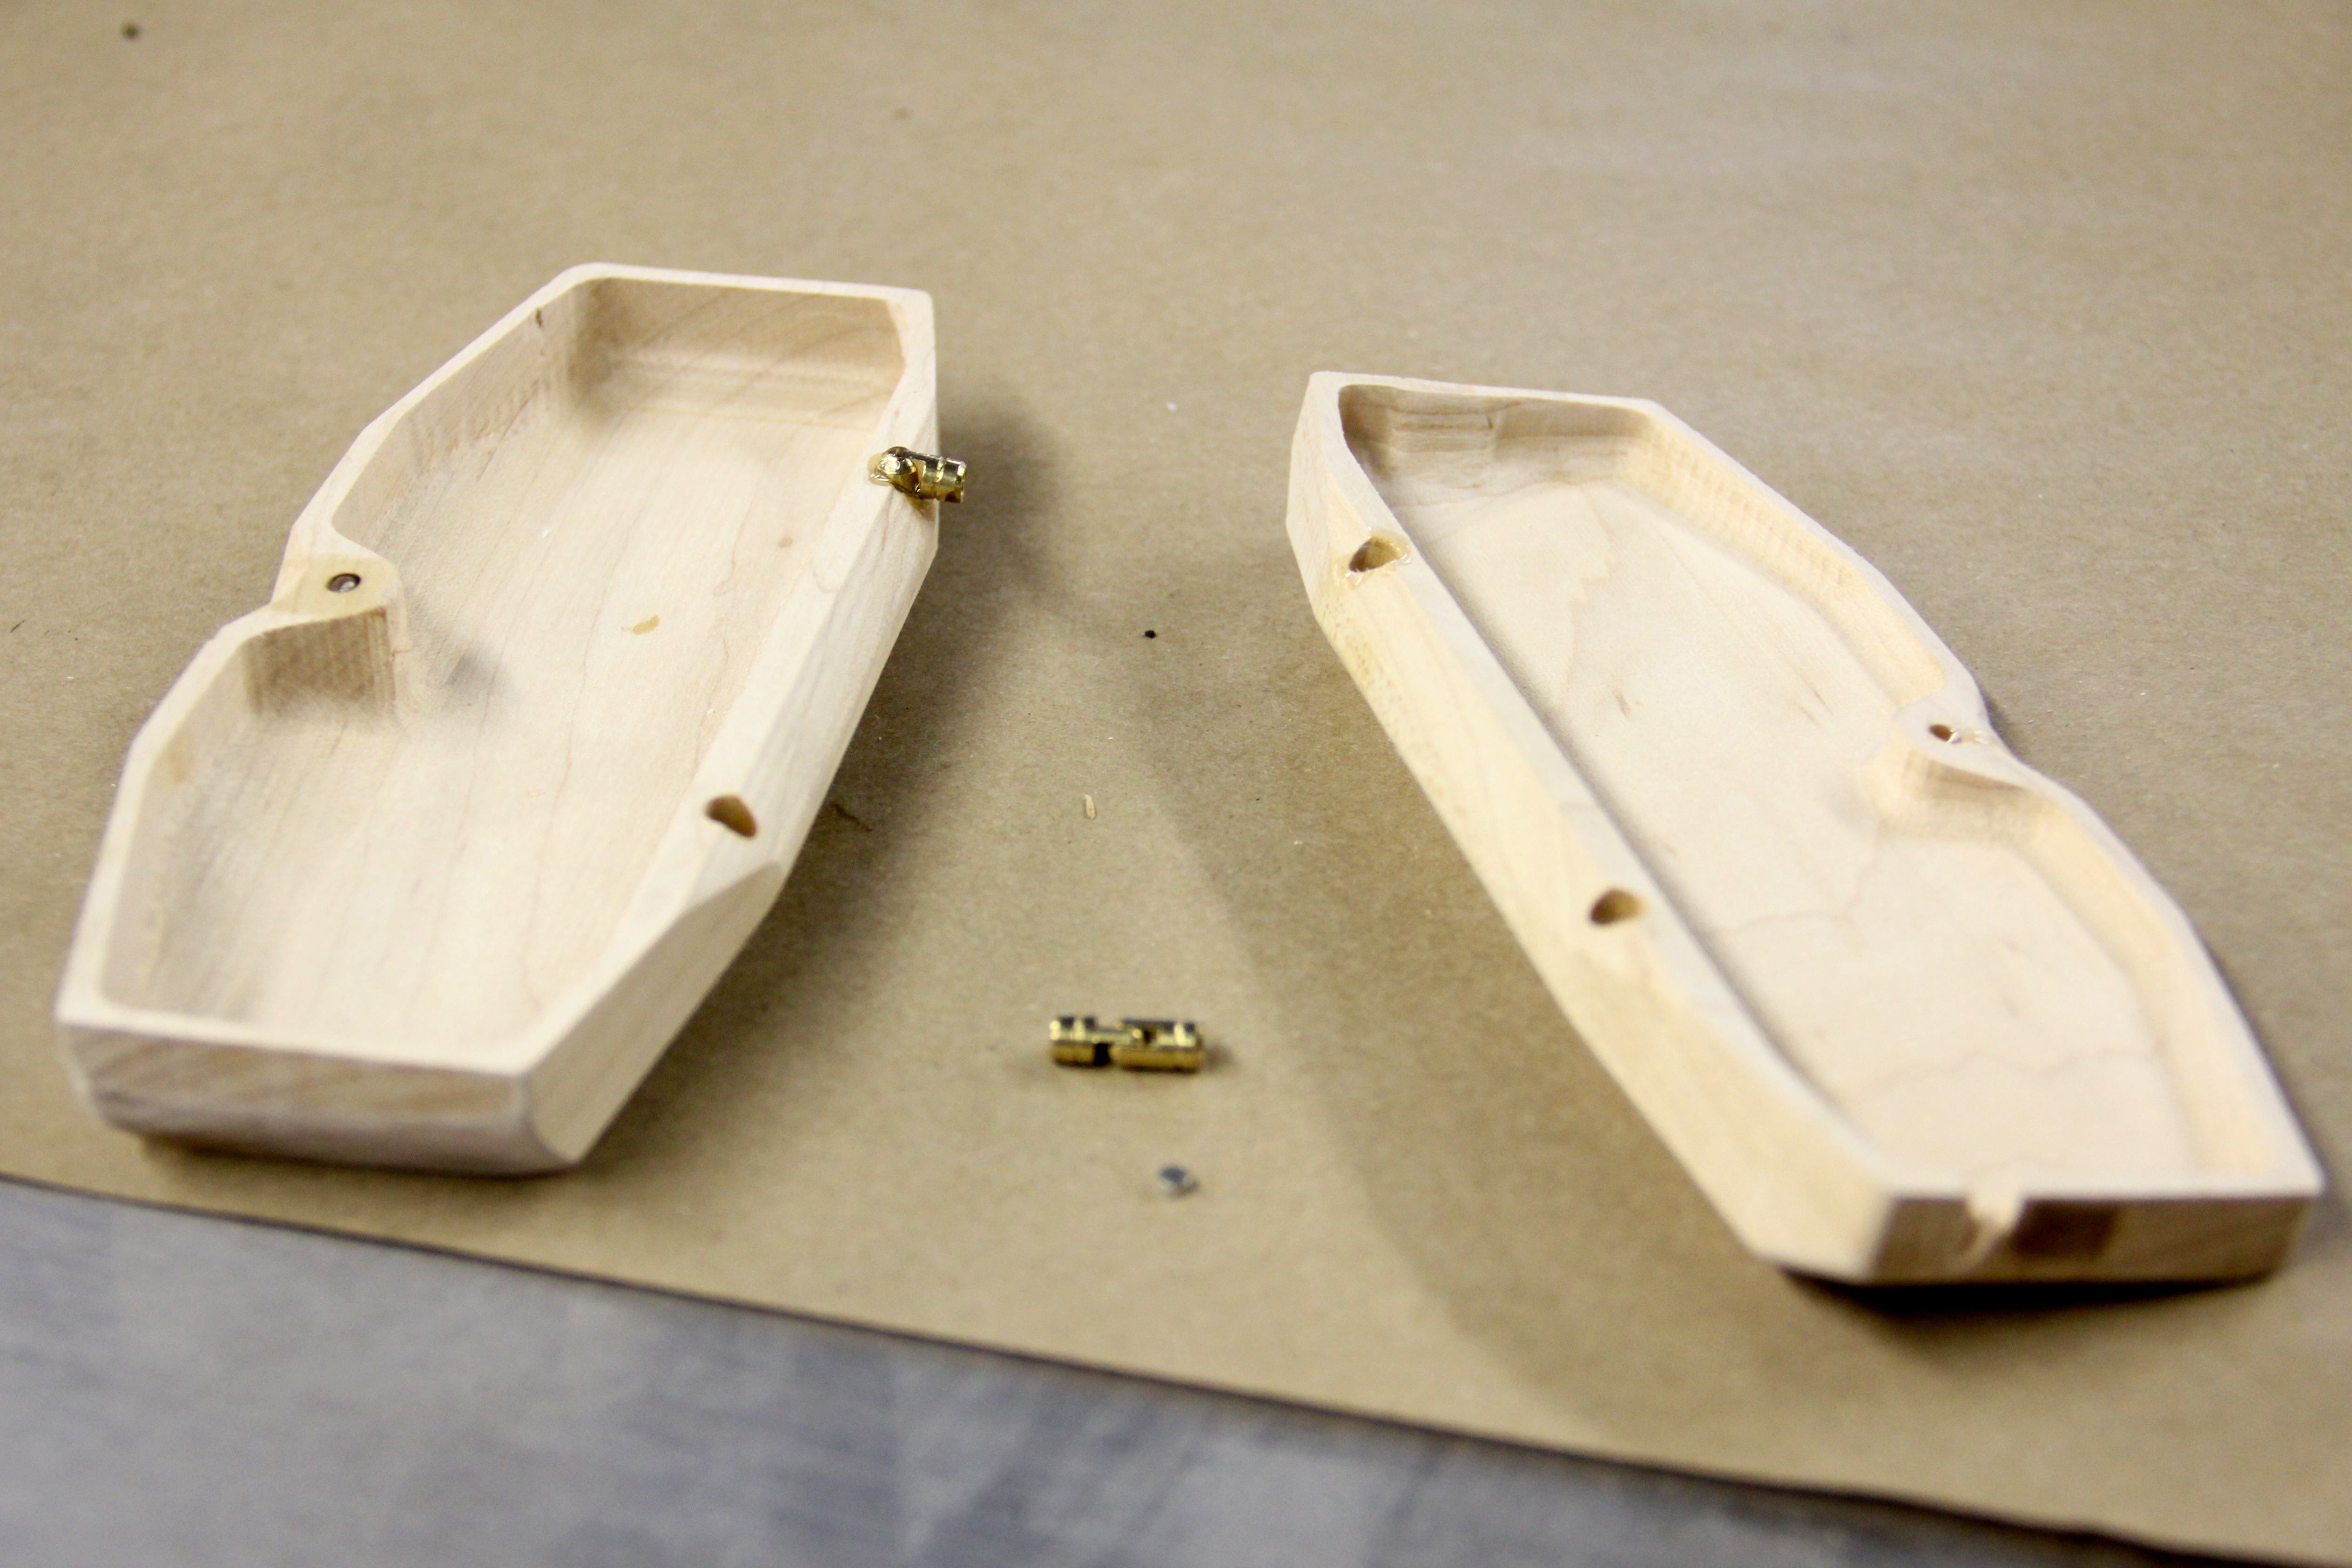
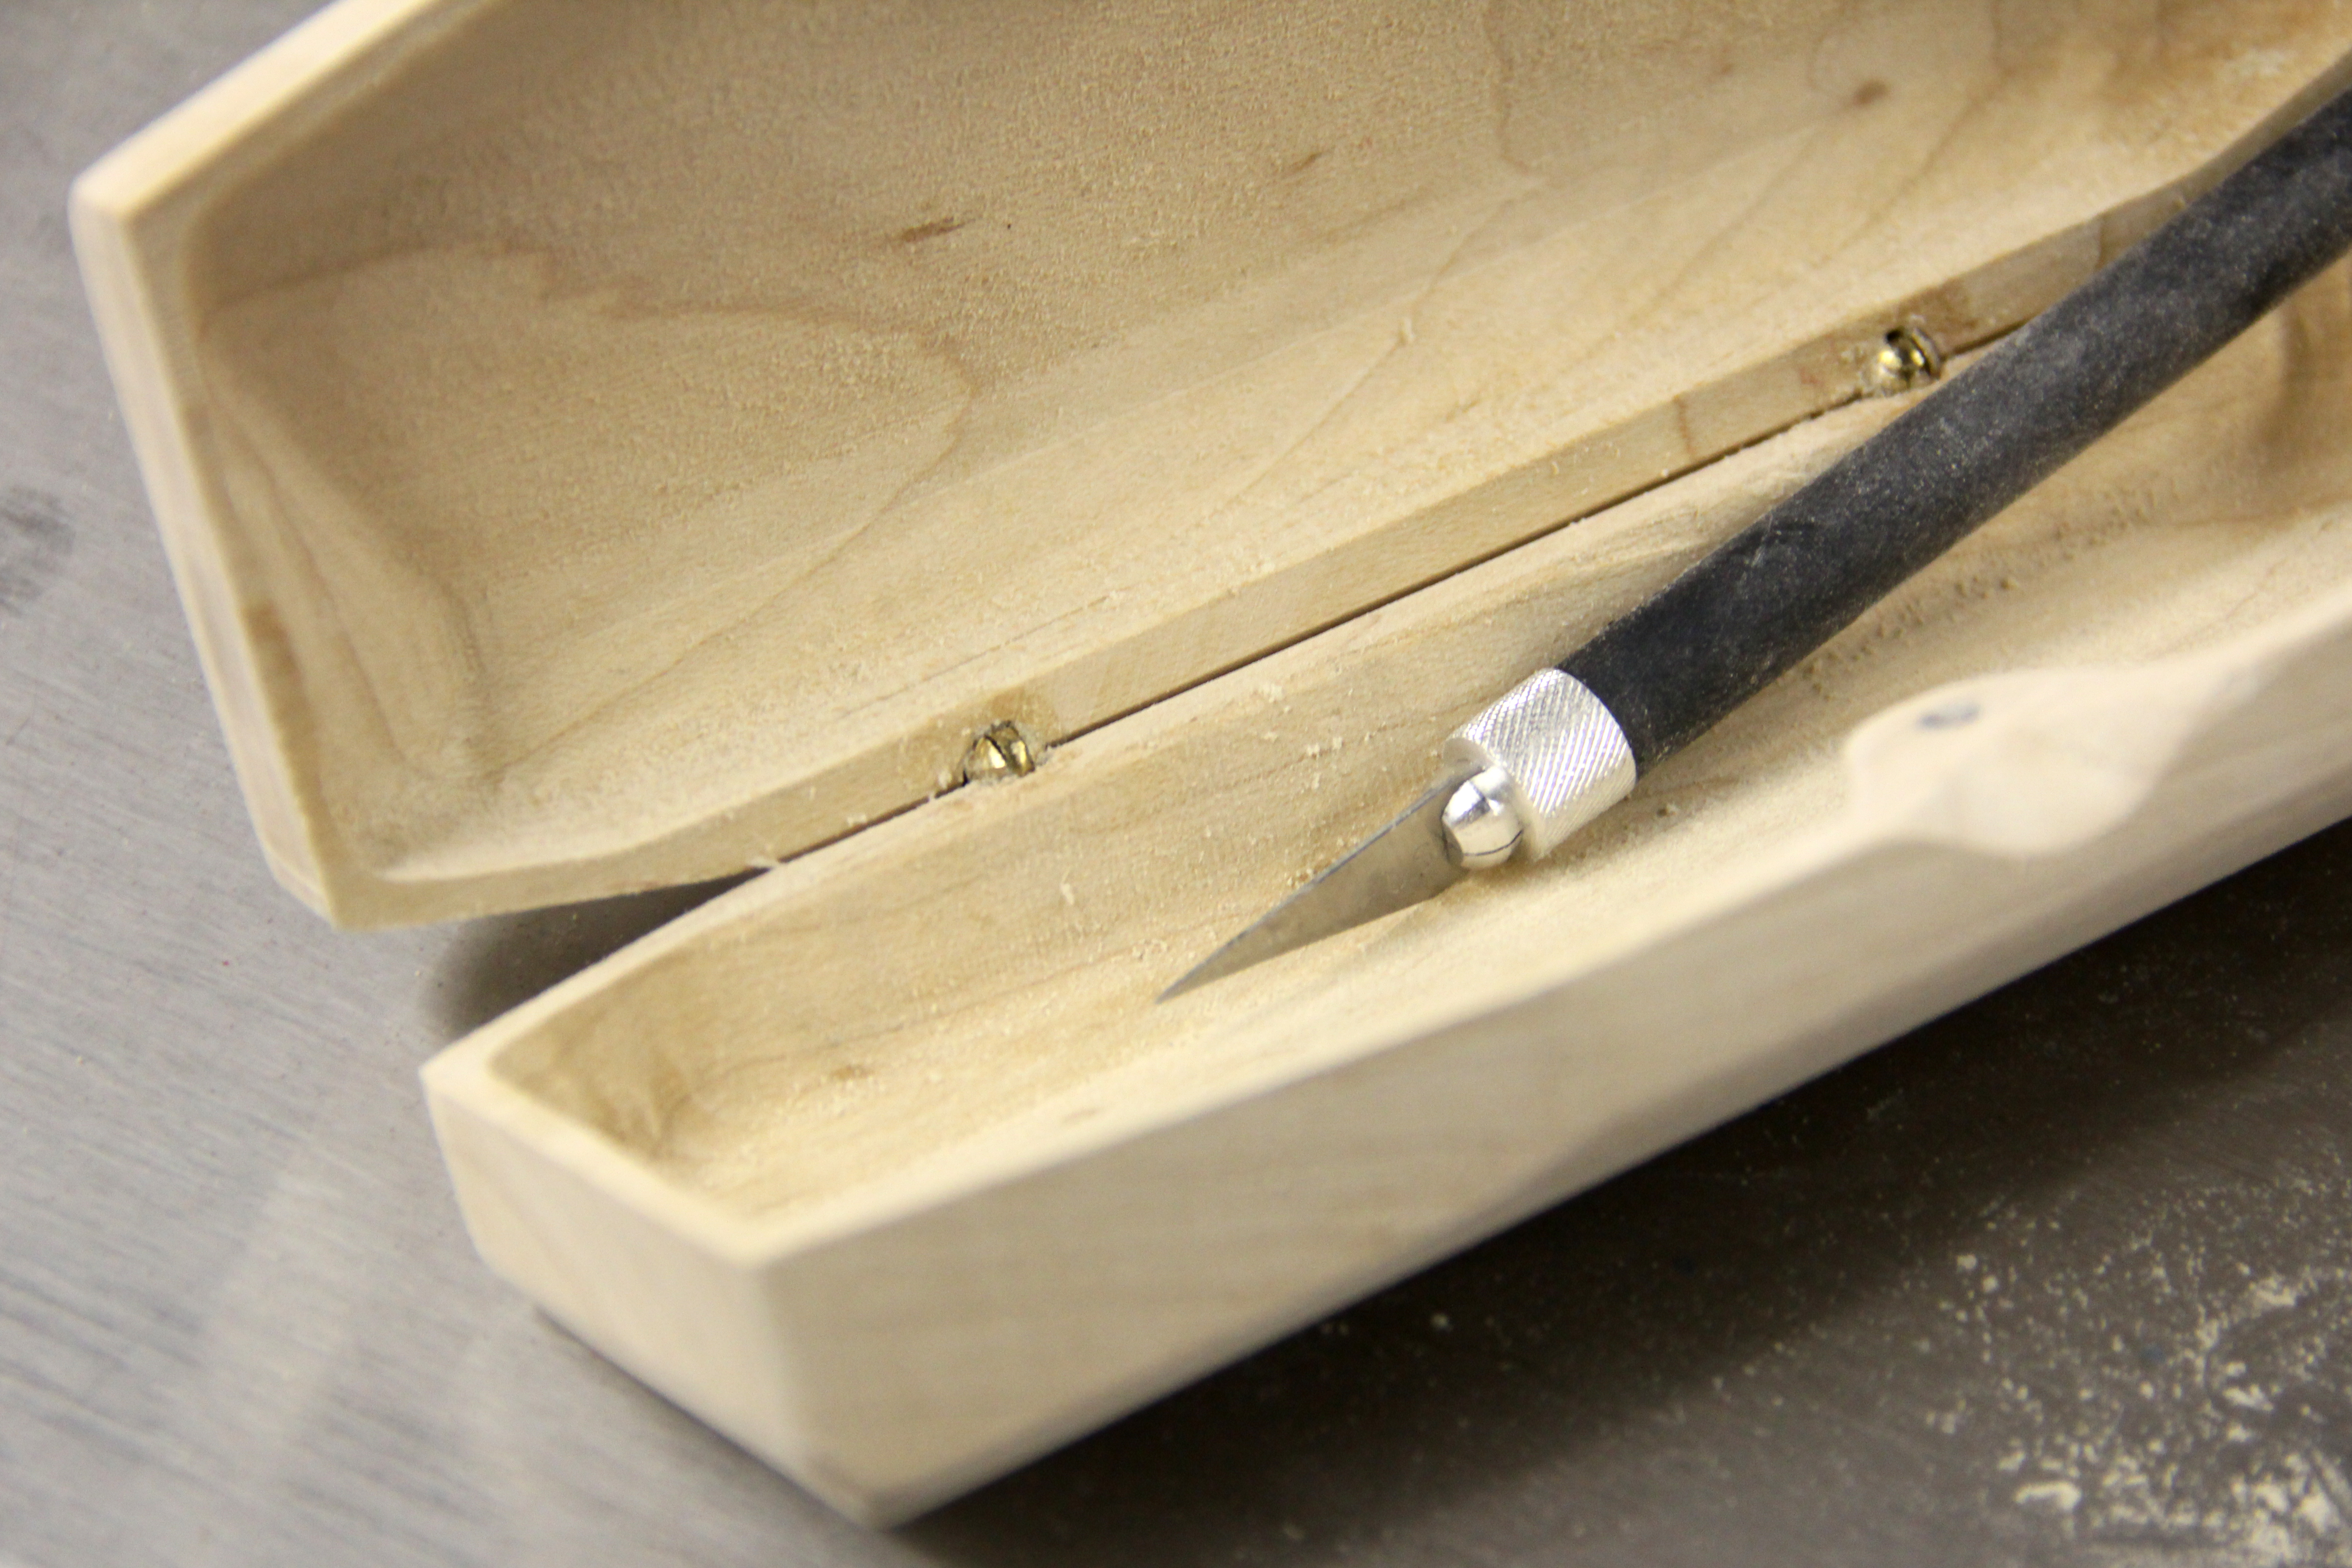
Now it's time to join the Top and Bottom parts of your case. We will be using the Miniature Barrel Hinges, Epoxy glue, Tiny Craft Hobby Neodymium Rare Earth Super Magnets 1/8 x 1/16 in. (3x1.5mm) and a knife.
- Mix the epoxy and insert a litle on each of the 4 holes.
- Place the 2 hinges on on the bottom piece.
- Place the top piece over the 2 hinges
- Align the hinges so the case can open/close correctly
- Let it dry for 5-10 minutes
- In the meantime put in some of the Epoxy Glue into the two holes where the magnets go
- Place each magnet on each part making sure that the magnets will attract each other when closed.
- Remove the excess of glue with a knife
Downloads
Sanding Details As a Unit Piece
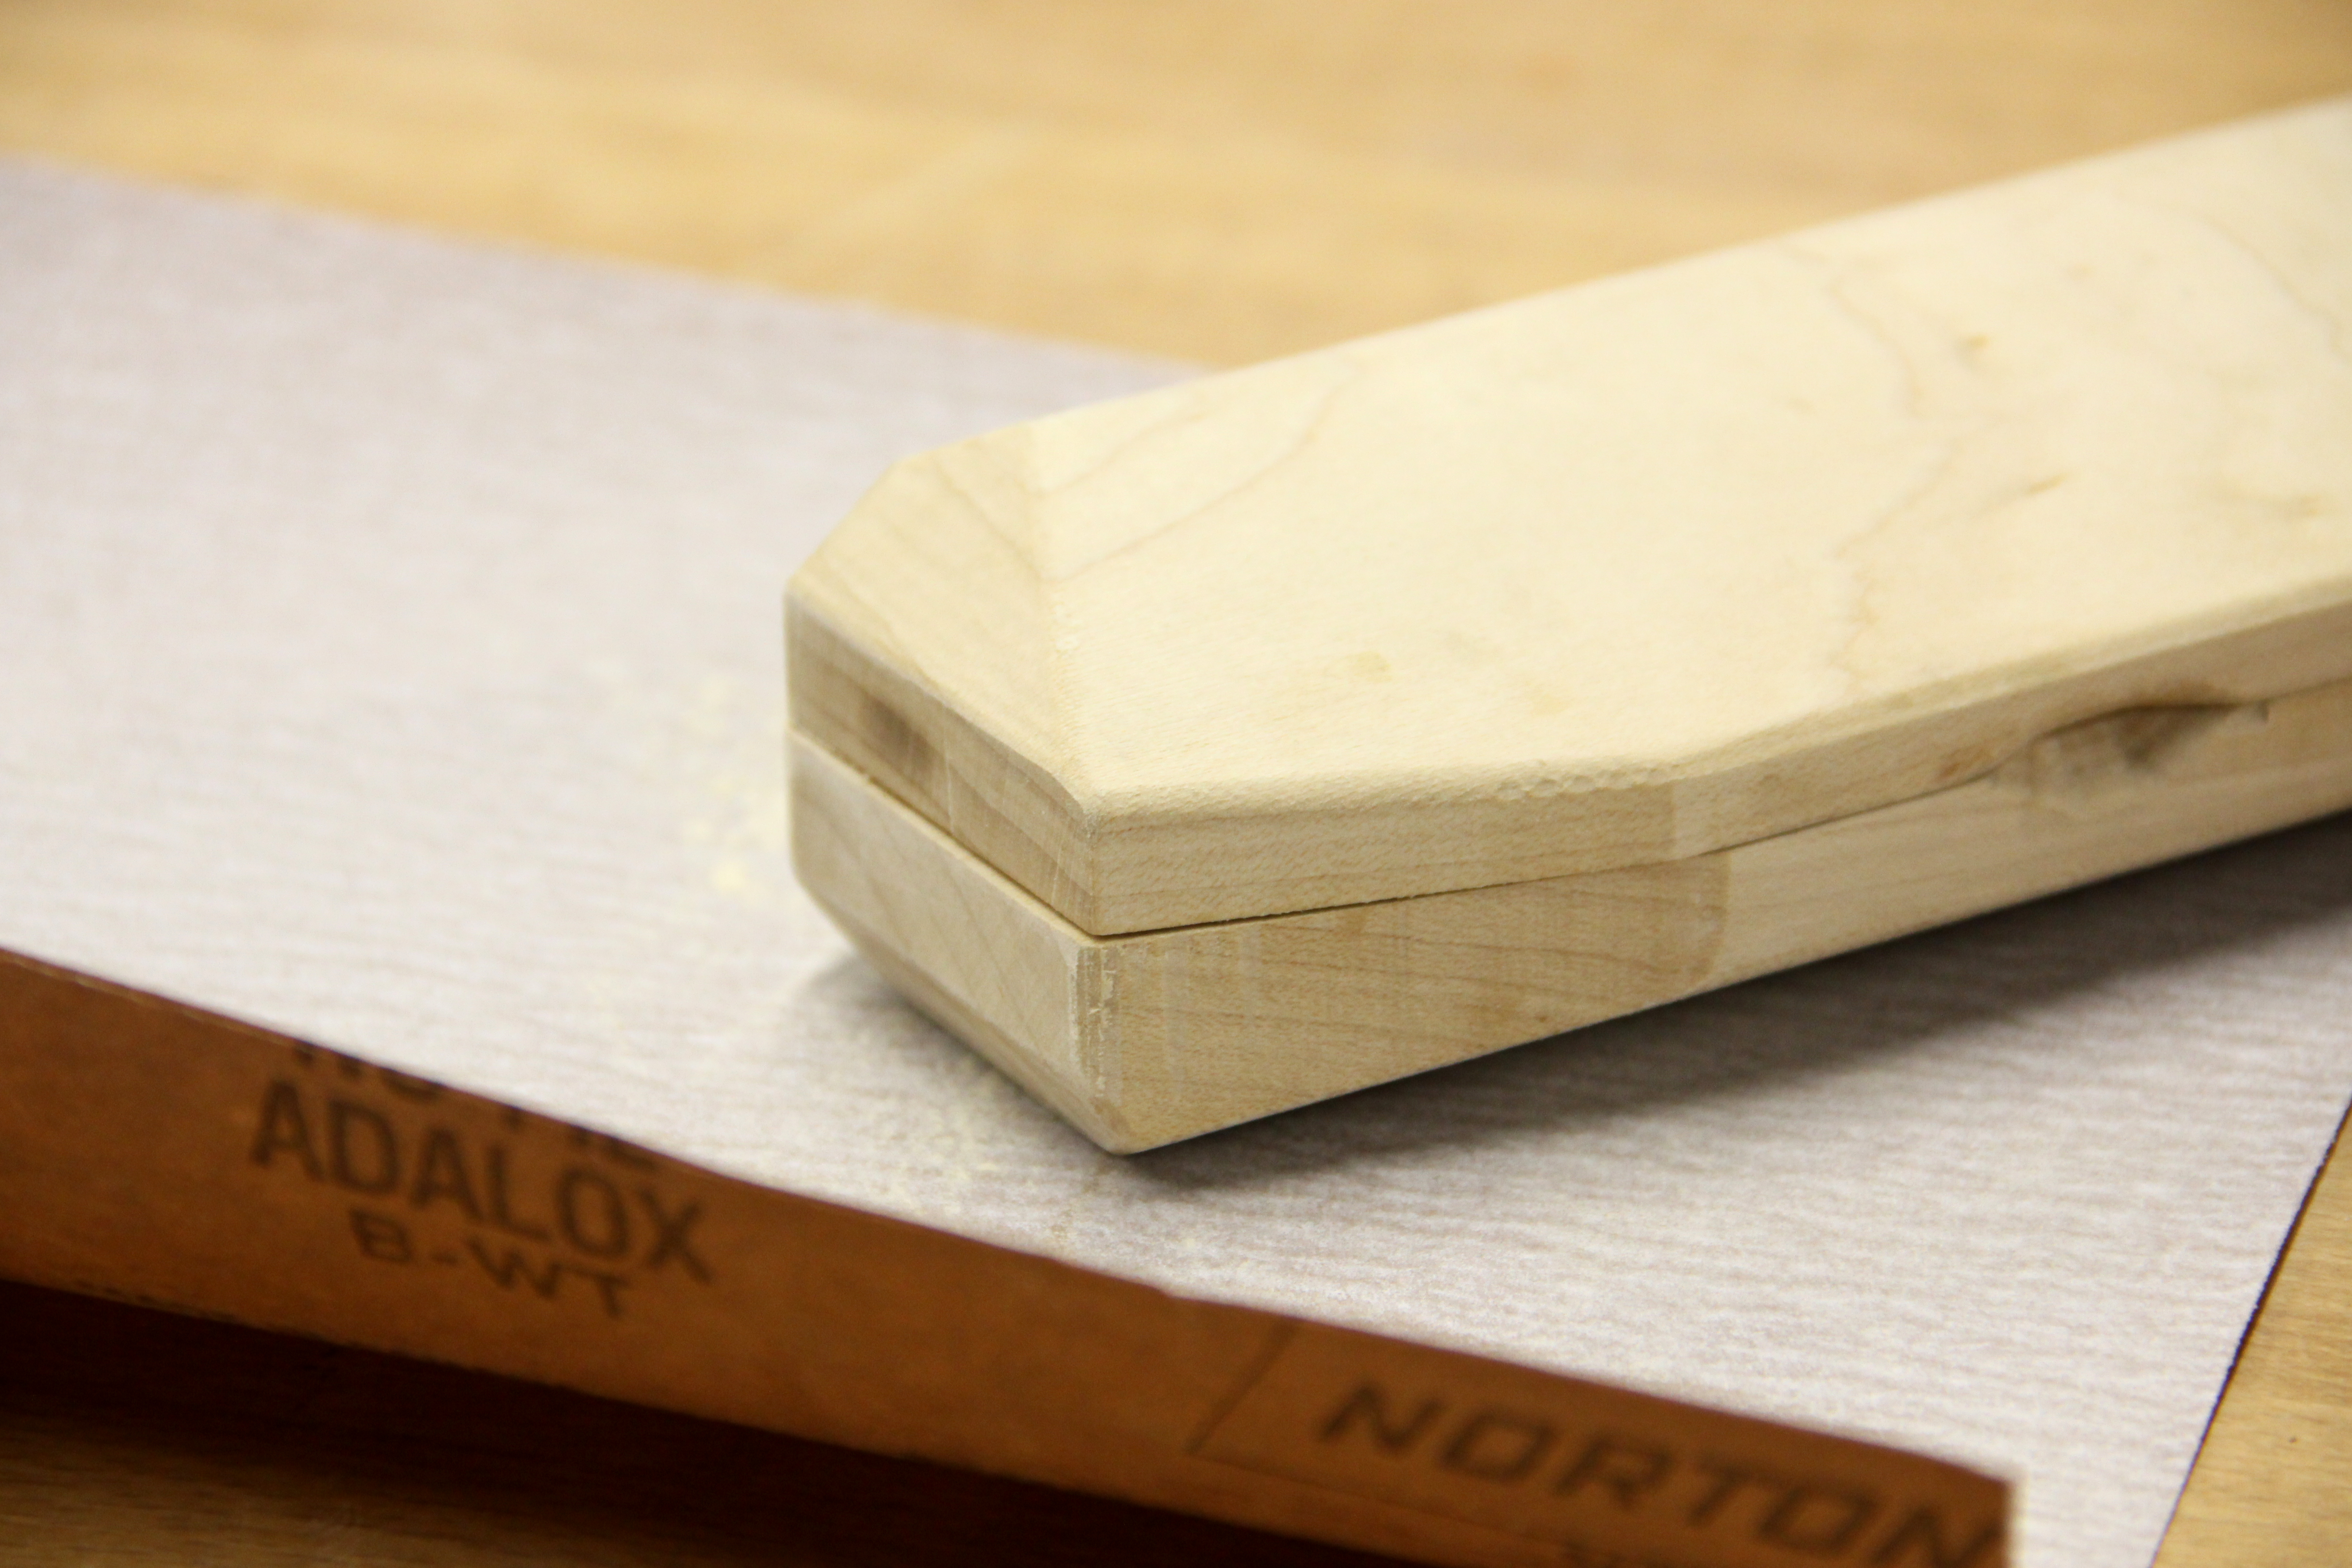
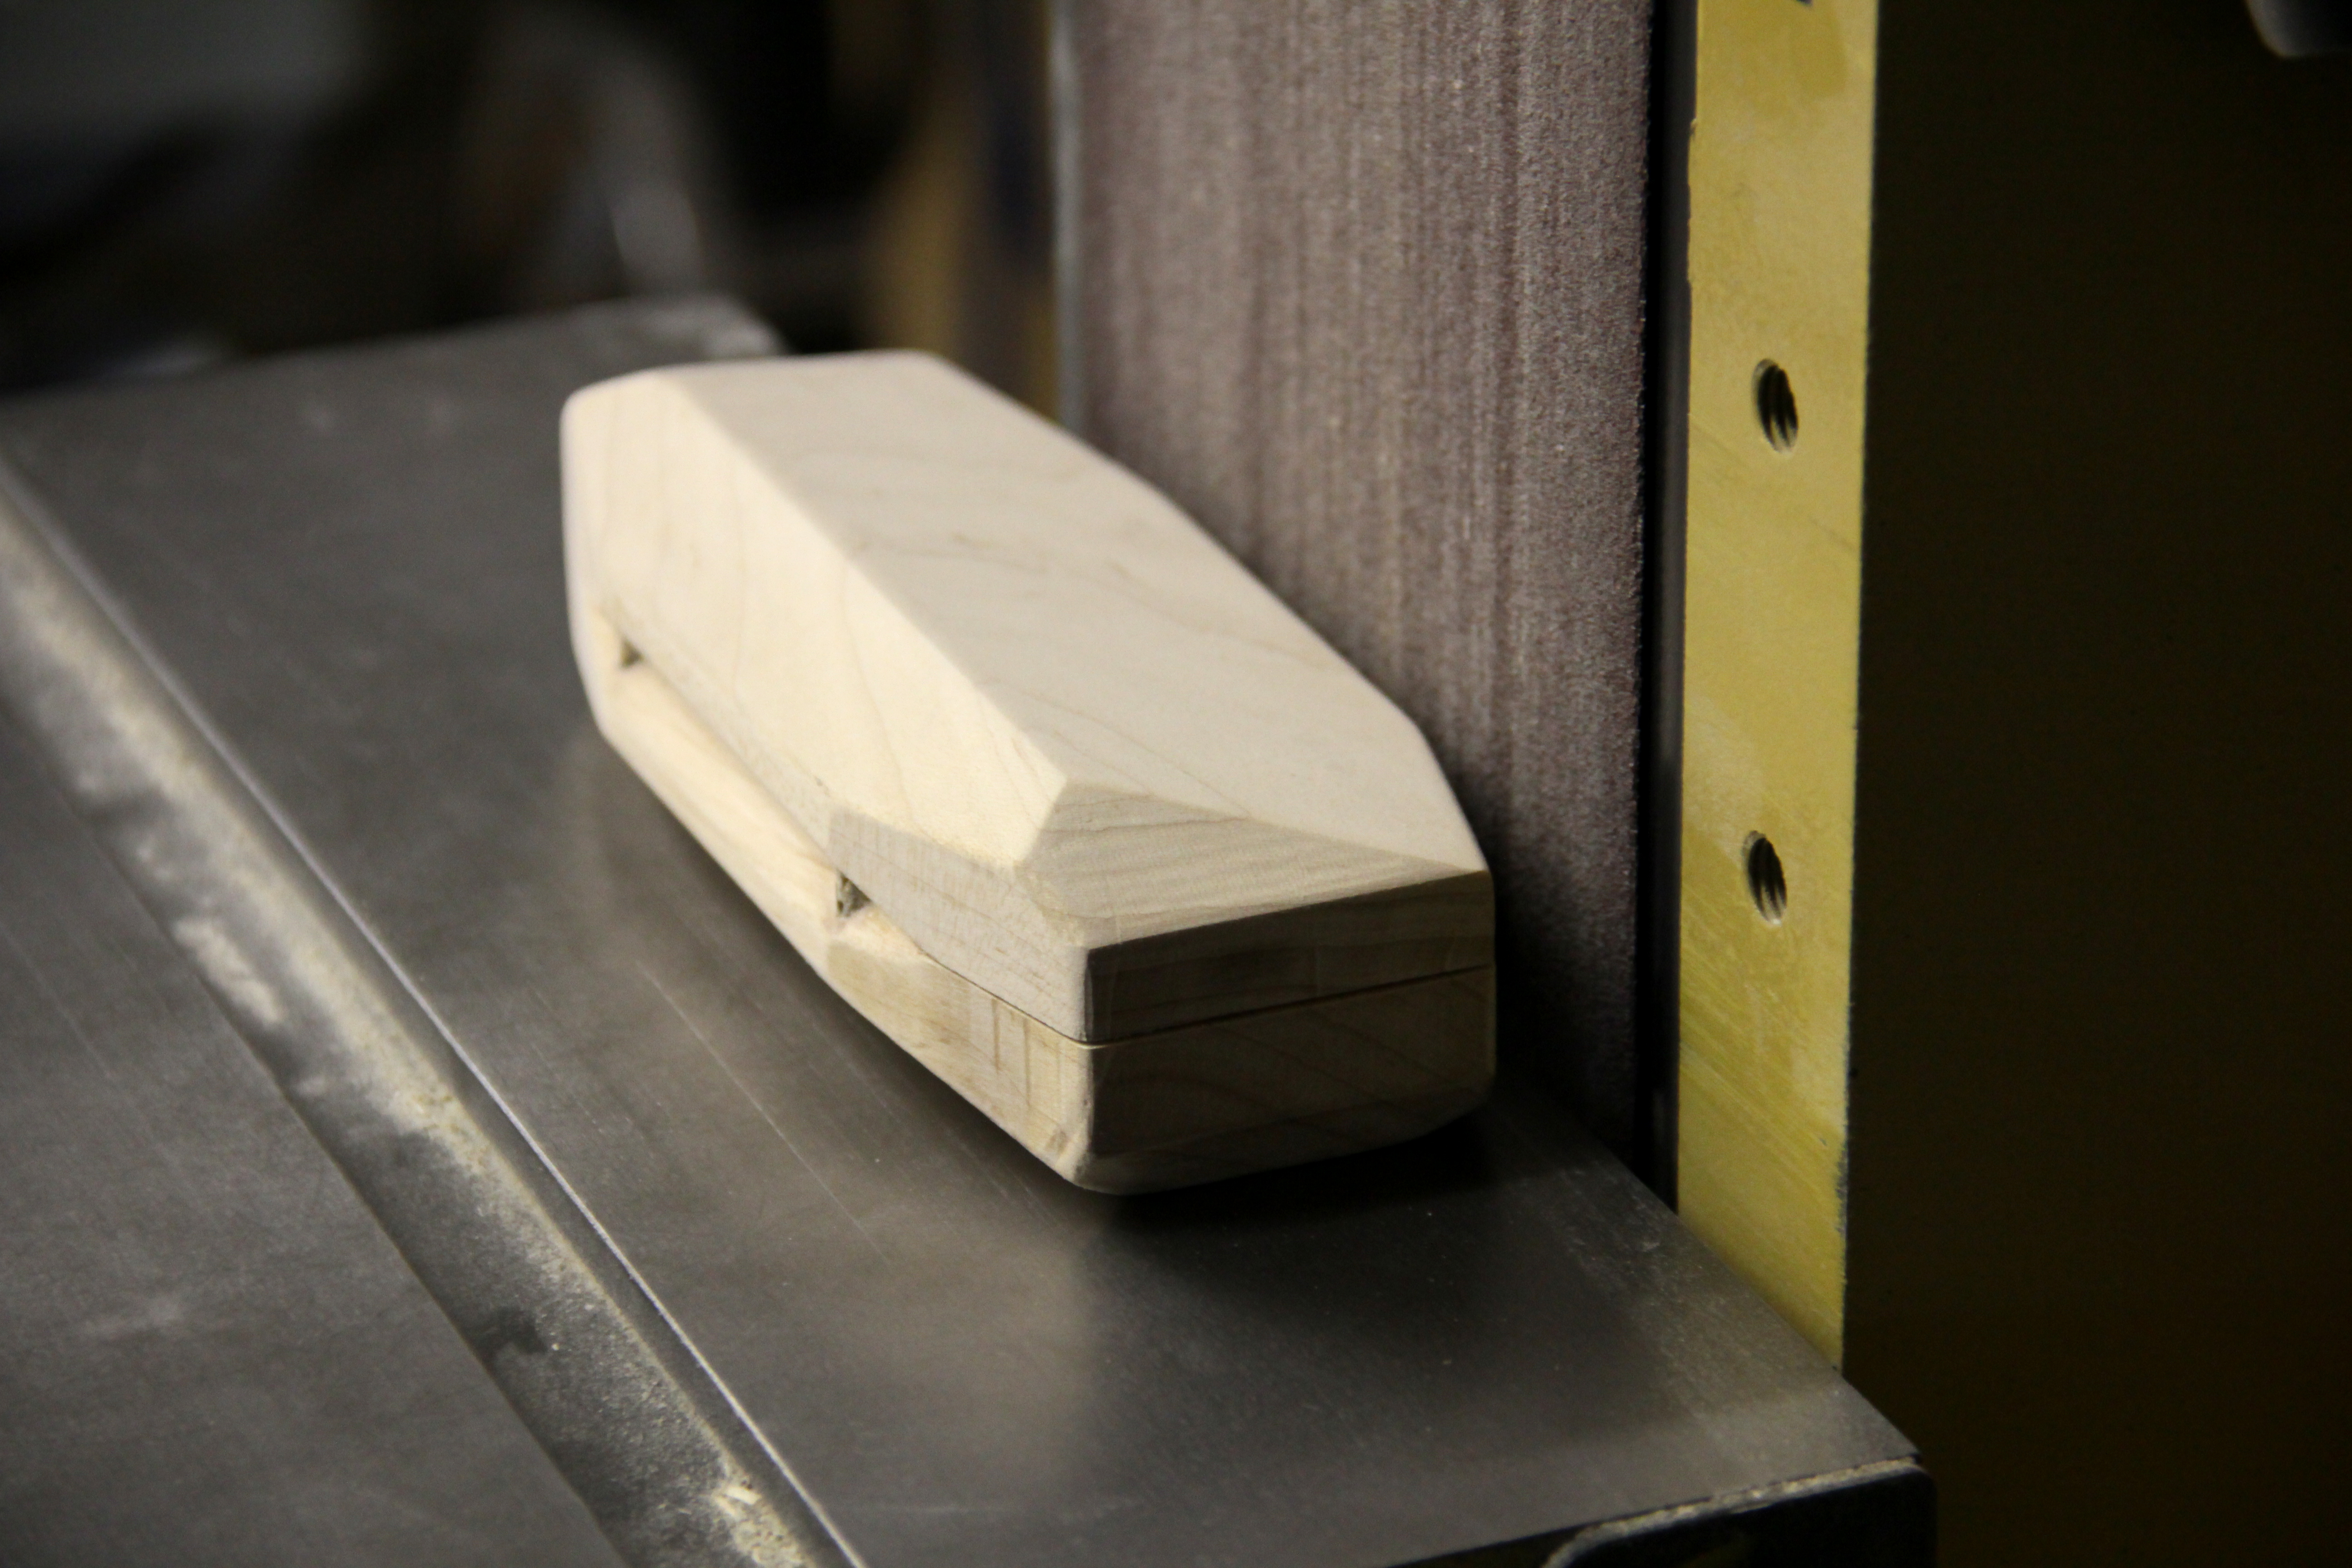
Now that your sunglass case is in 1 body you need to sand the edges -left, front and right- so that they are properly aligned. Be really careful not to make a lot of force with the belt sander because you can burn the maple wood (look 1st photo). By sanding the edges as one solid piece you will be making a smoother face.
Finishing With Oil
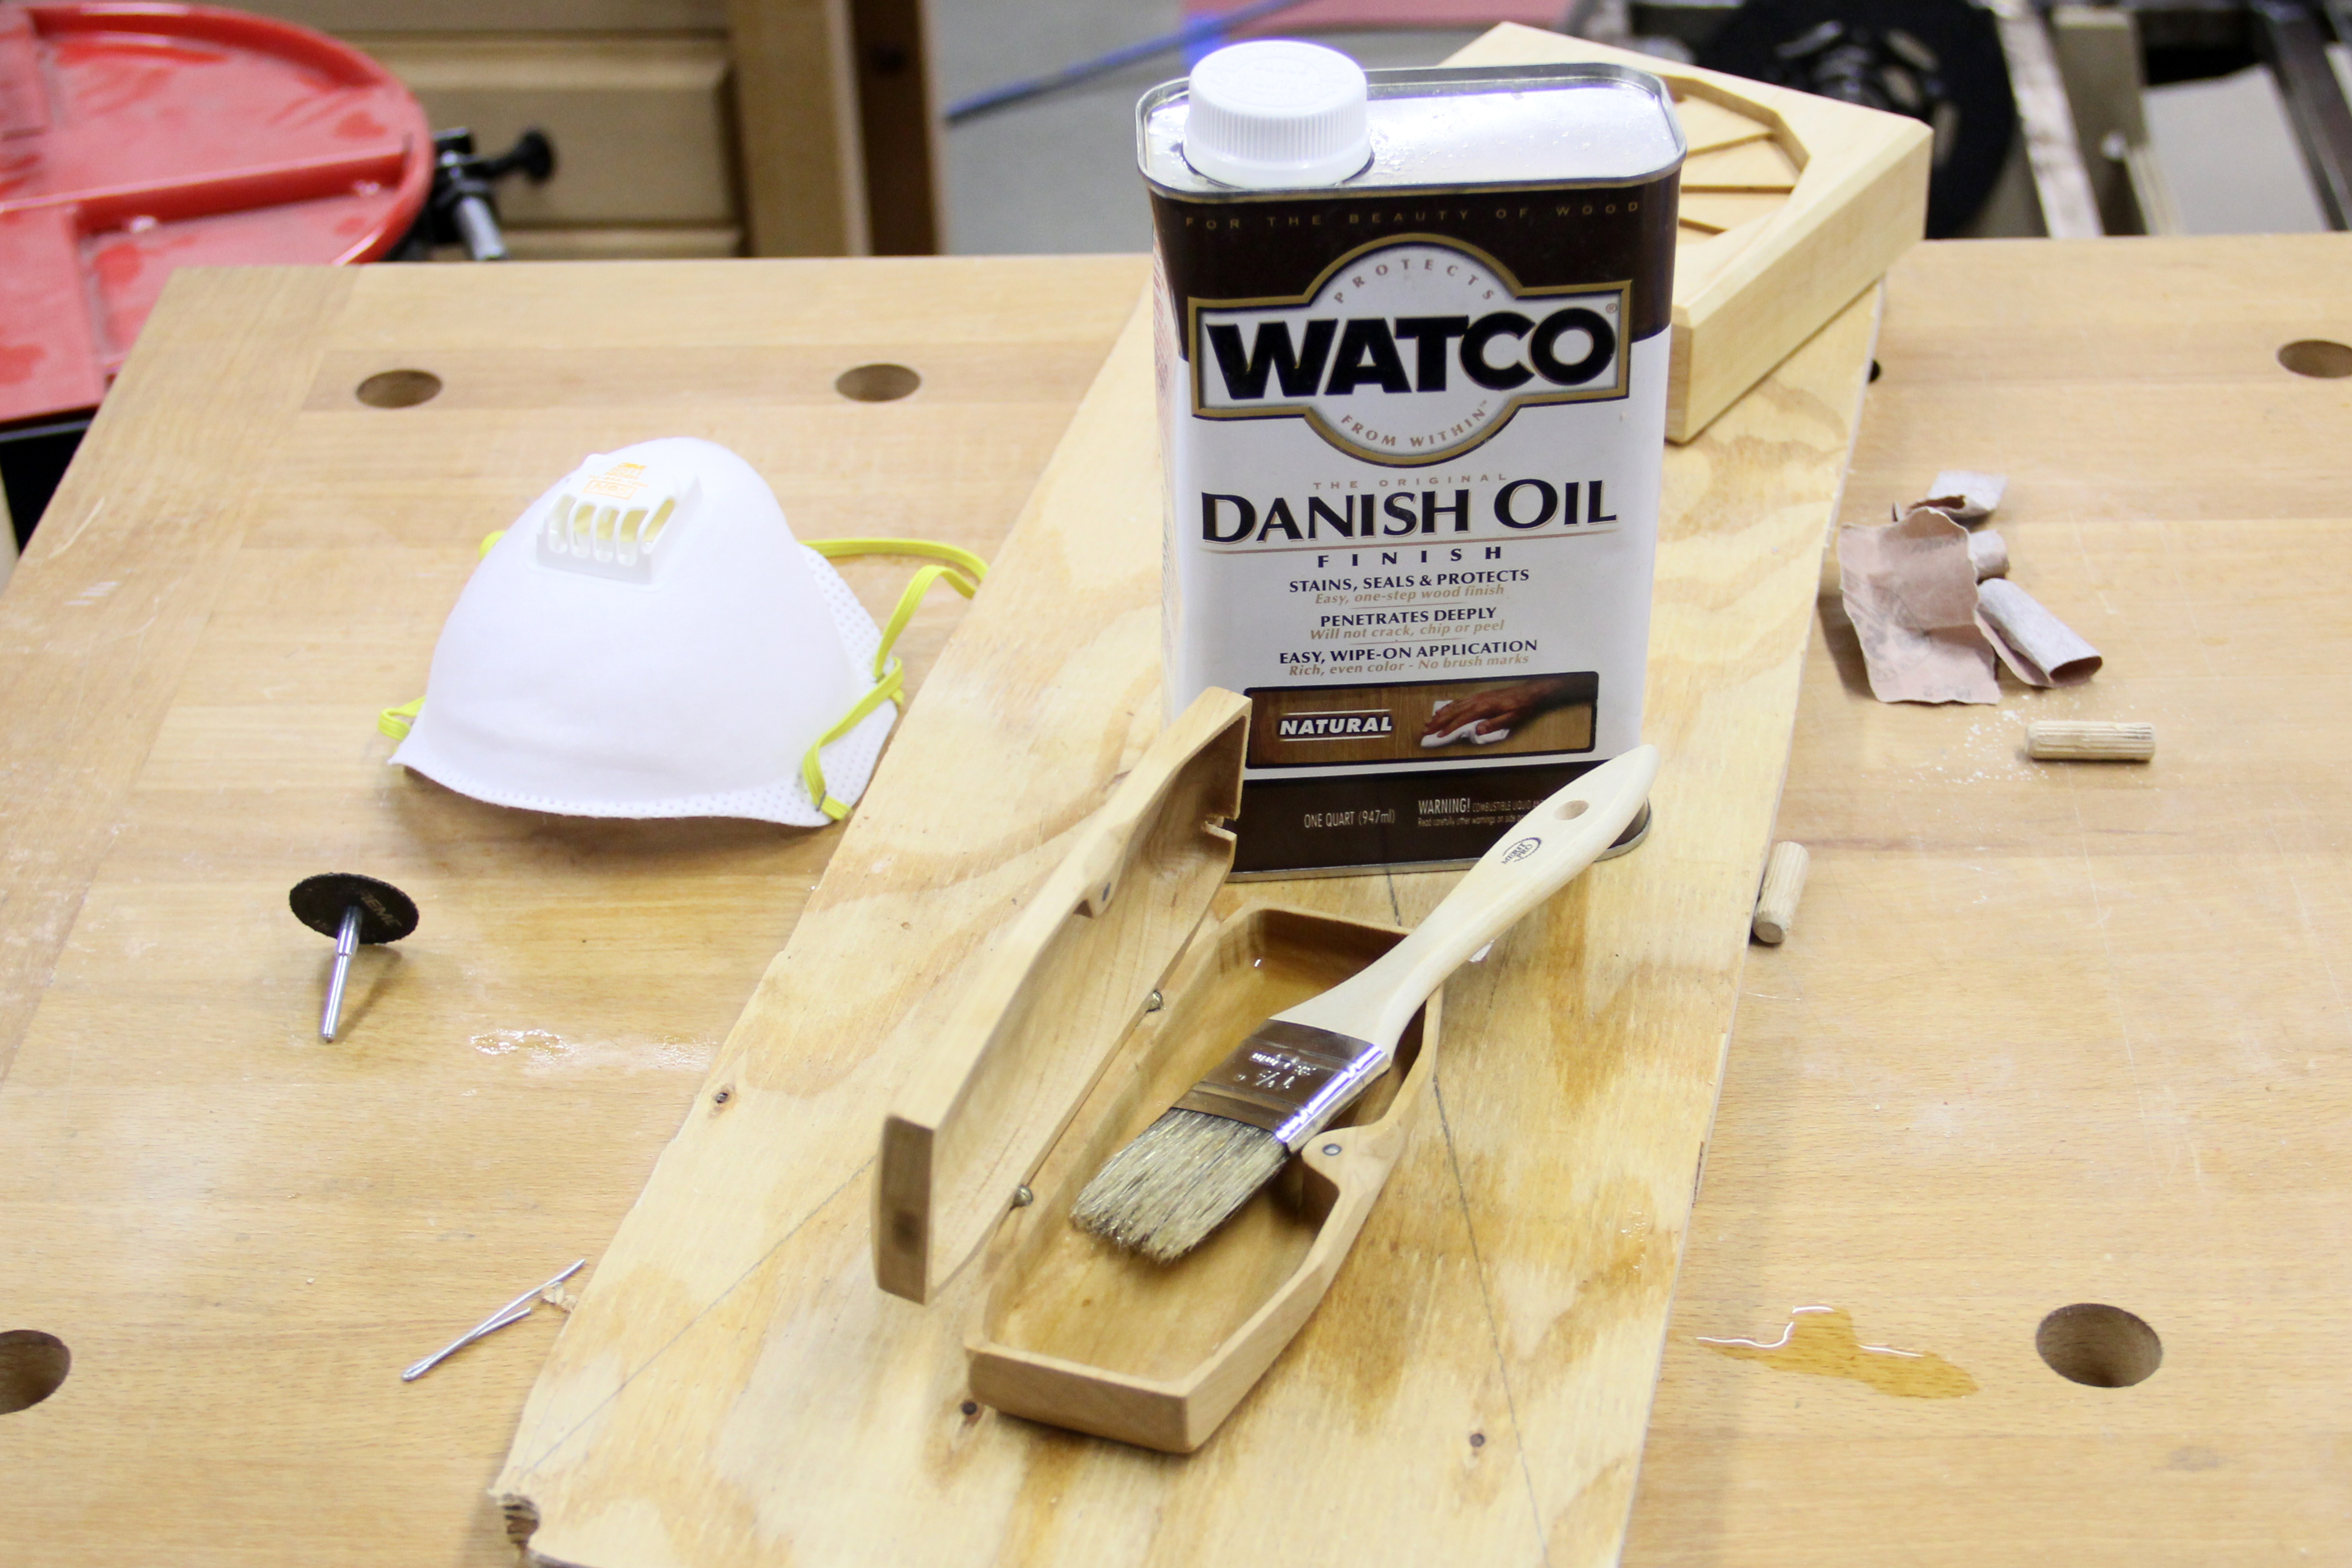
I prefer a natural finish on small objects so I picked two products that I know work fine. Both products are liquid so you can wipe it with a cloth or a brush:
- Danish Oil (Natural)
- Satin Wax (Natural)
First you start with the Danish Oil and give a wet coat, leave it rest for a day. Then grab a cloth and wet it with the Danish Oil again and leave it for a few hours. You can put in as many coats as you want. I recommend doing 3.
Now grab another piece of cloth and use the Satin Wax. I also recommend doing 3 coats with 2 hours in between each coat.
Enjoy Your Sunglass Case!
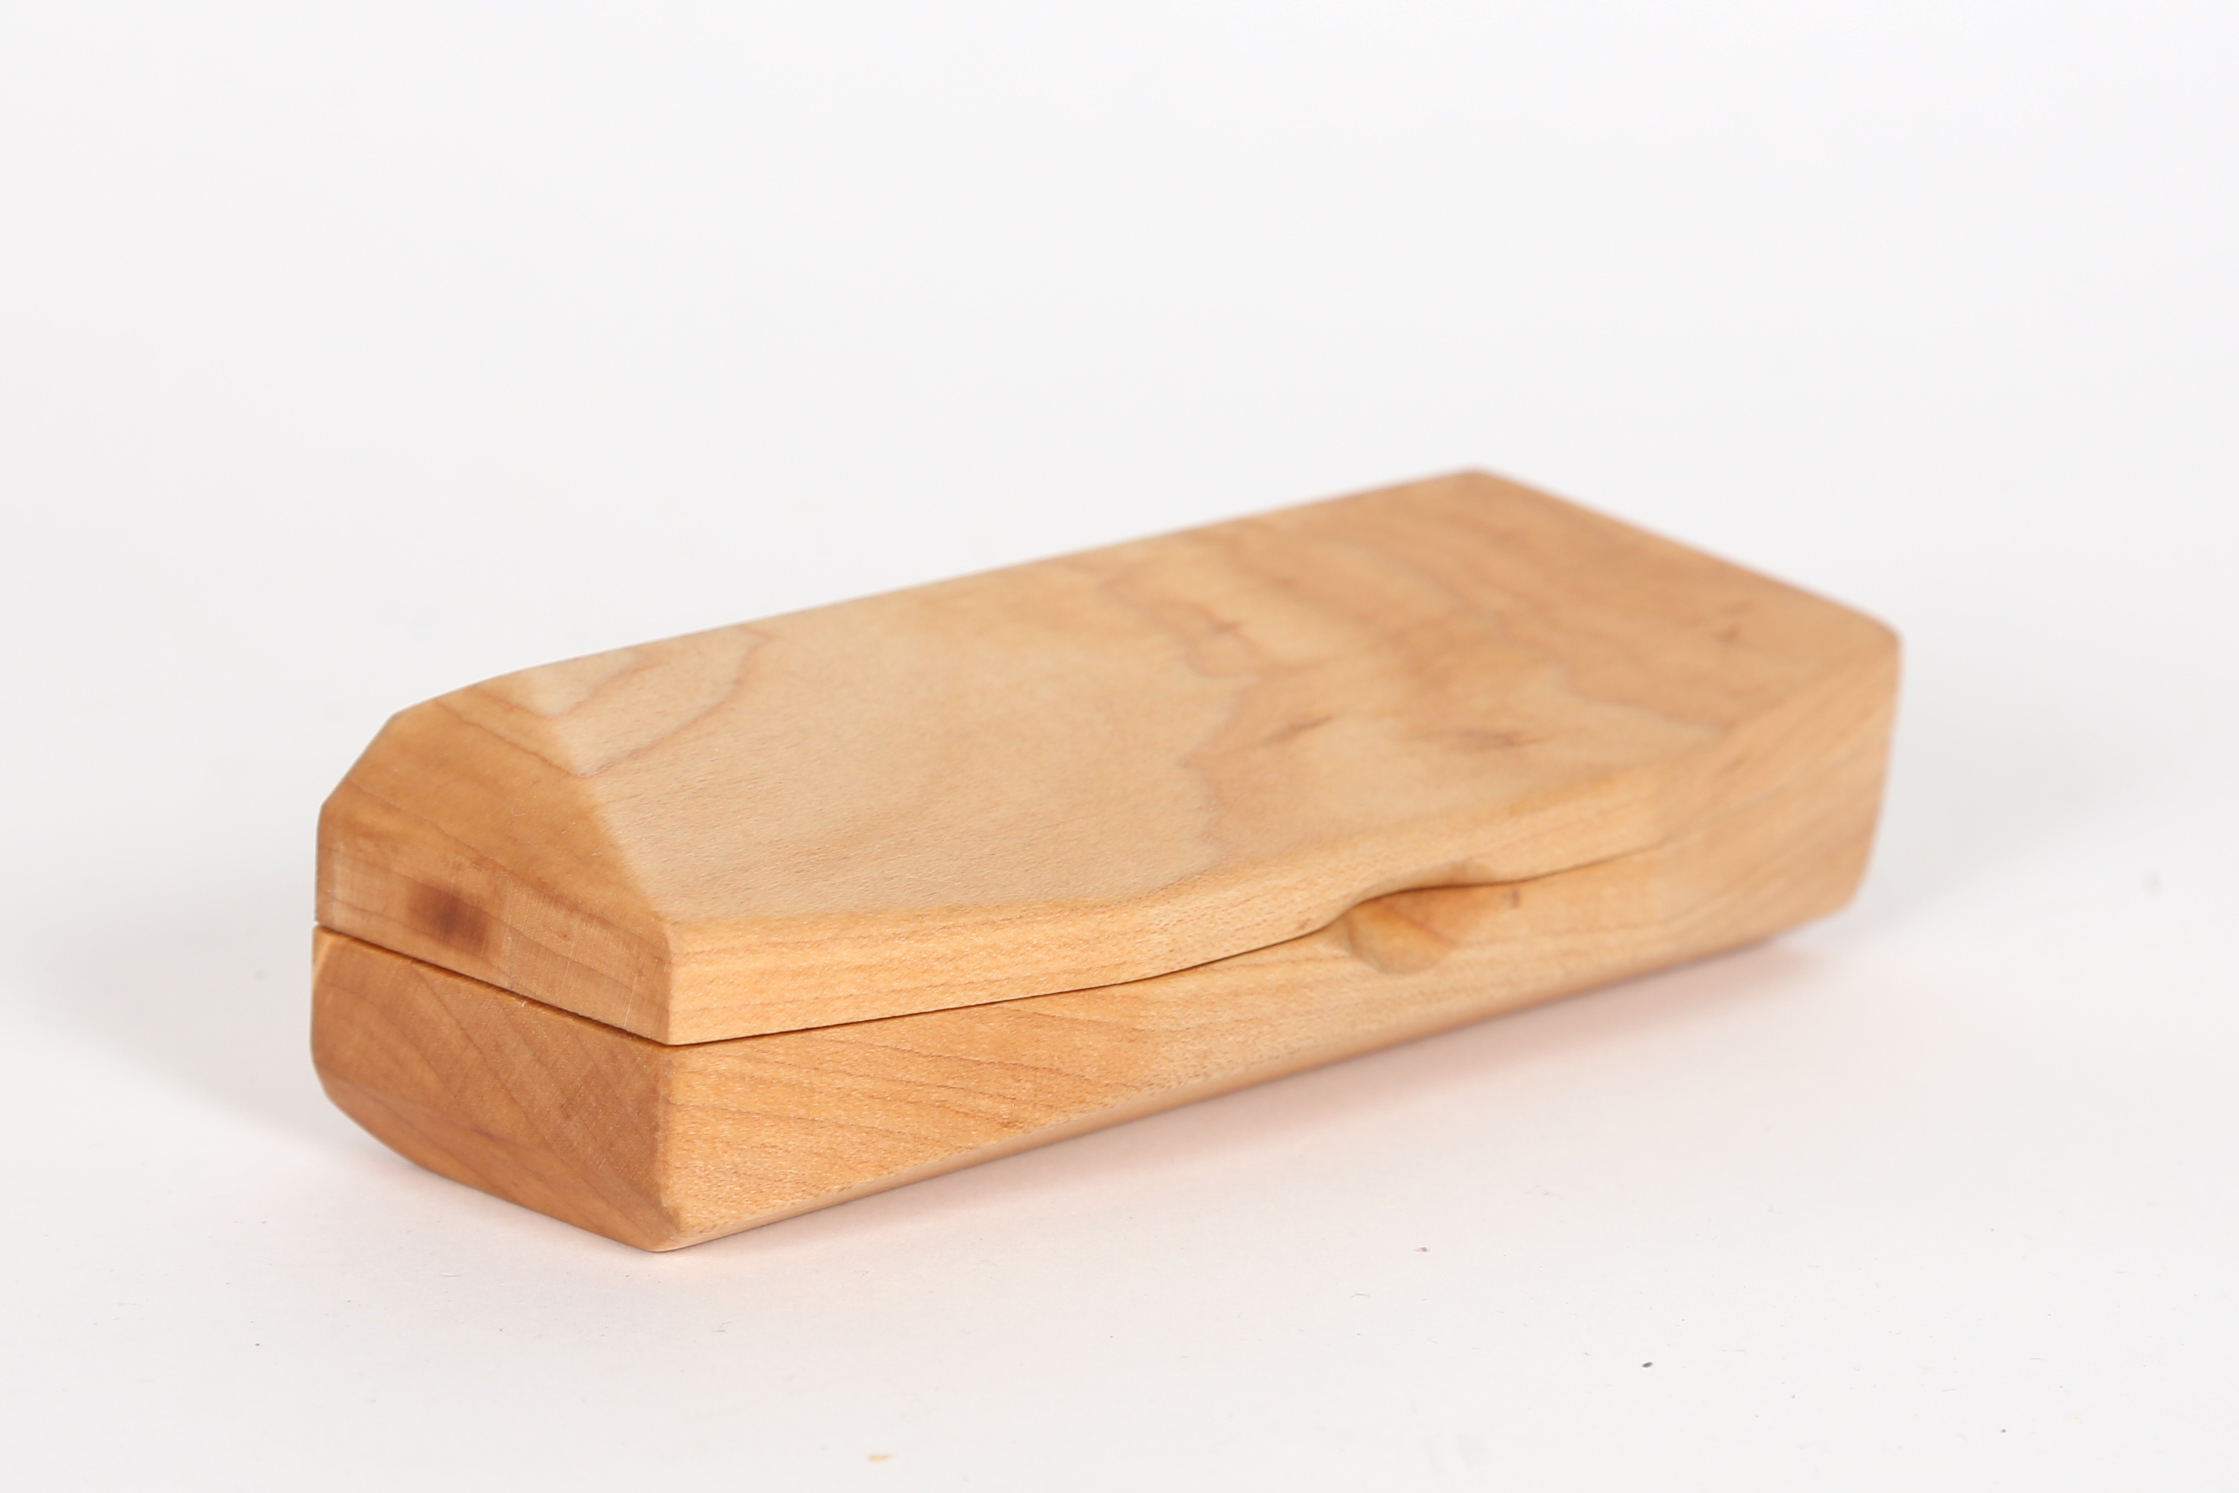
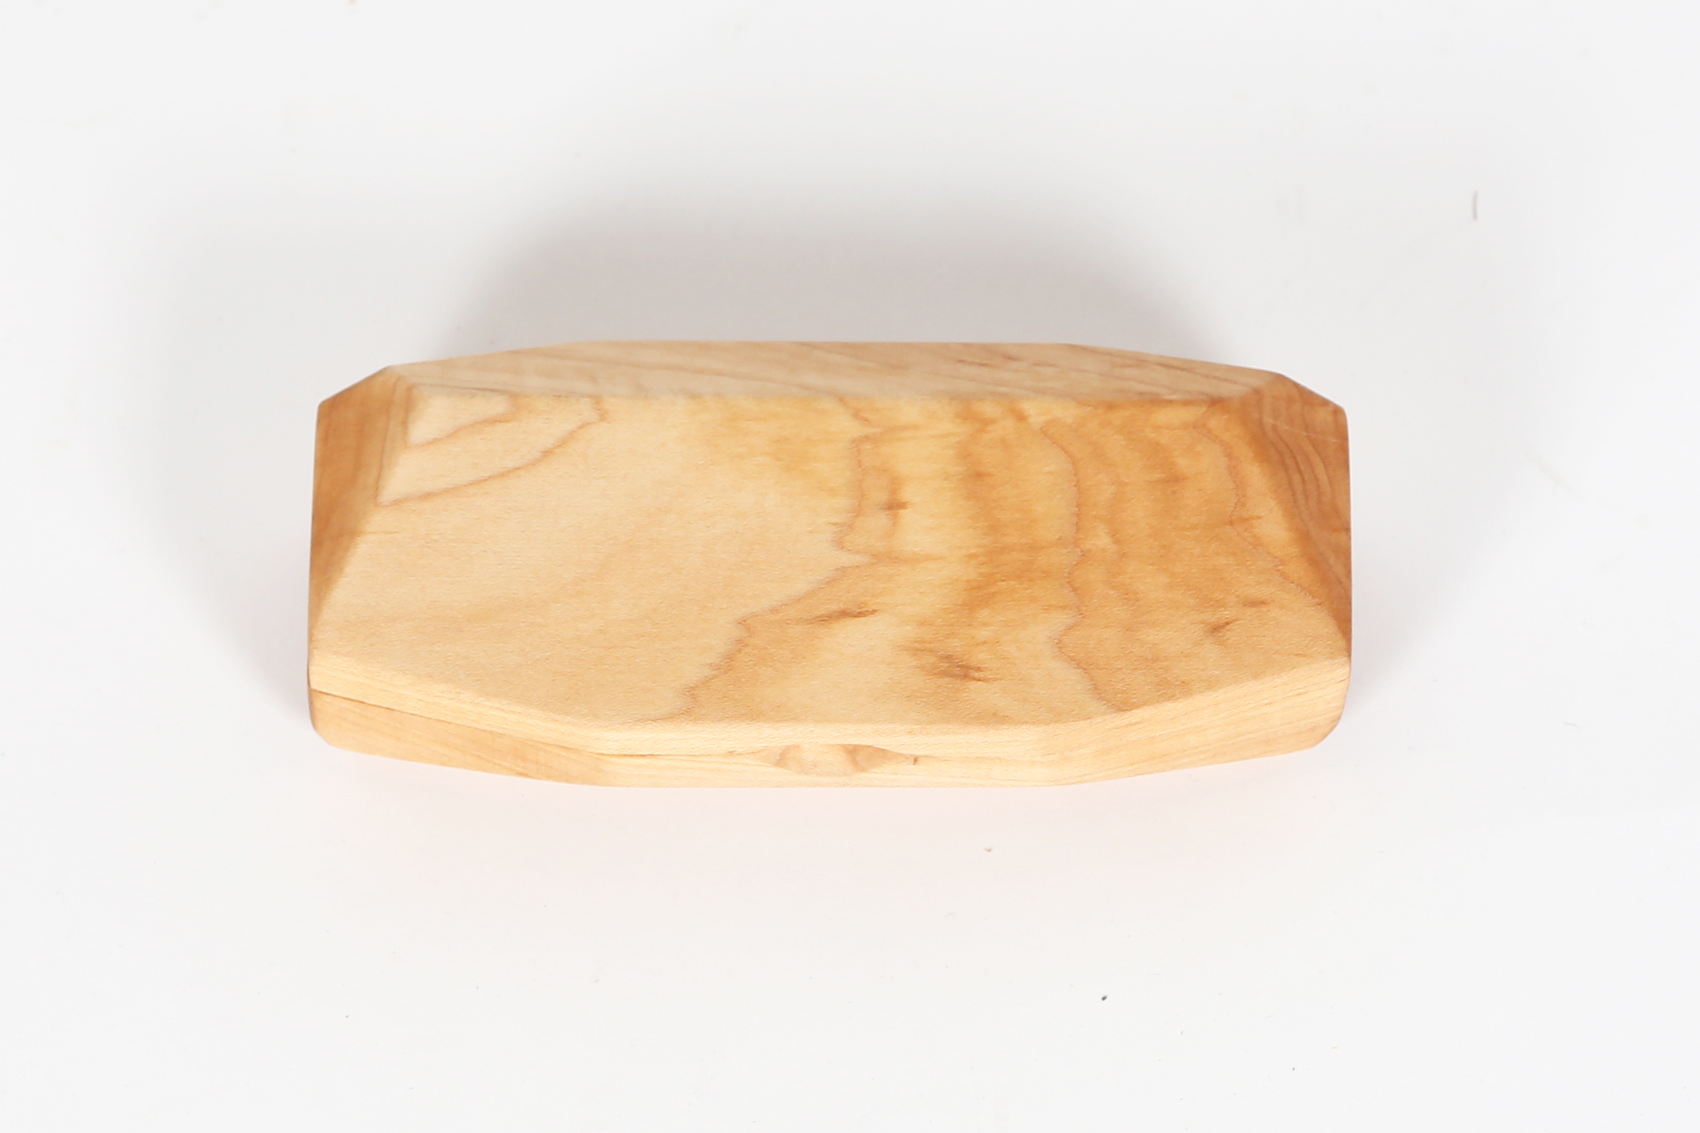
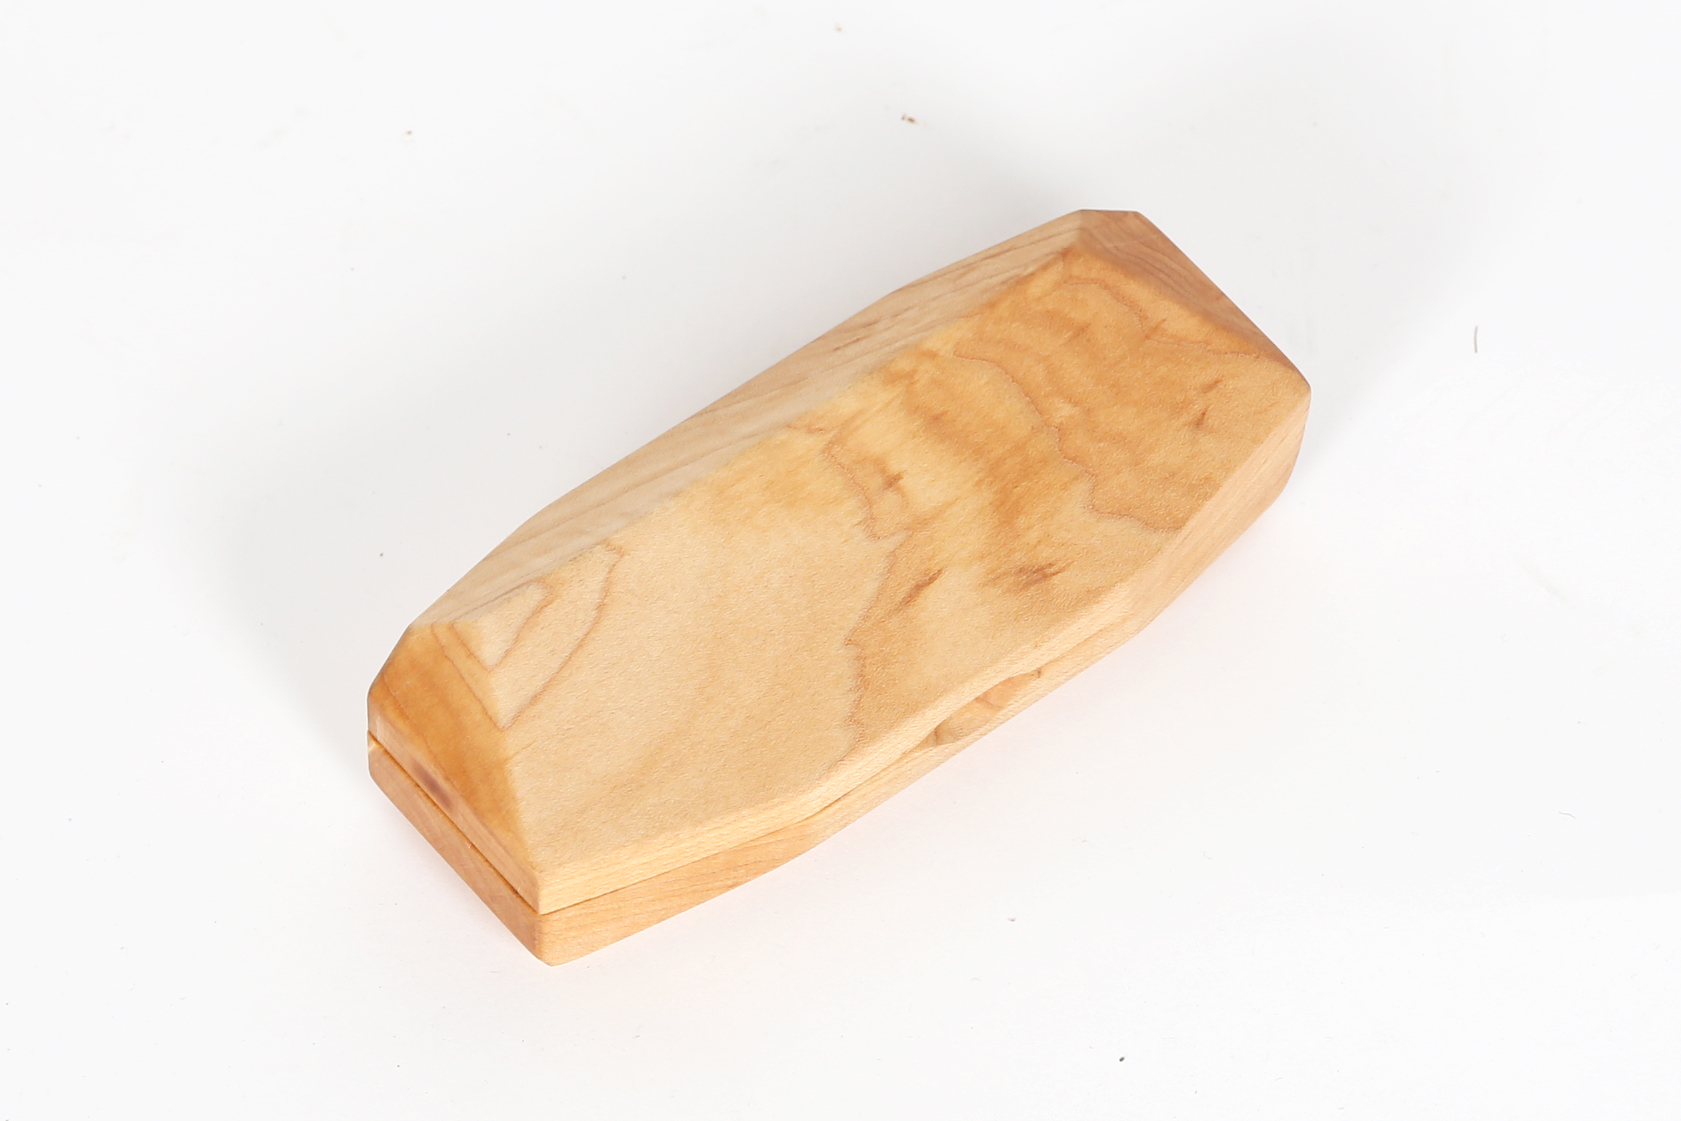
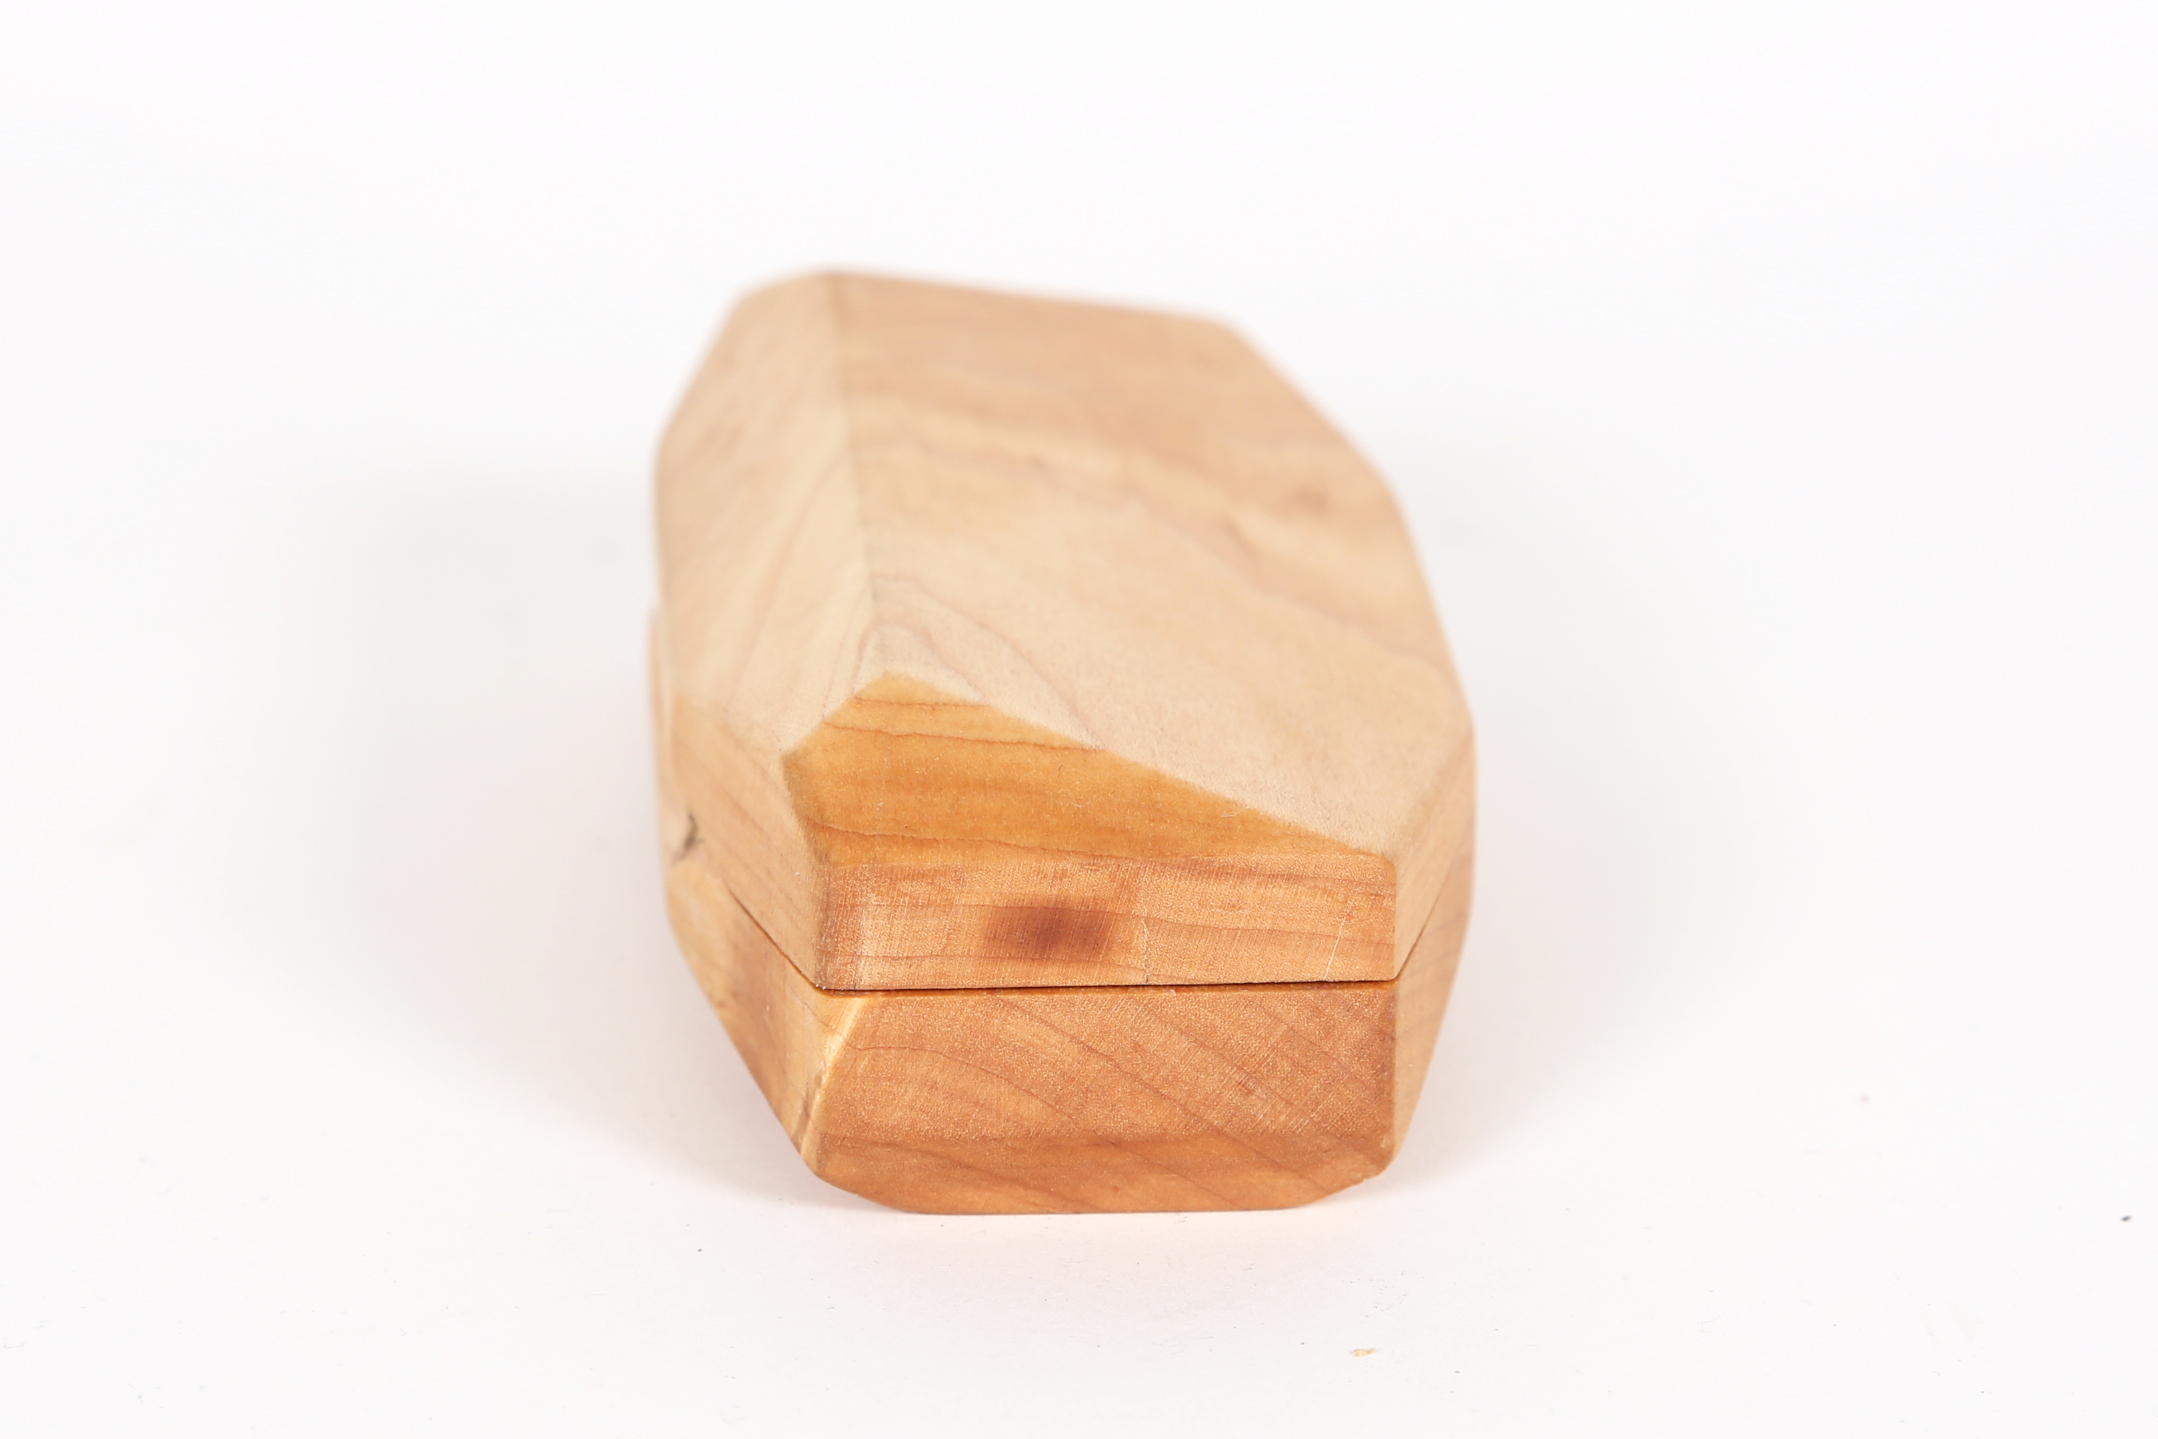
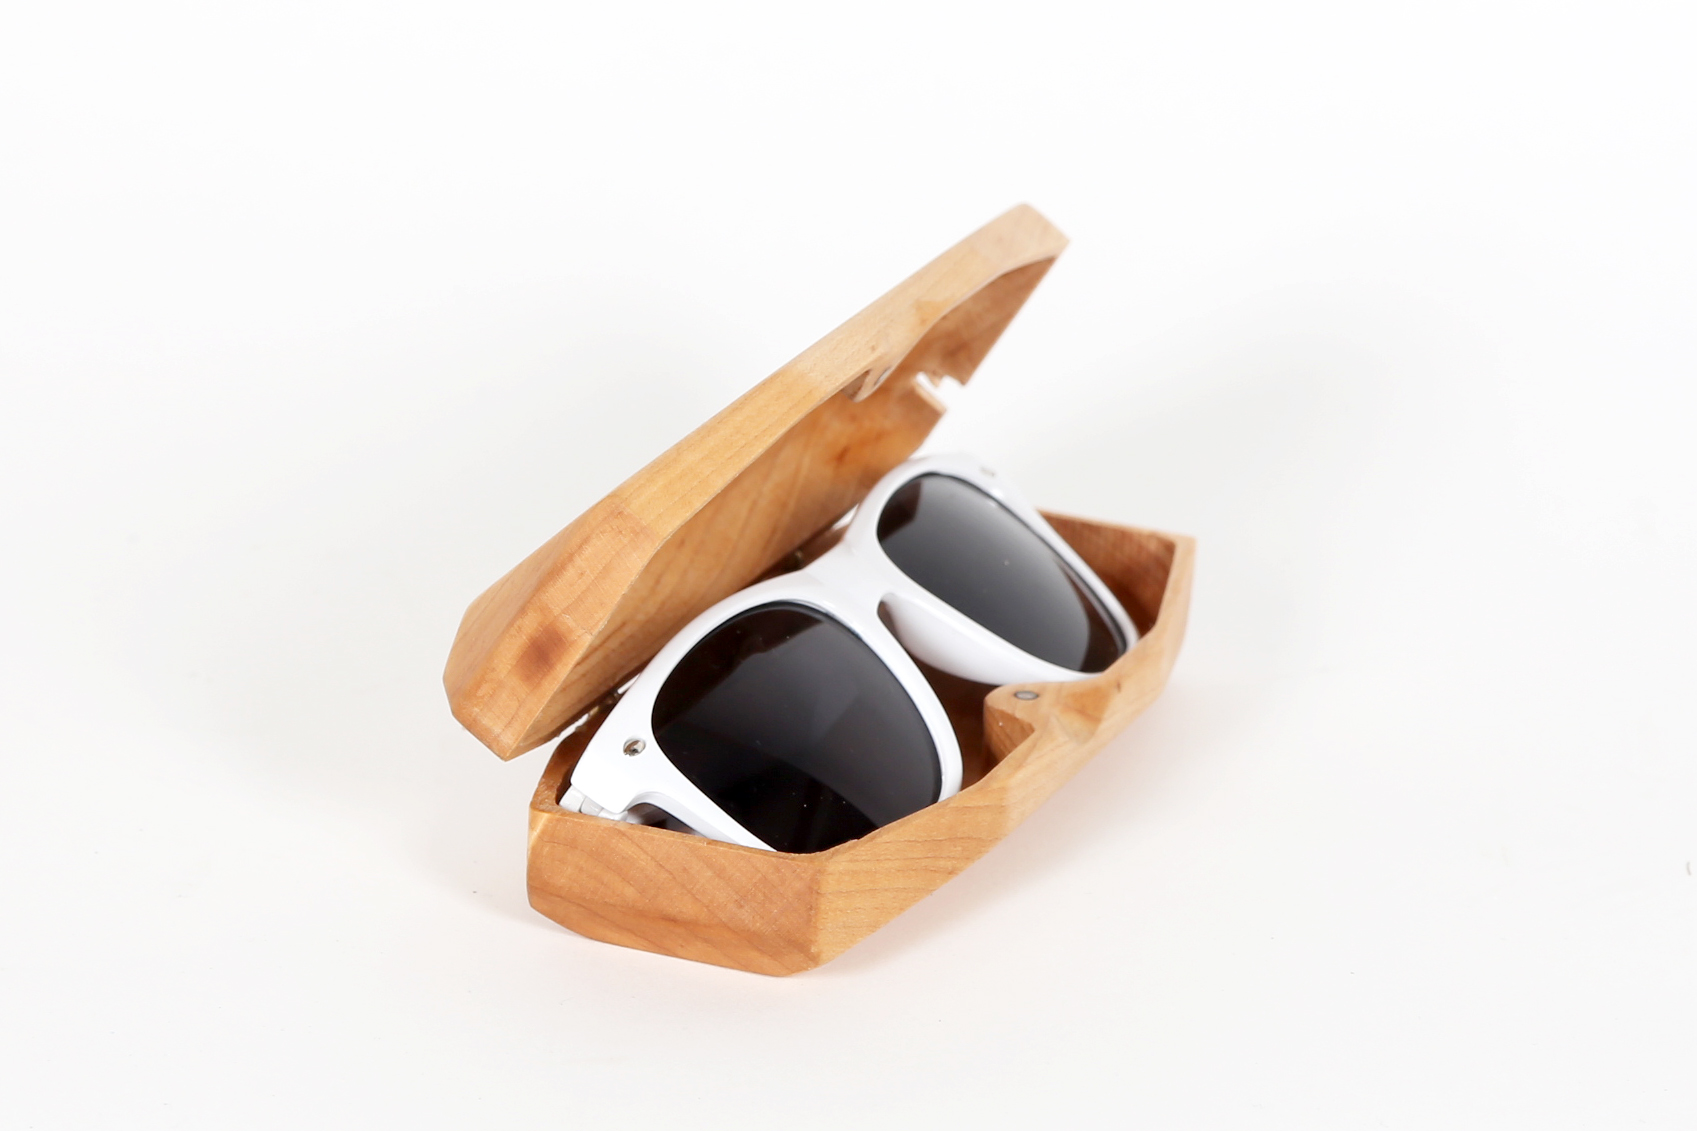
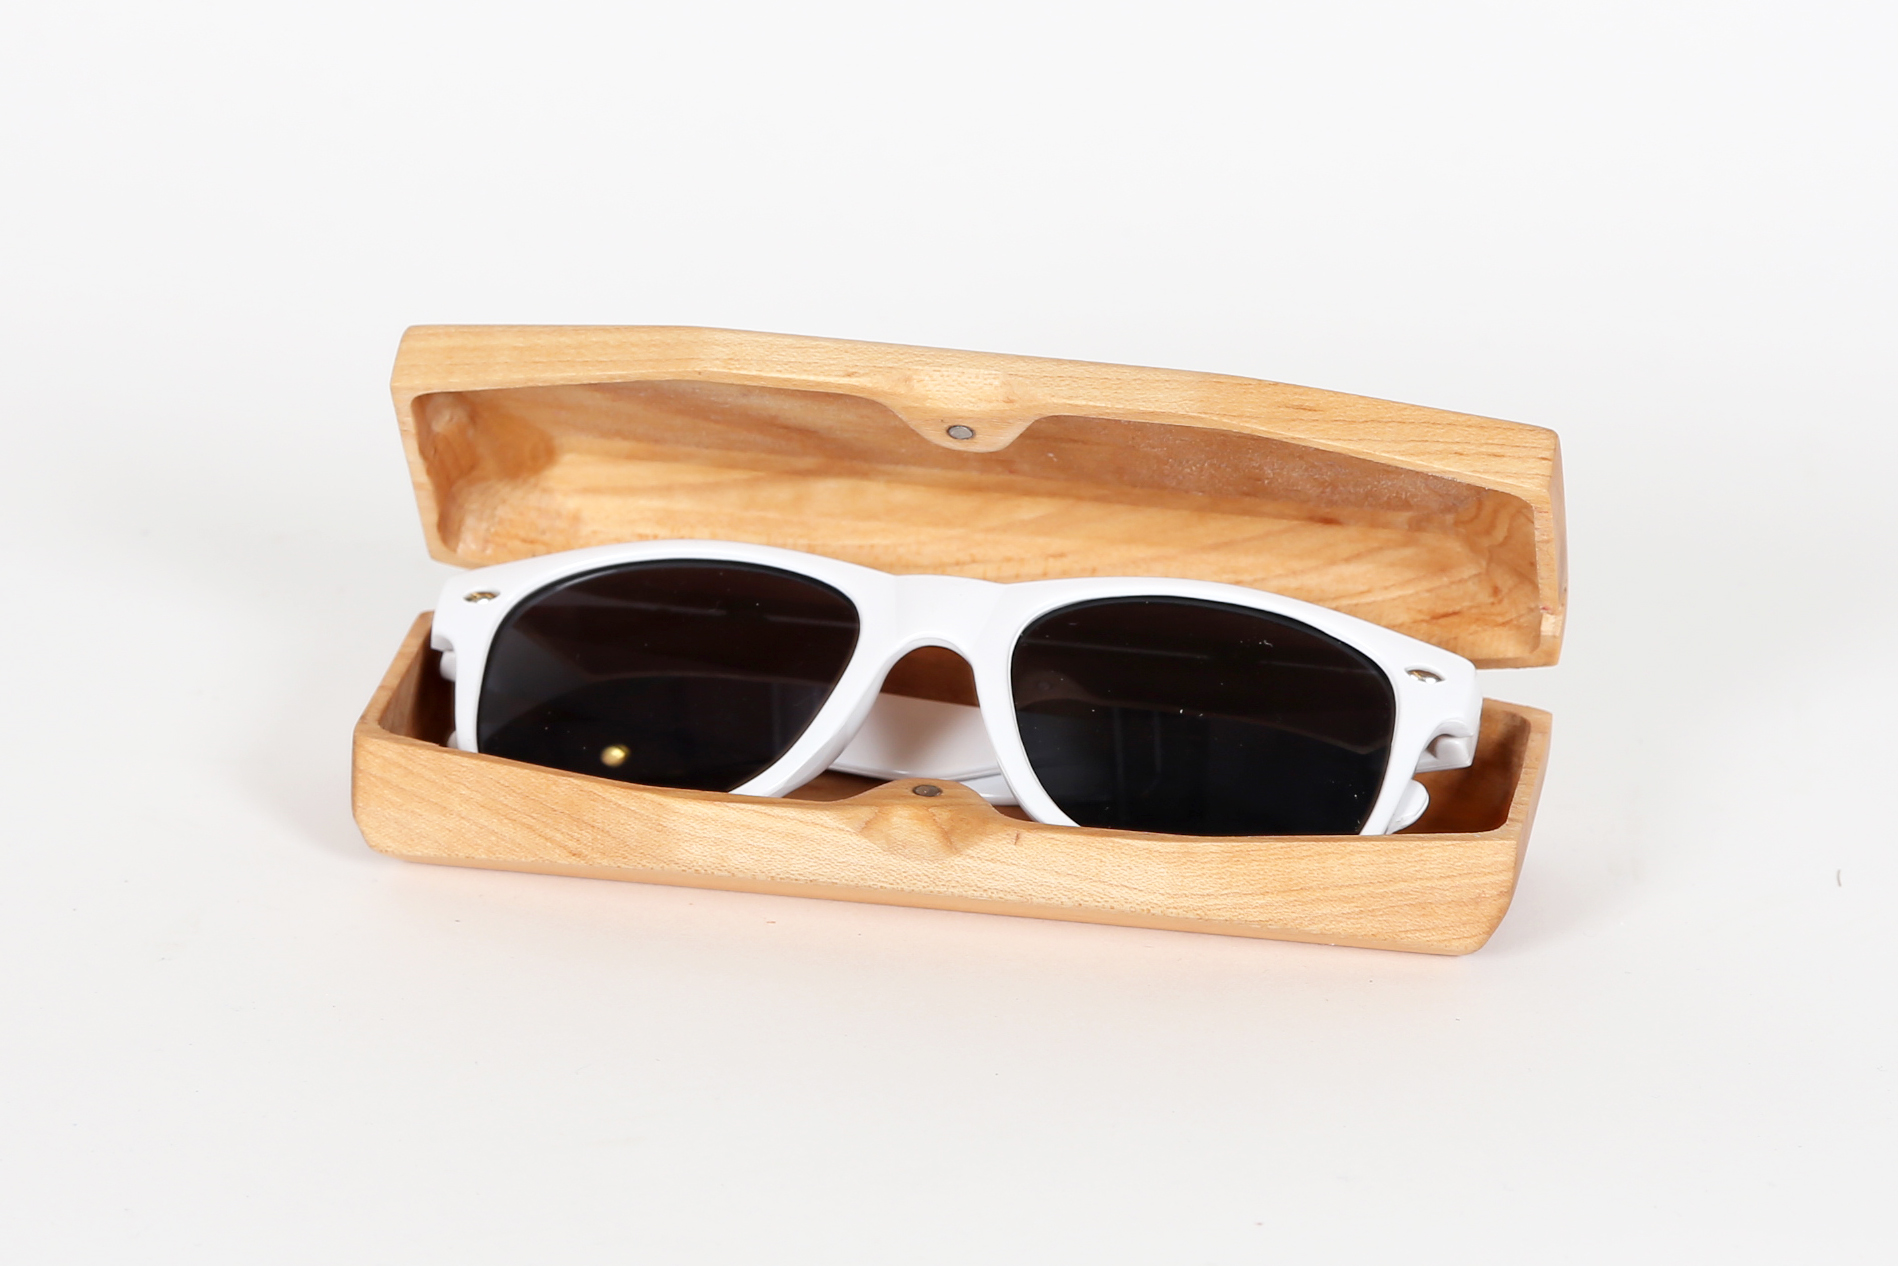
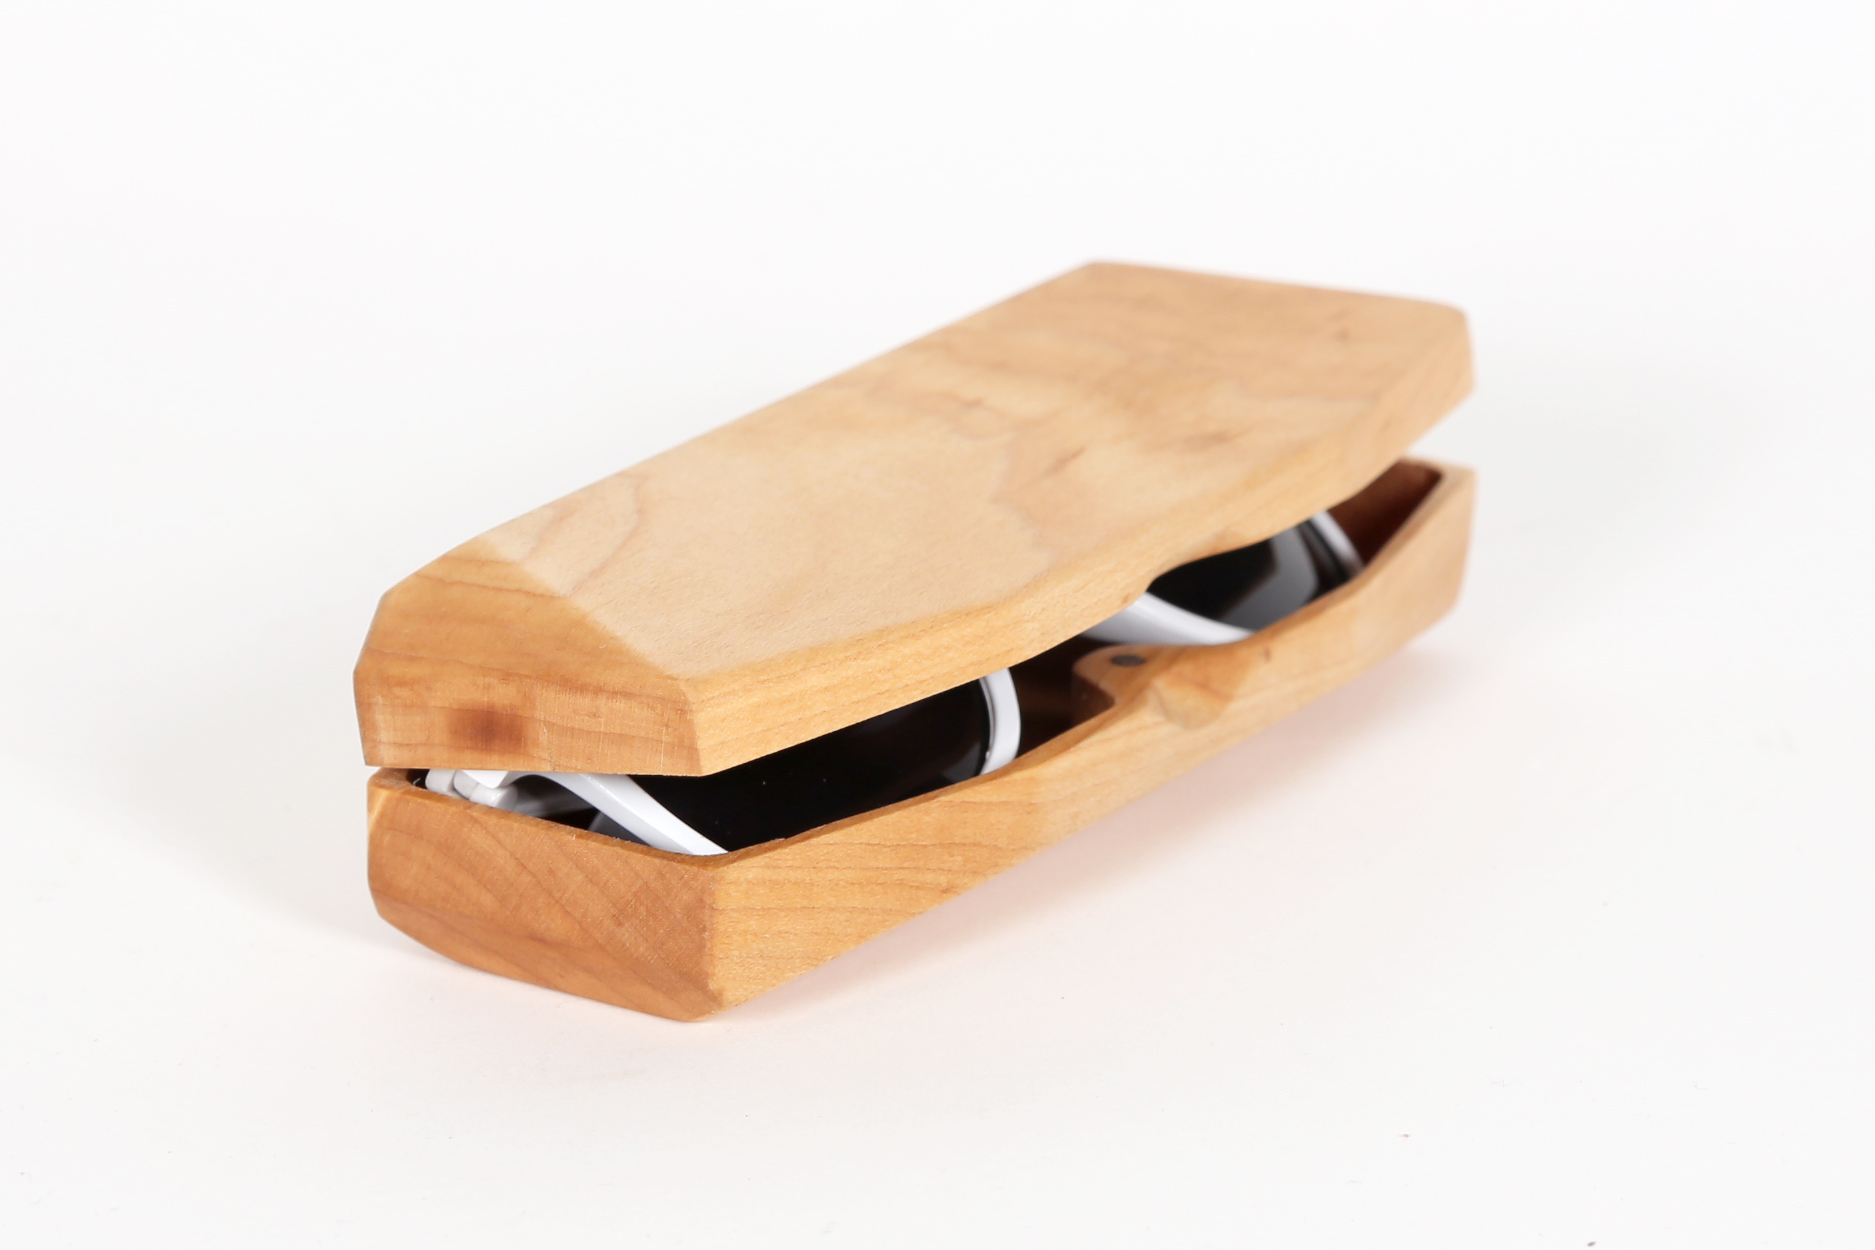
A nice pair of sunglasses deserves a nice case. Overall I'm pretty happy with the results and will try out a new version out of walnut.
Hope you enjoyed this instructable!