Turmeric Sun Prints/ Impresiones Solares Con Cúrcuma
by inkybreadcrumbs in Design > Photography
1801 Views, 27 Favorites, 0 Comments
Turmeric Sun Prints/ Impresiones Solares Con Cúrcuma
.png)
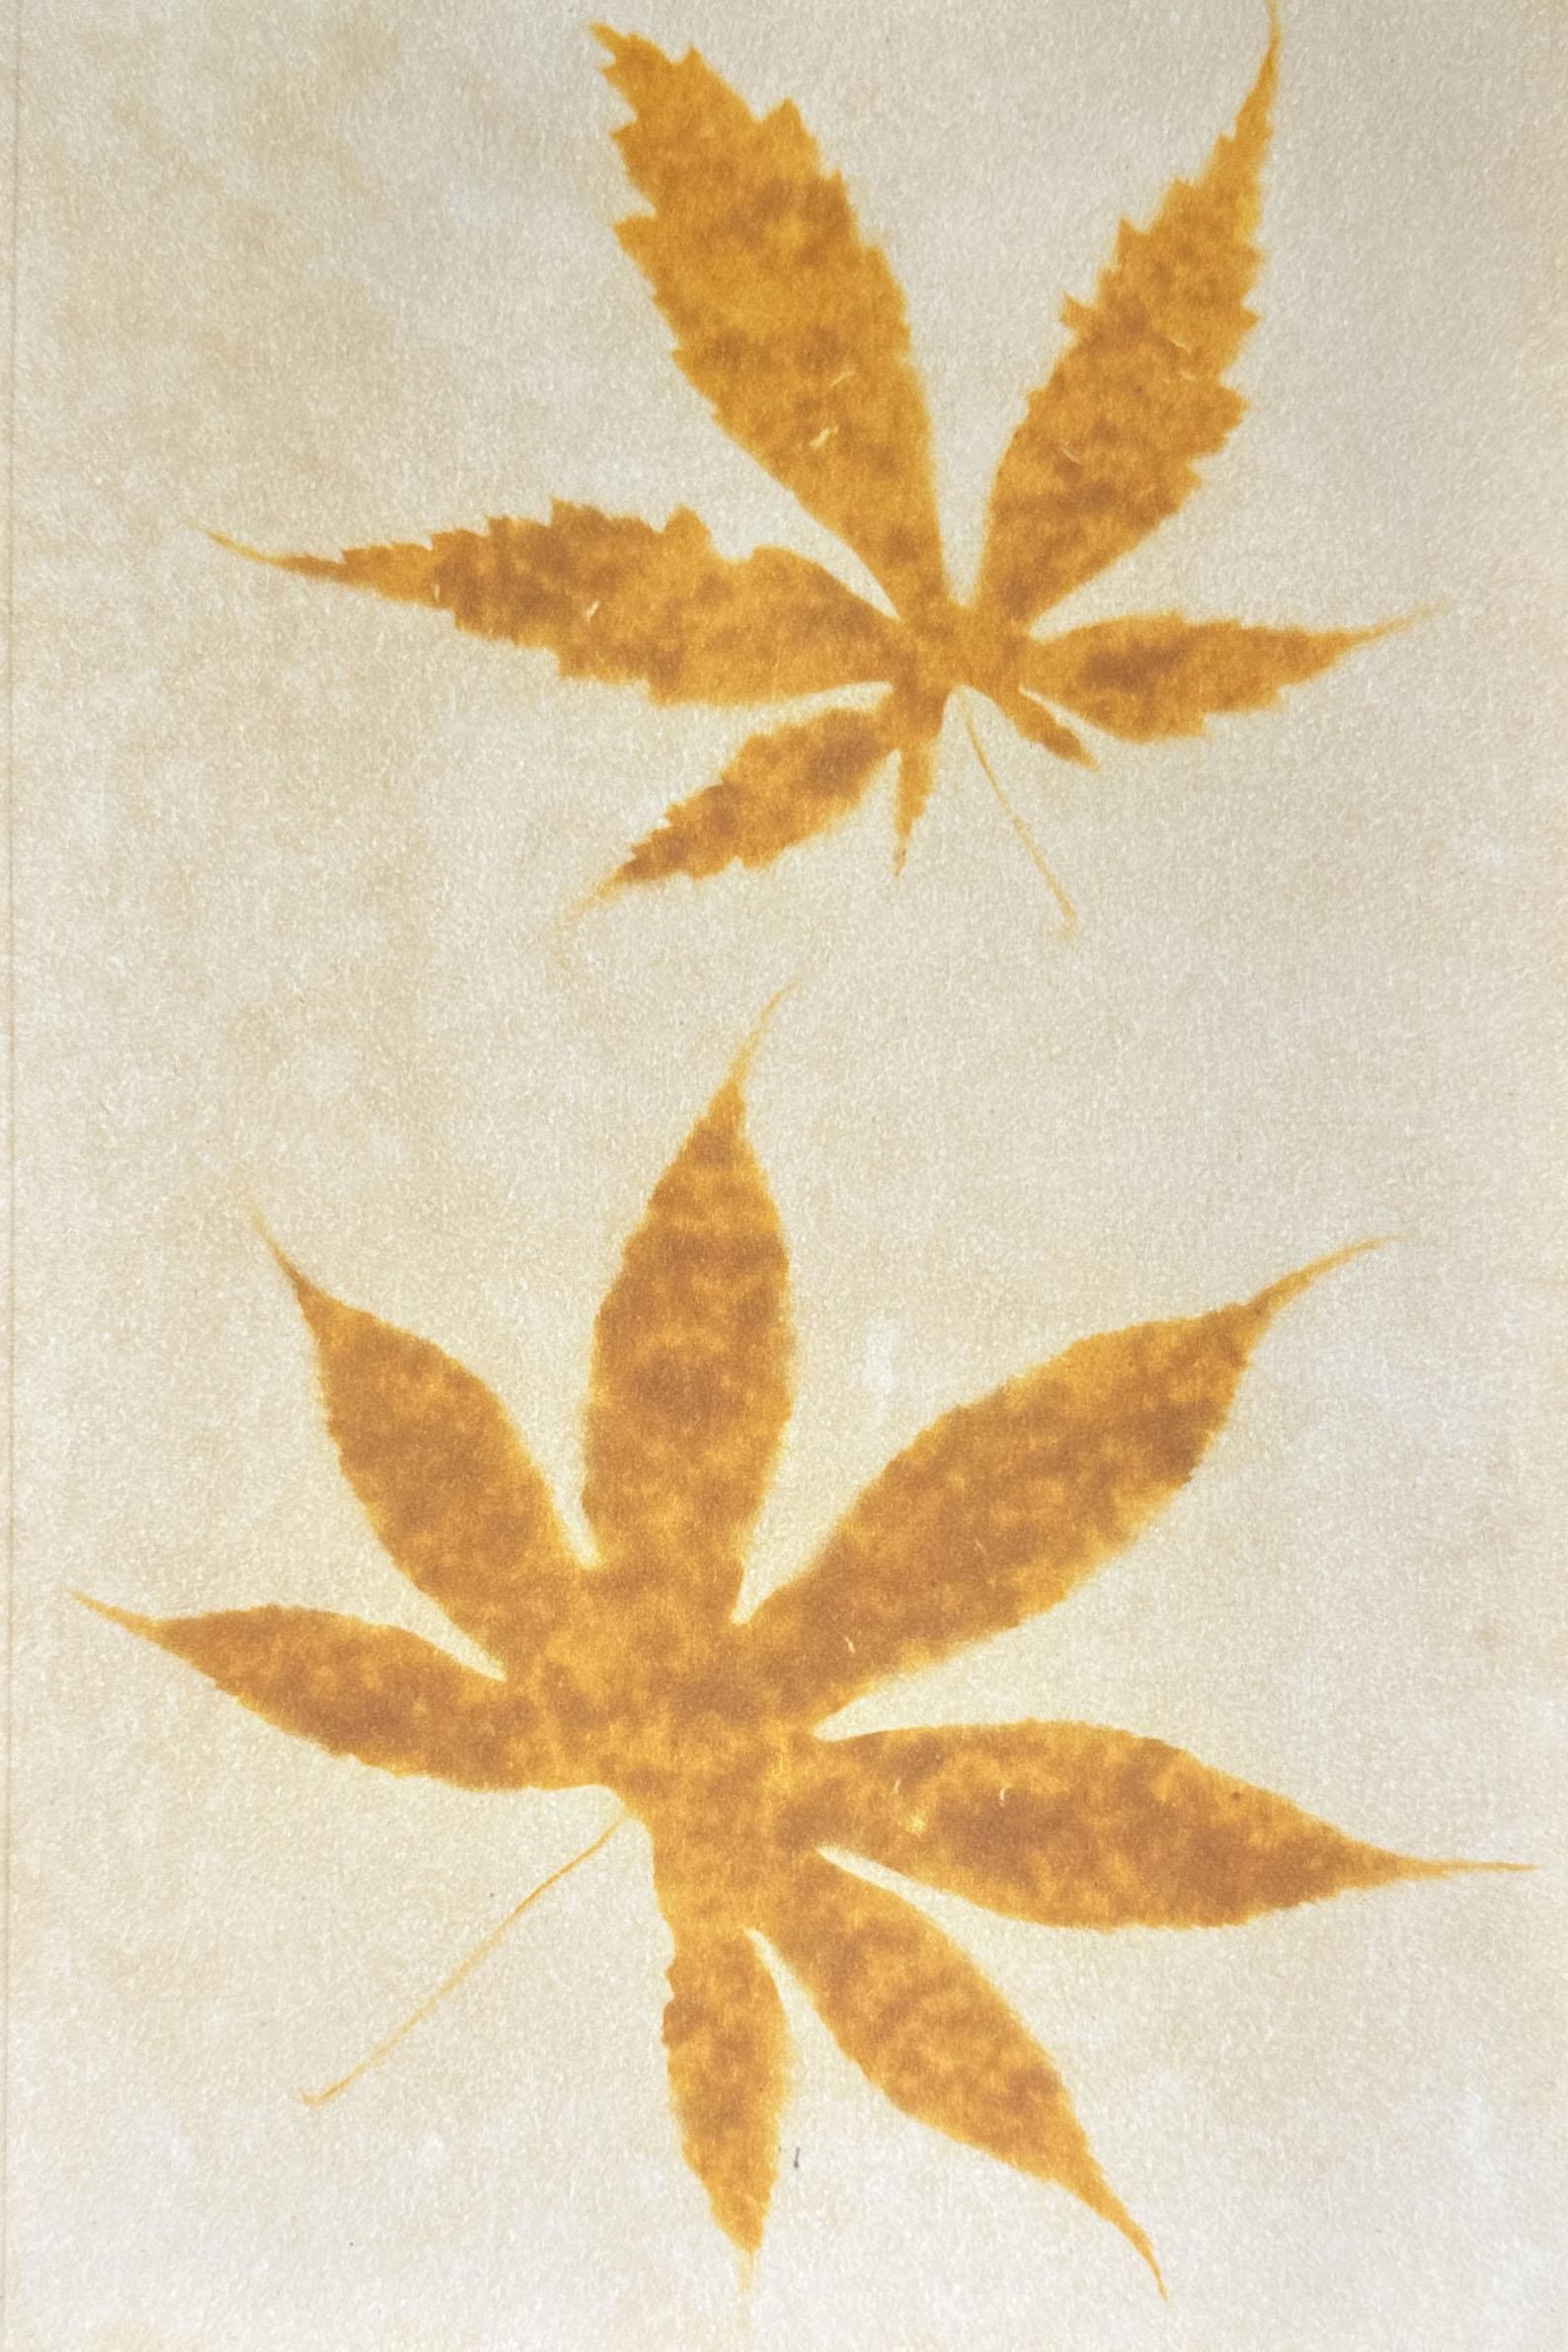
This Instructable will cover how to make Sun Prints using Turmeric powder. Este Instructable explicará cómo hacer impresiones solares con polvo de cúrcuma.
The text in italics is in Spanish to easily identify the language you may want to read it. El texto en cursiva está en español para identificar fácilmente el idioma en que desea leerlo.
This is a camera-less method of image making using photosensitive dyes from plant material. In this case we are using turmeric powder because it is easily available, quick to extract as a dye and creates beautiful shades of yellow.
This process, now called anthotype, is credited to Mary Sommerville. The first publication of this process was reported by Sir John Herschel in 1846 in “On the action of the rays of the spectrum on vegetable juices. Extract of a letter from Mrs. M. Somerville to Sir J. F. W. Herschel, Bart., dated Rome, September 20, 1845. Communicated by Sir J. Herschel” and you can find it here if you wish to read it.
Anthotypes are images made by using plat materials or extracts to create photosensitive emulsions. Basically, print making from plant juices
Quick warning:
Turmeric will stain/dye everything and I do mean EVERYTHING so please wear gloves, protect working surfaces and clothing you care about.
I am using a stir plate & stir bar to mix the suspension of alcohol and turmeric. I do not expect everyone to have one, so I will write two sets of instruction where the stir plate is used.
A quick note on continuity: This Instructable does not show you one single image from start to finish. I did not find out about the Colors of the Rainbow Contest until about 8 pm on the evening of the deadline. Since hours of daylight are essential to this project its well past sunset, I assembled examples of the steps from prints made in the last few days
Este Instructable explicará cómo hacer impresiones solares con polvo de cúrcuma.
Se trata de un método de creación de imágenes sin cámara que utiliza tintes fotosensibles a partir de material vegetal. En este caso, utilizamos polvo de cúrcuma porque está fácilmente disponible, se extrae rápidamente como tinte y crea hermosos colores amarillos.
Este proceso, llamado antotipo o antotipia, se atribuye a Mary Sommerville a principios de la década de 1840. La primera publicación de este proceso fue reportada por Sir John Herschel en 1846 en “Sobre la acción de los rayos del espectro en los jugos vegetales. Extracto de una carta de la Sra. M. Somerville a Sir J. F. W. Herschel, Bart., fechada en Roma, el 20 de septiembre de 1845. Comunicada por Sir J. Herschel” y puede encontrarlo aquí si desea leerlo.
La antotipia es un proceso de creación de imágenes que utiliza materiales o extractos de plantas para crear emulsiones fotosensibles. Básicamente, se trata de hacer impresiones o imagenes a partir de jugos de plantas.
CUIDADO:
La cúrcuma manchará/teñirá todo y me refiero a TODO, así que use guantes, proteja las superficies de trabajo y la ropa que le importe.
Utilizo una placa agitadora y una barra agitadora de laboratorio para mezclar la suspensión de alcohol y cúrcuma. No espero que todos tengan una, así que escribiré dos conjuntos de instrucciones en los que se utiliza la placa agitadora.
Una nota rápida sobre la continuidad: este instructable no muestra una sola imagen de principio a fin. No me enteré del concurso Colors of the Rainbow hasta aproximadamente las 8 p. m. de la noche de la fecha límite. Dado que las horas de luz del día son esenciales para este proyecto, ya pasó el atardecer, reuní ejemplos de los pasos a partir de impresiones realizadas en los últimos días.
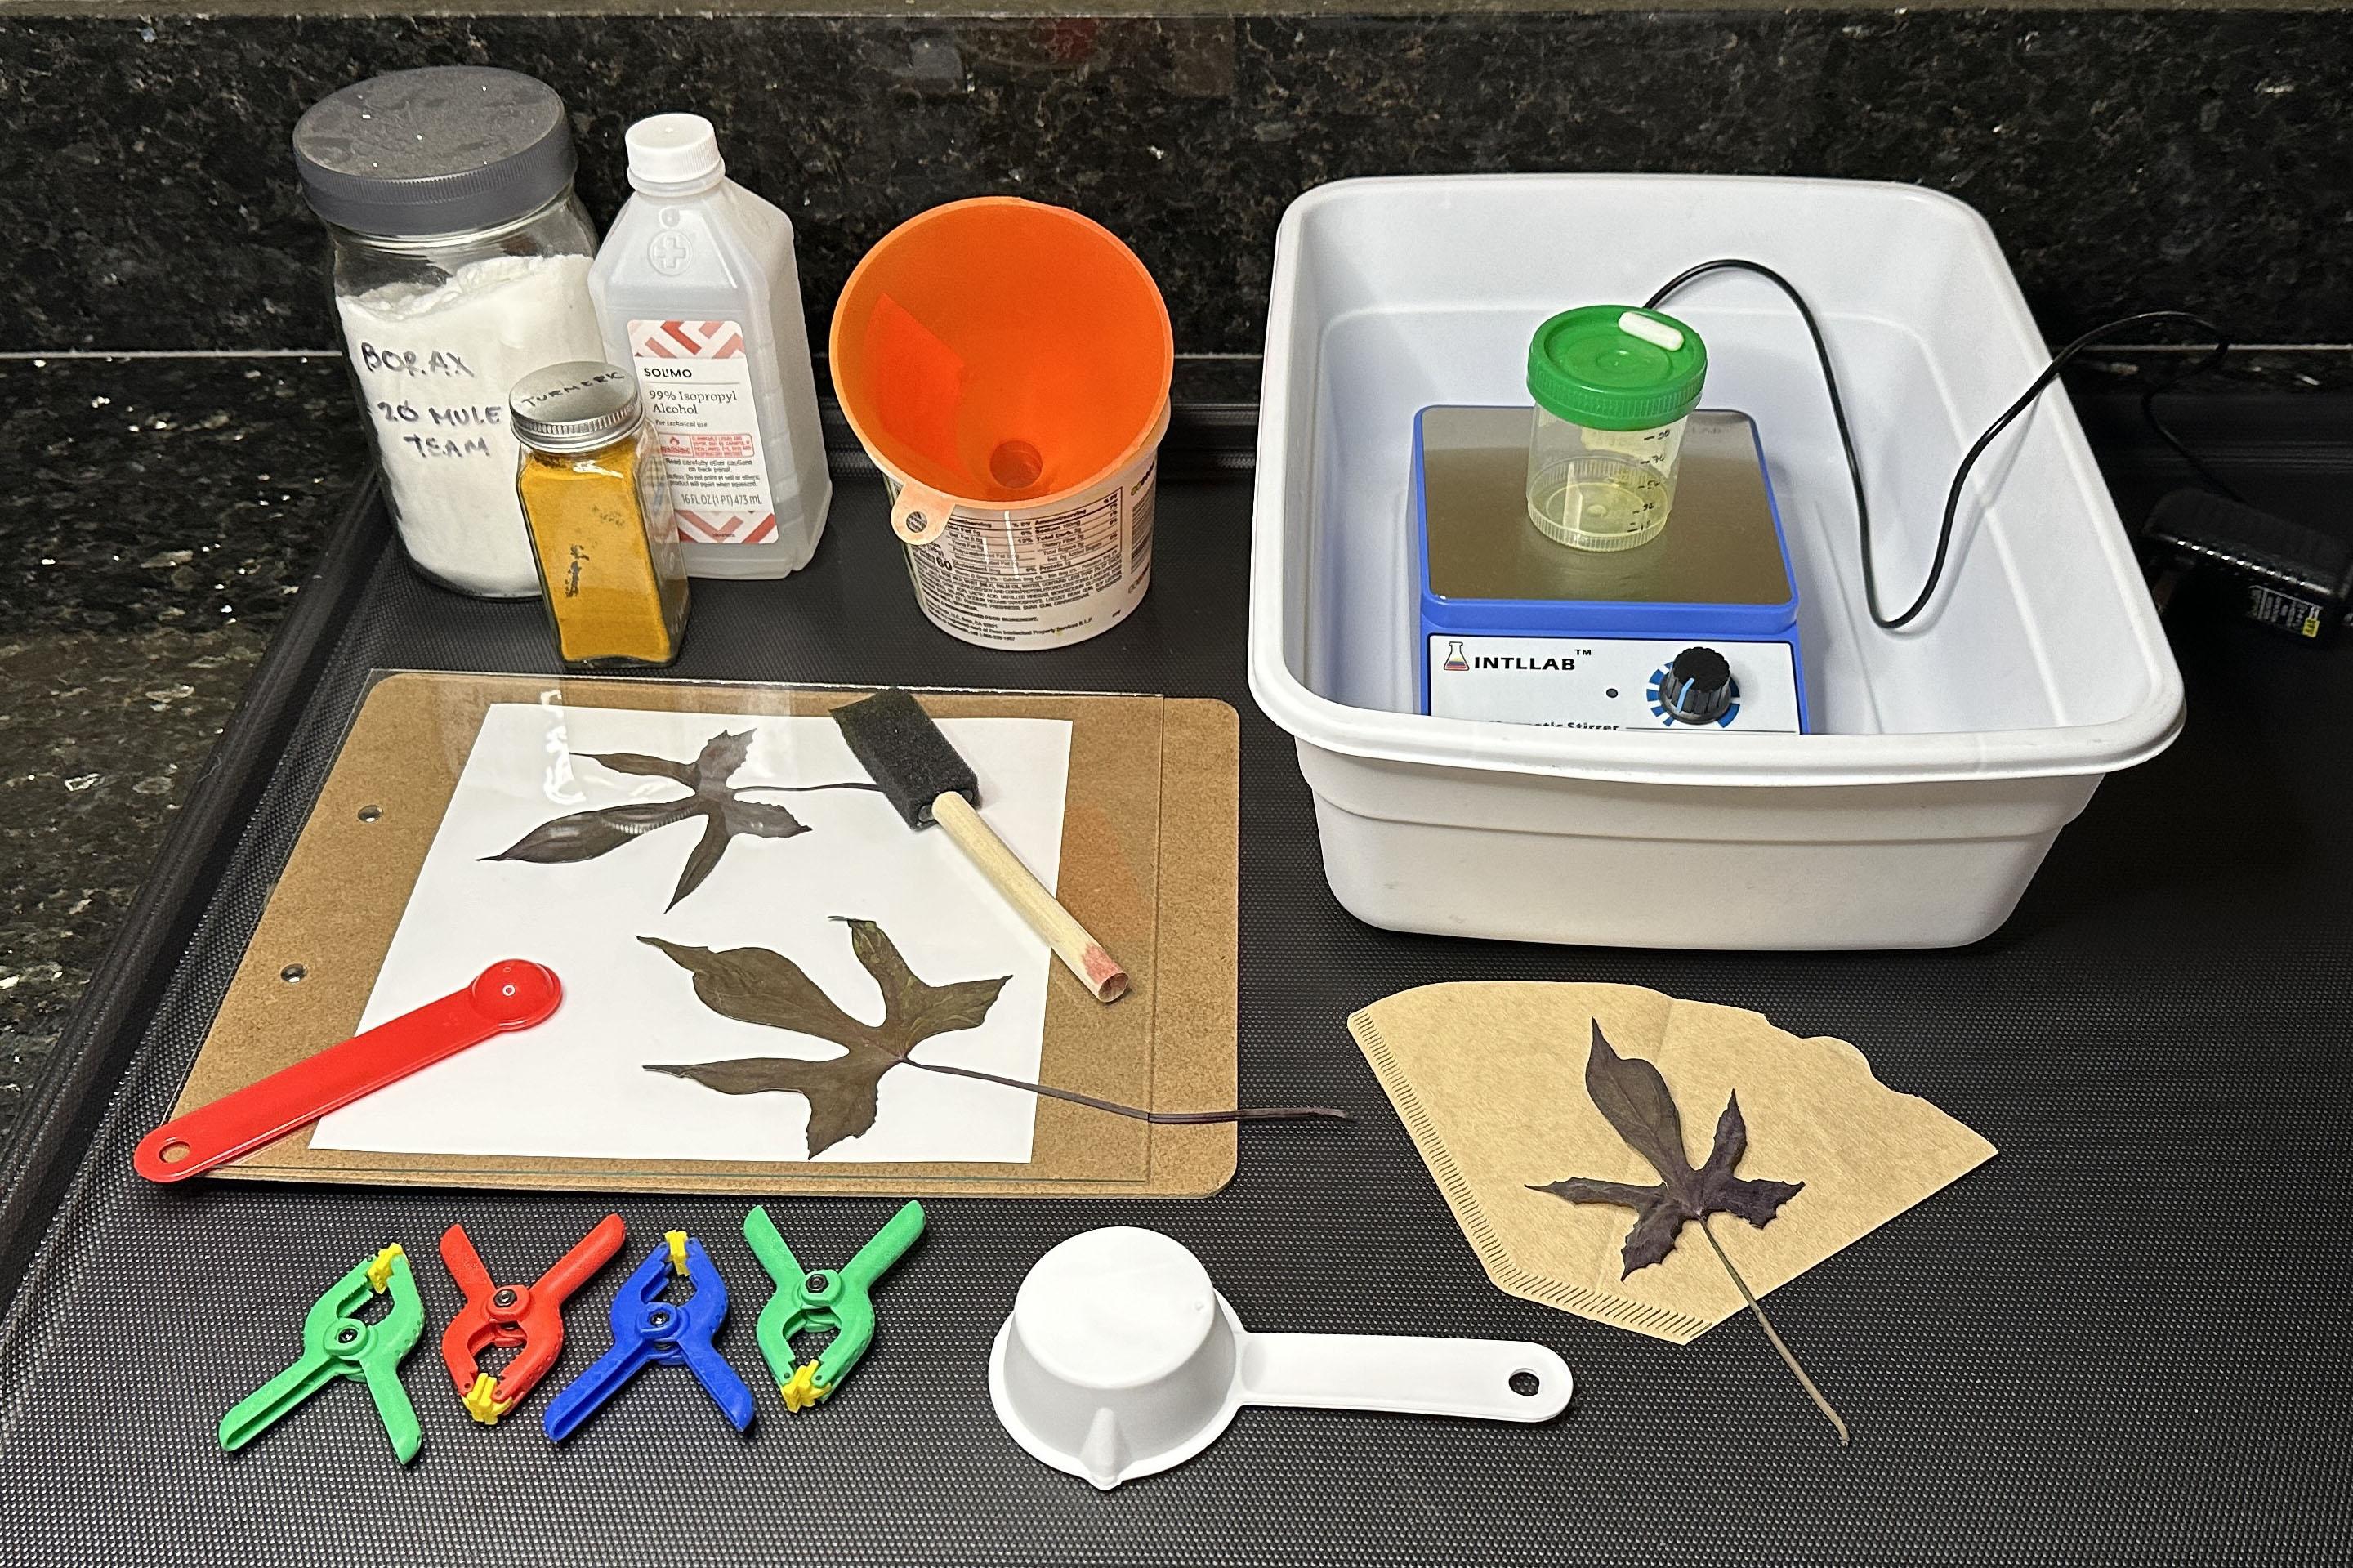
Supplies
- Turmeric powder/spice
- Isopropyl (any isopropyl alcohol you may have ) I used 99% because its what I had
- Borax -check the laundry detergent aisle
- Jar with lid
- Brush
- Paper
- Glass sheet large enough to cover your paper
- Clipboard (or other hard surface to sandwich the paper and subject with glass sheet)
- 4 craft or binder clips
- Measuring spoon
- Measuring cup
- Funnel
- Coffee Filter
- Small cup or bowl (anything the funnel can safely drain into without tipping over)
- A subject that is relatively flat like a leaf or flower
Optional:
- Gloves
- Protective drop cloth/plastic
- Stir plate
- Stir bar
Cúrcuma
Alcohol isopropílico
Bórax (se puede sustituir por bicarbonato de sodio)
Tarro con tapa
Pincel
Papel
Lámina de vidrio de 8,5 x 11 (el plexiglás es una alternativa más segura)
Portapapeles (u otra superficie dura para colocar el papel y el objeto)
4 pinzas
Cuchara medidora
Taza medidora
Embudo
Filtro de café
Taza o recipiente pequeño (cualquier cosa en la que el embudo pueda drenar sin que se vuelque)
Bandeja o recipiente para platos
Un objeto relativamente plano como una hoja o una flor
Toallas de papel
Herramientas opcionales:
Guantes
Tela protectora/plástico
Placa de agitación
Barra de agitación
Mix Turmeric and Alcohol / Mezcla De Cúrcuma Y Alcohol
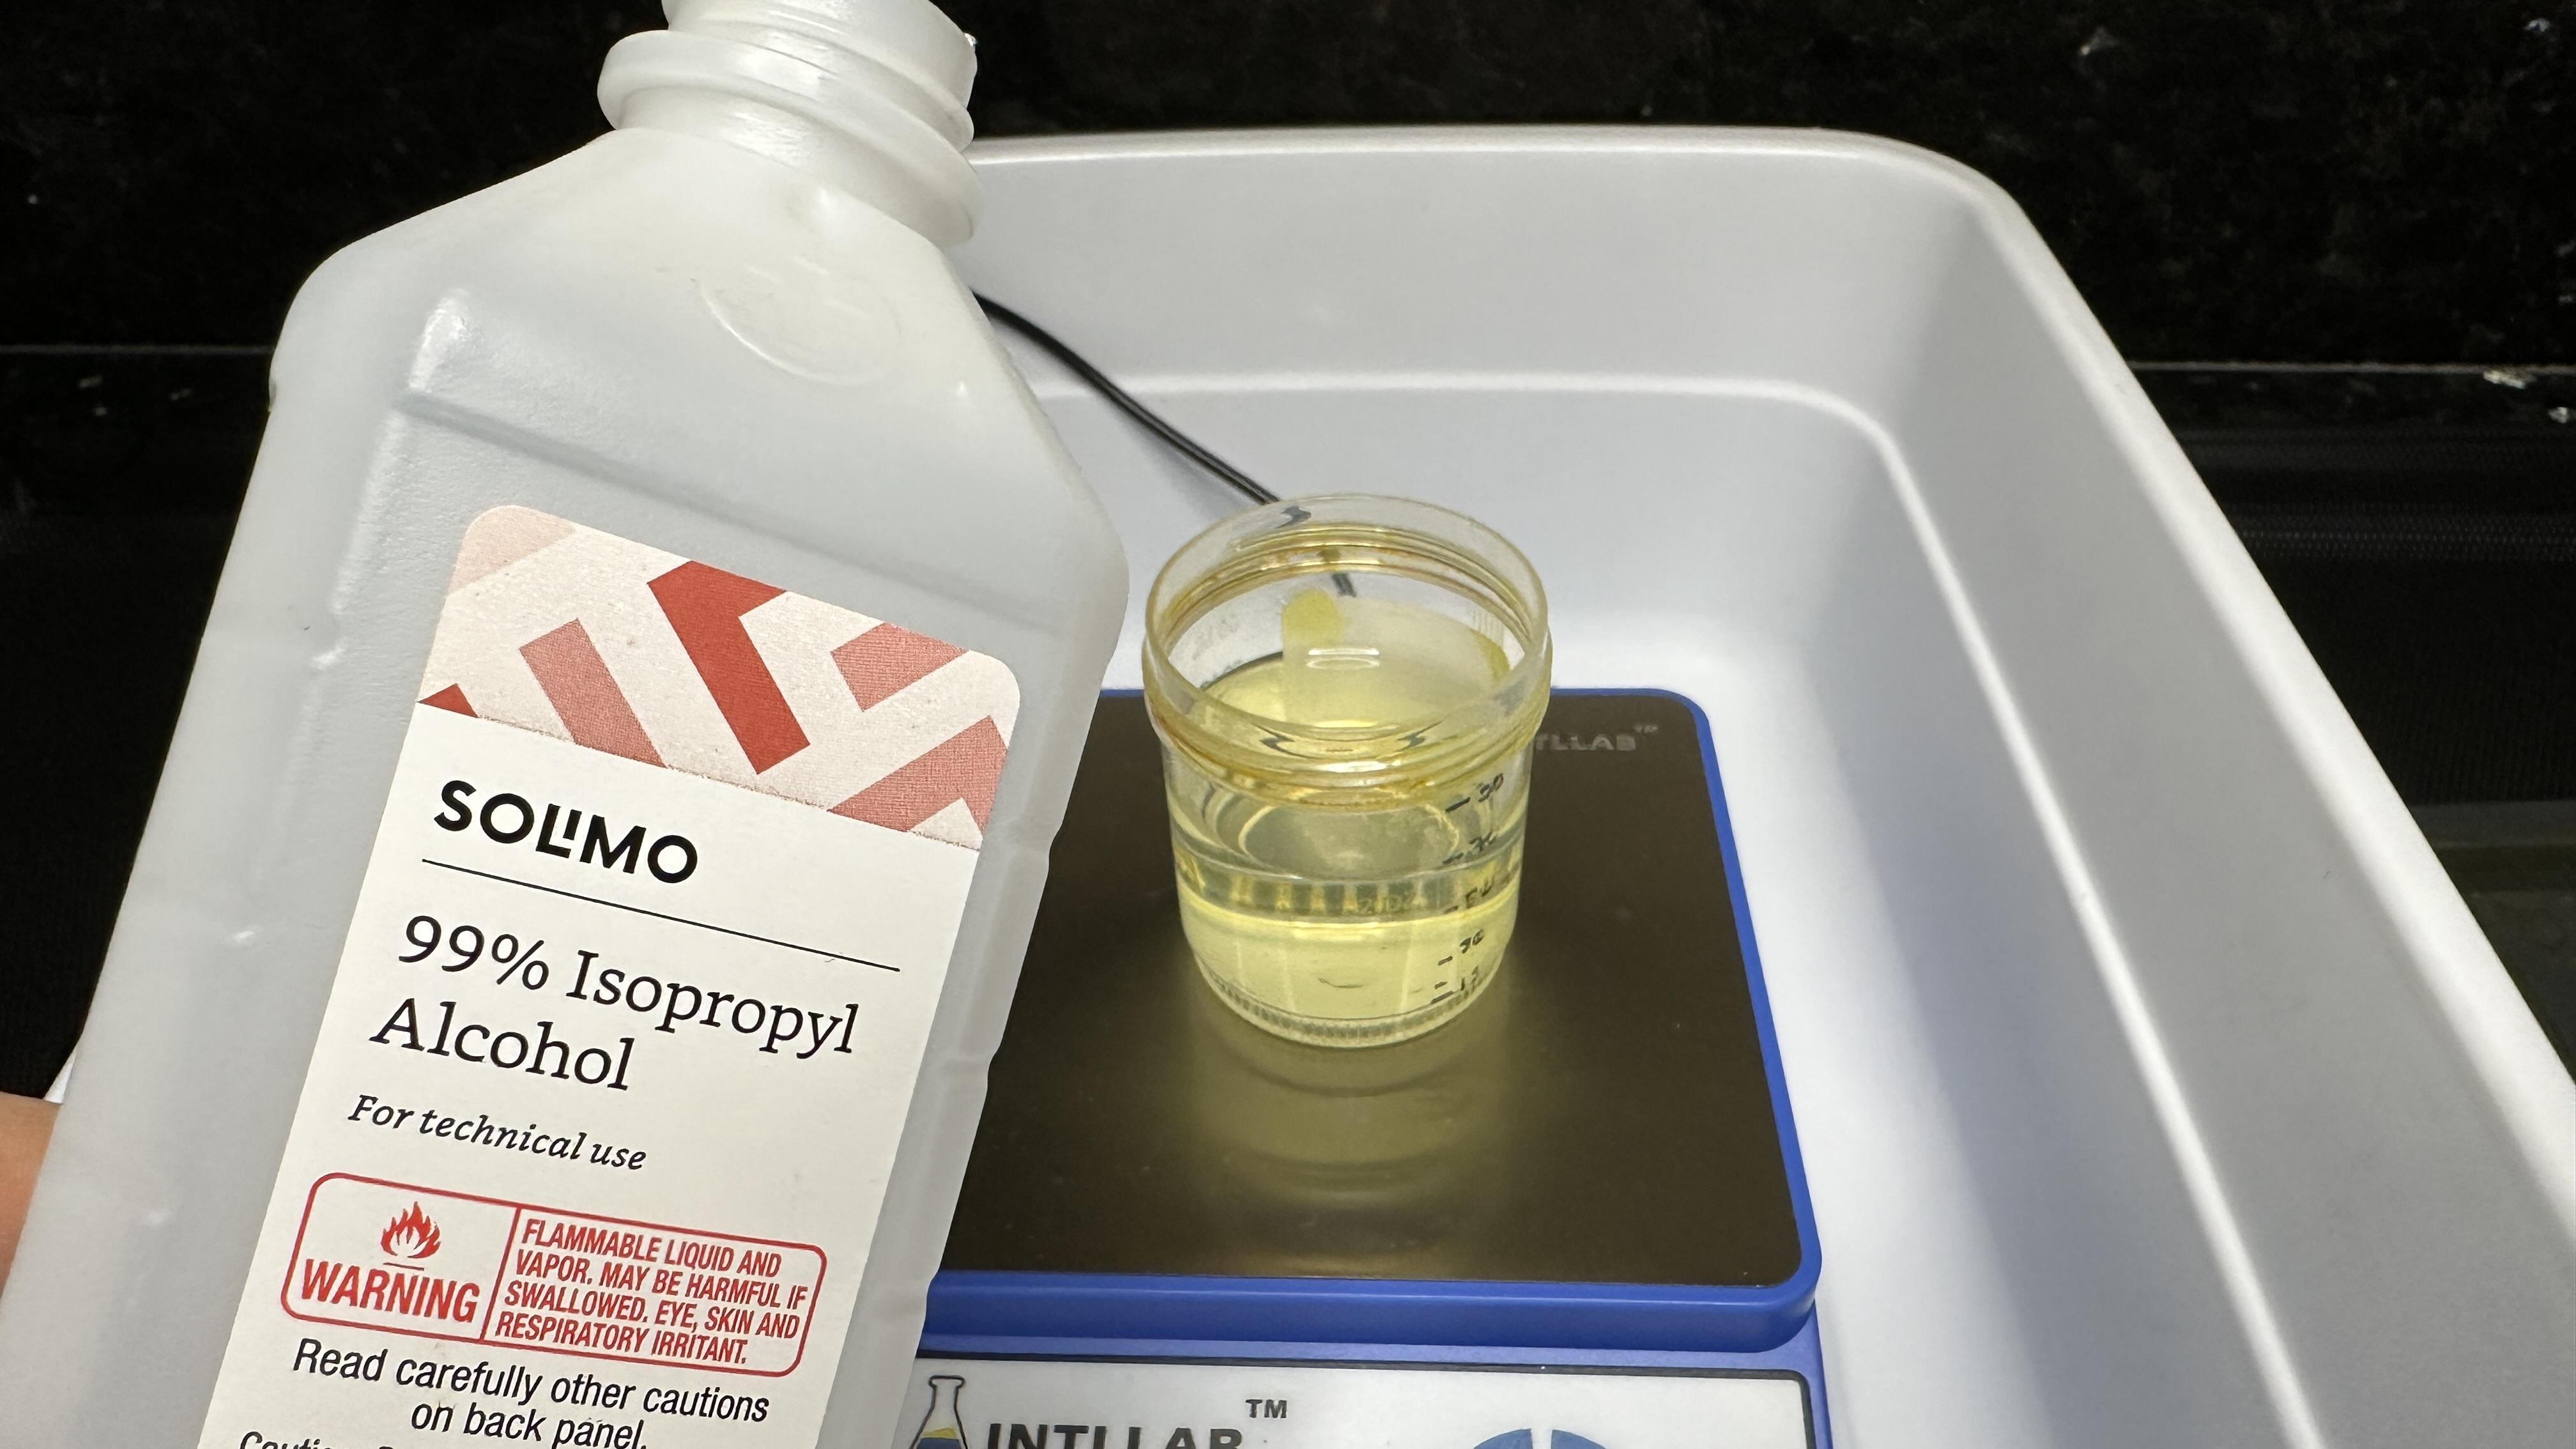
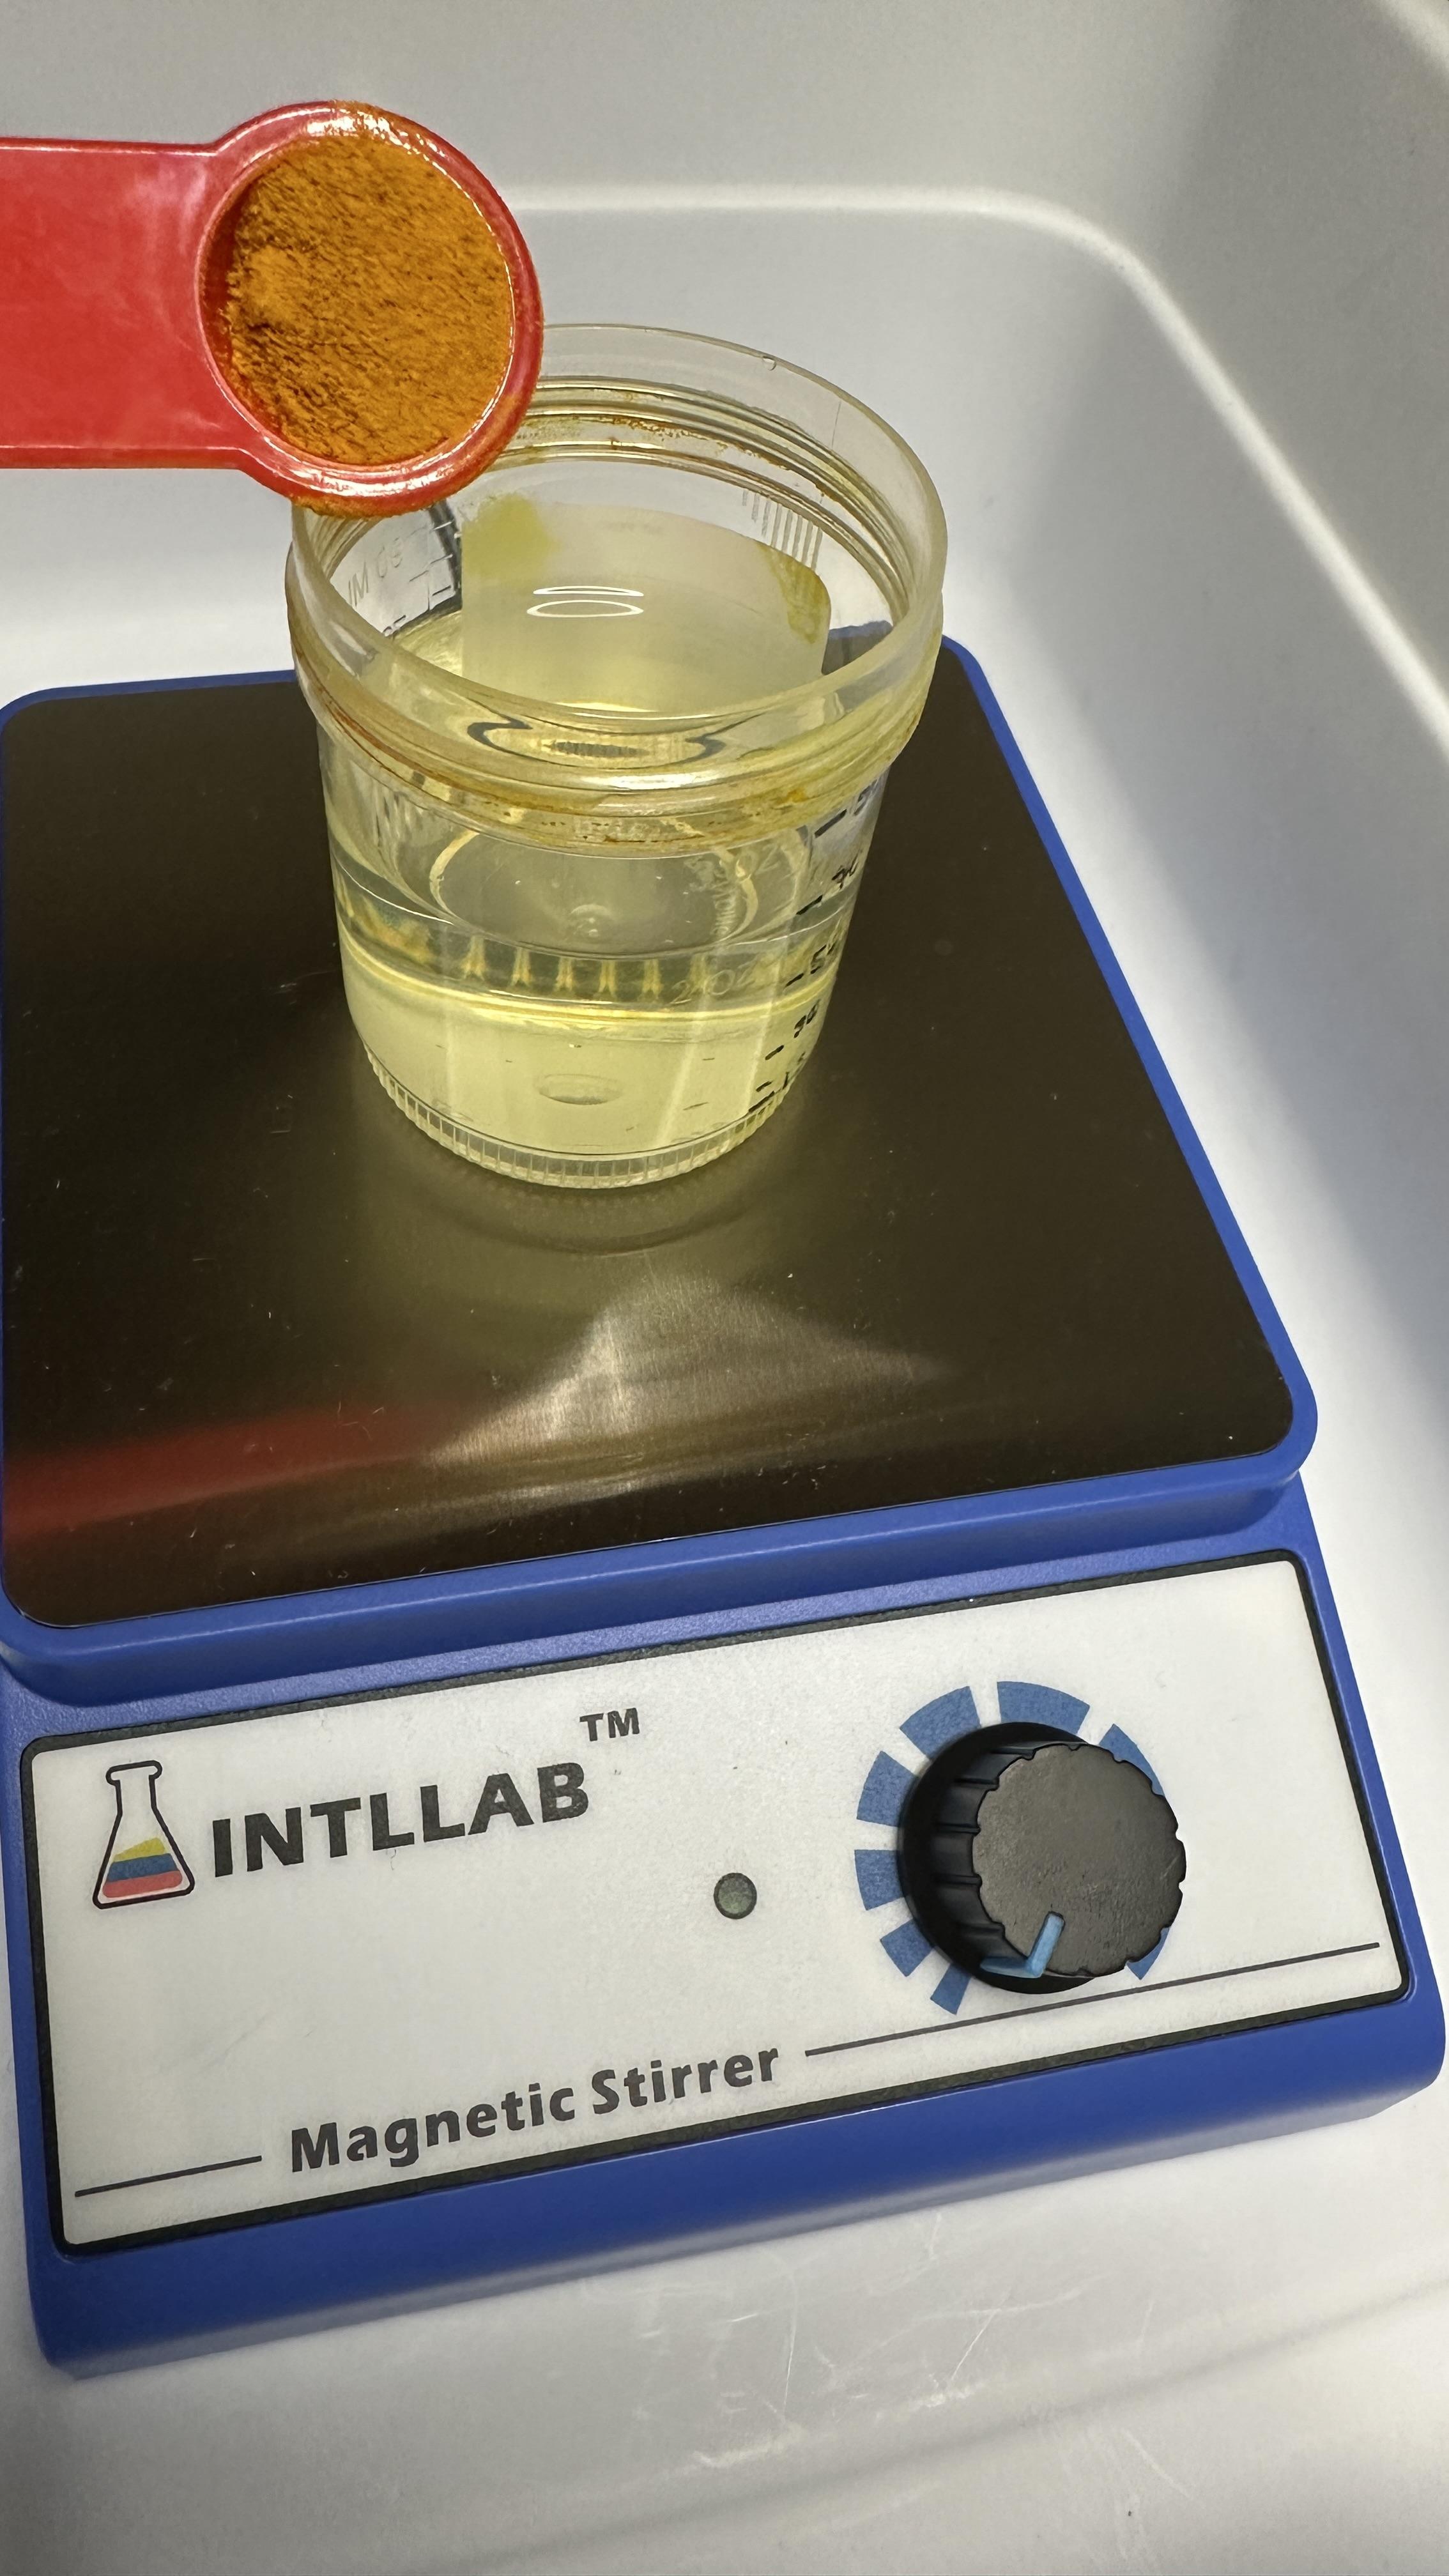
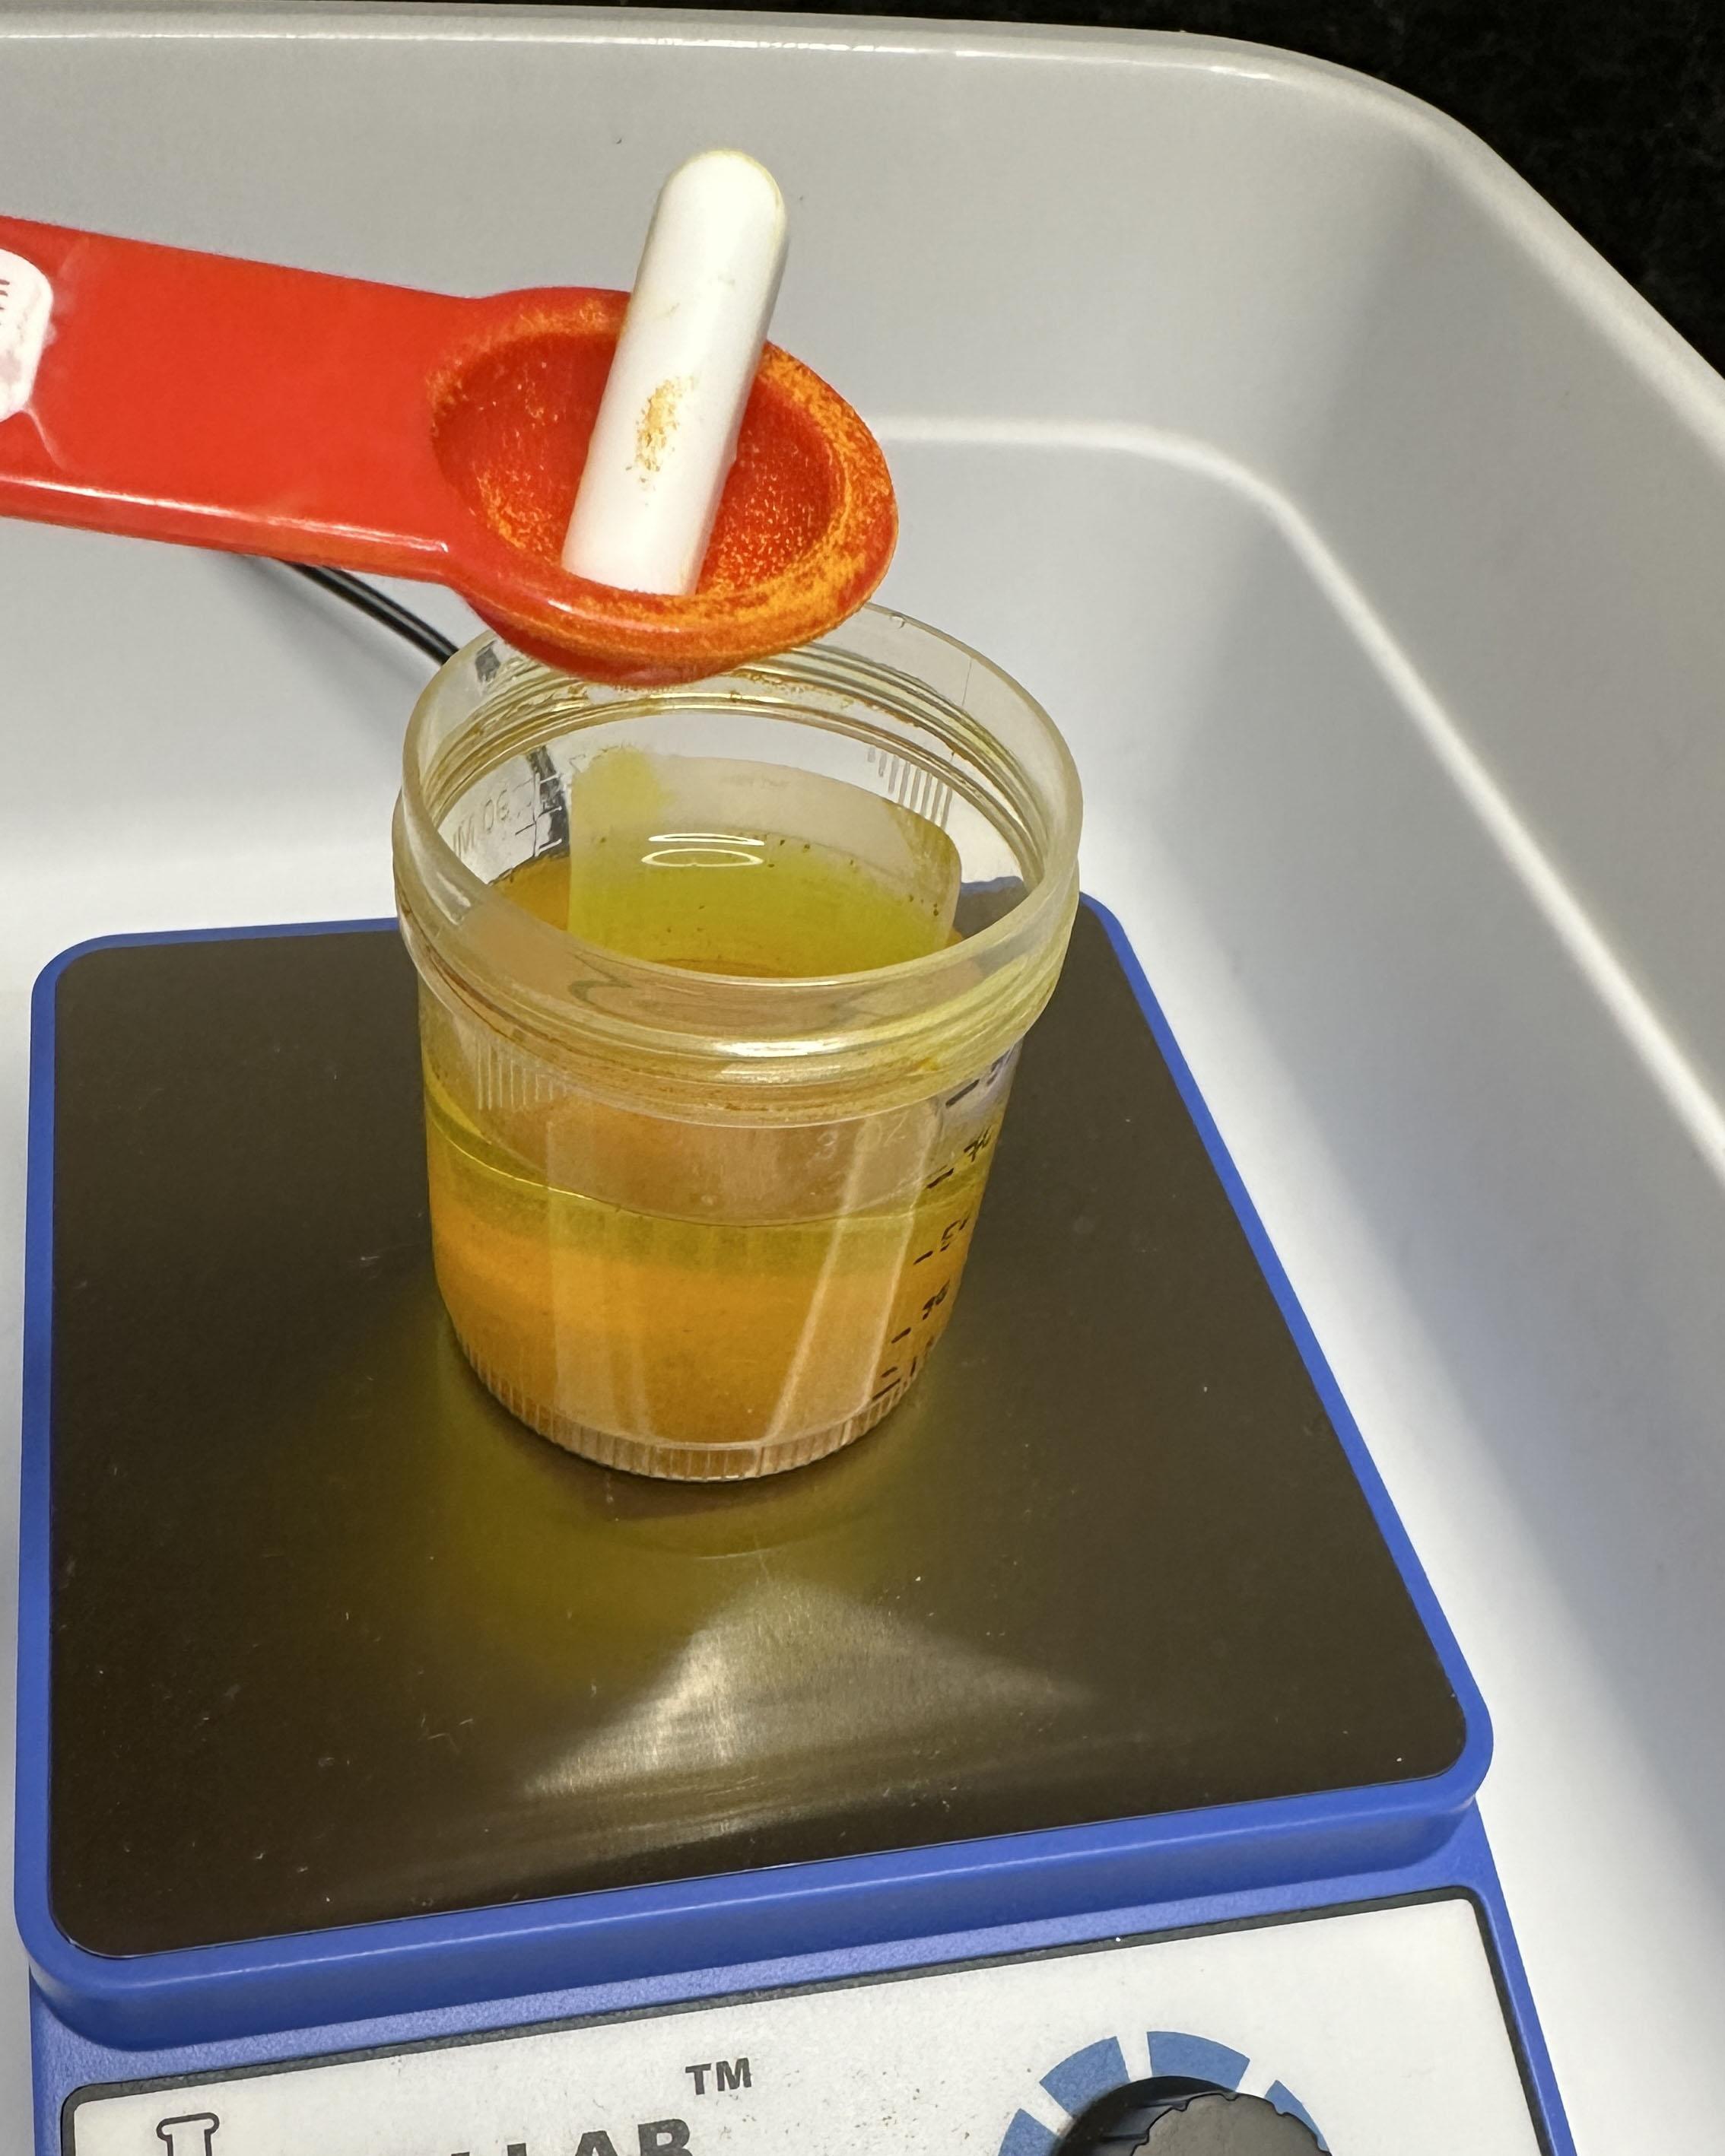
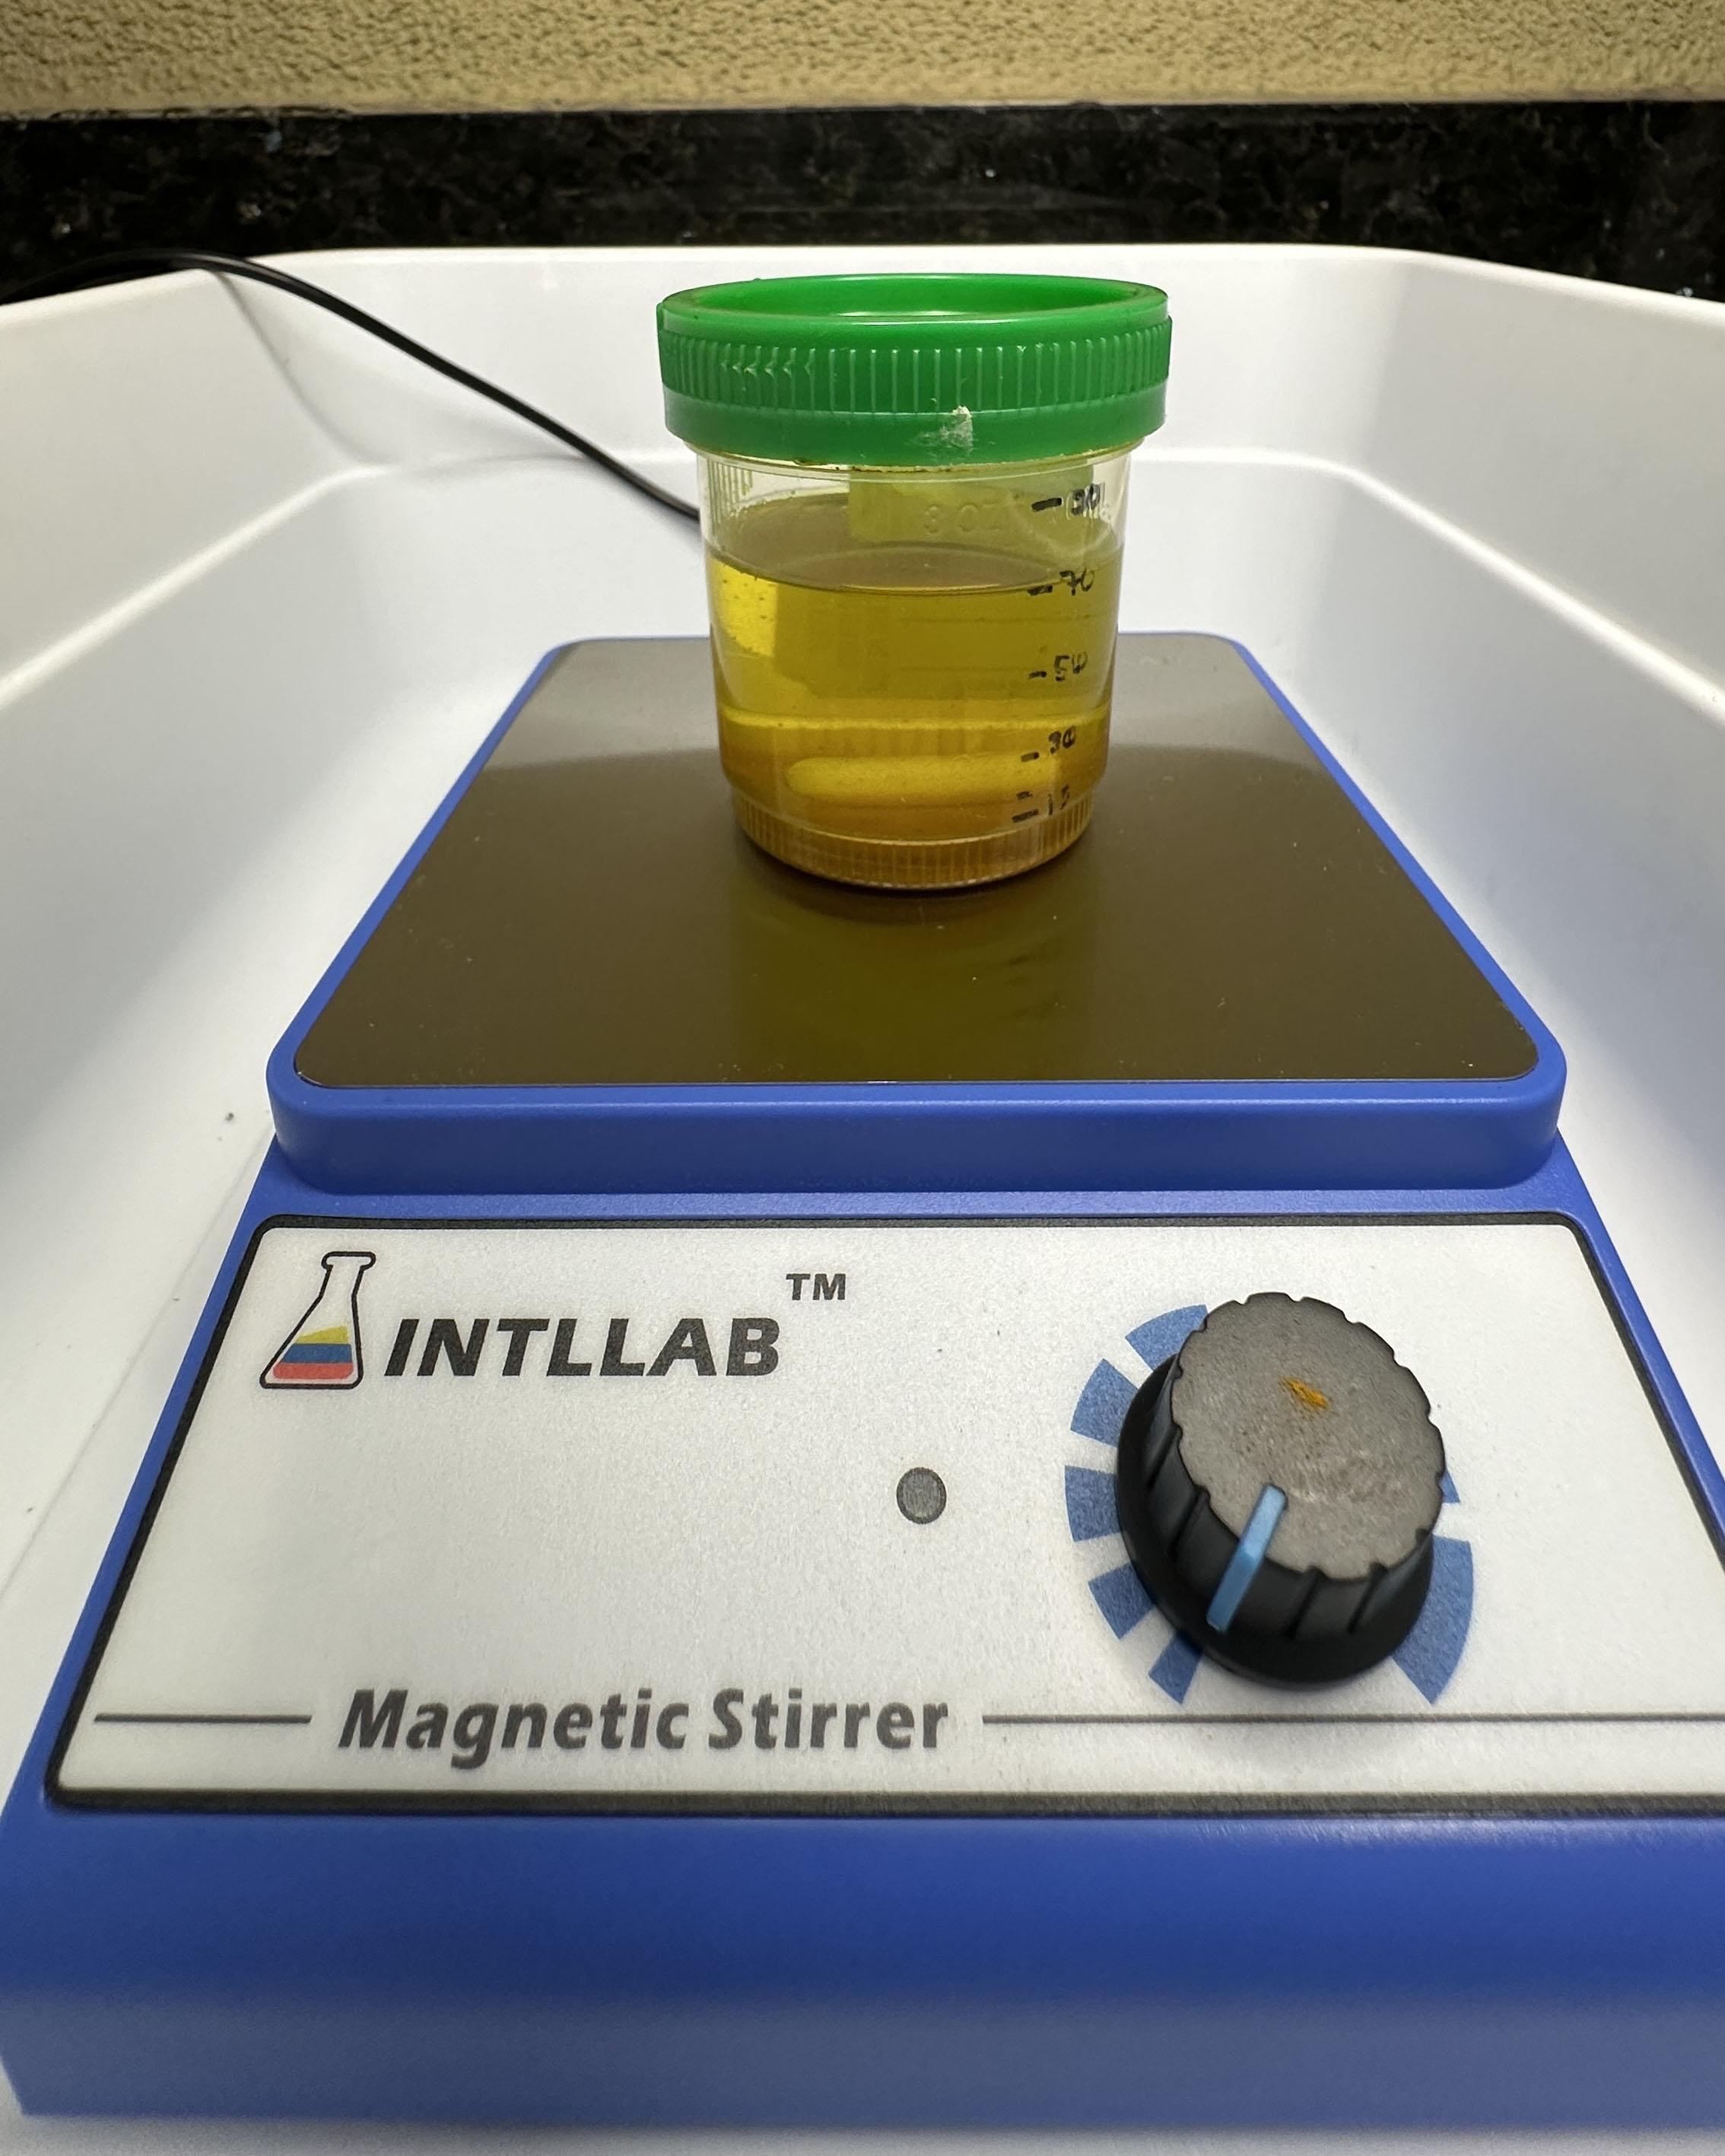
We are making a light sensitive dye, so carry out this process in subdued light until ready to expose the paper.
In the jar add 70 ml of alcohol and 1 tablespoon turmeric powder, add stir bar and close the lid
Closing the lid keeps the alcohol from evaporating, so do not skip this step
Estamos haciendo un tinte sensible a la luz, así que realiza este proceso con luz tenue hasta que estés listo para exponer el papel.
En el frasco, agrega 70 ml de alcohol y 1 cucharada de cúrcuma en polvo, agrega la varilla agitadora y cierra la tapa.
Cerrar la tapa evita que el alcohol se evapore, así que no te saltes este paso.
Stir / Revolver
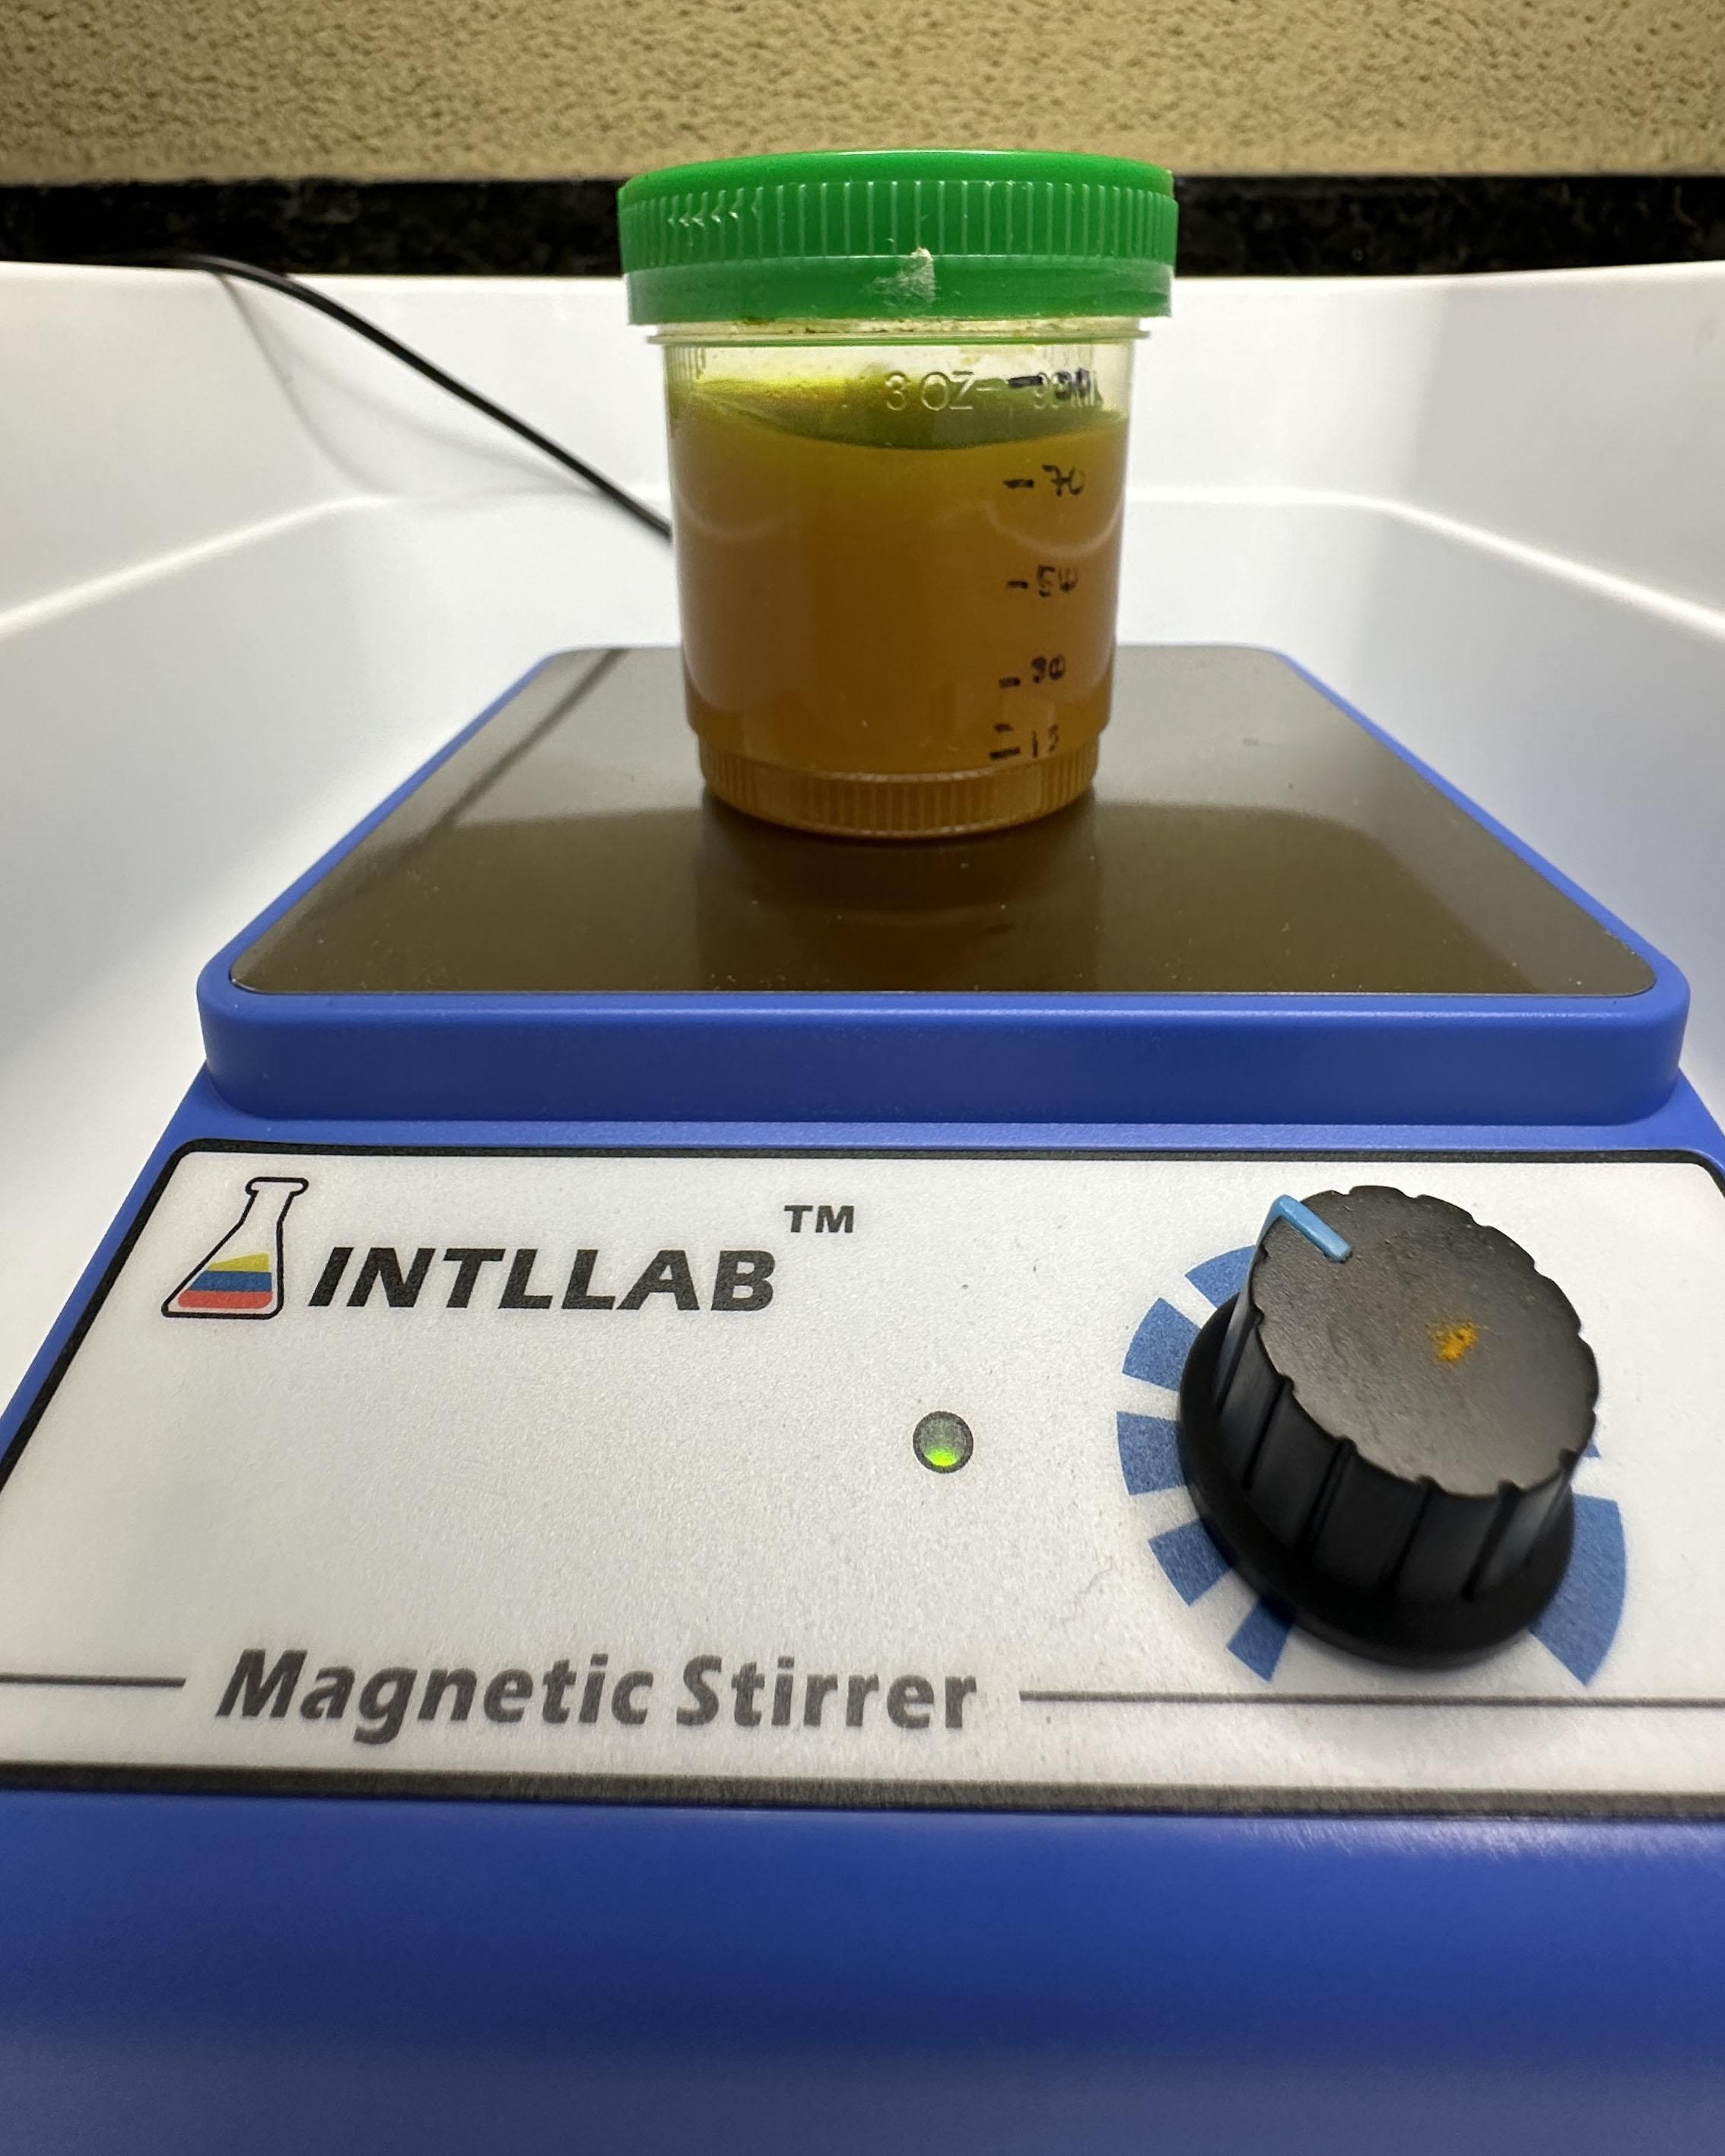
If using a stir plate: stir the suspension for 20 minutes at a relatively low speed that keeps the turmeric powder suspended in the alcohol.
If you do not have a stir plate, you can simply stir with a spoon 3-4 times over 20-30 minutes. Take care to close the lid after every stirring.
Si utiliza una placa agitadora: revuelva la suspensión durante 20 minutos a una velocidad relativamente baja que mantenga el polvo de cúrcuma suspendido en el alcohol.
Si no tiene una placa agitadora, puede simplemente revolver con una cuchara 3 o 4 veces durante 20 o 30 minutos. Tenga cuidado de cerrar la tapa después de cada agitación.
Filter / Filtrar
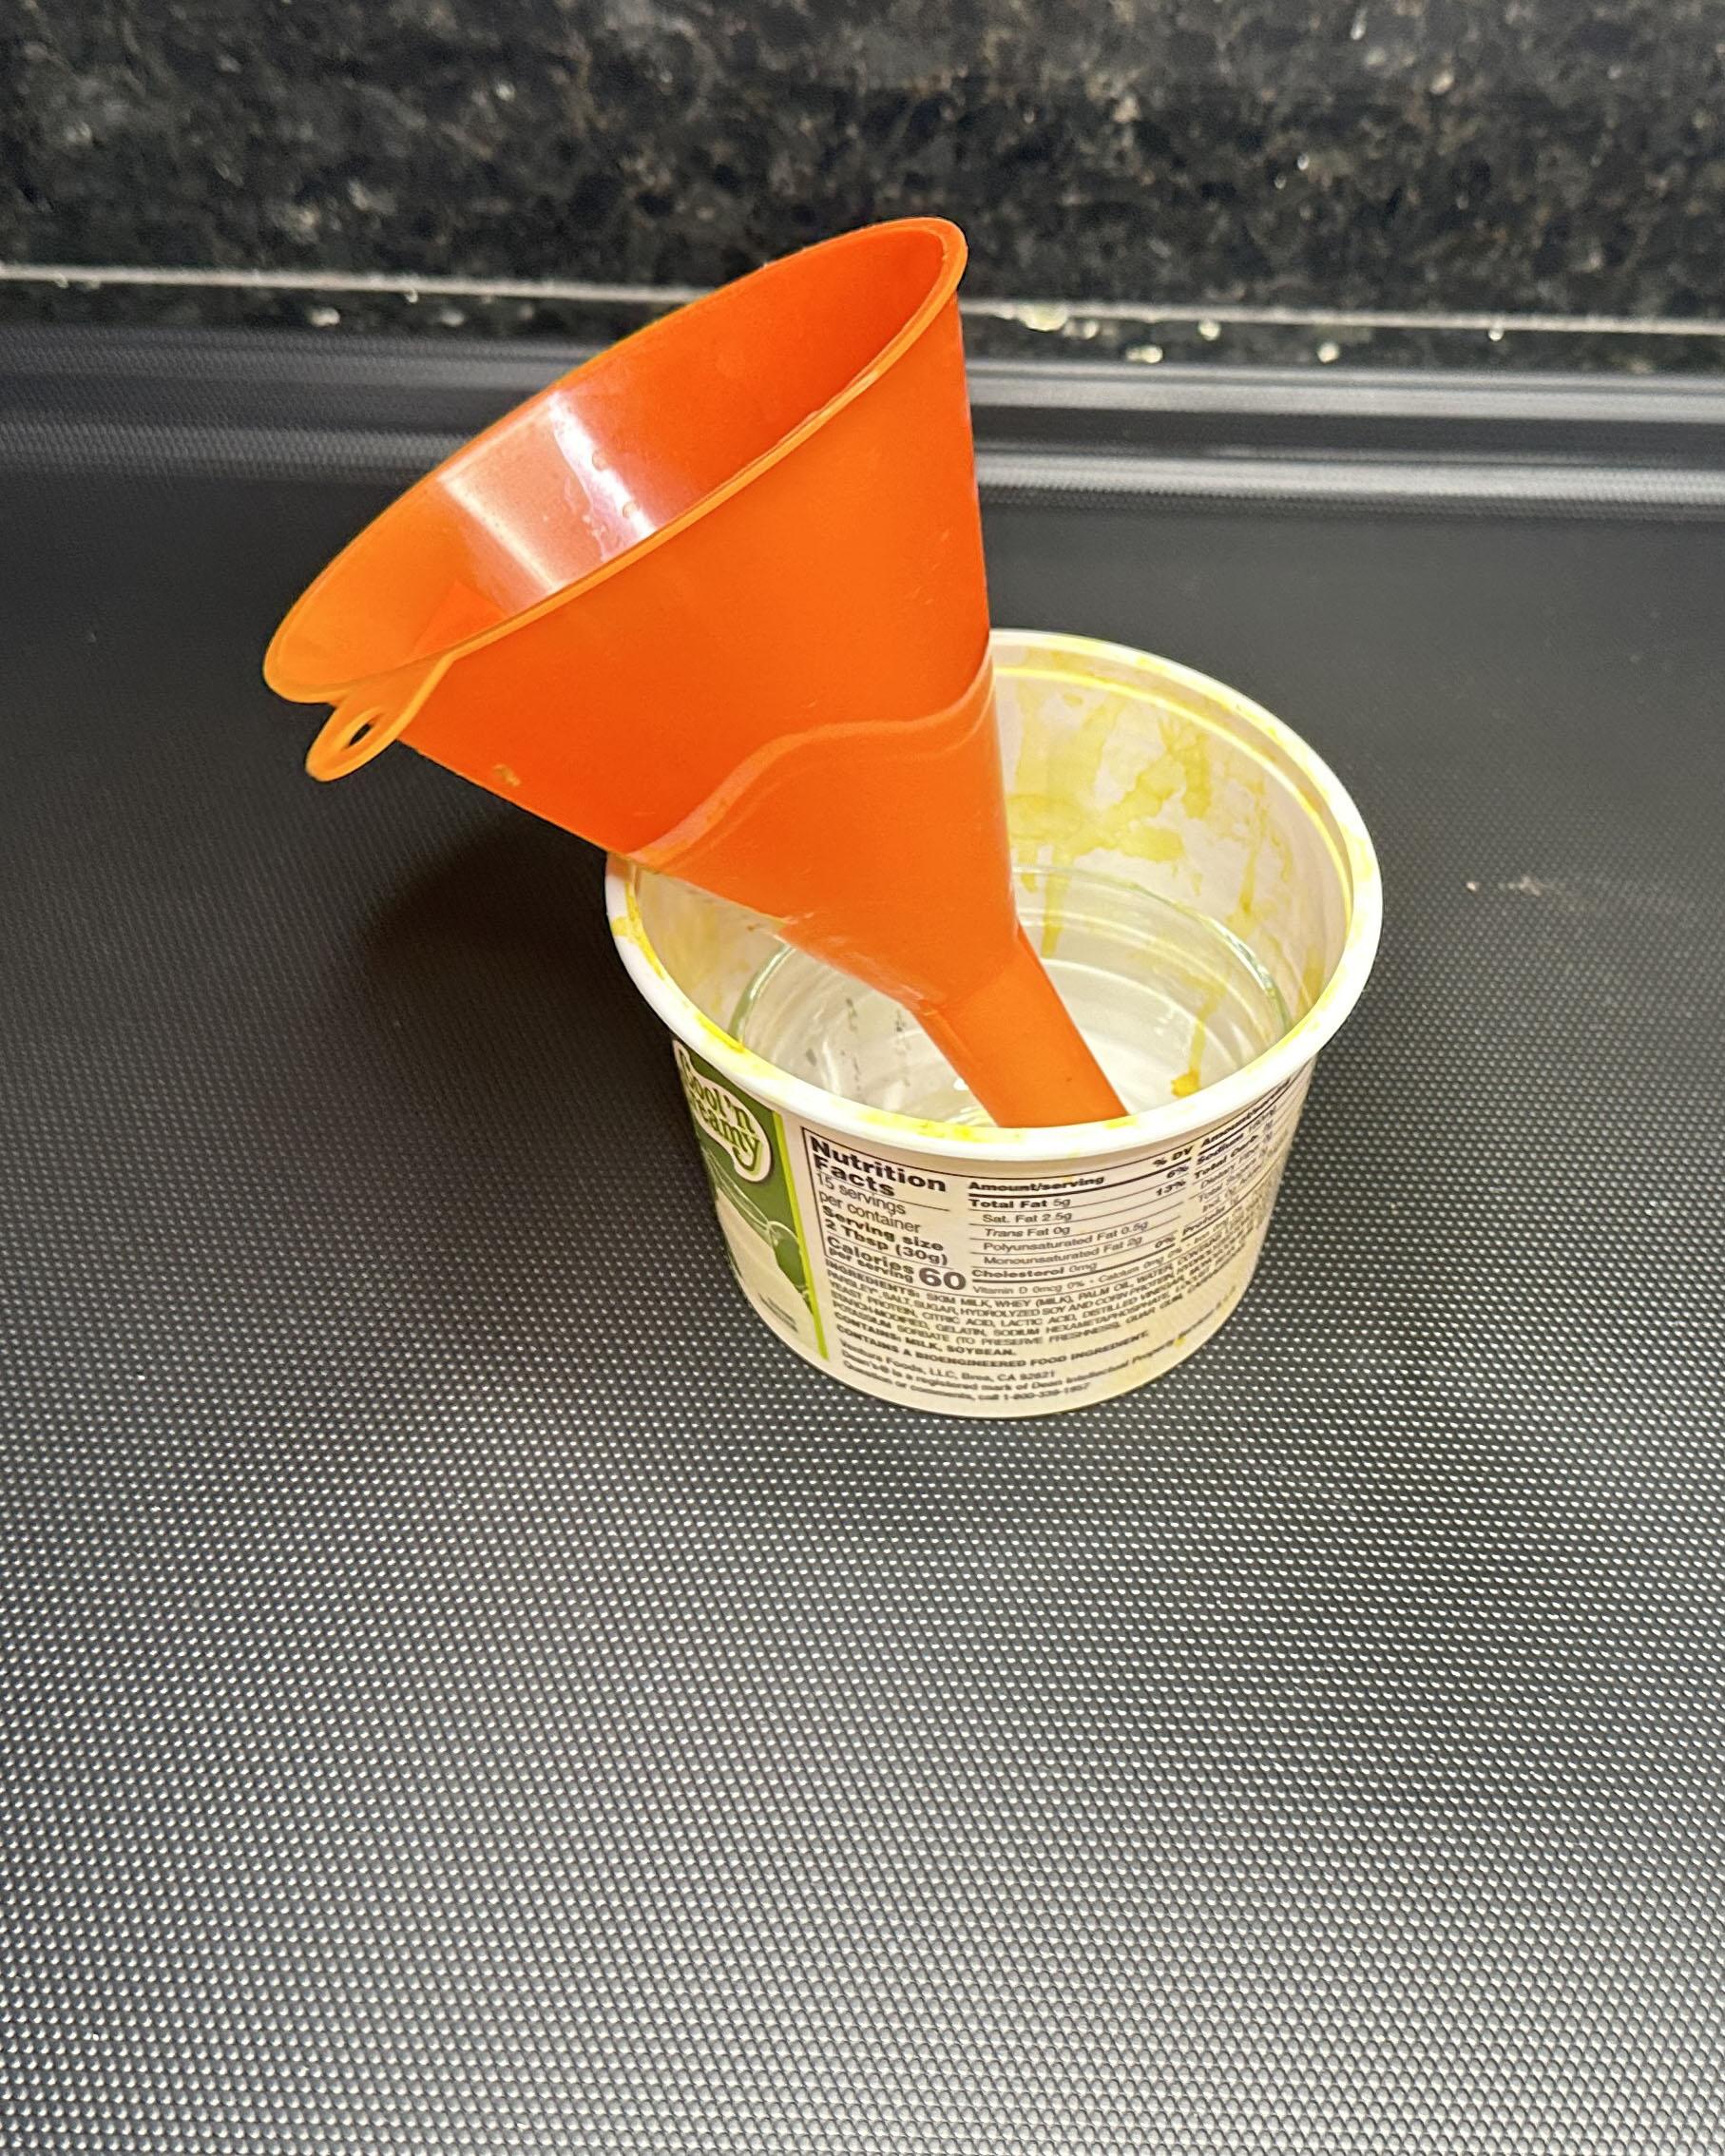
Place the funnel into the small cup or bowl to catch the dye.
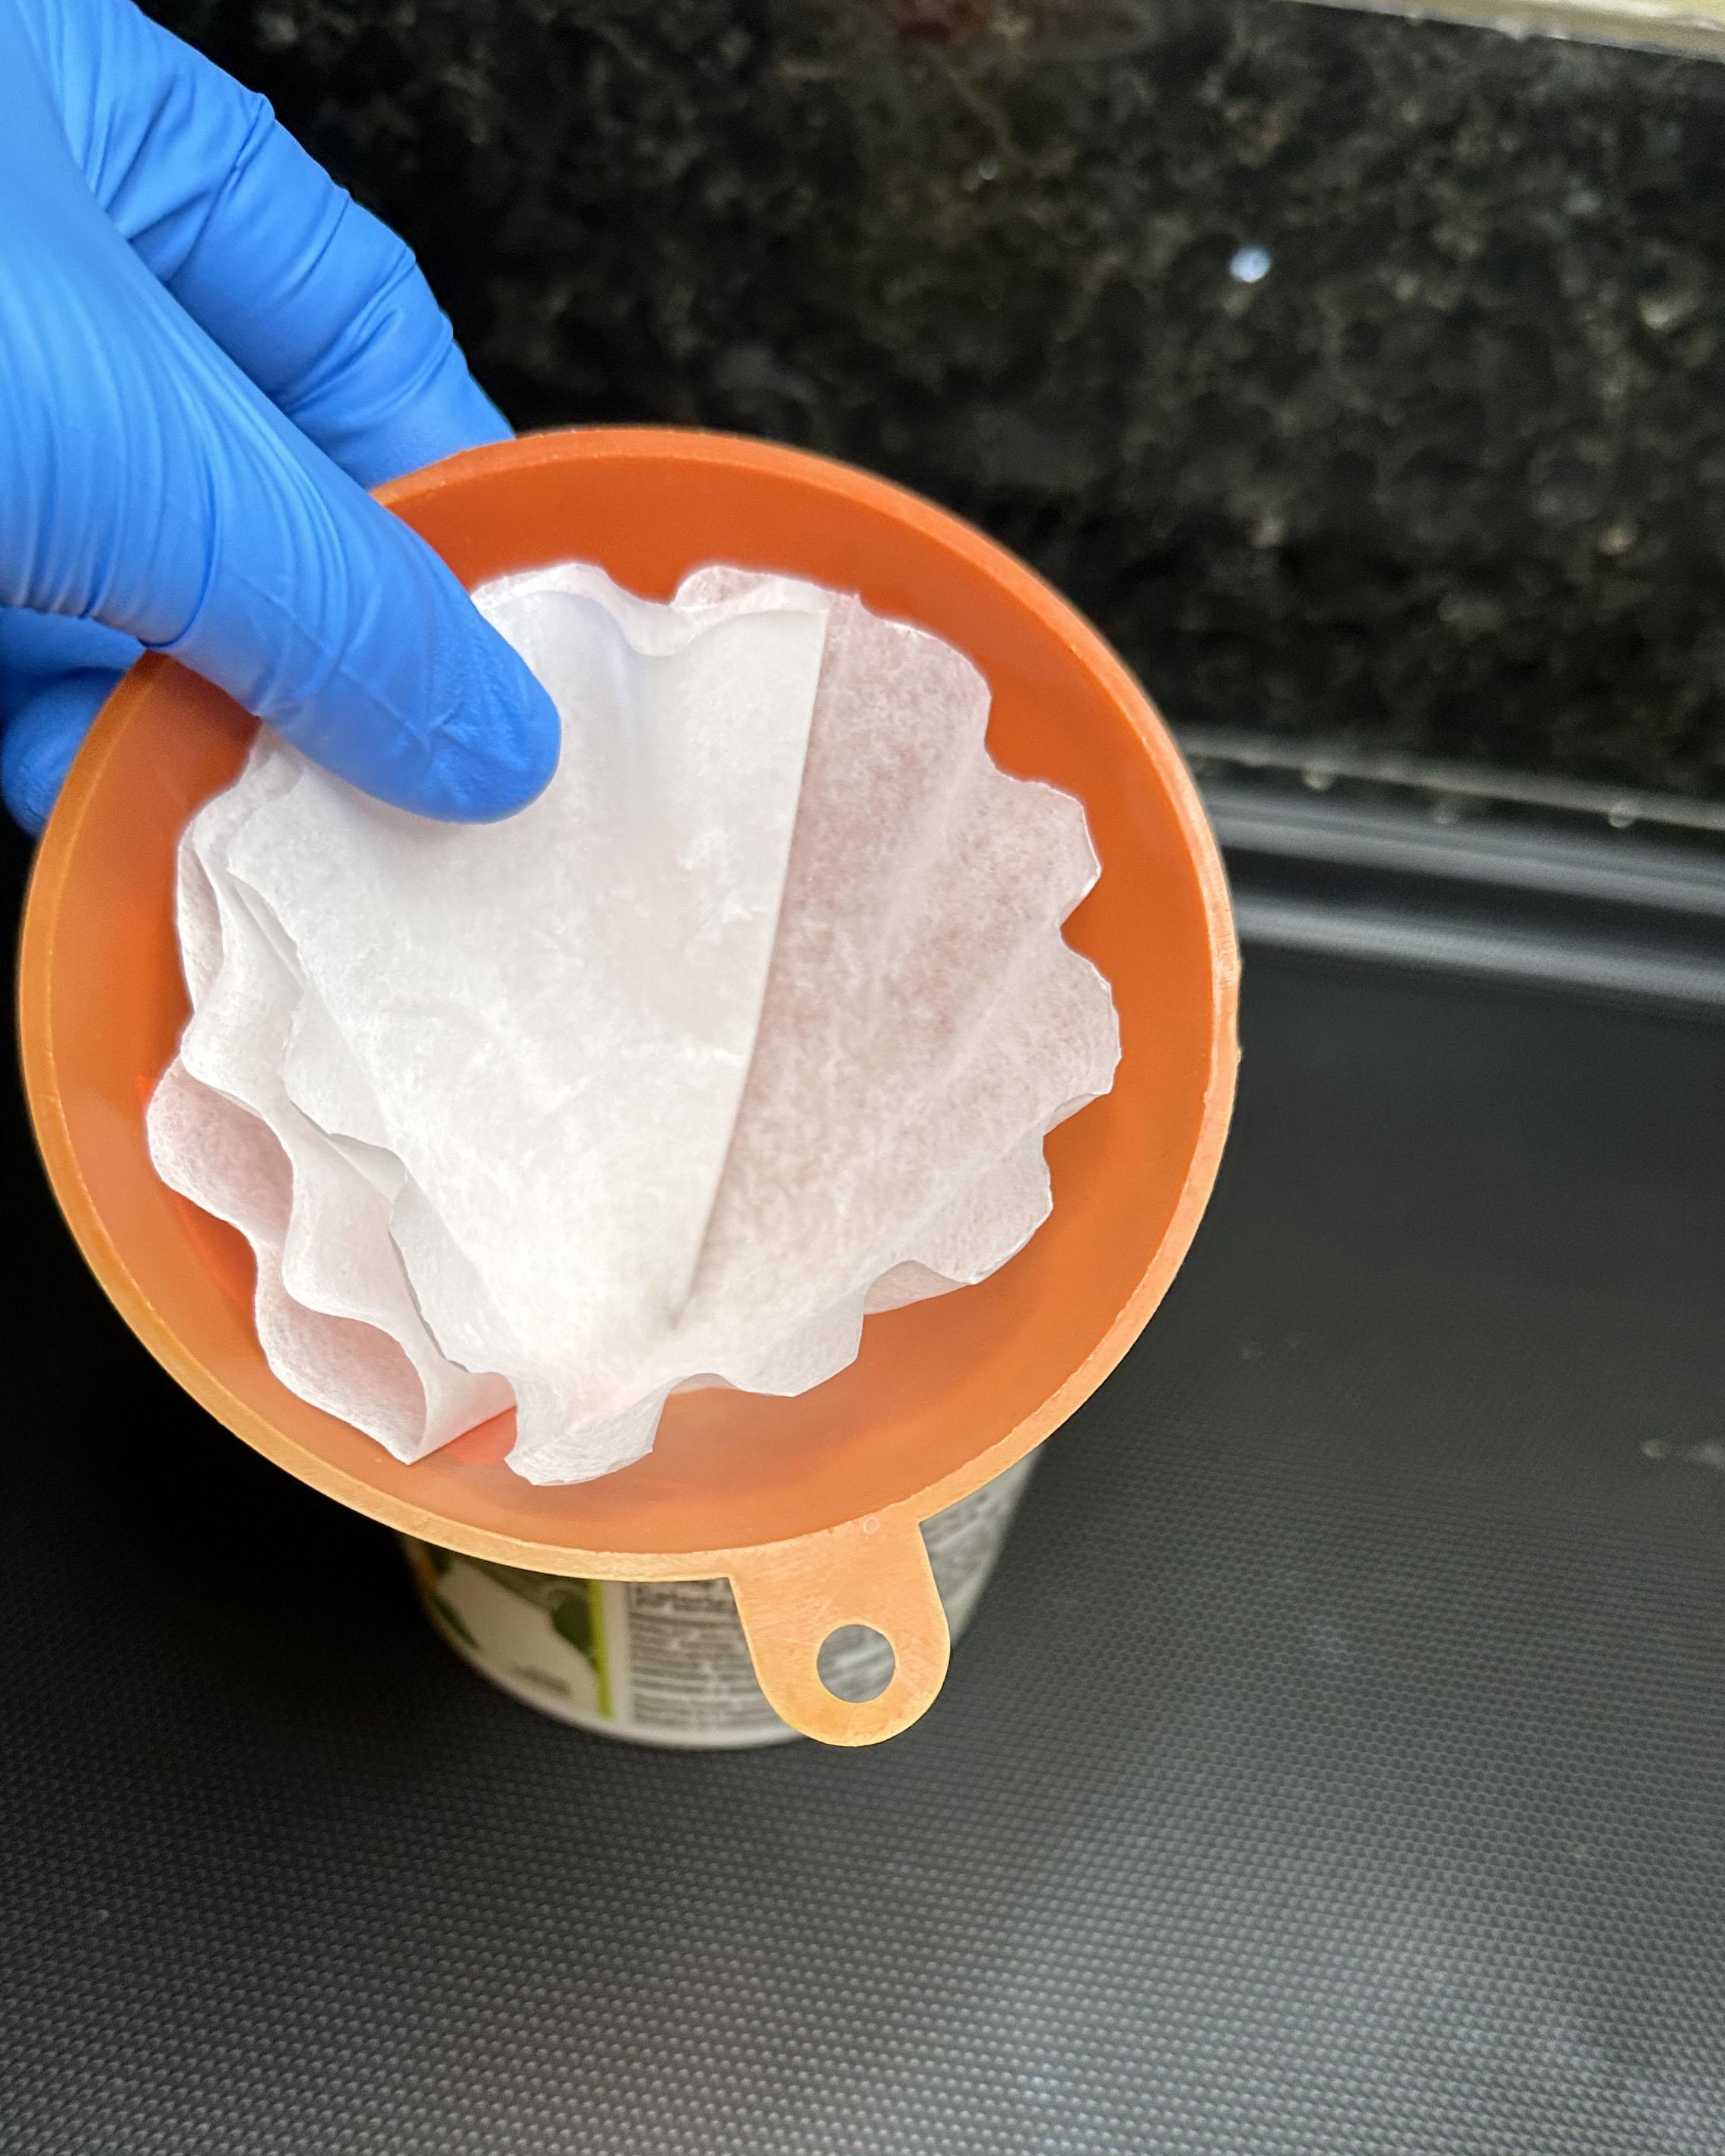
Place a coffee filter in the funnel.
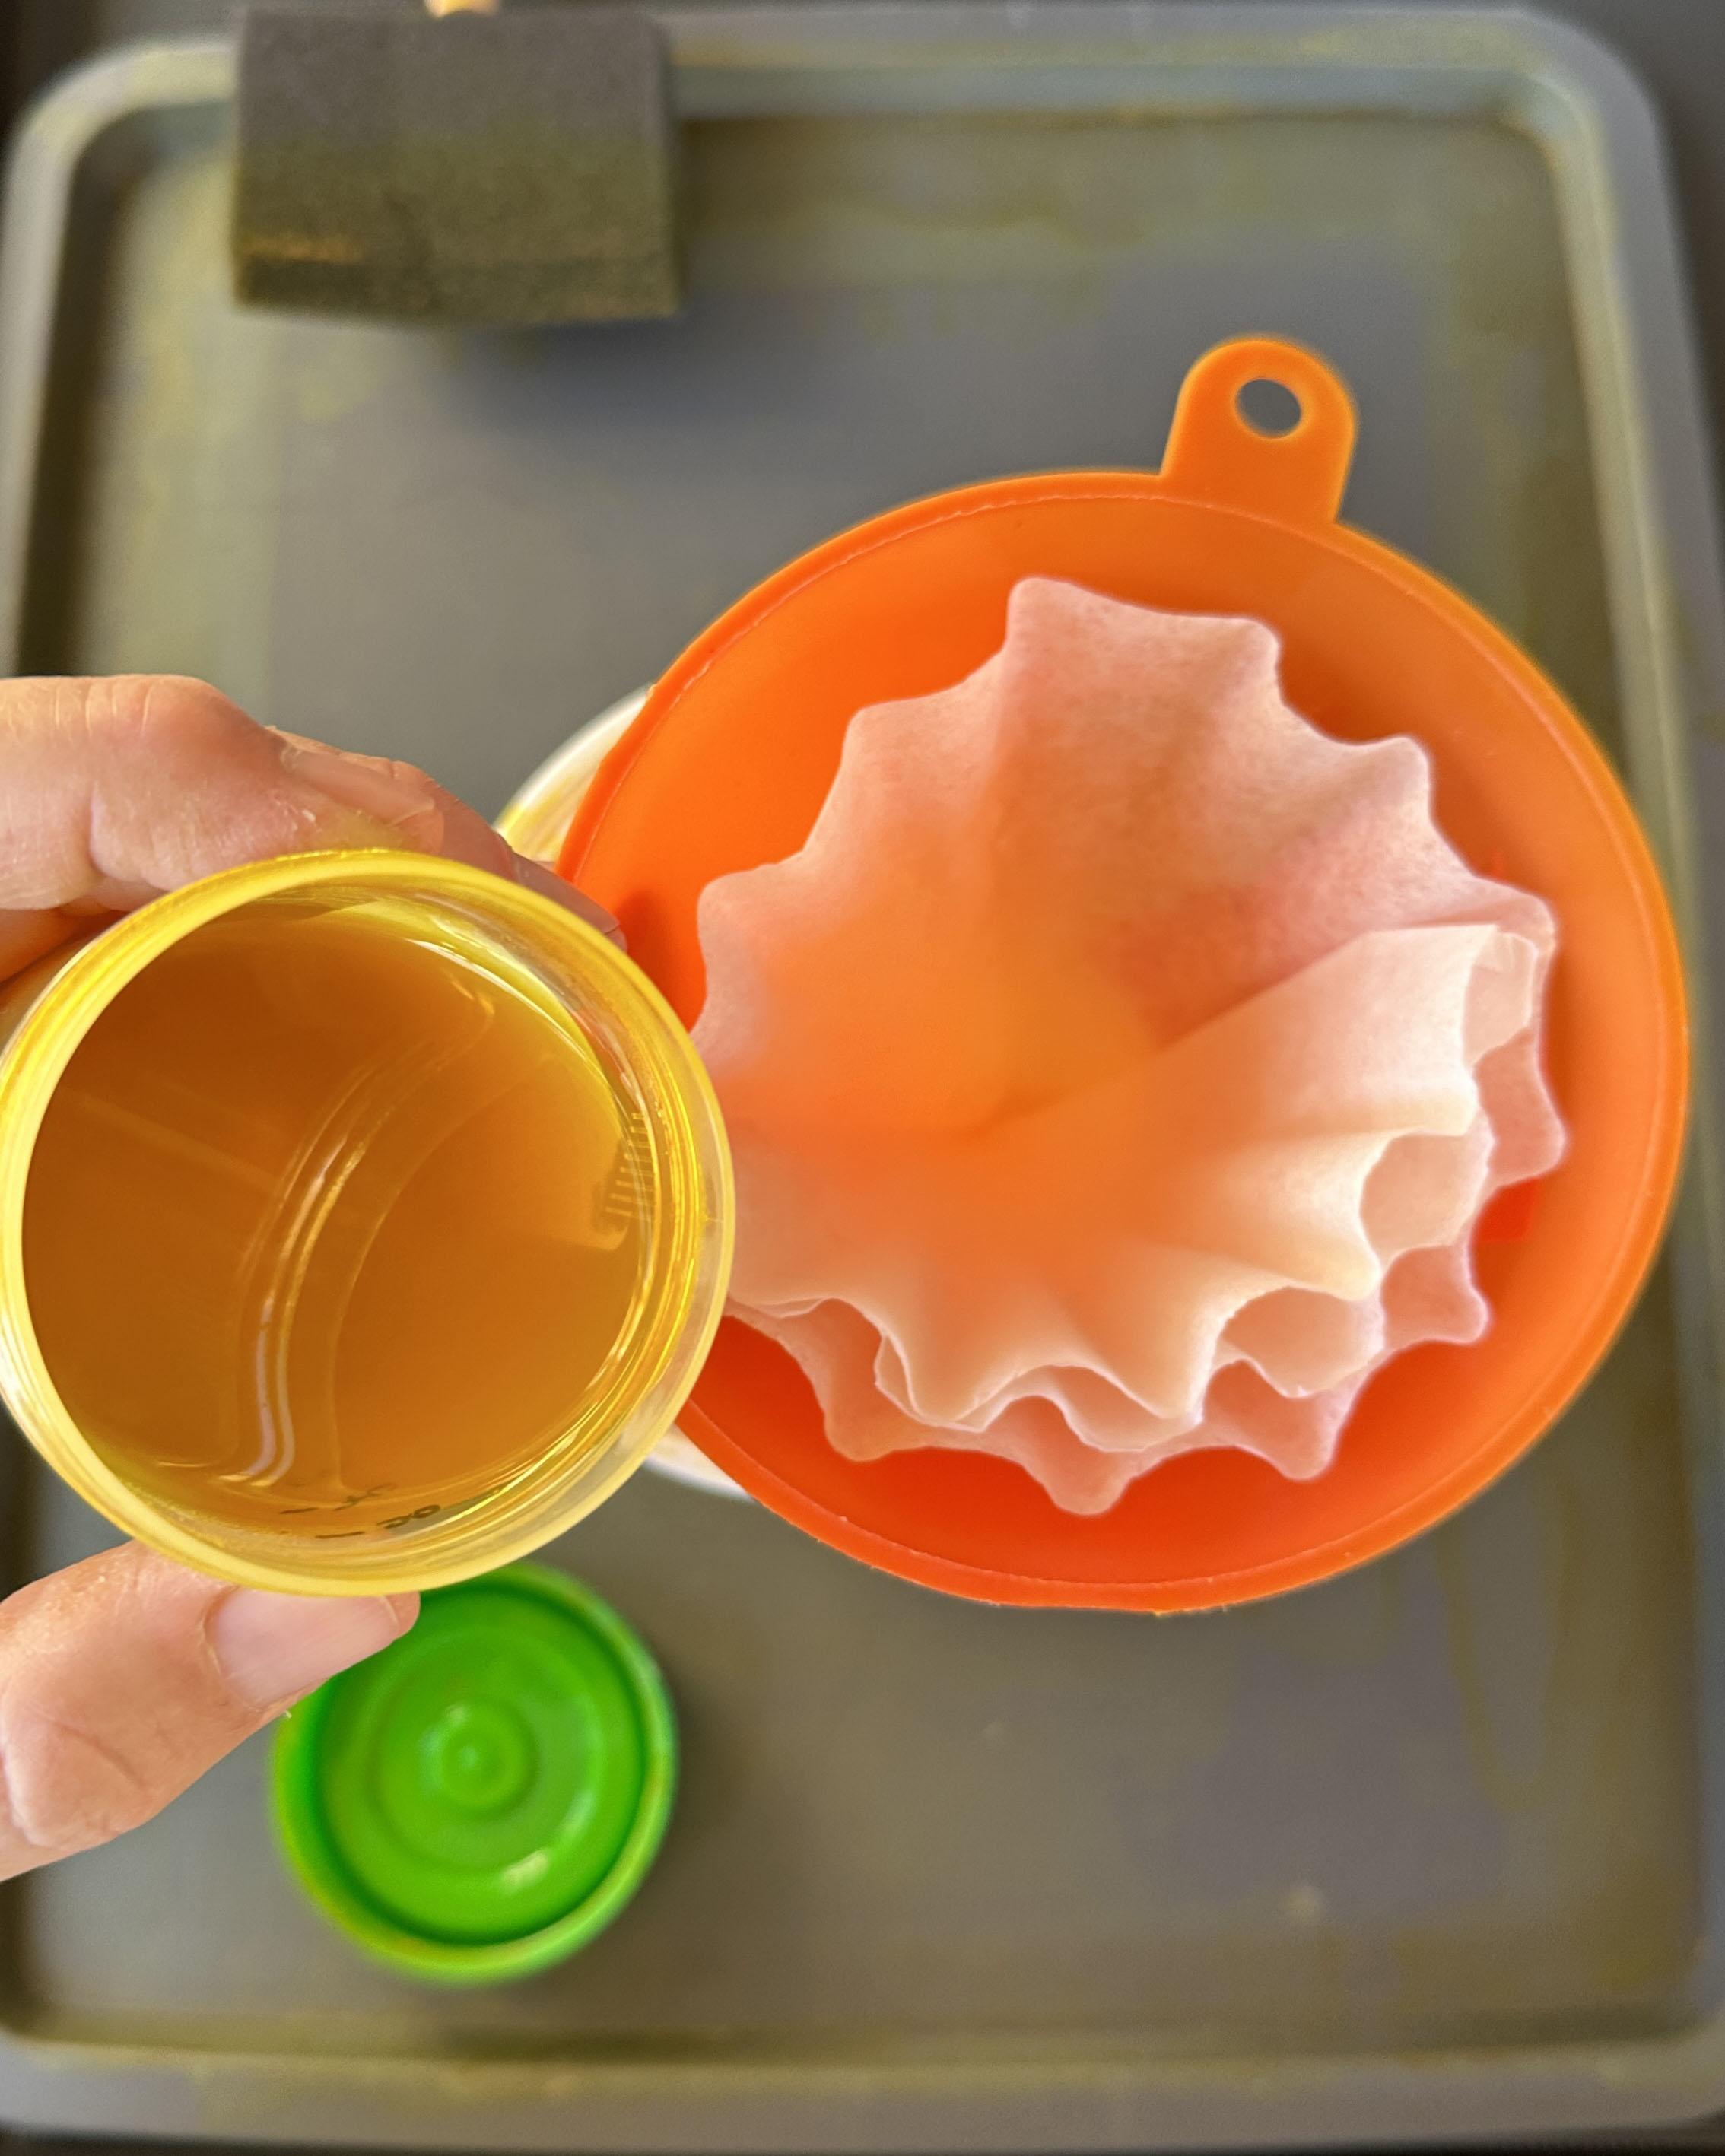
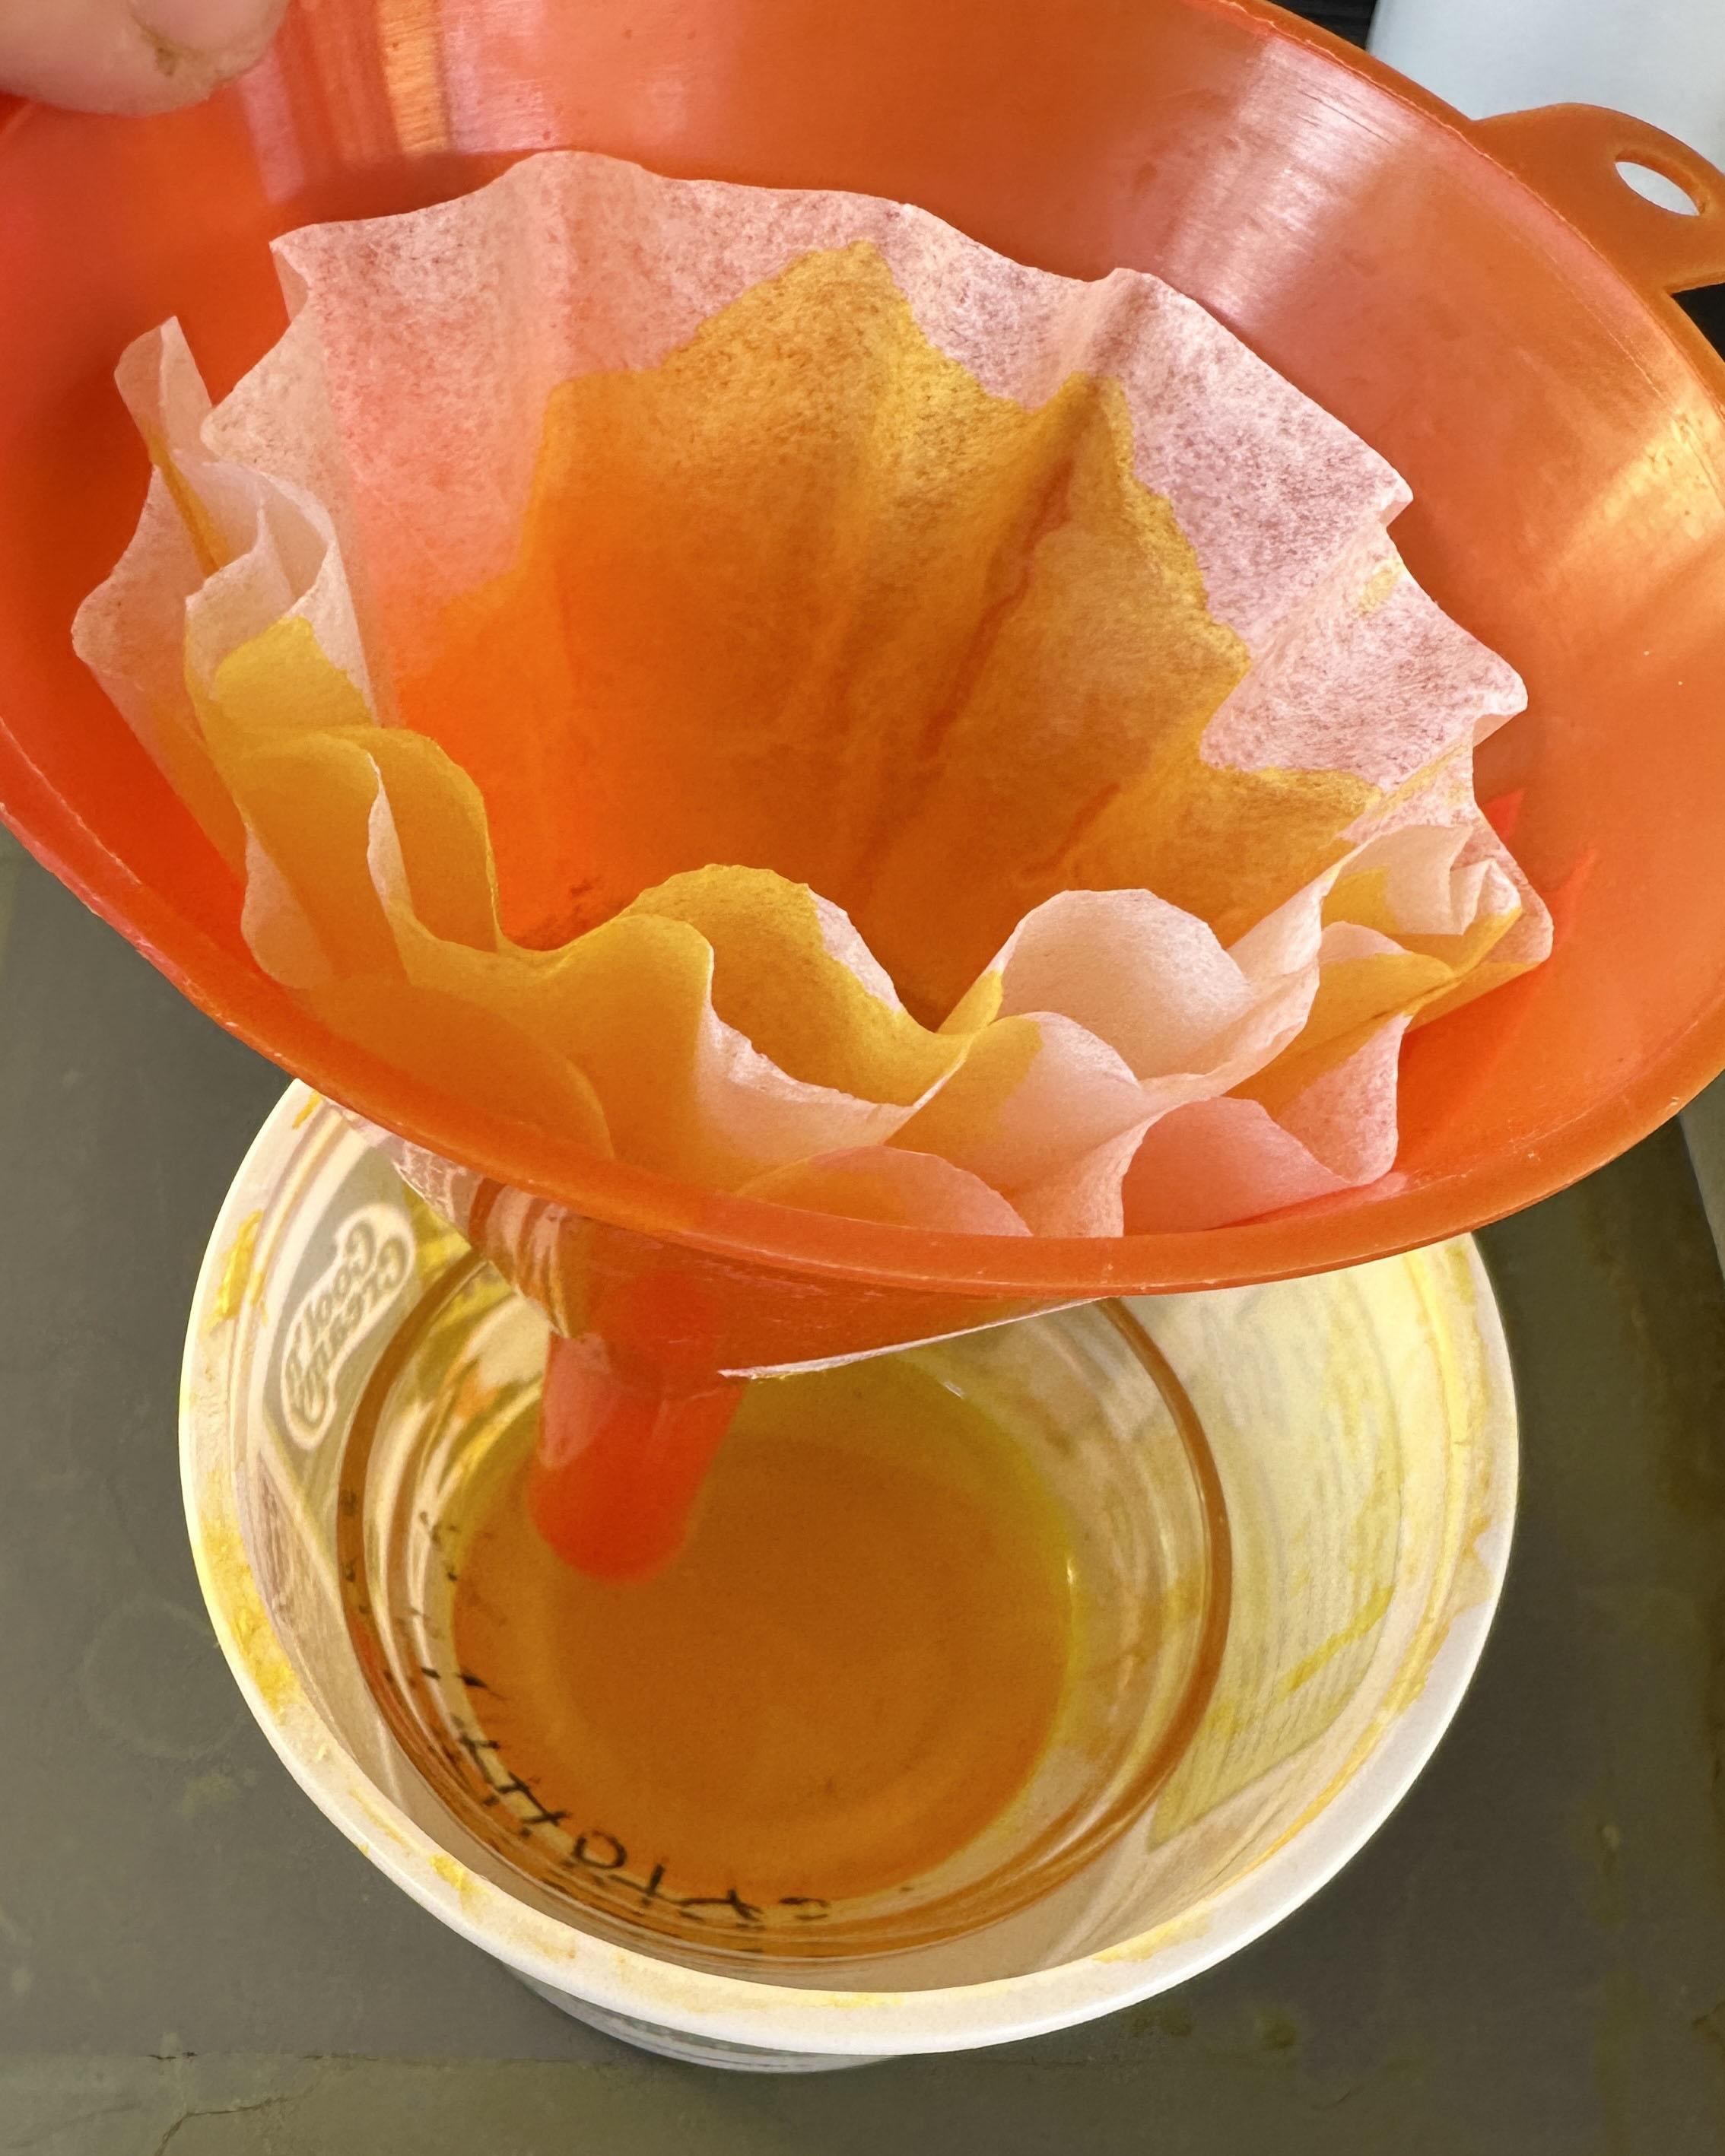
Slowly pour the contents of the jar with turmeric and alcohol into the funnel.
Do not leave the dye for too long as the alcohol will evaporate and you will have to star over.
Coloca el embudo en la taza o tazón pequeño para recoger el tinte.
Coloca un filtro de café en el embudo.
Vierte lentamente el contenido del frasco con cúrcuma y alcohol en el embudo.
No dejes el tinte demasiado tiempo porque el alcohol se evaporará y tendrás que empezar de nuevo.
Coat Paper / Preparar Papel
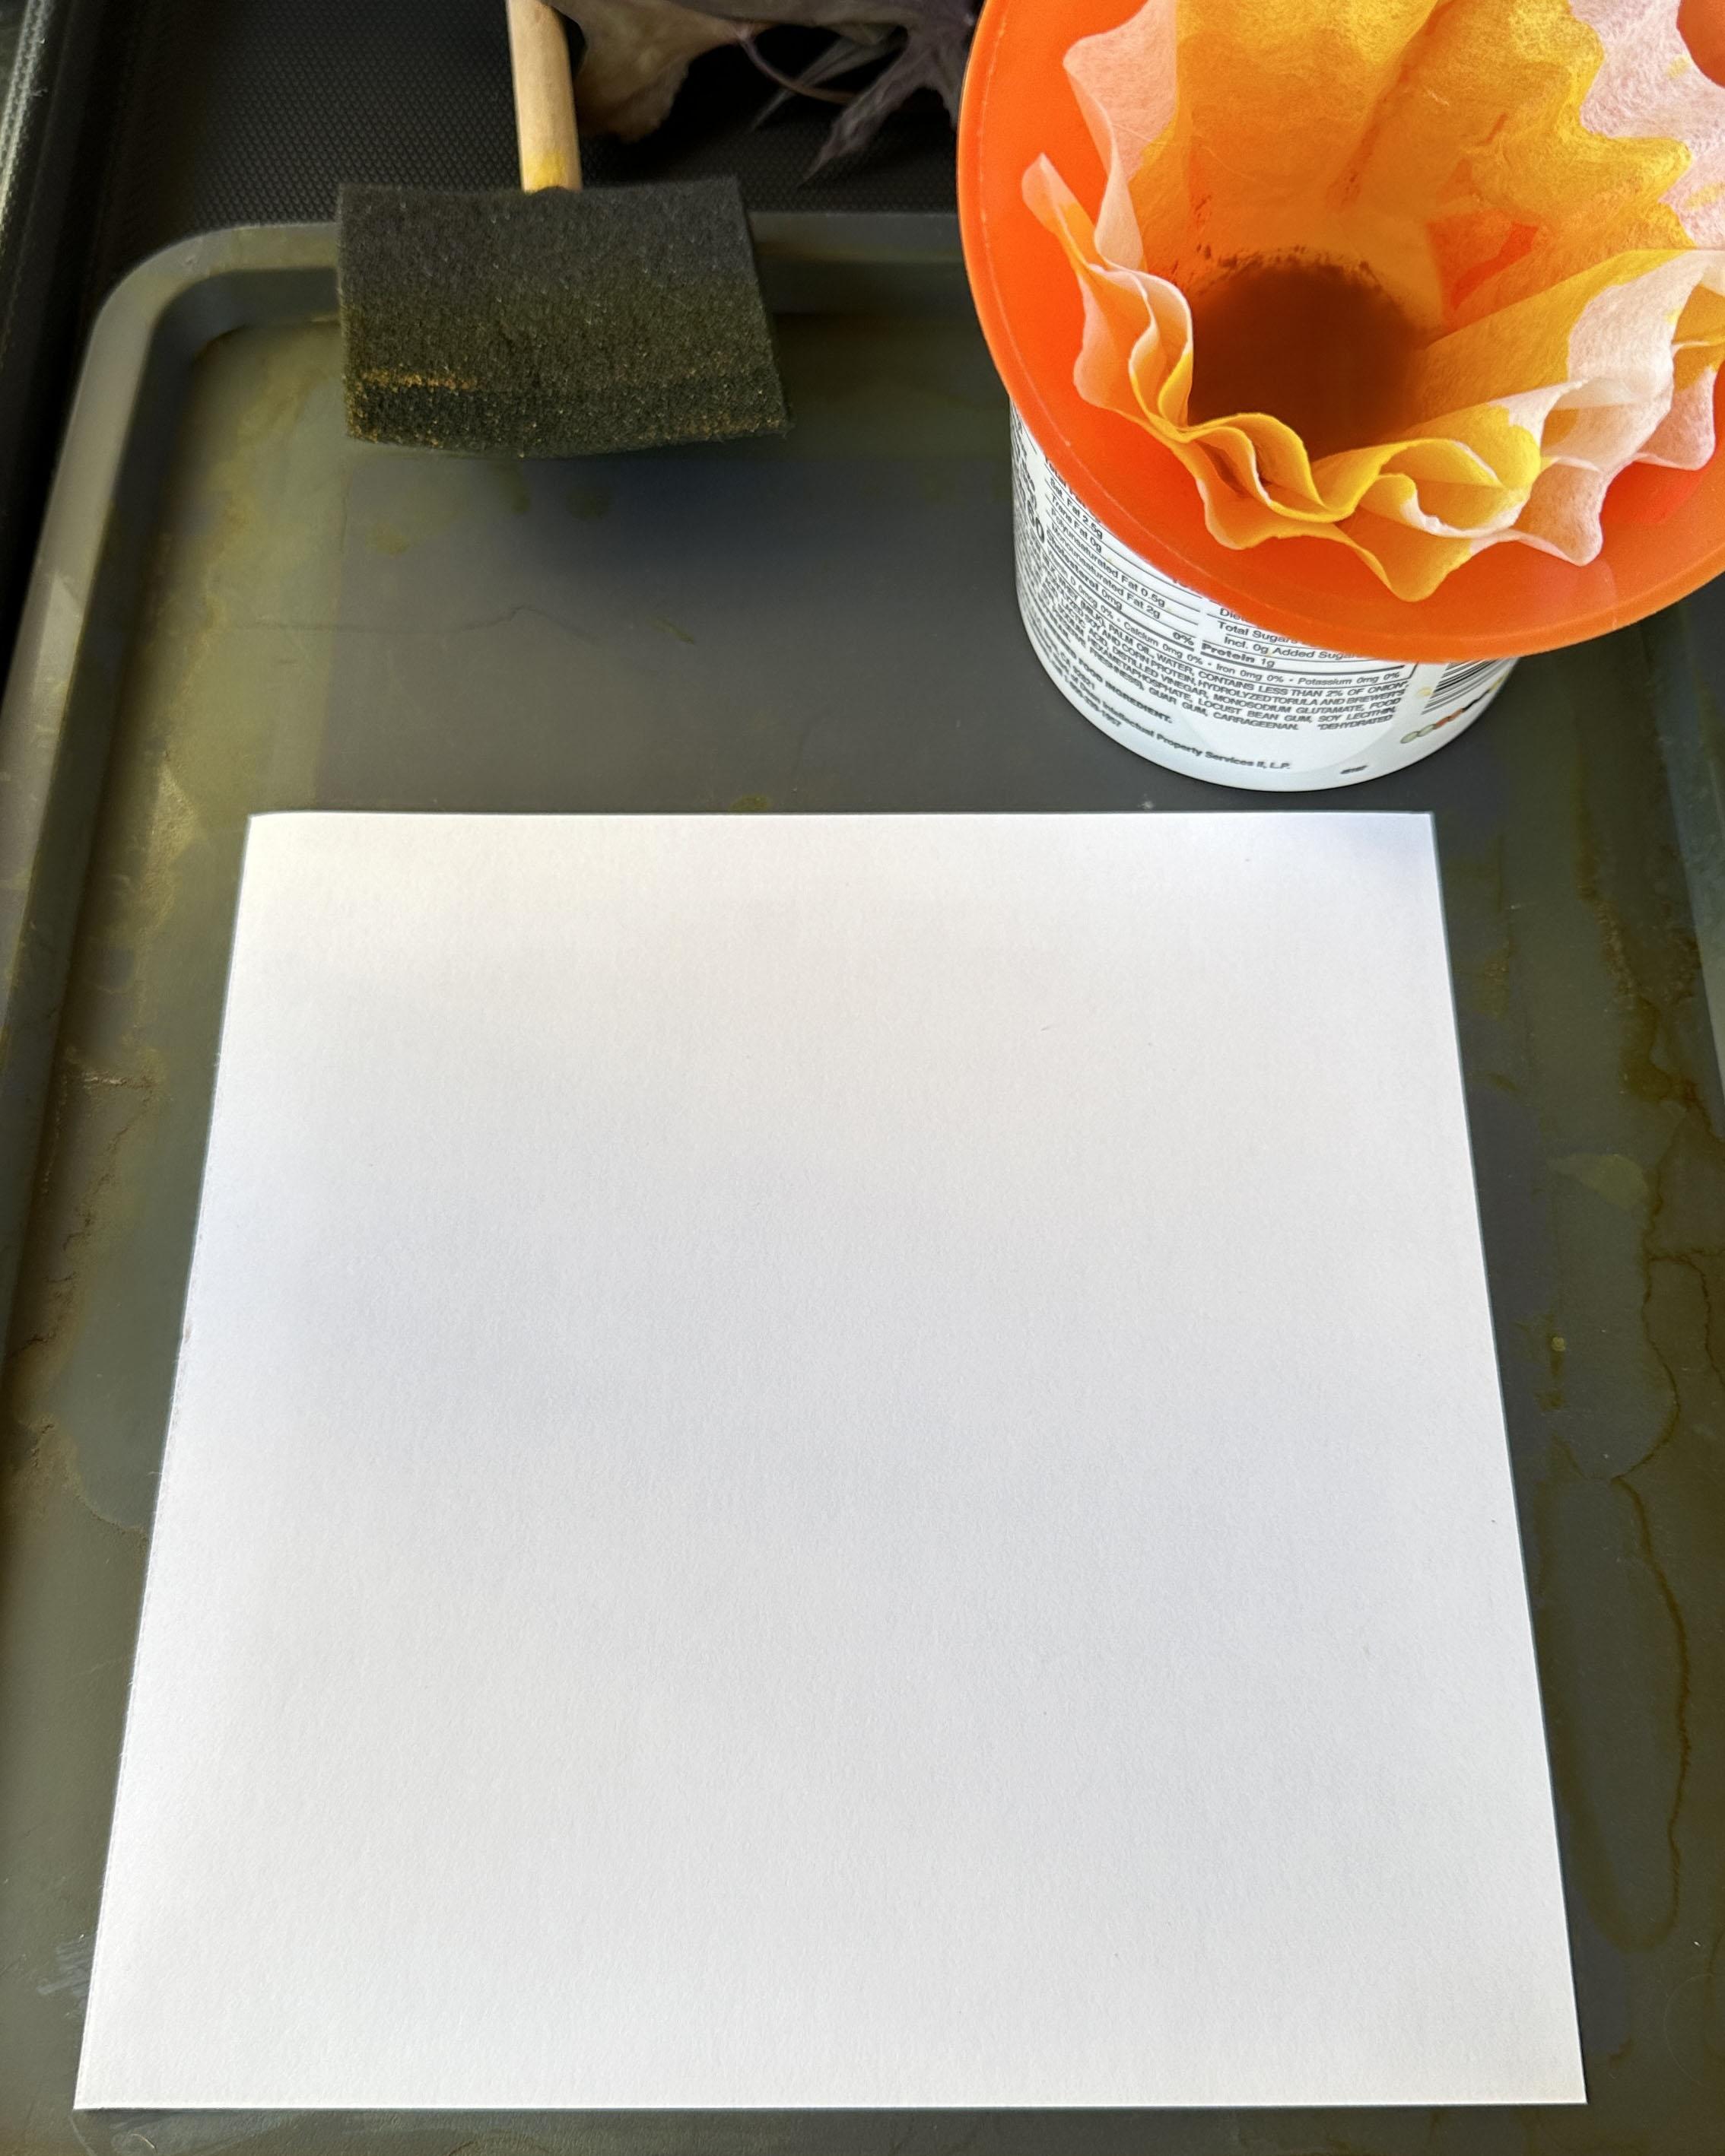
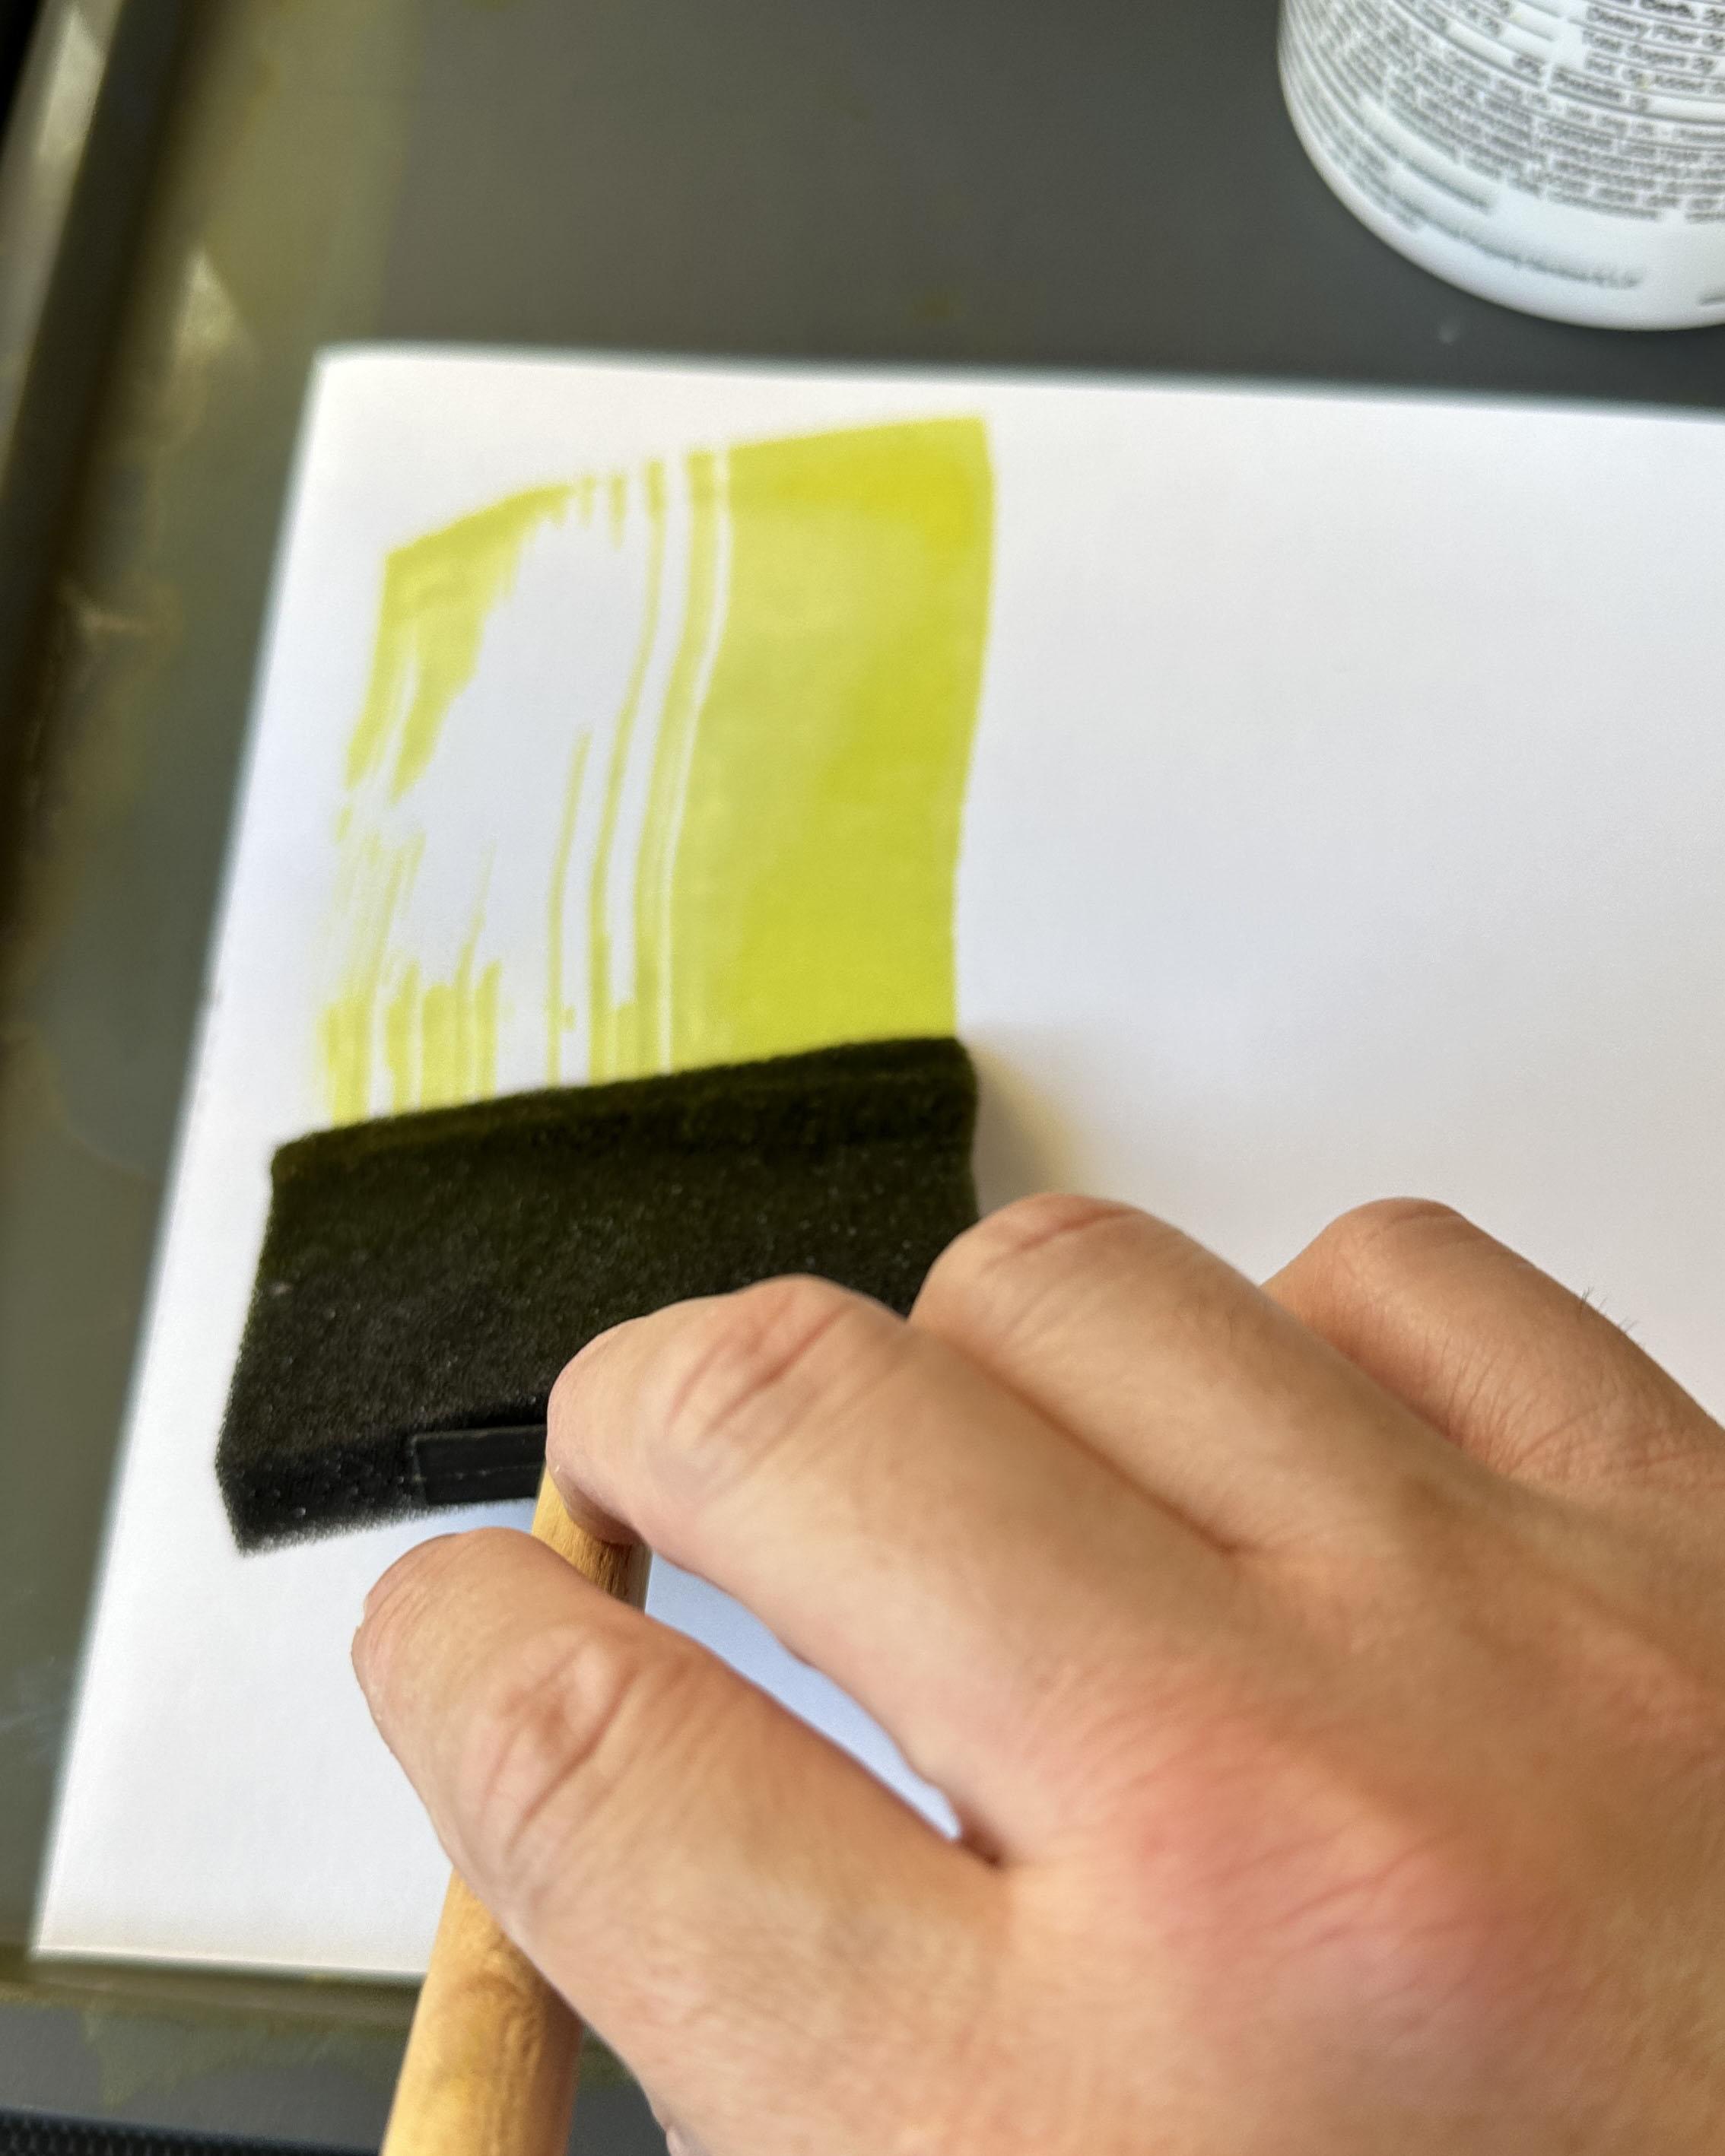
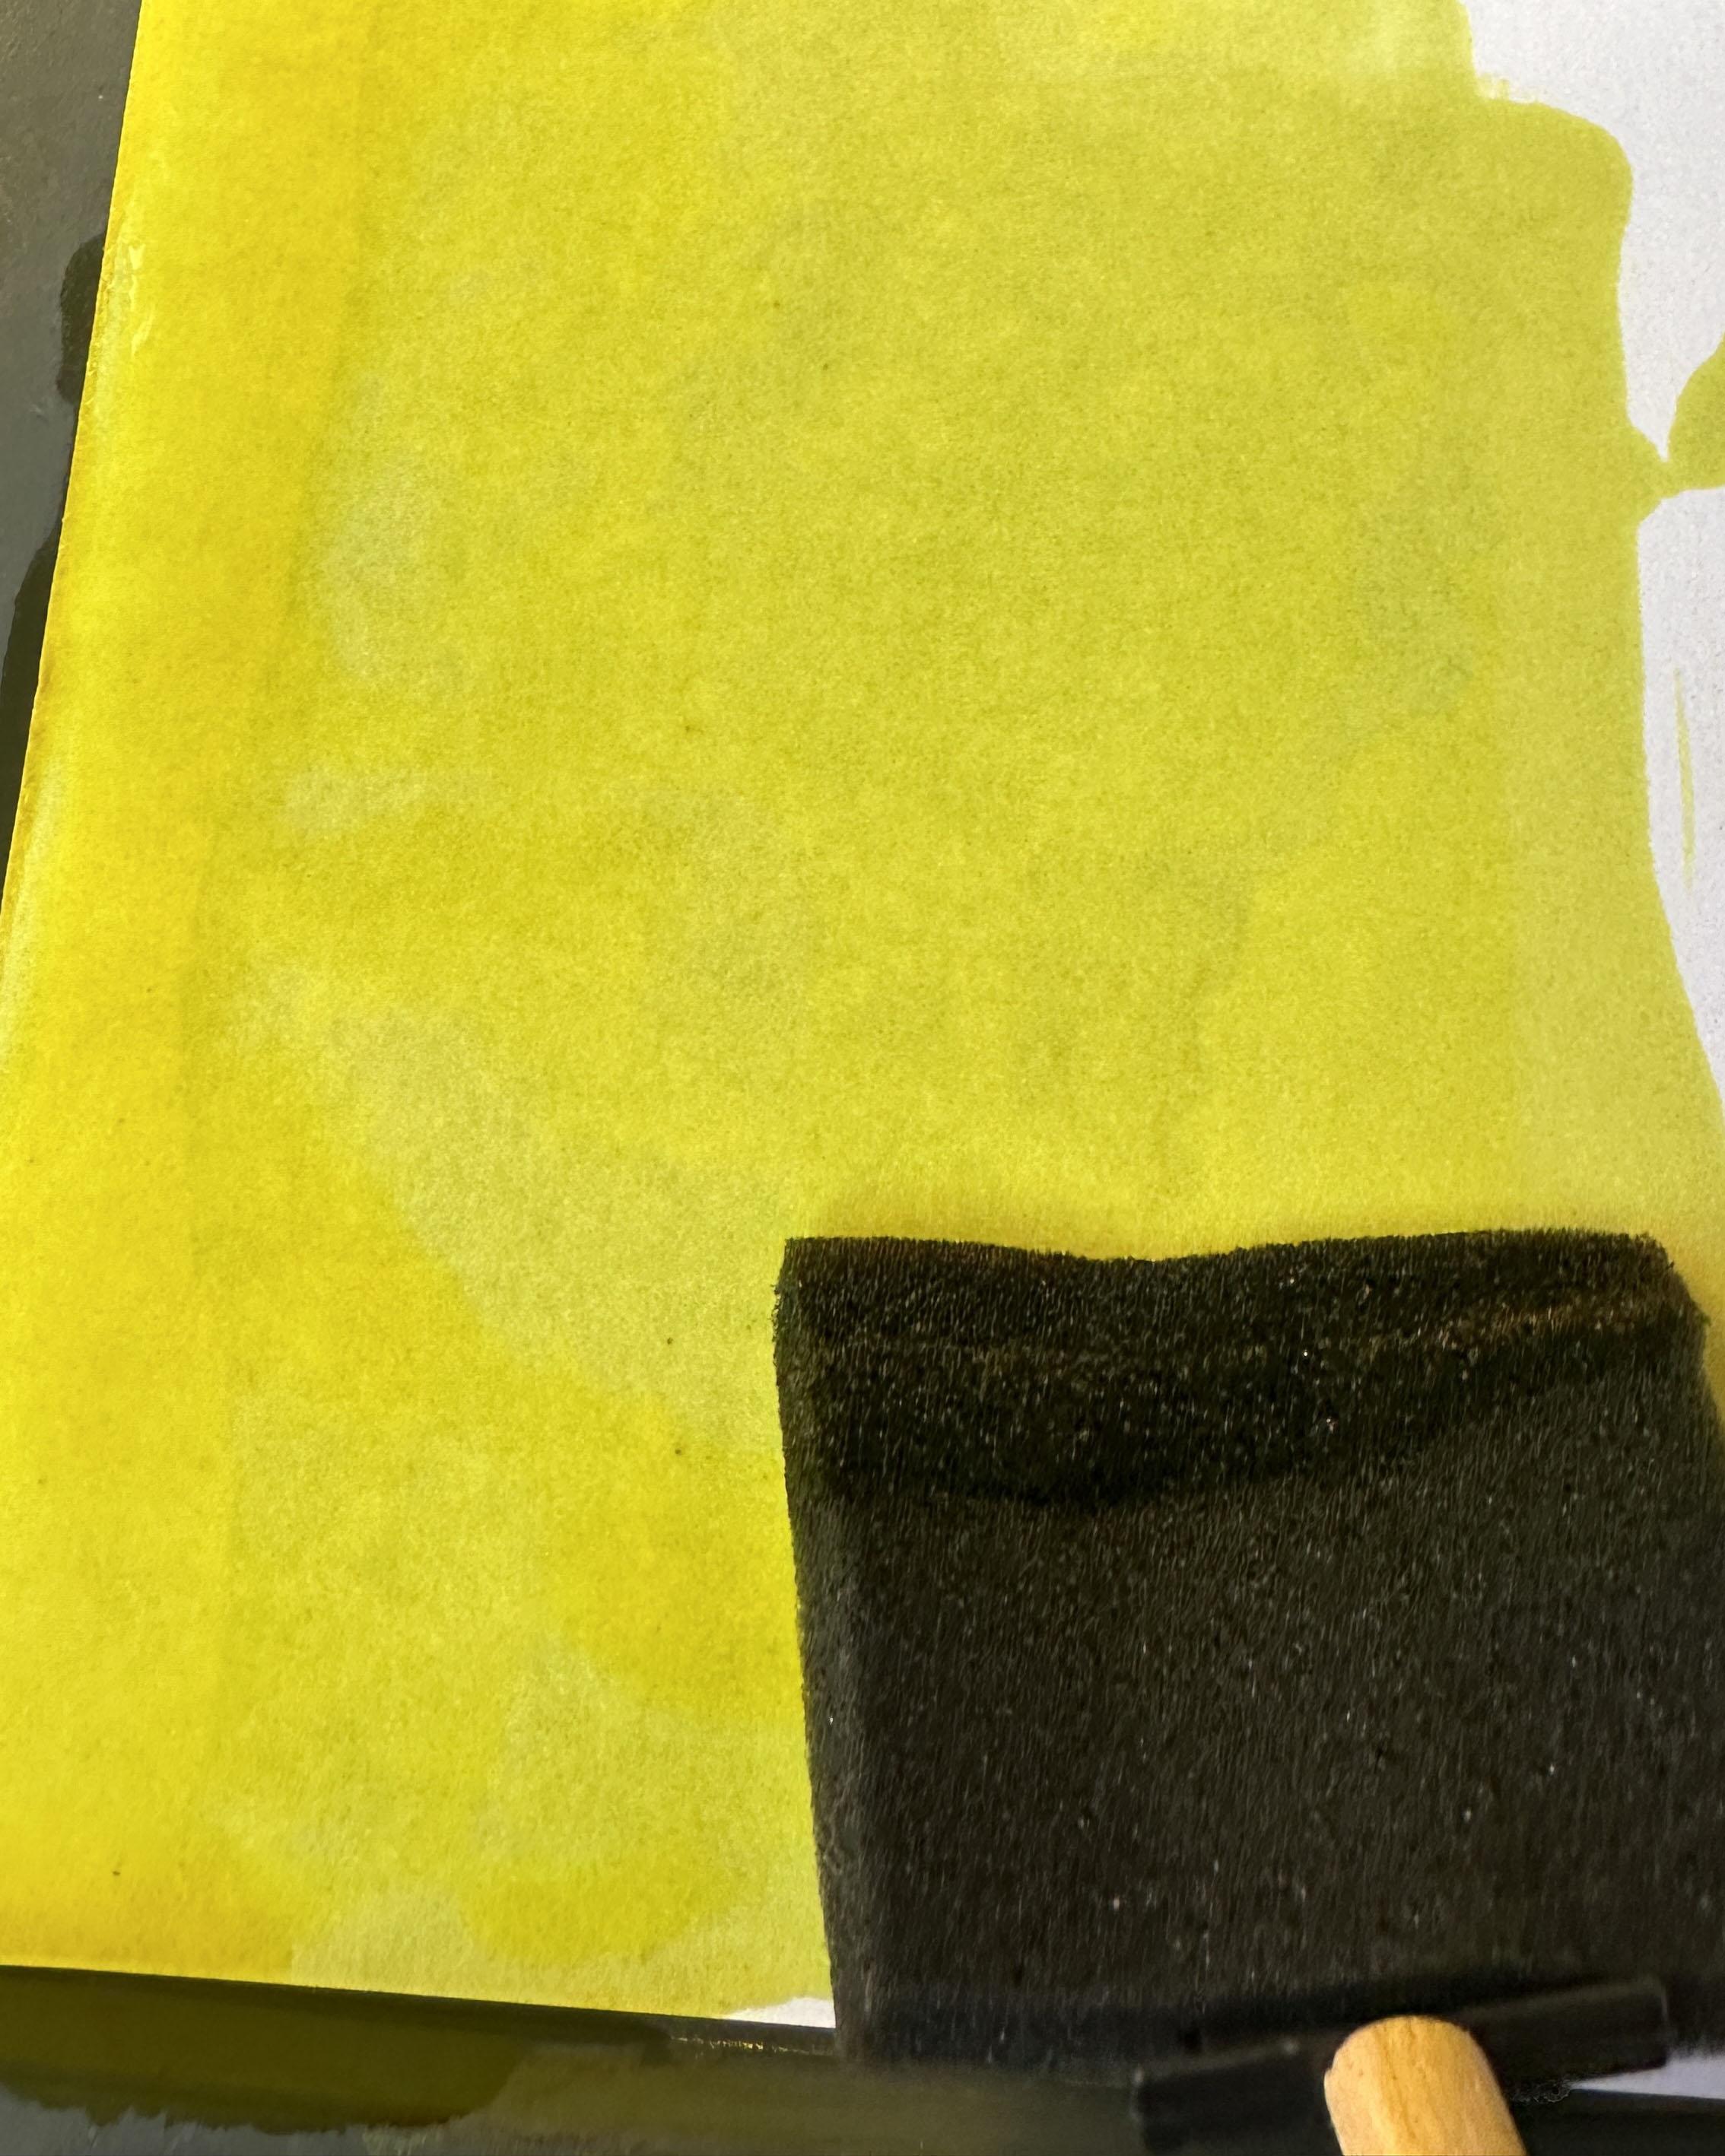
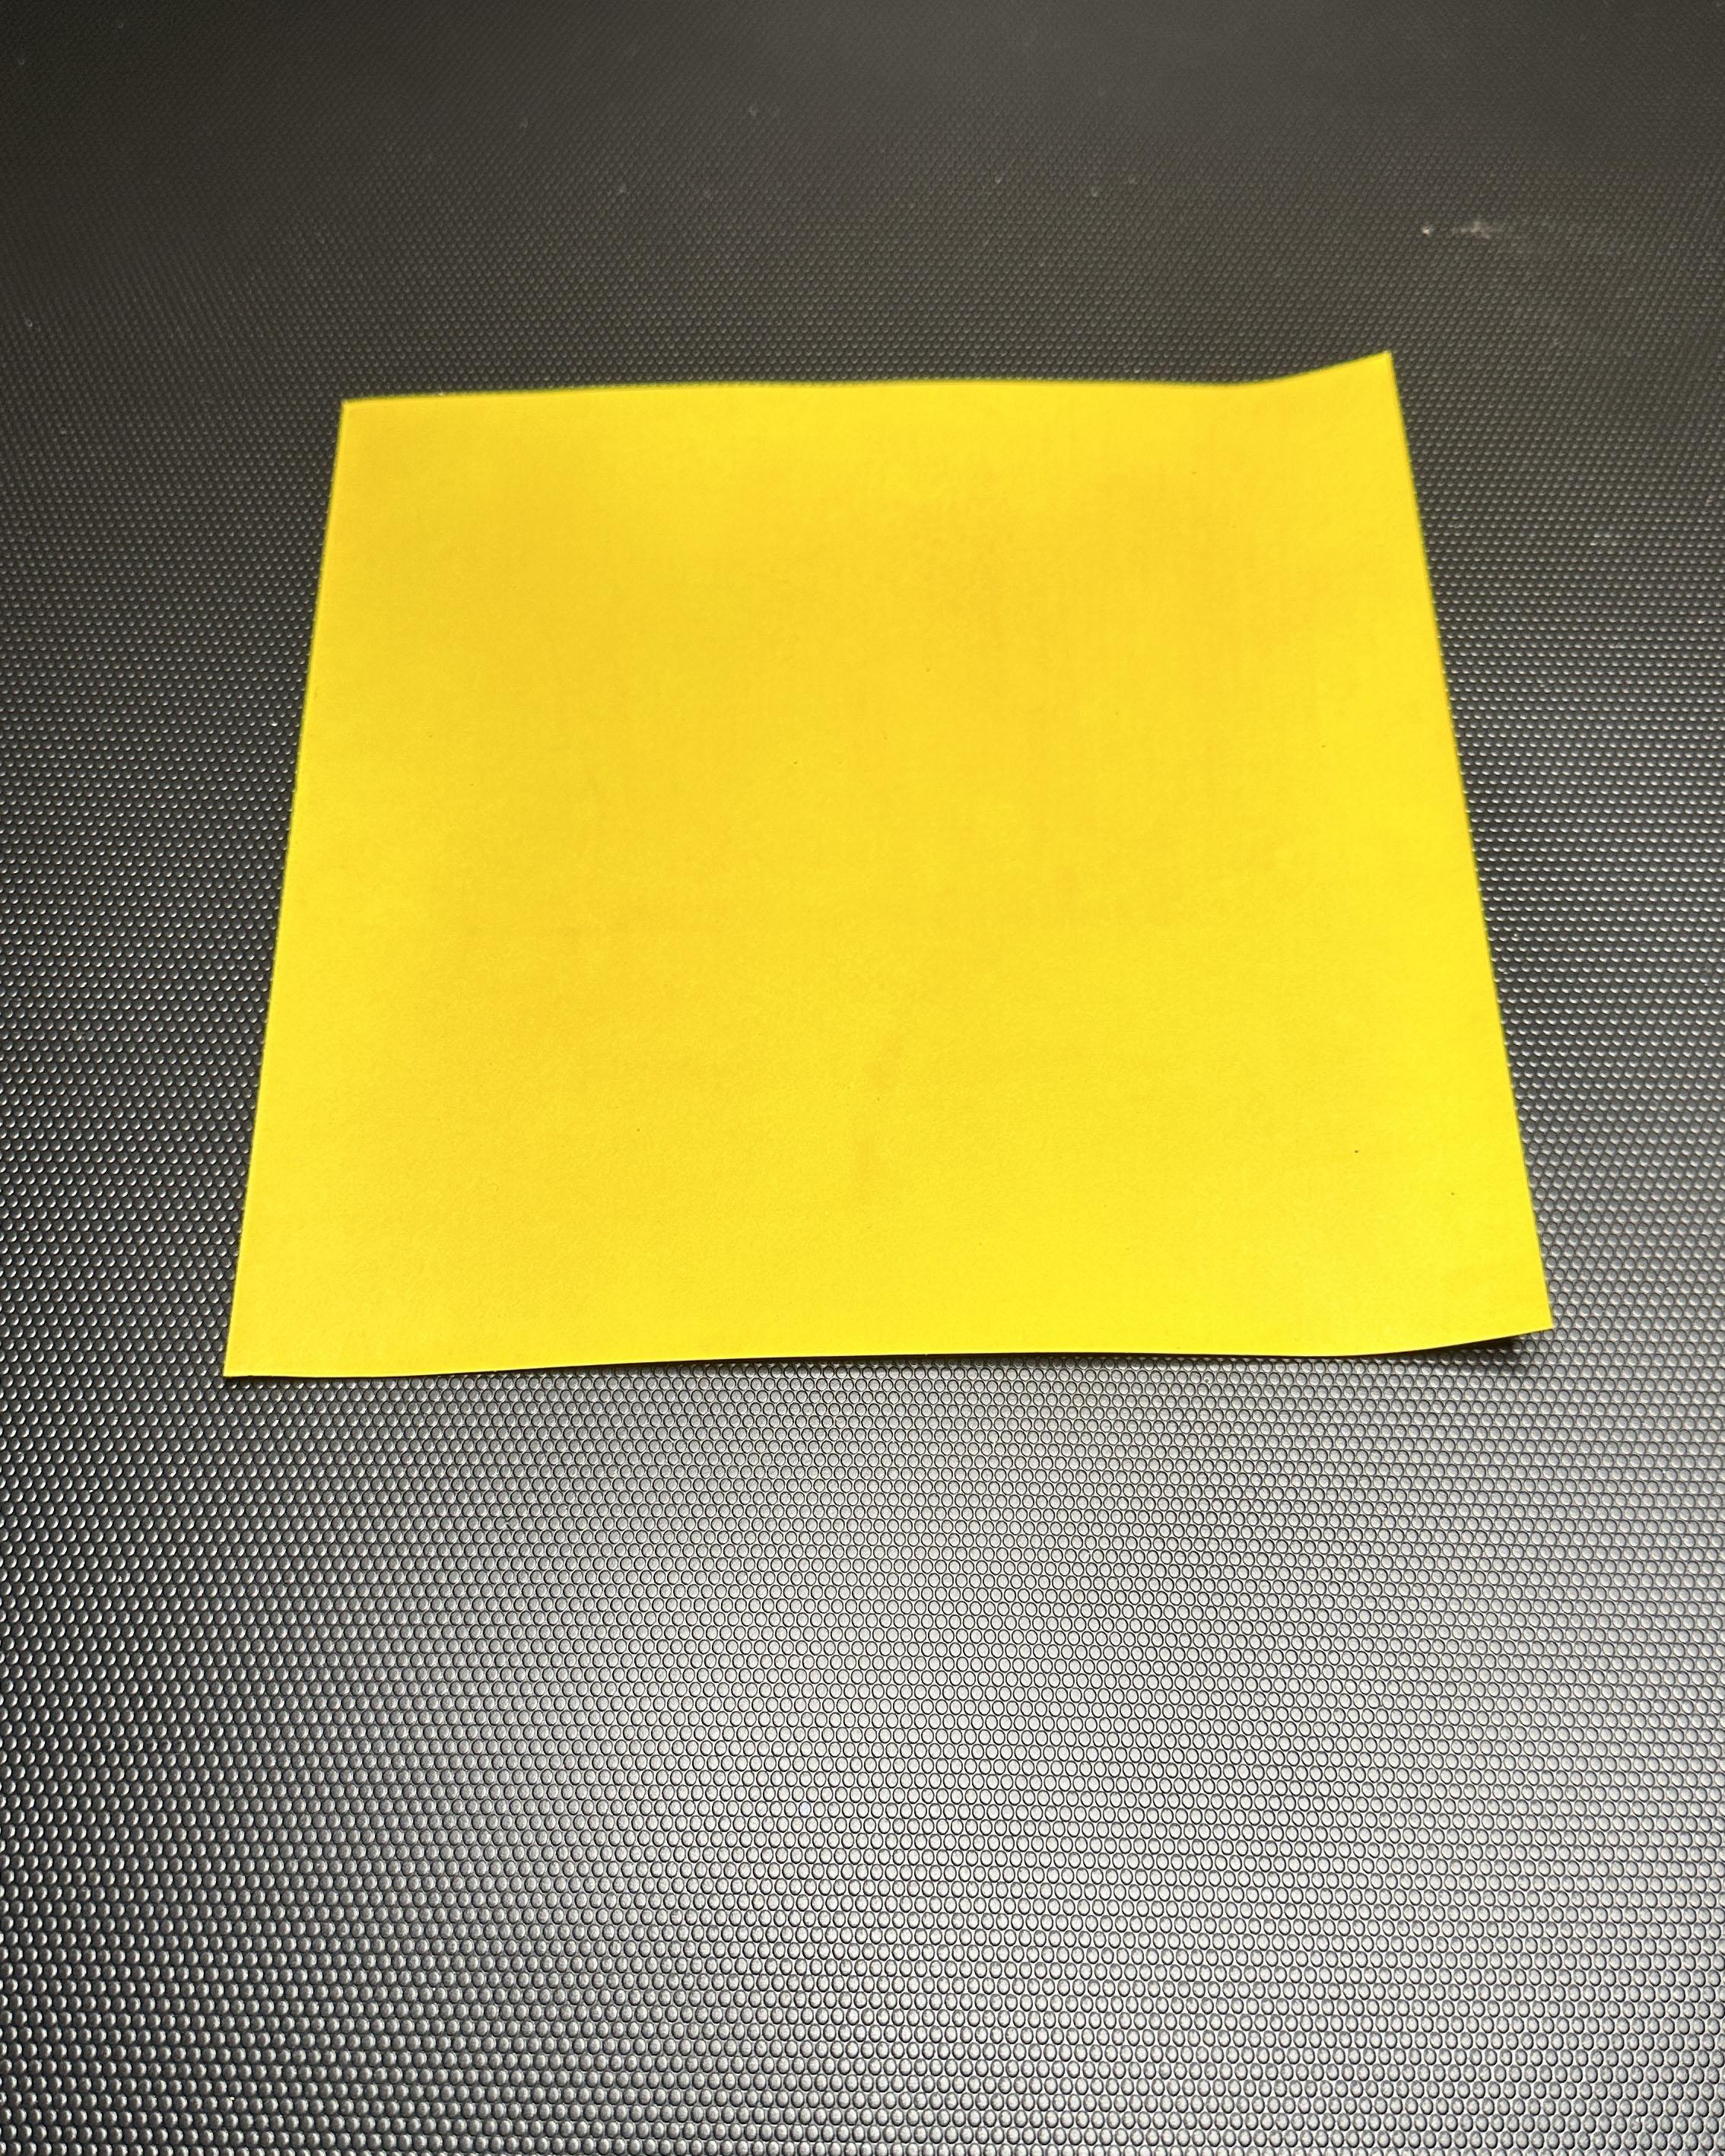
With your brush, coat the paper lightly and evenly.
Allow to dry - this will not take long since it is alcohol based
Con el pincel, cubre el papel de manera suave y uniforme.
Deja secar; no tardará mucho, ya que está hecho a base de alcohol.
Prep for Exposure / Prepara Para Exposición
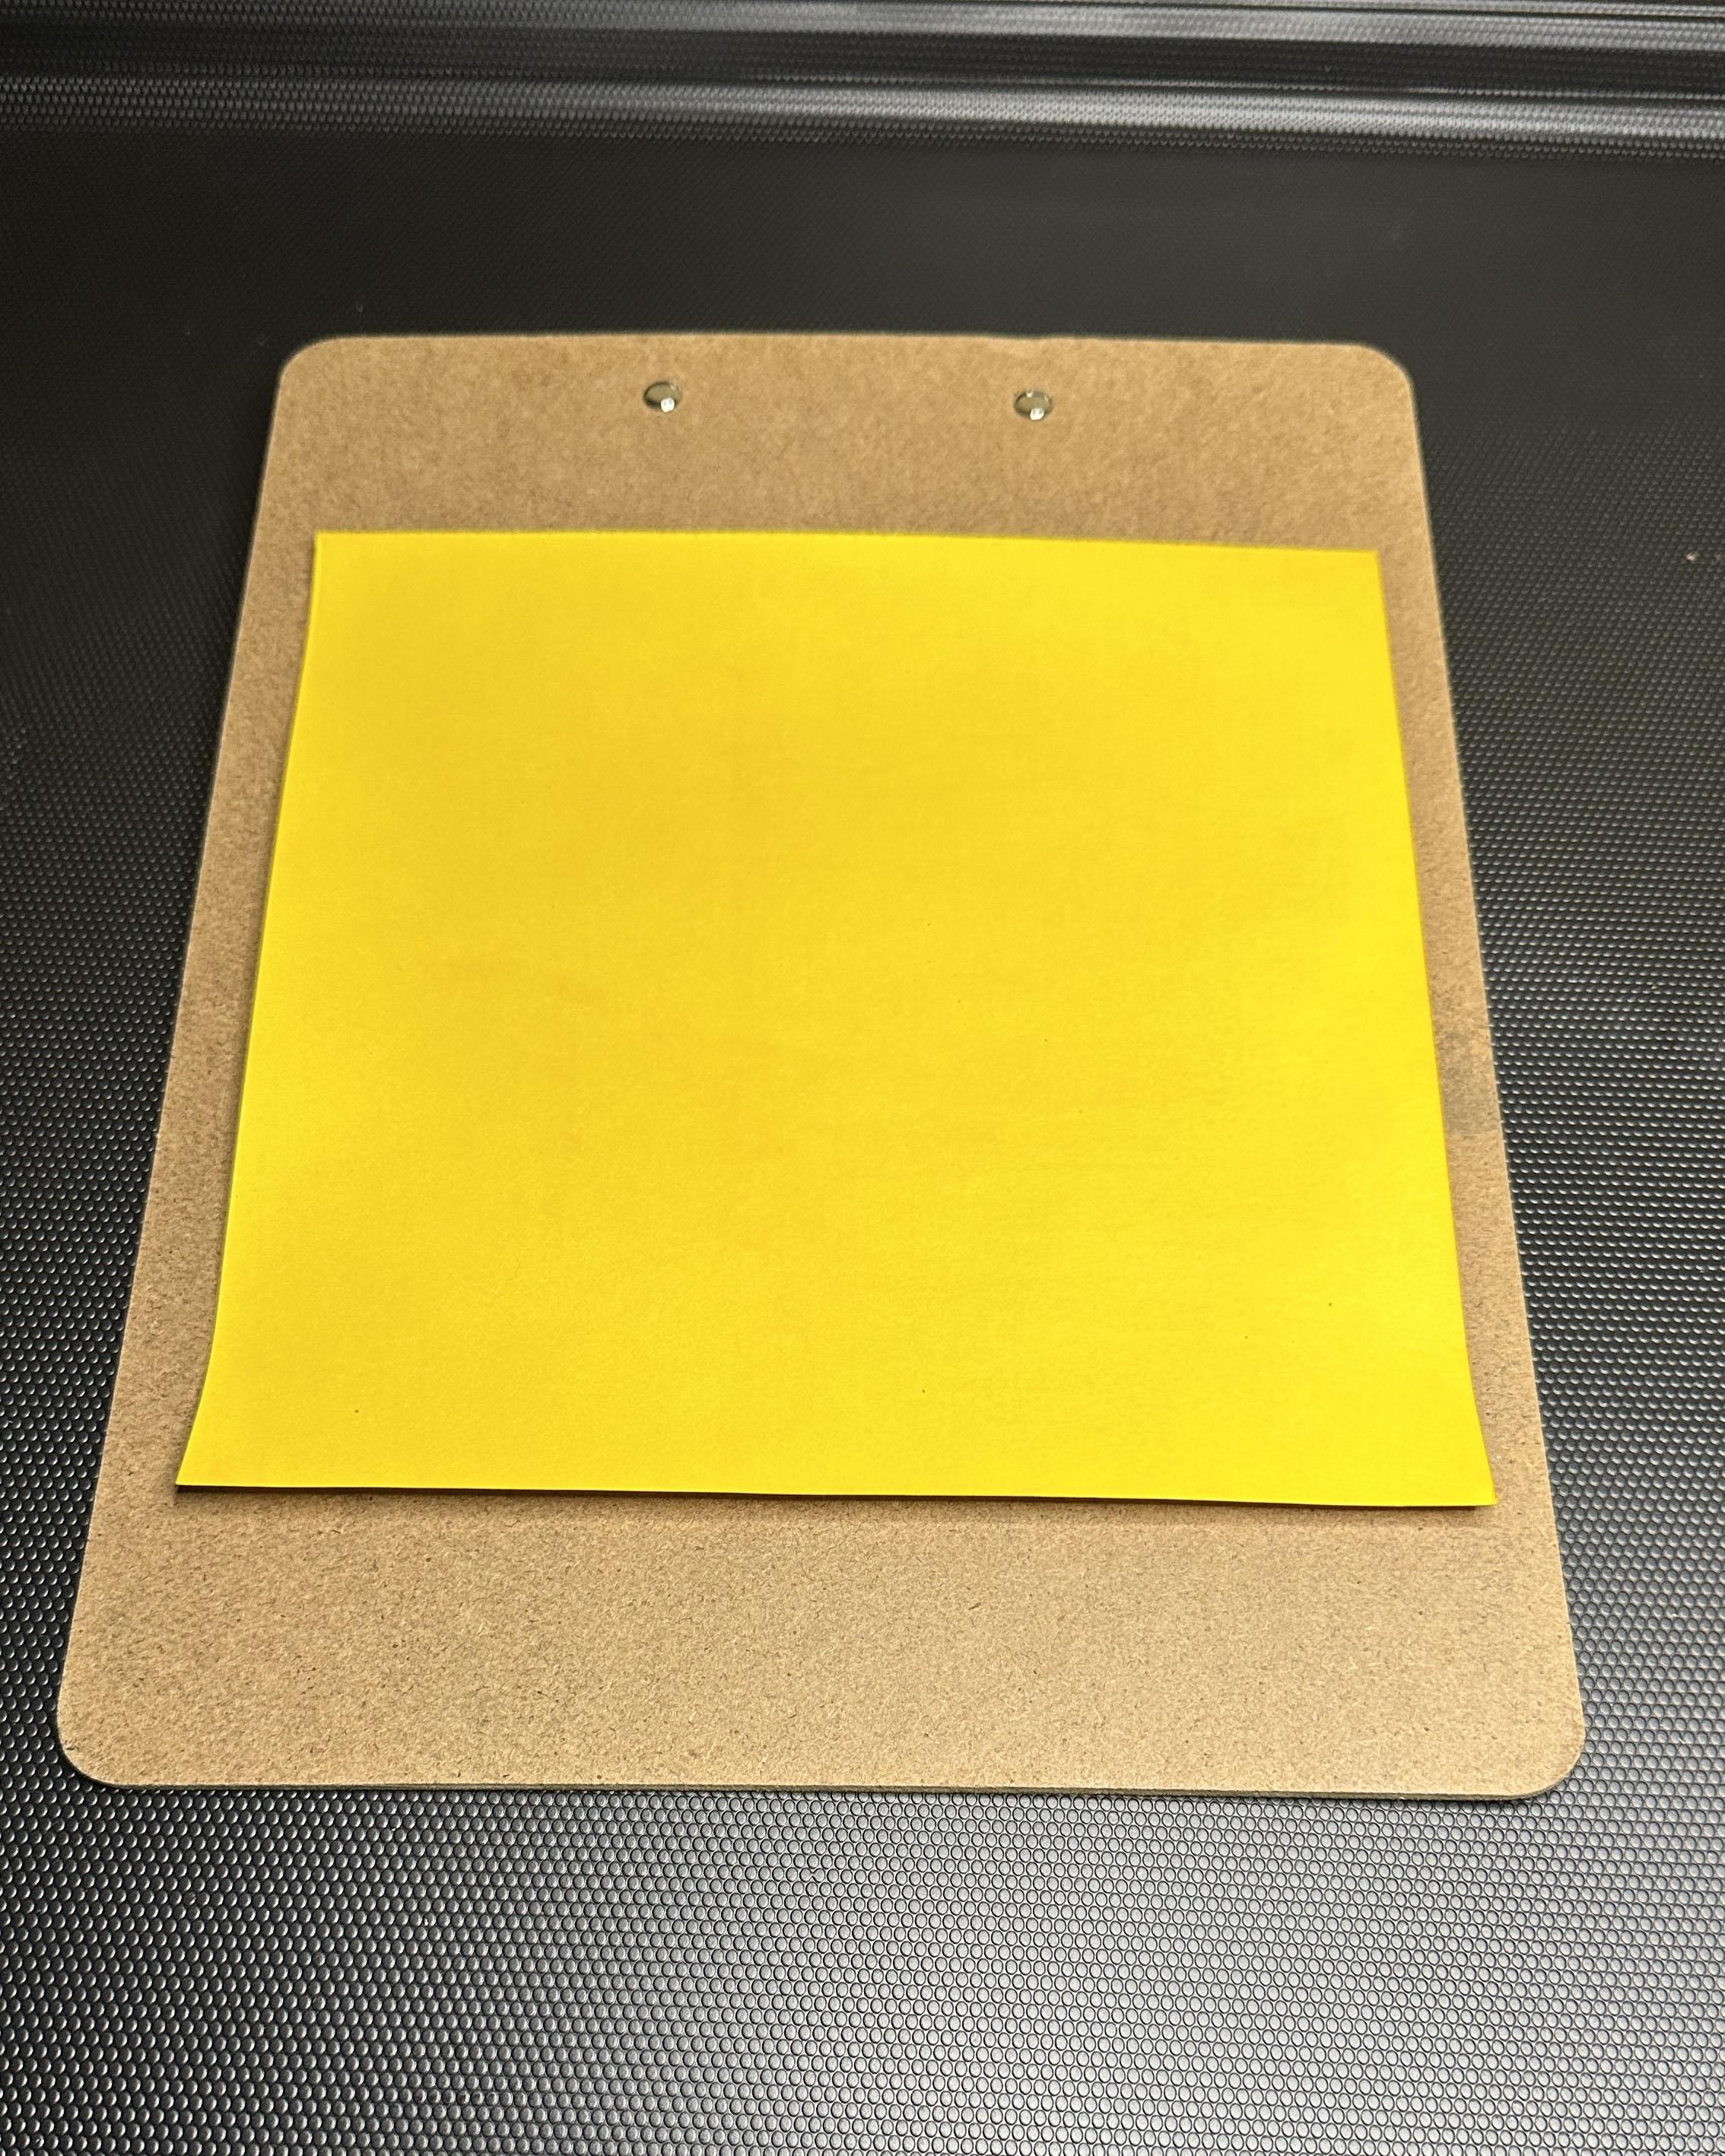
Now that the paper is dry, place it on the back of the clipboard (or hard surface of choice) with the coated side of the paper facing up
I like to use the back of a clipboard because the clip of the clip board does not get in the way of the glass.
Ahora que el papel está seco, colóquelo en la parte posterior del portapapeles (o en la superficie dura que prefiera) con el lado recubierto del papel hacia arriba.
Me gusta usar la parte posterior de un portapapeles porque el clip del portapapeles no interfiere con el vidrio.
Compose / Componer La Imagen
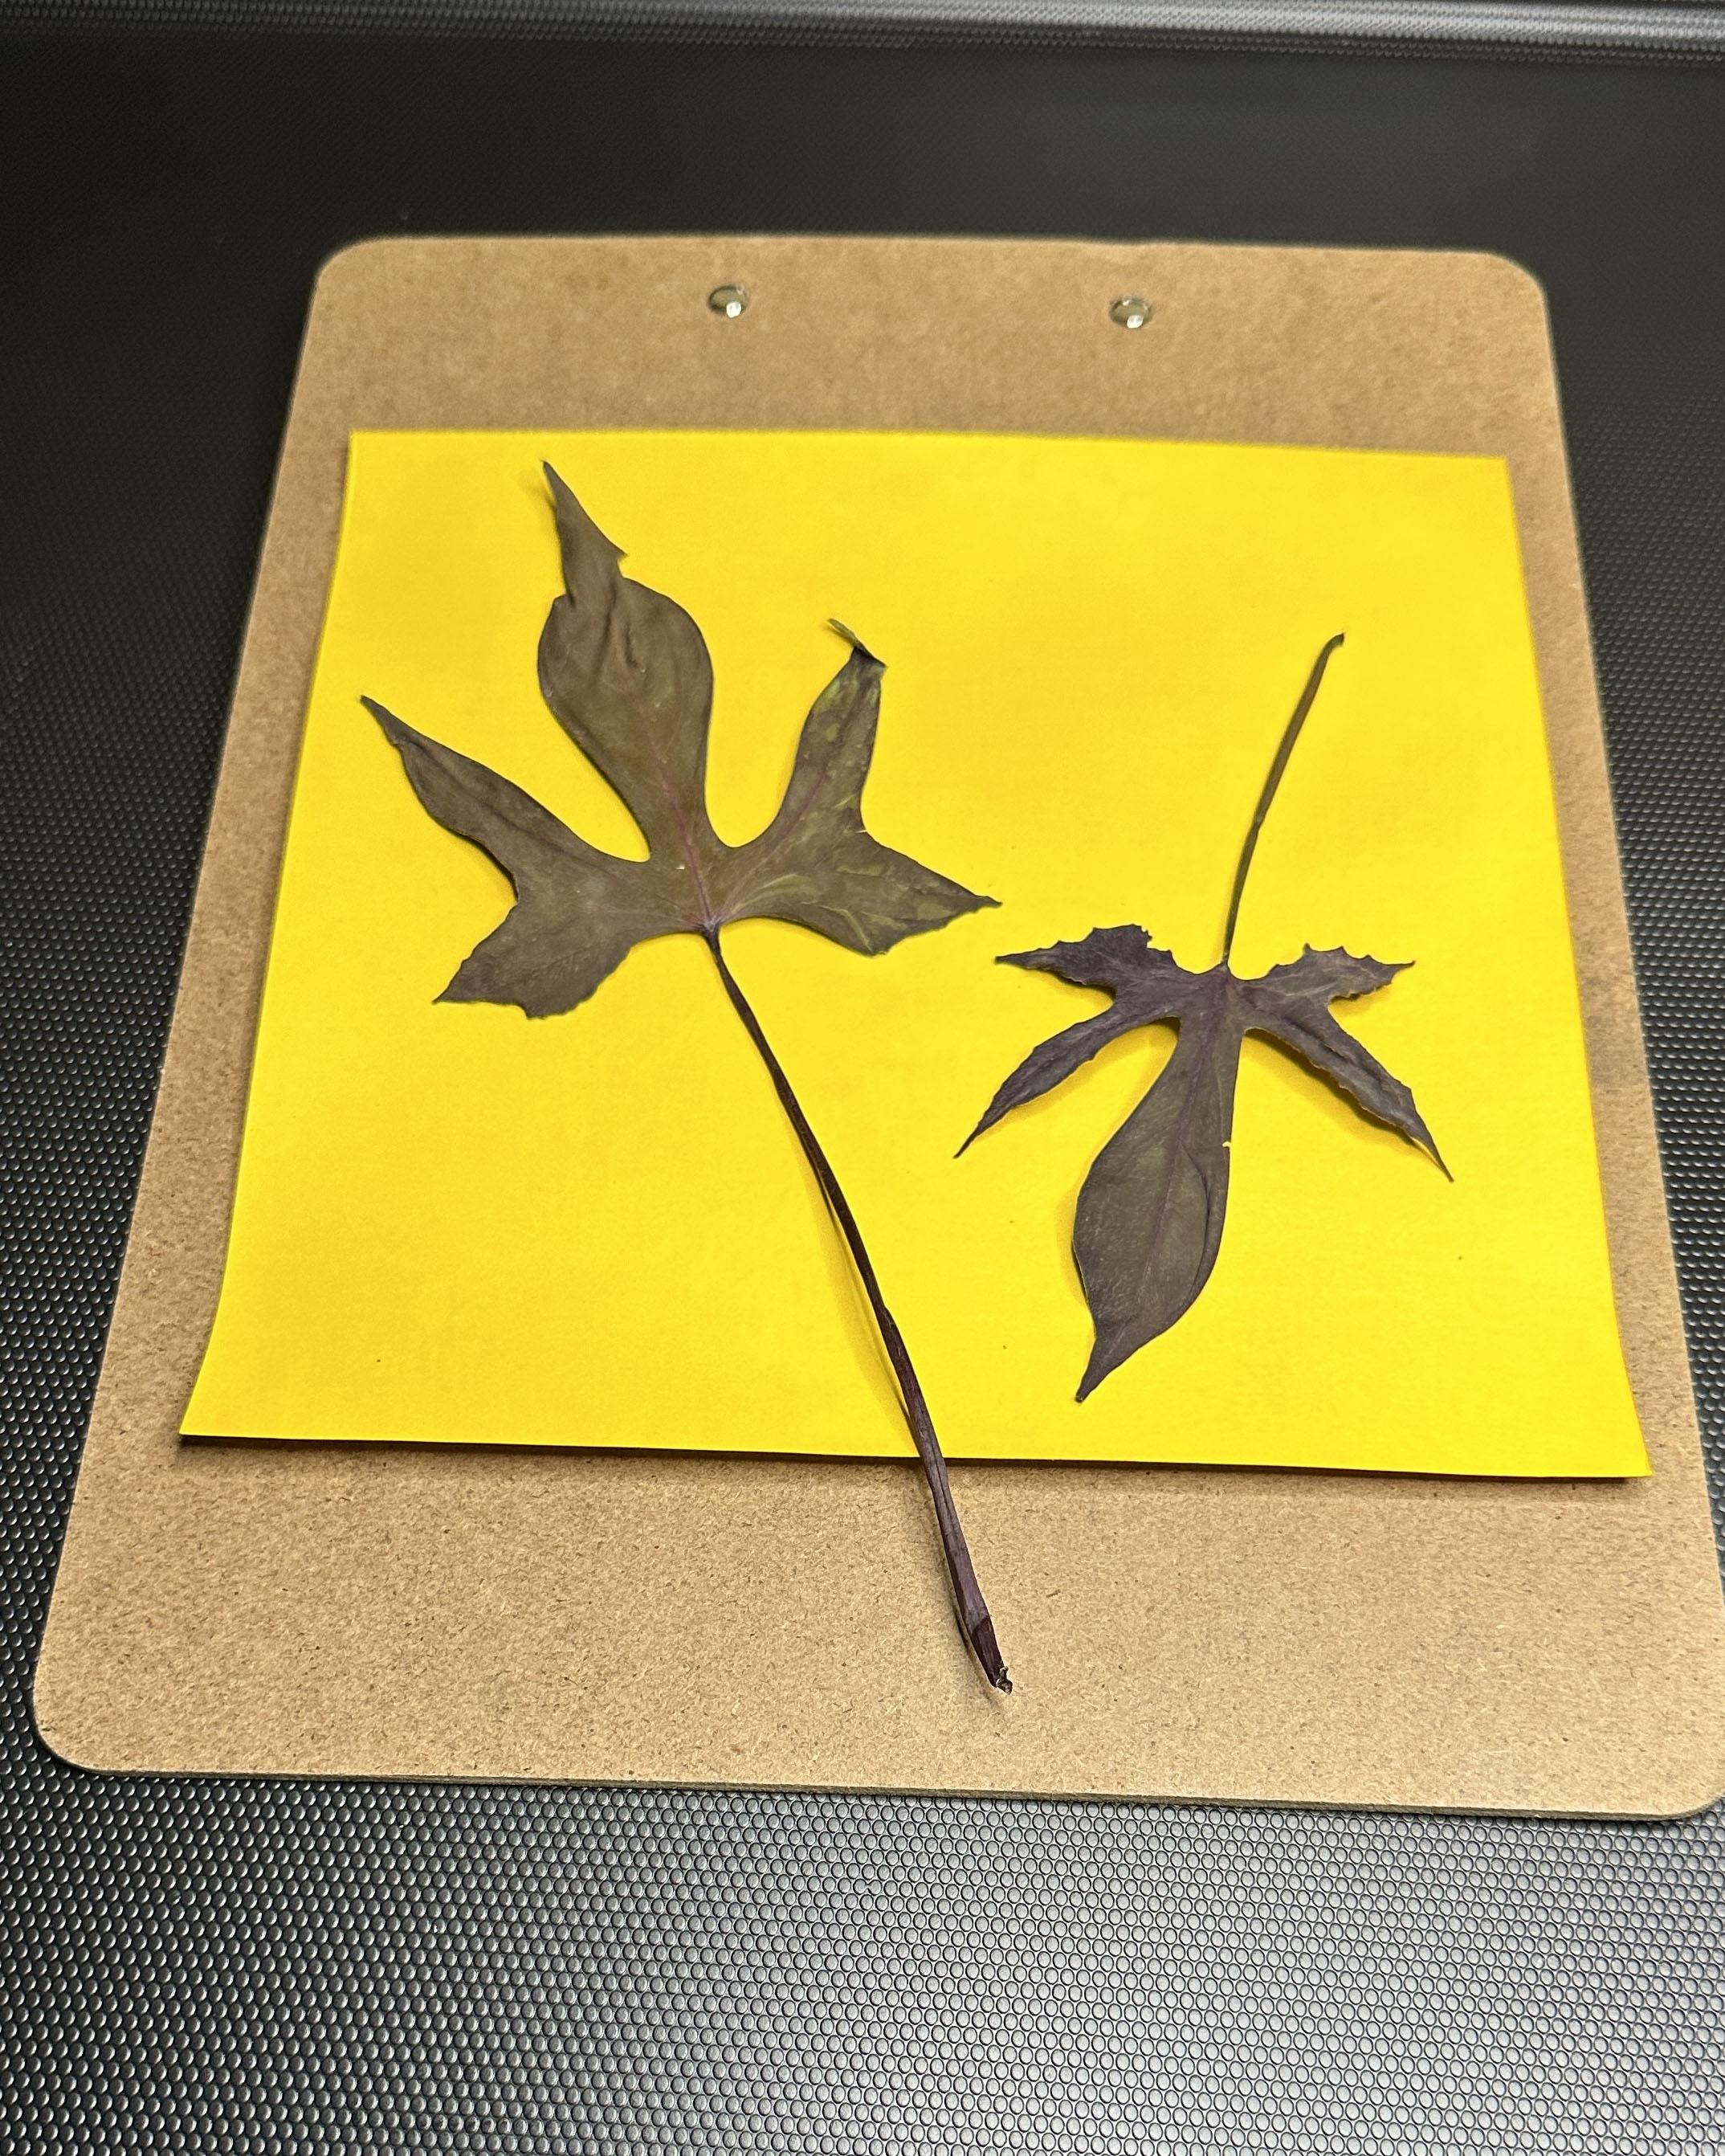
Place your subject on the coated paper. Try keeping it simple at first. Avoid overlapping objects until you have tried a print or two.
Coloca el objeto sobre el papel. Intenta que sea sencillo al principio. Evita superponer objetos hasta que hayas probado una o dos impresiones.
Cover With Glass / Cubrir Con Vidrio
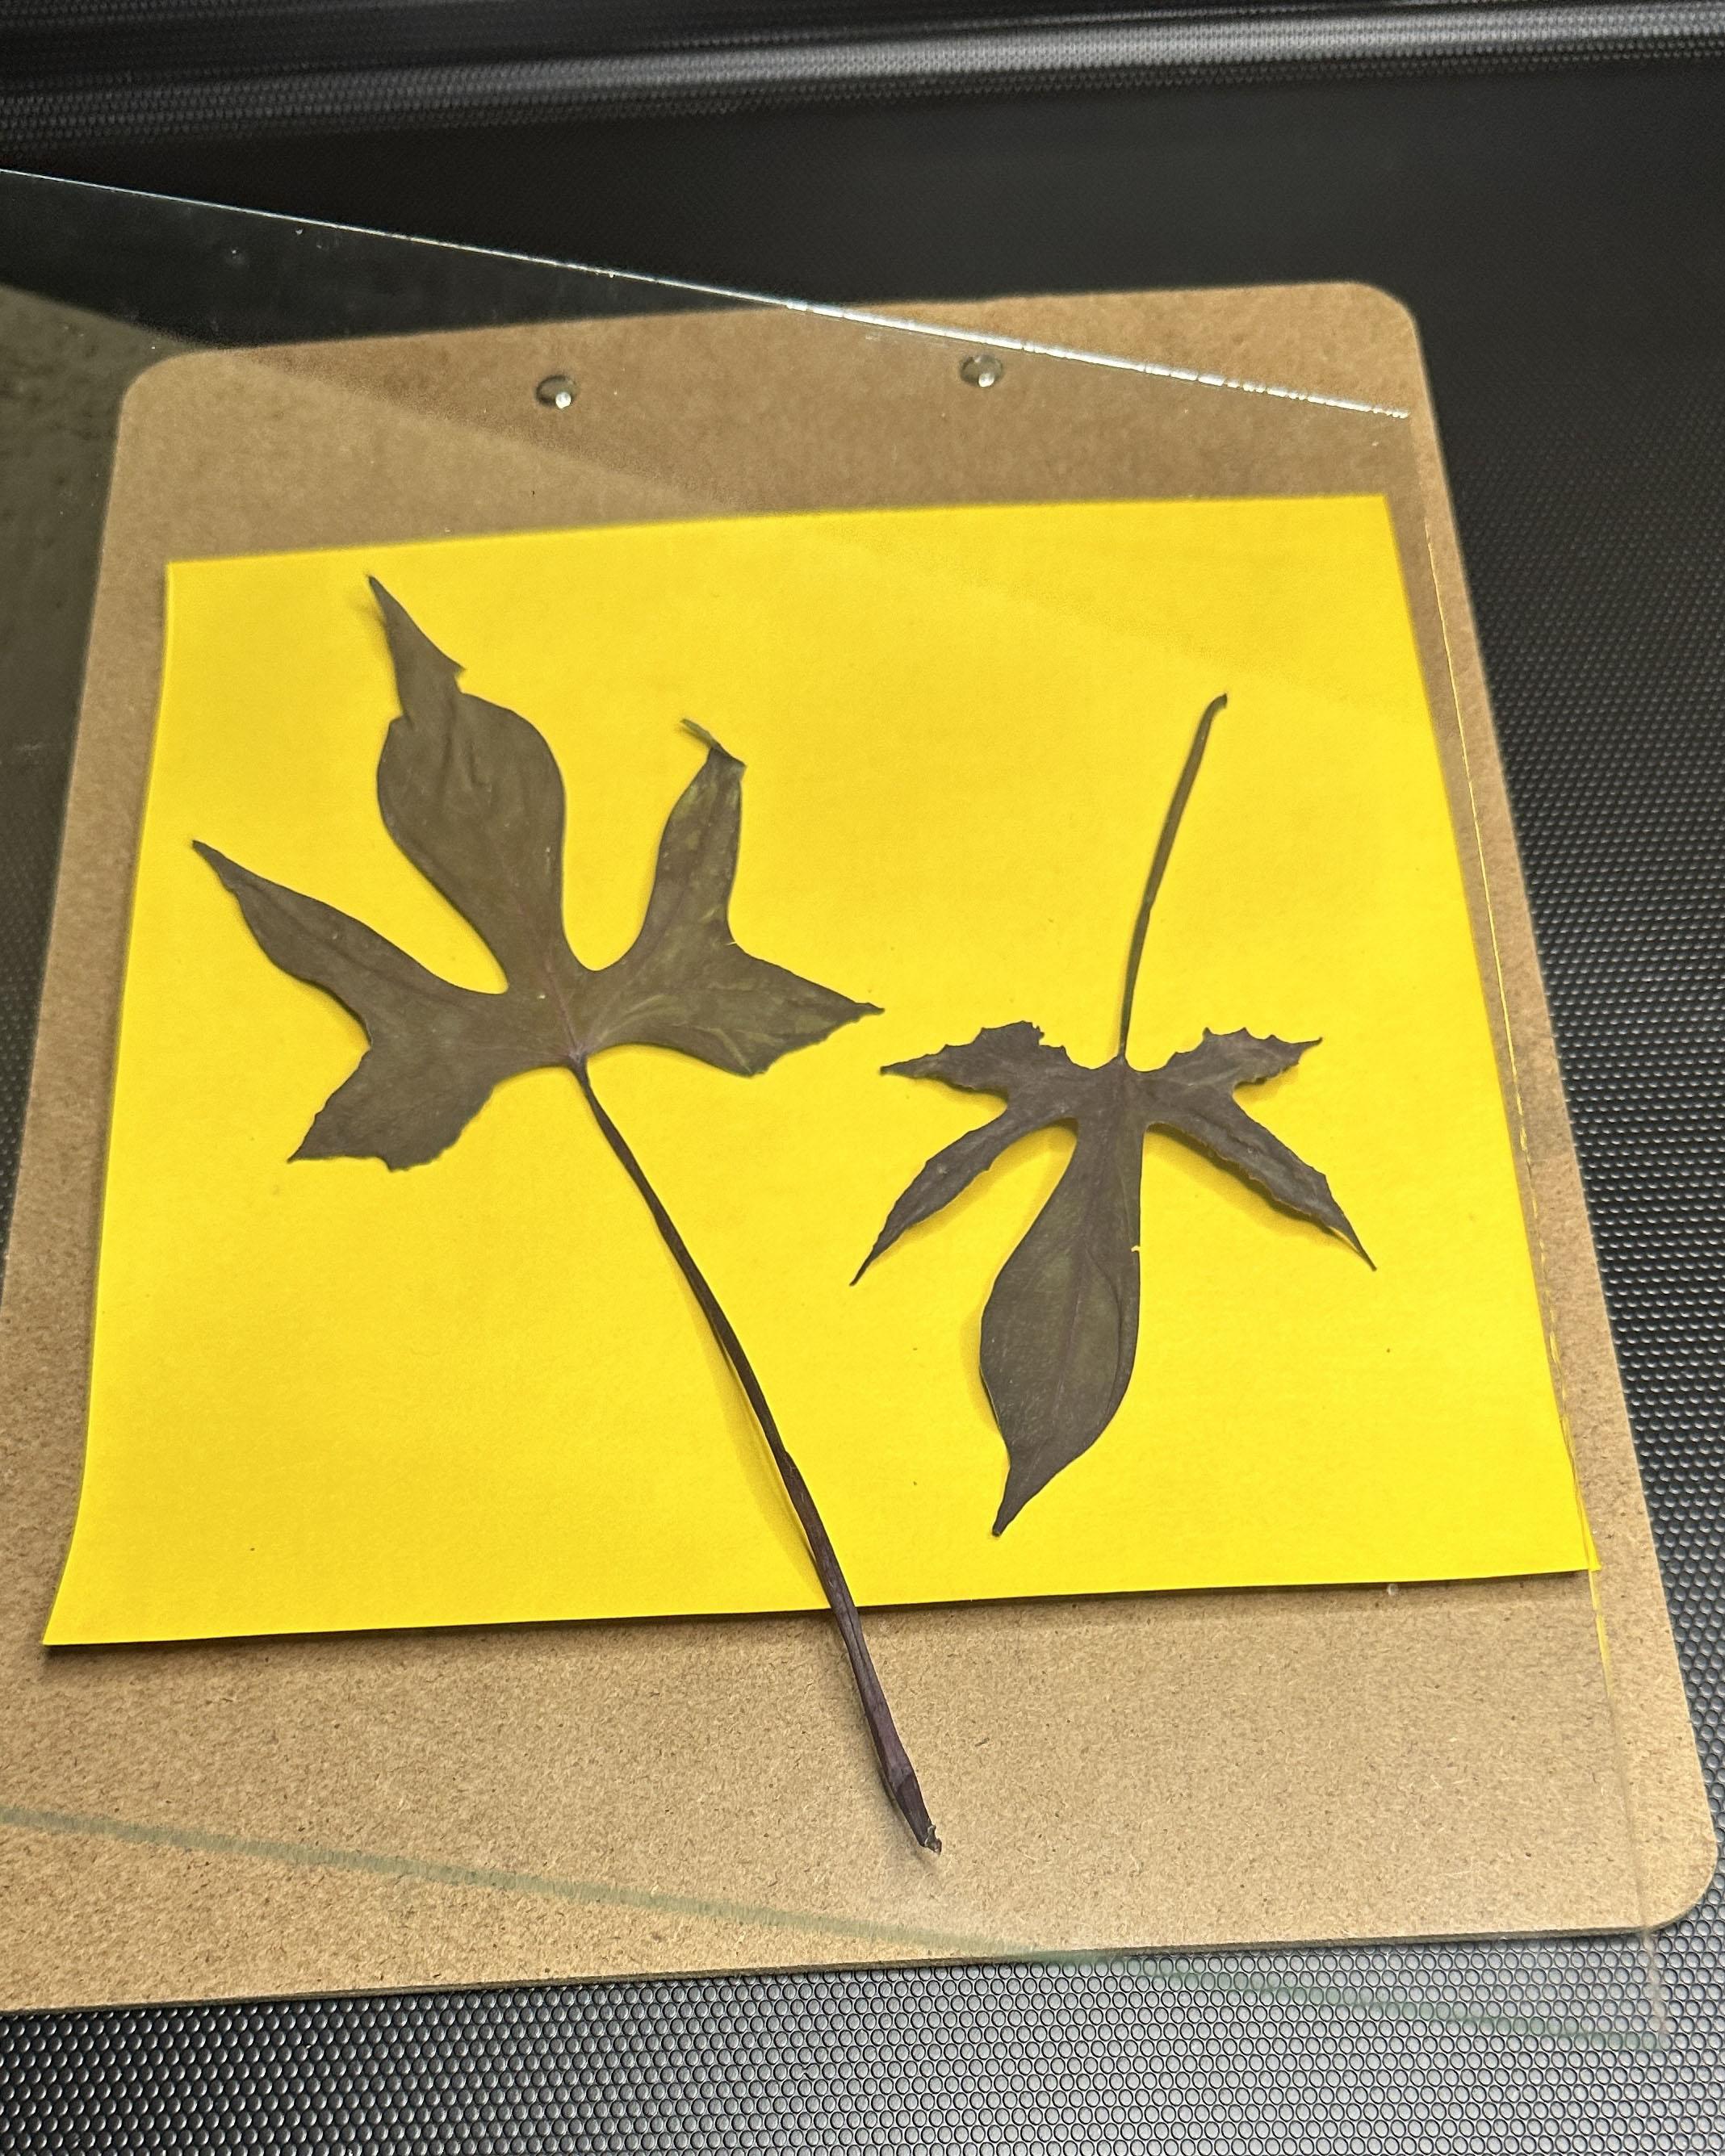
Once you are happy with the composition, gently cover with the glass sheet. Do this slowly to avoid shifting your composition
Una vez que estés satisfecho con la composición, cúbrela con cuidado con la lámina de vidrio o plexiglass. Hazlo lentamente para evitar que se mueva la composición.
Clip Everything Together / Sujeta Todo Junto
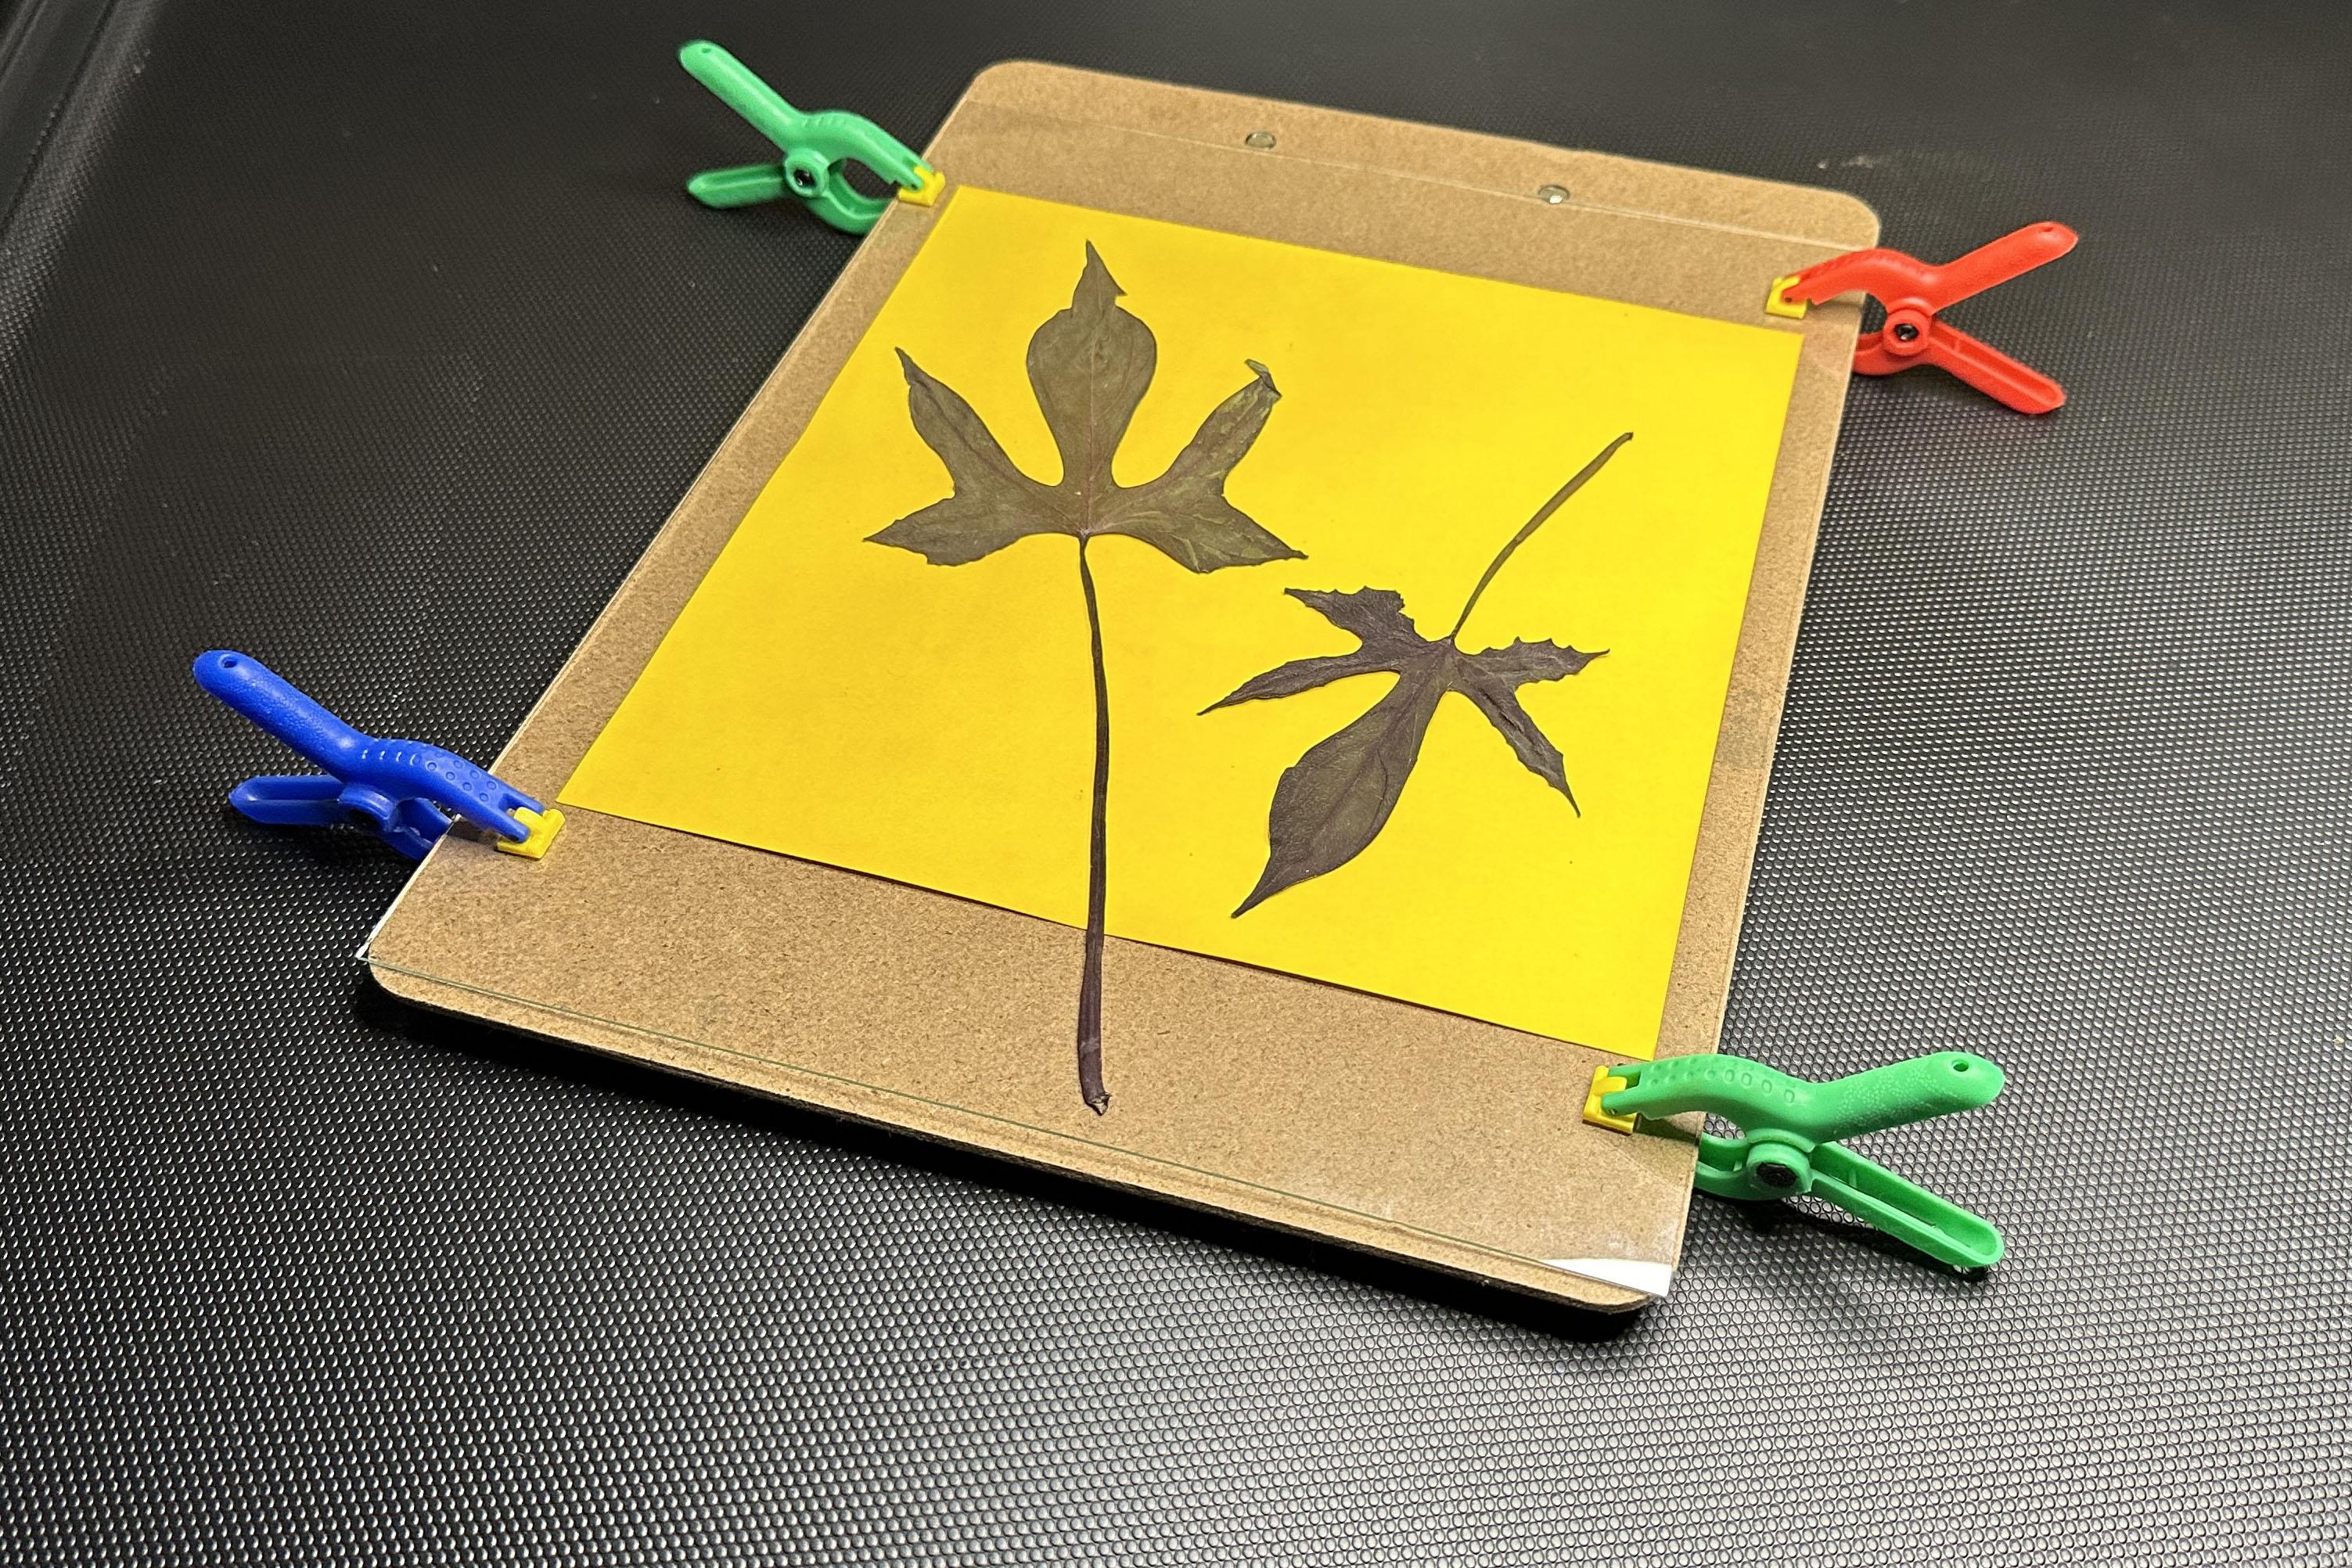
Use at least 4 clips to secure the “image sandwich” this will keep the subject and paper in close contact to give us a crips clear image. Take care avoid placing the clips over the coated paper (unless you want them in you final image)
I use inexpensive craft clips. They are strong enough to hold everything together, but not strong enough to break or damage the glass
Utilice al menos 4 clips/pinzas para asegurar el “sándwich de imagen”; esto mantendrá al sujeto y al papel en contacto para producir una imagen nítida y clara. Tenga cuidado de no colocar los clips sobre el papel recubierto (a menos que los desee en la imagen final).
Yo uso clips para manualidades económicos. Son lo suficientemente fuertes como para mantener todo junto, pero no lo suficientemente fuertes como para romper o dañar el vidrio.
Expose / Exponer Al Sol
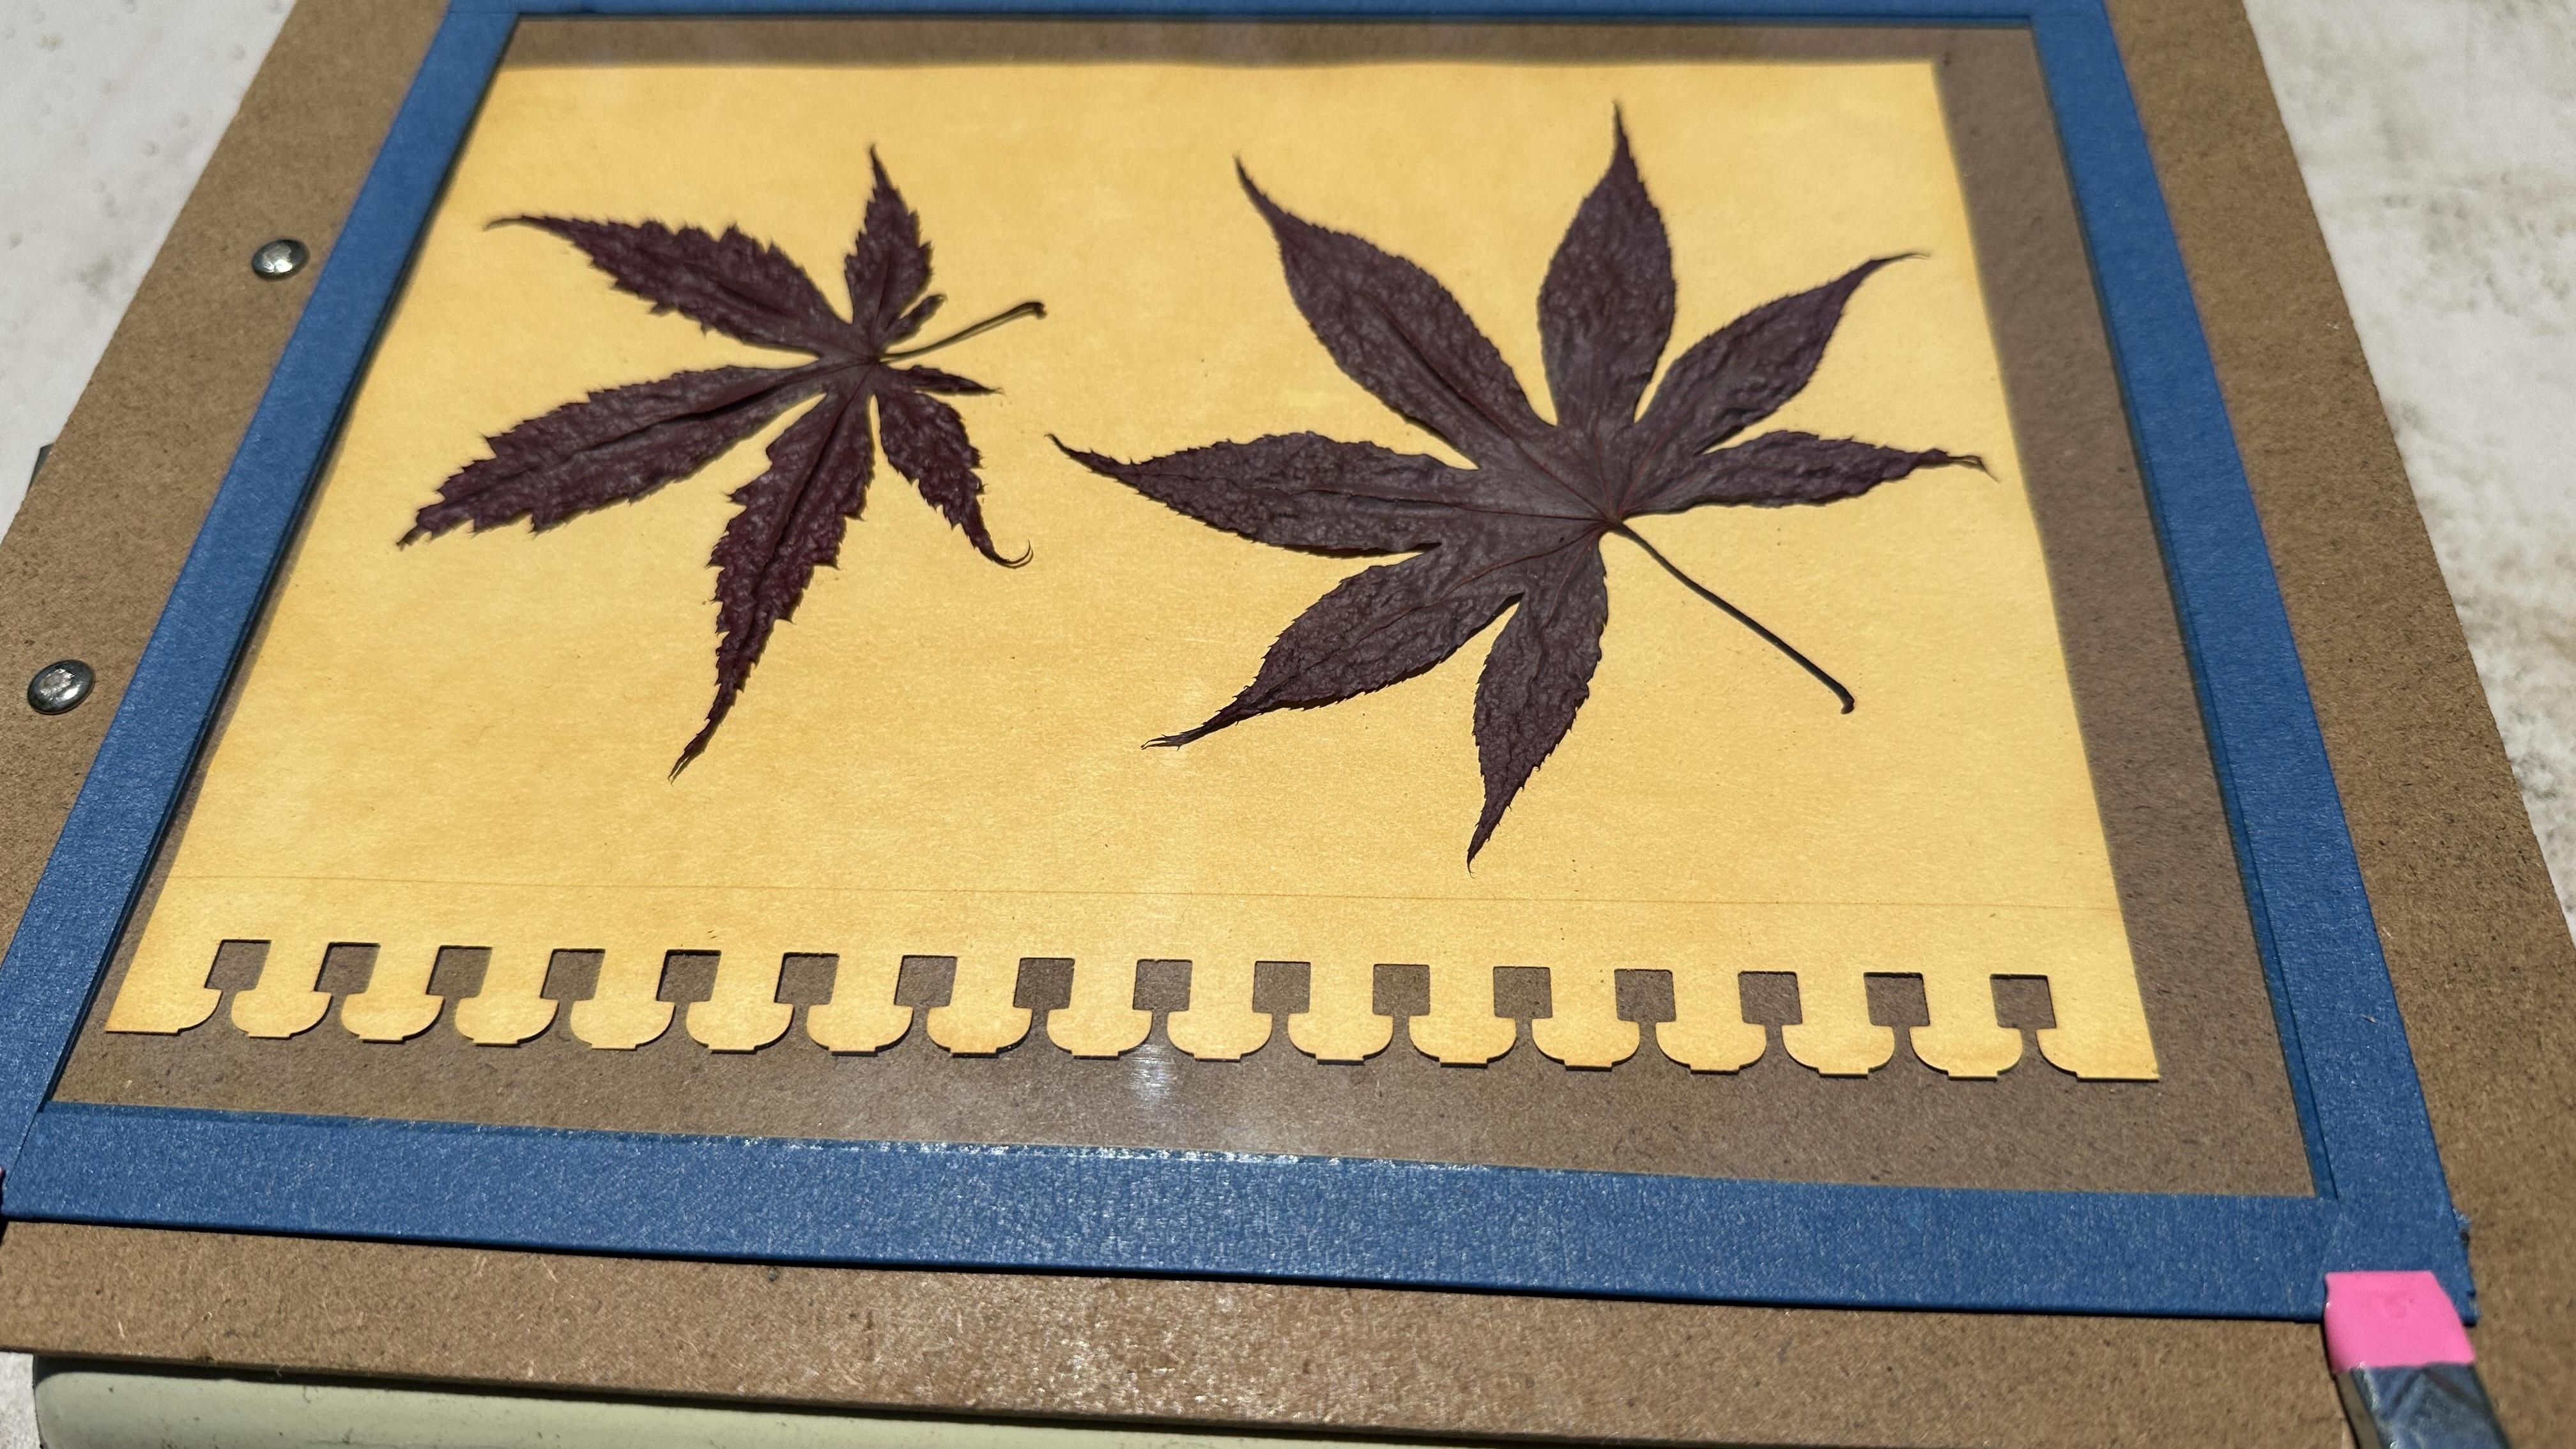
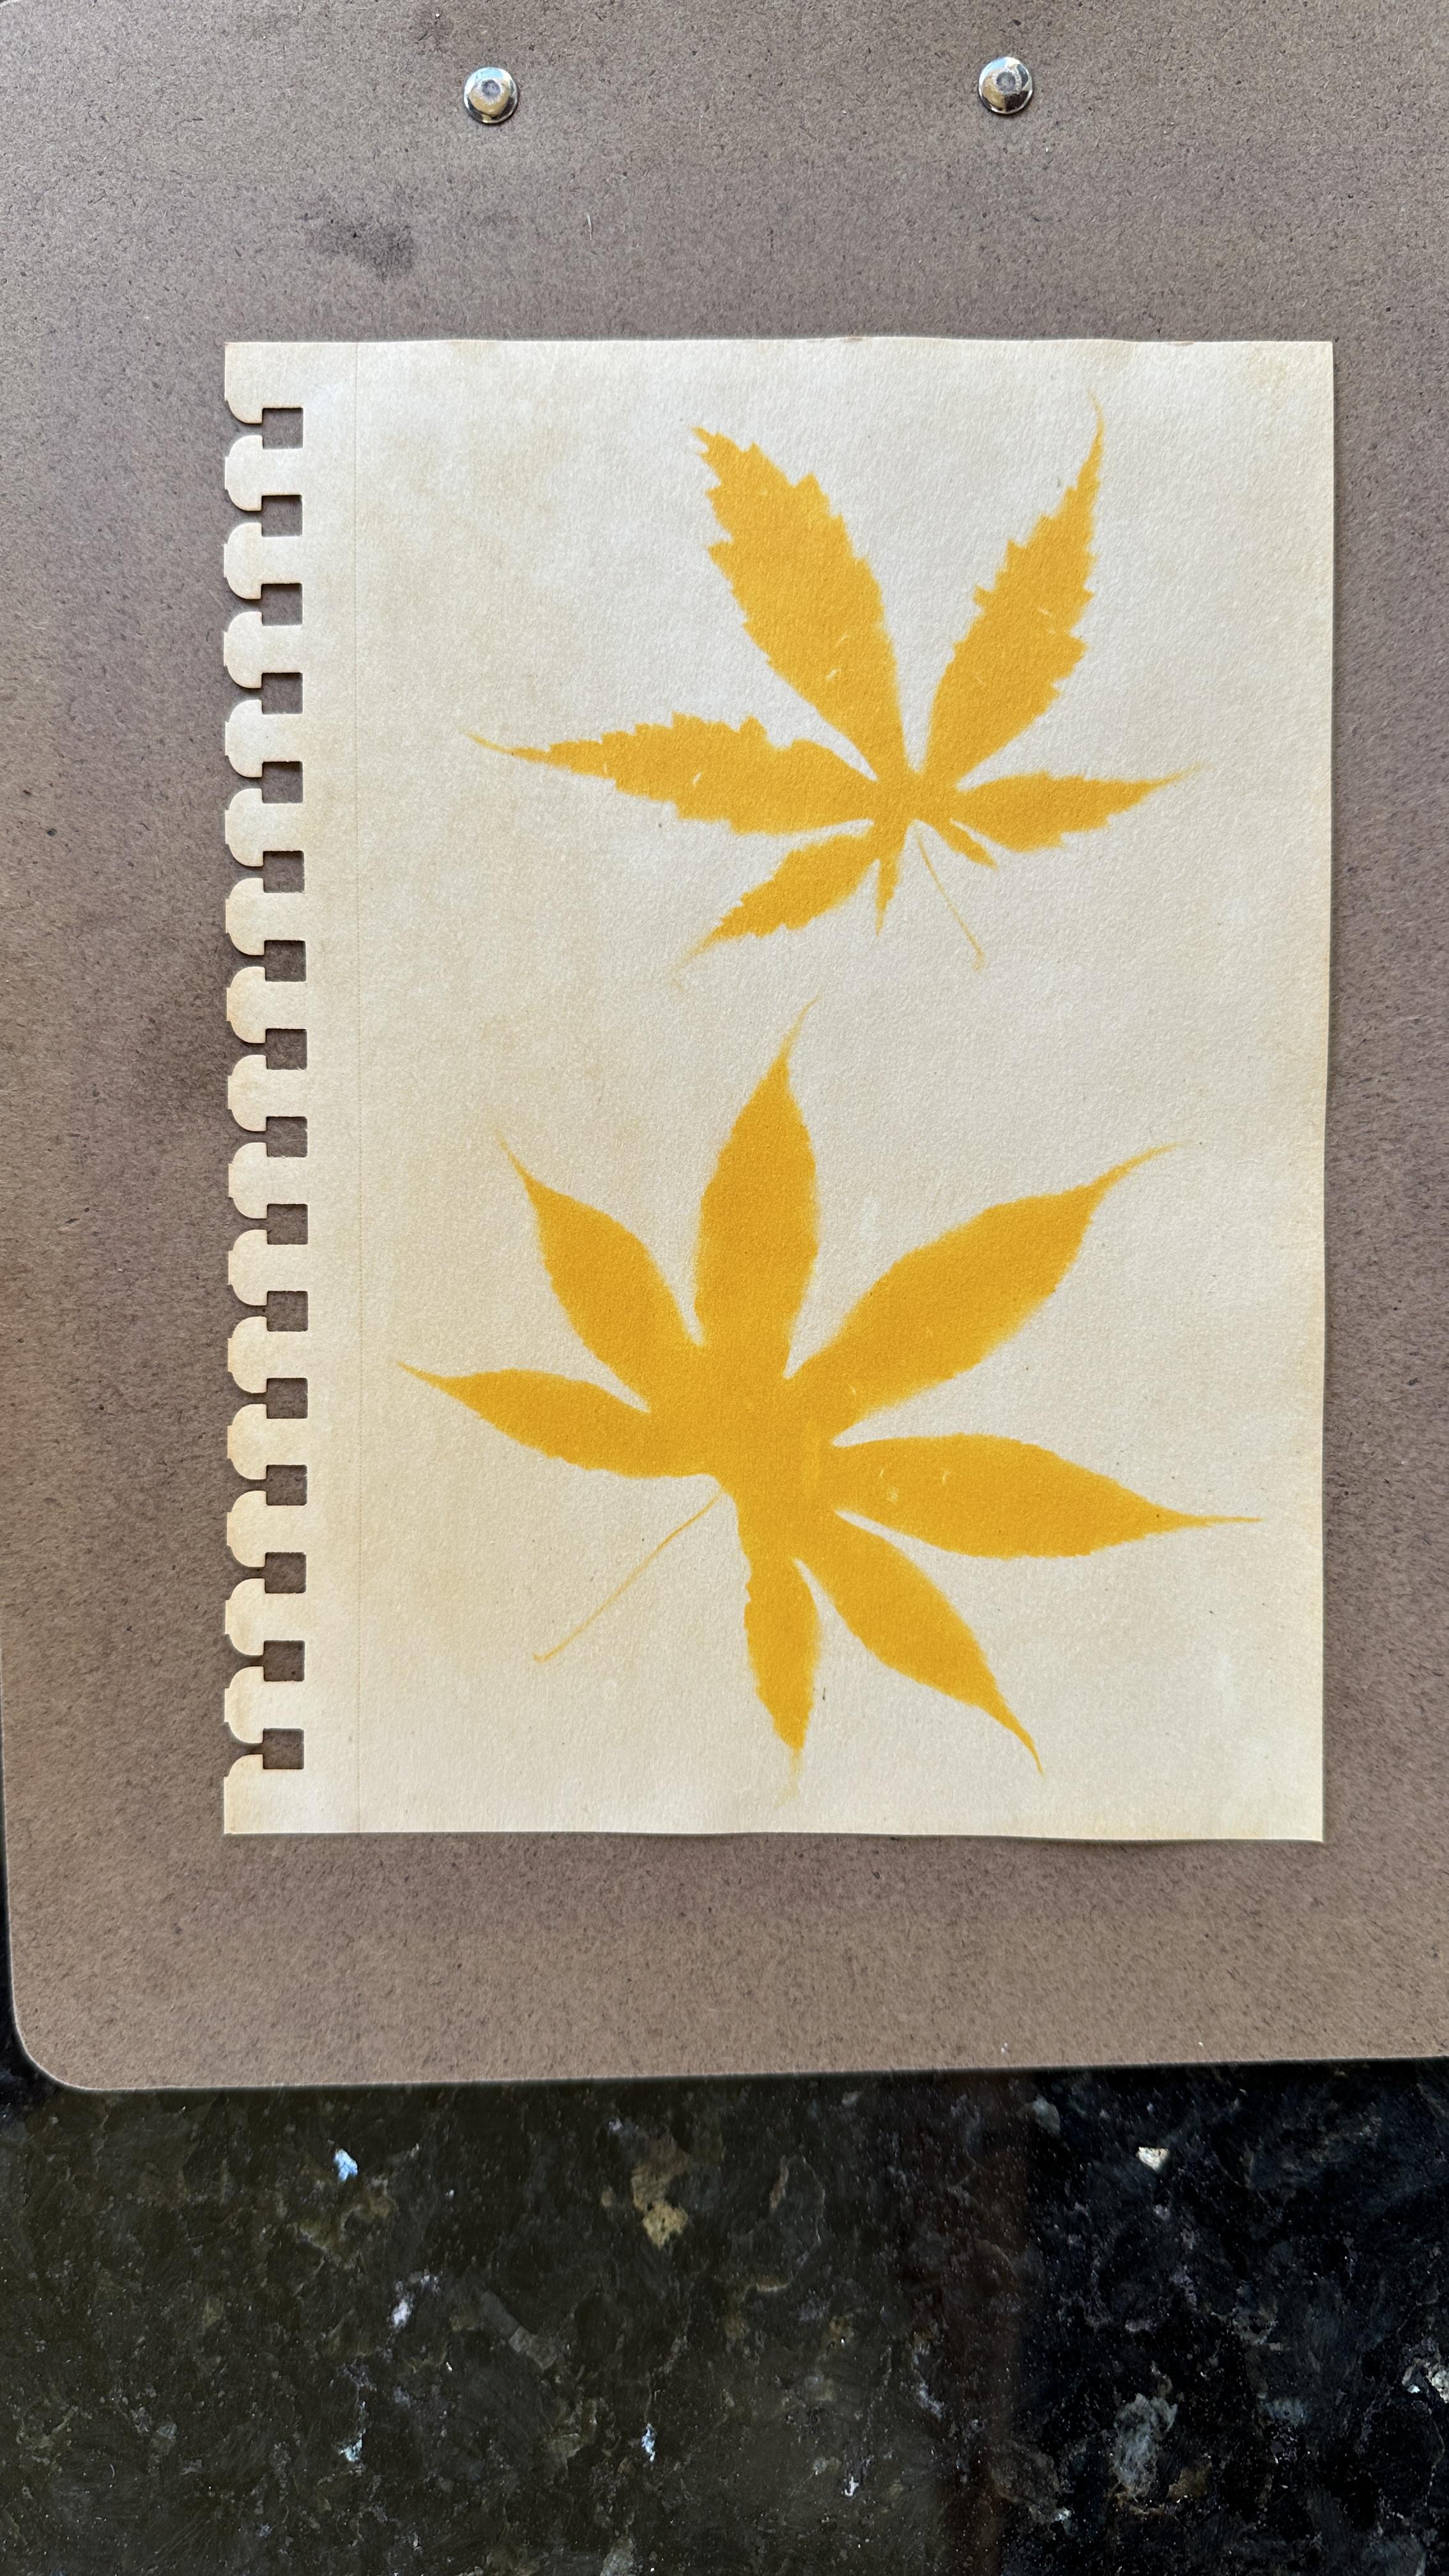
Place in direct sunlight (first image) until the vibrant yellow becomes a very pale lemon tone.
Your exposures will vary depending on location, weather, time of year. To give you an idea or baseline. The exposures in this Instructable were 4 hours long and it was a sunny day in late July in Southern California.
The second image in the step shows the difference between the sun-faded areas and the original color of the coated paper (this is the area under the leaves)
Colóquelo bajo la luz solar directa (primera imagen) hasta que el amarillo vibrante se convierta en un tono limón muy pálido.
Sus exposiciones variarán según la ubicación, el clima y la época del año. Para darle una idea o una línea de base. Las exposiciones en este Instructable duraron 4 horas y fue un día soleado a fines de julio en el sur de California.
La segunda imagen del paso muestra la diferencia entre las áreas descoloridas por el sol y el color original del papel recubierto (esta es el área debajo de las hojas)
Develop / Revelar
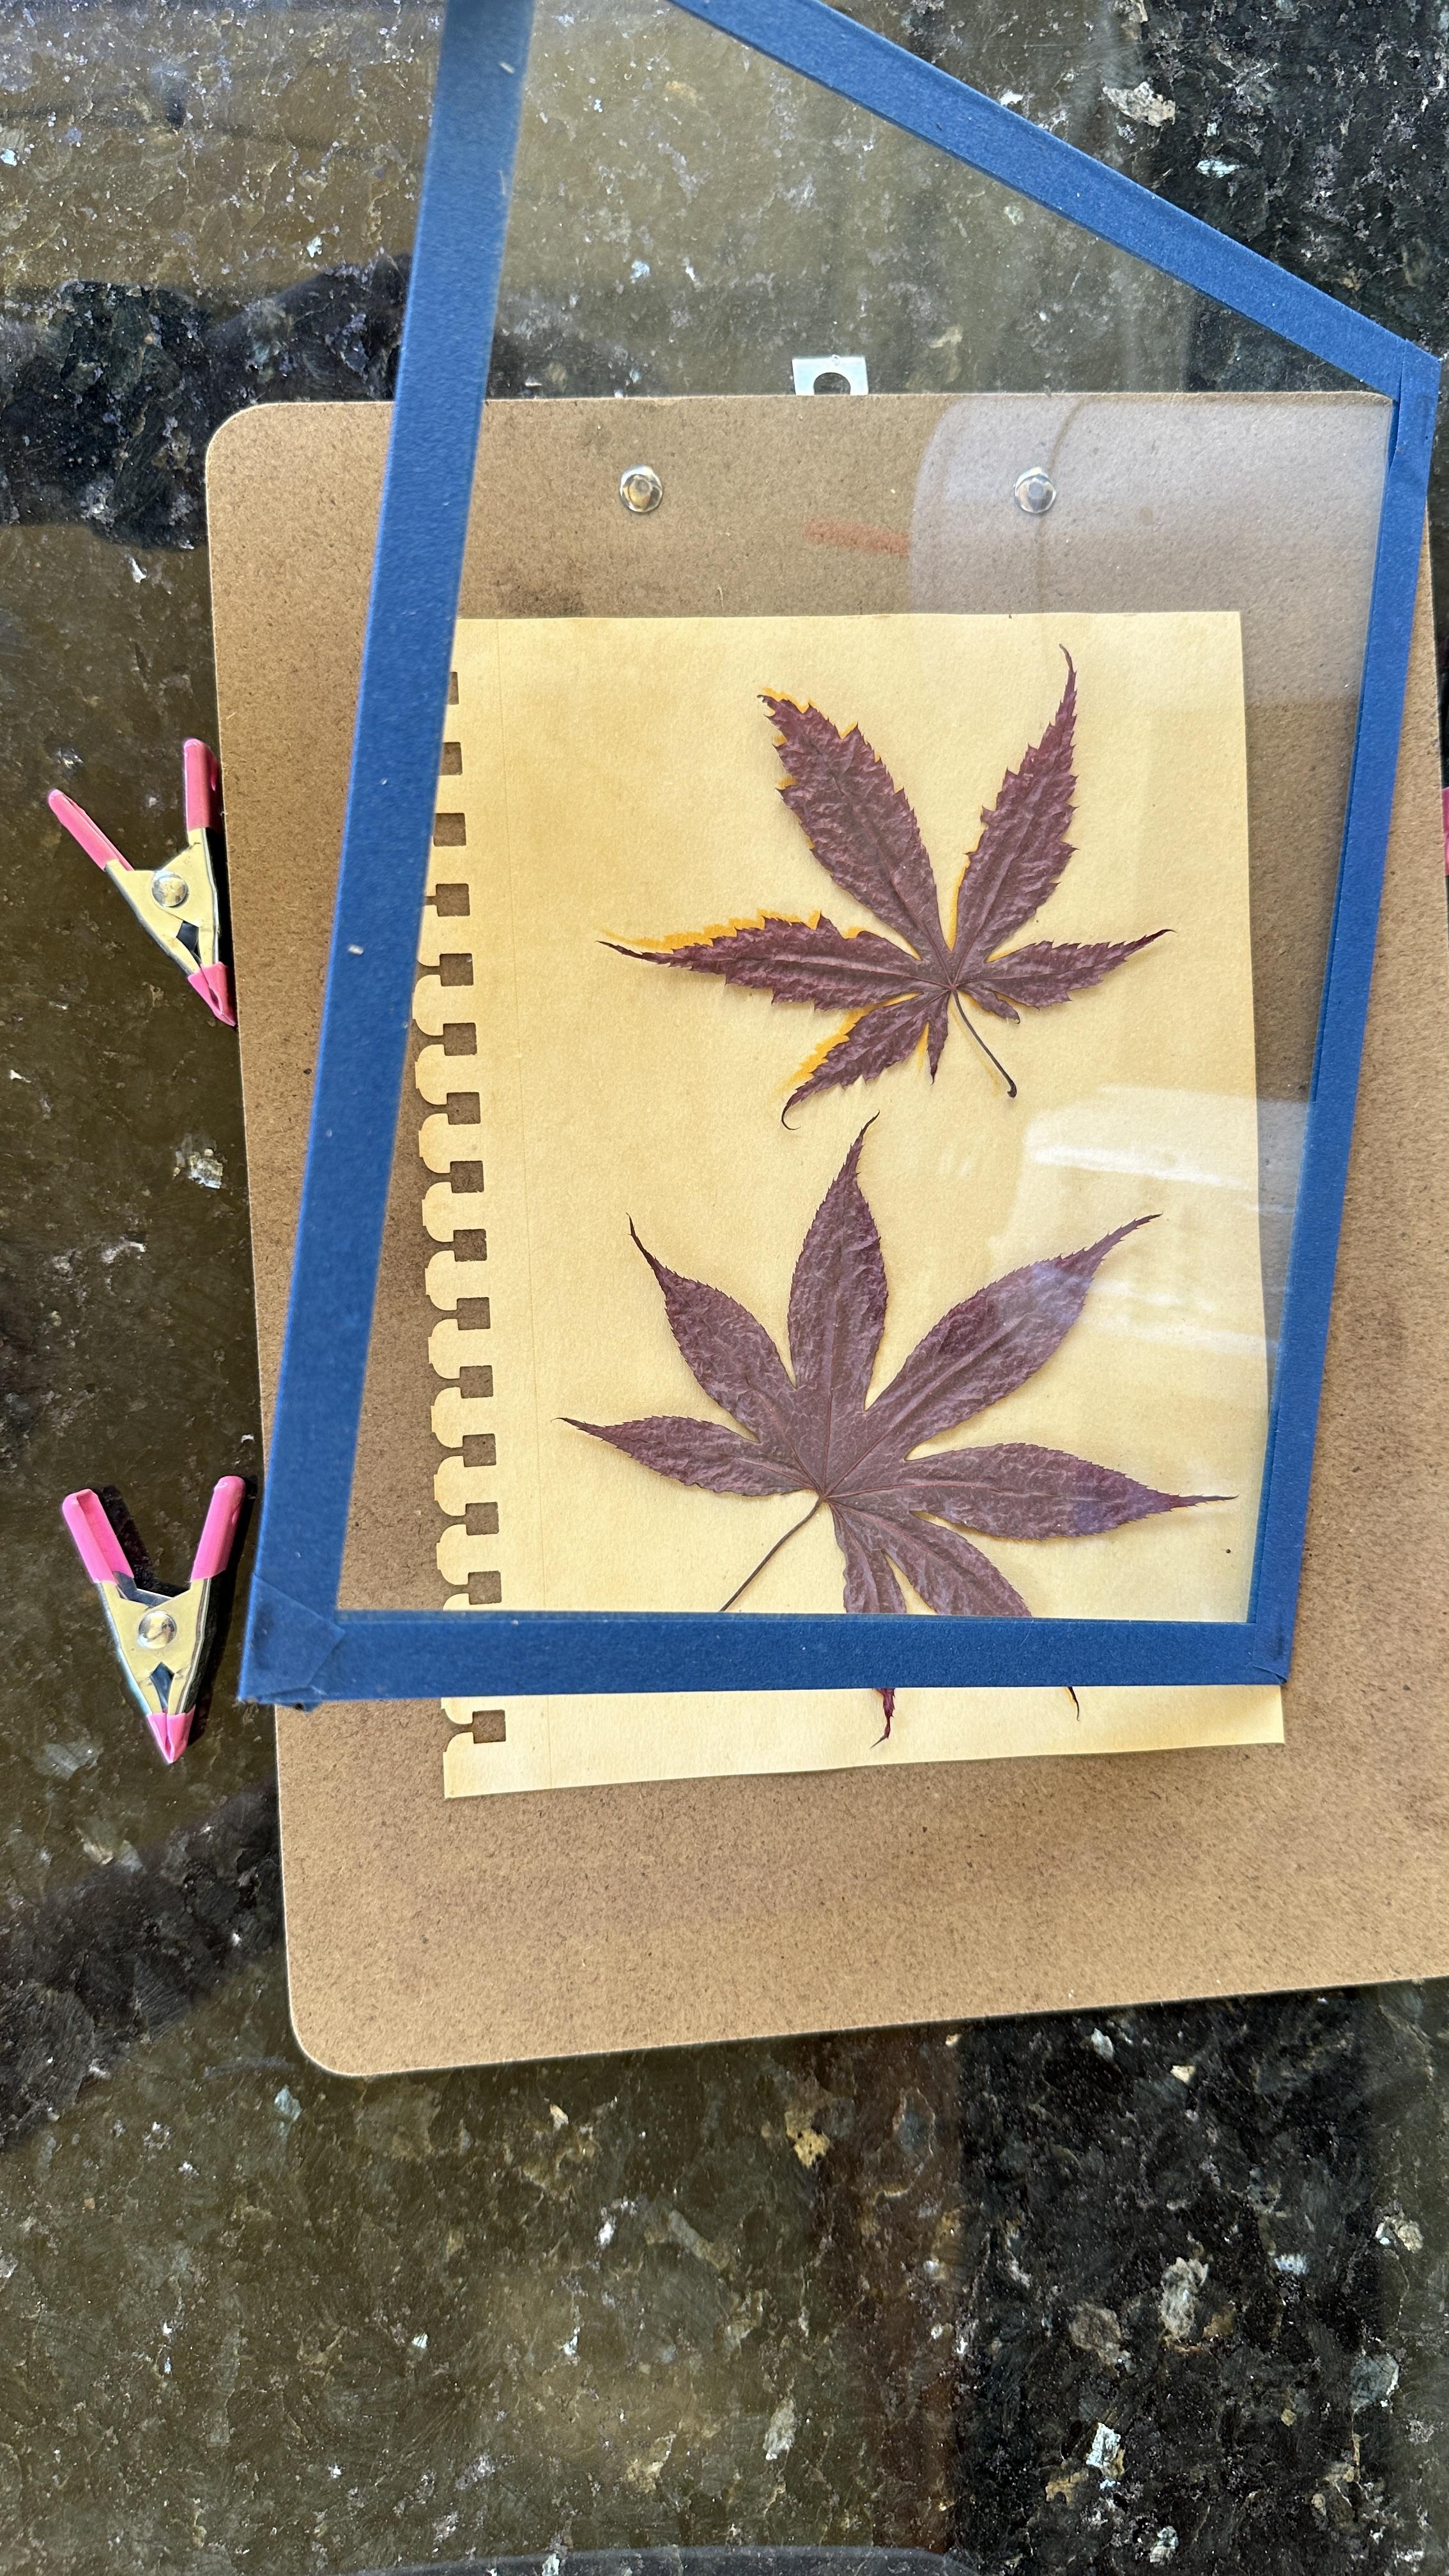
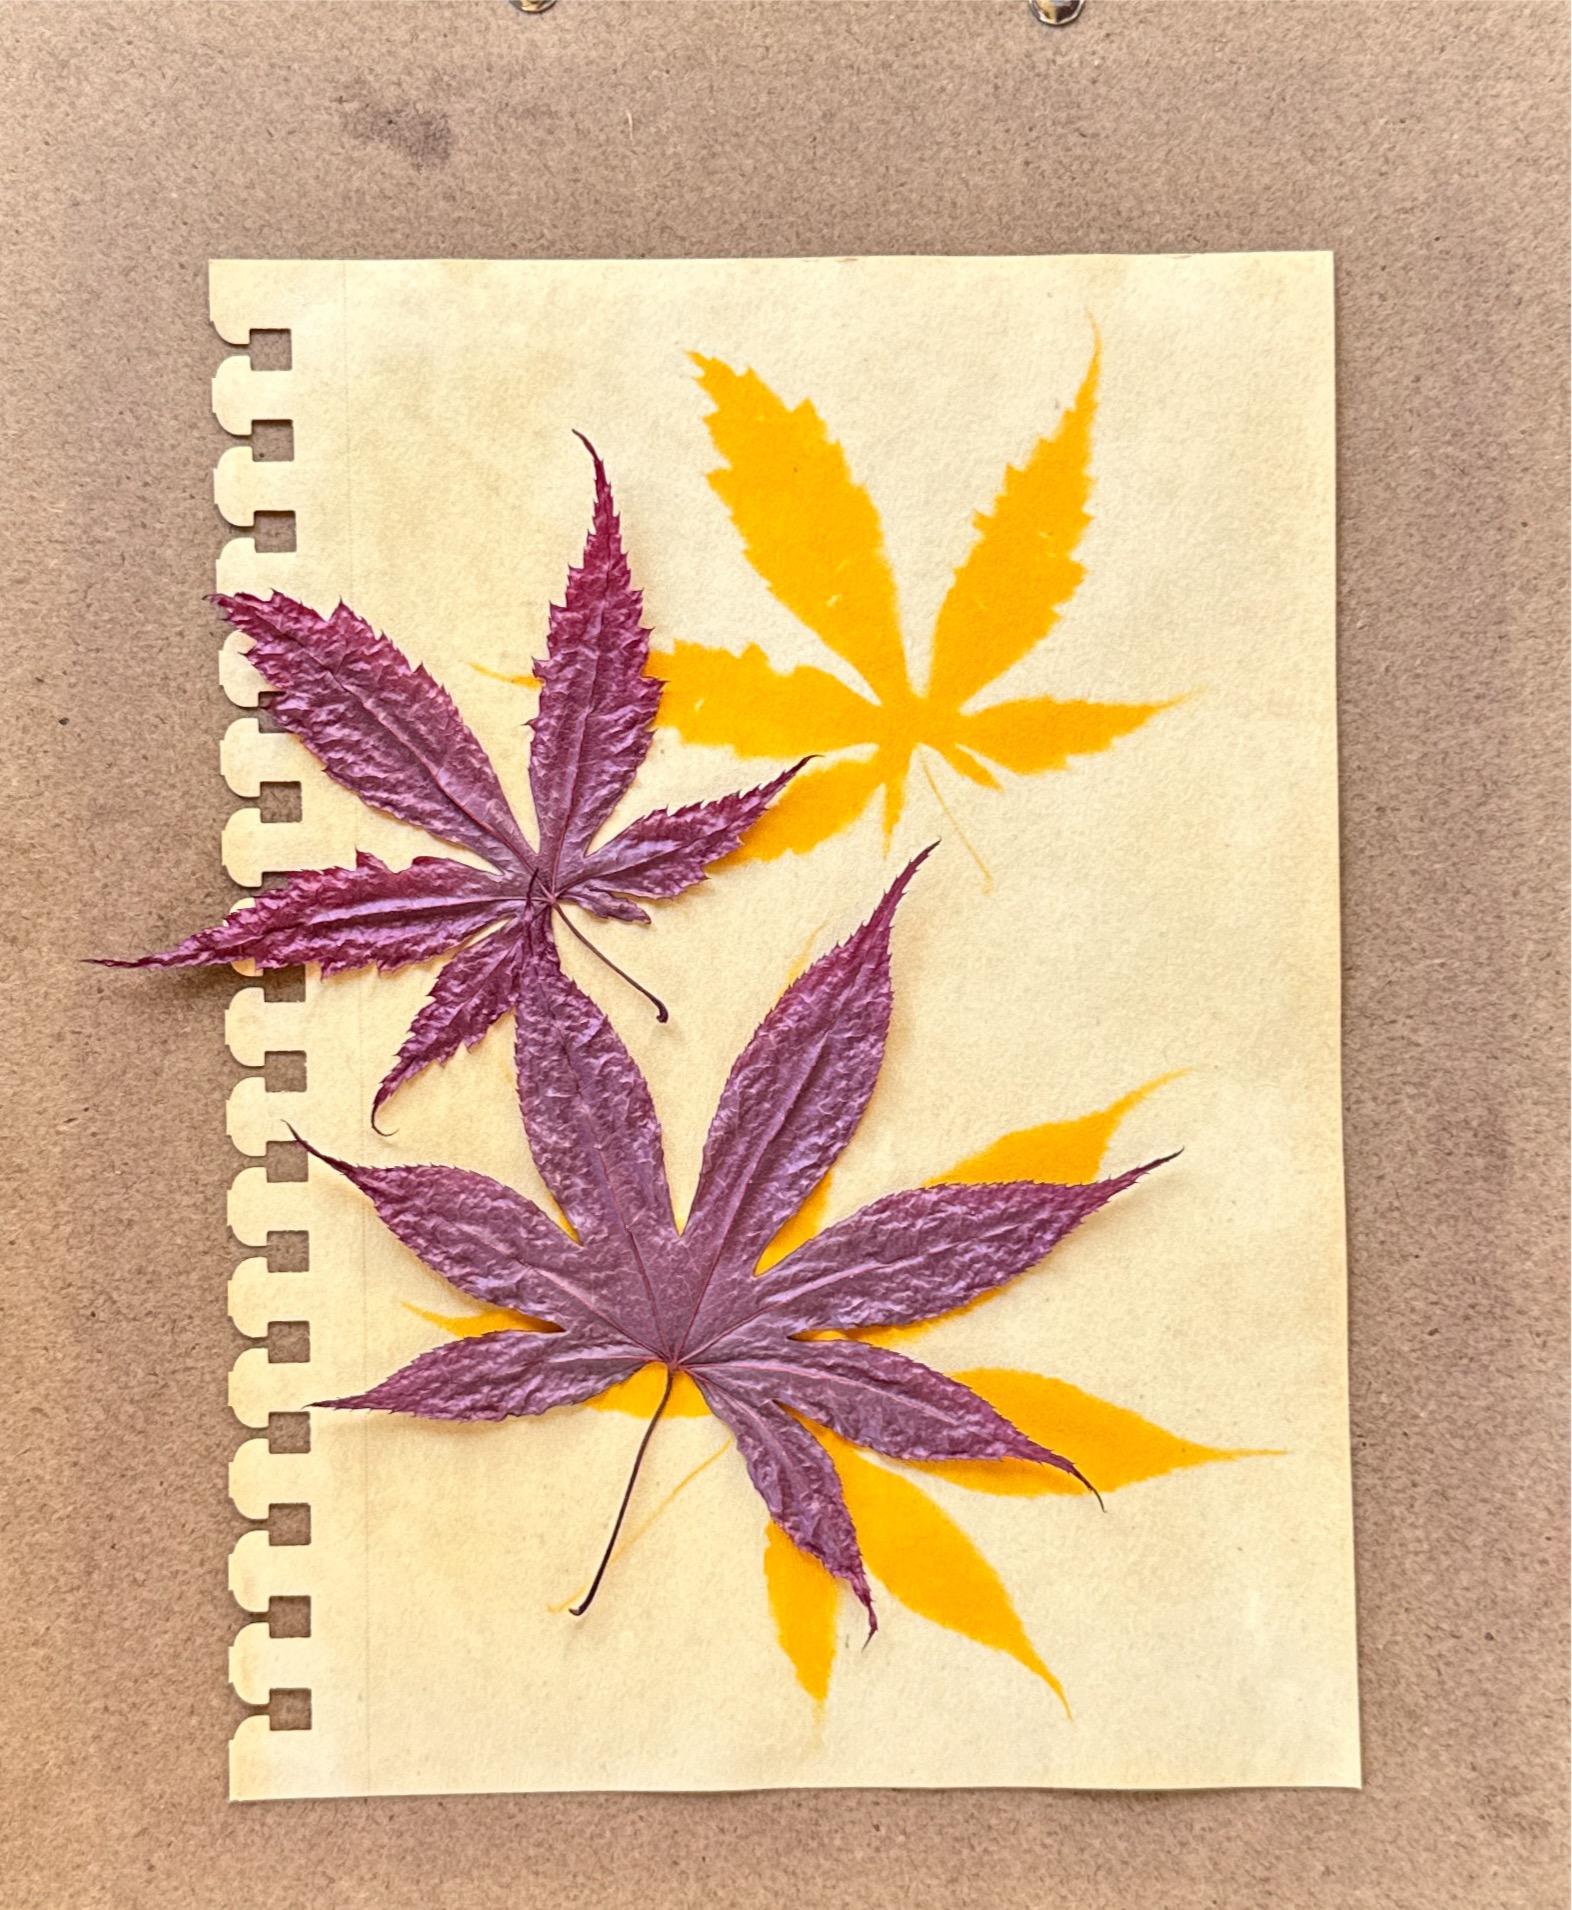
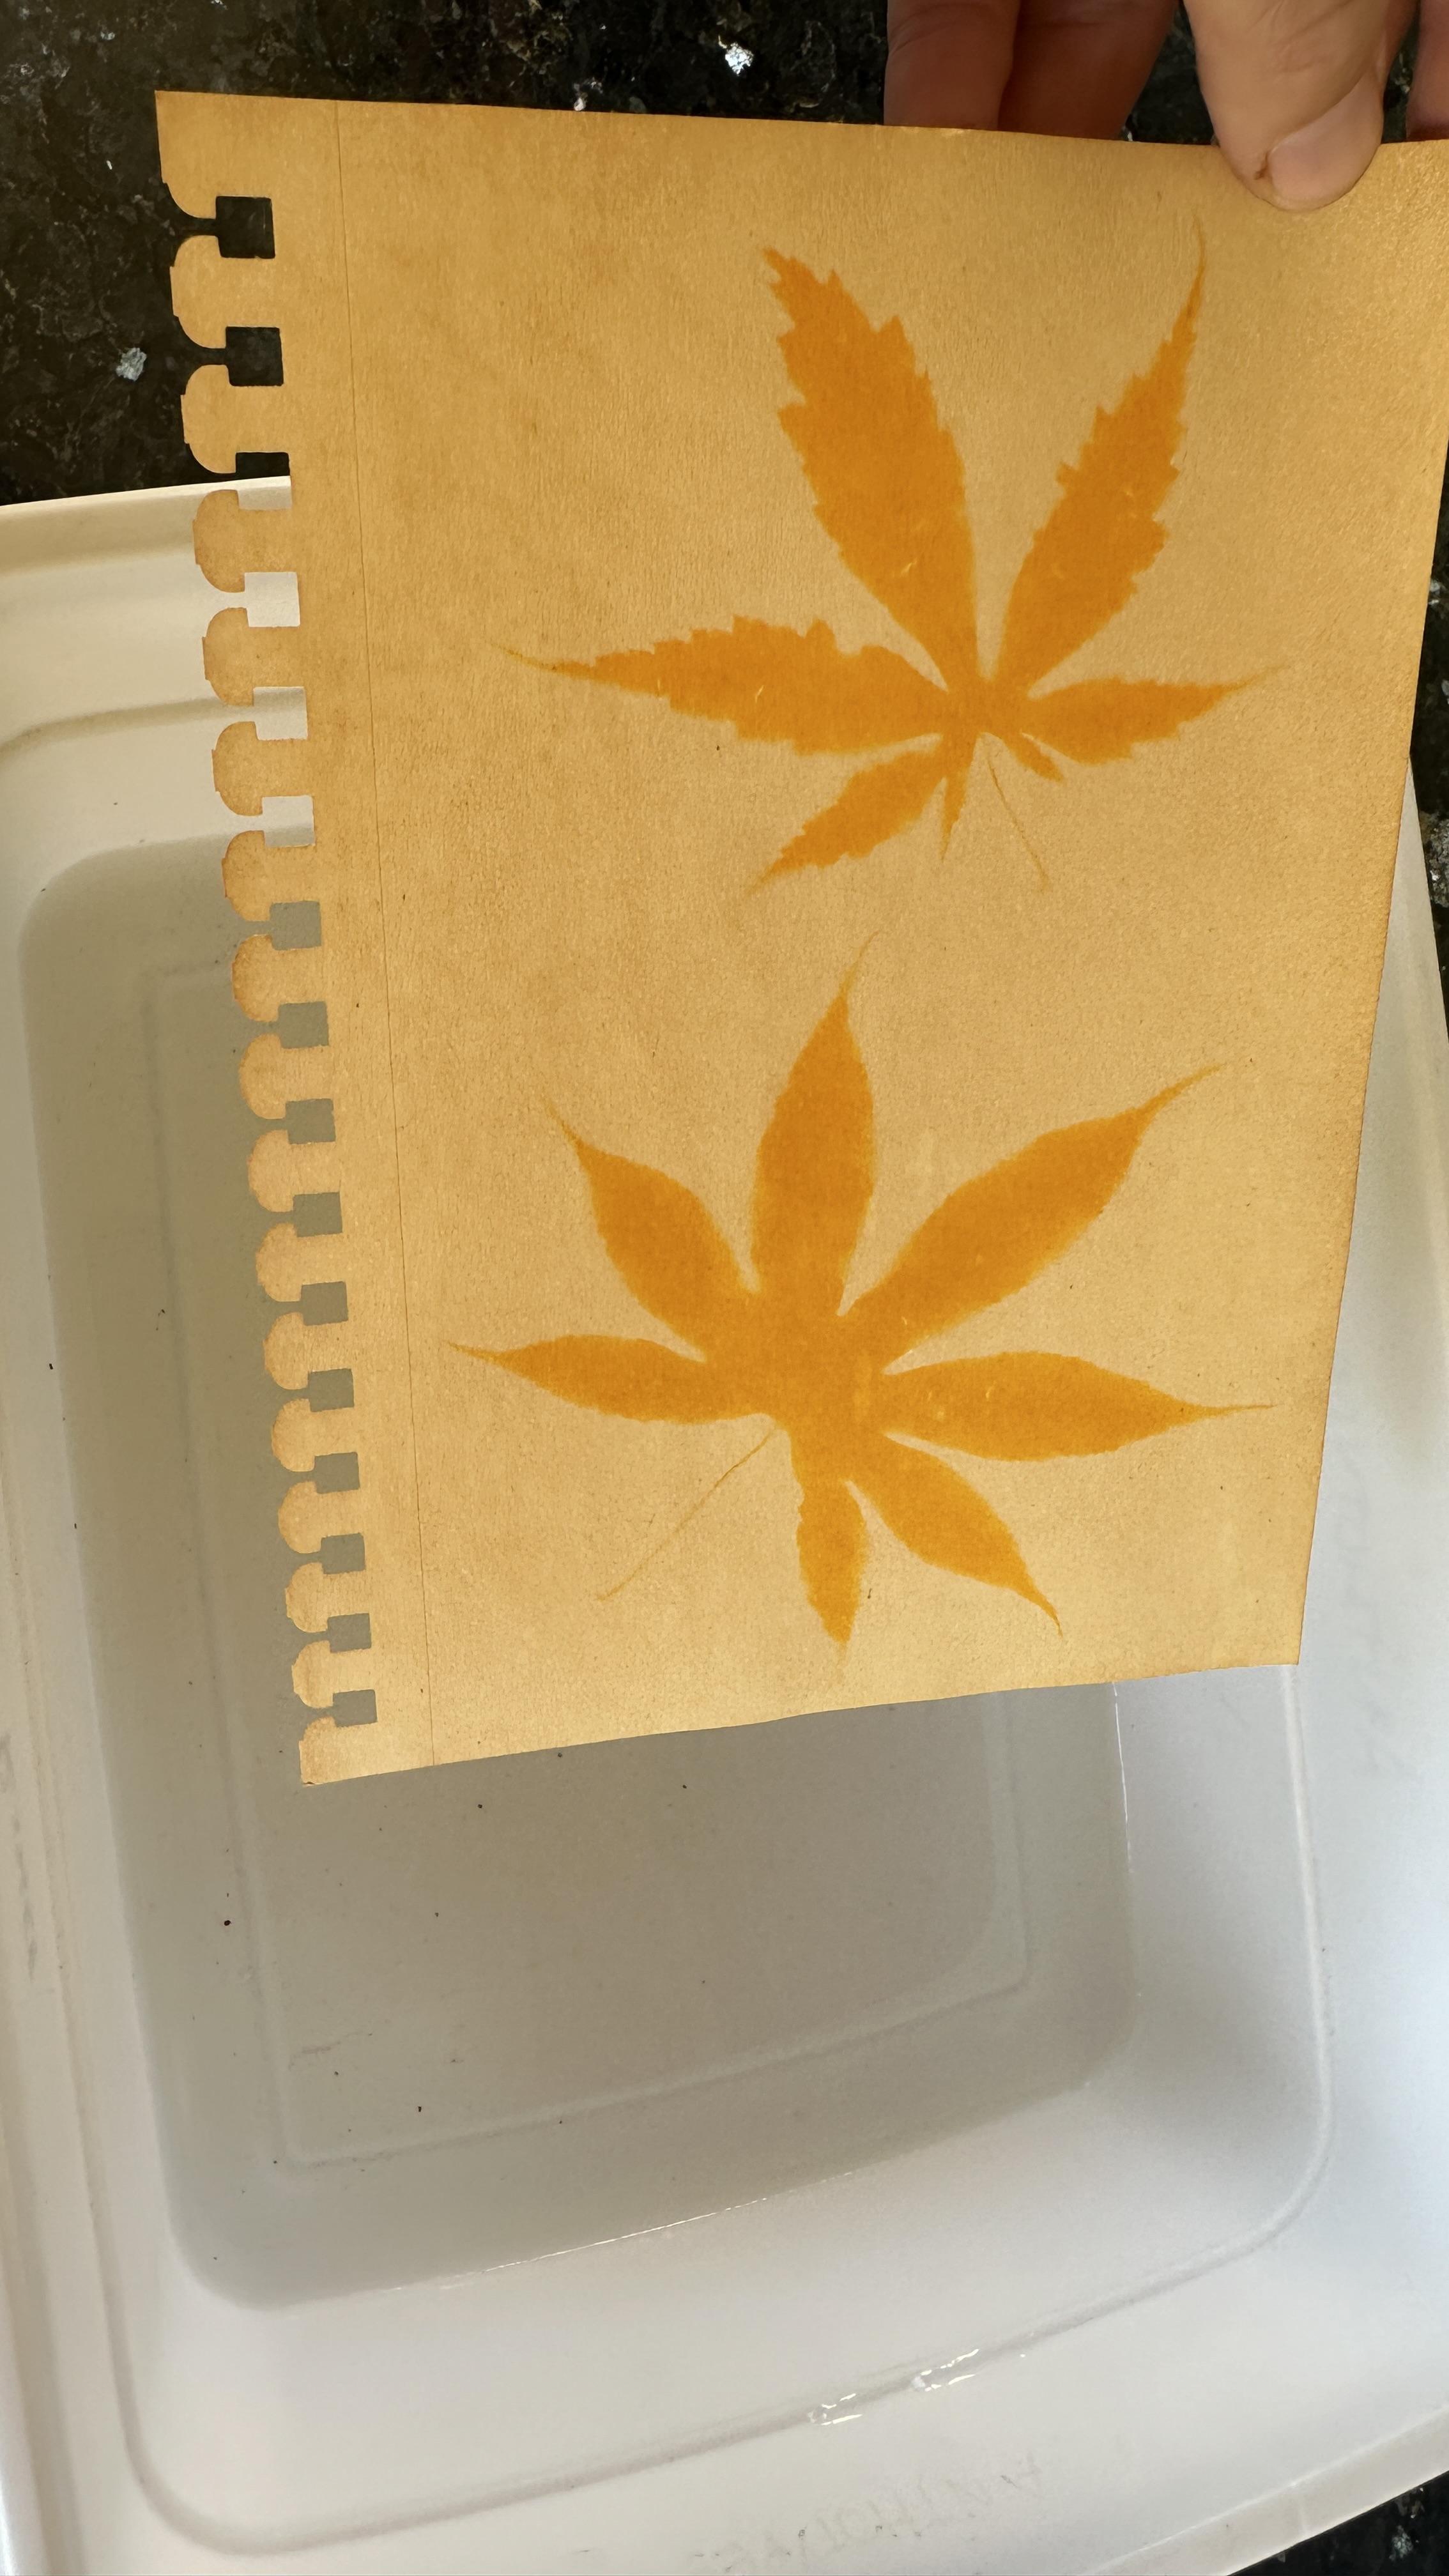
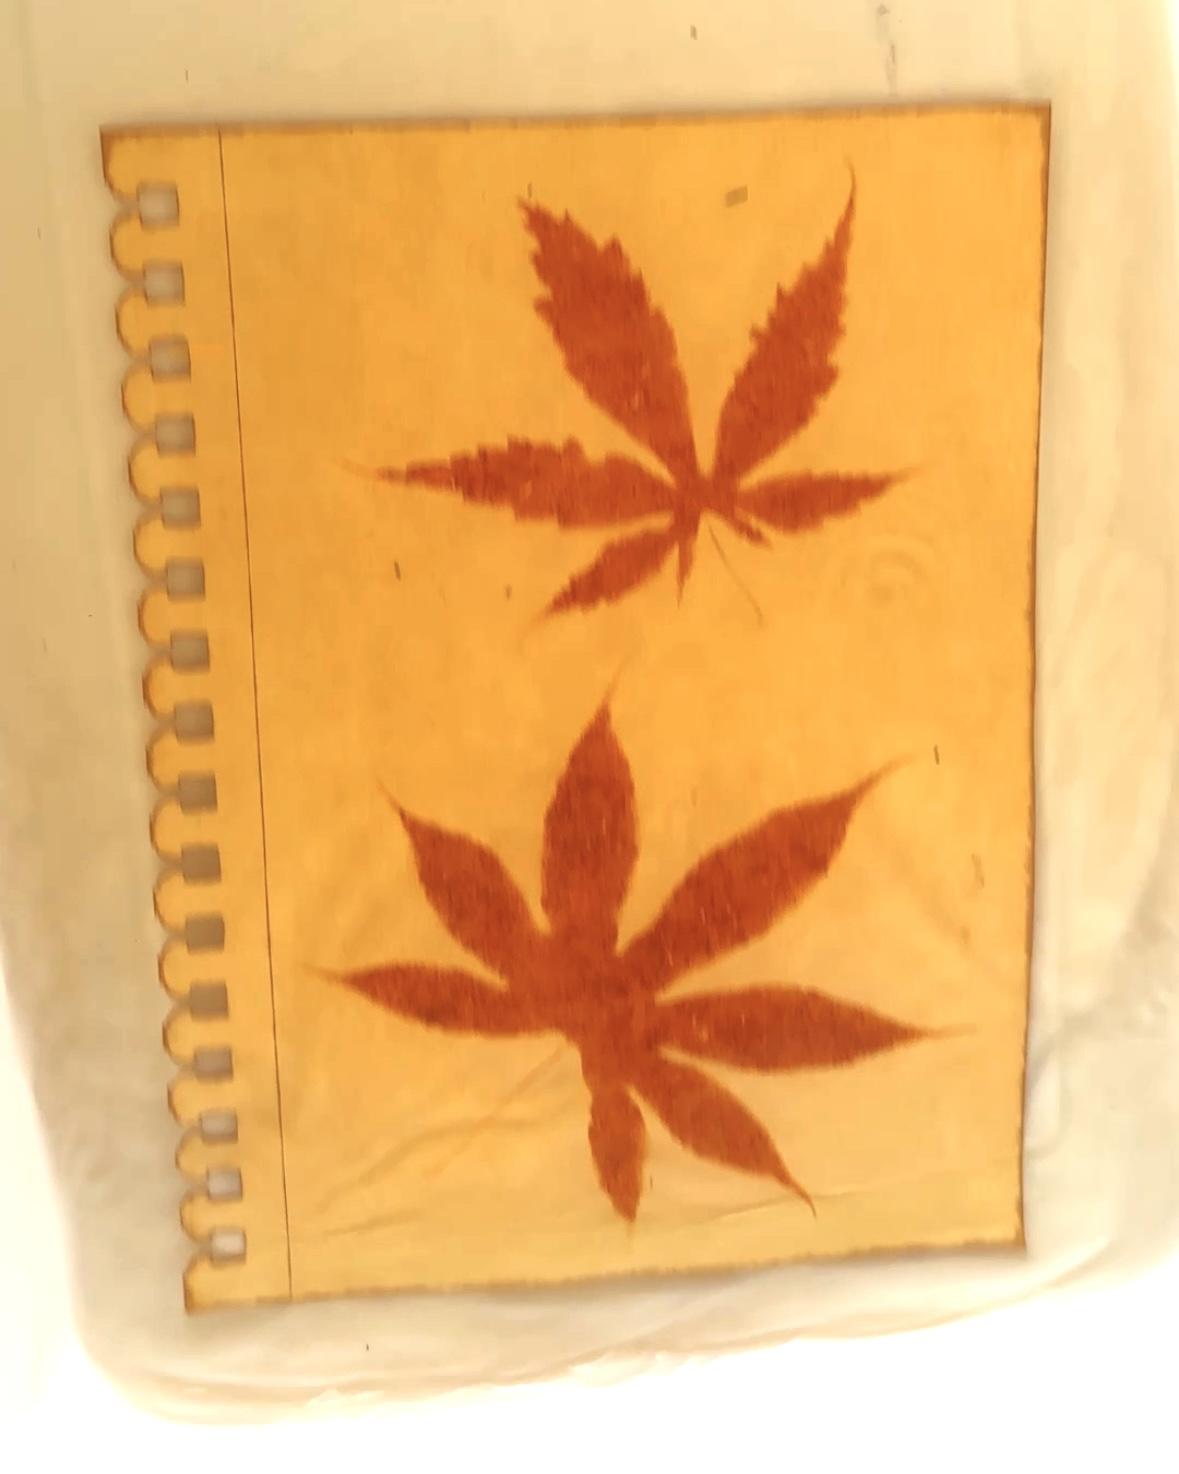
In a tray or dish washing tub, add 1 tablespoons of borax to 1 cups warm water and stir until dissolved
Remove the paper from the glass/clip board sandwich and place it in the borax solution for 20-40 seconds.
The unexposed areas will turn an amazing dark yellow ochre.
The colors will initially look a bit red, but will tone down after the print is fully dry
Rinse and air dry
En una bandeja o tina para lavar platos, agrega 1 cucharada de bórax a 1 taza de agua tibia y revuelve hasta que se disuelva.
Retira el papel del sándwich de vidrio y portapapeles y colócalo en la solución de bórax durante 20 a 40 segundos.
Las áreas no expuestas se volverán de un ocre amarillo oscuro asombroso.
Los colores inicialmente se verán un poco rojos, pero se atenuarán una vez que la impresión esté completamente seca.
Enjuaga y seca al aire.
Experiment /experimentar
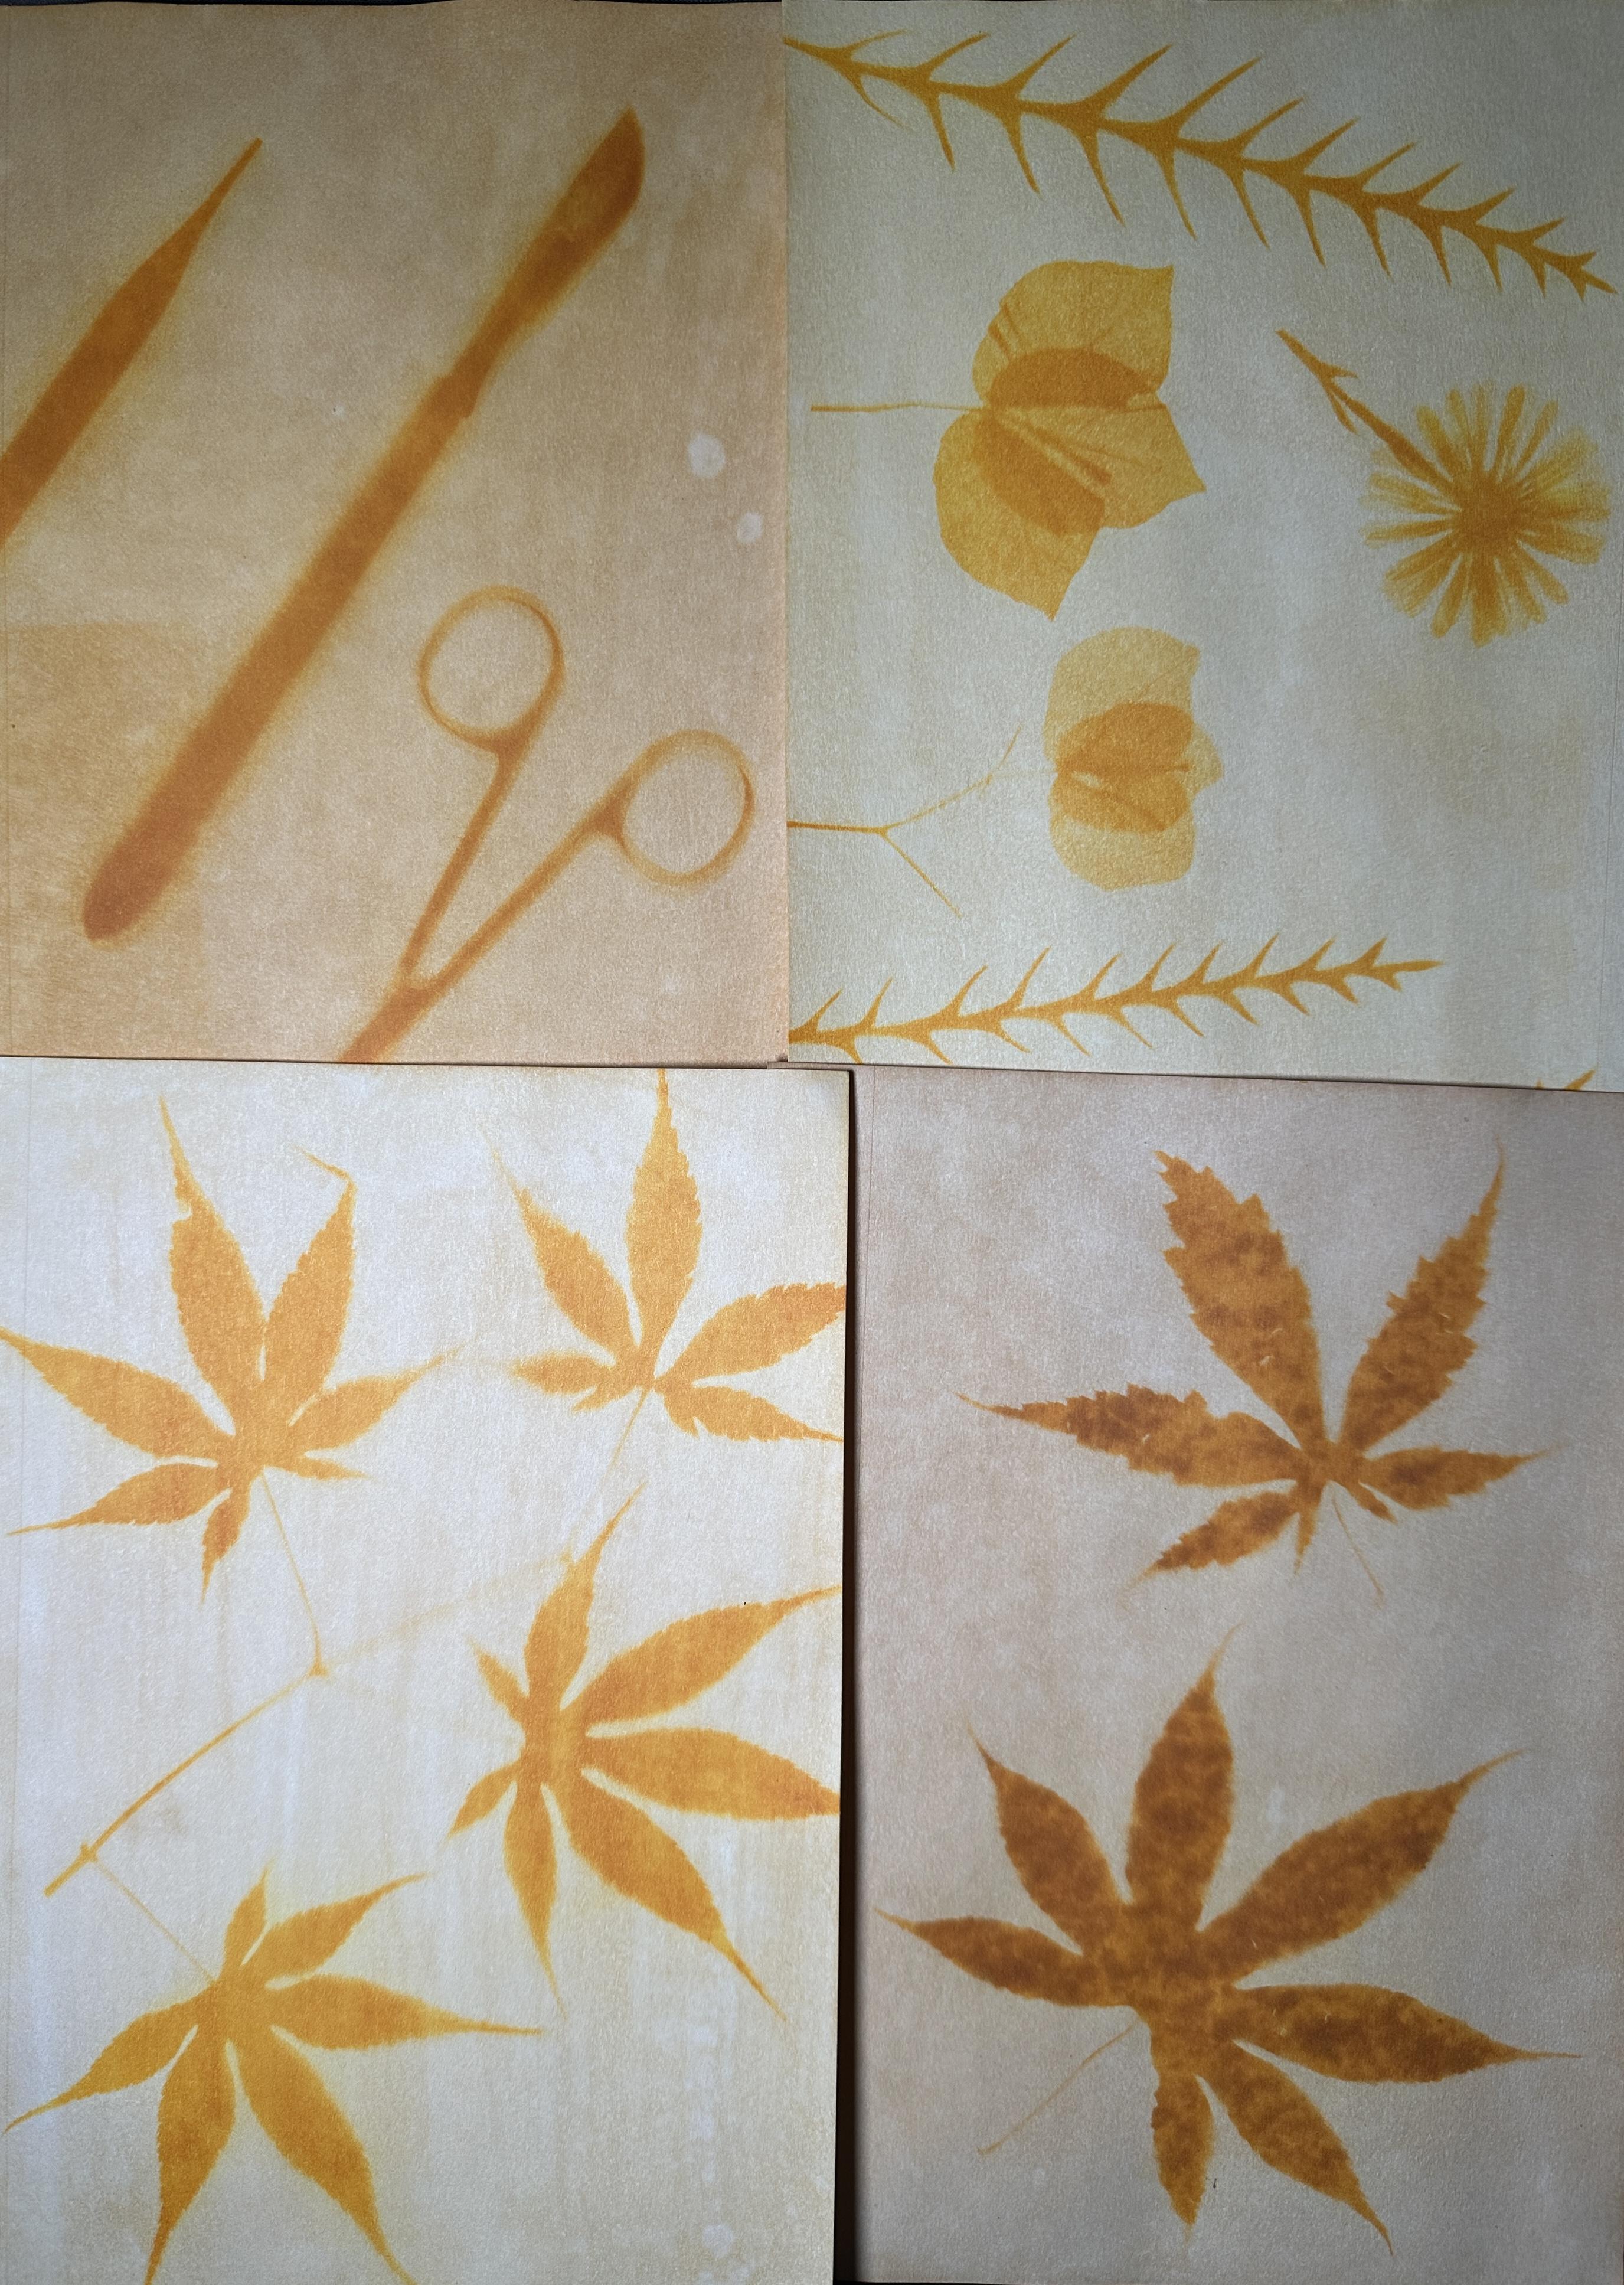
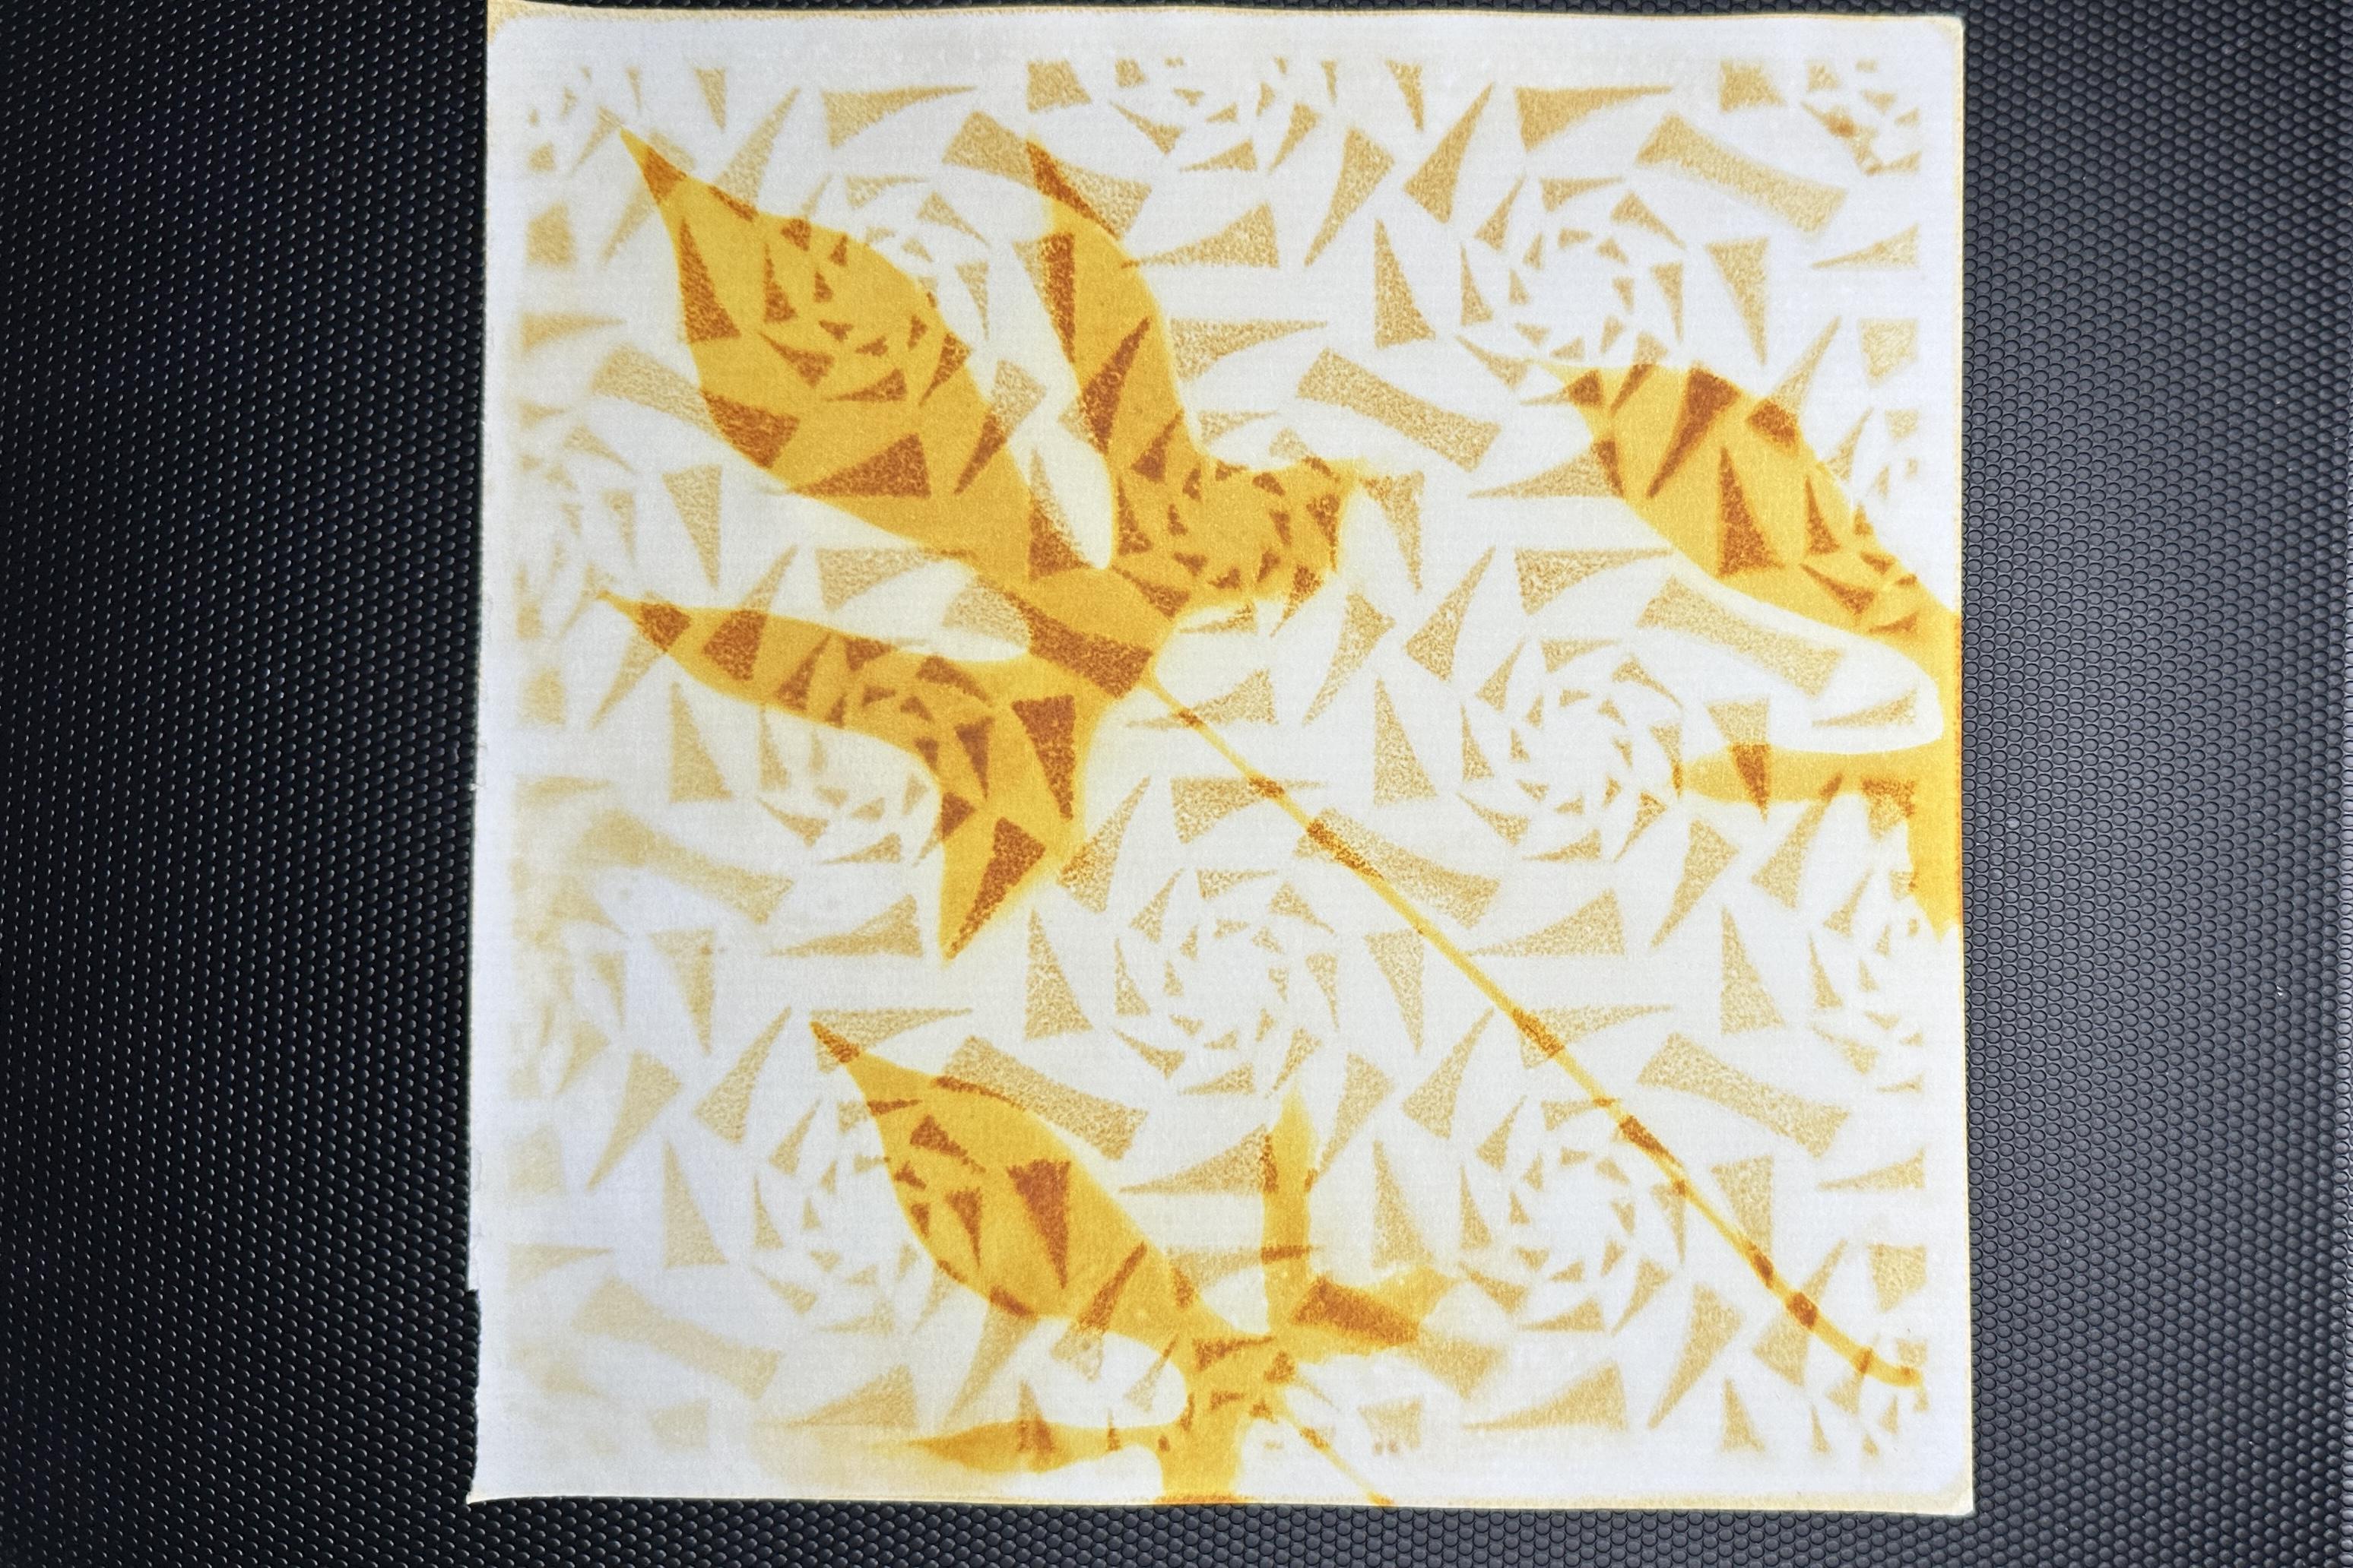
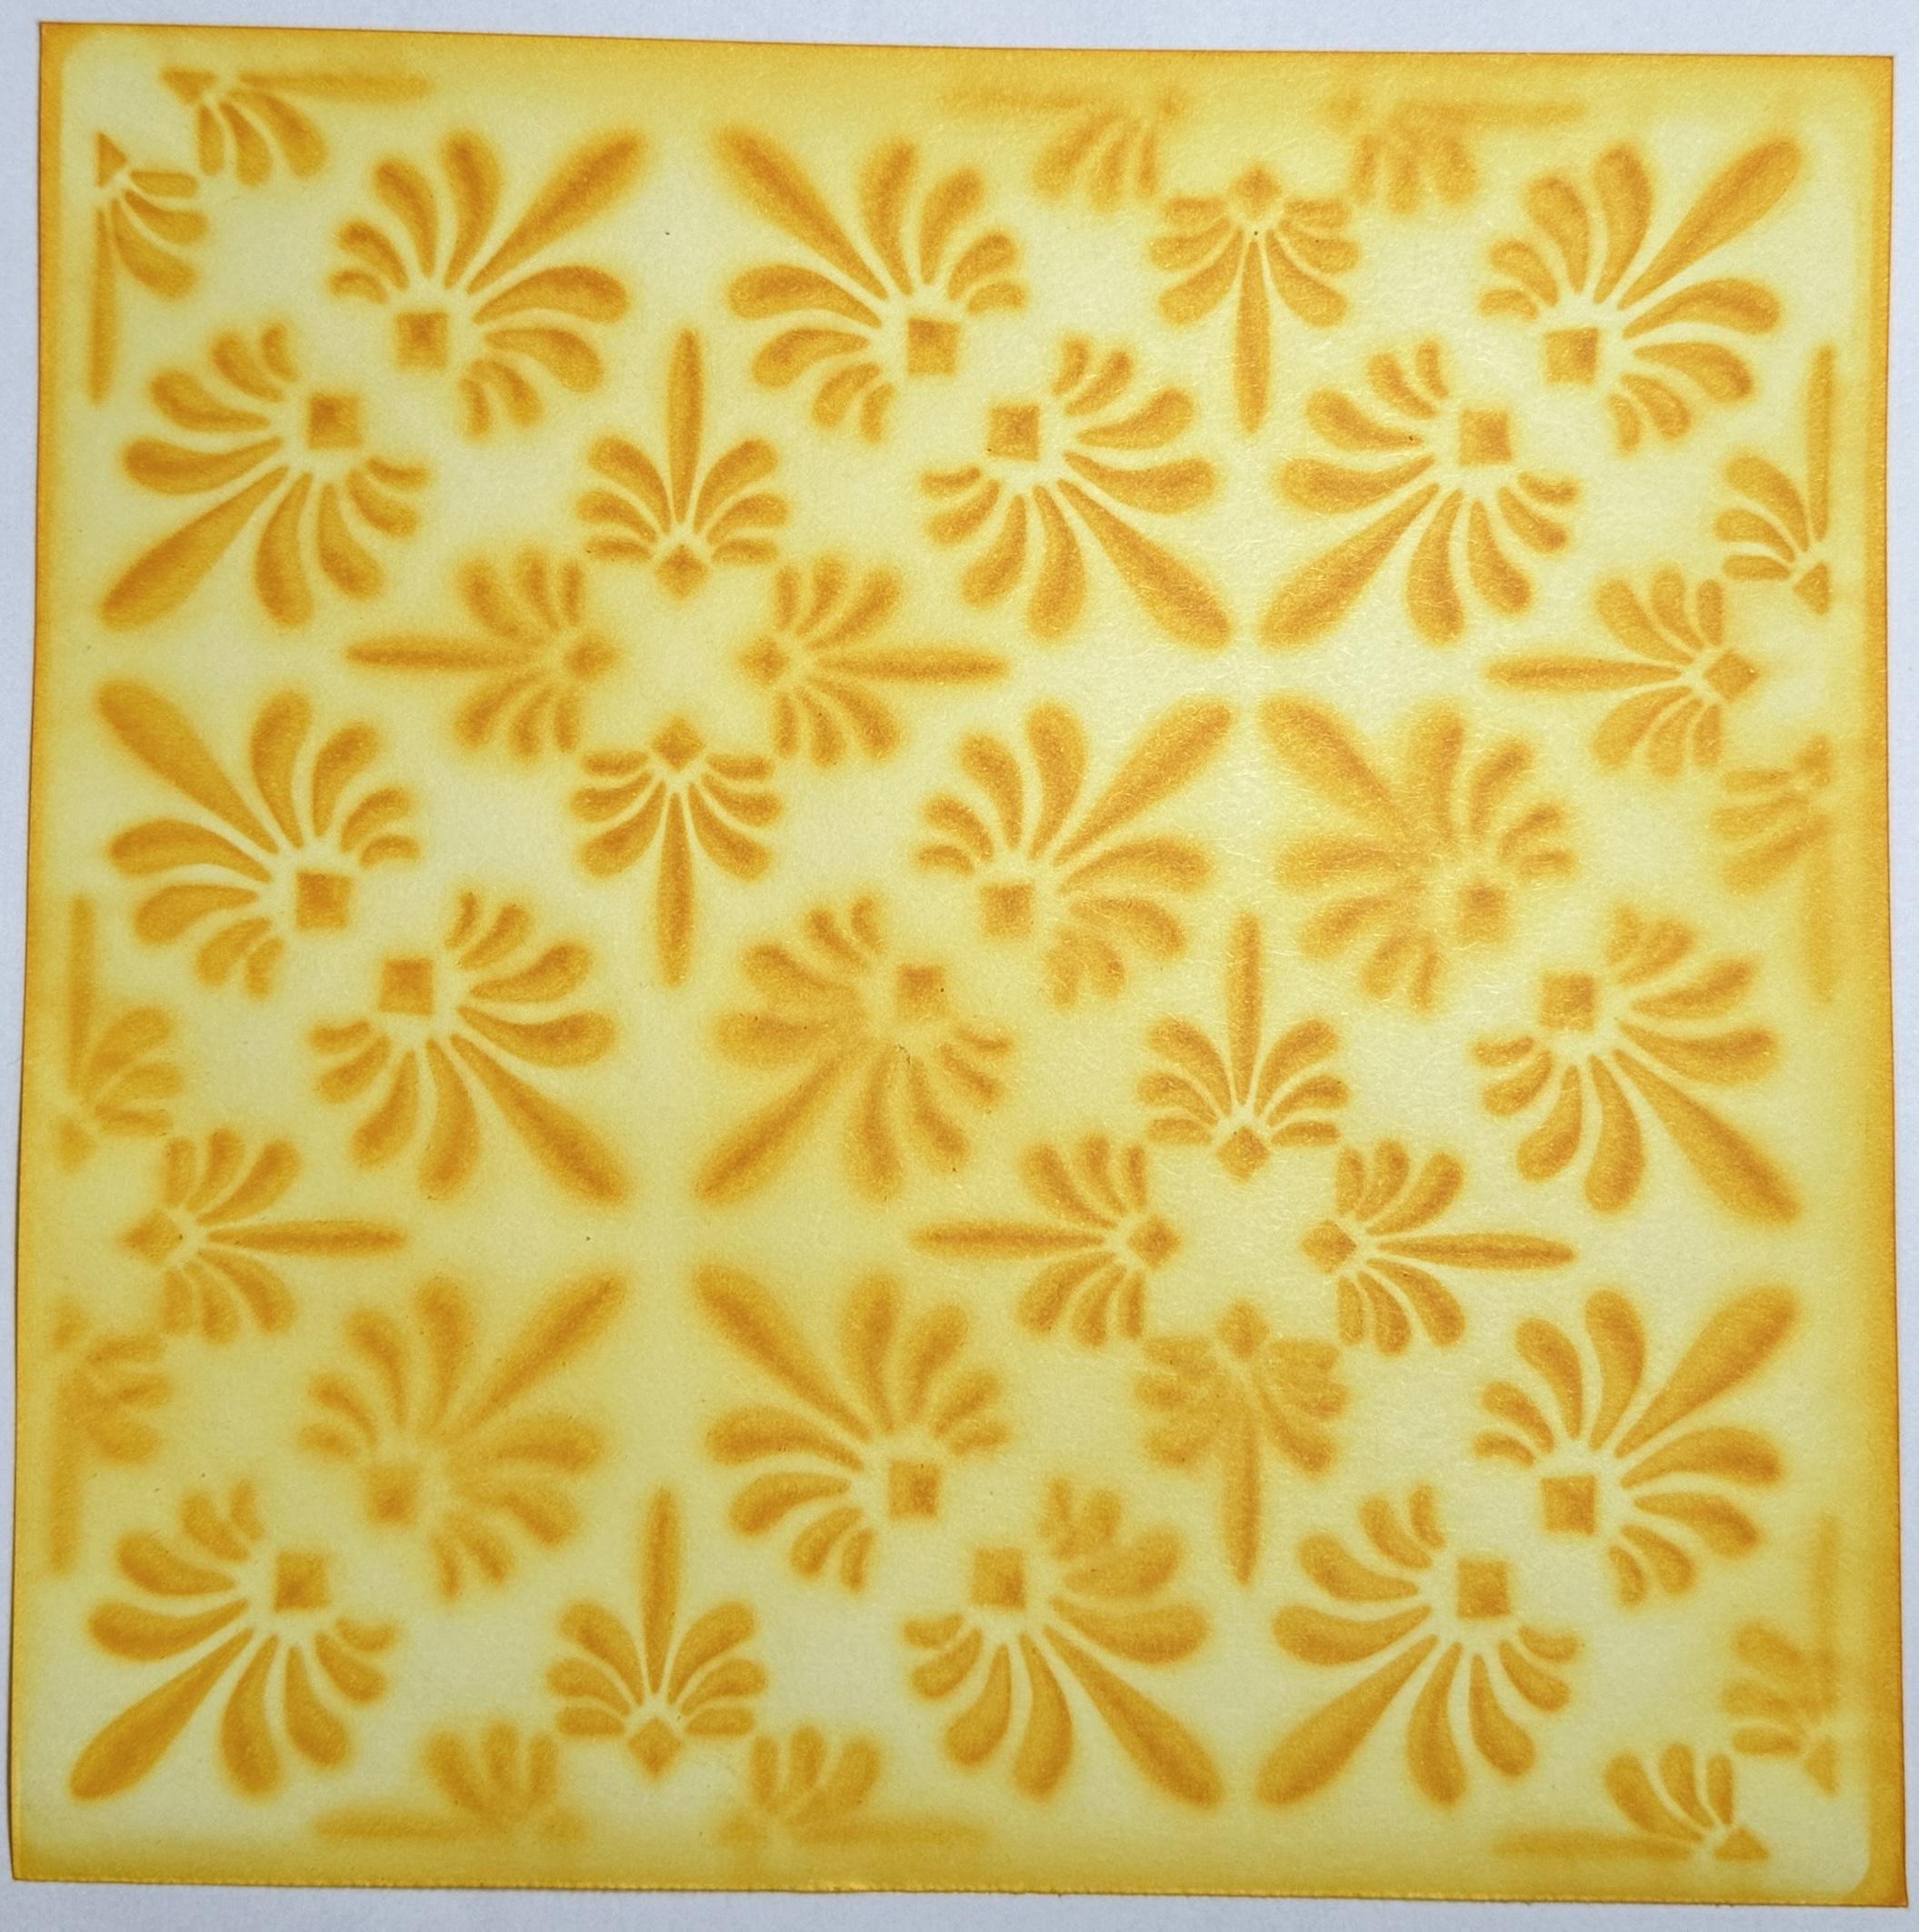
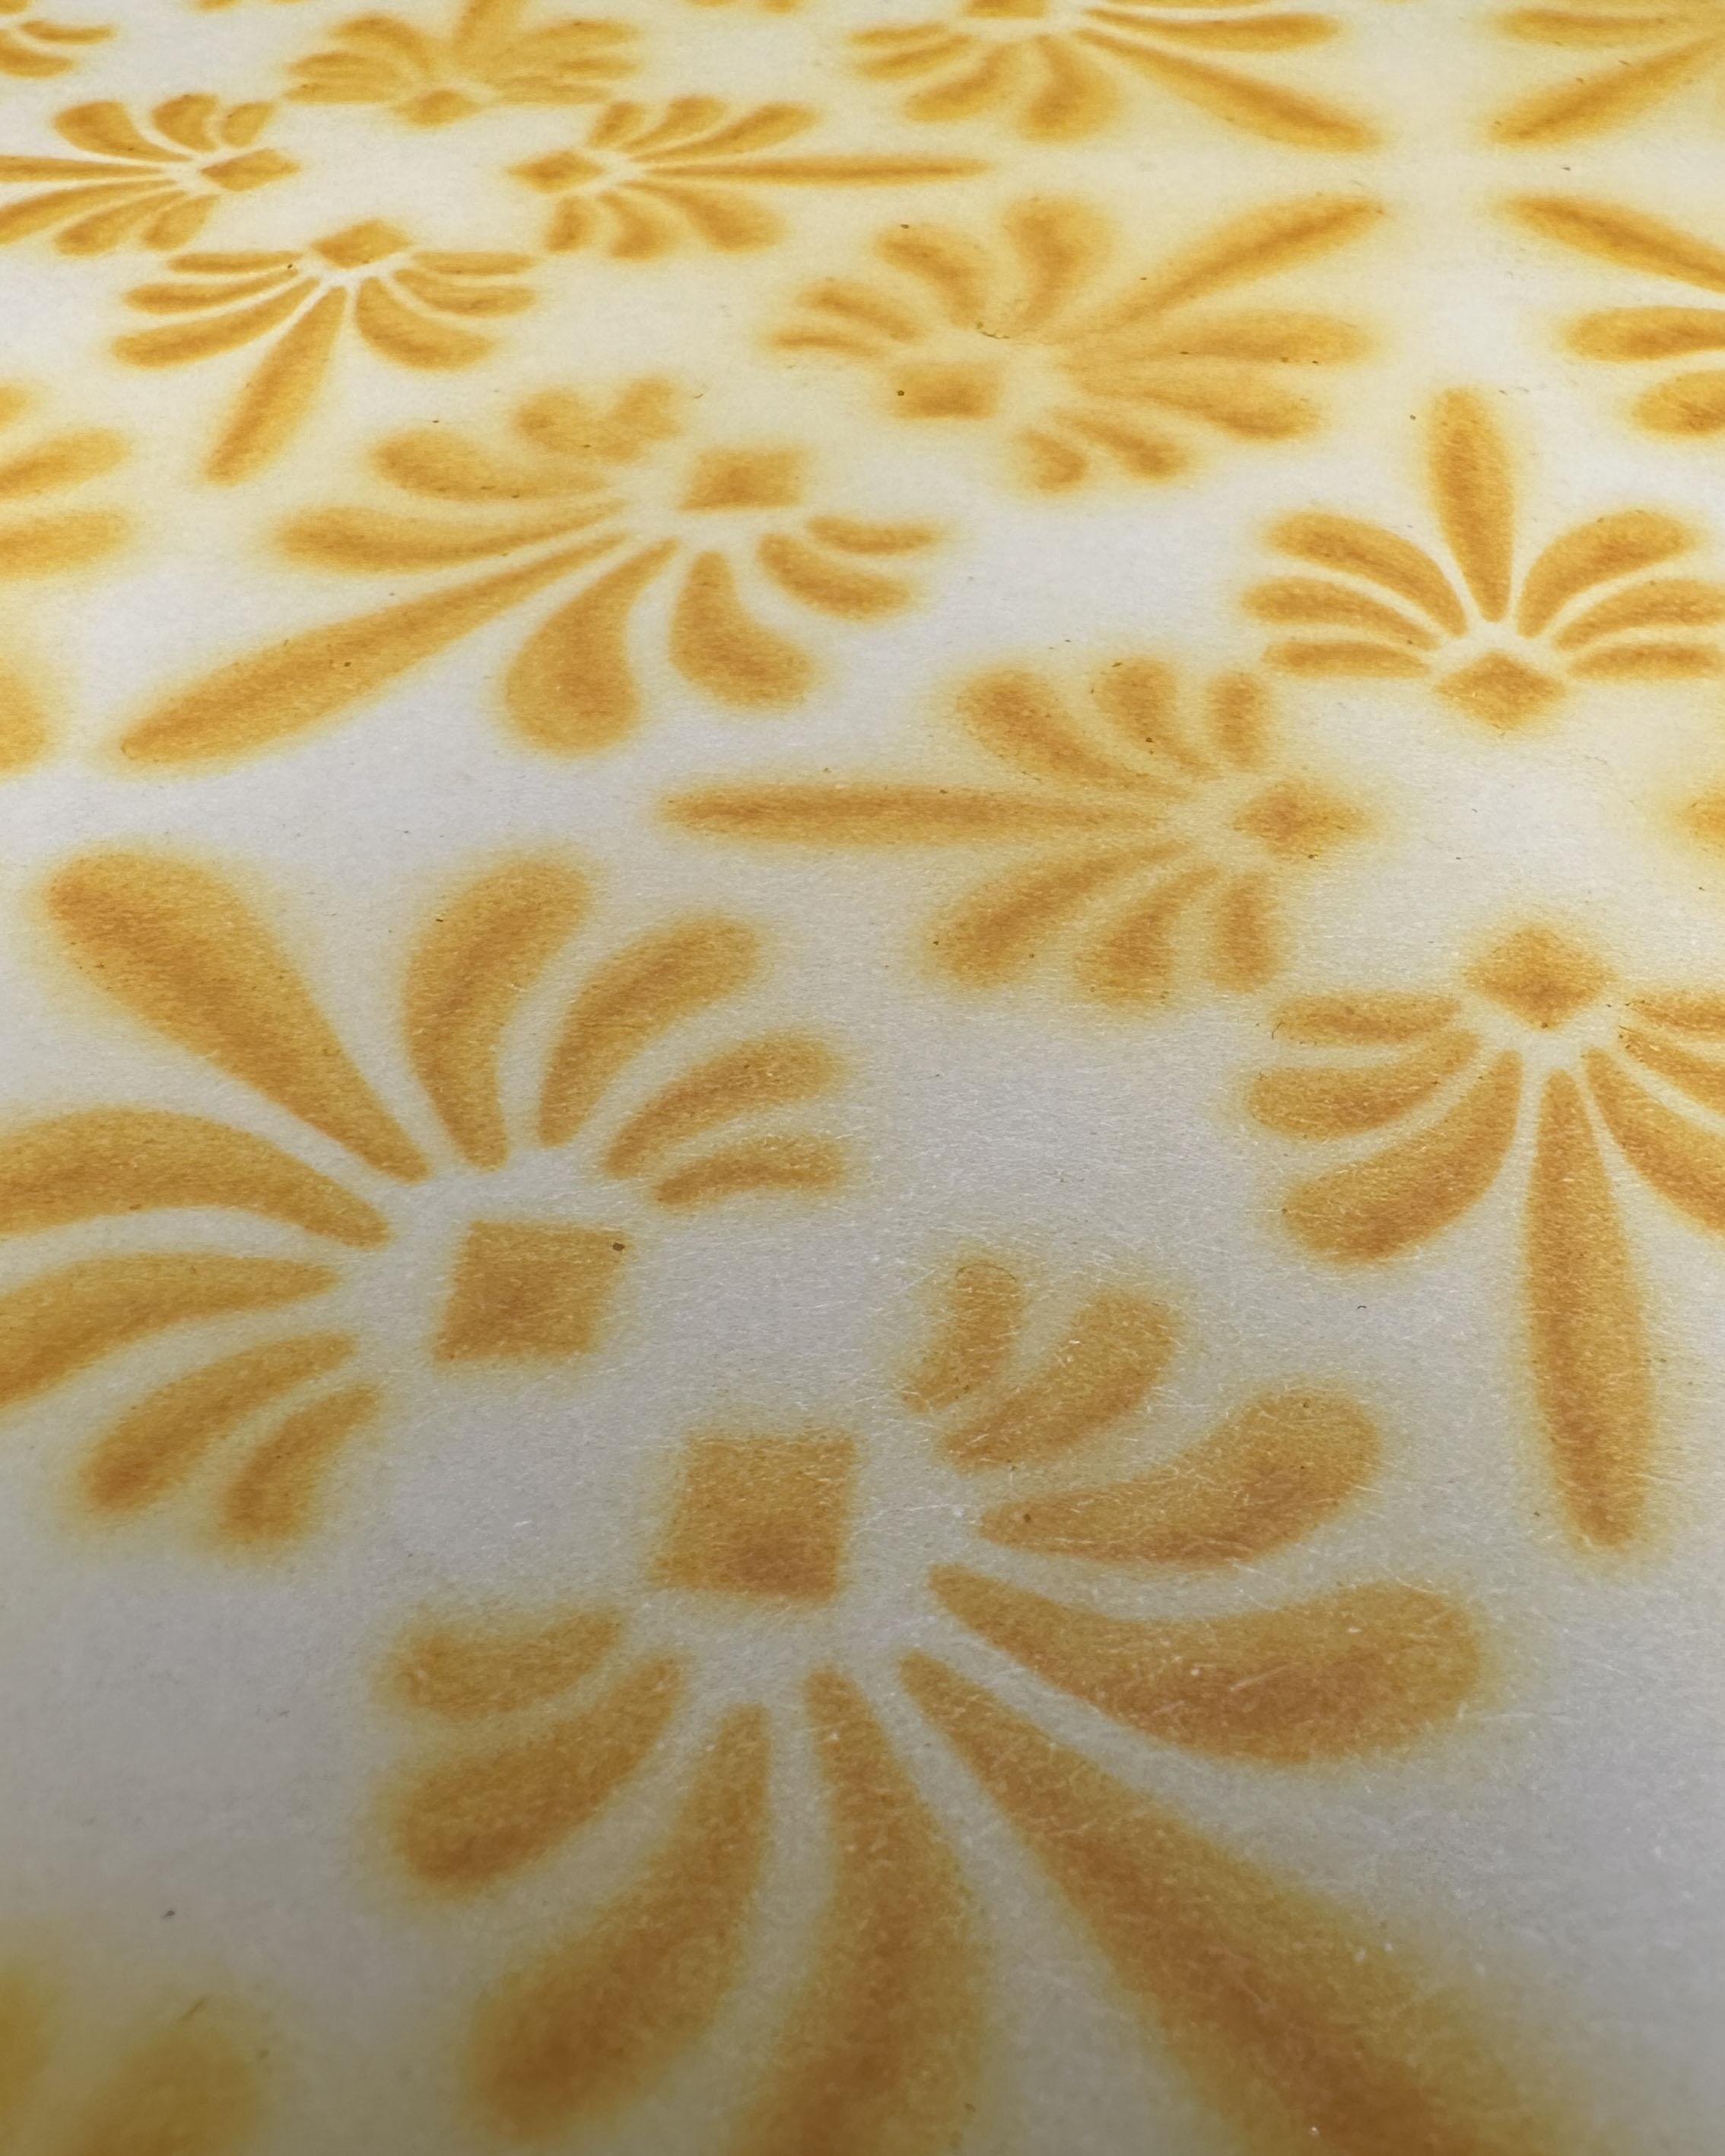
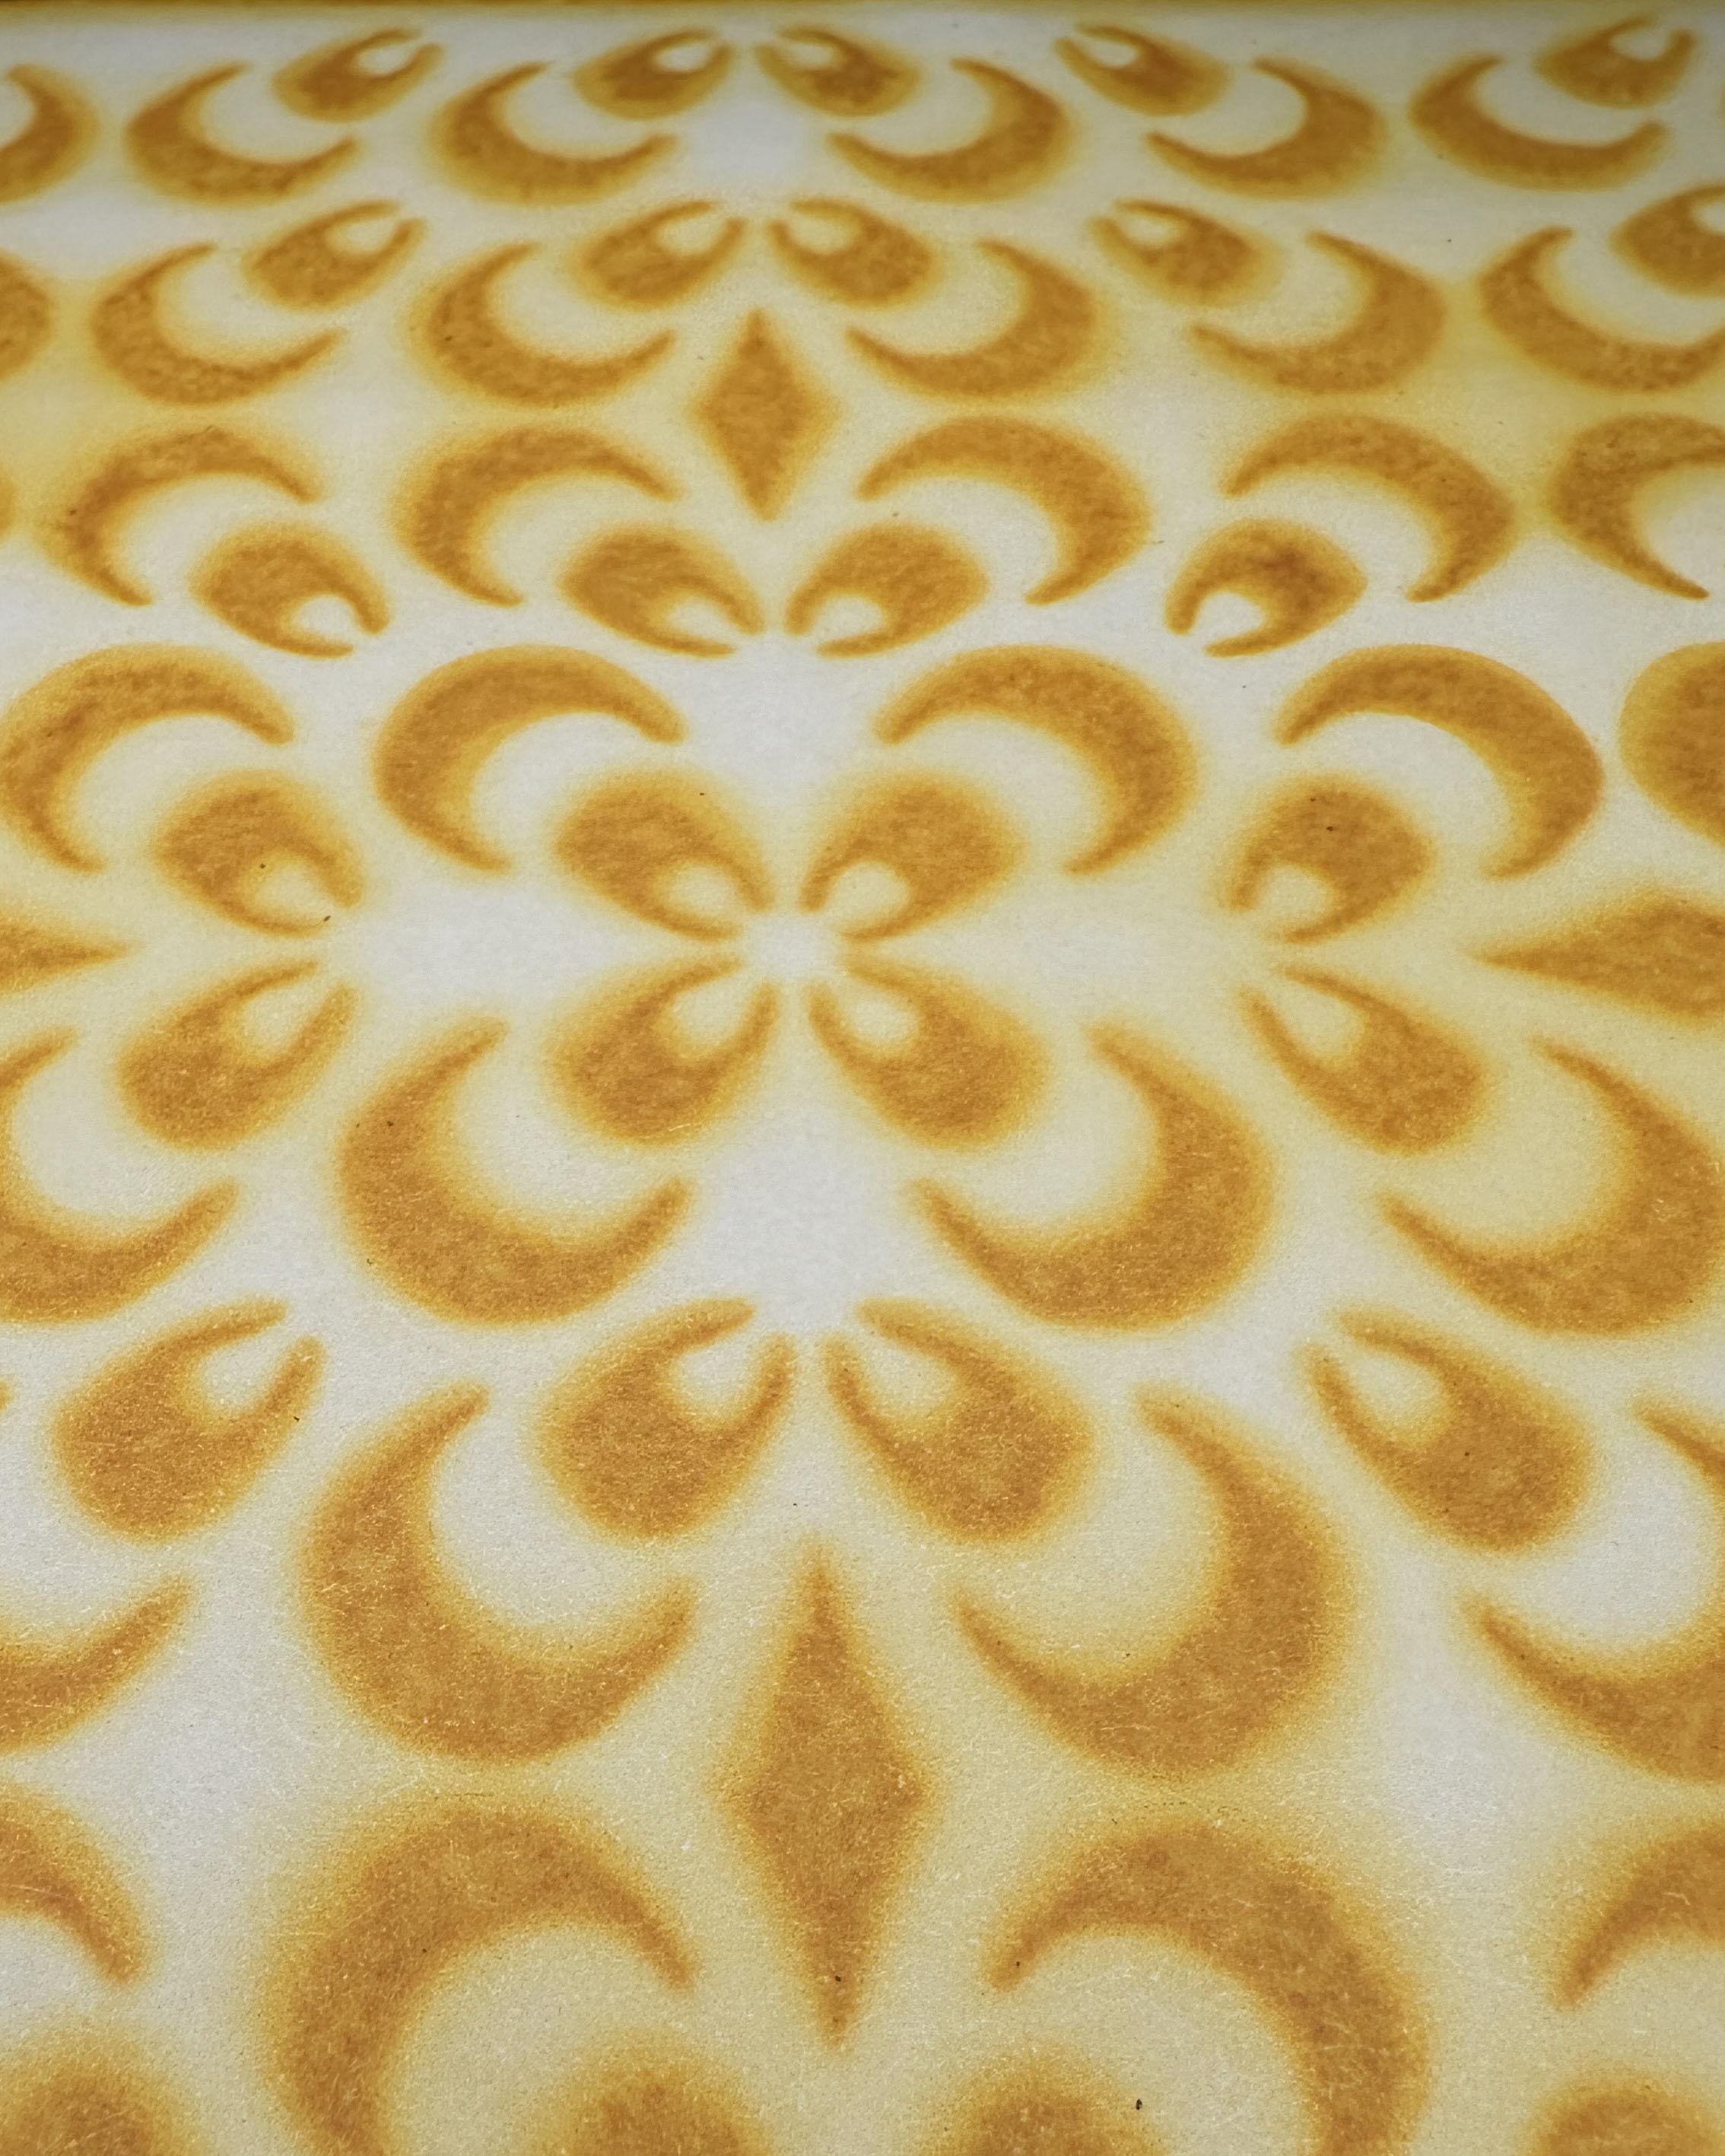
Change the amount of borax used to alter the final results. The 4 prints in the image were exposed for the same amount of time. but were processed with different amounts of borax. The print of the bottom right (two maple leaves) was processed in 1 tablespoons of borax to 1 cups warm water.
Cambie la cantidad de bórax utilizado para alterar los resultados finales. Las 4 impresiones de la imagen se expusieron durante el mismo tiempo, pero se procesaron con diferentes cantidades de bórax. La imagen de la parte inferior derecha (dos hojas de maple) se procesó con 1 cucharada de bórax por 1 taza de agua tibia.
Notes/ Notas
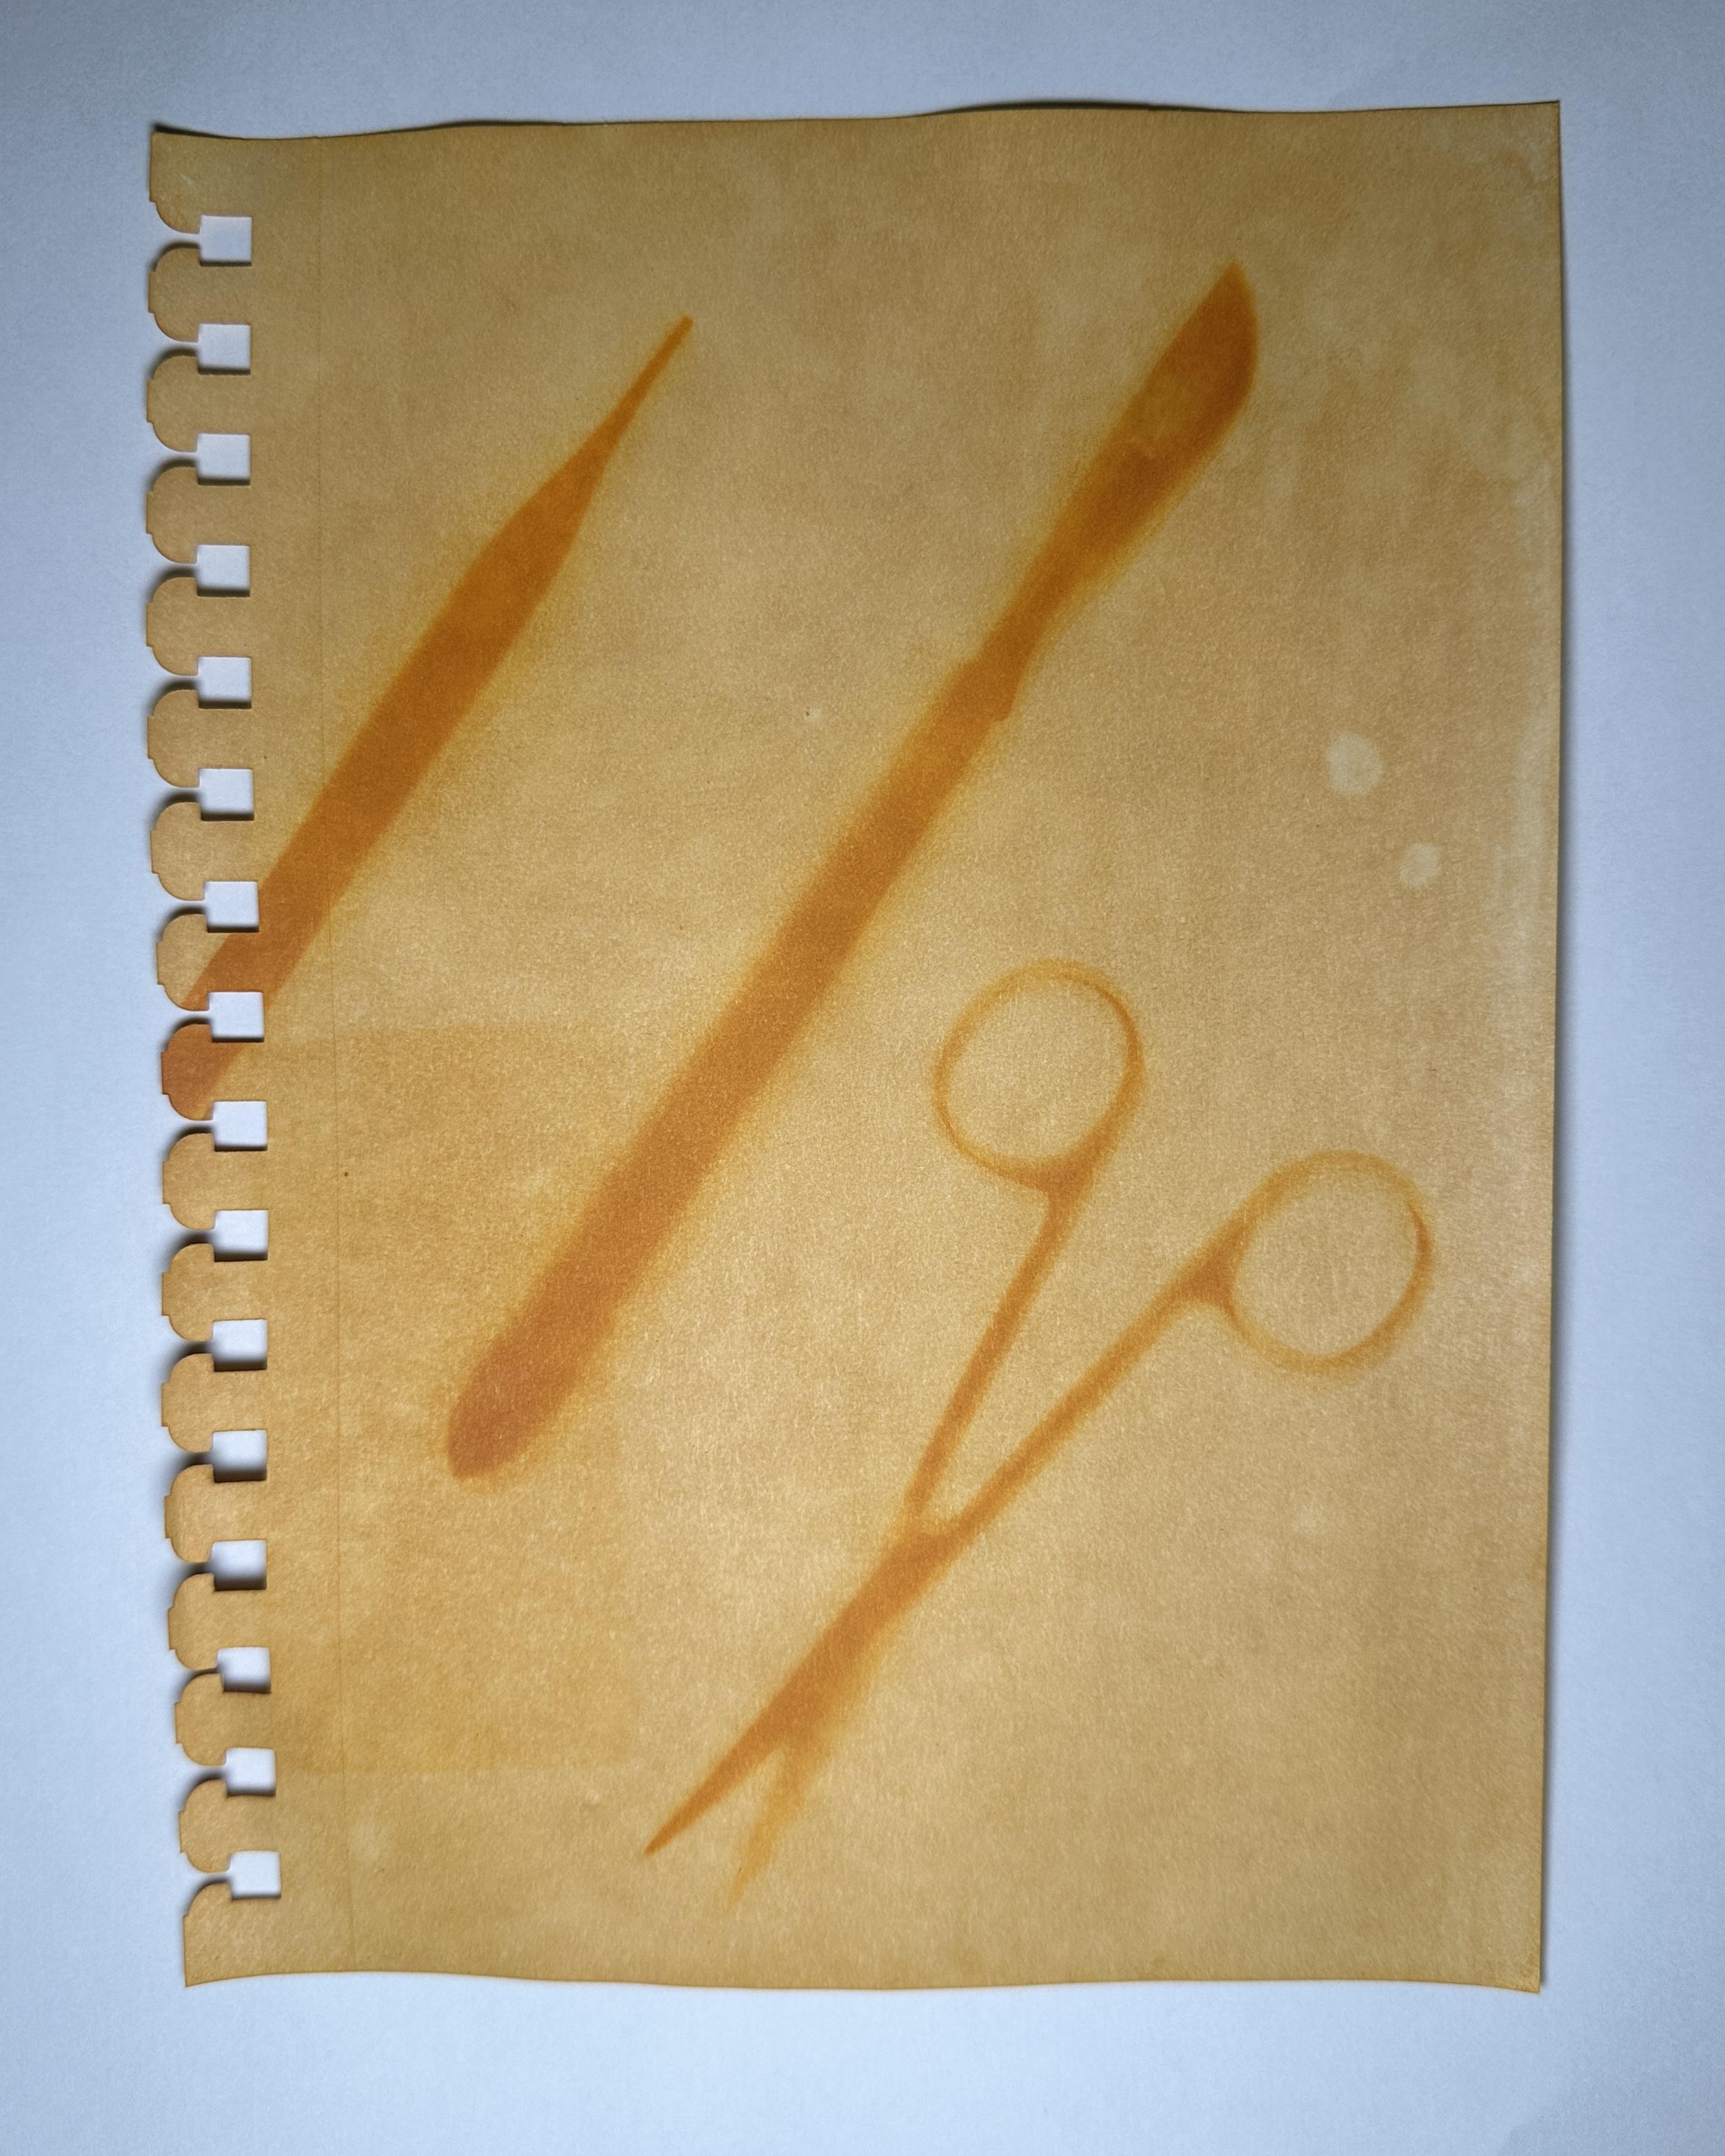
-After you get the process down, try different subjects, try layering subjects, use objects with more dimension than a flat leaf or flower.
-Anthotypes will fade over time if exposed to light so it is recommended to store them in a cool, dark dry place.
-If this is a process you like, explore other plant materials like beet juice, spinach, roselle, or even very concentrated teas
-Una vez que hayas dominado el proceso, prueba diferentes temas, intenta hacer capas de temas, utiliza objetos con más dimensión que una hoja plana o una flor.
-Los antotipos se decoloran con el tiempo si se exponen a la luz, por lo que se recomienda guardarlos en un lugar fresco, oscuro y seco.
-Si este es un proceso que te gusta, explora otros materiales vegetales como jugo de remolacha, espinaca, jamaica o incluso tés muy concentrados.
If you have a better way to present an Instructable in 2 or more languages, please let me know. I would like to make them more accessible to non-English speakers or non-native speakers
Si tienes una mejor manera de presentar un Instructable en 2 o más idiomas, házmelo saber. Me gustaría hacerlos más accesibles para personas que no hablan inglés.