String Art Cork Board
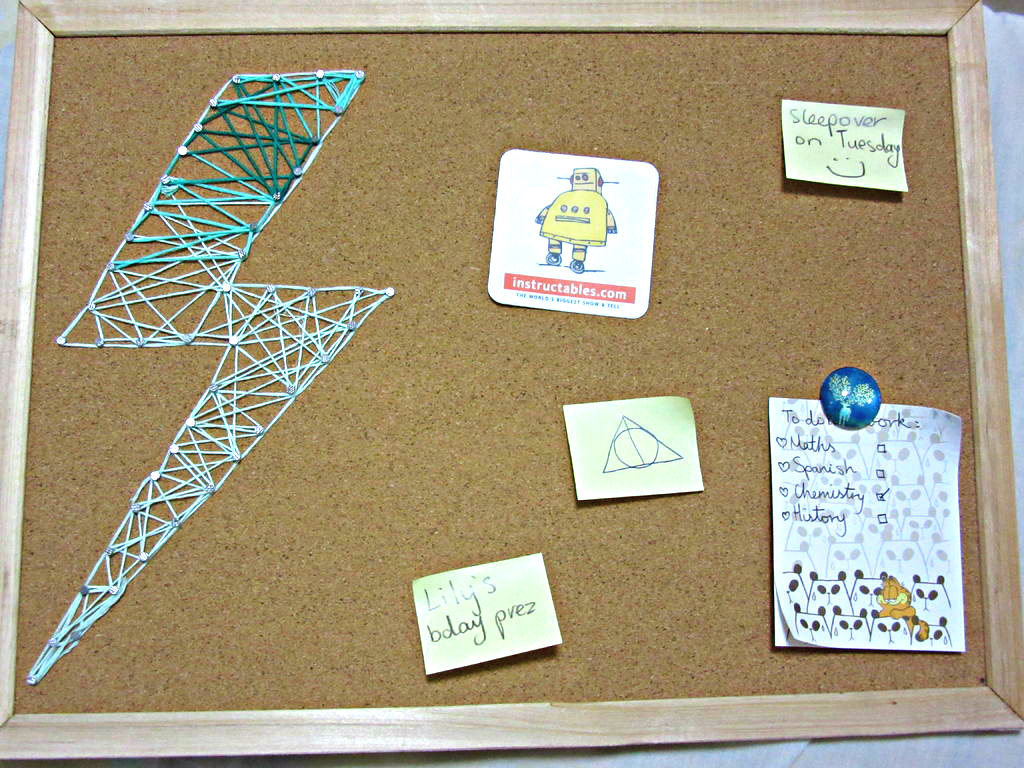
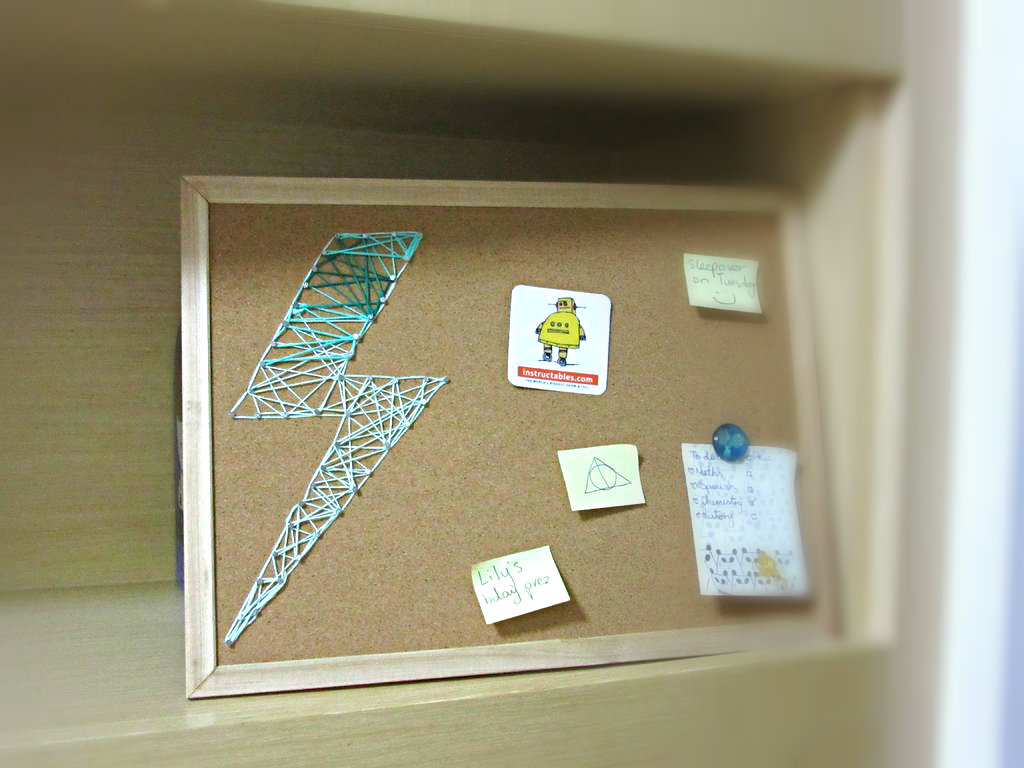
This string art cork board is a easy and quick way to add a splash of color into your hallways or bedrooms.
It's also great as a last minute birthday present, and you don't need a lot of supplies to throw this together.
What you'll need:
- Cork board
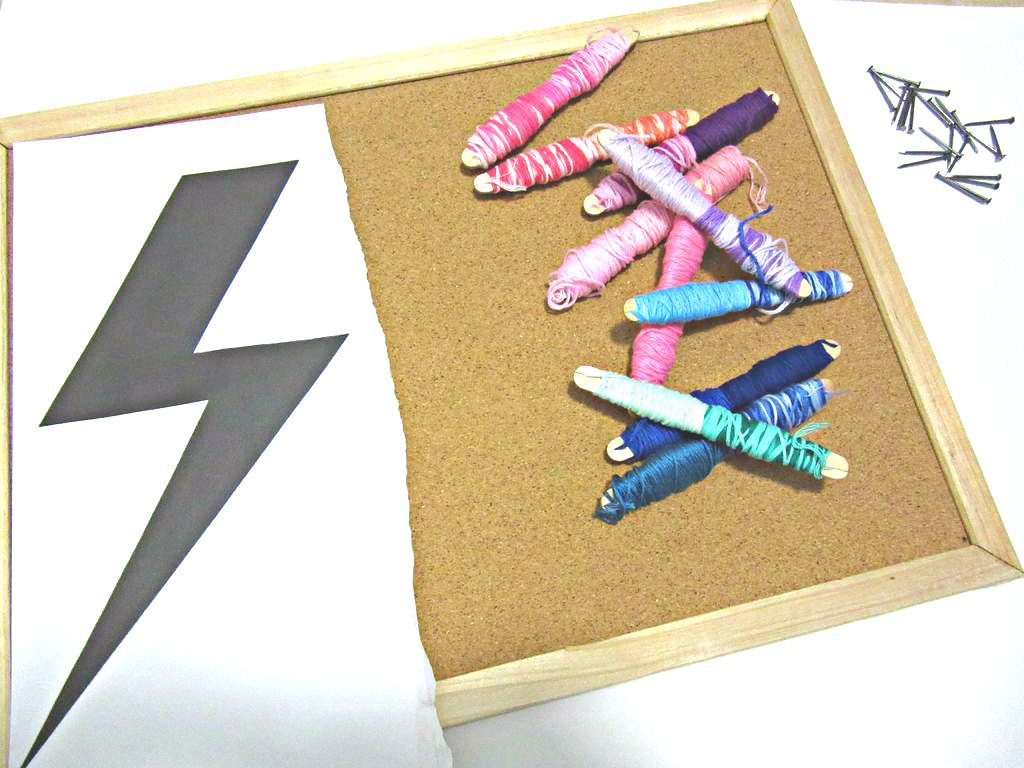
- String (I'm using embroidery thread)
- Printed template on paper (an easy symbol like letters or numbers are great.)
- Nails (drawing pins will also work, but bear in mind that they can be a safety hazard around young children)
Make sure your nails WILL NOT pierce through your cork board, so check the thickness of your board before getting your nails.
Optional:
- Paint/Spray paint
Creating Your Template
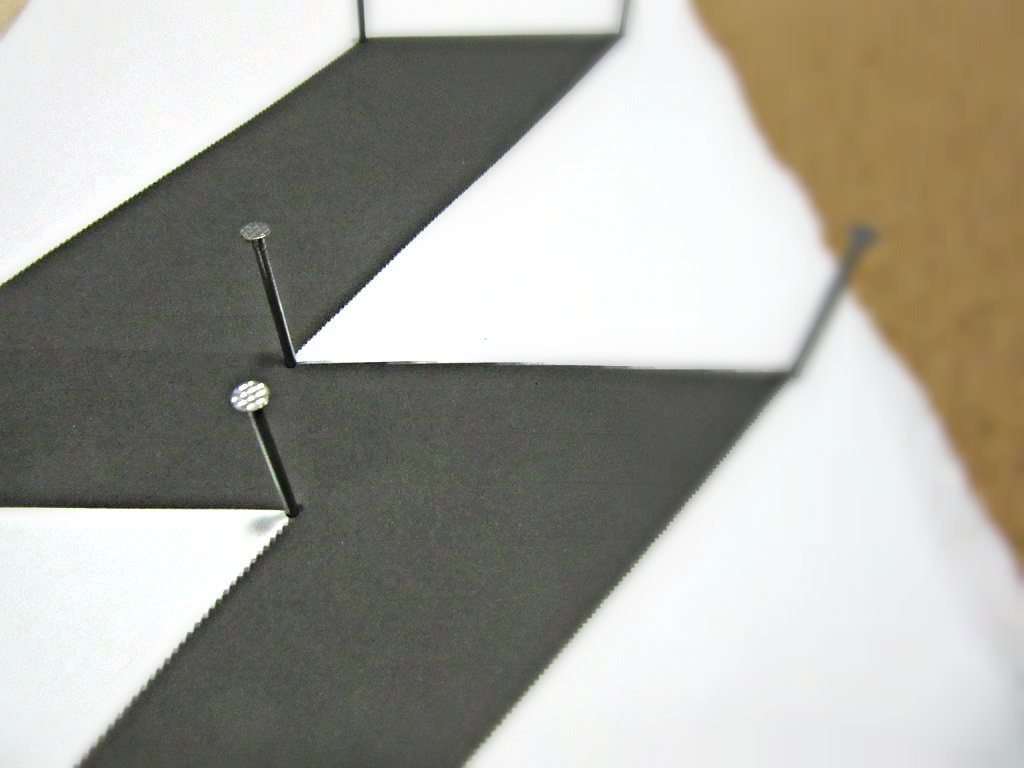
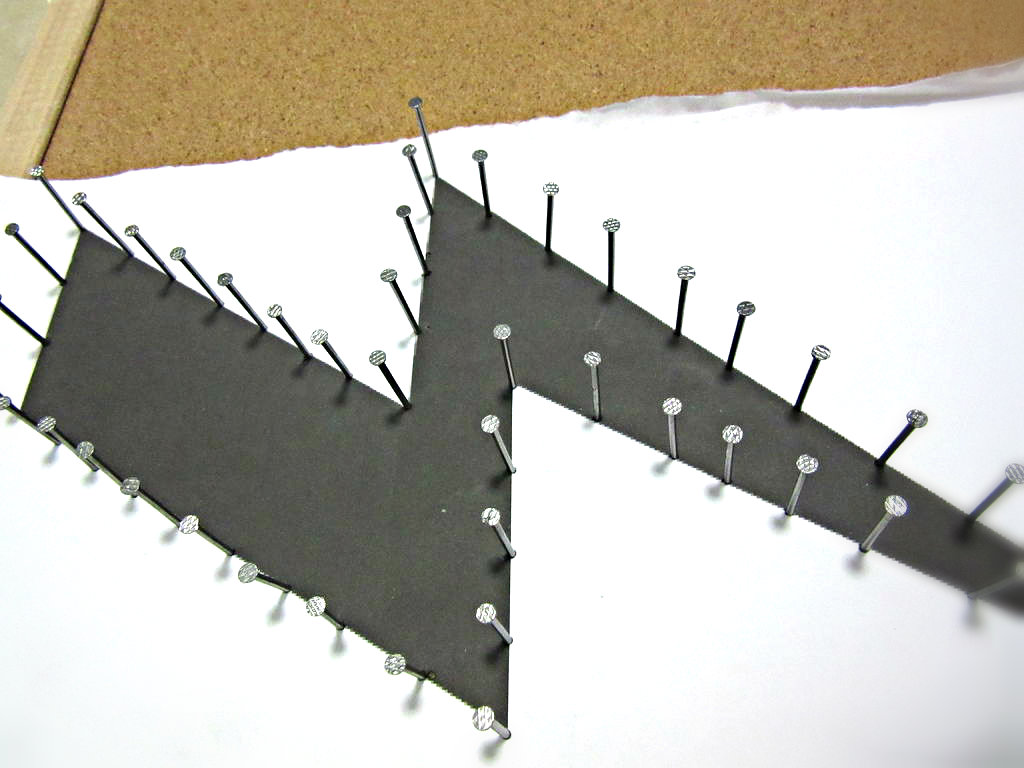
If you're planning on having a colored cork board, then spray paint it or paint it in the color of your choice. If you can take the frame off, then consider just having a colored frame, or just having a colored board. Of course, this step is completely optional.
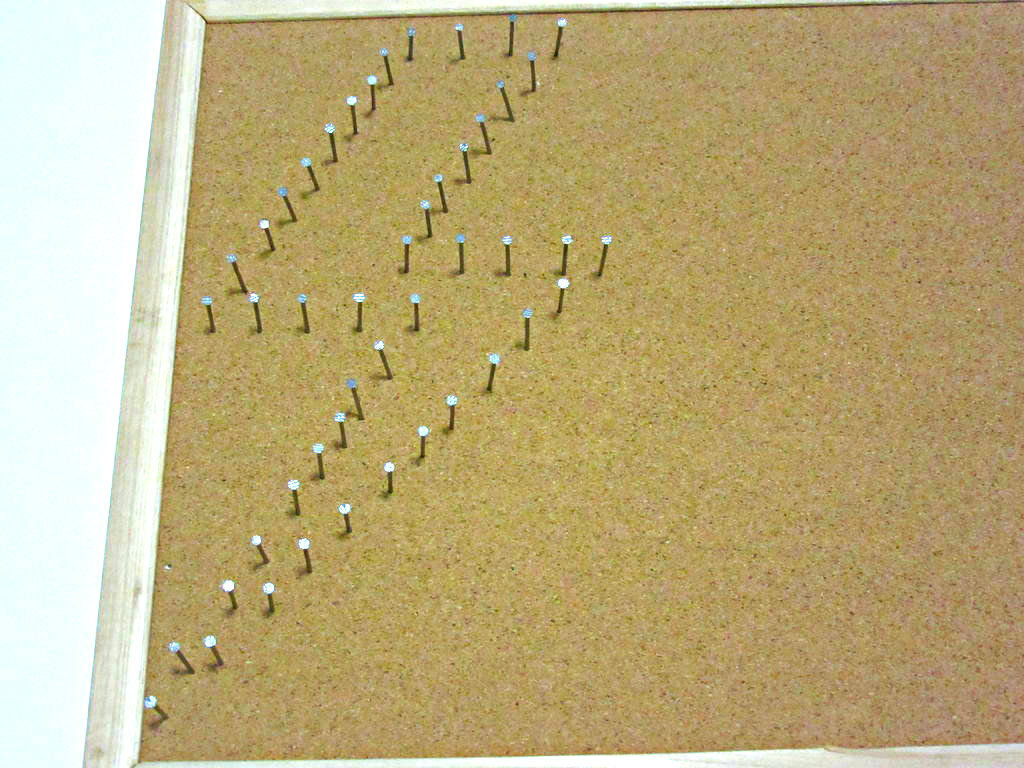
Once it's dry, take your printed template. You might have to trim it a little, or reprint it in a different size. Then, take your nails/thumbtacks and gently push them in, keeping them as straight as possible. You shouldn't need a hammer, since cork is quite soft. It doesn't matter if the nails aren't exactly equal in distance to each other, but try to keep it equal.
After you've pinned all the nails down, start to peel the paper template away. Be gentle, and try not to pull any nails out. If you do, it should be quite simple to find the hole and push it back in. Once all the paper has been pulled off, you can continue to the next step.
Start Wrapping
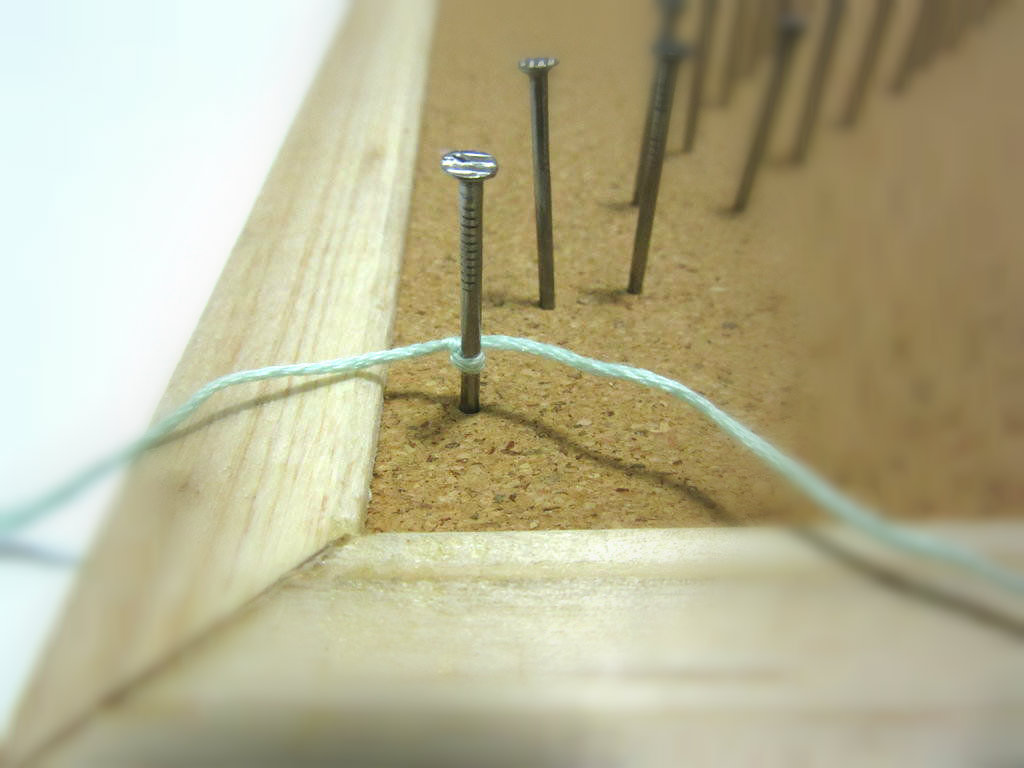
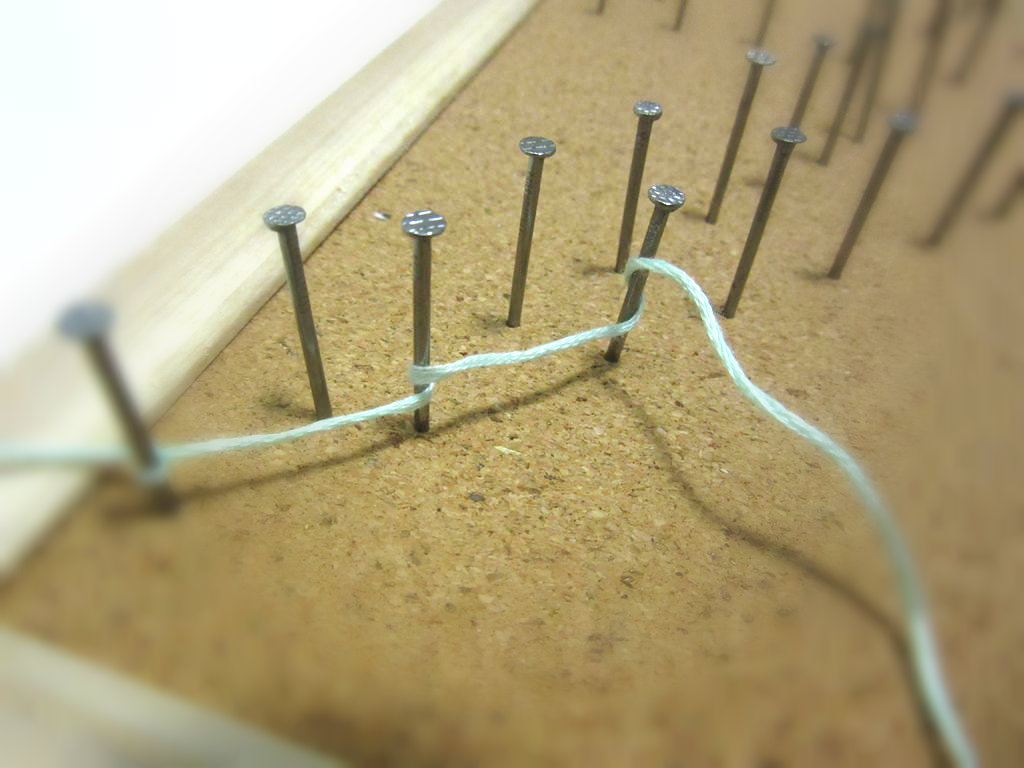
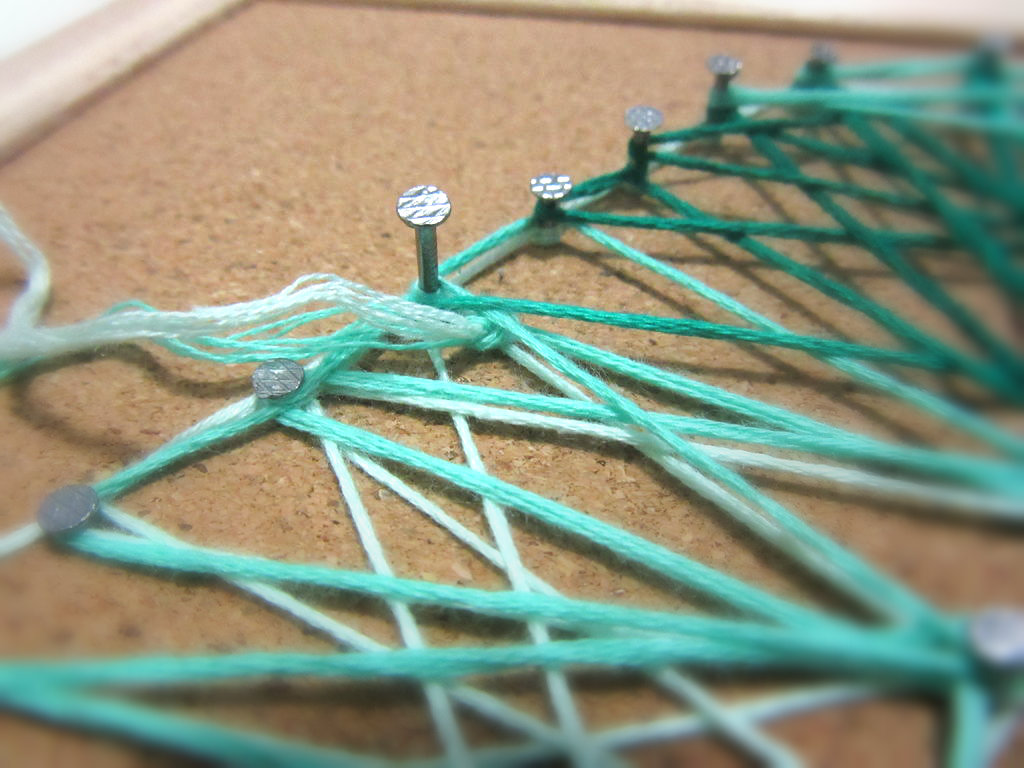
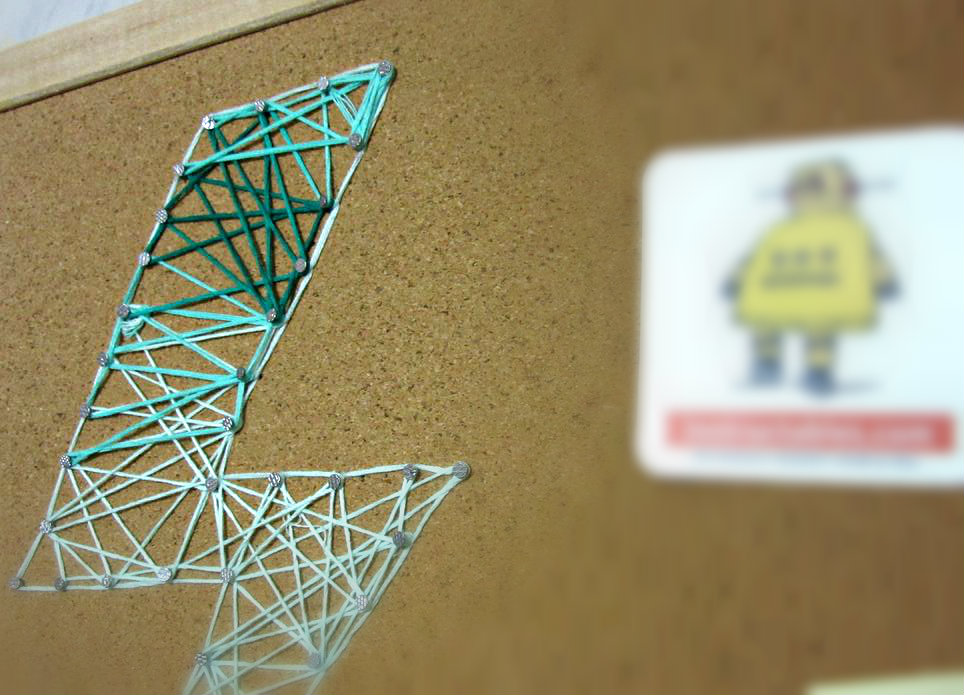
Tie a simple overhand knot on the first nail, then wrap your string around the second nail. (See the second picture.)
Continue wrapping along your shape, and going to the other side to create a nice criss cross. Remember to outline it as well by wrapping along one side.
Occasionally tie a overhand knot to secure the string.
Don't worry if it sounds confusing; all will become clear when you start making it.
If you need to change colors, just snip the string and tie another color onto it, as you can see in the third picture. Simply tuck the knot into one of the criss crosses and no one will see it.
TADA
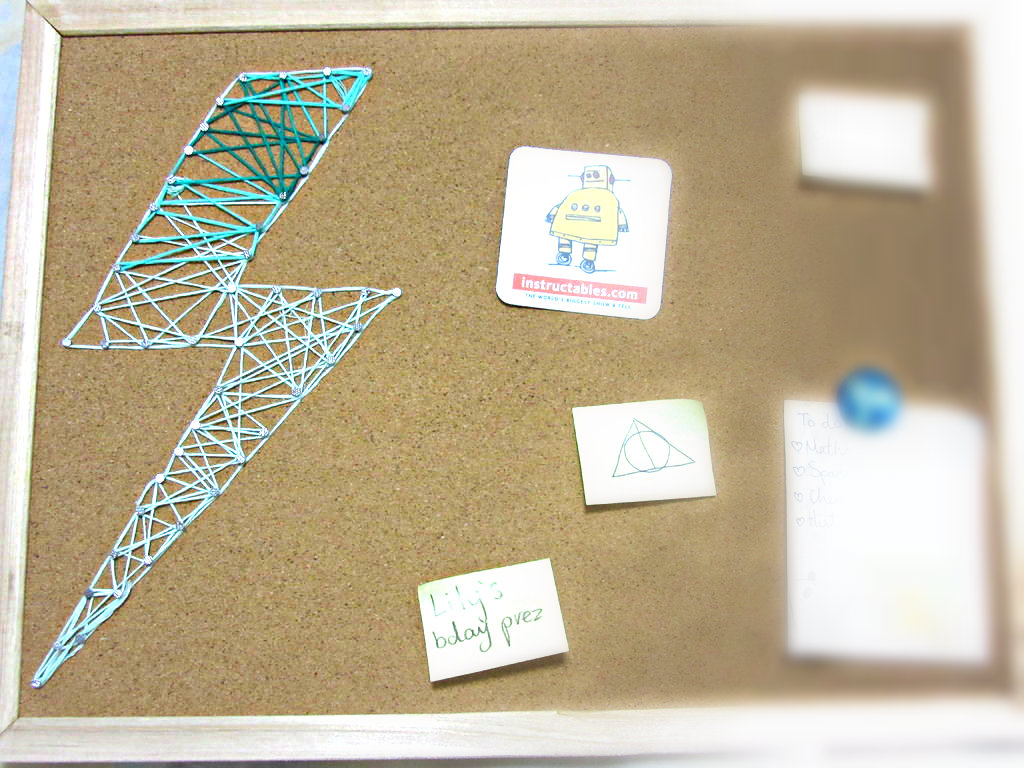
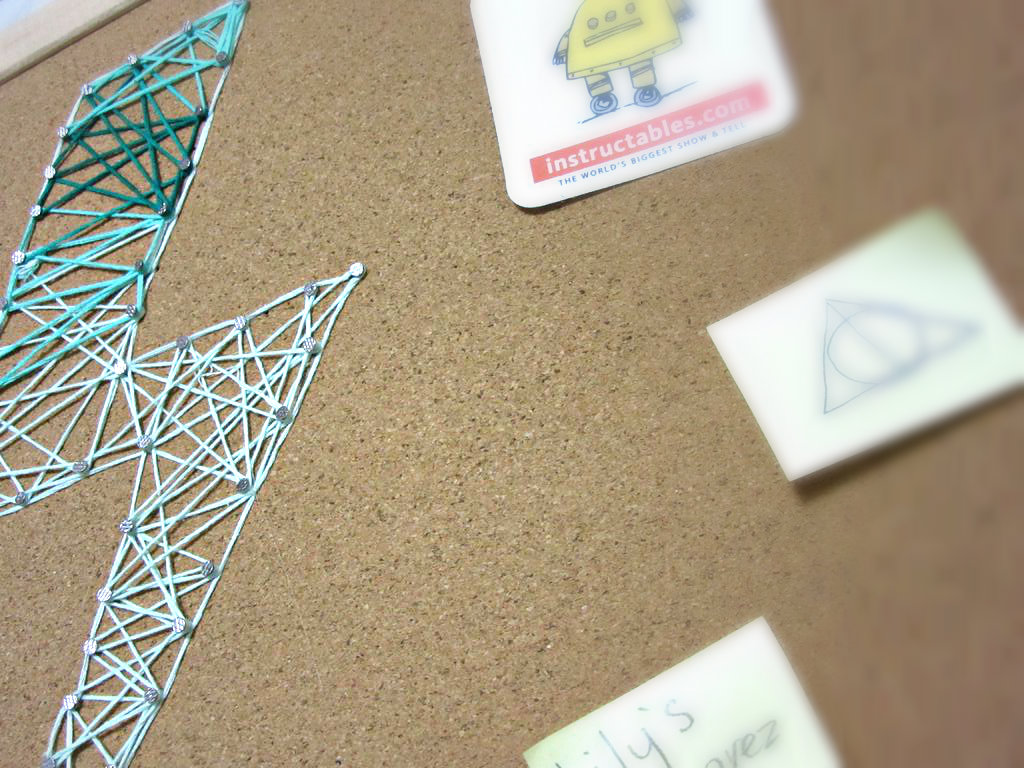
Hang your bright new cork board on your wall, or prop it up on your desk, or wrap it up to give it to a friend.
Happy making!
Ways/ideas to take this project further:
- Use an actual block of wood (a chopping board would be great for a person who loves cooking or food)
- Do it on your wall
- Use many different colors.
- Get a bigger template so it can hang up somewhere conspicuous.
- Do words (names, etc)
- Instead of wrapping the shape, maybe wrap outside to create a silhouette. (Shape of a square with a heart inside, for example)
- Put nail polish on the tip of the nails to create an extra splash of color.