String Art
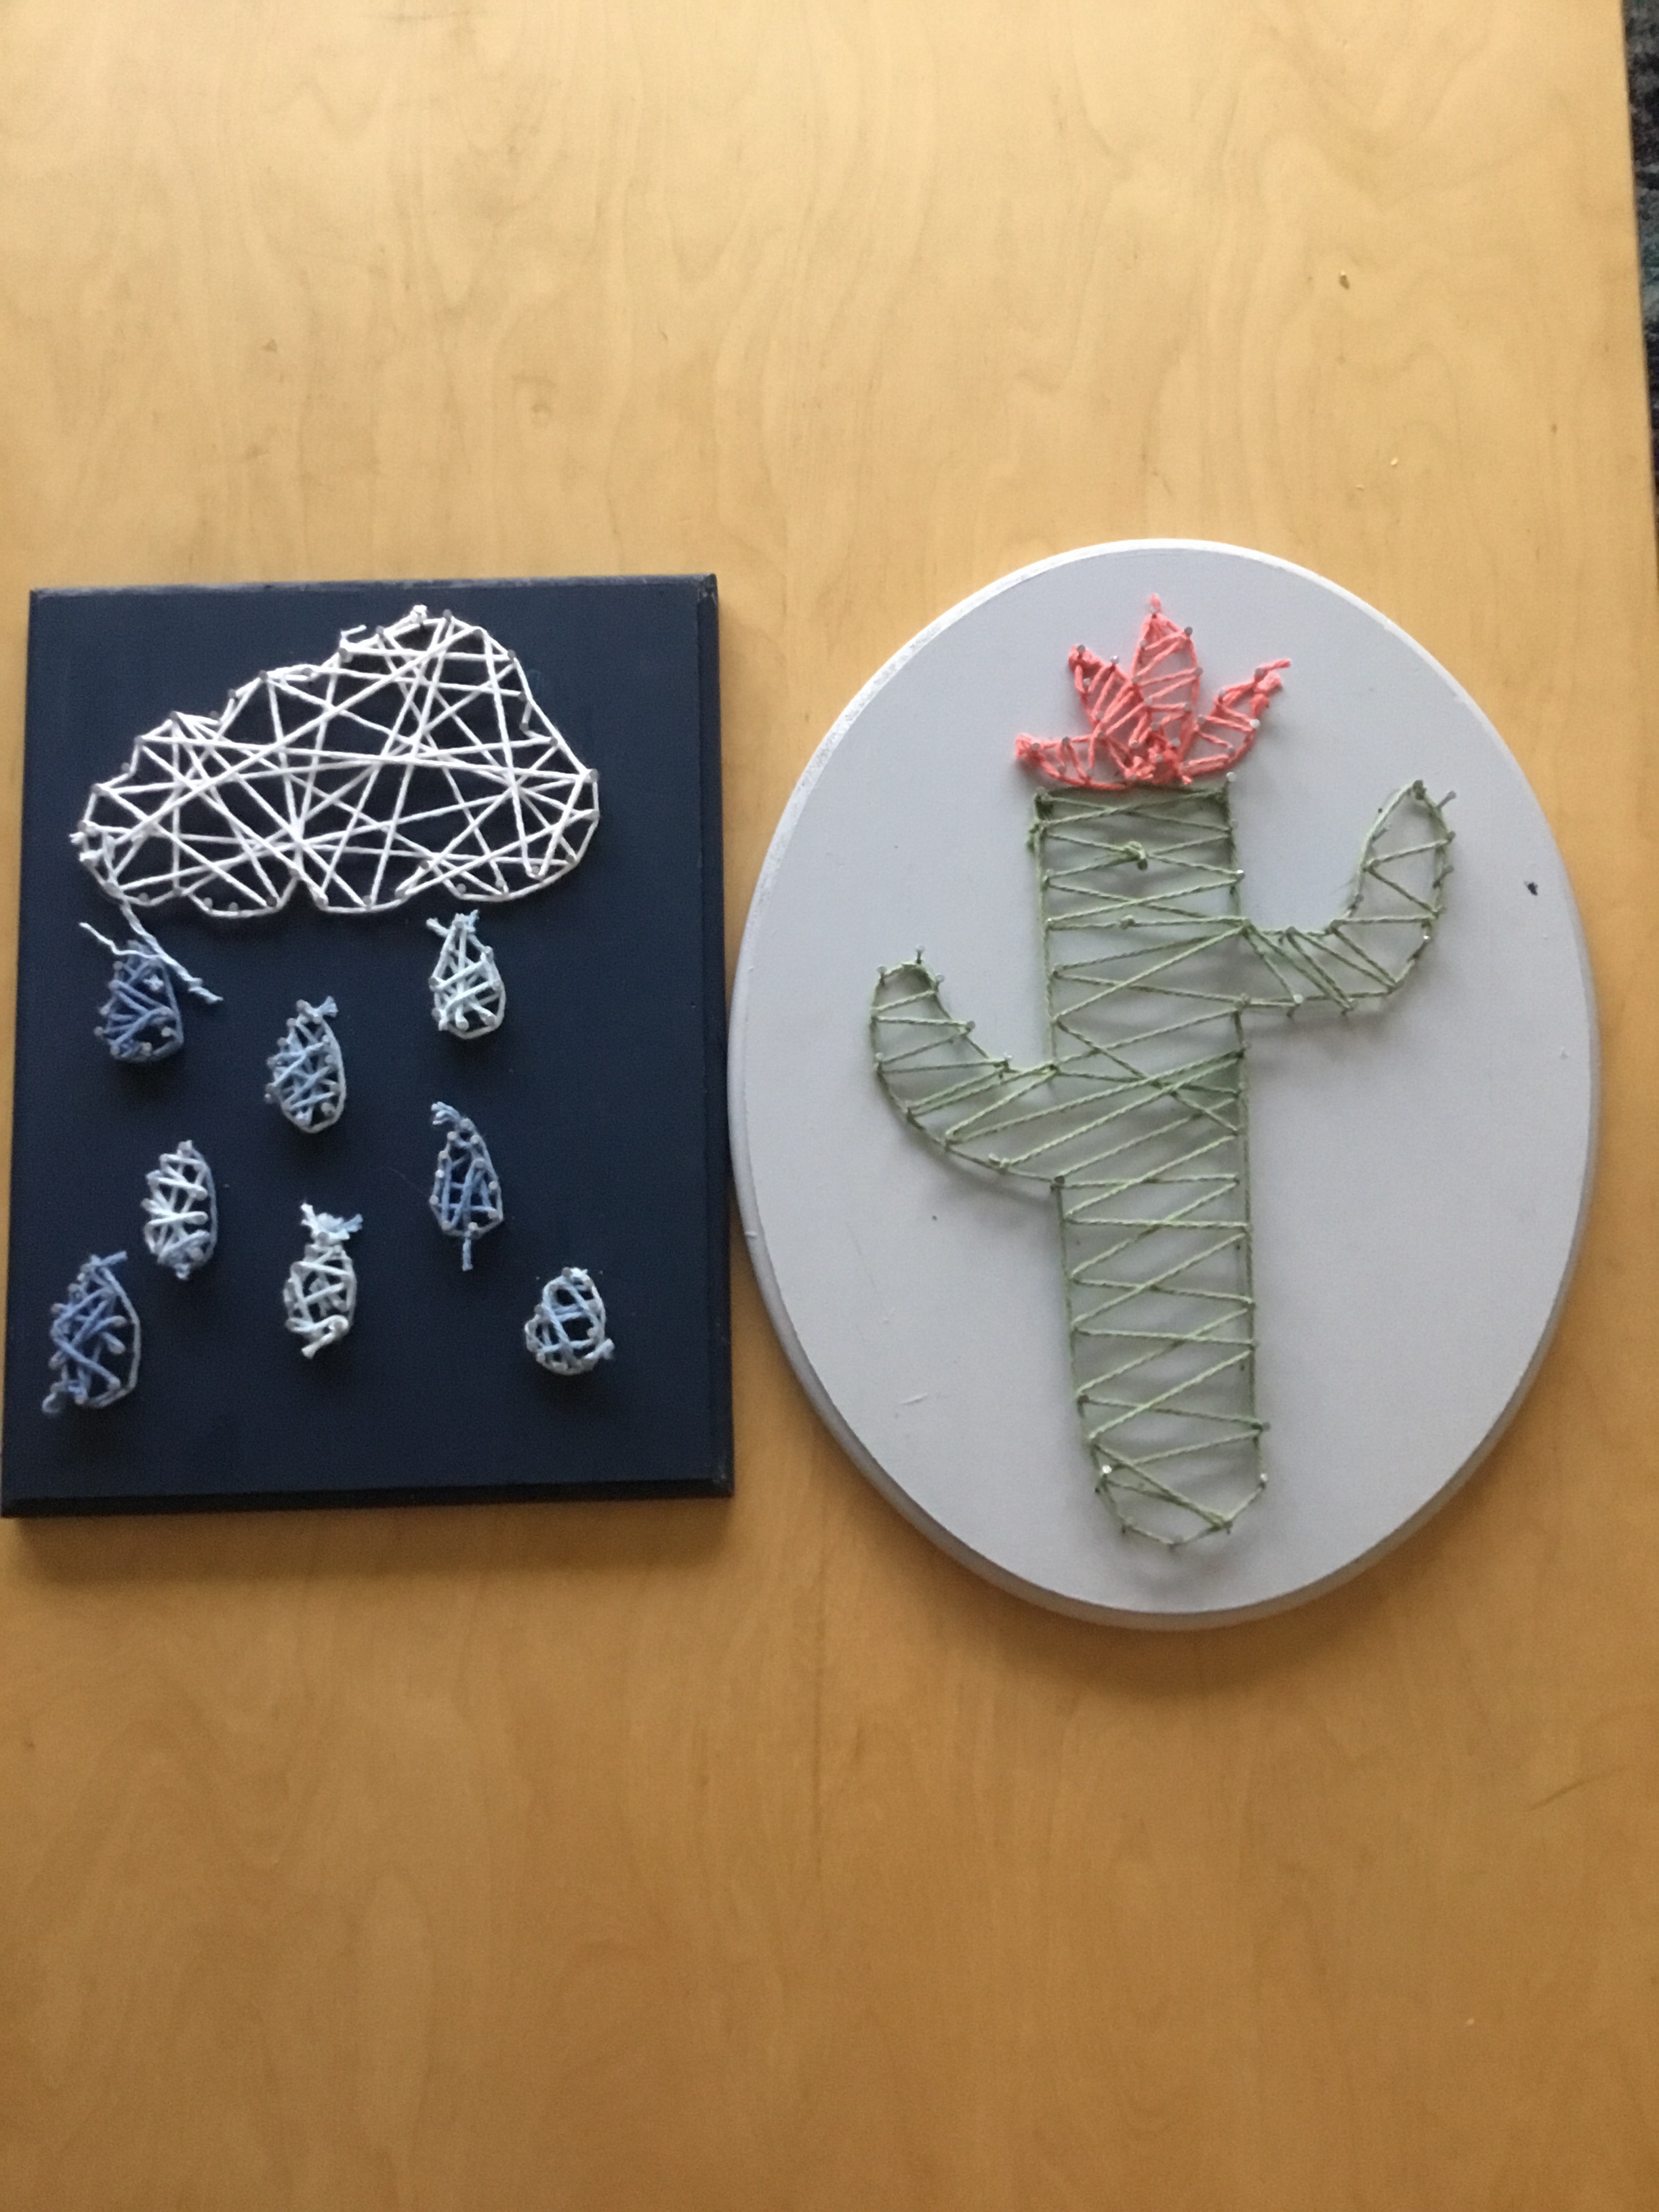
If you think your home is bland or your room needs more color string art will do the trick! This is fun and inexpensive way to add some decorations to your house in 6 simple steps!
Gather Your Supplies
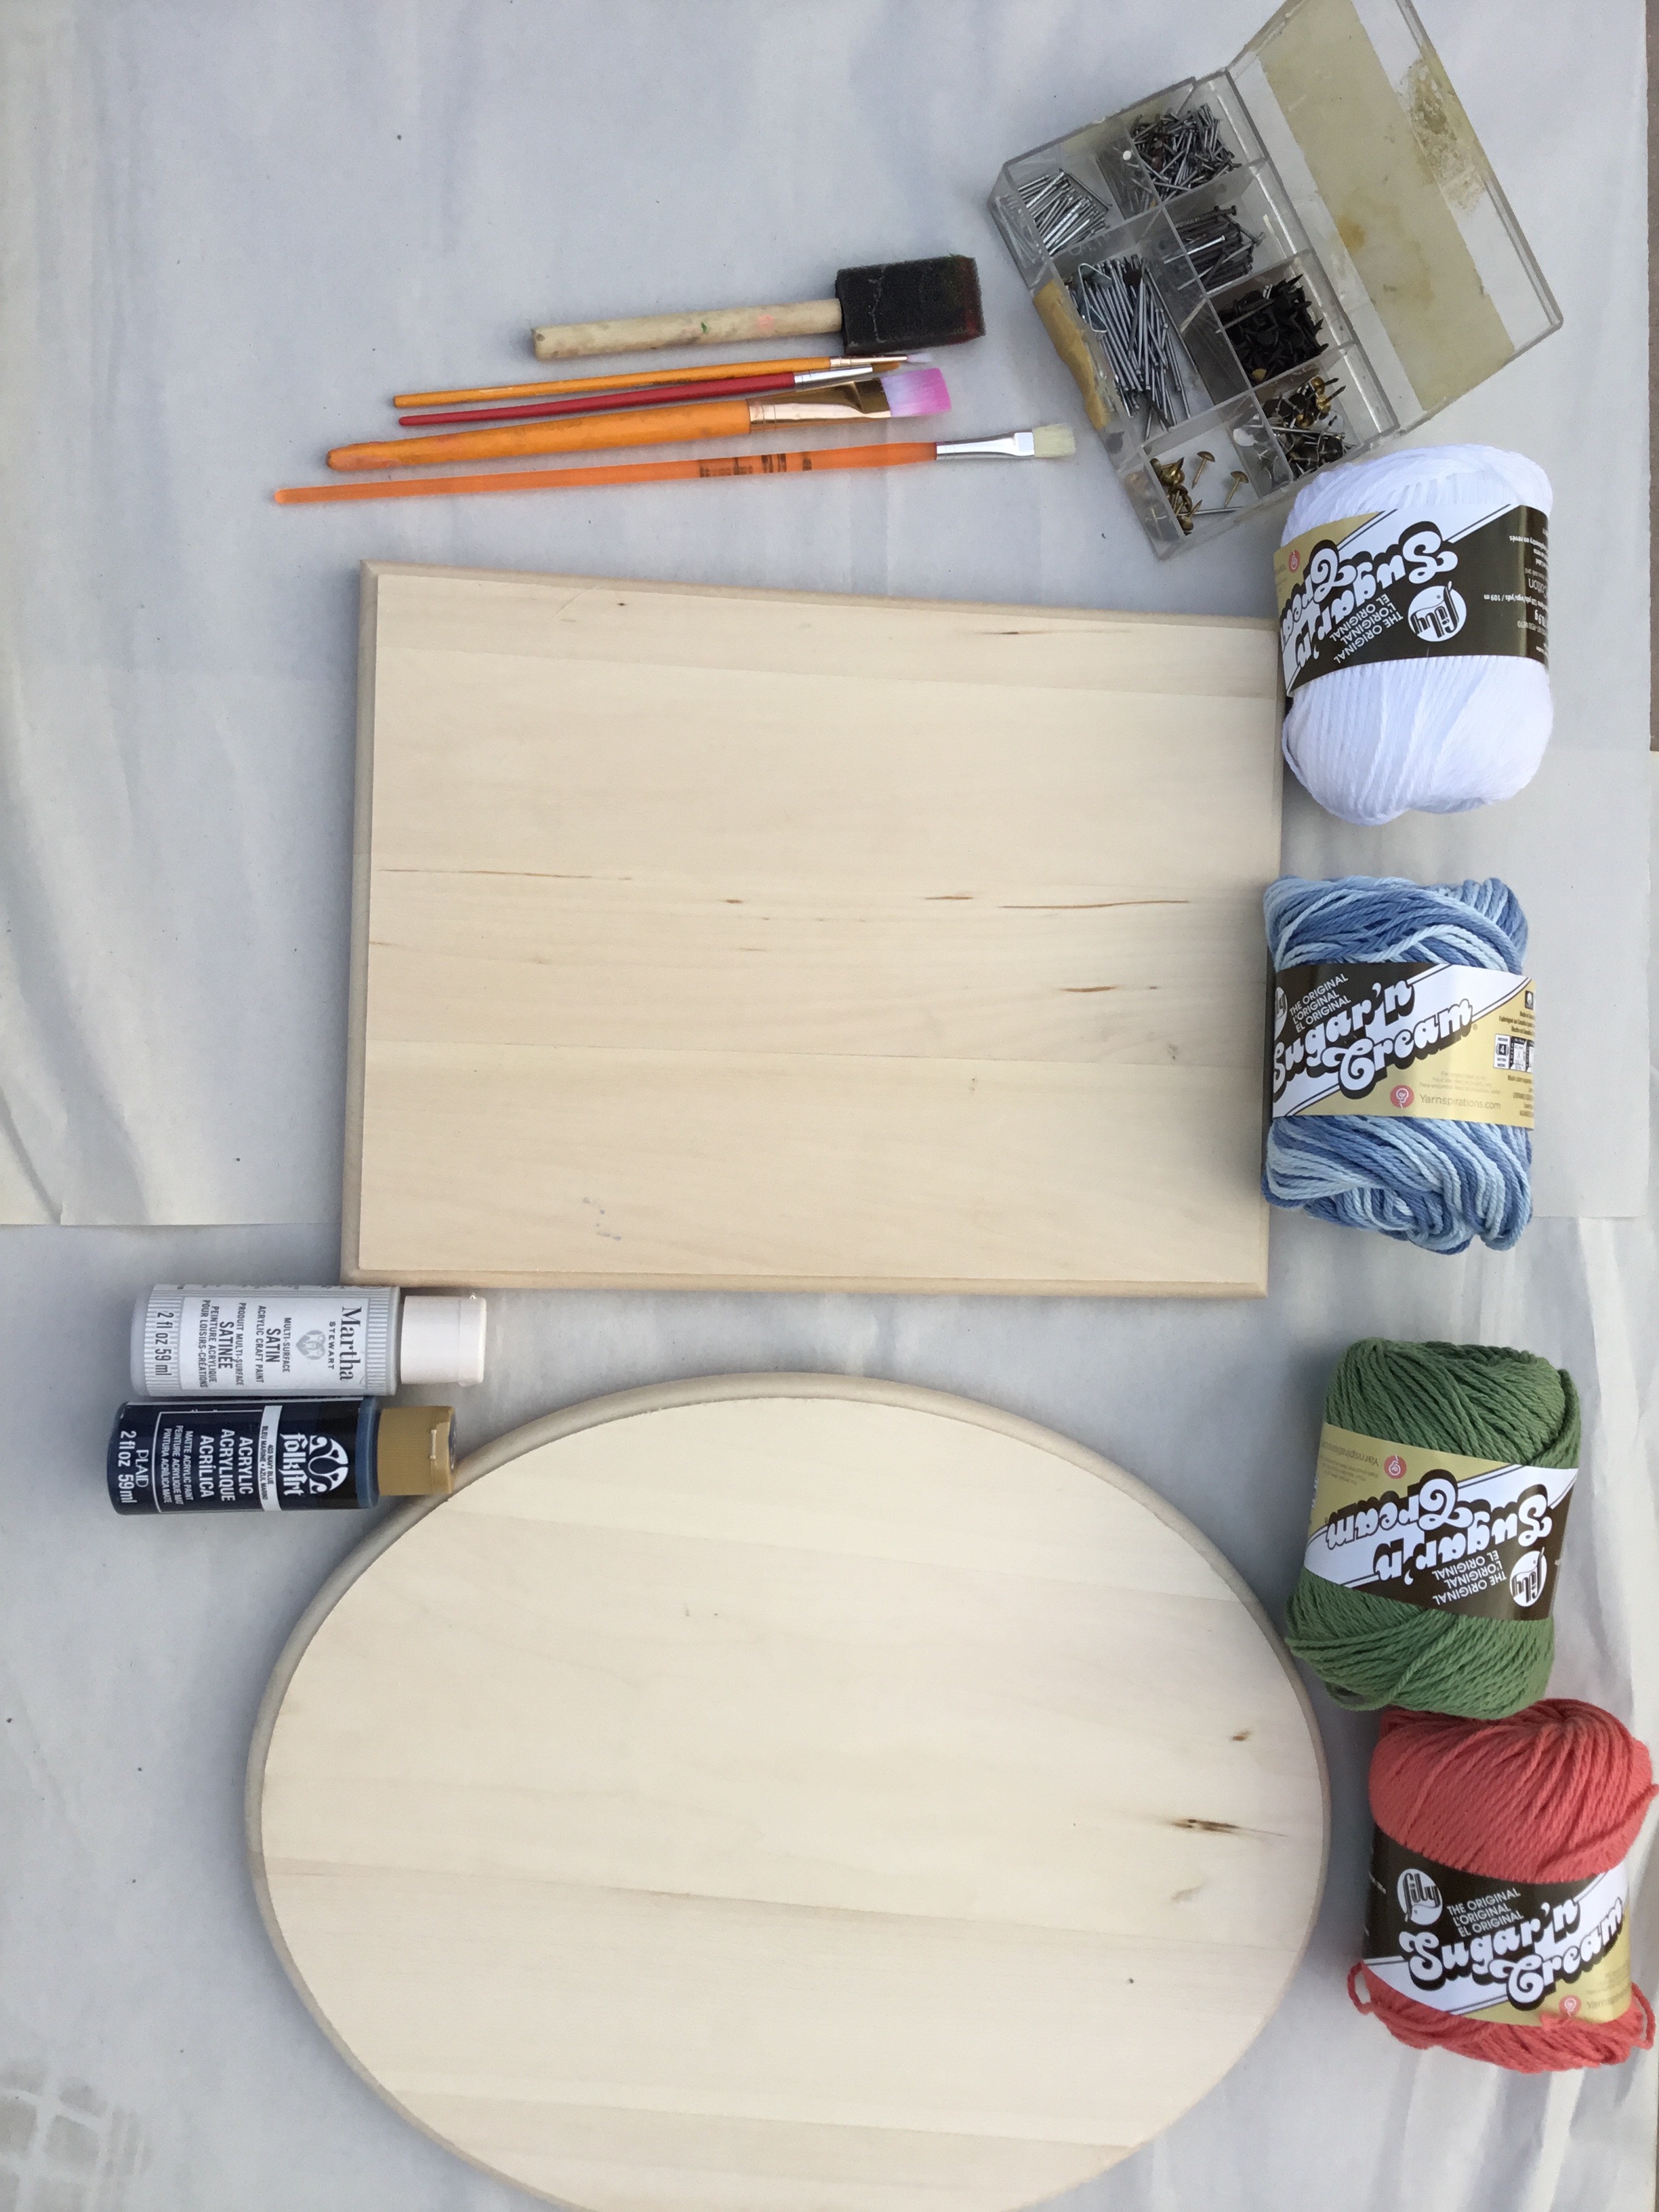
For this project you will need some supplies:
Wood (any size) You can find wood at a local craft or hardware store.
Paint (optional)
String (any color)
Paintbrush (if you paint)
Nails
Wood (any size) You can find wood at a local craft or hardware store.
Paint (optional)
String (any color)
Paintbrush (if you paint)
Nails
Paint (optional)
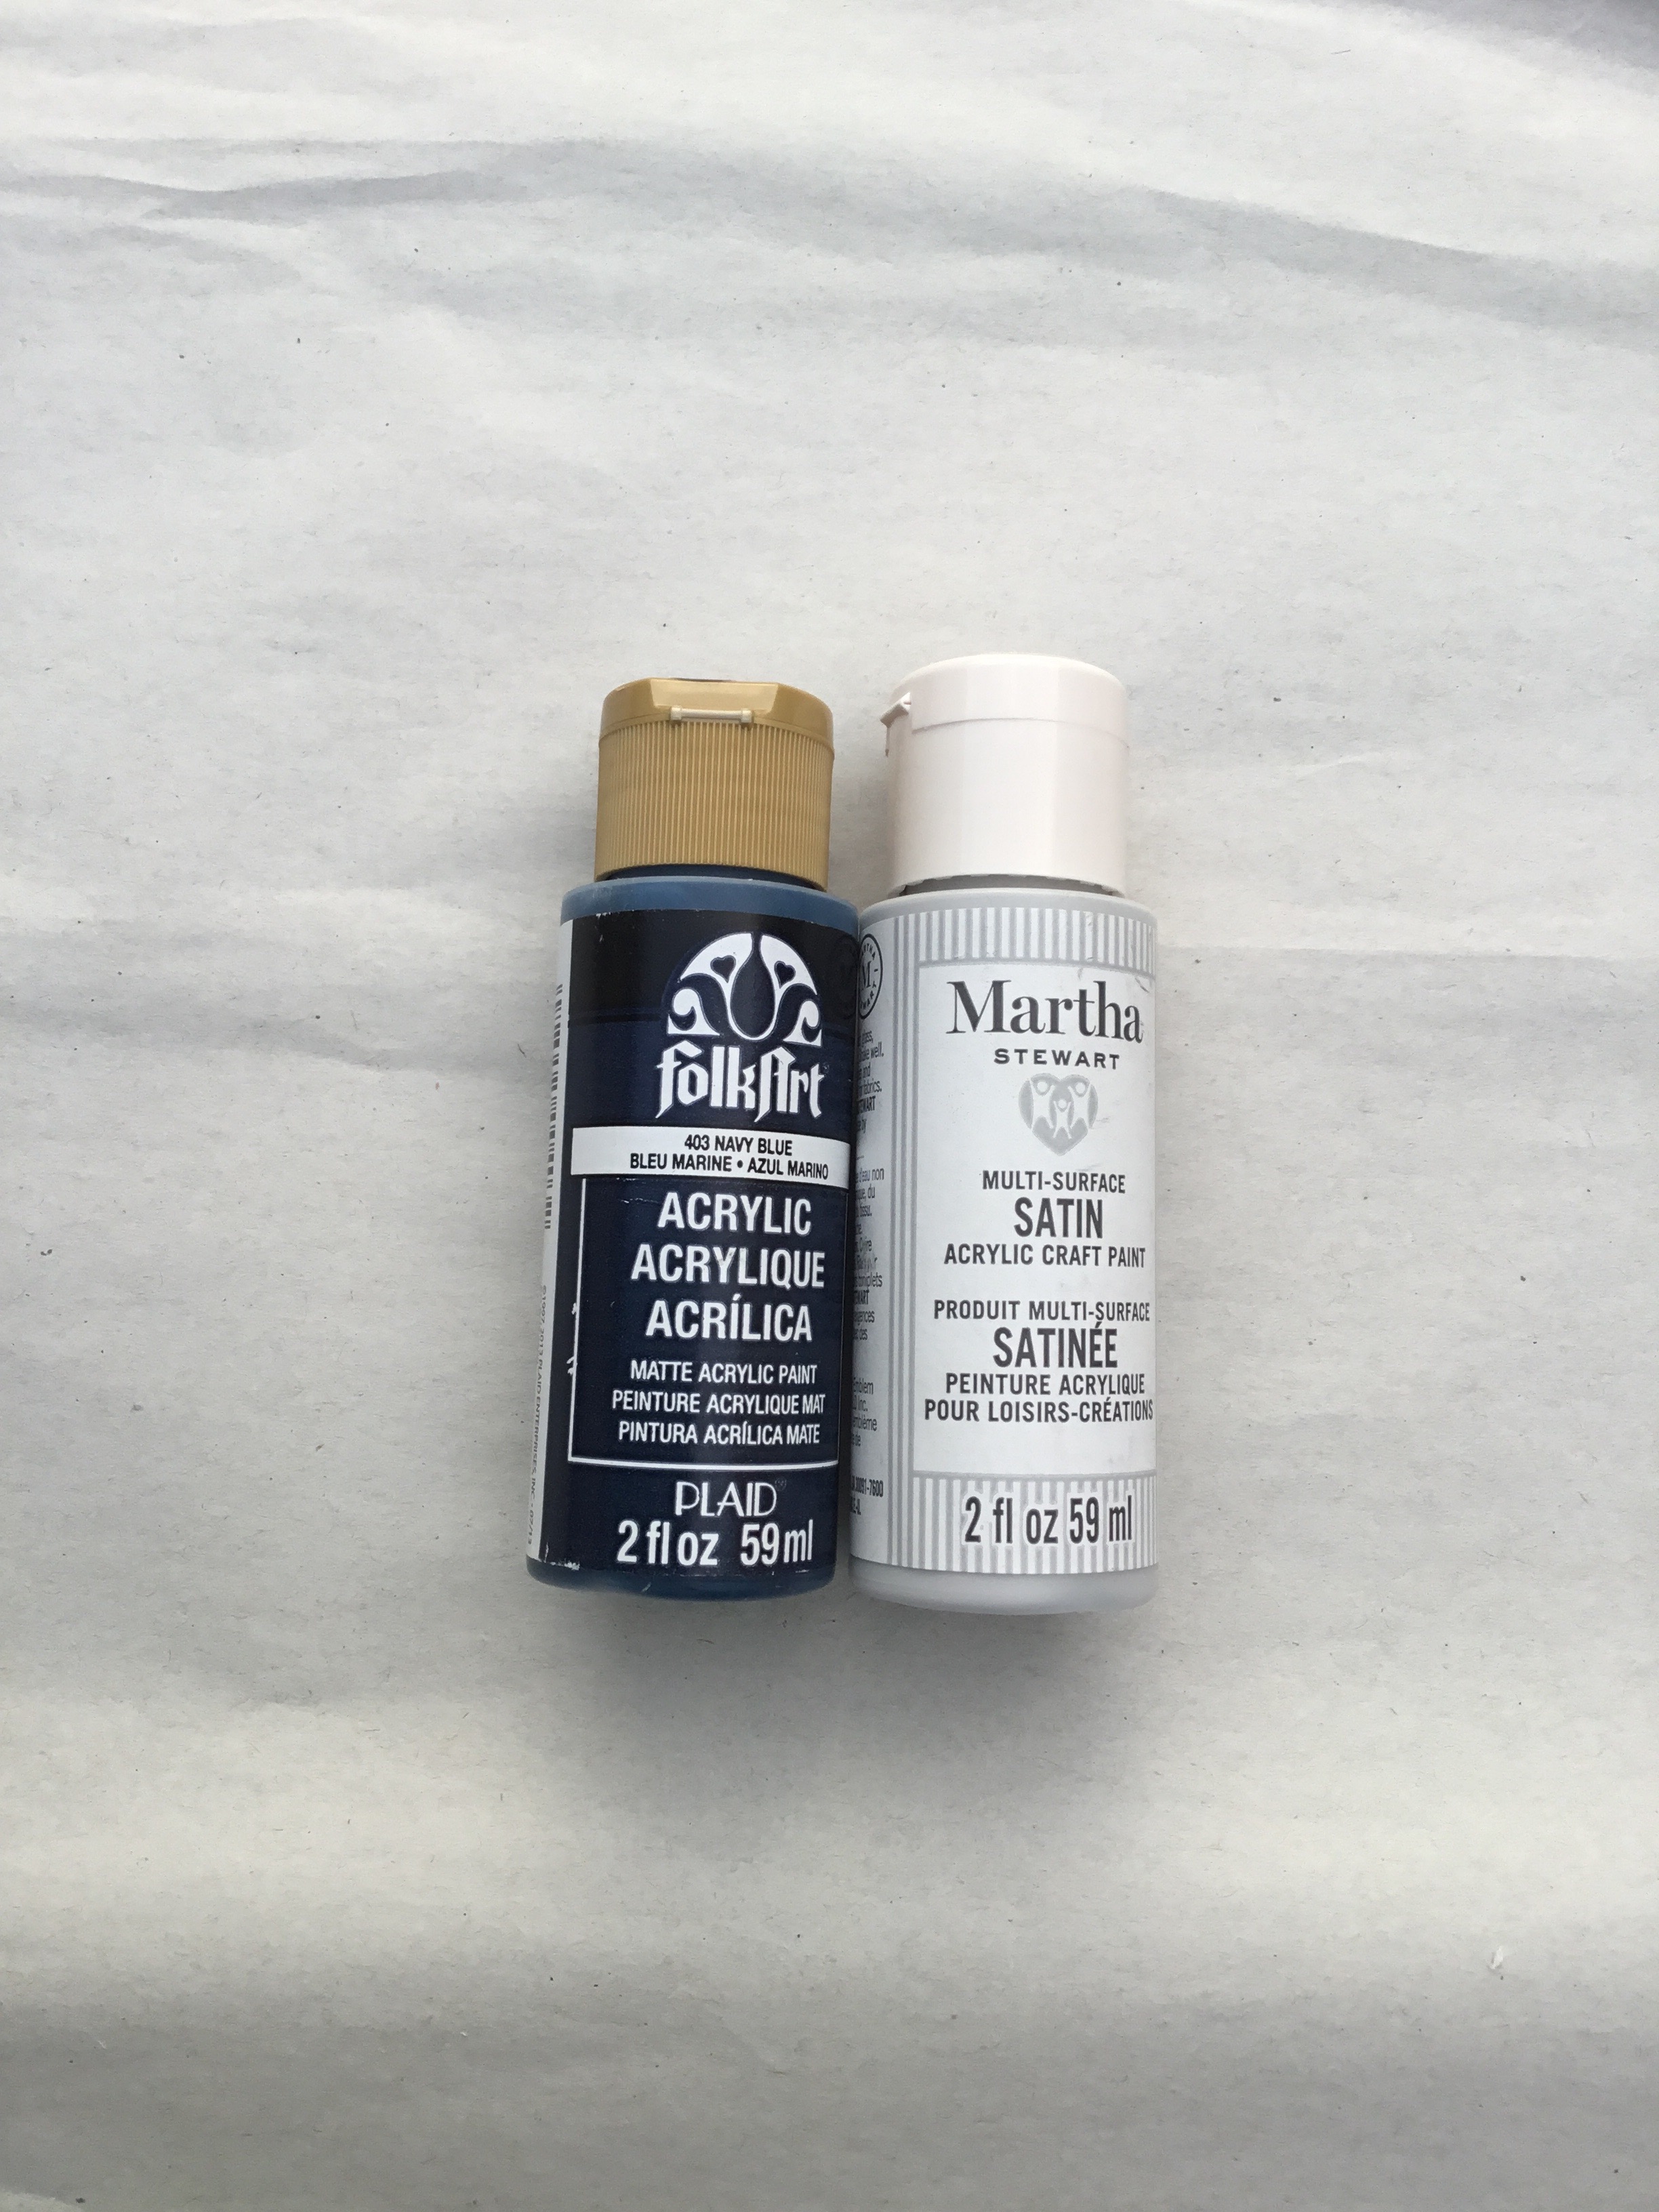
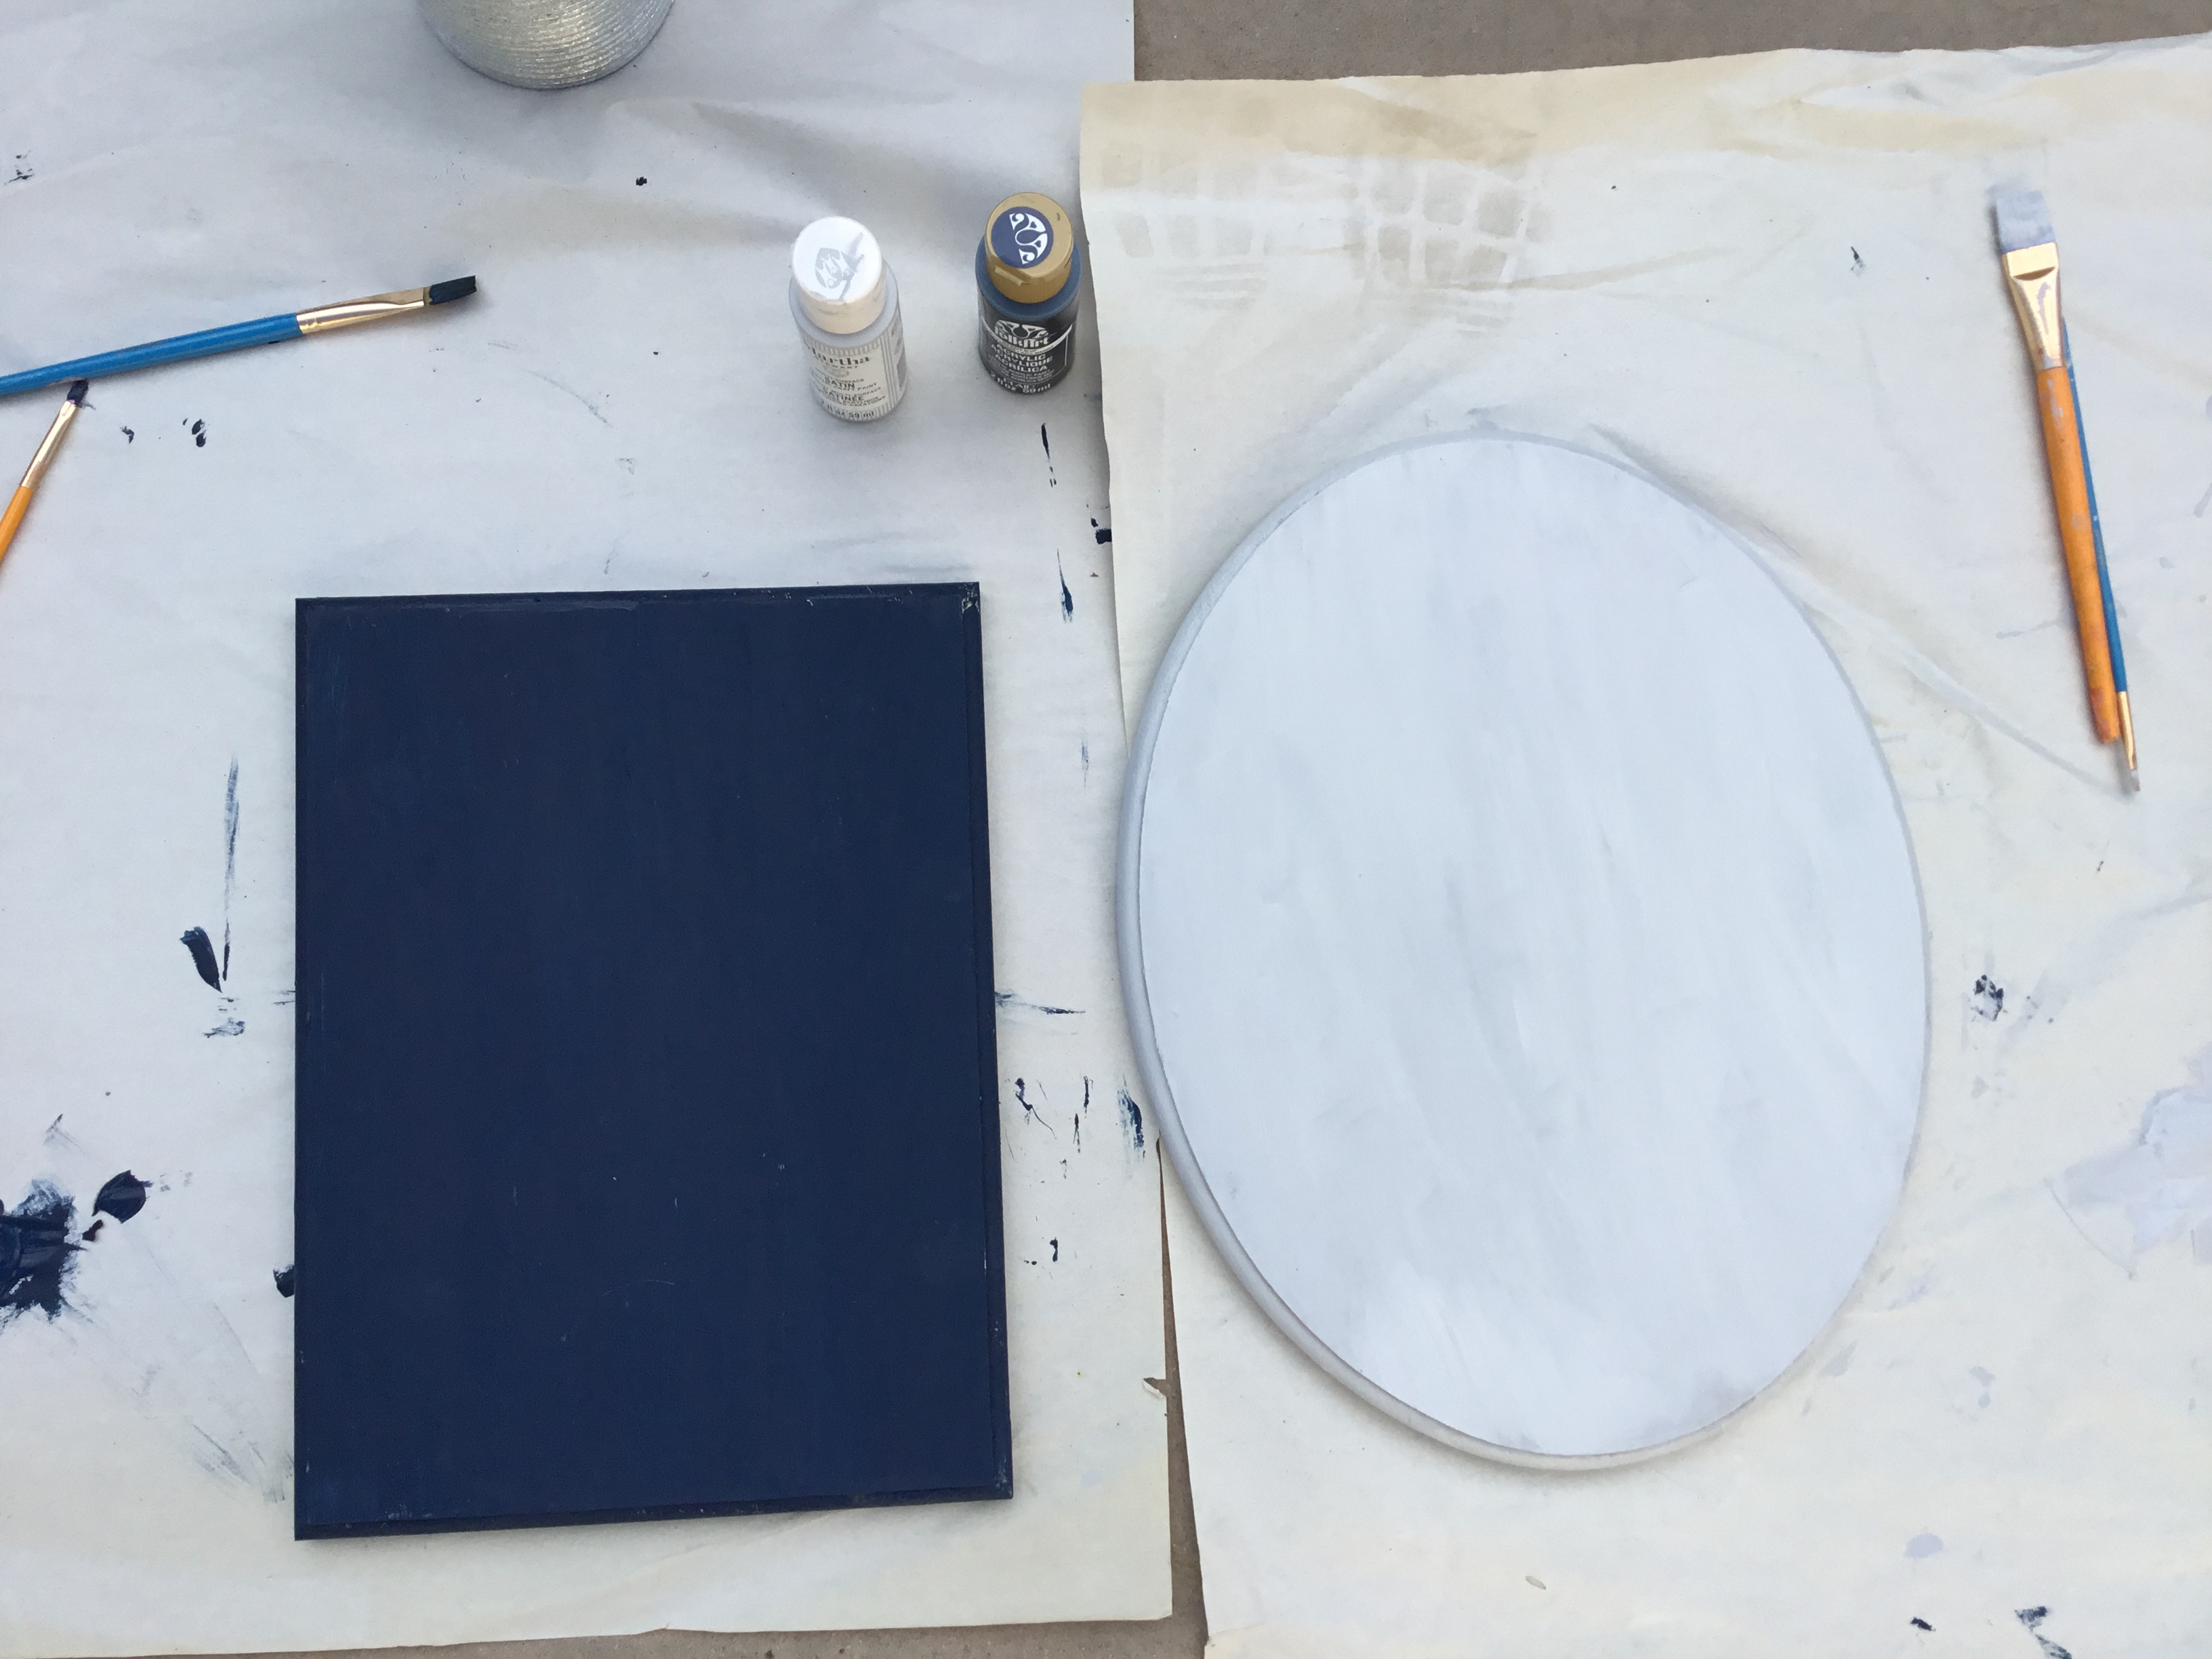
If you want to add more color to your project, paint it. Make sure to choose a color that goes with your design. The paint that works best is works best is multi surface acrylic paint. Your going to have to do multiple coats for solid coverage. (The wood I used is 13 x 11 and 12 x 9 and I only needed one bottle)
Trace Your Design
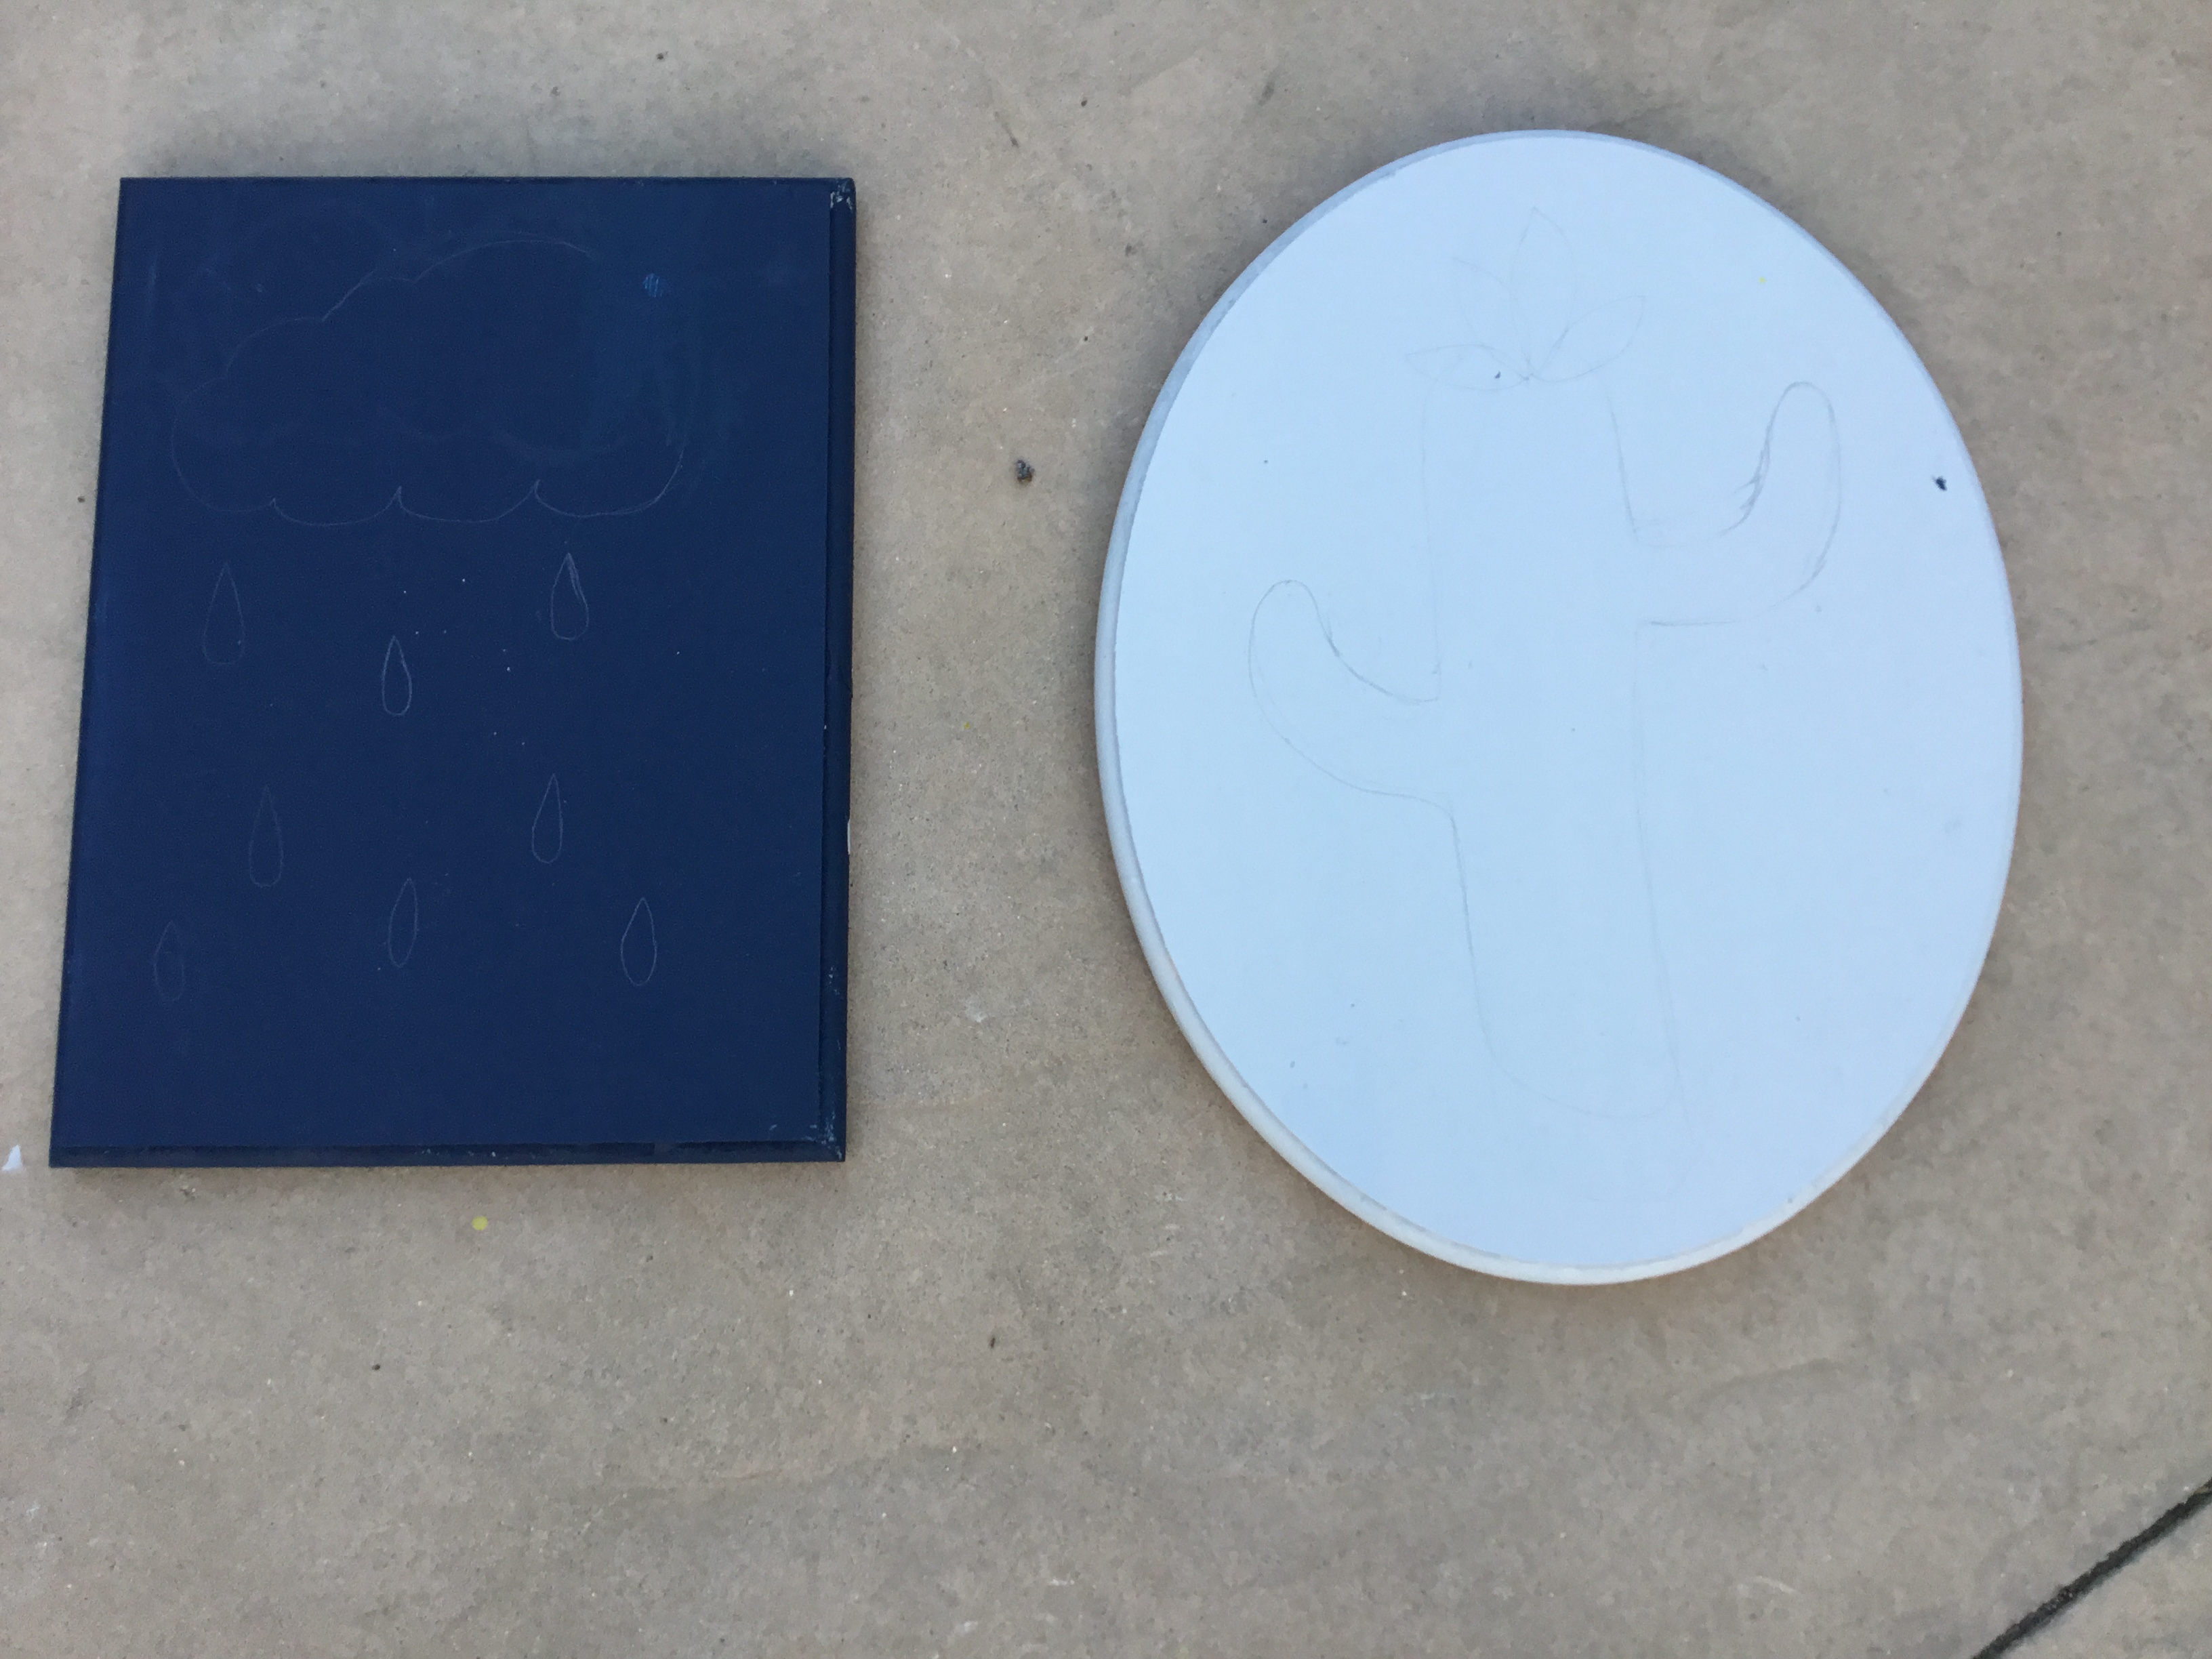
Take a pencil and lightly trace your design. Make sure you can see the lines. For my design I did a cactus with a flower on top and a cloud with rain. You can do any design you like.
Nail It
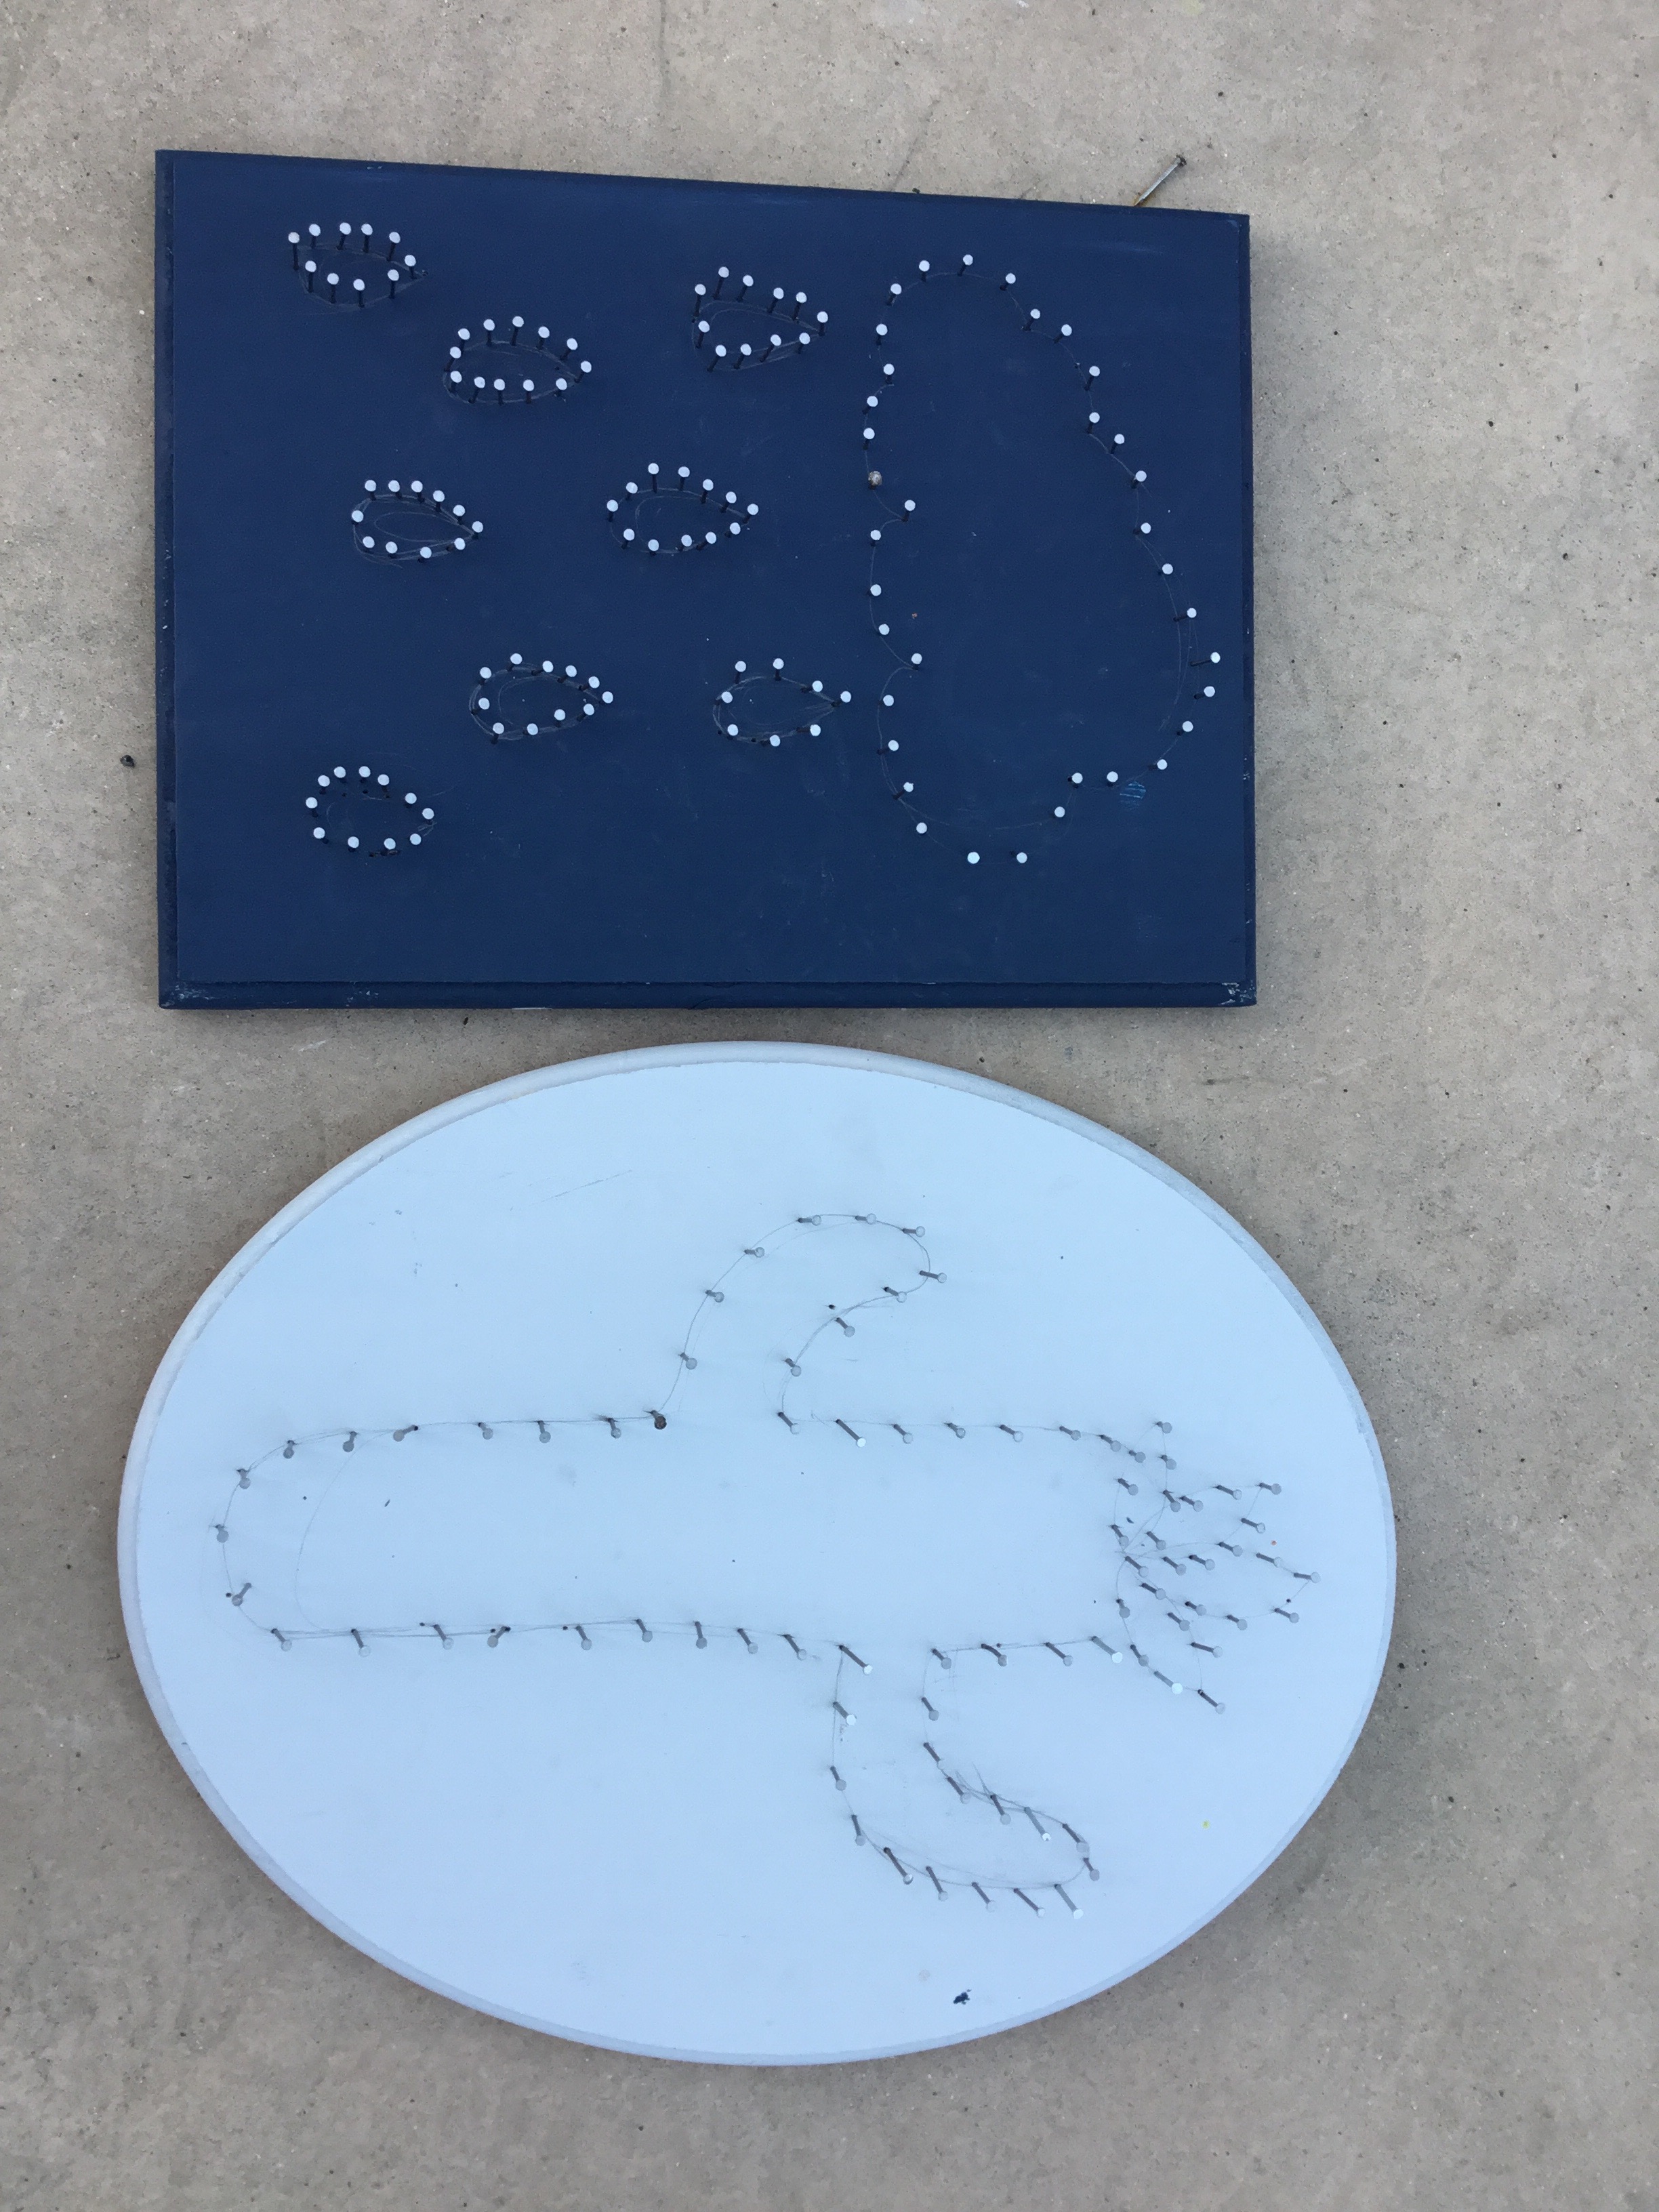
For this step you are going to put the nails around your design. The nails should be 1/2 inch to 1 inch apart.
Trace the Design With String
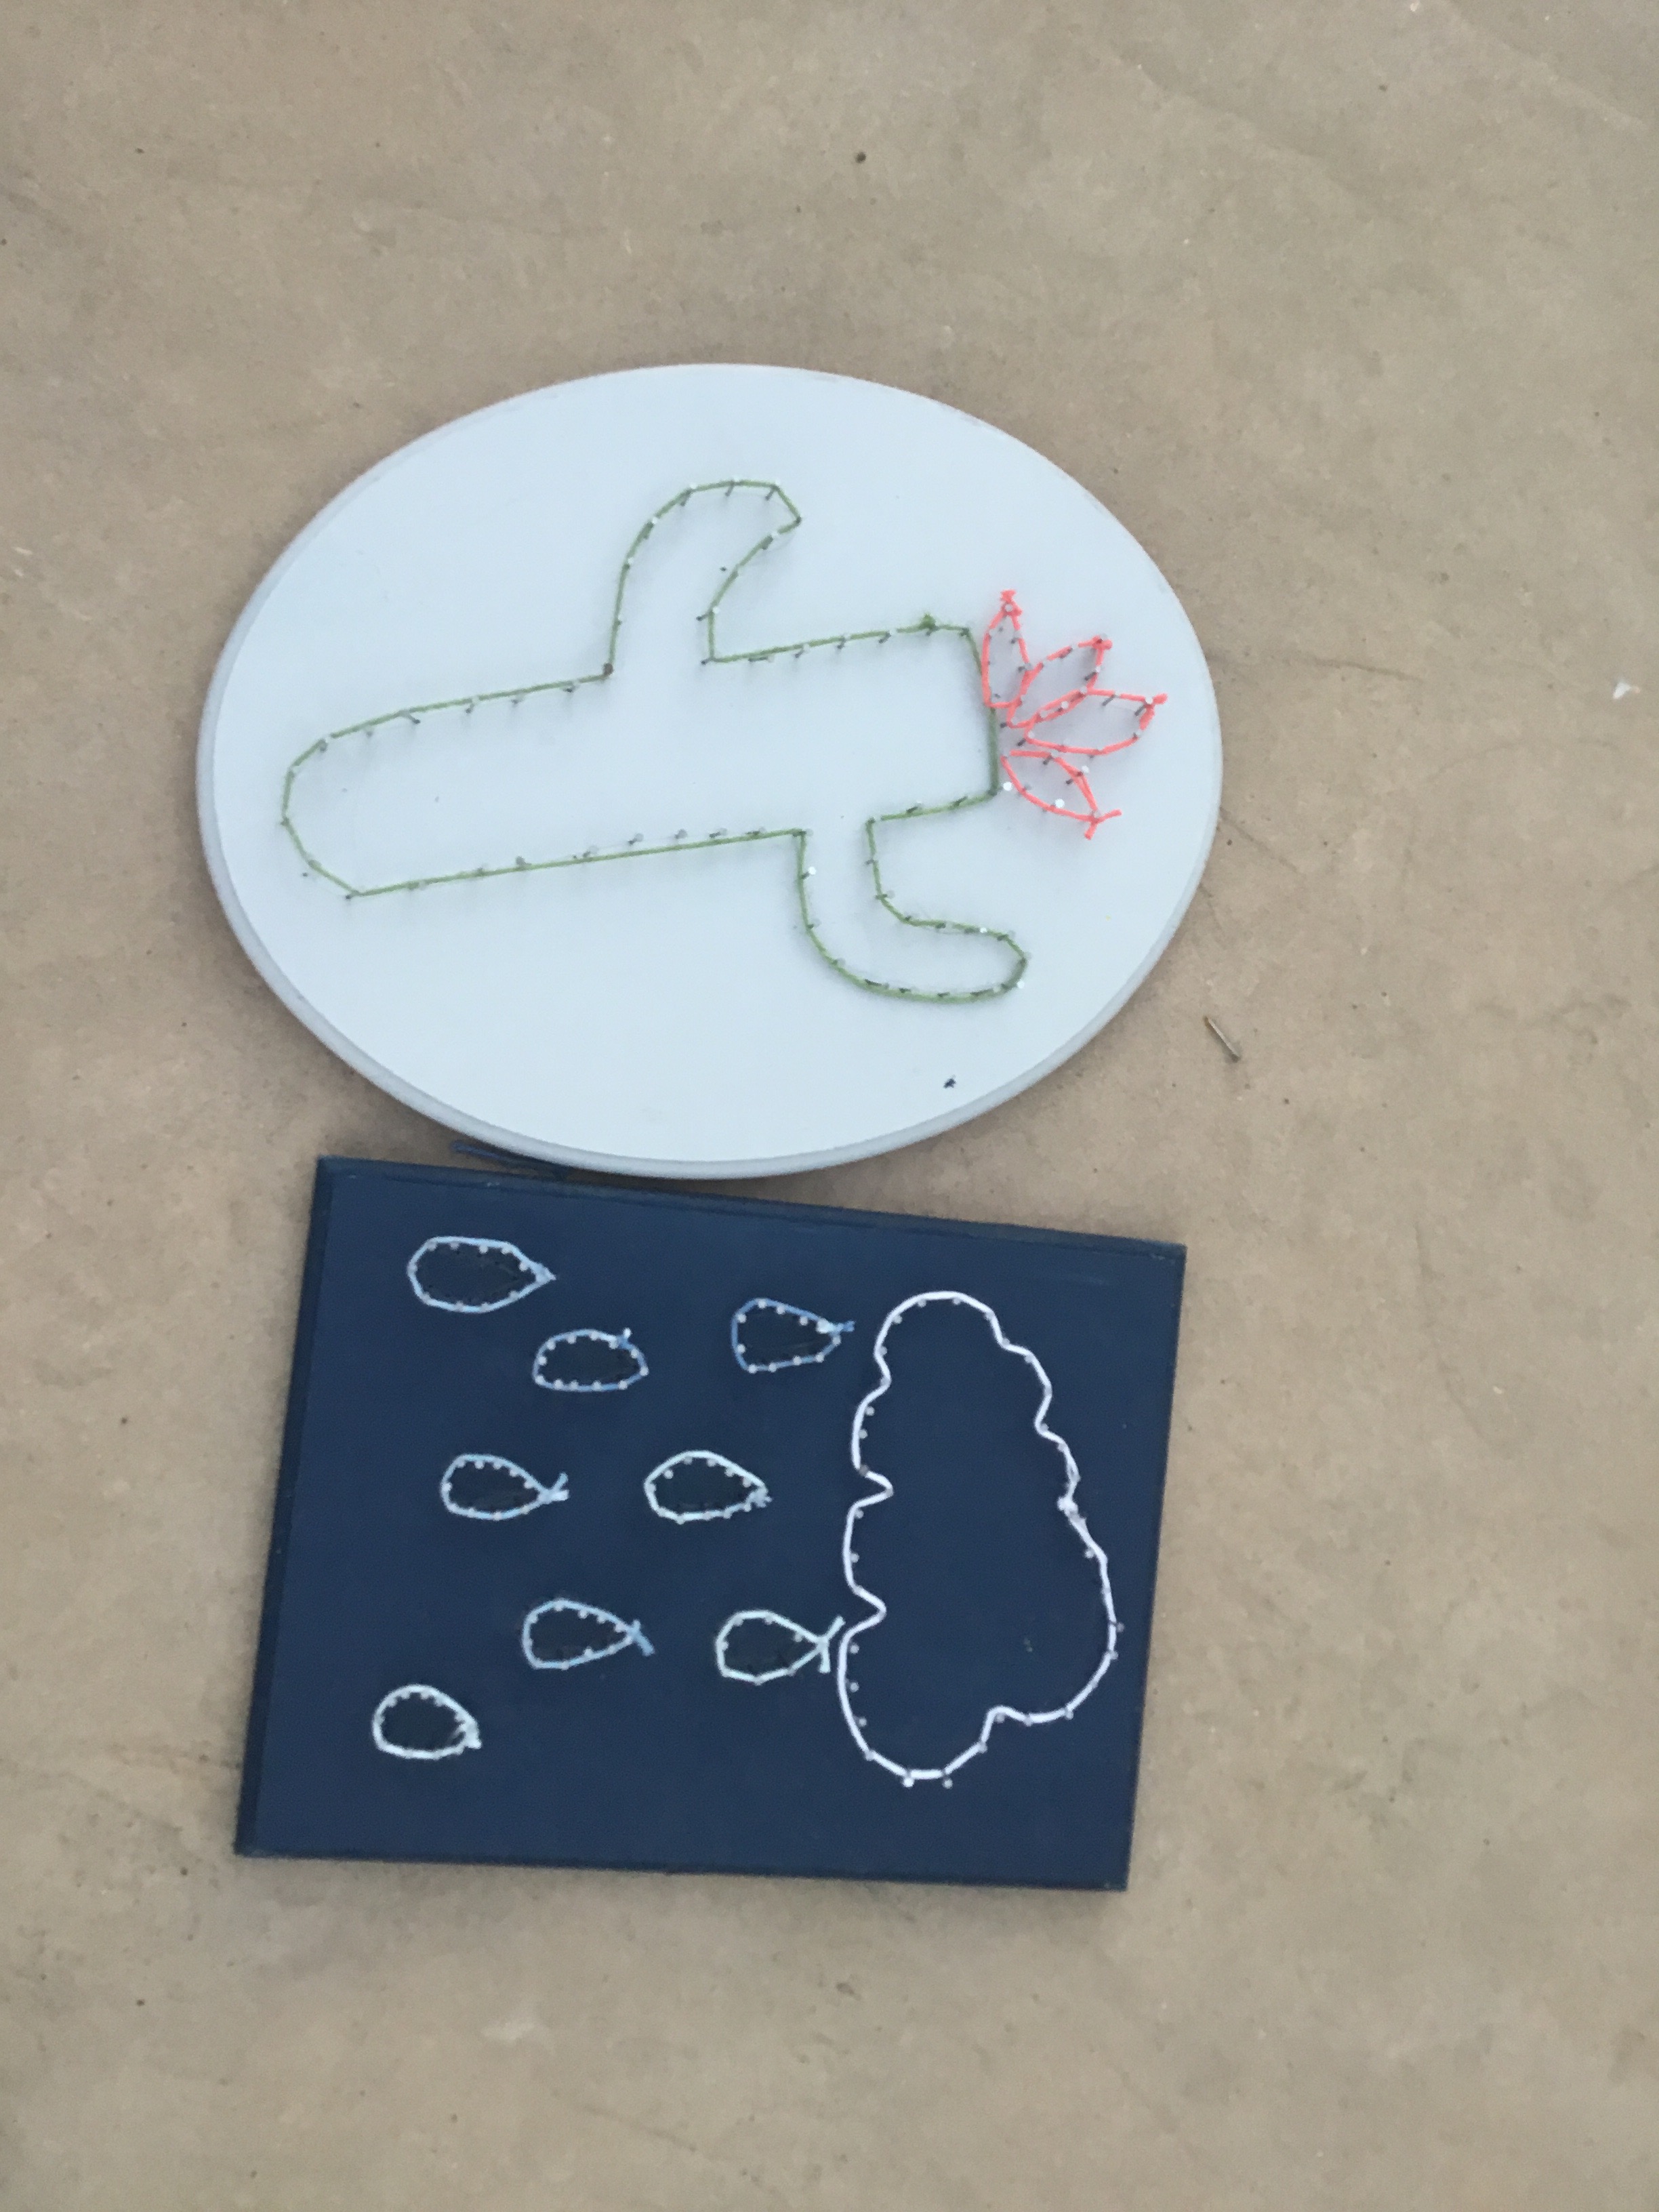
Take your string and tie it to the nail where you want to start. Then take your string and trace the design.
String It Again
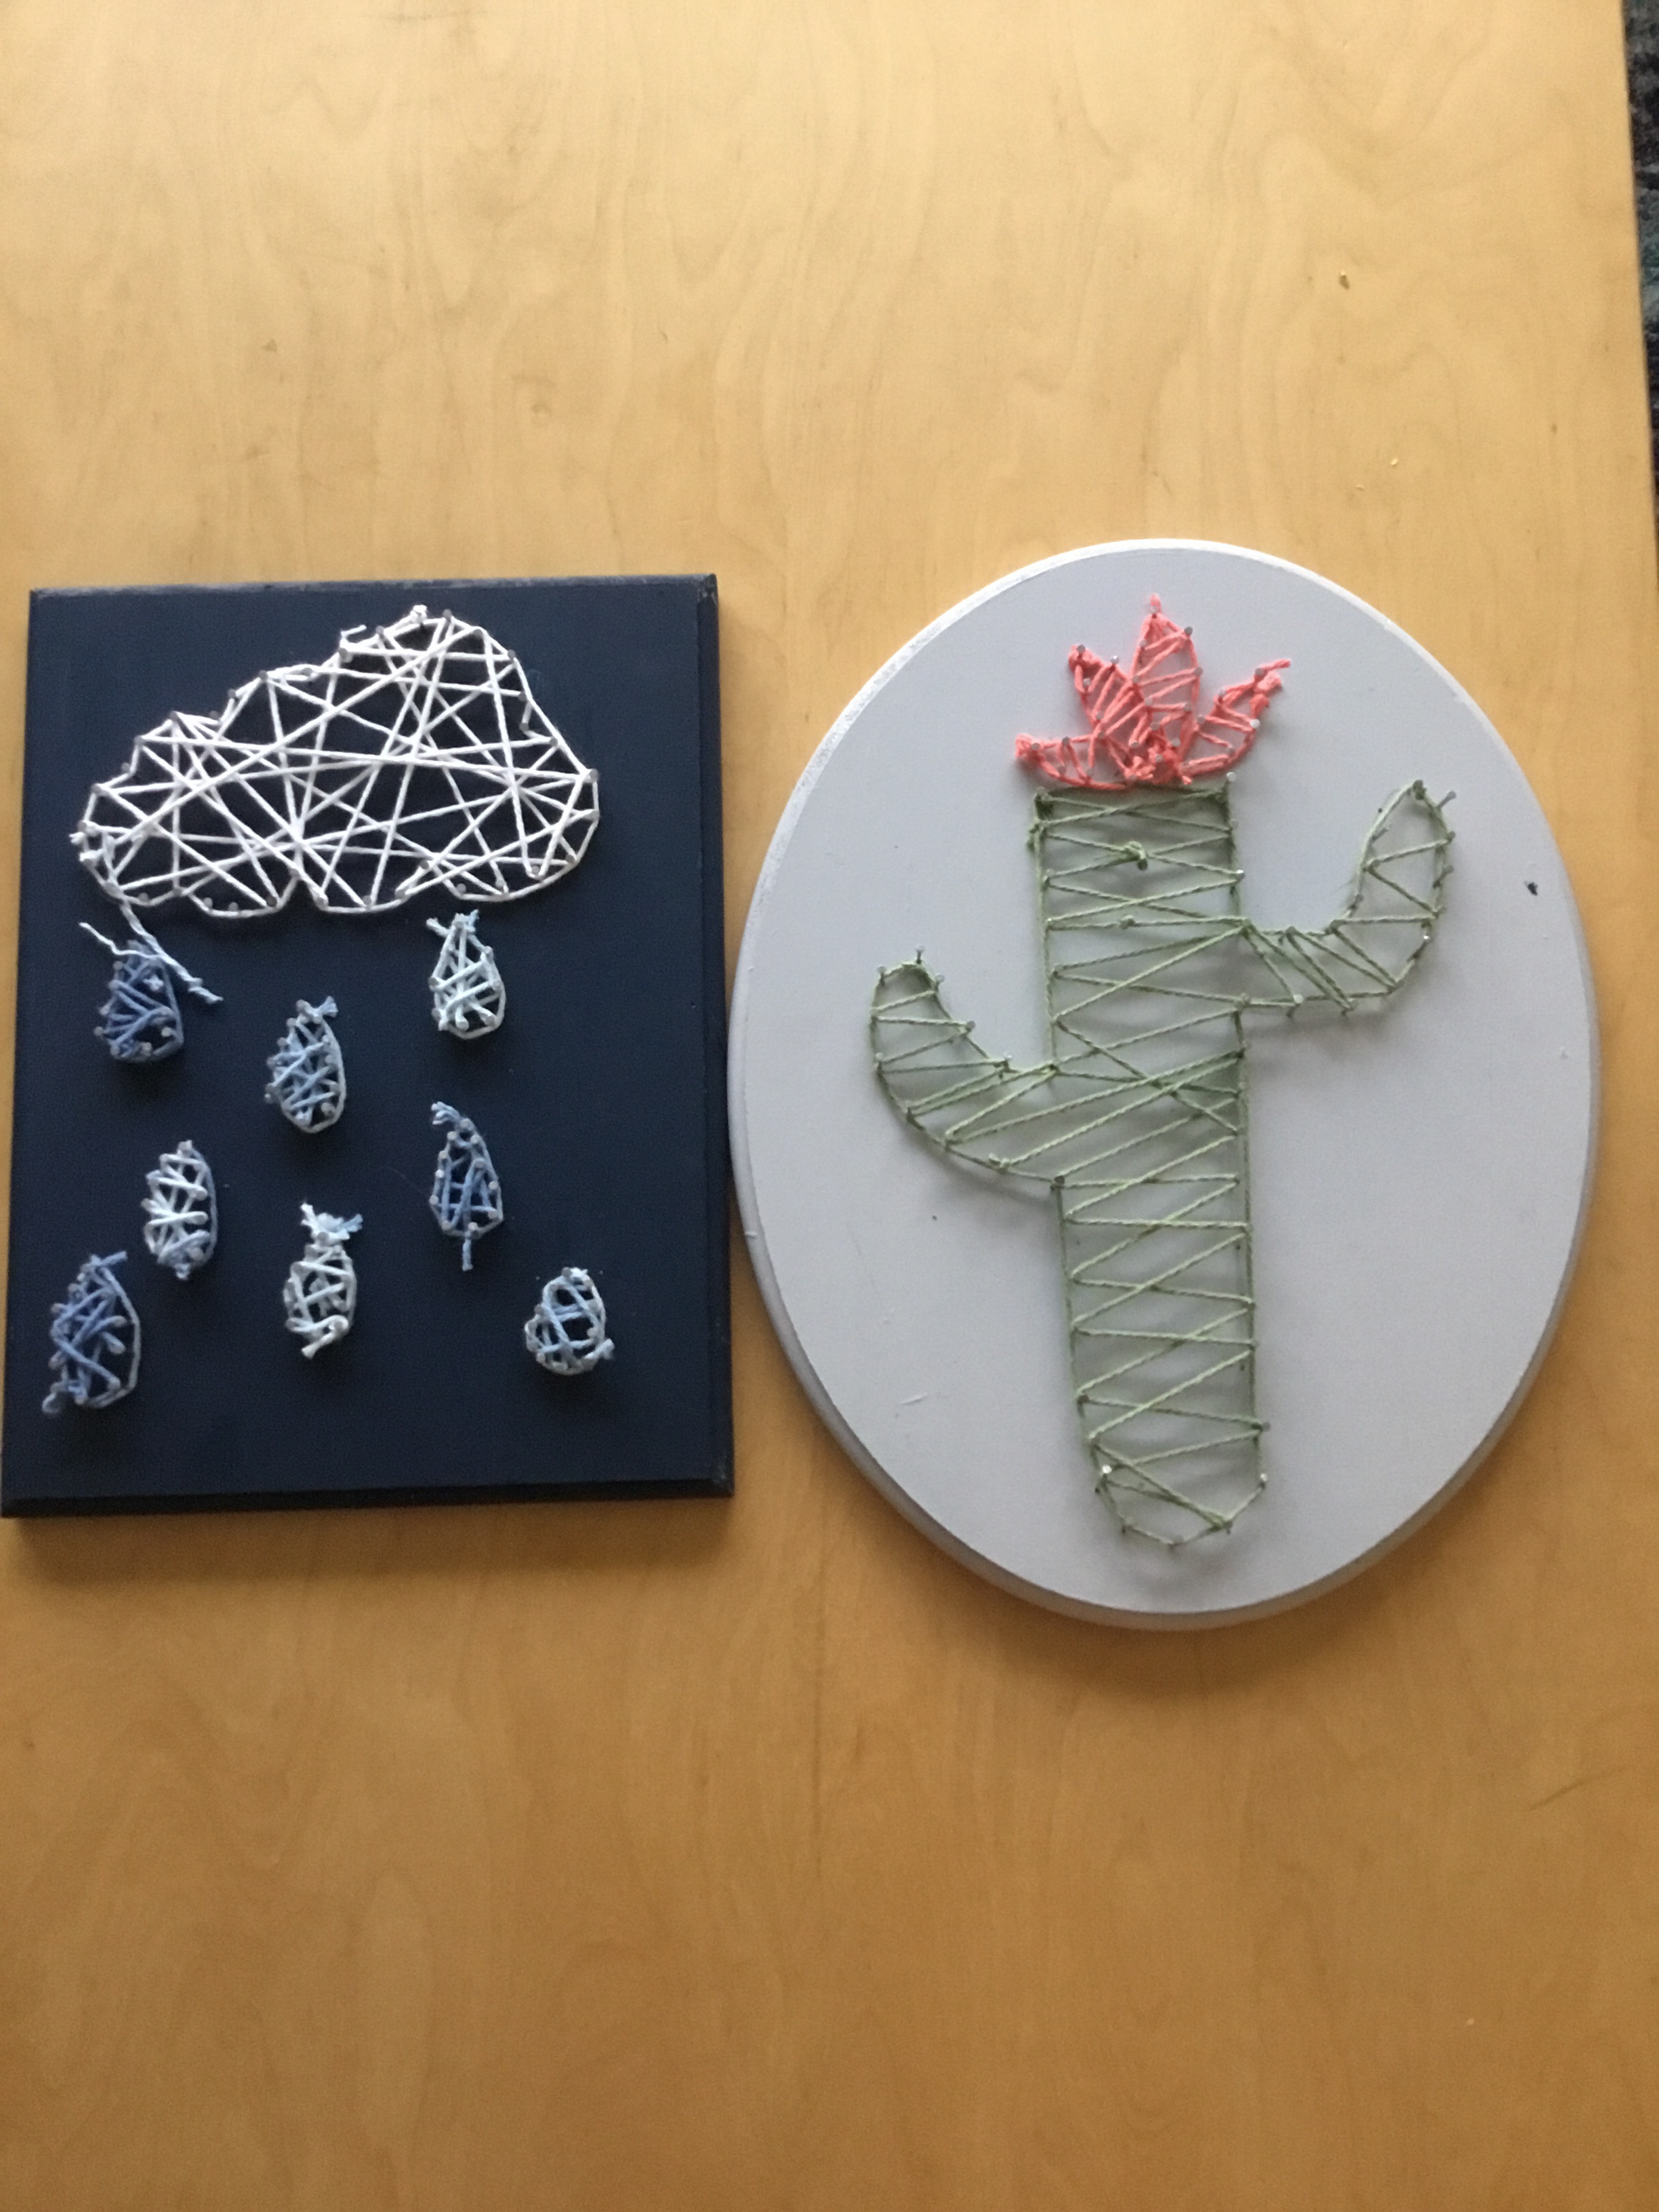
Again you are going to tie your nail to the nail where you want to start. This time you are going to fill in you design. Now you string how ever you want. You can do a zig zag or go crazy. After you do that, your done!
You’re Done!
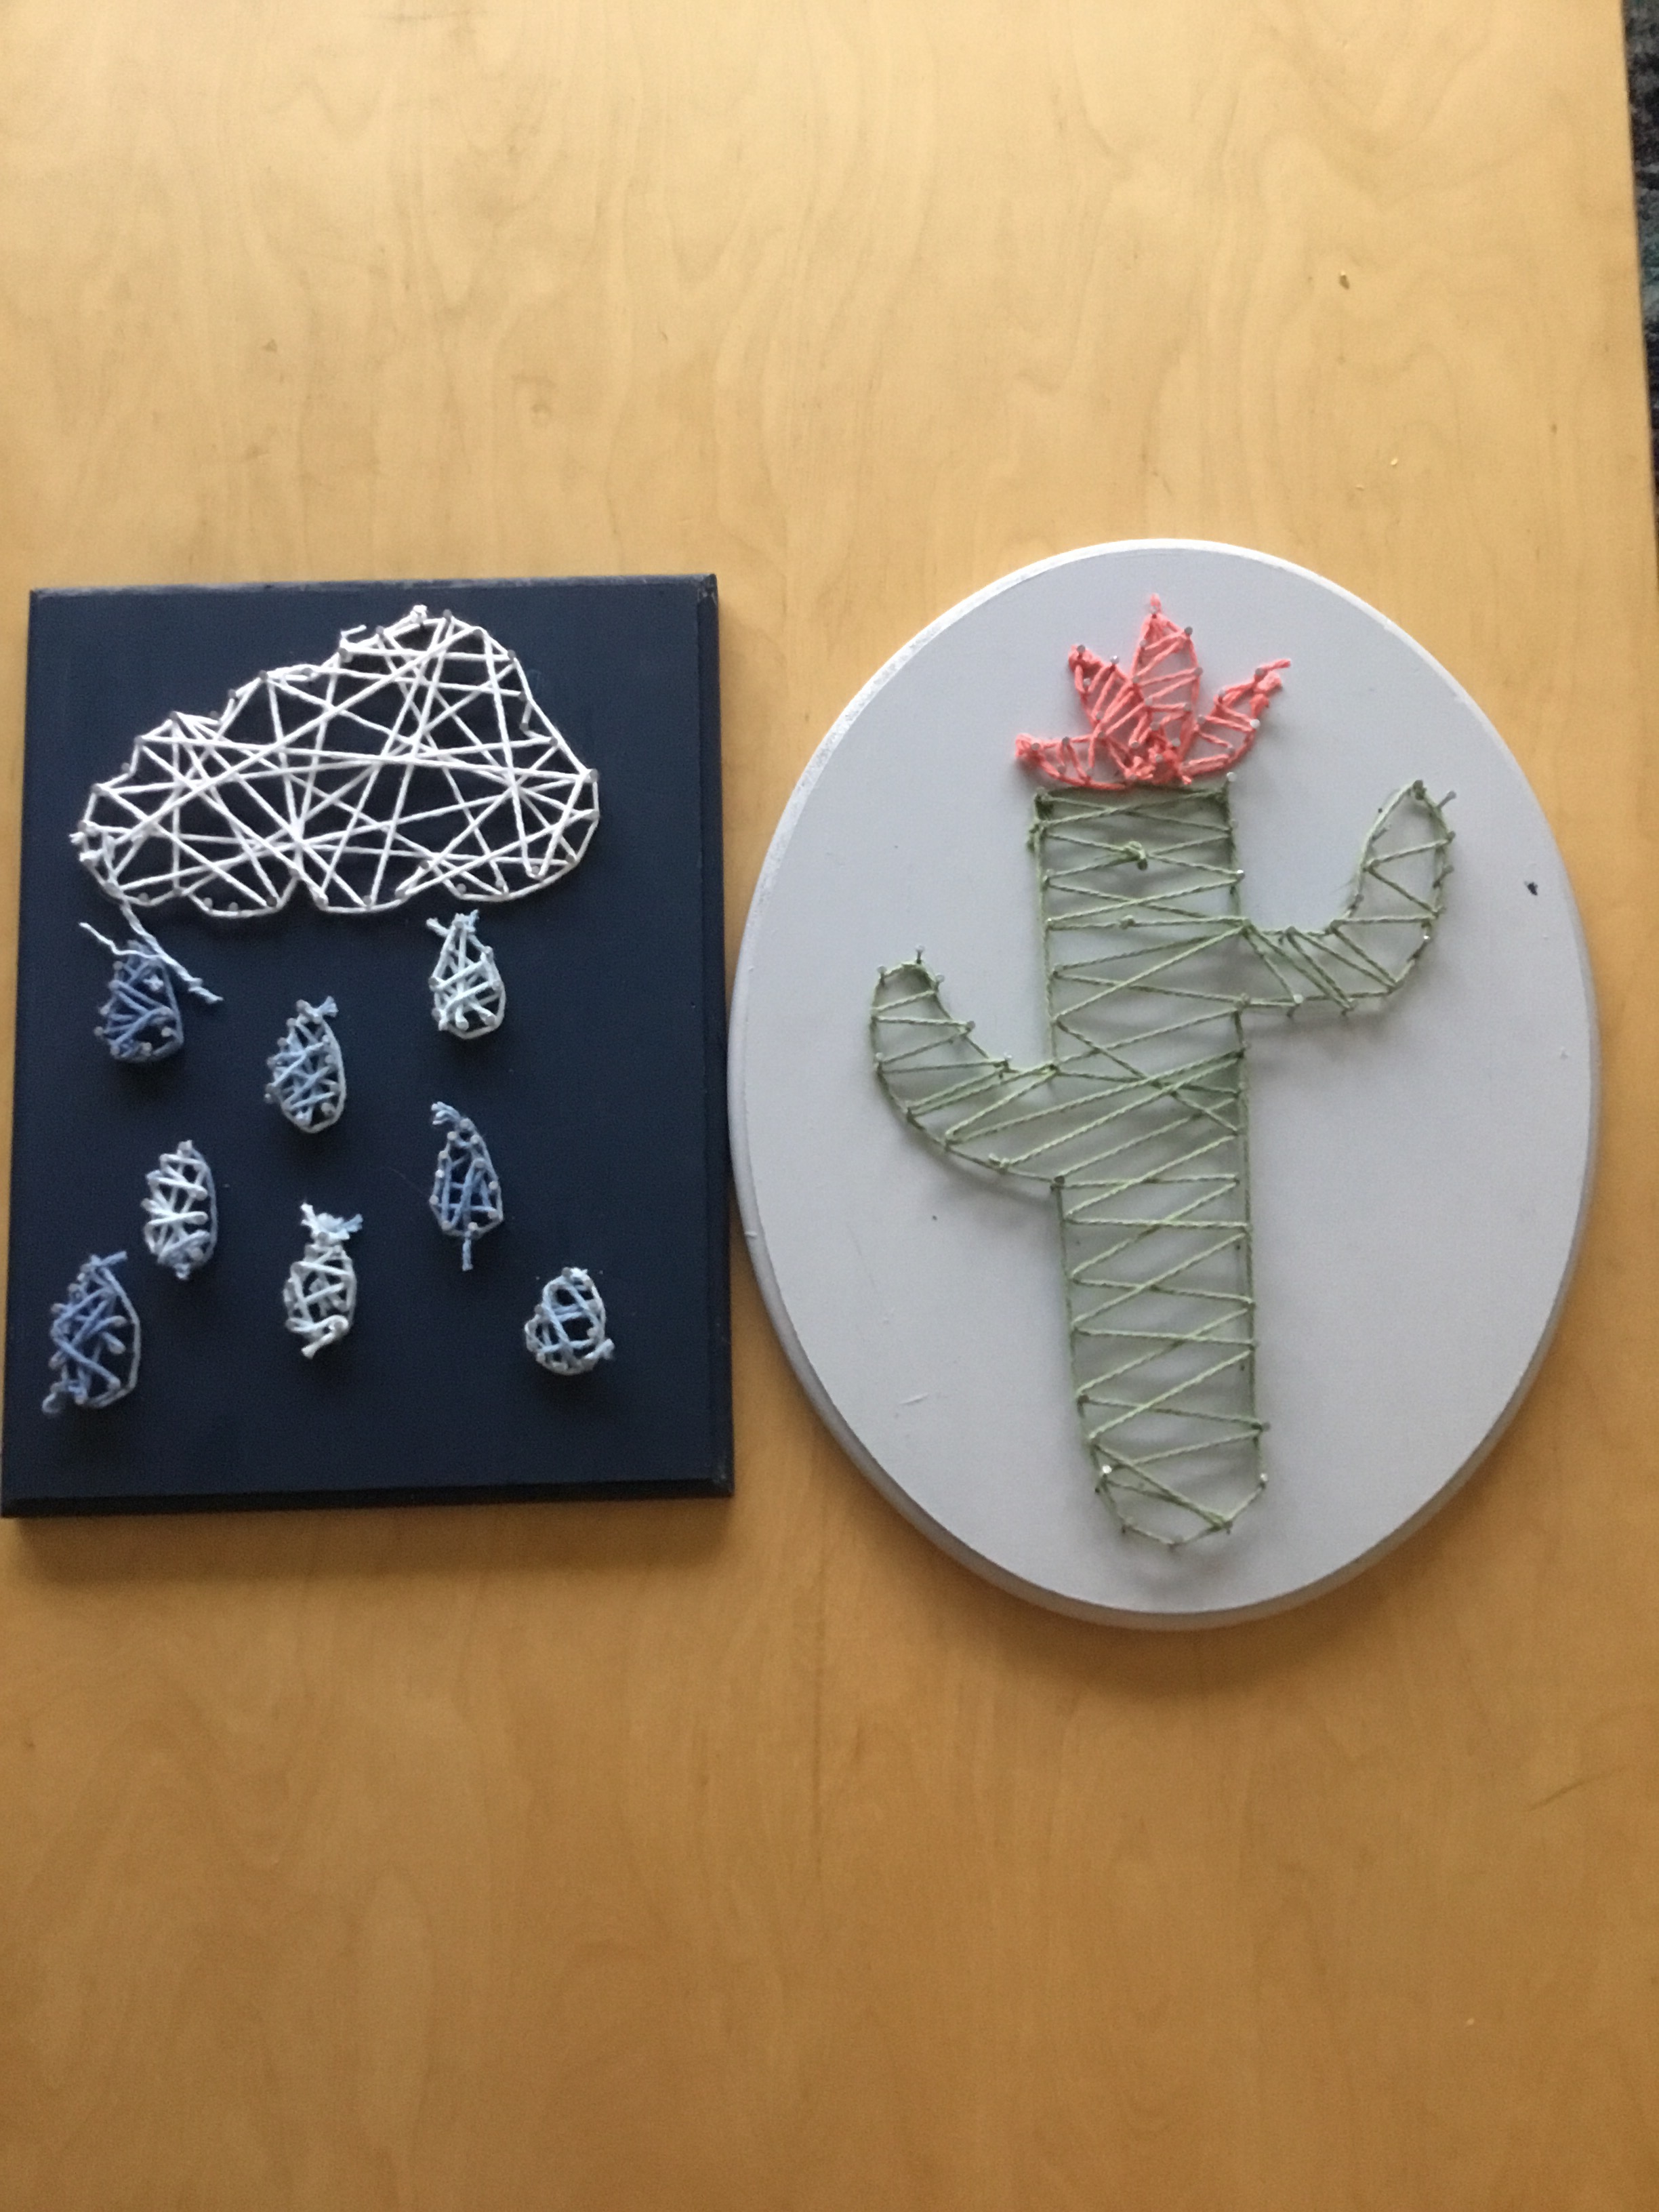
Now that you have completed your artwork, you can do whatever you want with it! You can give it to someone or hang it up! You could alway keep it to. There’s always that option.