Stream Video to an IPad/iPhone for Free
59501 Views, 26 Favorites, 0 Comments
Stream Video to an IPad/iPhone for Free
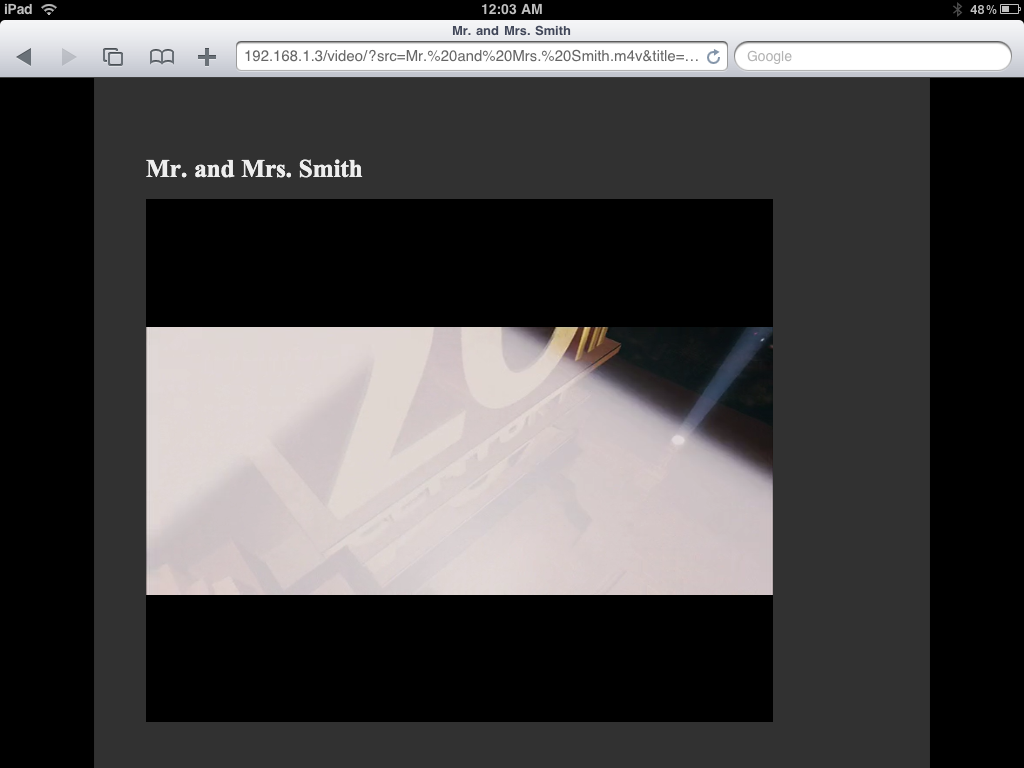
Apple’s iPad is a wonderful device for watching video, but the limited space on the cheaper 16GB device can limit your selection. There are solutions, such as Netflix’s great app, but that requires a subscription. There are commercial apps that can stream video from your computer to the iPad, but why spend money when you can do the same thing for free with an old computer (Windows, Mac, Linux) and a local network.
This instructable takes advantage of HTML5 video, witch allows you to stream H.264 video to your apple product. I will be using an iPad, but this should work for any device that supports H.264 video in HTML5, even the Chrome browser.
Anyone with some basic computer knowledge and basic networking knowledge should be able to follow these instructions. Some HTML/PHP knowledge can be useful for customizing the web UI, but none is needed.
Parts
Computer
H.264 video (not DRM iTunes videos)
Wi-Fi network
Apache Server (part of Xampp)
PHP (optional)(part of Xampp)
Filezilla server (optional)(part of Xampp)
I set up the server software on an old PIII computer, but this will work on any computer. I used PHP to create a better user interface, and Filezilla to remotely add videos to the server, which is running next to my router with no monitor.
You can choose to run Apache and PHP on your main computer. You will need to leave your computer on to stream videos, though. I had an old computer, so I chose to use it. It is an old Pentium III 500mhz with 128MB of ram running windows XP. I find that I am bandwidth bound and not processor bound. The external drive I’m using to store videos on is connected via USB 1.1, so that plays a big part of it, yet I am able to stream standard def video fine.
Setup Xampp
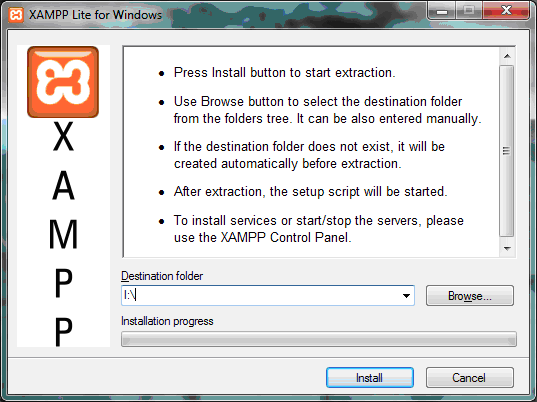
I used windows XP as my server, but any operating system will work. First you need to download and install Apache and PHP. I used xampp (xampp.org), as it simplified setup. They have versions for Windows, OS X, and Linux.
Download the correct version off of the website (xampp.org), and start the installation process. If you will be using an external drive to store the videos, be sure to install xampp onto the external drive. I’m installing mine to I:\. The extractor automatically creates a directory called xampp. On a slow drive, it can take many minutes to extract all the files.
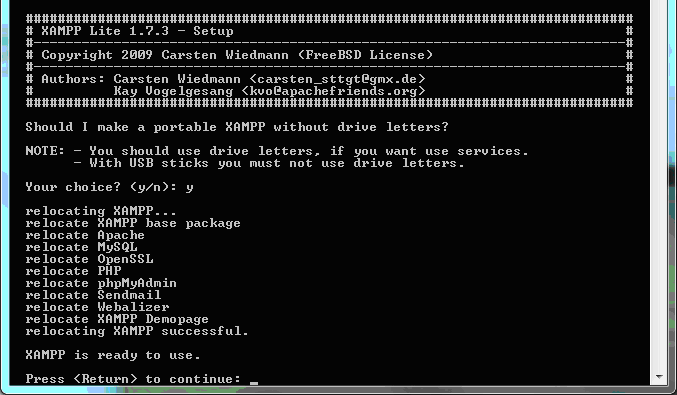
Once done, the startup script will run.
My install settings:
Should I add shortcuts? n (I’m not using a monitor, so no point)
Should I proceed? Y
Use drive Letters? Y (very important, as you want to set up apache as a service)
Next answer the questions about the time zone, then enter 1 to start the control panel, and x to exit the startup script.
Configure Xampp/FileZilla
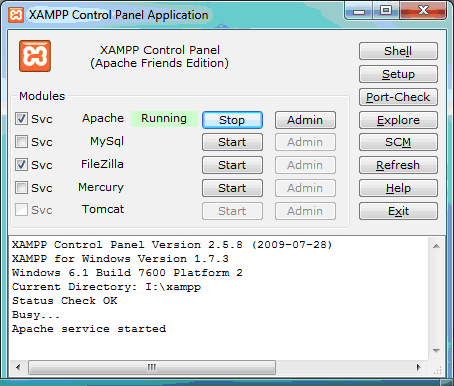
In the Control Panel, next to apache and FileZilla (optional), check the Svc checkbox. This will allow apache and FileZilla to run without logging in, which is important for a headless computer. Then Click the two start buttons next to Apache and FileZilla.
To configure FileZilla, click the Admin button. This will launch the FileZilla admin window. It may ask you for a server and password. Just use 127.0.0.1 for the server and blank for the password.
In the admin panel, click Edit -> Settings, then Admin Interface Settings. Here you have the option to change the Admin password, if you want. Click OK when your done.
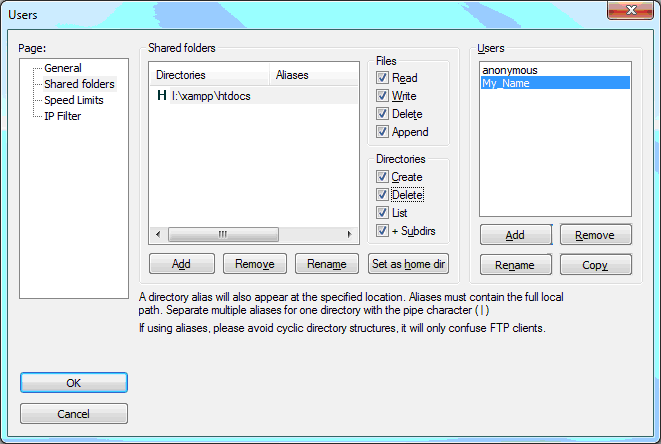
Next, you need to add users by clicking Edit-> Users. I’ve only created one user, but you can add more. Type the name of the user, add a password if wanted, and then click on Shared folders. Click Add, and then browse to your xampp\htdocs folder. Once the folder is added, be sure to select the folder permissions. I’ve allowed full access, but you can limit the rights, but you will need at least Read and Write. Click OK to save the settings.
Your ftp server should be setup. To test it, navigate to ftp://My_Name@127.0.0.1, or whatever your new user is. If it works, FileZilla is setup. You should be able to see some files like xampp and index.php.
Now, open up a command prompt, and type ipconfig to find out your local ip address. Mine happens to be 192.168.1.3. You can configure your router to fix that ip address, so you don’t have to guess later on what ip address you need to connect to.
Transferring Video to the Server
You can use any ftp client you like to send the video files to the server. I use filezilla client. Connect to the ip address you found earlier, and log in with the account you made. Place the files in a single video folder on the root of your ftp server. For faster transfers, you can just copy the files using explorer to xampp\htdocs. Once you are done, you can unplug the monitor, keyboard, and mouse if you want, as we are done with the server.
Code the UI
Next we will setup the web interface where you will browse your files and watch the videos. You can use my code, or make your own, using the basic concept. The code to display a HTML5 video is:
<video src=”video.m4v” controls=”controls” width=”600px” >Alt Text</video>
Change video.m4v to the file and change the 600px to your liking, but leave the part controls=”controls”.
I wrote a php file that reads an xml file and then displays a list of videos, which then enables you to watch the video. It’s not the best code, but it works. Create a file called index.php, and send it via FTP to the video folder, along with the files style.css and movies.xml
You can download the files here: stream.zip
There is no limit to the number of videos you have in your database.
Enjoy
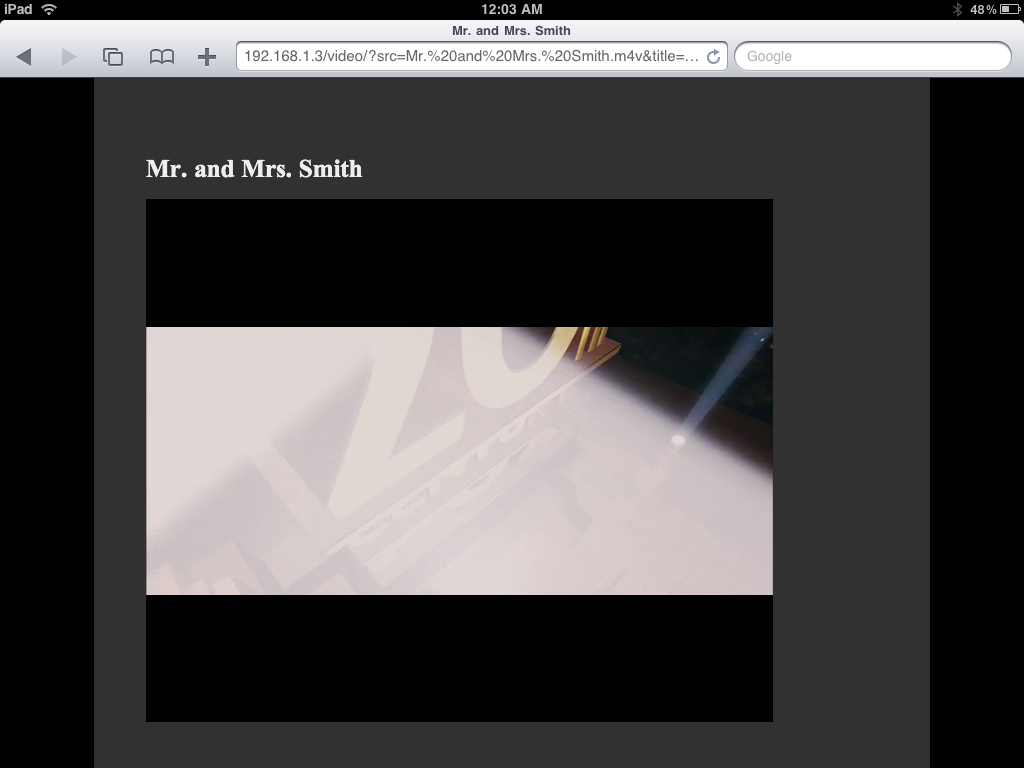
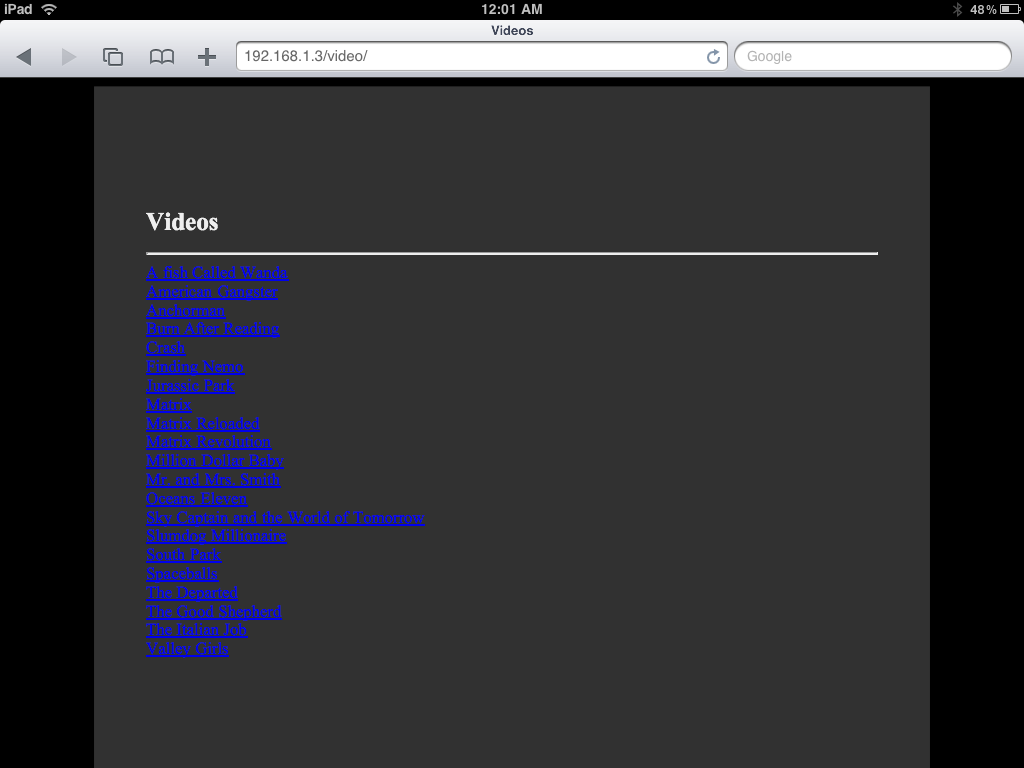
If everything worked out, you should be able to watch videos on your HTML5 compatible browser. Navigate to http://192.168.1.3/video (or whatever the ip address of your server is) and, if it works, you should see a list of all your movies. Click on a movie, and you should see a black rectangle. It may take a while, but a play icon should appear, and you should be able to watch your H.264 videos on your iPad/iPhone.