Stranded - Polymer Diorama


I have made a mini diorama to convey the emotions of confinement and isolation in a forest environment. For this particular diorama you could sculpt from many materials e.g. wood, stone and various metals. However I have chosen to use Super Sculpey polymer clay to create a desired form and pattern. Do have fun with this project!
Supplies
(Materials tools and equipment required)
- Super Sculpey (polymer clay)
- Sculpey Bake and Bond
- Super glue
- Sculpting tools
- Scalpel
- Pasta maker (I used a wooden dowel)
- Tooth pick
- Cutting mat
- Wire (florist wire)
- Glow in dark paint (optional)
- Oven and oven gloves
- A pen and paper
Sculpey clay: https://www.amazon.co.uk/dp/B001C4RTP2/ref=cm_sw_r_apa_i_6OmOEbJ3WJNWY
Sculpey glue: https://www.amazon.co.uk/dp/B0047VHRLS/ref=cm_sw_r_apa_i_FSmOEbEG4WF7N
Plan
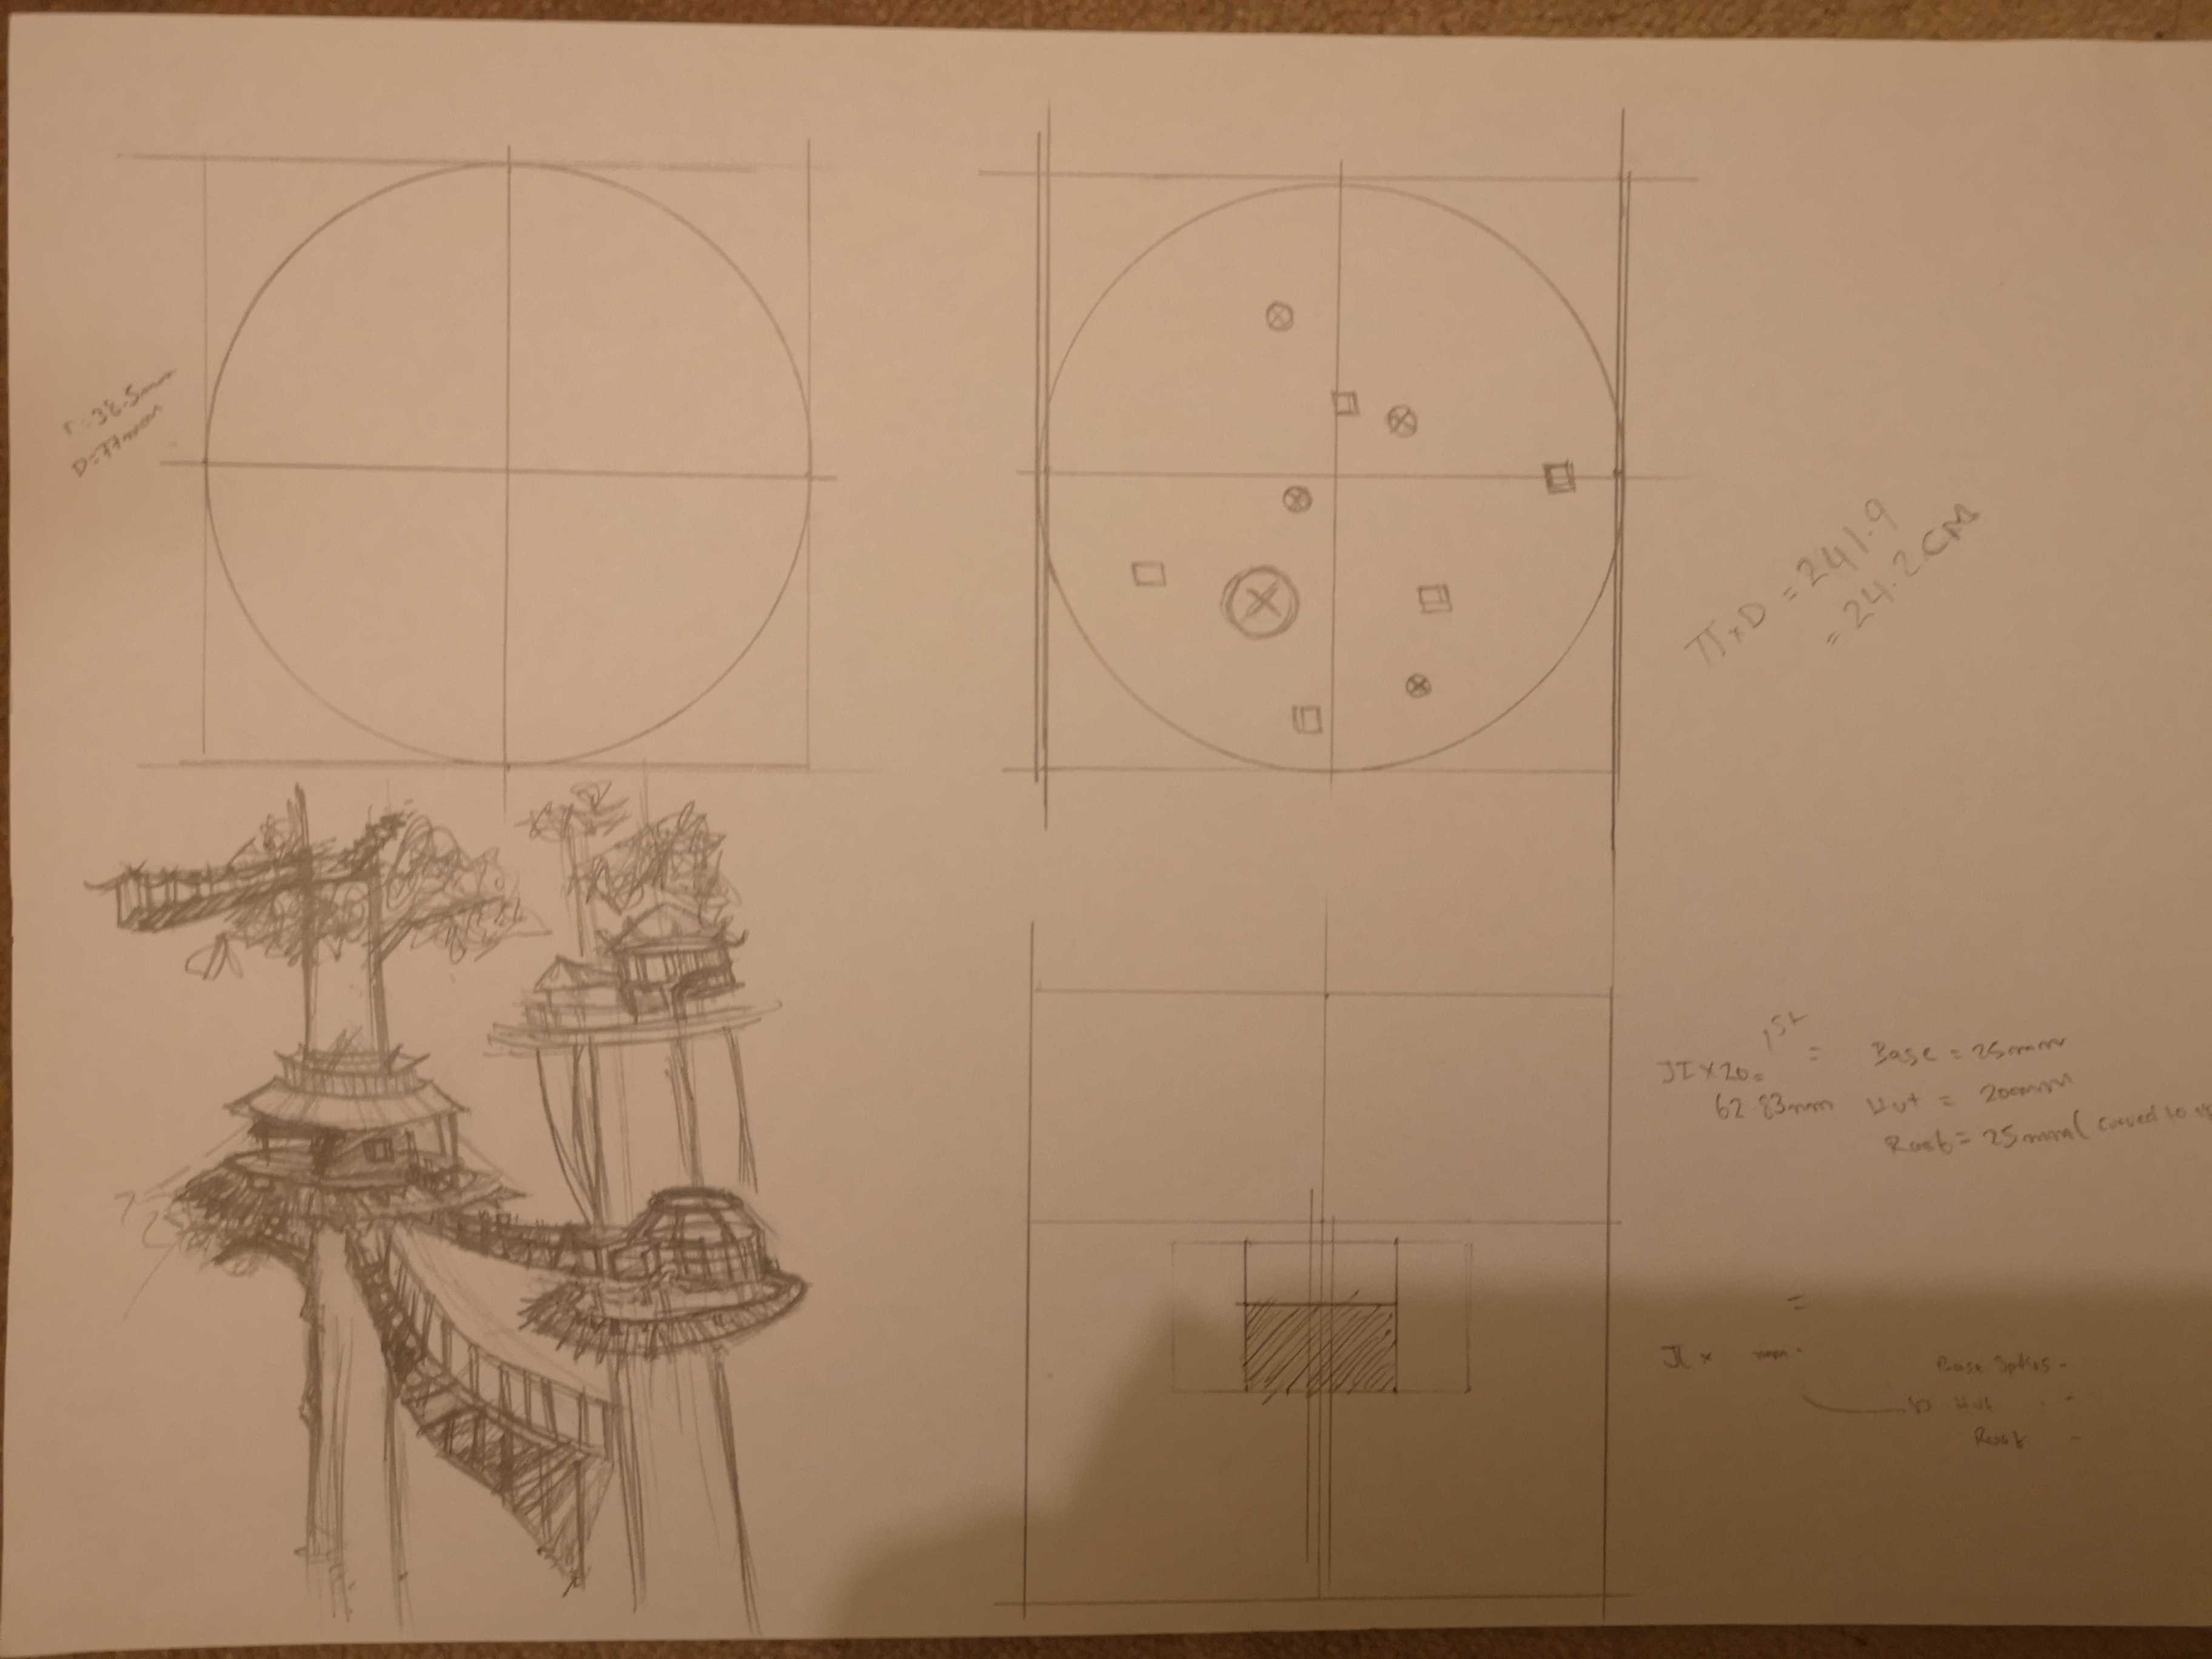


To begin It’s a good idea to have a reference of what you are making, I began by sketching out how big I want the scale to be. Within my volume I plan out what features I would like to include in my diorama (e.g. trees, bushes, rocks, miniature sculpture…). It would be useful to have a reference in front of you.
Base
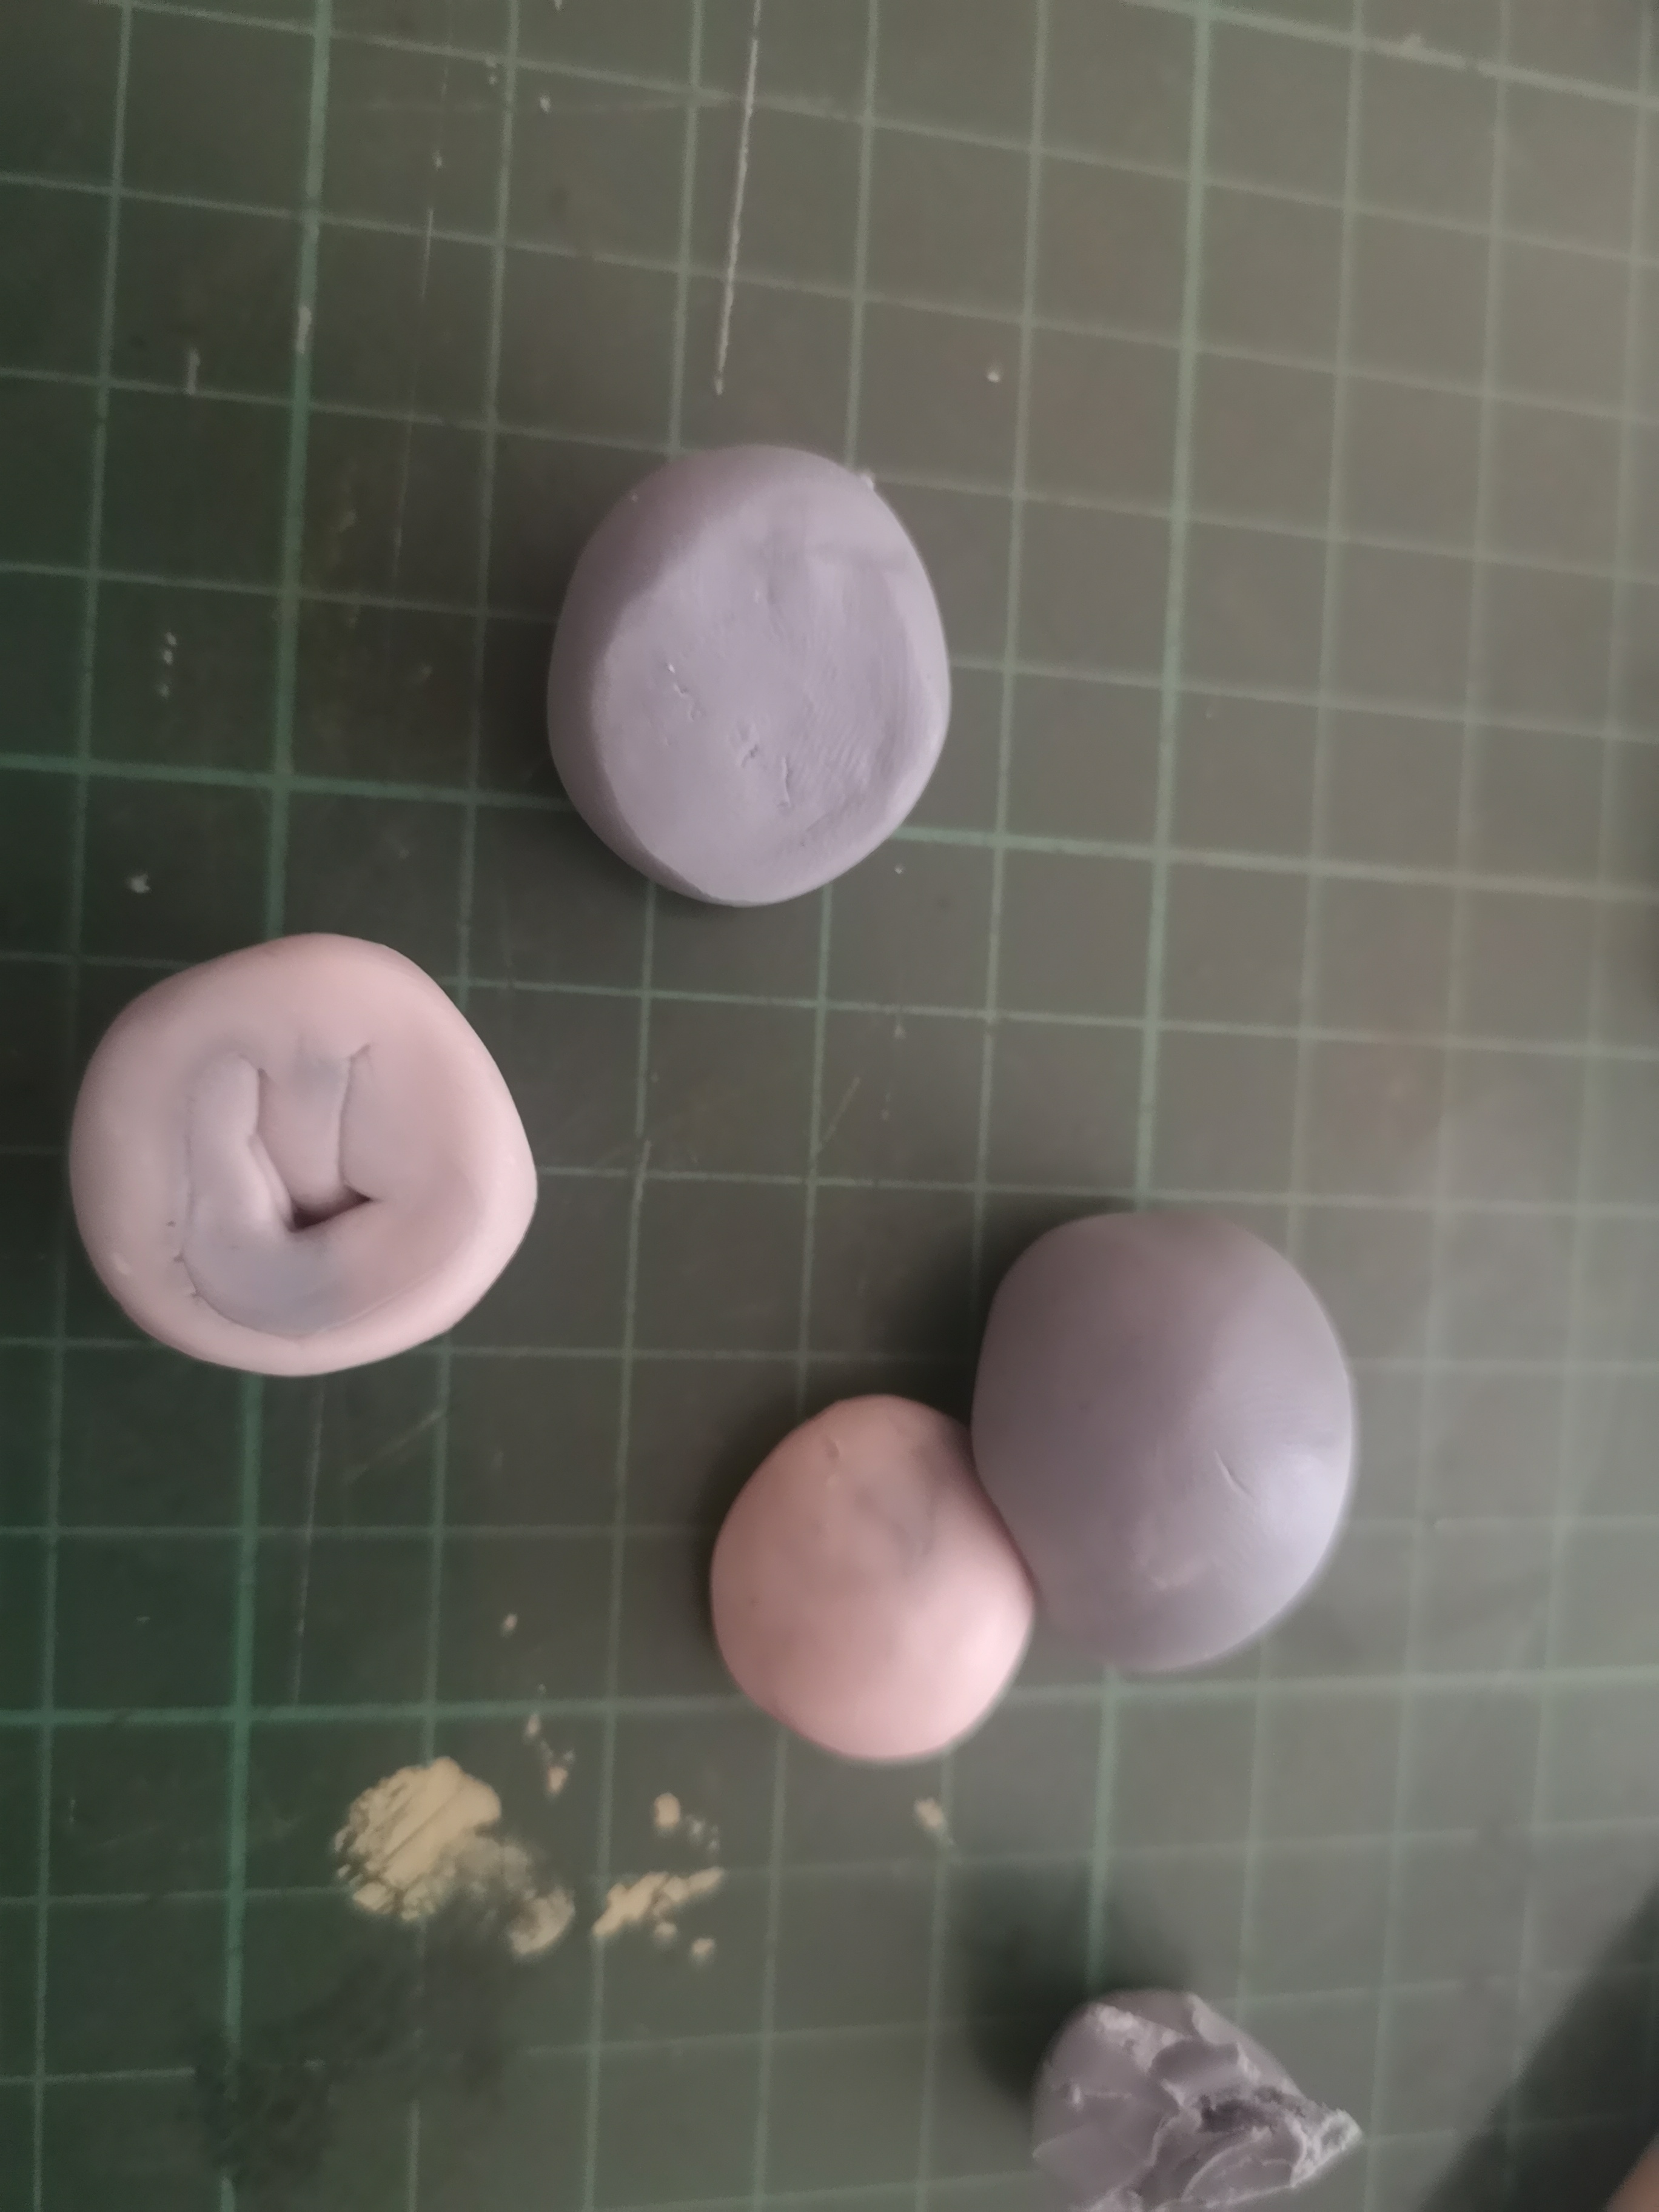


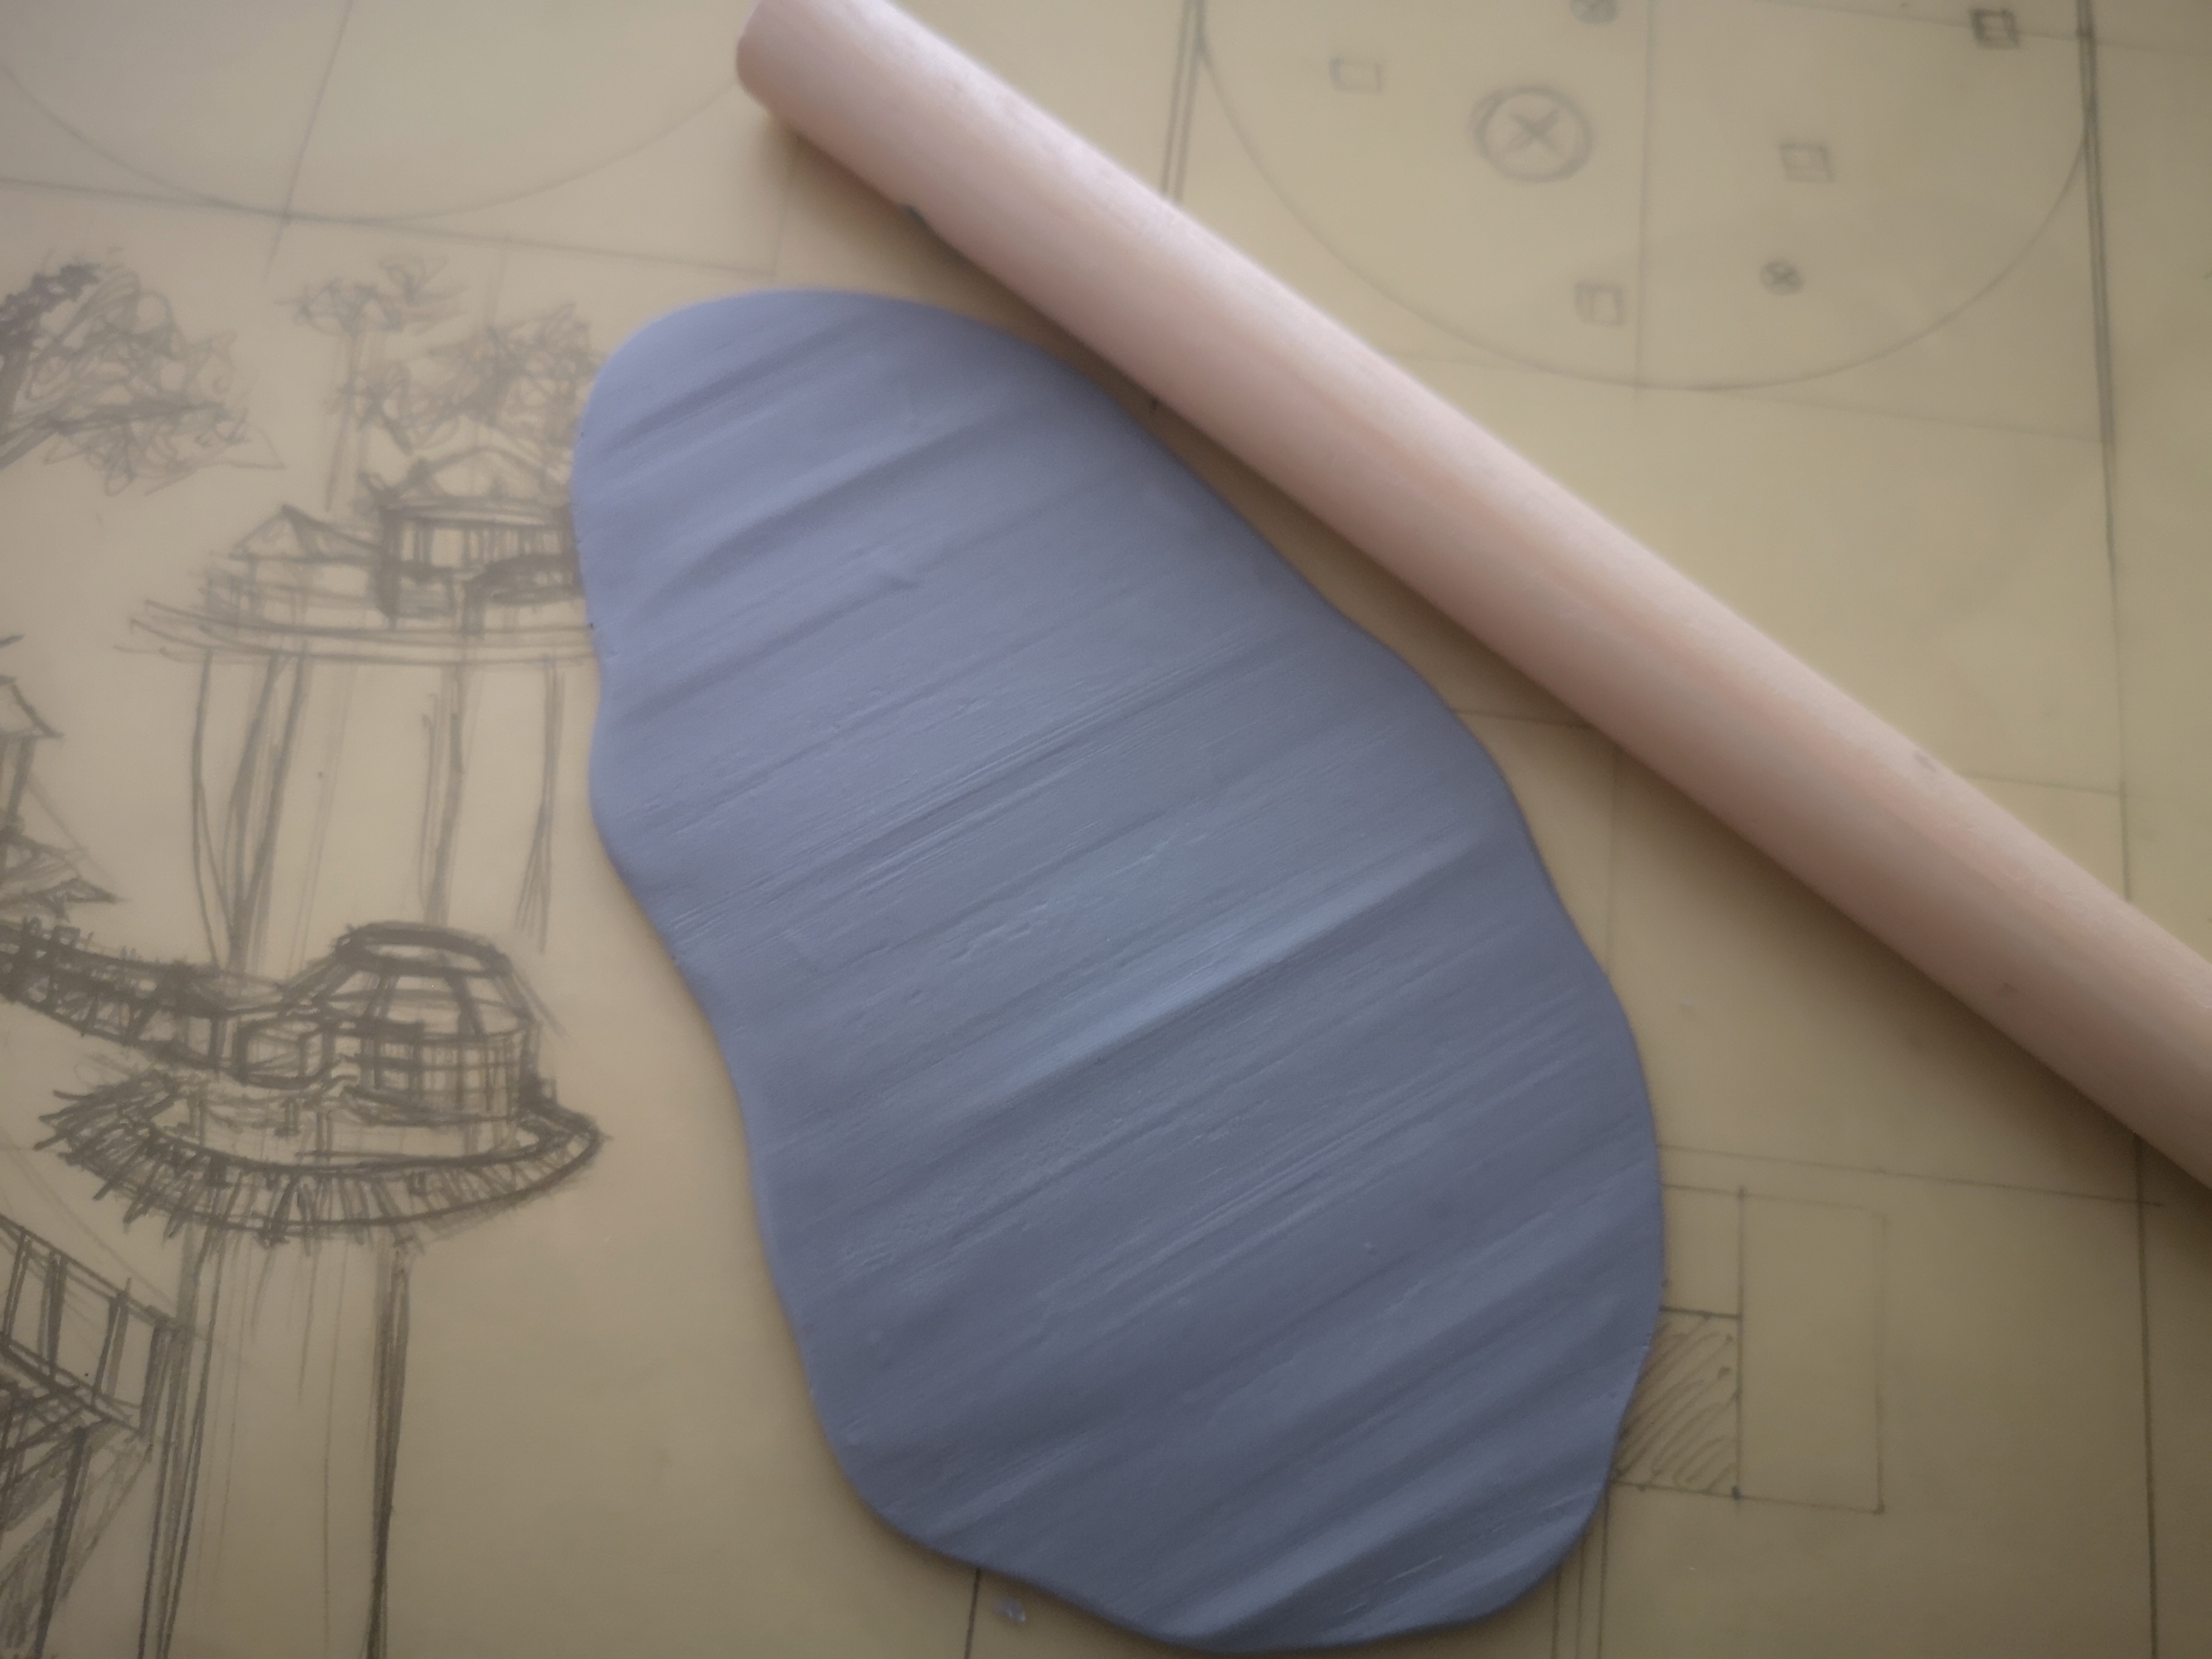
Keep it simple! Condition the polymer clay with either a pasta maker/ rolling pin, I used a wooden dowel because it has a nice grainy texture. To make the base I used a jar (60mm diameter) to make a circle with a thickness of 10mm. Keep the spare trimmings so you can make less waste.
Making Trees


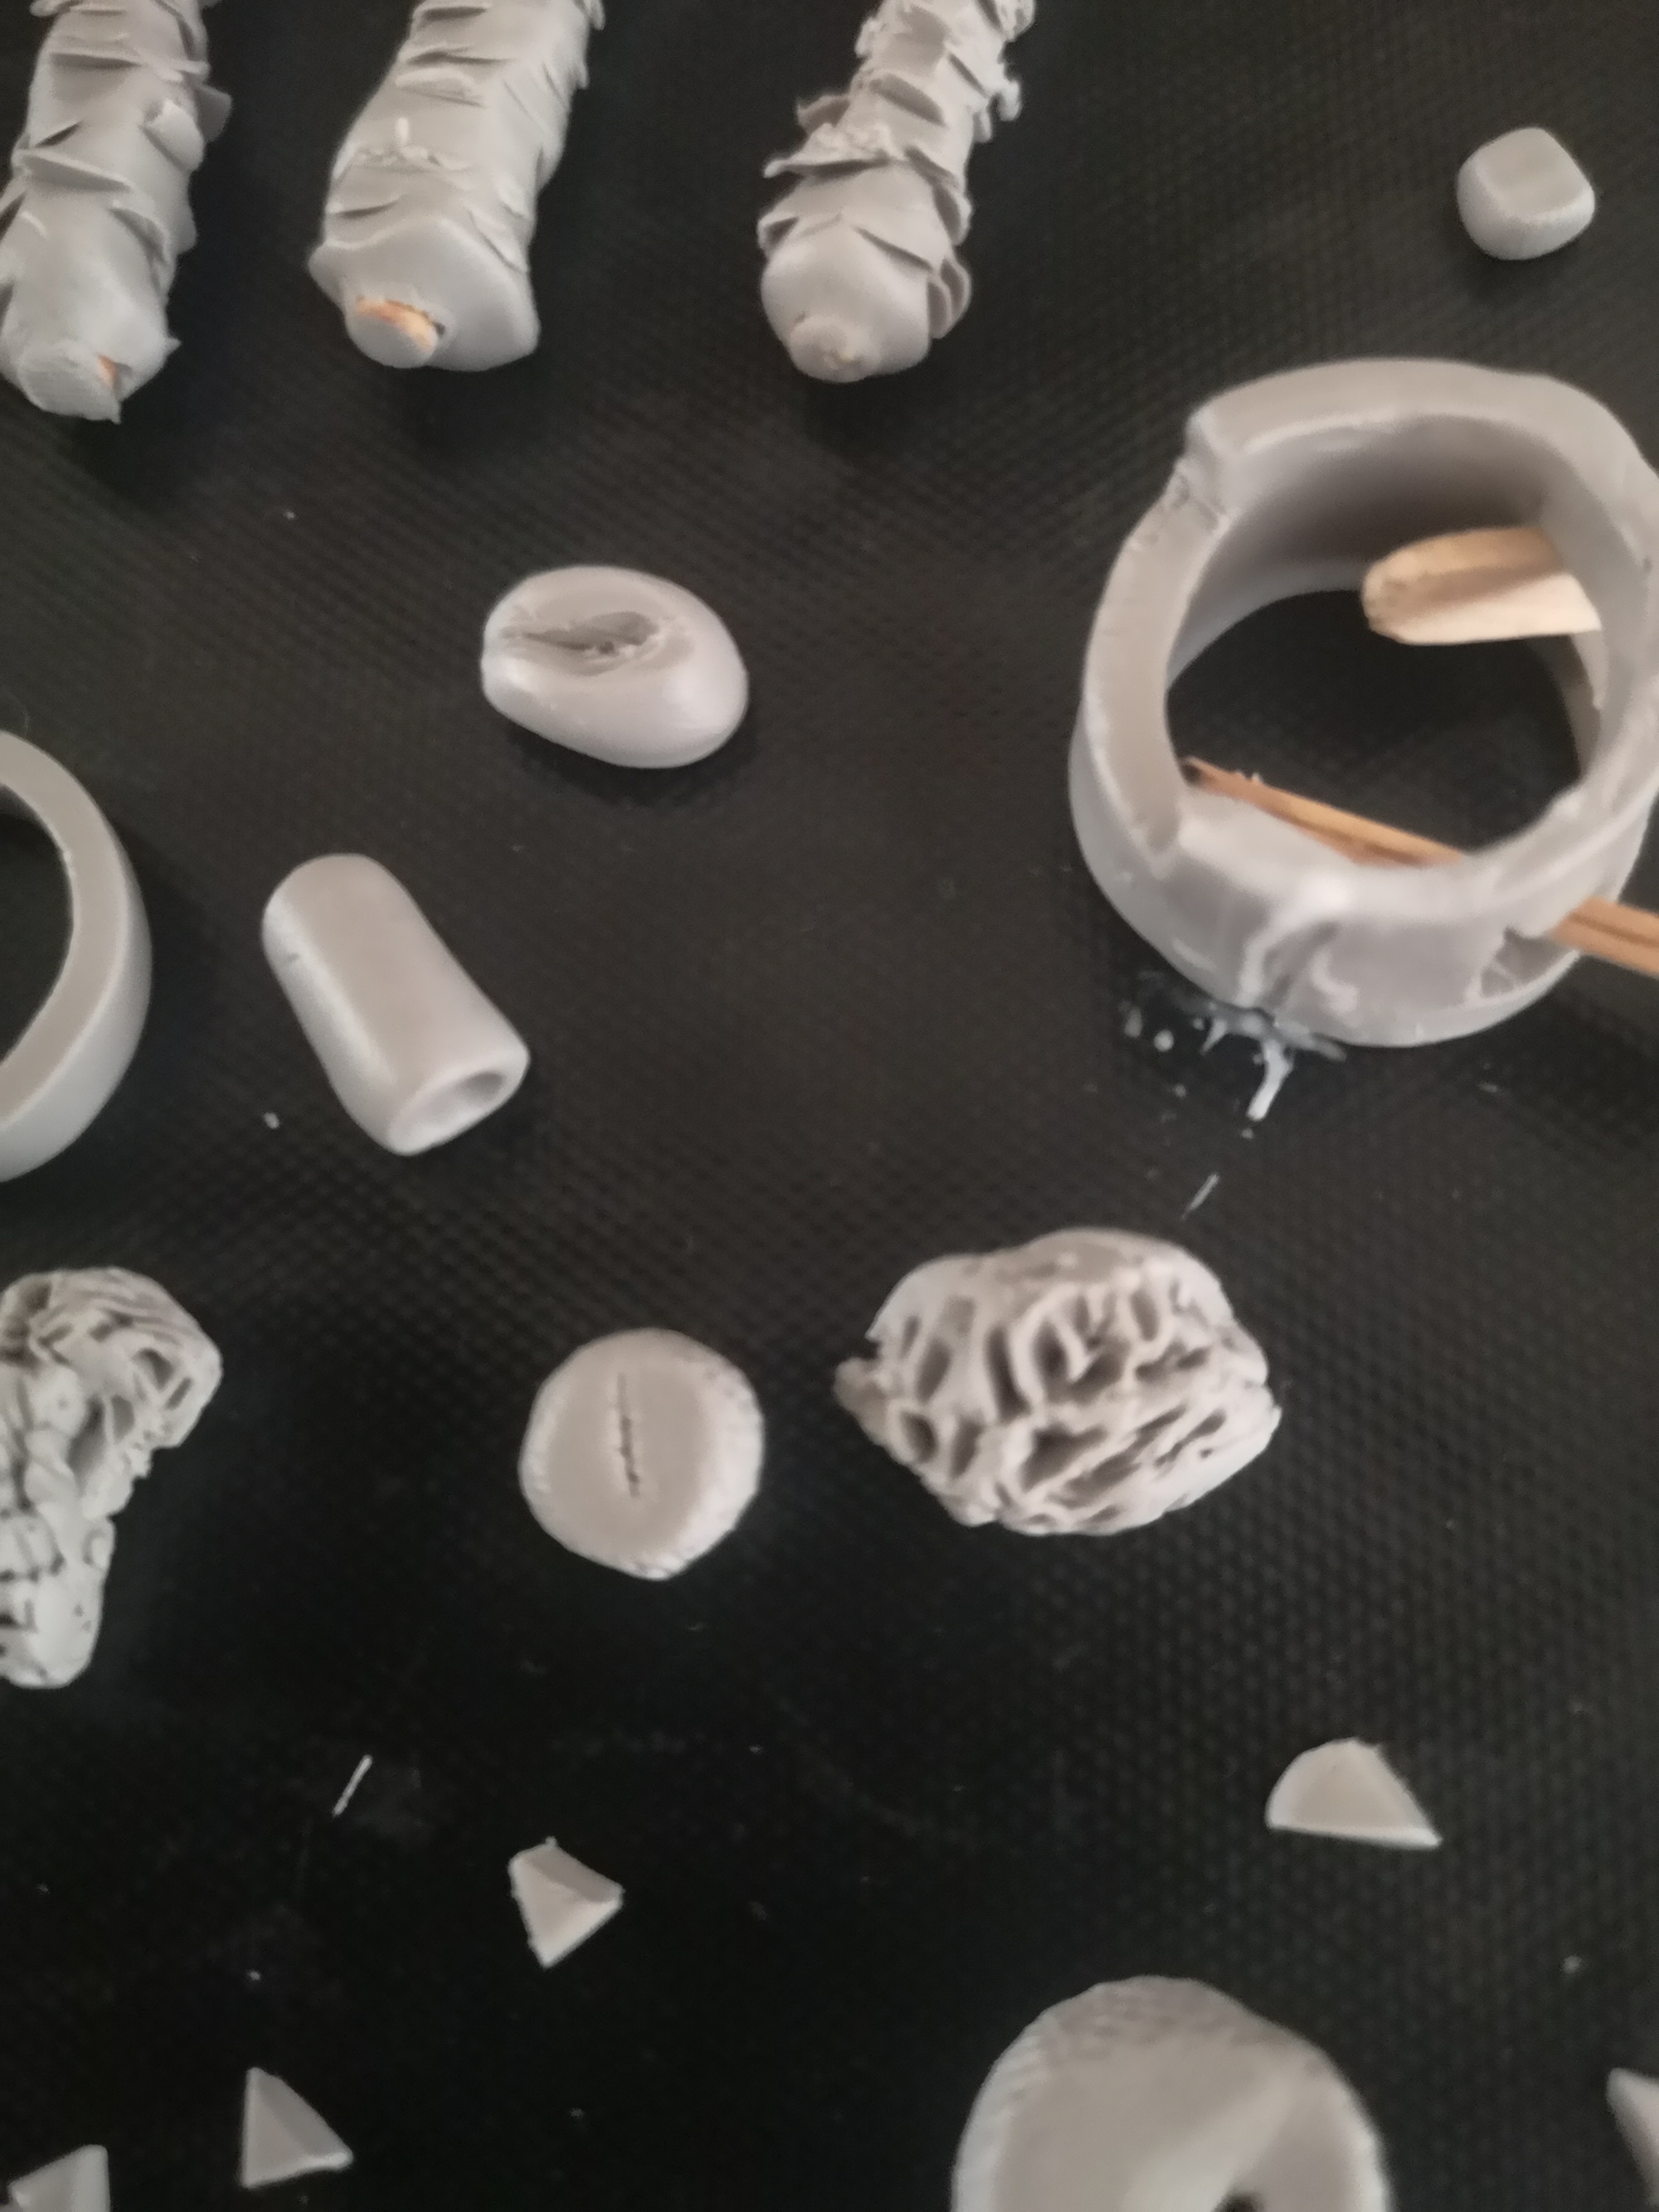
I used a 3mm dowel cut to 70mm in height *4, make branches using toothpicks to give support and hold the branches in place I used florist wire 0.5mm. using the spare trimmings I rolled out a strip of clay which I wrapped around the dowel and using bake and bond I kept the two surfaces intact.
Texture Trees

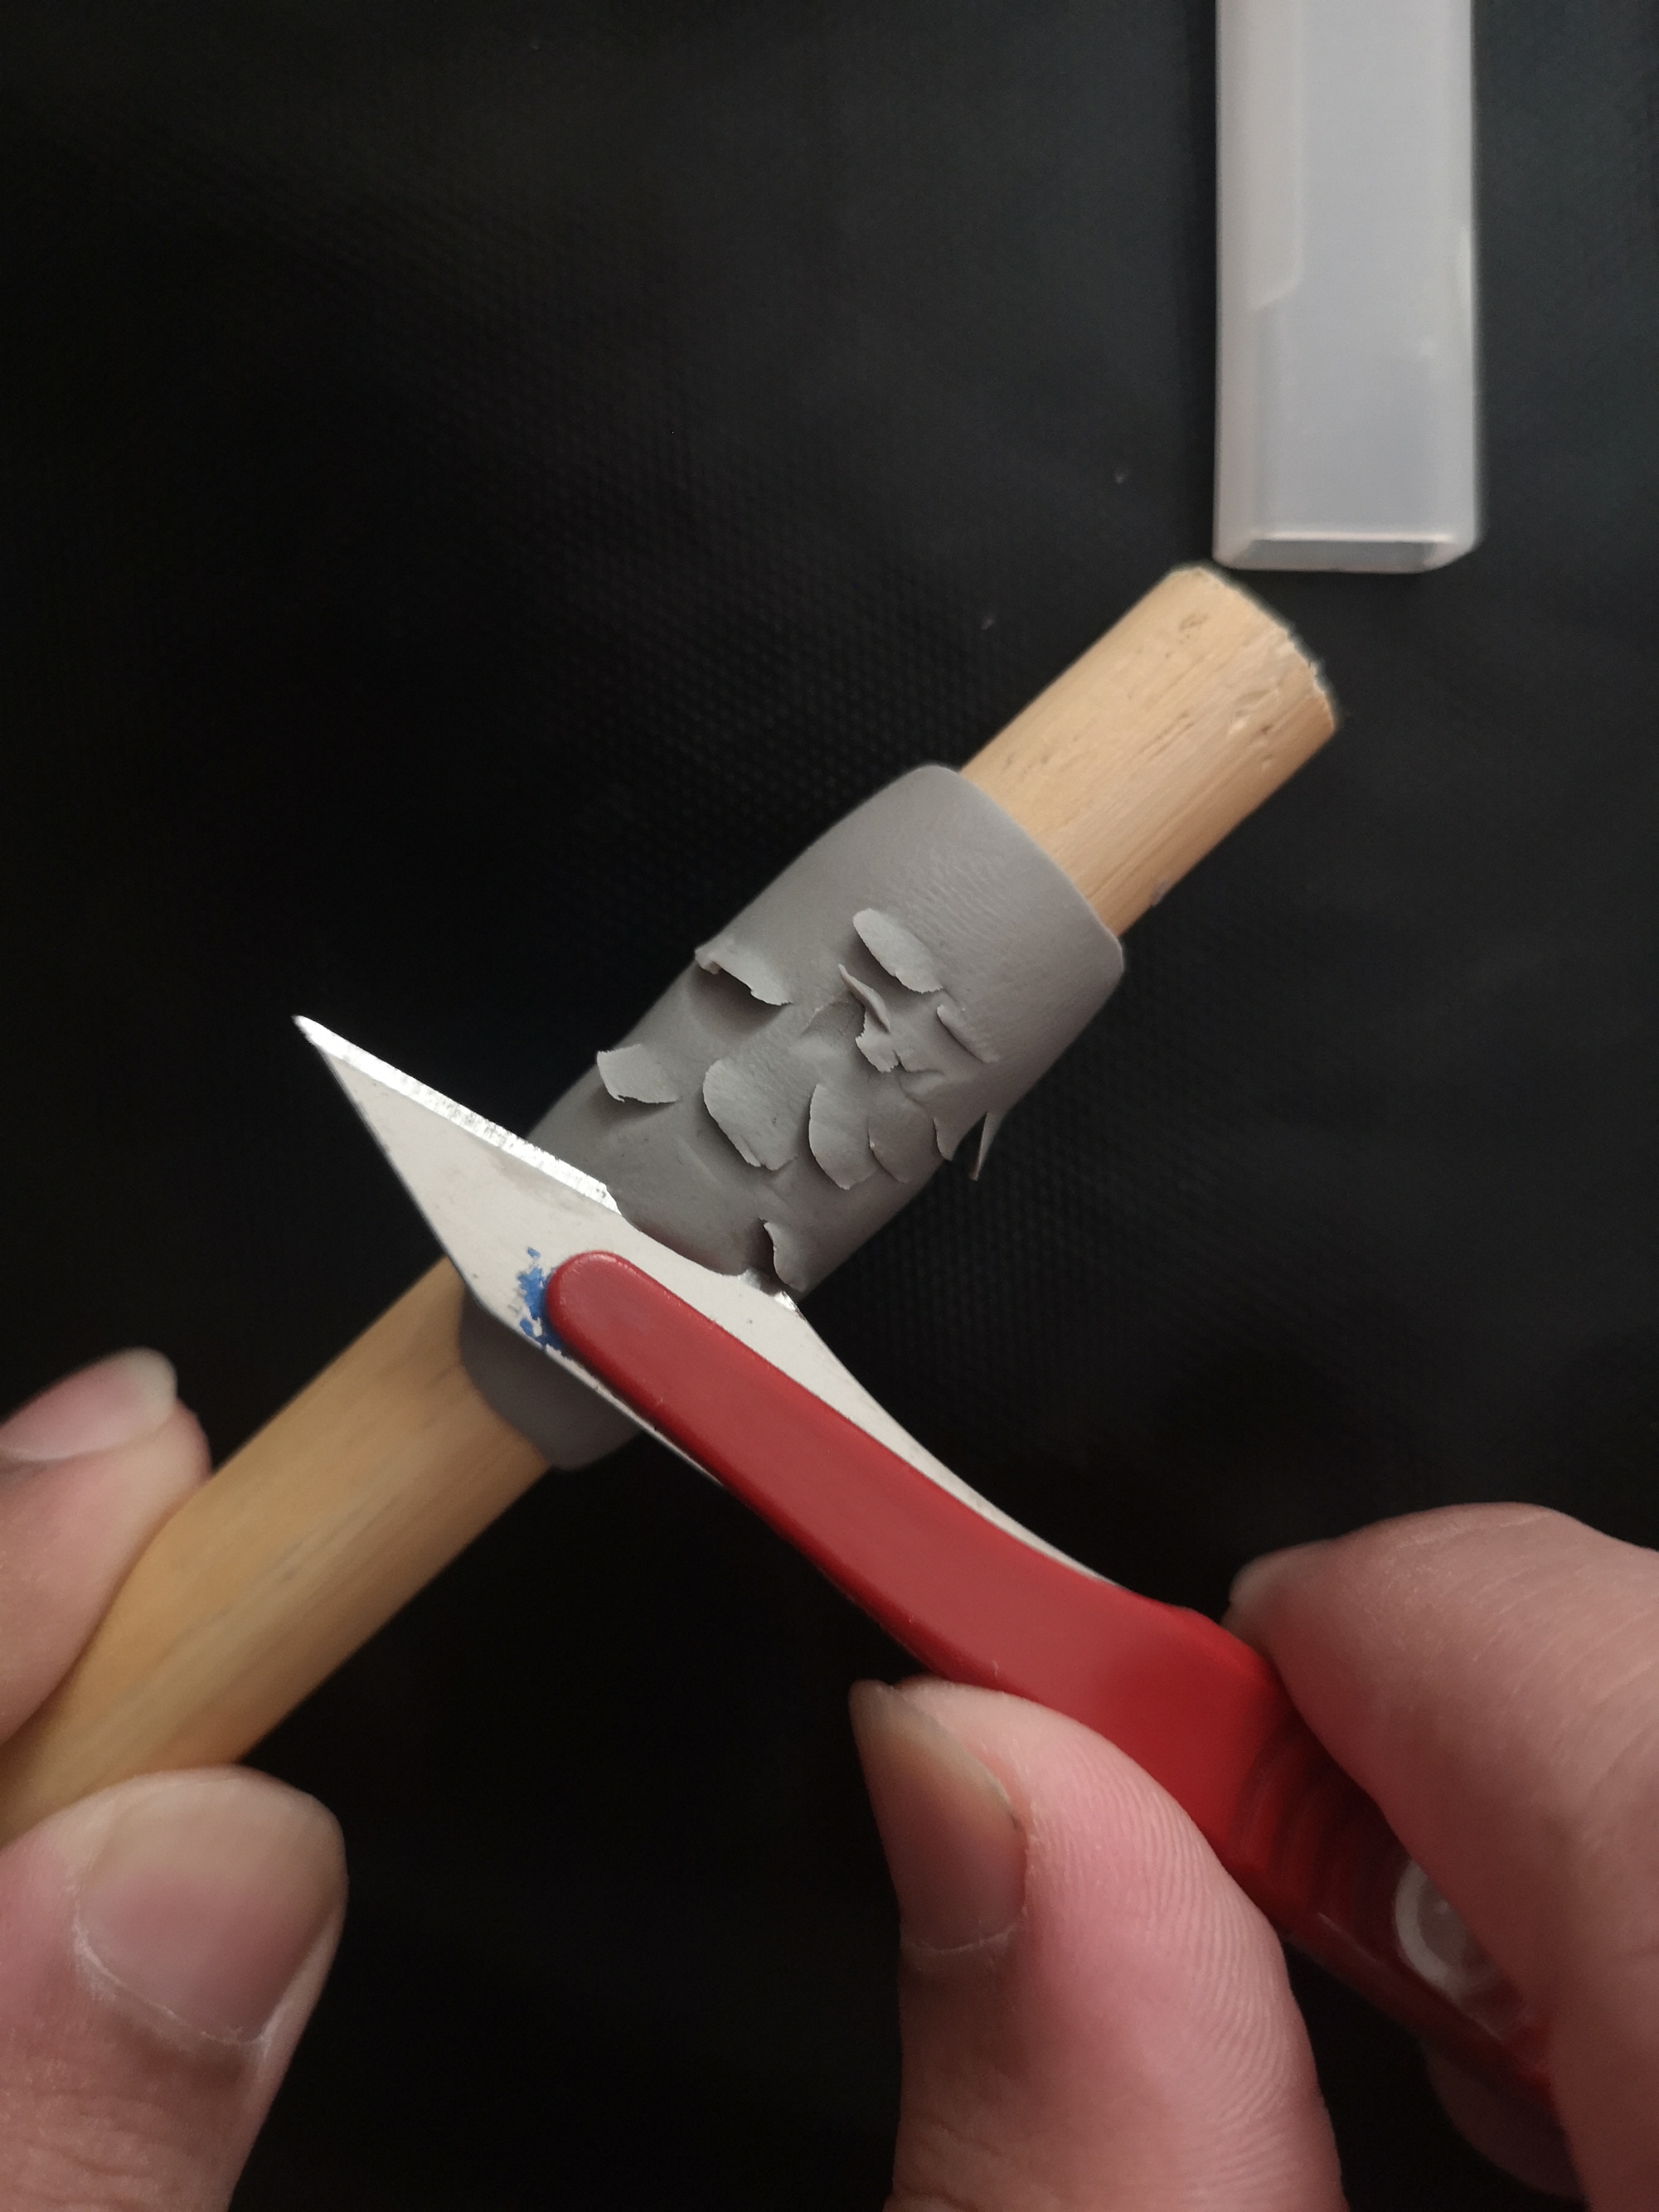
Depends for what sort of a tree your making, I was trying to achieve a birch like texture for the bark, using a scalpel etch a cut, by gently lifting the clay to create a cool texture, vary the depth, height and thickness to create a more realistic effect.
Base Surface Texture


Roll out more clay and cut out a circle with 60mm diameter (the same diameter of the jar we used in step 2), using 0.5mm florist wire and curled it into a ball shape to give grass texture. you could always experiment on spare clay with different tools to get your desired texture. I Roll out more clay and cut out a circle with 60mm diameter (the same diameter of the jar we used in step 2), using 0.5mm florist wire and curled it into a ball shape to give grass texture. you could always experiment on spare clay with different tools to get your desired texture. I used my trusty explorer tool to go over and add more definition to the detail. used my trusty explorer tool to go over and add more definition to the detail.
Baking


- Place clay onto a baking tray.
- Temp preheat to 130°C and bake for 15 minutes (1/4 inch of clay thickness).
*Safety! Oven will be too hot, use oven gloves when handling hot clay! Keep the oven fan on to ventilate the oven.
Let the clay cool down for 30 odd minutes before touching.
- Temp preheat to 130°C and bake for 15 minutes (1/4 inch of clay thickness).
*Safety! Oven will be too hot, use oven gloves when handling hot clay! Keep the oven fan on to ventilate the oven.
Let the clay cool down for 30 odd minutes before touching.
Assemble Part 1


After the clay has cooled down start by gluing the base with bake and bond, along with the textured grass terrain detail. At this stage if you plan on adding colour now would be the time to colour the base and tree.
Drilled 4 holes for trees using my arrow sculpting tool, I added the tress with some super glue (worked out just fine).
Drilled 4 holes for trees using my arrow sculpting tool, I added the tress with some super glue (worked out just fine).
Assembly Part 2 PAINT!


Now is the best time to Paint any additional details, I did not add any paint just because I liked the way it turned out. I ended up adding a little glow in the dark paint in small crevices to give a cool effect. Dab a little bit of superglue on the bird house and glue it onto the branches for support.
FIN


Nice now you have your very own diorama, you could always incorporate different materials such as resin to make sea. I like the way it turned out, if you have any ideas then do leave a comment and if you could vote for me that be awesome.