Stormy Marble Repair With Gold!
by HephJanish01 in Workshop > Repair
3795 Views, 9 Favorites, 0 Comments
Stormy Marble Repair With Gold!
.png)
Kintsugi or Kintsukuroi is the Japanese art of repairing broken things, often broken pottery, with gold. The Japanese method is a metaphor for us humans to embrace our imperfections and flaws. Only when we embrace them, will they shine as good as gold!
Recently, a marble slab was accidentally dropped and broke into chunks. So, I thought to incorporate Kintsugi into fixing the slab. However, I did put a spin to the method so read on to find out what I did.
Gathering Your Materials & Tools
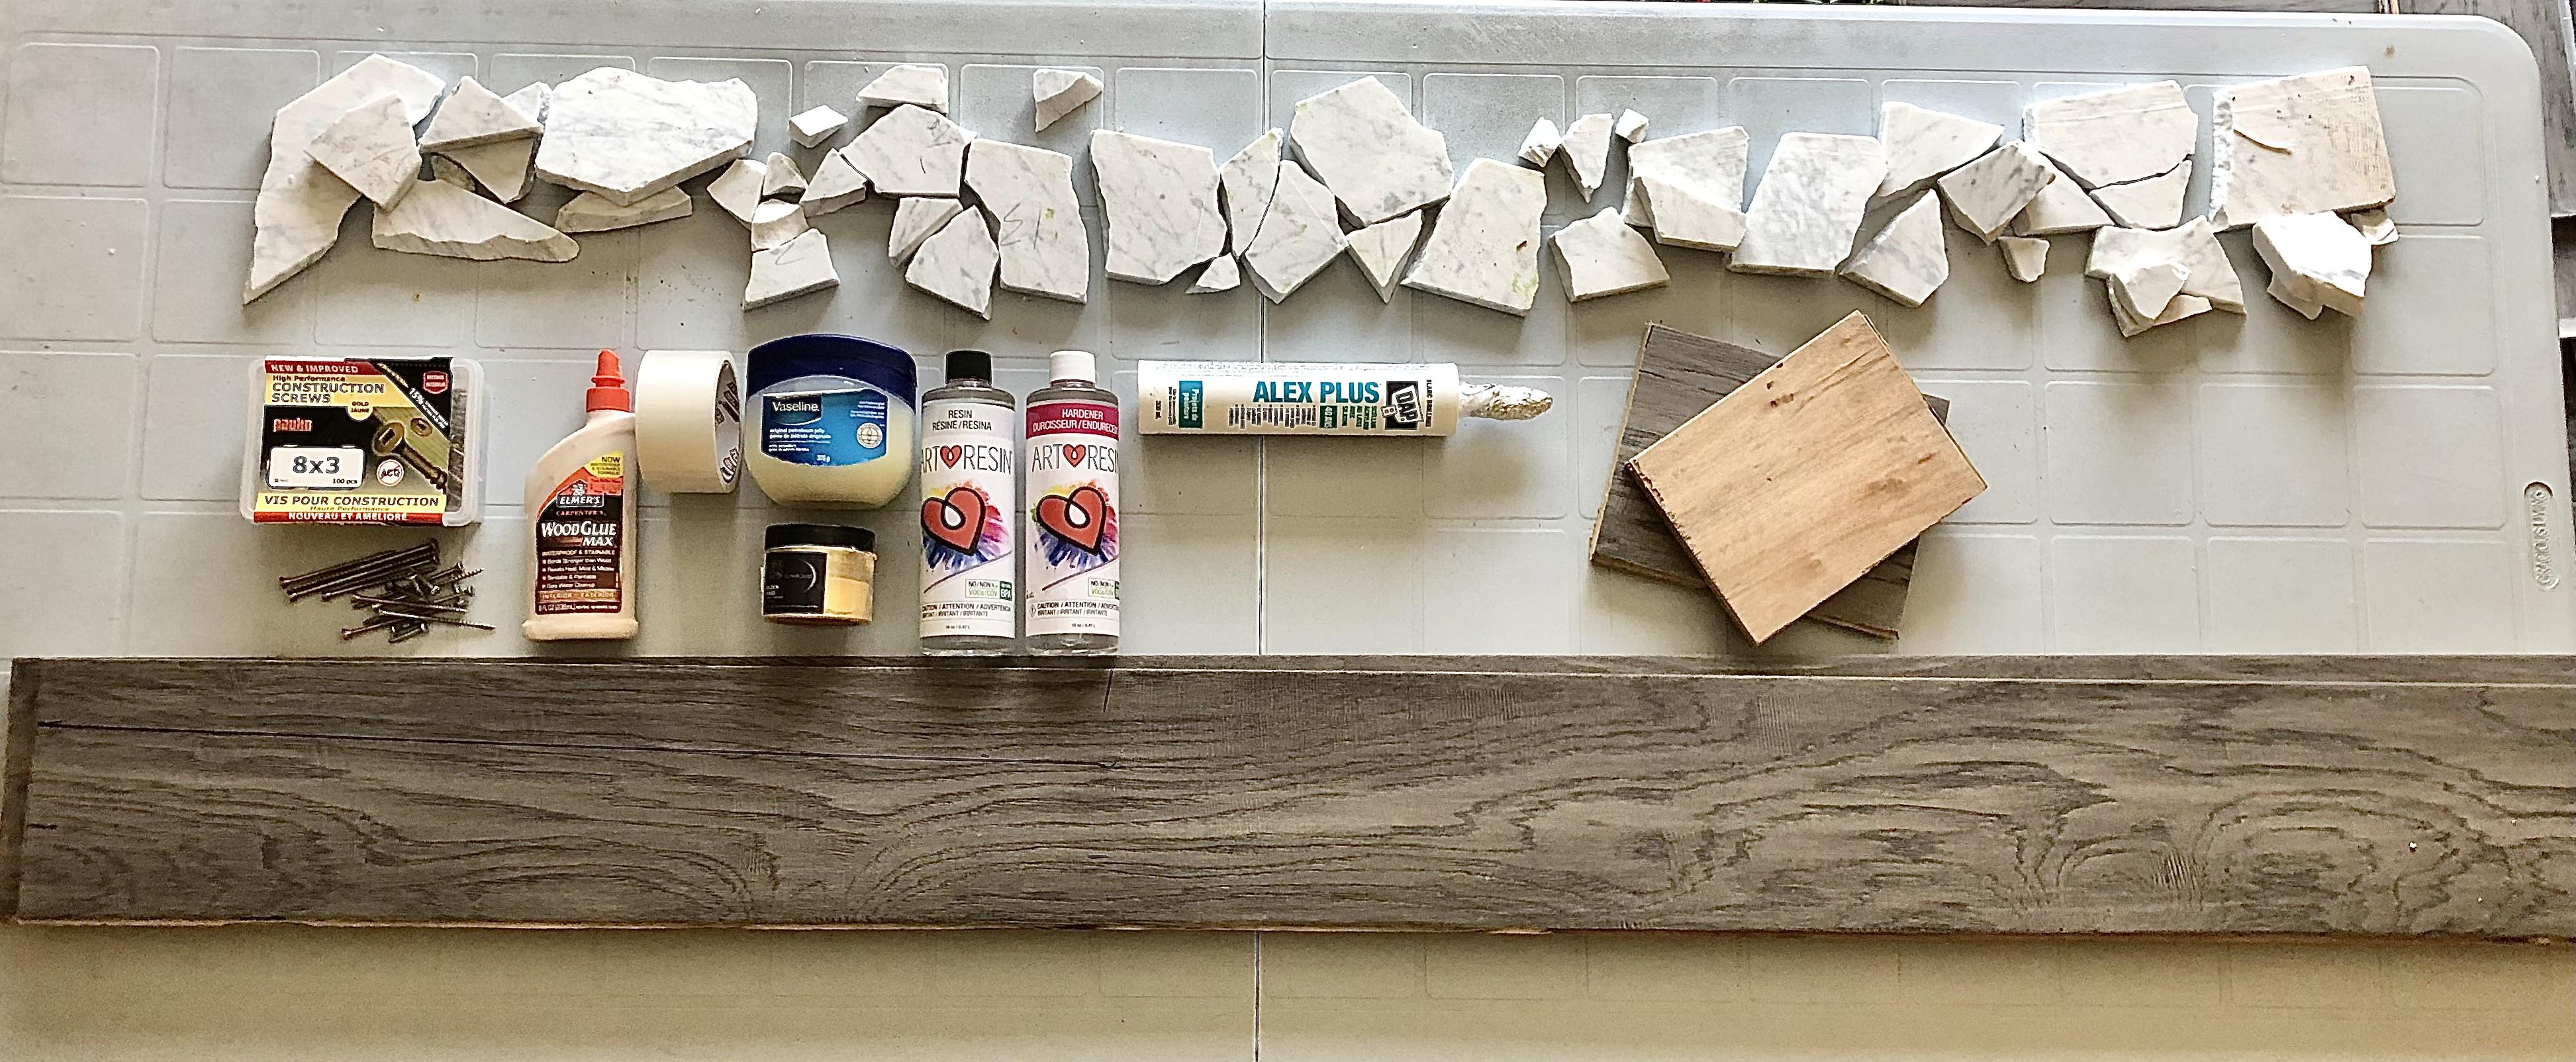
The materials you will need to make this project are as follows:
- A broken marble slab
- 2-part resin epoxy
- Golden Mica Powders
- Hardwood Planks and Pieces (Alternatively you could use melamine sheets to make the mold).
- Construction Screws
- Wood Glue
- Acrylic DAP Caulk
- Packing Tape
- Vaseline Petroleum Jelly
- Gloves
- Sandpaper
- Plastic Cup
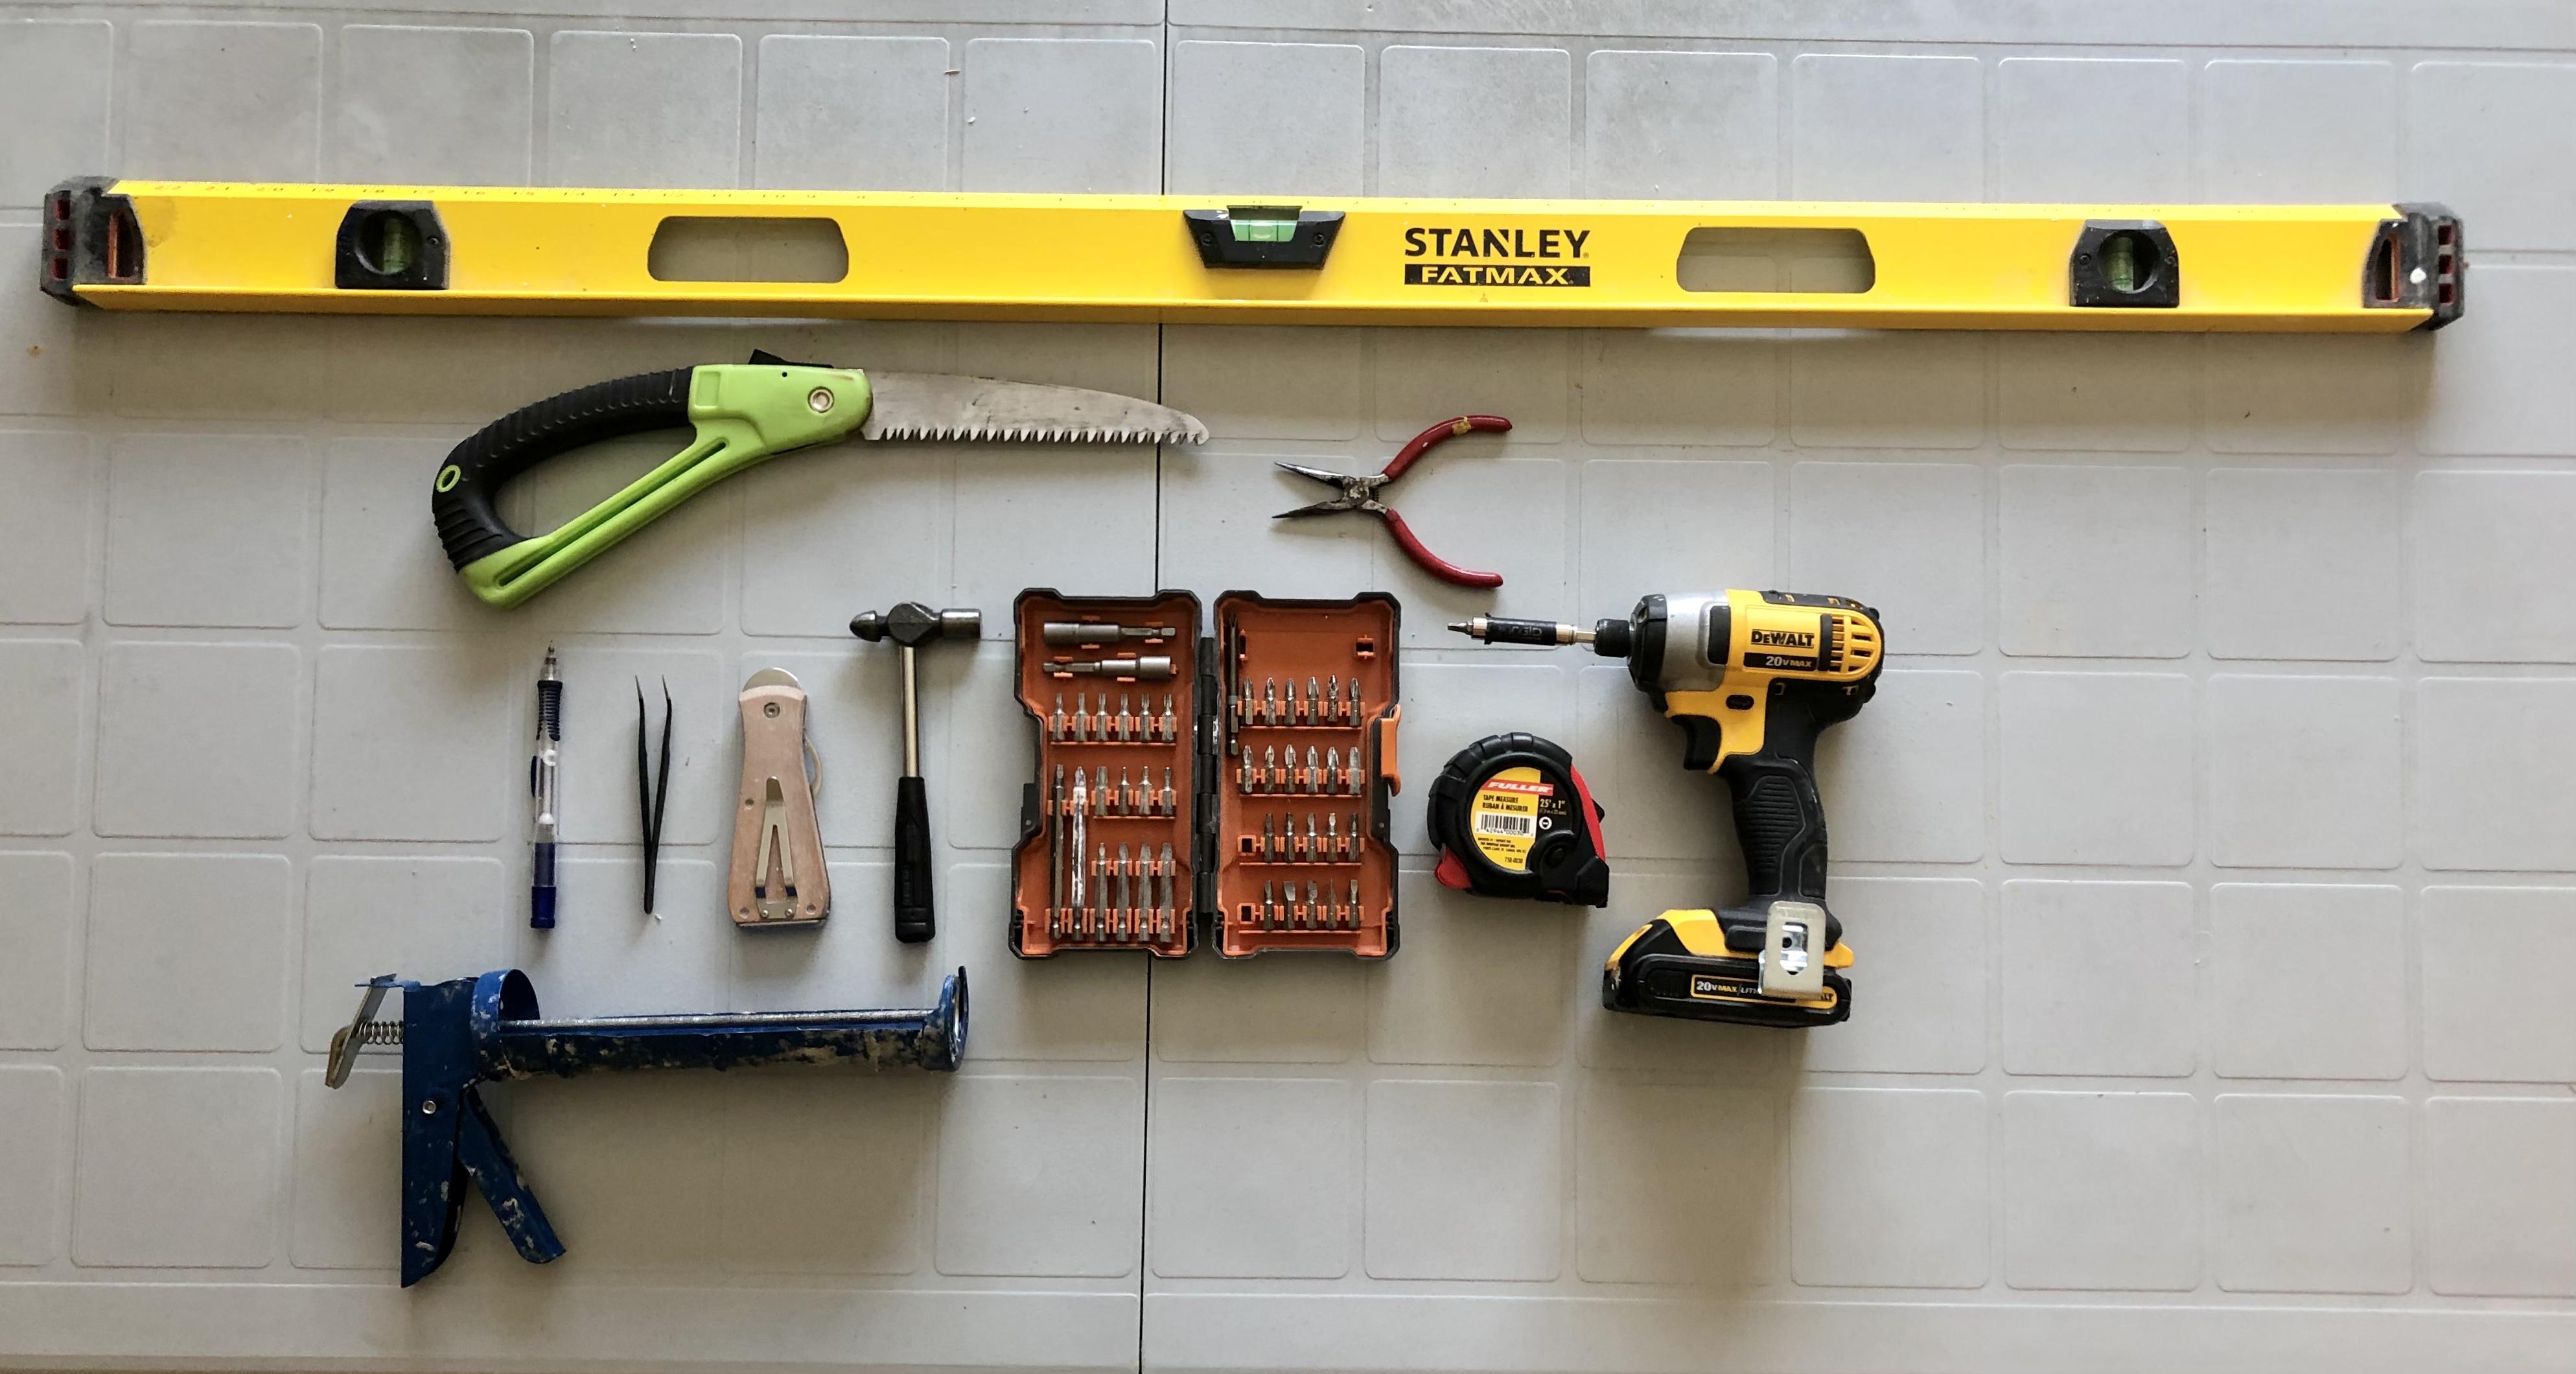
The tools you will need to build this project are as follows:
- Drill with a square bit
- Tape Measure
- Caulk Gun
- Hammer
- Craft Chisel
- Level
- Pliers or Tweezers (optional)
- Putty Knife
- Silicone Brush
- Paintbrush
- Camping Lighter or Blow Torch
- Handsaw (Alternatively you could use a Circular Saw or Jigsaw)
- Popsicle or Mixing Stick
- Wet Rag
- Don't forget your pencil!
This list might look lengthy but you are going to have to trust the process. You might be able to substitute some things for others in order to save you time.
Solving the Marble Puzzle
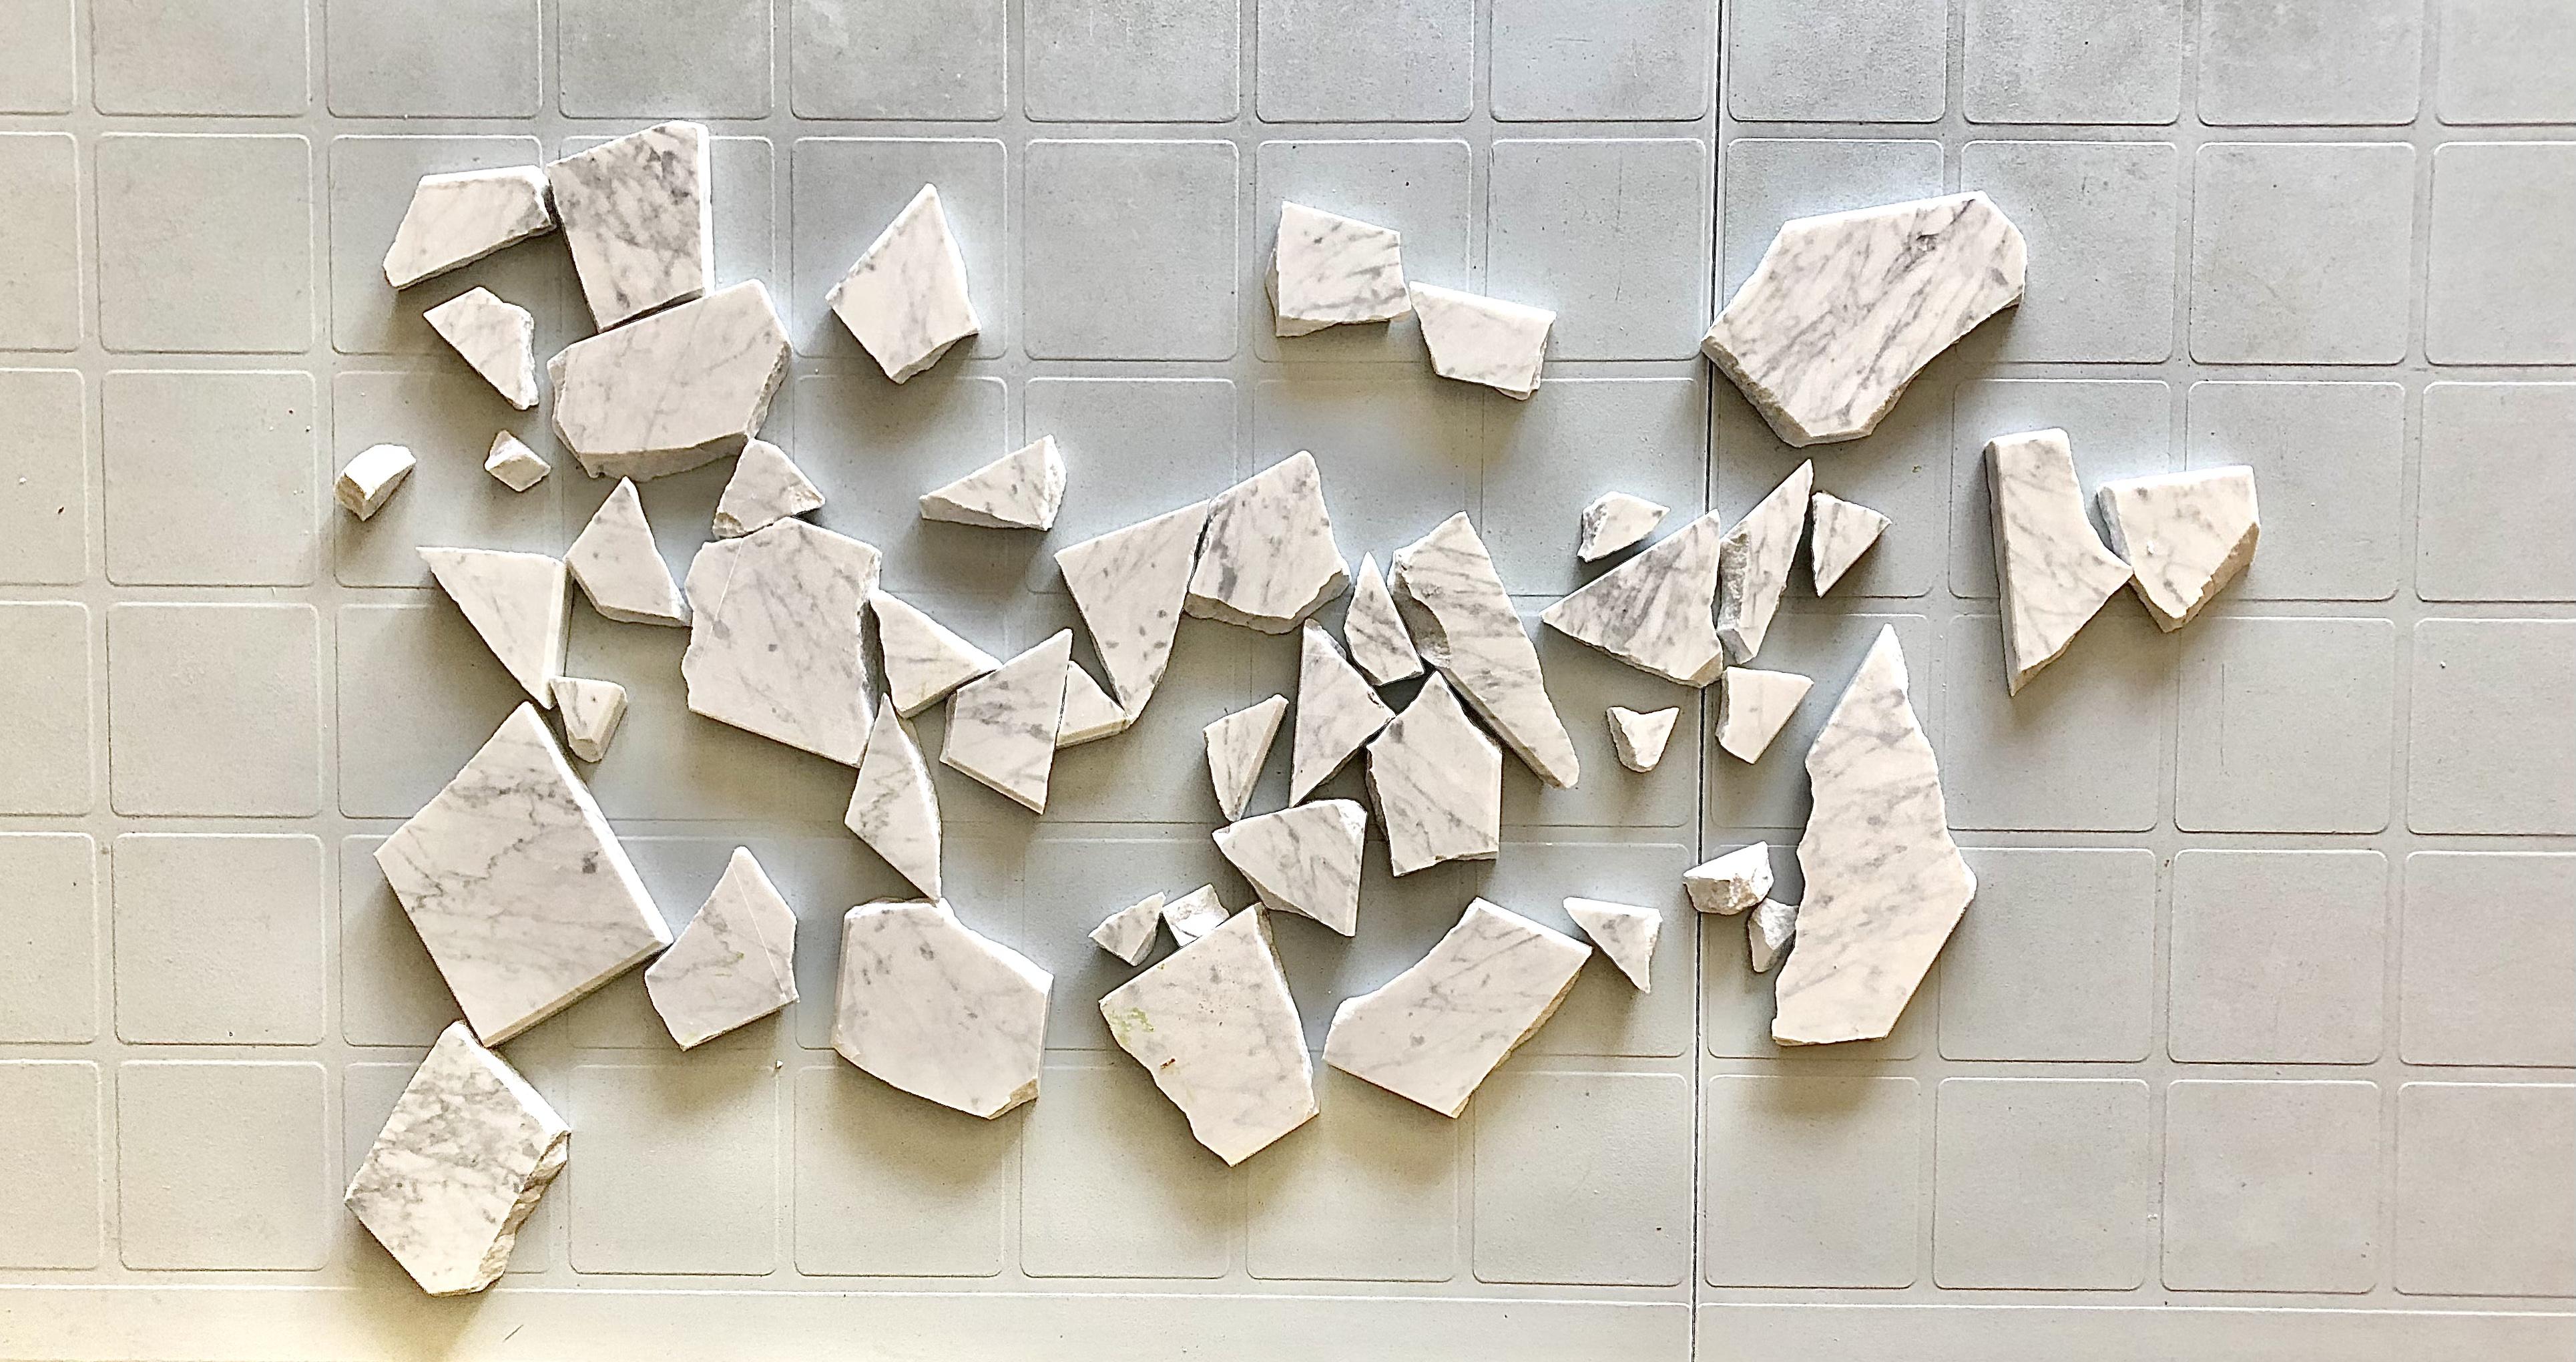
Before we get into any other steps, we need to put all of the marble pieces in order how they were before the slab broke. Lay down the chunks on a table or on the floor and solve it like a puzzle. This will help us later when we are going to make the mold. Solving the marble slab also allows us to determine if there are any pieces missing.
Taking Measure
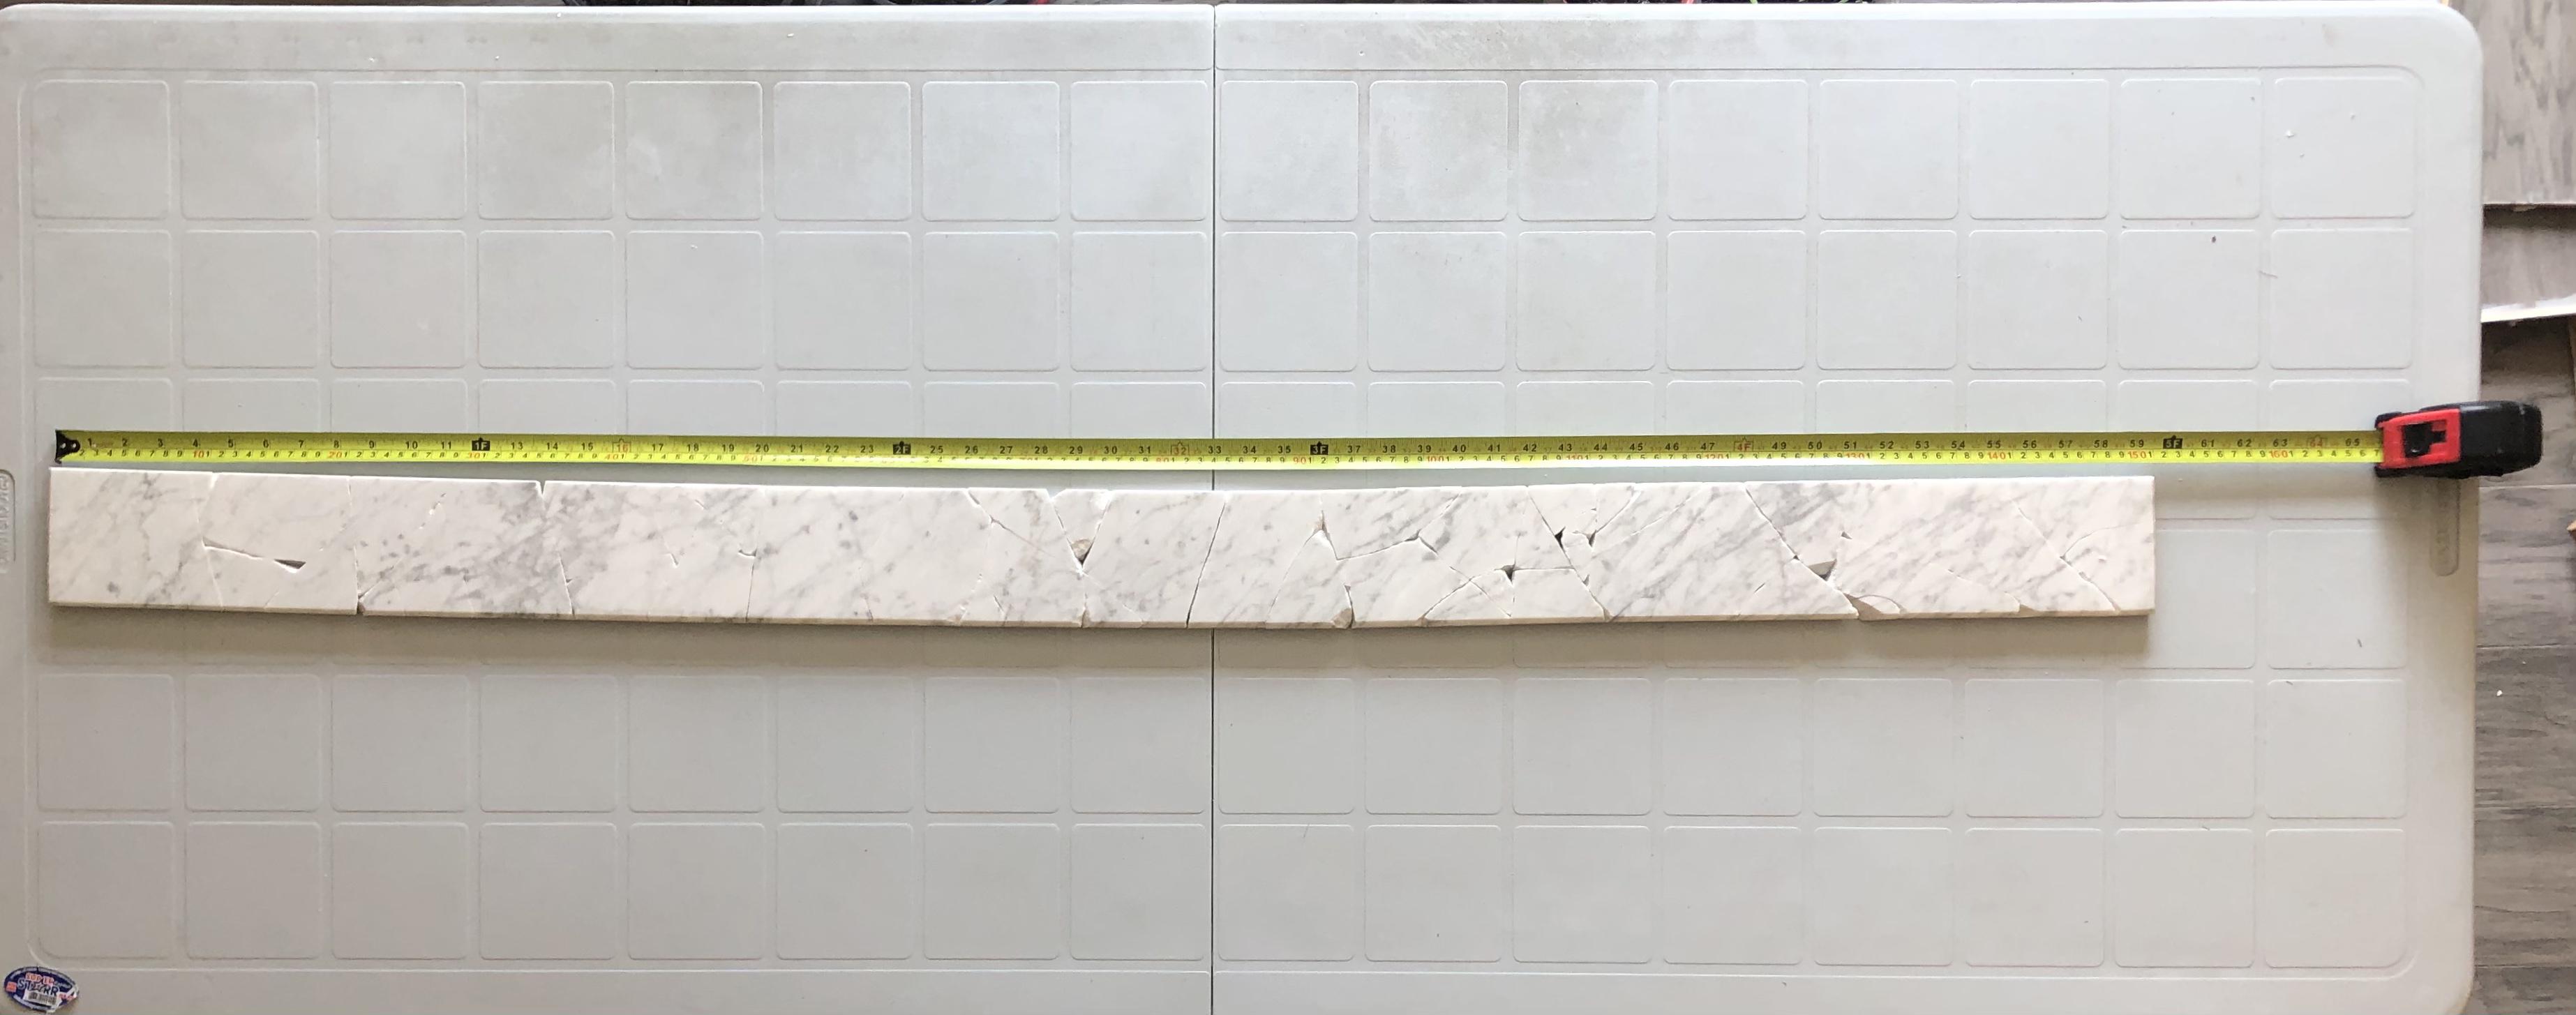
This step is crucial since it will determine how you will make your mold. We only need to measure the length and width as they control the size of the mold. My marble slab clocks in at 60 inches in length and 4 inches in width. The thickness of the marble I have is 2 cm, but that is irrelevant to our project. However, you may need it to know how much resin you"ll need whereas I just took a rough estimate.
Making the Mold

For this step, I tried to cut as little as possible because I am using a manual saw. Feel free to go along with these steps or go your own way with a power saw.
Take two 7ft wooden hardwood planks and screw them perpendicular to each other on the long side. Put a small square at one end of the plank to give it another side.
Spacing the Marble on the Mold

Now put the marble slab on one of the long sides and space it out according to how thick you want the golden veins. Keep in mind, your final piece will be longer than the original marble slab. So I recommend letting loose on the golden veins and add as many as you want. You can also break an existing chunk to give the final piece more definition. Make sure there is enough space to have all of the pieces fit nicely.
Making the Mold : the Sequel


Add the square on the other side of the mold to cap it off and measure the remaining side to cut a plank to the right size.
Mark a wood plank with the correct size and cut it off with your saw. My plank measured in at 5 feet and 7 1/4 inches after being cut.
Screw the piece onto the mold so that inside the mold, the width is just a little bigger than 4 inches. This will depend on the marble slab you have and its width, but remember to keep it a little bigger so that your marble slab can easily fit in. Also, remember to not make it too big, or else resin will pour into the sides making for a lot of extra work later on.
Sealing the Mold
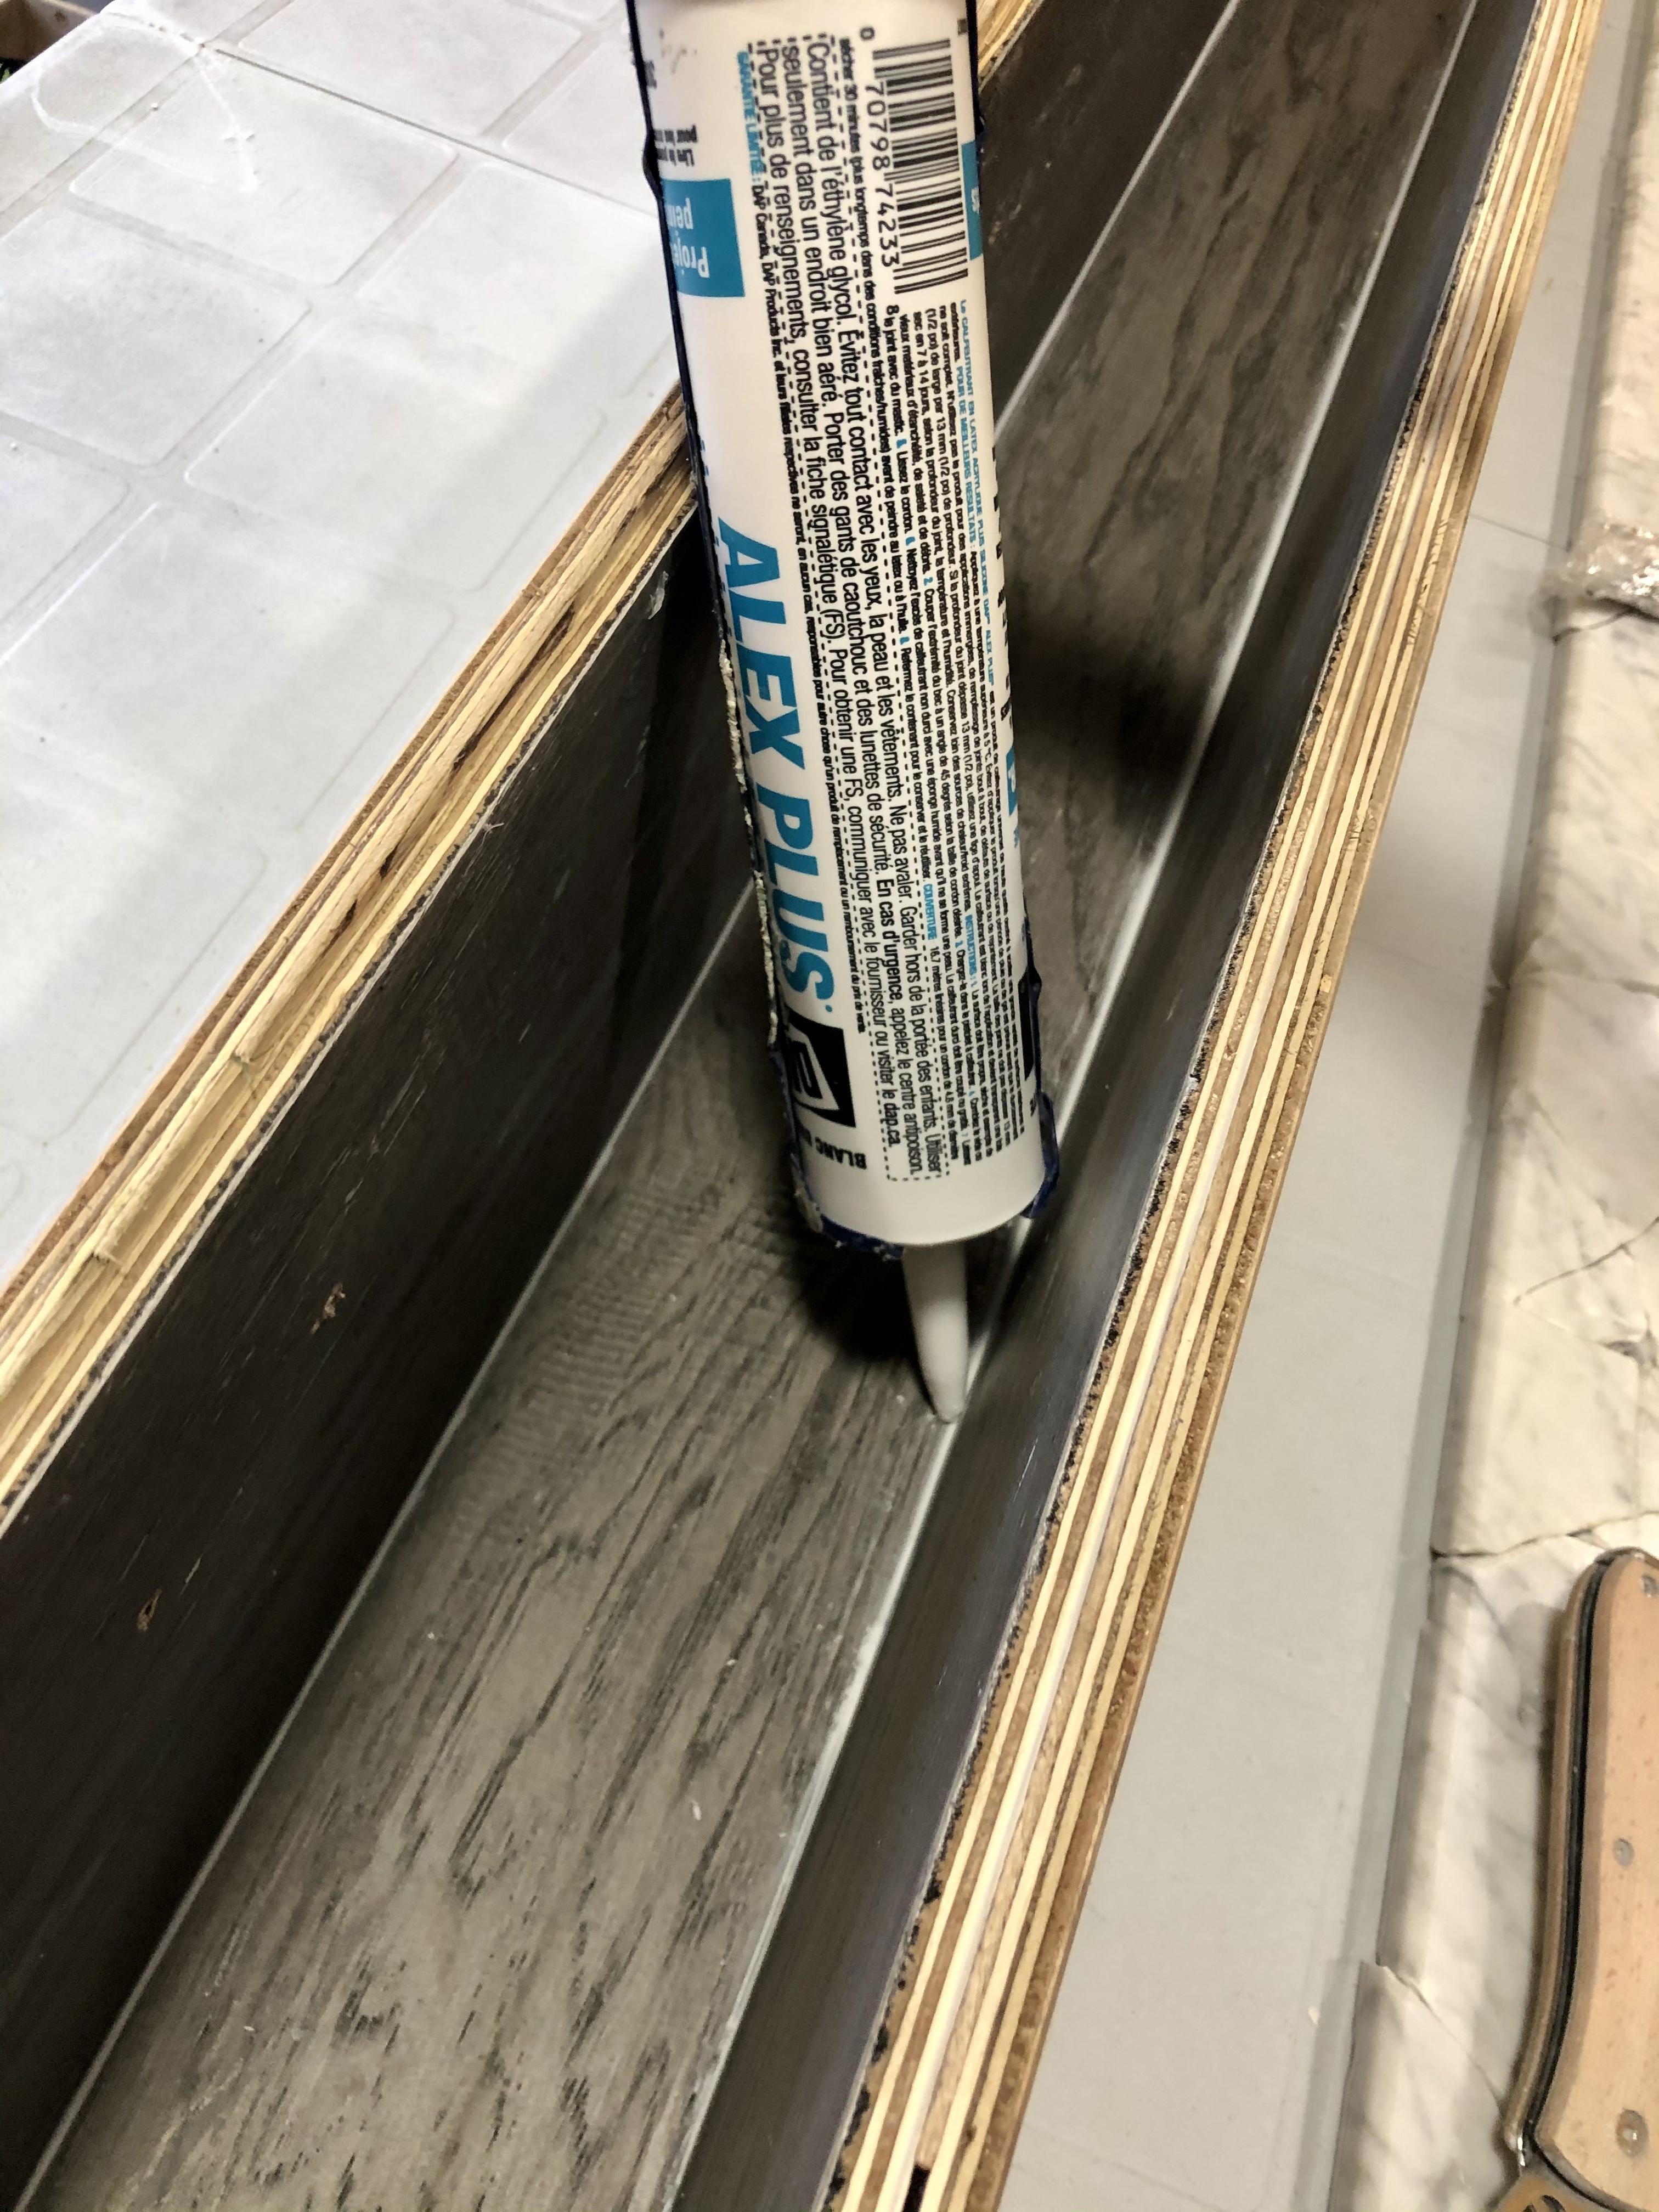


In this step, I chose to combine several methods of sealing a mold to acheieve an optimal final product. Below I take you through step by step on how to seal the mold:
- I took caulking to seal up any edges and corners to prevent resin from going out of the mold through the inside
- I lined up the bottom and sides on the inside of the mold with packing tape to act as parchment paper
- I brushed on Vaseline Petroleum Jelly with a silicone brush on the taped parts to allow the cured resin part to come out of the mold easily. You can also take mold release and just spray it in your mold.
Laying Down Marble

Place your chunks of marble in their intended places to prepare for pouring the resin. Make sure to space the crack to give the final product a nice finish. I also went ahead and took out some of the very small pieces of marble on the sides to give the final piece some definition.
Mixing Resin
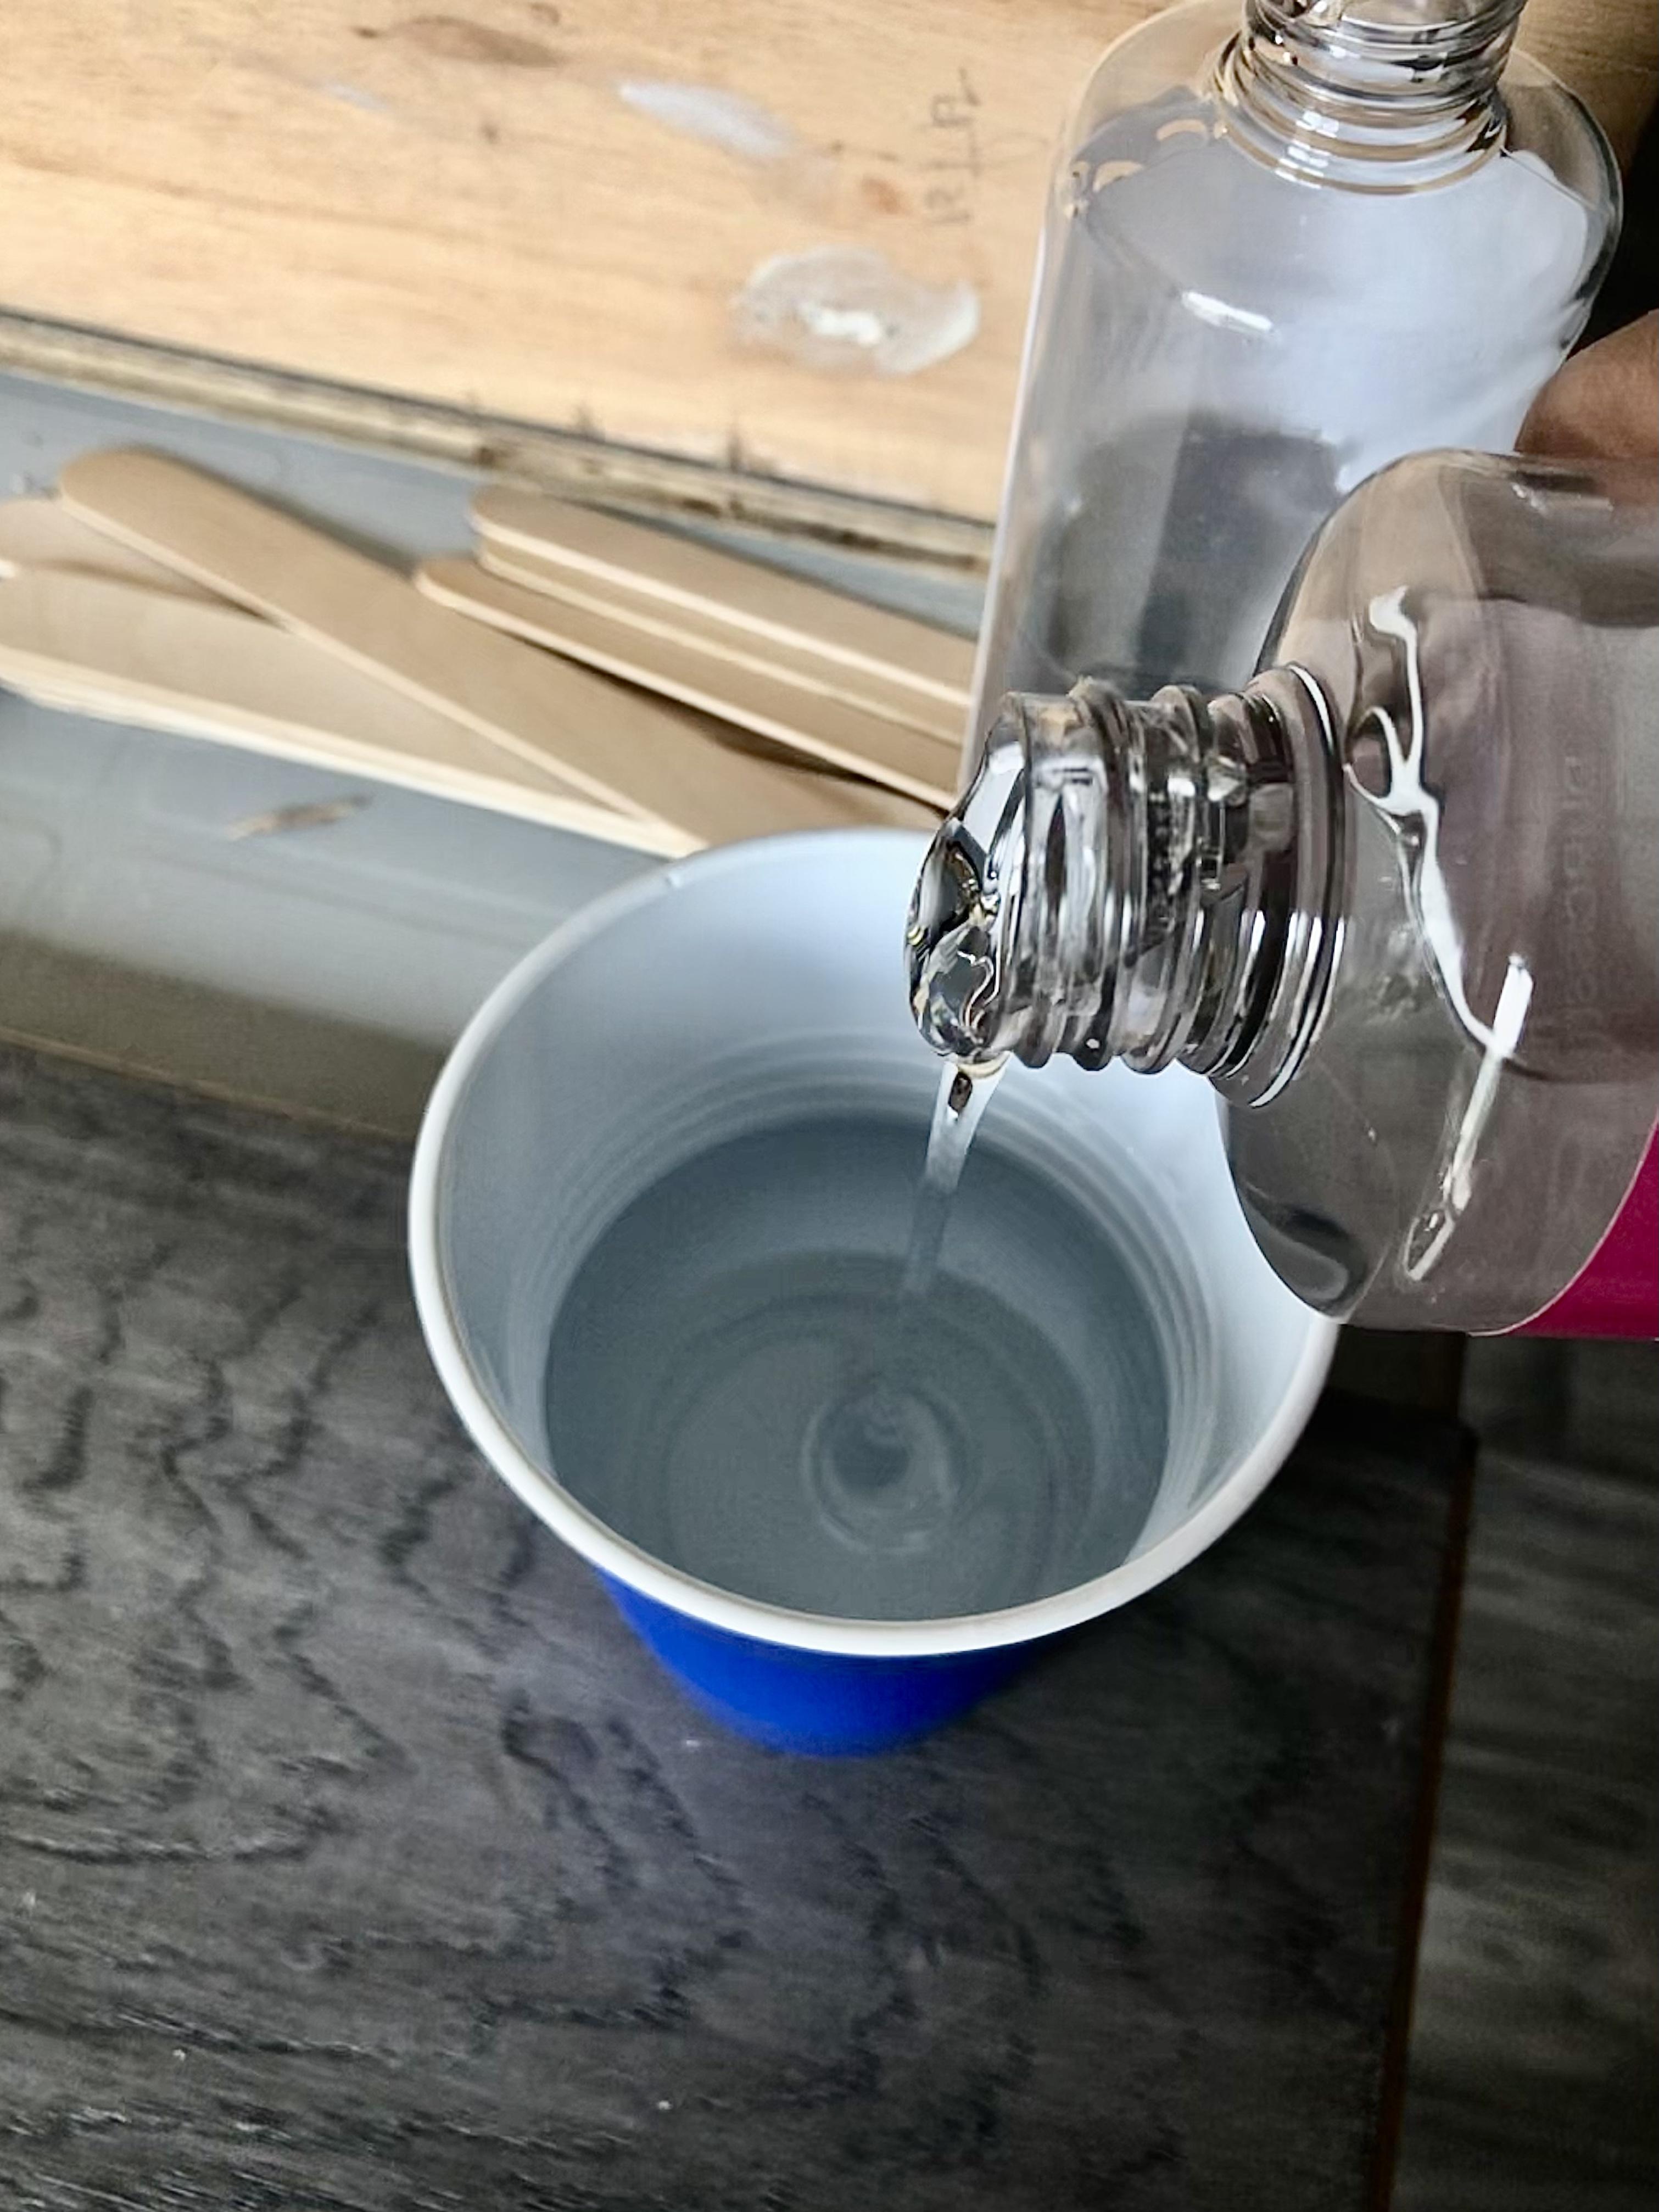

Mix a batch of 2 part resin epoxy with some of the golden mica powder dye. The resin I have has a mixing ratio of 1 part resin to 1 part hardener and has to be mixed for 5 minutes. Keep adding dye until you have reached your desired tone of gold. I went overboard with this part as I wanted a really nice gold color.
I mixed filled a whole plastic cup and then poured half into another cup so that it's easier for me when I am pouring it. I recommend checking the resin brand's website before mixing to know all of your resin's specs.
Pouring Resin
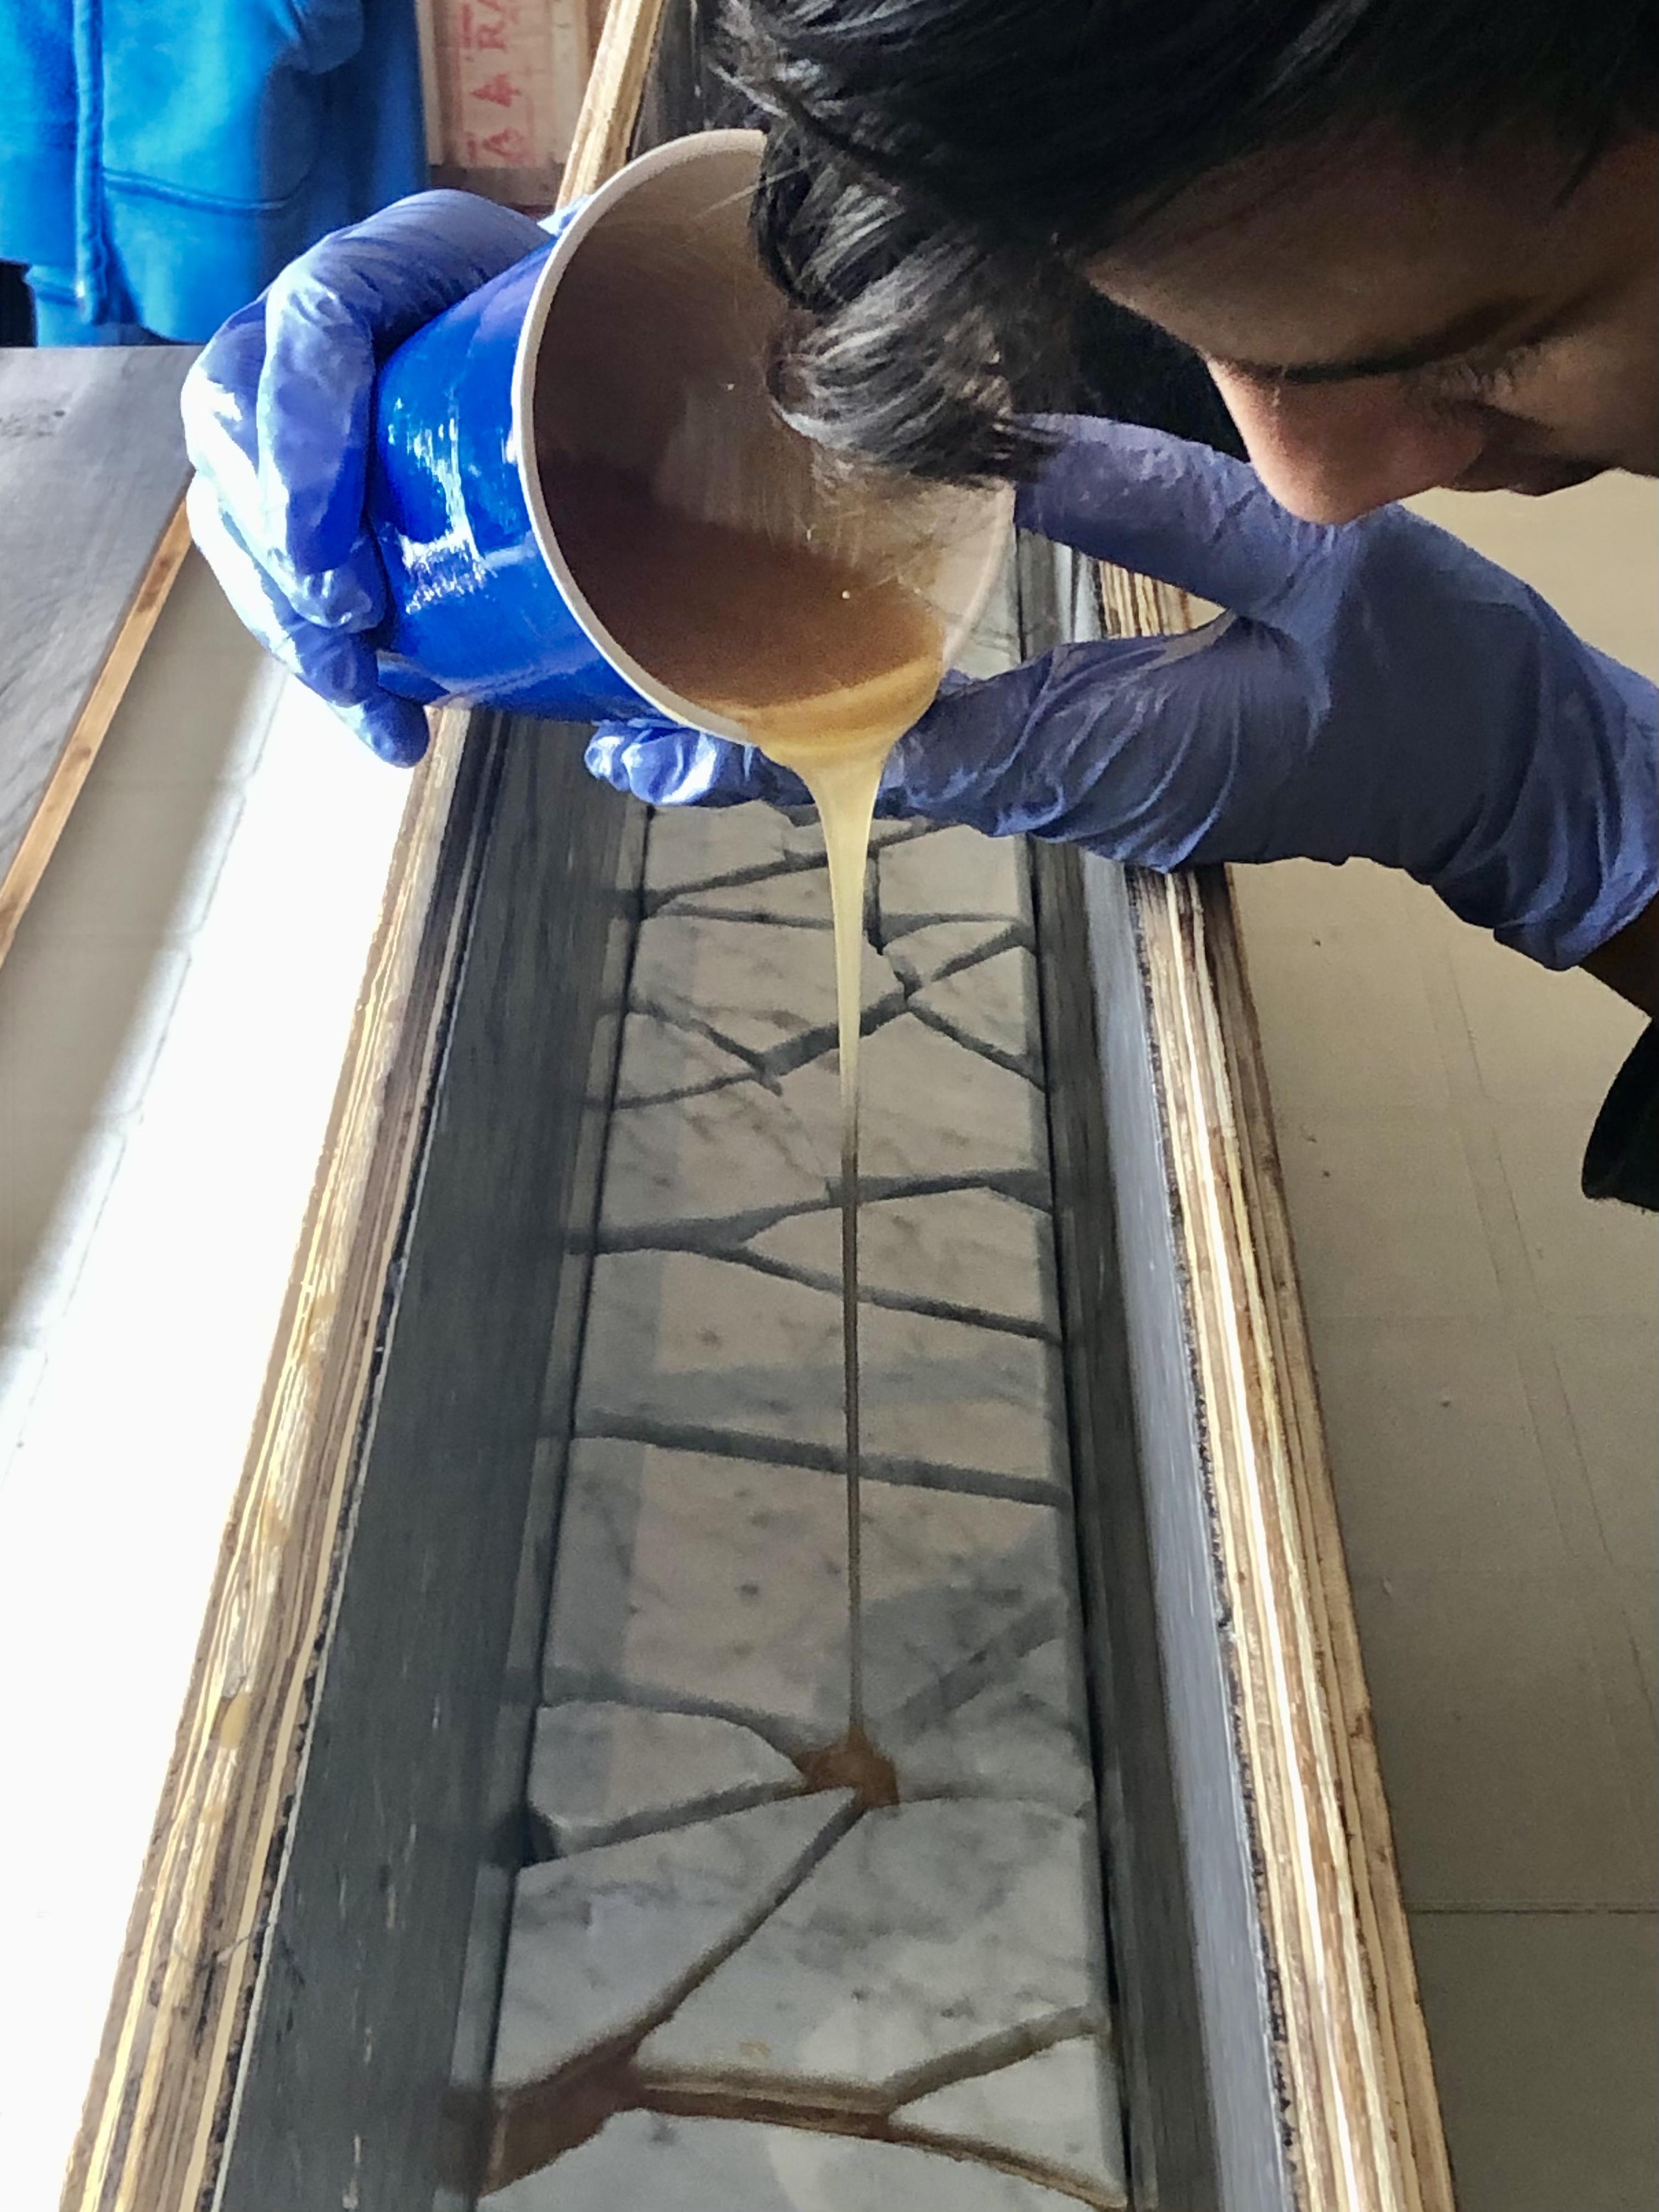
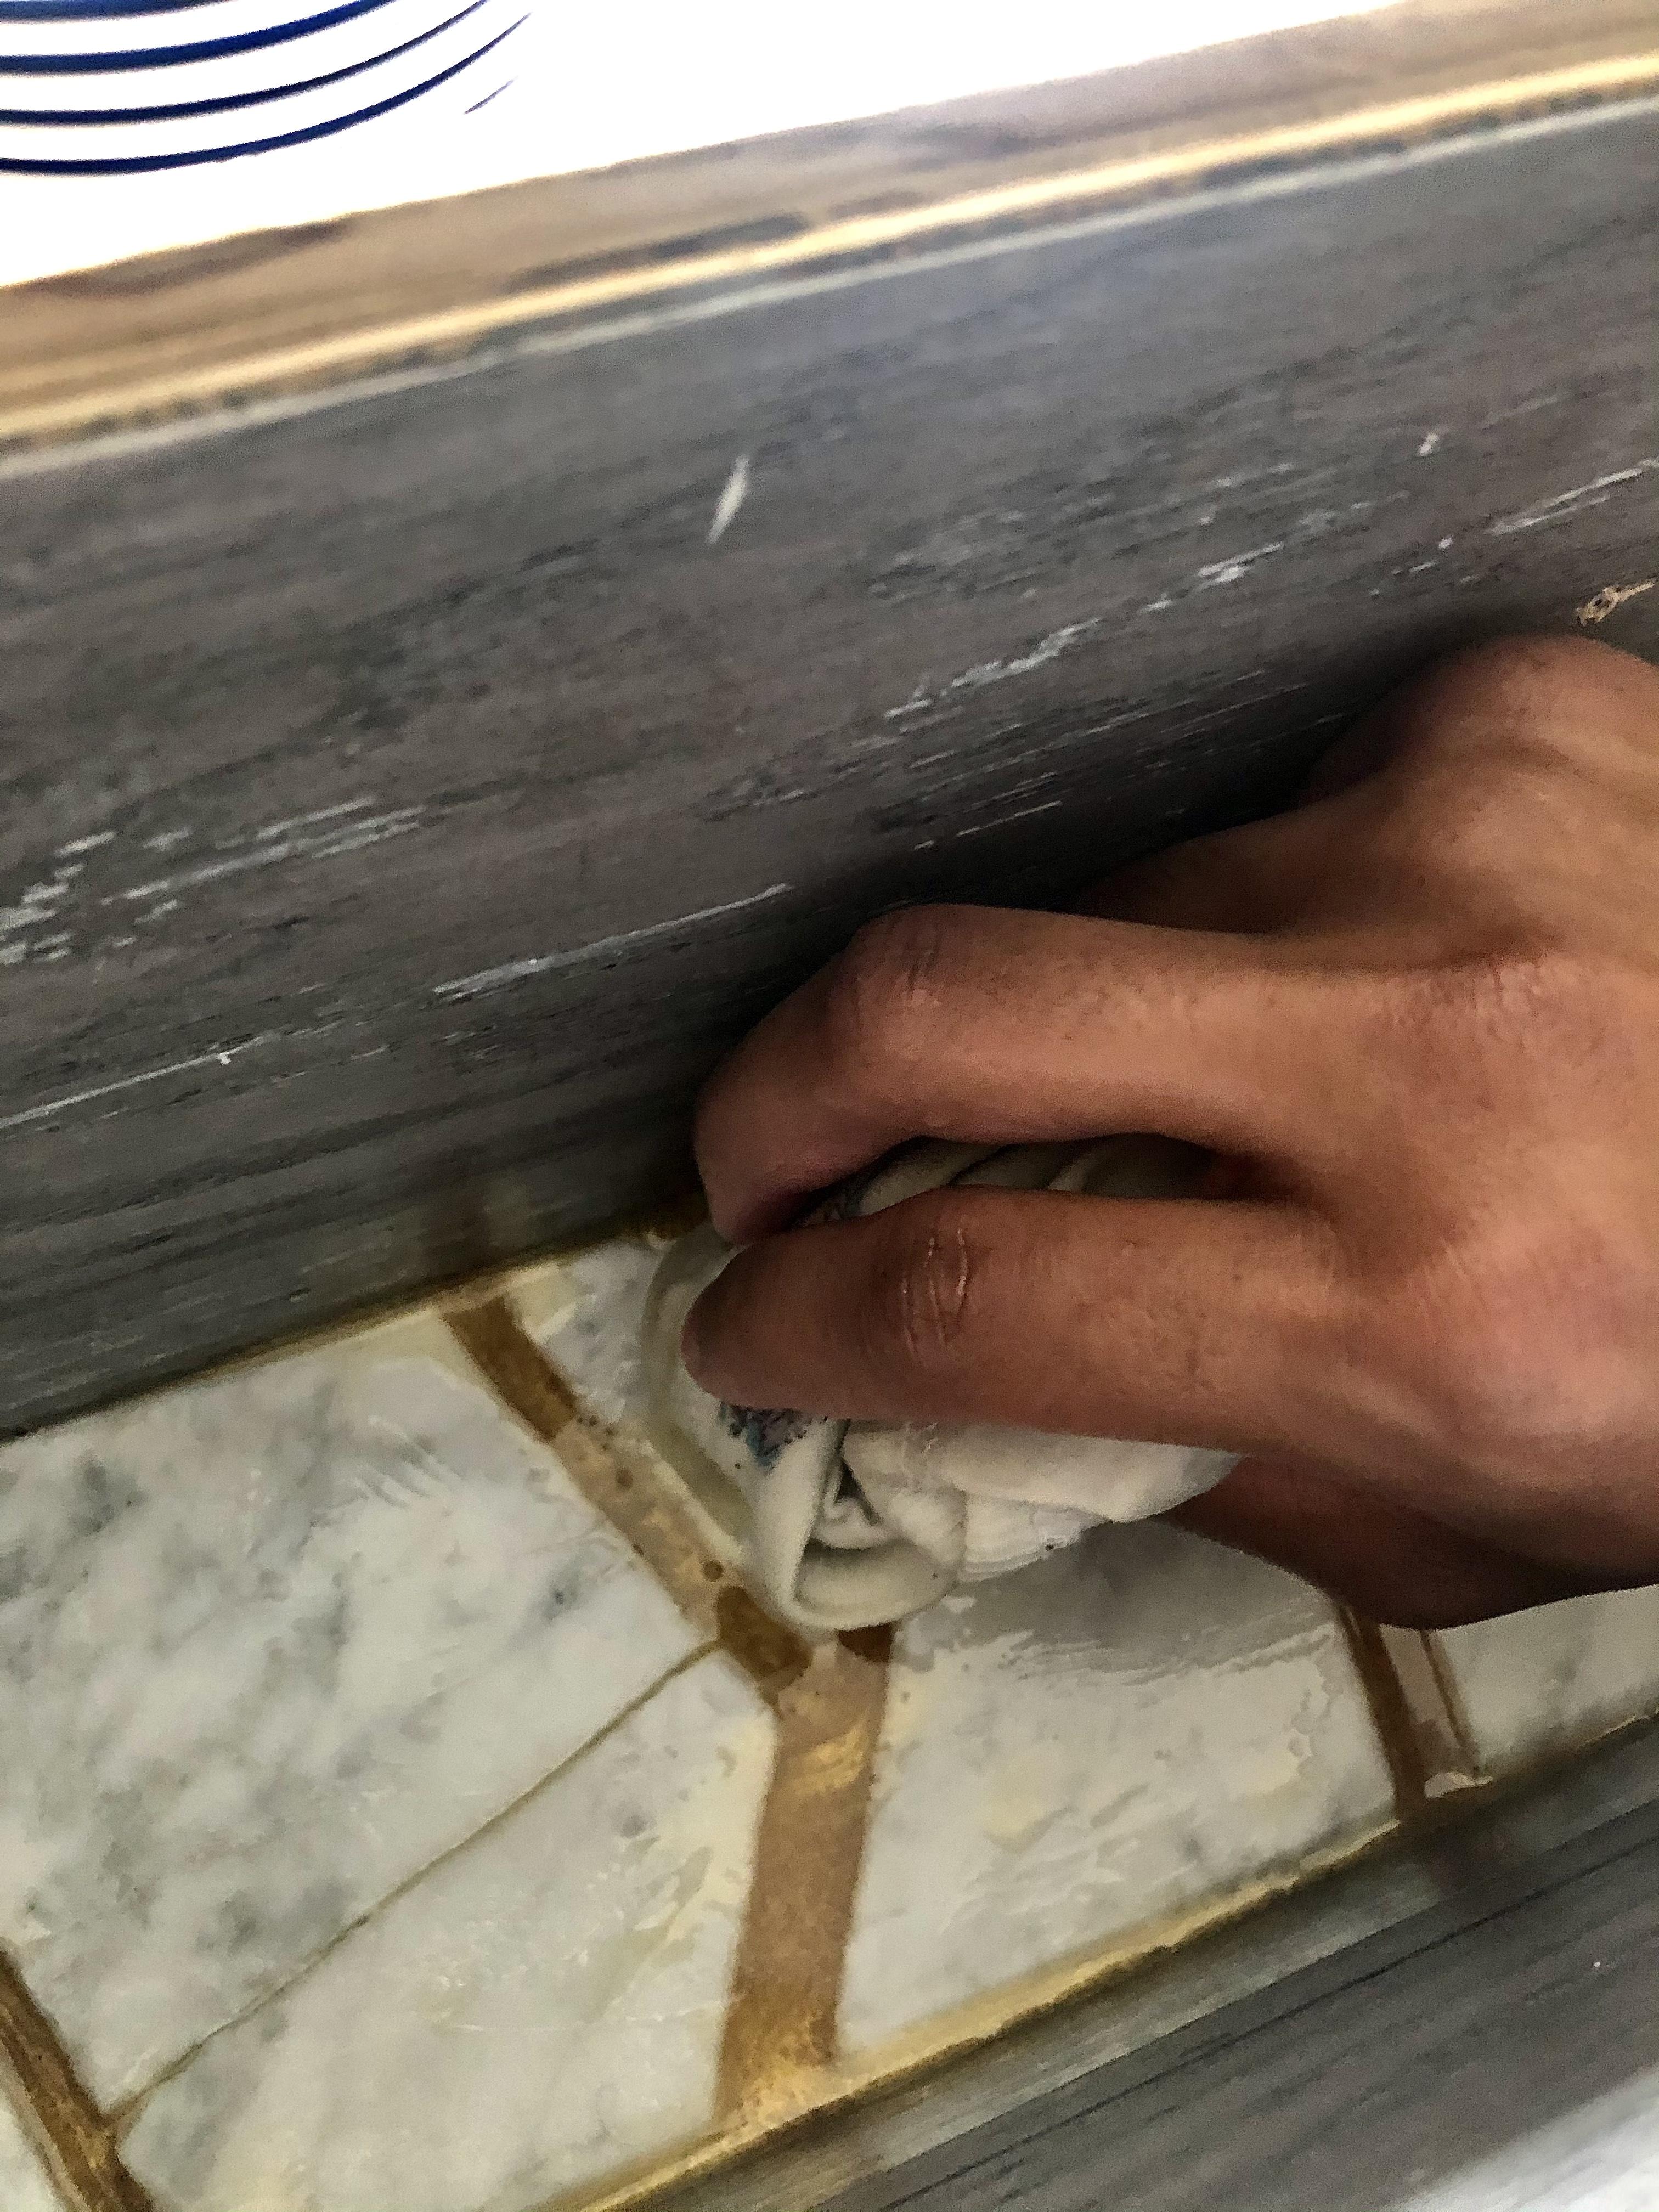

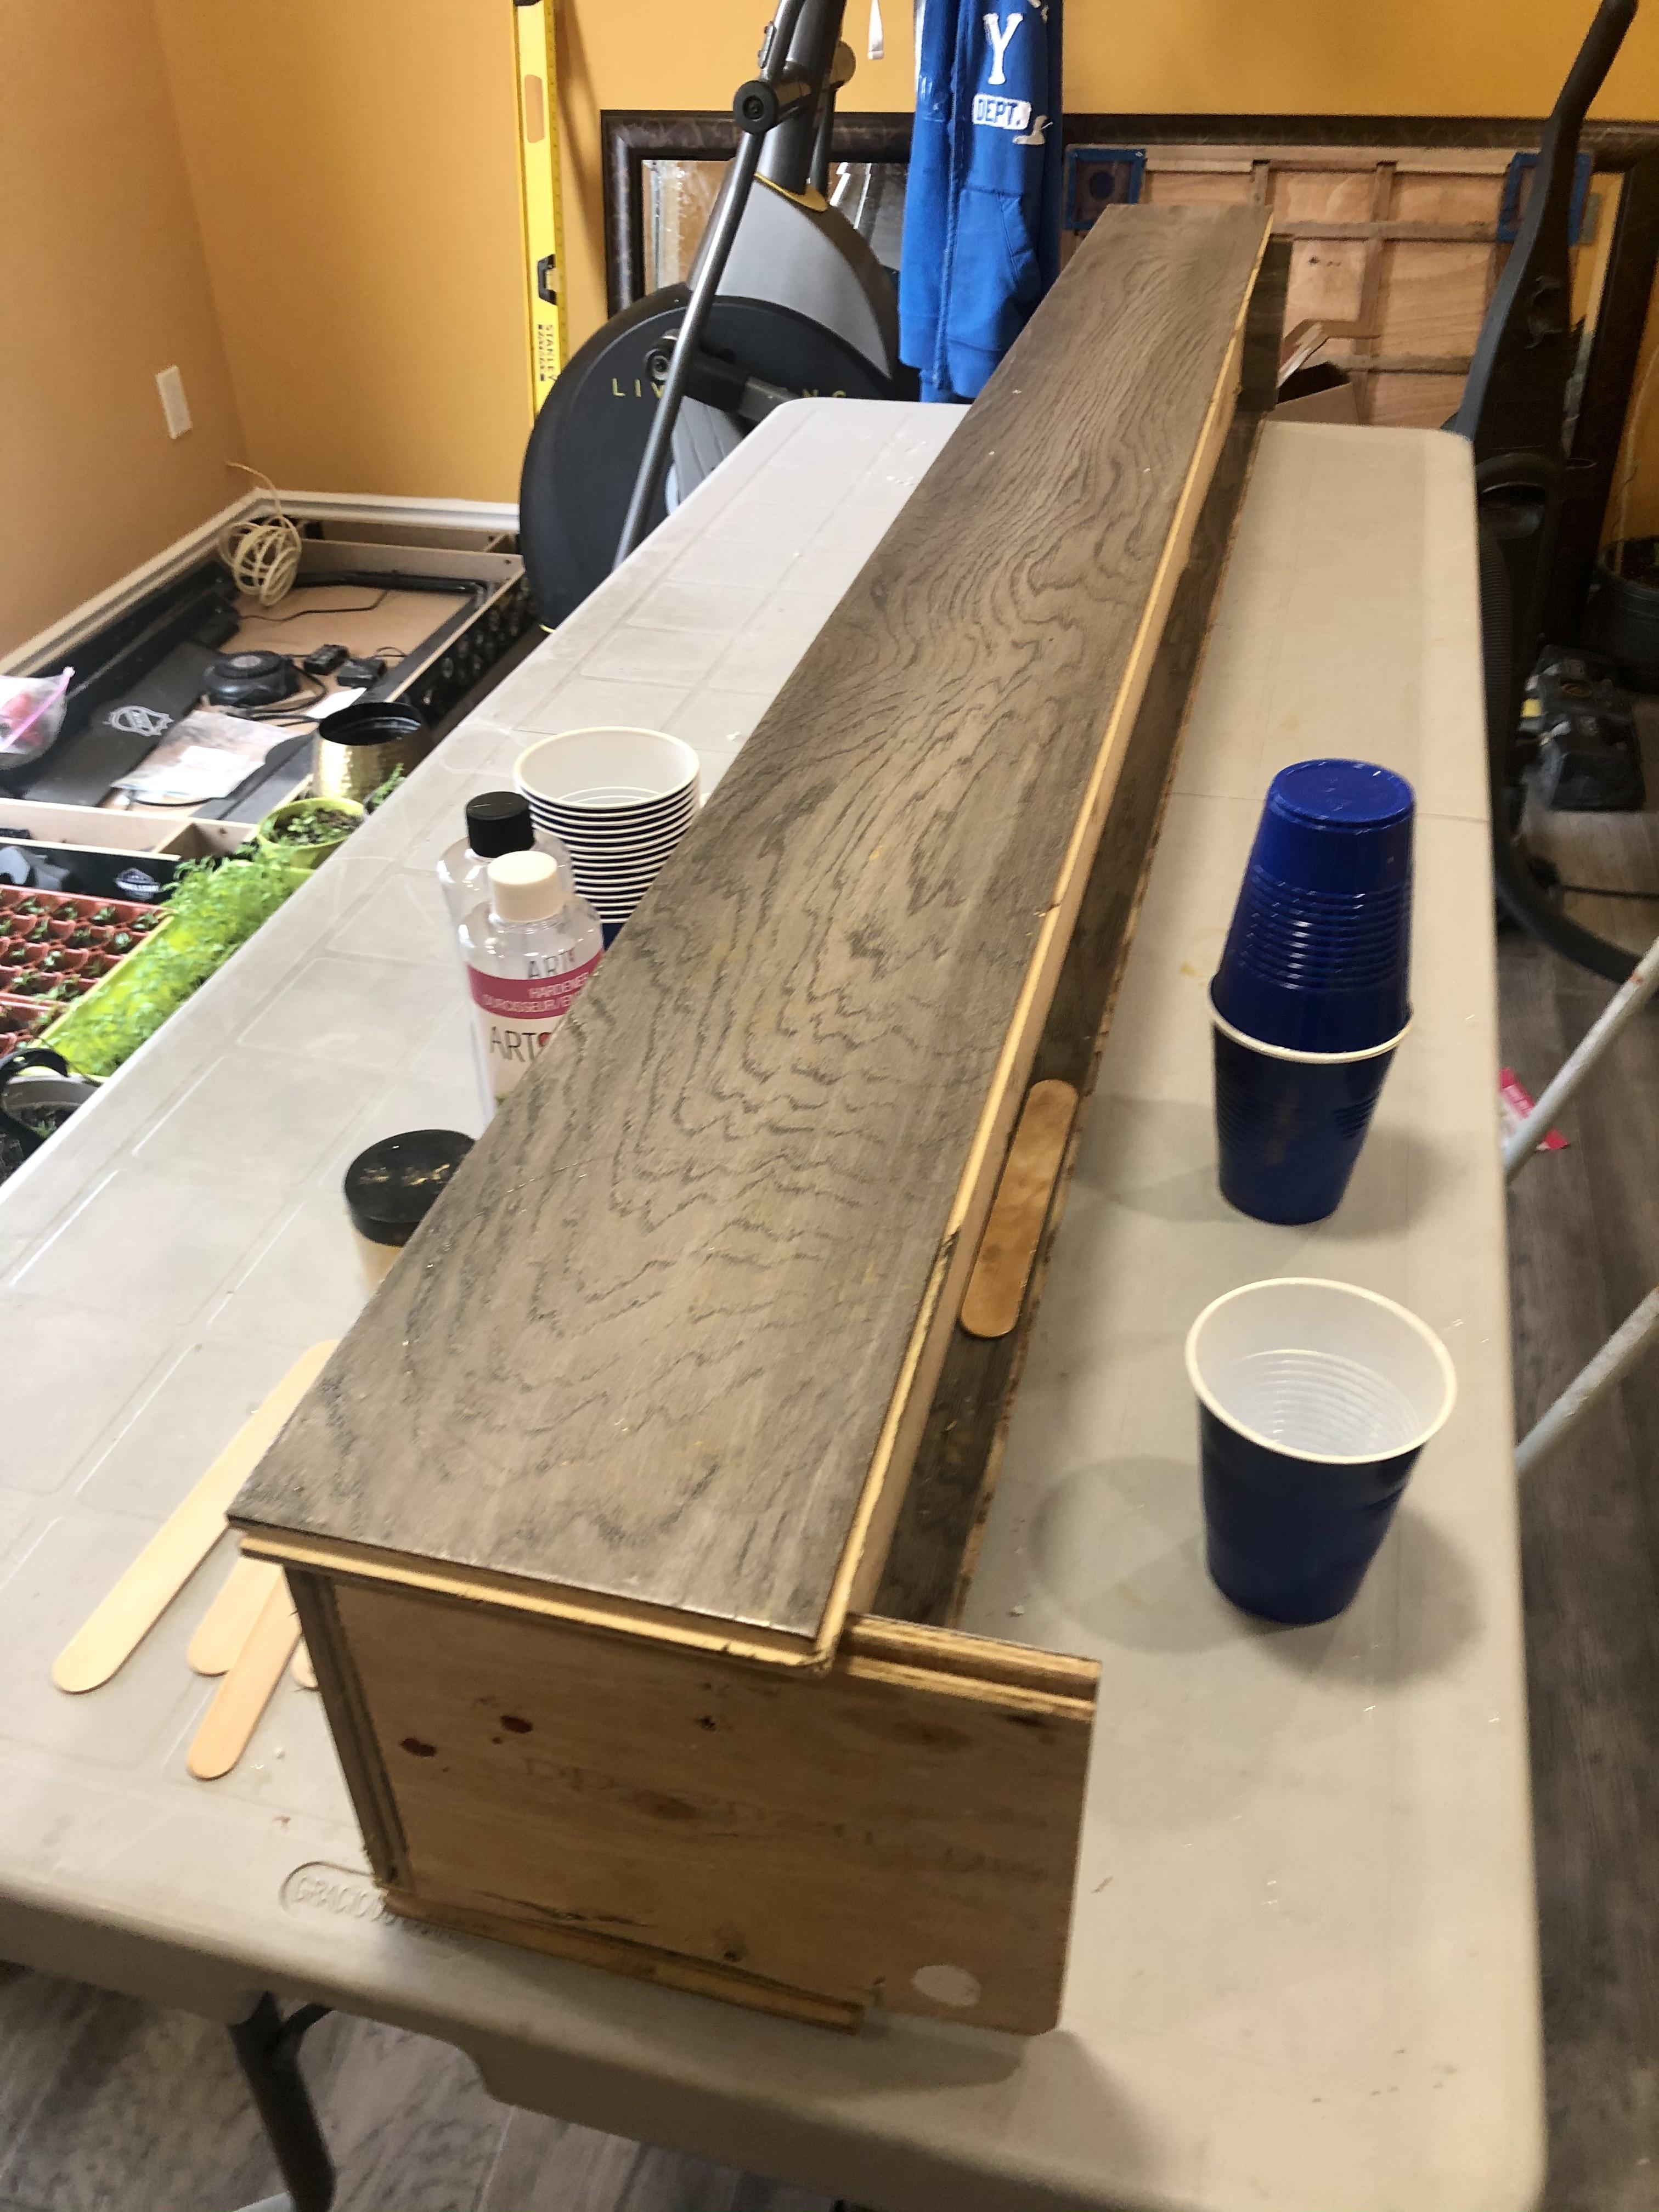
Start to fill in the cracks with the resin. Start pouring on one side and slowly progress to the other side. There is no need to rush as the resin has a 45 minute work time, this gives you enough time to gently pour the resin. Try to avoid spilling the resin outside of the crack but if this does occur, simply take a warm damp cloth and carefully wipe it off.
When you are done pouring the resin, there might be bubbles that have surfaced. In order to get rid of them, take your blow torch or camping lighter and air sweep across the bubbles. The heat will pop the bubbles and also level the resin
Once done pouring the resin, cover the mold with a loose plank to avoid dust falling and sticking onto your piece.
Let the resin cure for at least 3 days before removing it from the mold.
Removing the Marble Out of the Mold
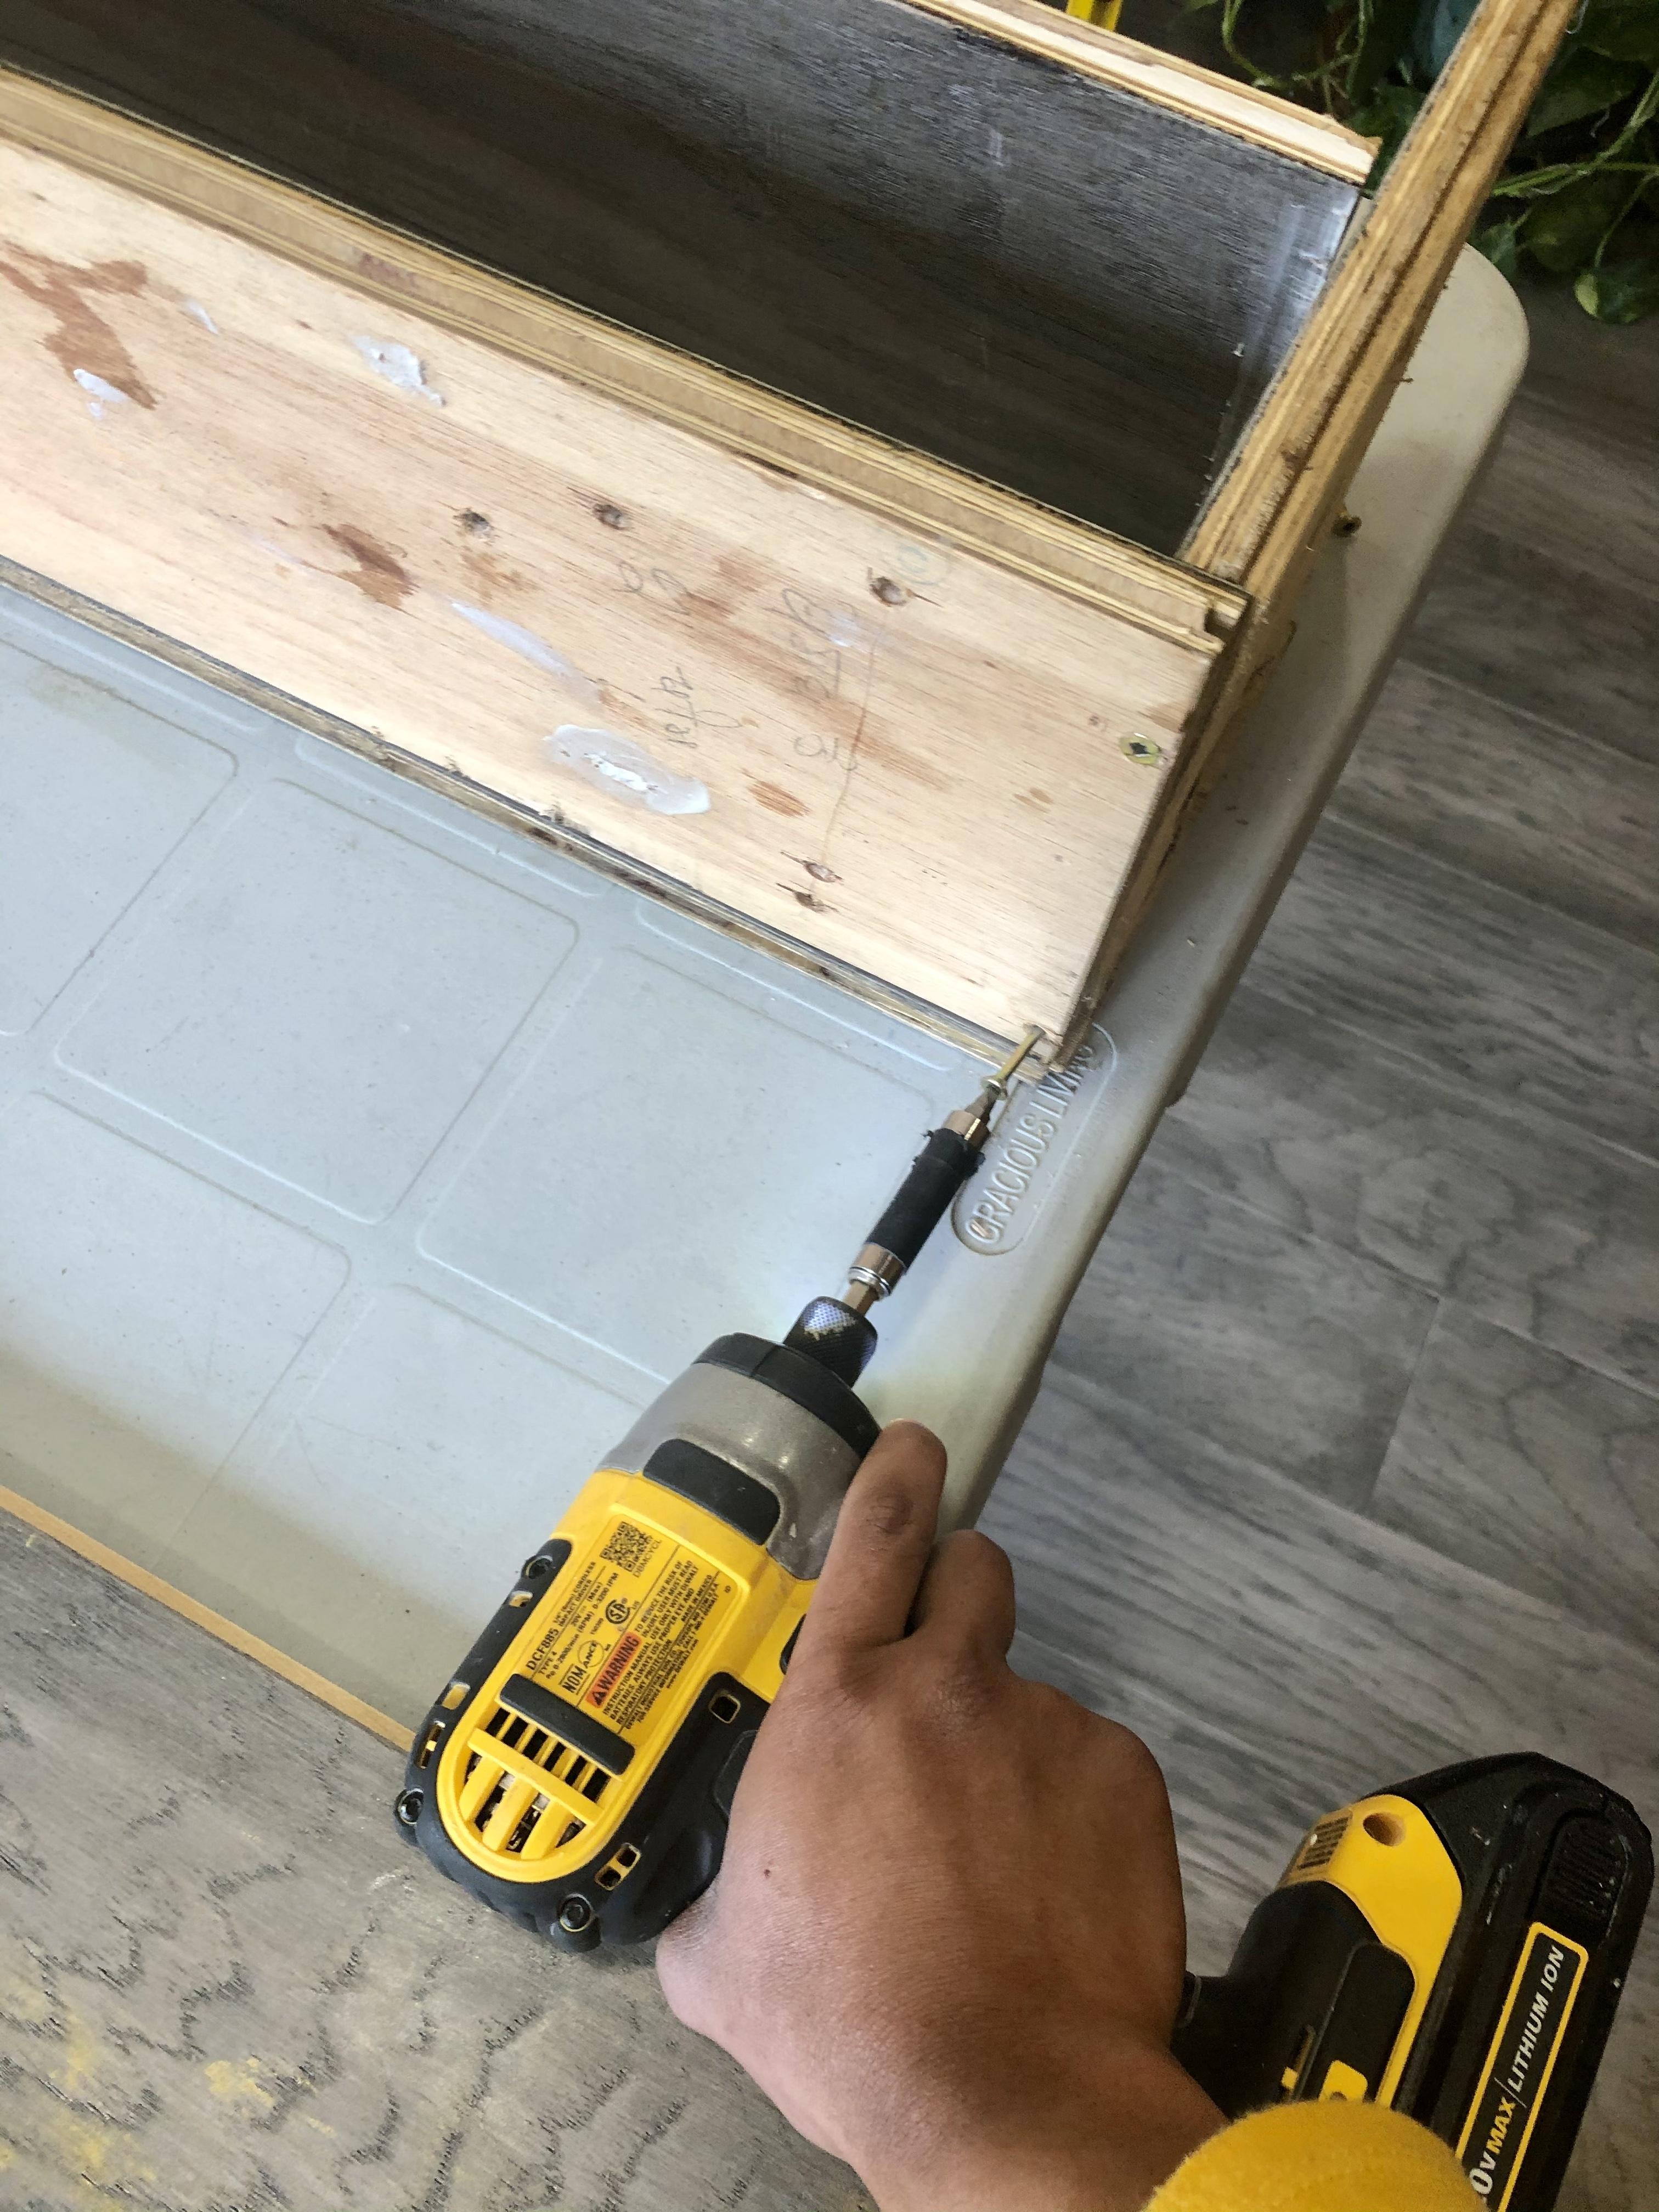

Remove the floor planks by unscrewing them. Start off by removing the sides and then finish it off by removing the bottom.
If by any chance the slab gets stuck on the plank, try to scrape it off using a putty knife or gently hammer it from underneath. You can also drill a screw in to push the marble from the back. But keep in mind to not drill too hard as you might screw the marble too.
Scraping of Extra Resin
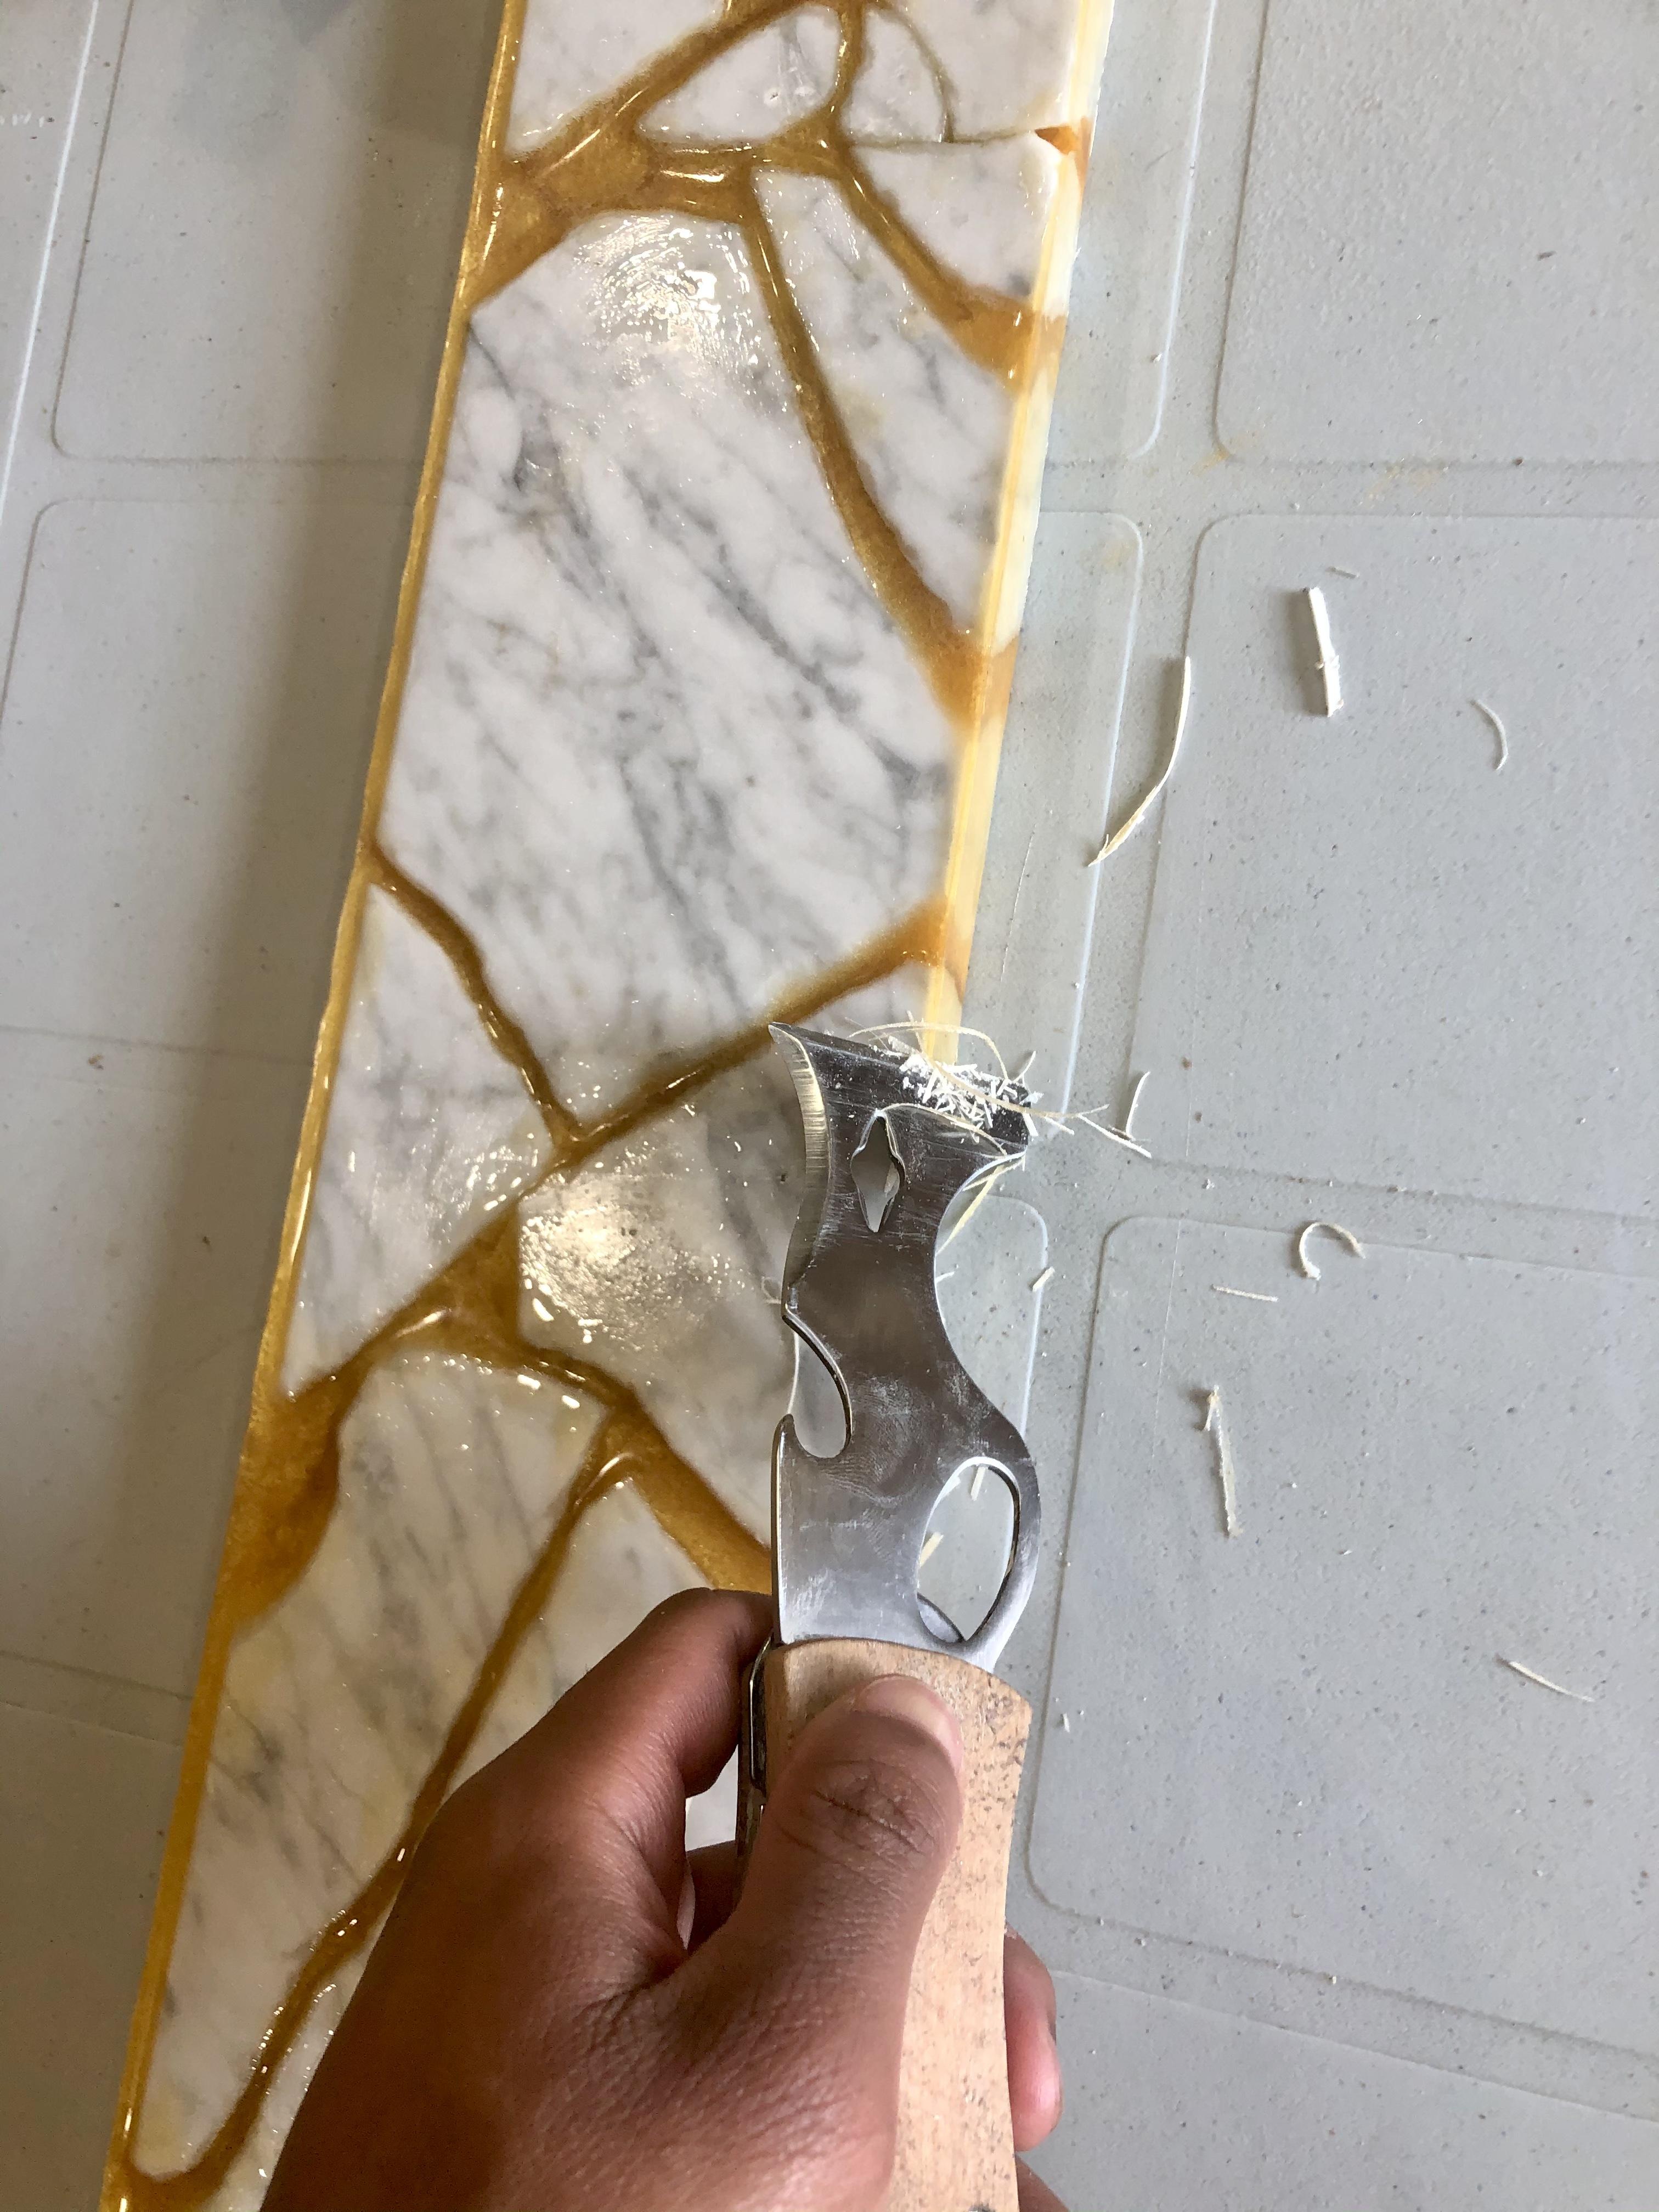

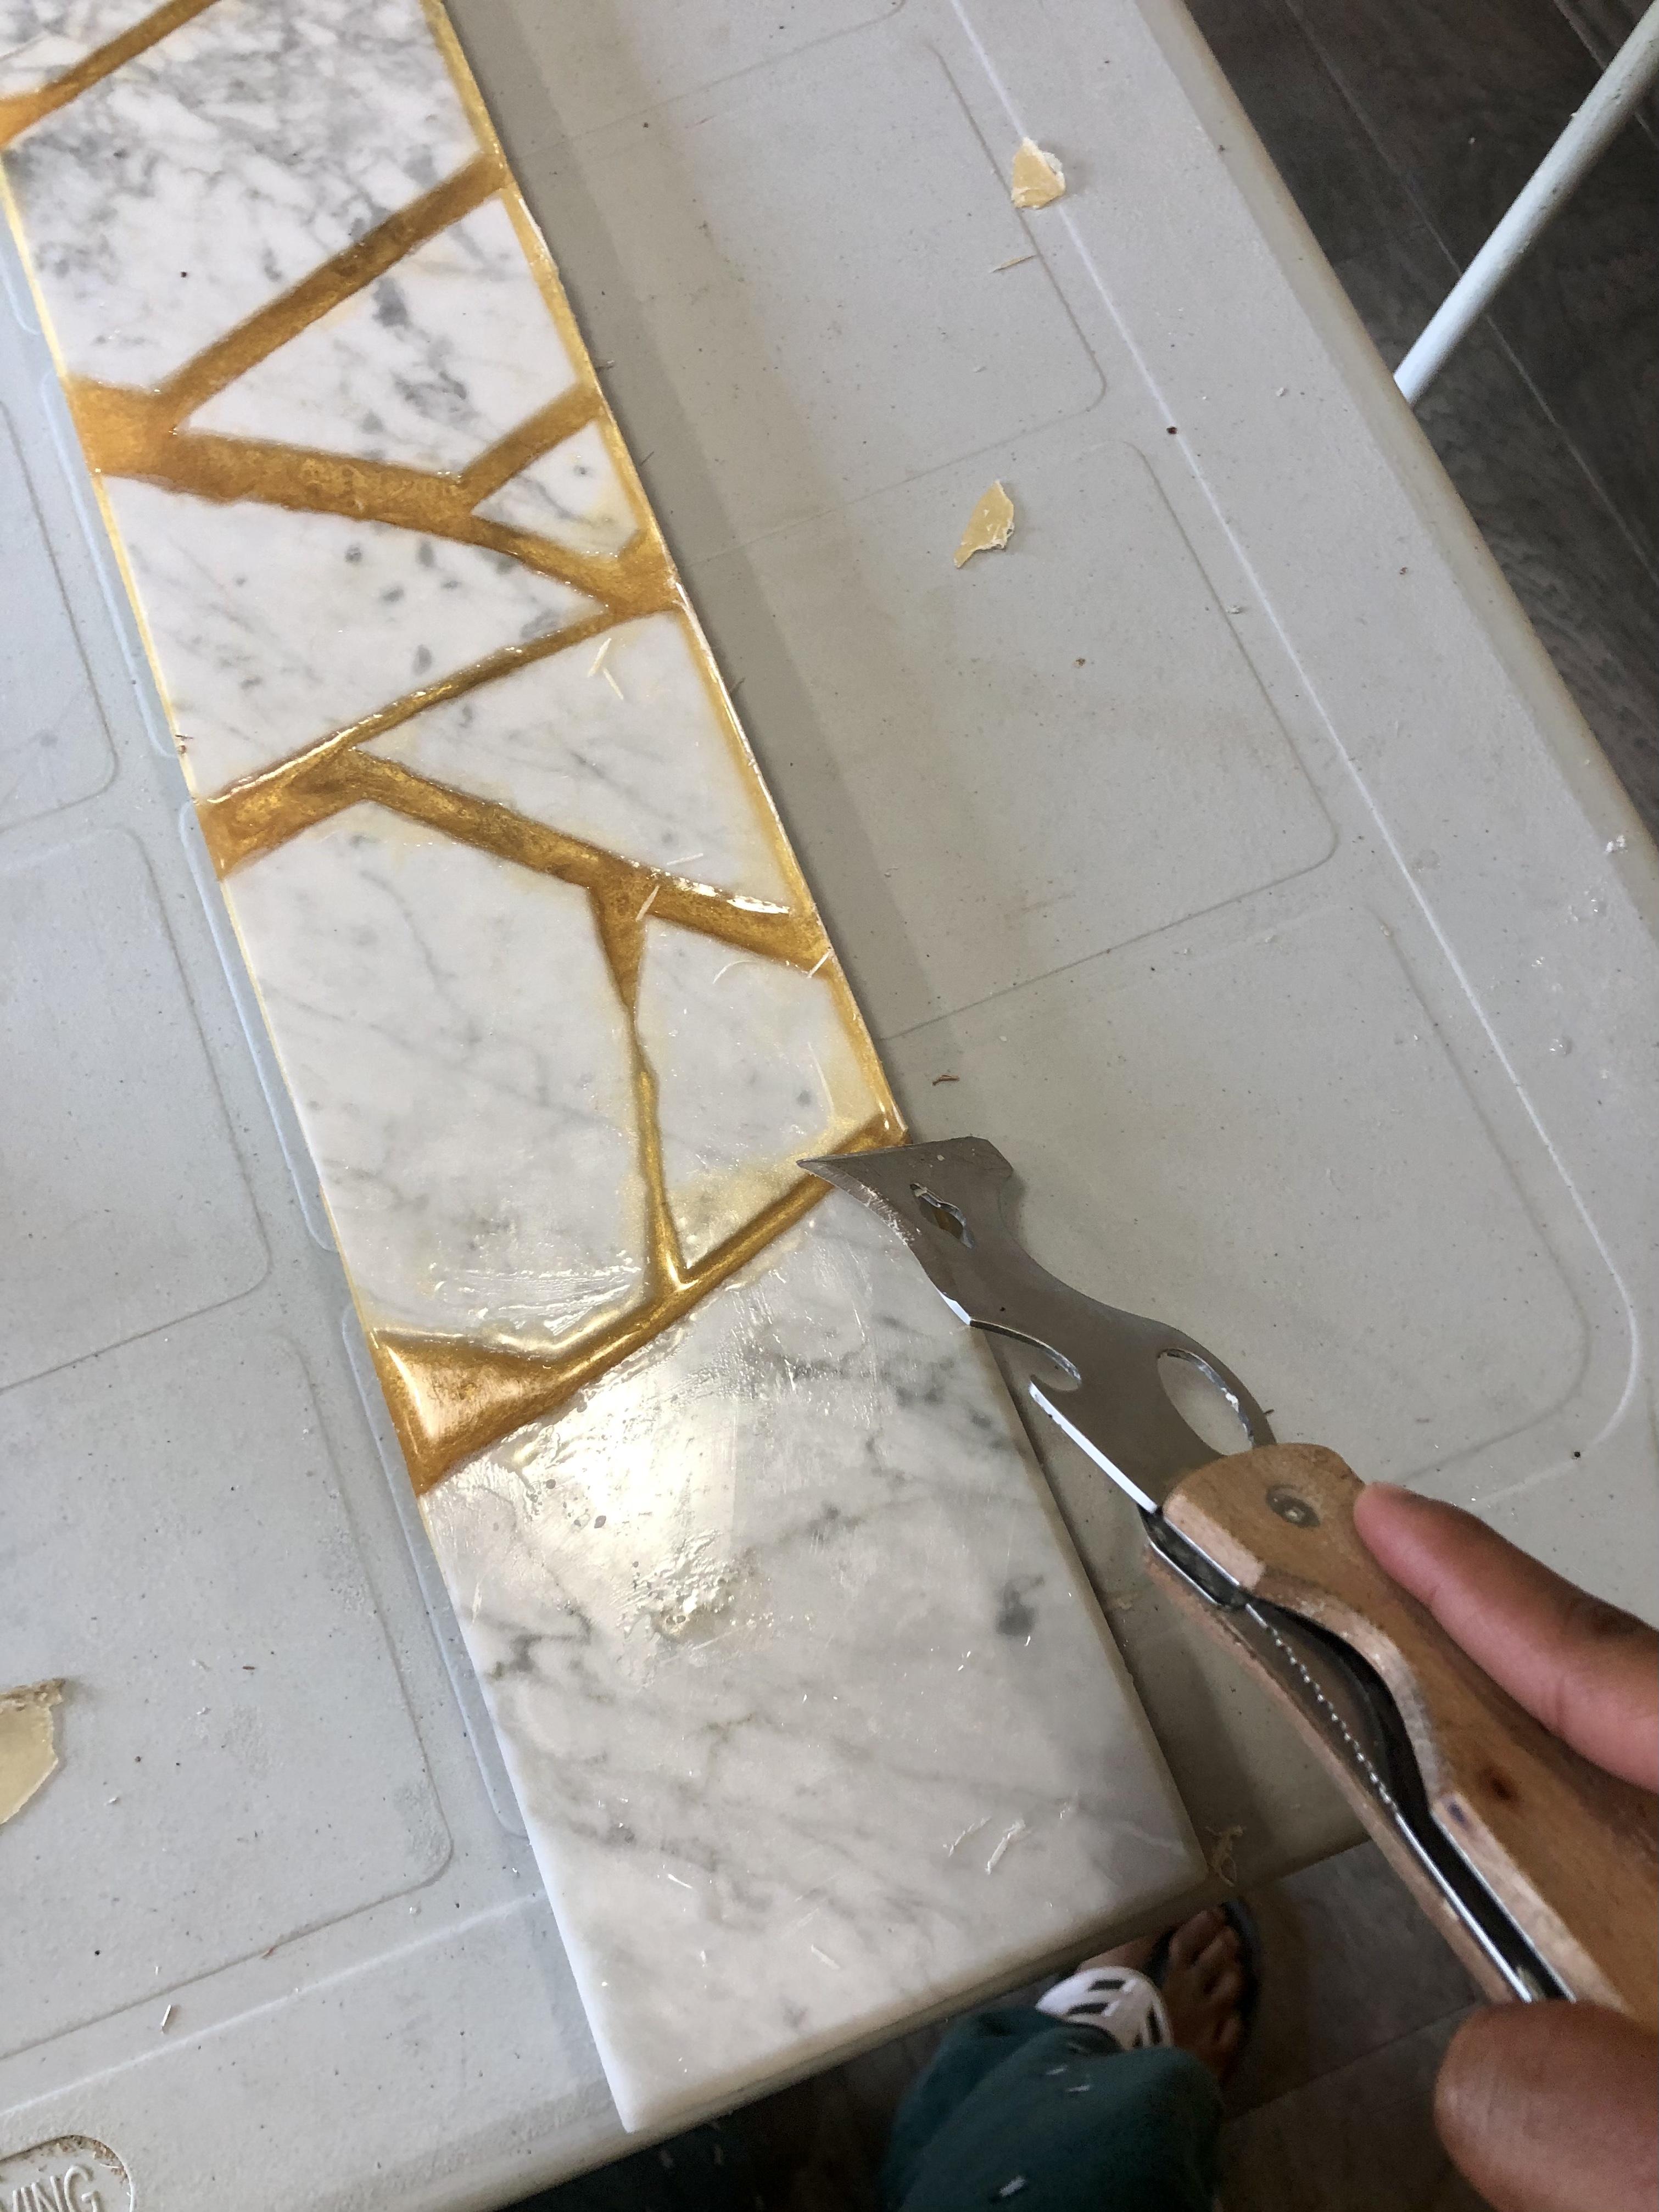
With your putty knife, take off the extra resin that might be on the side or on the top. Don't worry if any scratches are made on the top since we will be taking care of that later. However, try to avoid them as much as you can.
Adding a Bevel (optional)
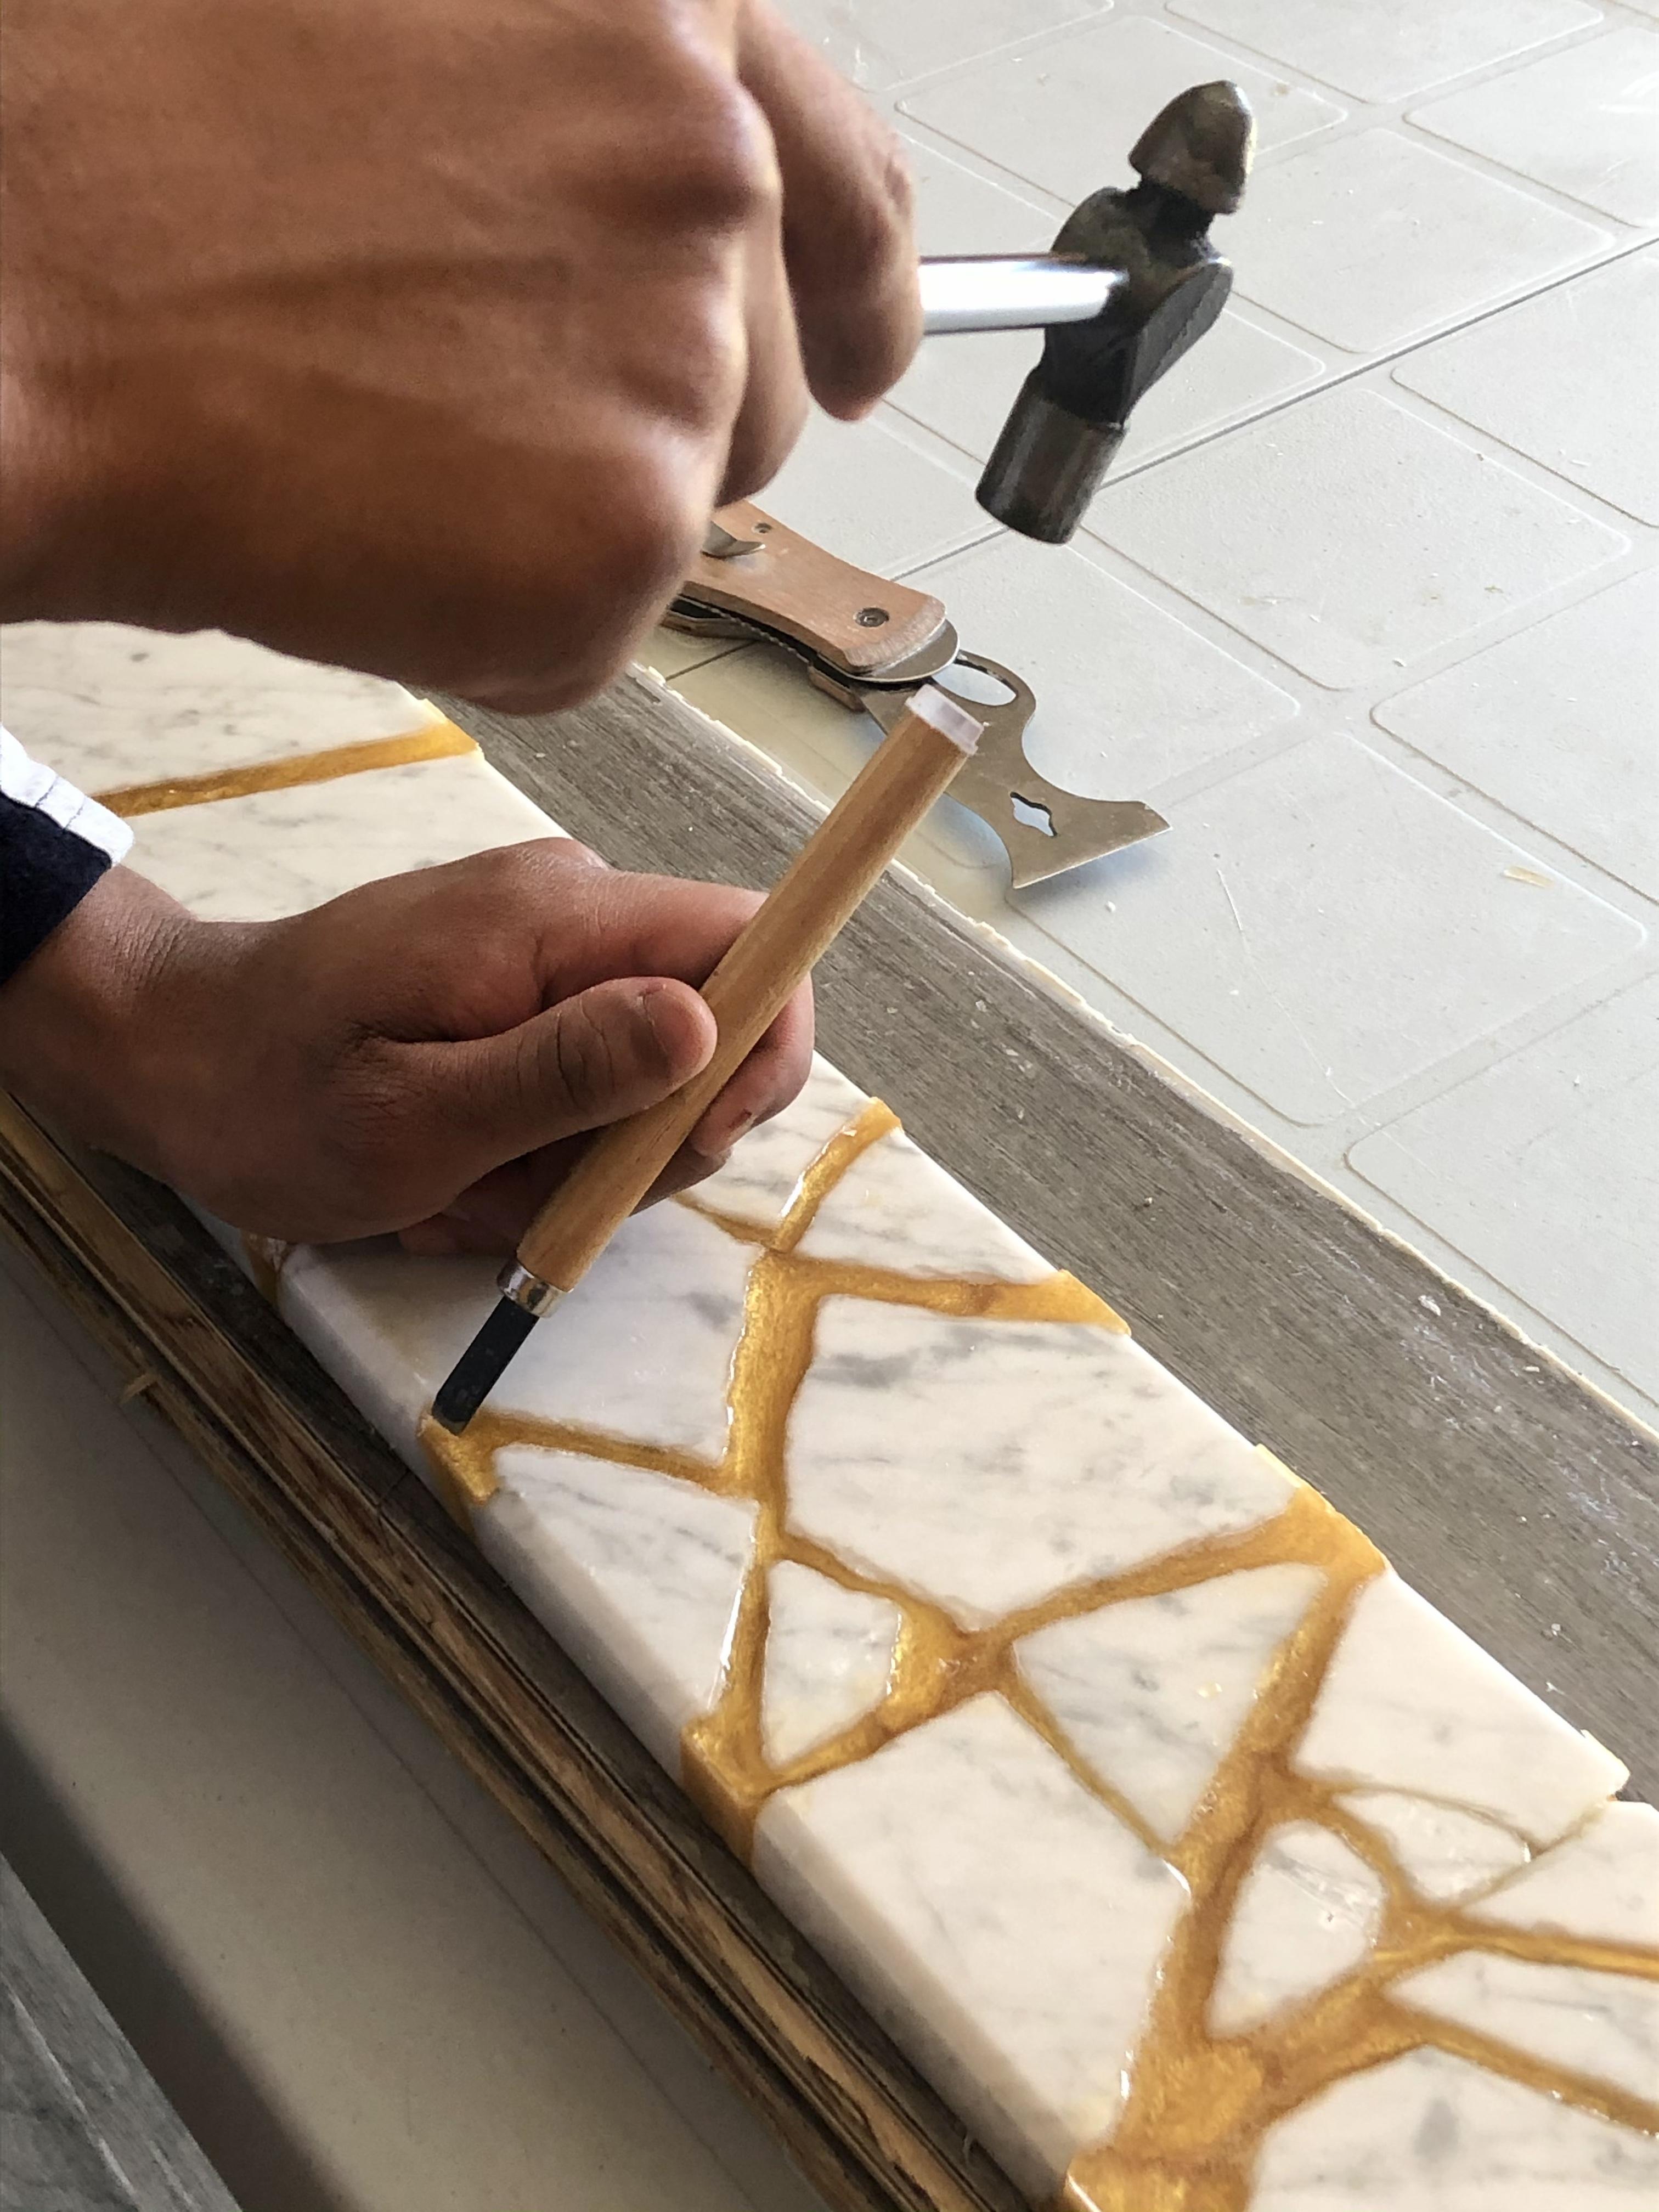
Now my marble slab has a bevel on one side of the marble, but the resin did not and that really made things ugly. So I decided to take a small craft chisel and hammer to slowly add a bevel to any sharp corners. This process is very time-consuming and tedious but the end product is really worth it.
In order to smooth the bevels, take sandpaper and smoothen them. Remember to wipe the bevel or else the dust will look ugly after the next step.
Adding a Top Coat


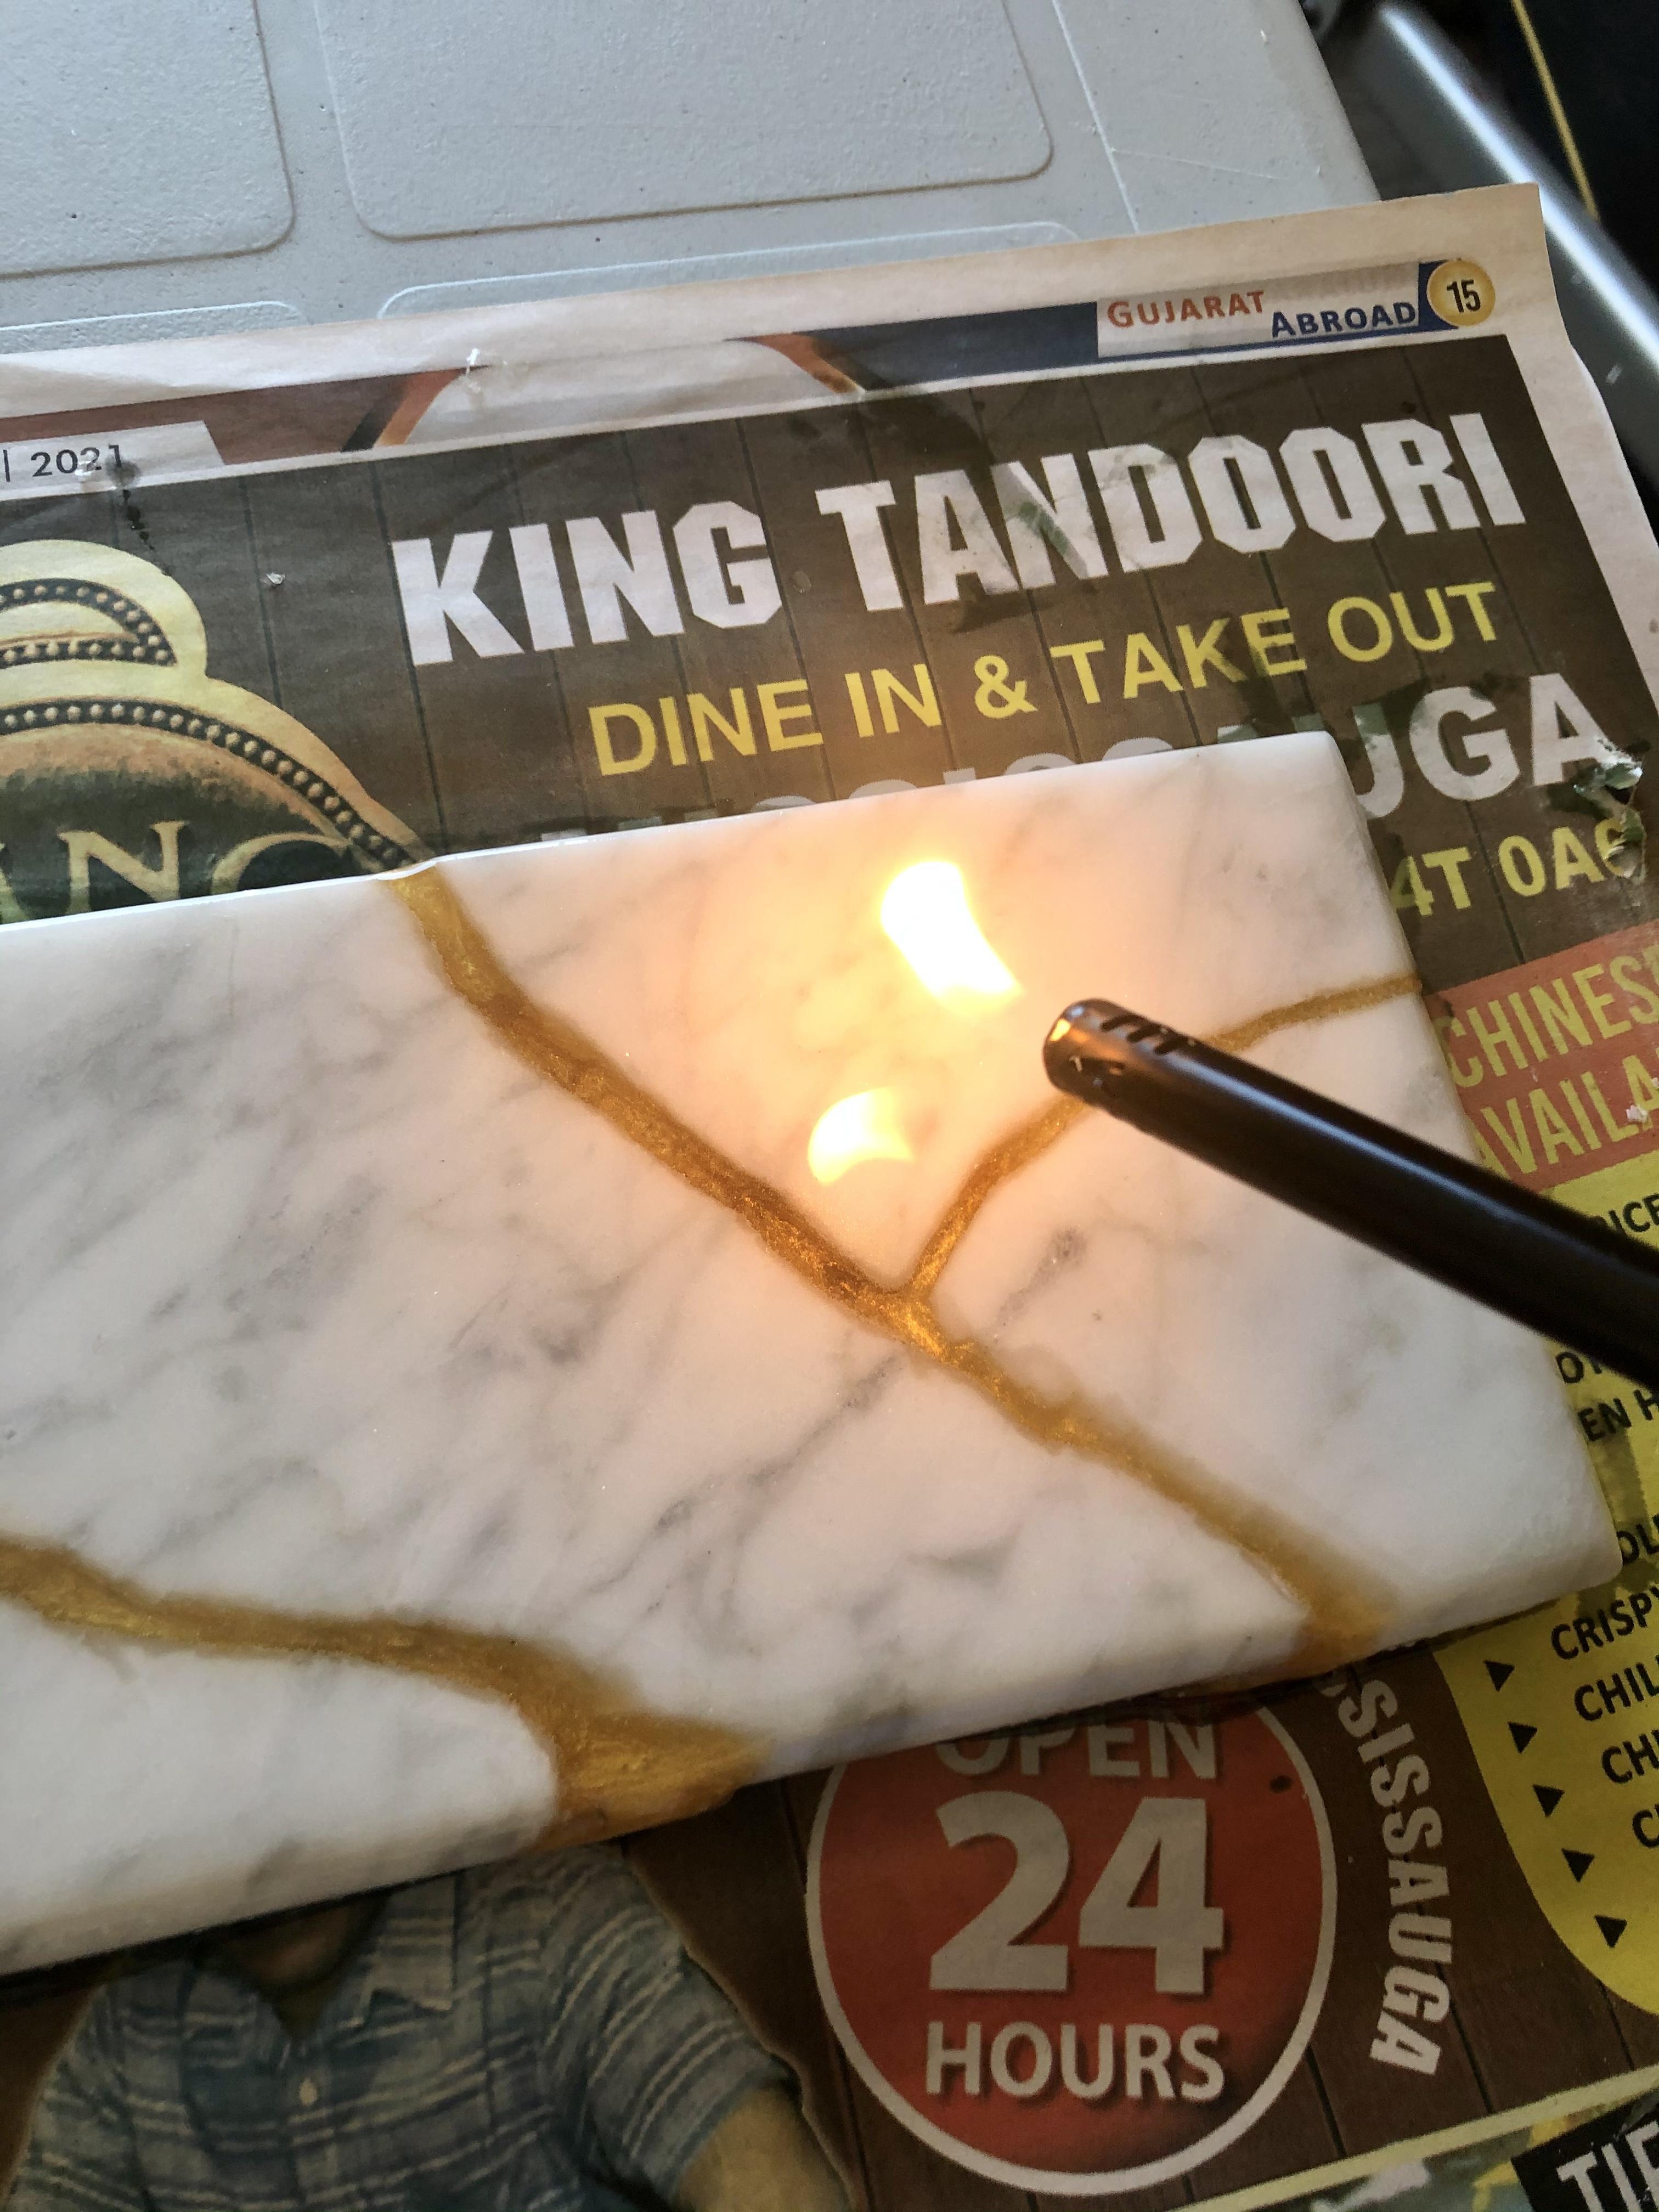
In this step, we will encase the marble/resin slab in a thin coat of clear resin. Mix another batch of resin but this time it should be clear. This will be brushed on top of the piece so you don't need to worry about making another mold. Wipe your piece with a damp cloth to remove any dust and debris. Cover your table with newspaper to protect it from the resin.
Gently brush on the clear coat with a paintbrush on the top and the side. Make sure to pop the bubbles with the blow torch and wait for another 3 days to allow the resin to harden.
Final Touches
Remove the newspaper from underneath and scrape off any stuck on with your putty knife. Inspect your piece for any resin that sticks out or if it needs more resin. Feel free to brush on another clear coat if needed.
Ta-dah!

Congratulations, you have finished your kintsugi art and it looks stunning! You can now hang this up on the wall or place it up against a wall to accentuate any spot in your home to make it look more luxurious.
The whole thing worked much better than I thought and I think it looks great. I will definitely try it again with anything else broken inside of my home. I feel that it really symbolizes what Kintsugi stands for.
I have some final tips for you that I wish I had before starting. Number one is to find resin that hardens into a solid plastic. The resin I used hardened really soft and whenever I put it up against the wall, it flexes. Number two is to get a better dye. The mica powder I used is really good however some places the resin is amber. Now, this can be completely my fault as I might not have mixed it properly. Lastly, make sure to have a helper. They are very handy in taking photos or fetching stuff really fast.