Using a Bluetooth Shutter for Making a Stop Motion
by CarolinaHunrichse in Craft > Cardboard
4391 Views, 29 Favorites, 0 Comments
Using a Bluetooth Shutter for Making a Stop Motion


We did this work with my students in art classes. And it gave me an idea! I want it to move!
so instead of a square, i did a circle
For this stop motion we will need.
- magazines (with photos of buildings in it)
- Glue
- scissors
- thin cardboard
- box cardboard
- a photo shutter
-Stop motion studio
- a tripod
- light blue card.
- Gray EVA foam
- 1 skewer
- White paint
-masking tape.
Select the Images


I selected images from magazines that contain buildings, of all sizes. I cut out the images and glued them onto thin cardboard (I used cereal boxes)
For gluing I used the flour and water glue that I use for my paper mache projects. Then I cut out the glued images,
Make the Disc


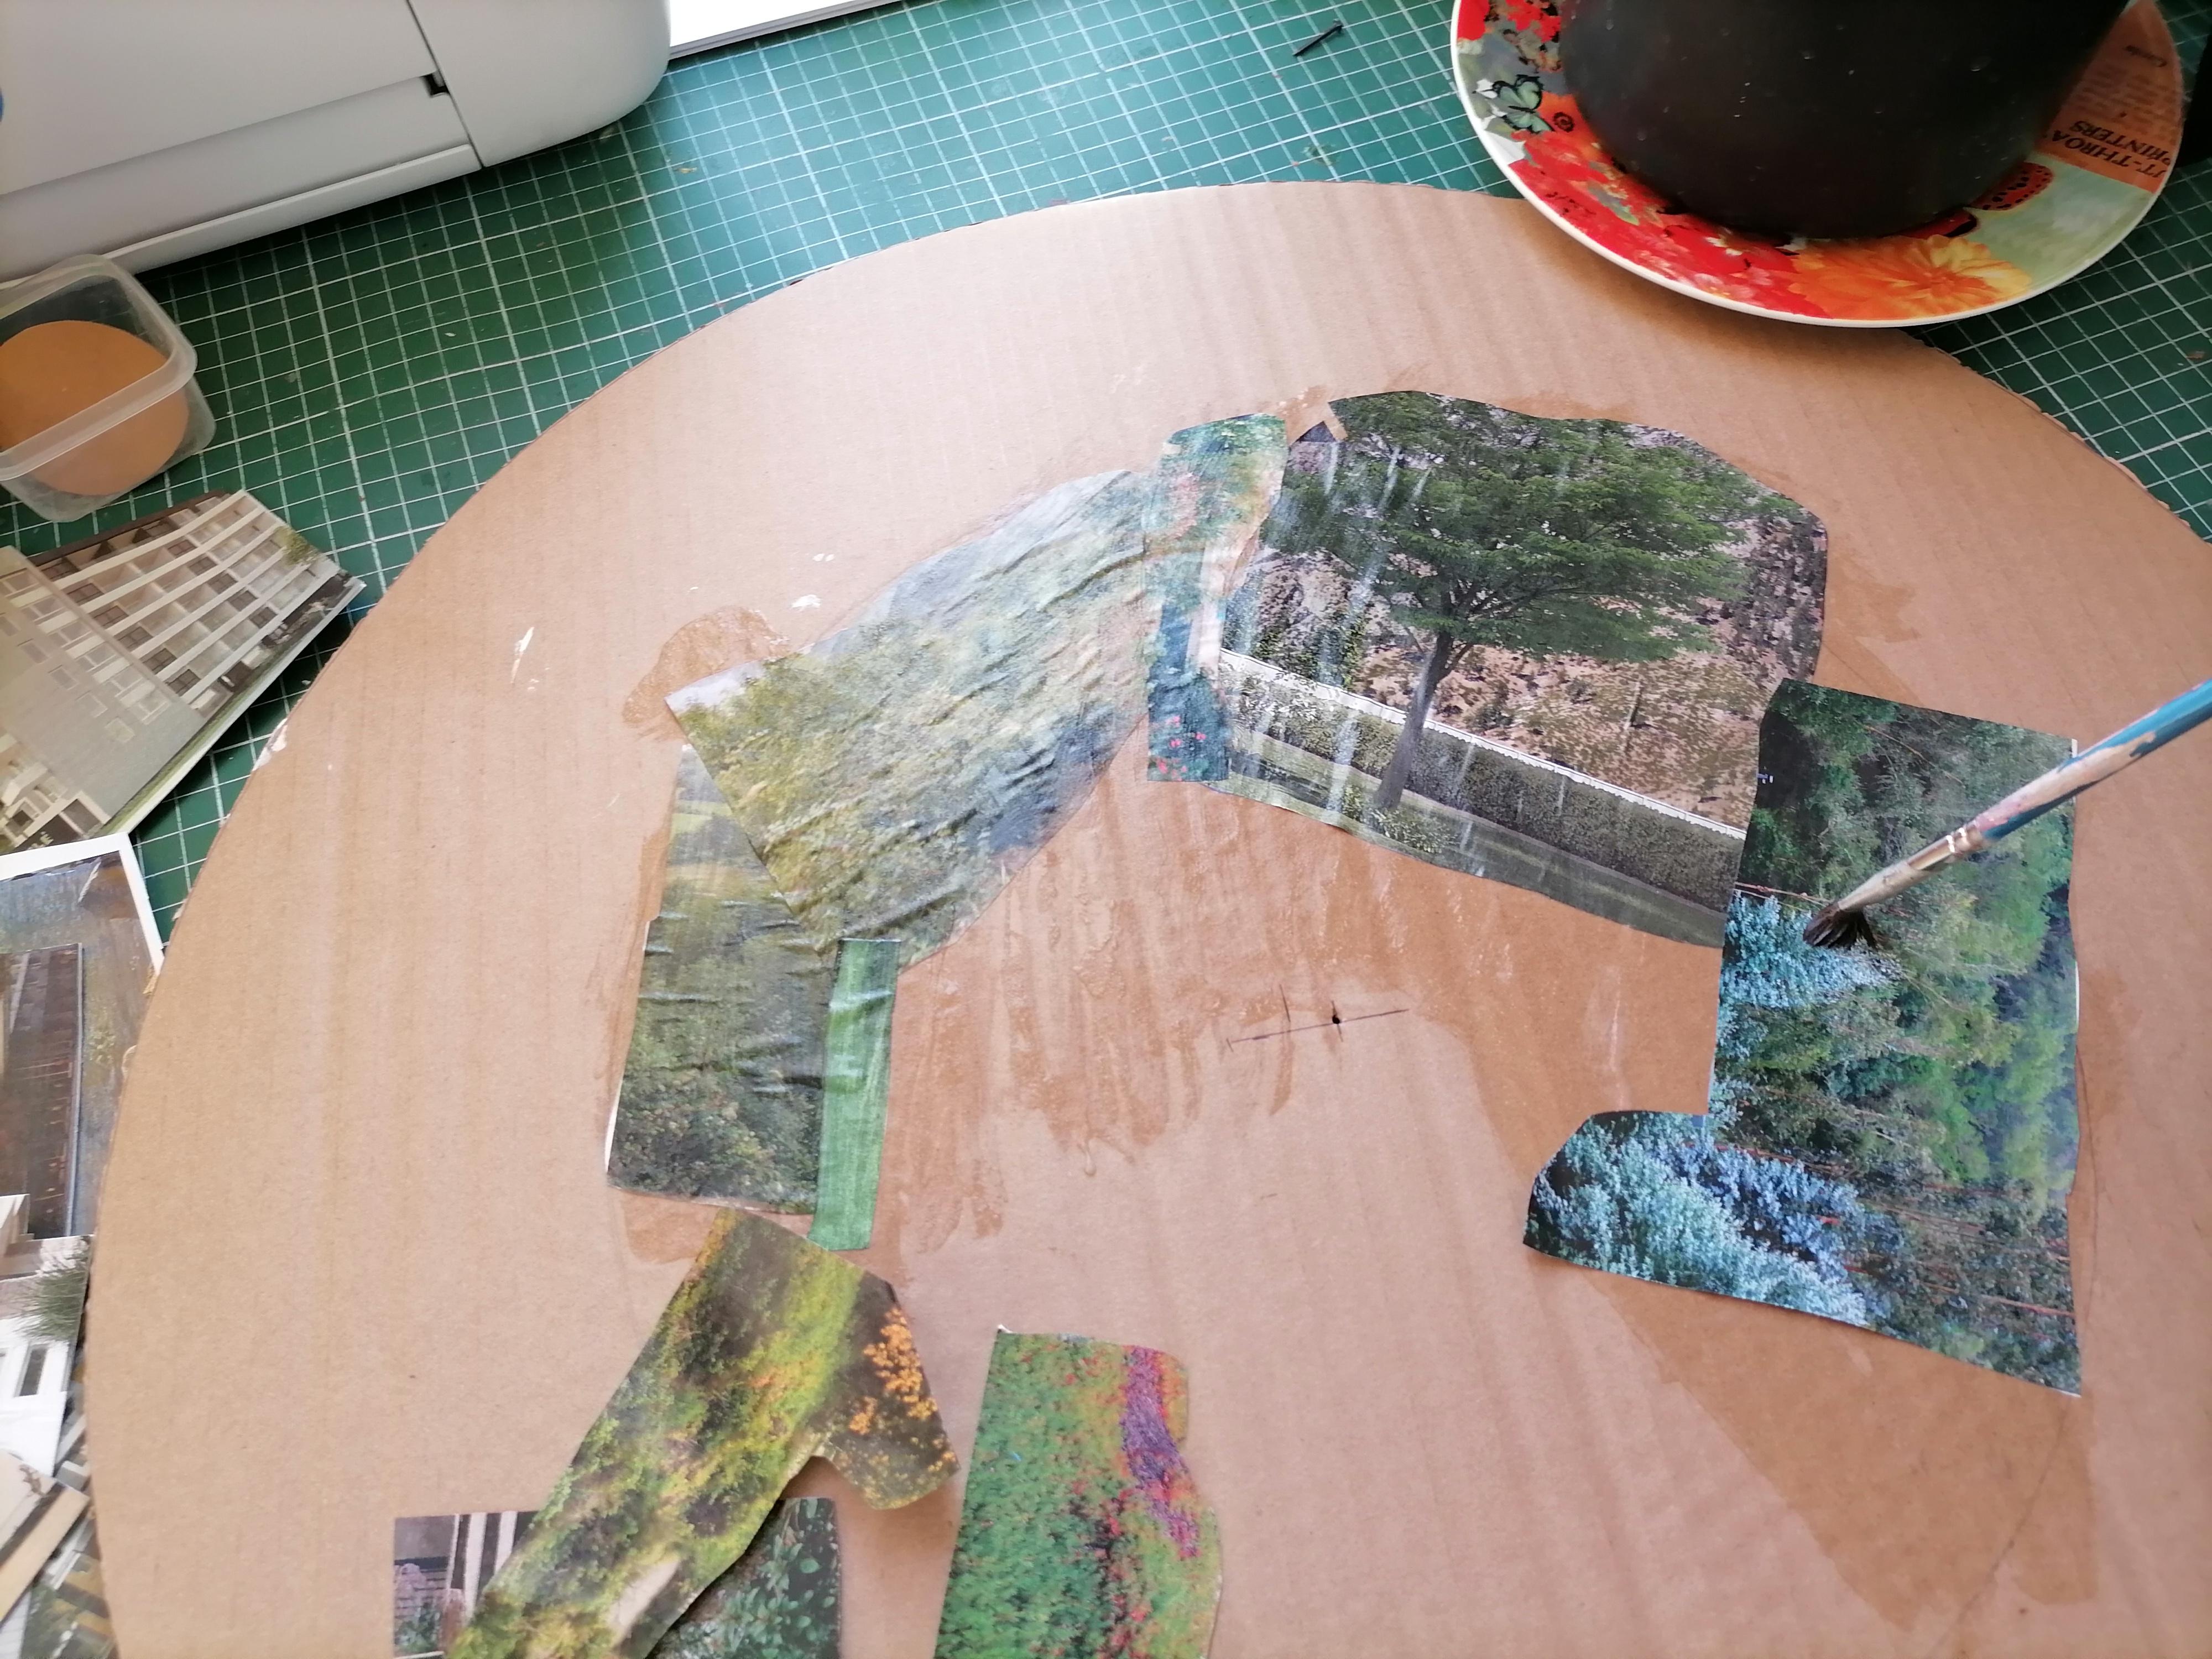


On one side of a very large cardboard box, I cut out a 54 cm circle. This will be the disc that contains the images of buildings.
And then I drew an inner circle of 16 cms. Inside this, I pasted photos of tree and grass textures. I used the same flour and water glue.
Position Your Buildings


In the rest of the big circle, I started to glue the smaller buildings around.
Here I used a stronger glue. I was turning the disk while pasting the cutouts. The center must be very marked so that it rotates.
The Road


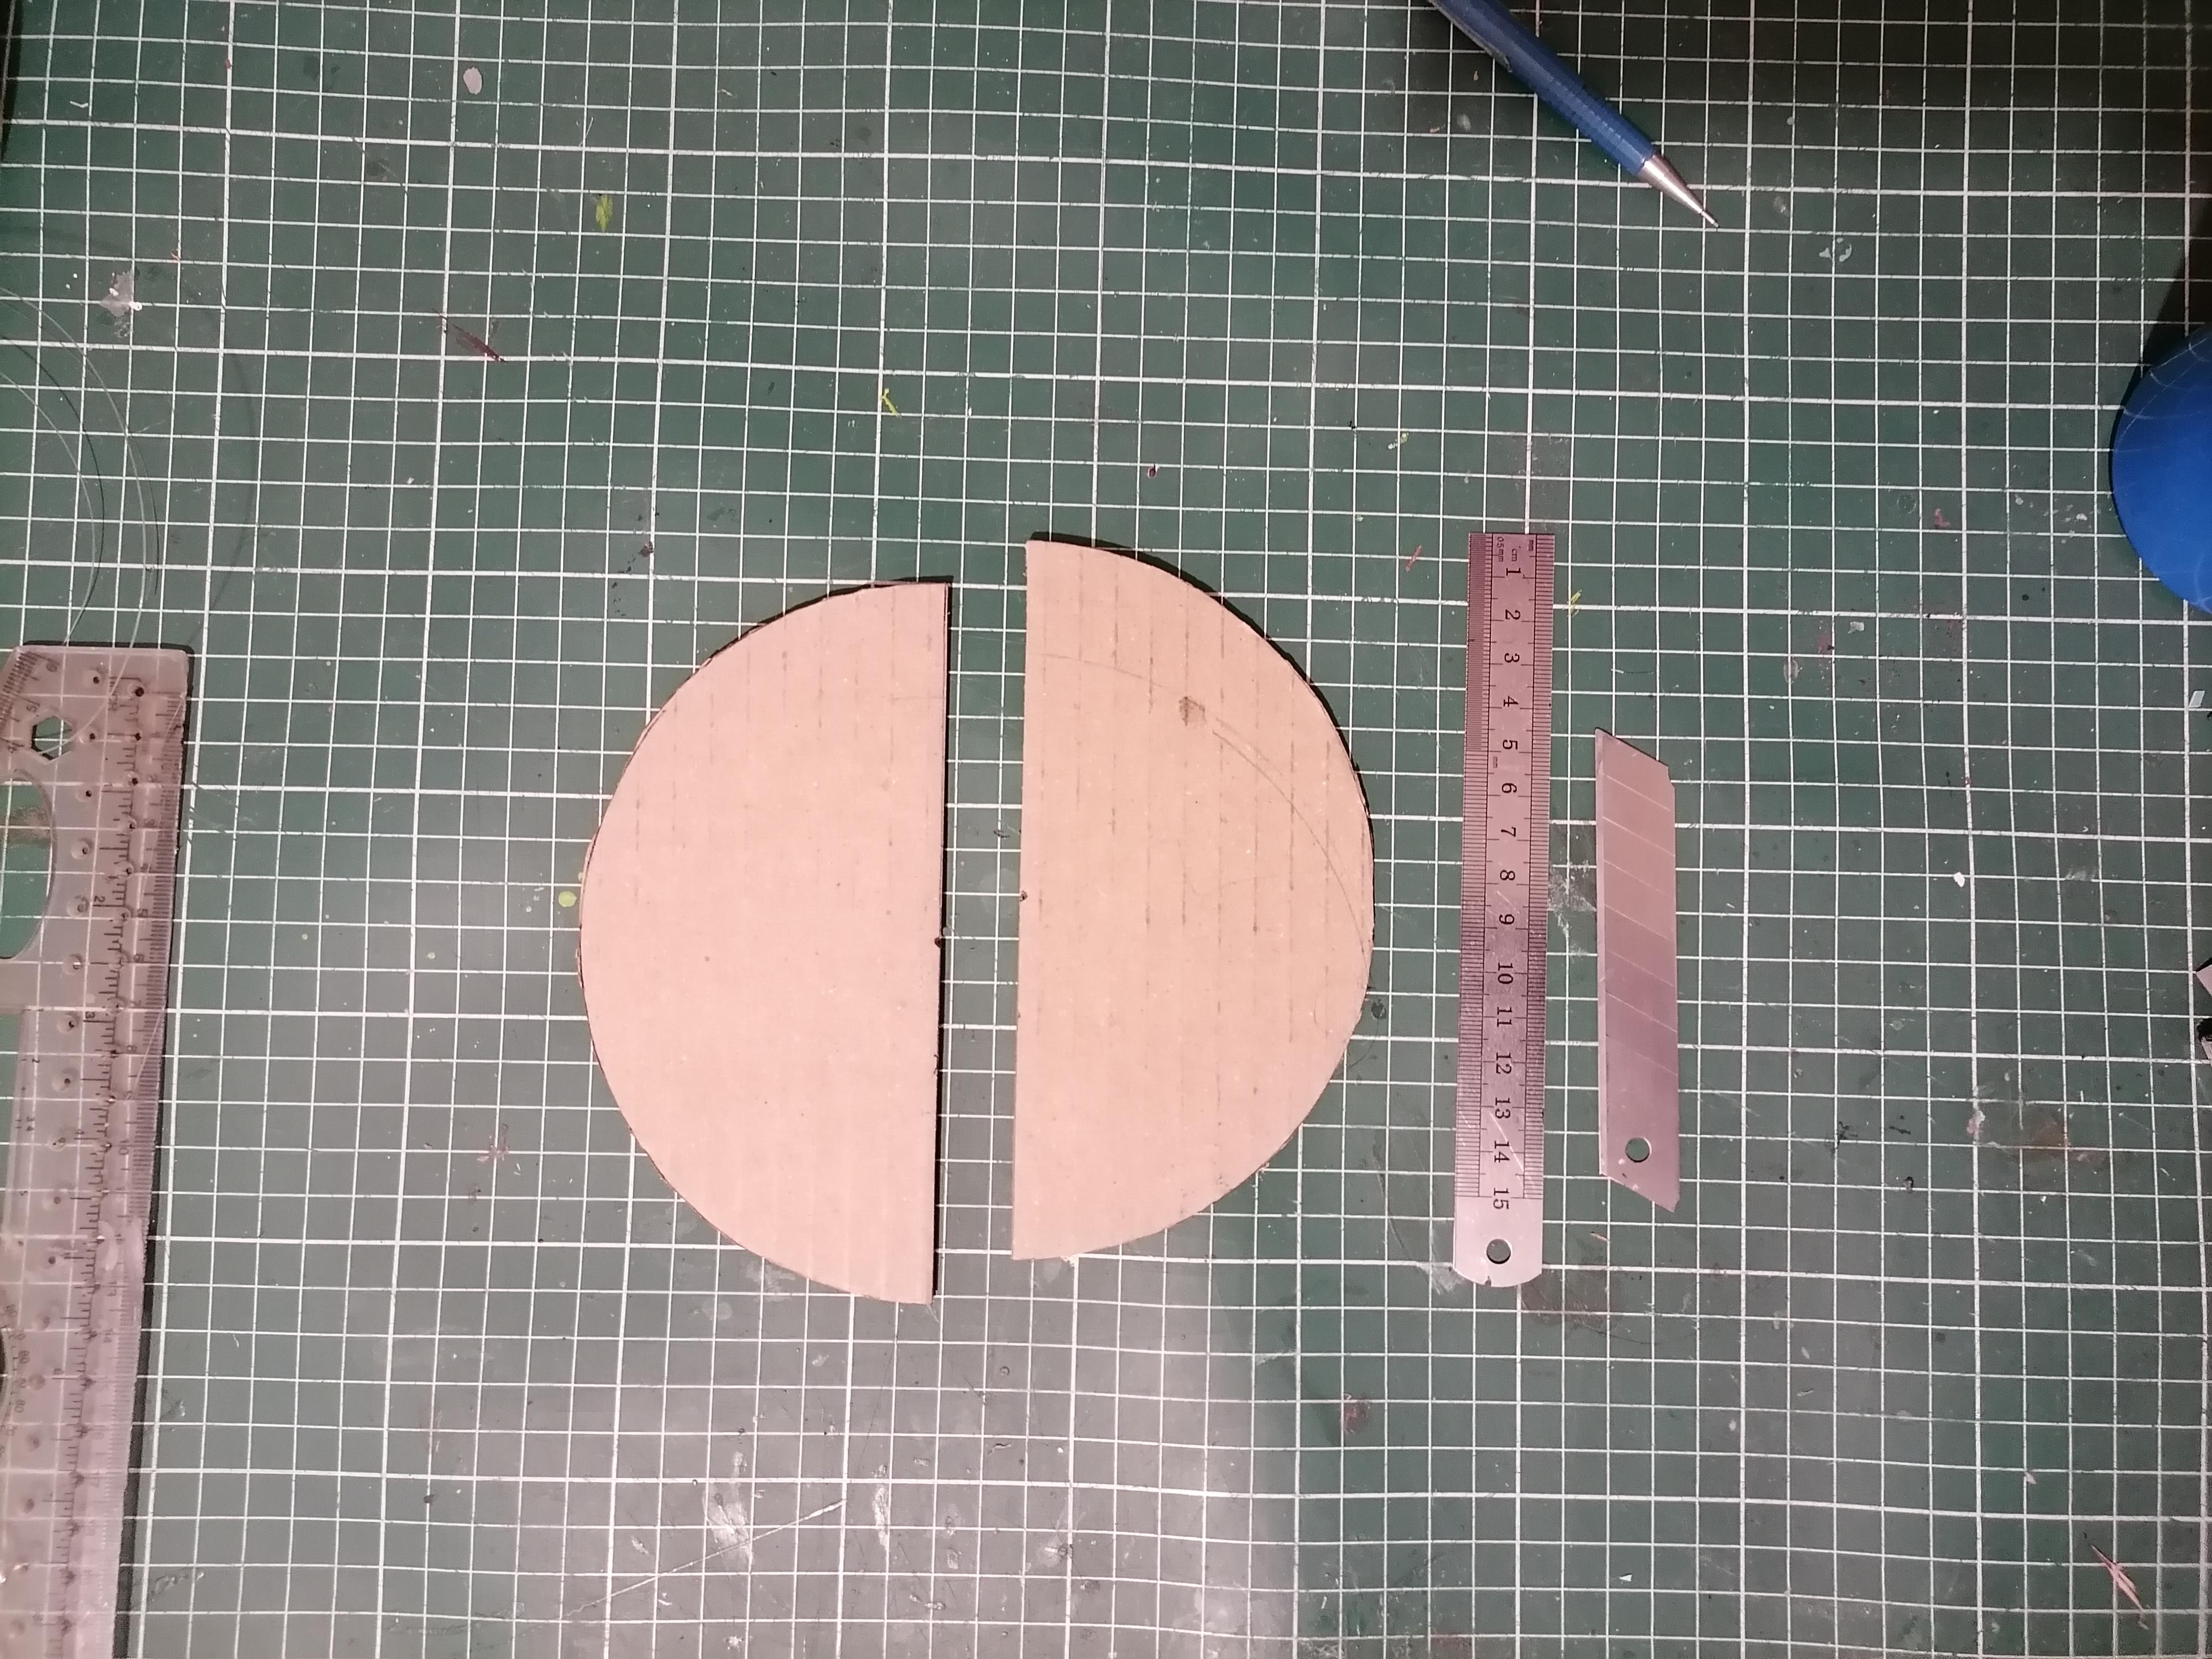


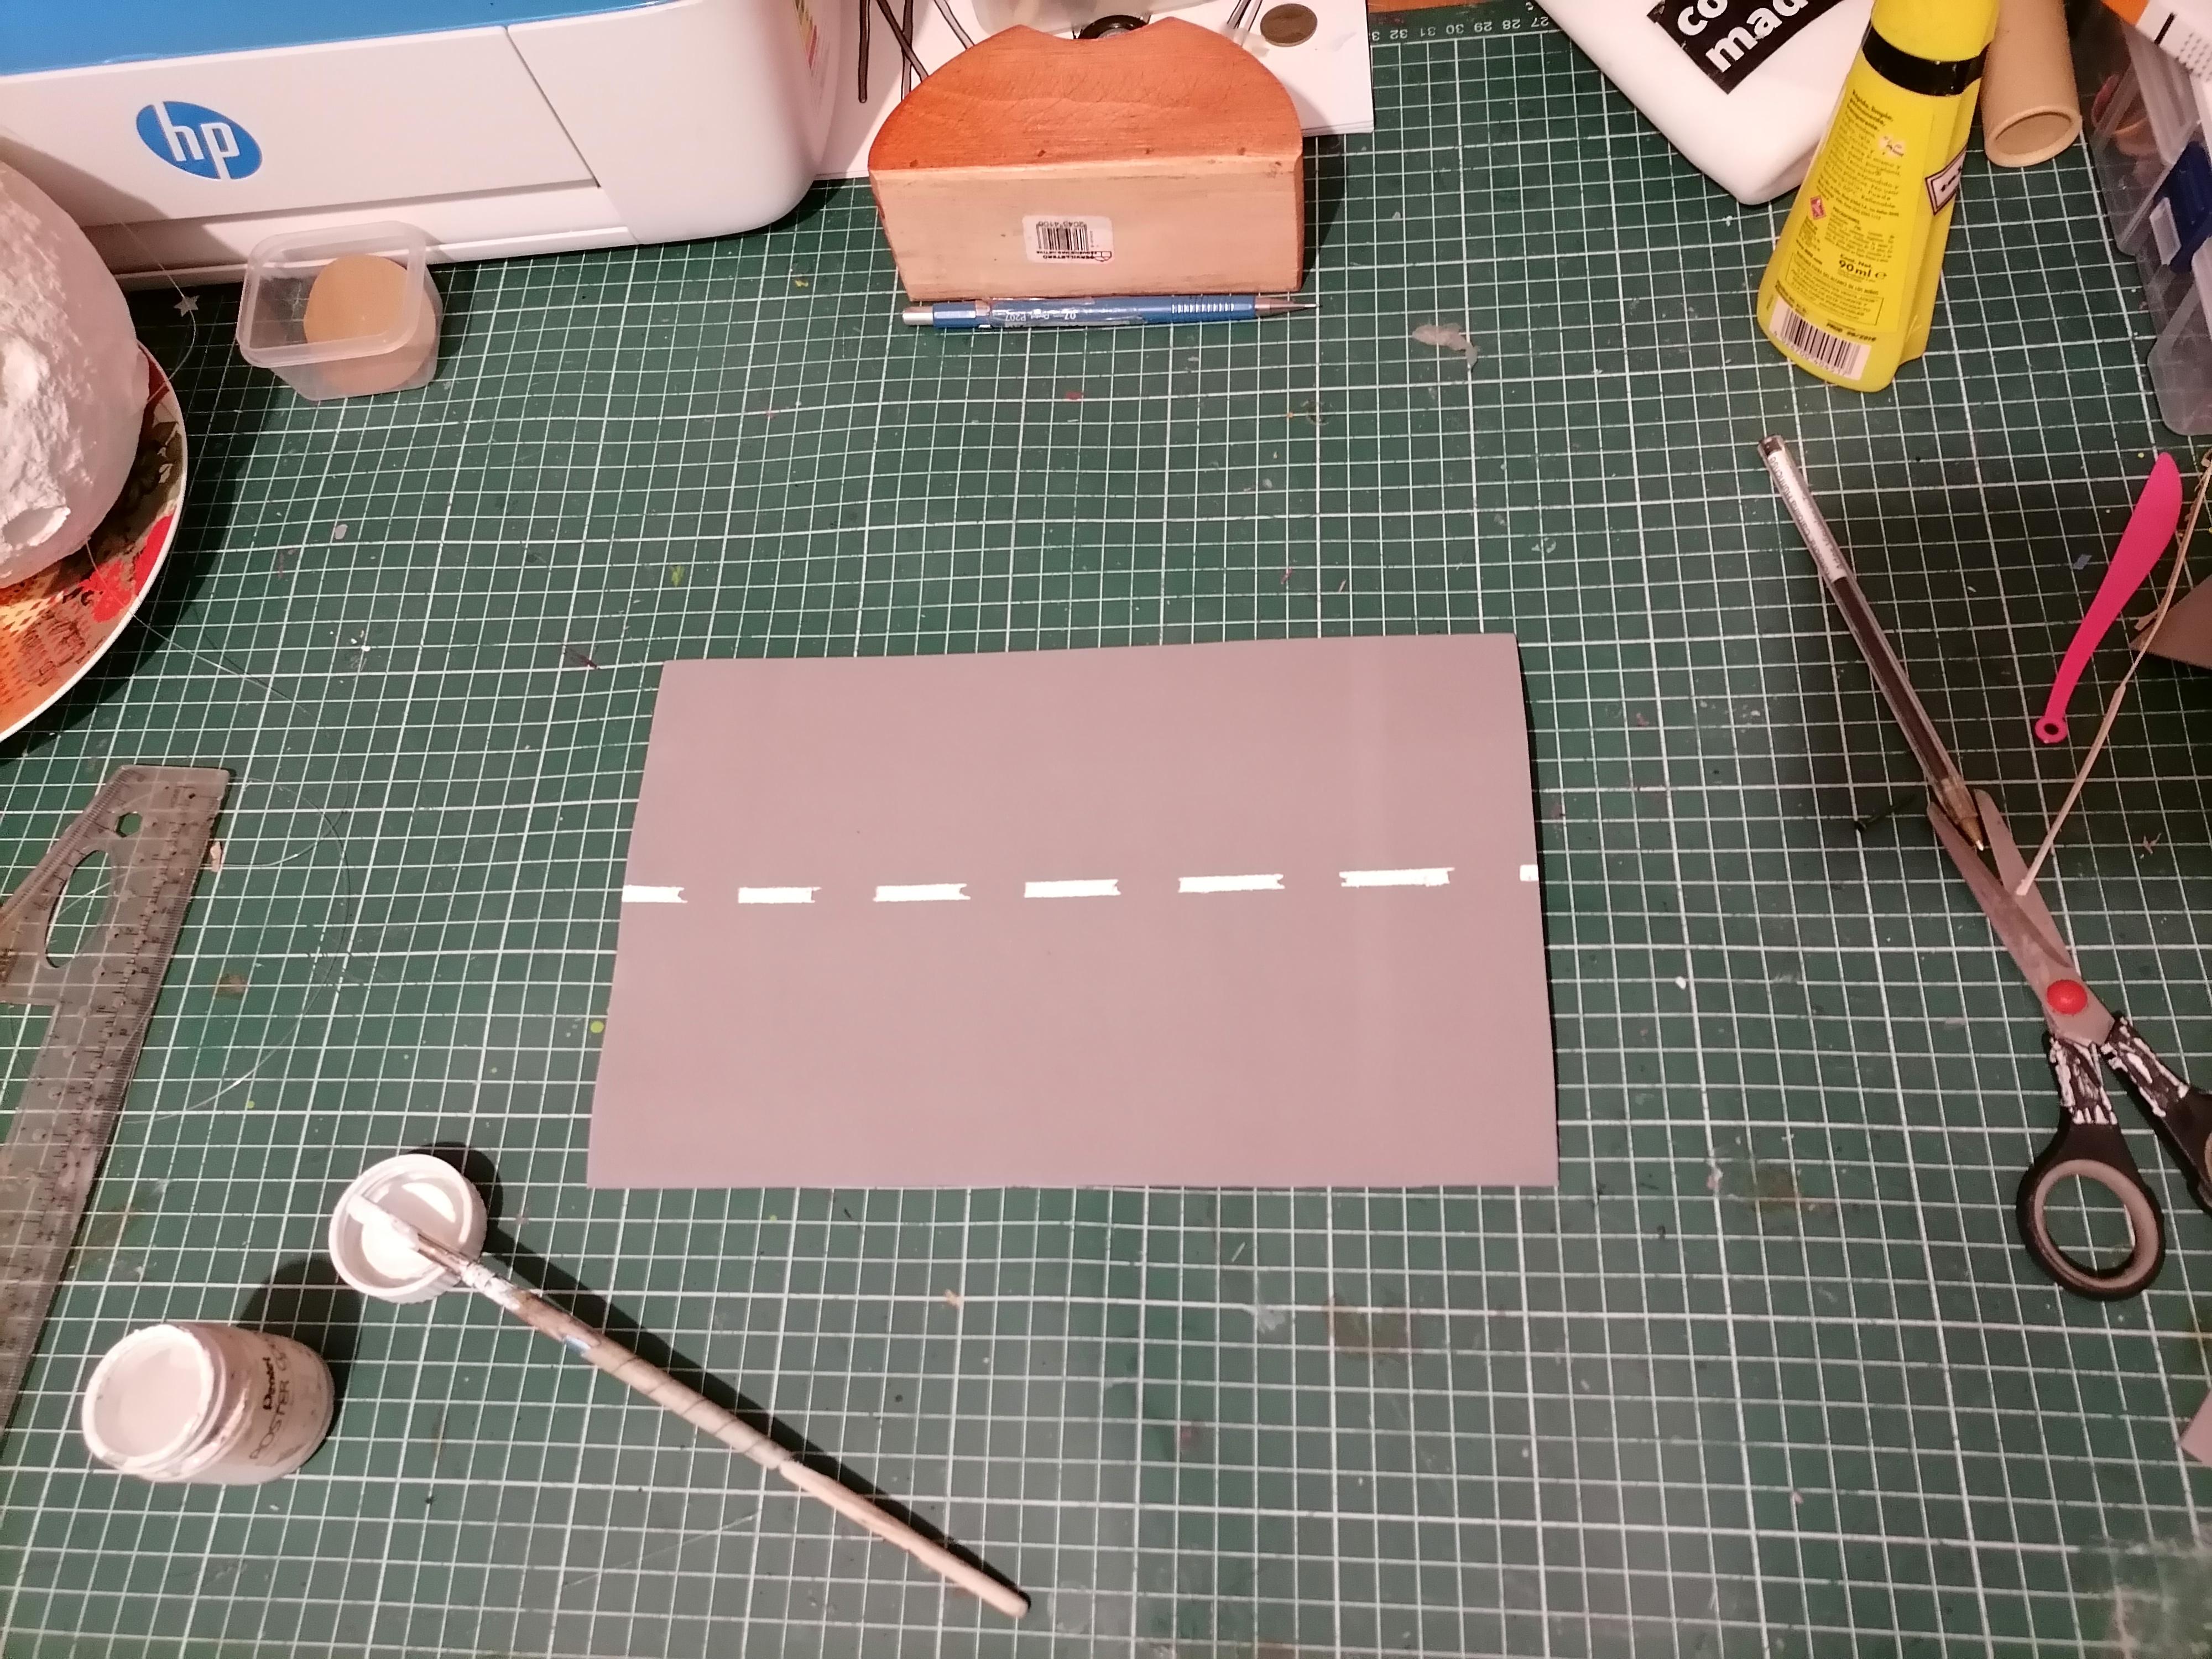

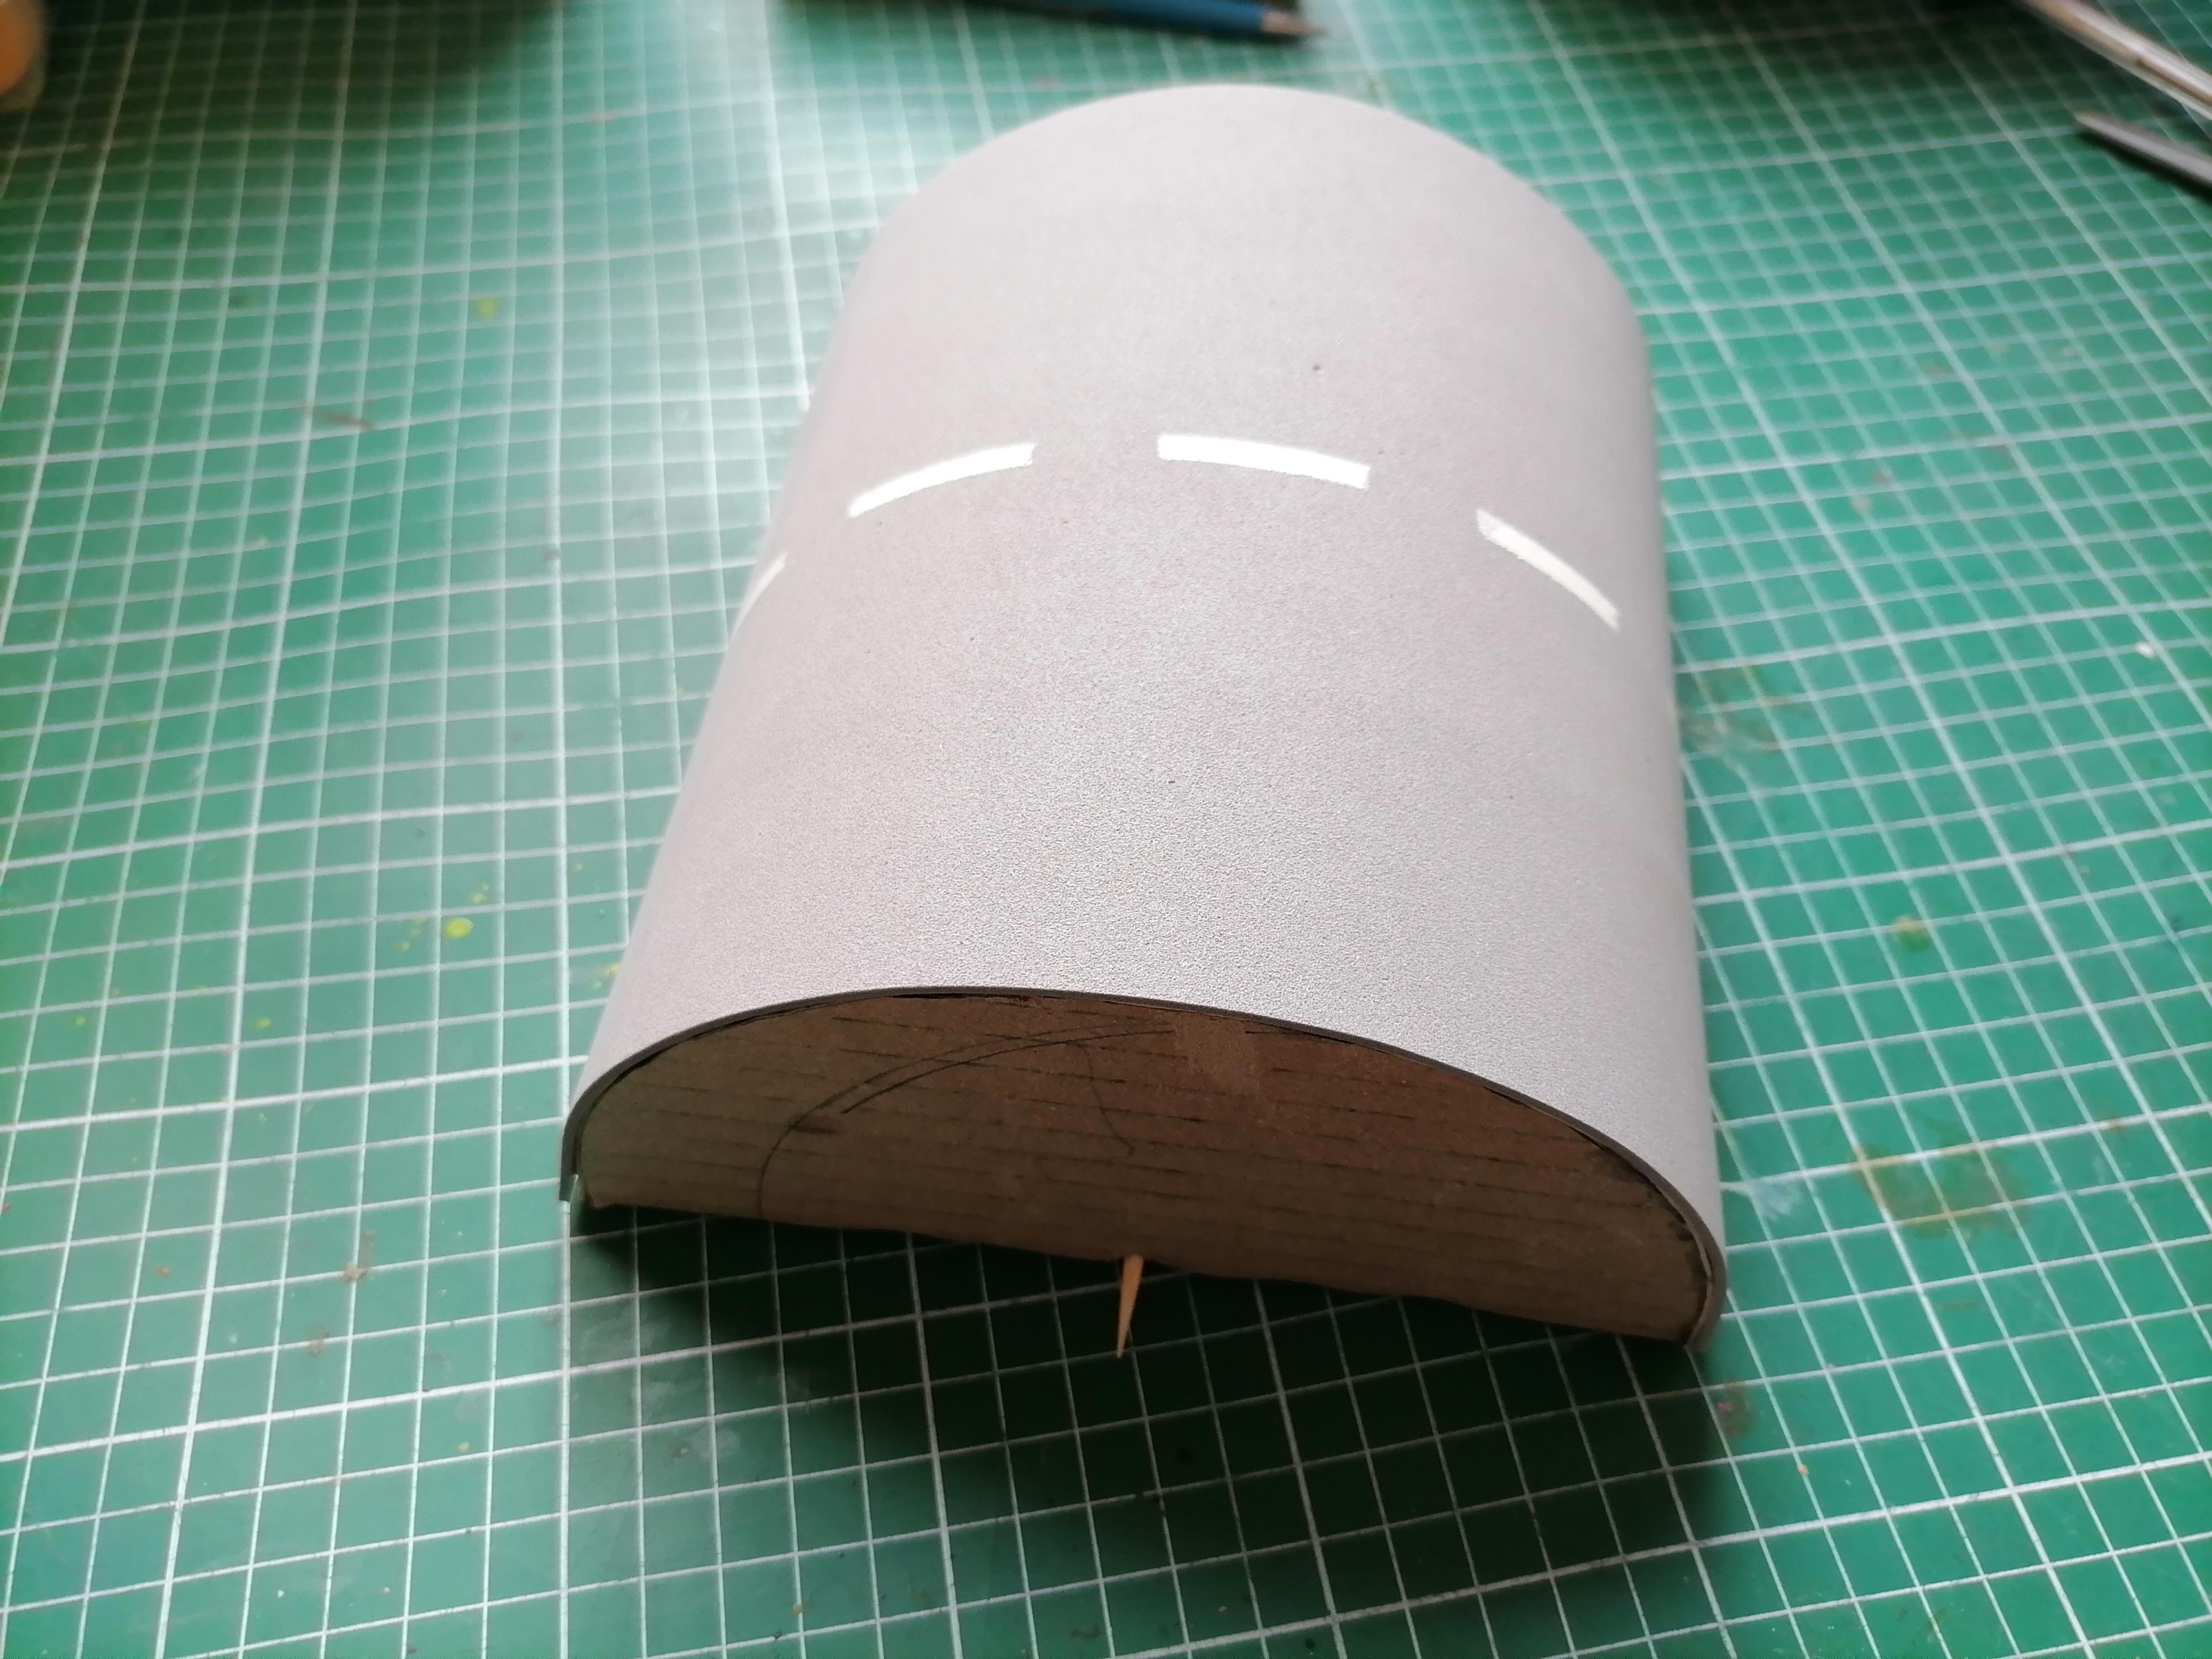
For the base of the little car (yes, this little car will be the protagonist of the story) I cut a 16 cm disc. box cardboard and cut it in half.
I also used some thin cardboard to surround the semi disks. On a piece of foam, I glued masking tape to make a stencil and painted the "road" lines white. I took advantage of the inside of the cardboard to cross a skewer.
Using the Stop Motion Studio App With the Shutter


For the set, I used a table next to the wall. I glued on a light blue cardstock for the background. And I put the "road" on the table, used the skewer as an axis to turn the big disk.
- To make the scene, I had to take a photo, move the disk and take another photo, this is made difficult if you have to touch the screen for each photo. To solve this, I used a shutter connected to the phone's bluetooth, so I moved the disc with one hand, and with the other I took the picture.
The Movie

- Finally, the movie is saved in the program and can be shared on social media