Stop Motion Printable | How to Make Friends at Home!
4098 Views, 21 Favorites, 0 Comments
Stop Motion Printable | How to Make Friends at Home!
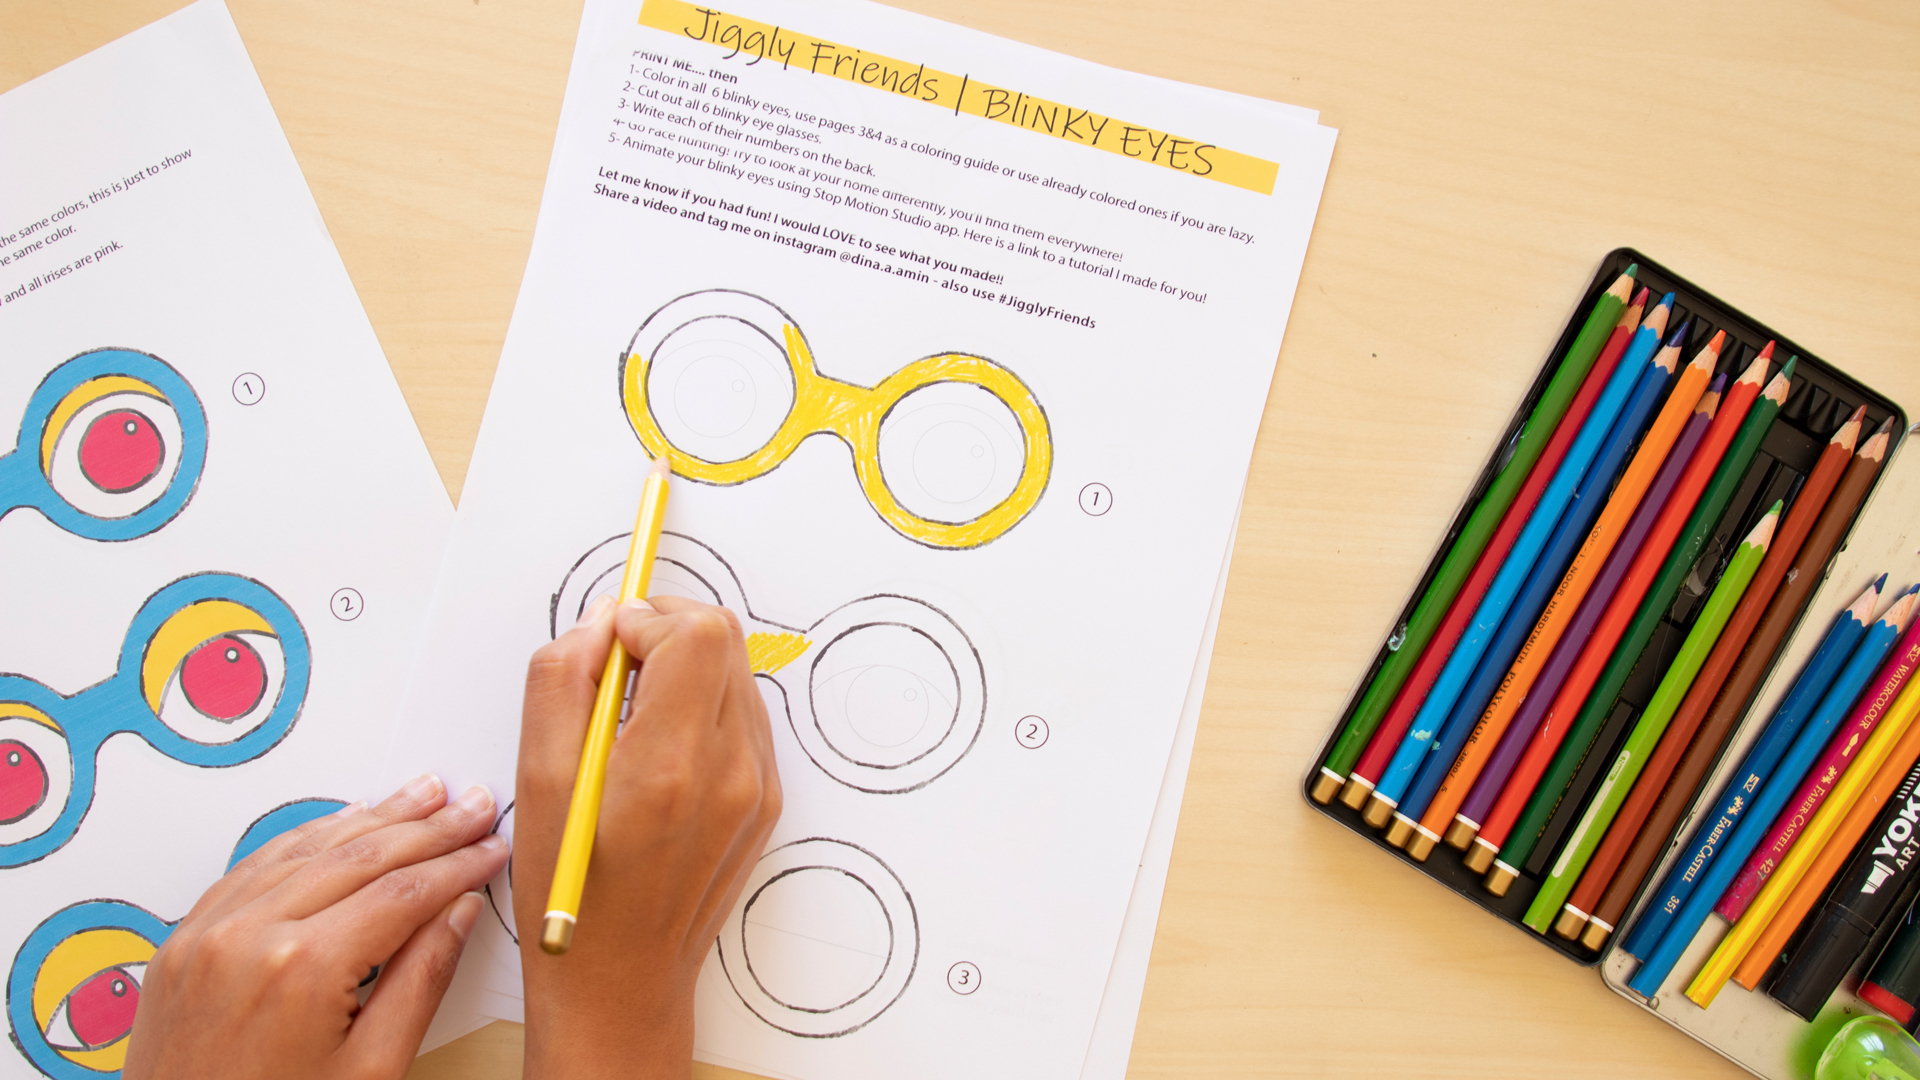
Hello! In this instructable you'll learn how to make replacement stop motion animation. Get creative and have some fun around the house. It's a fun activity to do with your kids, all even on your own. I'll show you how to use things around the house to make fun animations and make Jiggly Friends!
Ps. I also translated this video into Arabic as well.
Supplies
You'll need:
1- Print out the free printable I have prepared for you, you can download it here: https://www.dinaaamin.com/jiggly-friends
2- Download an app called stop motion studio. It’s available for free on IOS and Andriod. There is a paid version with extra features, but we wont need that.
3- Color Pens or pencils
4- Scissors
5- Tape or Blu tack to temporary stick things
6- A phone or tablet
7- A phone tripod, if you don't I show you in the video how to use things around the house like a toilet paper roll to create one.
8- Earphones (optional) you can use earphones as a remote to trigger your phone camera so that you don't touch your phone while animating.
These Are Jiggly Friends!
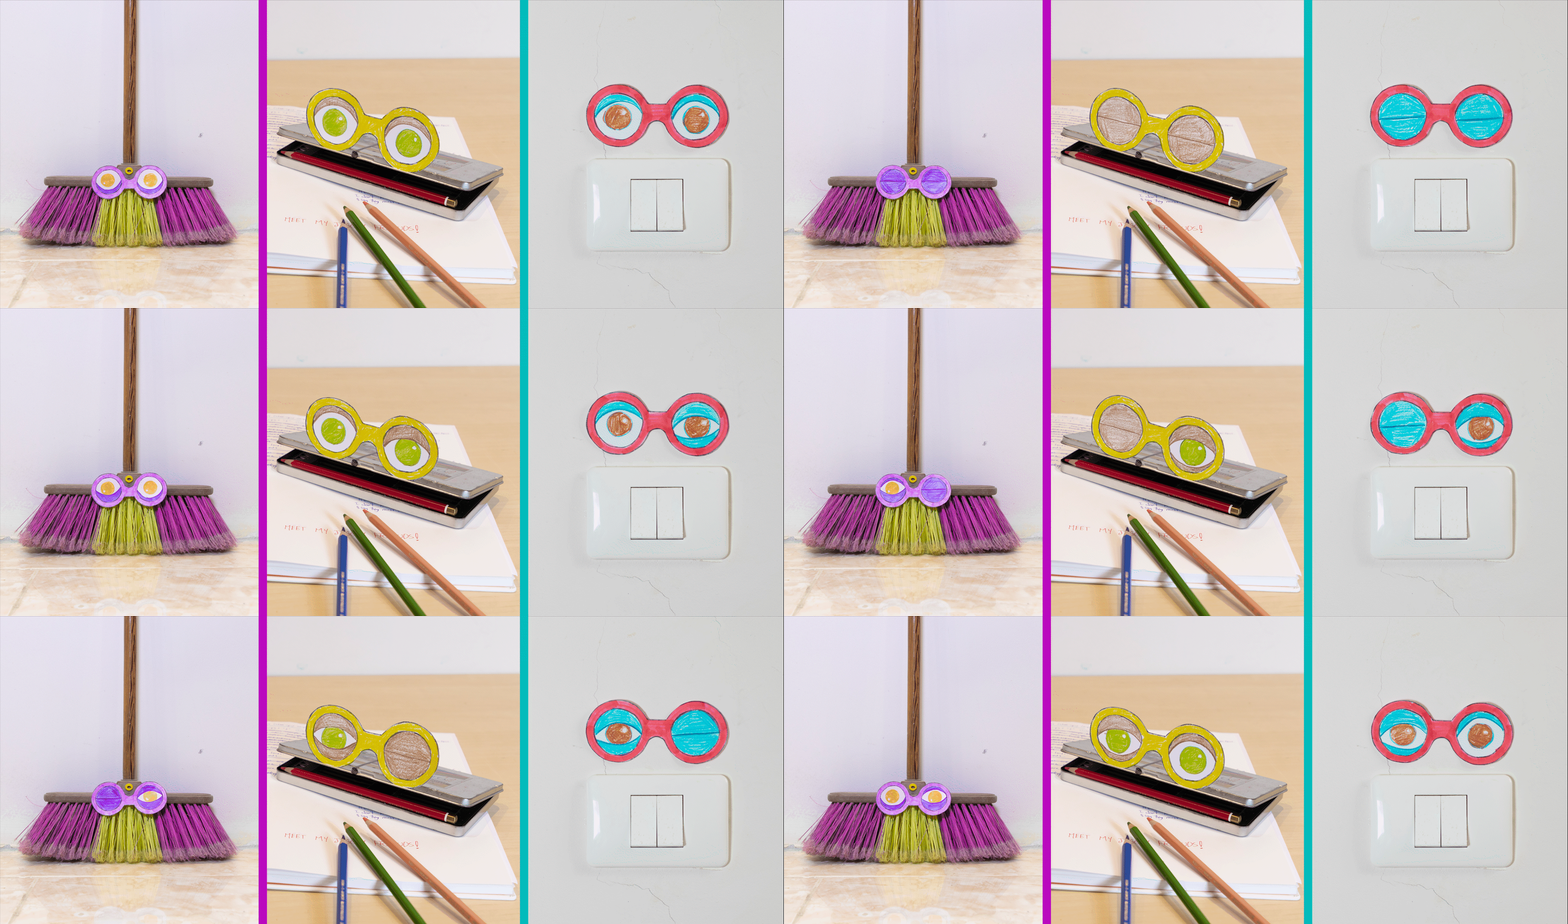
So these are the friends we are going to be making around the house, you'll have different objects that you can turn into animations, but it's the same technique and steps.
We’ll make these using stop motion animation. Stop motion is when you take a series of images, in each you’ll move your object a little bit and capture a photo without your hand in it. When you play these photos fast after one another, it will make your object appear like it’s moving on its own.
Today you’ll learn one specific stop motion technique called ‘Replacement’ animation. This is when you have already made variations of your object and you replace each in every photo. With this technique you can make many illusions that wouldn’t be possible by just moving your object.
Let's start!
Download and Print Your Template
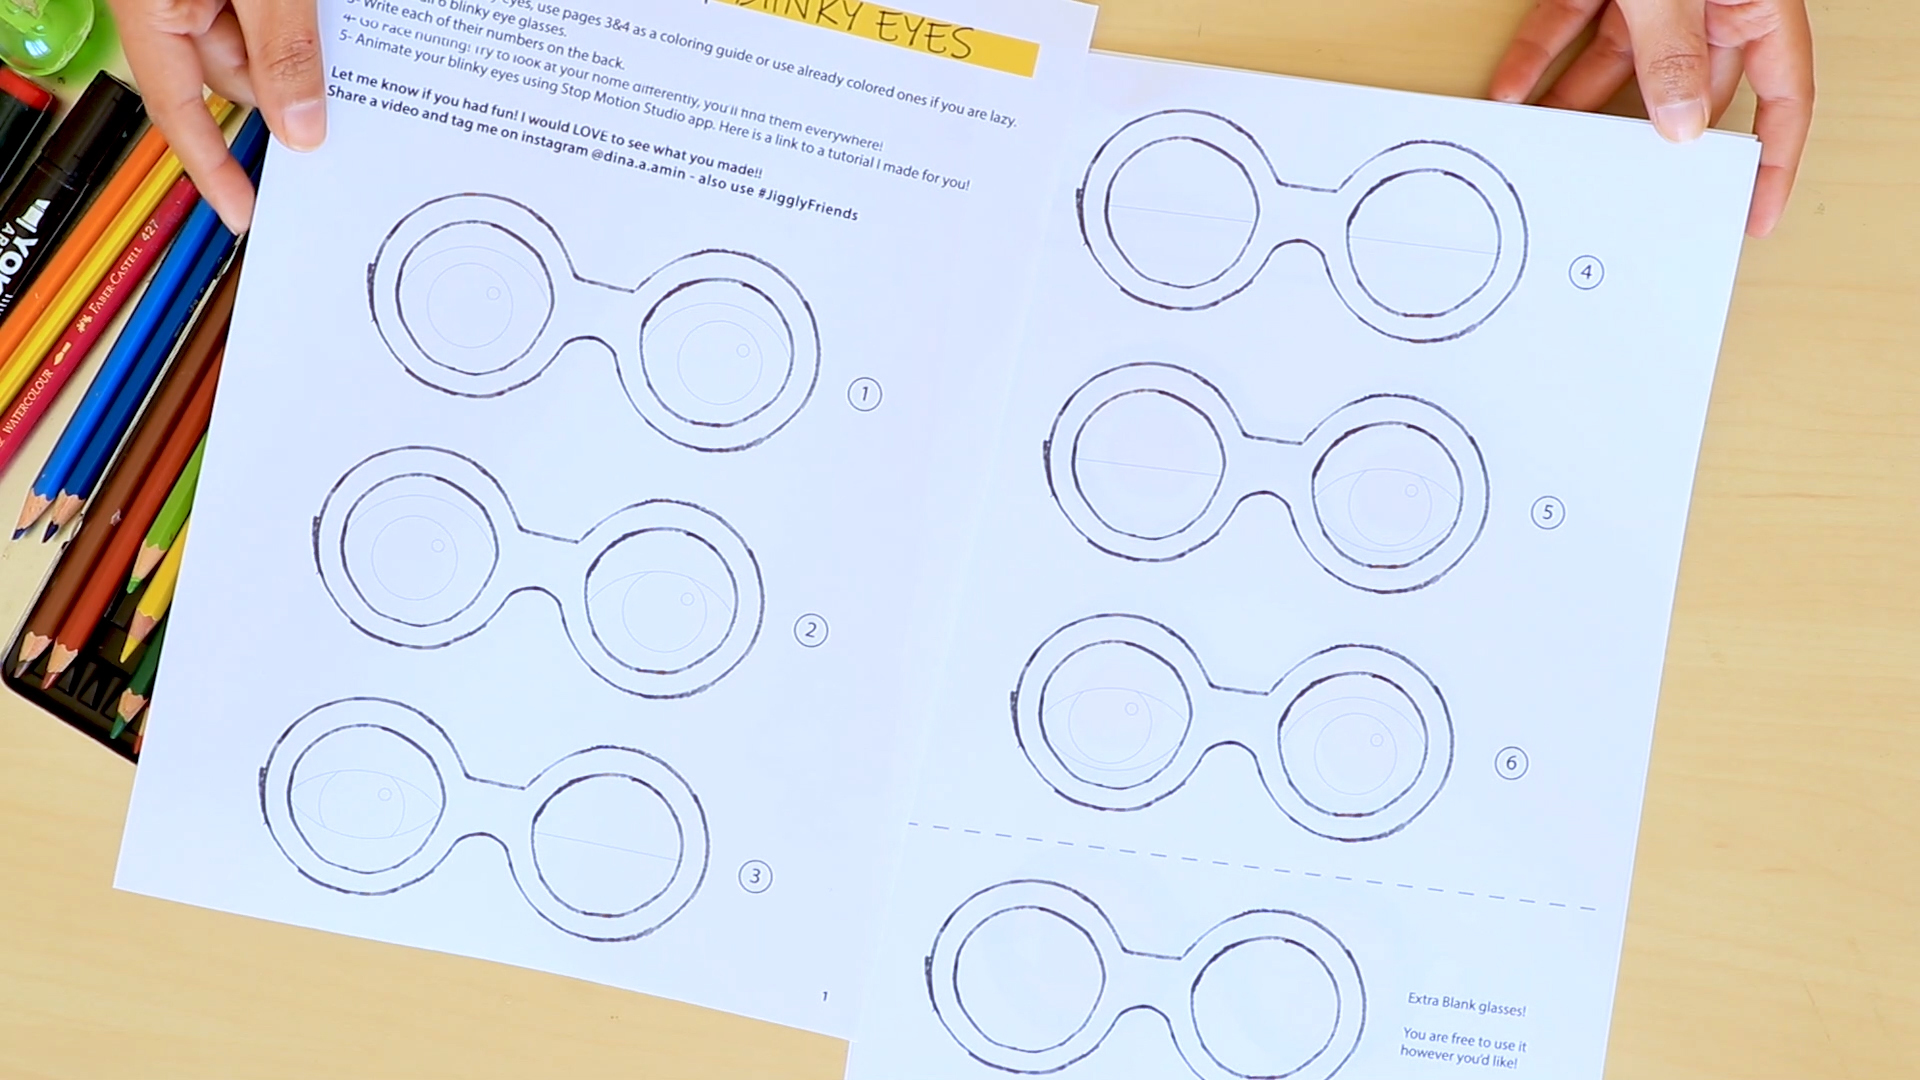
Print it out on regular A4 paper, any paper would work. The template has four pages. Pages one and two have six outline glasses with eyes in different blinking positions, plus an extra blank glasses that you're free to do whatever you want with it.
Coloring Guide
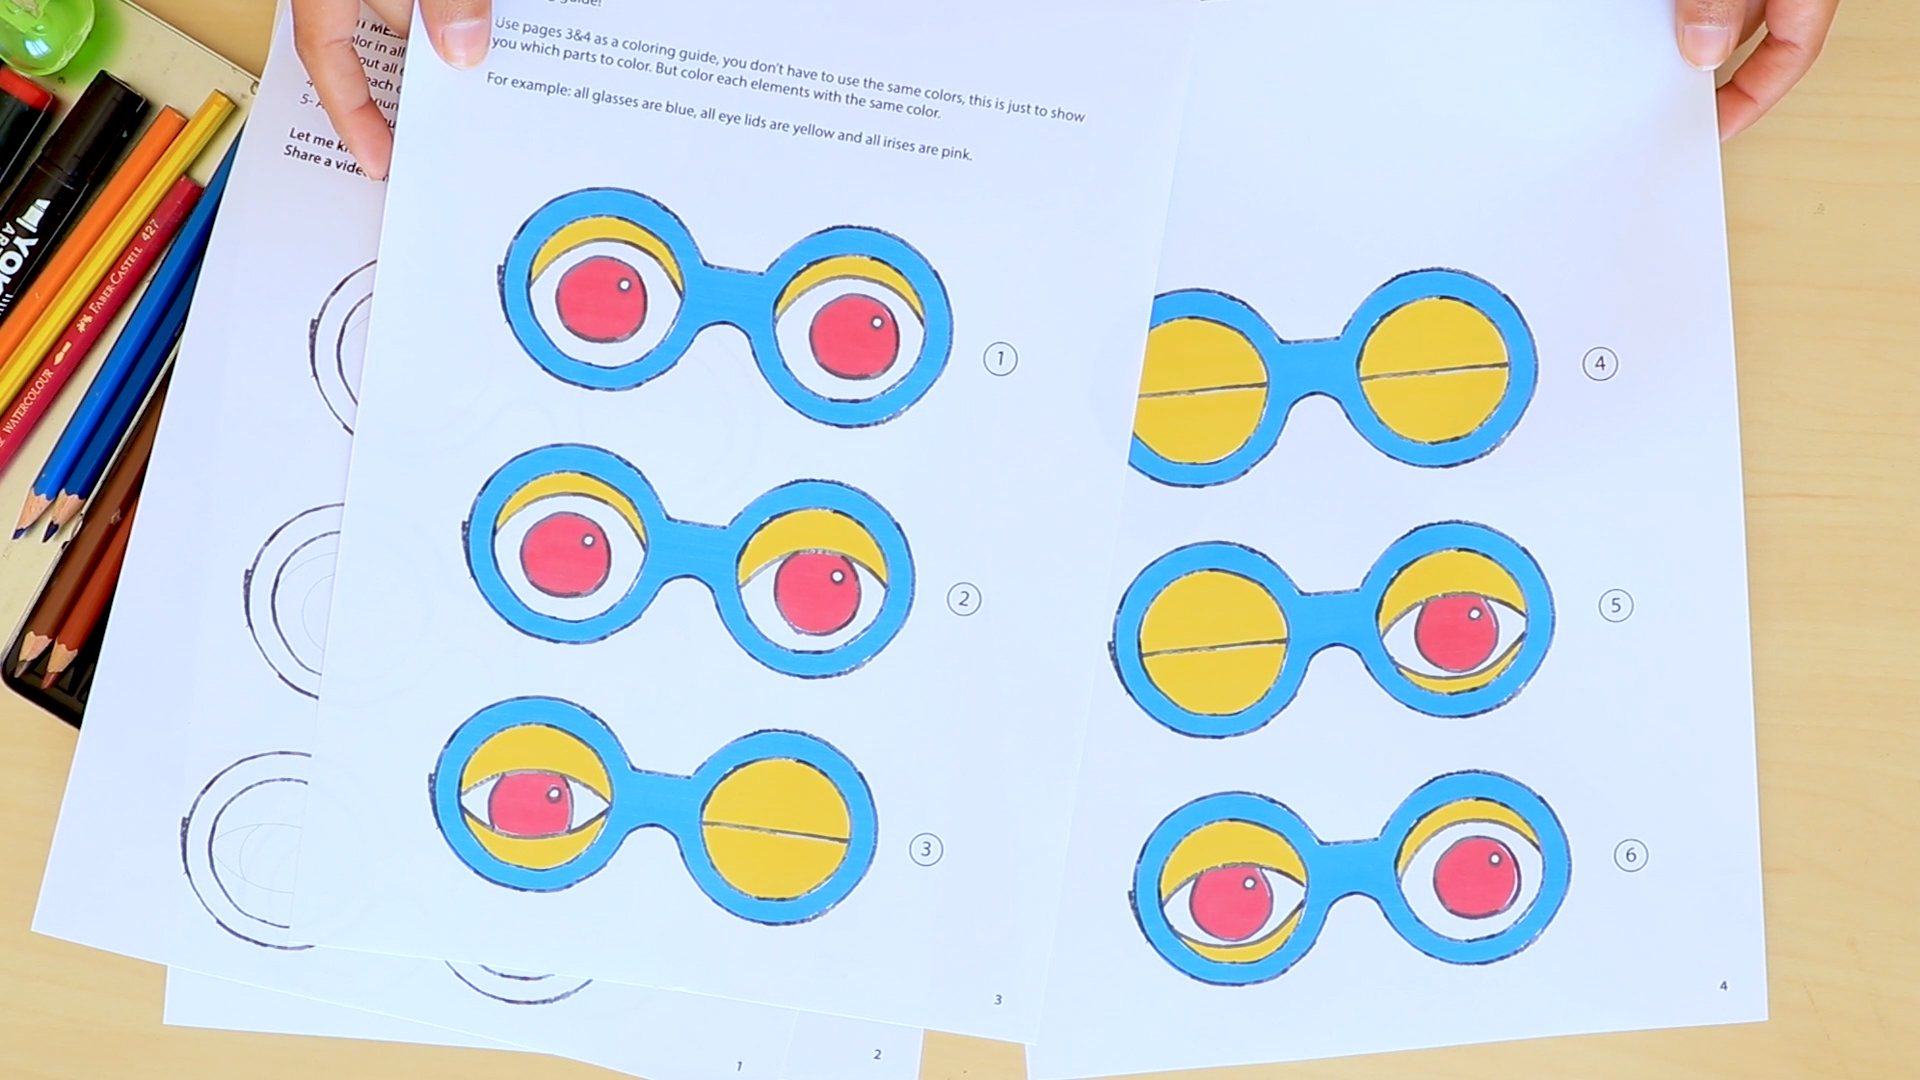
Pages three and four are colouring guides, you don't have to print those you can just refer to them digitally. Use them as a reference to know which parts to colour with the same colour we need this to look 90% the same, we want it to look like it's the same eyes blinking and not different eyes that are in different positions.
For example: All glasses are blue, all eyelids are yellow and all irises are pink.
You can break this rule later but first let's start with the basics.
You can also cut and use them if you're feeling lazy but now we have all the time we need to colour the whole world.
Start Coloring
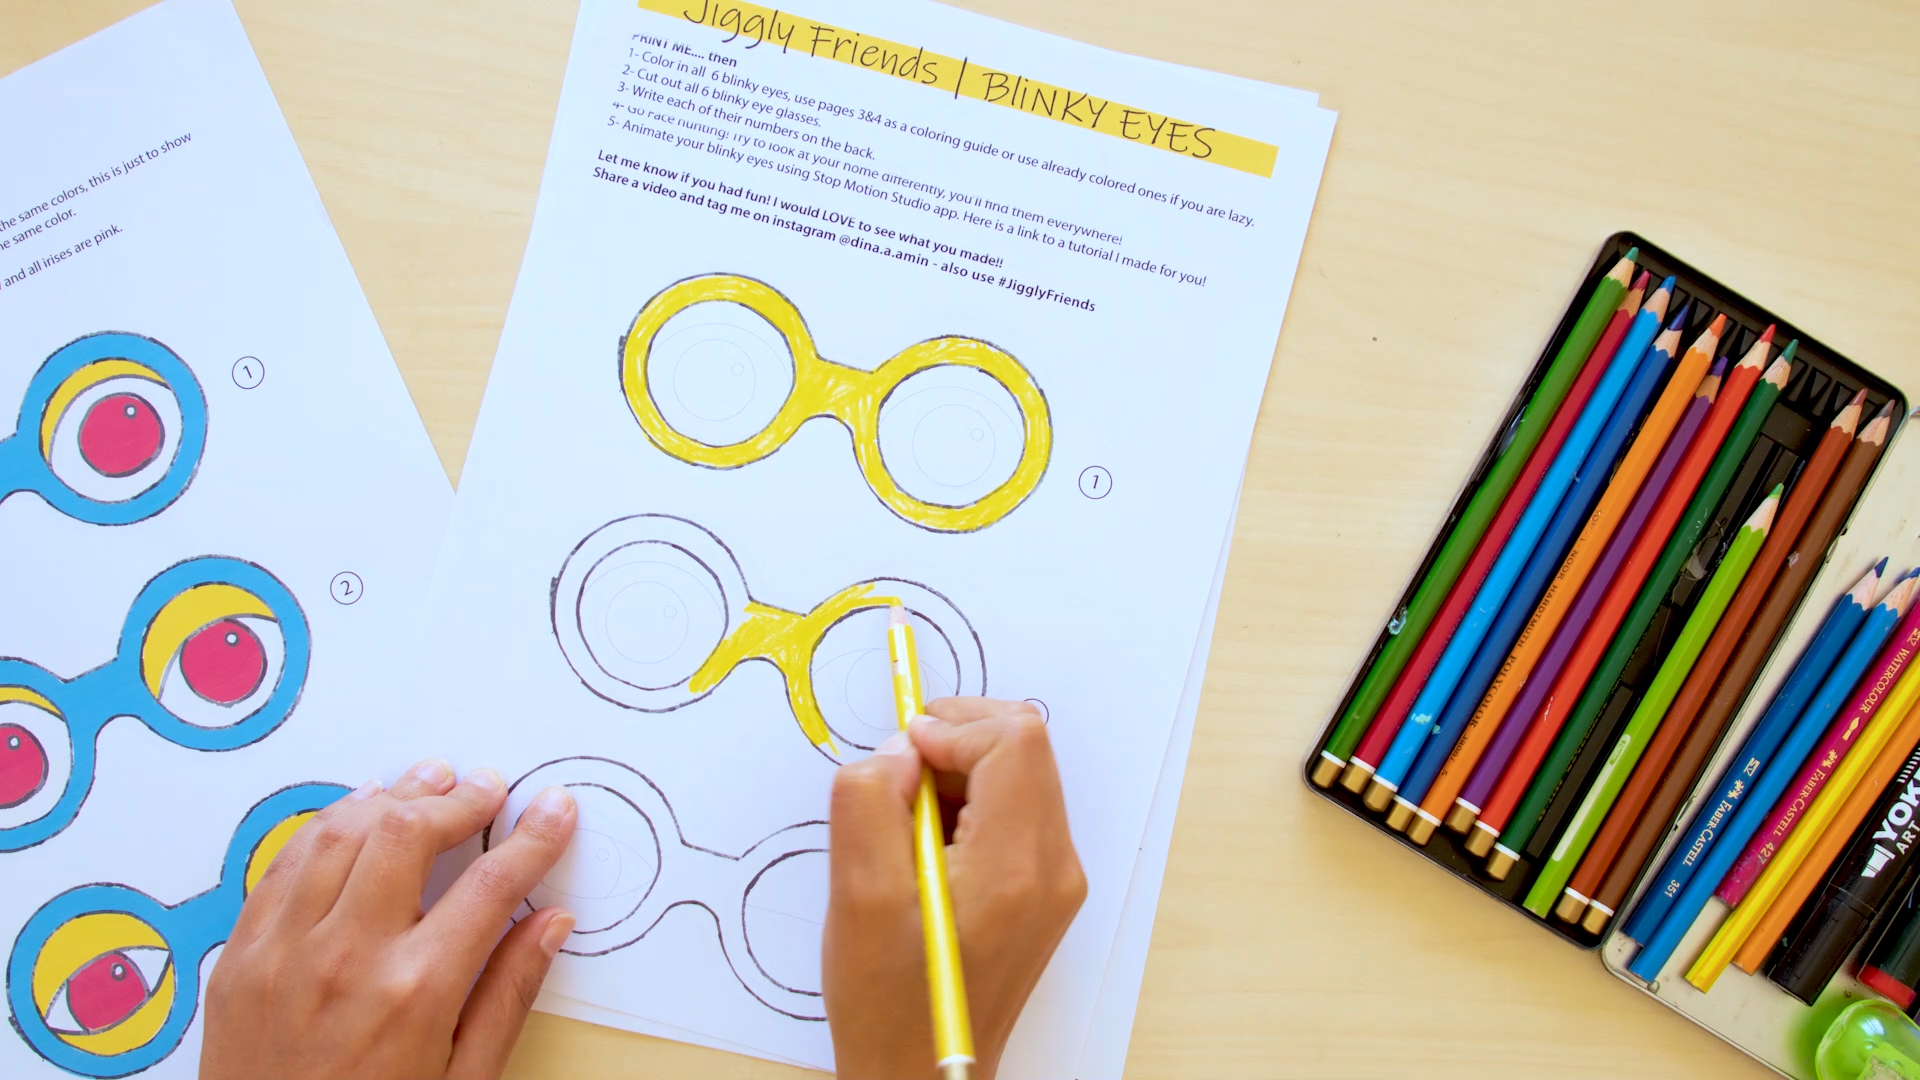
I like to go by colour, we don't have to make them look 100% the same, just 90%, the different colour strokes would actually make them look more jiggly. I like to also outline the eyelids so that they are more clear when animated.
Cut Them Out
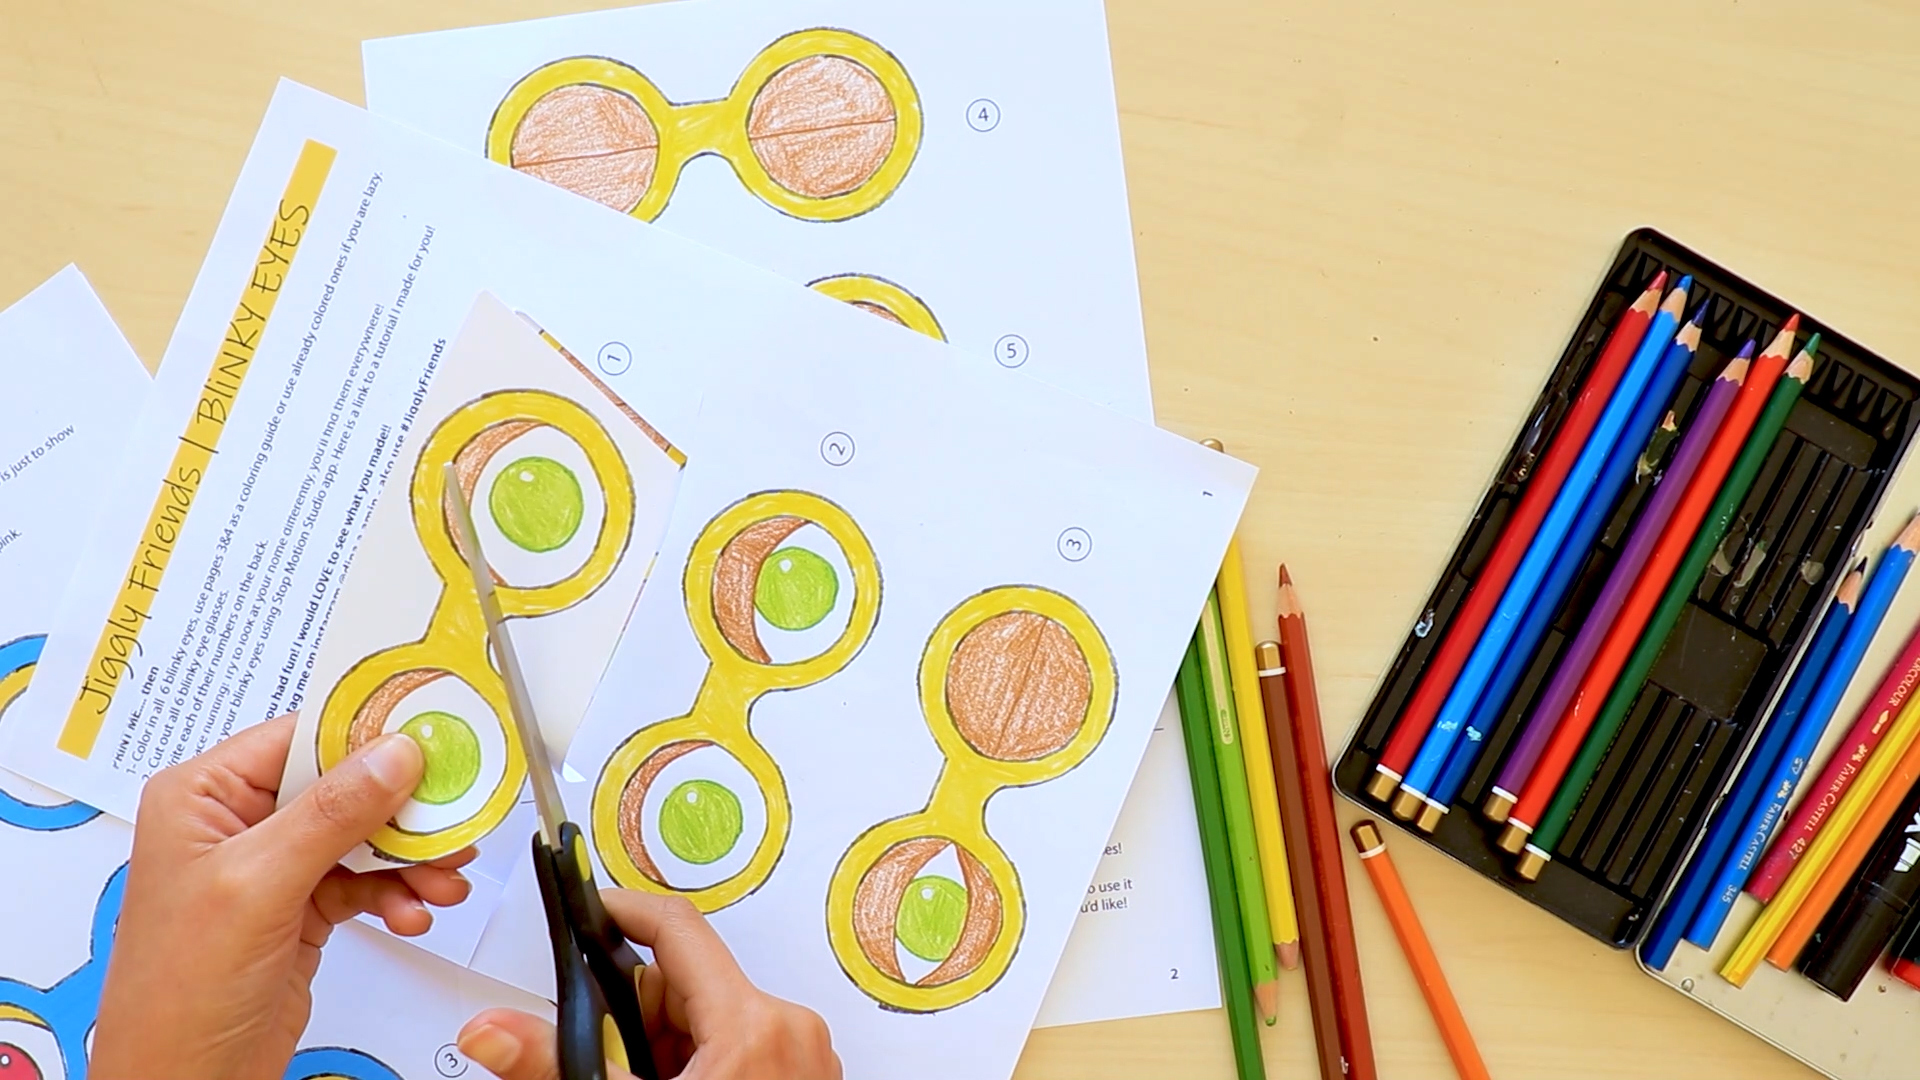
Next cut them out, try to cut as close to the black line as possible.
Number Each Glasses
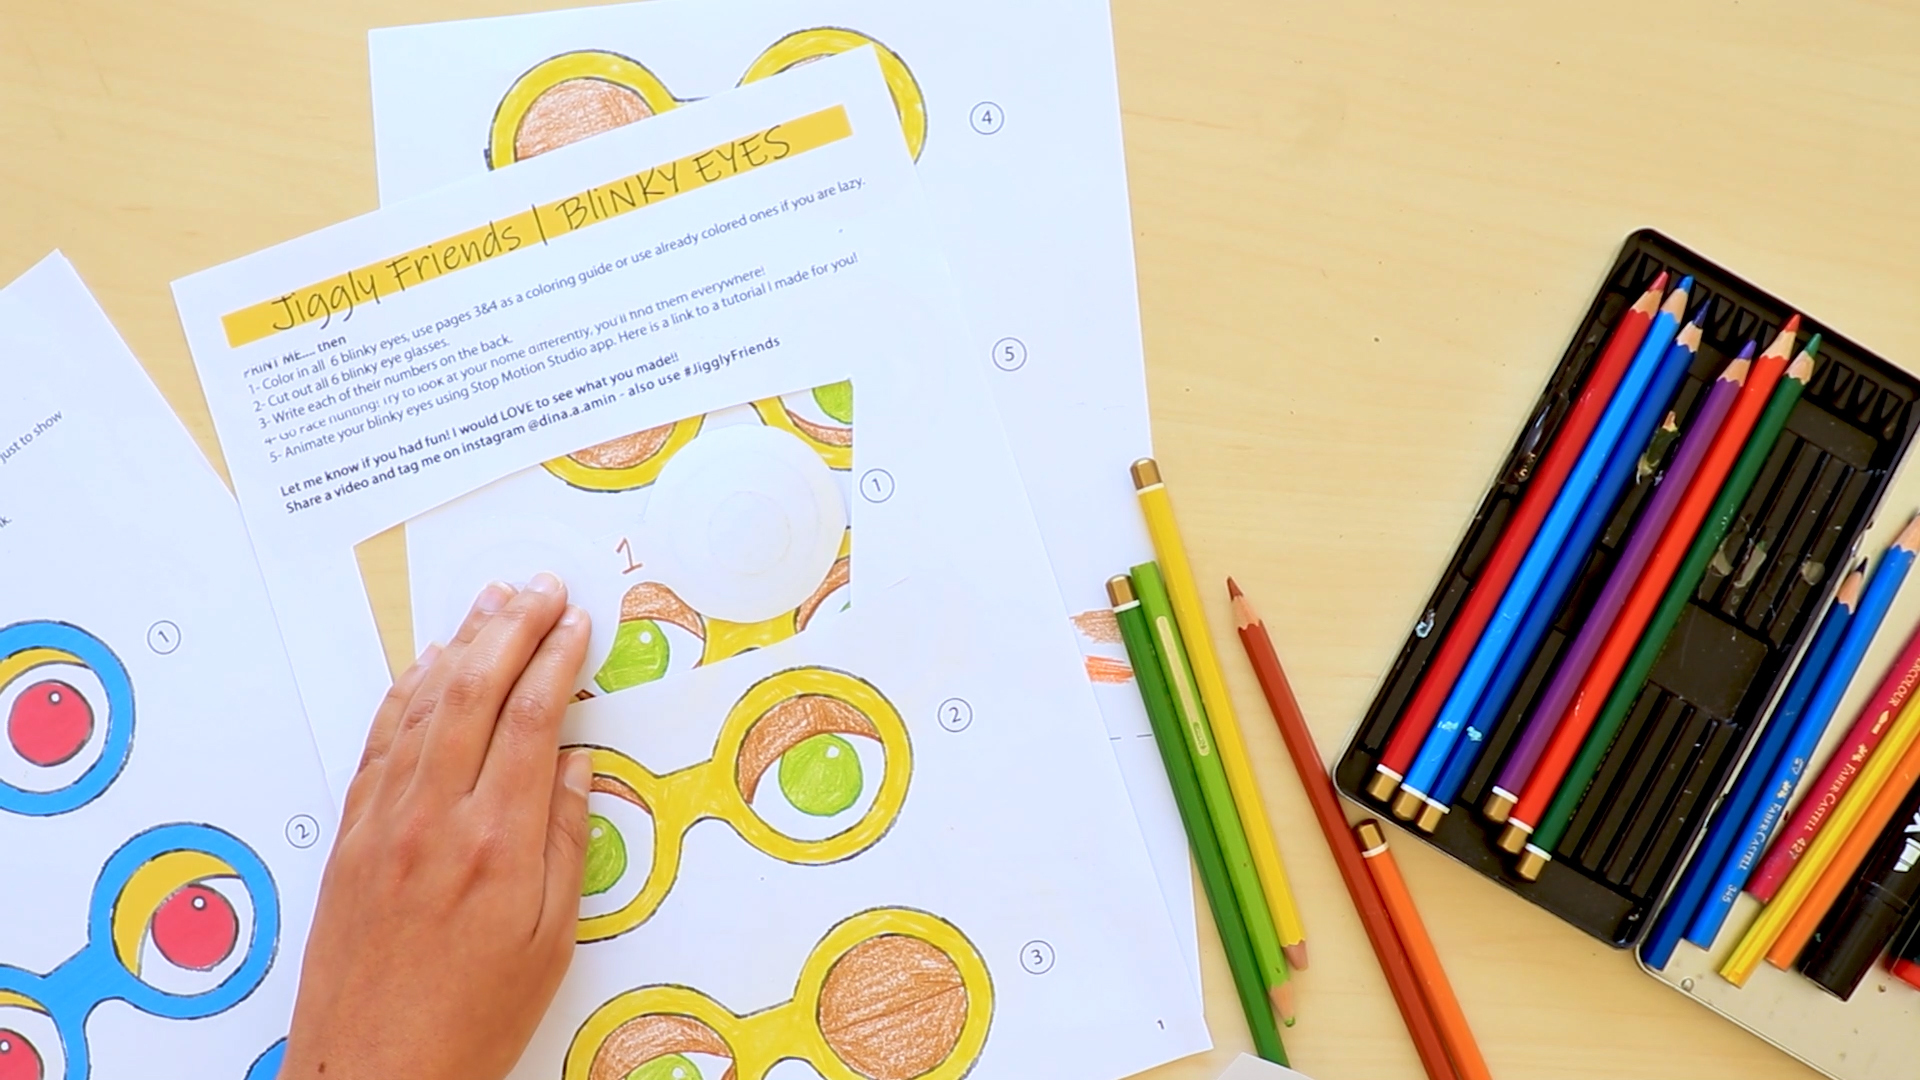
Each glasses has a number, to keep them in order, write each number on the back of its glasses. If you mix them up later this will help you put them back in order.
Make As Many As You Want!
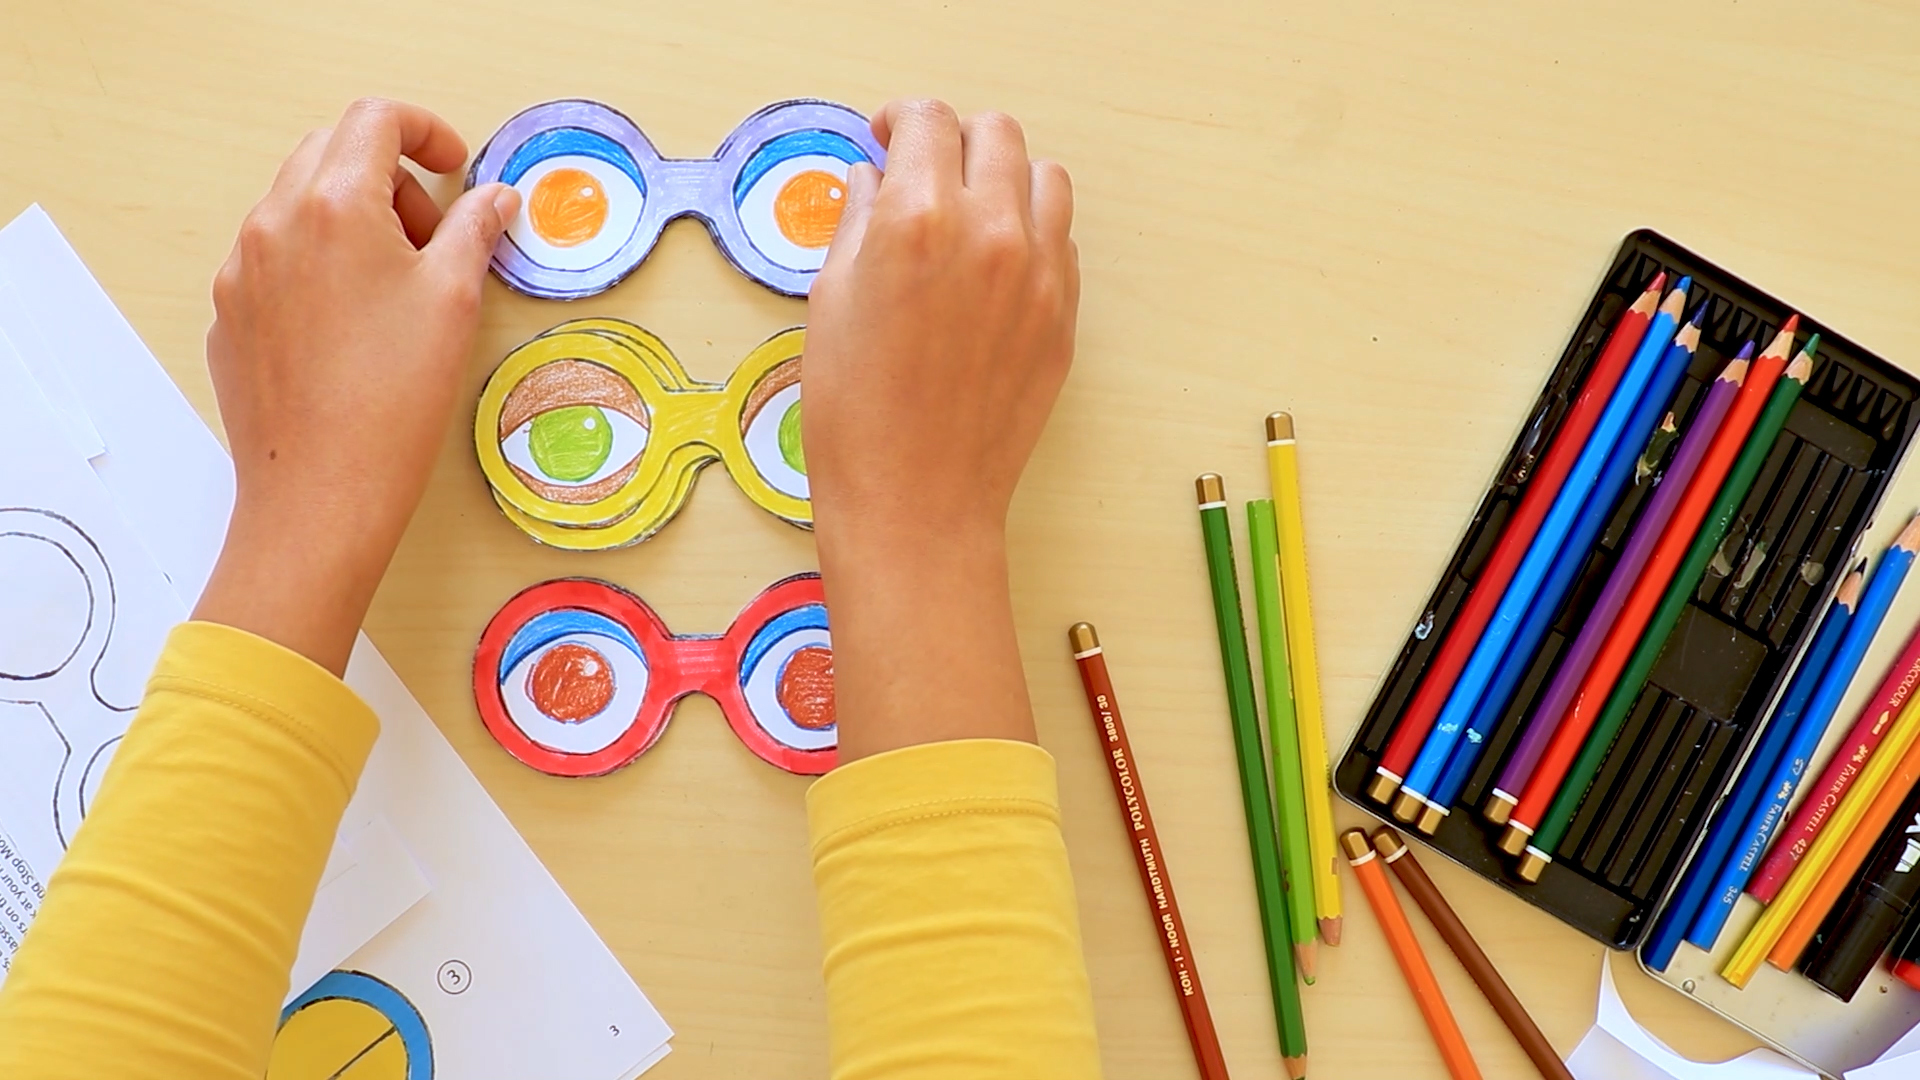
You can make as many as you want in different colours just print out more papers.
Find Friends!
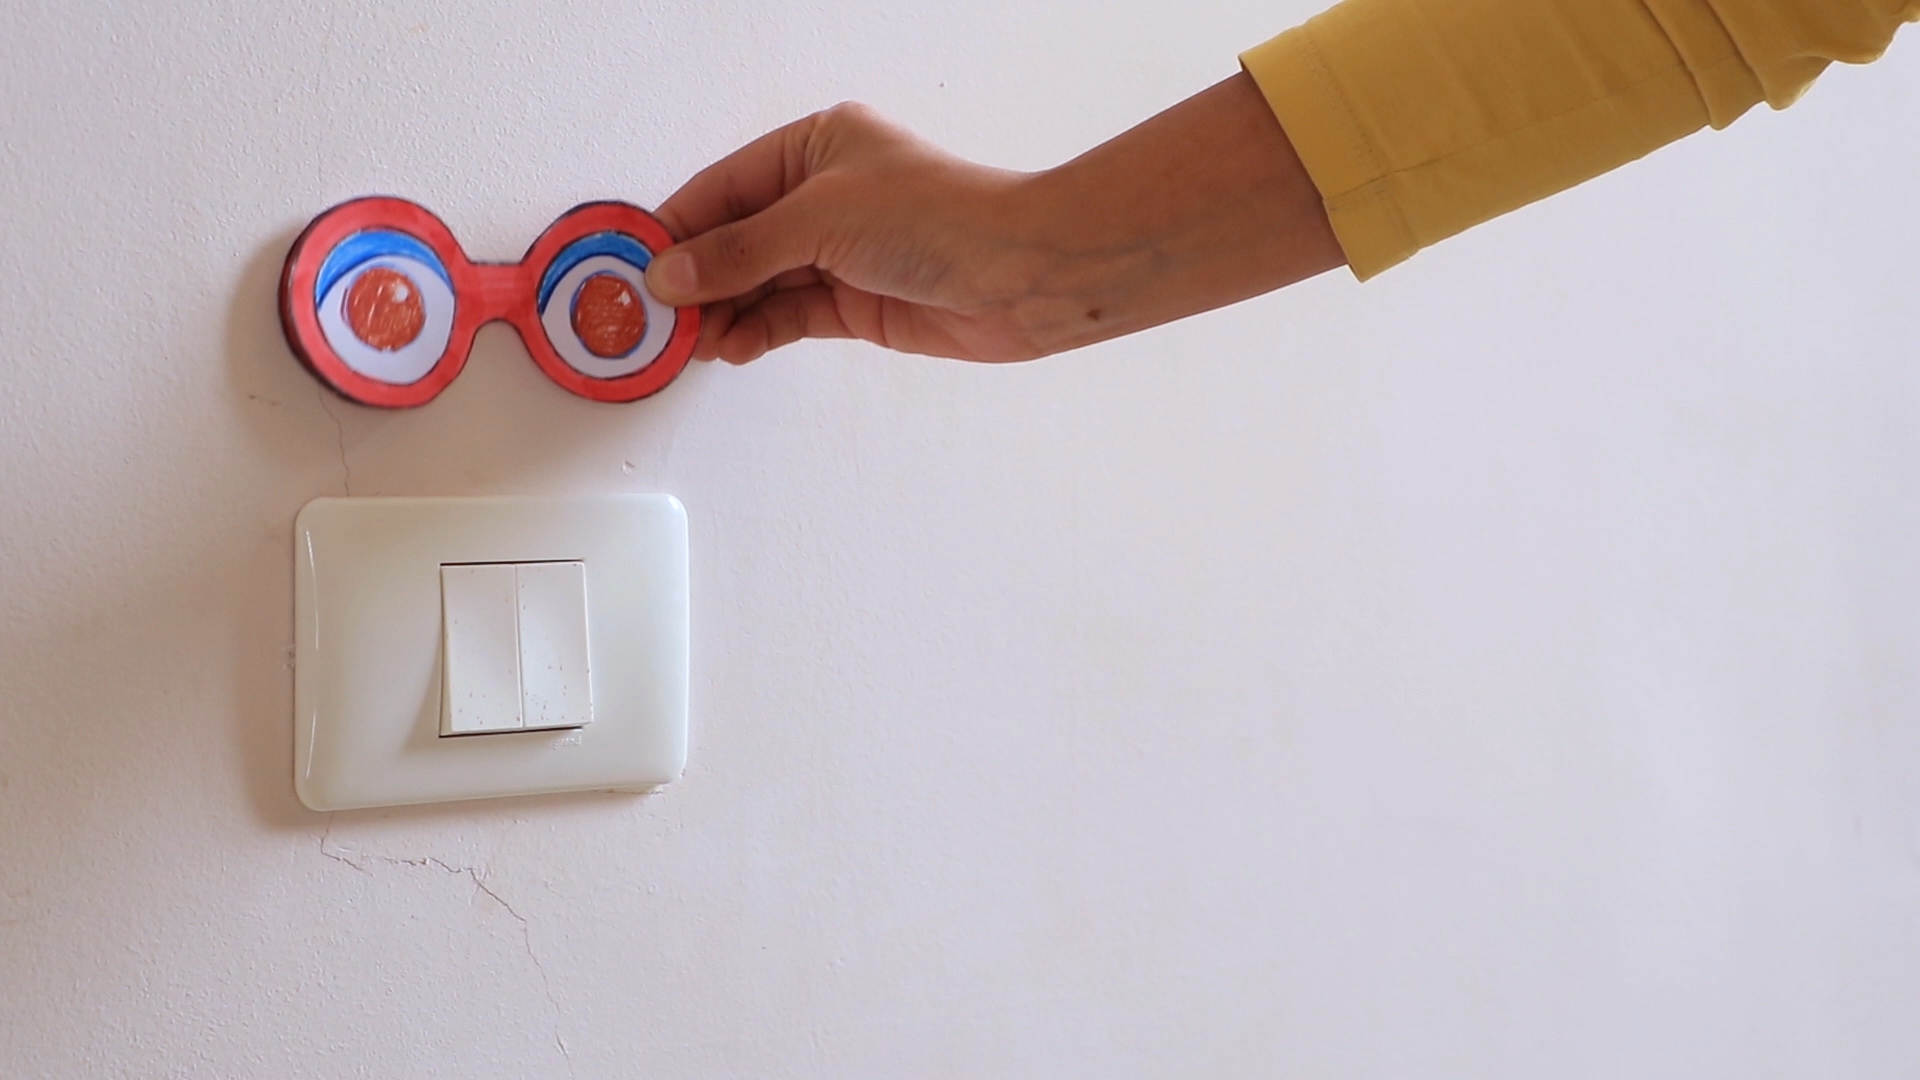
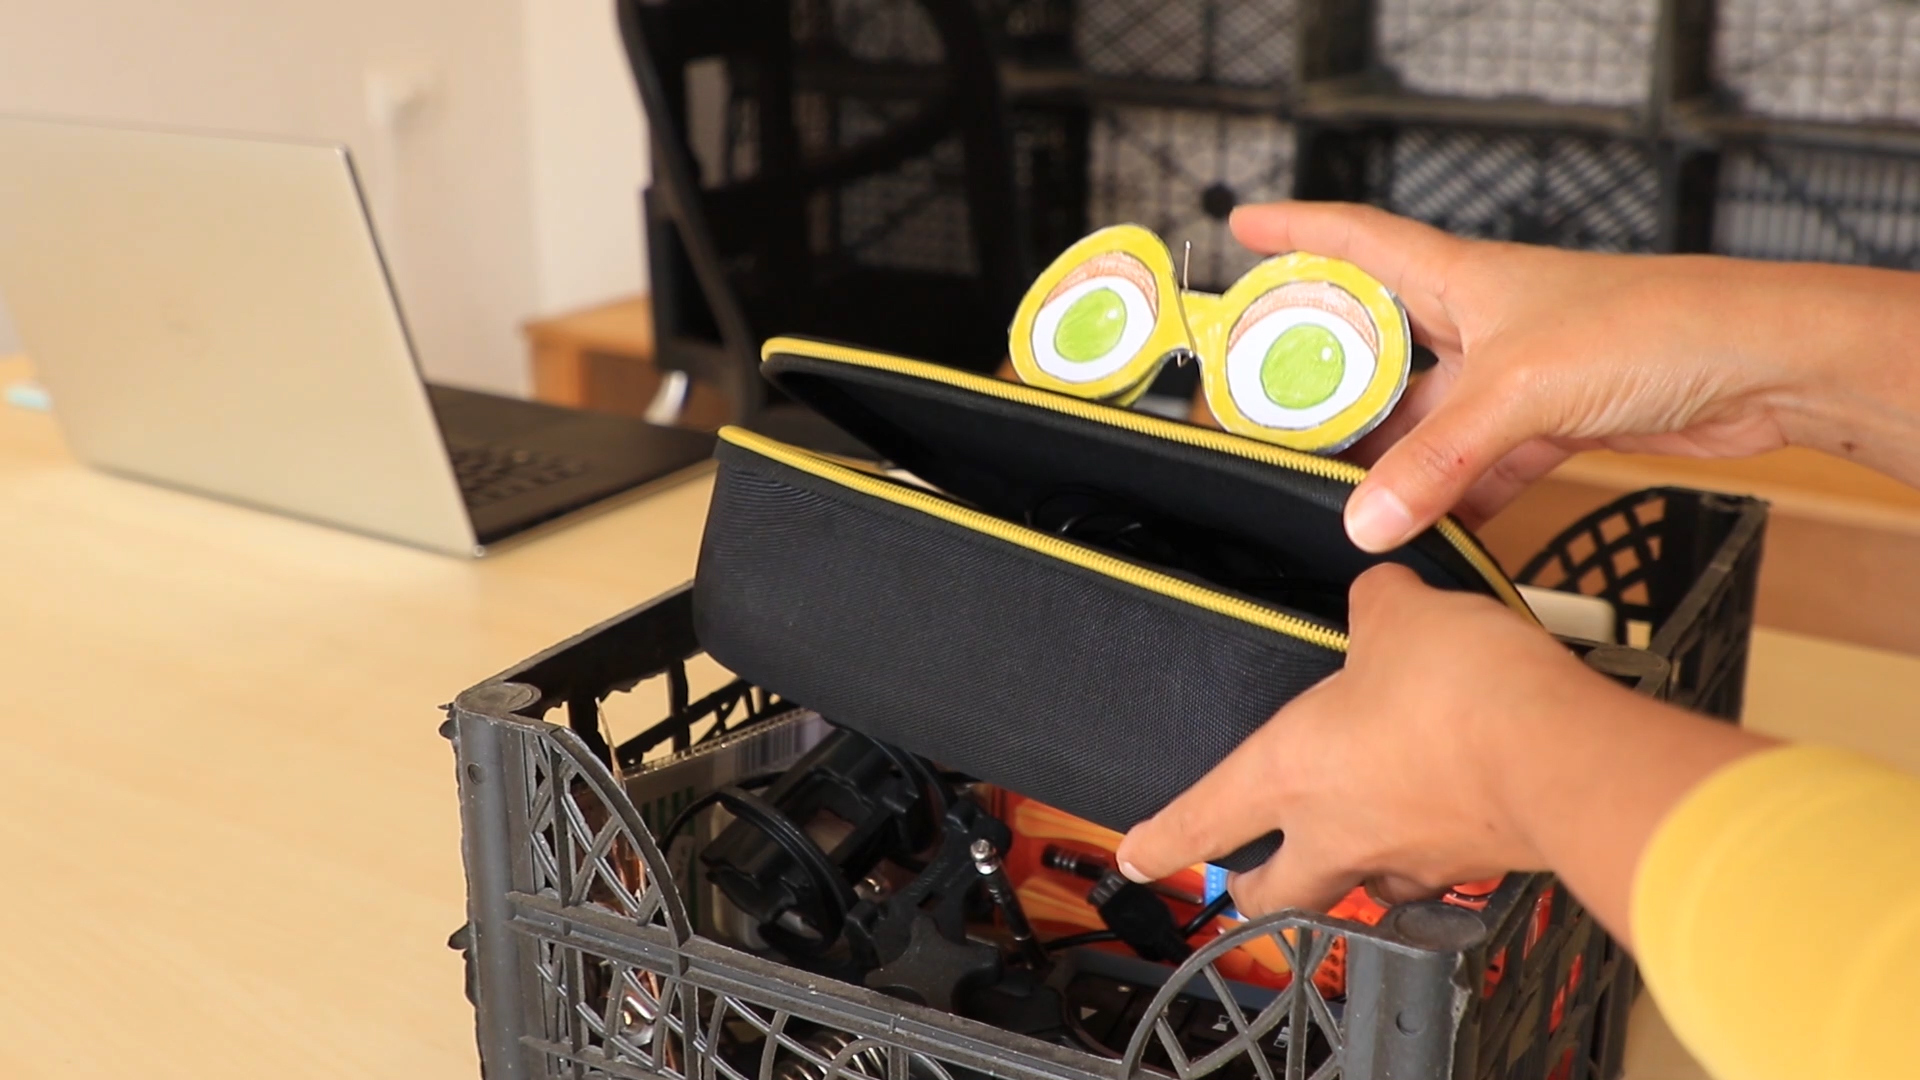
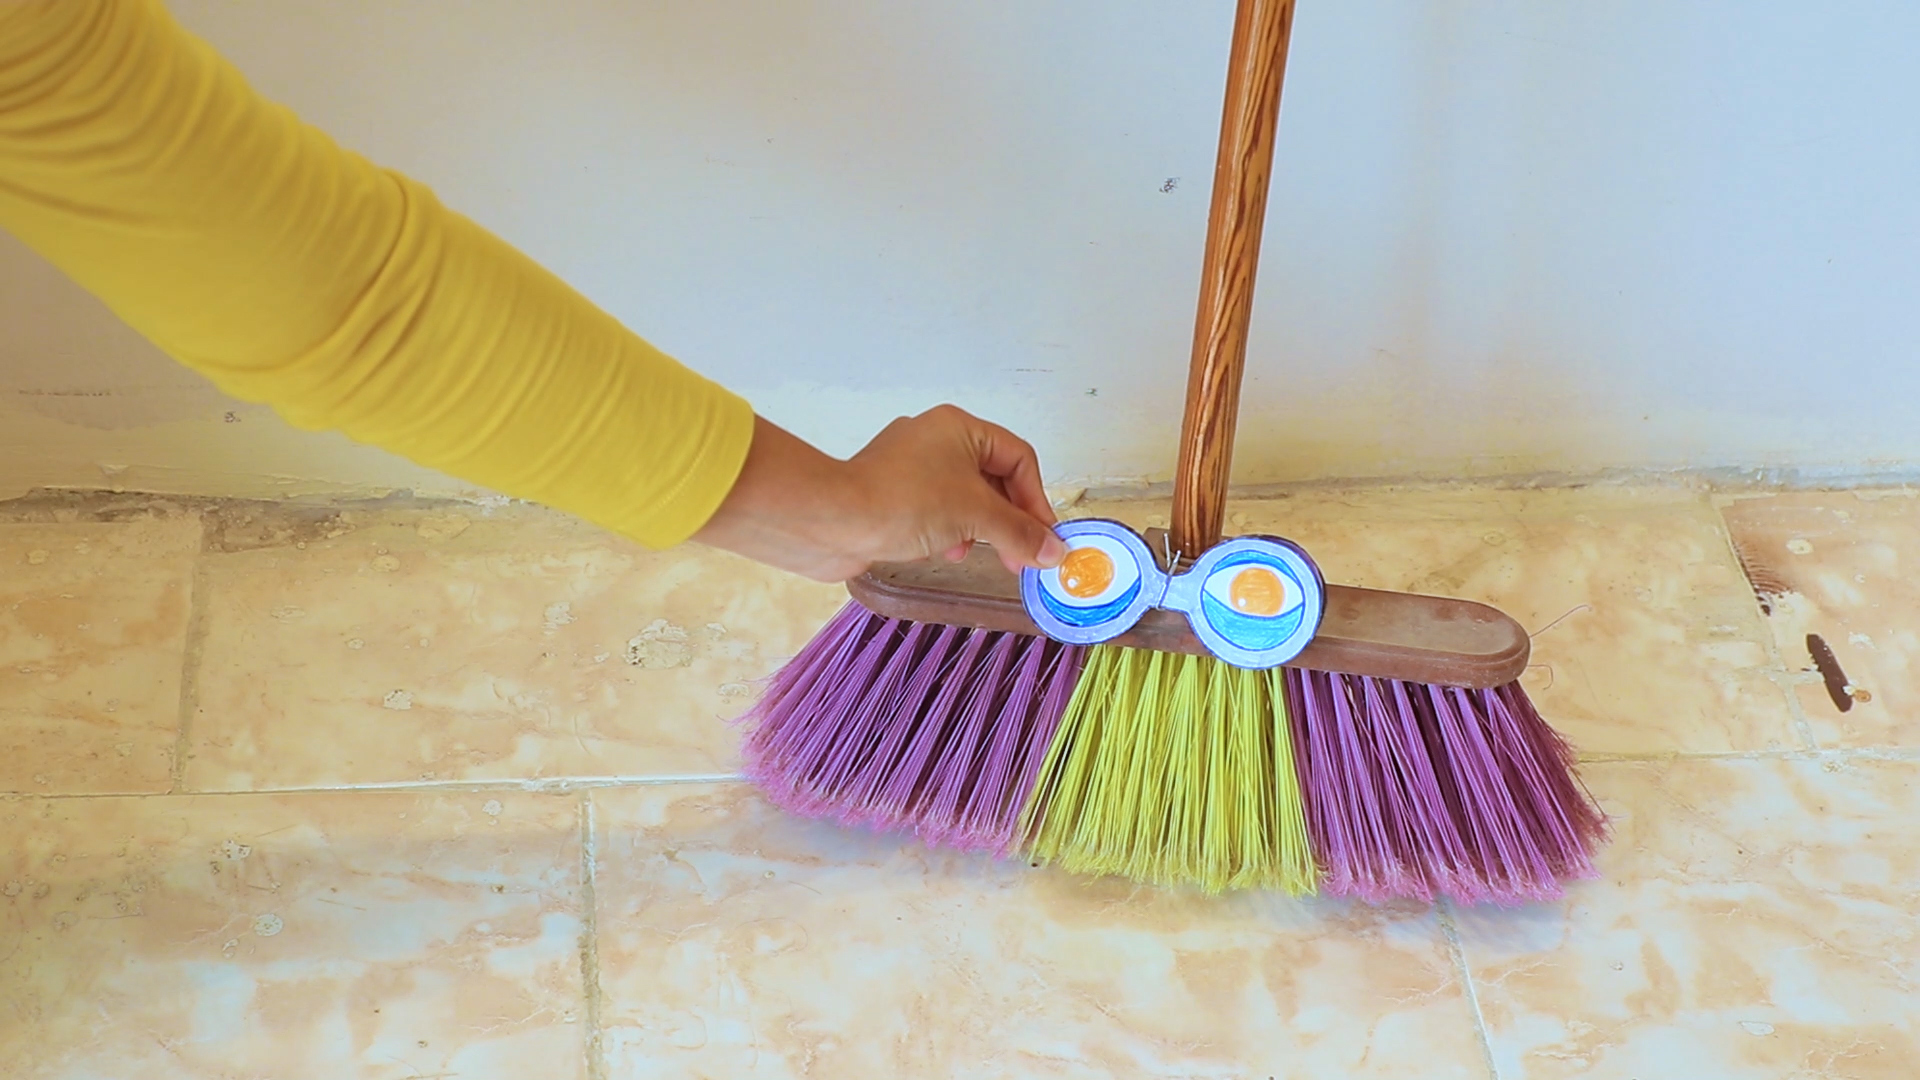
Now let's go find faces for our Jiggly friends!
I want you to start seeing things differently in your home, you will find many many jiggly friends, take your cut outs and walk around the house. Move things around and try to find different features. View things from a different perspective, it will help if you flip things upside down.
Setup for Shooting
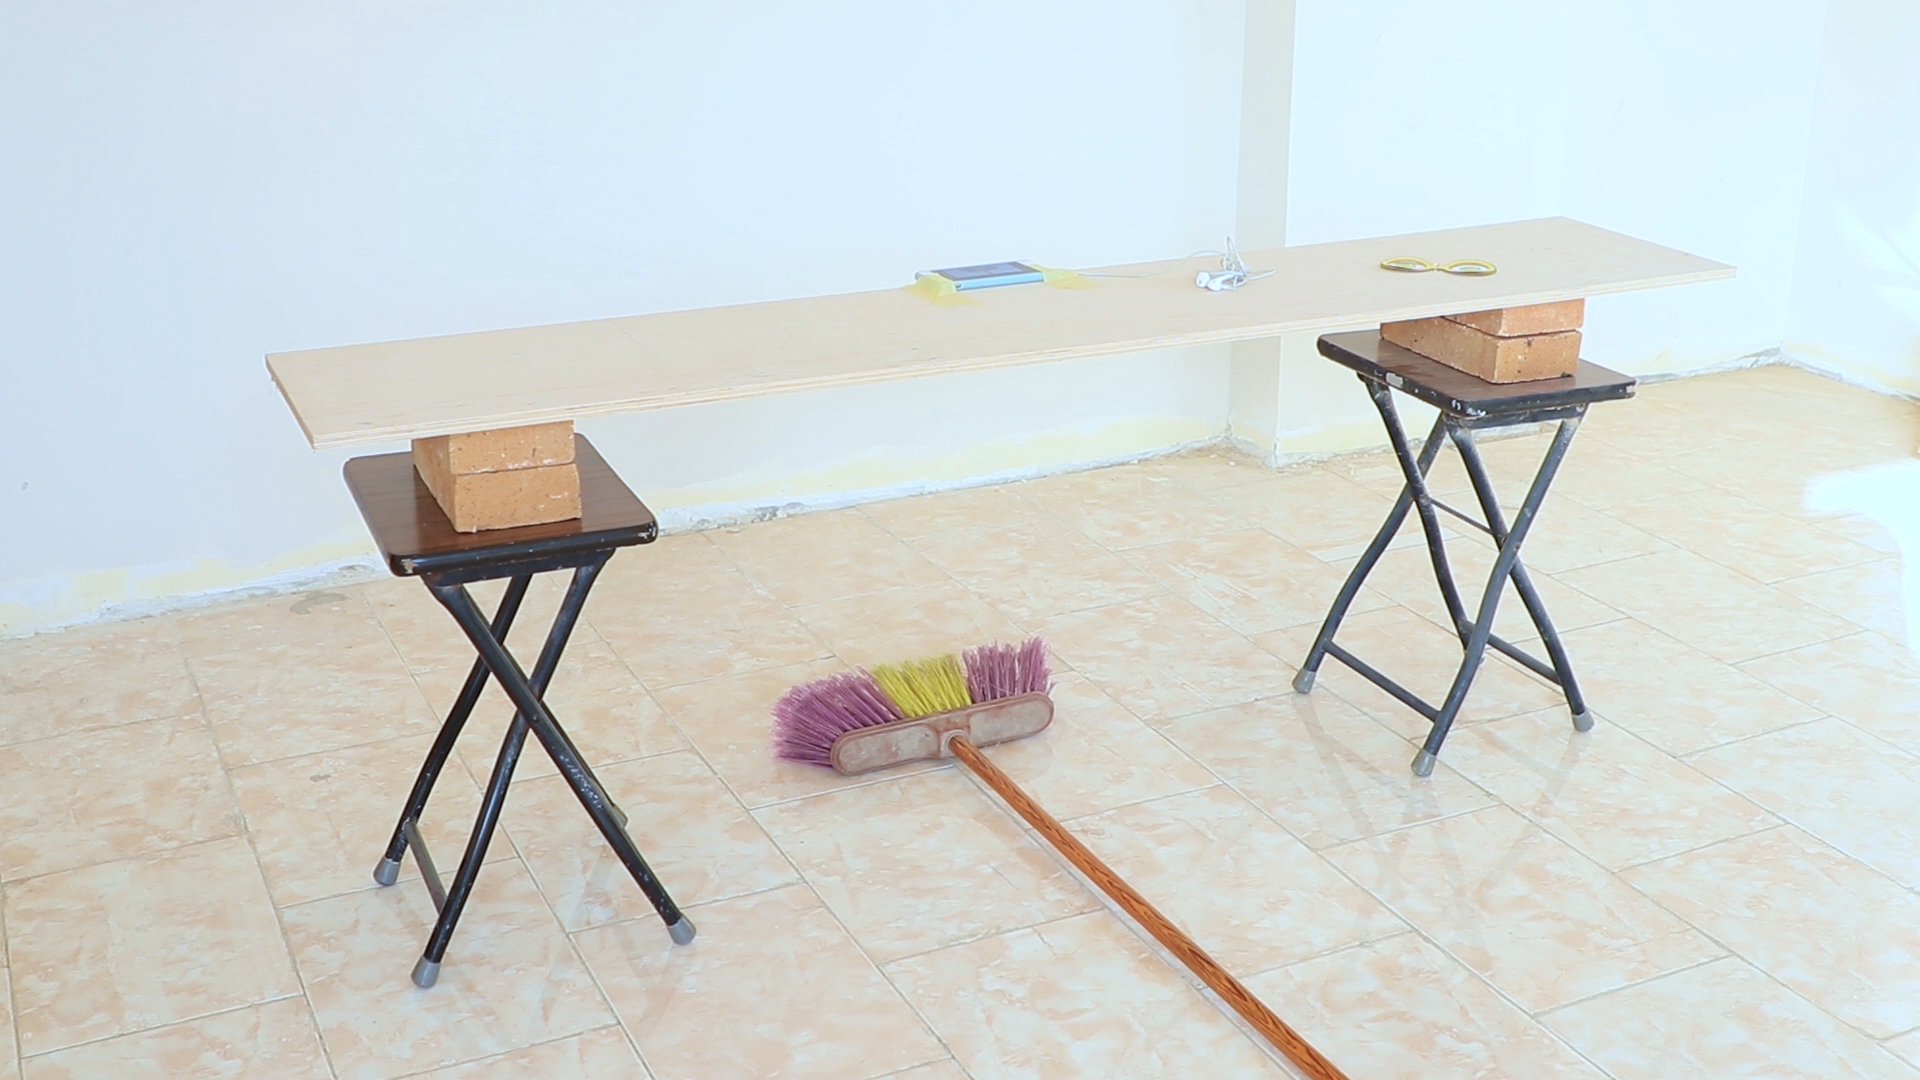
Your setup will differ depending on your object, but i'll show you how i made mine here.
I'll shoot my broom from the top view I want only the eyes to move so I taped my broom to the ground so I don't accidentally kick it out of place. I taped my phone to a wood board placed on two chairs from each side, I added some blocks to zoom out. There are so many things around the house that can be used as a tripod, so get creative.
Stop Motion Studio
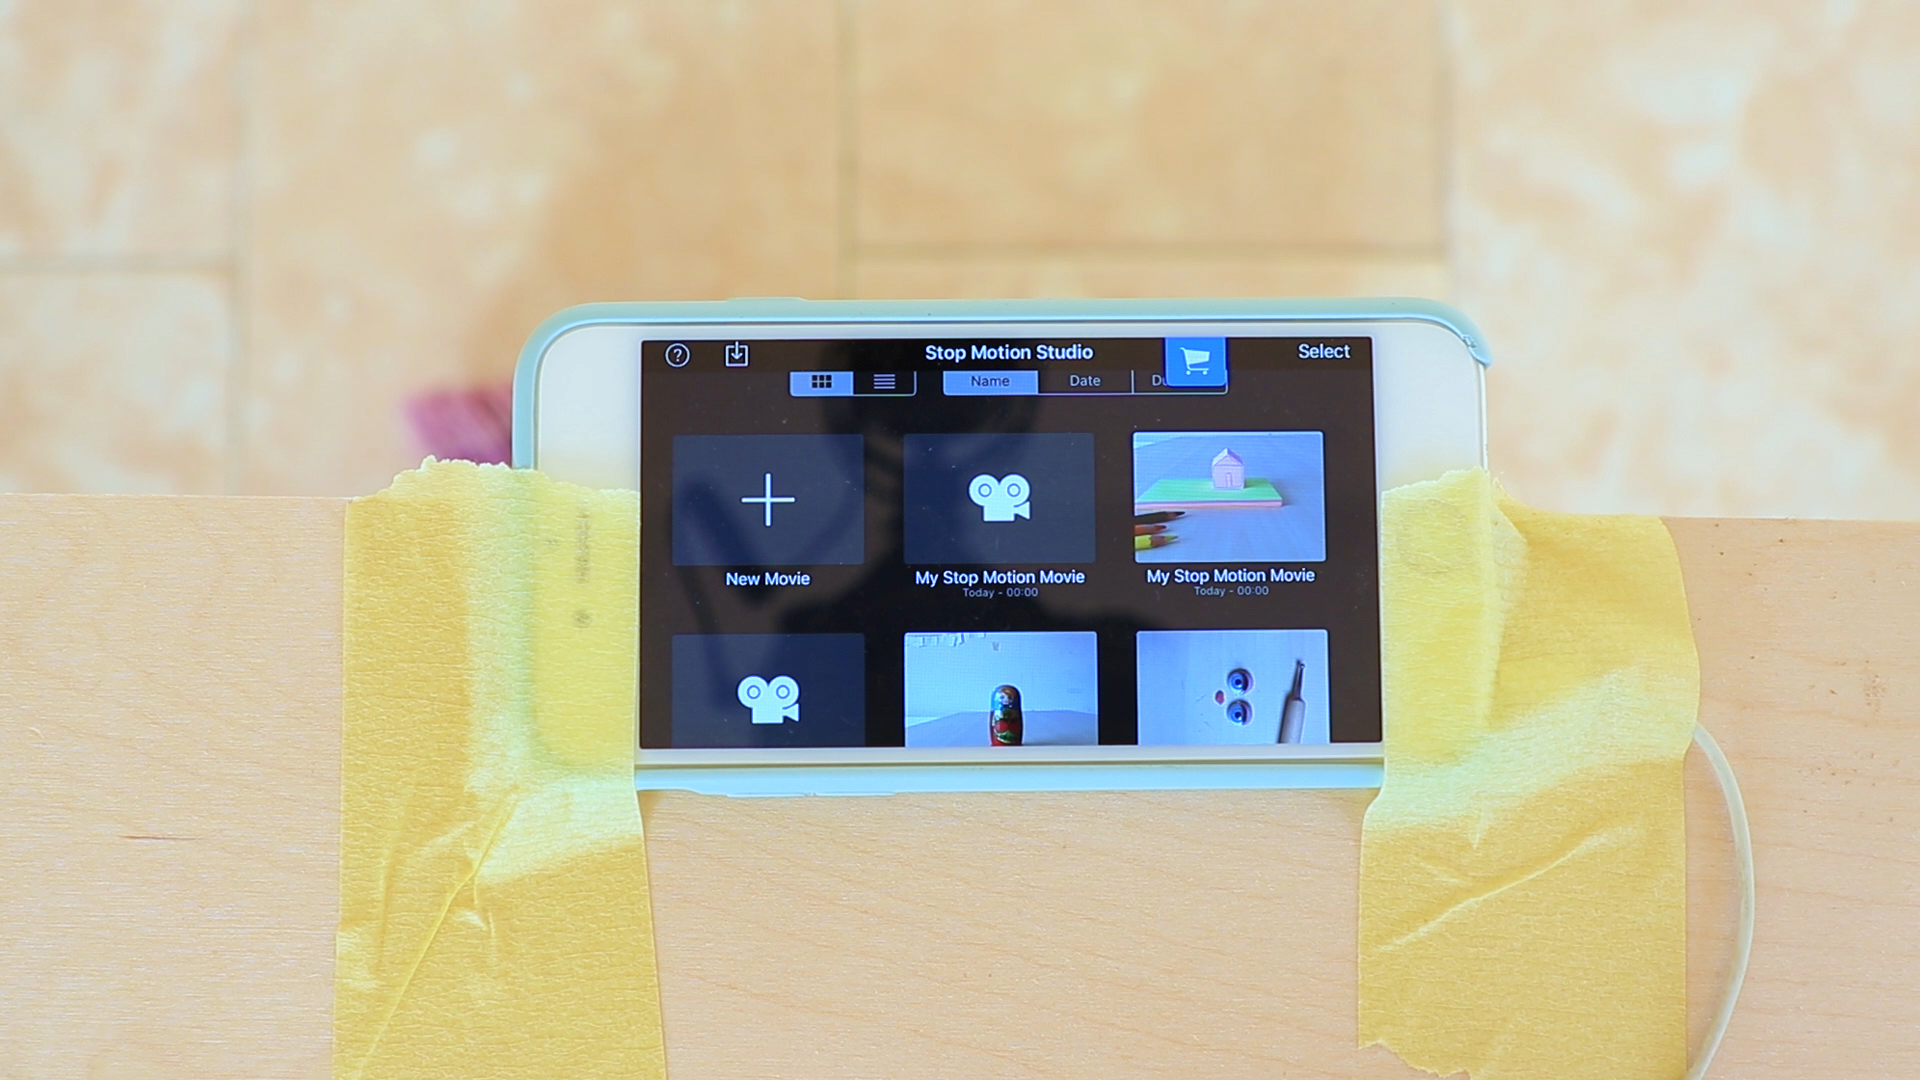
Let's talk about the app you downloaded earlier, this is what the home looks like, it has all the previous projects you worked on, we will start a new project by pressing the add button.
Adjusting Frame Rate
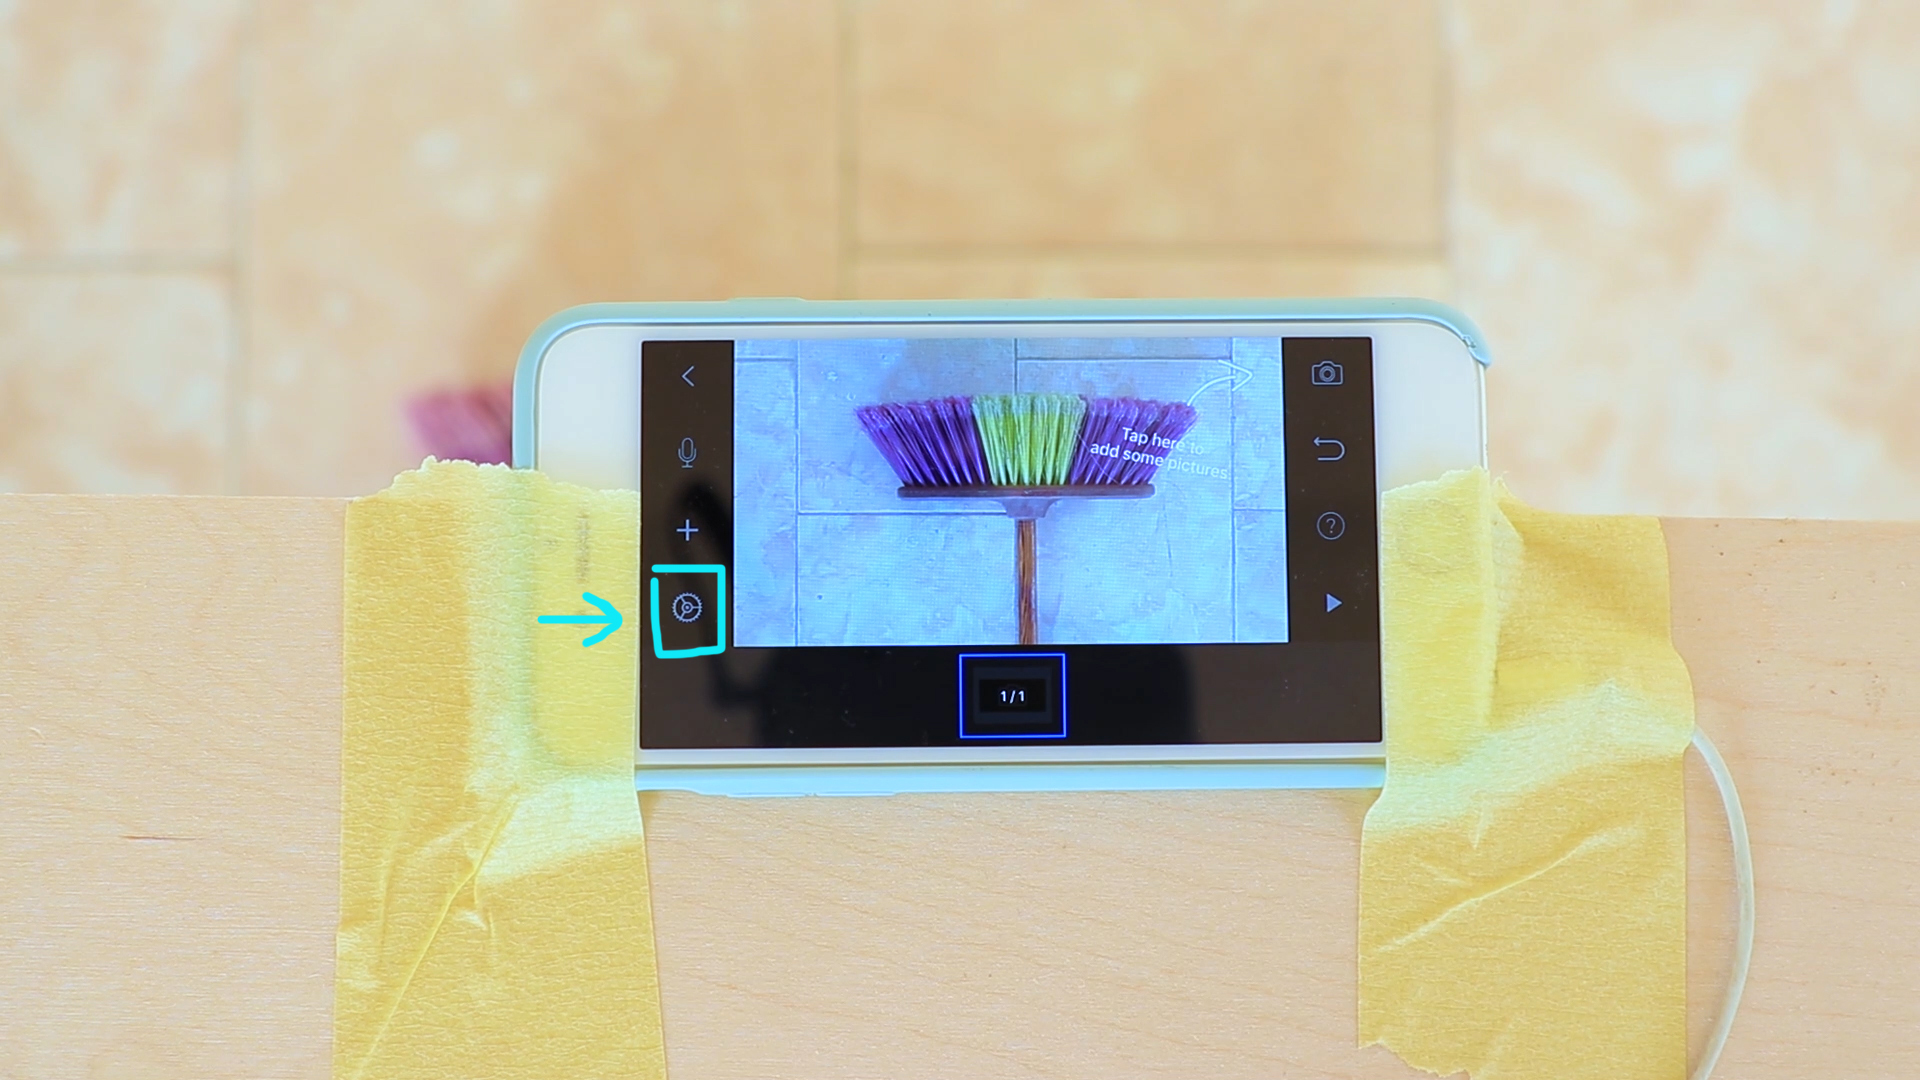
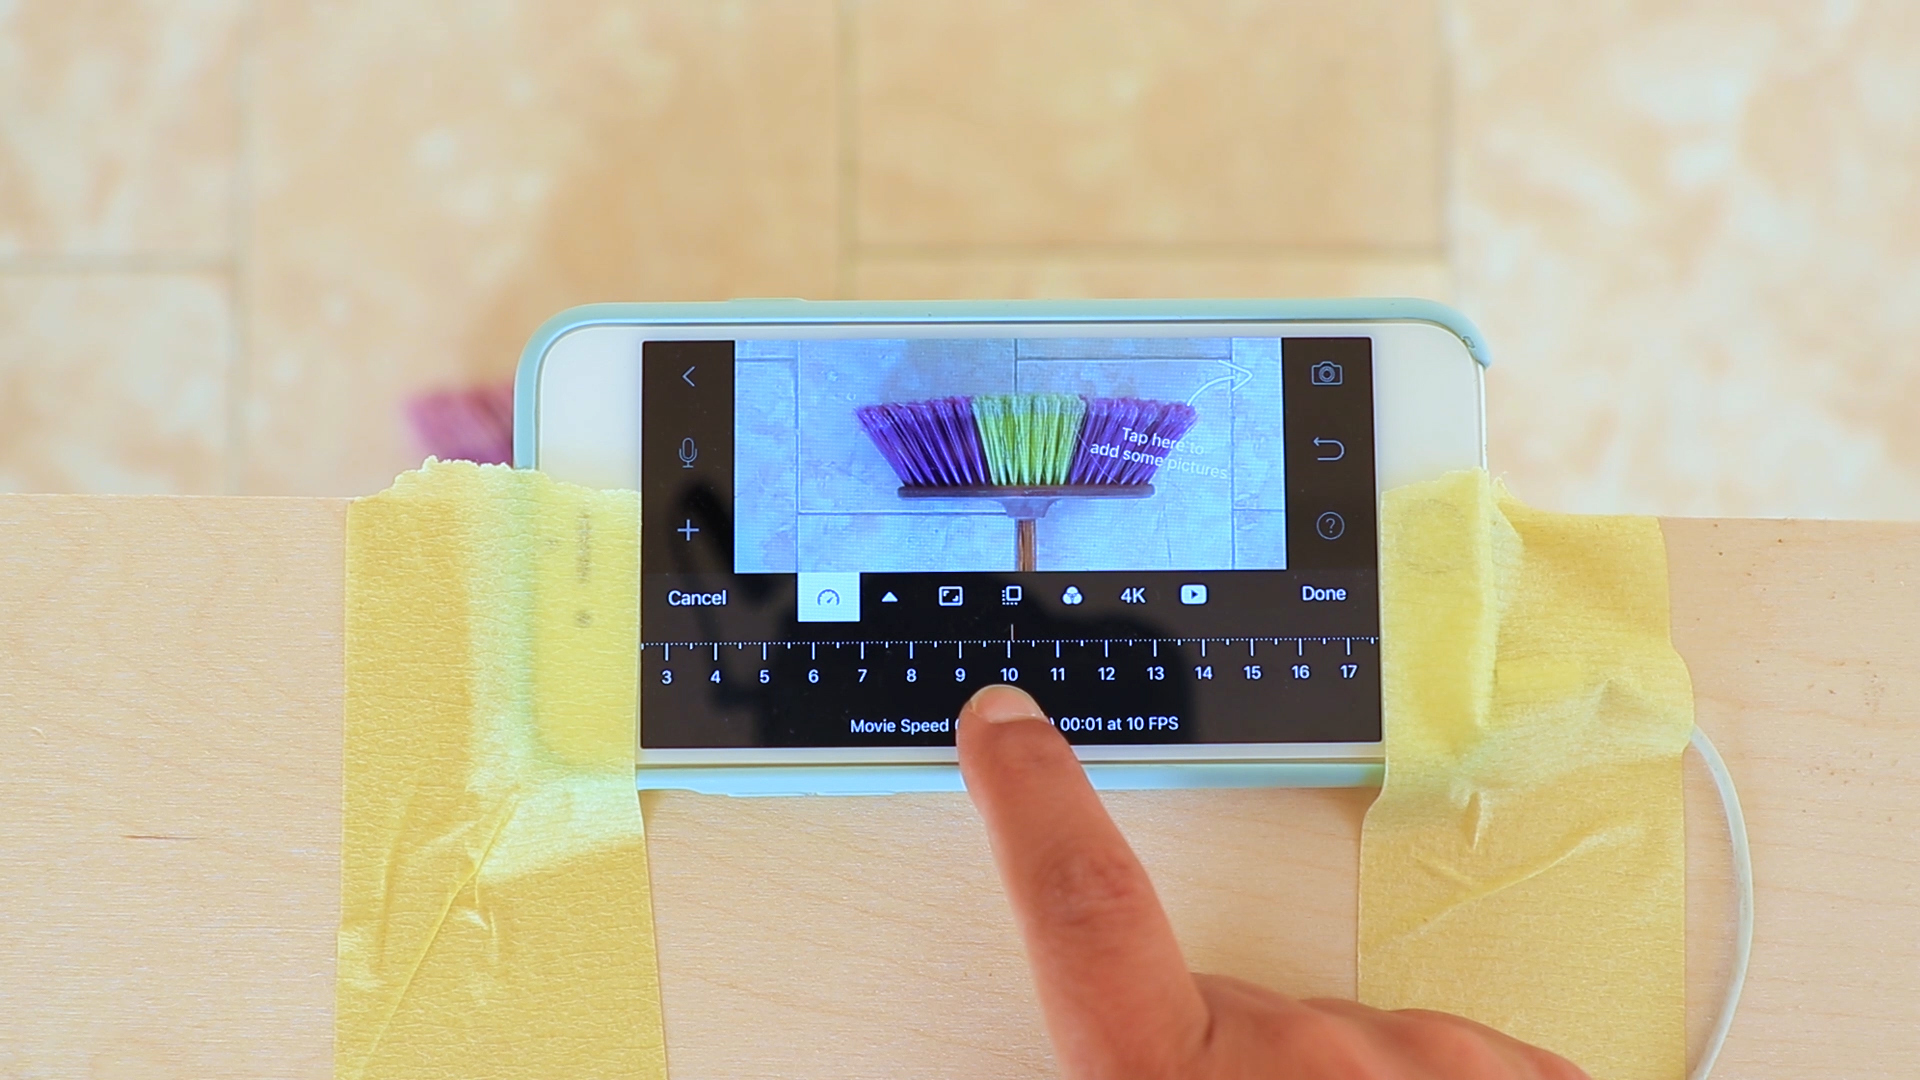
you will instantly see what your camera is seeing, at the bottom this is where all your photos will be displayed as the timeline, before we start press the settings button, the first tab shows a speed meter this is the frame rate per second or the number of photos played in each second, for now set it to 10. You can make it slower or faster by changing this number. the less frames you'll see in a second the slower your video will be.
Adjusting Camera Settings
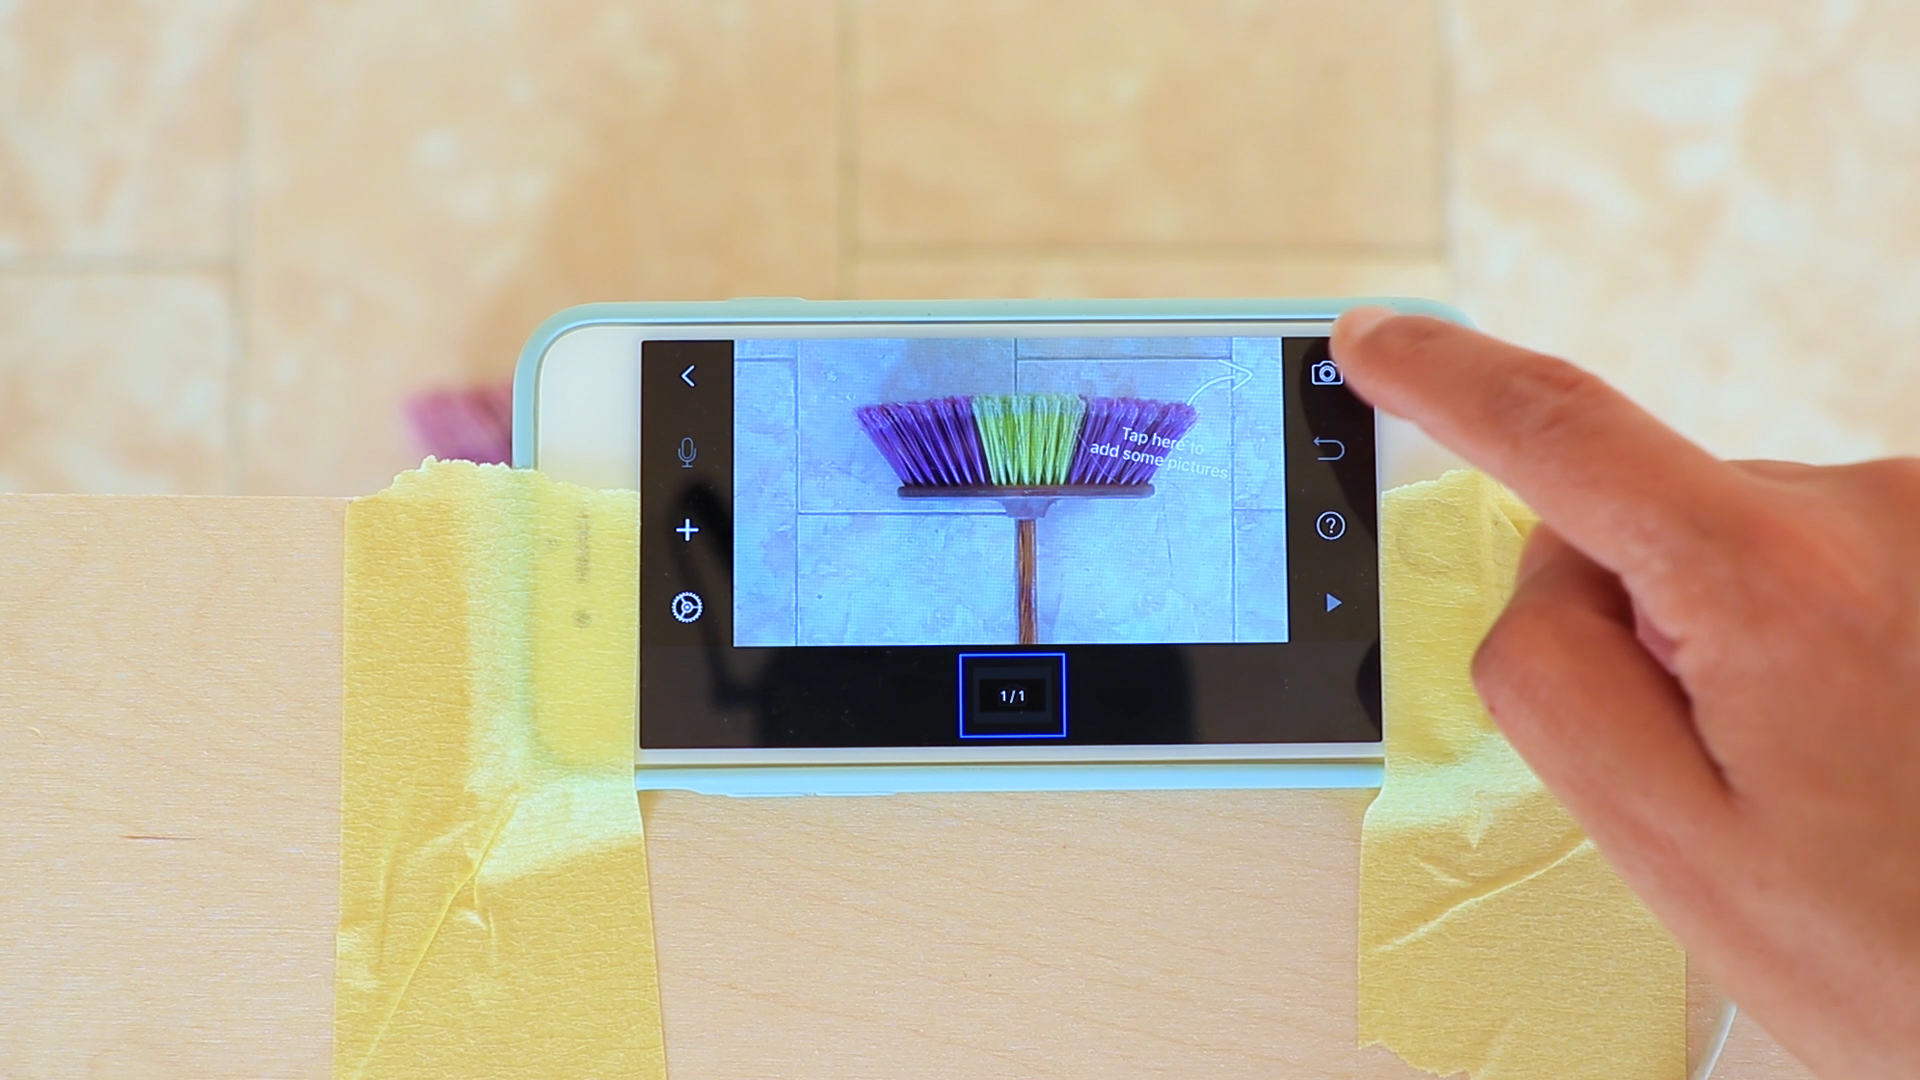
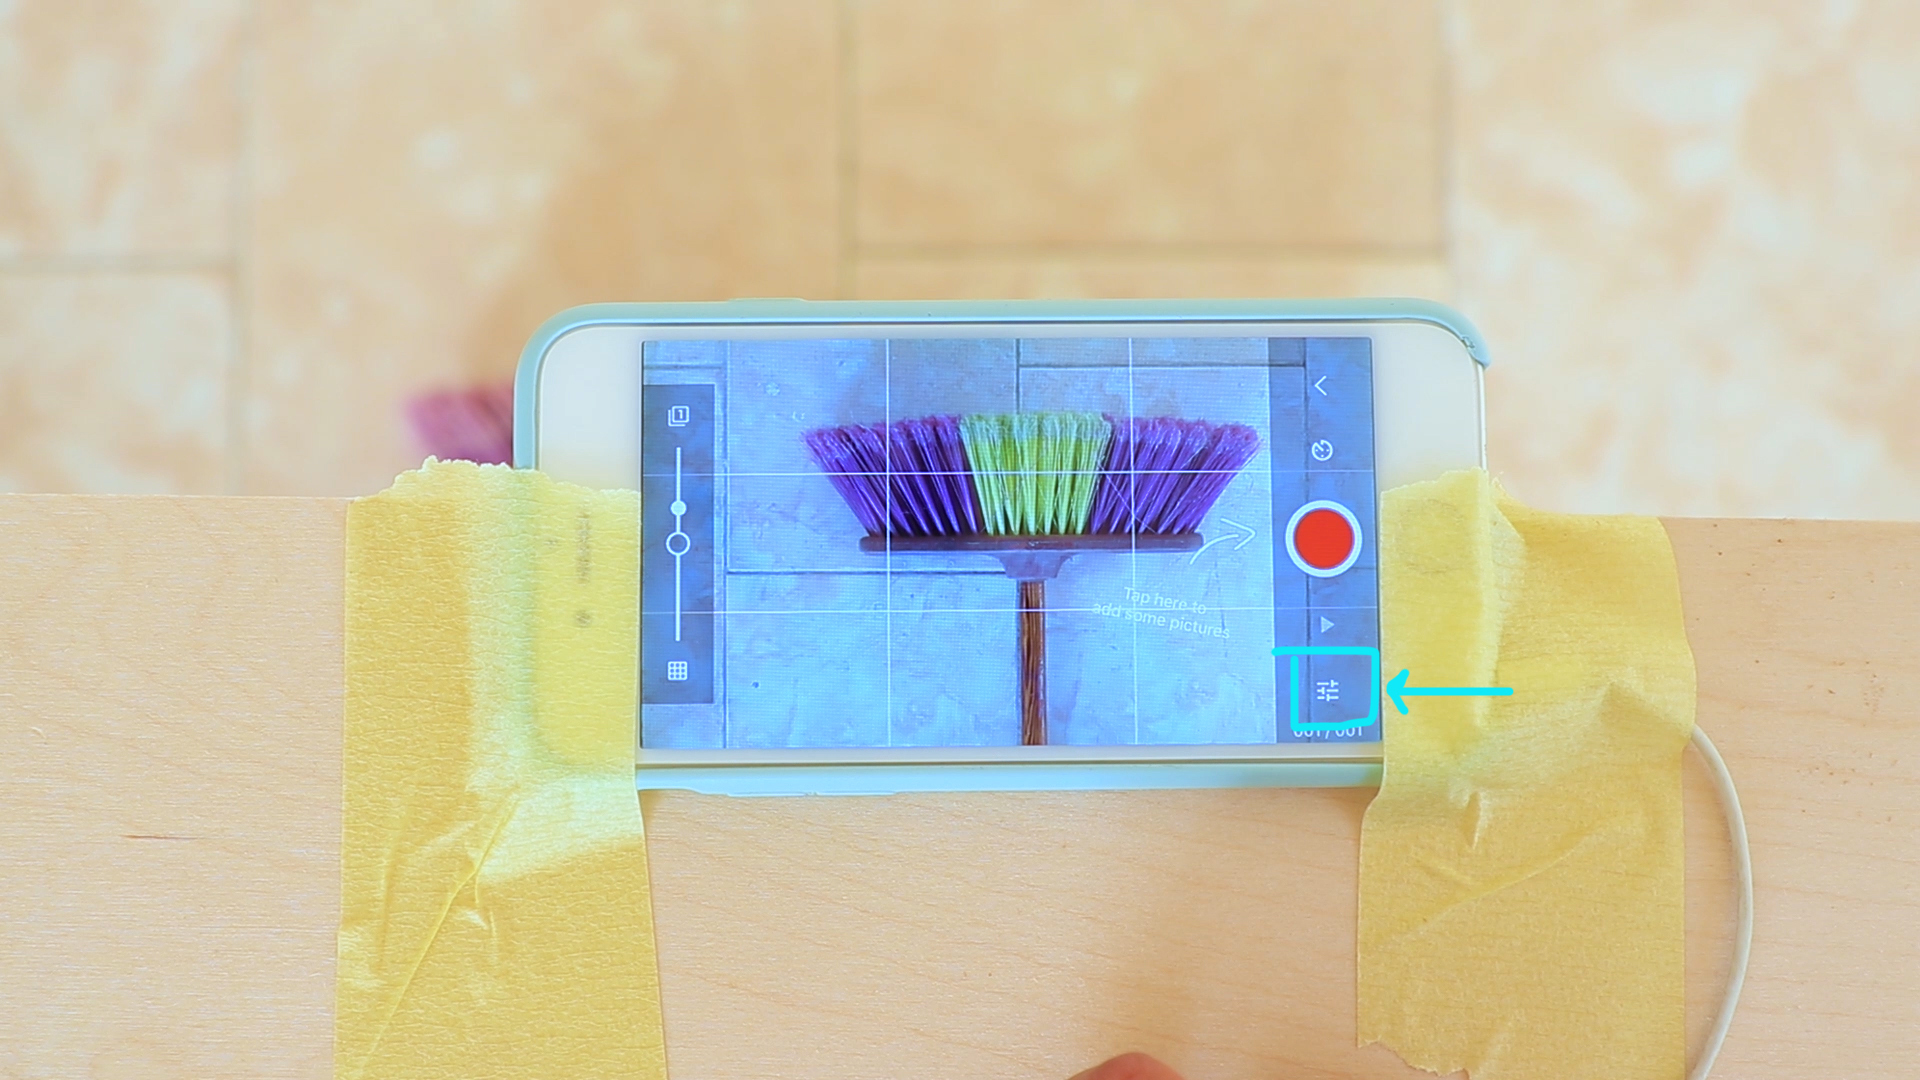
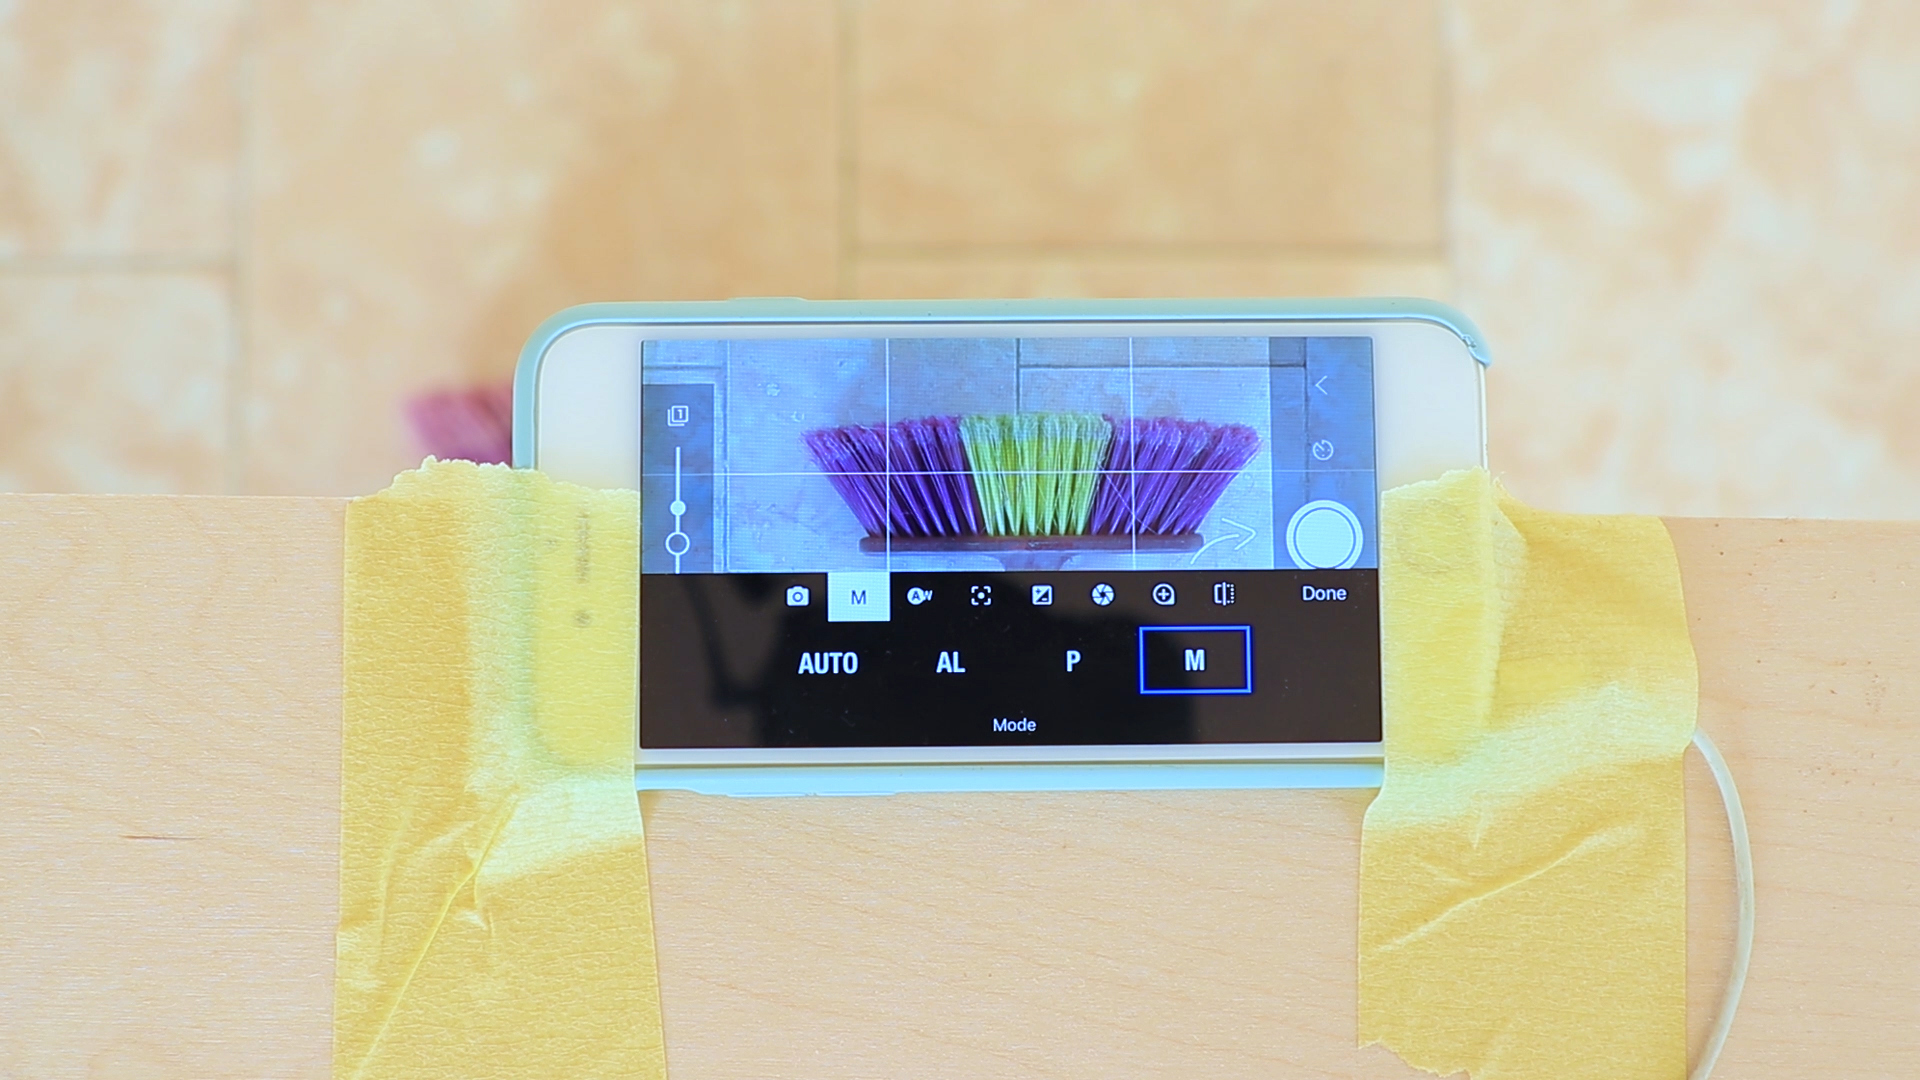
To capture photos, we’ll press the camera button. now we see a camera in full View and there are a few more settings here too. we will use the rear phone camera, so this we won't change then I want you to set the mode to M for manual. If you don't have M, set it to AL for Automatic lock.
Remember I want only the eyes moving, but there are many things that can change by time like the light, if I said this on auto my phone will keep changing many settings, if you use artificial light you won't see much flickering because the light is constant. But it's ok to use sunlight, flickering matches our jiggly friends.
You can play around with the rest of the settings like the white balance, Focus, iso, the shutter and zoom pressing the red button is how you capture your photos.
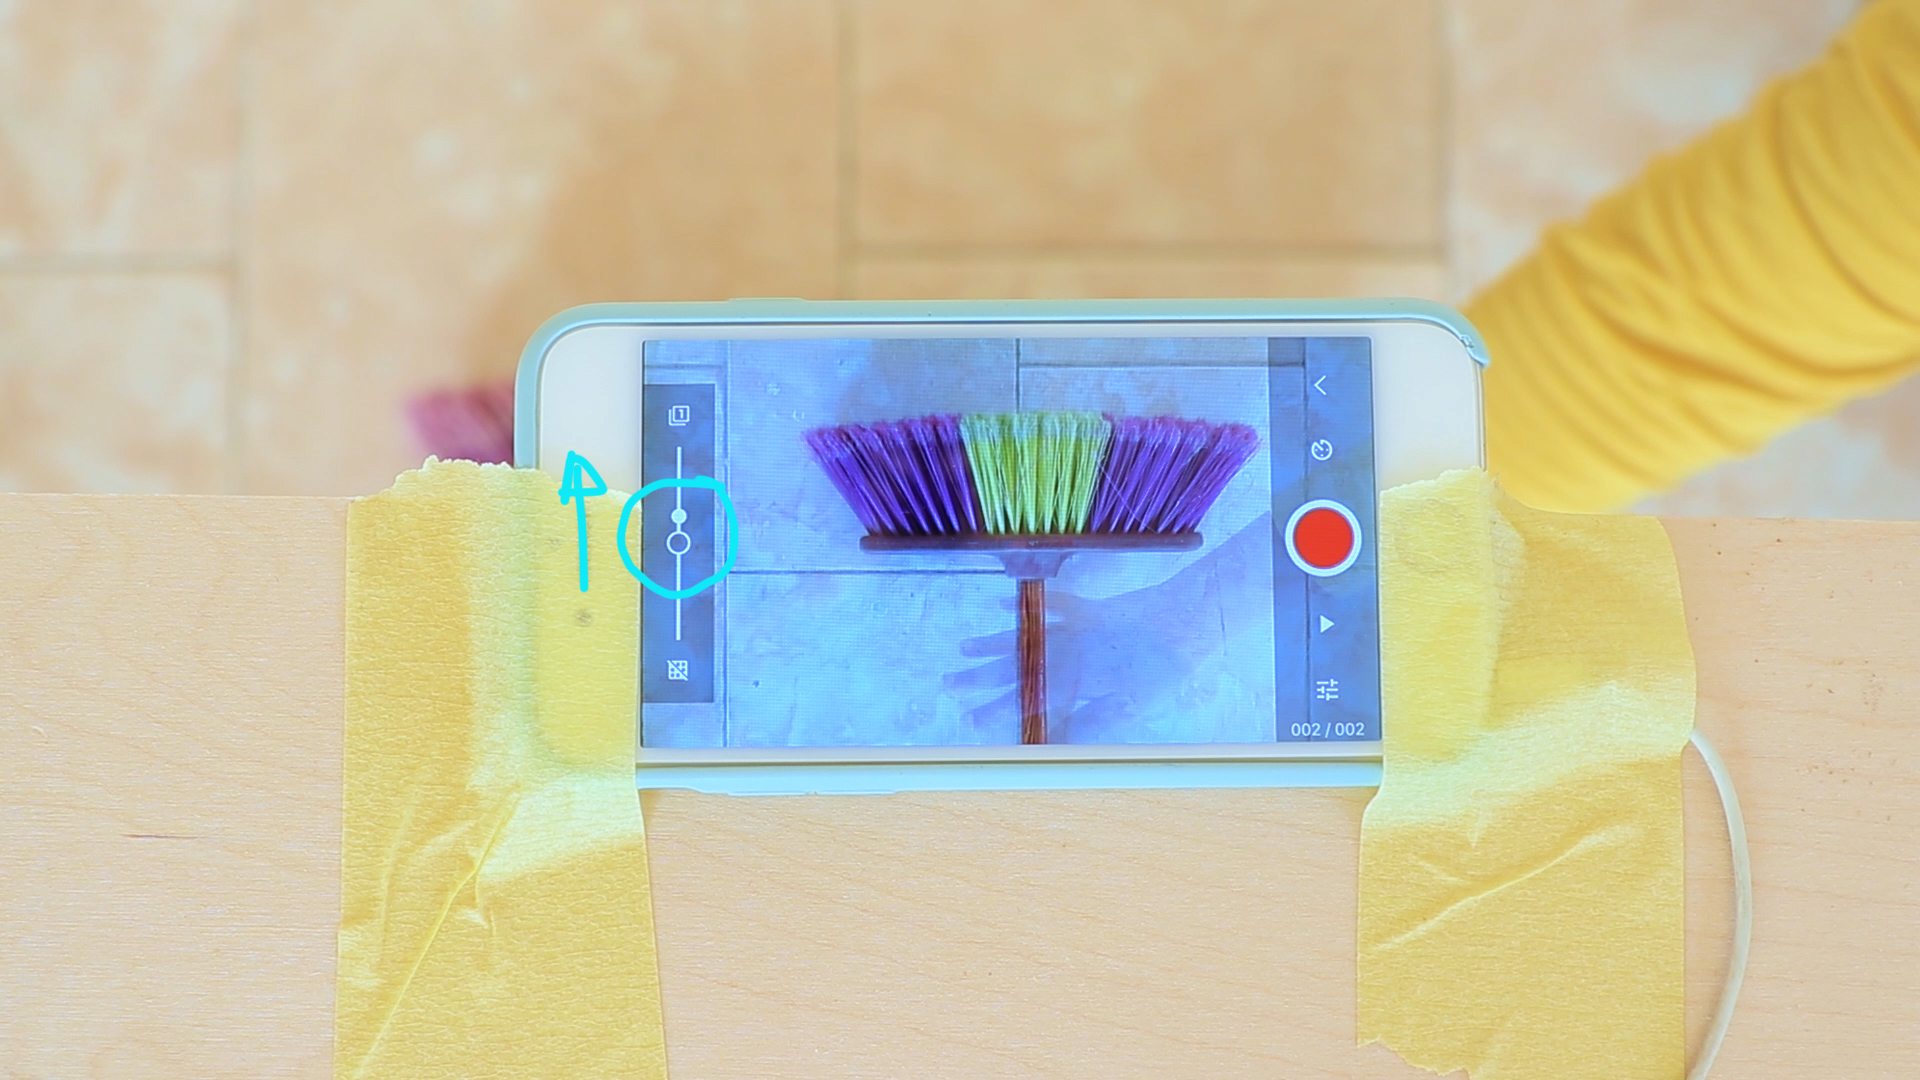
On the left we have two buttons, the bottom one toggles the grid on and off, you can use it to align things and make them straight. The top button is the Onion skin if you slide it to the top it will change what your camera sees into a transparent layer over your previous photo.
See how my hand is Now transparent, now if I move my broom I will be able to see where it was before, this will help us a lot when we try to replace the eyes and place it in the same position every time. So slide this up!
Prepare Your Replacements
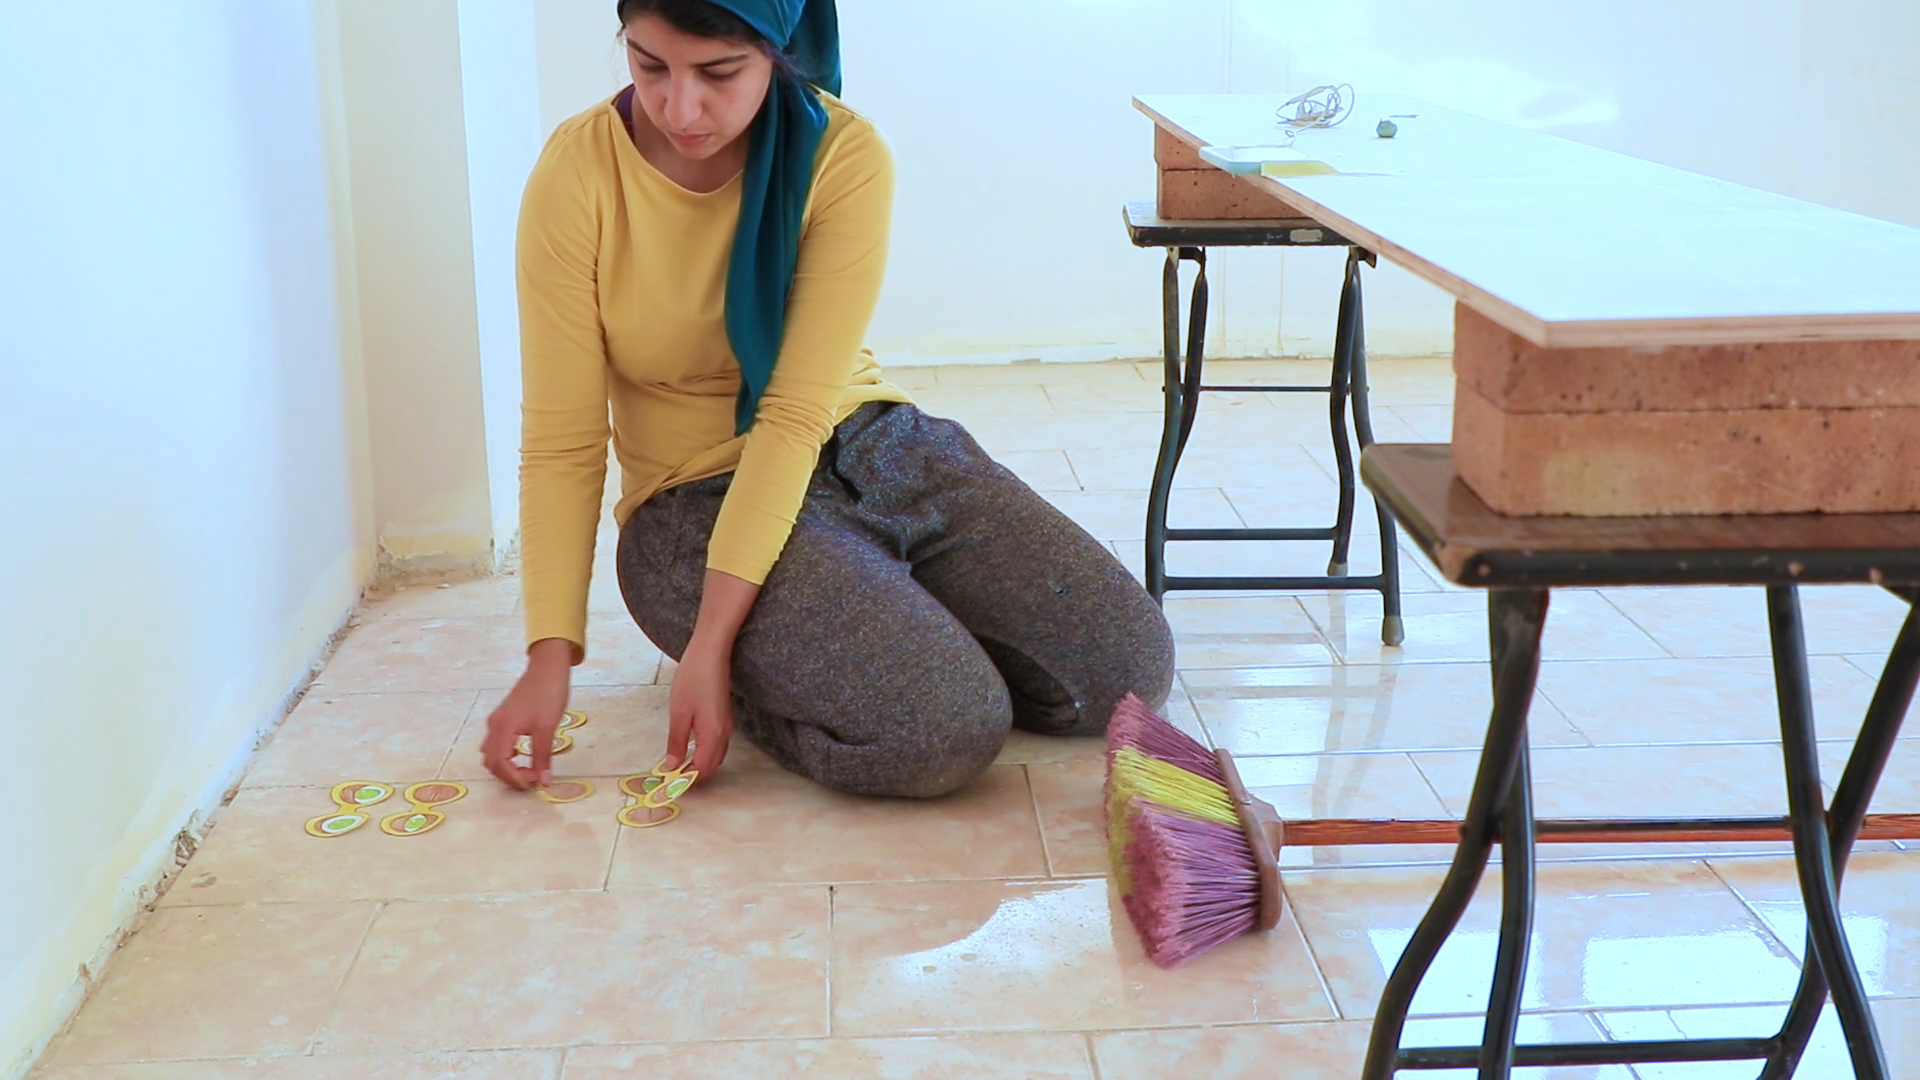
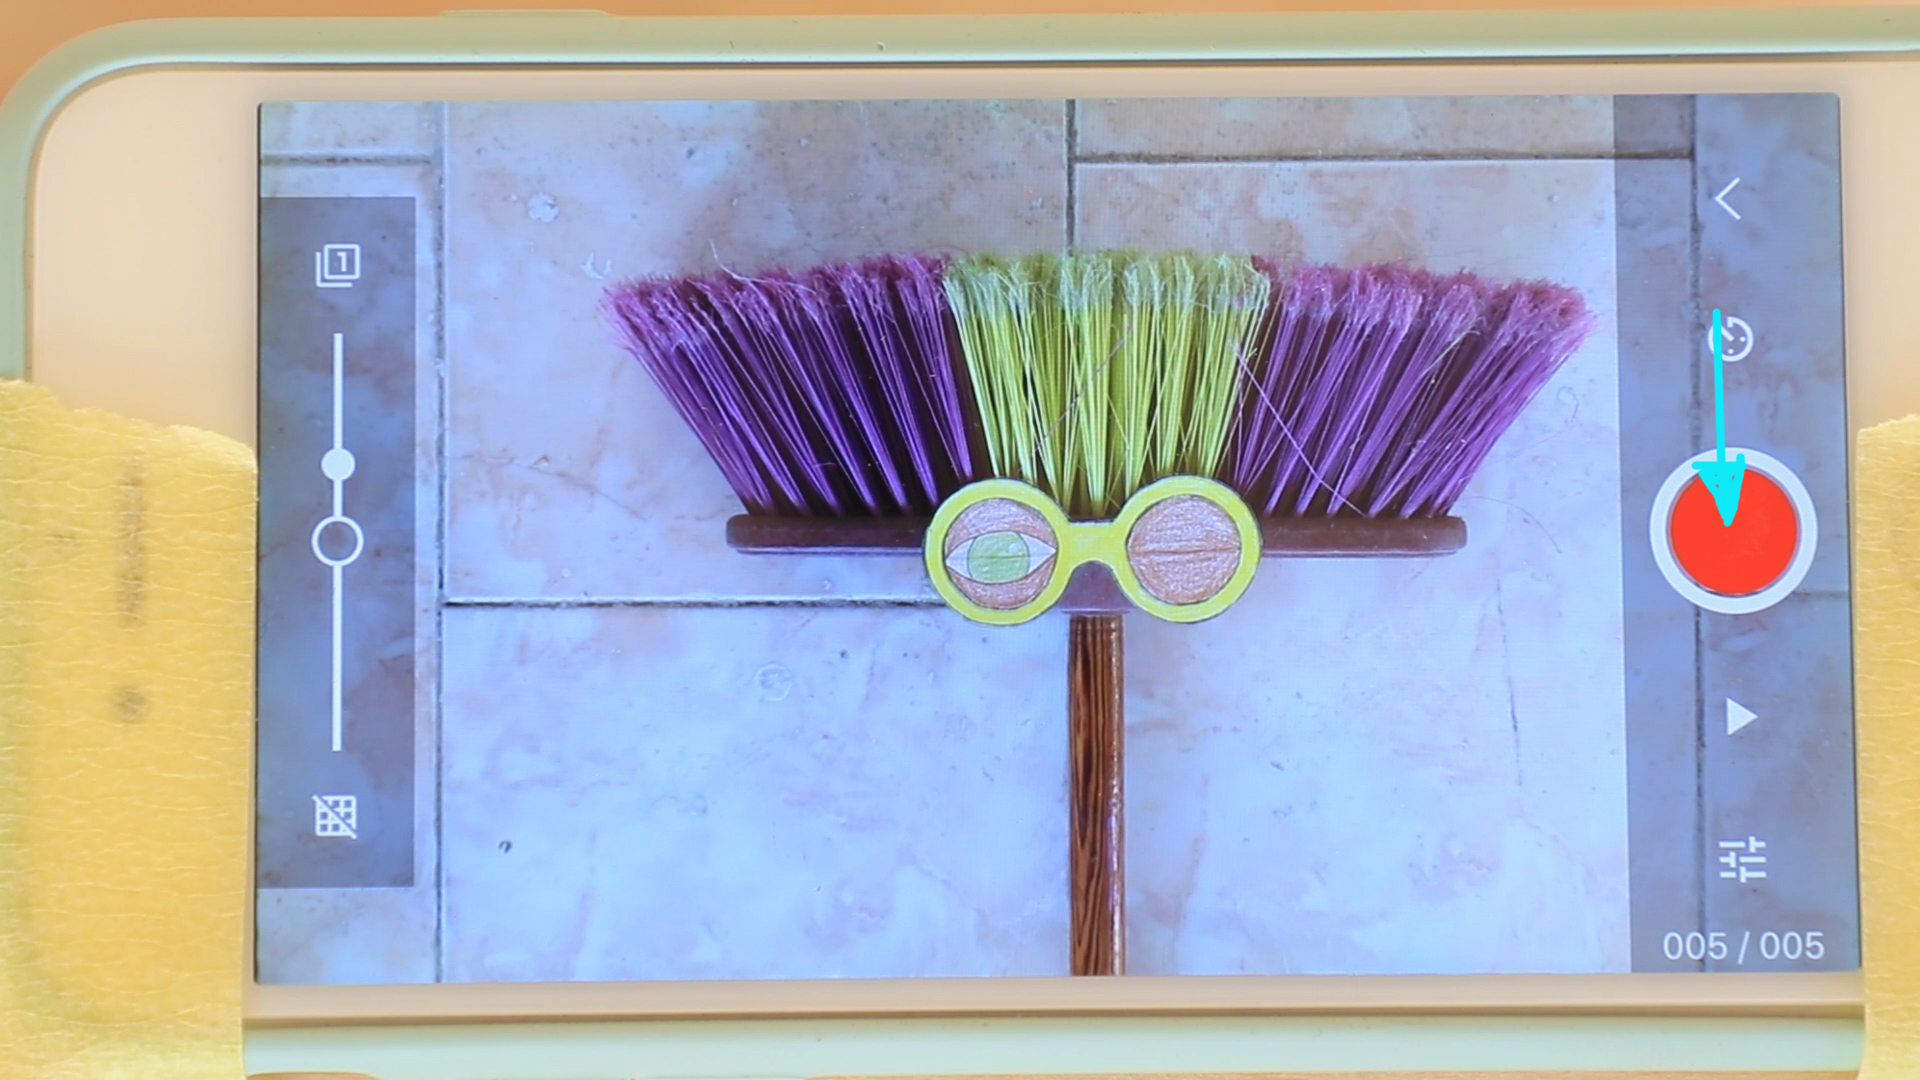
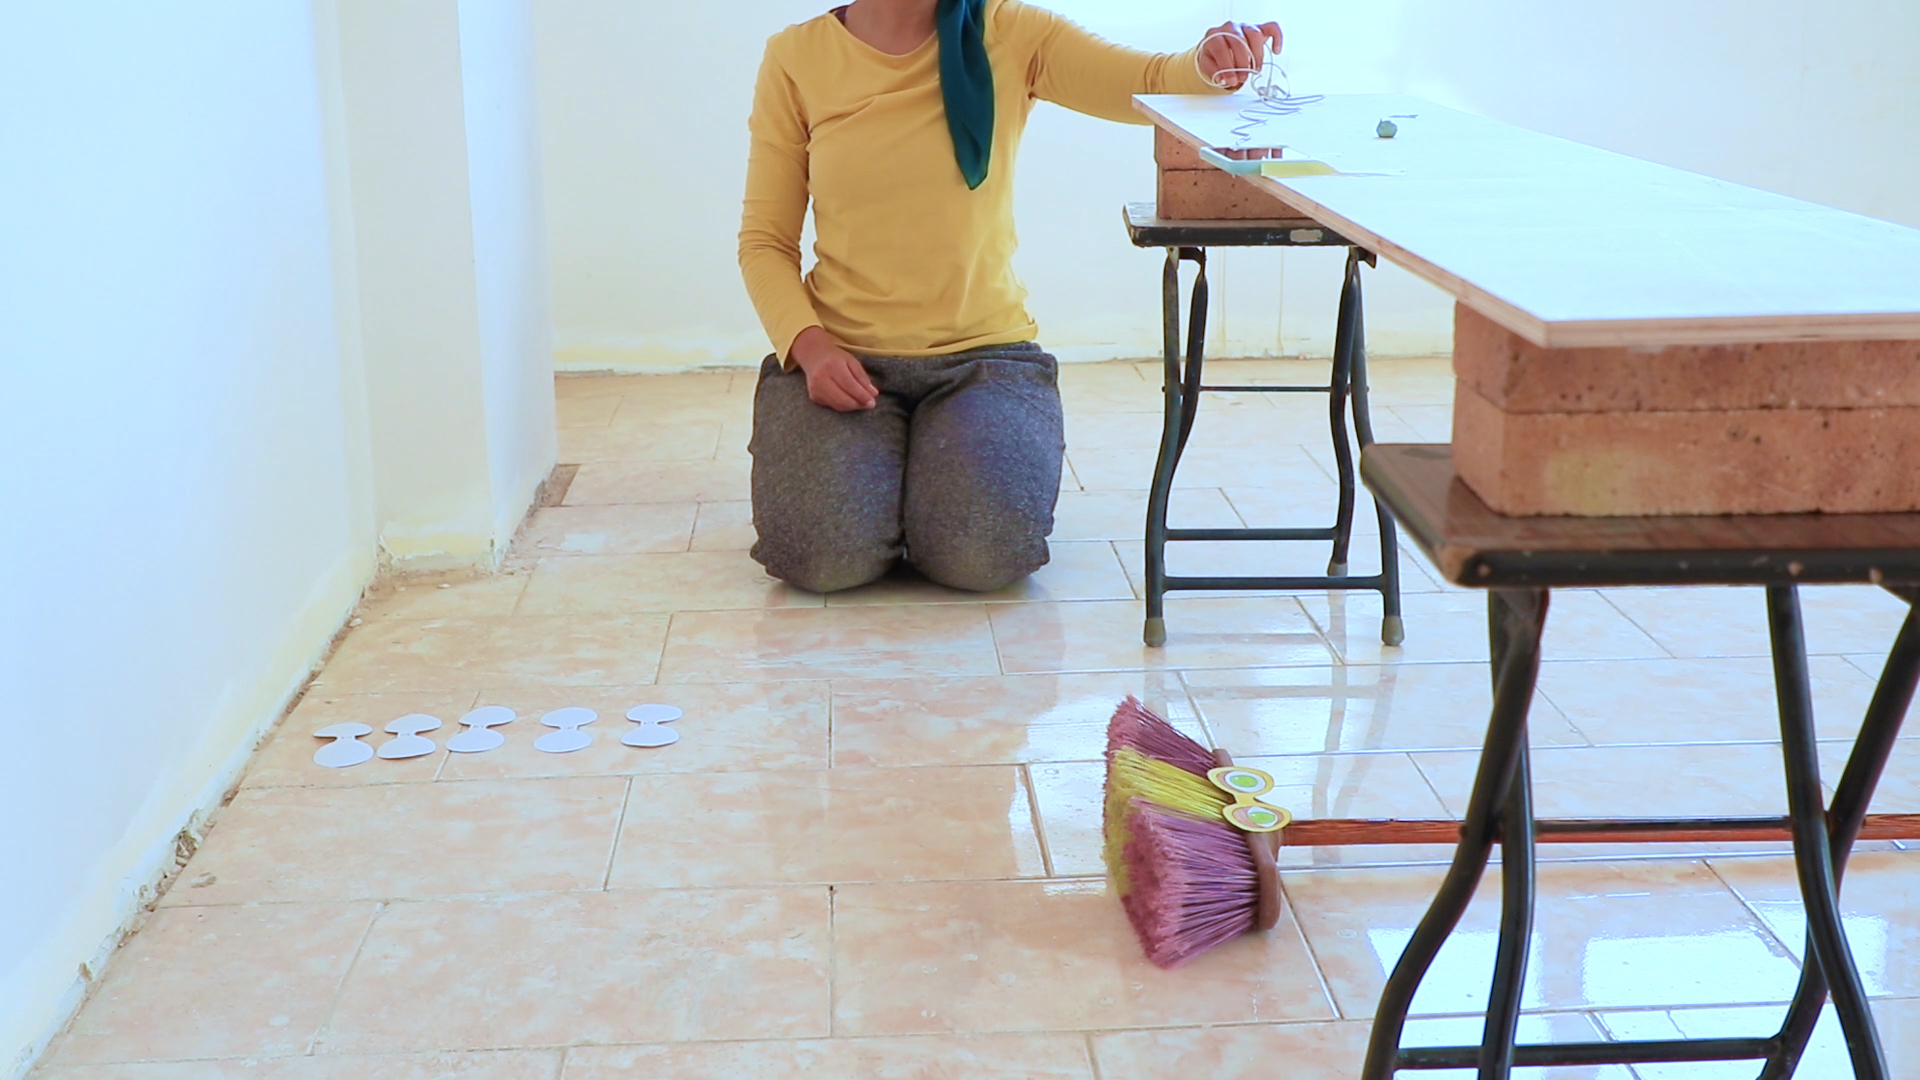
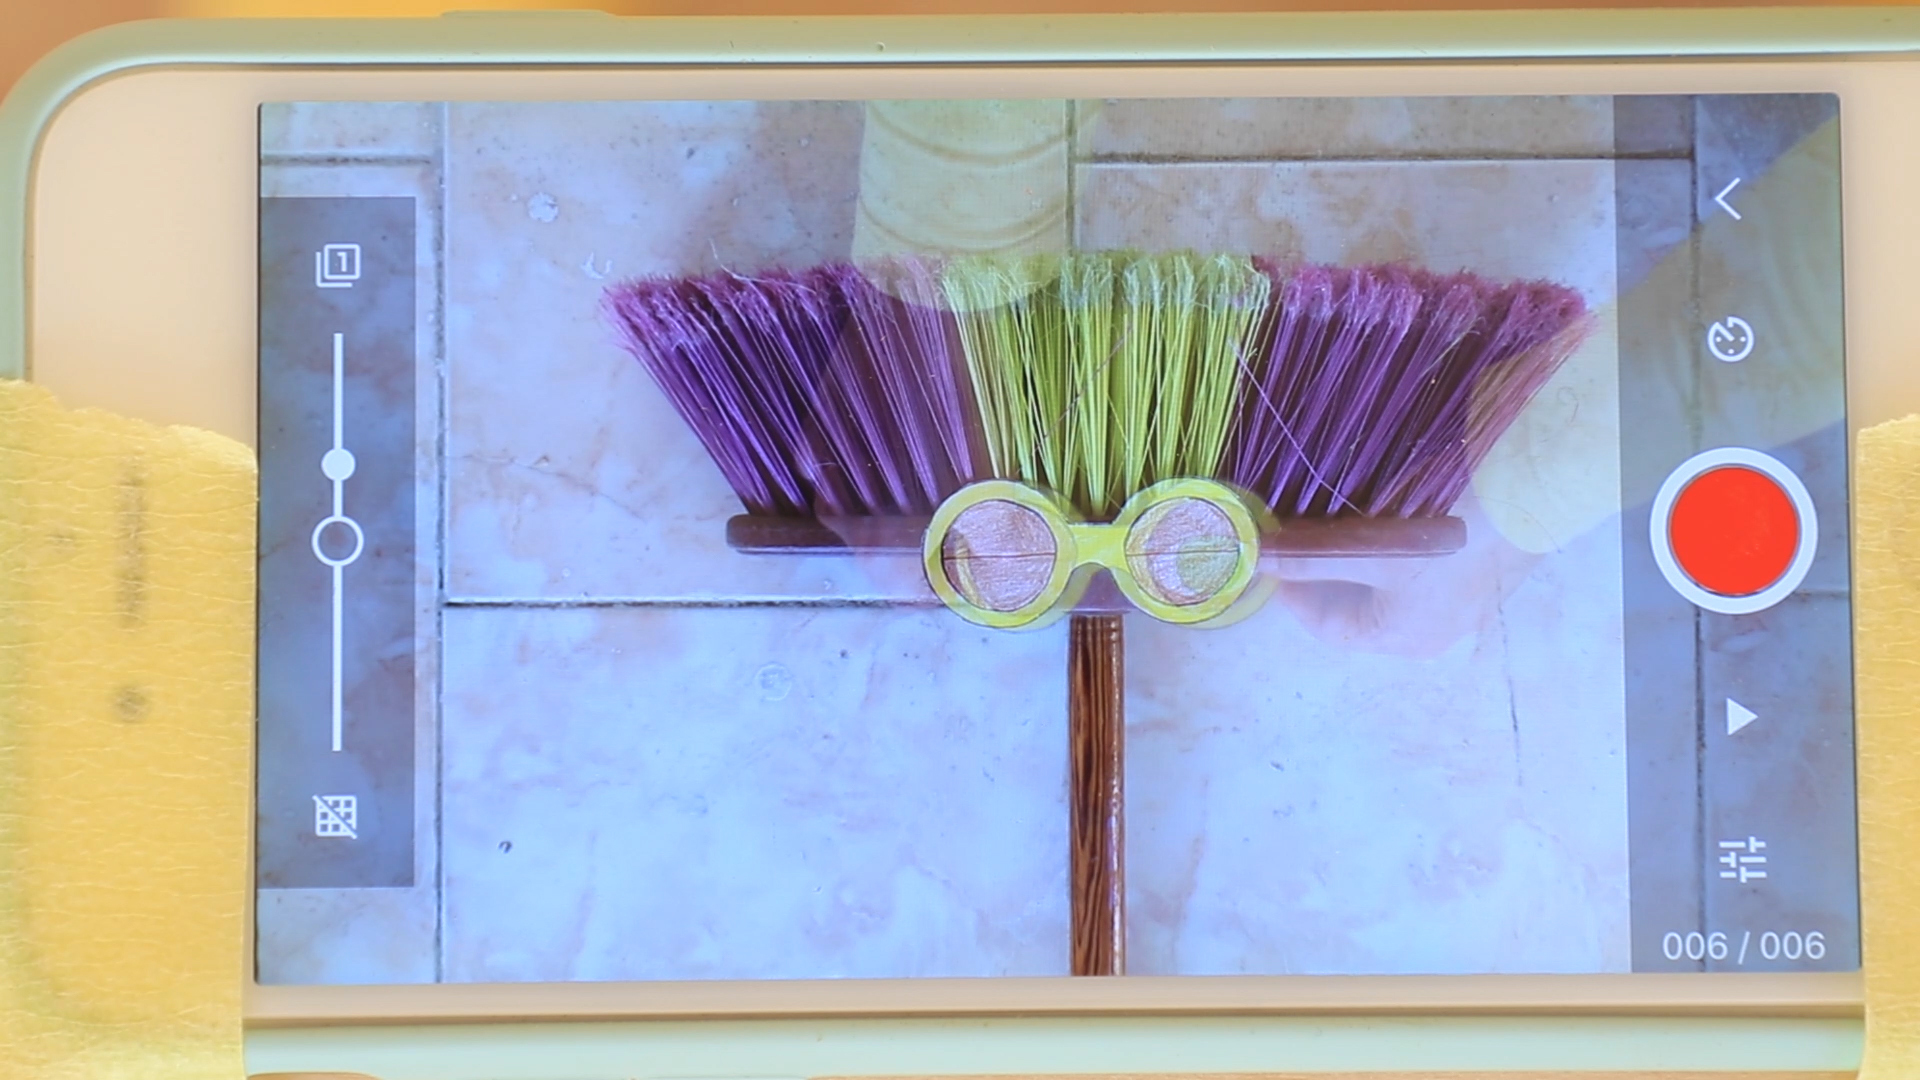
I lay all my pieces in order, and stick a piece of blu tack where I want my eyes to go. One by I start placing my blinky eyes. I am using my earphones to capture my photos, I stand away from my camera to not get any of my Shadows in my photos. then I replace with the second, I make sure it's in the same position, the Onion skin feature helps a lot. then move away and take a photo. don't worry if it's slightly not in the same exact position. they are jiggly!
keep replacing your glasses till the final one, always remember to sit or stand in the same position every time.
I Would Love to See What You Create!

I would love to see your jiggly friends! Email me your video, or tag me on Instagram and use the hashtag #JigglyFriends.
Have fun socializing at home!