Stop Motion Paper Effect With Premiere!
3330 Views, 46 Favorites, 0 Comments
Stop Motion Paper Effect With Premiere!
.gif)
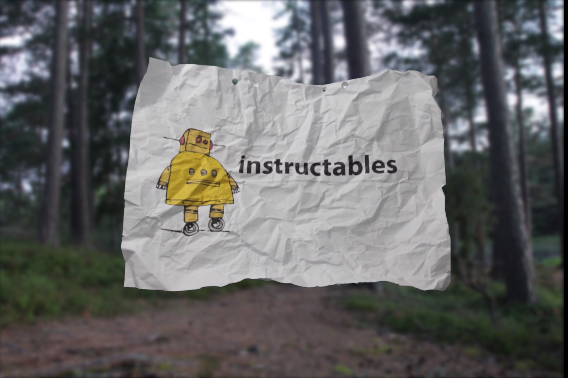
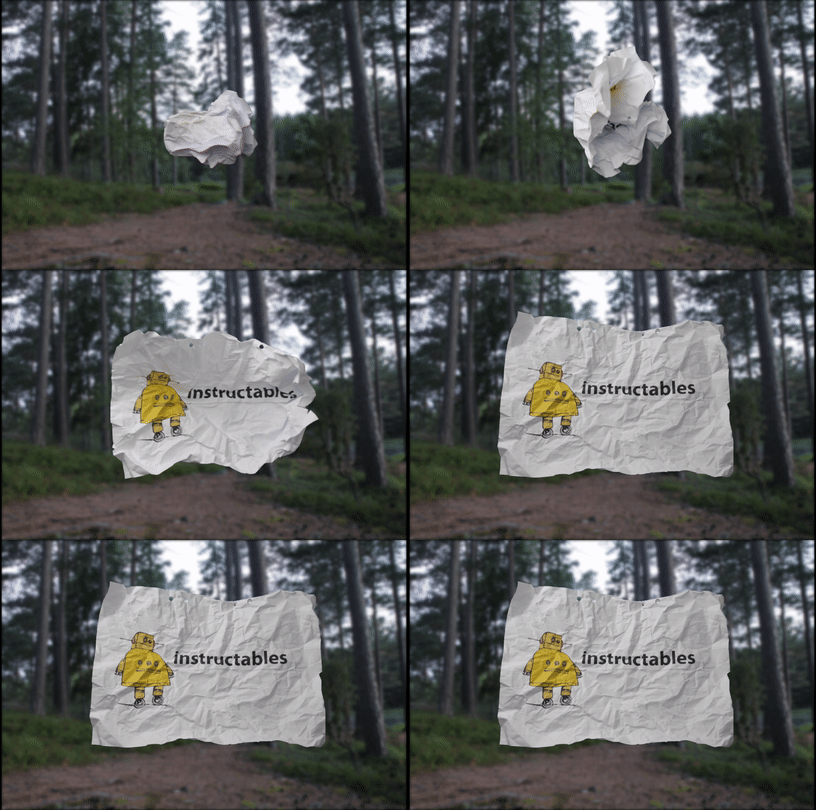
This instructable will teach you how to make a "crumbled paper" effect using a green screen and premiere. This works great as intro or credits for your next video project.
Setup
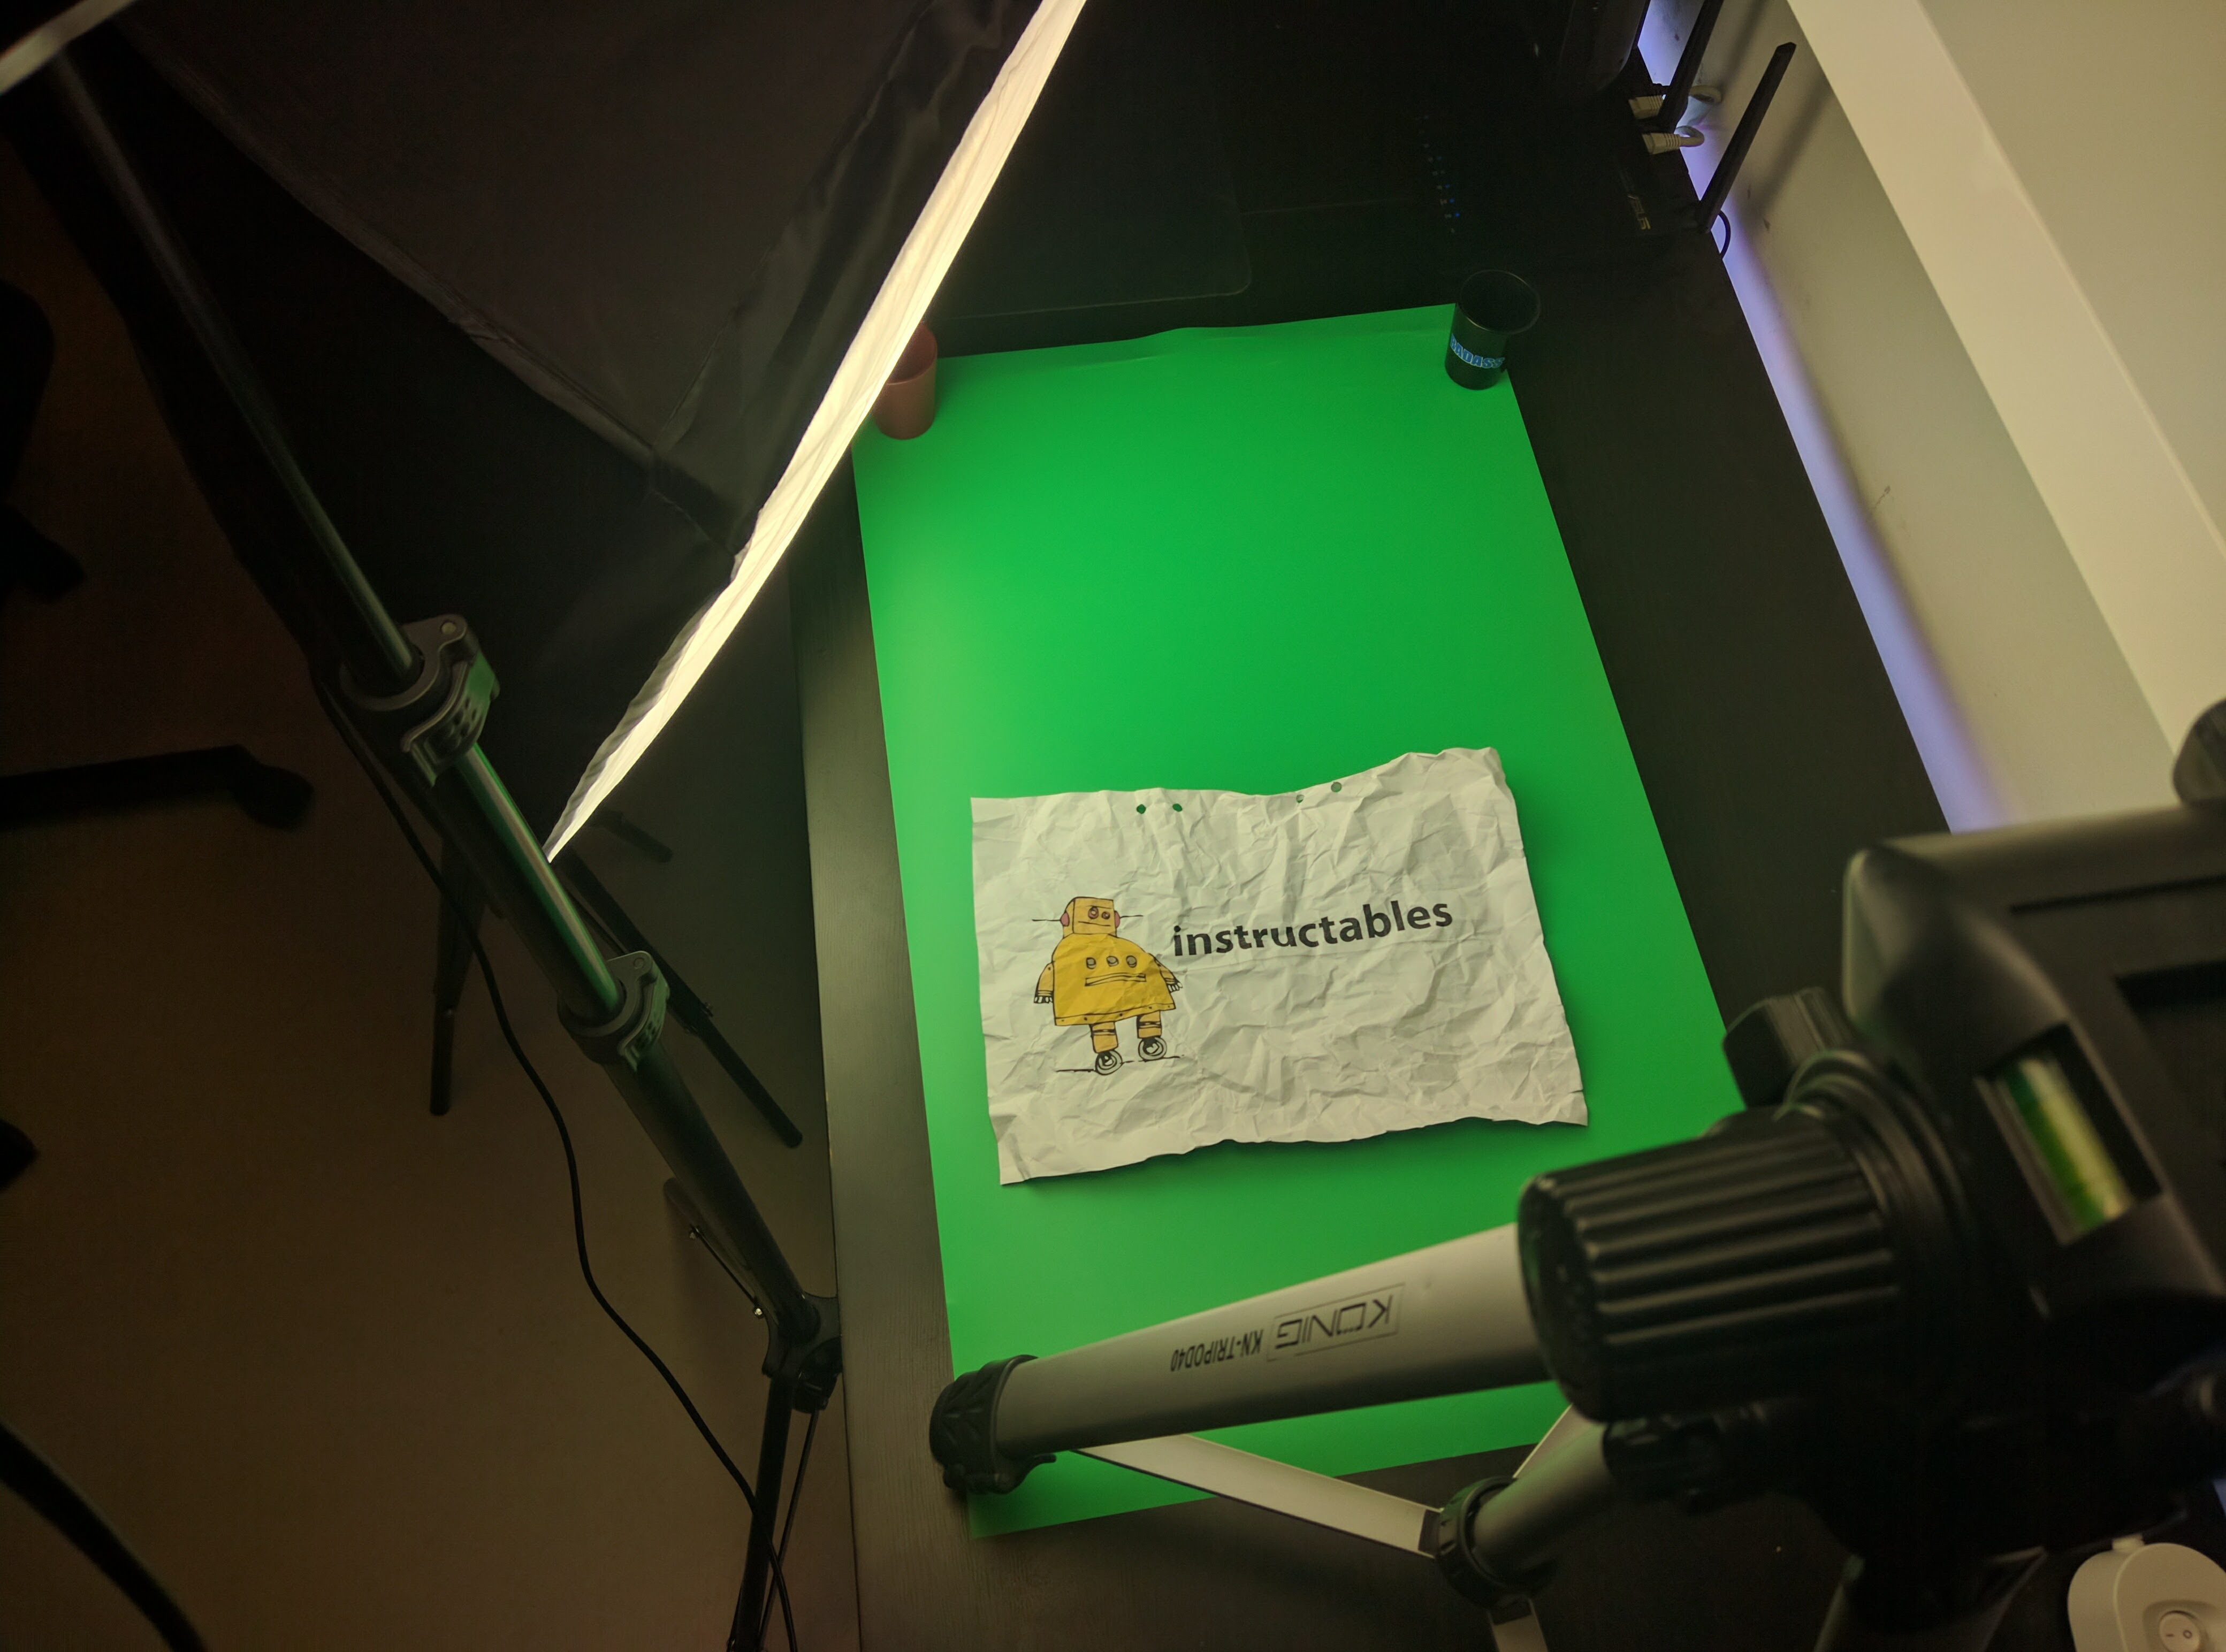
To get the pictures we need some sort of green screen in the background. This can either be a fabric or a plastic one as i am using. If you dont have have a green screen on hand you can also use a brightly green/blue t-shirt.
You will also need some good lighting, im using two soft boxes but almost any light soruce will work. You can also use my 100w led flashlight. In the picture above i have one light coming from the side to remove shadows and one light just above the tripod to illuminate the whole object.
I used my dslr but your phone will do just fine!
Taking the Pictures
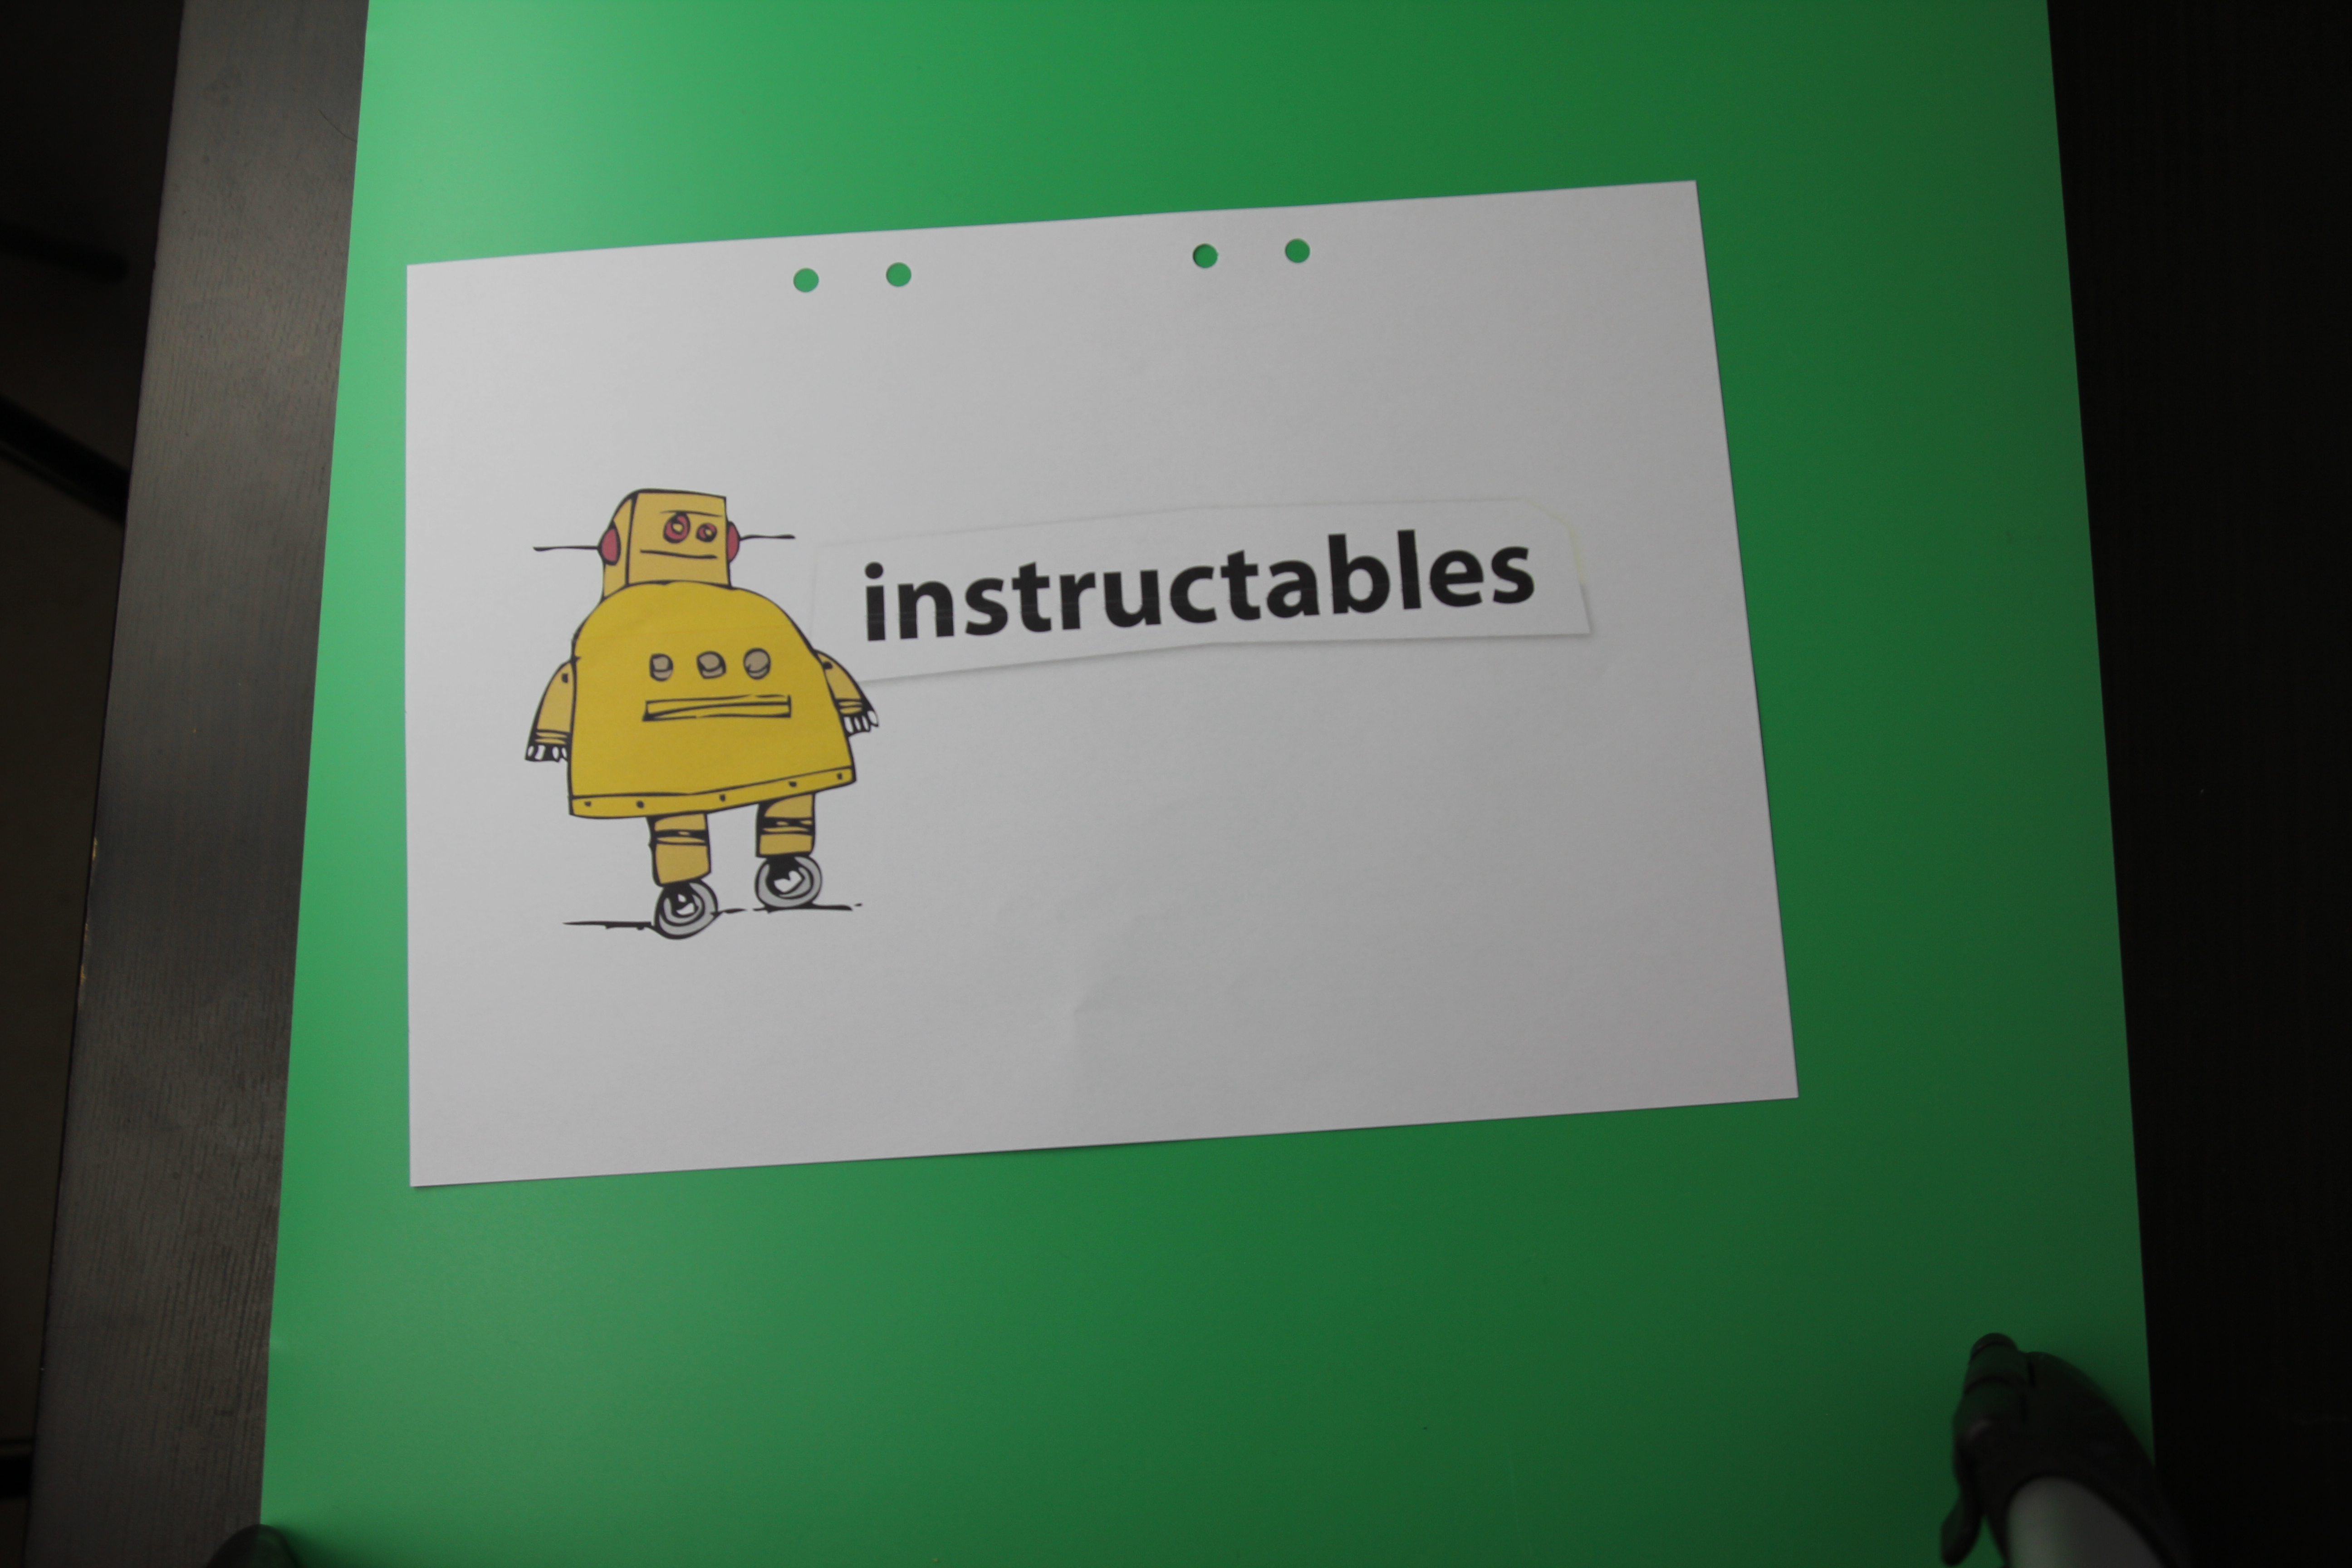
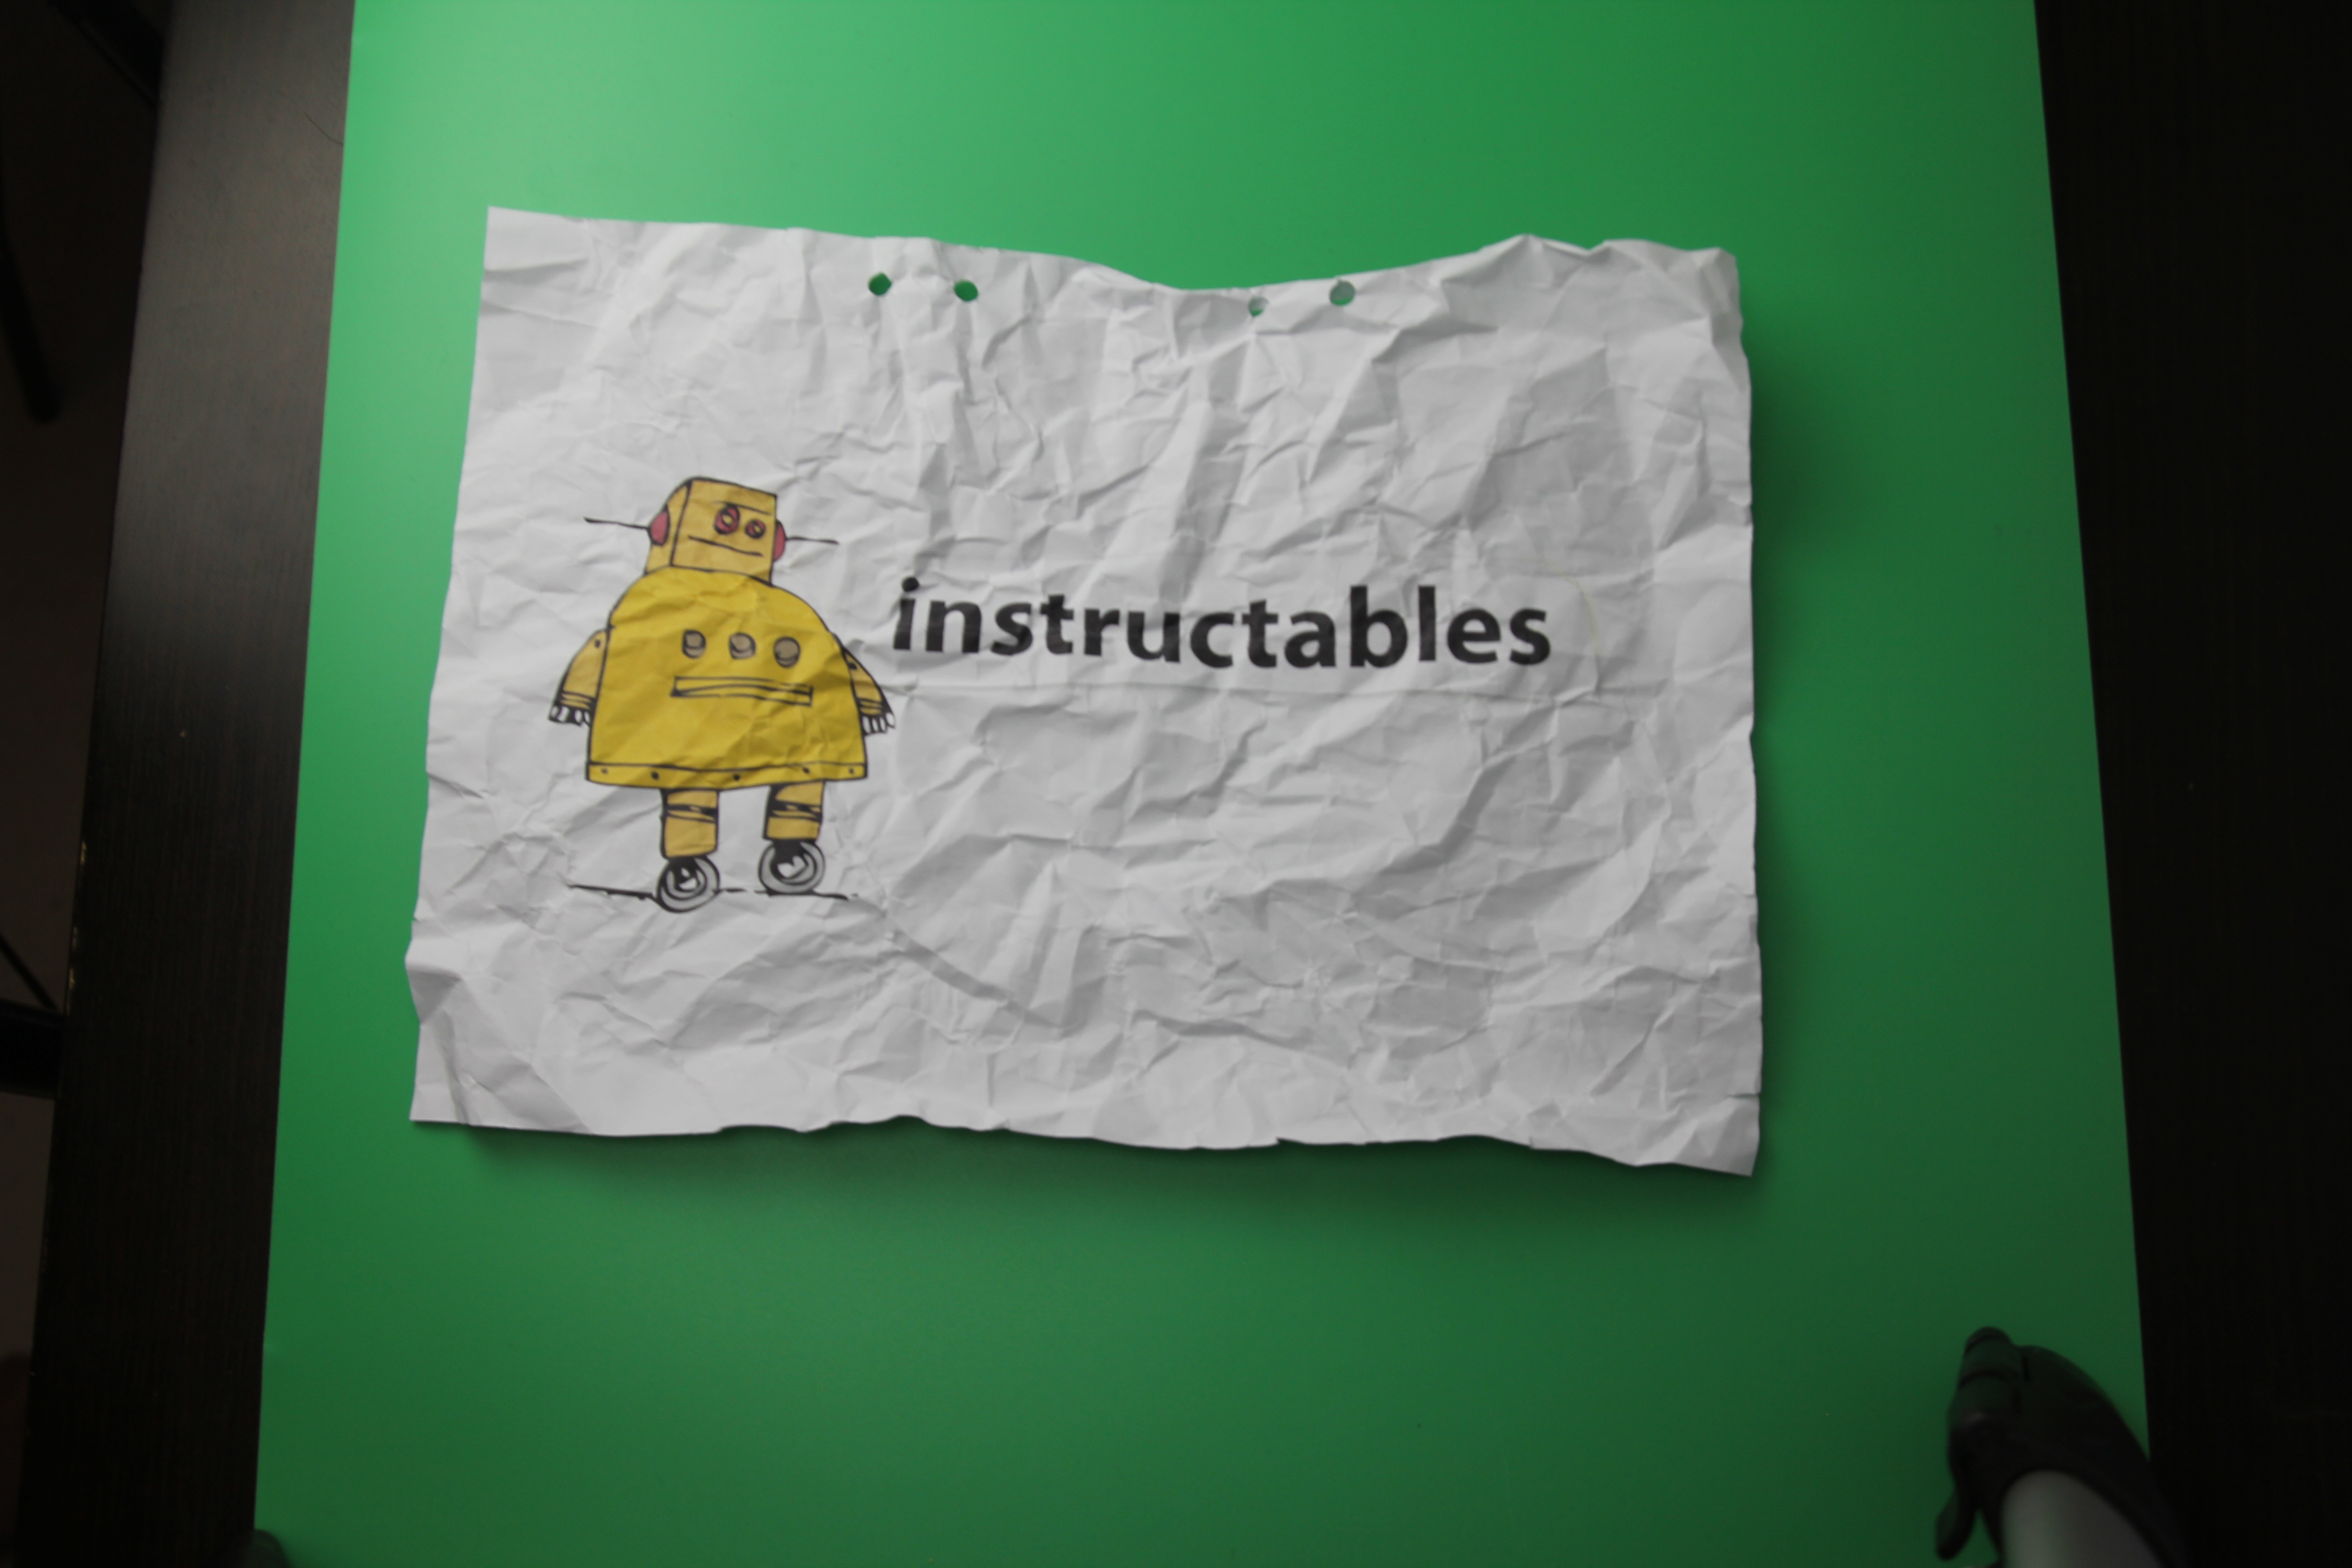
Now its time to get creative!
Make the paper into a small ball. make sure that the paper is easy to pose before you take the first picture. If the paper isnt behaving, crumble up the paper with your hand and then try again.
My gif i made at the top was made of 10 pictures and has a strong stop-motion effect, but if you take more picture and smaller "steps" you can get a smooth animation.
Processing in Premiere
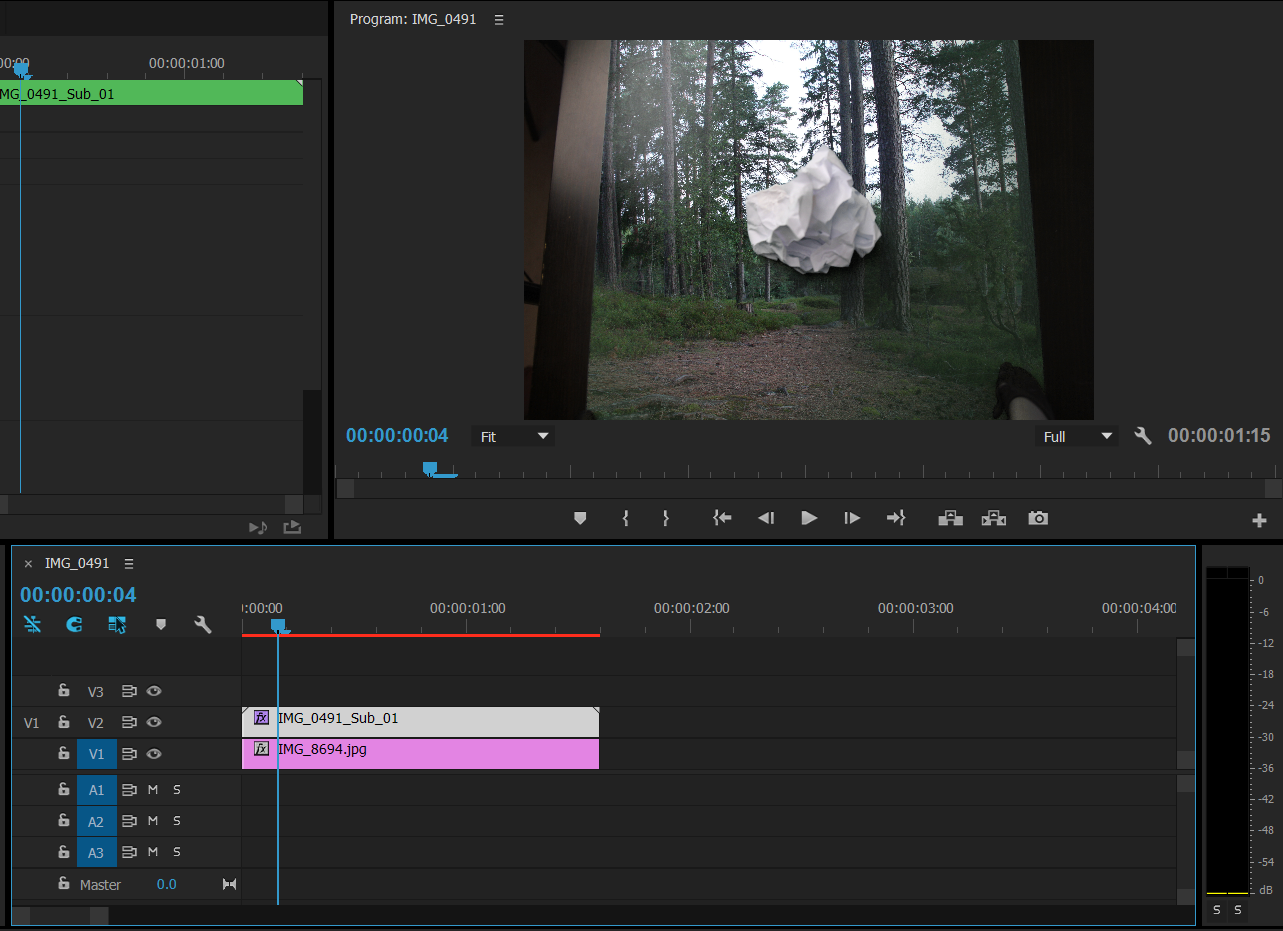
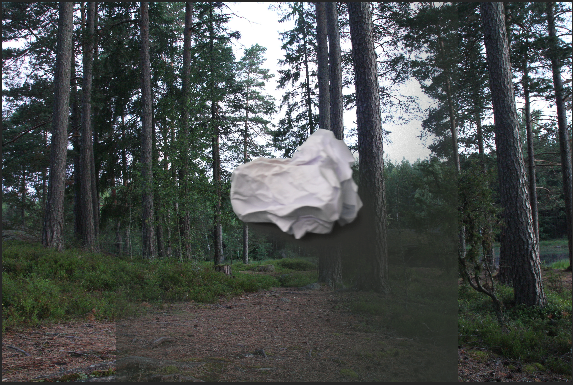
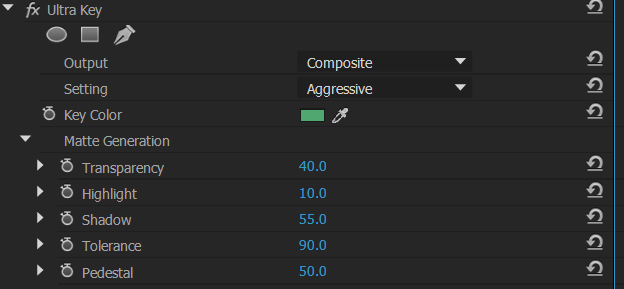
We will start by importing our pictures into premiere. Pull the pictures onto the timeline and adjust the time per picture.
Now we have to:
1. Convert the images into a sub sequence
2. Add the effect "ultra key" and "crop" to our new sub sequence
3. Click on the color picker (pic.3) and click somewhere on your green screen.
4. Crop away the corners by selecting a percentage on the "crop" effect. For the picture above i used 20% on left & right.
5. Your picture should now look something like picture 2. if your picture looks fine and doesnt have any artifacts like shadows you are done.
6. open up the matte generation drop down menu.
set pedestal to 100%
set shadows to 0%
set highlights to 0%
7. Play around with these settings until everything looks good. What works for me might not work for you!
Done!
You should now have something that looks like my example above! if you are wondering over anything, comment below!