Stock Ticker With LinkIT ONE
by jckelley in Circuits > Microcontrollers
4123 Views, 18 Favorites, 0 Comments
Stock Ticker With LinkIT ONE
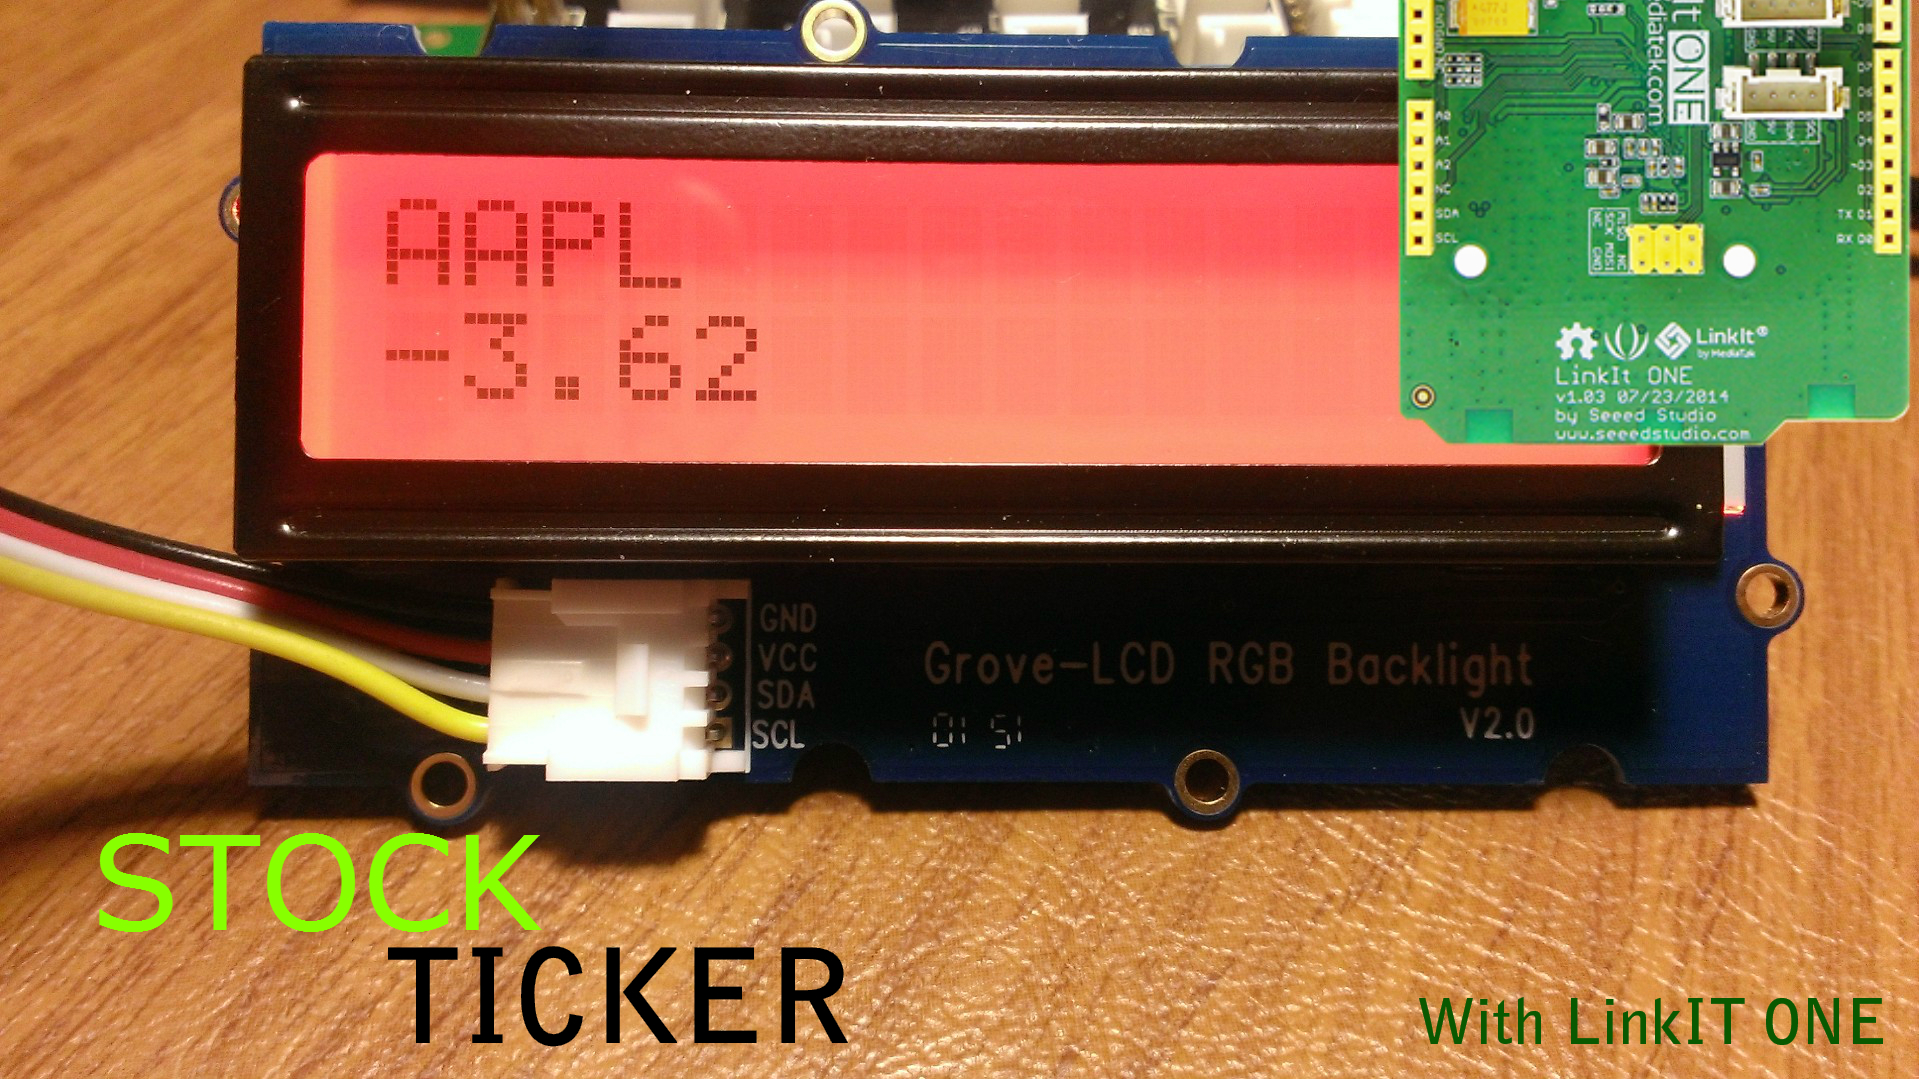
In this instrcutable we will go over how to make simple REST calls with your LinkIT ONE and parse the JSON we get back. REST and JSON are very quickly becoming standards in the web industry, so learning these skills can open the doors for a lot of different applications down the road. In this project, we'll create an application that can read a REST call and display stock information. We will have the back of the LCD react to ups and downs in the market (fade from green to red for the drops!) and display our favorite stock.
Supplies
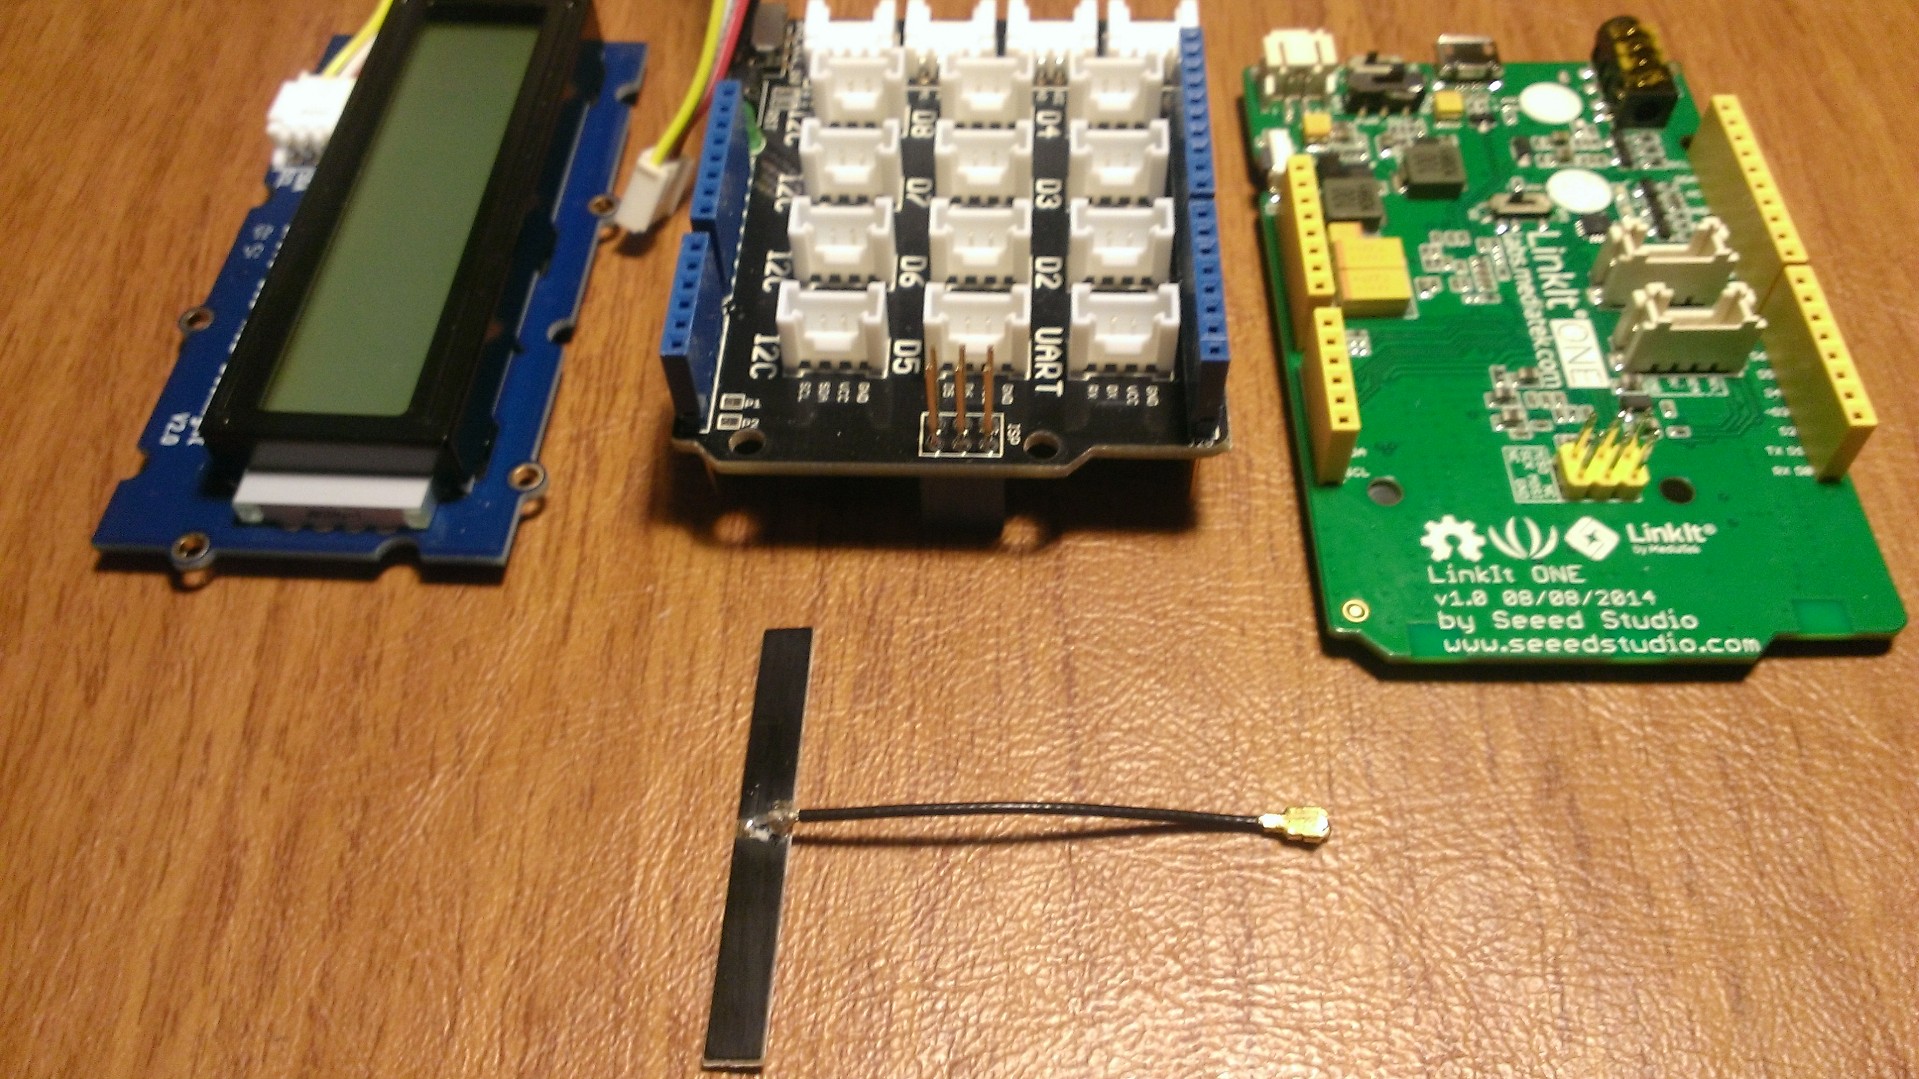
For this Instructable, you'll need a a Grove RGB LCD and the Arduino/LinkIT ONE Grove Shield. A great place to get these parts and plenty of other nifty sensors is the Arduino Grove Starter Kit. It's relatively affordable and allows you to make TONS of different projects!
- LinkIT ONE
- Arduino Grove Shield
- Grove RGB LCD Display
Hooking Up Your Grove Sensors
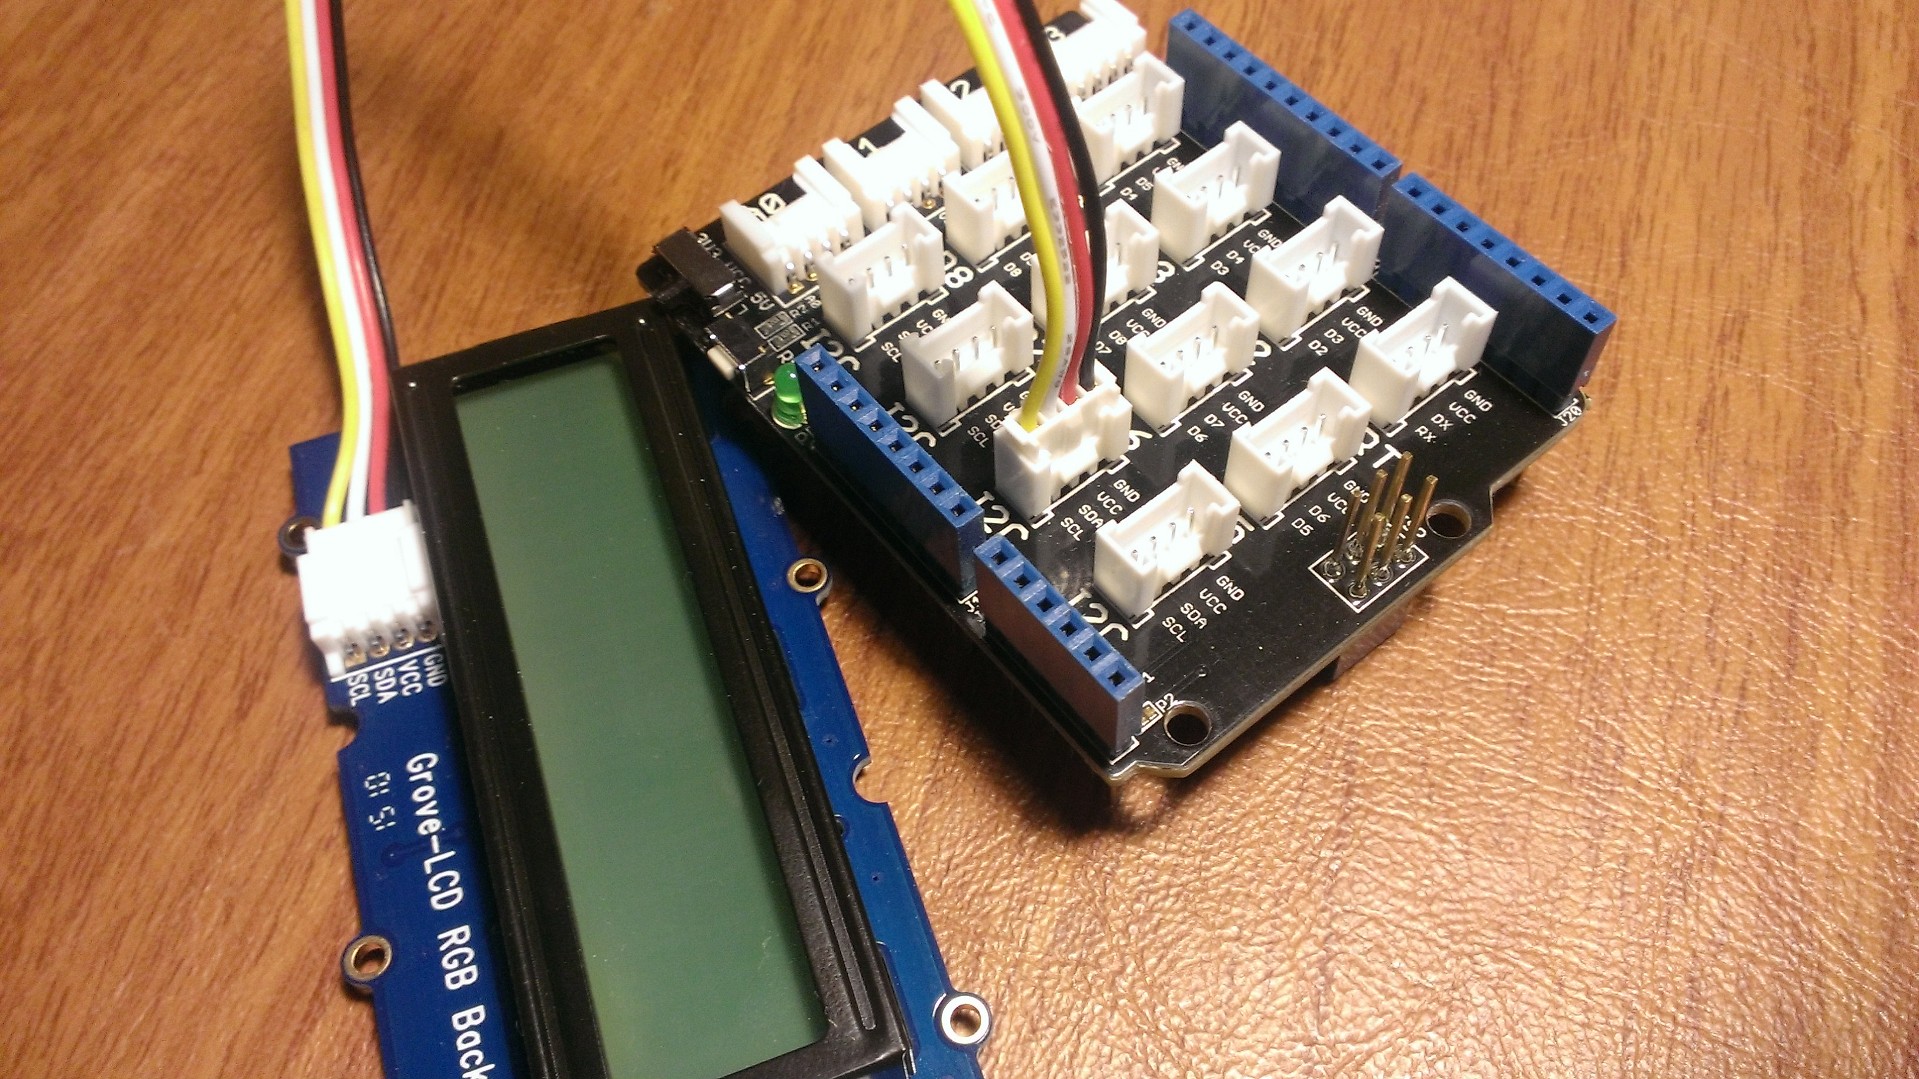
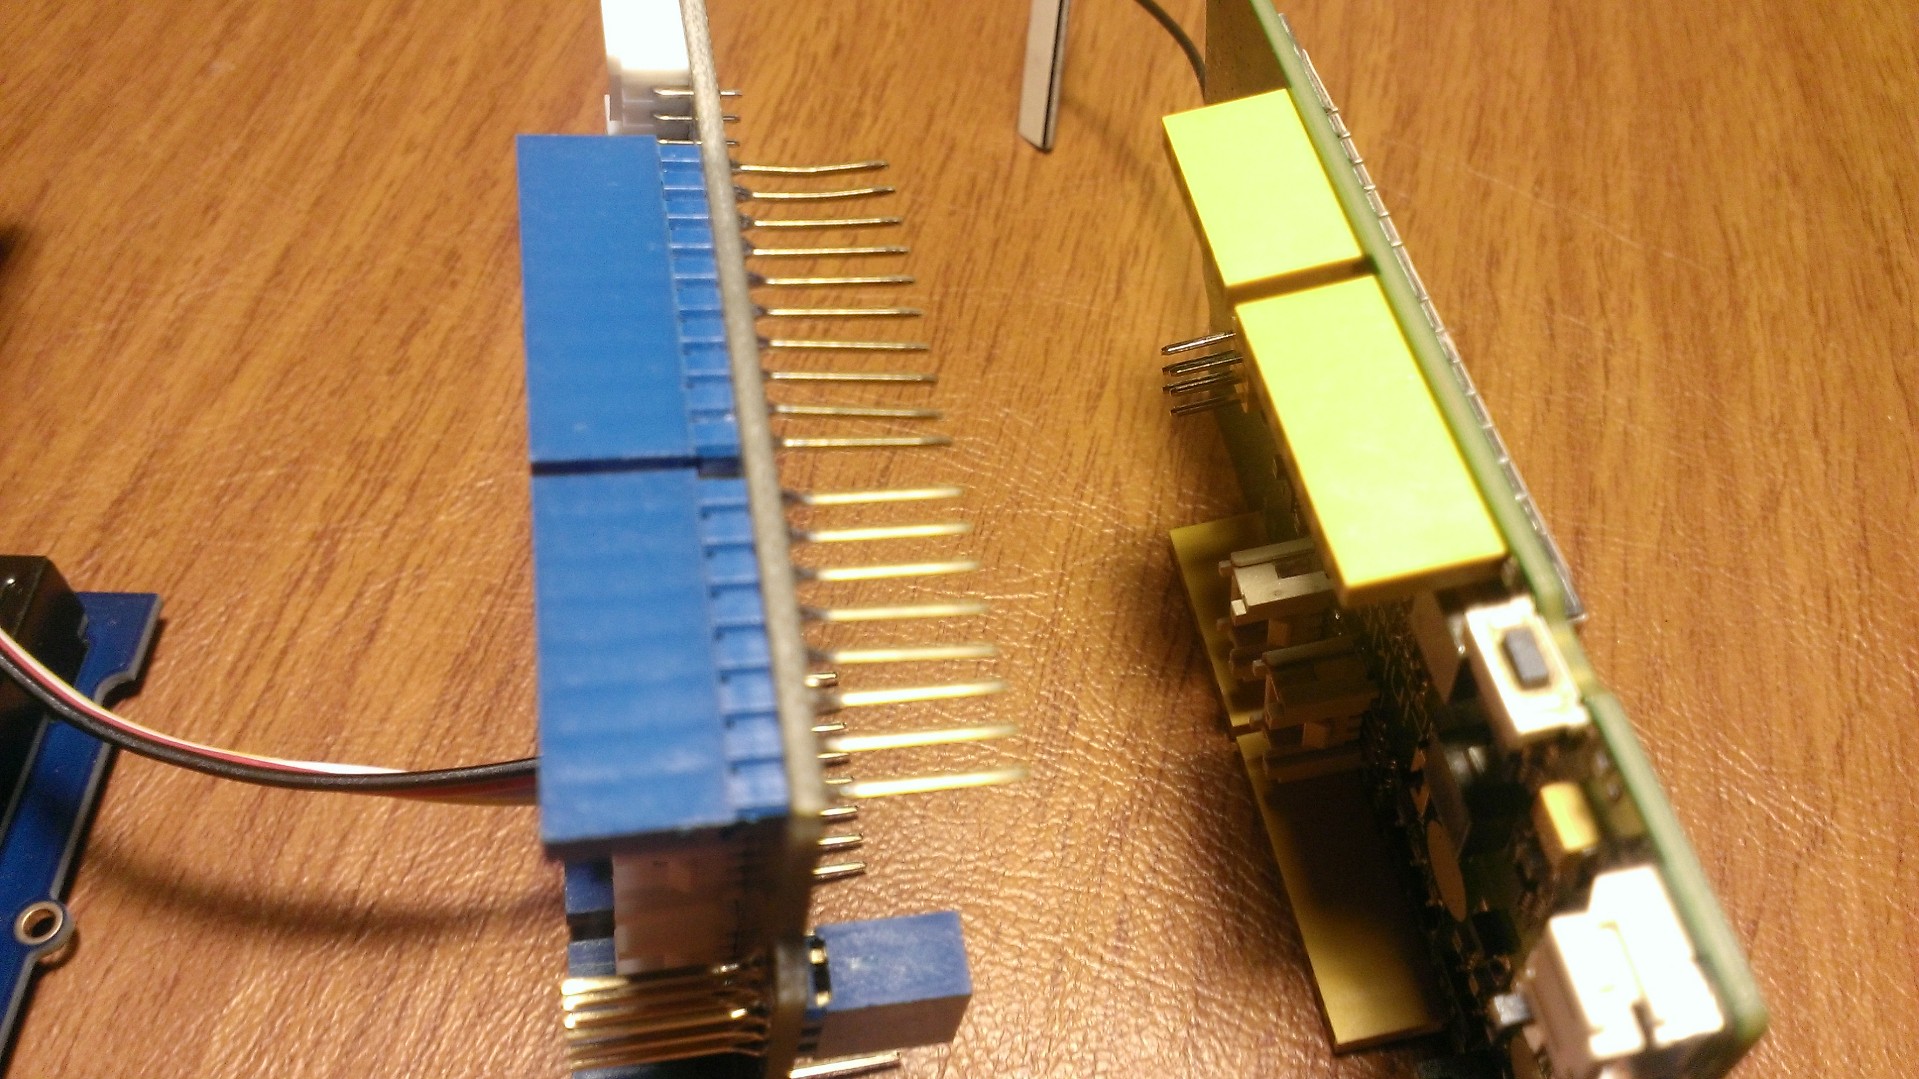
Because we are just using regular old grove sensors, hooking everything up is extremely easy.
Line up the pins on the Grove Base shield and simply push it into the LinkIT ONE board to connect your Grove Base Shield.
Then, you'll want to connect the RGB LCD tot he D2 Slot. This is a digital slot that will allow us to send code and communicate with the LCD.
Hook Up WiFi
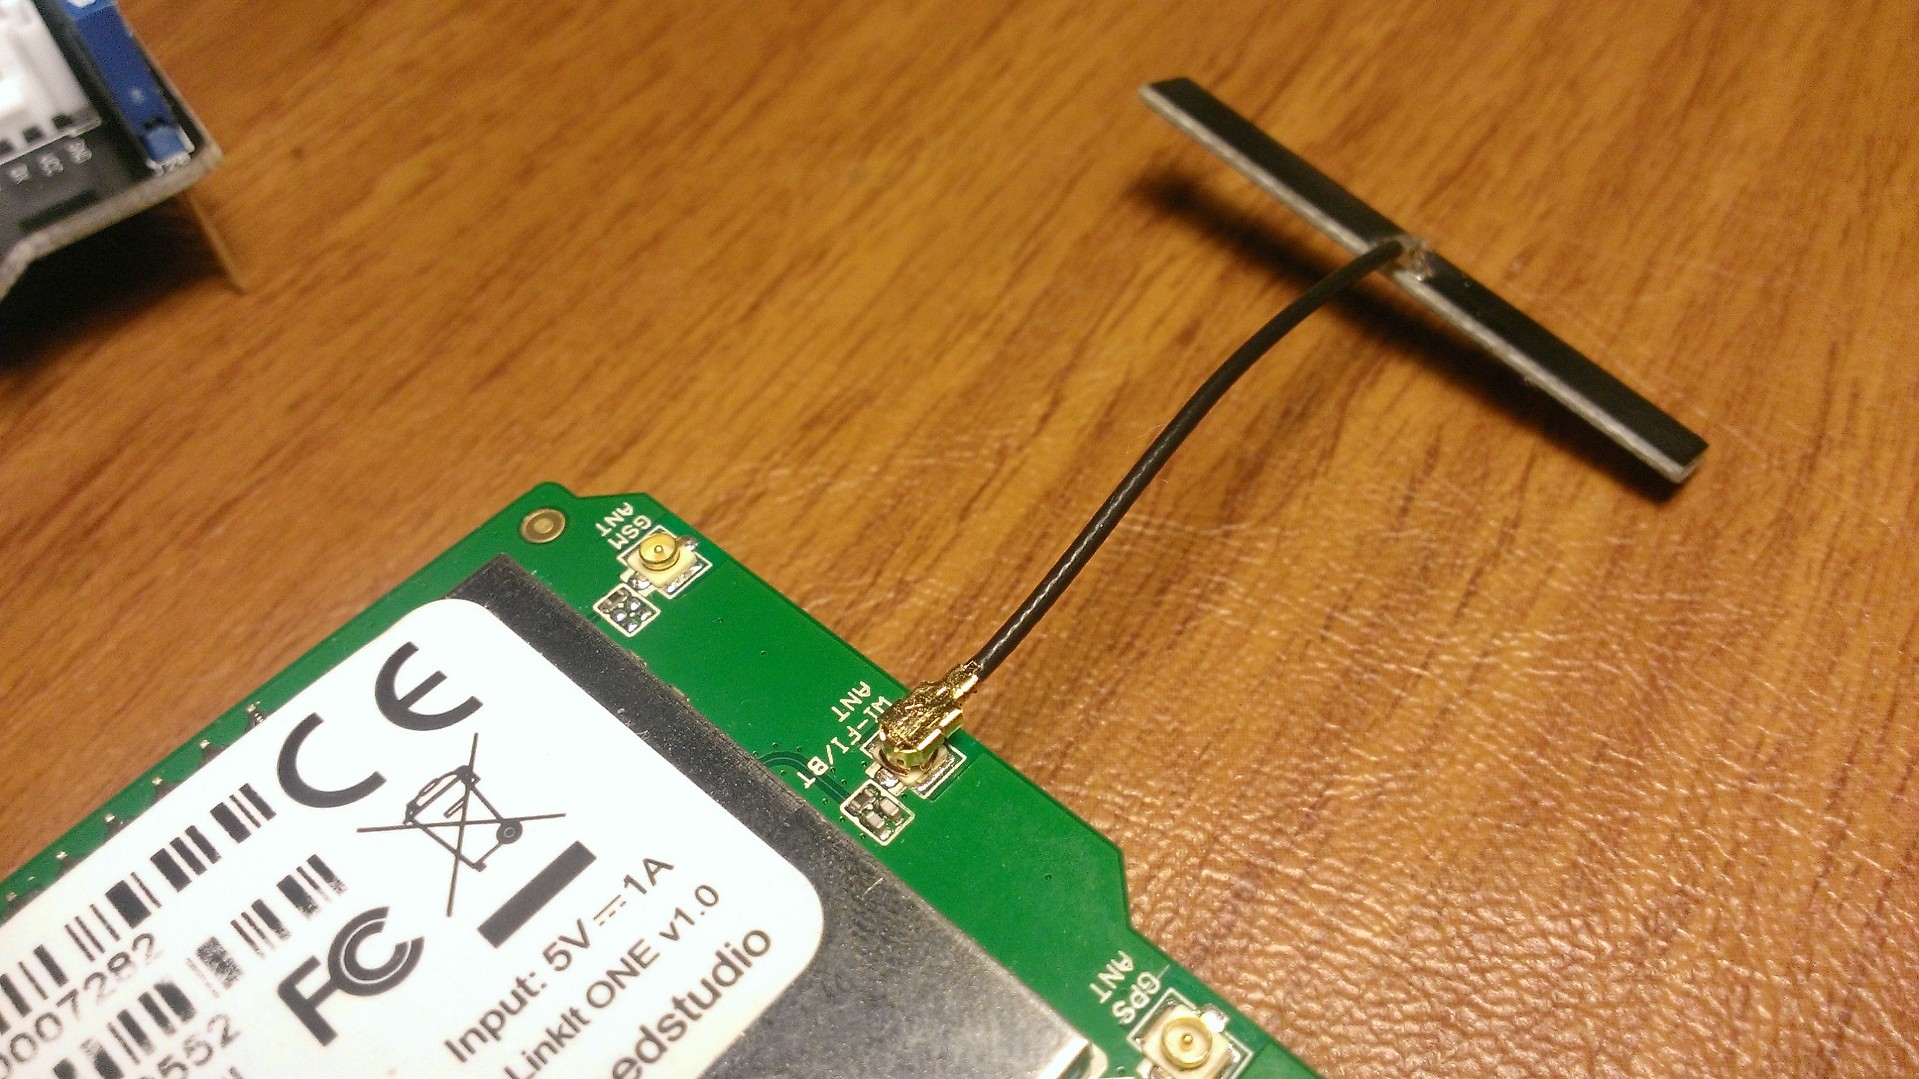
Since we will be attempting to access the internet with this project, the WiFi antenna will be pretty important. Lucky for us, the procedure for attaching it is downright stupid easy. Simple take the long thin antenna out of your LinkIT ONE kit and attach it to the slot on the back of your board labeled 'Wi-Fi'.
Boom. Just like that, you're connected to the interwebs (with a bit of code, of course).
Install Required Libraries

Because we're doing some fancy server calls, let's download some libraries that can help make the REST calls earlier.
This arduino-restClient library will abstract out a lot of the nitty gritty it takes to make an http rest call on the LinkIT ONE.
The other useful library is a JSON parser. When we make a REST call to a server, it is very likely we will get back a JSON response. This library will help us parse that JSON element and do some useful things it it.
Finally, you'll want to install the RGB LCD library that will allow us to easily print things from our grove LCD screen.
Install all of these libraries to your Arduino IDE.
Code I - Making the Client Call
First, we'll need to actually make the client call before we output it to our LCD.
In the code our some basic procedures to hook-up to the WiFi Network. Pay close attention to this line in particular:
char ssid[] = "yourNetwork"; //  your network SSID (name)
char pass[] = "secretPassword";    // your network password (use for WPA, or use as key for WEP)
This is where you're going to have to type in your WiFi credentials. Make sure you do this otherwise you won't connect to WiFi and none of this will actually work.
In the loop is where we will make the actual call:
String response = "";
  //This specifically calls the APPLE Stock qoute
  int statusCode = client.get("MODApis/Api/v2/Quote/jsonp?symbol=AAPL&callback=myFunction", &response);
  //Parse response
  JsonObject& root = jsonBuffer.parseObject(response);
  String name = root["Symbol"];
  String LastPrice = root["LastPrice"];
  String change = root["Change"];
In this code, we call our server and with that function pass it a string to get a response in. That string will get filled with the JSON response, which we then parse to get our data.
Downloads
Code II - Printing to the LCD
Now, let's add some code to interact with the RGB LCD. I've added this code in some readable functions to make it a bit easier to follow. Let's take a look at the main function:
void printLCDStockQoute(string Symbol, string price, int change)
{
  lcd.setCursor(0, 1);
  lcd.print(Symbol);
  lcd.setCursor(0, 2);
  lcd.print(price);
  if(change > 0)
  {
    turnLCDGreen();
  }
  else
    turnLCDRed();
}
As you can see, this function takes in the symbol, price, and change from our parsed JSON element and prints it to the 1st and 2nd line of the screen. Then, we look at the change and determine if it is positive or negative, and adjust the screen's color accordingly.
Downloads
Deploy and Watch the Market!
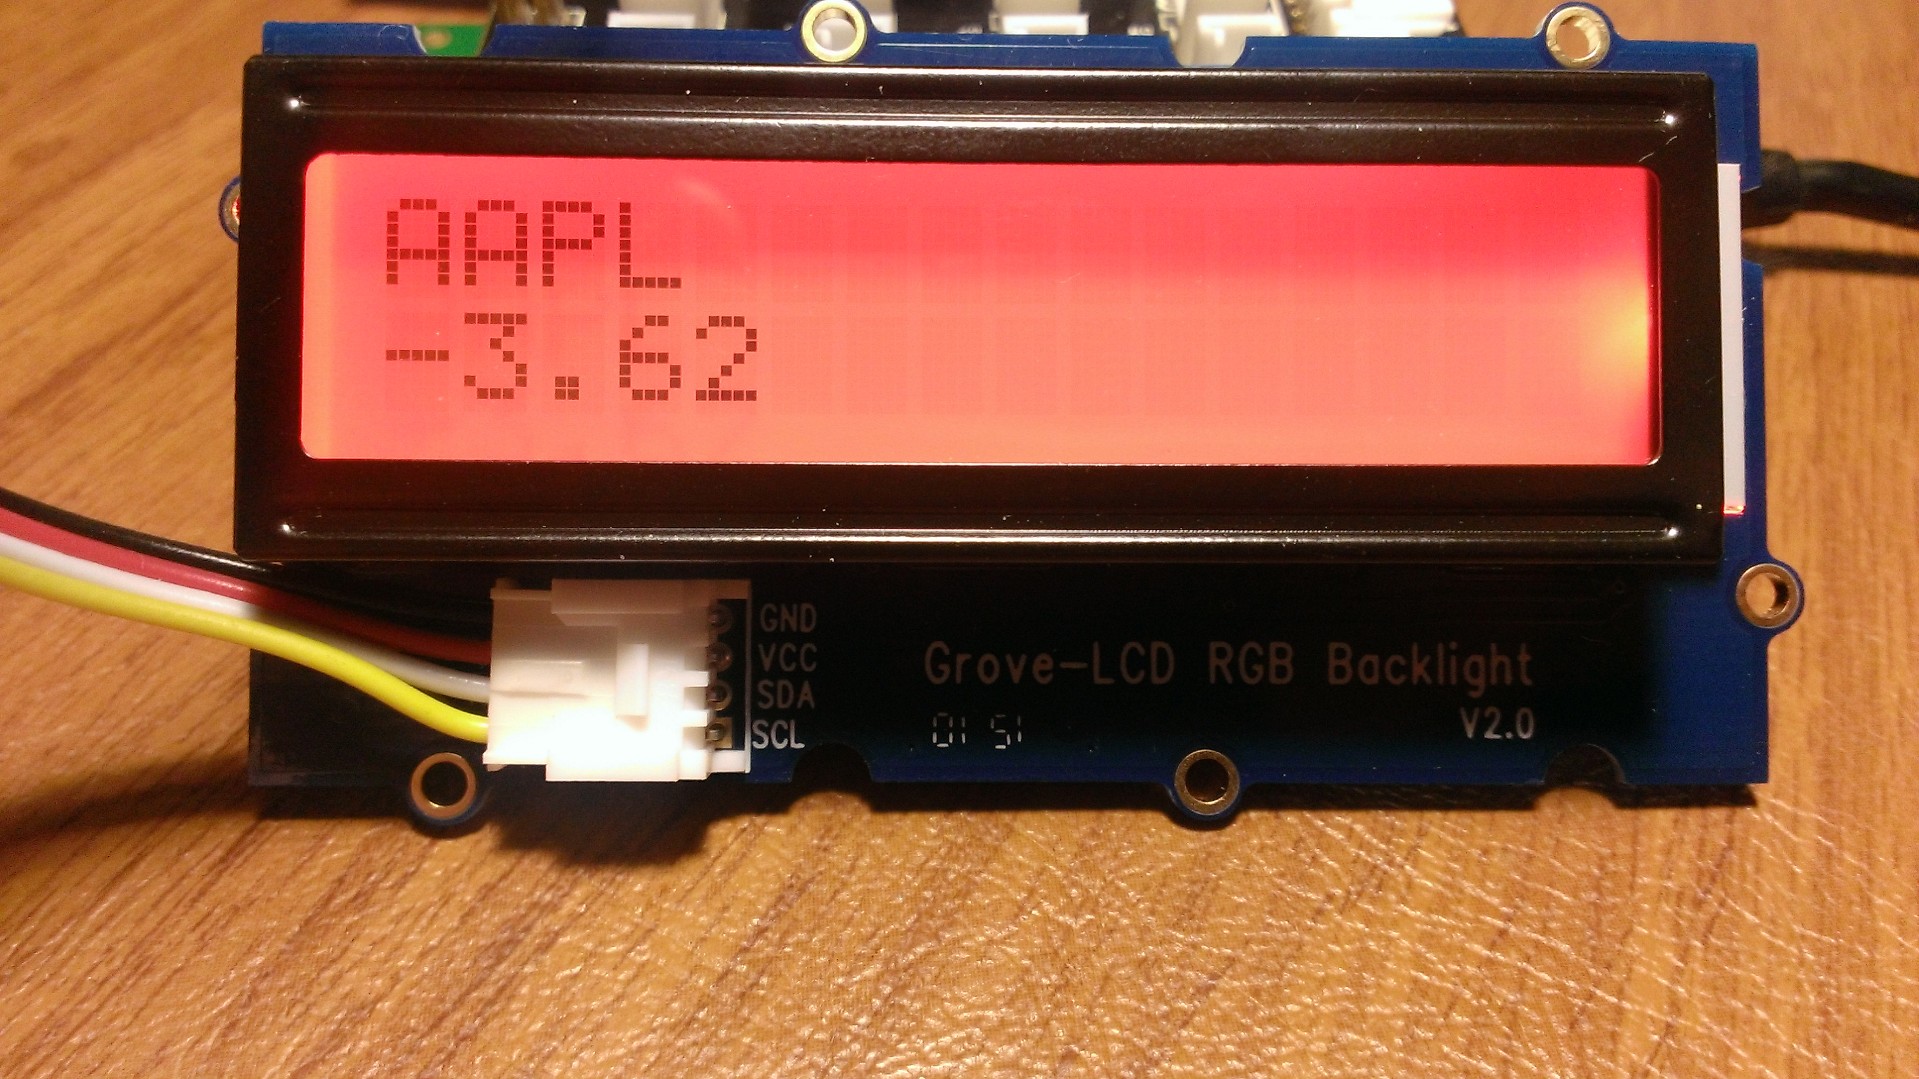
Copy the code to your arduino IDE and deploy it to your LinkIT ONE. Now you've built you're own personal full-time stock ticker that can go anywhere you have Wi-Fi! Simply plug in your favorite stock and take a ride on the market!