Stitch Calculator Design :)
by VKs_creative_world in Design > Art
425 Views, 1 Favorites, 0 Comments
Stitch Calculator Design :)
HEY EVERYONE
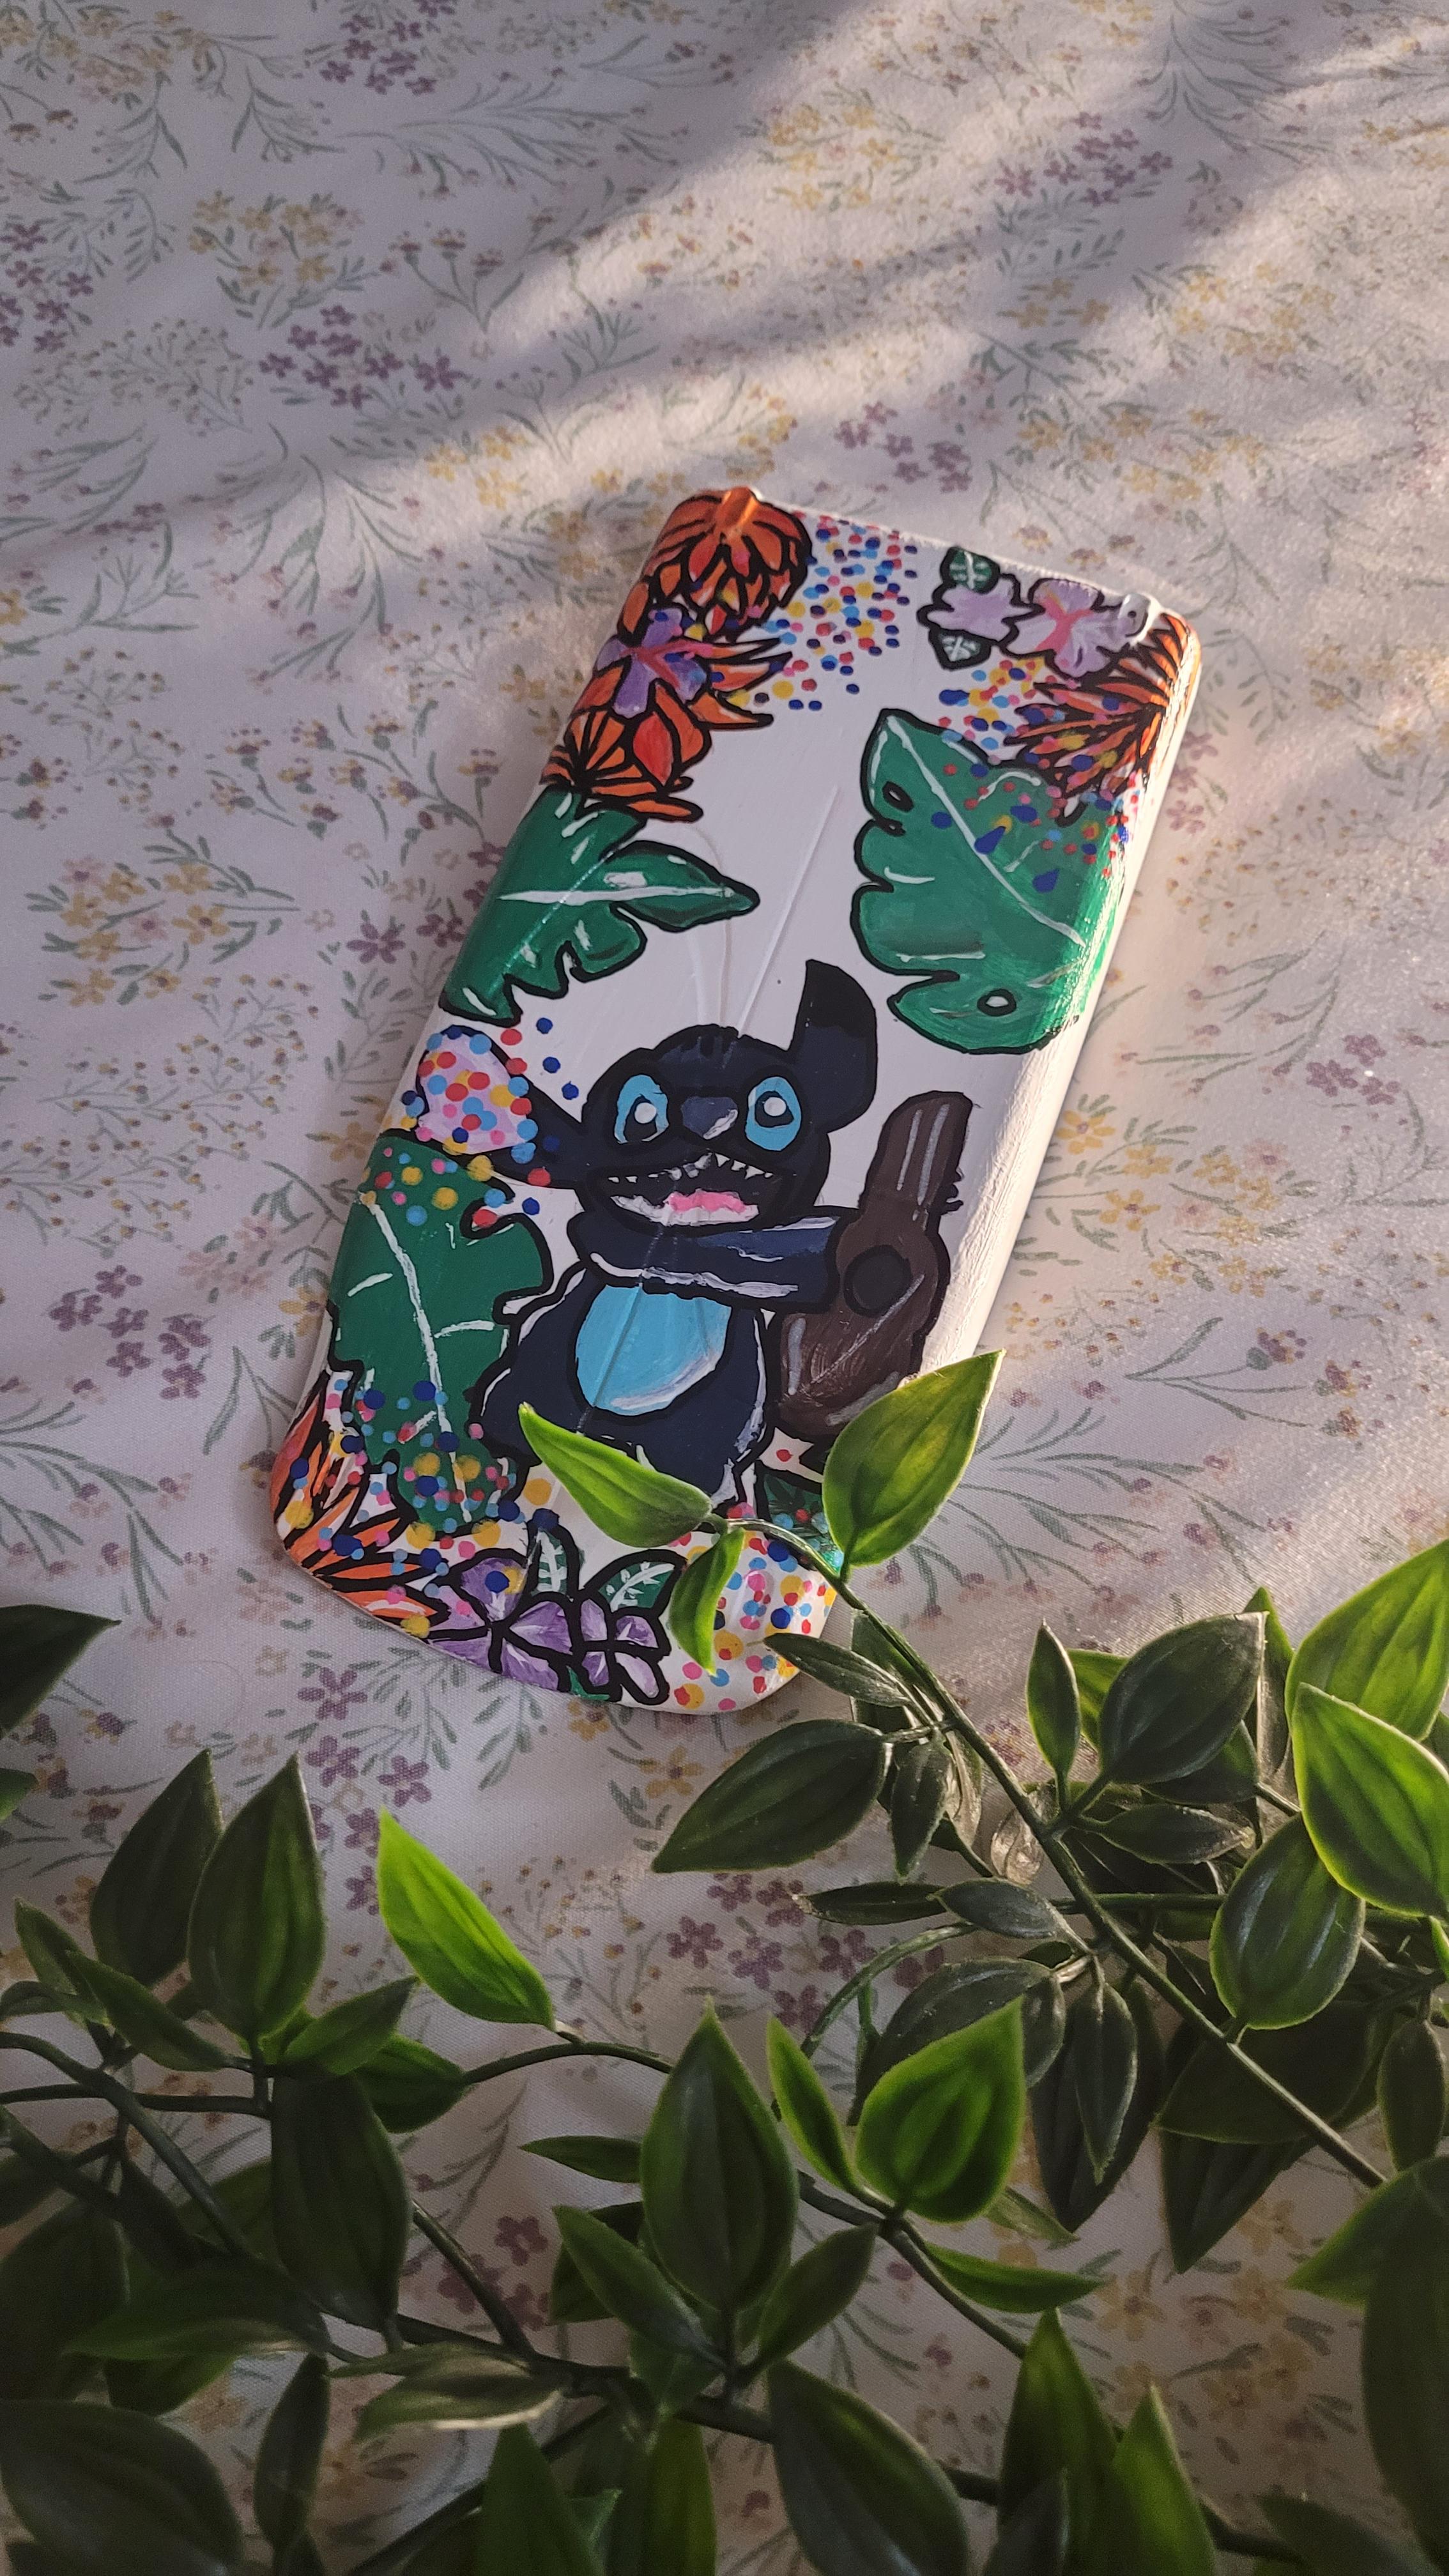
This is my 2nd project that I have done. And I choose to do it because my teacher wanted her calculator designed so, I challenged myself again and I have brought to you stitch, on a calculator!!!
Supplies
calculator case
paint!!
black posca marker (totally optional)
modpodge
a design of your choice (you can use this as well)
pencil
white paint
eraser
Base Coat Your Case

For this case I have used the cheapest paint I could find which was apple barrel's white paint. I had to do it at least 3 times. Please remember to dry your case after every coat properly, or other wise you have spots where you can find the paint starts coming of every time you try putting a new coat of paint. I also used a bigger brush so I could work with it faster. Also please remember base coat is really really important it gives you that nice finishing on it!! Finally the number of base coats depend on how much paint you use as well. I have also cover the sides of the case as well.
Drawing Your Design
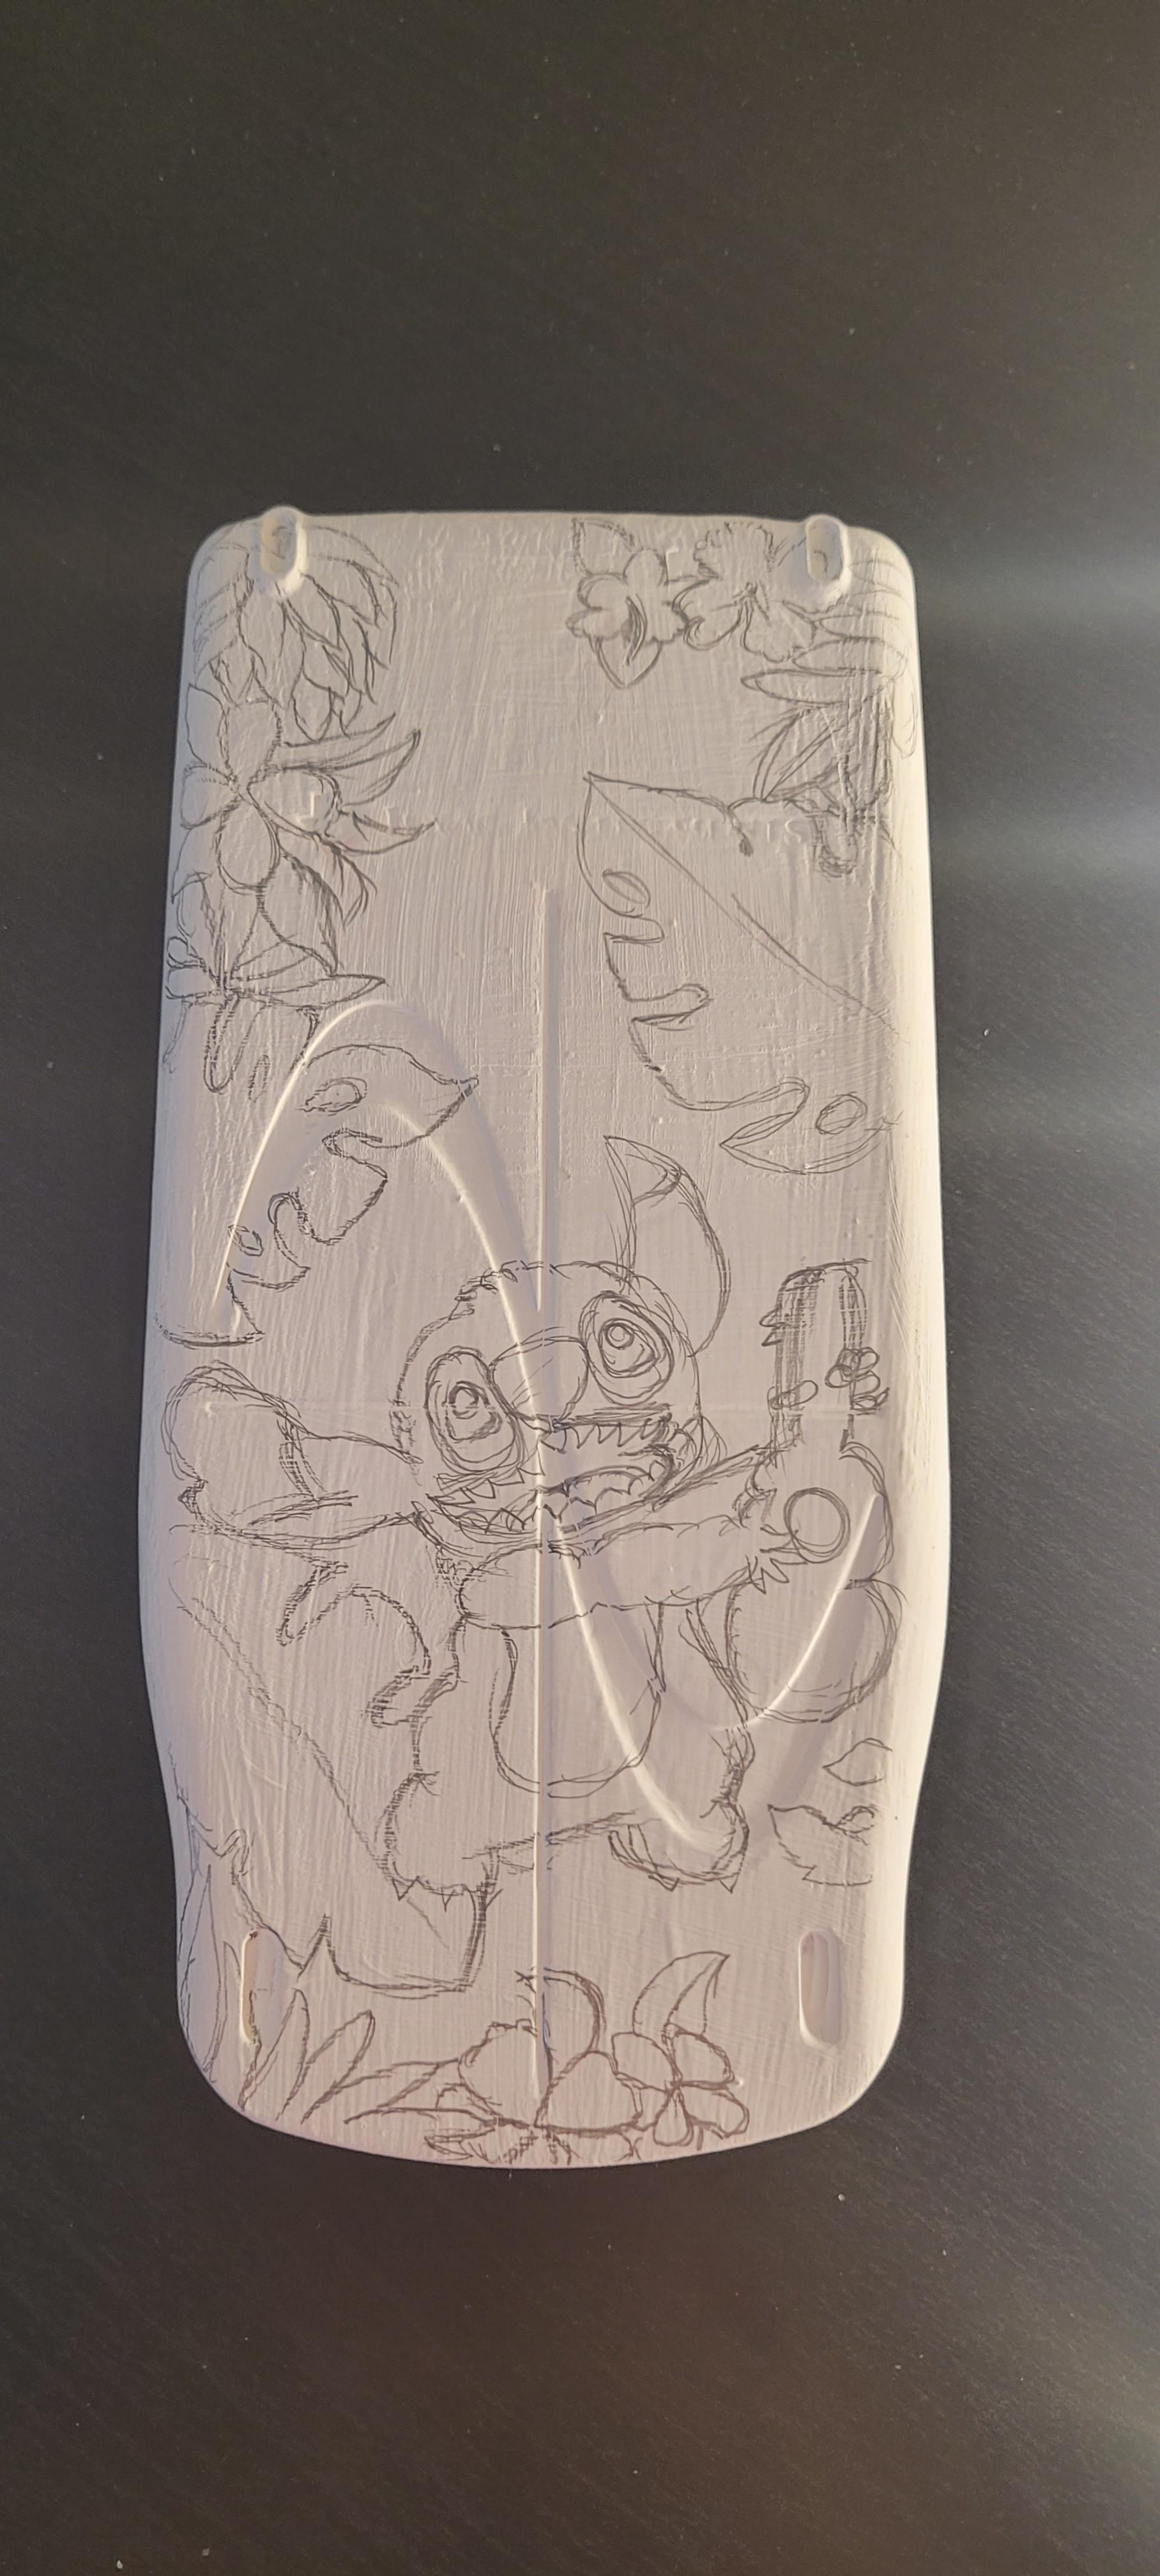
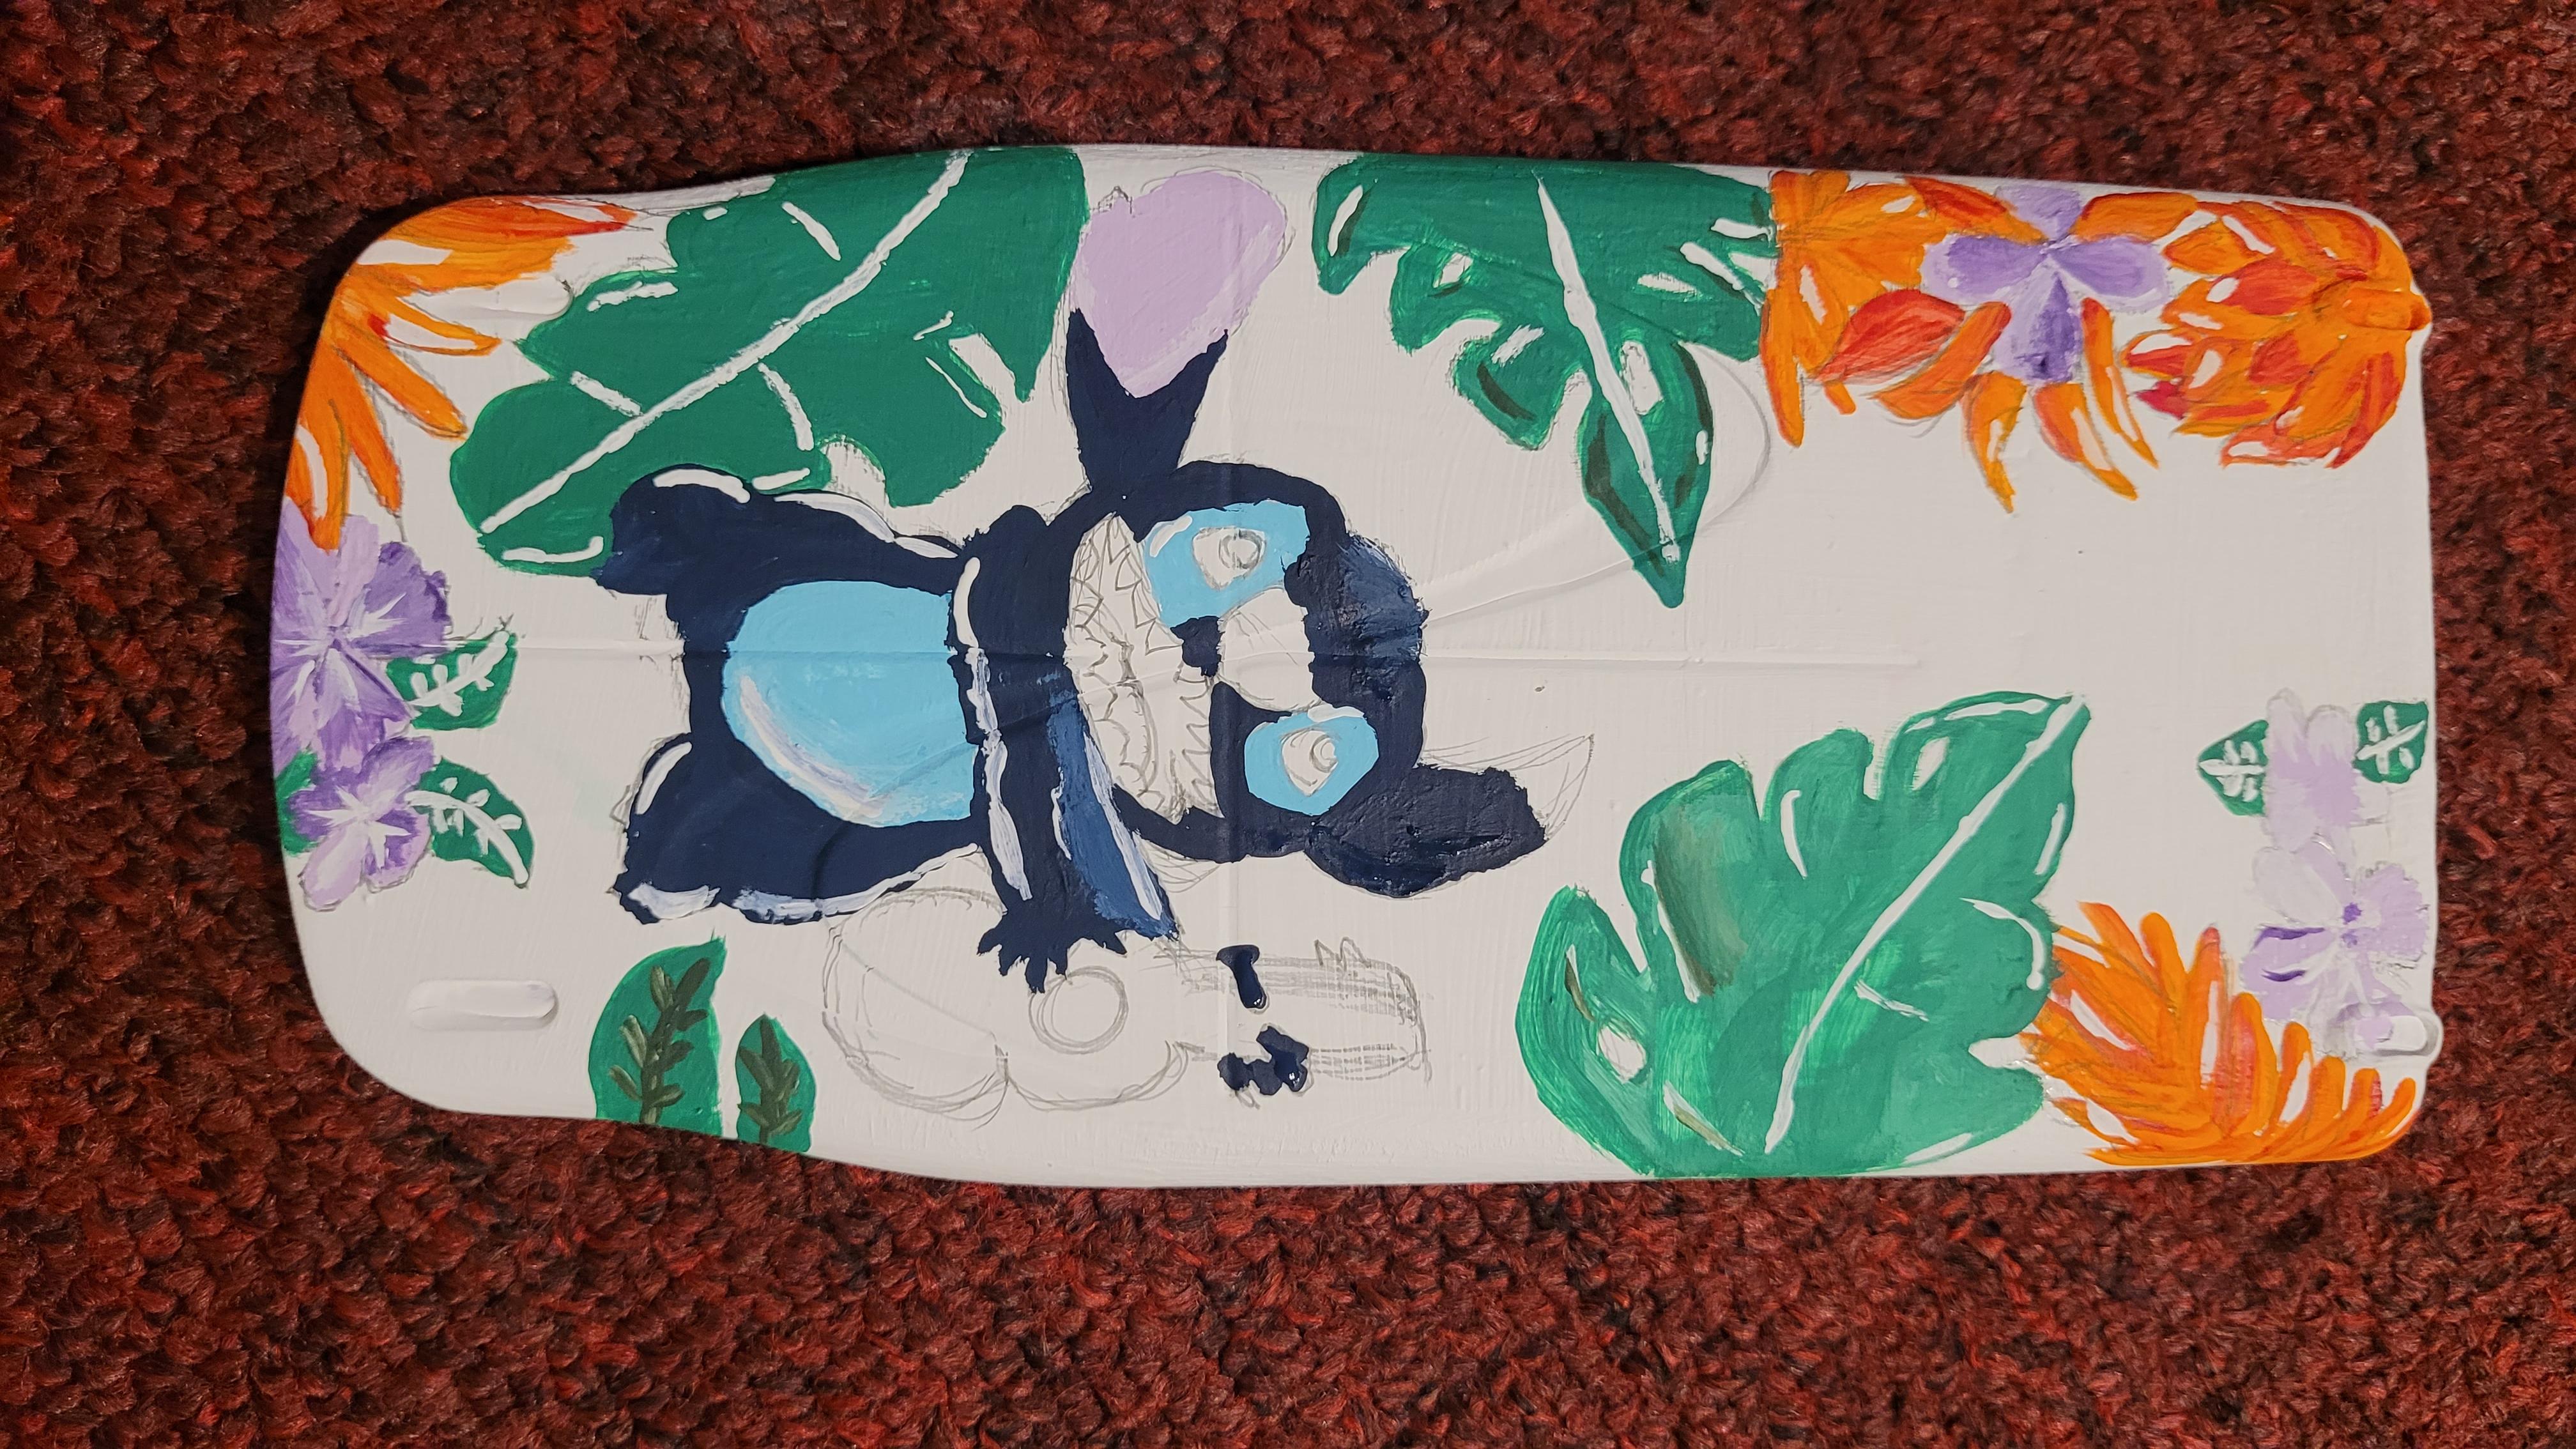
Here is a picture of my drawing that I wanted to share, which is a picture of stitch. I just sketched out as well, please remember do not outline your sketch by putting pressure!
Flowers and Earlobe
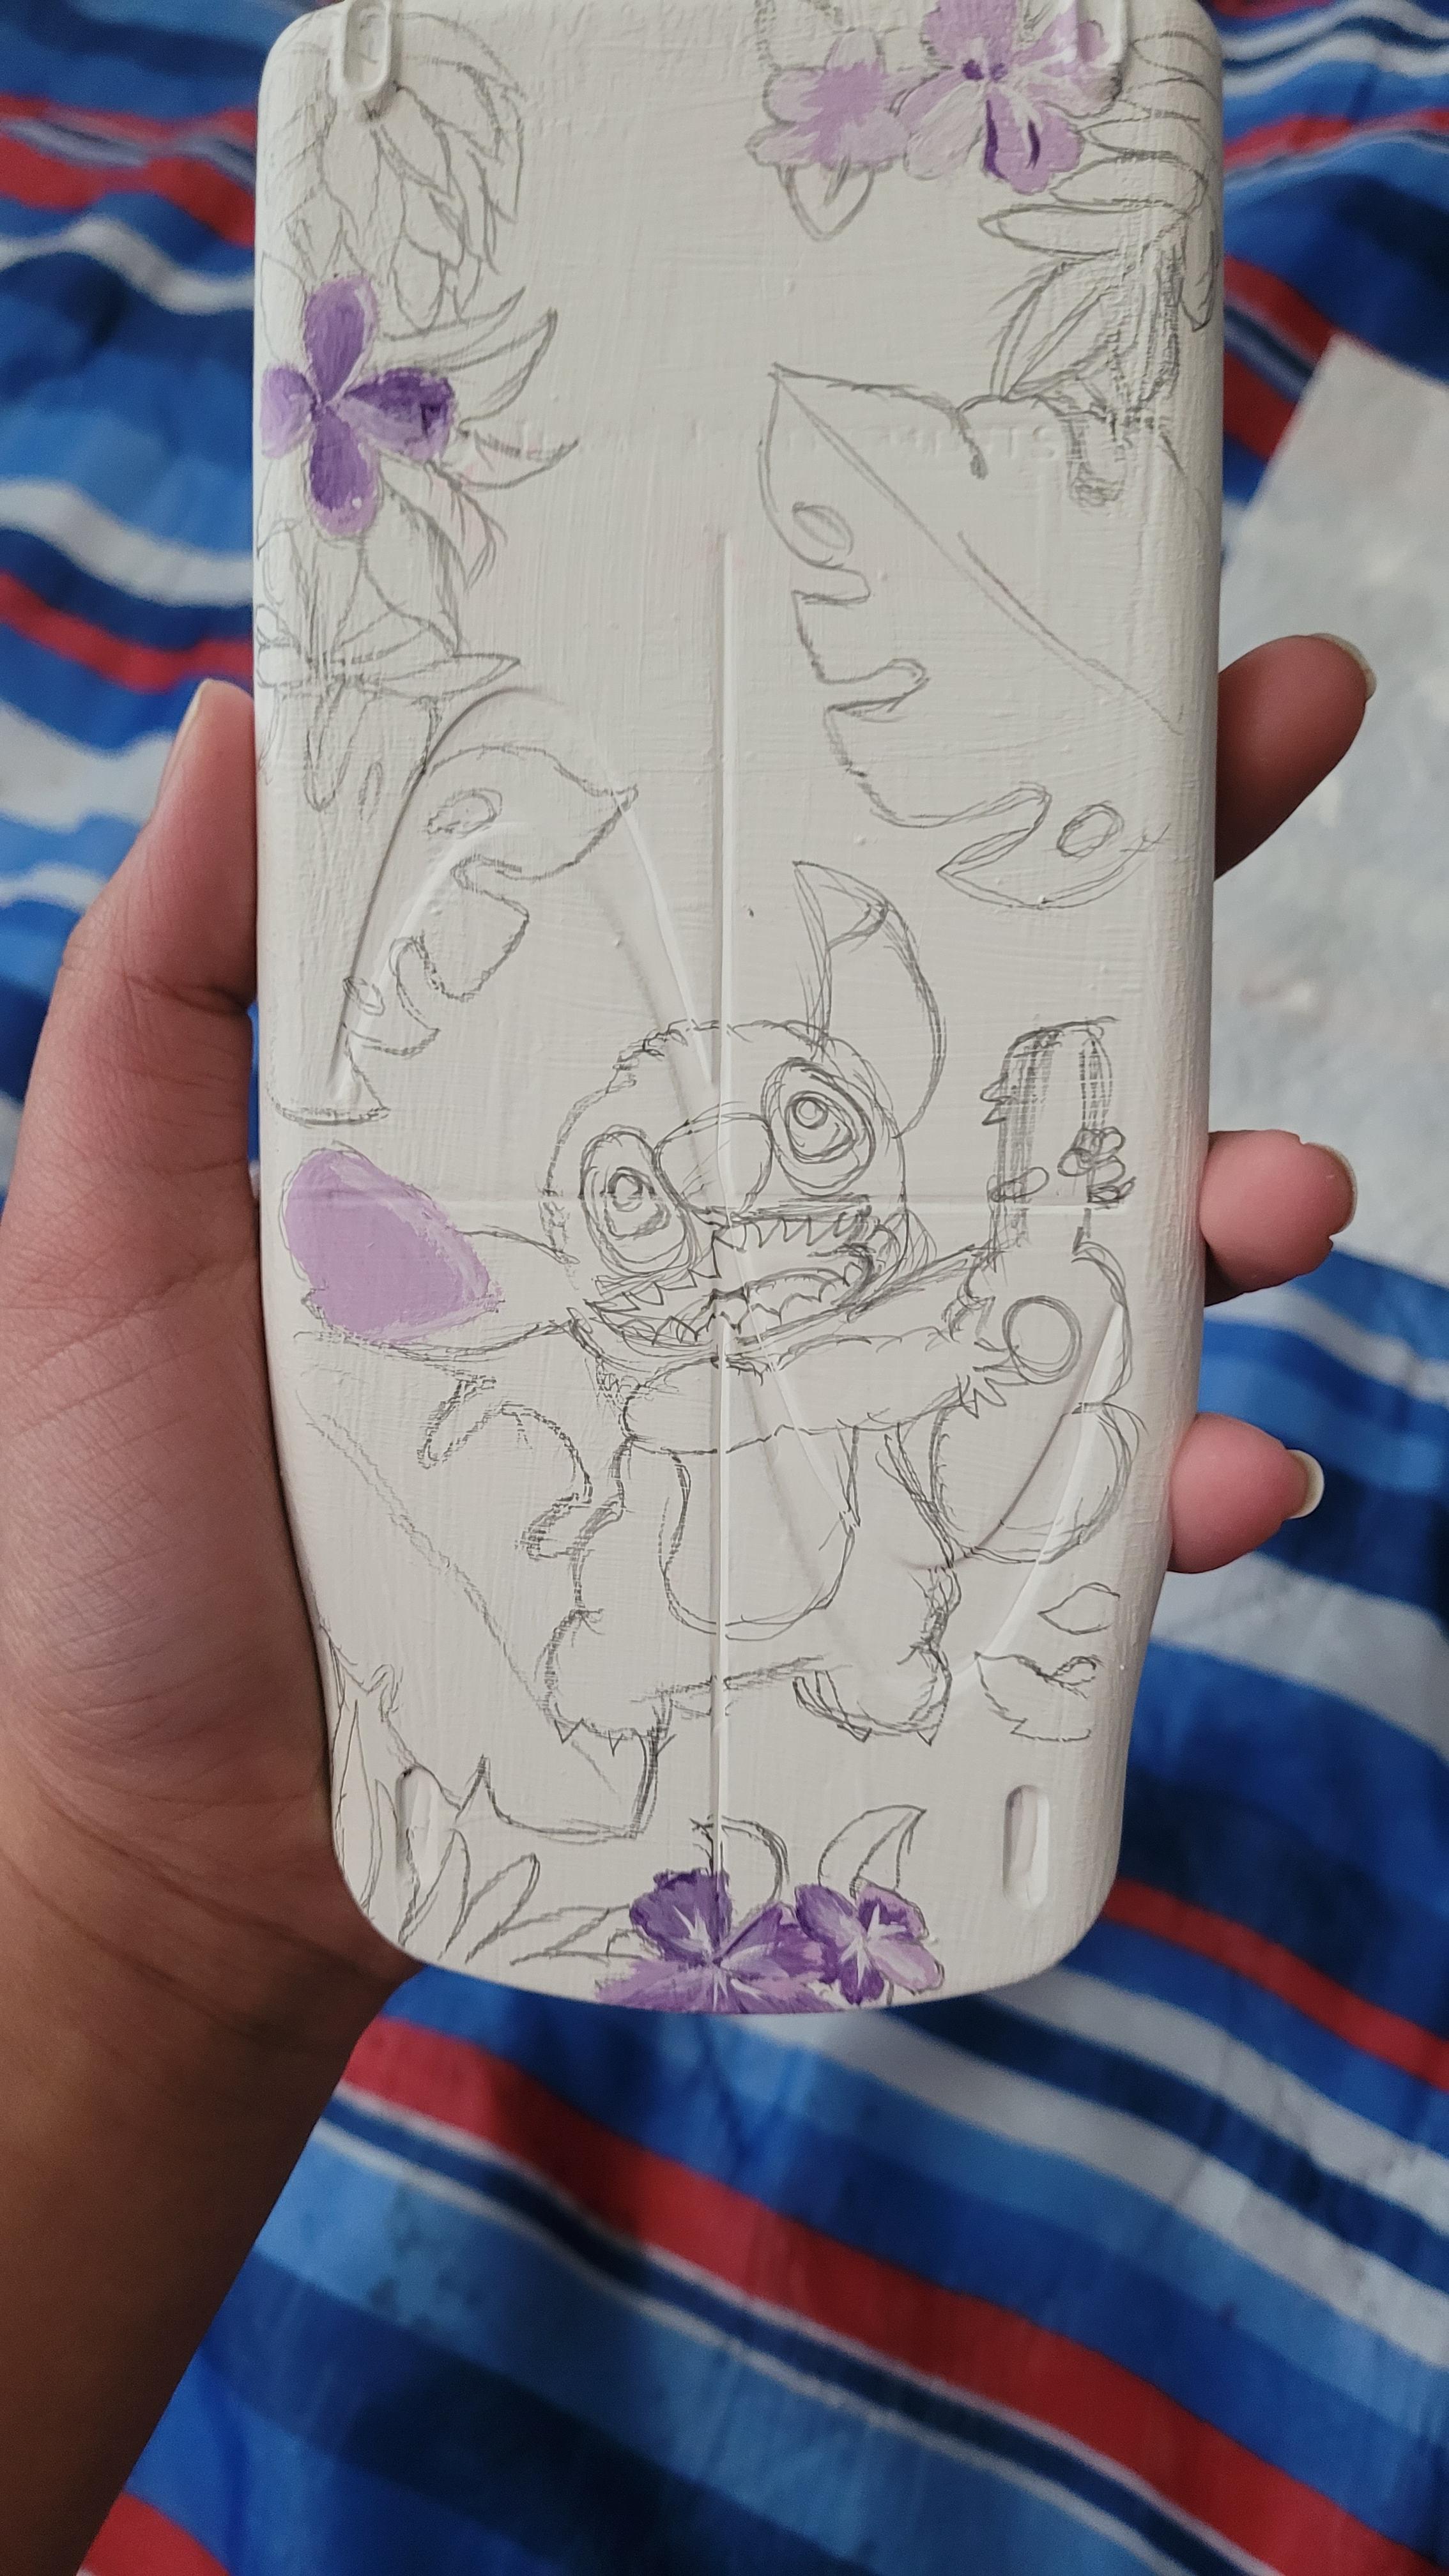
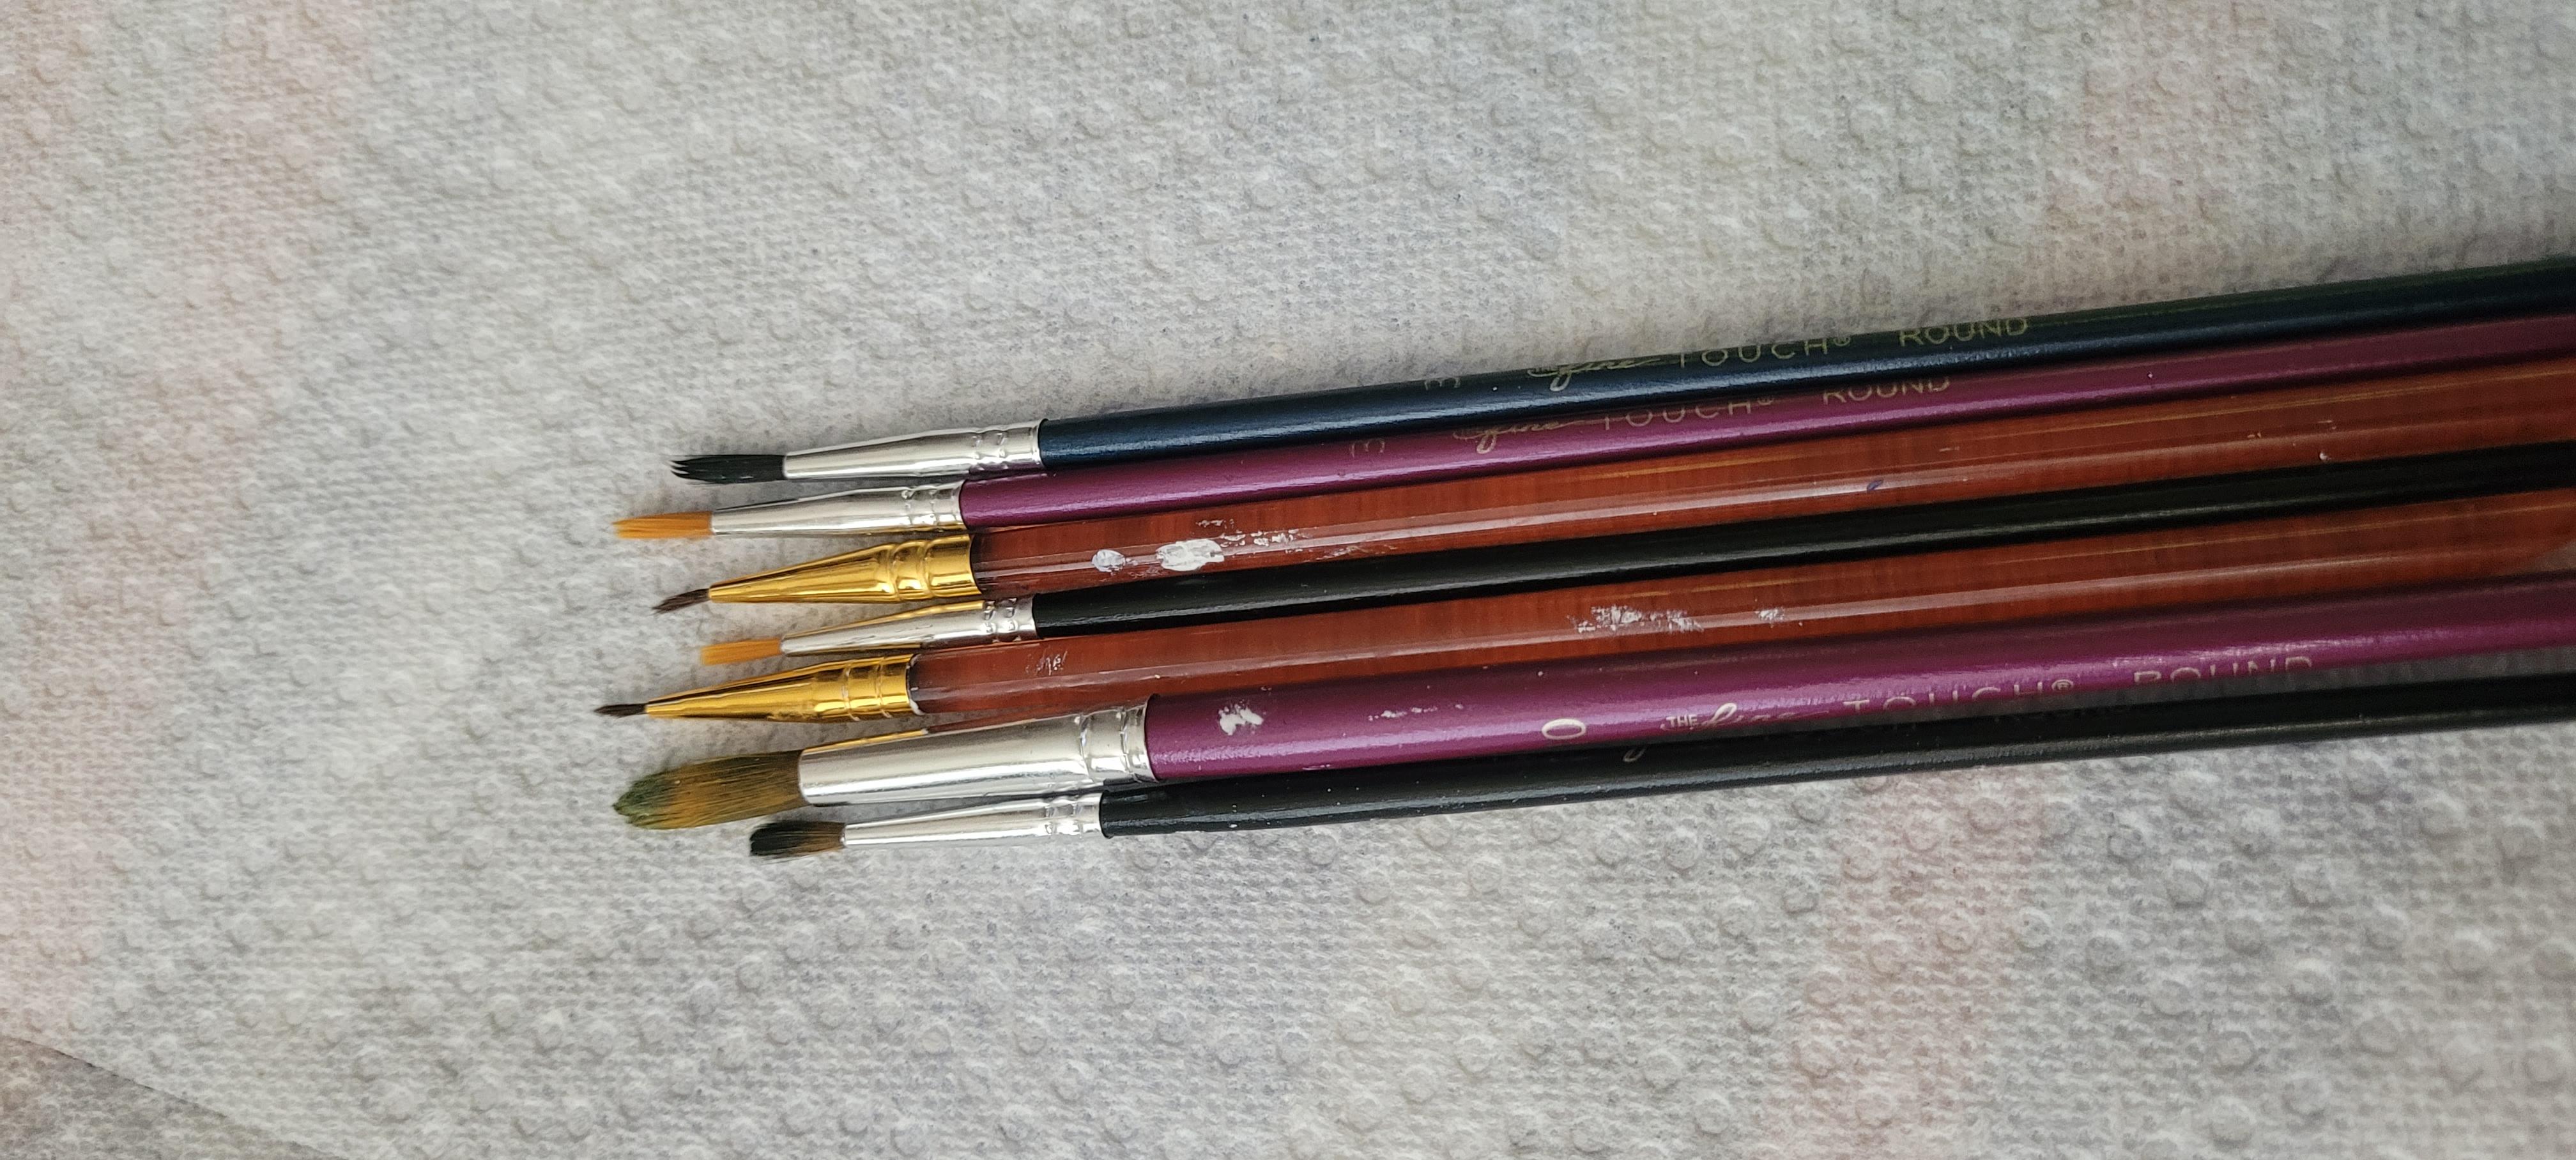
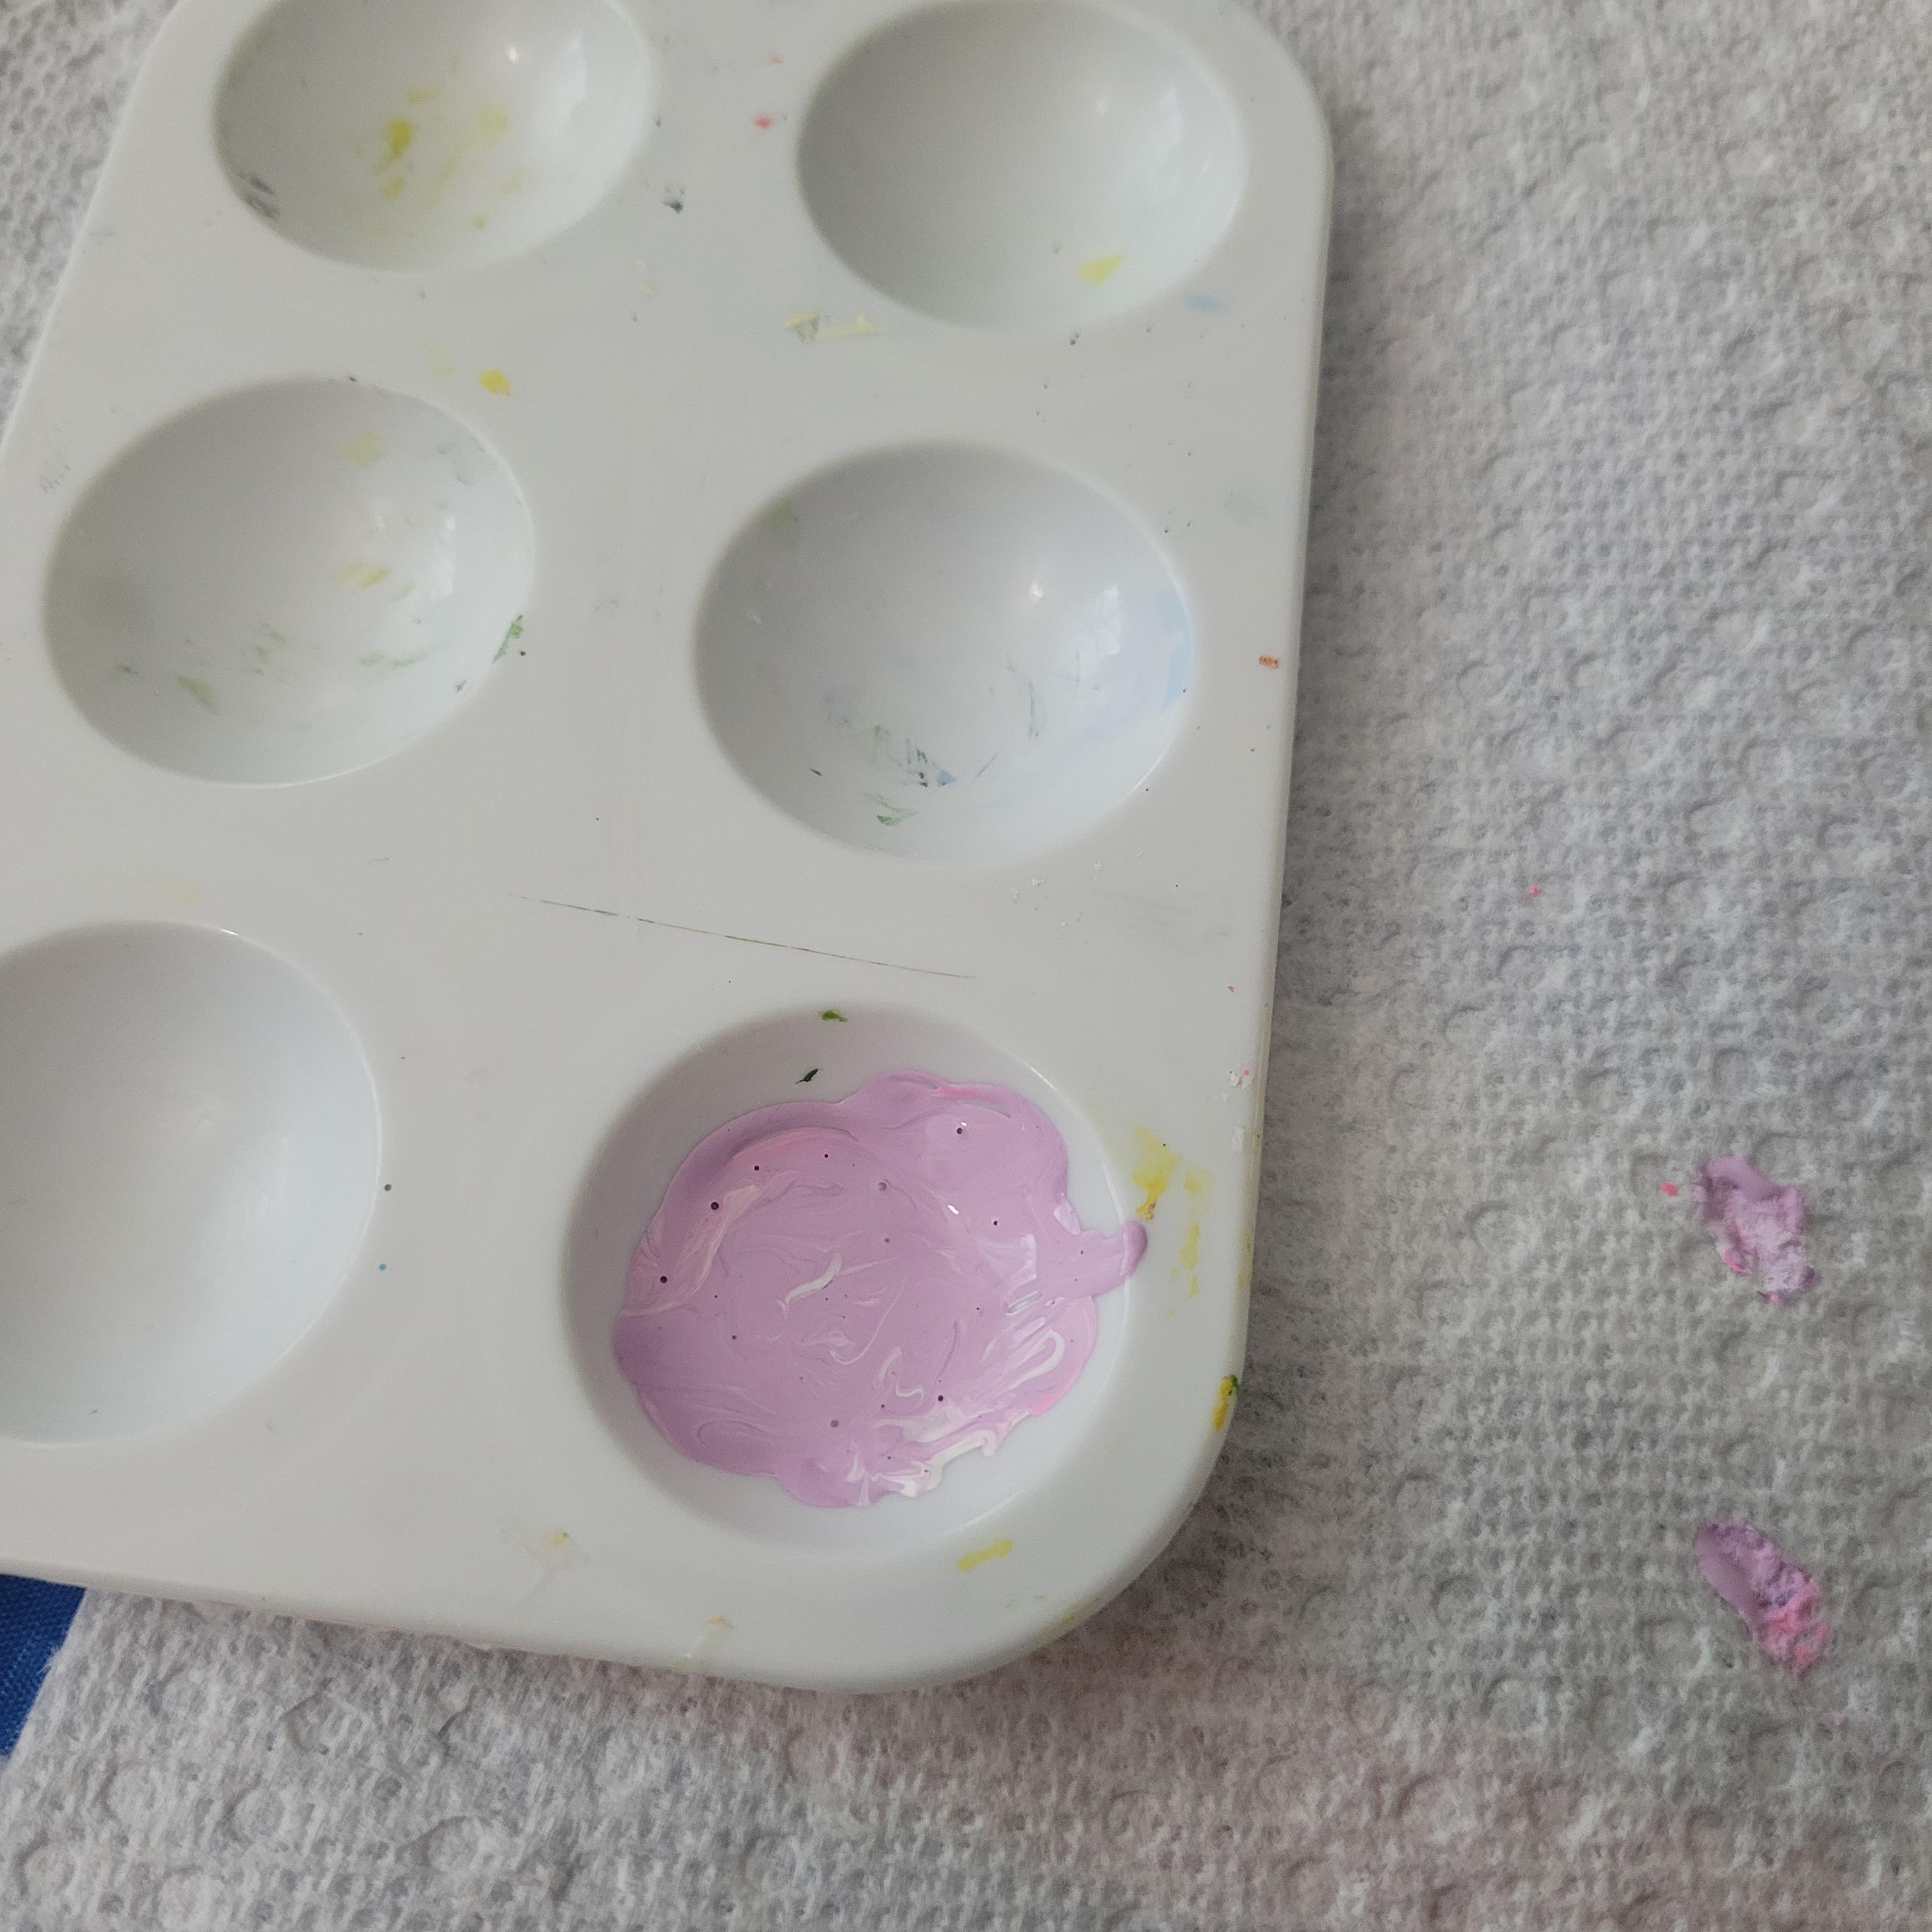
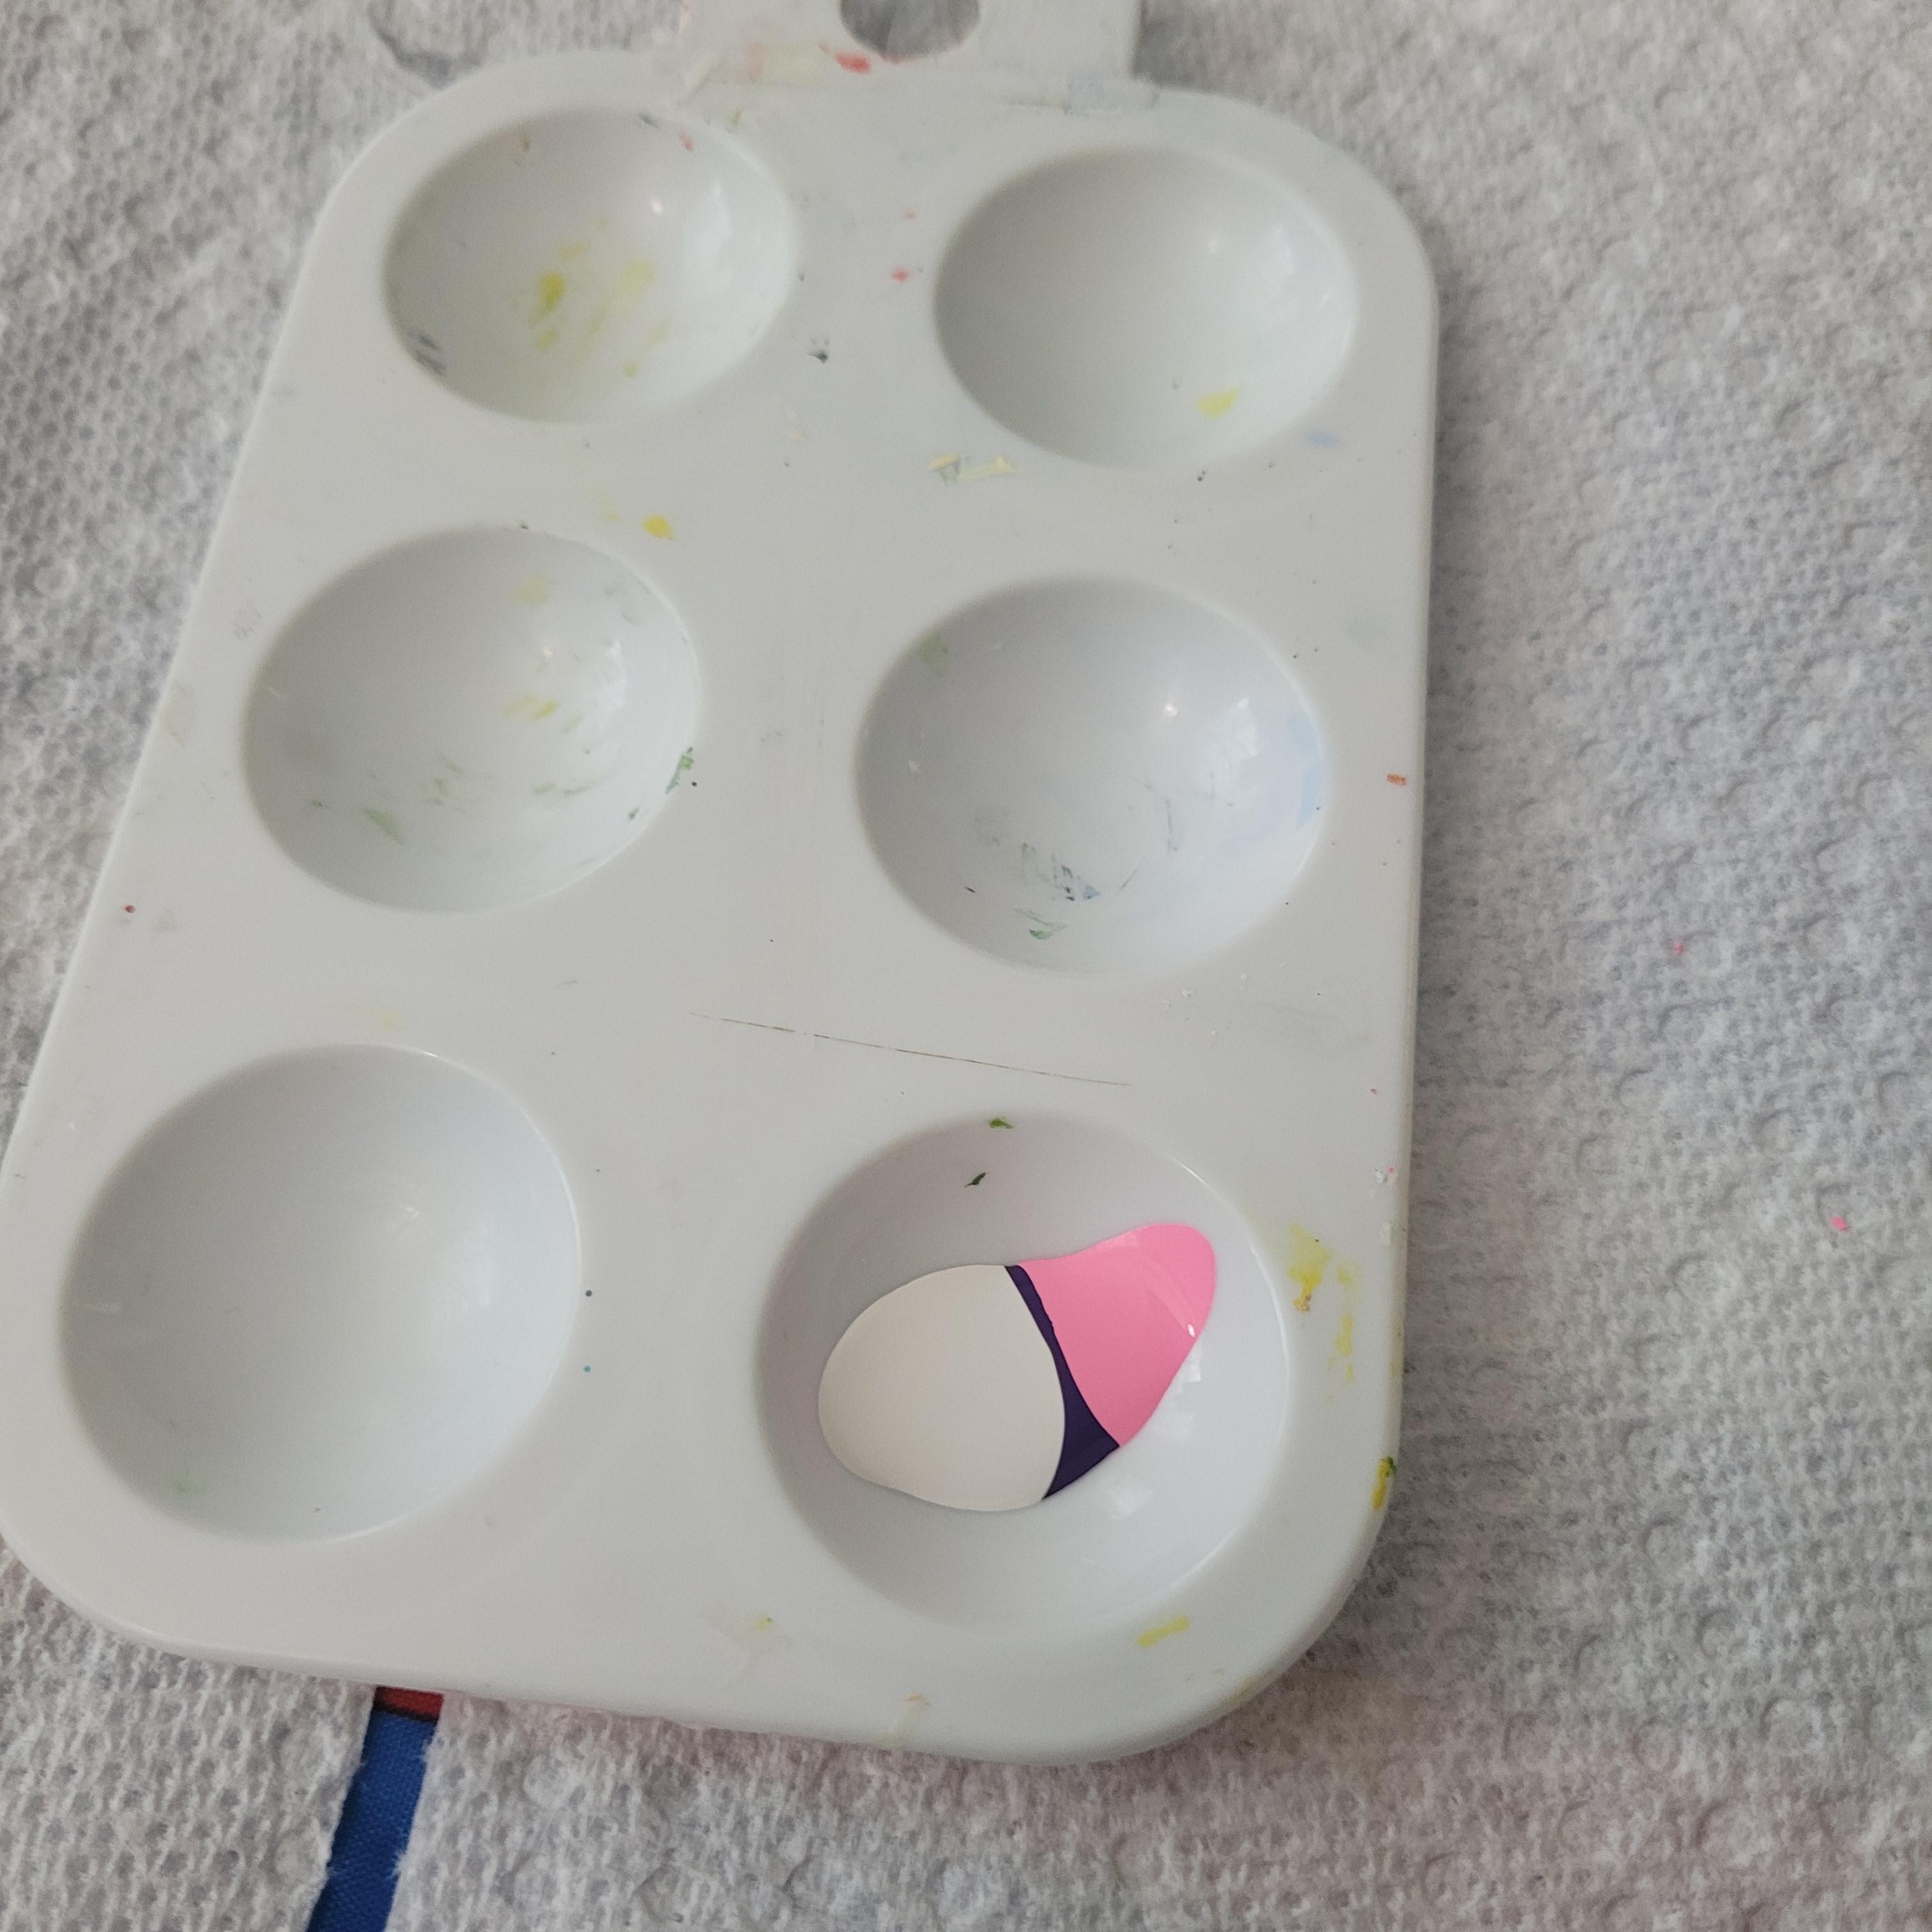
I started with a smaller part which is the flowers and the ear. I used baby pink, purple (even amount) and twice the amount of white. Then I started with the color coat and the started to add highlights like white in some areas and shadows like different purple shades. Using thin paint brushes are easier to work with than medium, try the very best for the flowers because it takes time to begin with.
Orange and Red Leaves Like.
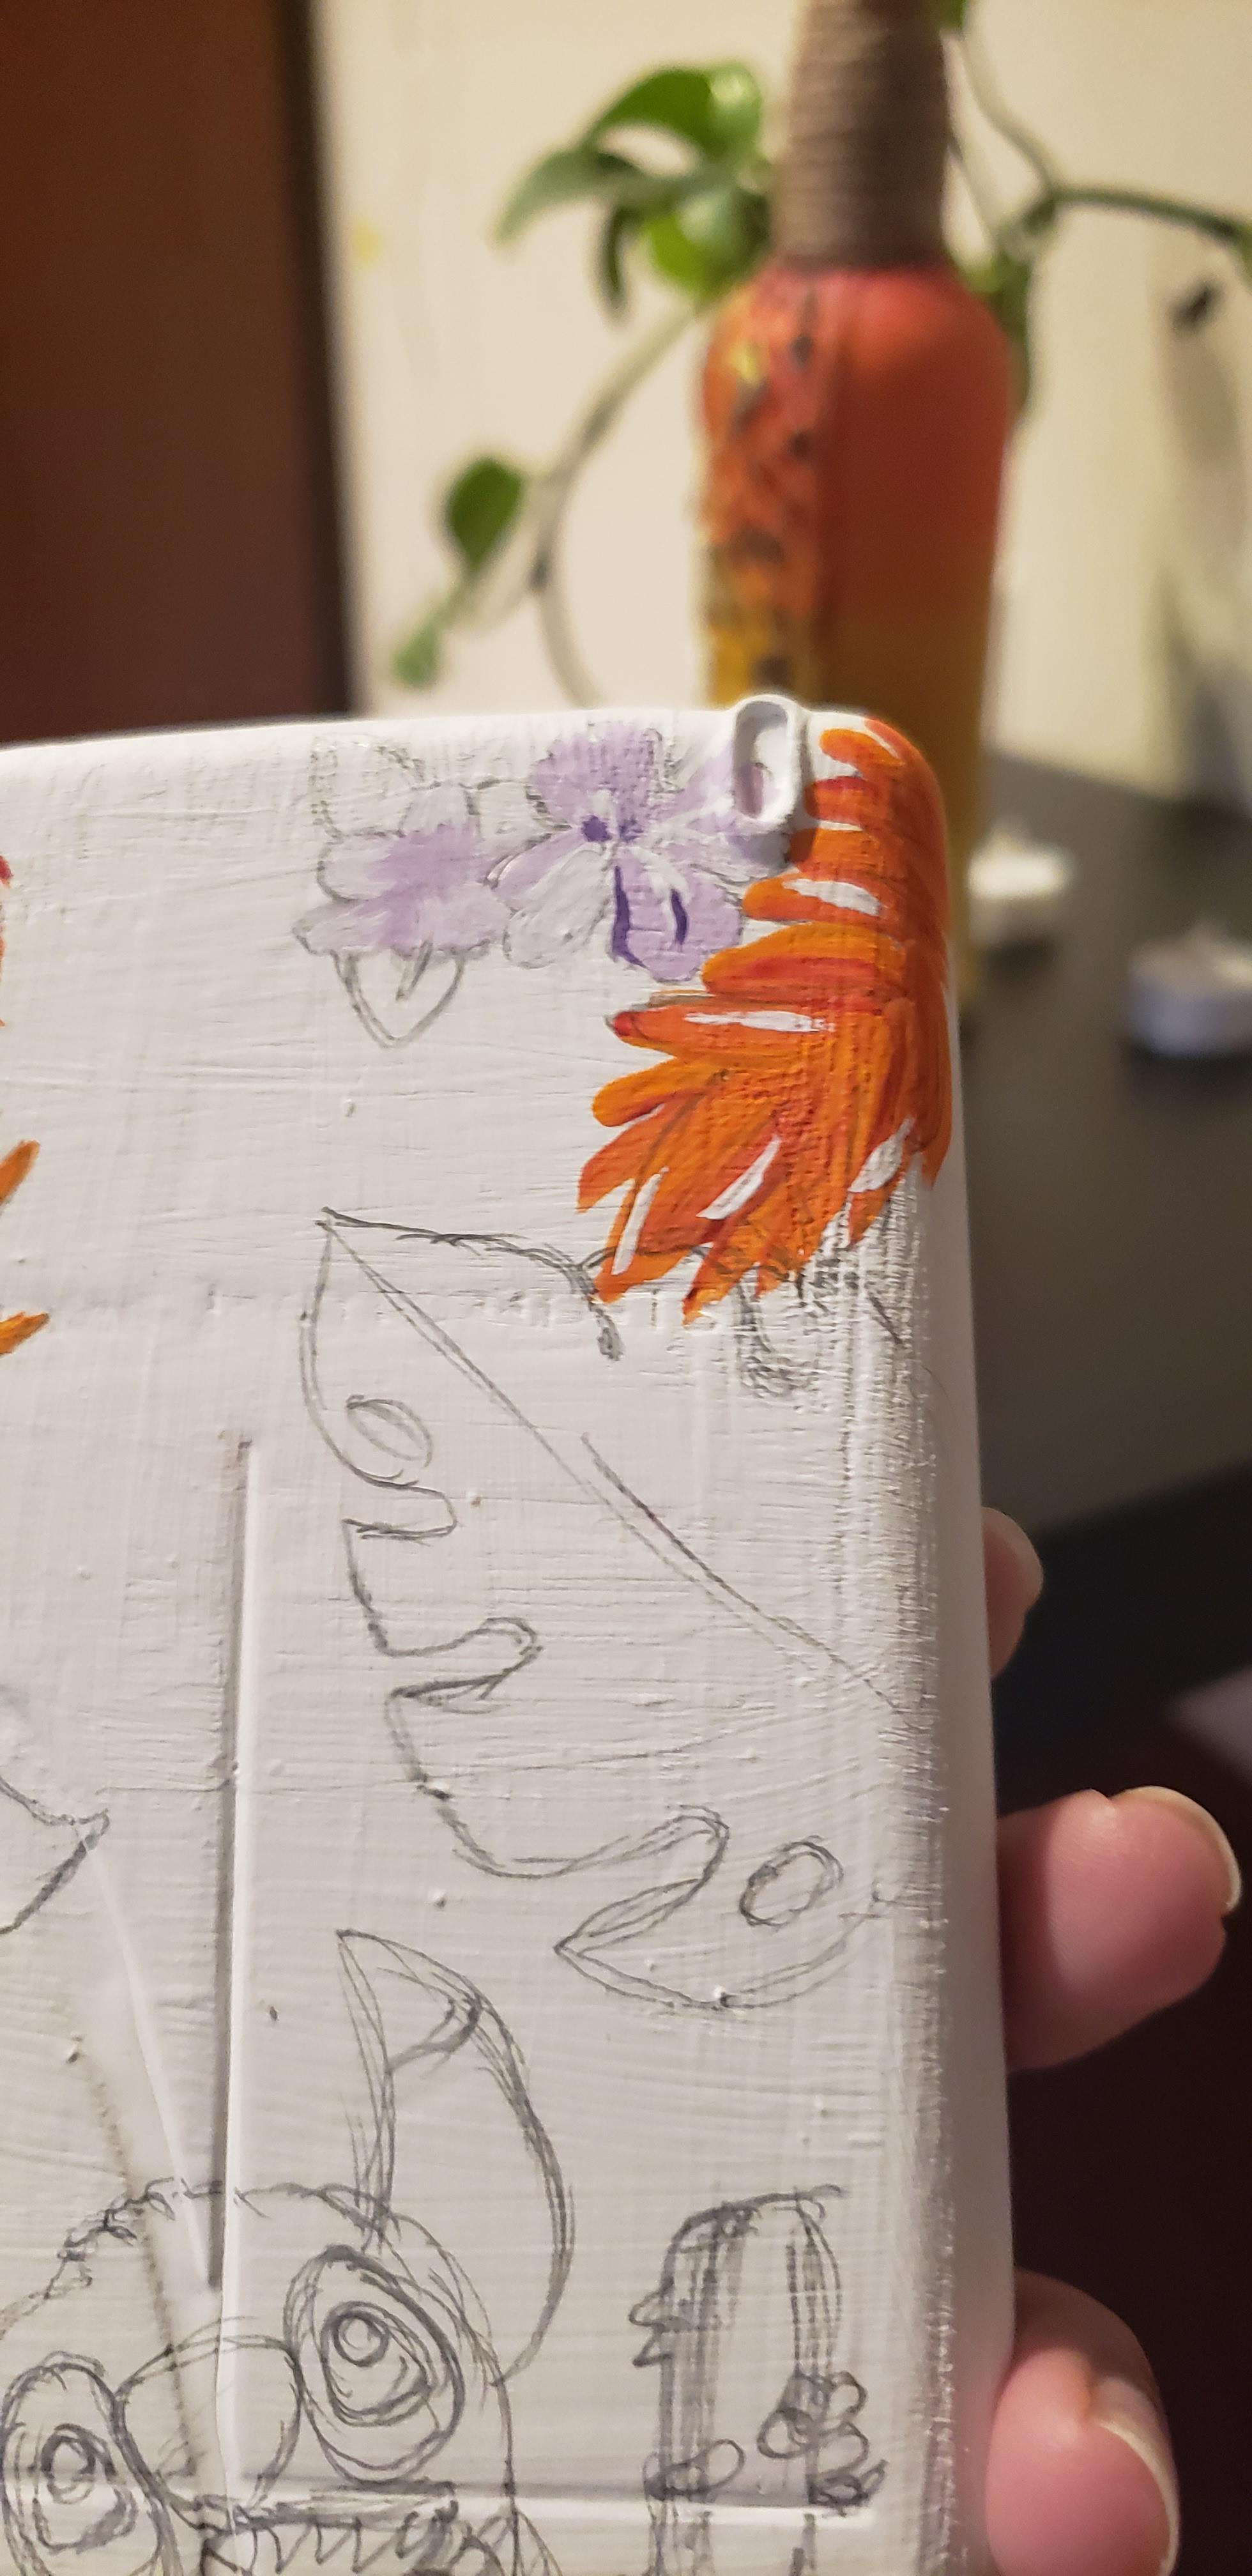
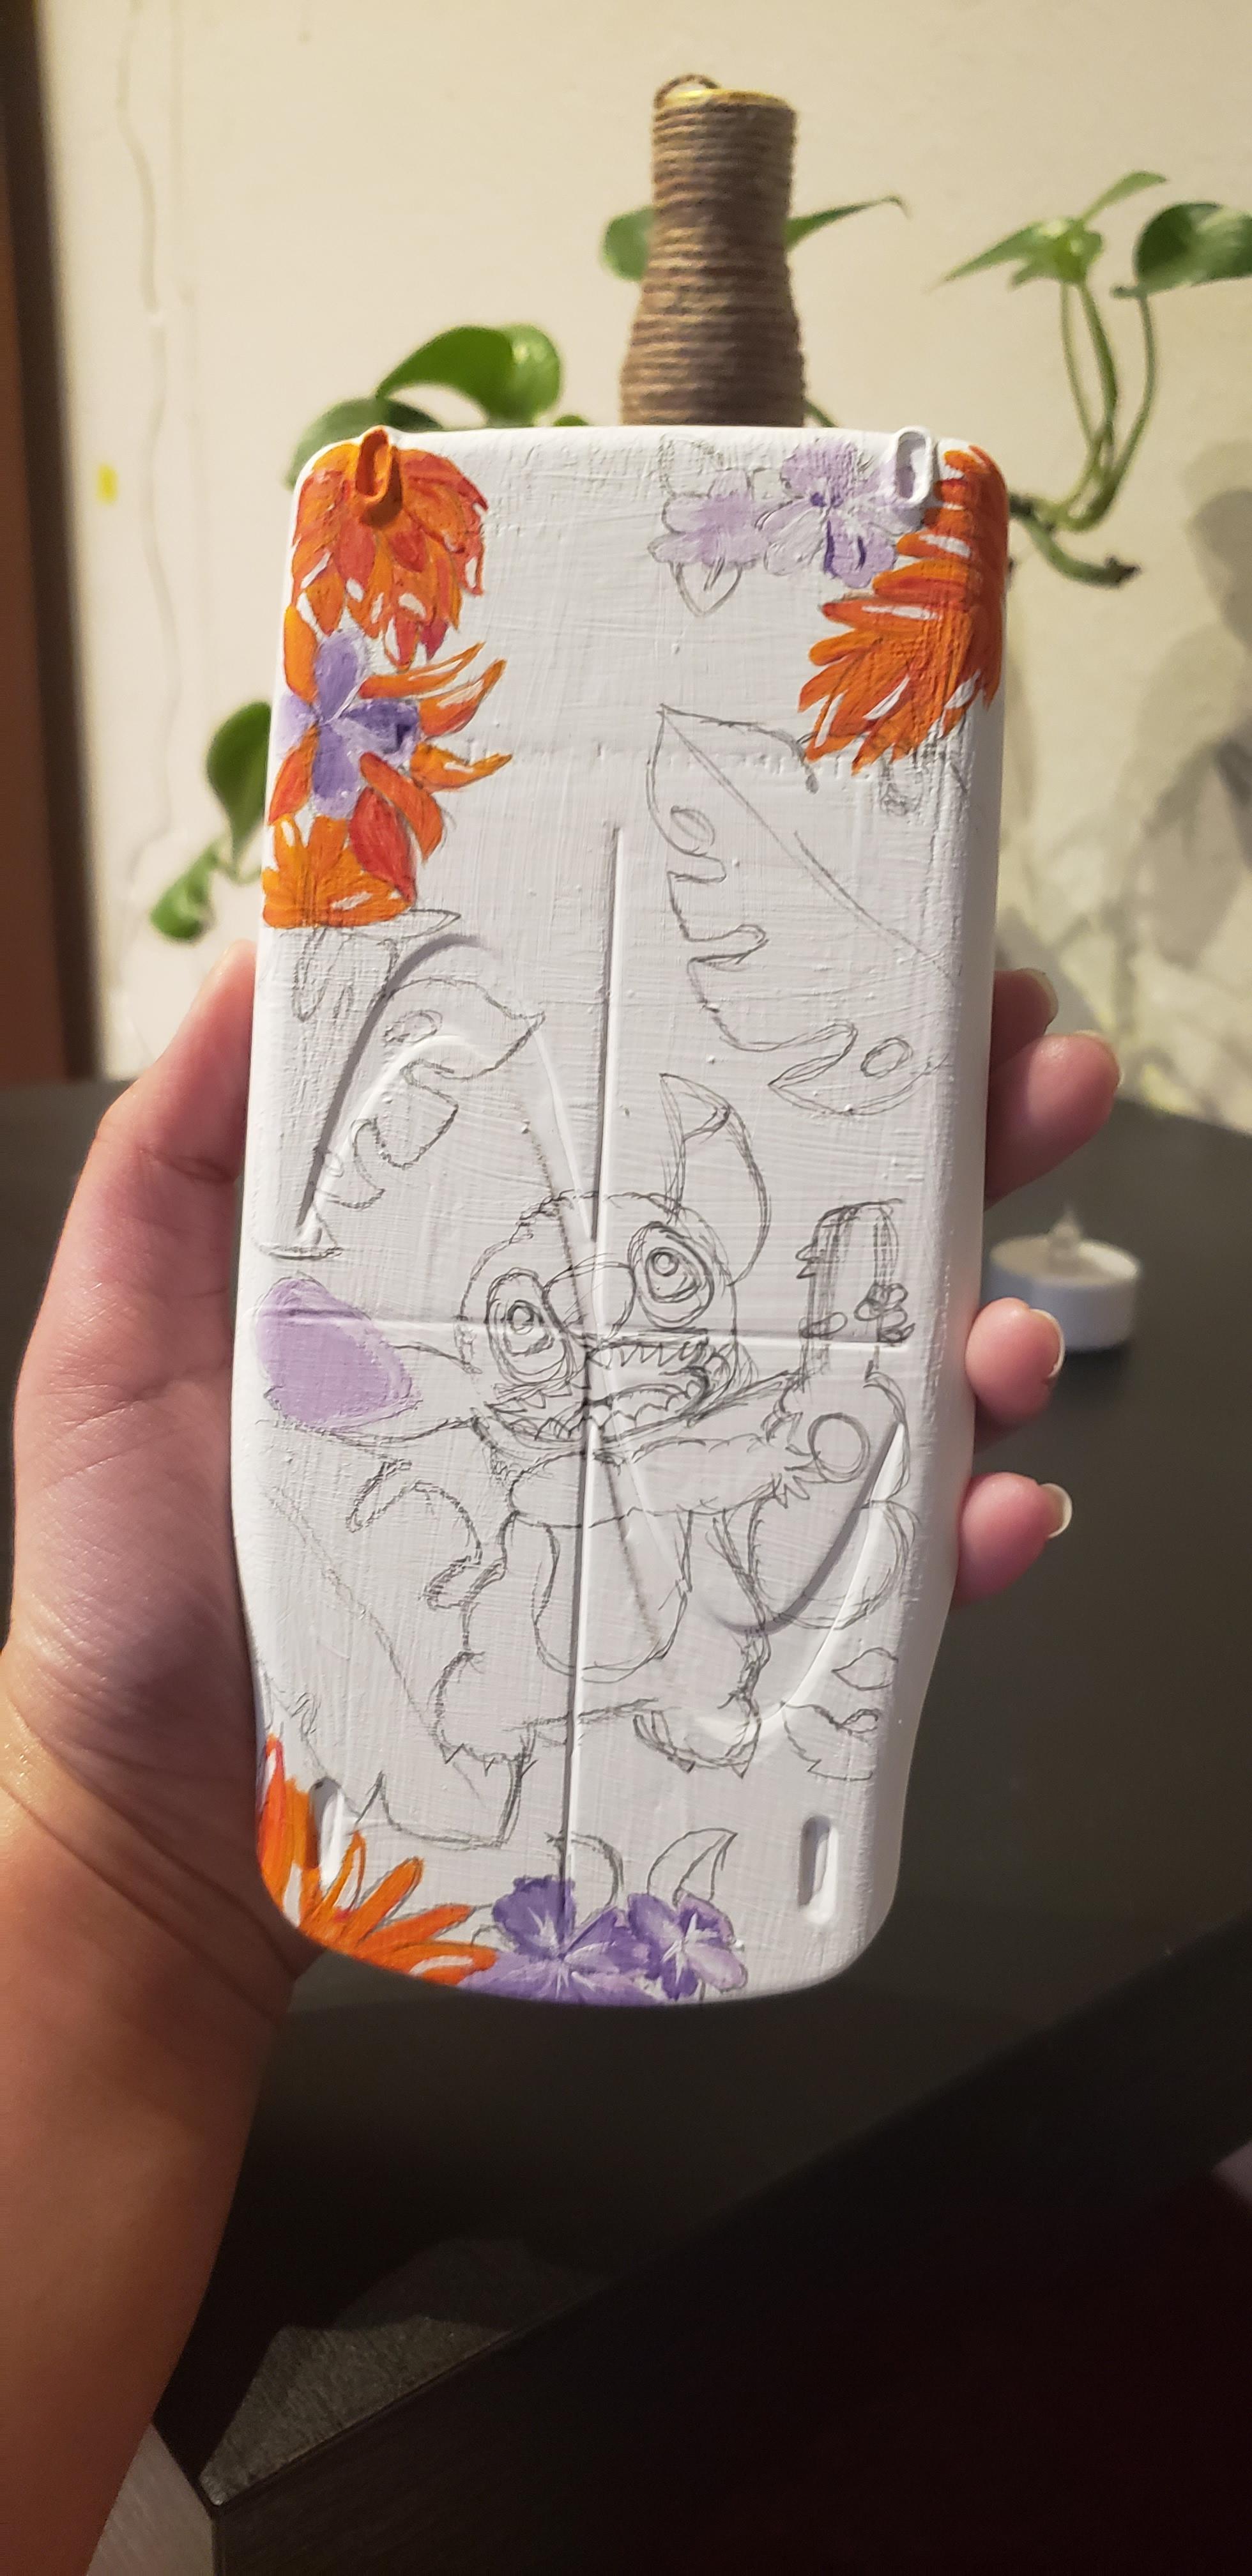
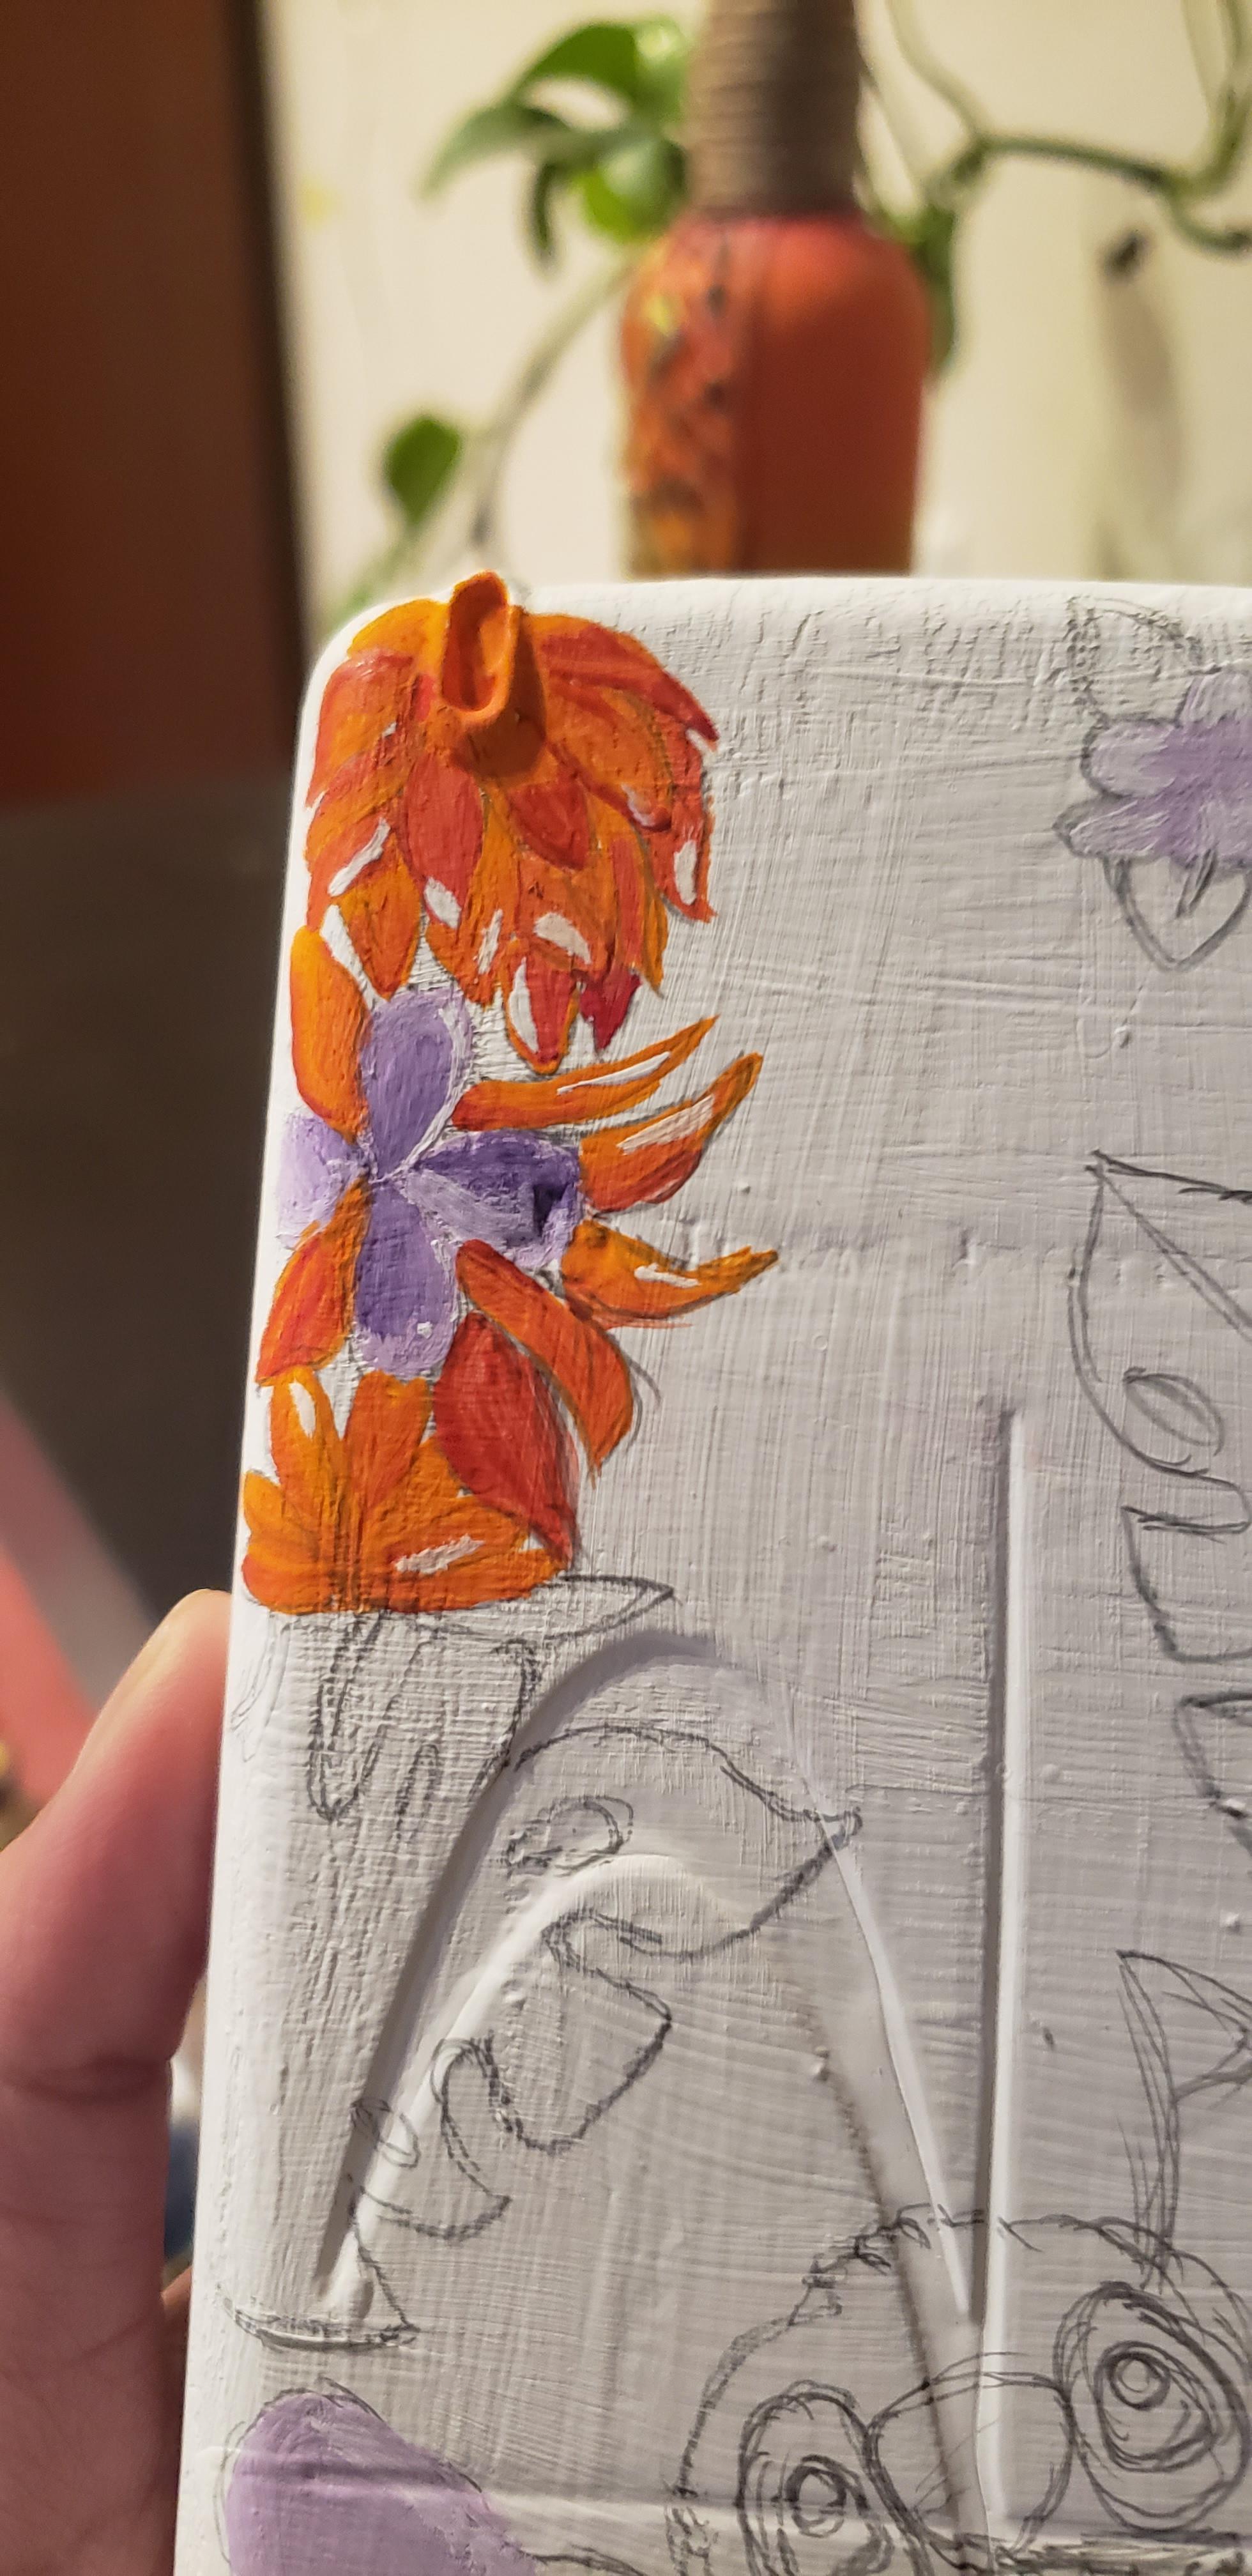
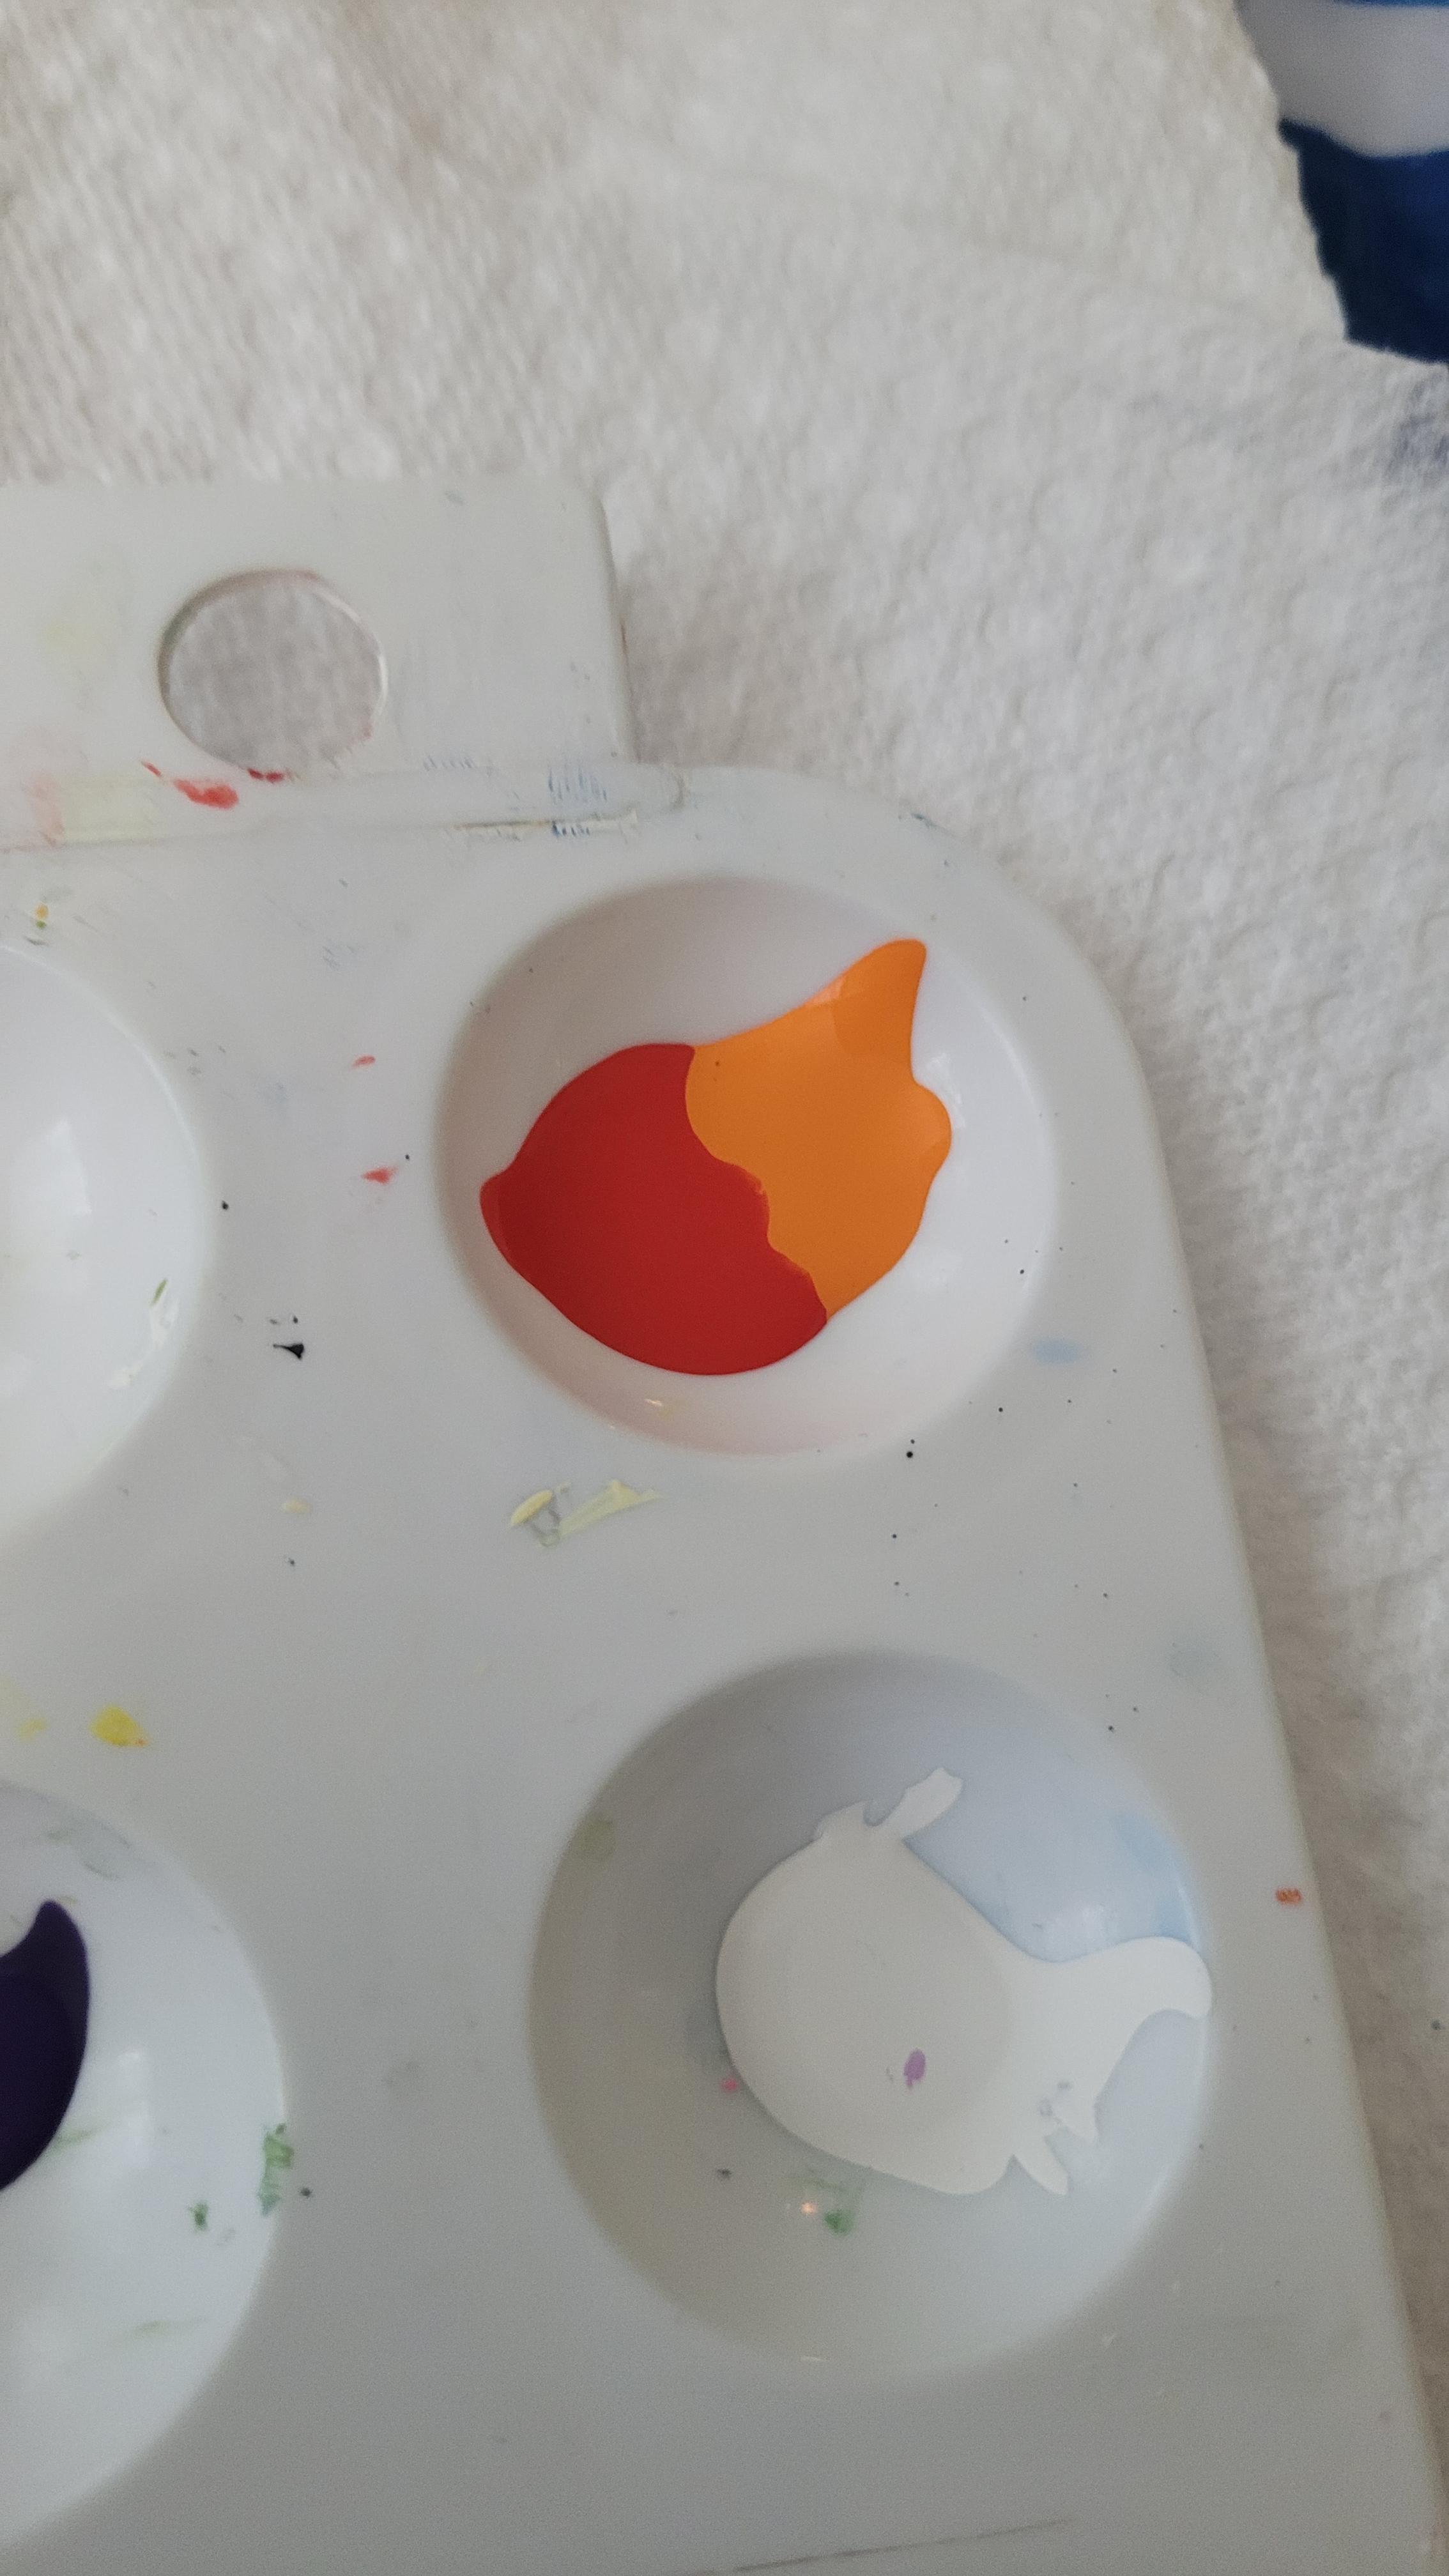
For this part I had orange and vermilion (red) side by side and dipped the paint brush between these two colors and painted on the case on the areas shown in the photos. I have used a smaller to medium size brush to get that little thickness. For some leaves like I had them completely covered on red and some orange color. After the areas have been dried I added white stroke lines using a thinner brush to give the highlights like look. As always accidents happen some white strokes can be coming out thick and some not as bad as others and some can be too long, but it is ok!
Leaves
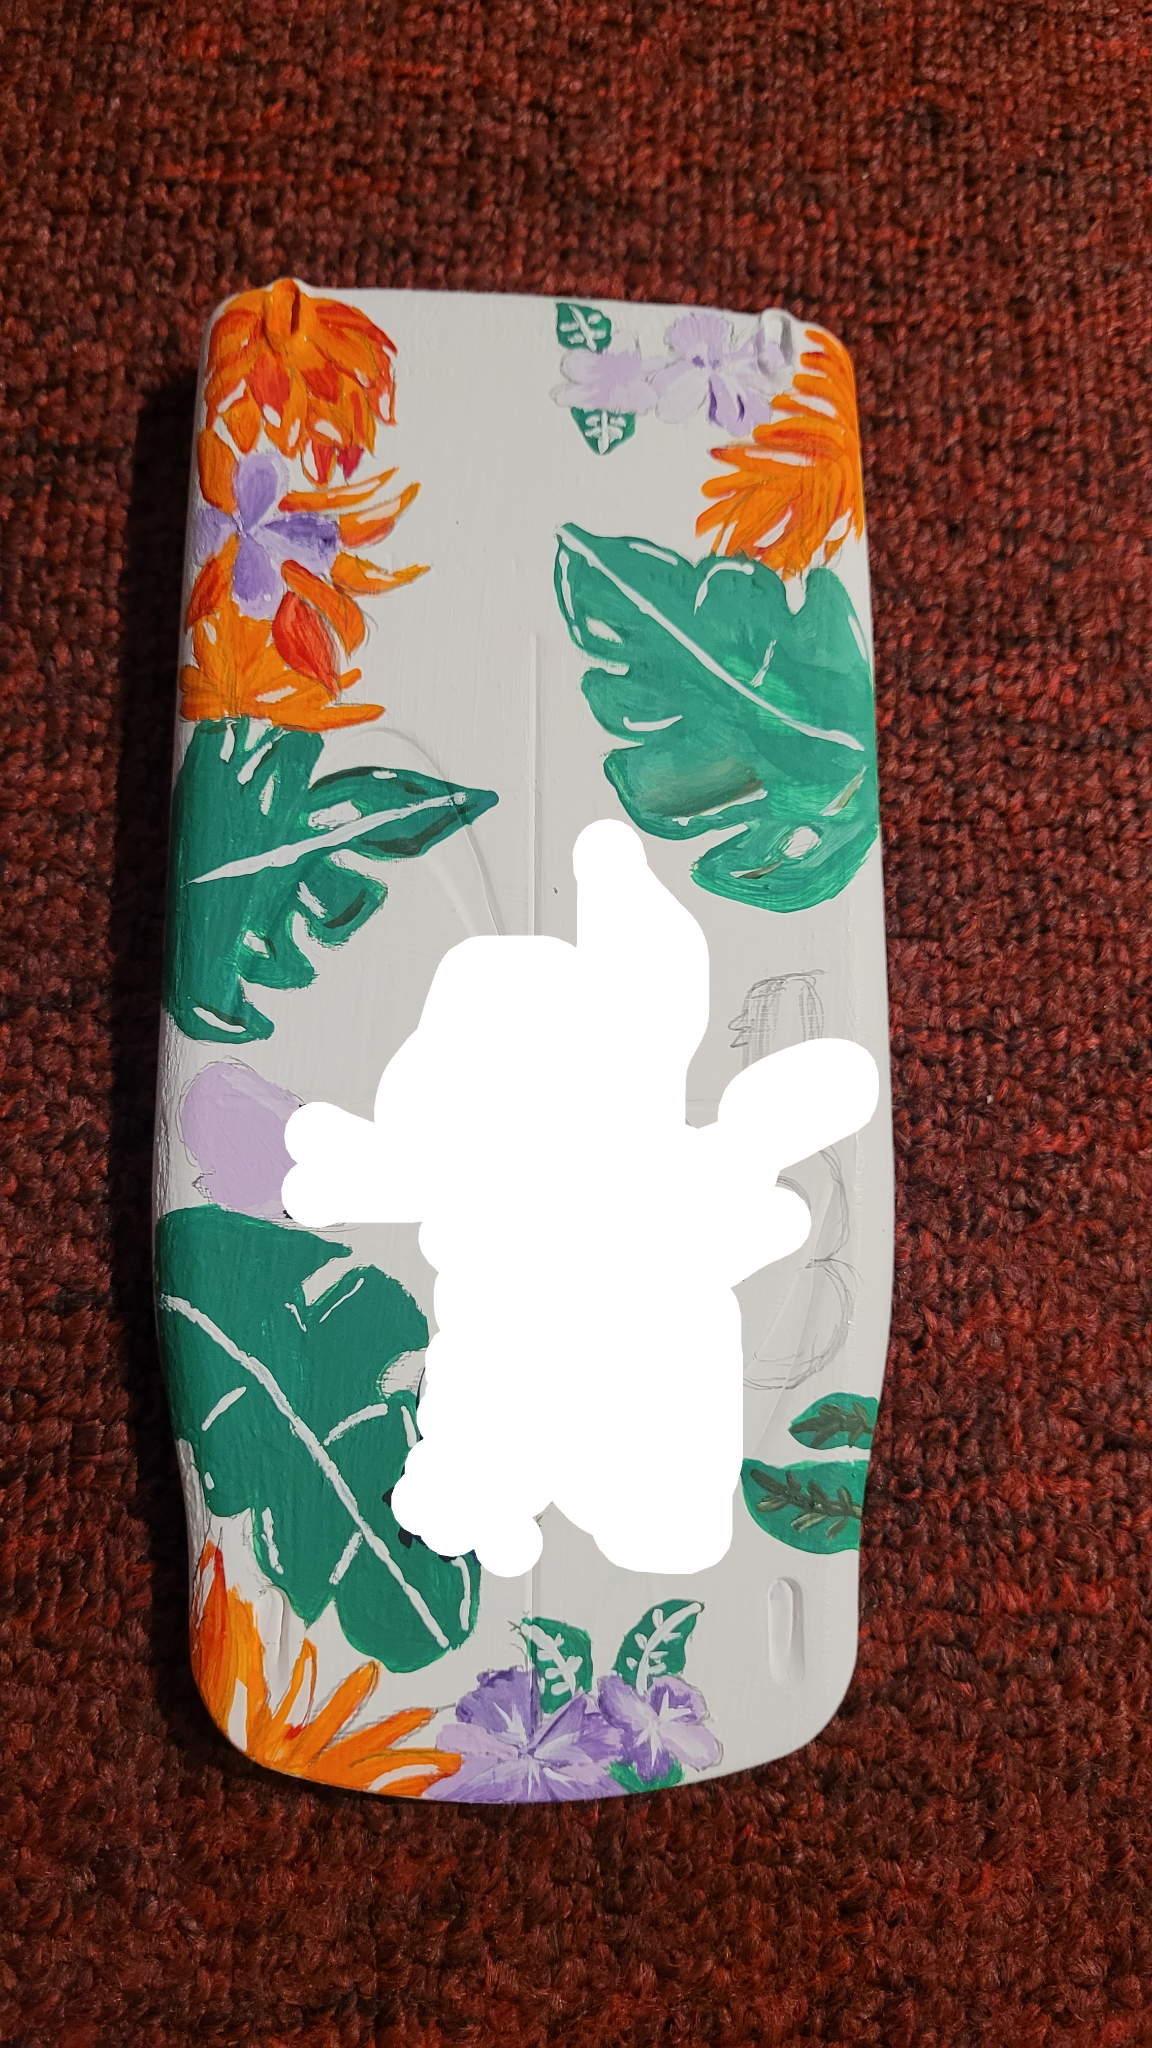
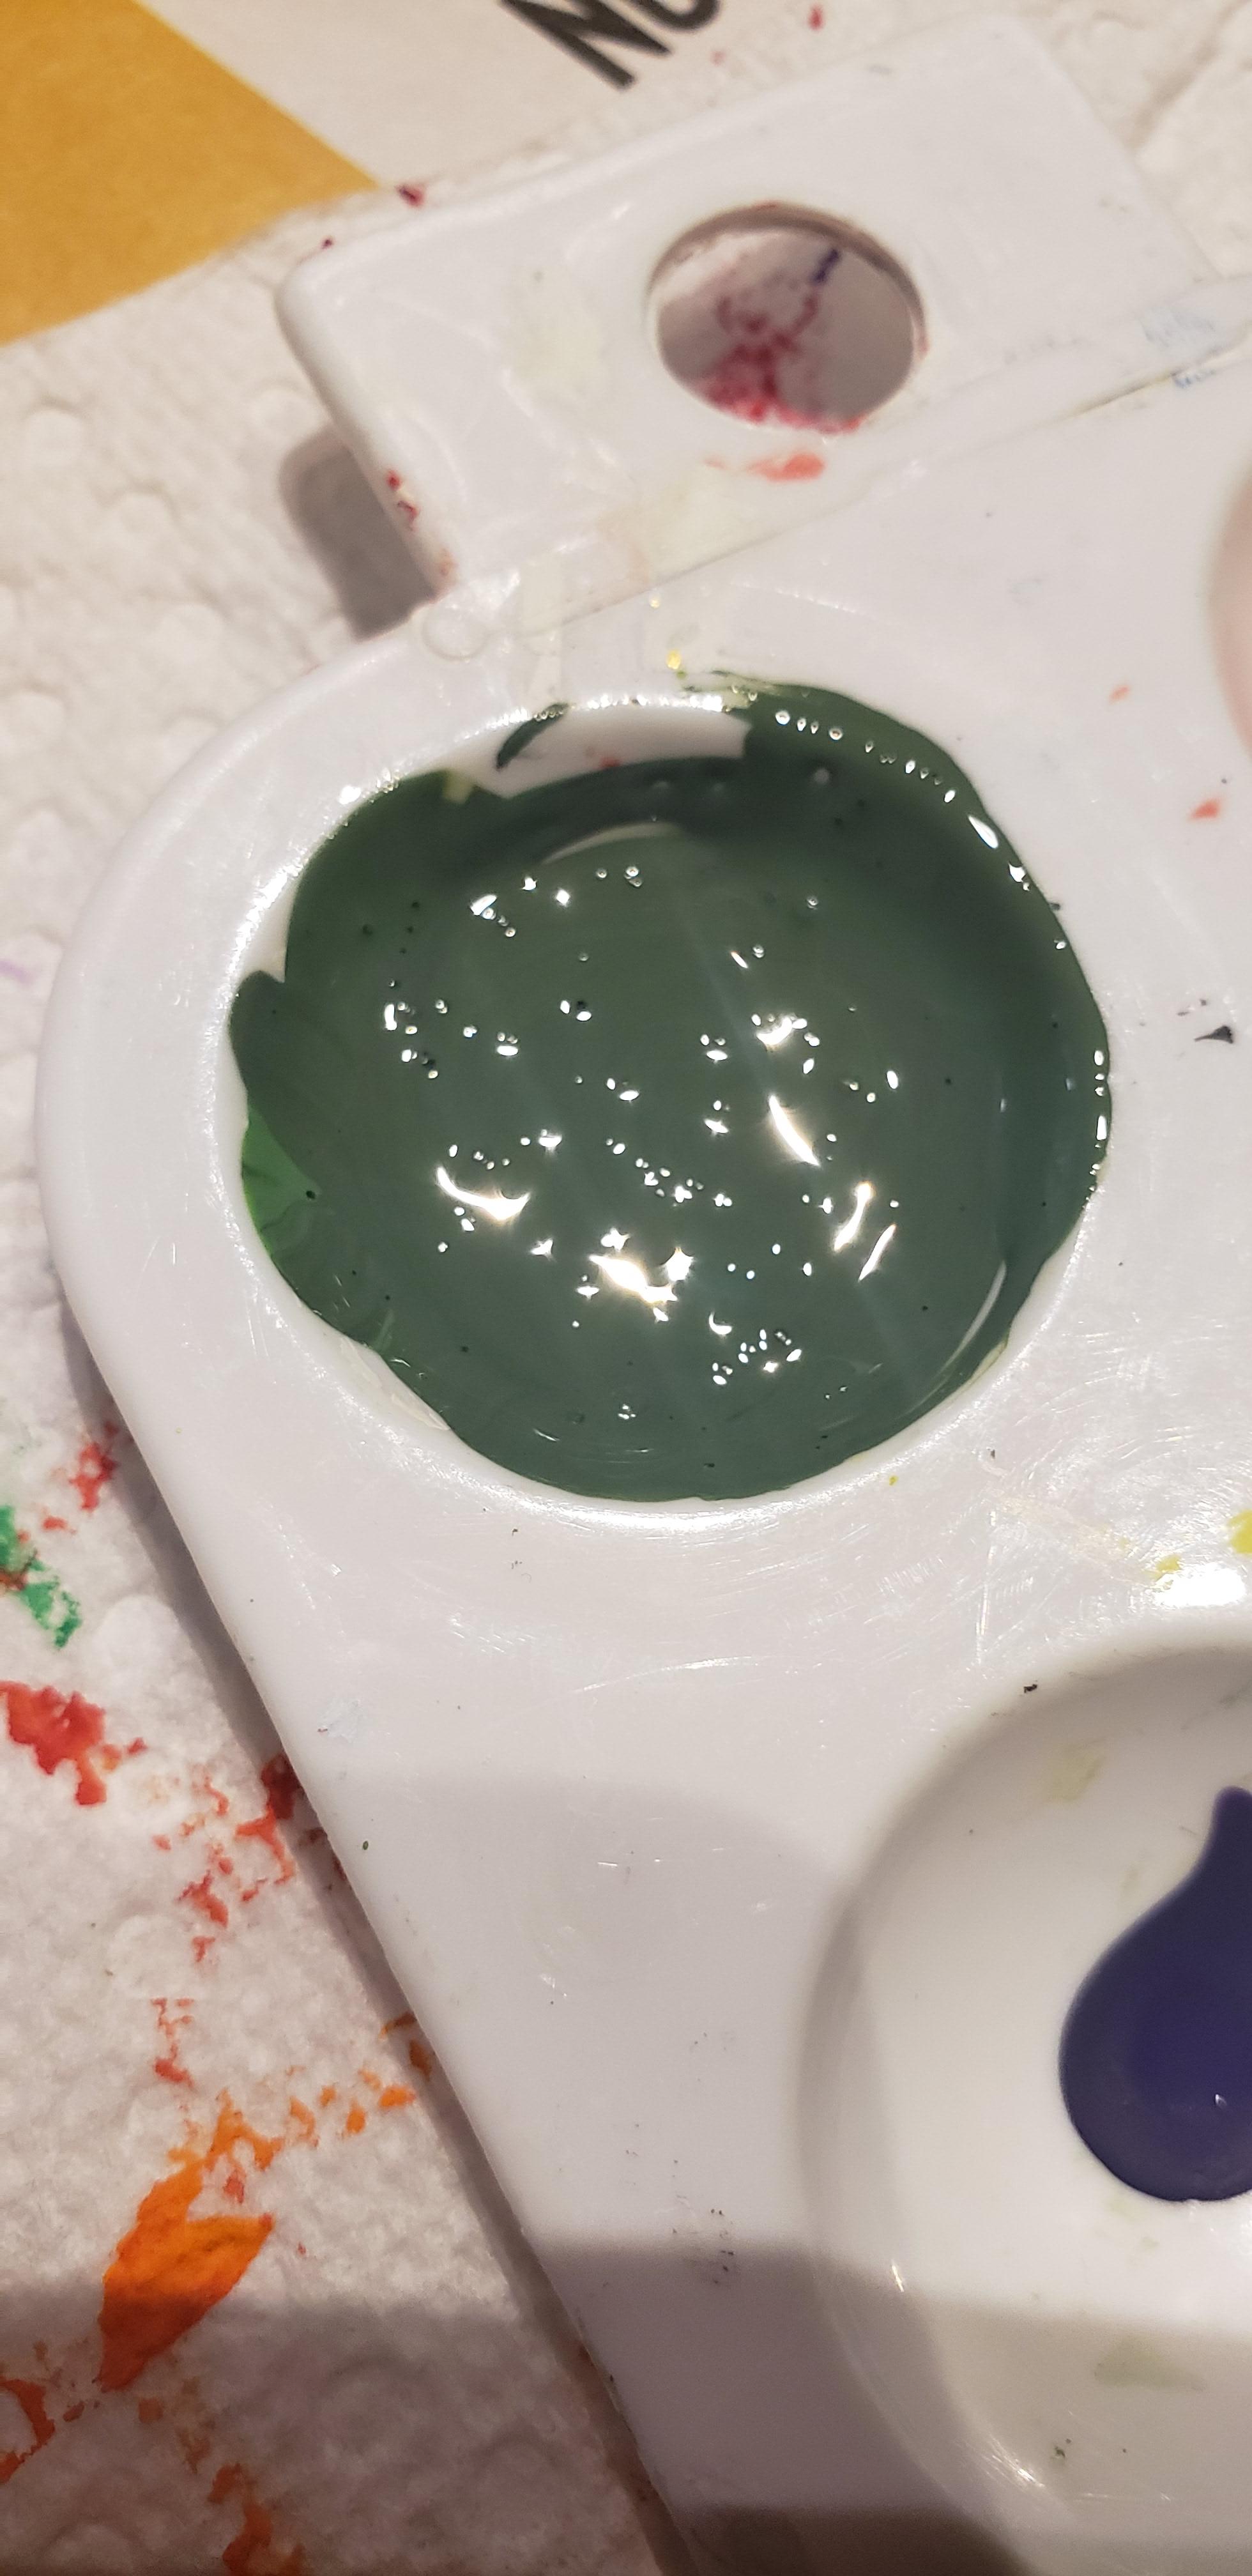

I made 2 types of greens one of them consists Laguna blue mixed with lush green, the other color is olive green (for shadows/darks). The base coats that I have used was Laguna blue+lush green and olive green for for other areas as like lines (outline in some areas of the leaves. I used white to draw the veins for leaves for some of them and not for the bigger ones, I did that to show the tropical palm leaves.
Stitch!
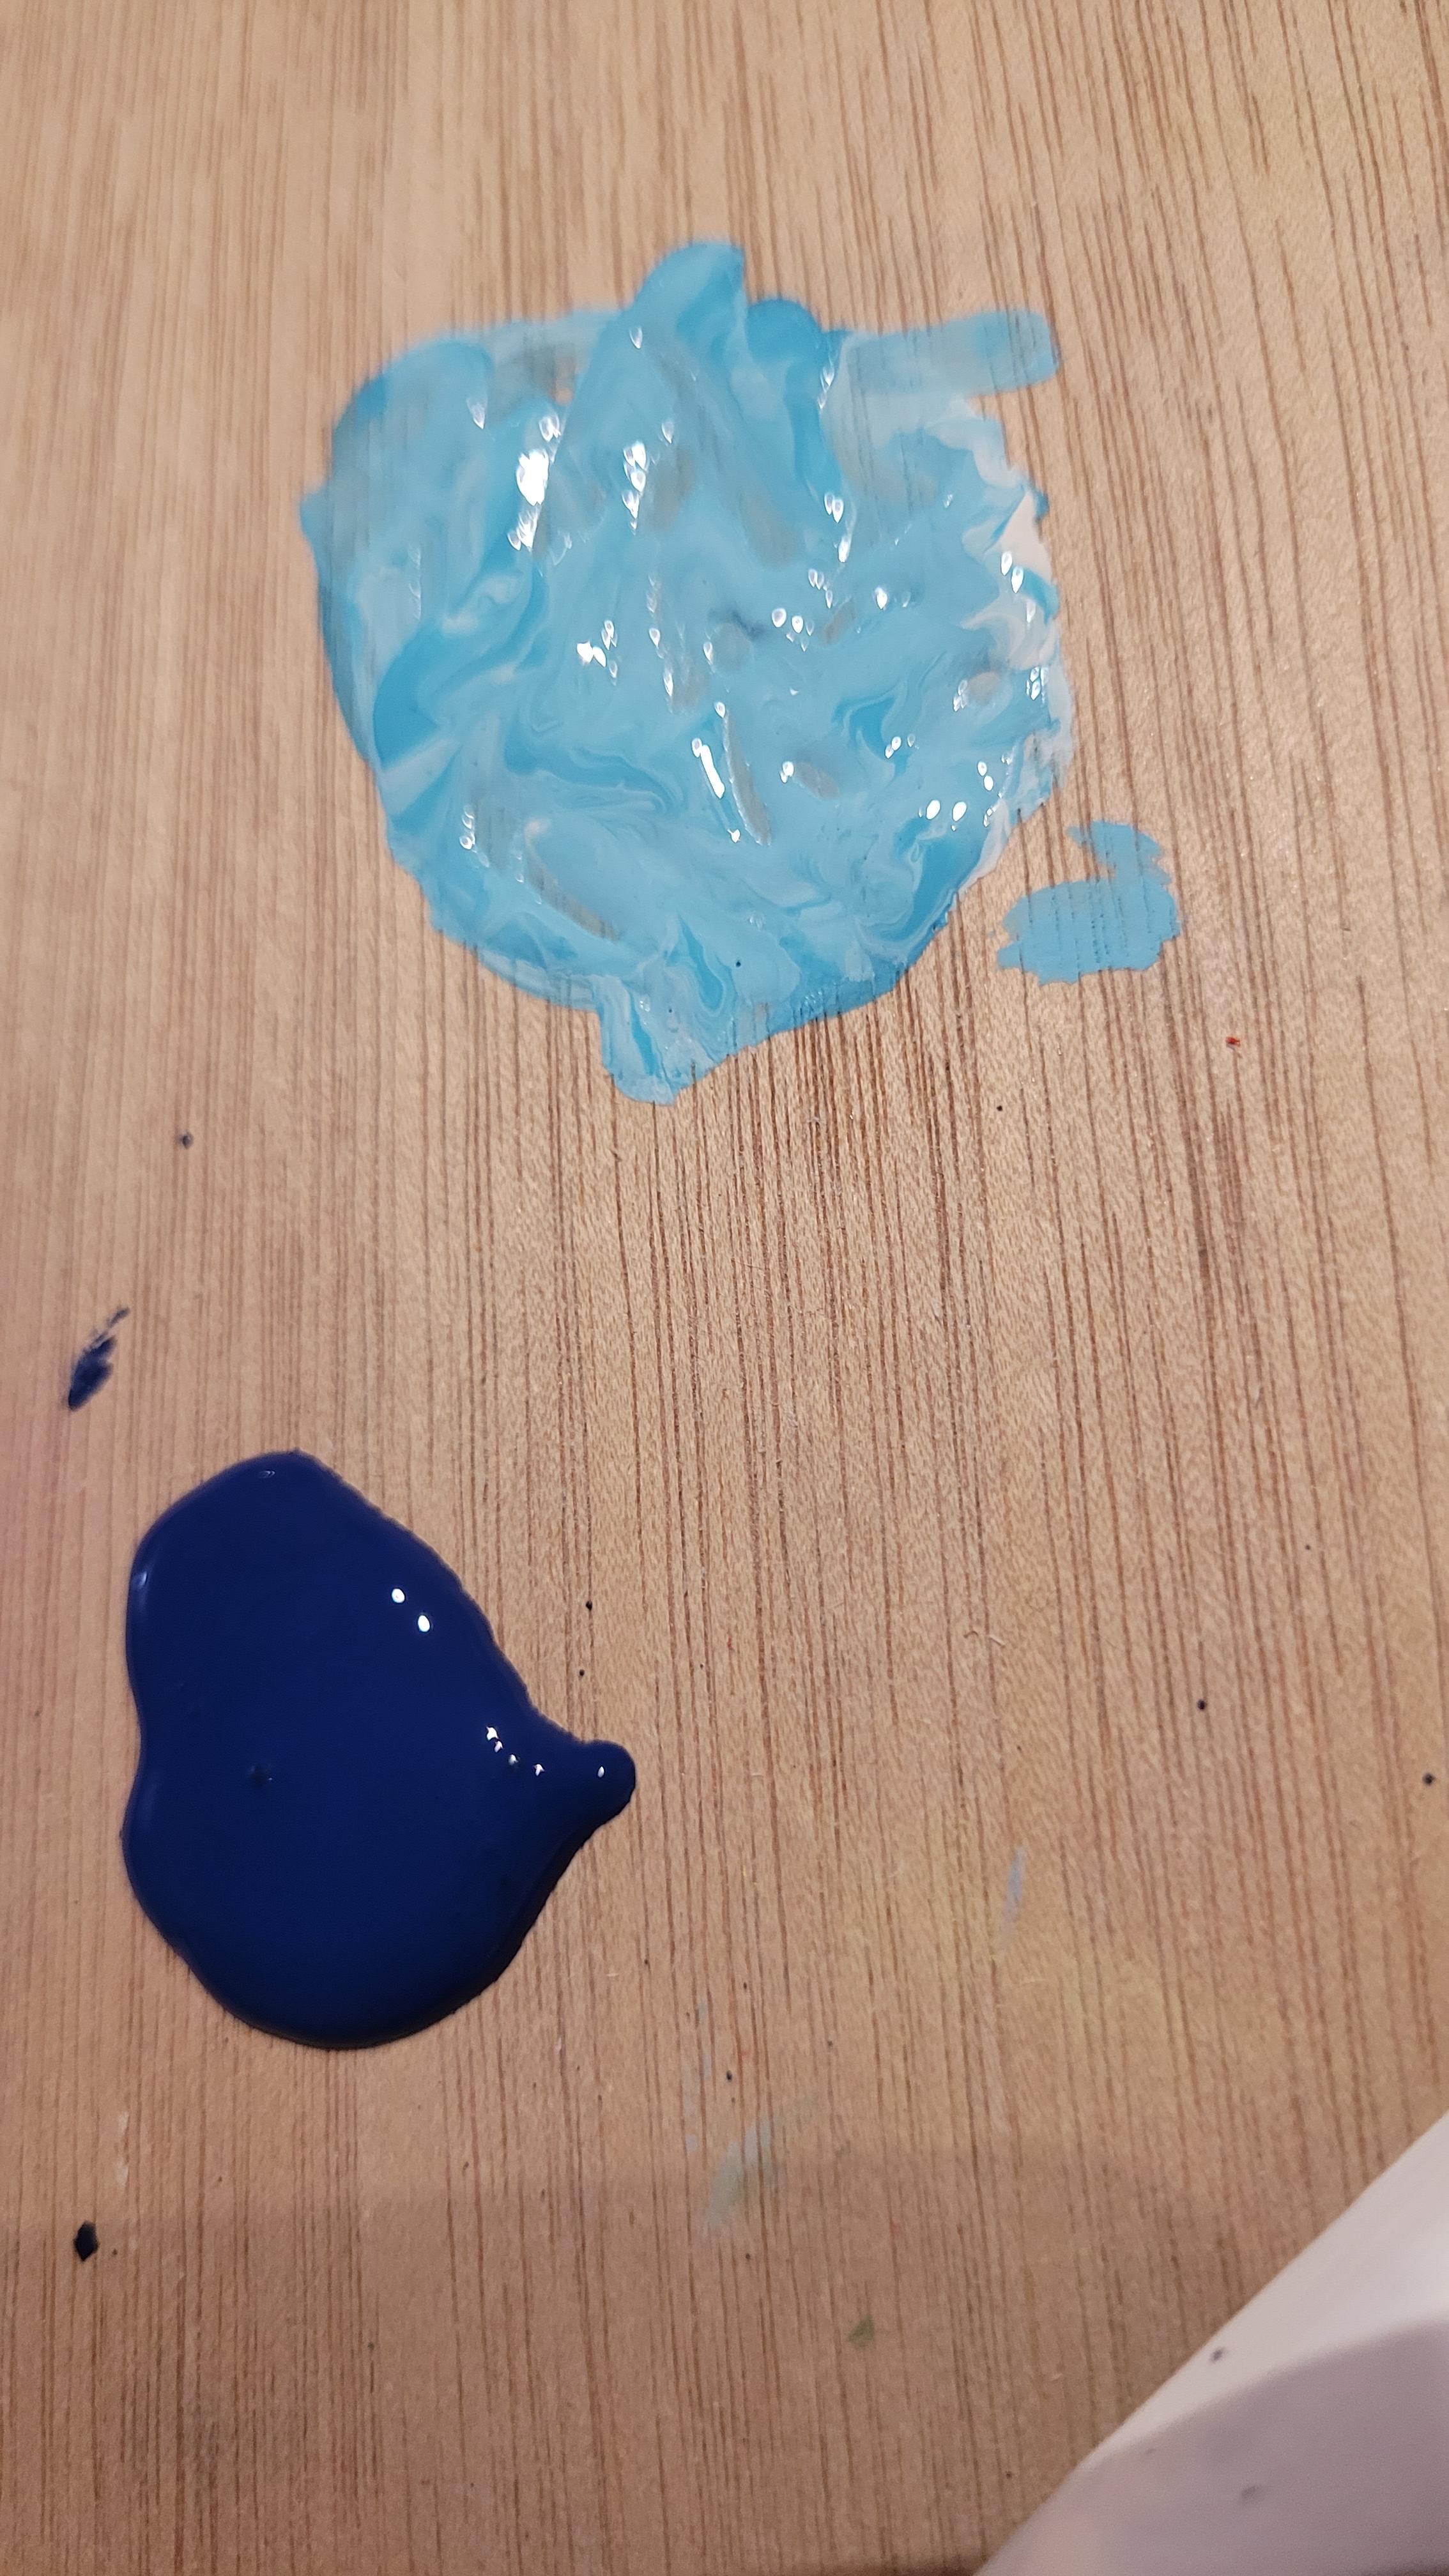
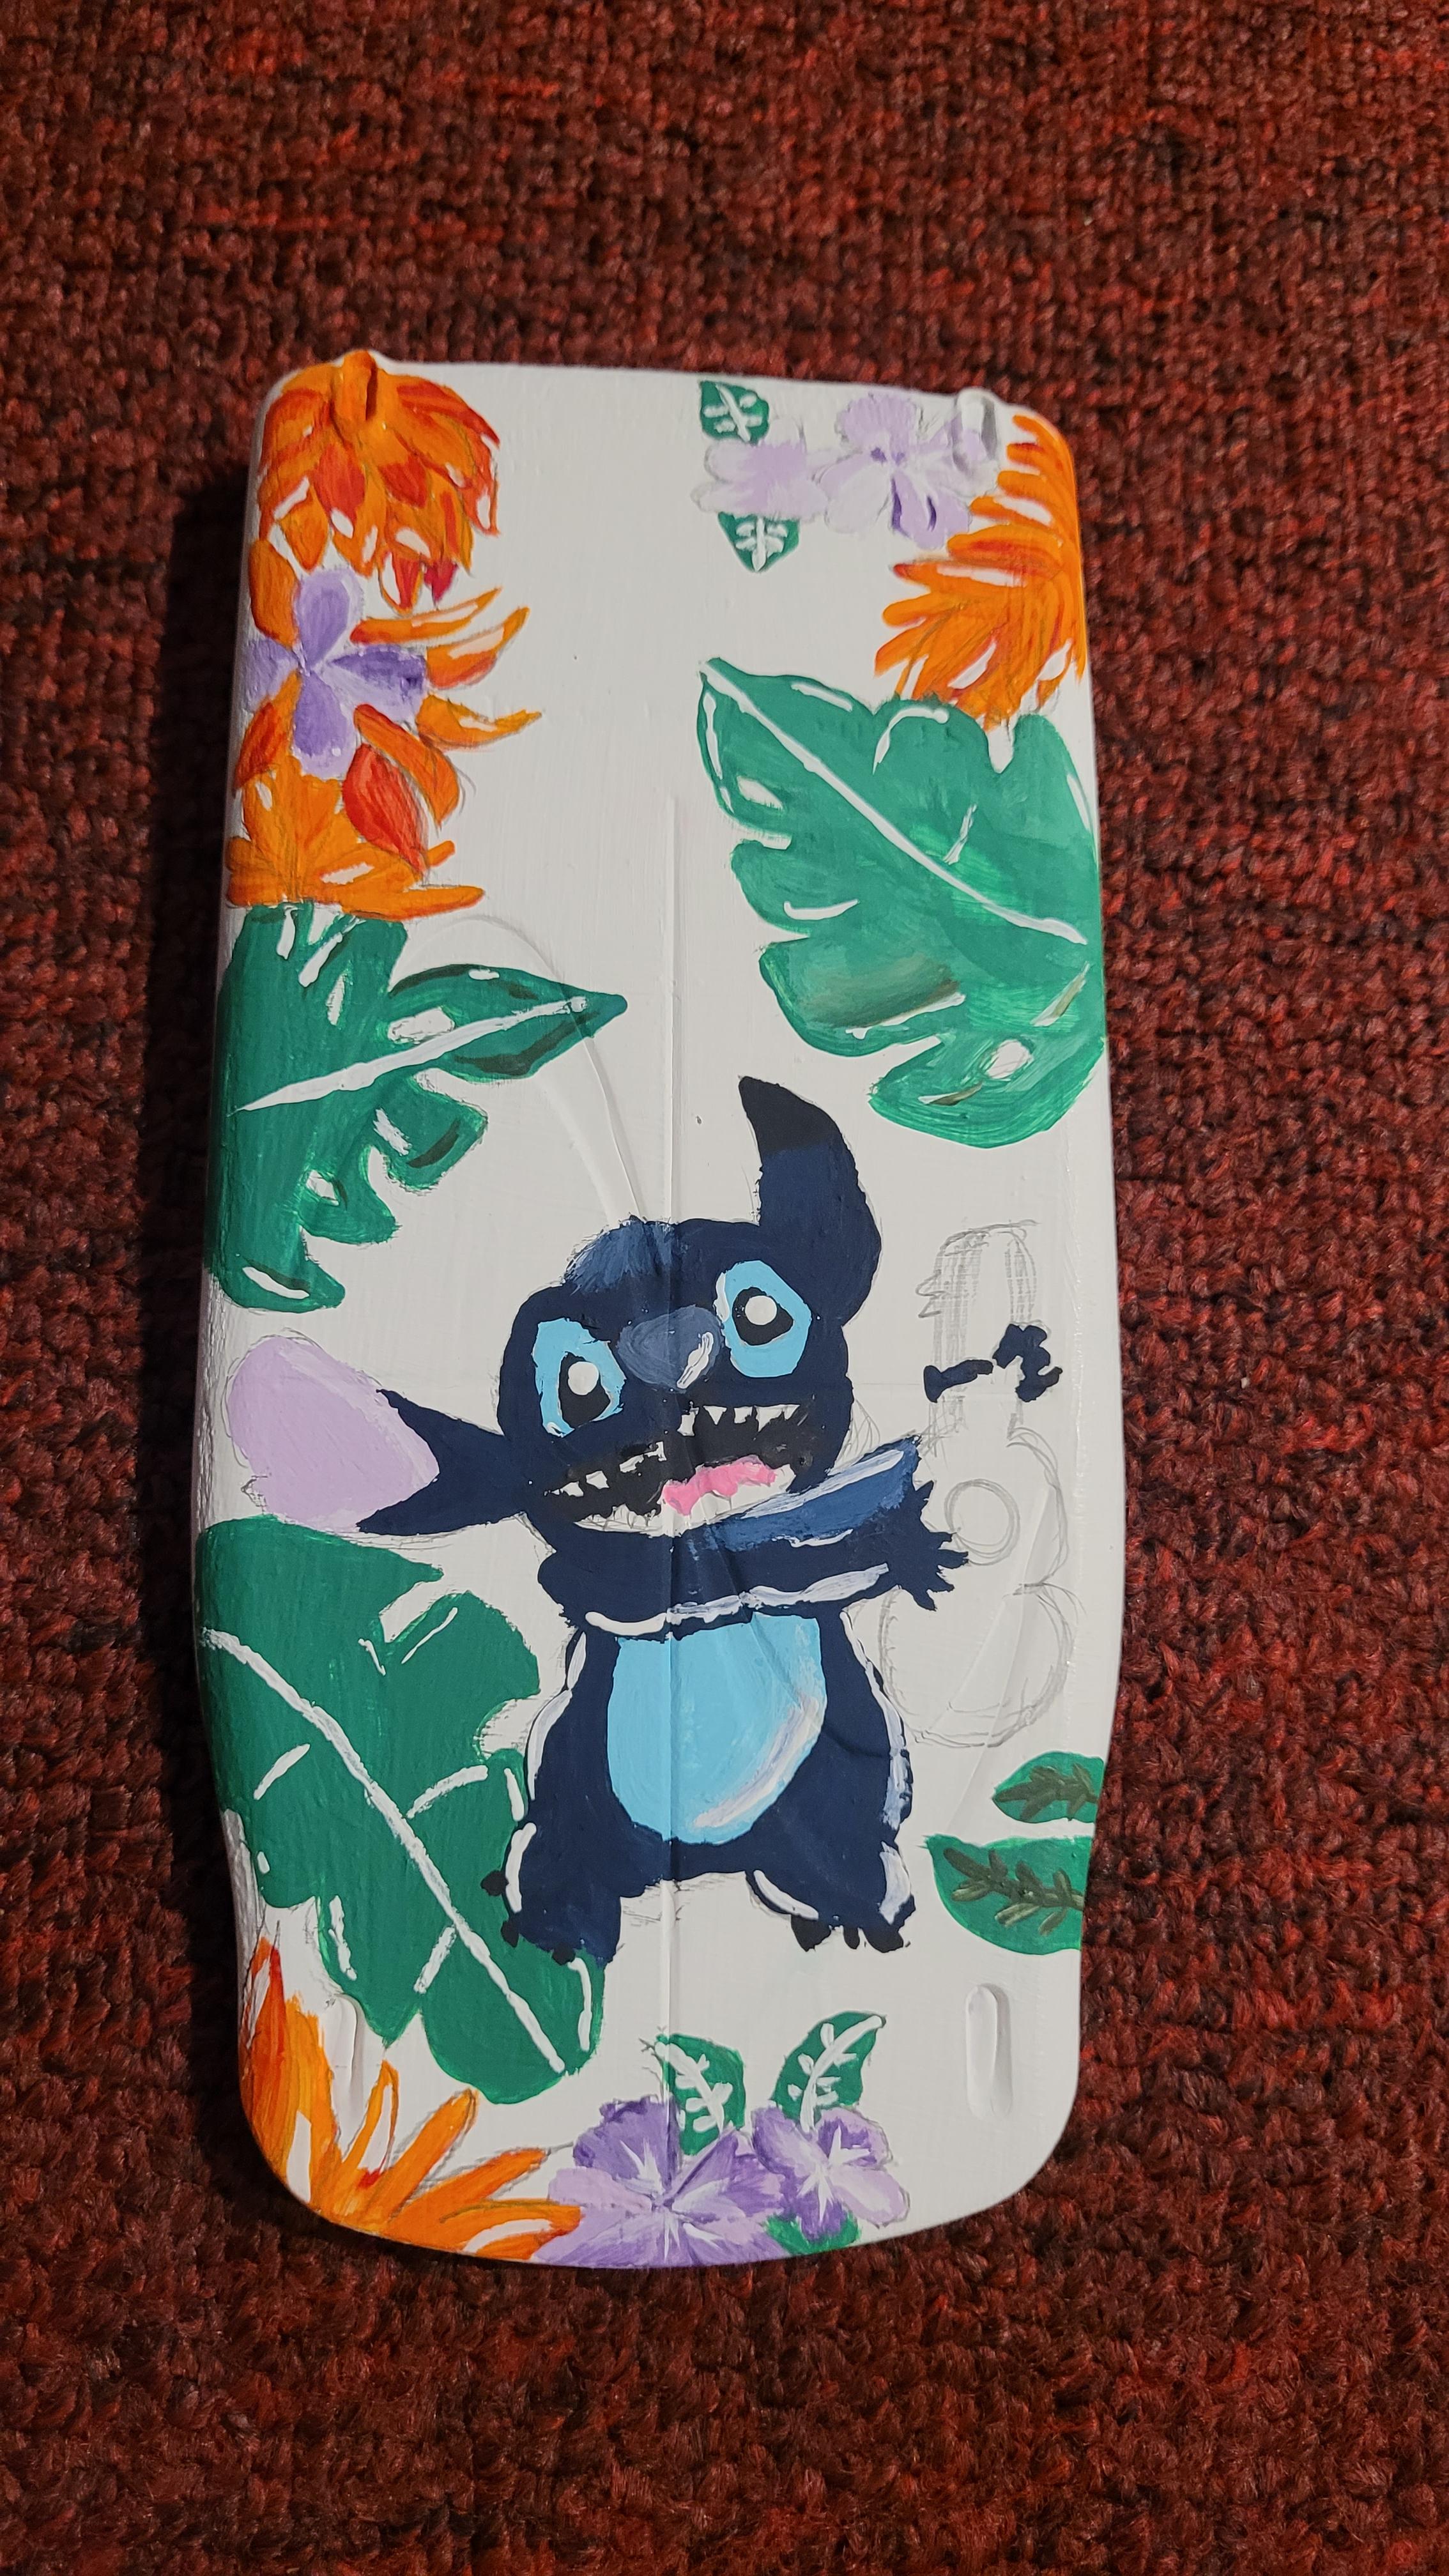
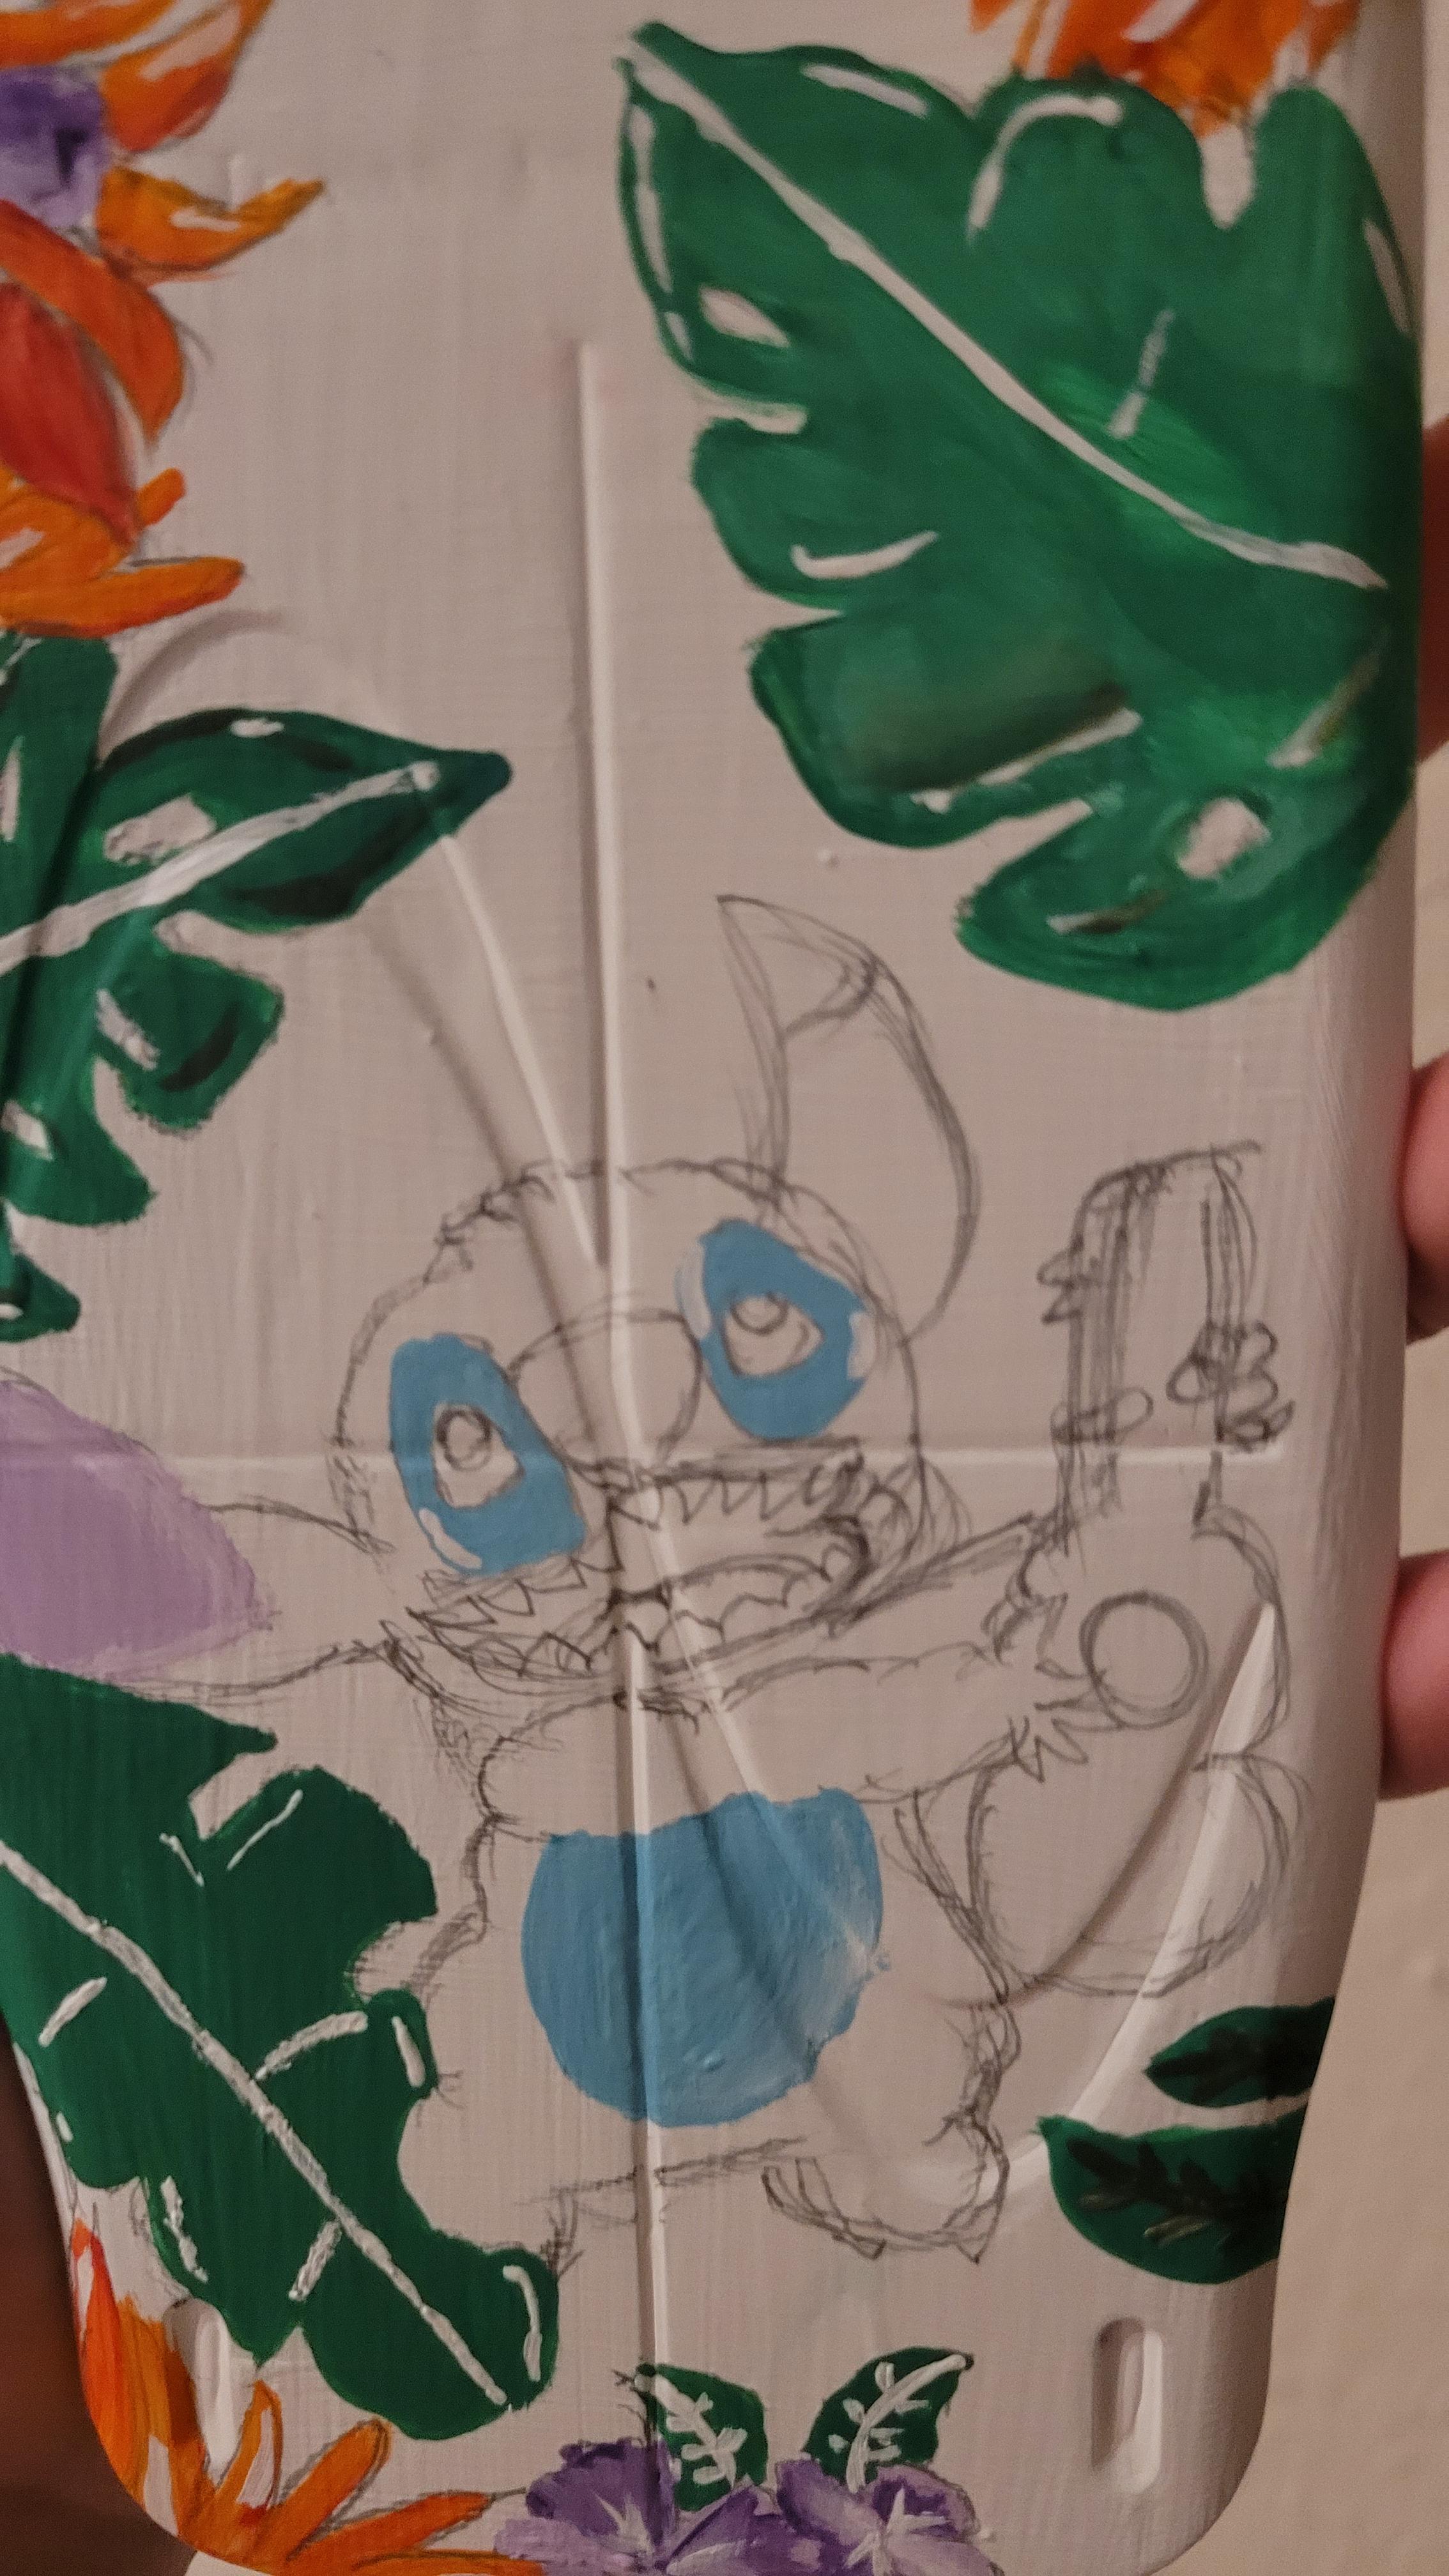
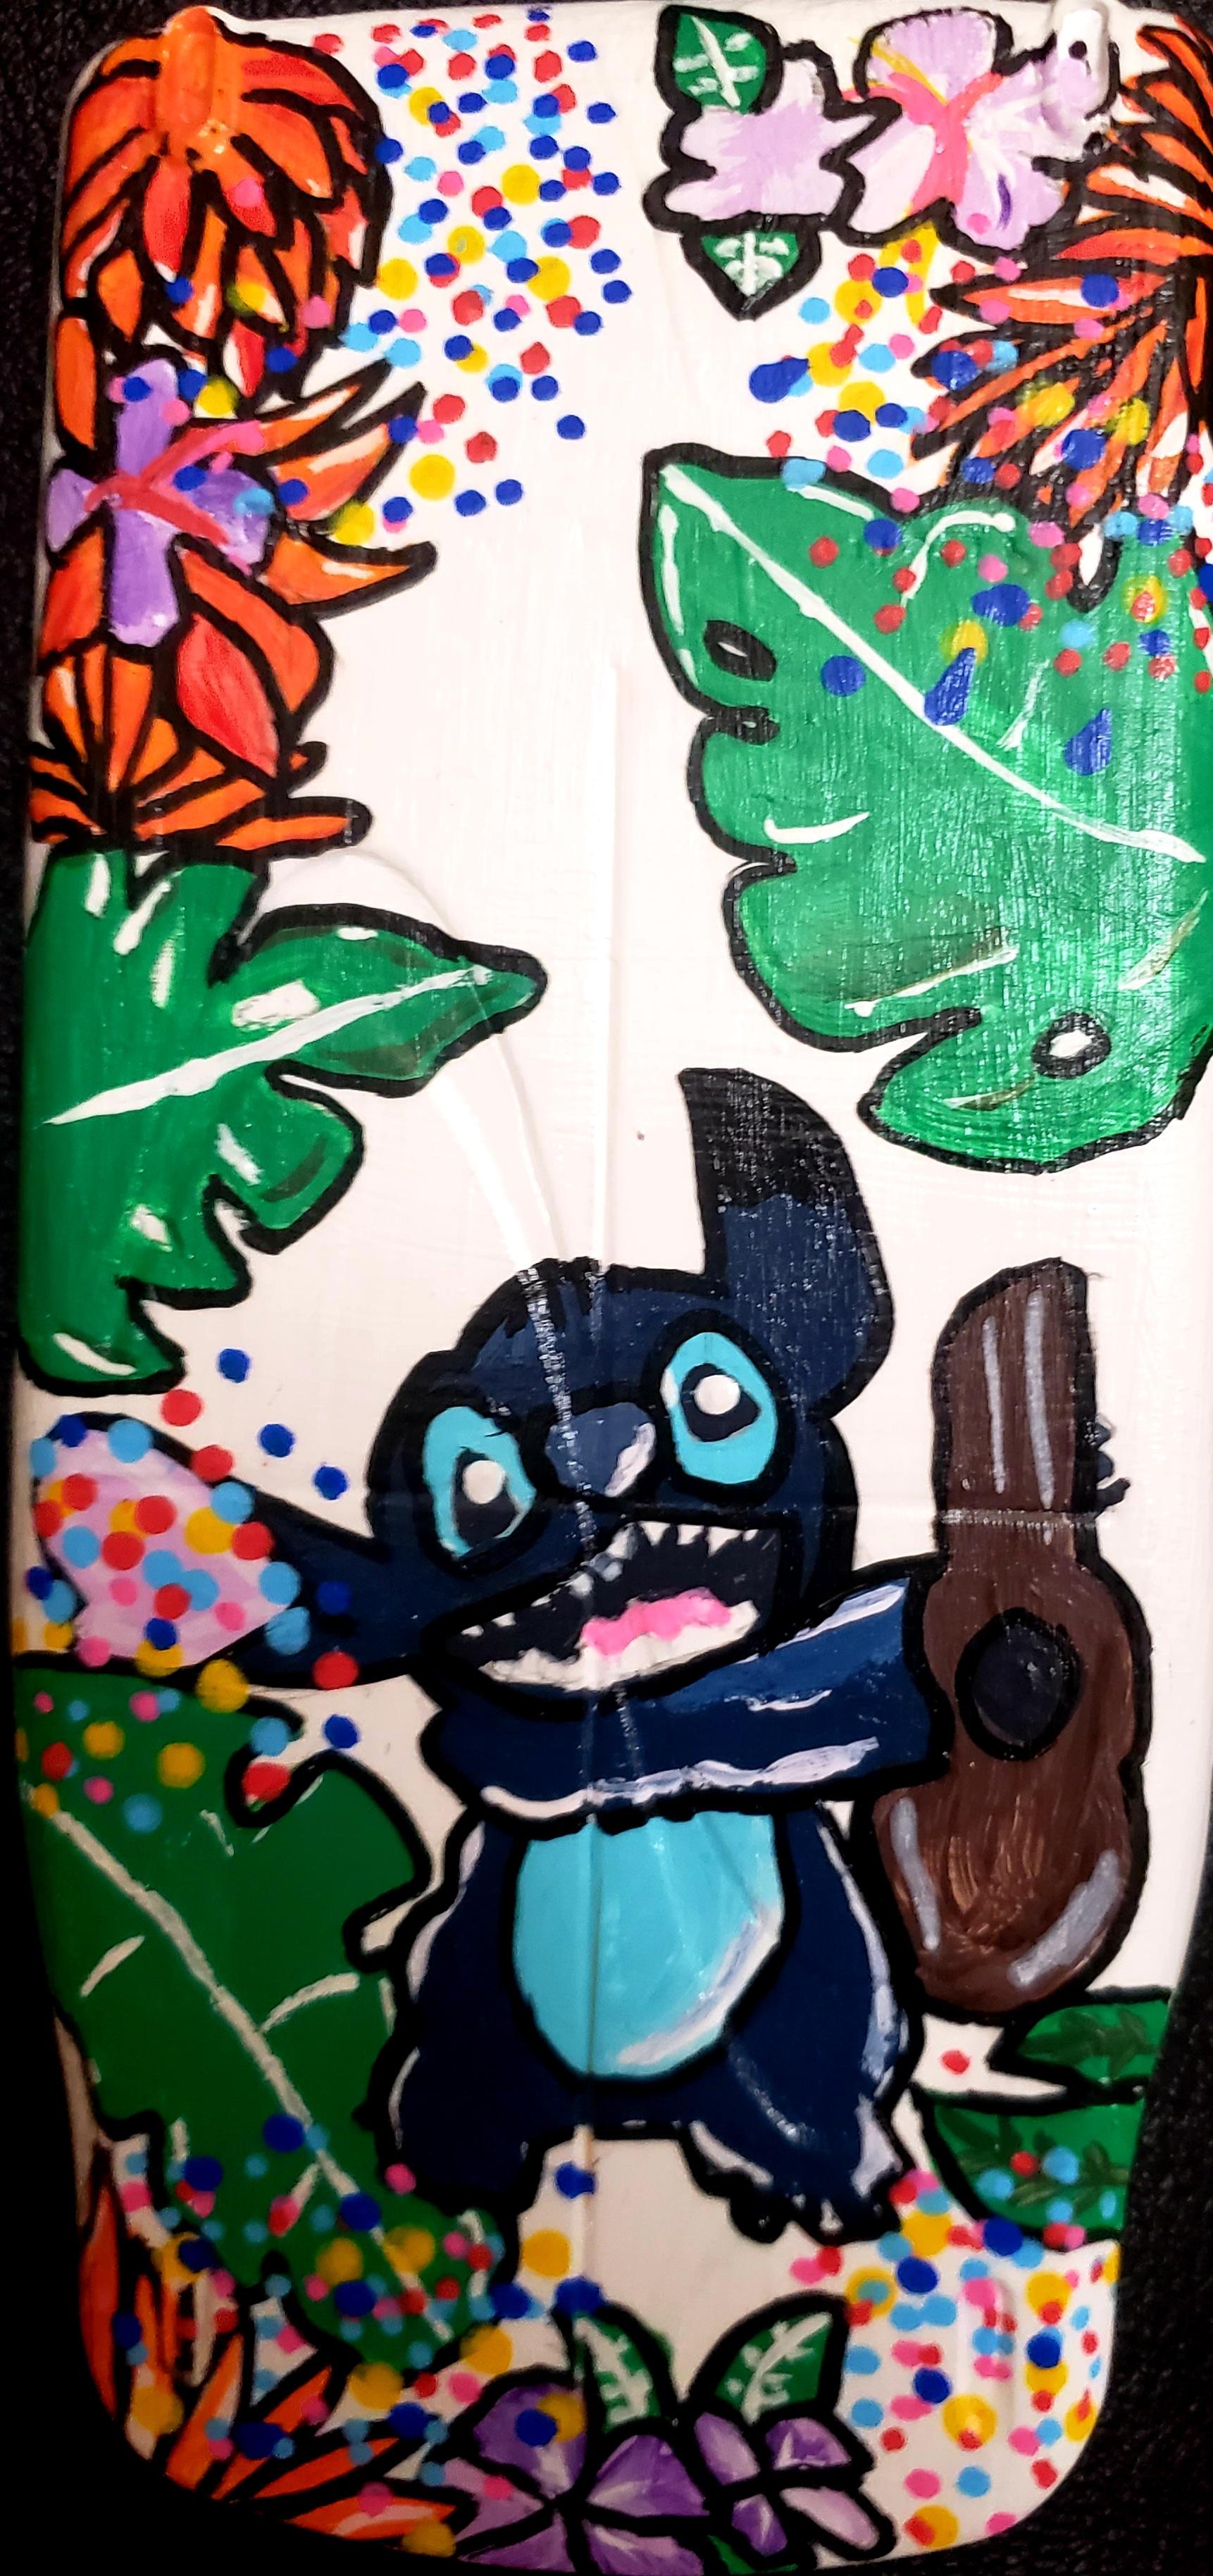
I used sky blue and made it even lighter by adding white and colored it for the eyes and the stomach. And I used ultramarine blue and I used it for the body. As you can see there is another shade of blue where i mixed the light blue and the ultramarine blue to create that color (this color was added for the nose, at the top of the head and a side of the hand) finally I added highlights- as in white stroke lines. Pink was used for the tongue. Then I made a darker shade of ultramarine blue+black for the mouth and the ear top, and nails (it blends in with the blue!). Finally I used a Posca Black marker to color the eyes (because it is much easier for me to work with than paint and a brush). Or you can always use black paint.
Adding Last Details
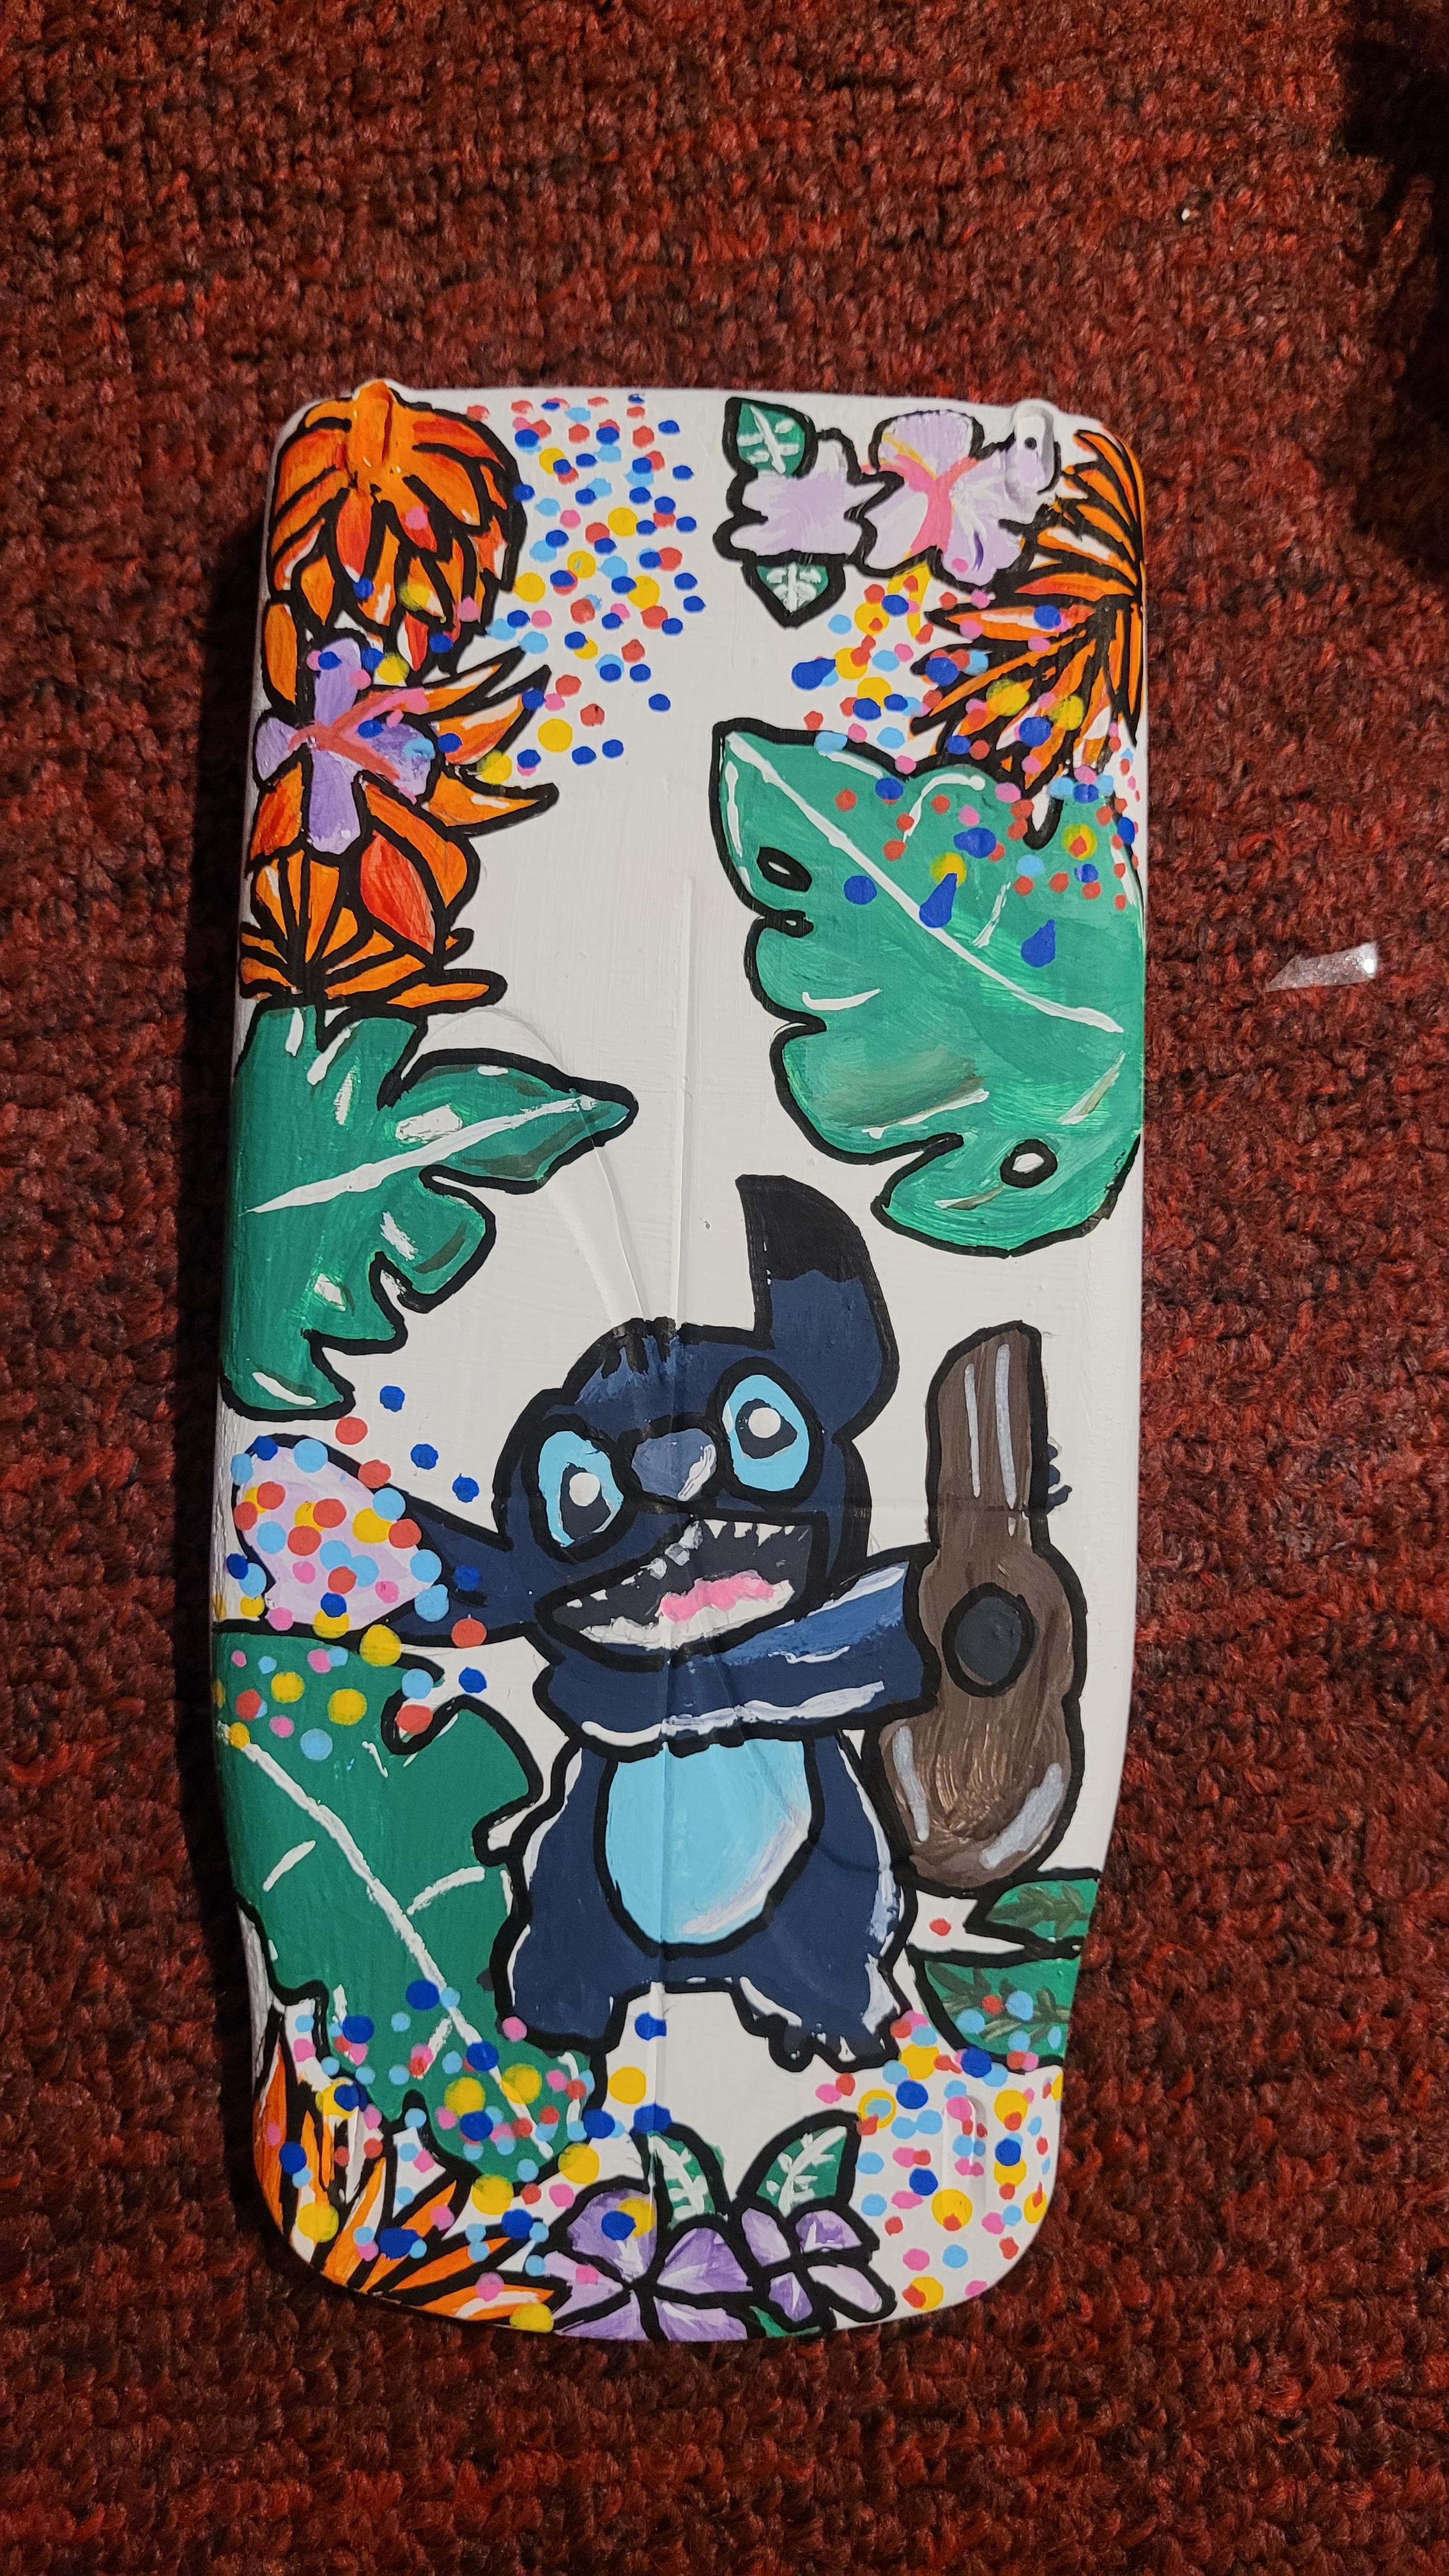
1. I painted the guitar using brown and added highlights using white (as well as for the string), and black for the circle.
2. I outlined each and every part with black posca or you can outline it using black paint, I did this because to emboss the painting.
3. I added dots because it felt pretty blank on some of the parts which make it look boring, after adding these dots made it look much prettier than before. THIS IS OPTIONAL!! :)
MODPODGE//VARNISH (similar)
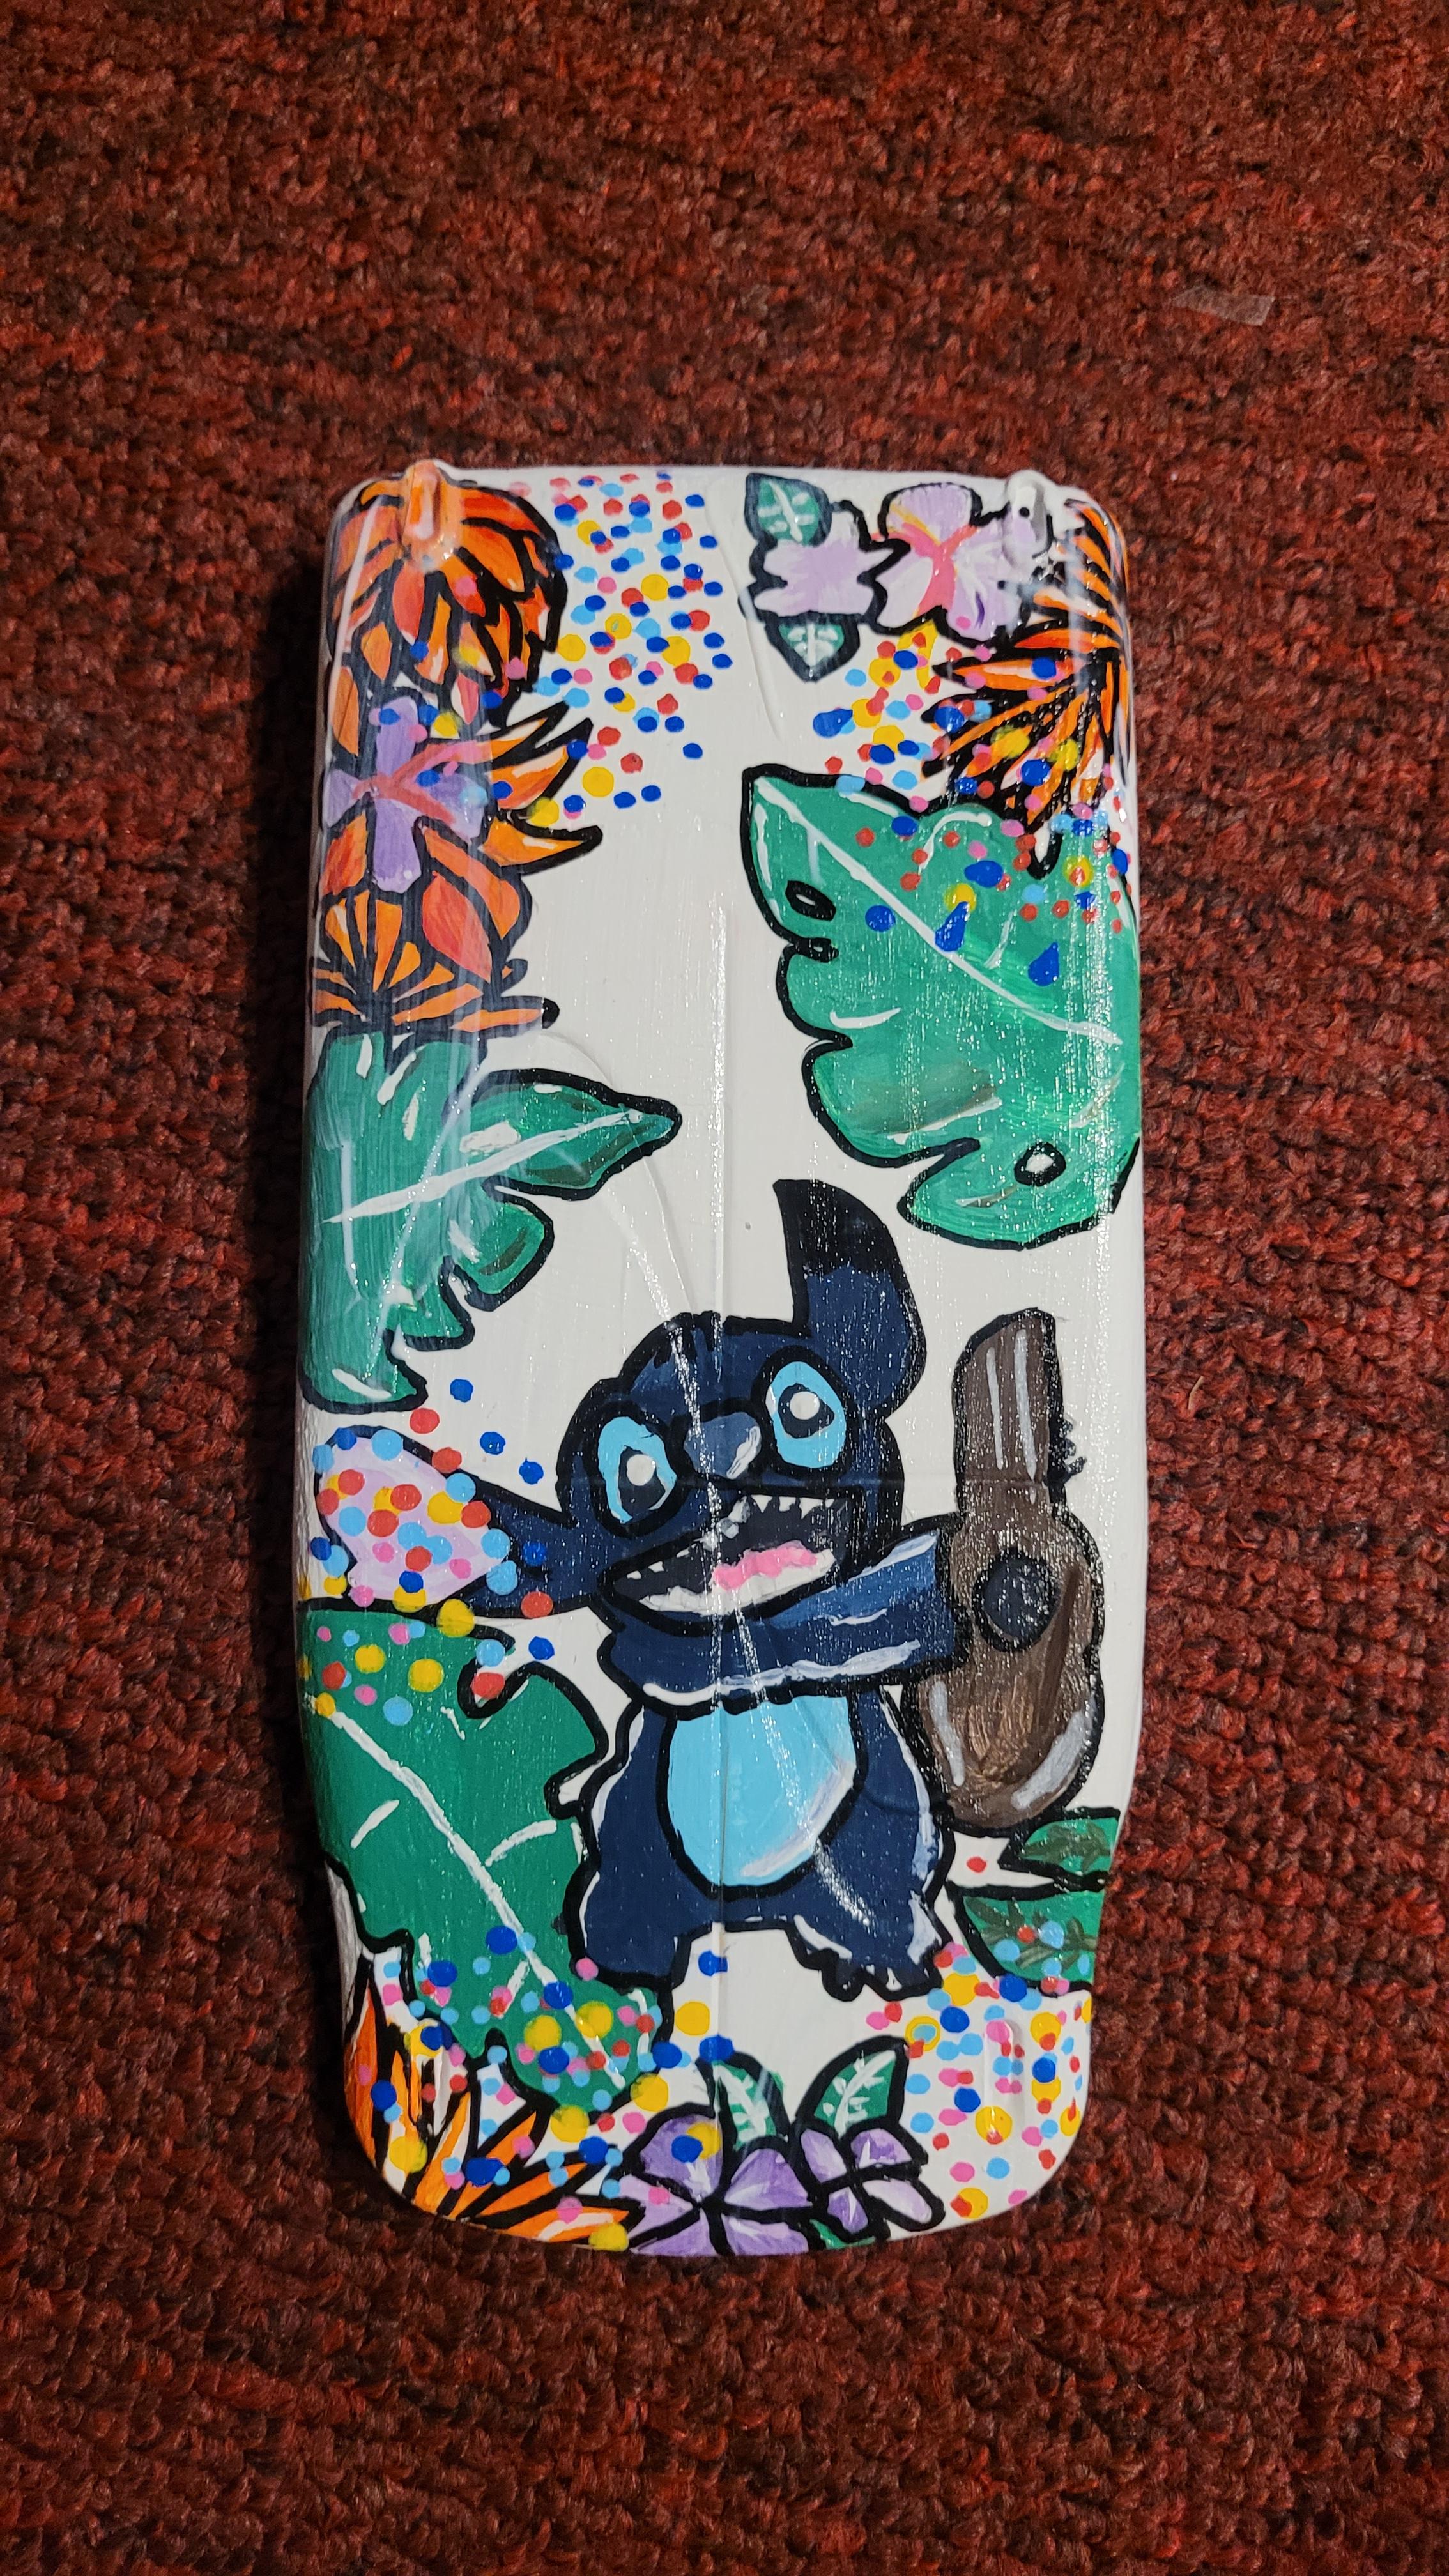
This step is also optional but, I added gloss modpodge for shiny and clean look. You do not have to do it, but modpodge is totally helpful and protects your work and doesn't easily let the paint peel off (unless if you want to :) )
Well that's it hope you try it soon!
untill then
PEACE OUT!