Still Life Sketching
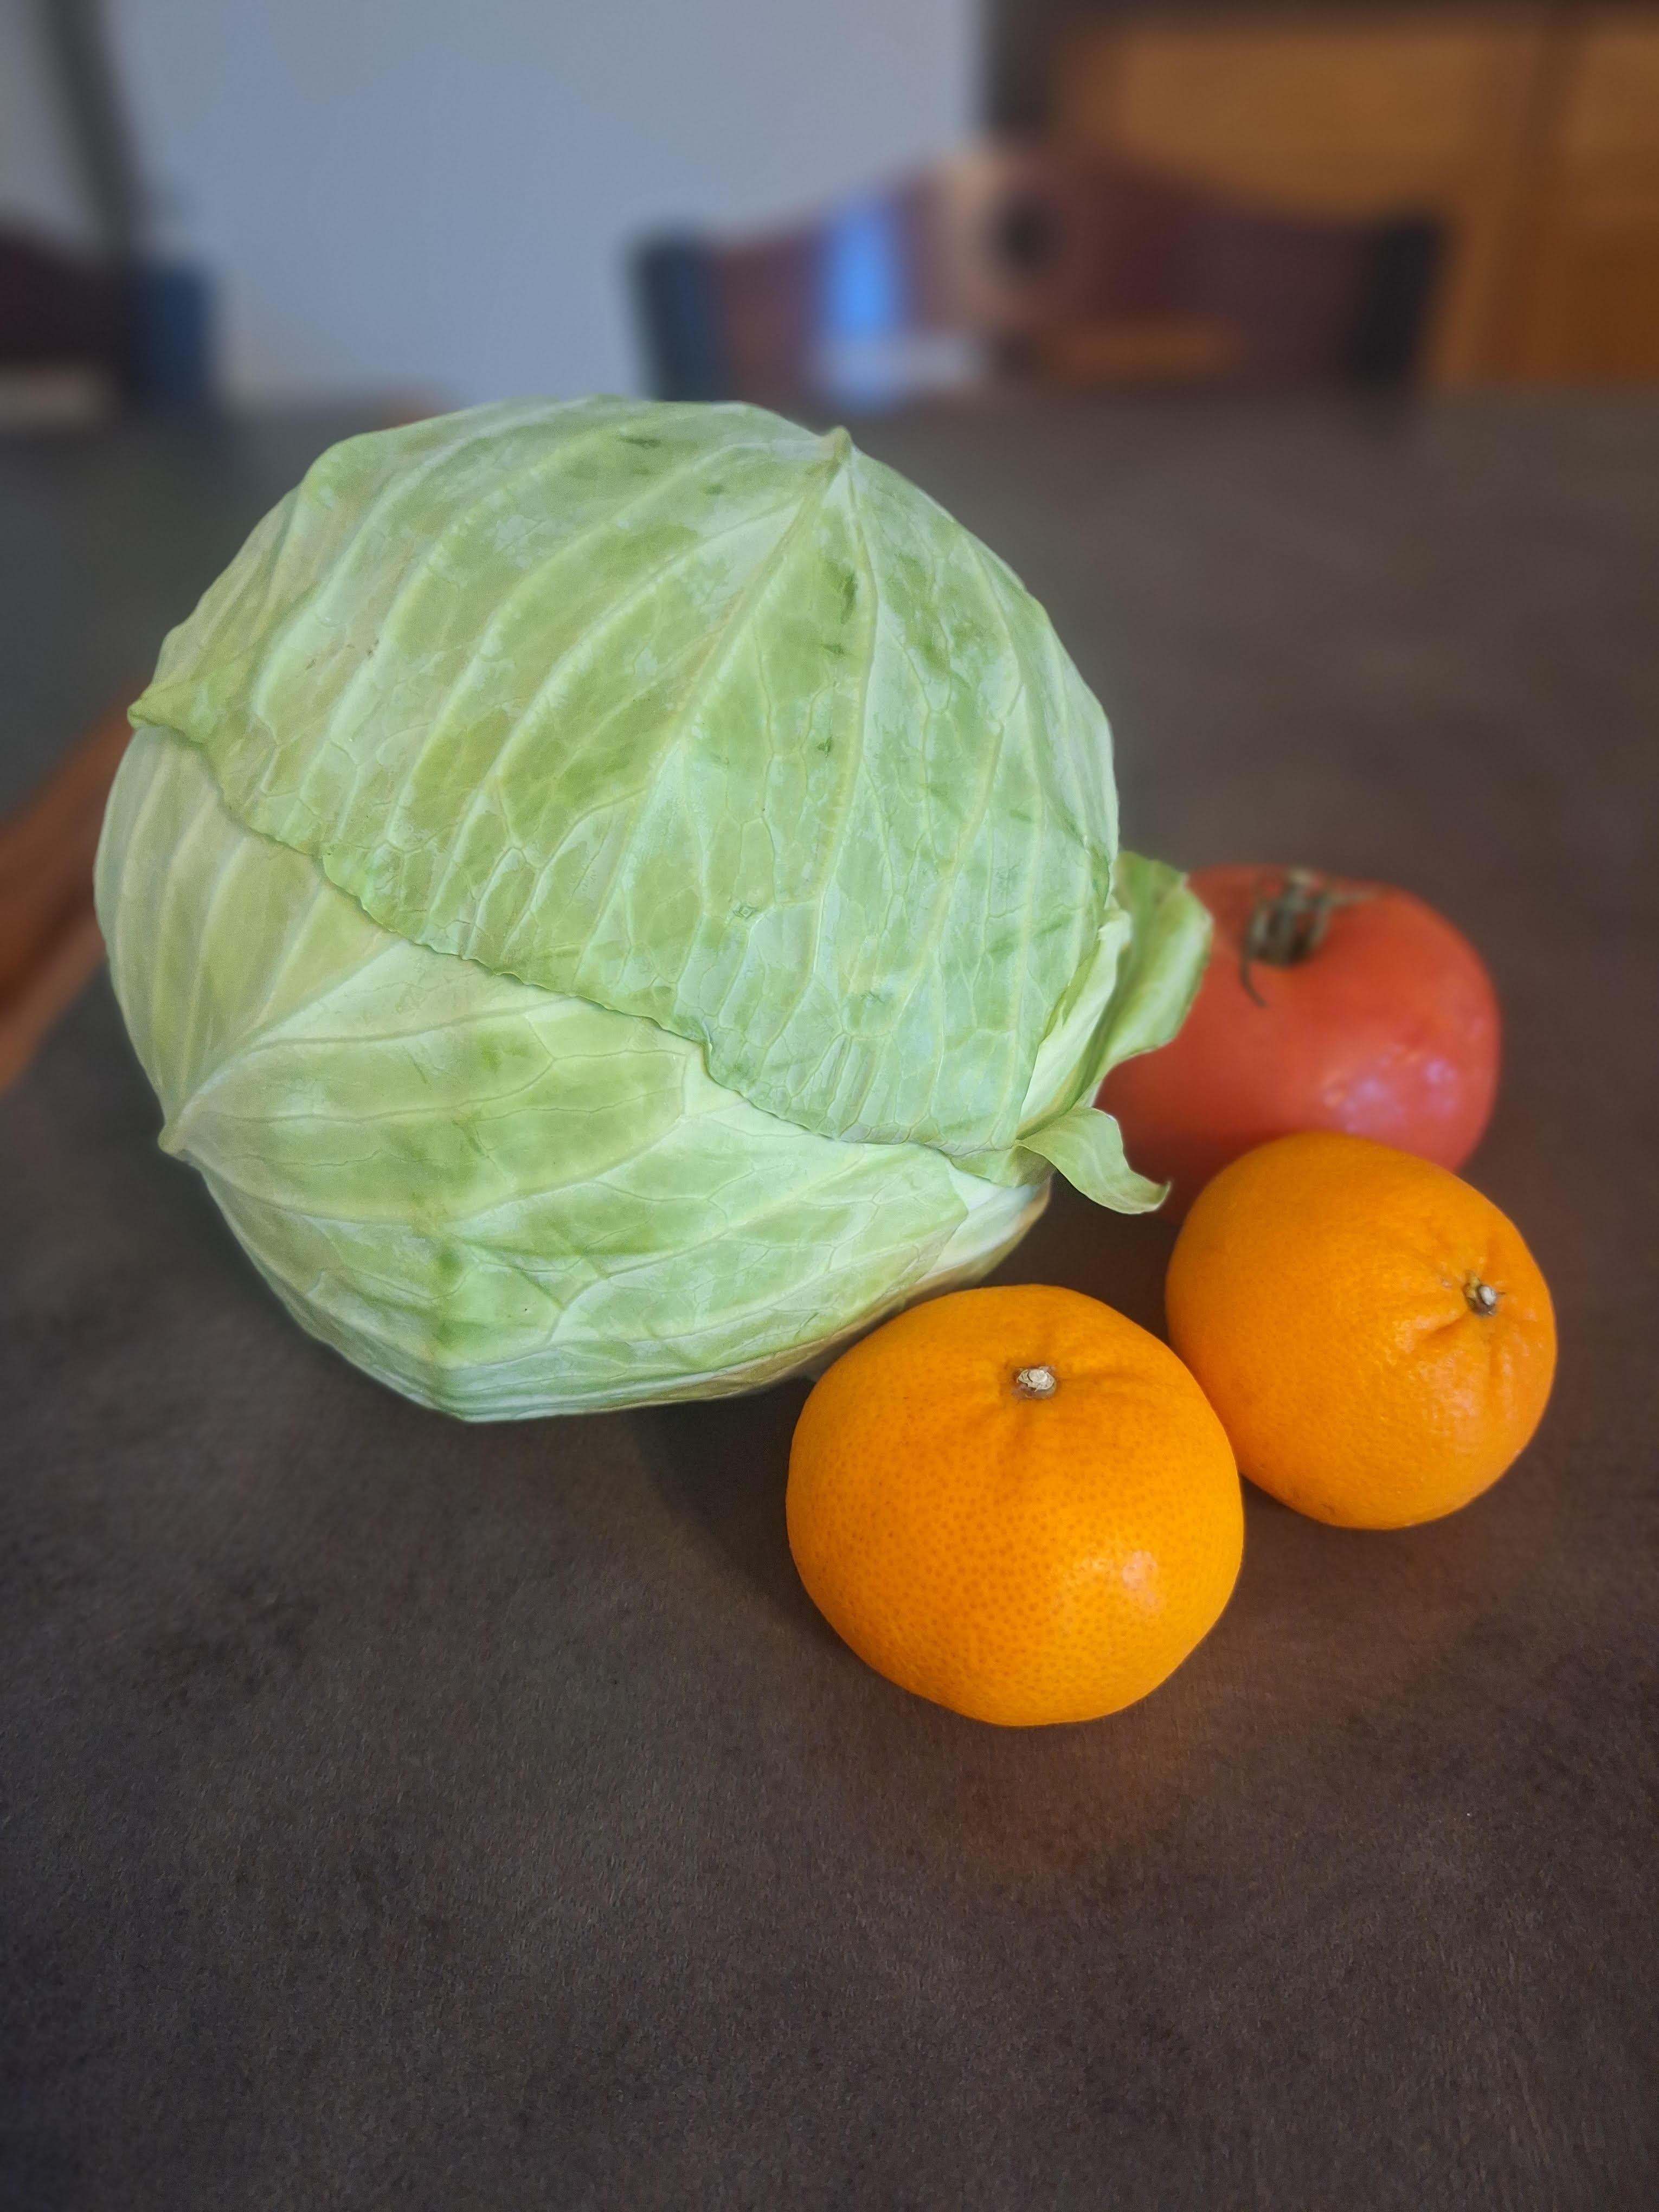
If you are looking to improve your drawing skills, I hope this tutorial will end up helping you. For my reference, I'll be using the image above taken in my dining area.
Supplies
To start us off we will be needing:
- Pencil
- Eraser
- Soft tissue
Tracing the Major Shapes
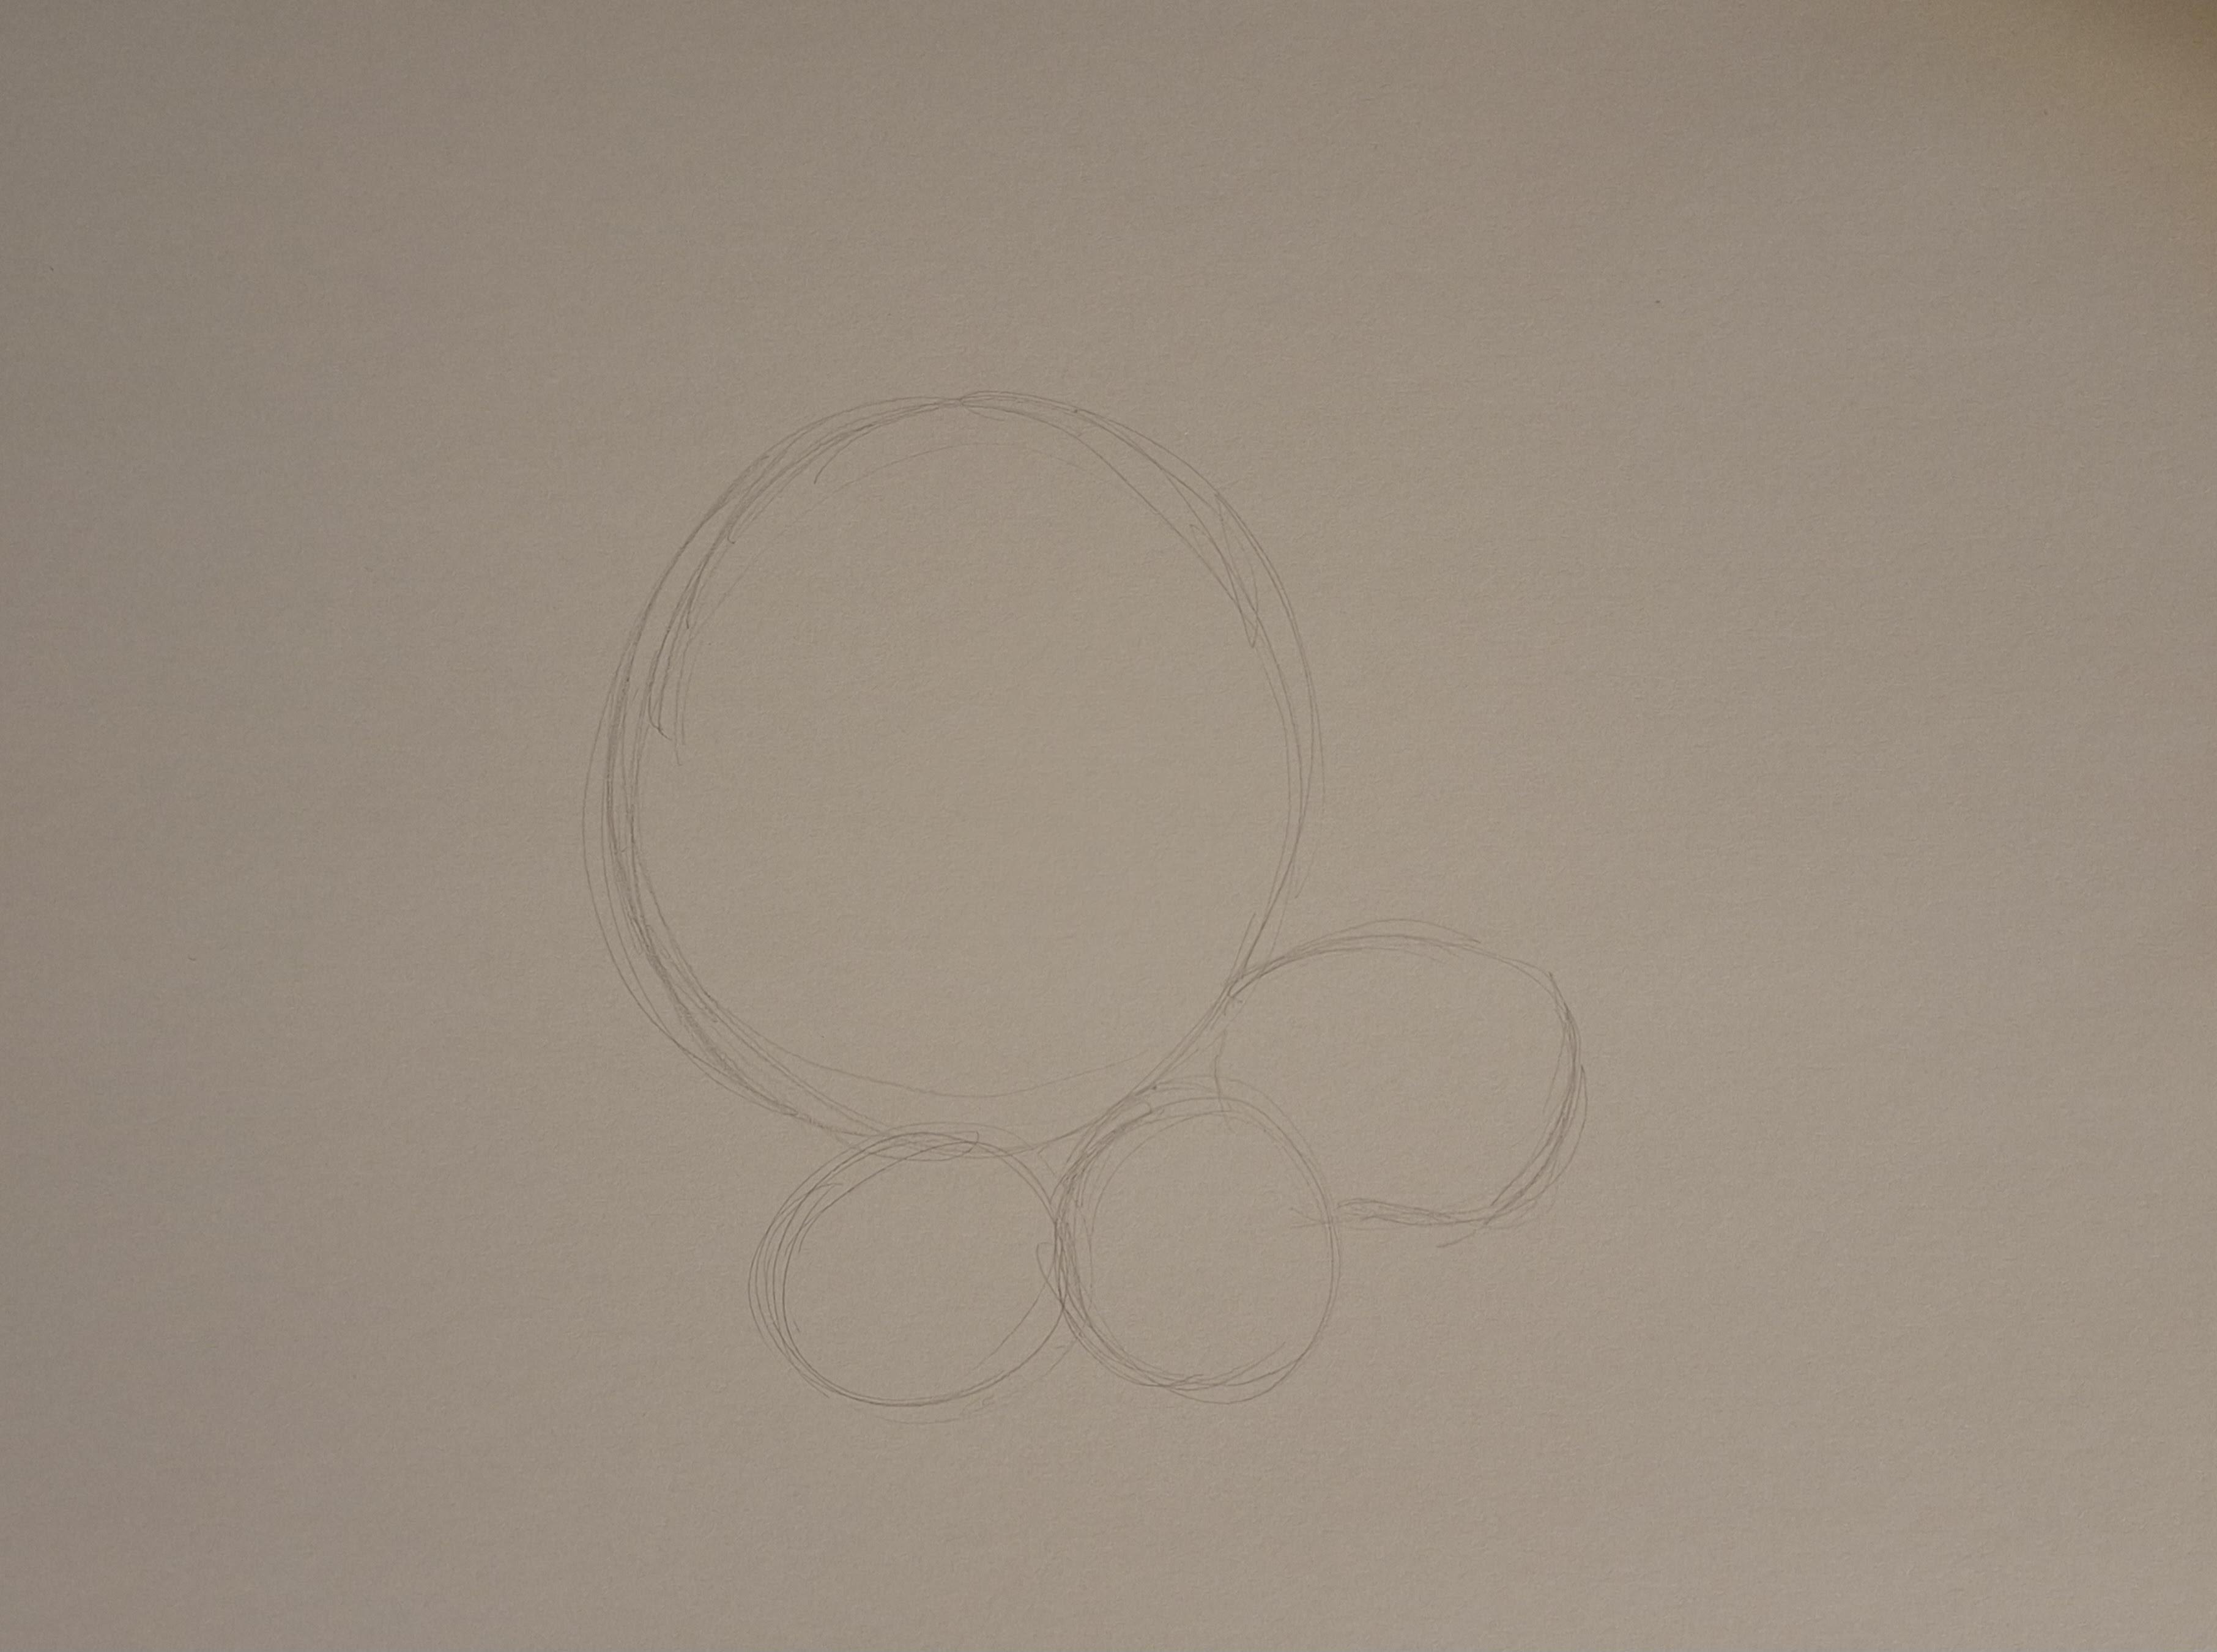
Sketch out the main shapes found in your reference. In this case, I'll be sketching out the circles found in the reference. It's crucial to make your lines as light as possible, so the drawer can make any changes to the shapes later in the drawing.
Shade Lightly
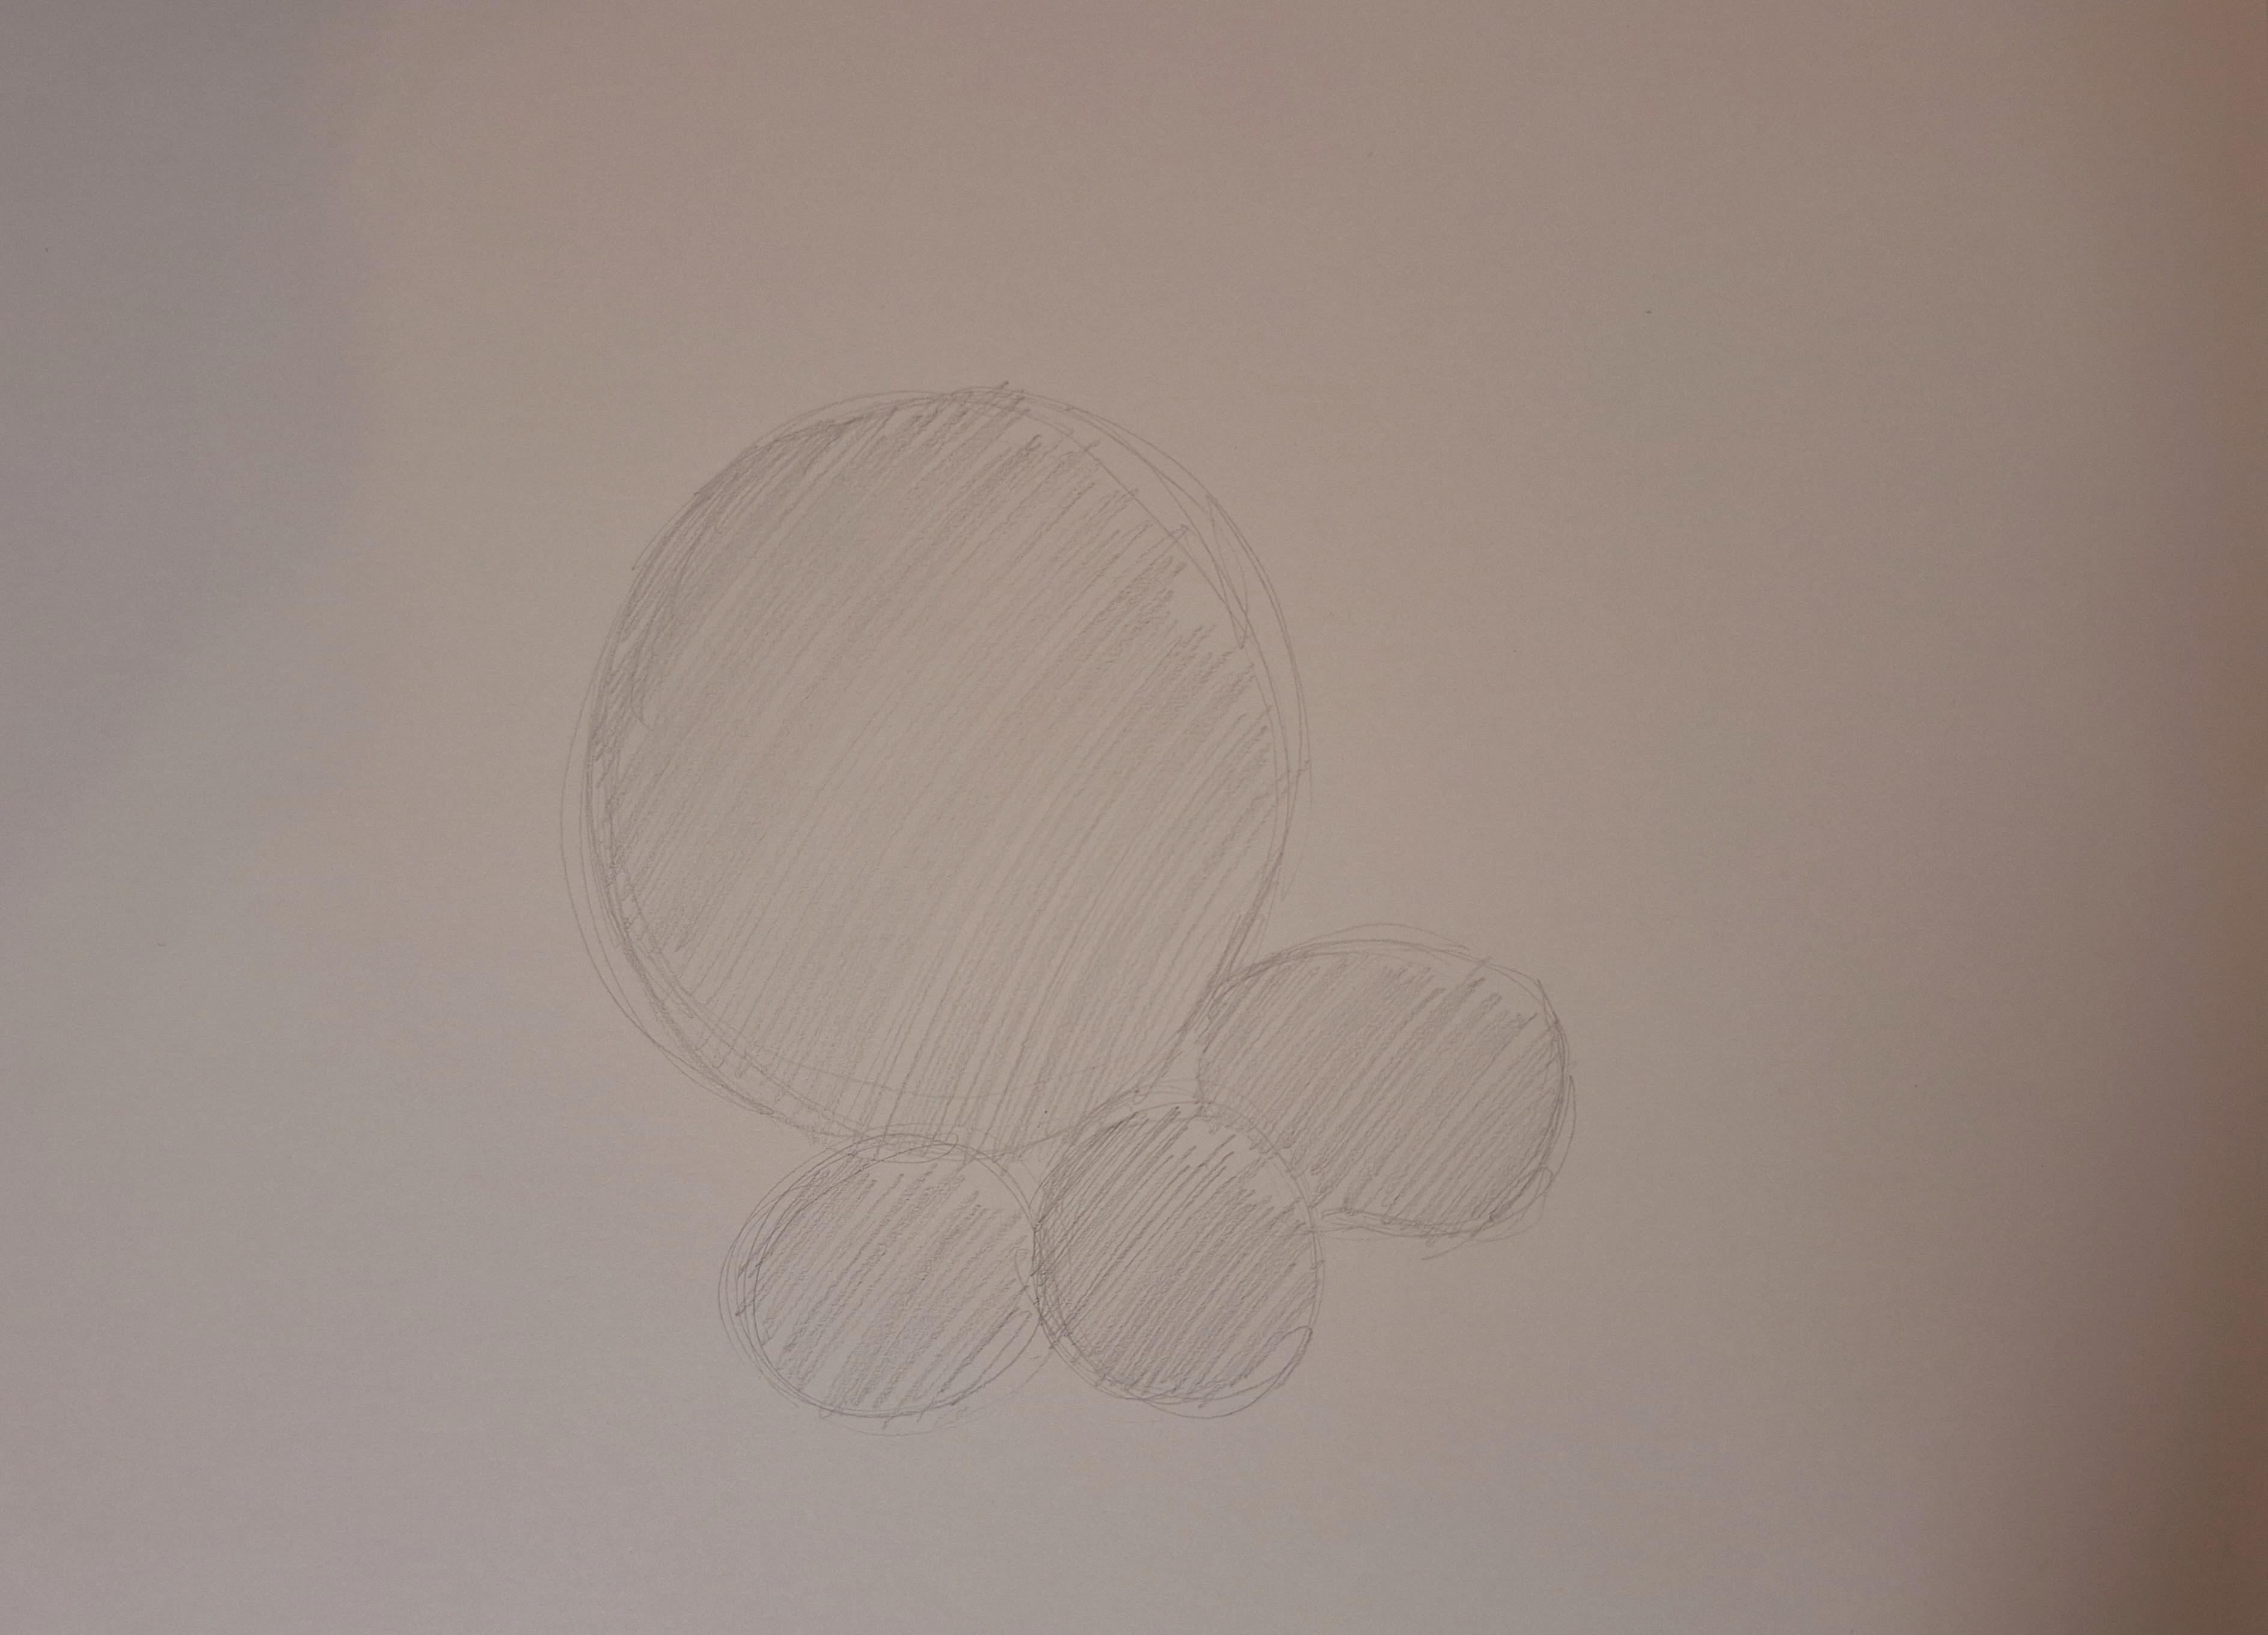
Shade lightly in the areas where you created your shapes. After shading in the areas, use a tissue paper to smudge out the lines to the point where the lines aren't entirely noticeable.
Making the Shapes More Detailed
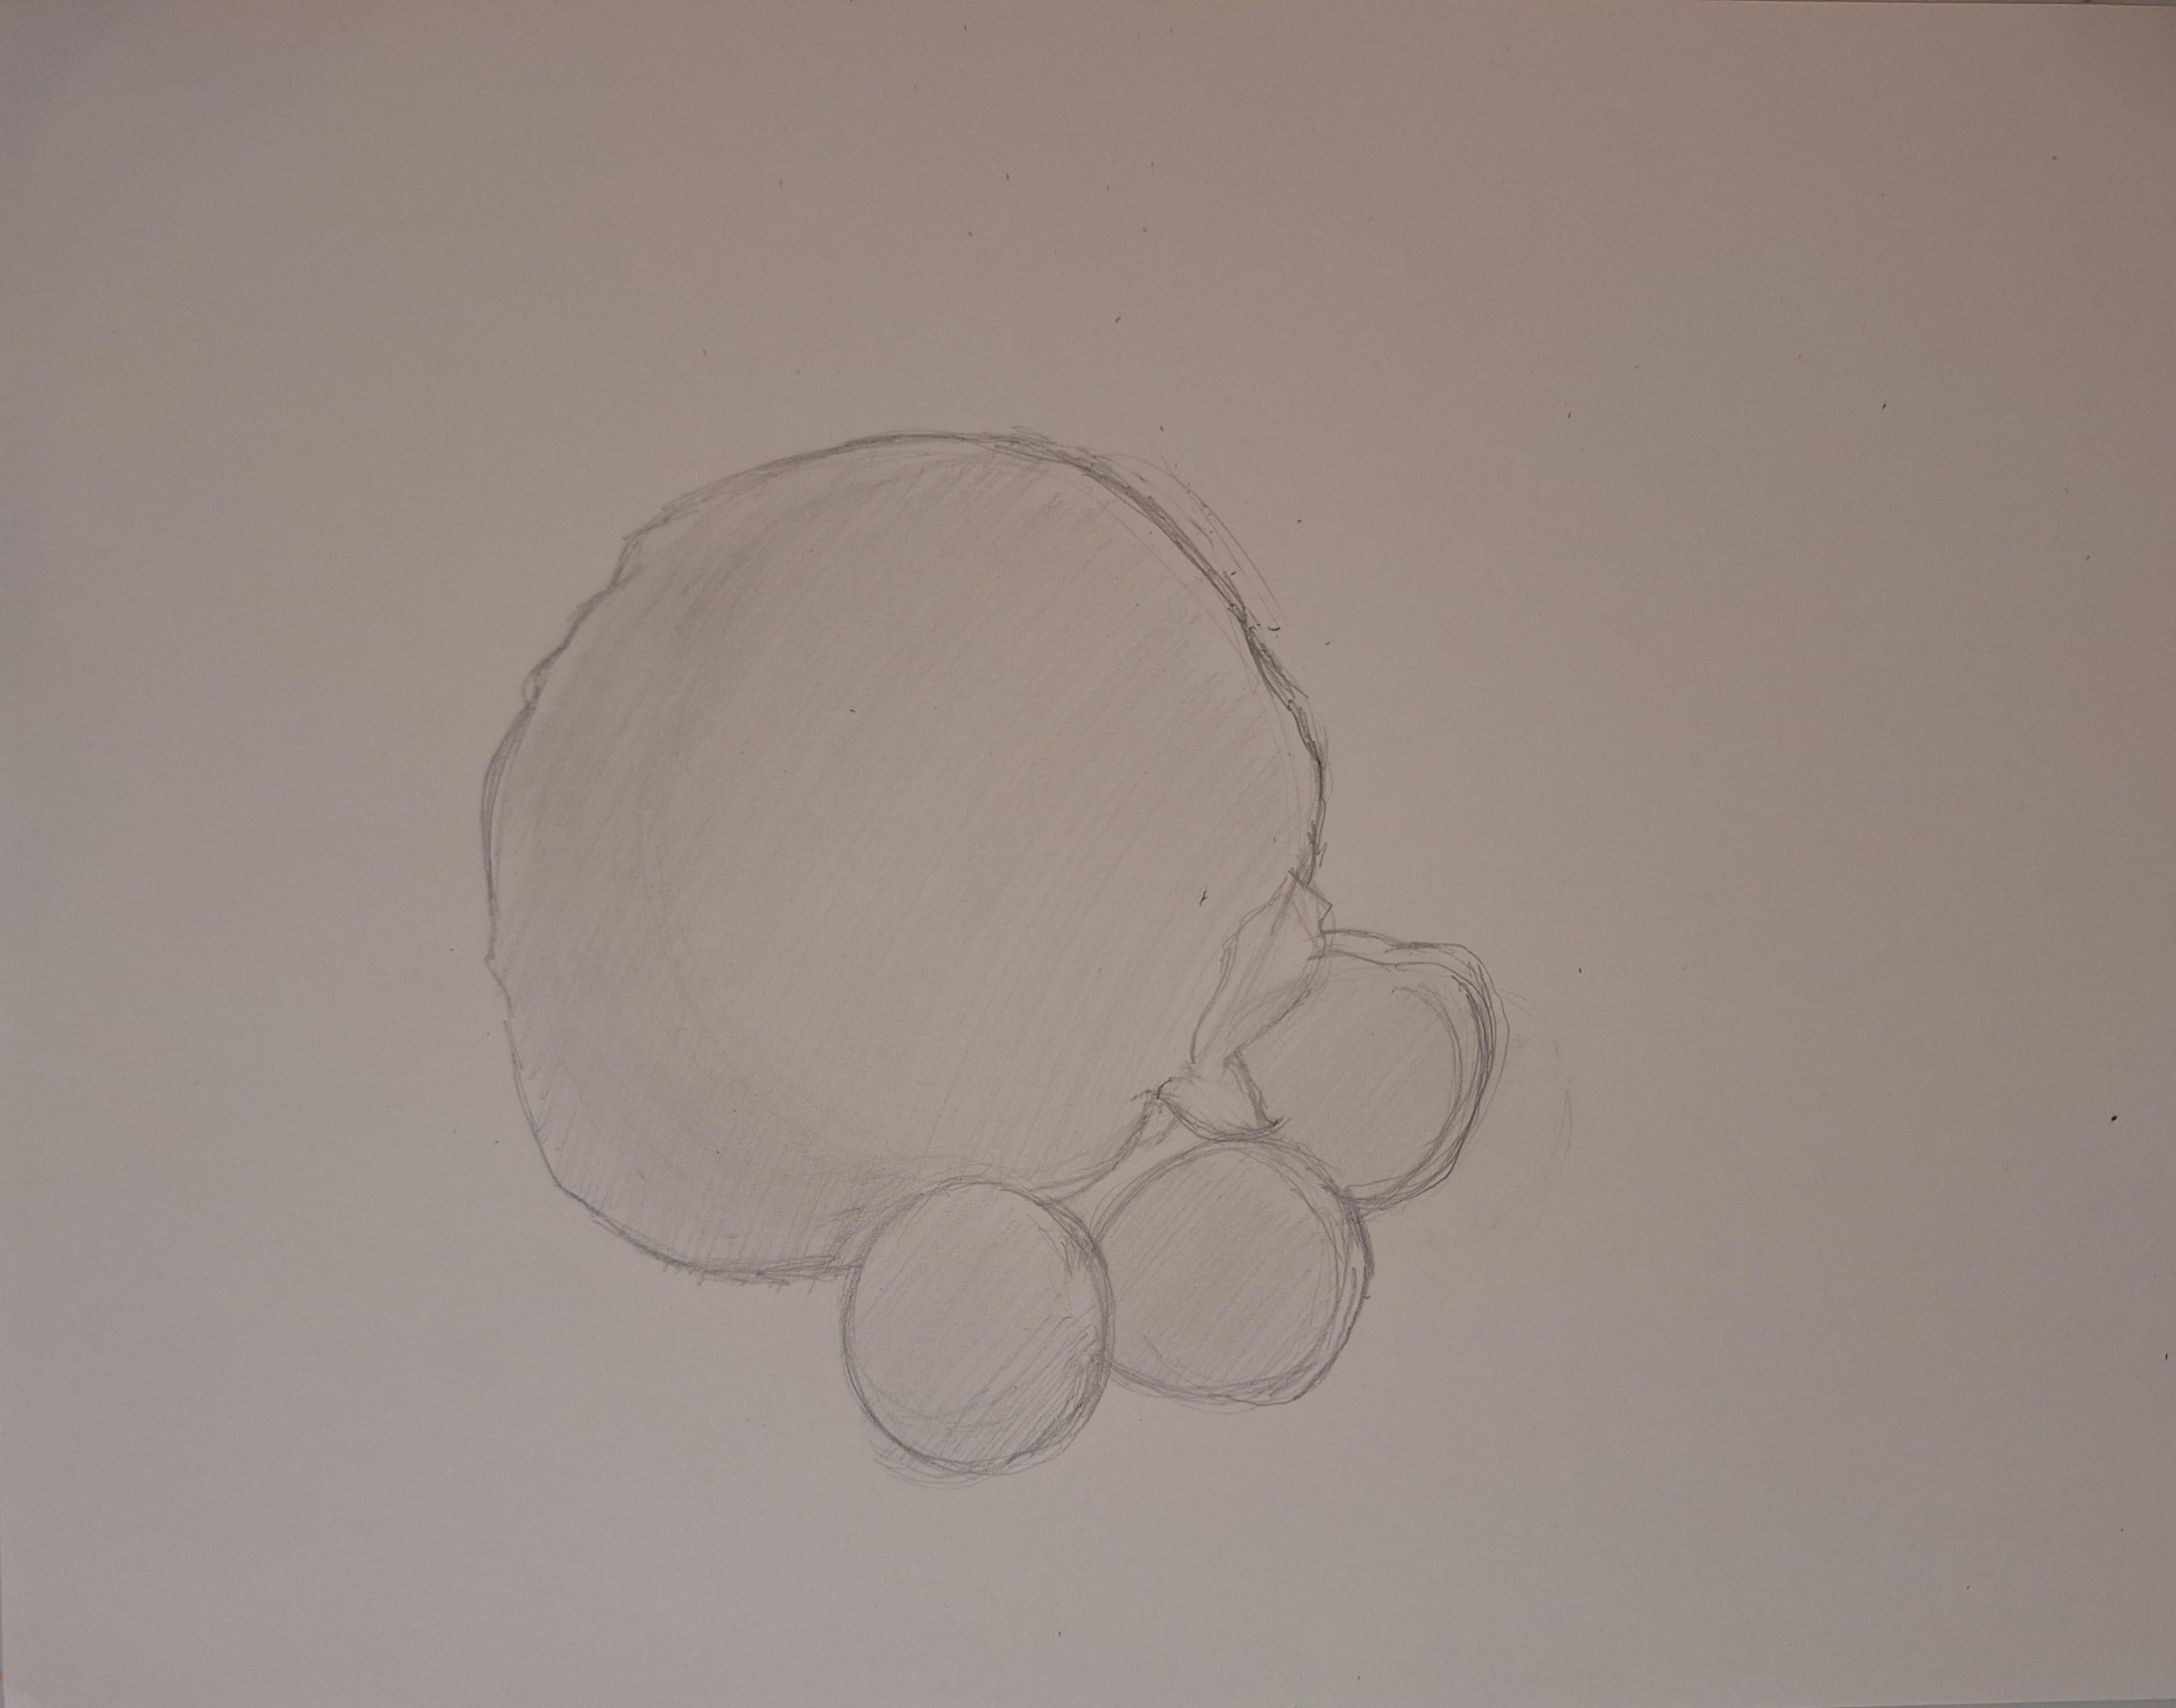
Alter the shapes you have by adding in more details such as curves and bumps. While altering the shapes make note of the distance and the size between the subjects. In addition, to completing this step the drawer can make the overall lines of the shapes darker than before. This technique will assist the drawer when it comes to adding shadows later in the drawing
Building on Darker Values
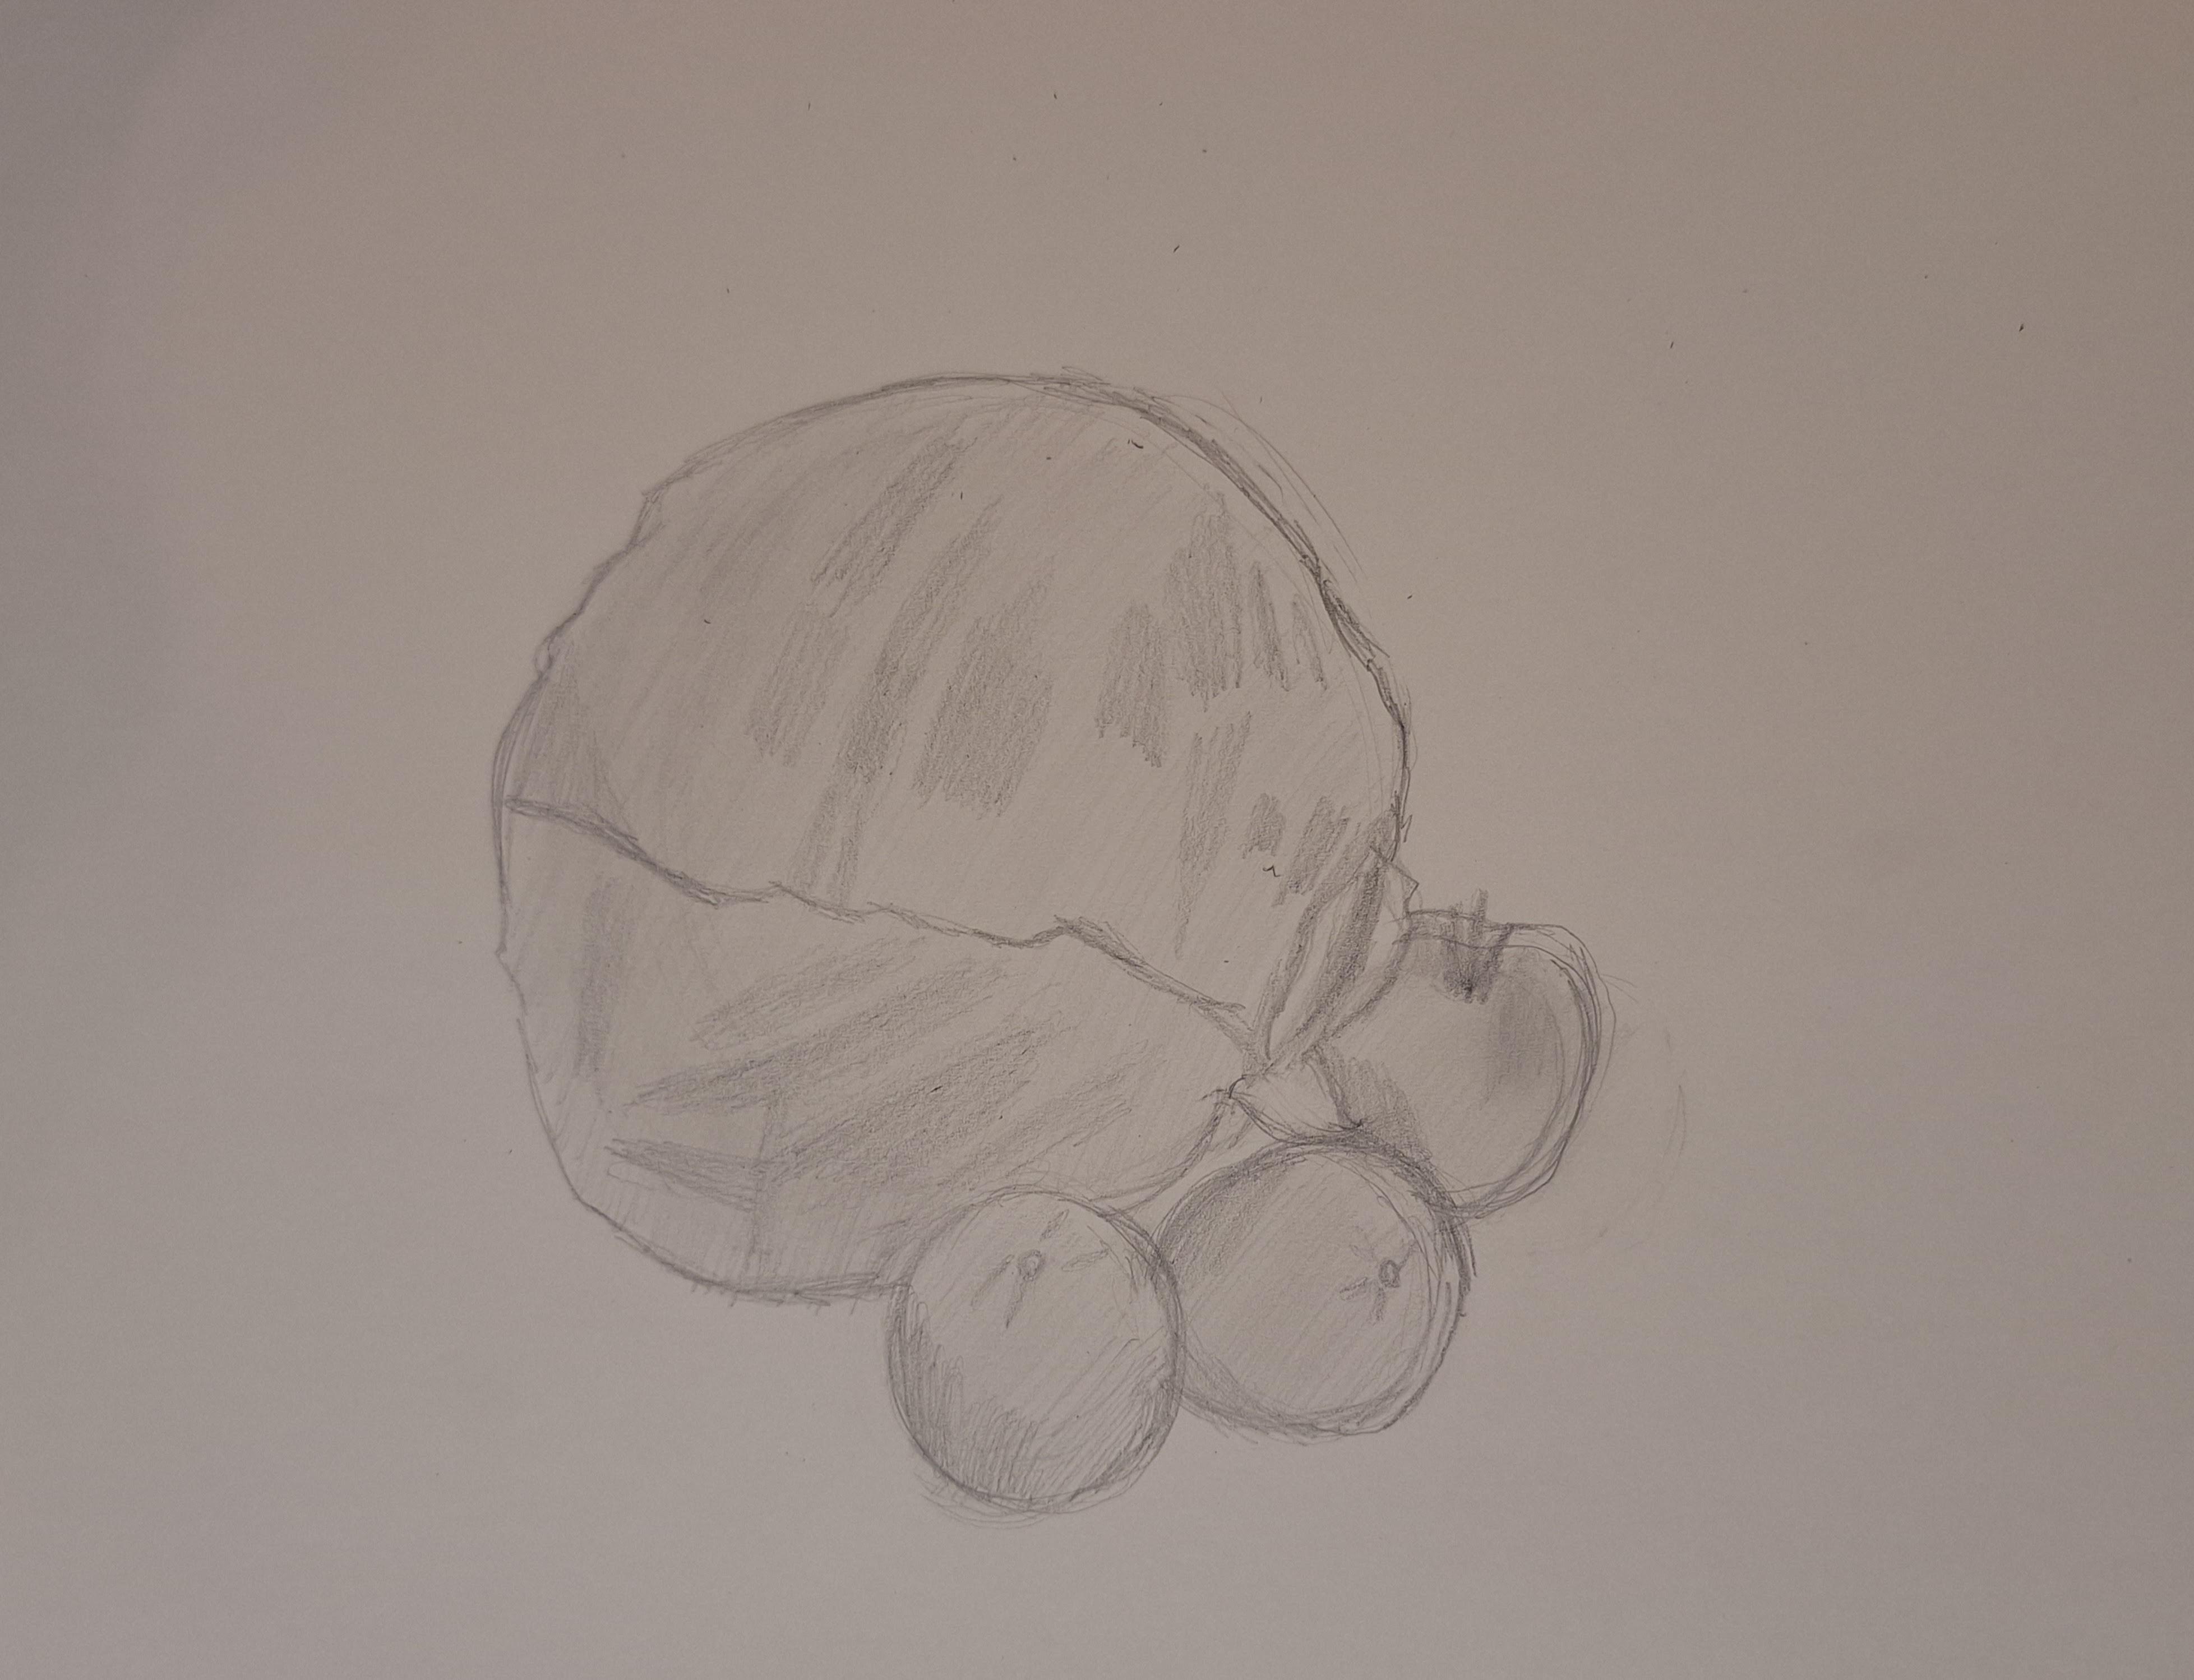
Add on the sketch by building out your darker values. Notice where the darker spots appear in your subject and sketch those out in your drawing by utilizing a transition between light shading and dark shading.
Adding Shadows
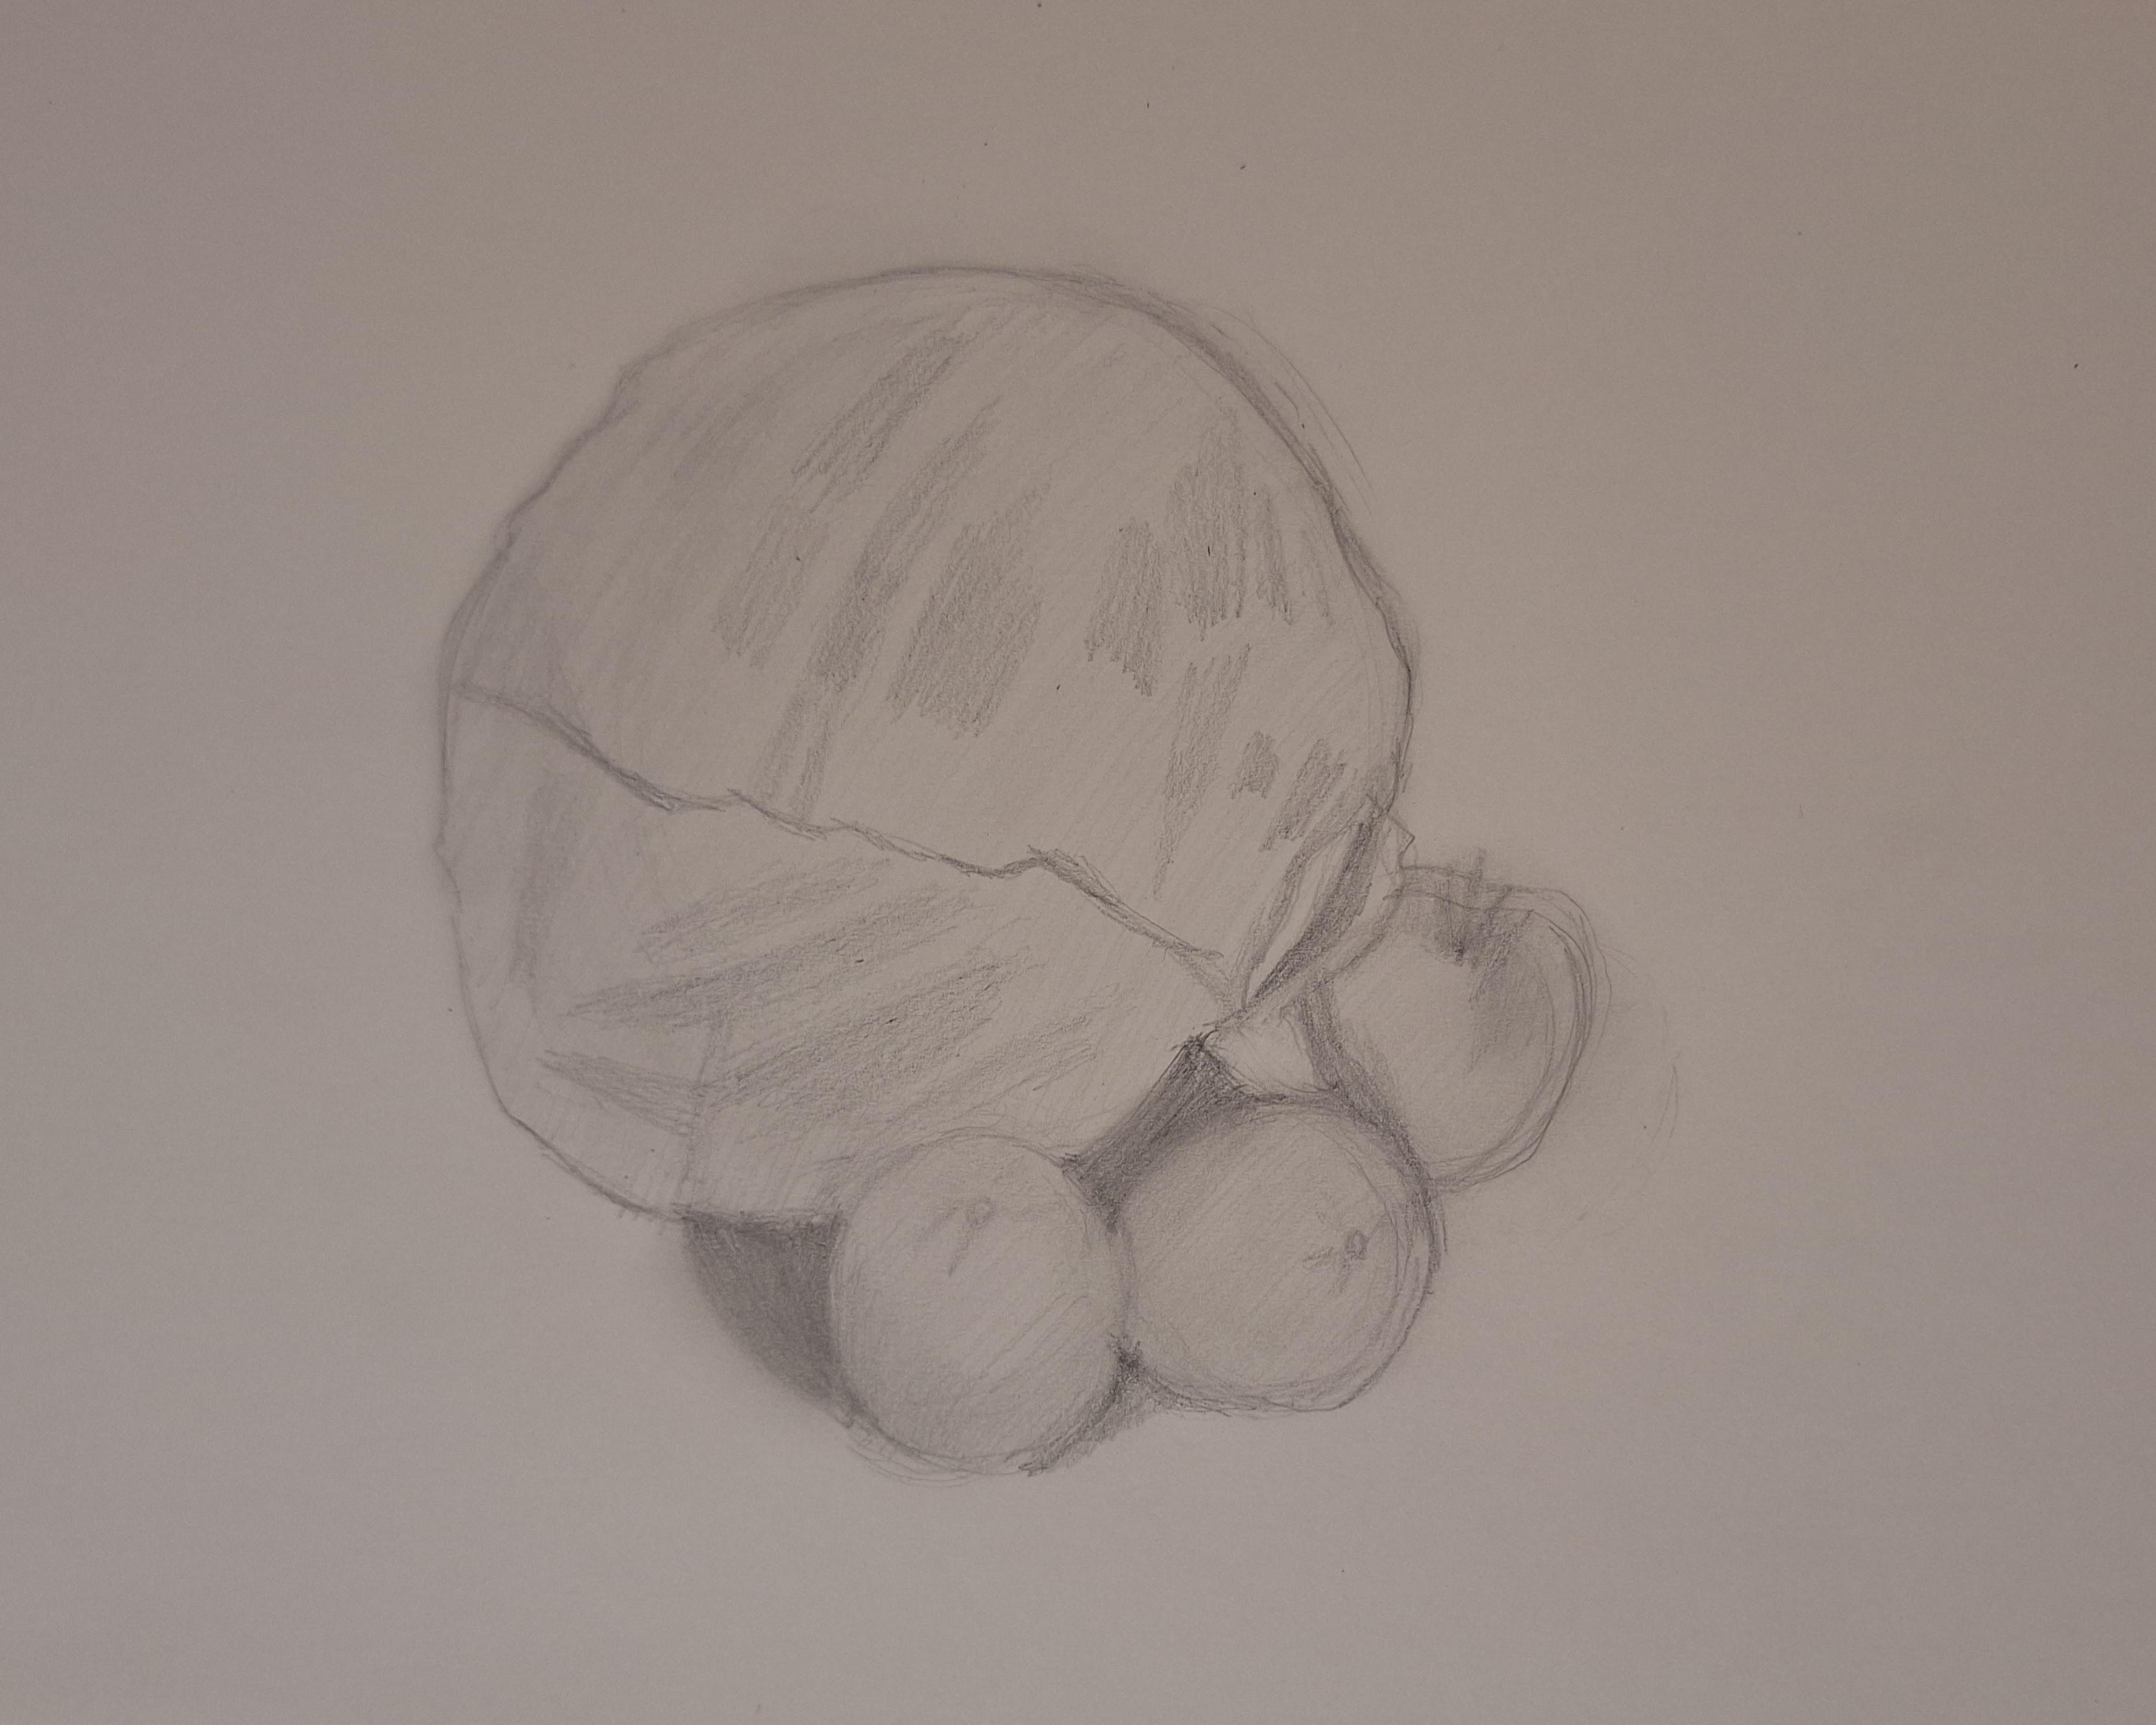
Place out the shadows in your sketch. It's important to note that shadows oftentimes tend to be darker than the values placed within the subjects.
Defining Borders Between Subjects
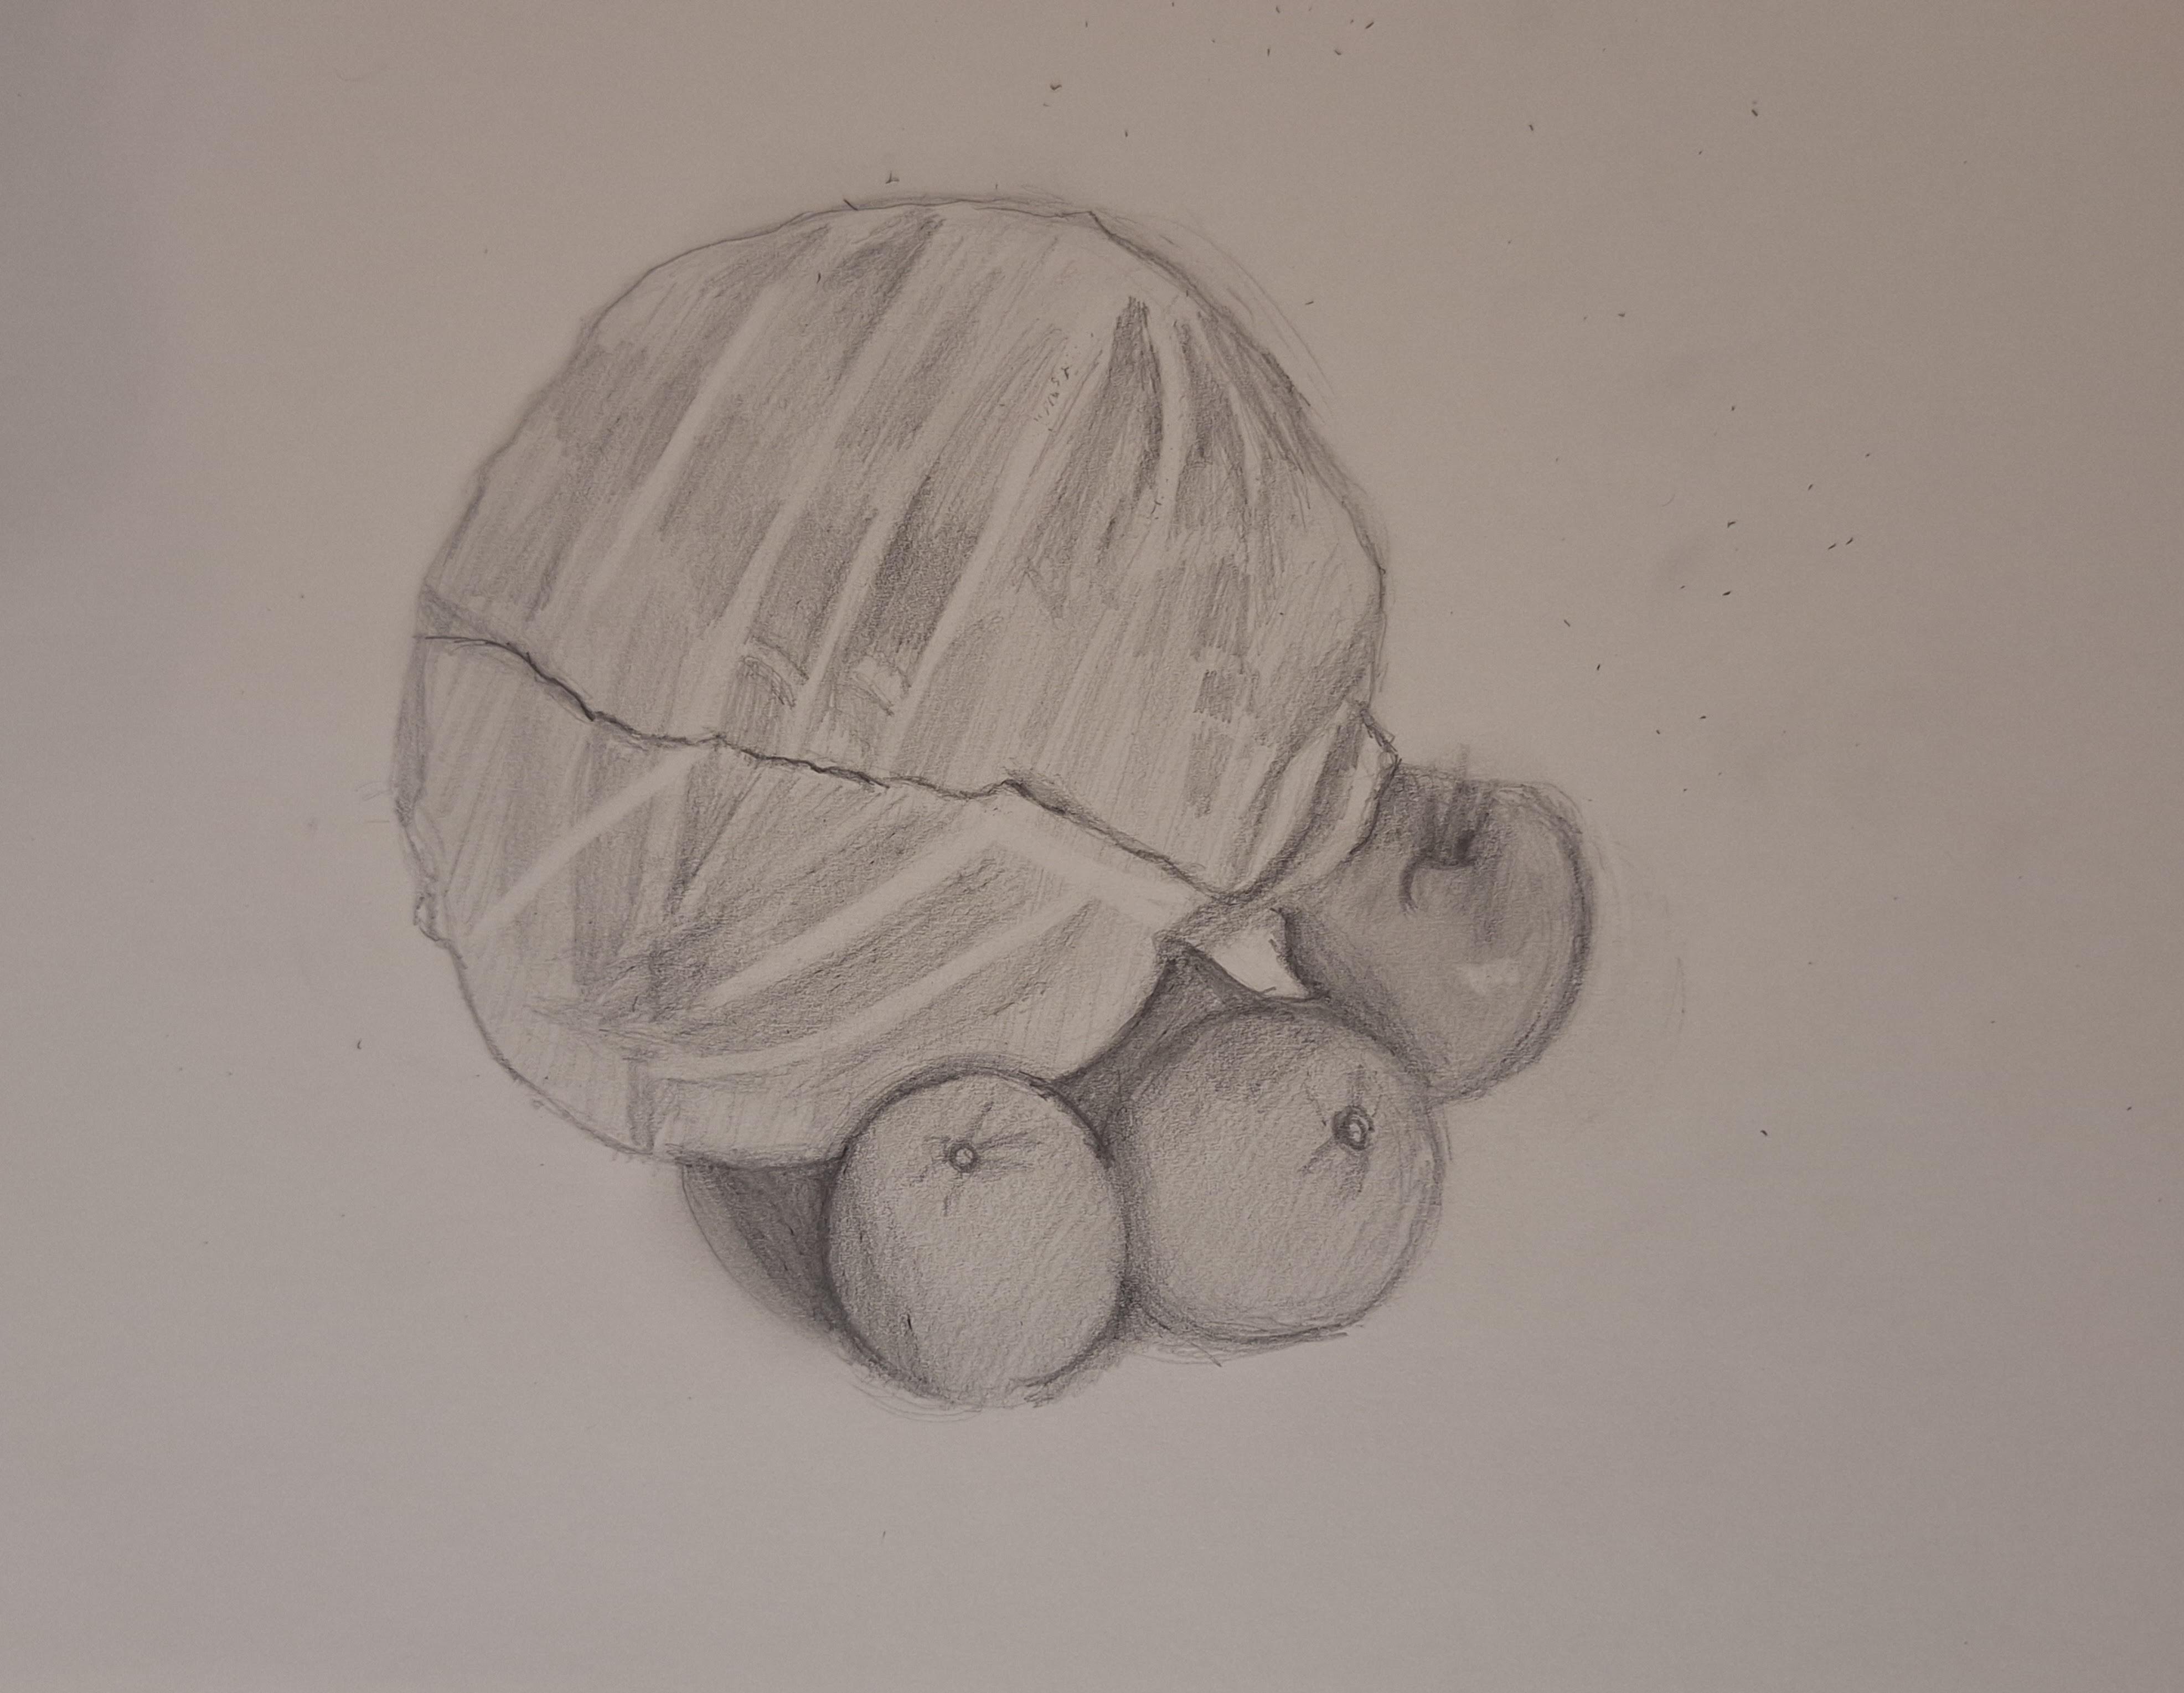
Adjust the borders in your sketch. Add in darker lines to the edges of each subject. It's best to add in bolder lines in areas where the subject meets the shadow, so your drawing could look more precise. Smooth out the drawing once more by using a tissue paper to go over the edges. Additionally, you can start adding in minor details in this step.
Placing Highlights
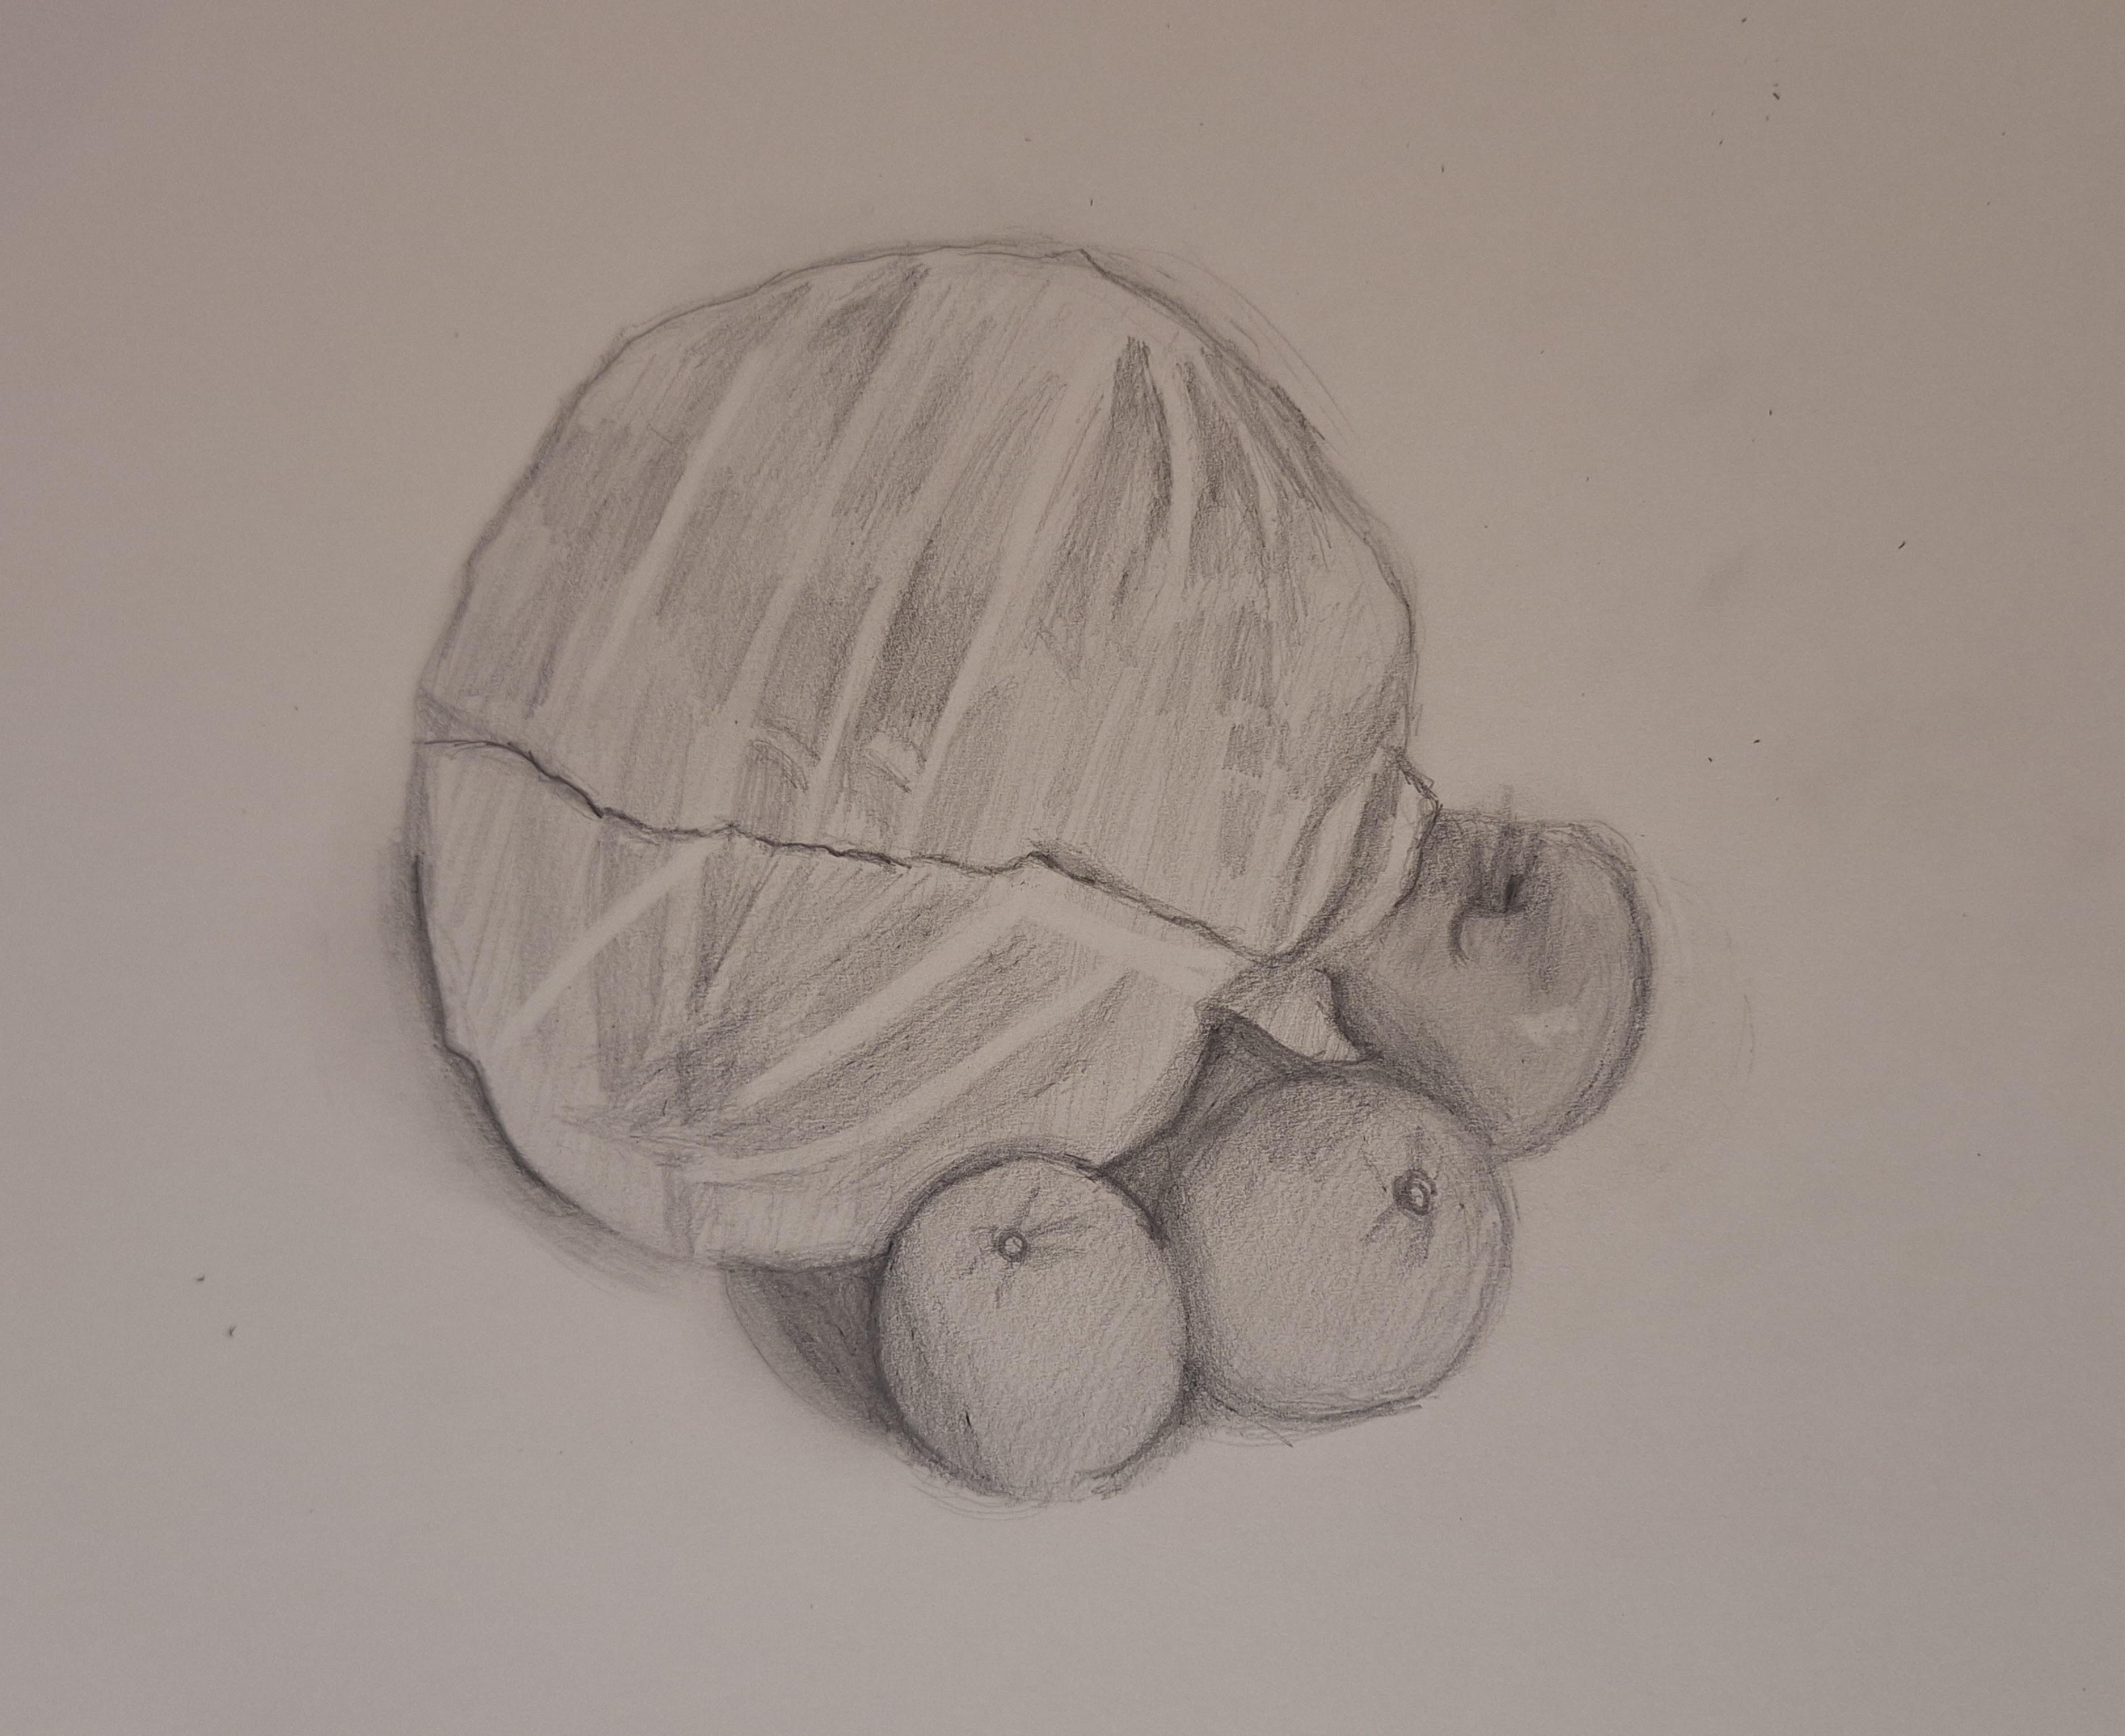
Erase out the areas where you feel like your reference has the lightest points.