StickyCam: an Infrastructure-Free Surveillance Camera
by strohrbaugh in Circuits > Raspberry Pi
1659 Views, 22 Favorites, 0 Comments
StickyCam: an Infrastructure-Free Surveillance Camera
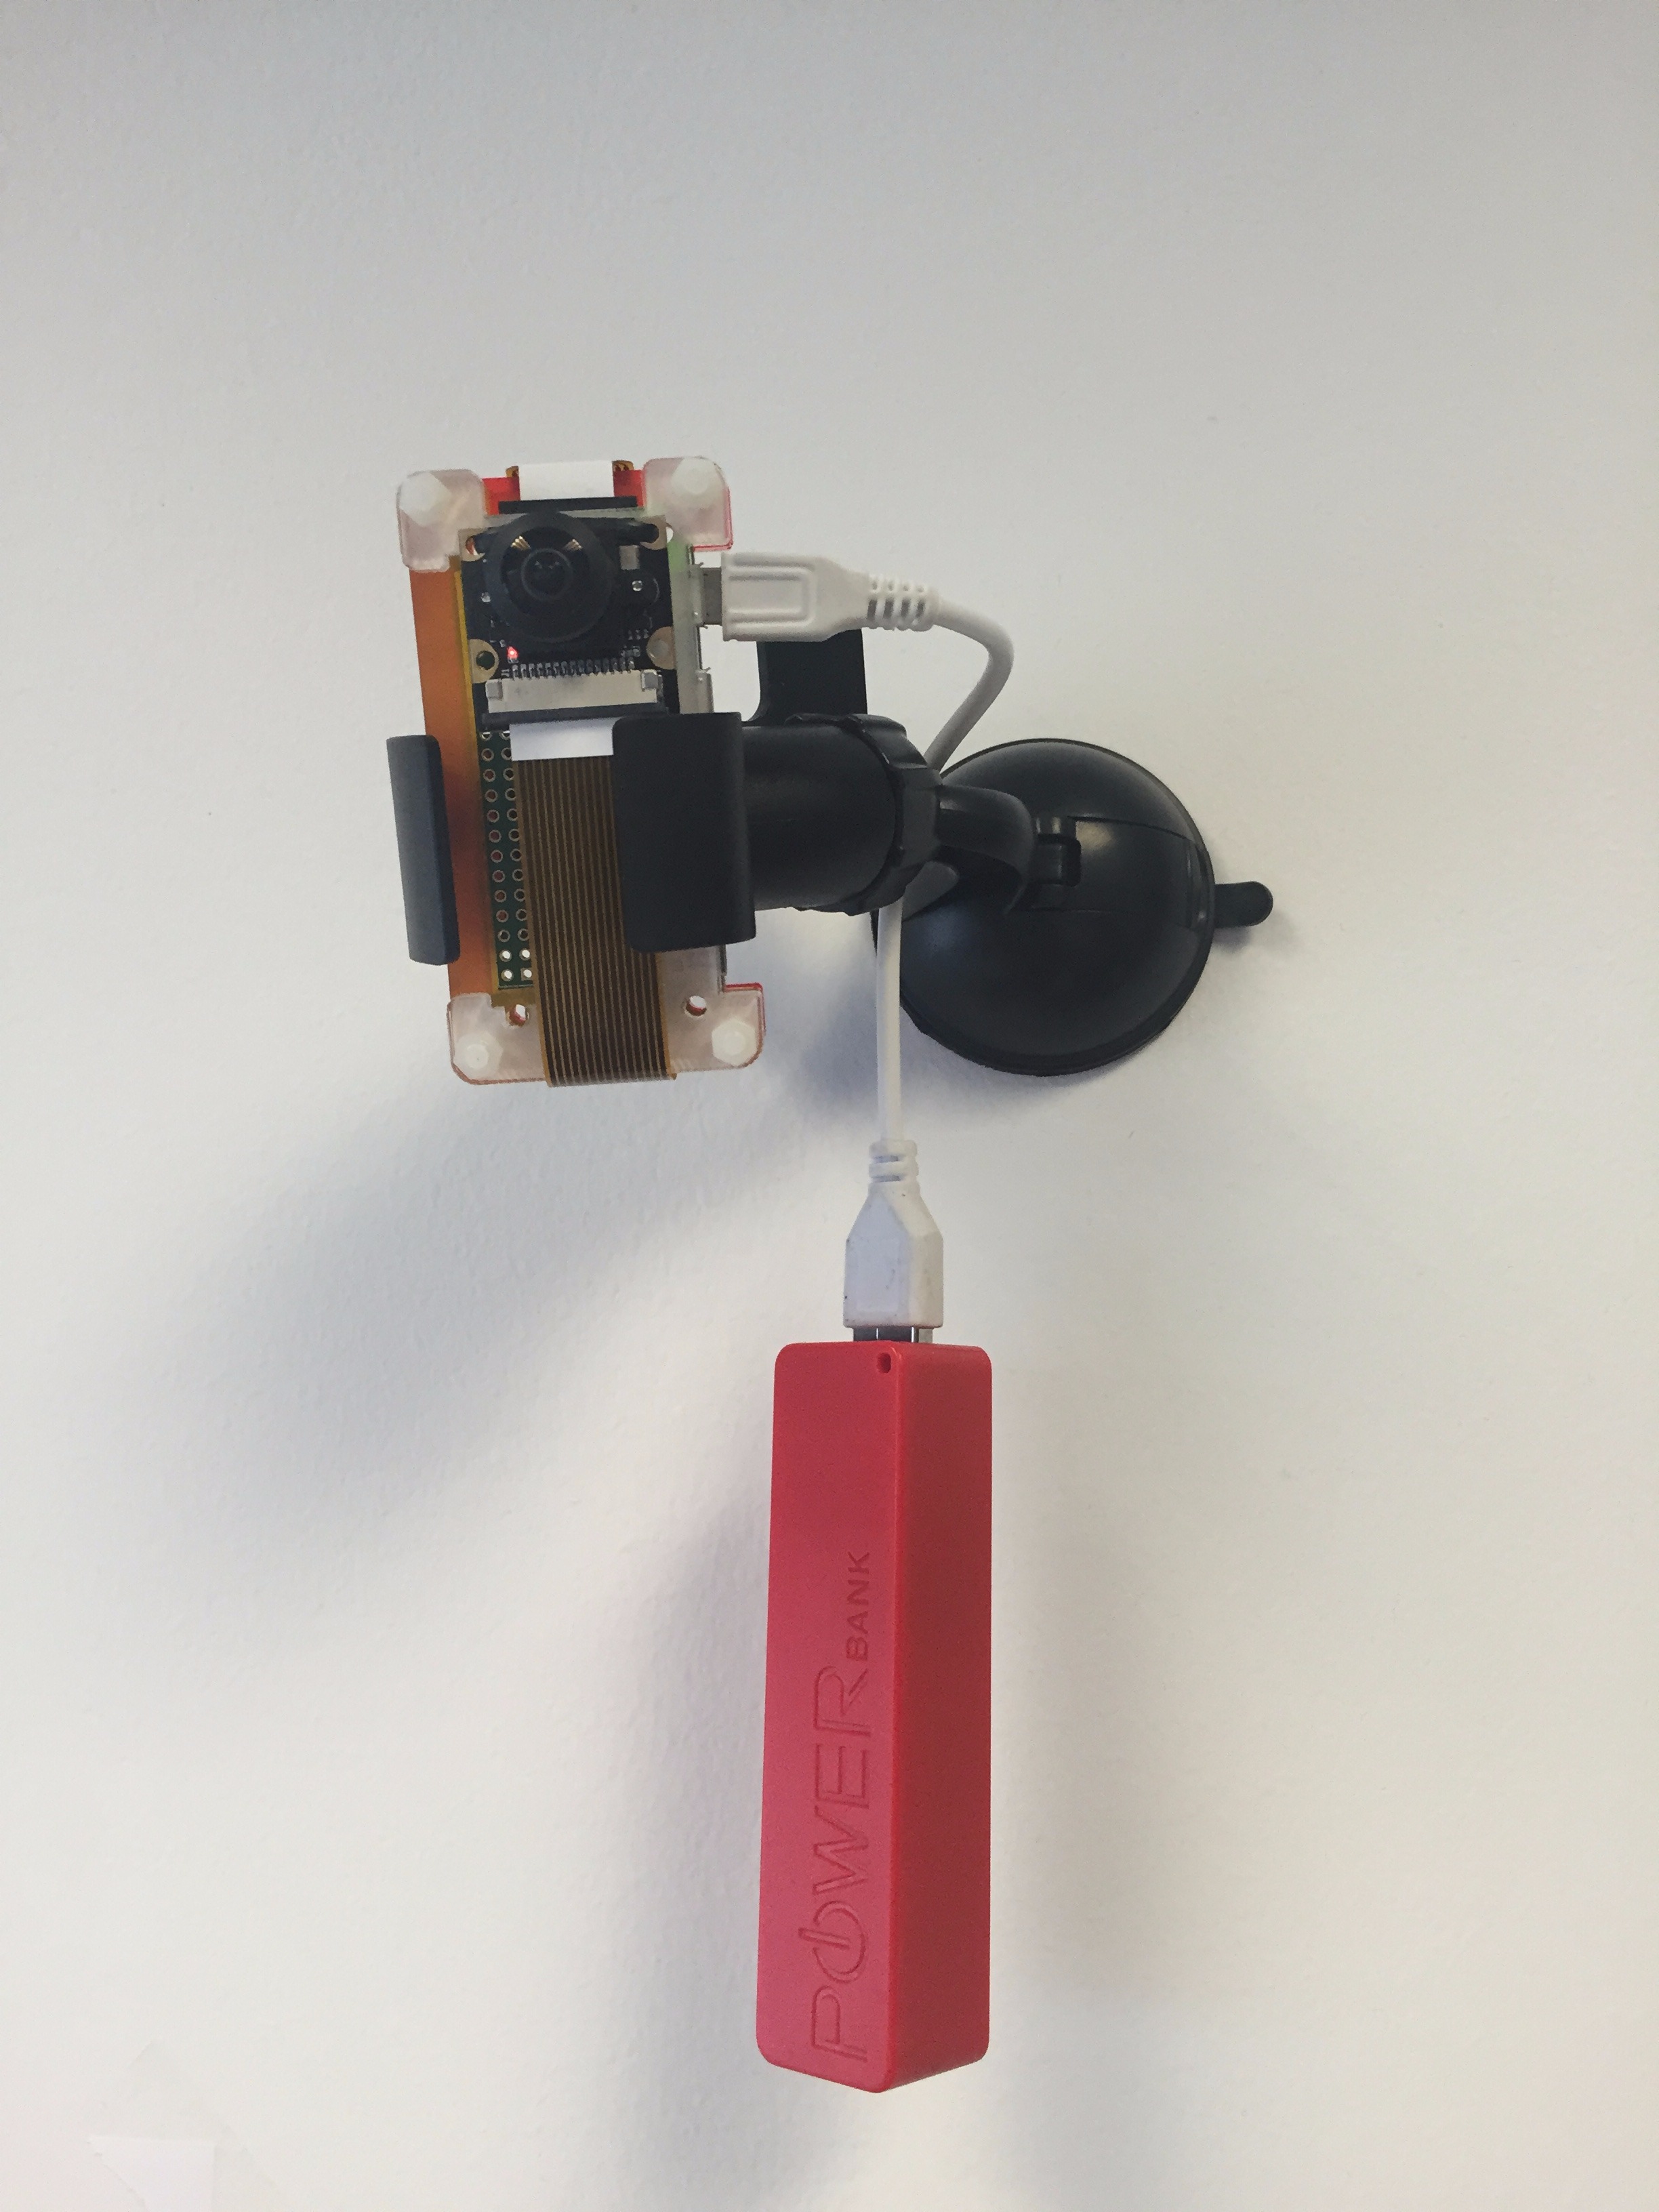
Unsupervised Napping
I have a two year old. He's so awesome. The thing is, I also have friends, and sometimes they throw parties, and sometimes I like to go to those parties - and sometimes, when I bring him along, the kiddo needs to take a nap. Worst-case, it's next to the cheese dip. Best-case, it's in another room. But if he's in another room, and the friend I'm visiting doesn't have a babycam in that room, then it's hard for me to know how he's doing without breaking conversations every 5 minutes to check. That's rude, and I run the risk of waking him every time I open the door. None of those are good things. (And if they do have a babycam, then I have to fiddle with getting on their wifi network just when the kid is getting drowsy. That's also not good.)
Enter StickyCam
I figured that if I could make a rudimentary surveillance camera that doesn't need to ride on someone's wifi, then I might be able to enjoy parties and the occasional hotel bar while not worrying about the kiddo's status. (Just kidding about the hotel bar.)
So I did, and this is how.
Get Your Parts

Here's what you need to make this work:
- A full-size Raspberry Pi connected to the network, for easy configuration.
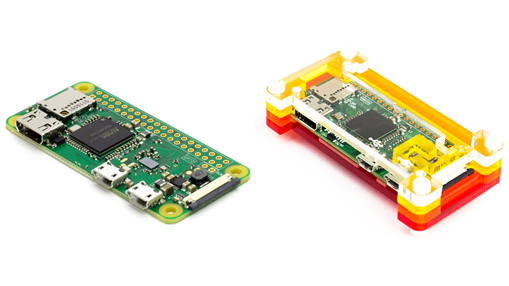
- Raspberry Pi Zero 1.3 (if you can get your hands on a Raspberry Pi Zero W, DO.)
- Pimoroni Raspberry Pi Zero 1.3 case
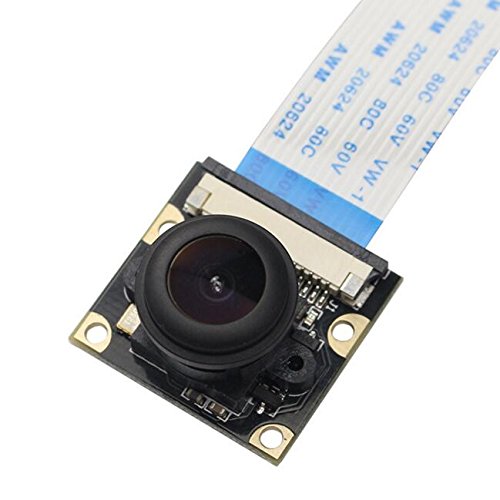
- A Raspberry Pi camera of your choice (I chose a wide-angle), and a roughly 7" ribbon cable
- USB Wifi Dongle + USB OTG adapter (If you have a Raspberry Pi Zero W, don’t worry about buying the wifi USB dongle and adapter. These instructions work with the W.)
- A Mount (like this, for example)
- Optional: A Battery (I use one of these)
Set Up the OS
First off, make sure you're using the latest Raspbian distribution. The Jessie Lite version works great, especially since we're operating headless. If you don't know how to do this, I recommend starting at the Raspberry Pi Foundation's website here. Head there, follow those instructions, get Jessie set up, and come back here.
Start with a full-size Pi (model 2 or model 3); we'll be swapping the sd card from the big one to the Zero later in this process, but it's far easier to do the setup and configuration on a big Pi.
Once you've got a working Pi, go to the terminal, update the OS,
sudo apt-get update
and configure it to work with SSH and the camera via the raspi-config utility. You might want to change the hostname (I chose stickycam).
sudo raspi-config
The Part About Network Connectivity
Head back to the terminal, and enter the following to install all the relevant packages:
sudo apt-get install git apache2 php5 hostapd isc-dhcp-server iptables iptables-persistent -y
I’d love to take credit for the next part, but I can’t. Adafruit went to the effort of publishing the instructions for a digital free library based on a Pi Zero (here: https://learn.adafruit.com/digital-free-library/w... and I used most of their connectivity steps here. I’m a cook, not a chef.
Edit a few lines of /etc/dhcp/dhcpd.conf
find
option domain-name
option domain-name-servers
#Authoritative
and change them to
#option domain-name
#option domain-name-servers
Authoritative
Then add this to the bottom of the file:
subnet 192.168.42.0 netmask 255.255.255.0 {
   range 192.168.42.10 192.168.42.50;
   option broadcast-address 192.168.42.255;
   option routers 192.168.42.1;
   default-lease-time 600;
   max-lease-time 7200;
   option domain-name "local";   option domain-name-servers 8.8.8.8, 8.8.4.4;
}
Then edit /etc/default/isc-dhcp-server
Change
INTERFACES=“”
to
INTERFACES=“wlan0”
Then edit /etc/network/interfaces to show:
auto lo
iface lo inet loopback
iface eth0 inet manual
allow-hotplug wlan0
iface wlan0 inet static
	address 192.168.42.1
	netmask 255.255.255.0
Enter the following to establish your wireless network's IP address:
sudo ifconfig wlan0 192.168.42.1
Then create /etc/hostapd/hostapd.conf, so your wifi transceiver will act as an access point:
interface=wlan0
ssid=stickycam
country_code=US
hw_mode=g
channel=6
macaddr_acl=0
auth_algs=1
ignore_broadcast_ssid=0
wpa=2
wpa_passphrase=ThisIsMyPassword
wpa_key_mgmt=WPA-PSK
wpa_pairwise=CCMP
wpa_group_rekey=86400
ieee80211n=1
wme_enabled=1
Then edit this: /etc/default/hostapd
#DAEMON_CONF
becomes
DAEMON_CONF=”/etc/hostapd/hostapd.conf”
And finally, edit /etc/init.d/hostapd
DAEMON_CONF
goes to
DAEMON_CONF=/etc/hostapd/hostapd.conf
To run this all on boot, enter the following at the command prompt:
sudo update-rc.d hostapd enable
sudo update-rc.d isc-dhcp-server enable
sudo reboot now
If you did everything correctly, you should see your "stickycam" access point live now! Try connecting to it.
So As to Watch Things

It seems like an awful waste of time to write your own code to stream your camera, especially when so many great open-source implementations are out there. Flask, MJPG-Streamer, and others are out there, but I really like Silvan Melchior's work on the RPi-Cam-Web-Interface project. To use this code, just follow the onscreen instructions!
sudo git clone https://github.com/silvanmelchior/RPi_Cam_Web_Interface.git
cd RPi_Cam_Web_Interface
sudo chmod u+x *.sh
sudo ./install.sh
If you navigate to your Pi's address in your computer's browser, you should see a page showing "Index of /". If you see that, it worked!
Getting to the Page Without Too Much Work
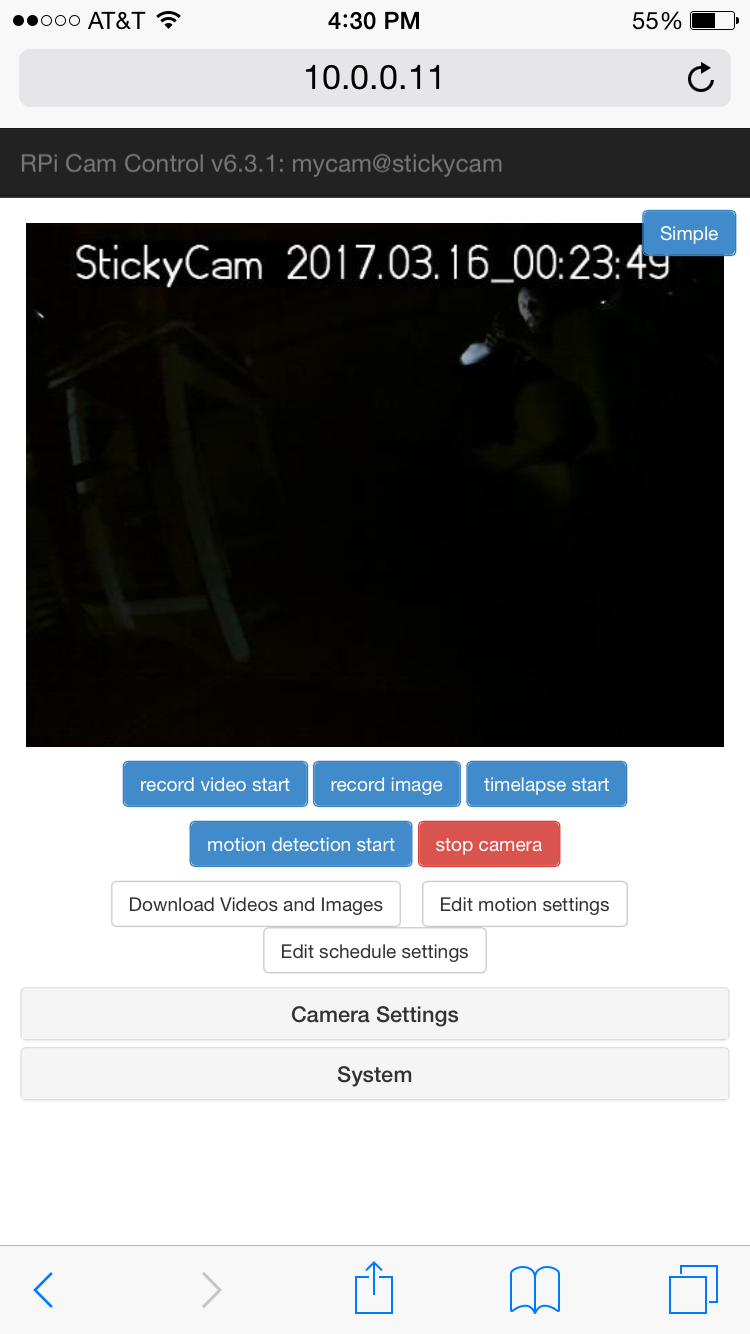
Finally, you'll want to be able to use your browser as a virtual app, so that you just load it up and get to the camera without fiddling with settings.
Use iptables to forward any traffic using the wlan0 interface to your webpage by entering the following commands into the terminal:
sudo -i
echo "1" > /proc/sys/net/ipv4/ip_forward
iptables -t nat -F
iptables -t nat -A POSTROUTING -o eth0 -j MASQUERADE
iptables -t nat -A PREROUTING -i wlan0 -p tcp -j DNAT --to-destination 192.168.42.1:80/html
sudo reboot now
Before we wrap things up on the big Pi, connect to the stickycam access point with your browser, and try to go to any ip address - if everything worked right, you should see a camera interface page with a broken video icon. If you got greedy and installed the camera on your big Pi already, then you'll see a camera interface page with an image!
Final Assembly
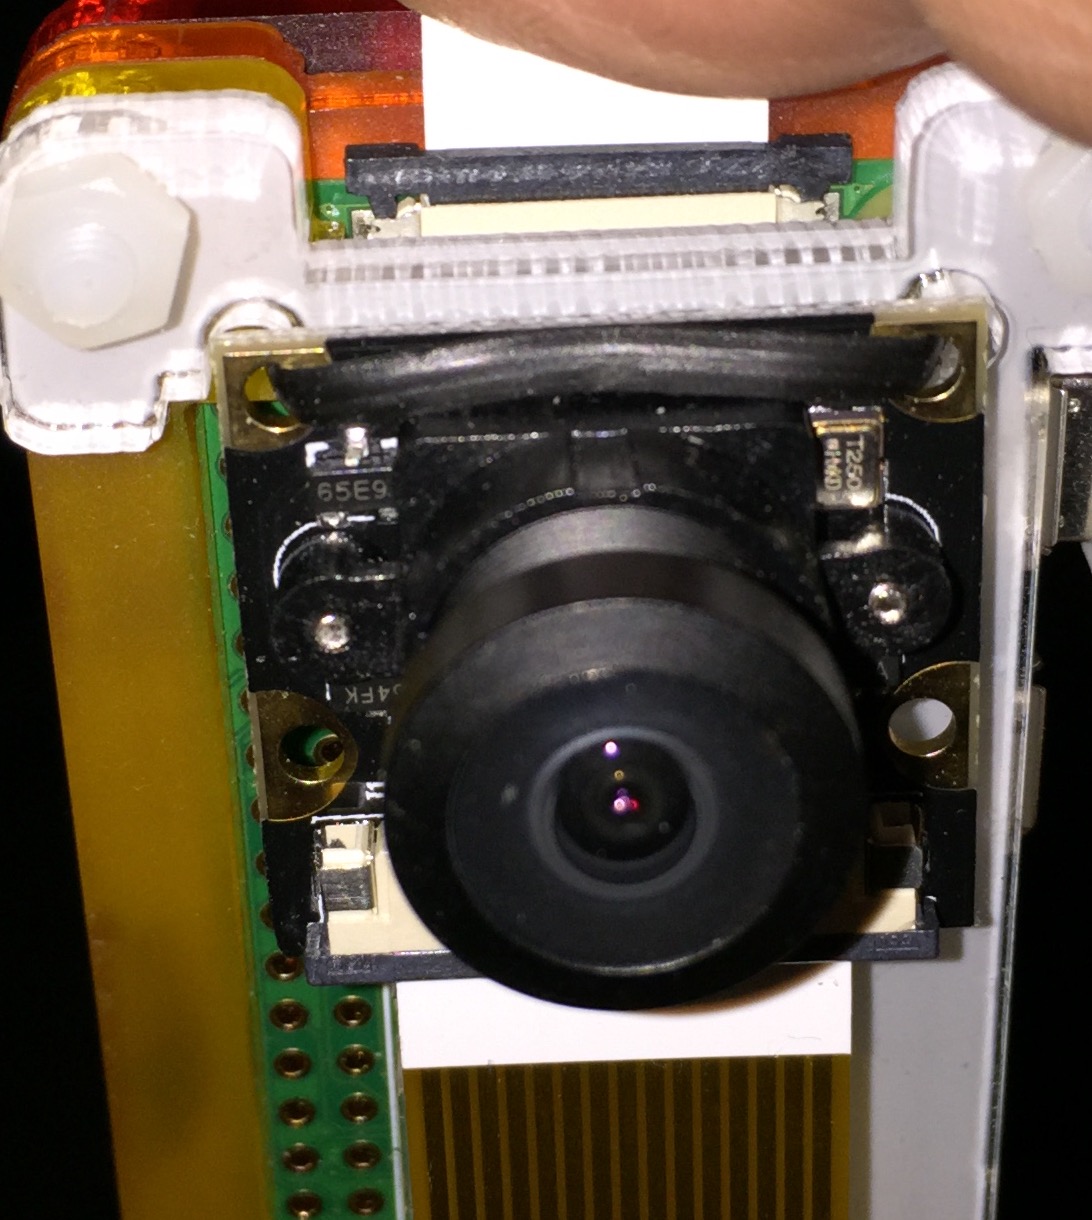
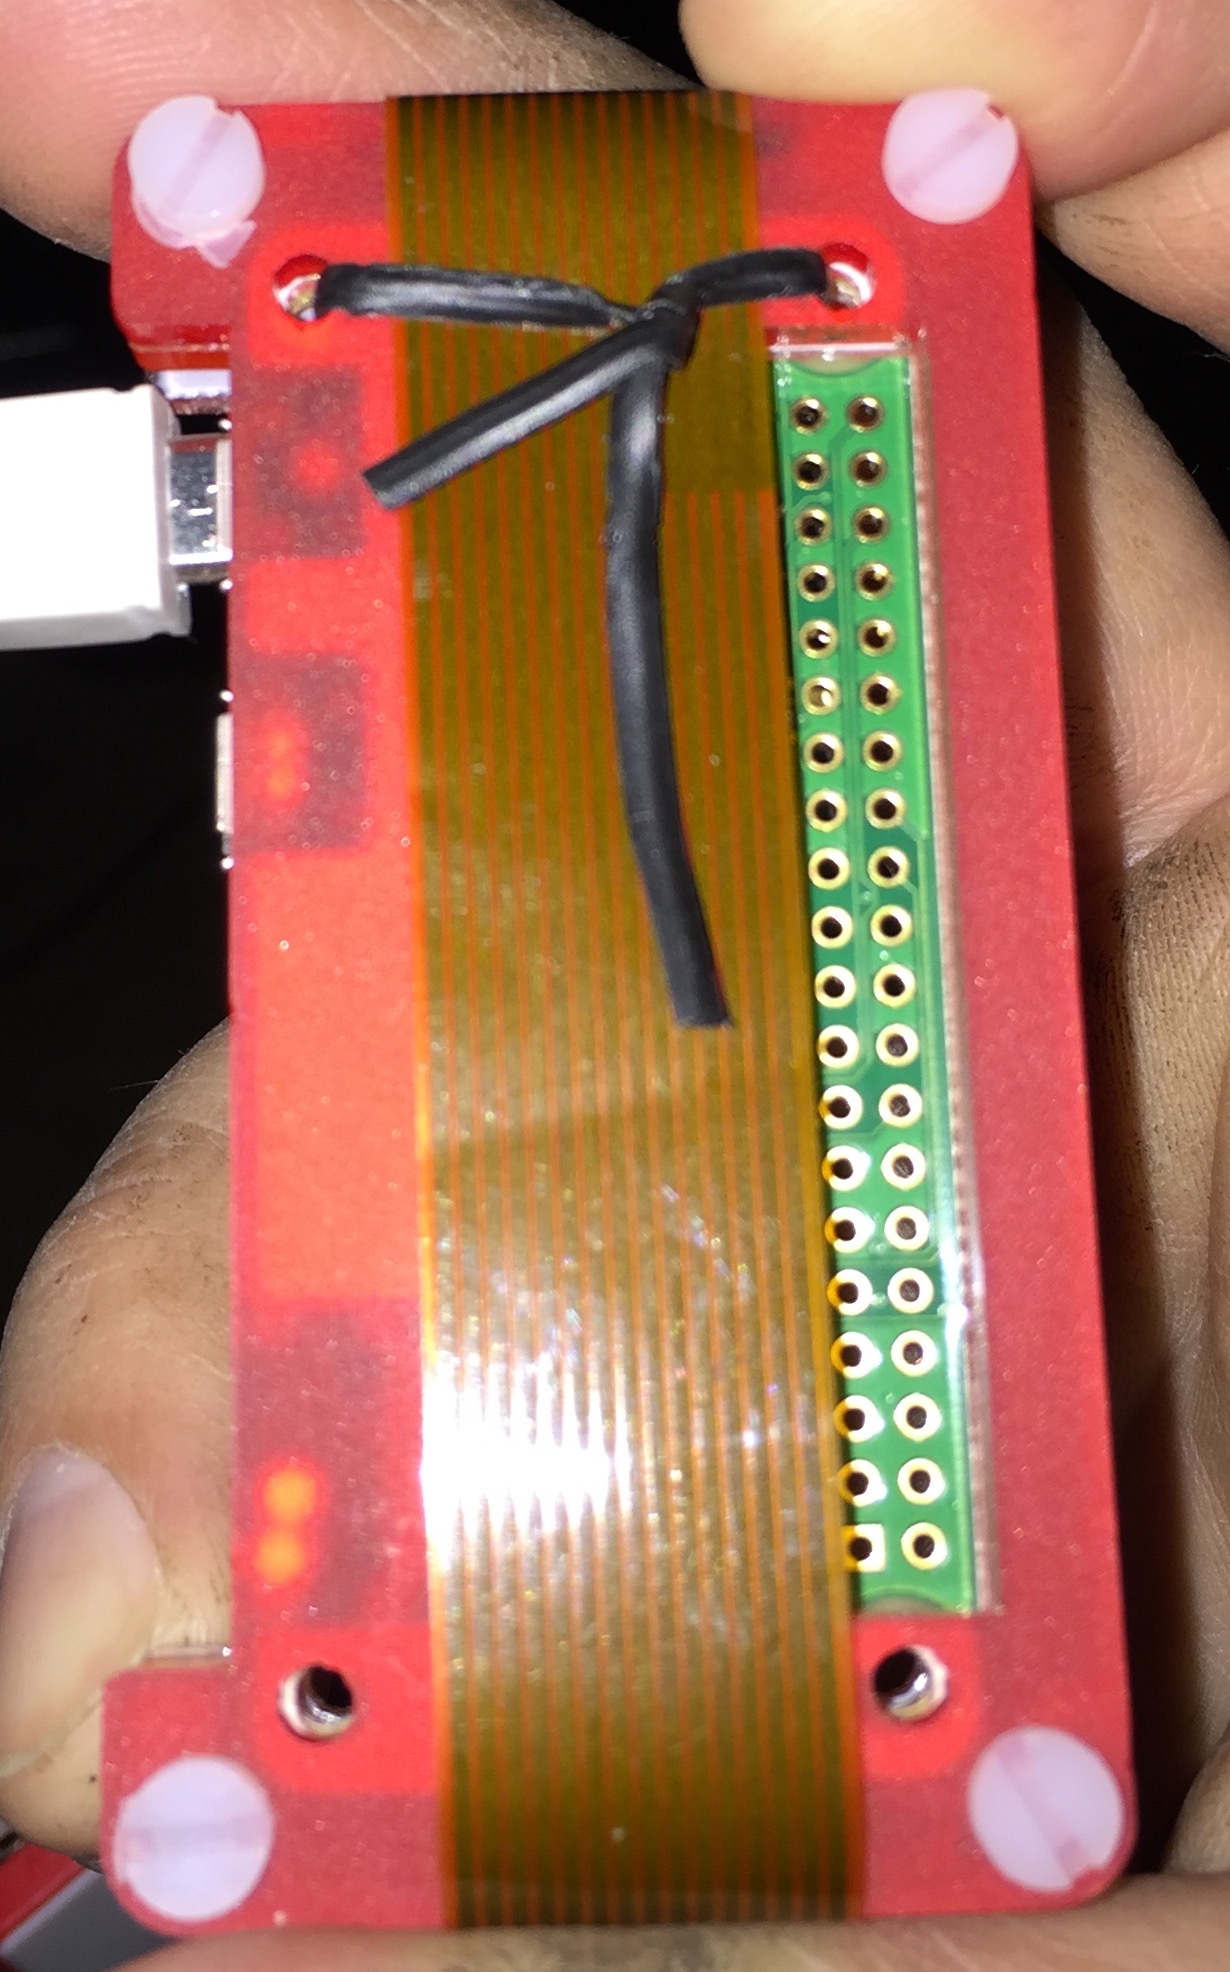
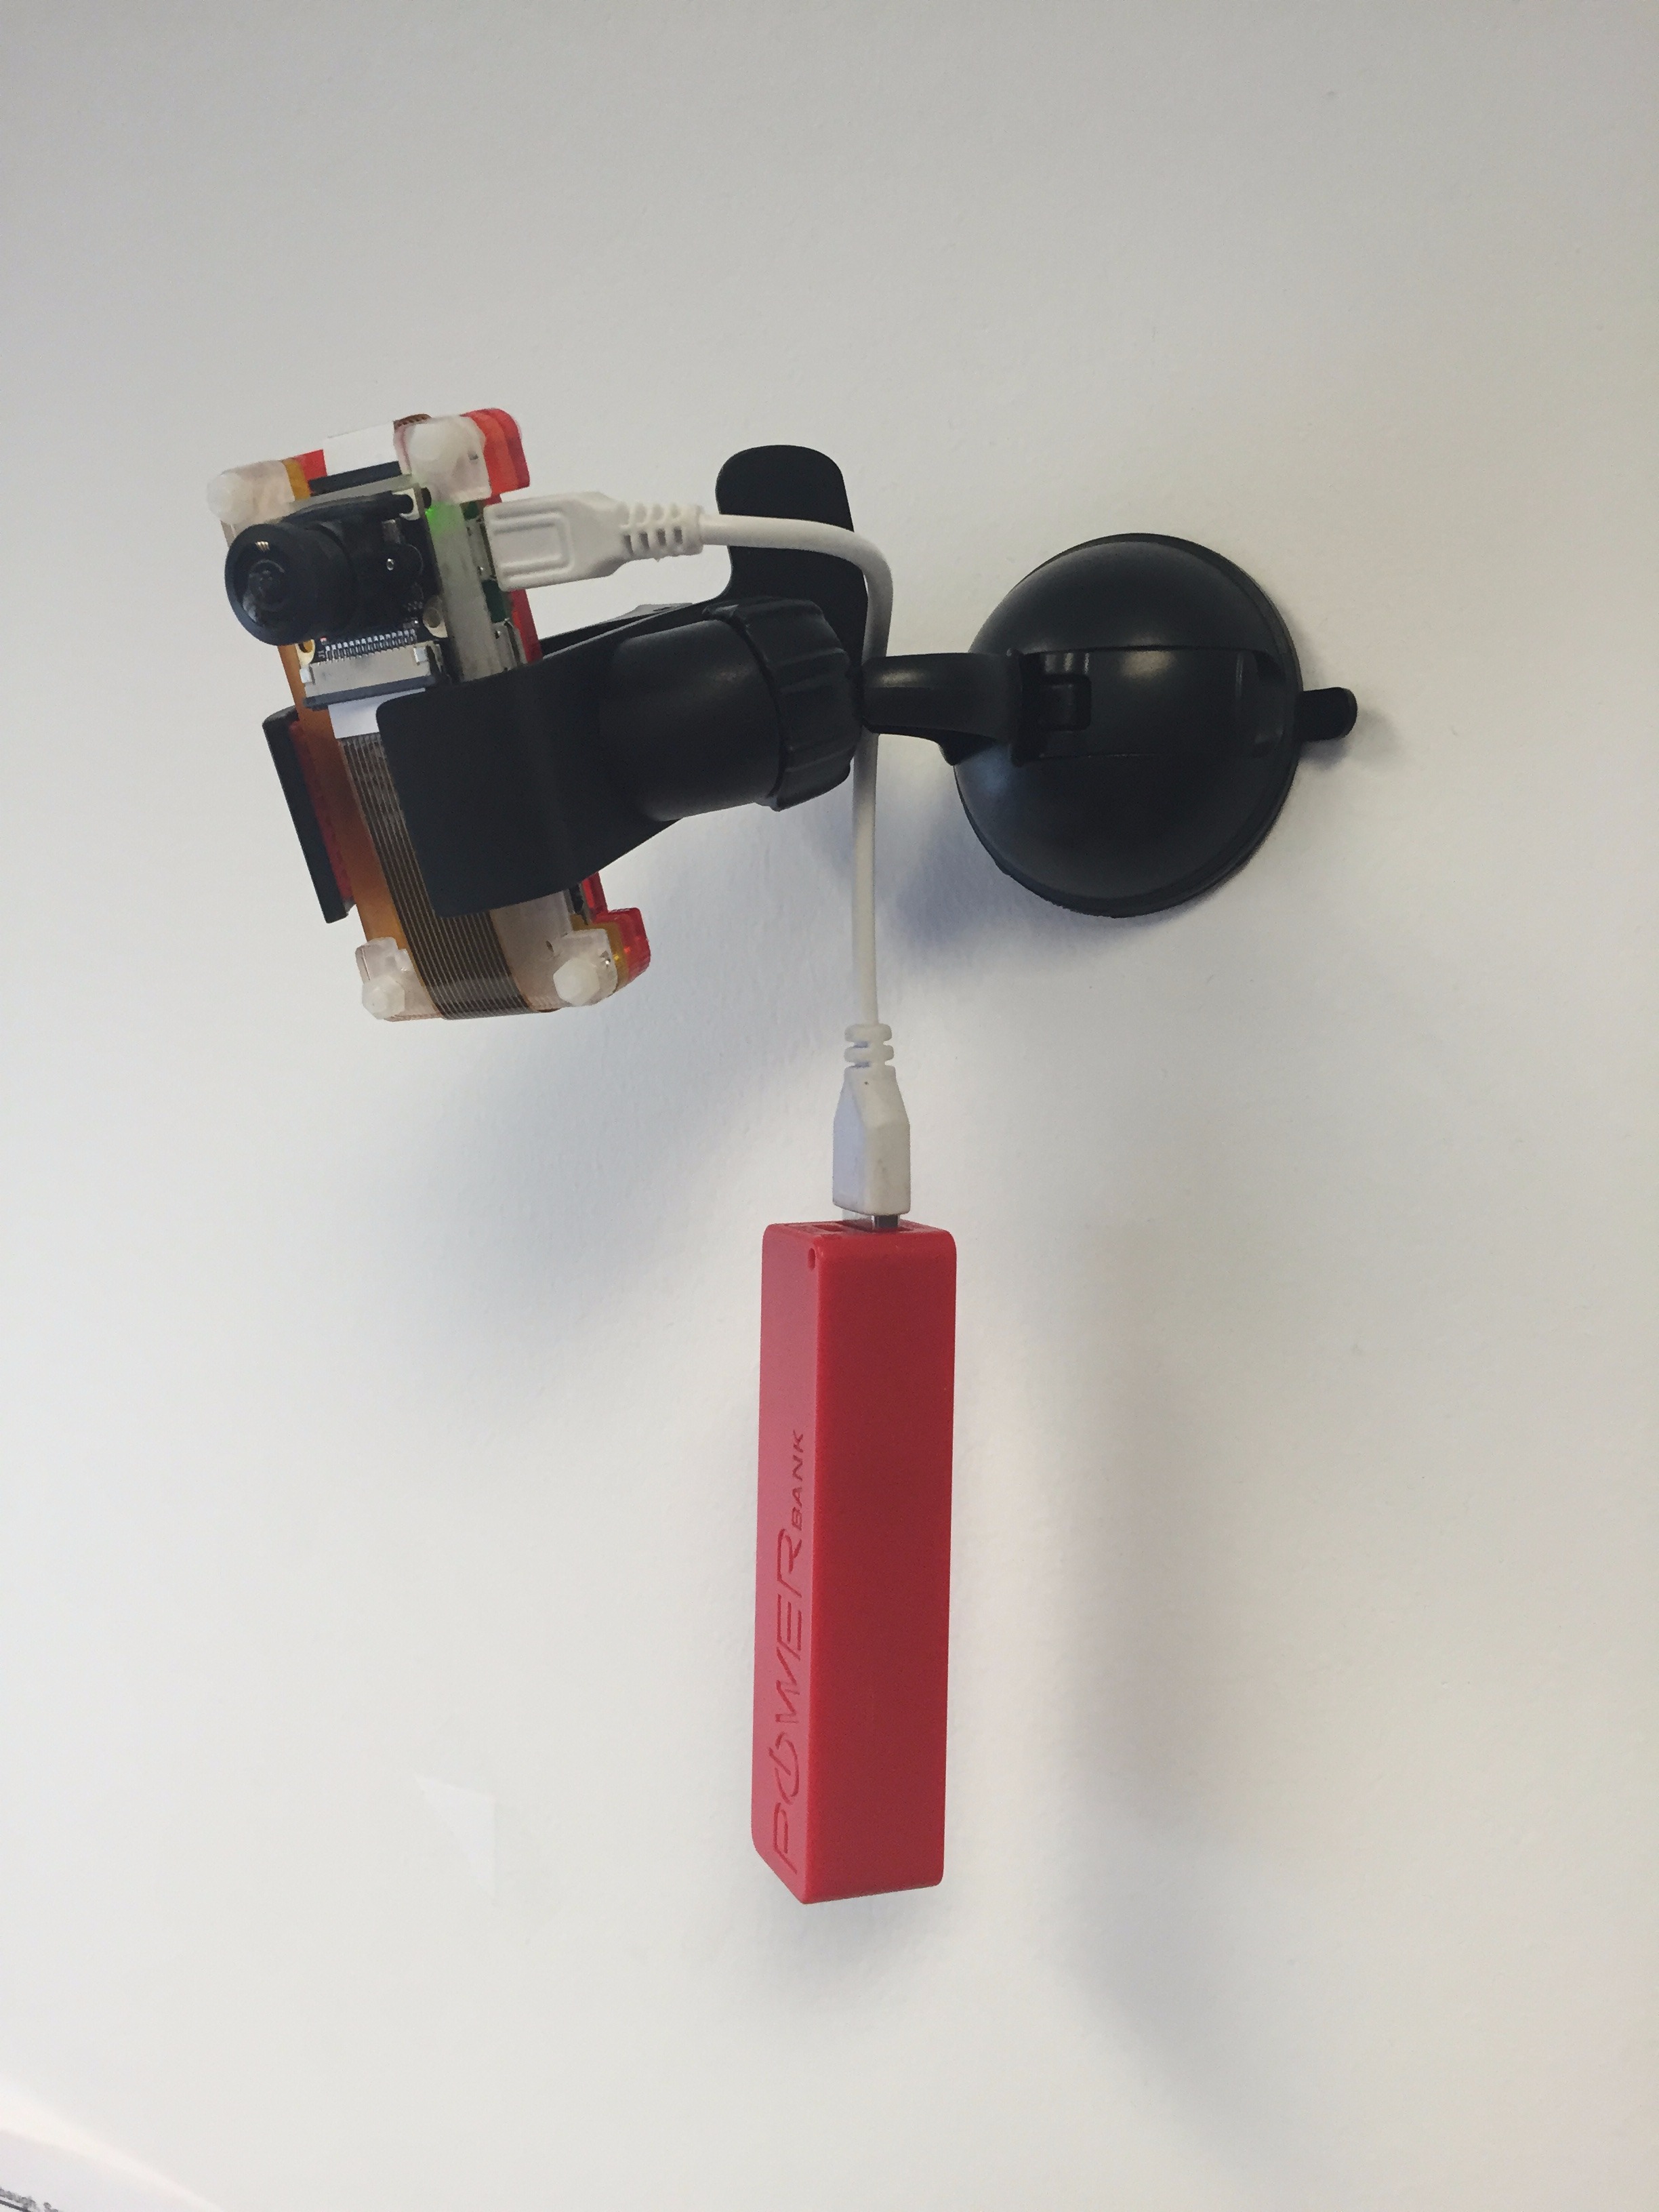
Now it's time to out it all together.
- Pop your SD card out of the full-size Pi
- Jam the SD card into the Zero W
- Assemble the PiMoroni case
- Connect the camera's ribbon cable to the camera and the Pi Zero's camera connector, and wrap it around the case.
- Secure the camera to the case using a wire twist tie. The holes on the camera align perfectly with the holes on the case and Pi. I get the feeling that that's not by accident.
- Optional: if you're using a standard Zero 1.3, now is the time to connect your wifi dongle to the board with the USB OTG adapter.
Check It Out!
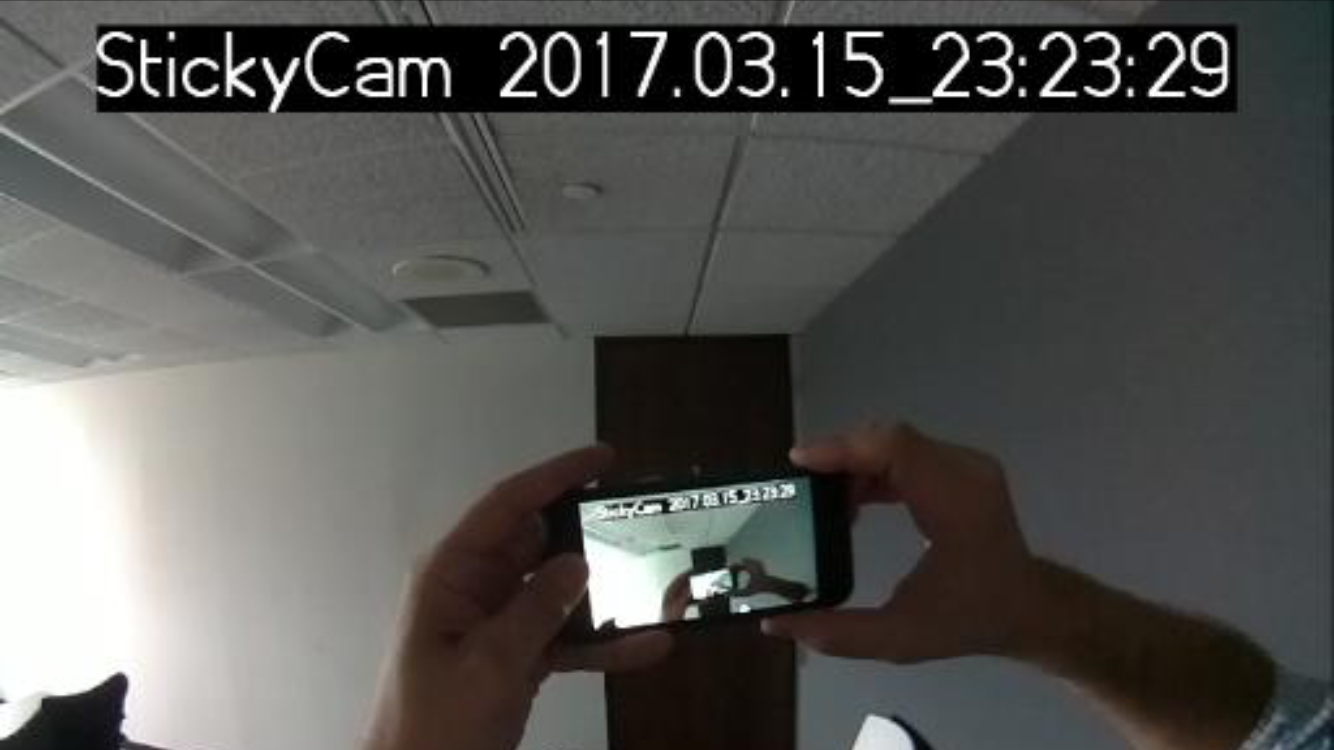
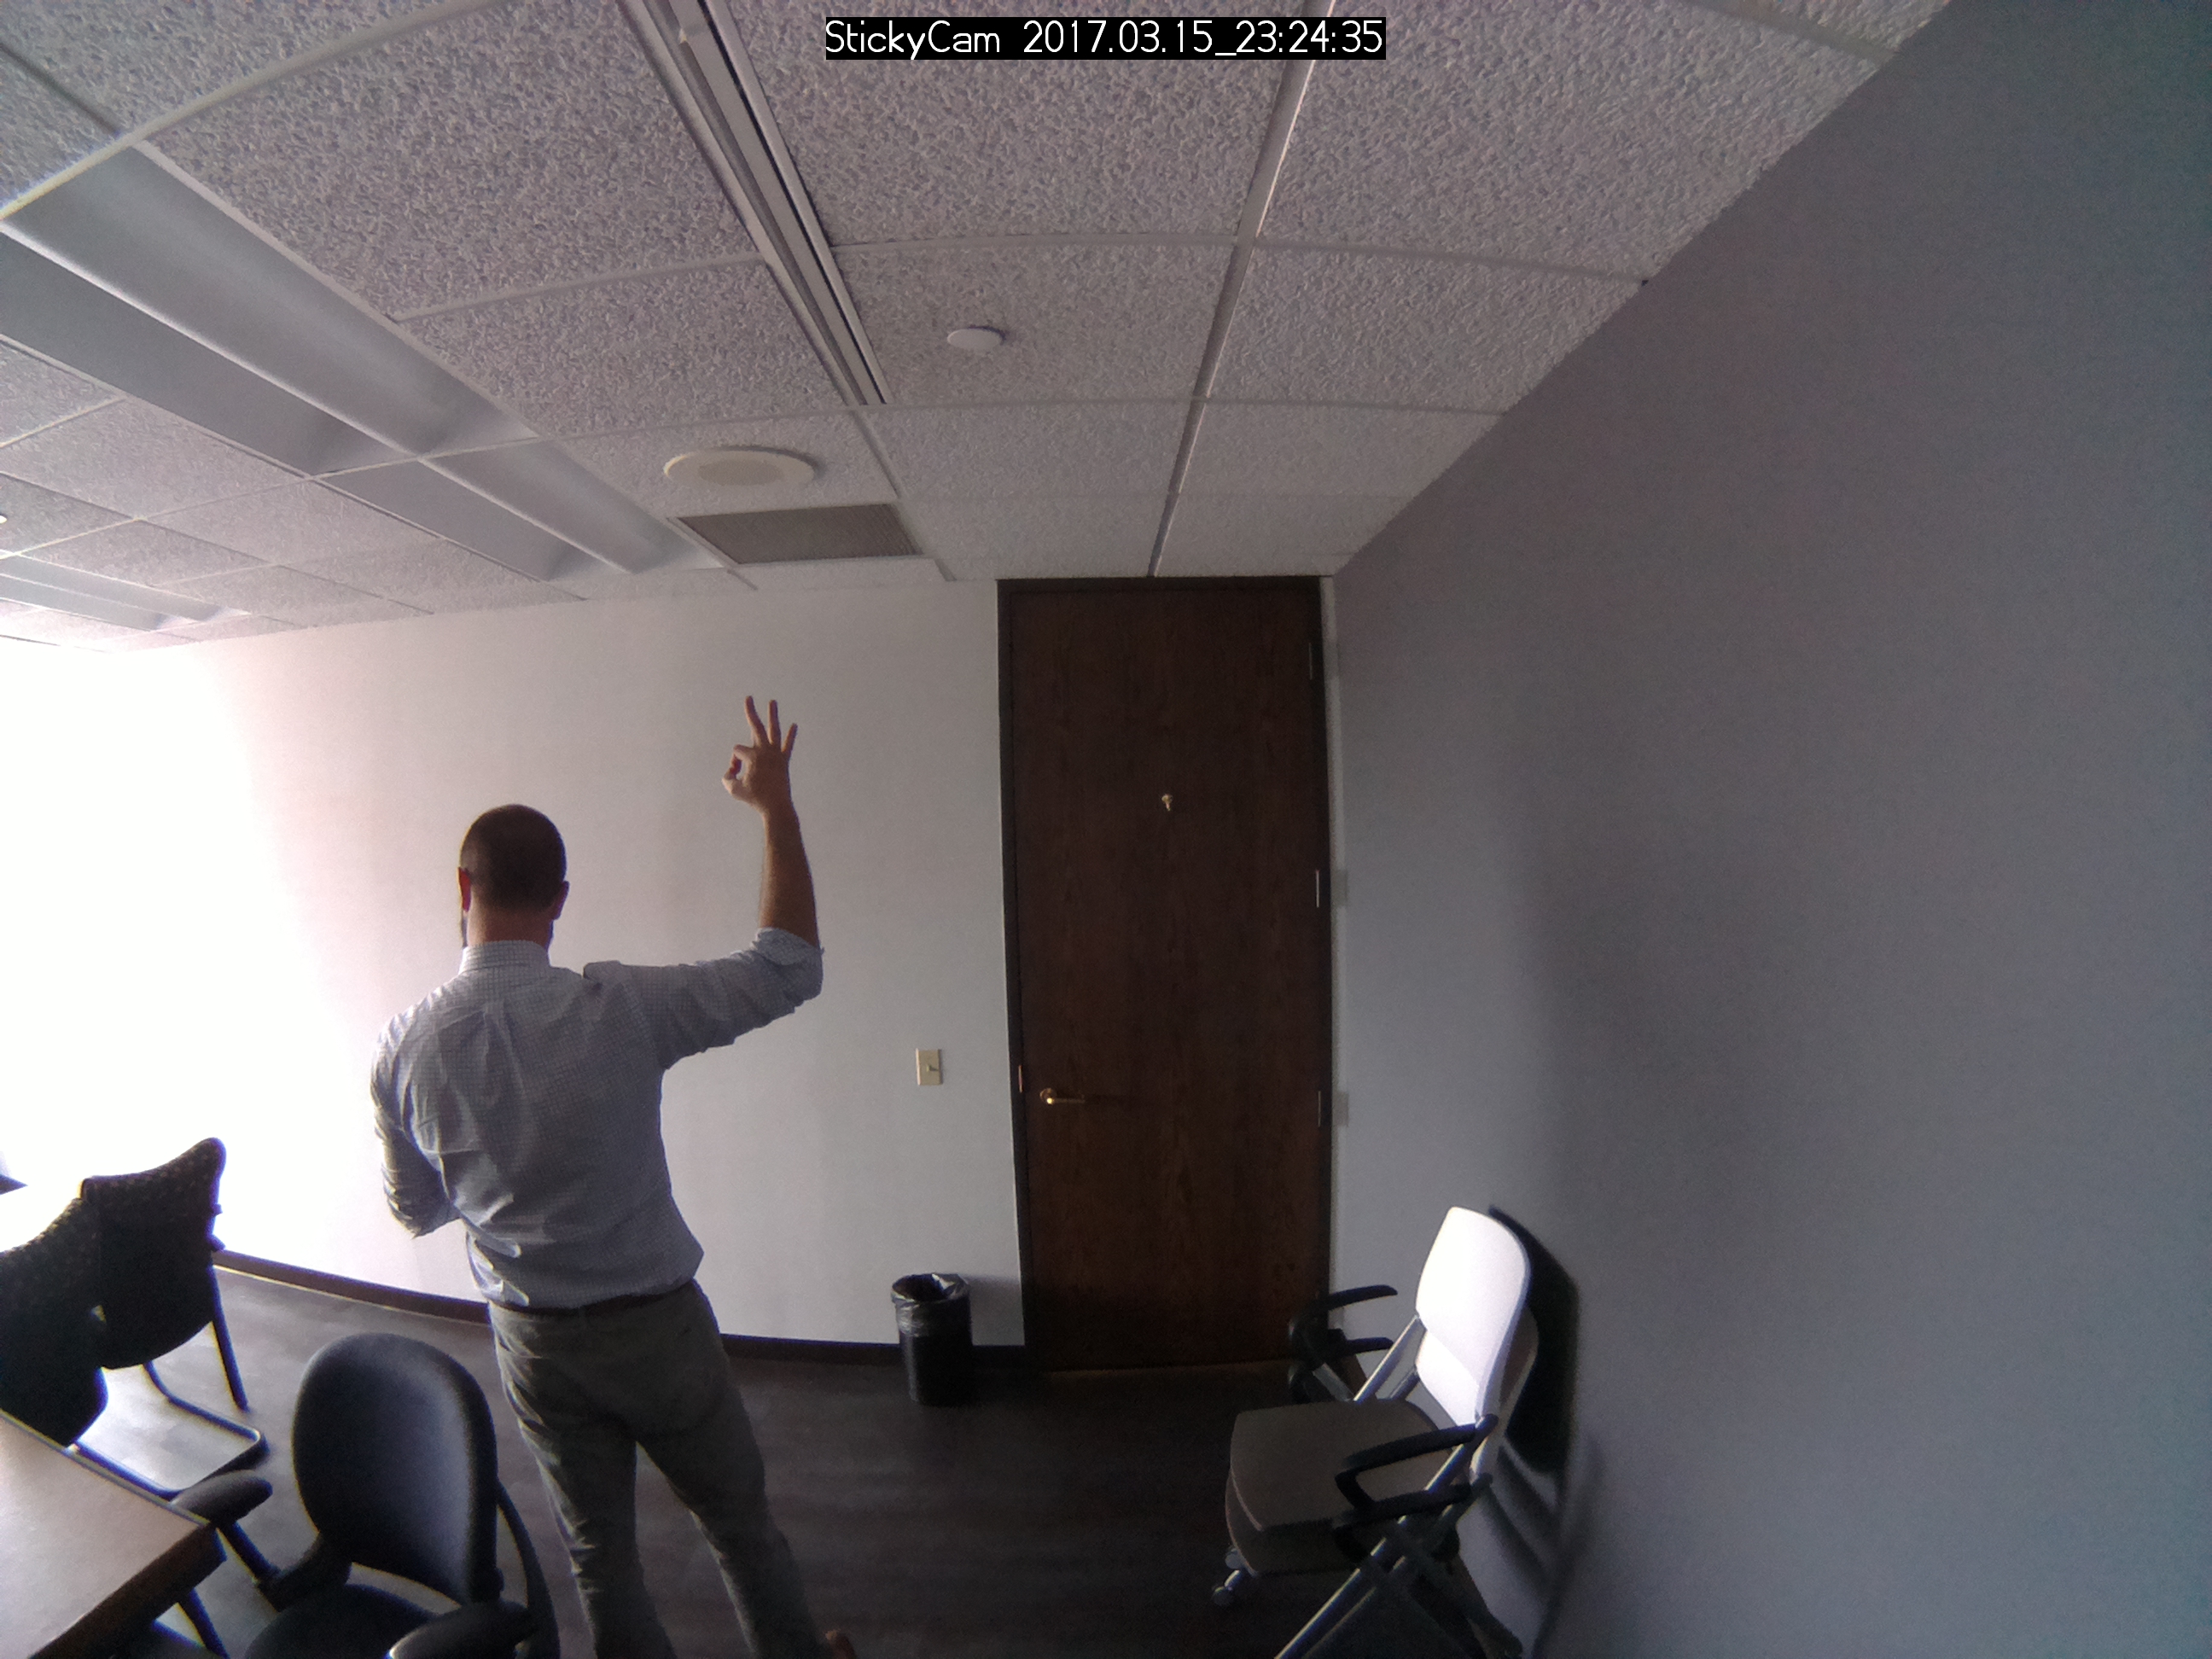
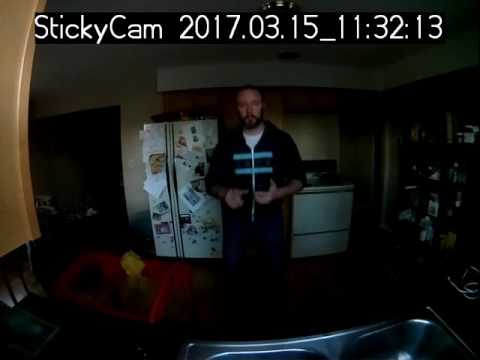
That's it! You're done! Turn on your pi, give it a minute to boot up and turn on the access point, then try to access any ip address. If you've done it right, you'll go straight to a page showing the view from your camera. What's extra neat about Silvan Mechior's implementation is that it lets you save photos and video clips, so I'm throwing a few in for your viewing pleasure. (I'm obviously not going to show the internet a photo of my kid, but me and my dog on a Saturday morning should suffice.)
Now go put your kid down for a nap in an unusual location, set up the camera near them, and go do something else!
Addendum
Next up, I'm going to work on a more "professional" power solution, because this is kind of kludgey. I know it. And it's okay, you can say so in the comments.