Sticker Board!
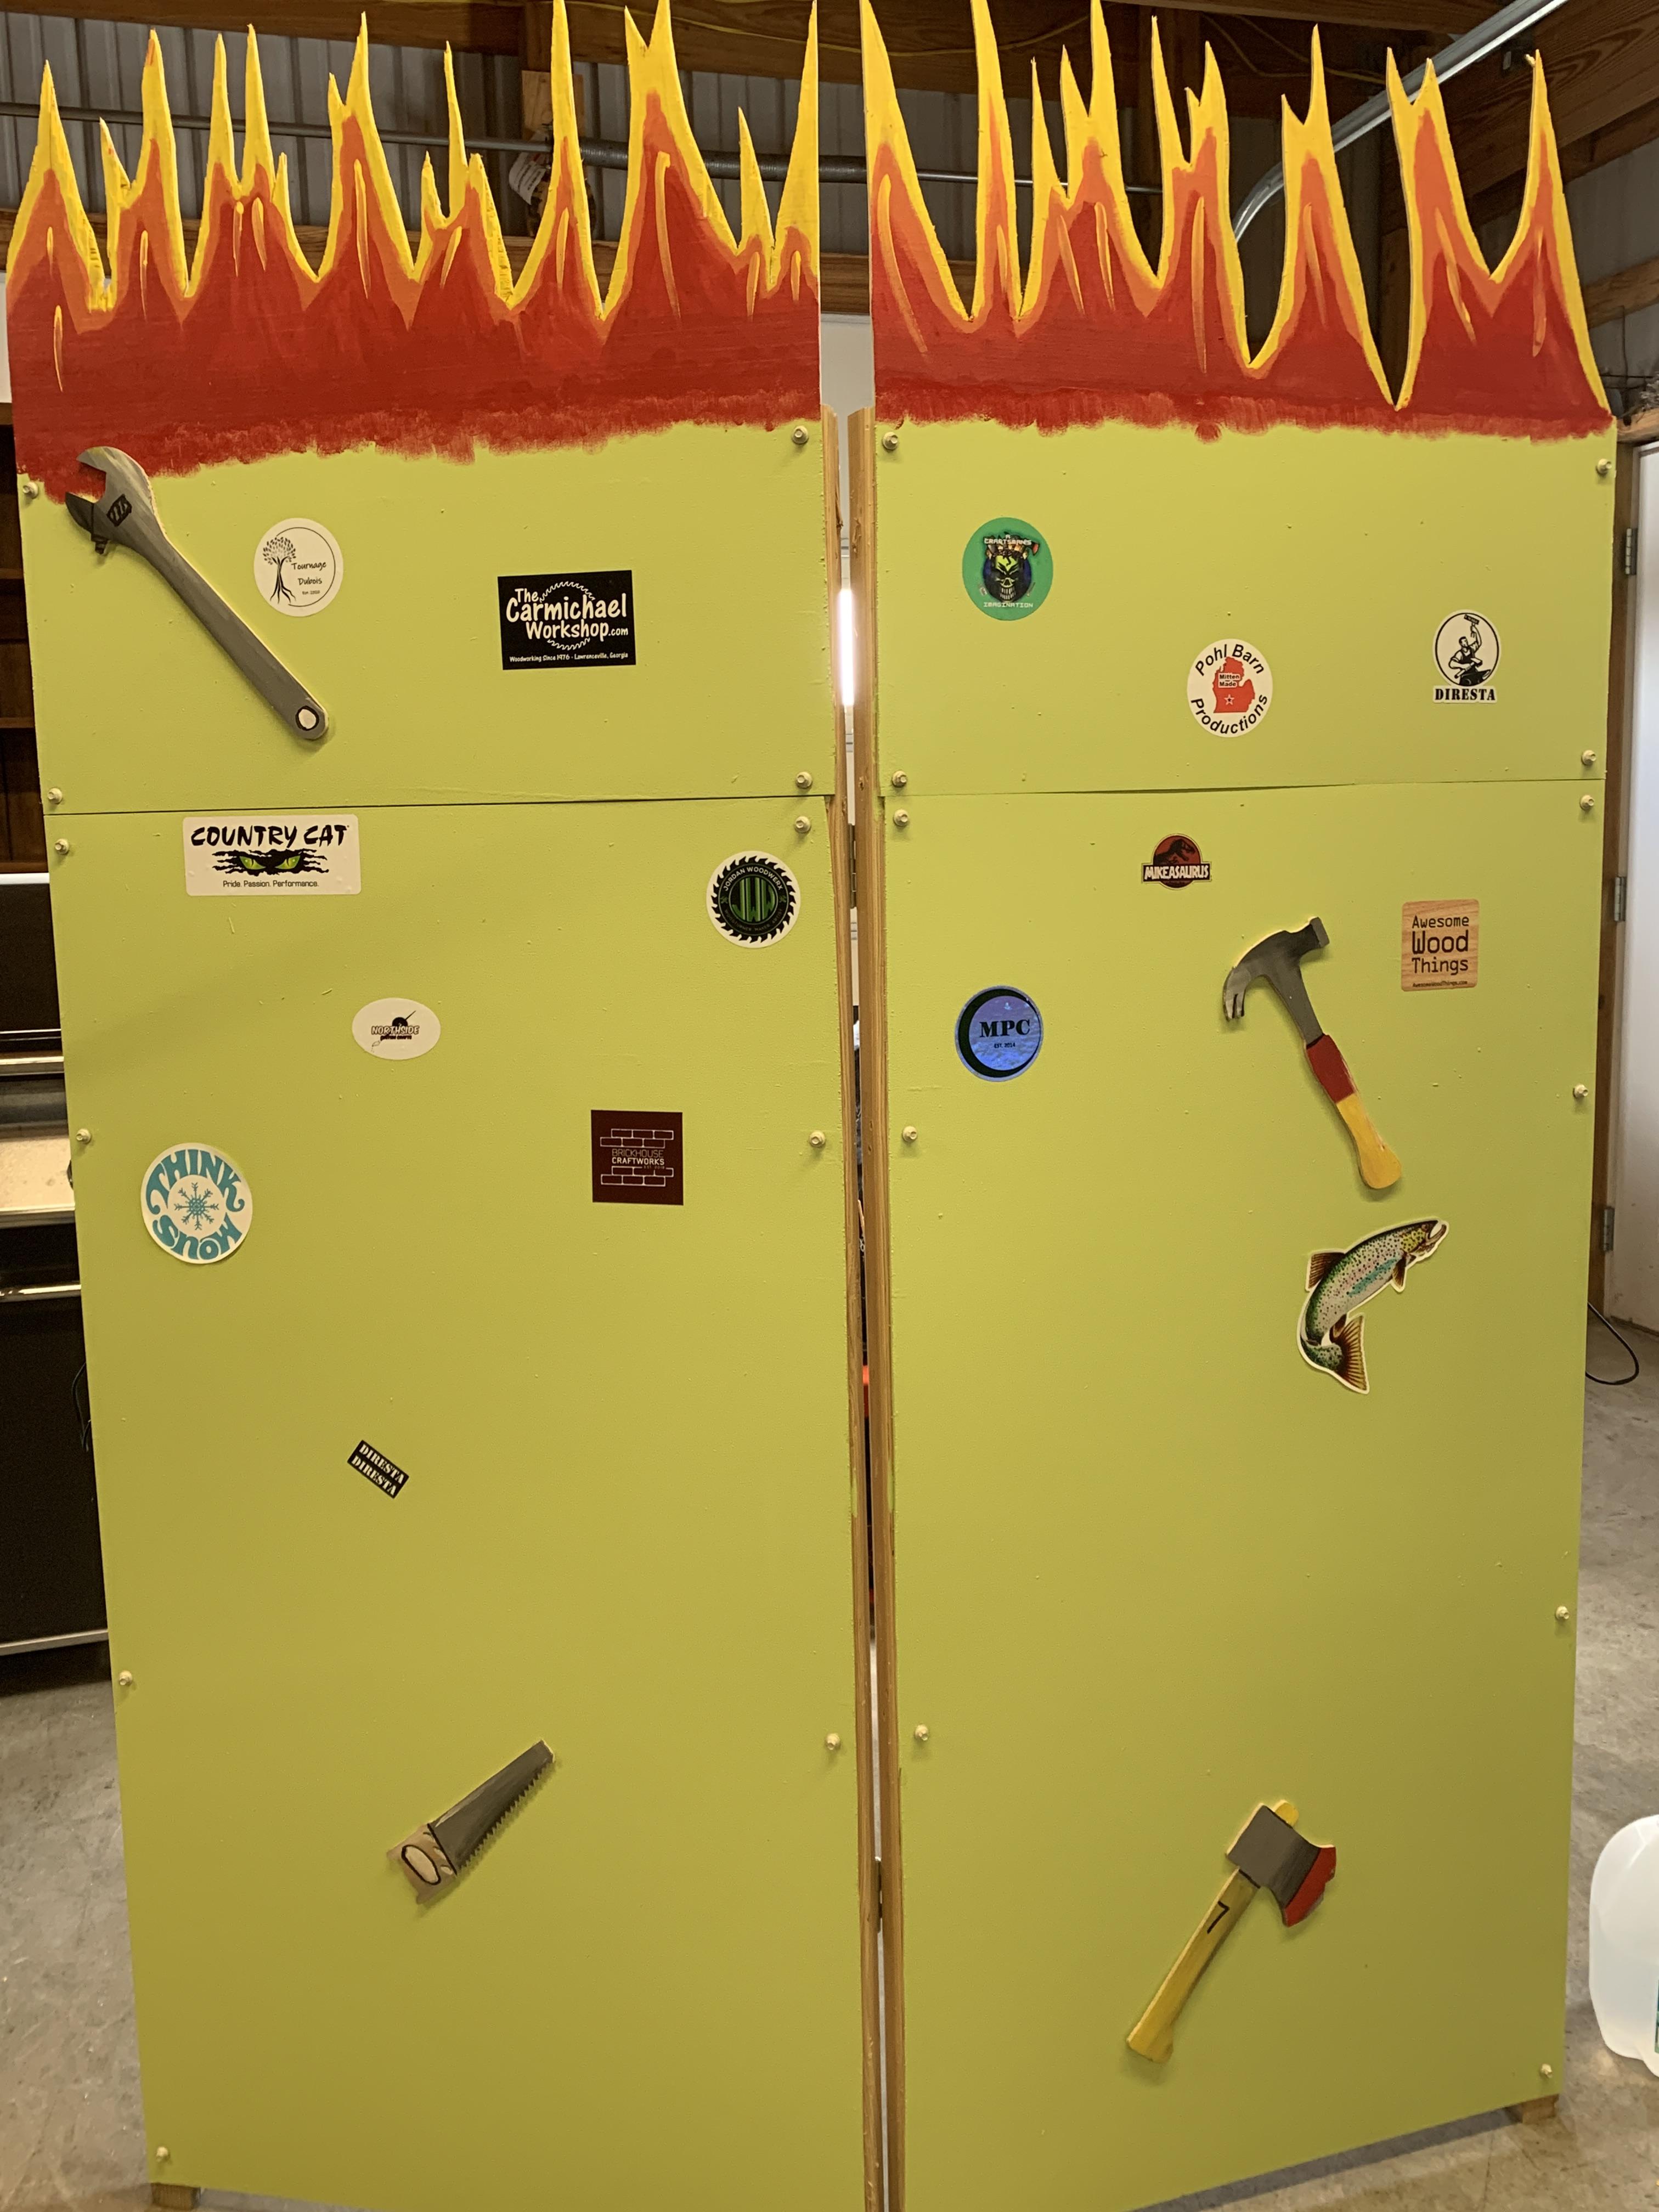
In this Instructable, I show you how I made my very own sticker board! It folds, can be carried, and is fire (quite literally) Since this isn't really a How-To, rather just me showing you how I made it, I'm not going to give a supply list. I made this mostly out of things I had around that was going to be thrown out (the frame, the paint, the screws, everything except the plywood front)
The Frame
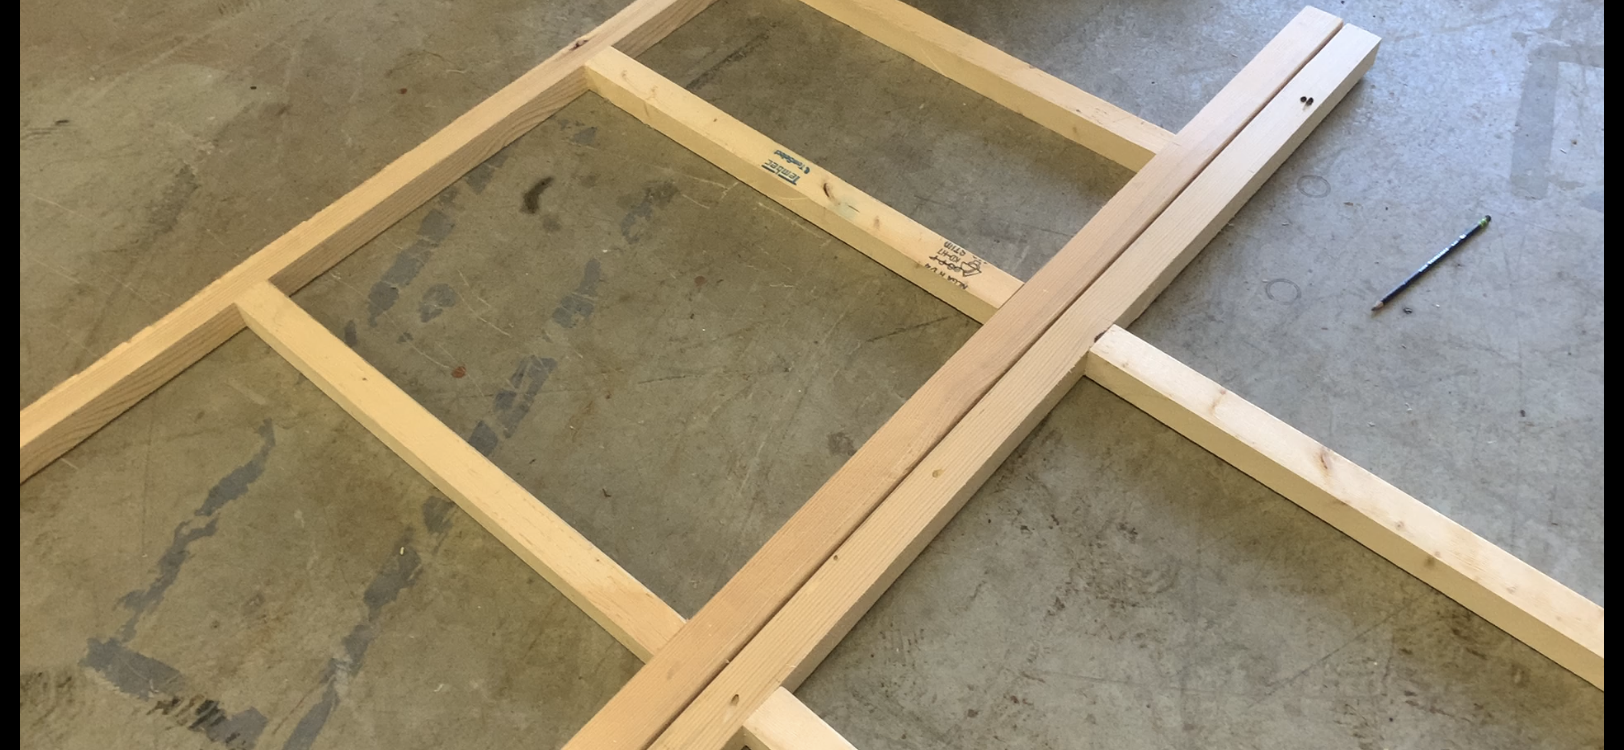
I took the folding frame that I found and decided it would make a nice compact sticker board that can fold, it can be carried, and stored nicely.
Cutting the Plywood
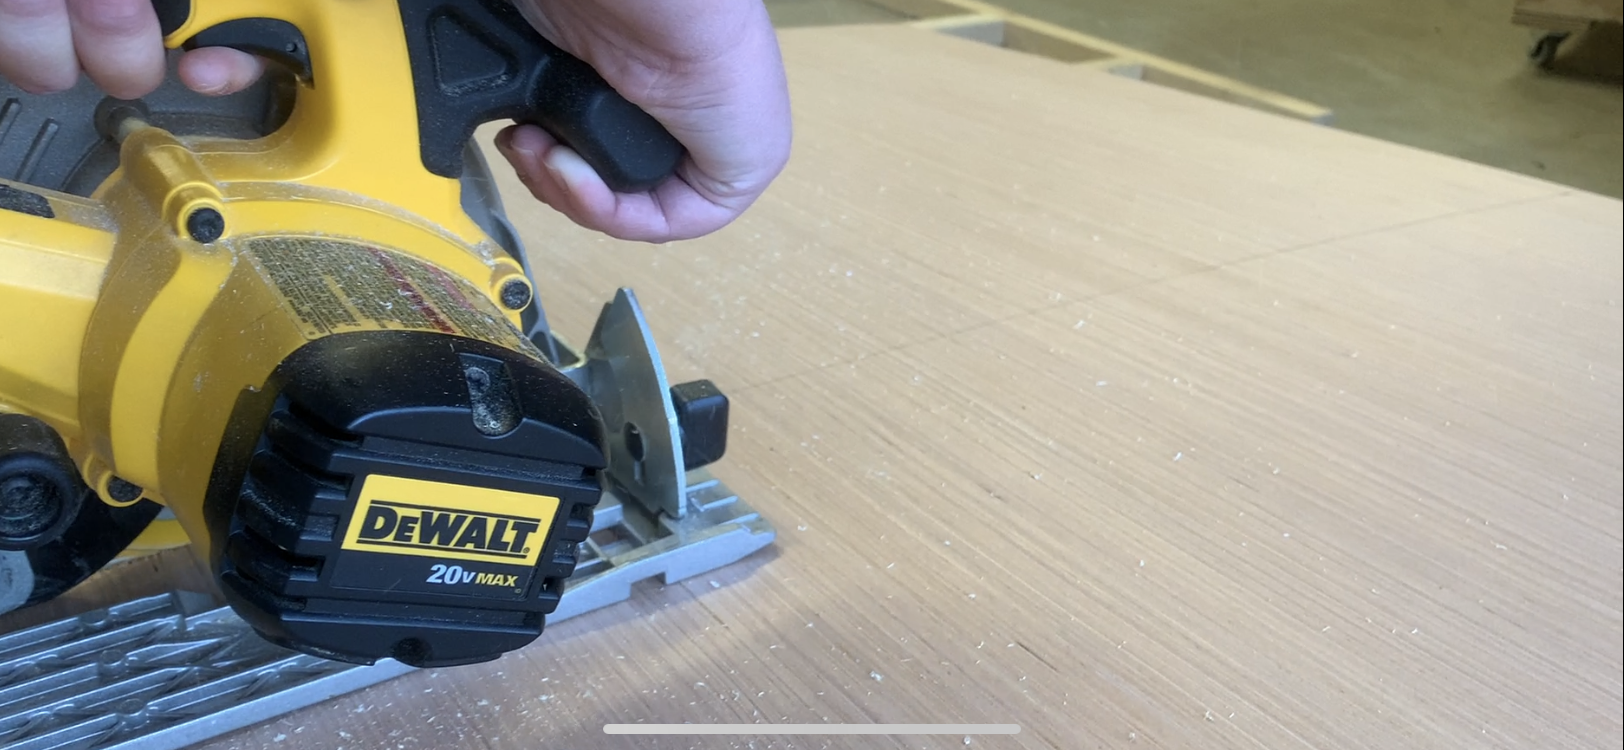
I used a 4x8'x1/8" sheet of plywood ($17 at Lowe's) and cut it into several pieces (two large pieces for the front body and 2 small pieces for the top for the flames) so that way I used it all and didn't have to buy another sheet. Not only because I'm cheap, but because I like using resources.
Now I'm Screwed!
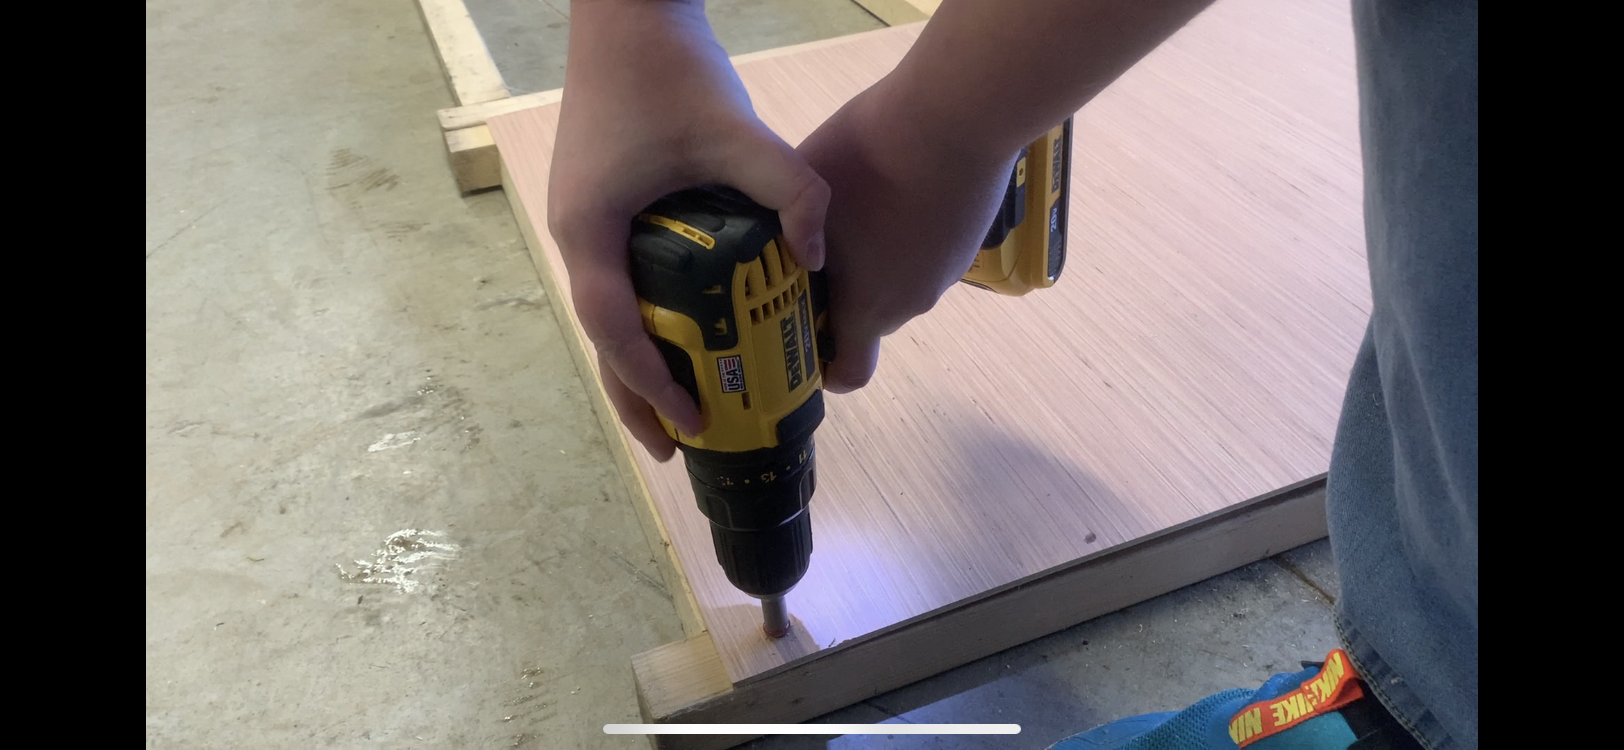
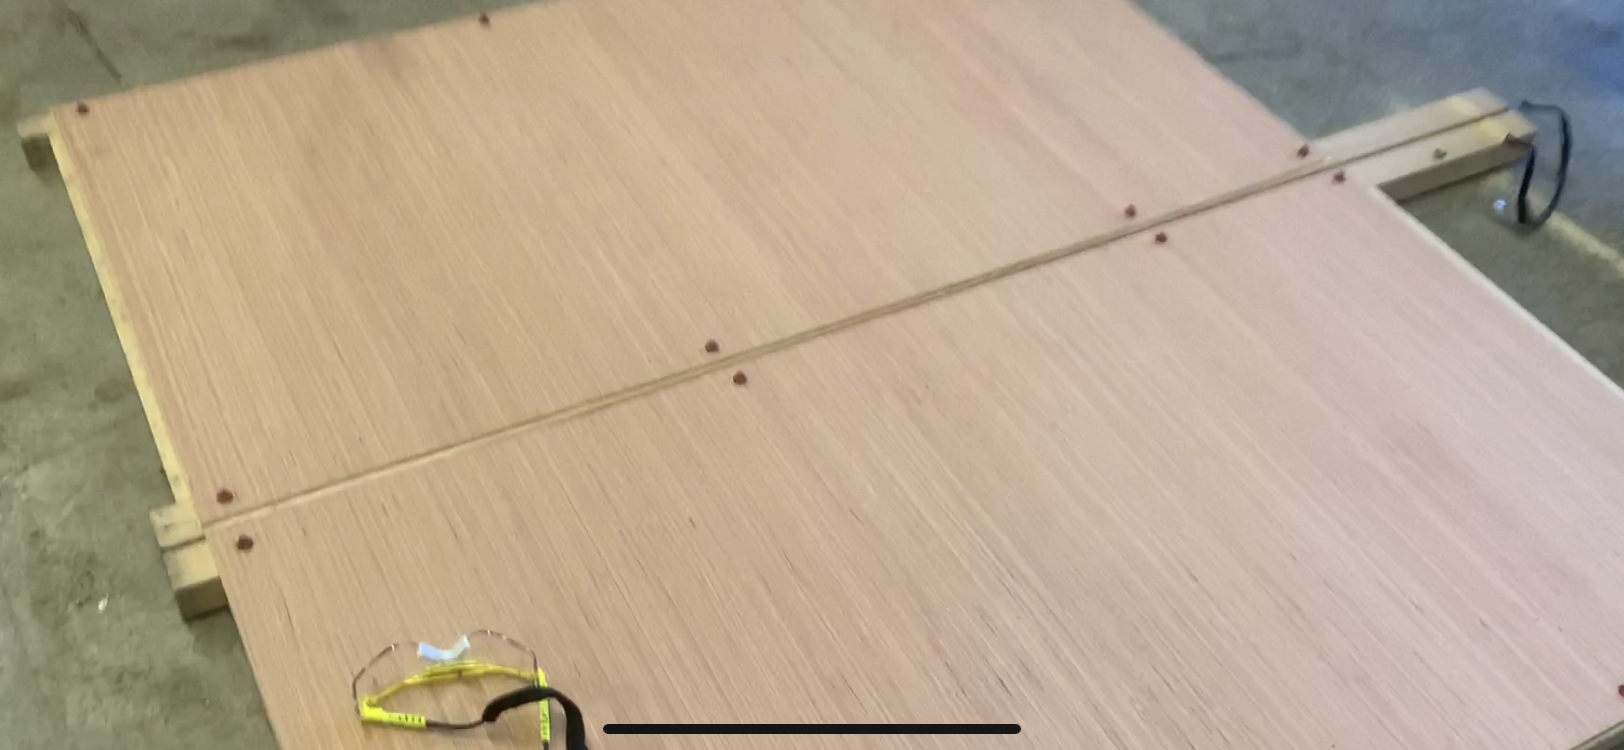
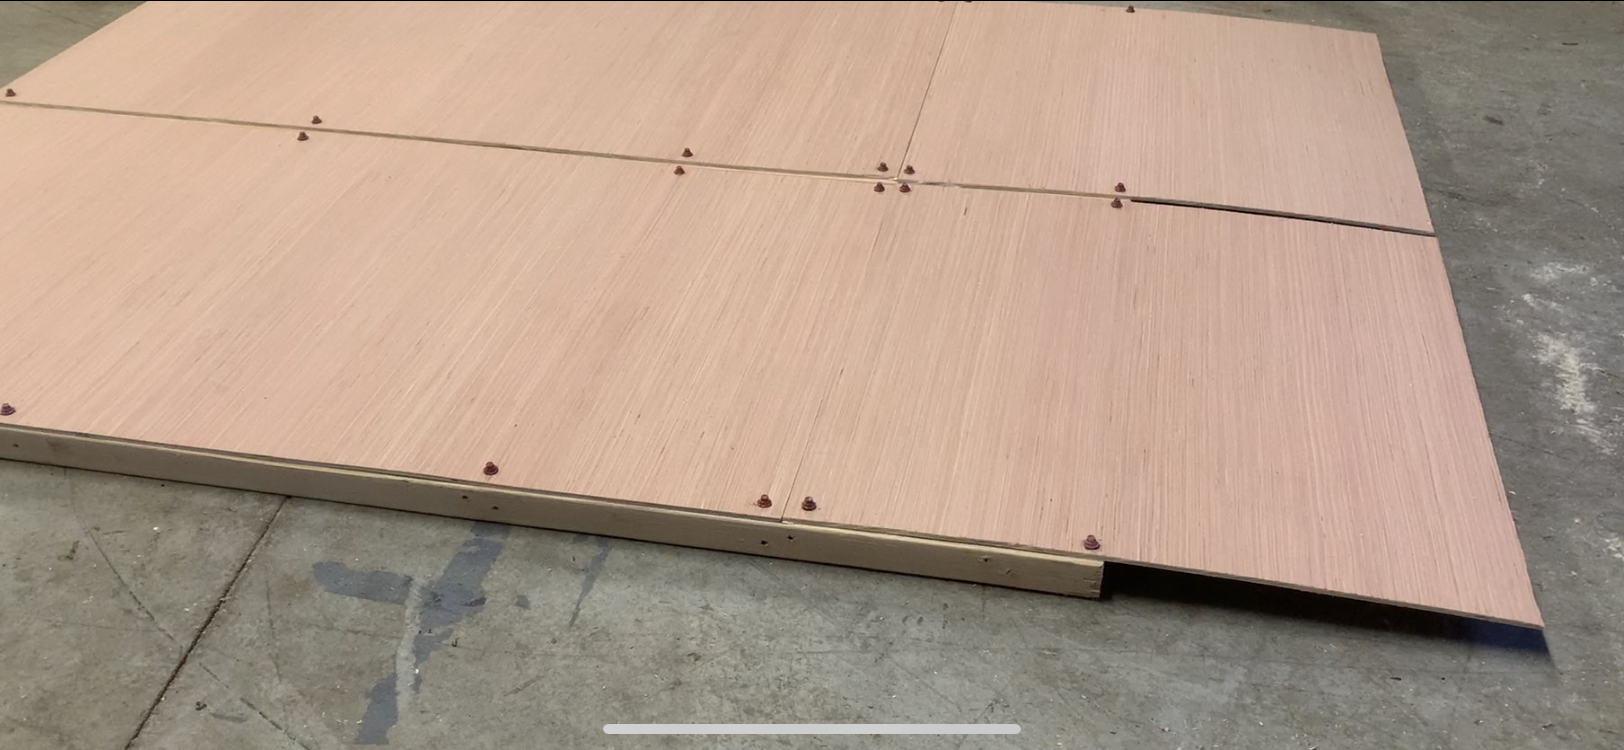
From the title you must have thought something bad happened... Nope! Now I just screwed all of the pieces down using sheet metal screws, just because I thought they give it a cool look. They were red, but since I painted it, I had to unscrew them to paint the board so I didn't paint over the screws, and then screw it back down. When I screwed it back down I used white sheet metal screws instead.
Drawing, Cutting the Flames and Painting the Board
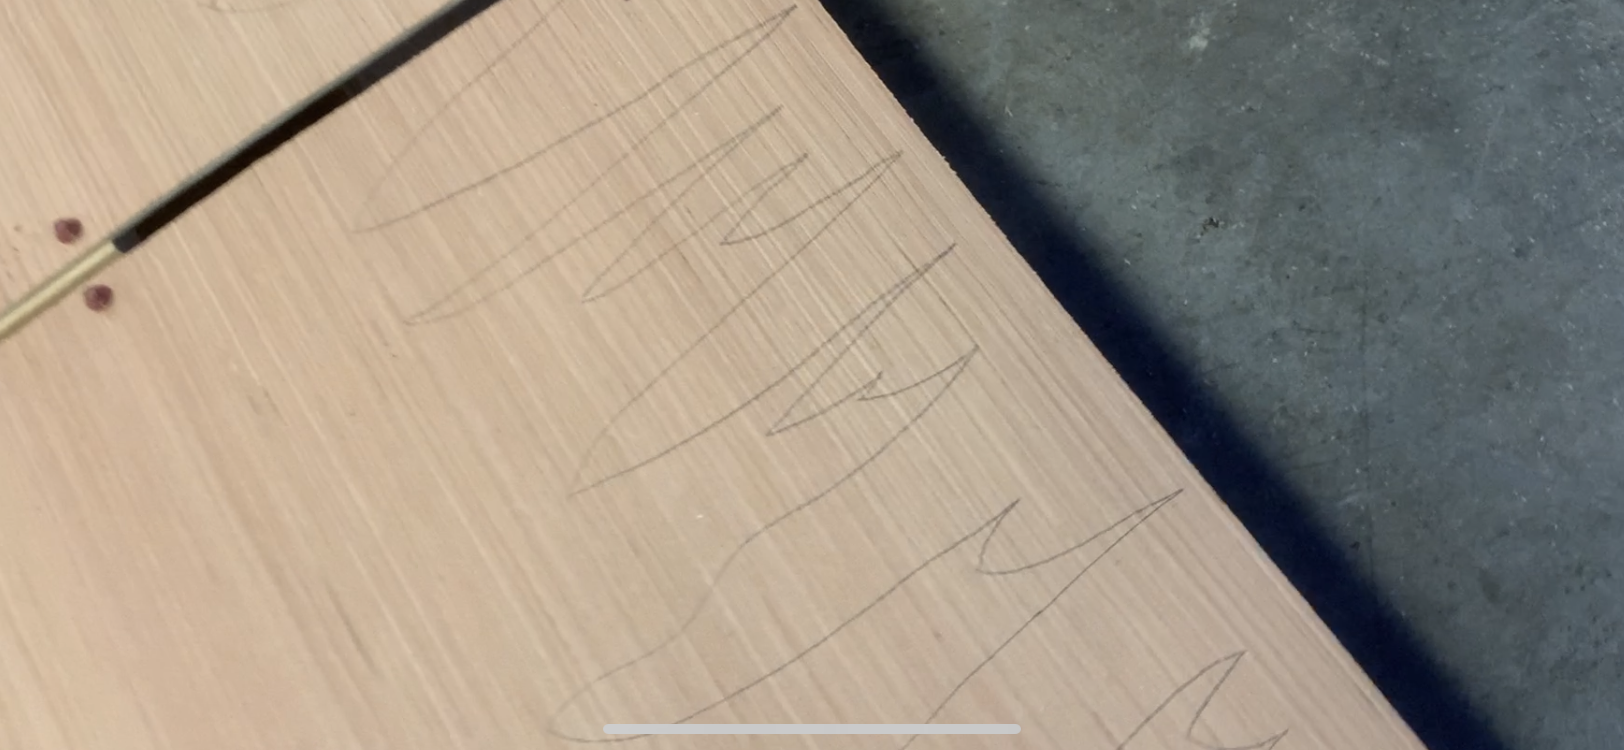
I then drew and cut my flames out at the top, for no other reason than decoration. To spice it up a little. I don't have a picture of me cutting it out because it was on GoPro and not on my phone so I didn't know how to get the pic. Same thing with painting it.
Cutting Out and Painting the Tools
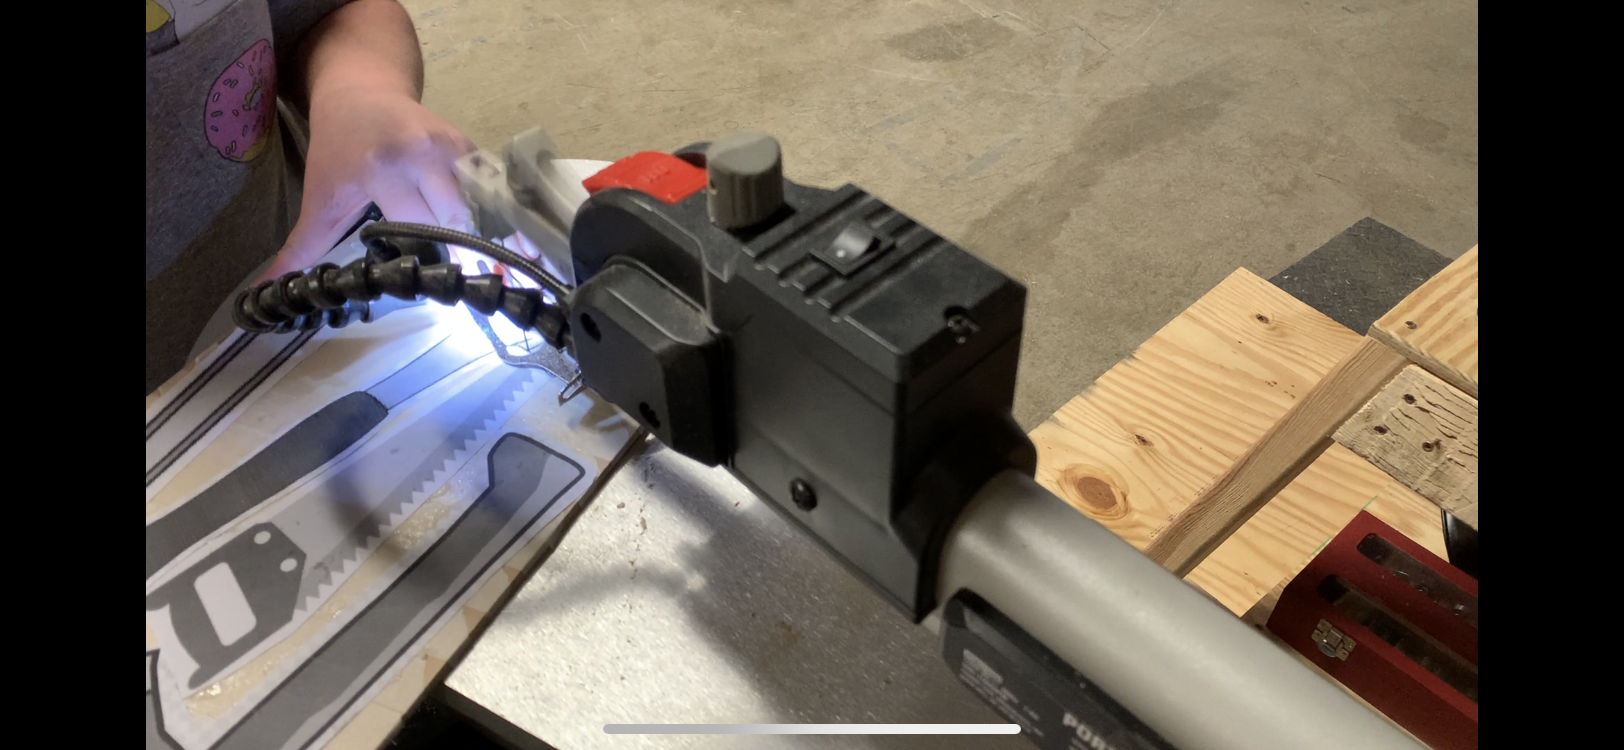
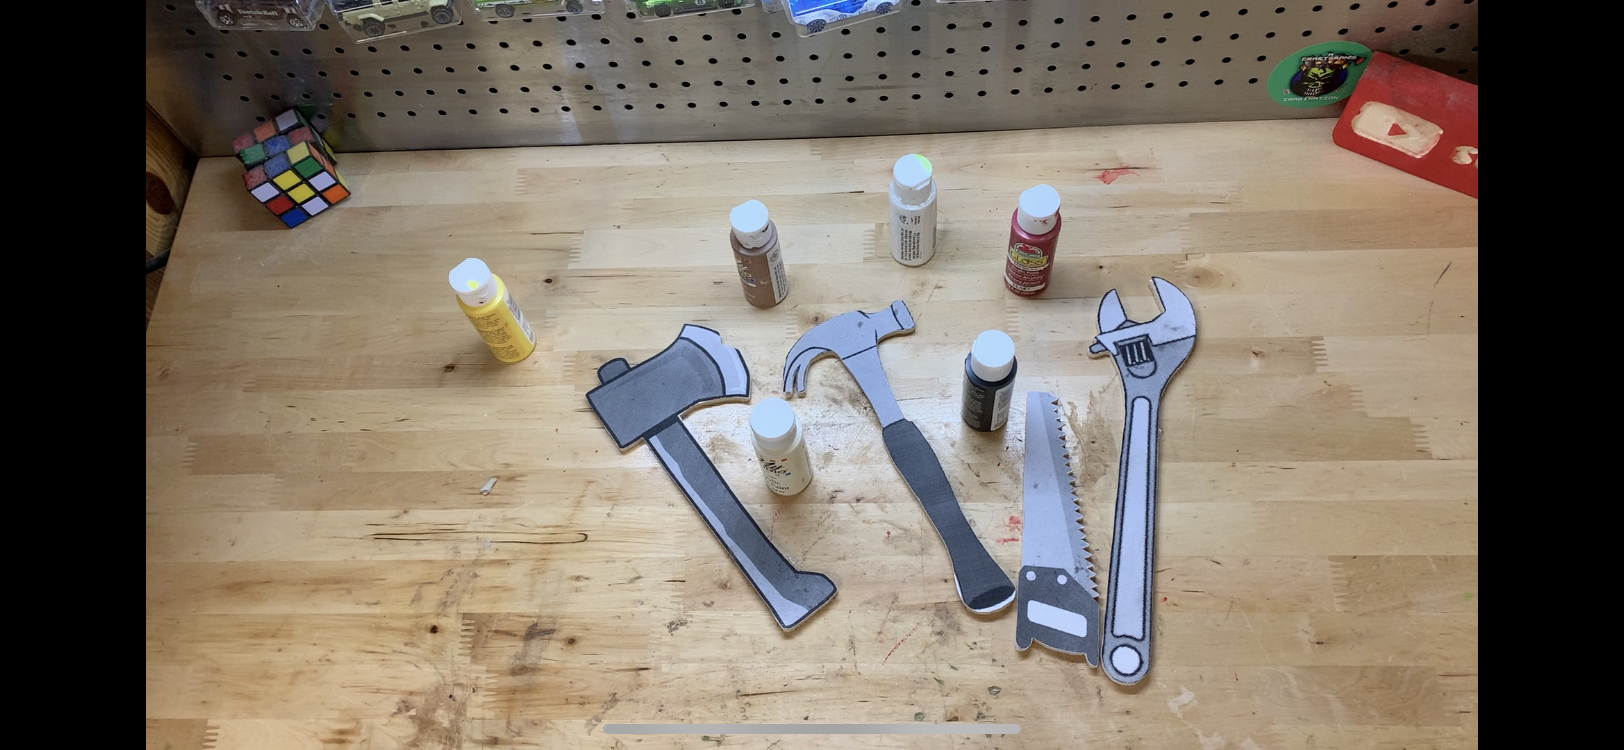
If you look at my logo, you'll see that I have a wrench, an axe, a hammer, and a saw in it! (I also have flames too, that's why I made flames at the top) So I decided to cut, paint, and glue on those tools onto my sticker board!
Ughh... Painting the Flames
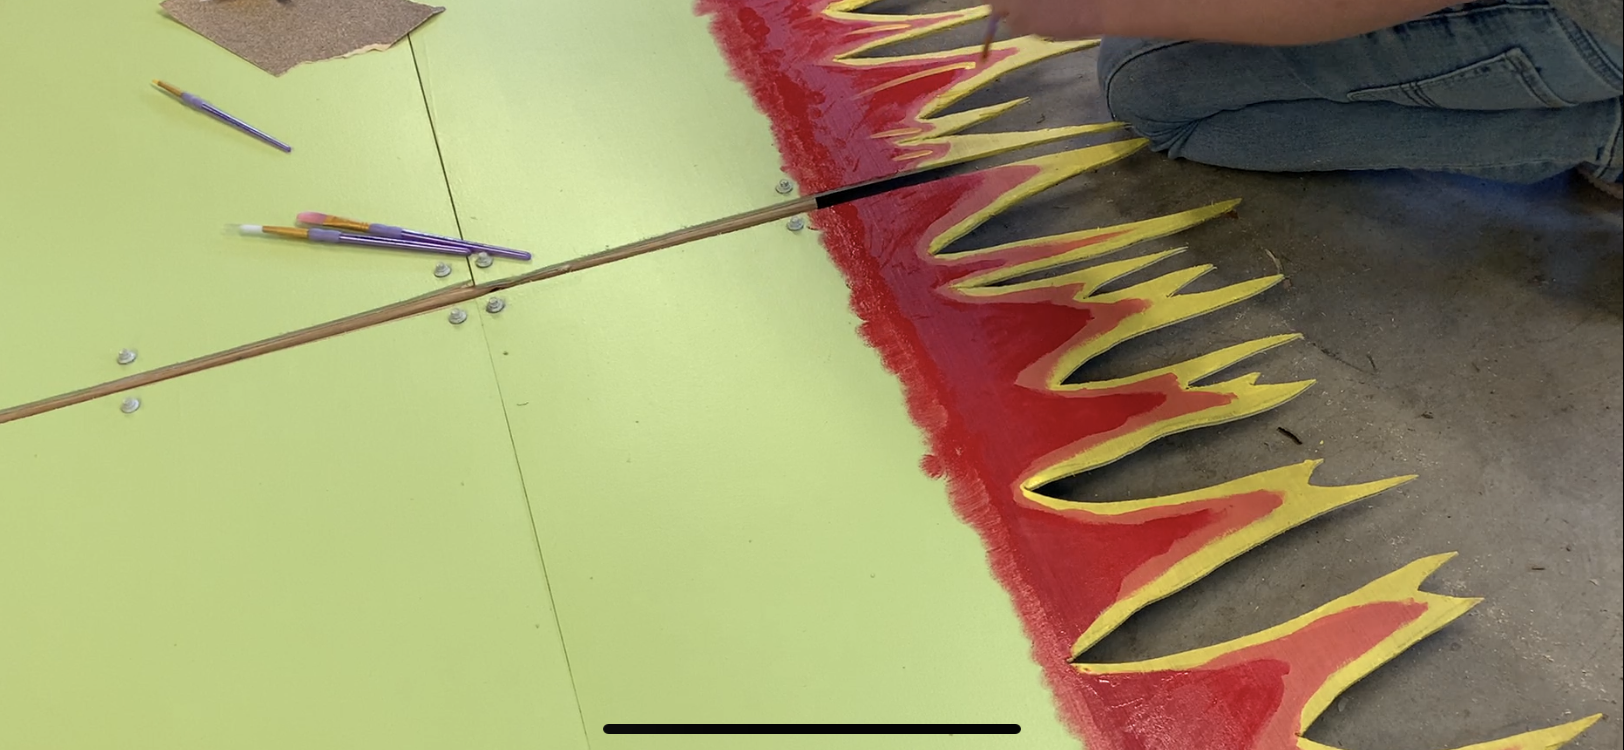
This was a pain. Well... it wasn't hard, but it took me an HOUR to paint these flames. It payed off though ;)
Finishing Touches
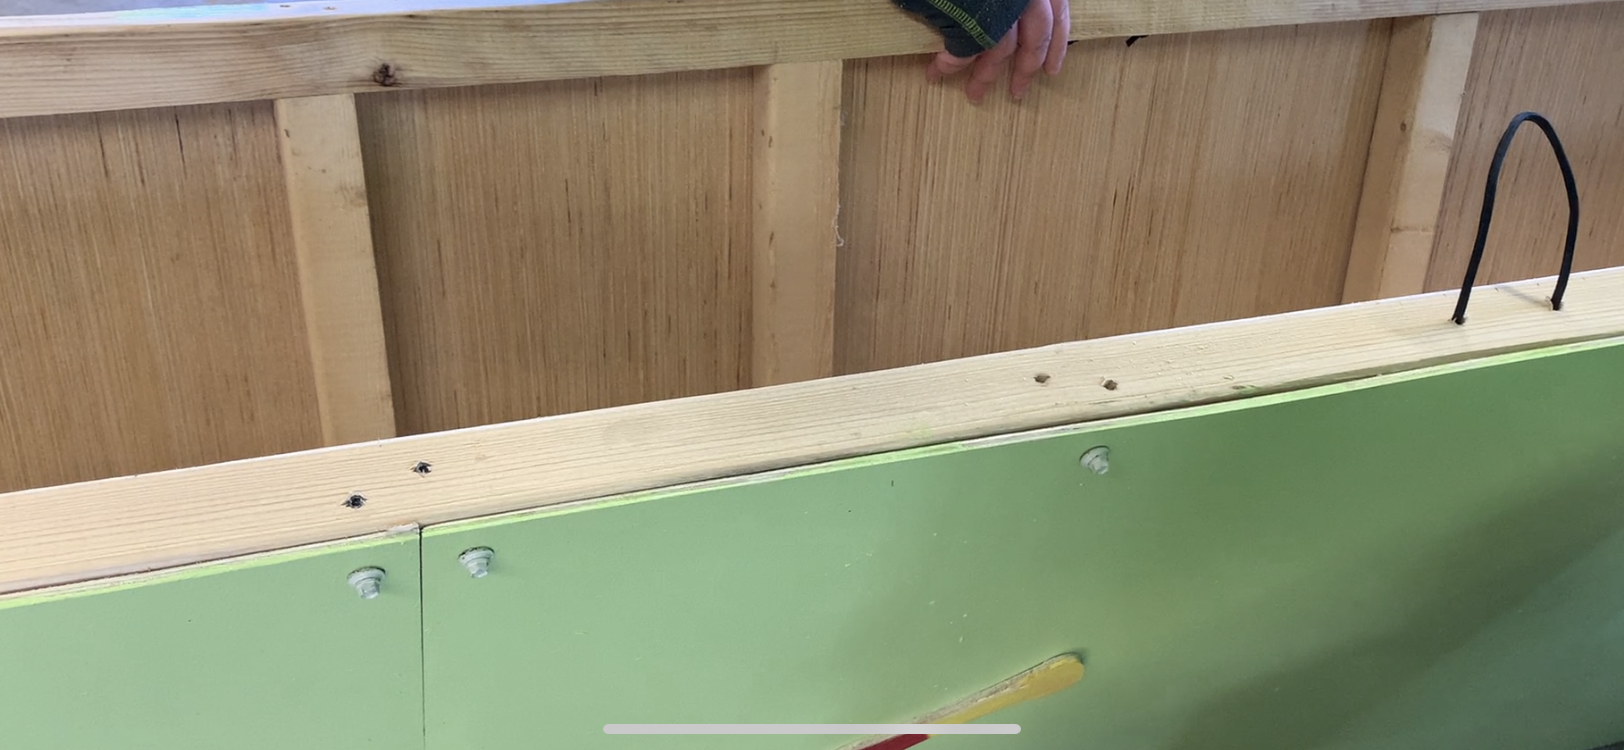
So I could fold and carry it, I measured and drilled a couple holes for handles. I cut my rope, tied knots at one of the ends, stuck the unknotted end through one of the holes, through the other hole, and tied the end.
Stickers and Done!
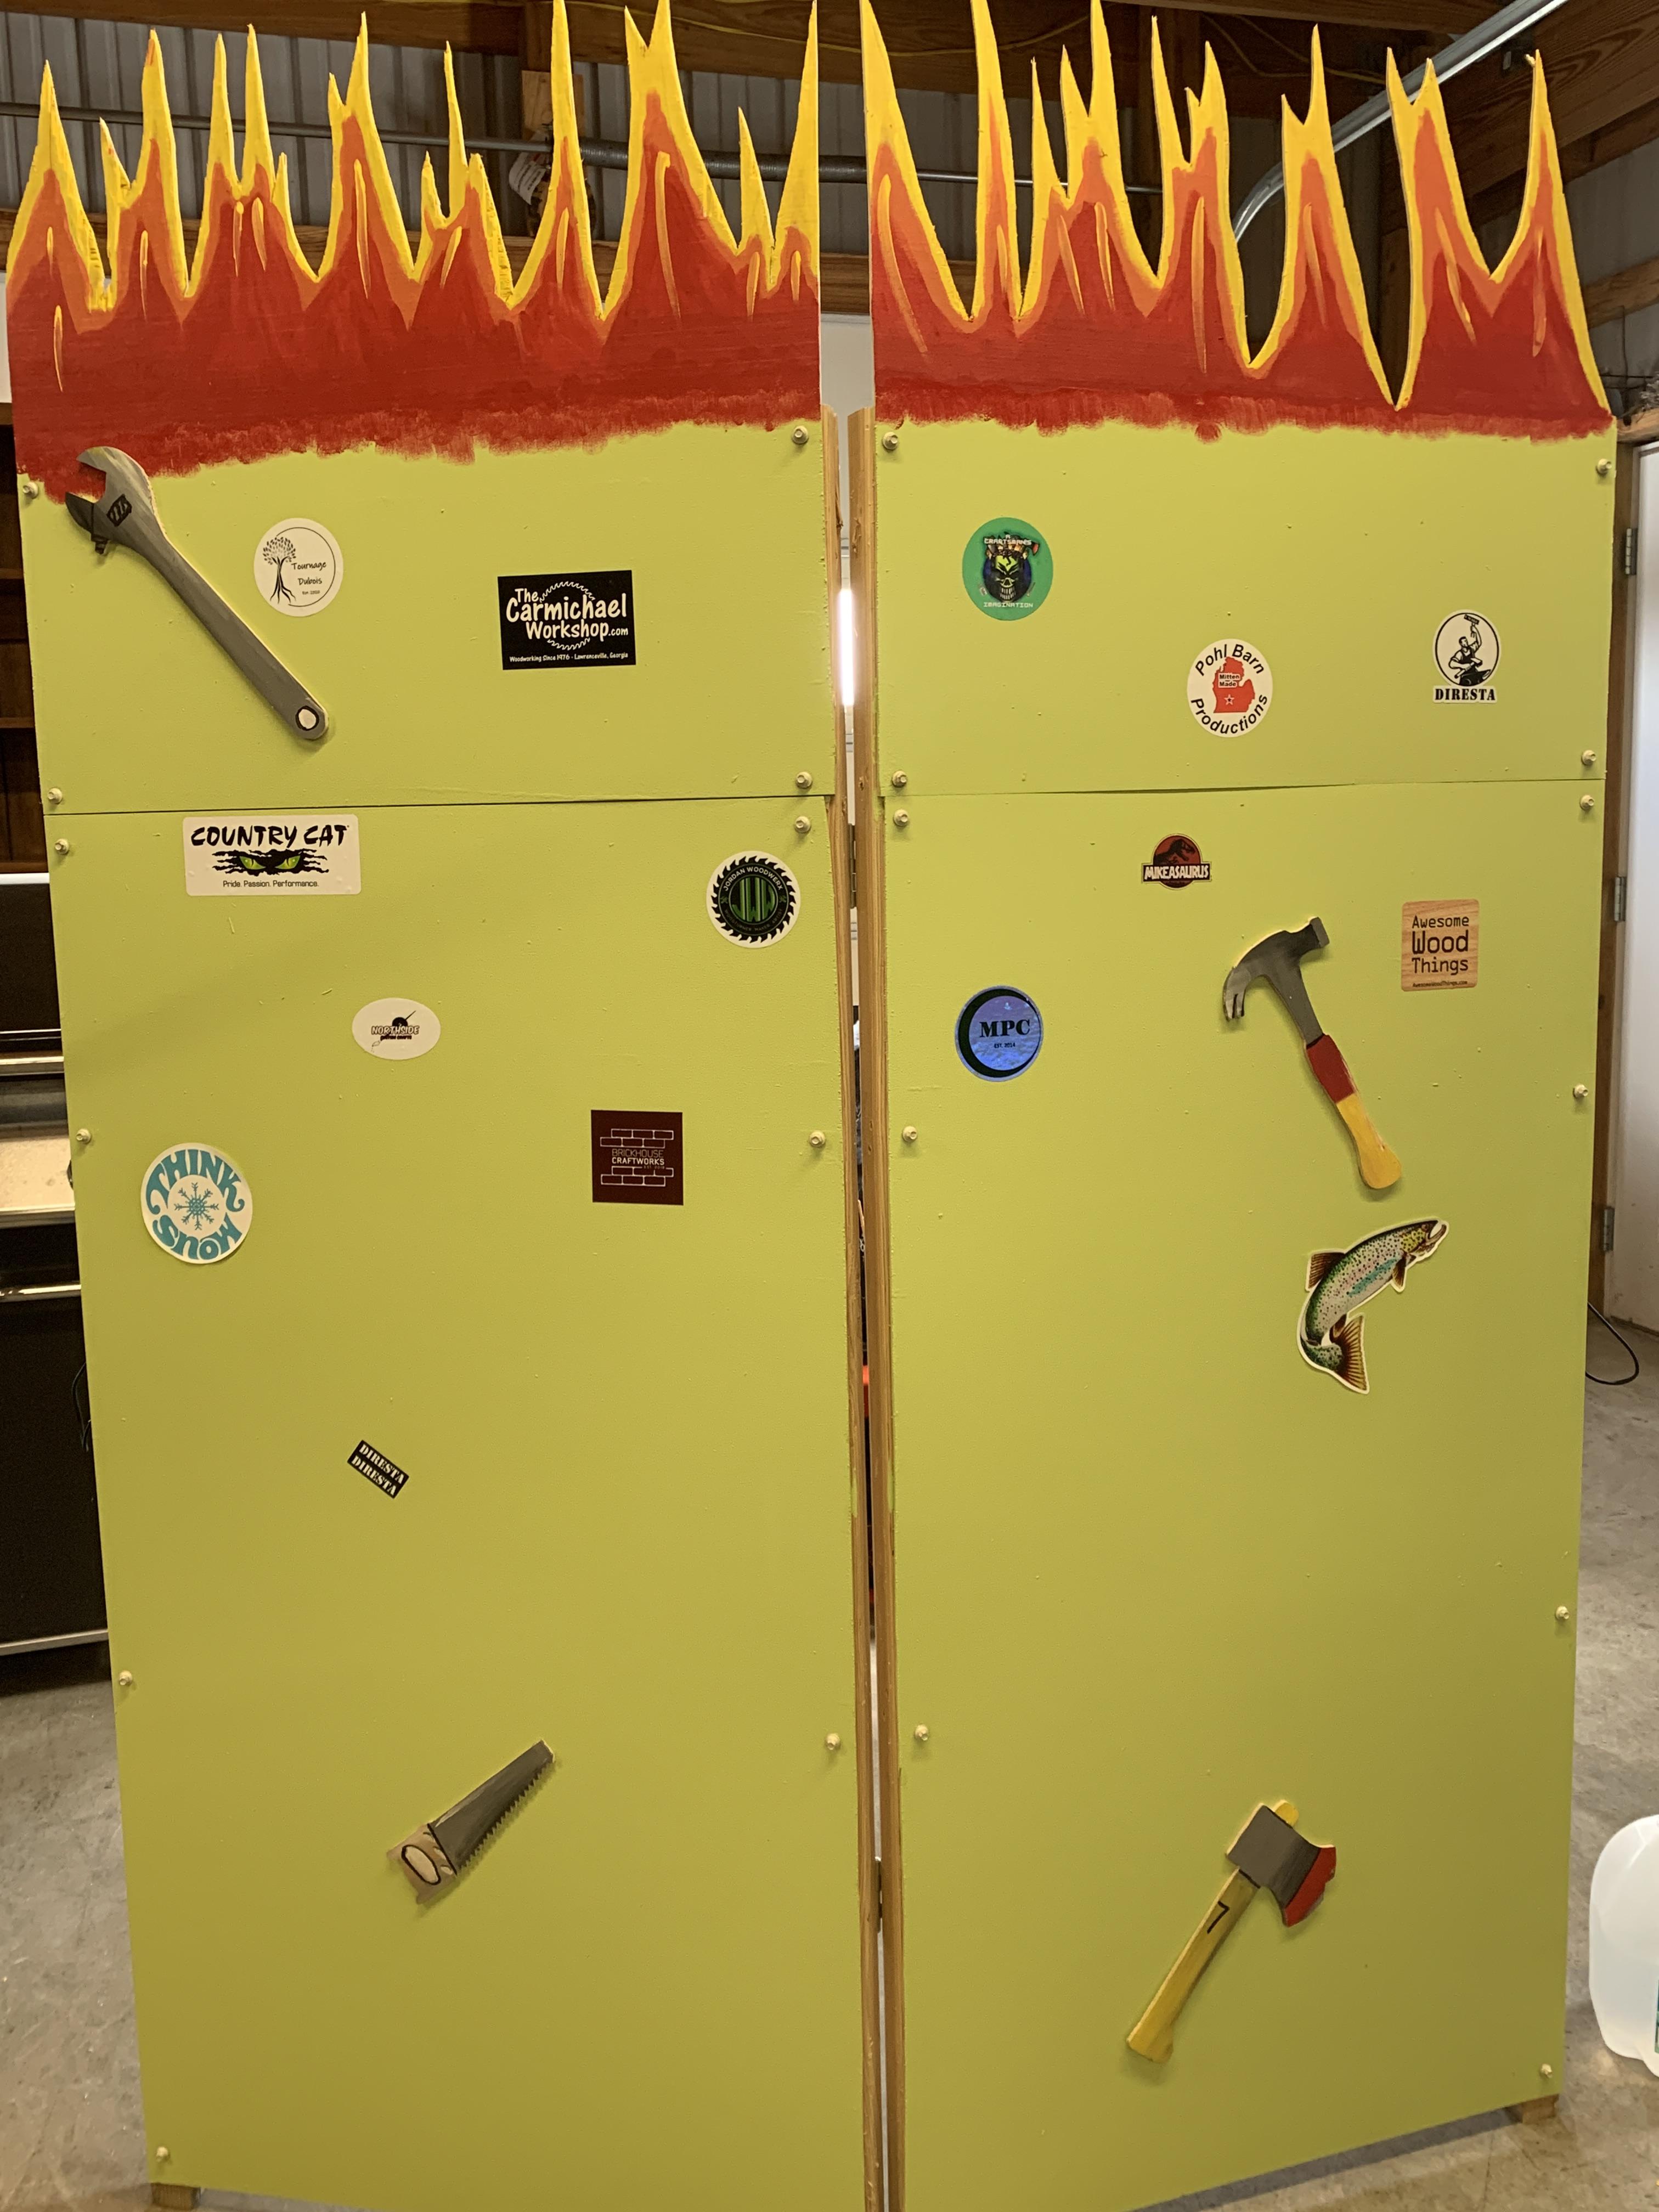
I applied the stickers I got from other YouTube channels on my board and it looks AWESOME!!! Video will be out 3/20/21 at 8:00 am EST on me making the board! It will be a premiere (and it's a long video) so we'll have a good time! Hope to see ya there!