Step by Step How to Animate an Exploded Diagram of a Fusion 360 Project:
by jathaana in Design > 3D Design
633 Views, 9 Favorites, 0 Comments
Step by Step How to Animate an Exploded Diagram of a Fusion 360 Project:
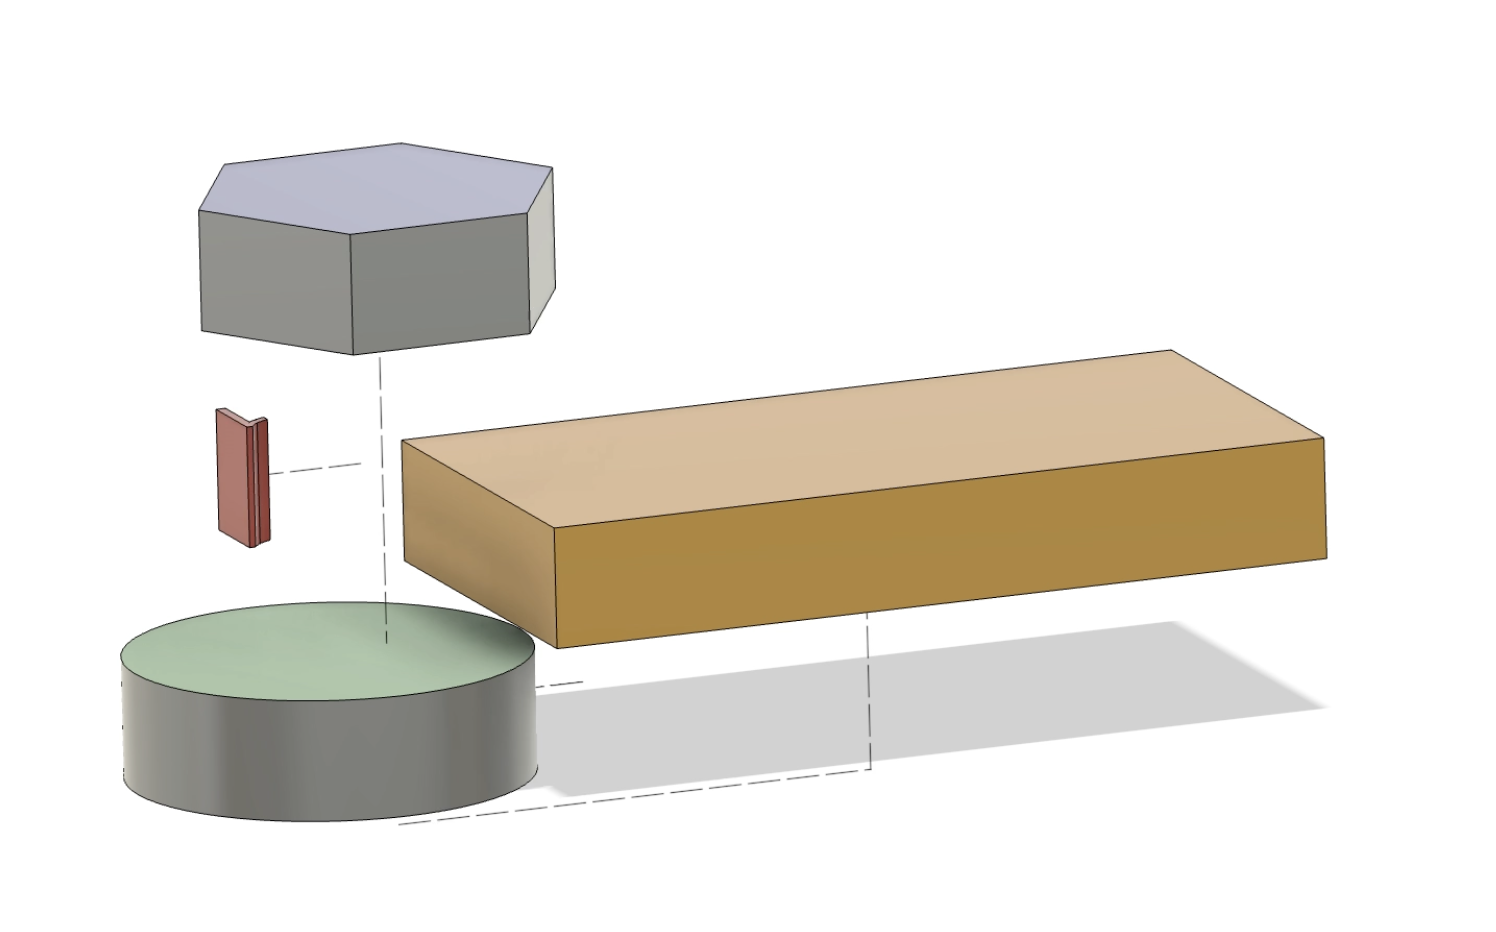
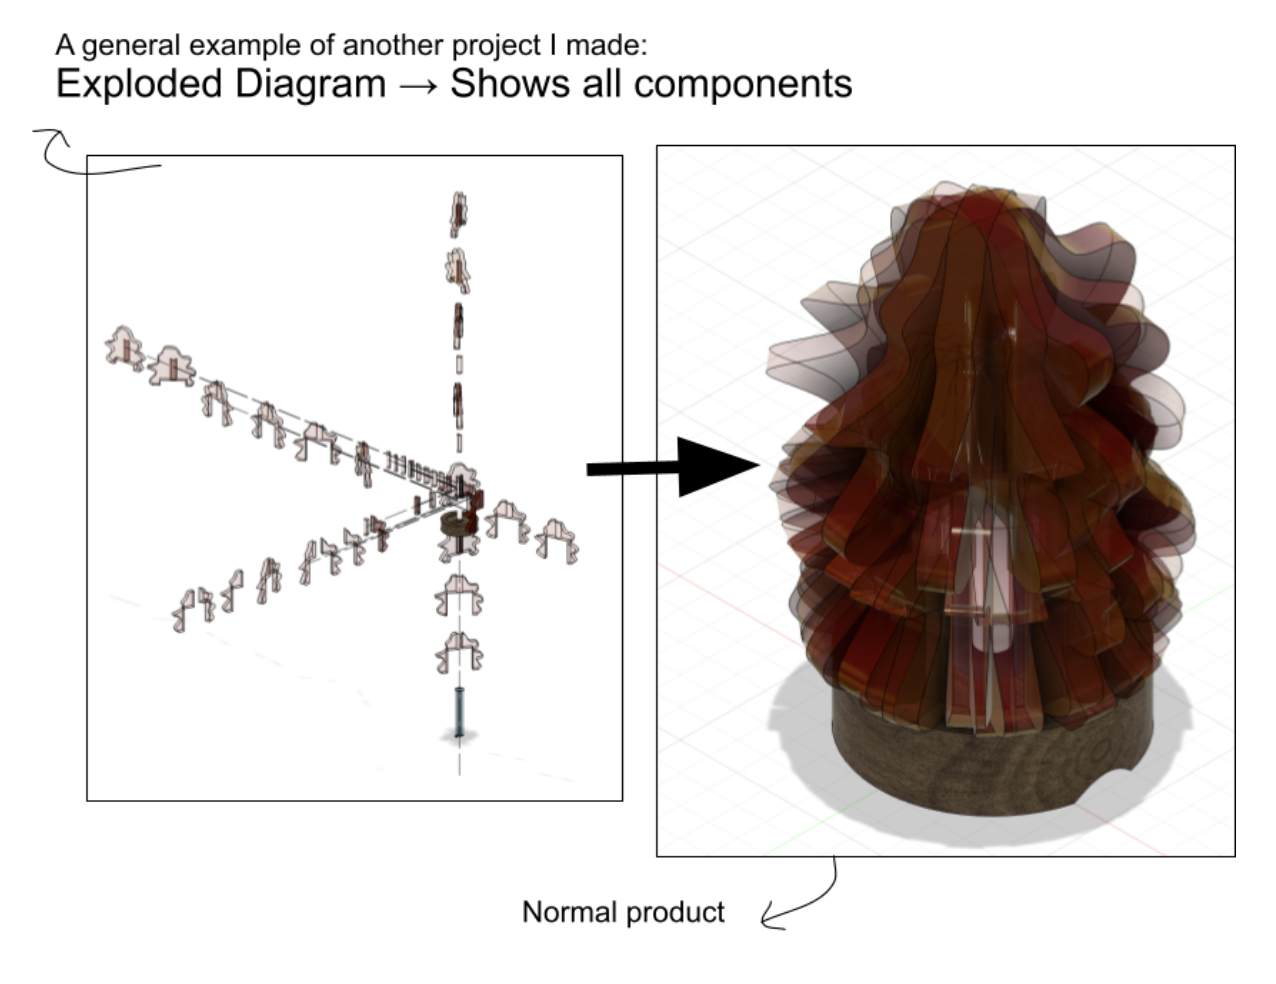
^ Above are some examples of an exploded diagram:
Step by Step How to Animate an Exploded Diagram of a Fusion 360 Project:
An Exploded Diagram is a form of modelling a product in which shows all components expanded to show where all the parts/components fit together in the product.
Designers use the animation to help model the movement and explosion of the diagram, as well as show different views and angles.
Below I have the final animation I made by following this tutorial:
Downloads
Supplies

Materials/Programs used: Fusion 360
Software used: Macbook
Identifying the Components of the Animation
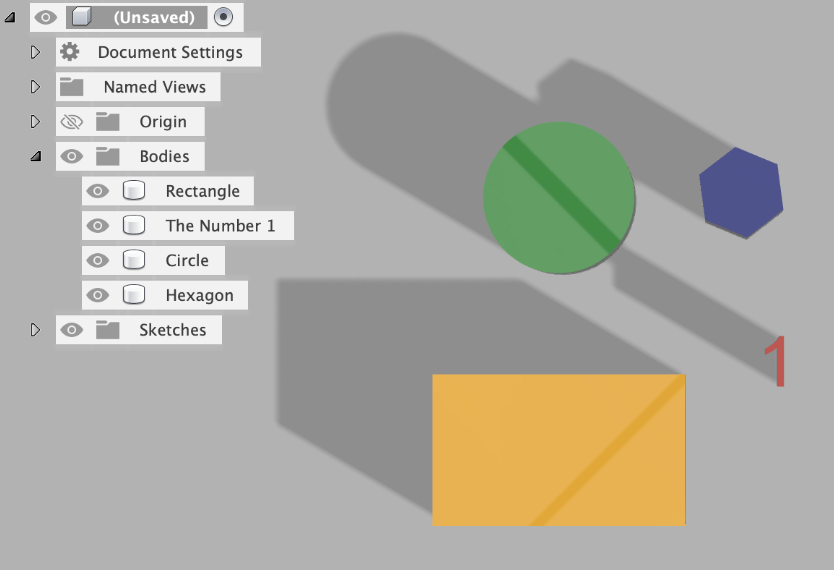
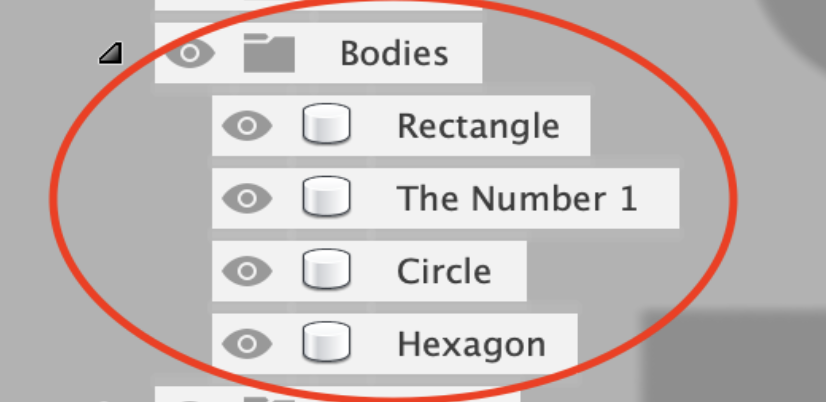
Assuming you’re starting with an already existing project, I’m going to demonstrate the process of animation with an existing project:
- As you can see above, the project has 4 different shapes. All the shapes fall under bodies in the document overview. The shapes are: Yellow Rectangle, a Red Number 1, a Green Circle and Blue Hexagon
Converting Bodies to Components
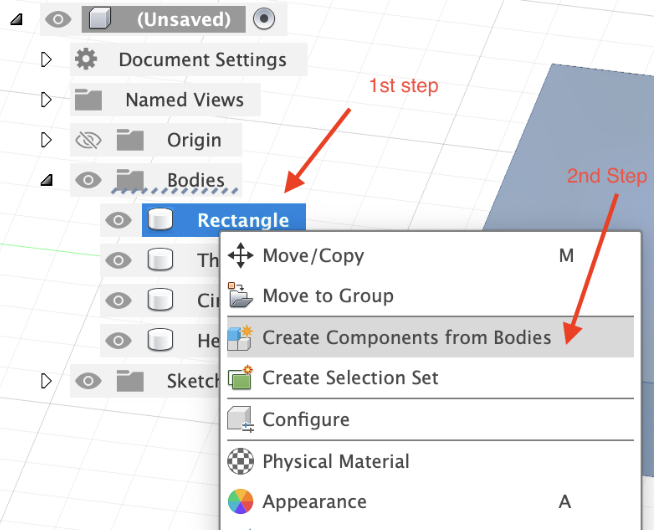
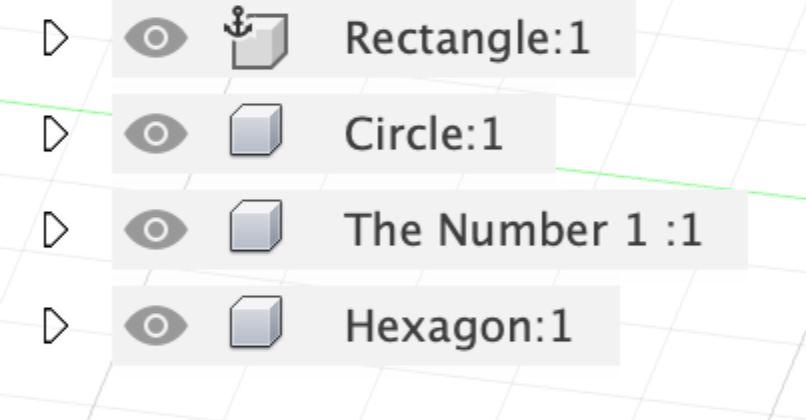
The next step is to convert the bodies into components. These components are what move in the animation. Now we need to turn all the objects into components:
- The first thing you need to do is double click the body you want to animate, then click the button saying create components from body. (The repeat this step with every body which you want to animate)
- When all you bodies are successfully transformed into components, there should be a list of all your bodies listed as components
Animation Workspace
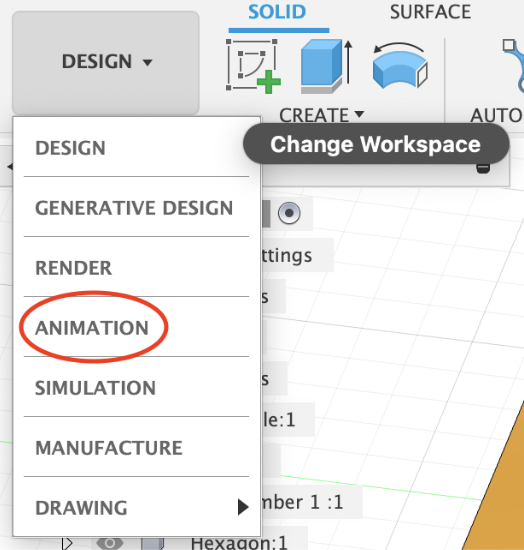
How to change workspaces to the animation workspace:
- Click the button which says what workspace you’re currently working in. For me I was working in the design workspace. Then click the animation option
The Animation Workspace Basics: Recording Guide
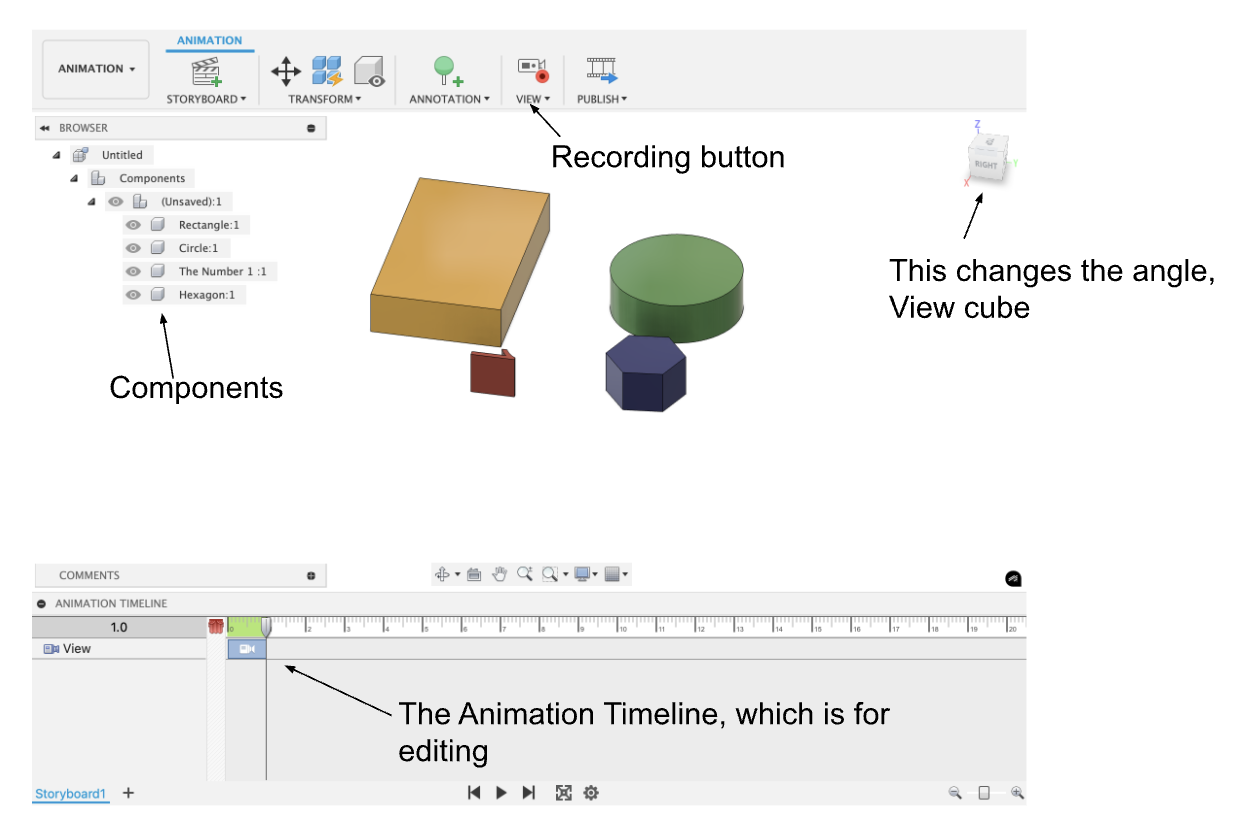
- All the main parts of the animation workspace
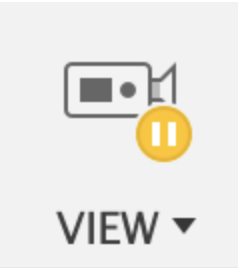
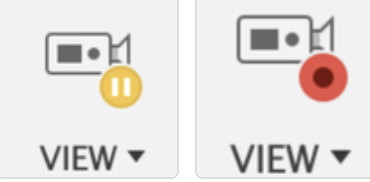
- When the recording button has a yellow dot on the right, it means that the view currently isn't recording/is on pause
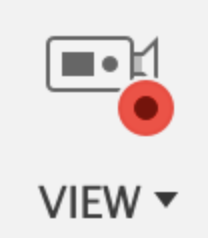
- When the recording button has a red dot on the right, it means that the view currently is recording
Changing the Position/arrangements of the Components:
(If your components are already where you want them to be for the animation, skip this step)
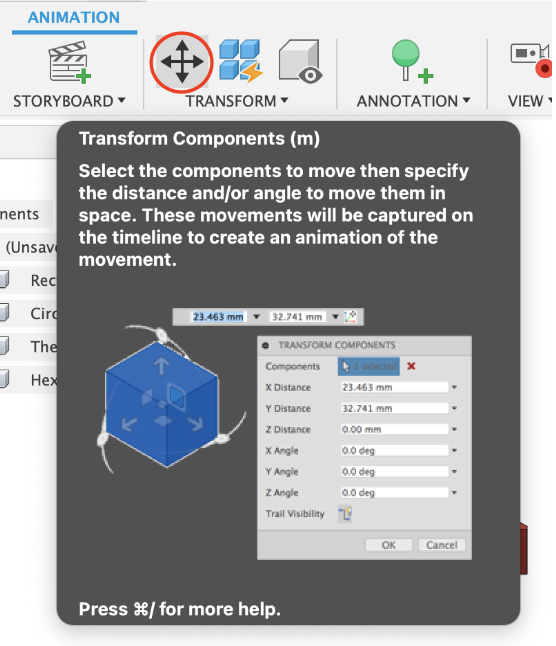
- Click the move button in the top left corner
- Select the component you want to move
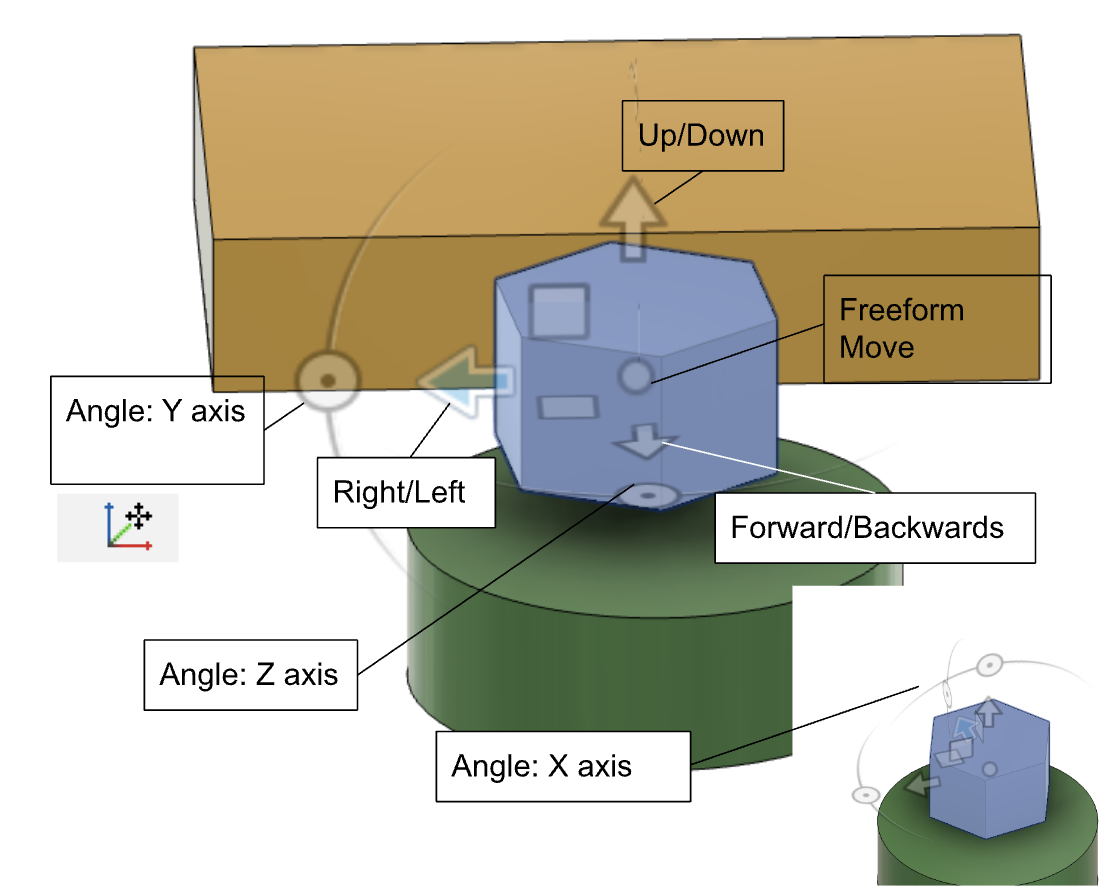
- Move the component using the arrows and axis (Arrows guide above)
- Repeat these steps for whatever components you want to move
Understanding the Animation Timeline: Animation Timeline Guide

Exploding the Model
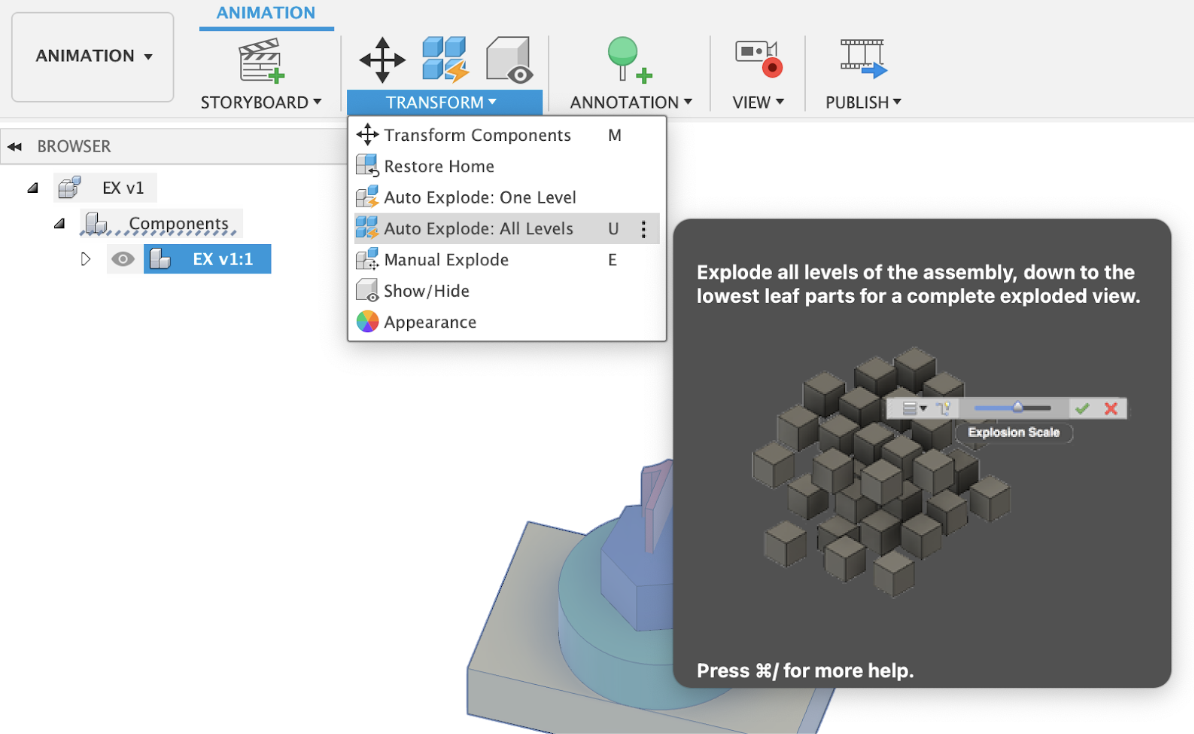
- Select all your components
- Click the transform button
- Then click the Auto-Explode: All levels button
Edit the Exploded Diagram to Your Liking
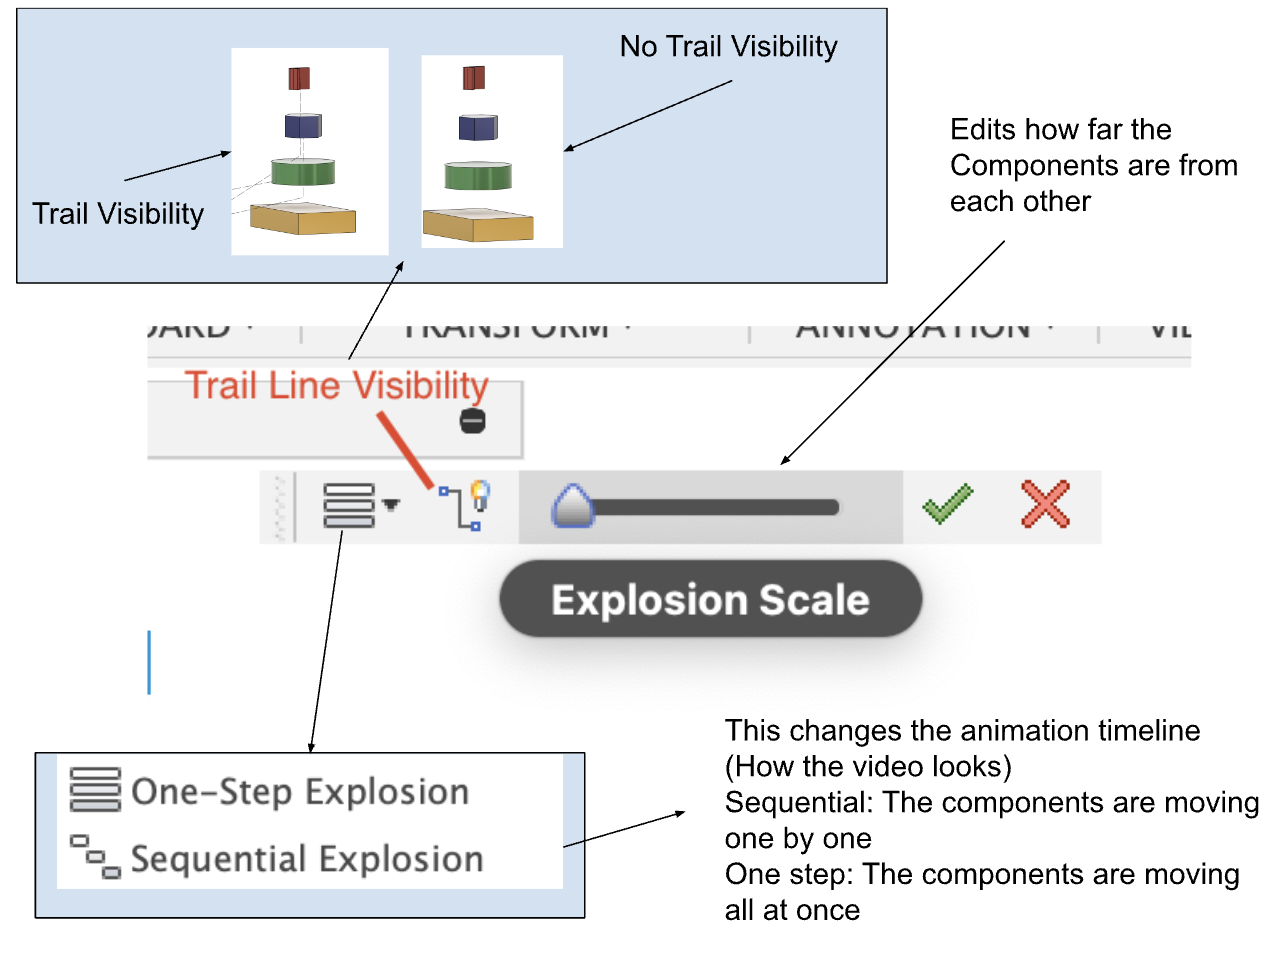
All the adjustments you can make
Record and Edit the Animation to Your Liking

Now you can just edit and record the video to your liking, using the animation timeline guide is listed above, and so is the recording guide
Exporting and Publishing Your Video
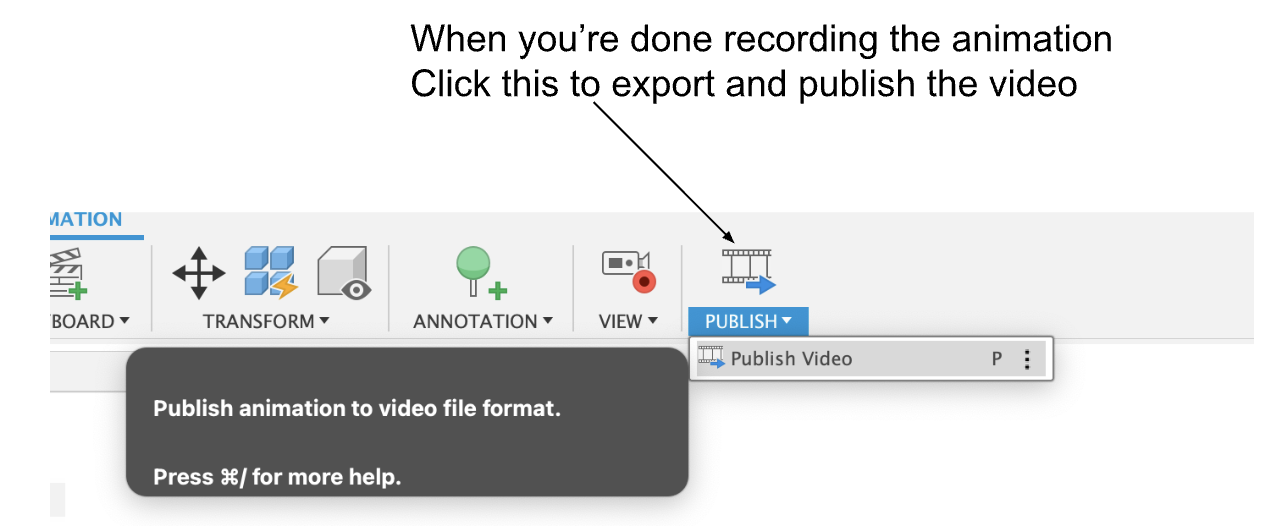
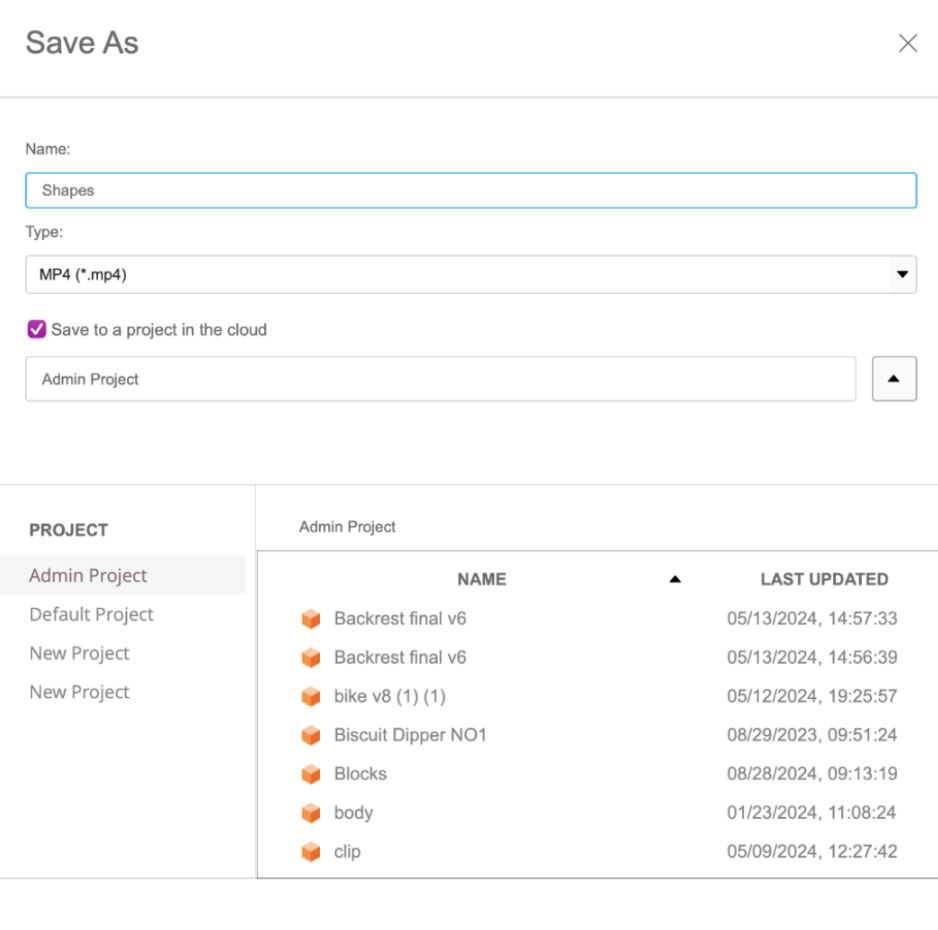
- Press the publish button in the top right of the screen
- Edit how you want the file to be named and the location of the file
Watch the Video
I attached the final outcome of my video