Step-by-Step Guide to Creating a Flyer in Canva
by JamieTR in Design > Digital Graphics
282 Views, 0 Favorites, 0 Comments
Step-by-Step Guide to Creating a Flyer in Canva
Step-by-Step Guide to Creating a Flyer in Canva
Downloads
Supplies
The basic supplies needed are a moble device or computer.
Sign in or Sign Up

- Visit Canva's website and either sign in or create an account. Create a new account if you don’t have one.
Choose a Flyer Template
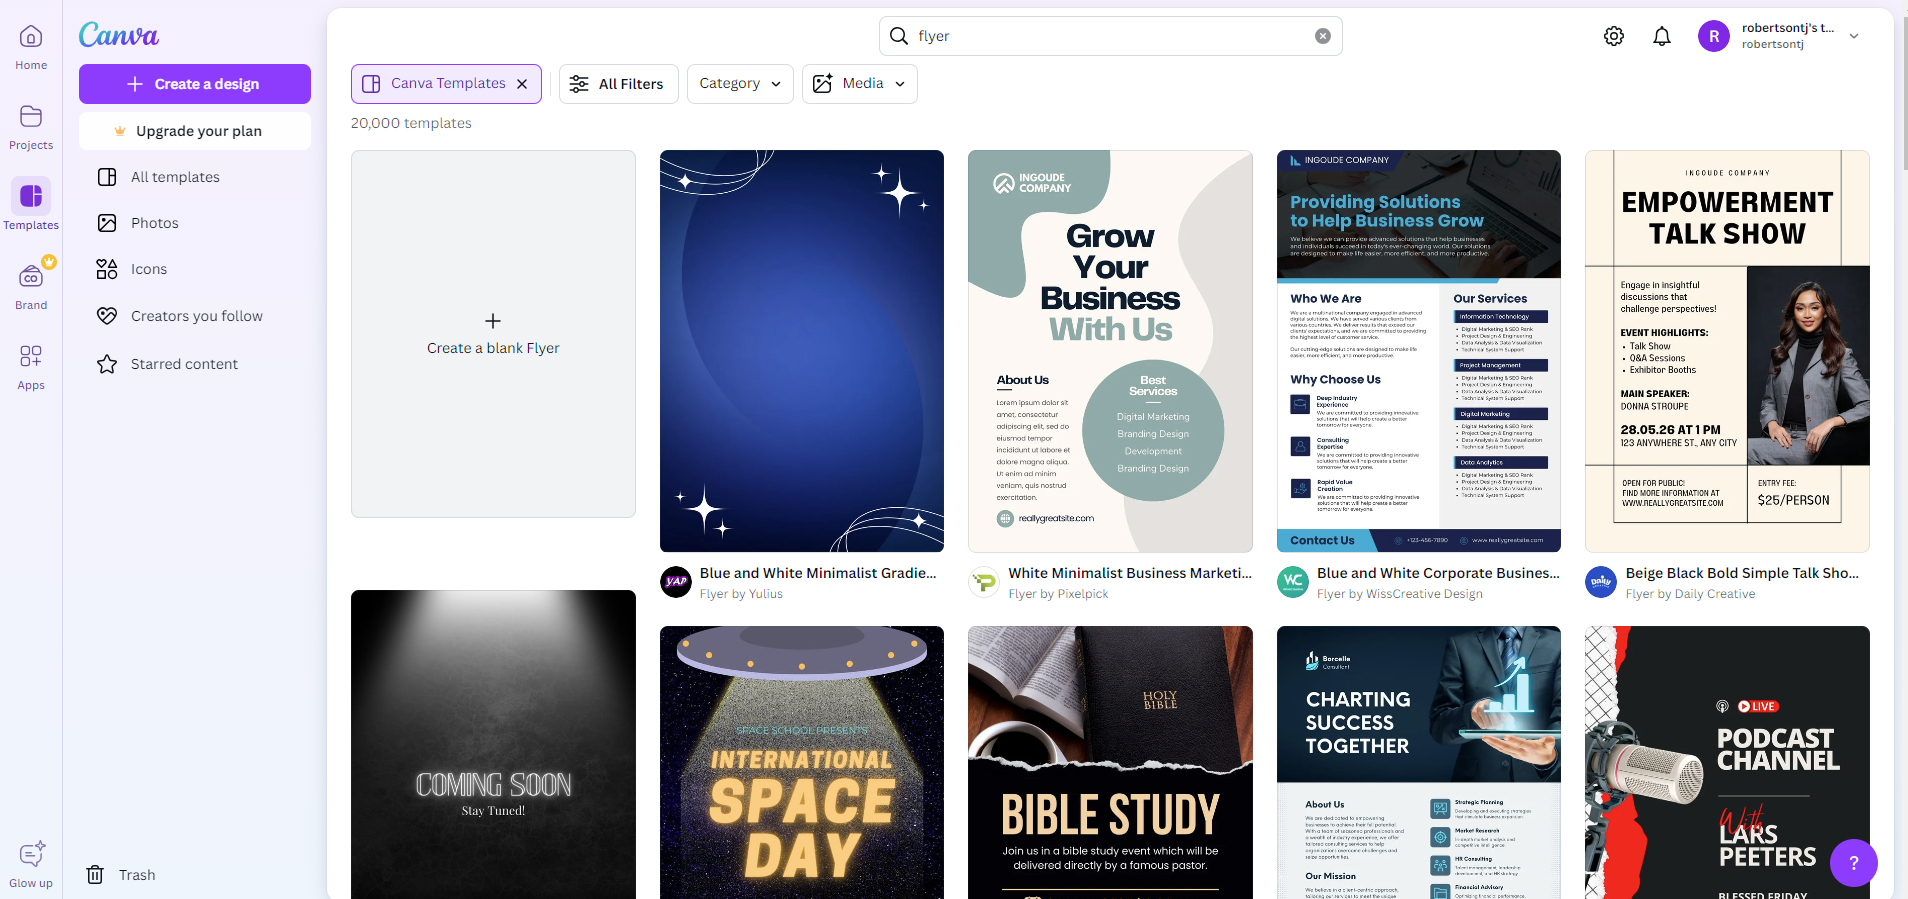
- On the Canva homepage, type “Flyer” in the search bar and press Enter.
- Please remember the following text: "Browse through the available templates and select one that fits your needs.
- You can filter templates by style, theme, or color.
Customize Your Template
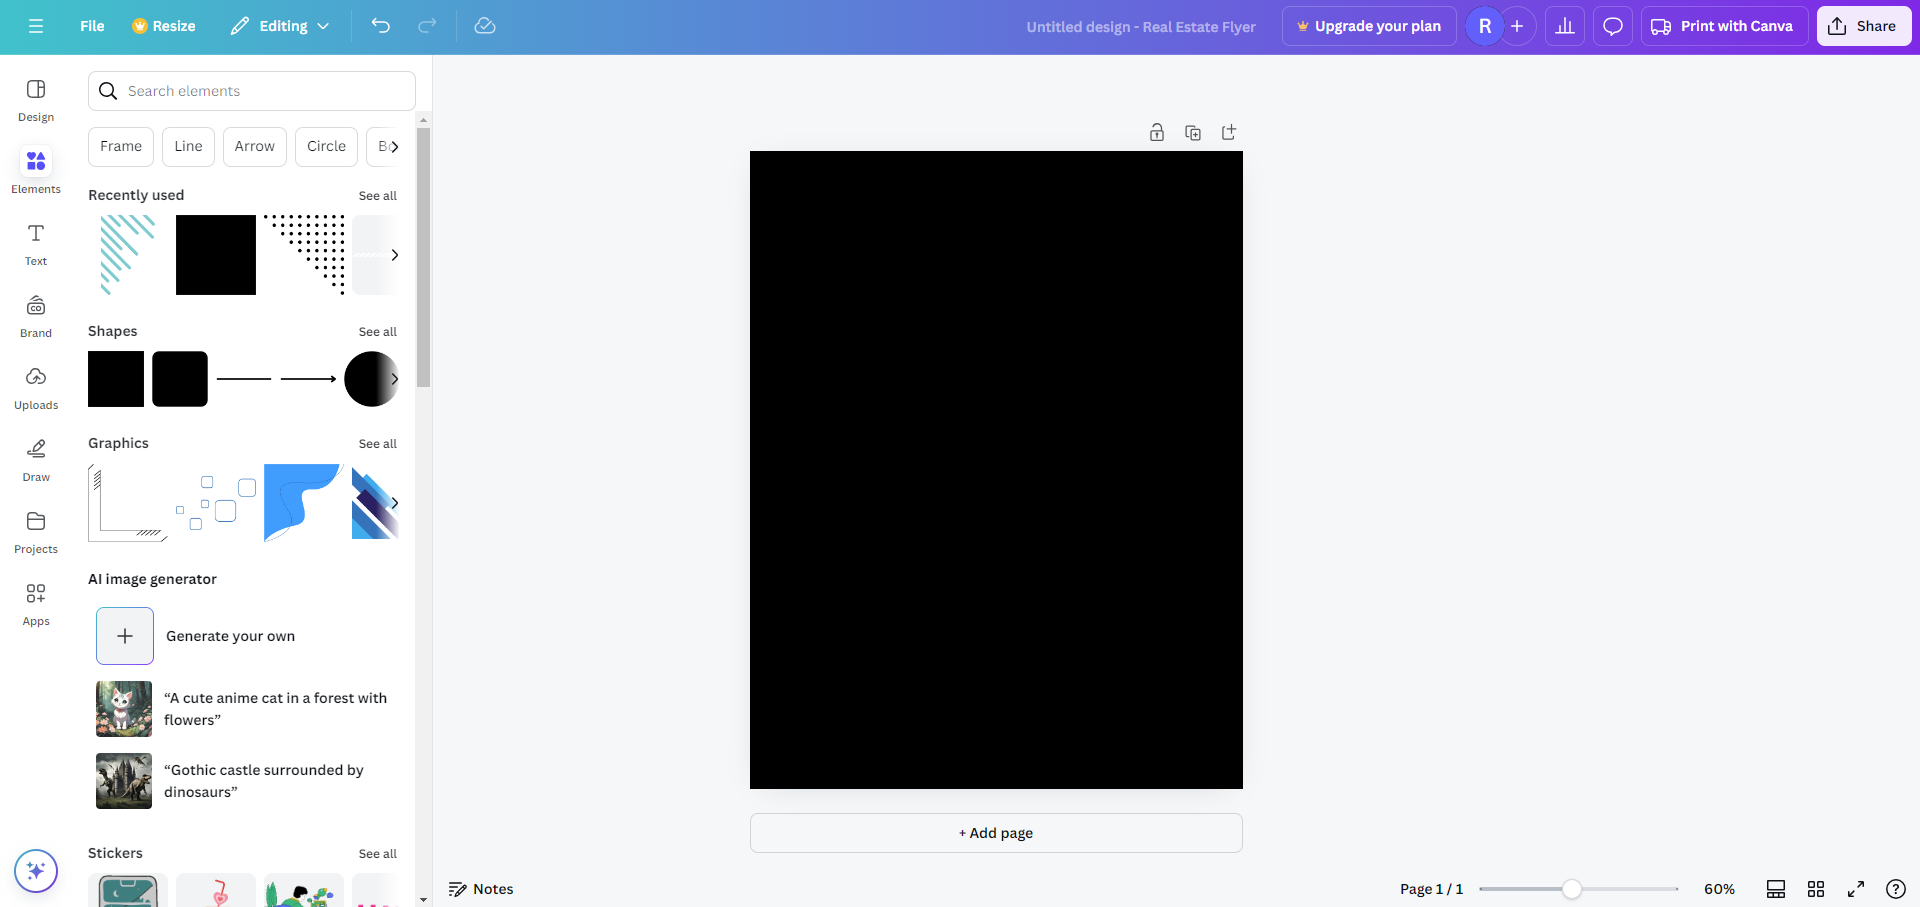
- Text: Click on the text boxes to edit the text. You can change the font, size, color, and alignment using the toolbar at the top.
- Images: Replace existing images by clicking on them and selecting “Replace” from the toolbar. You can upload your own photos or choose from Canva’s extensive library.
- Elements: Add shapes, icons, and other graphics by clicking on the “Elements” tab on the left sidebar. Drag and drop them onto your flyer.
Adjust Layout and Design
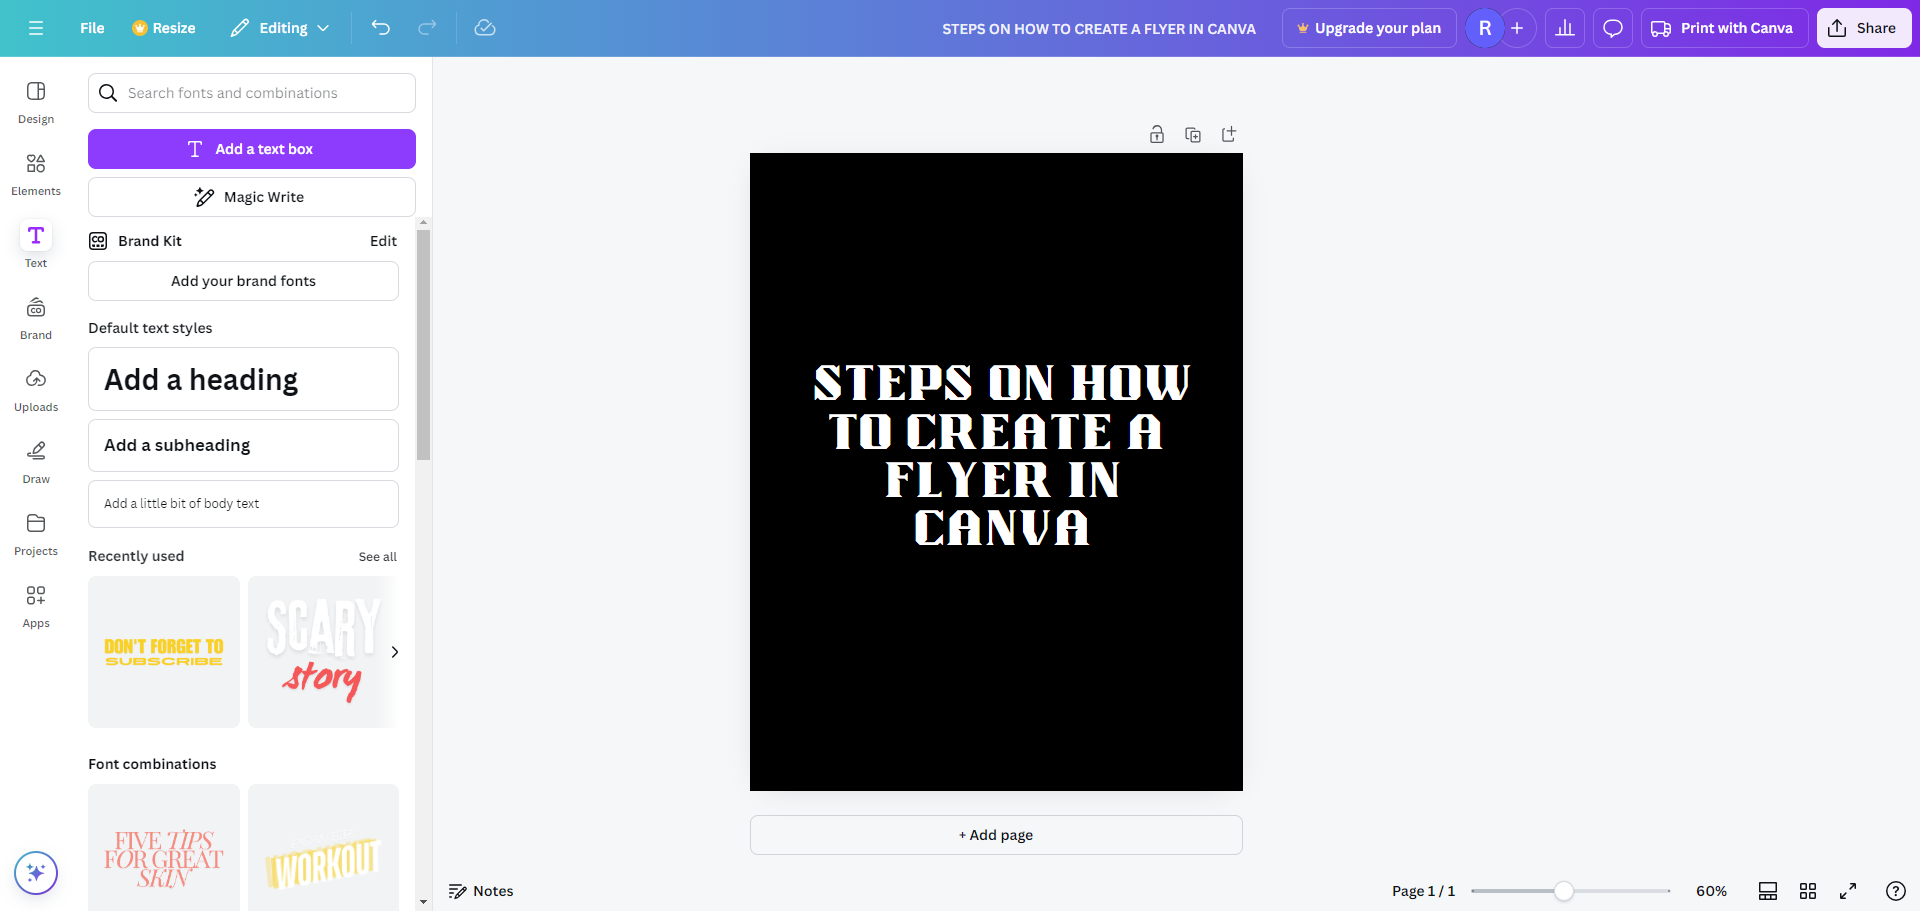
- Move elements around by clicking and dragging them.
- Use the alignment guides to ensure everything is aligned correctly.
- Adjust the size of elements by clicking and dragging the corners.
Add Finishing Touches
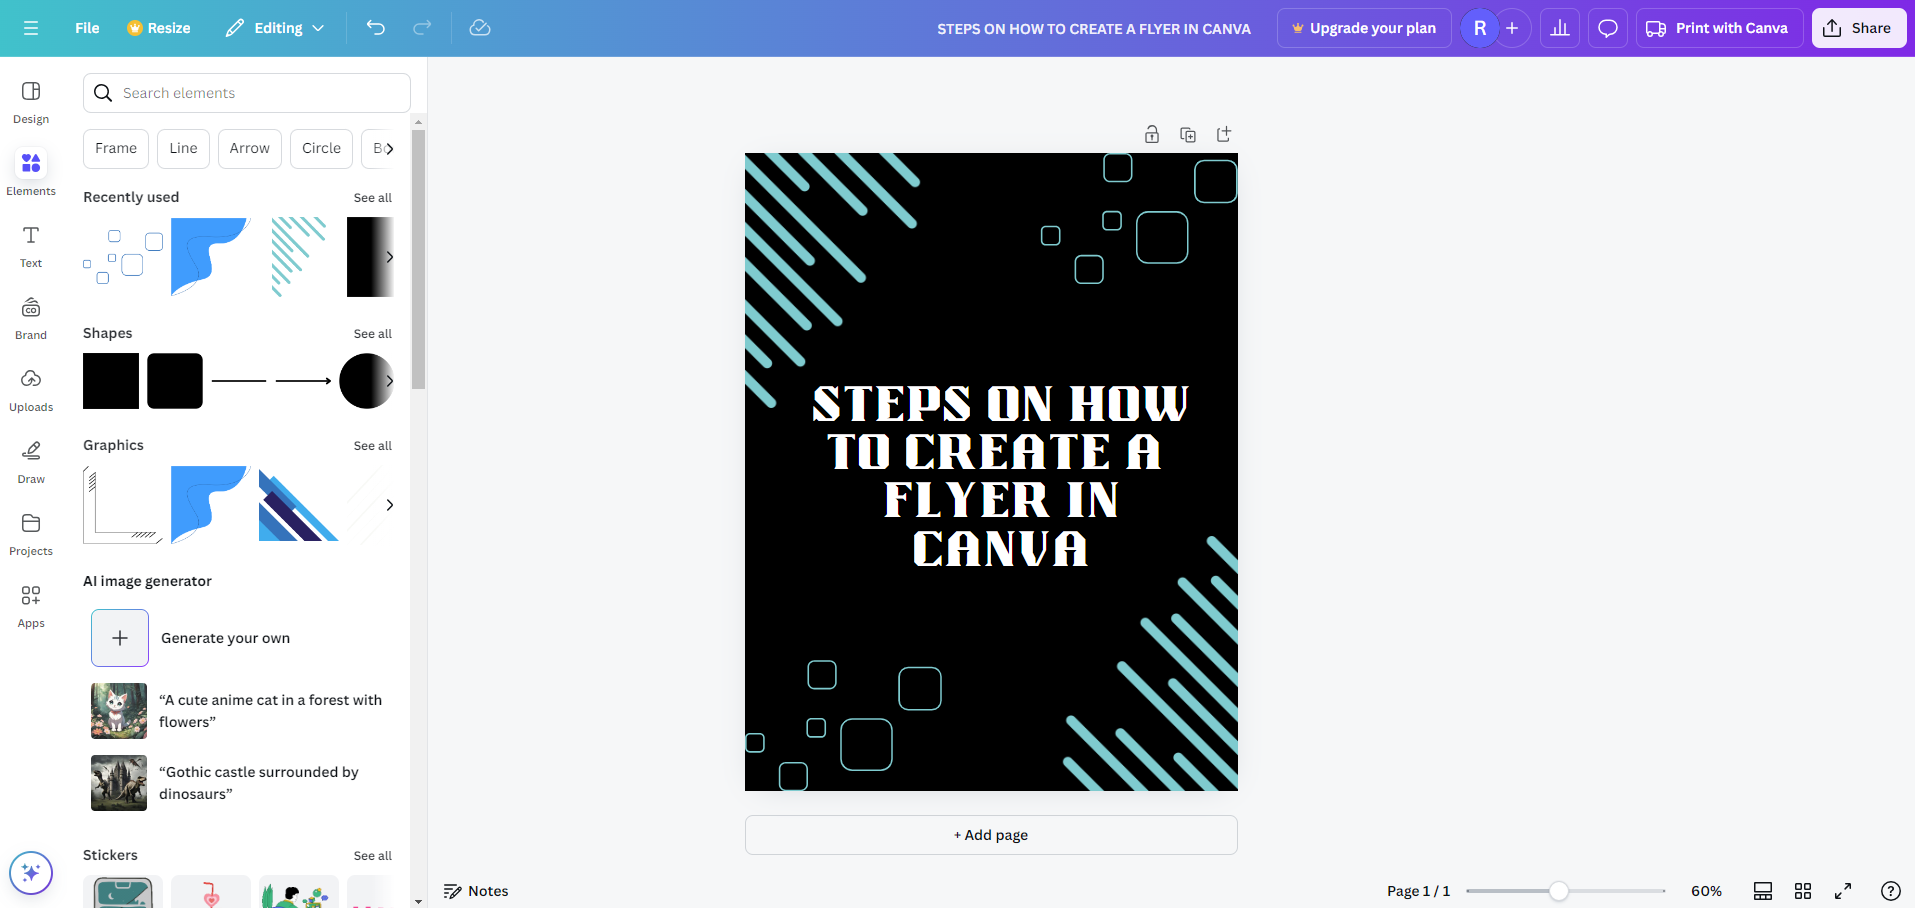
- Add any additional text or graphics to complete your flyer.
- Use the “Effects” tab to add shadows, glows, or other effects to your text and images.
Save and Share
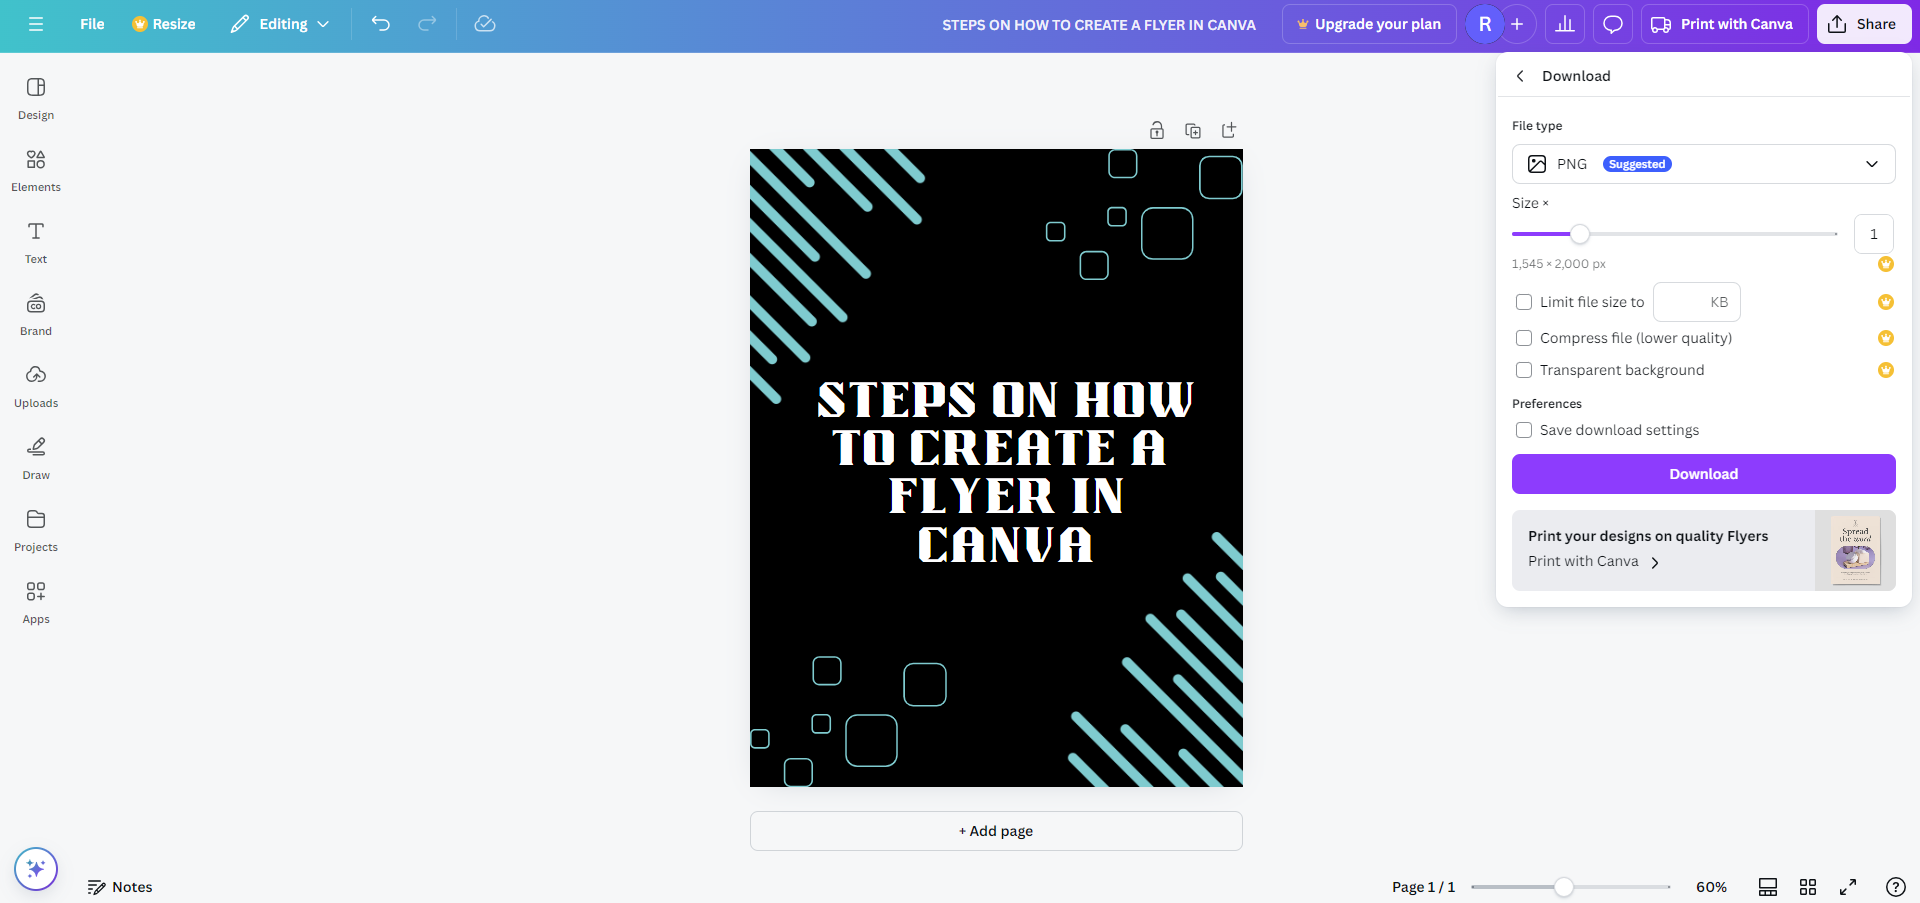
- Once you’re happy with your design, click the “Share” button at the top right to download your flyer. You can choose from various formats like PNG, JPEG, or PDF.
- You can also share your flyer directly via email or social media, or print it using Canva’s printing service.