Stencil Easel
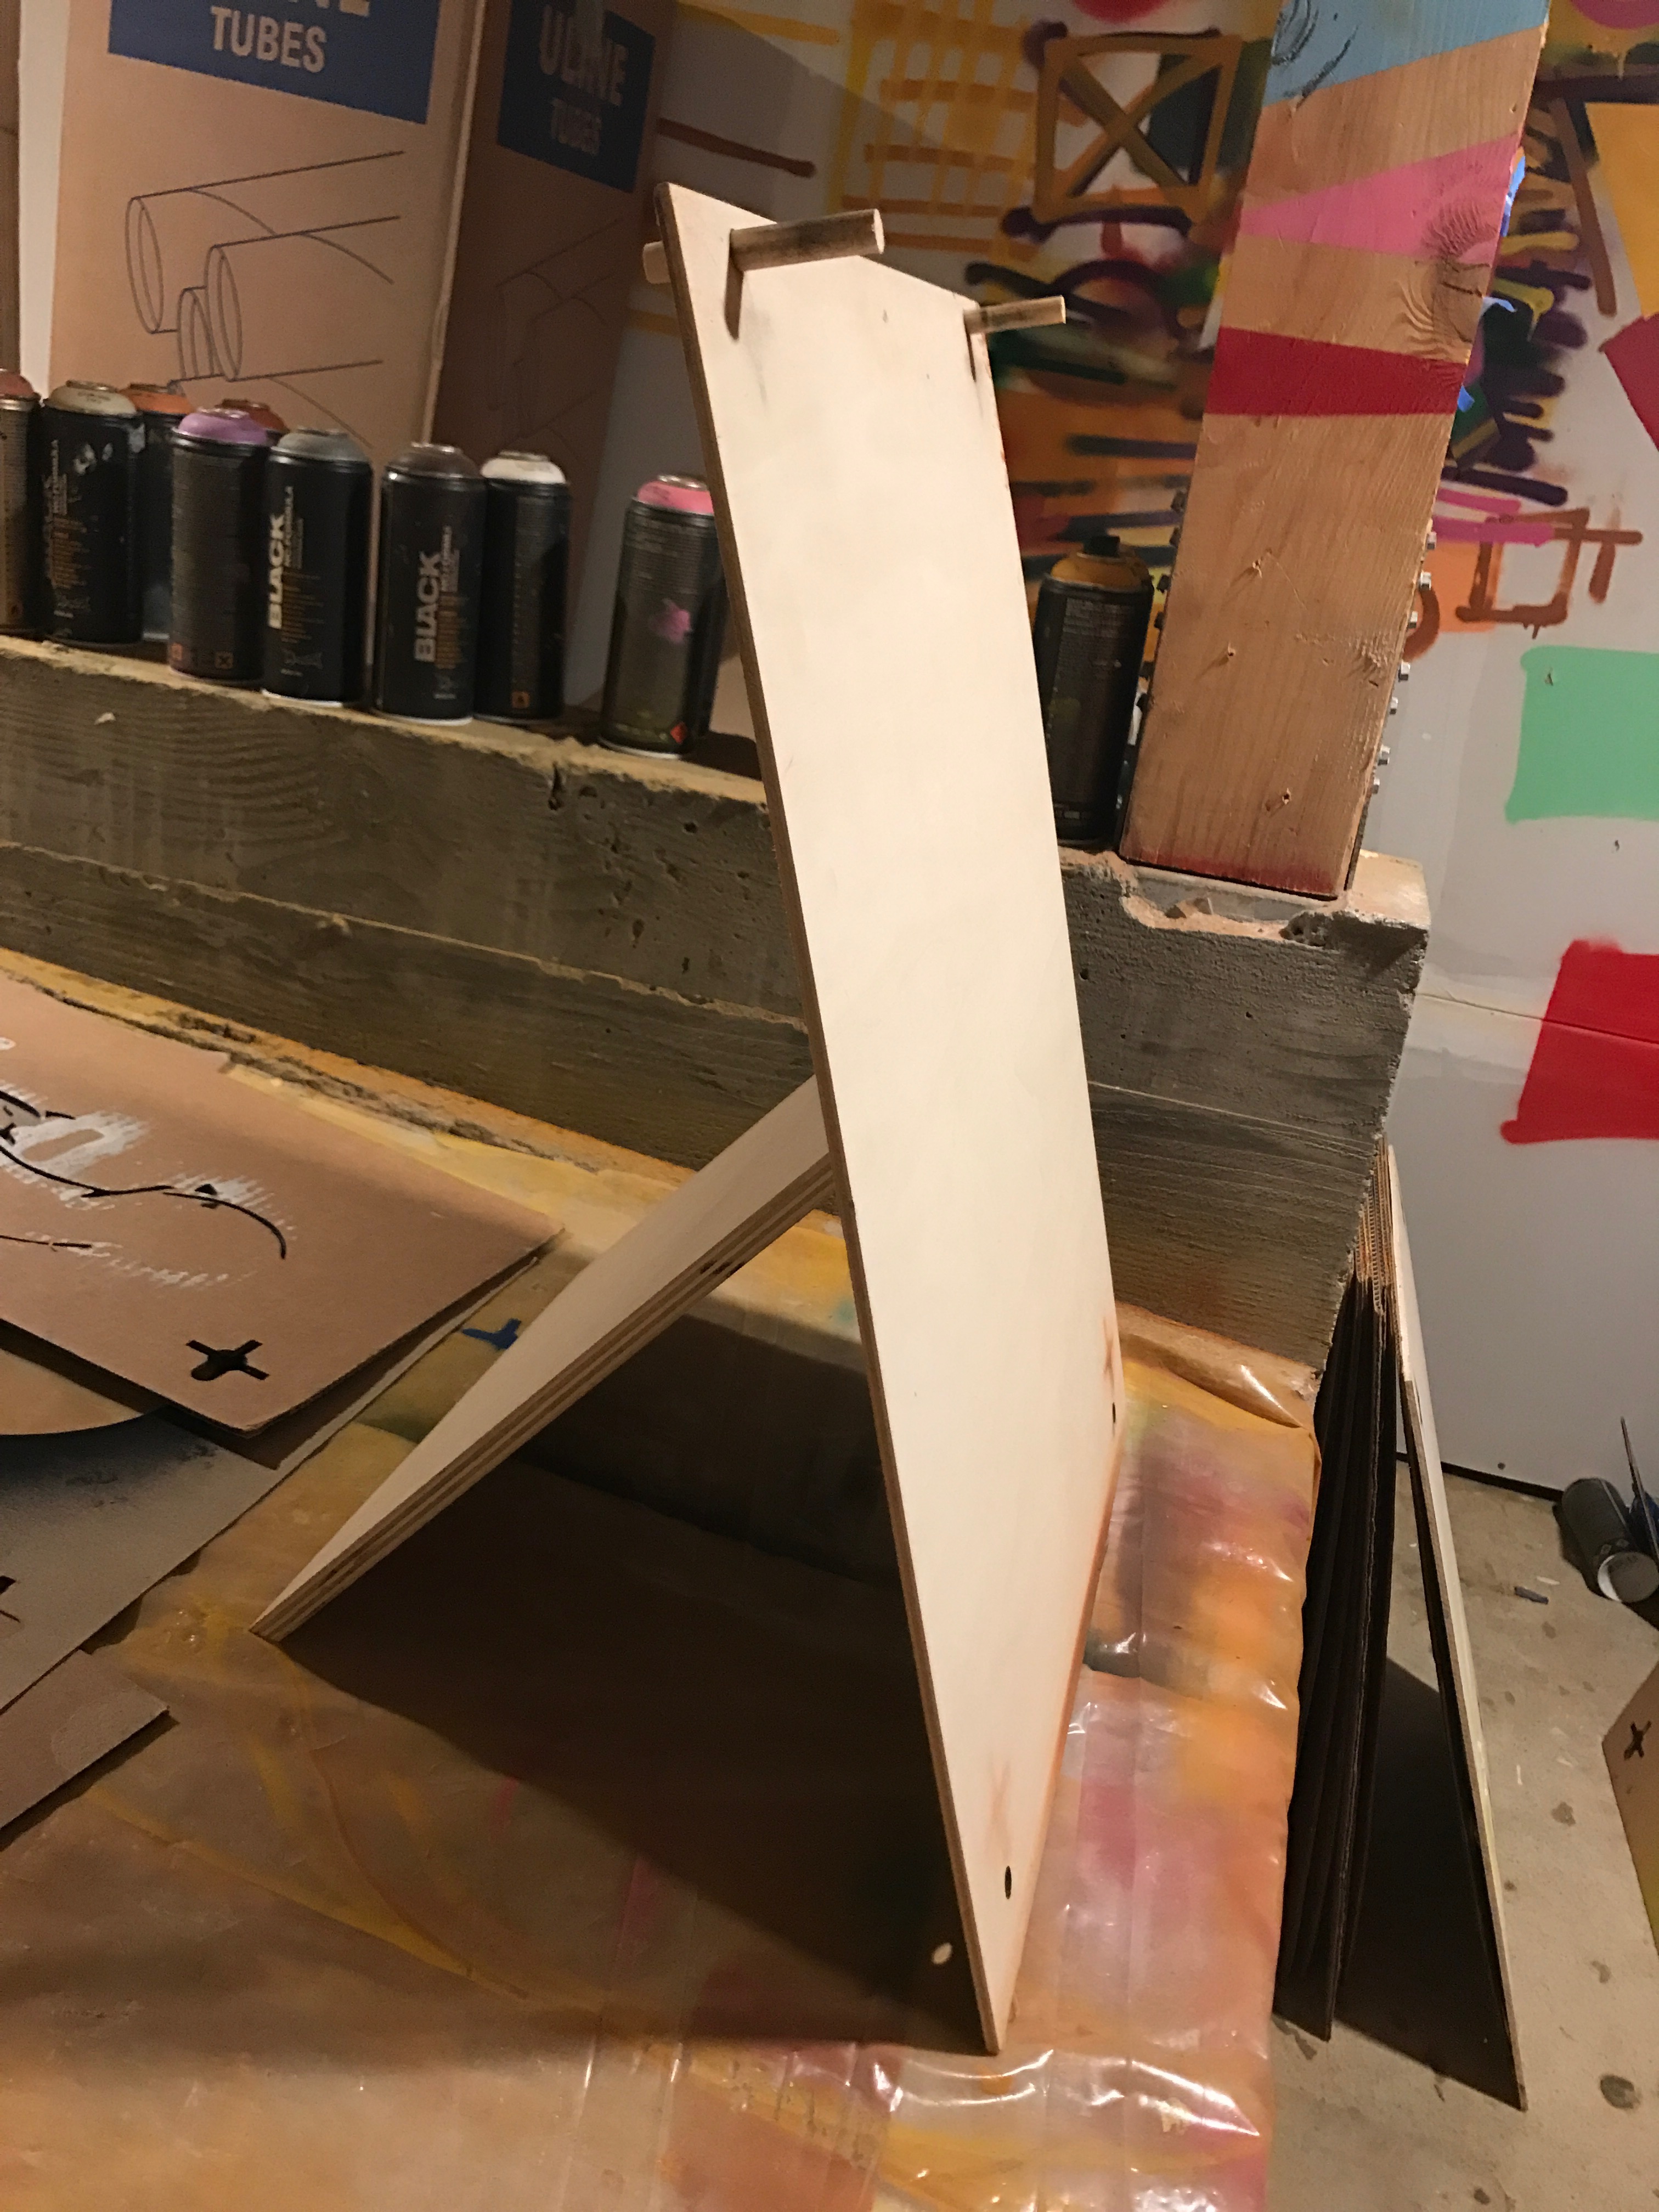
The Stencil Easel is a simple contraption designed to solve three challenges with creating stencil art:
1) Aligning the various layers is difficult.
2) Spray cans are designed to be used vertically, not horizontally.
3) Bending over a table for 8 hours continuously is hard on your back.
The Stencil Easel requires you to create your stencils in a particular way, namely having registration marks that can be hung onto rods, but once you get your system set up, the easel helps you paint faster, more accurately, more ergonomically, and with less wasted paint and other paint malfunctions (e.g. spattering).
Cut Your Components
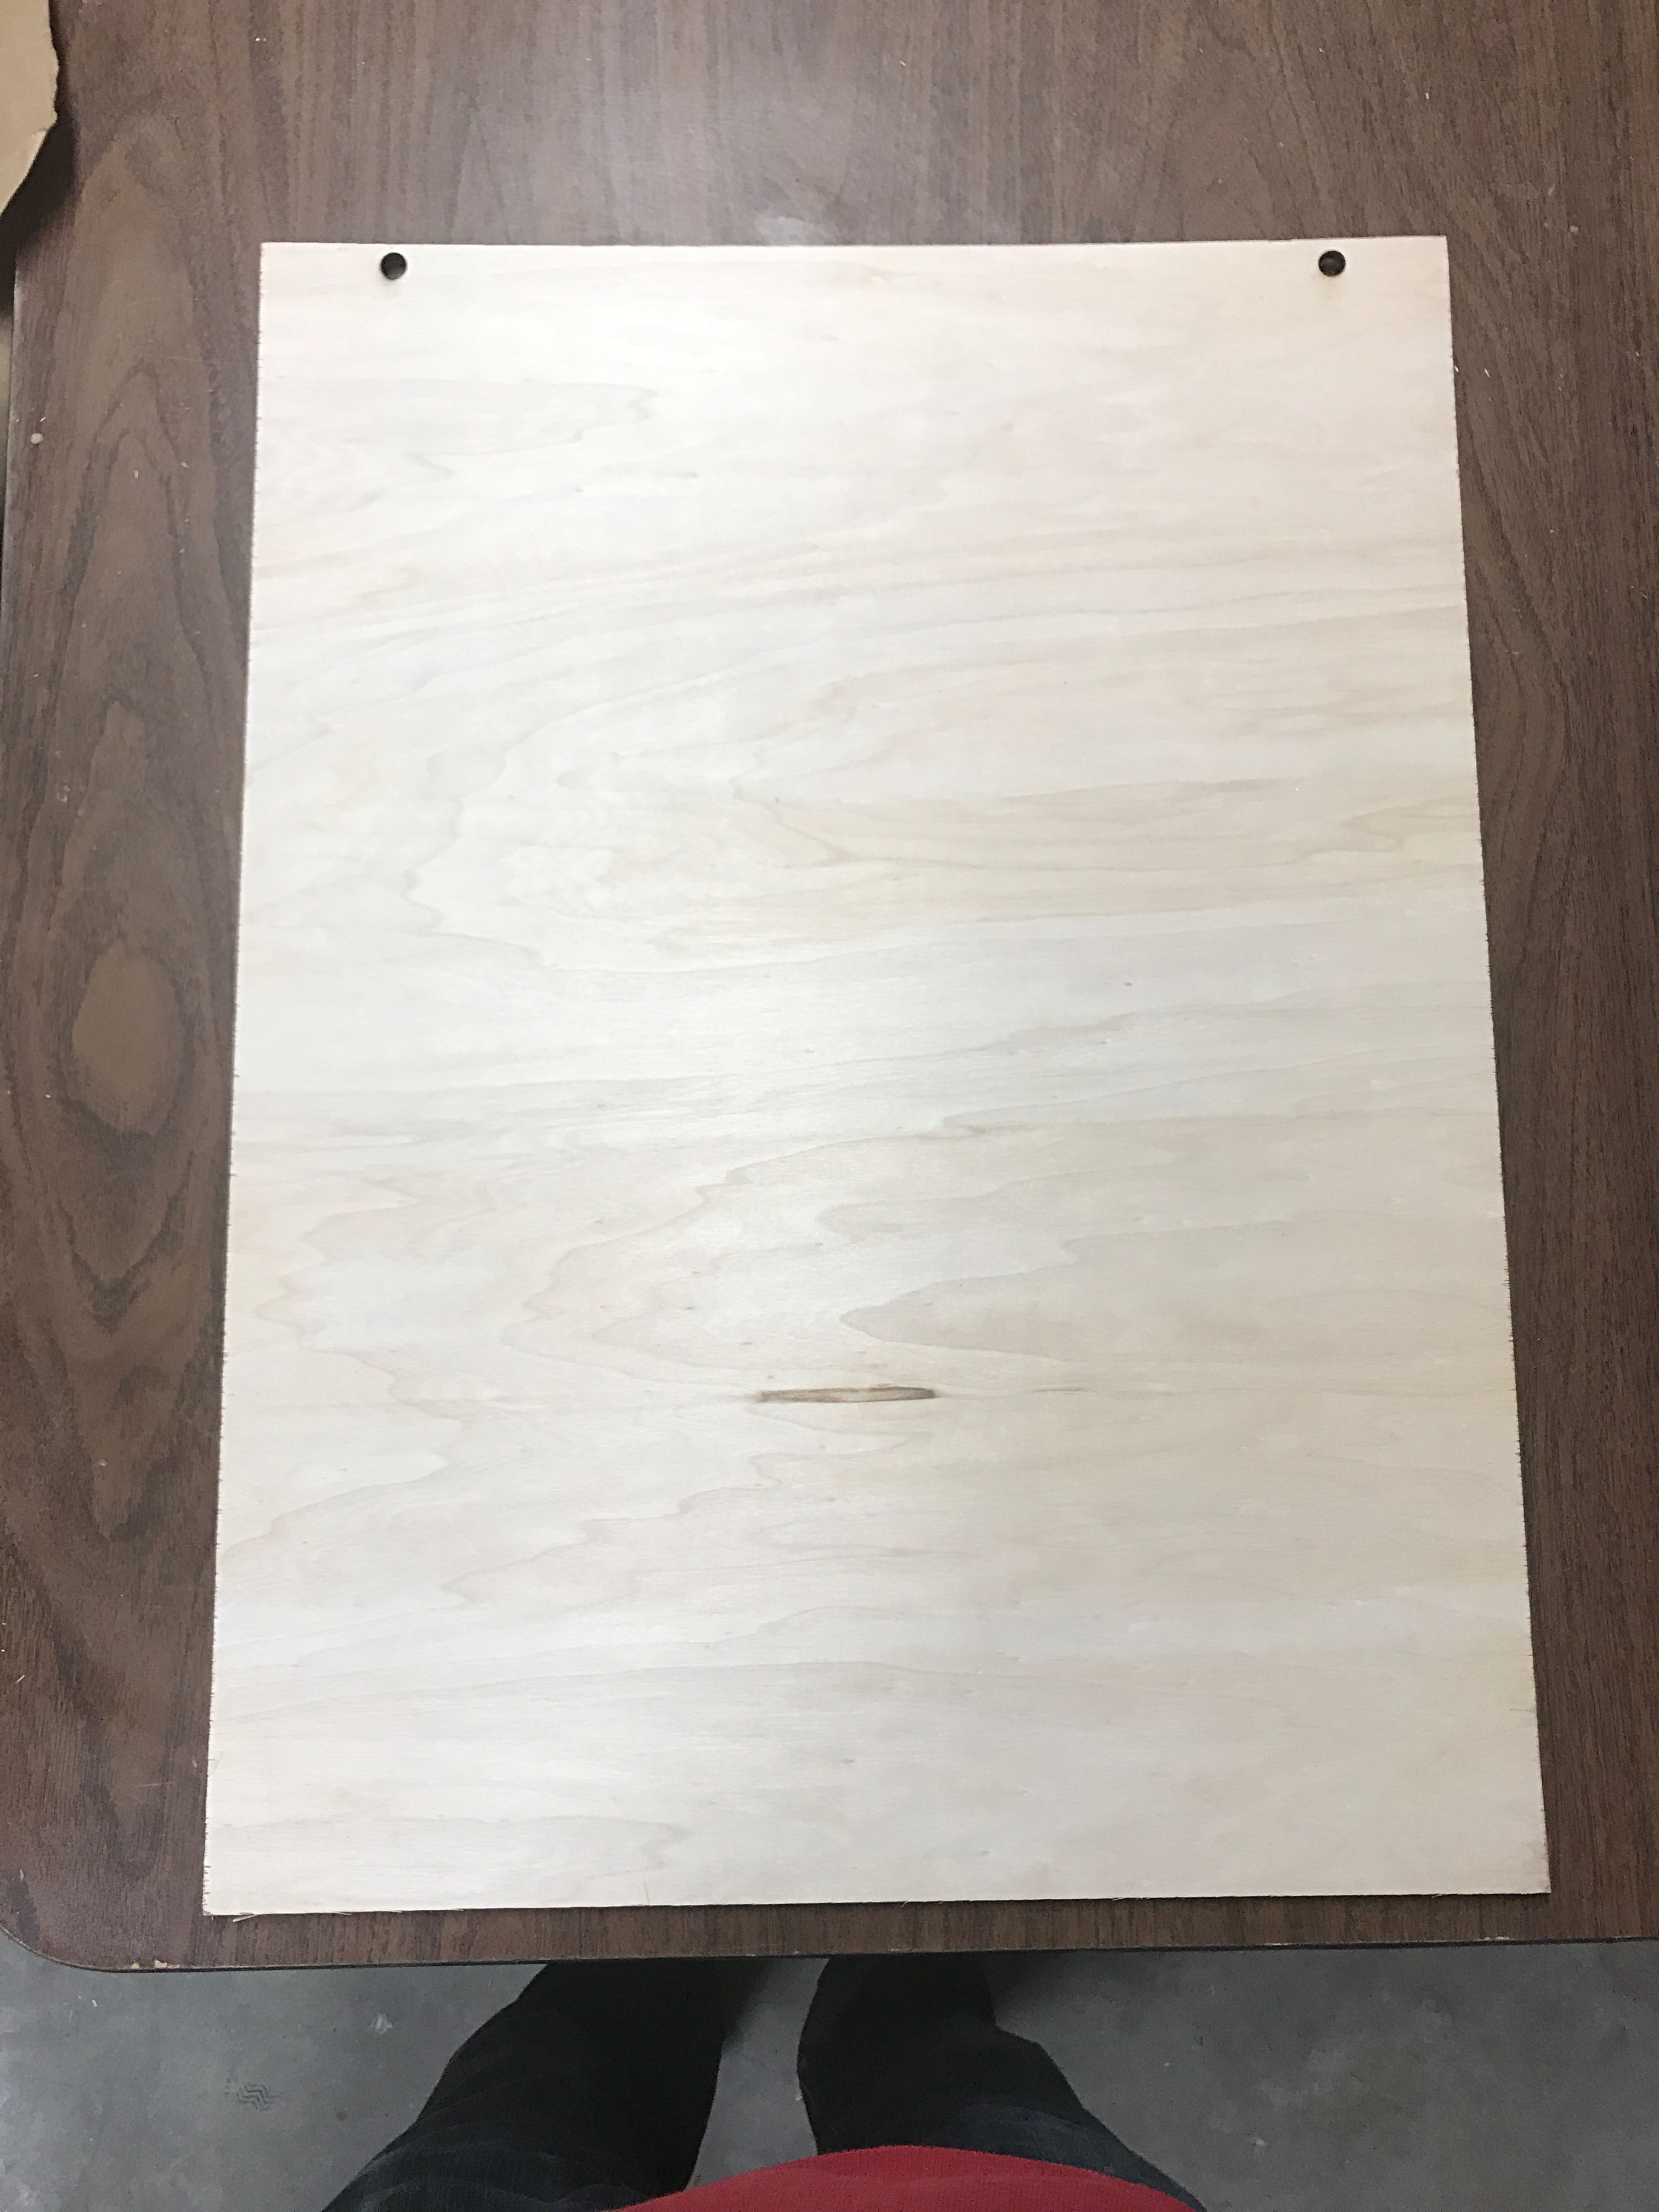
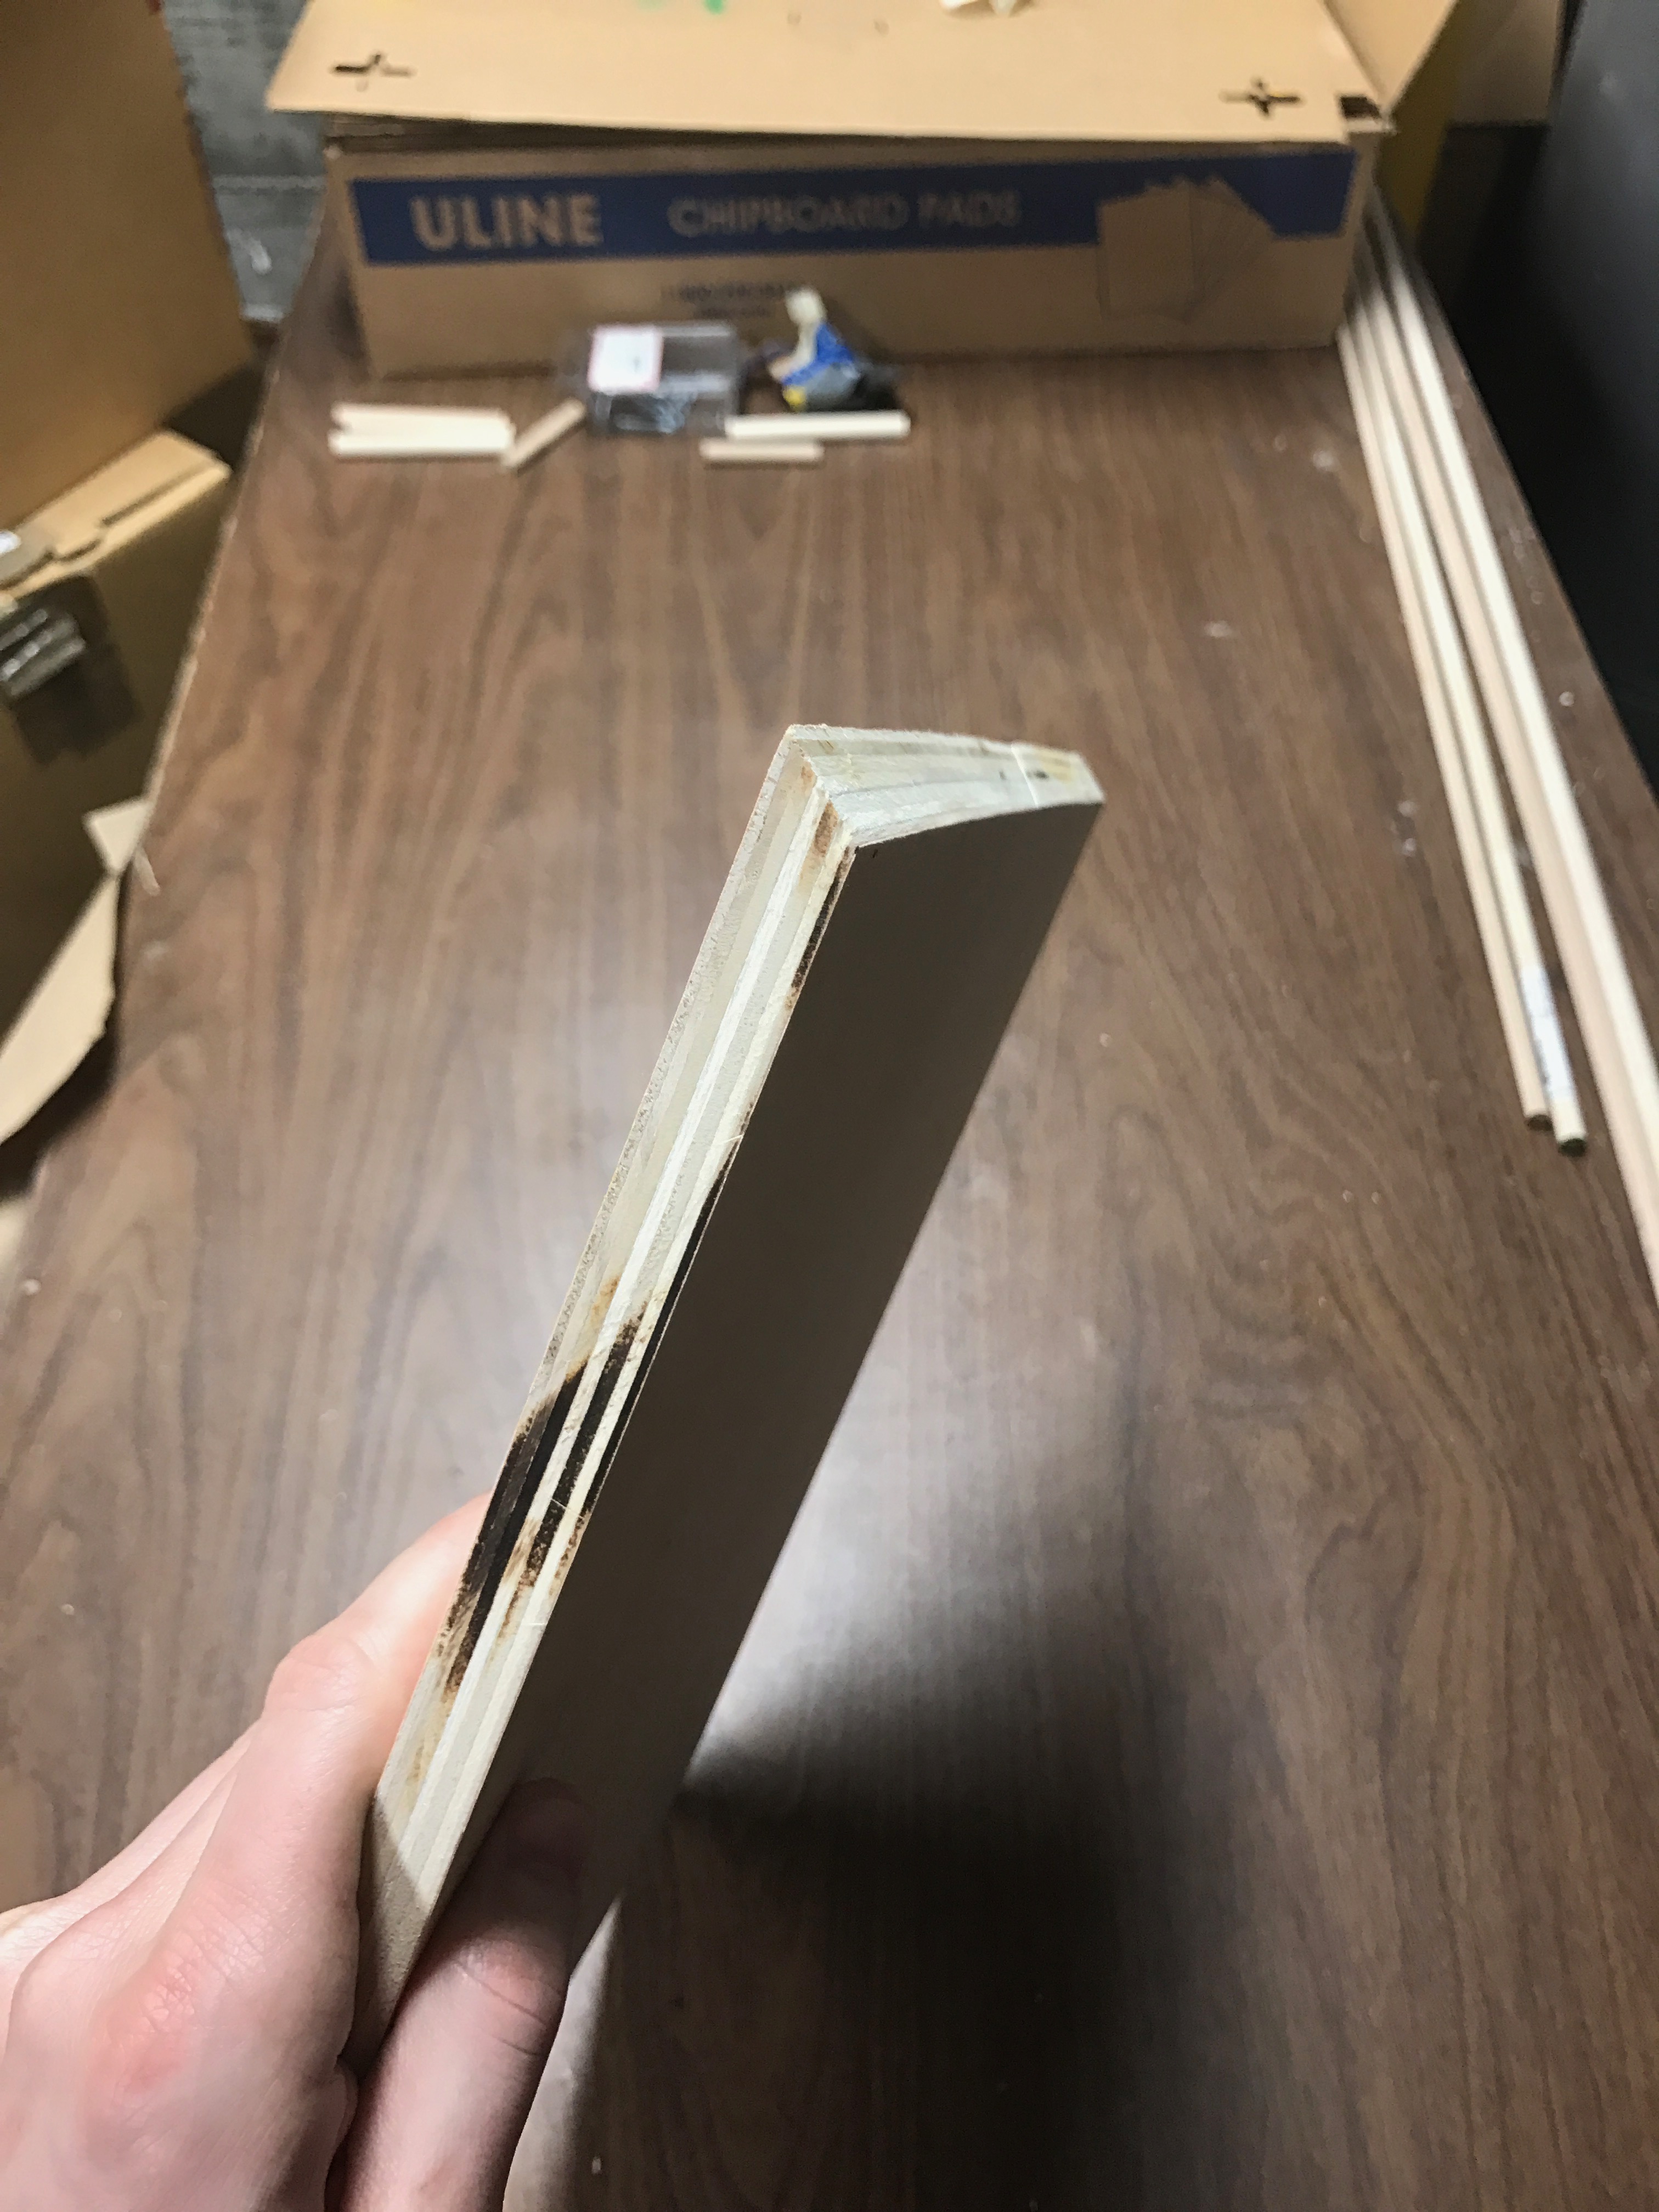
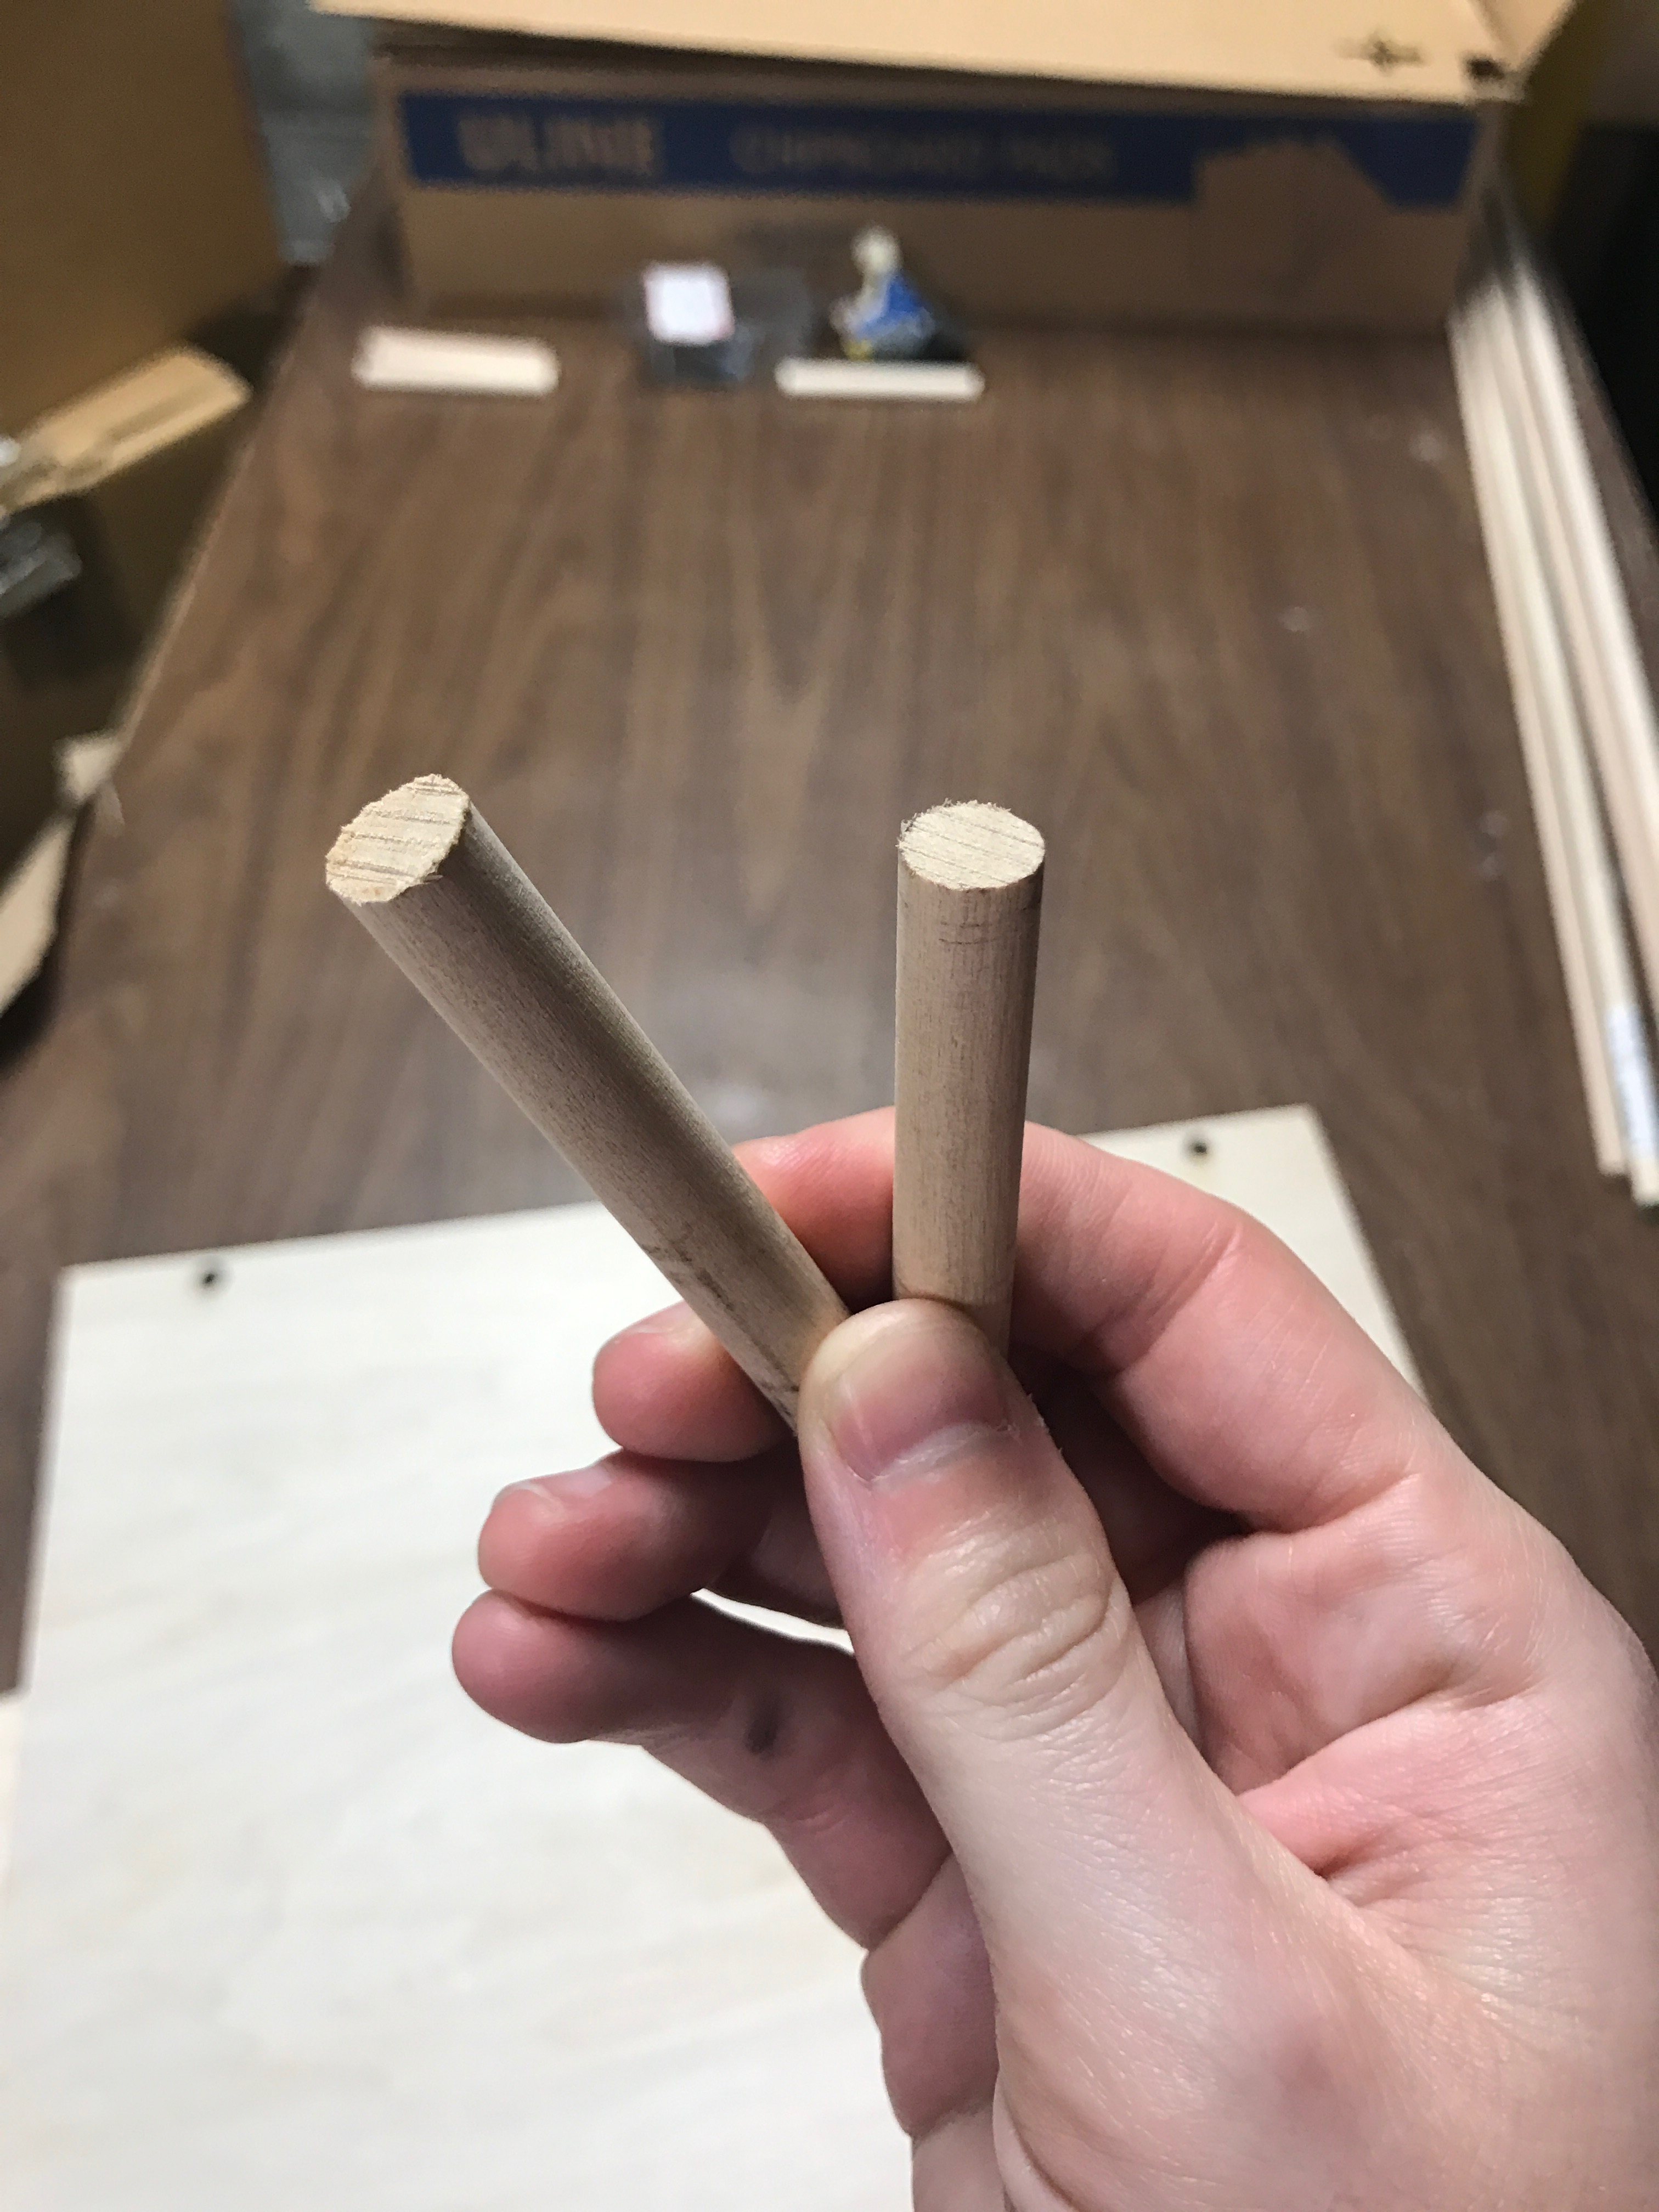
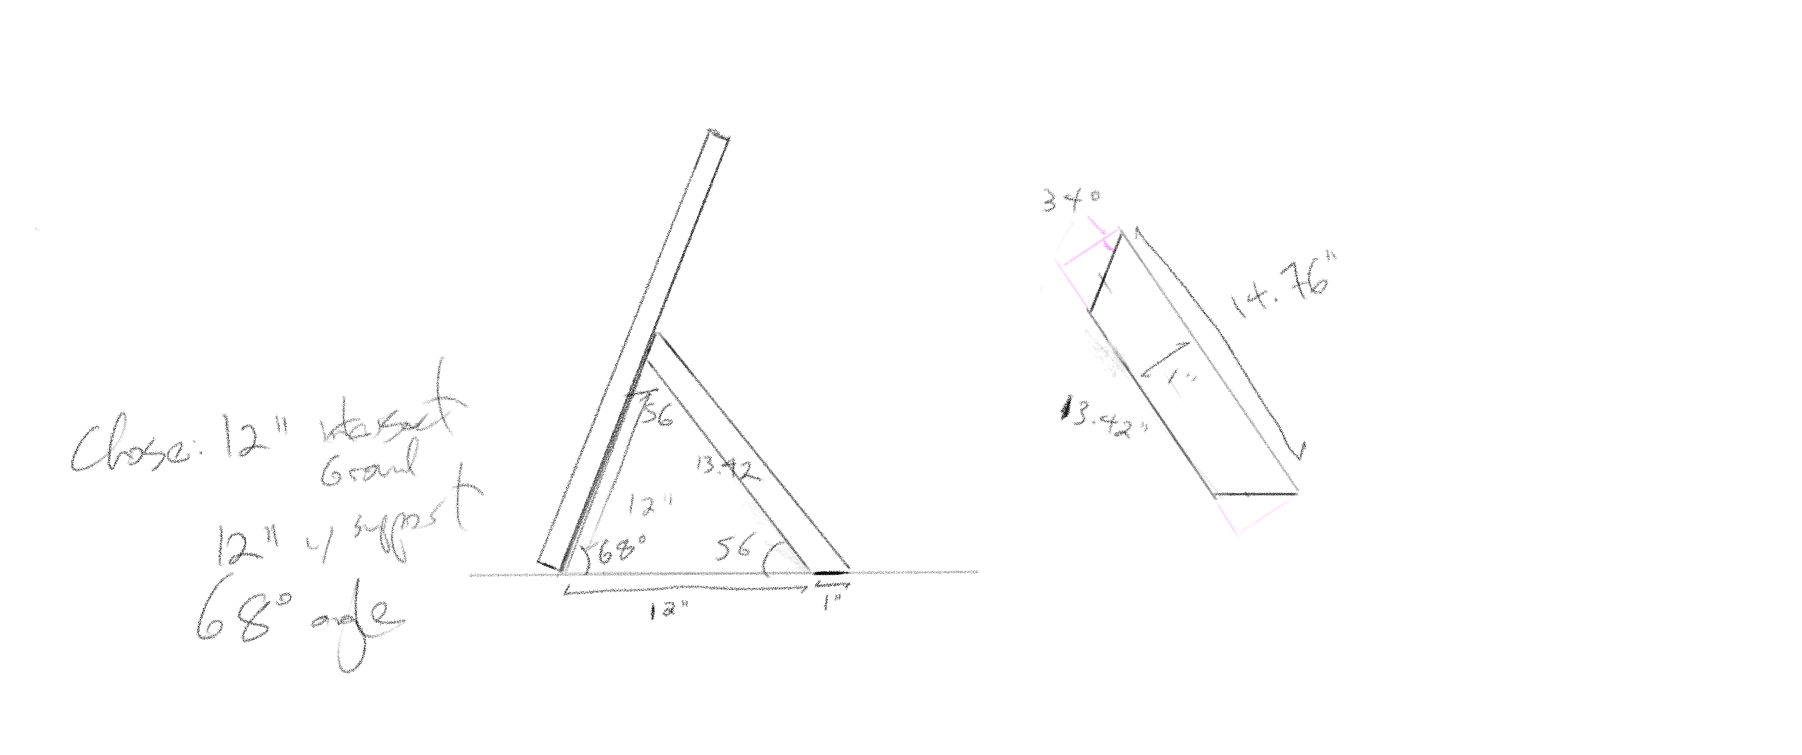
The Stencil Easel is made up of three components:
1) An 18" x 24" sheet of plywood with 2 holes each 3/8" in diameter cut a very particular distance apart and just off the top edge. More details on the spacing of these holes later.
2) A 14.75" inch long support with a profile cut into a trapezoid with 56 degree edges. The width of this piece can vary greatly, and mine is about 12" wide so it would fit into the Miter Saw.
3) Two short 3/8" diameter dowel rods.
I cut the holes into #1 on a laser cutter. This allowed me to get them perfectly spaced to be used with my stencils, which you'll see in a later step. The sheet itself is a fairly standard size, and sometimes it's possible to purchase wood in exactly that size, but in this case I purchased an entire sheet of plywood and cut it down on a panel saw.
I cut #2 on a panel saw, and then I angled the edges on a Compound Miter Saw. This lets you set the angle of the cut. This design is extremely tolerant to variation, so if the length of the support is off, or if the angle is different, it won't matter. I was aiming for a 68 degree angle of the easel, which I thought was a good balance between letting gravity hold the stencils to the easel (which happens if it's horizontal) while also holding the stencils to the alignment rods and being sufficiently vertical for the spray can (which happens if it's vertical). This angle is absolutely not magic, and anything from 45 degrees to 80 degrees would work.
One important thing to note is that I put the dowel rods almost at the top of the sheet of wood. The reason for this is that my stencils are also 18" x 24", and you don't want the stencil to hit the table, so it needs to hang towards the top of the easel. I messed this up the first time!
Glue Components Together
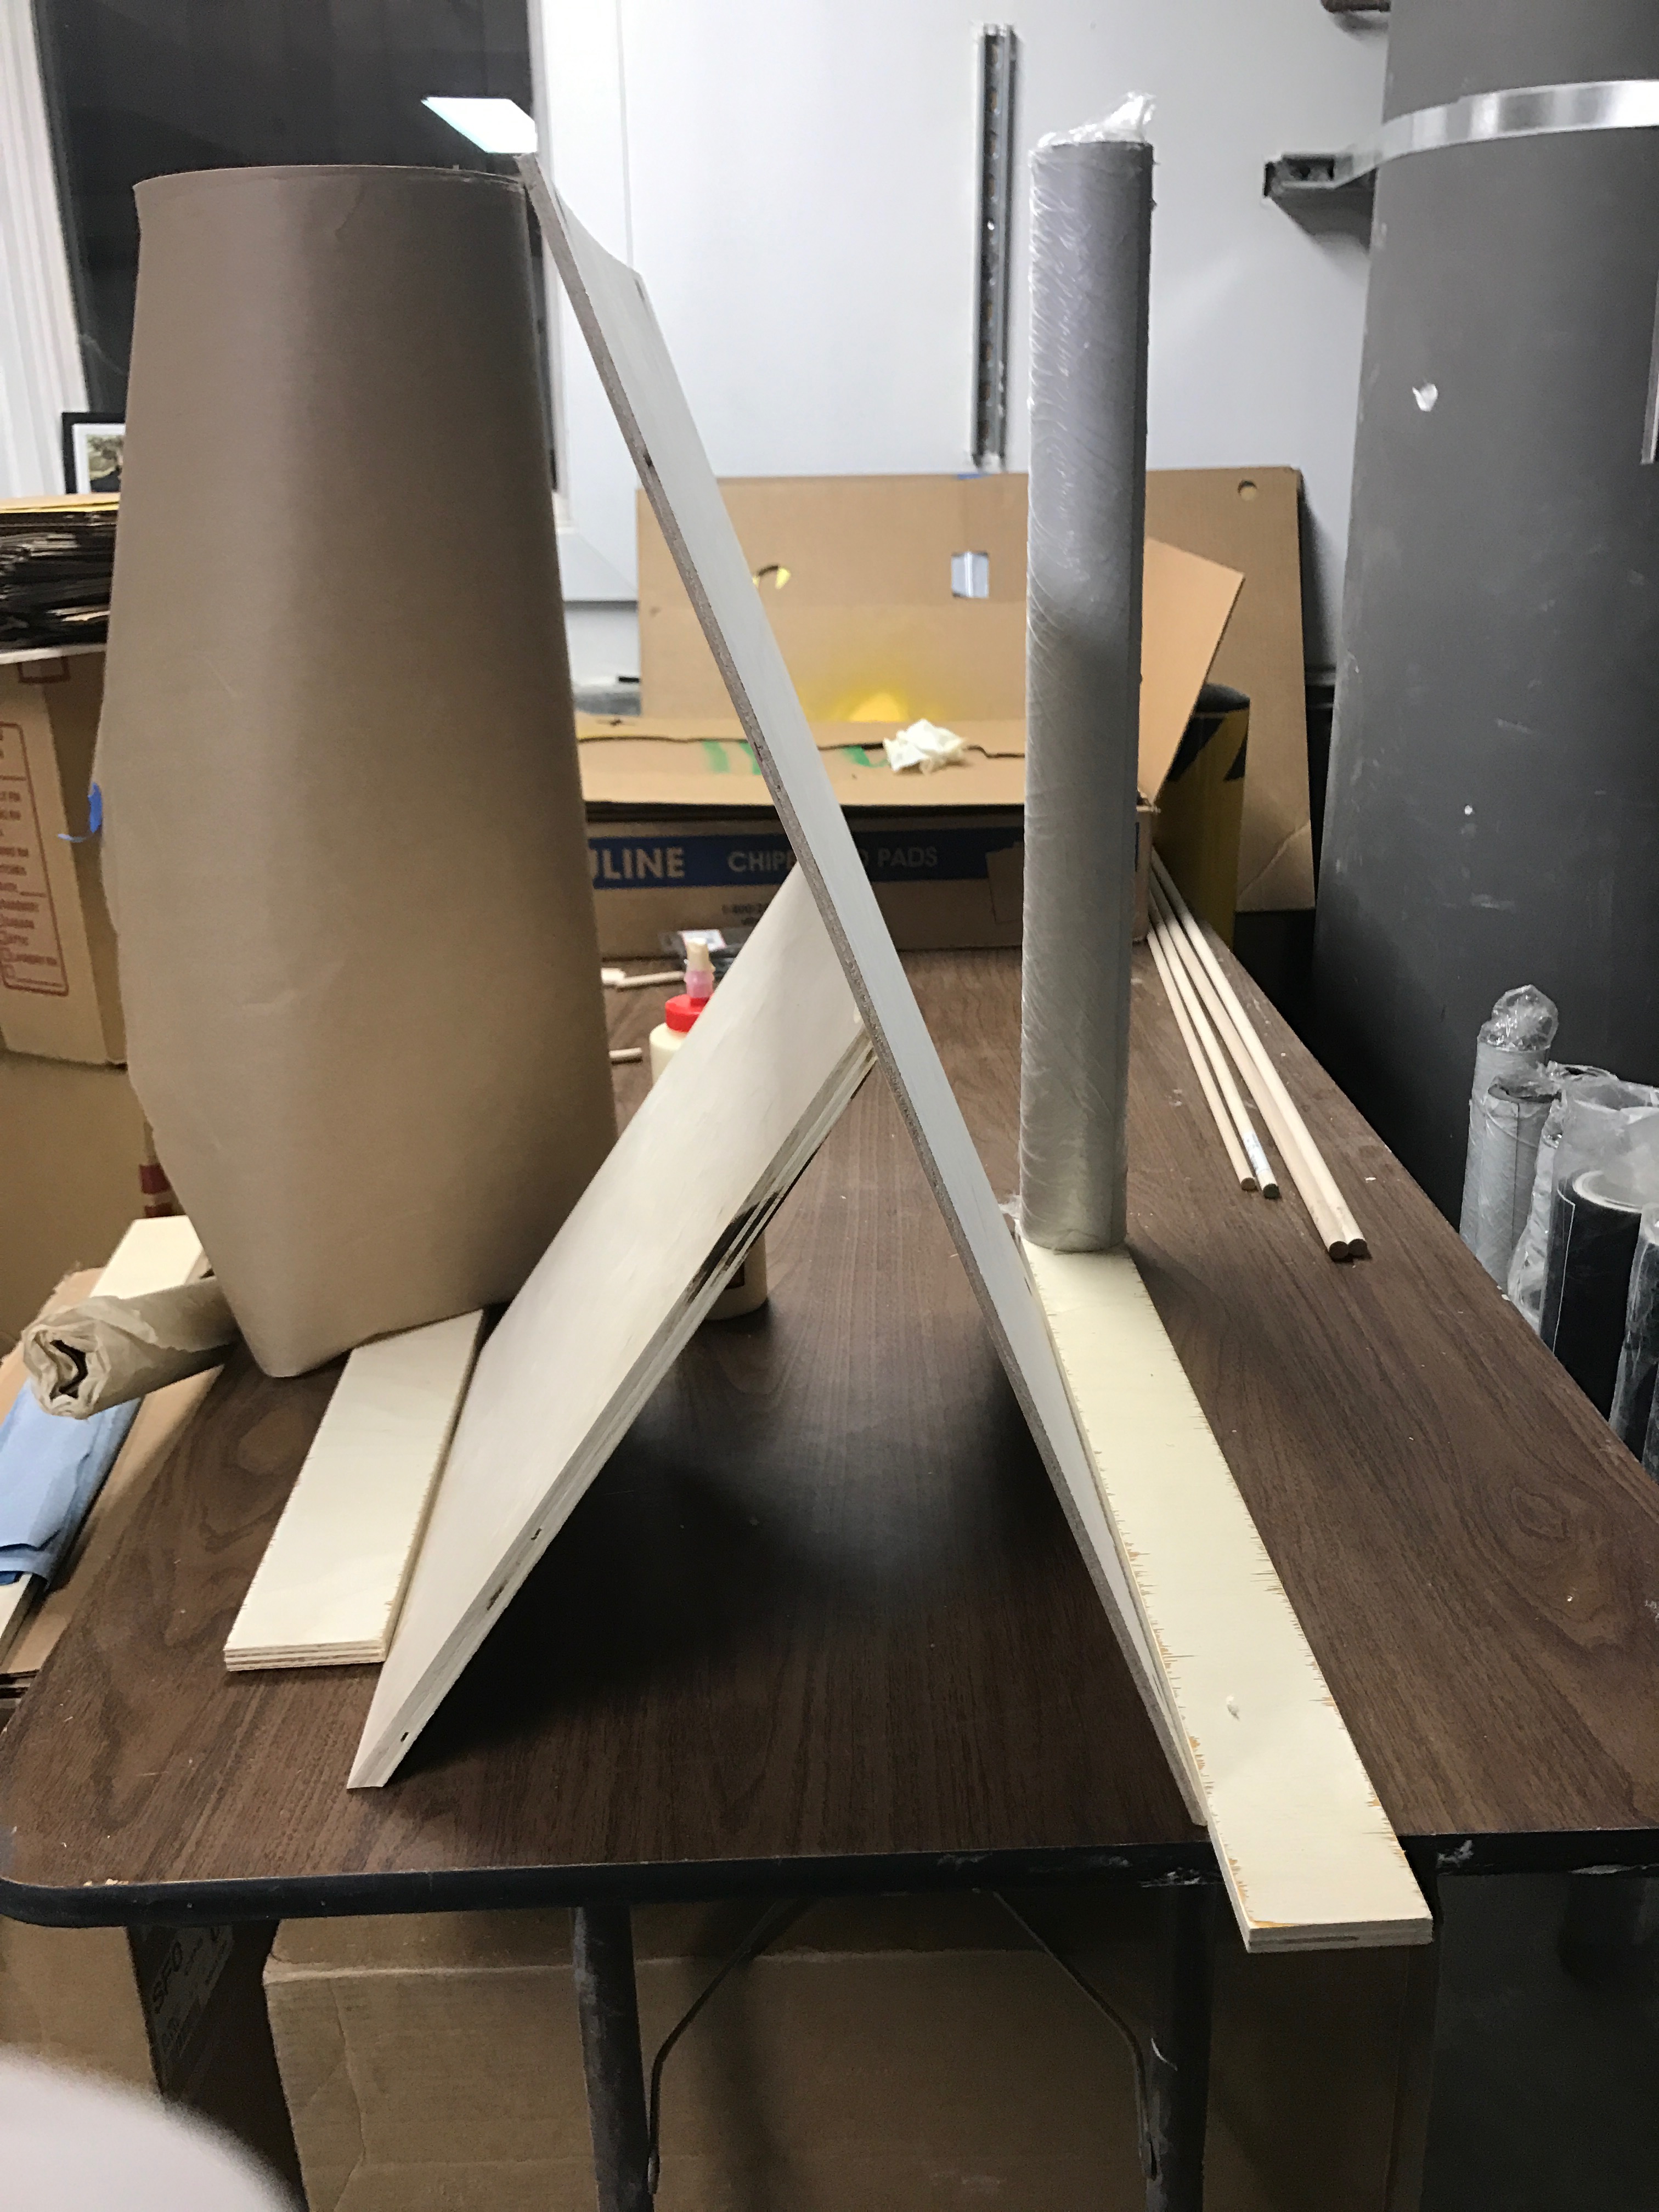
The construction of the Stencil Easel is trivial. I simply glued the pieces together and let dry.
In the photo I used random heavy objects in my garage to hold the shape in place. The construction does not need to be exact, and so I simply put glue onto one end of the support, angled the two pieces roughly into place, and then supported them so they wouldn't fall apart before the glue dried.
Cut Your Stencils and (Optionally) Back Sheet With Proper Registration Marks
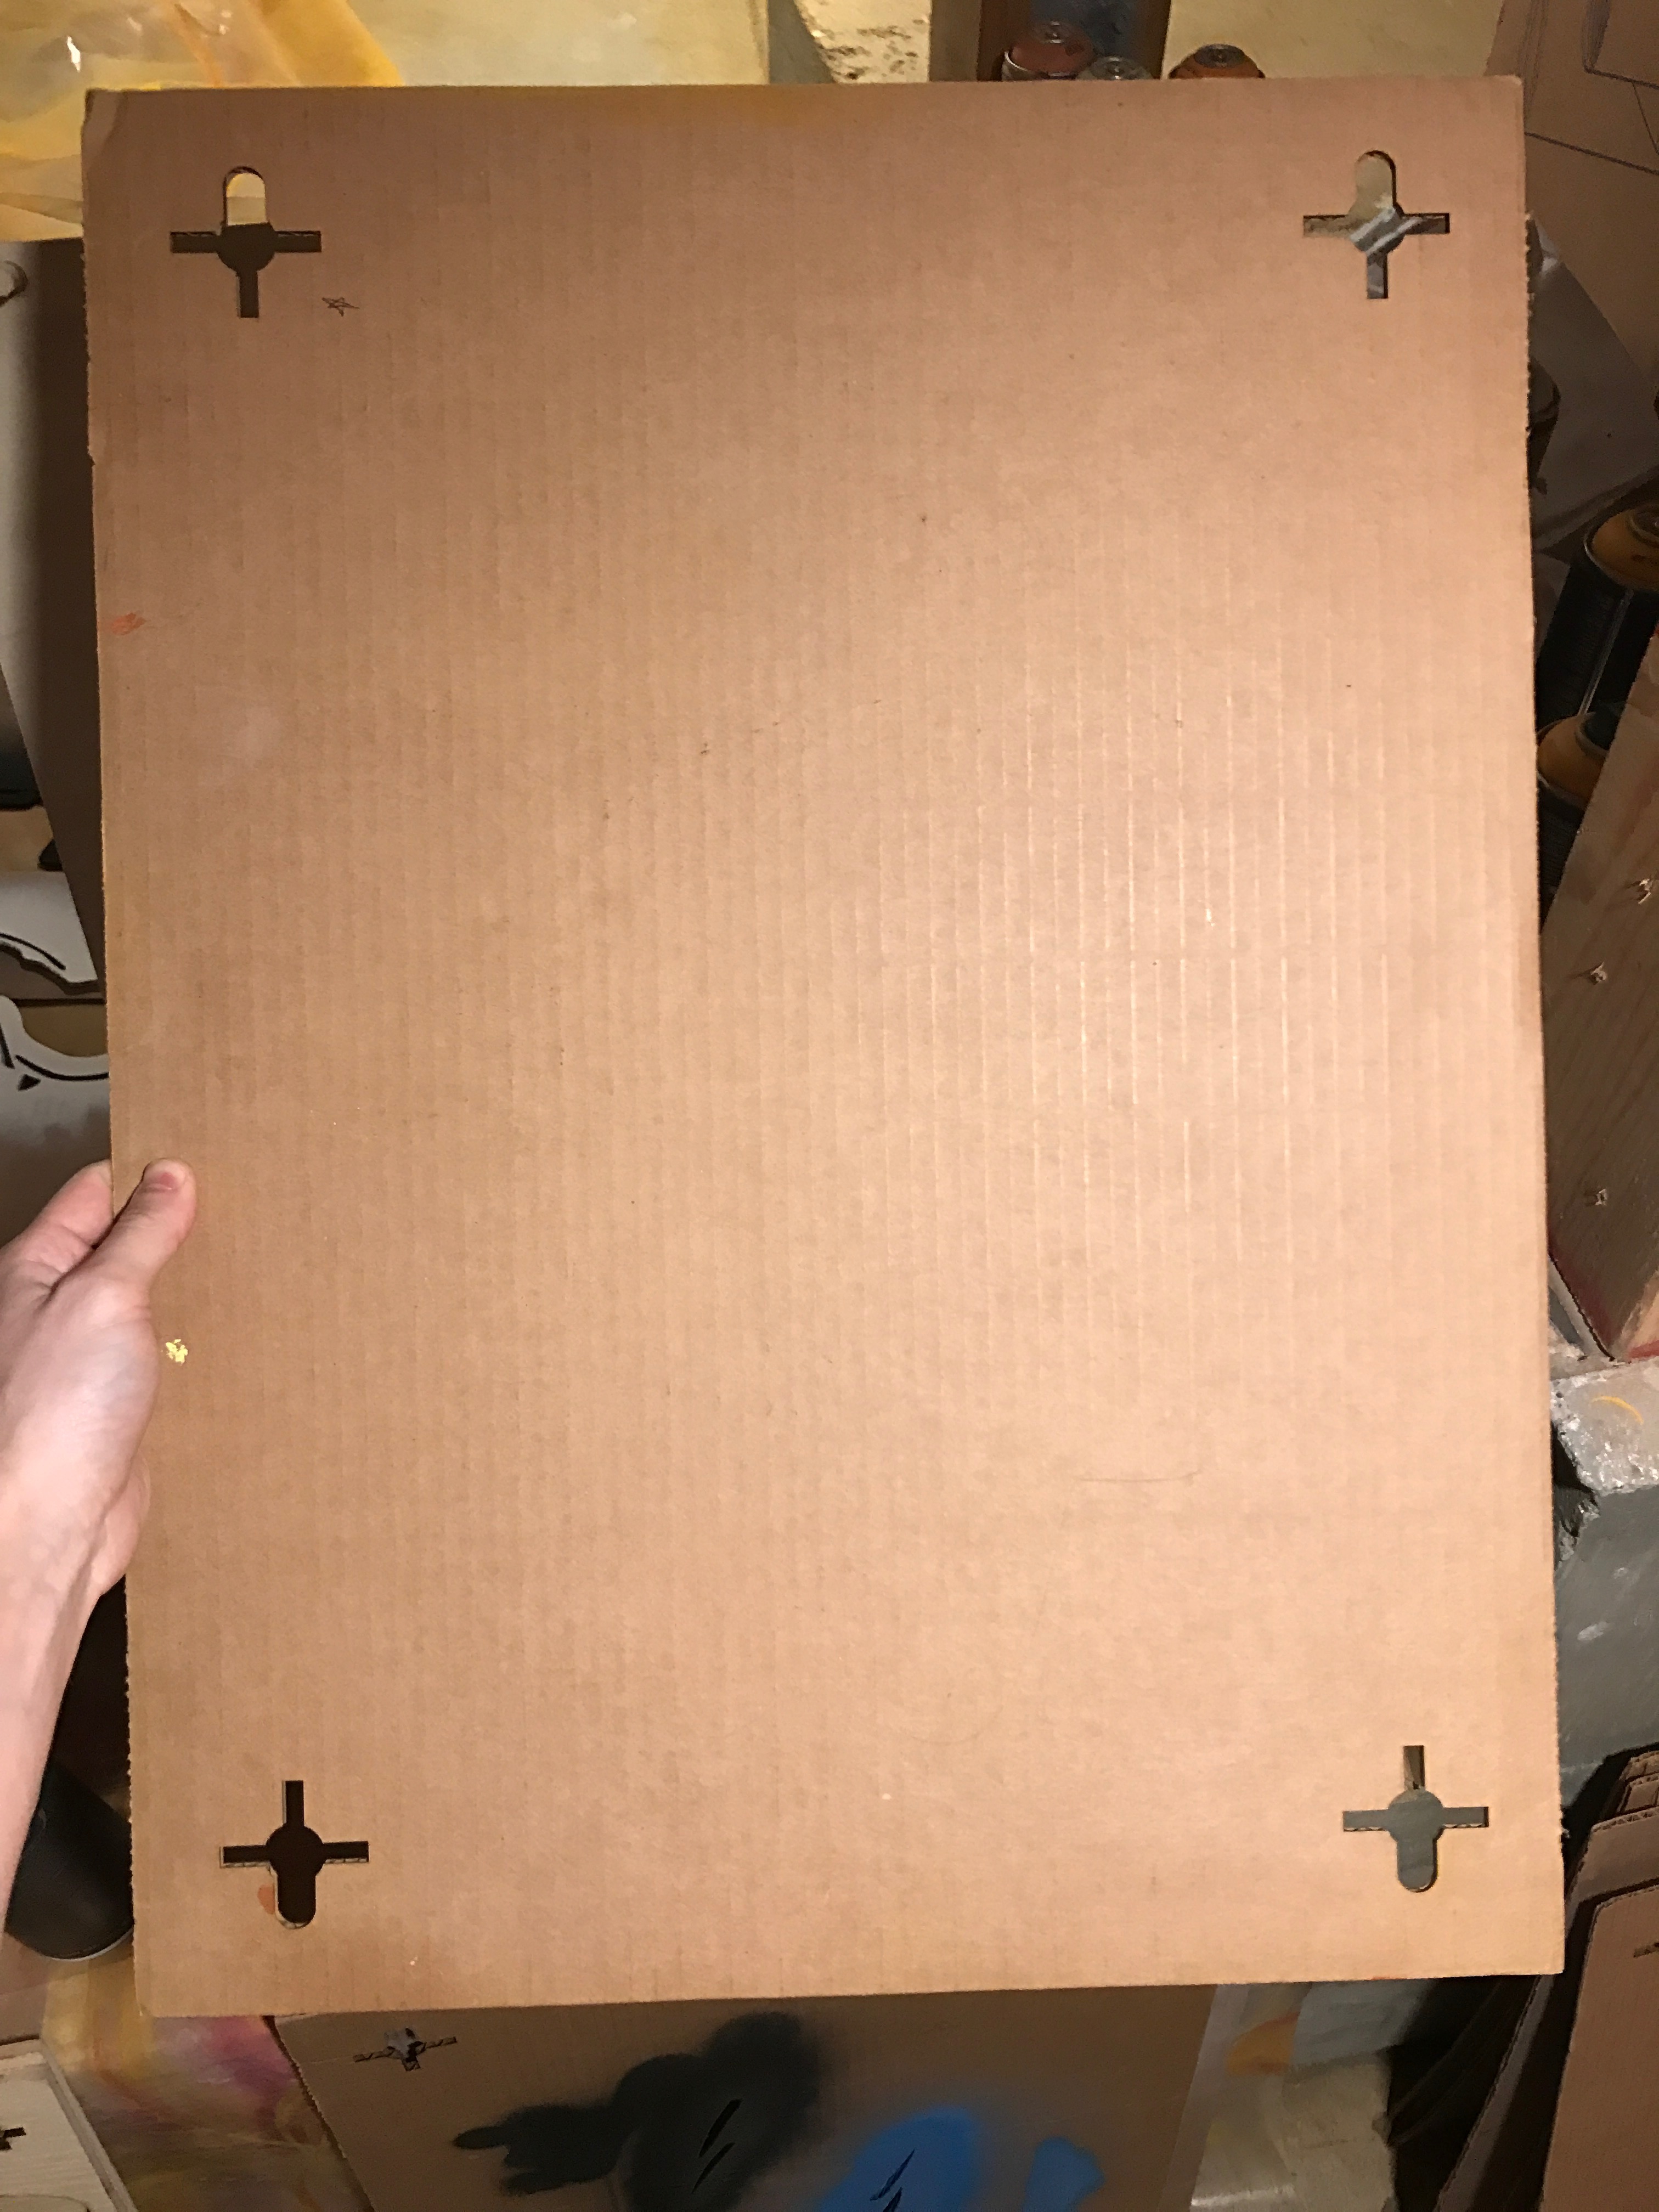
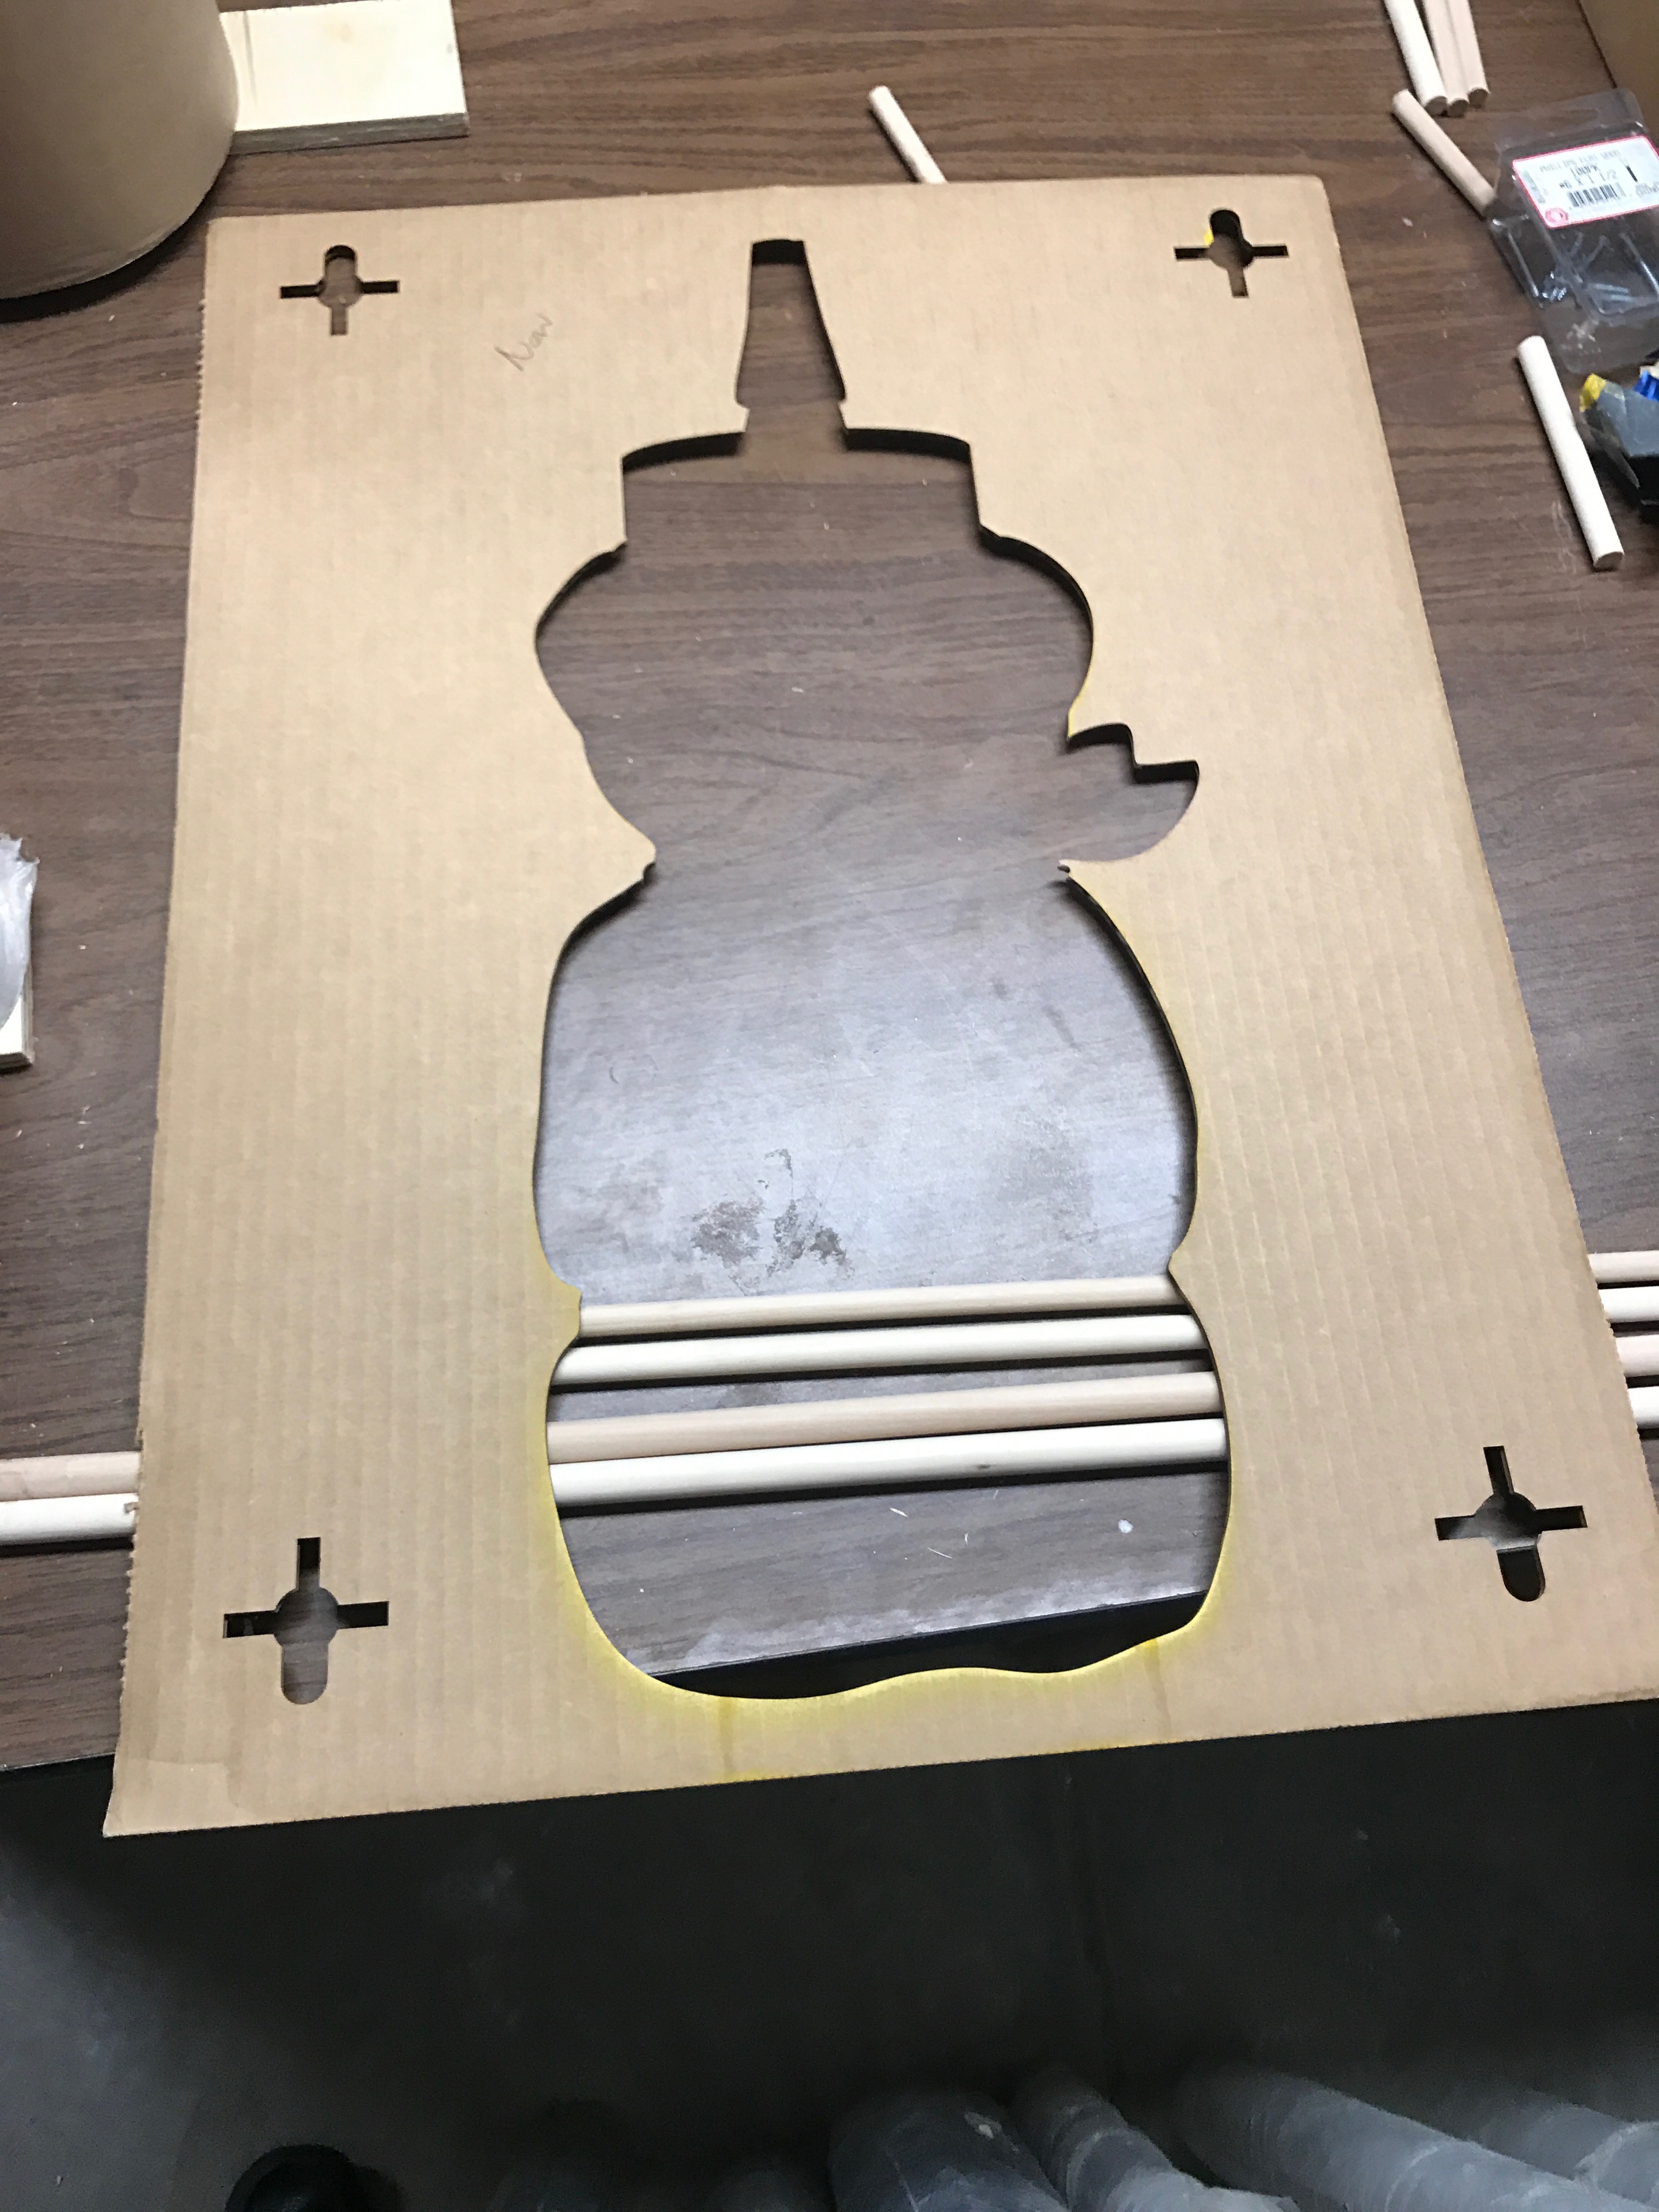
This is the crucial bit to get the whole system to work.
All of the stencils I create use the system of registration shown in the photos. These and all of my components are cut on a laser cutter so that everything fits together properly.
The registration marks I use start with two 1" x 1/4" rectangles that meet in an "+" shape. I then put a 1/2" circle at the top of the guide, a larger circle in the middle, and then connect the small circle to the big circle as shown.
The idea here is that you can put the big circle around the rod at the top of the easel and then slide it down into place.
The exactly details of my guides aren't important: you could have a smaller or larger circle at the top, the "+" shape could be bigger or smaller or thinner or fatter, and the spacing could be closer or farther apart. What's essential is that you pick a system and stay totally consistent between your stencils and your easel.
The first picture is the "back sheet" that I use as the shelf in my drying rack. I created another Instructable for the drying rack that you can check out. The idea here is that the painting slots into the jig (the second picture), and the two of them go right onto the easel, get painted, and then slide as a unit into the drying rack.
Paint!
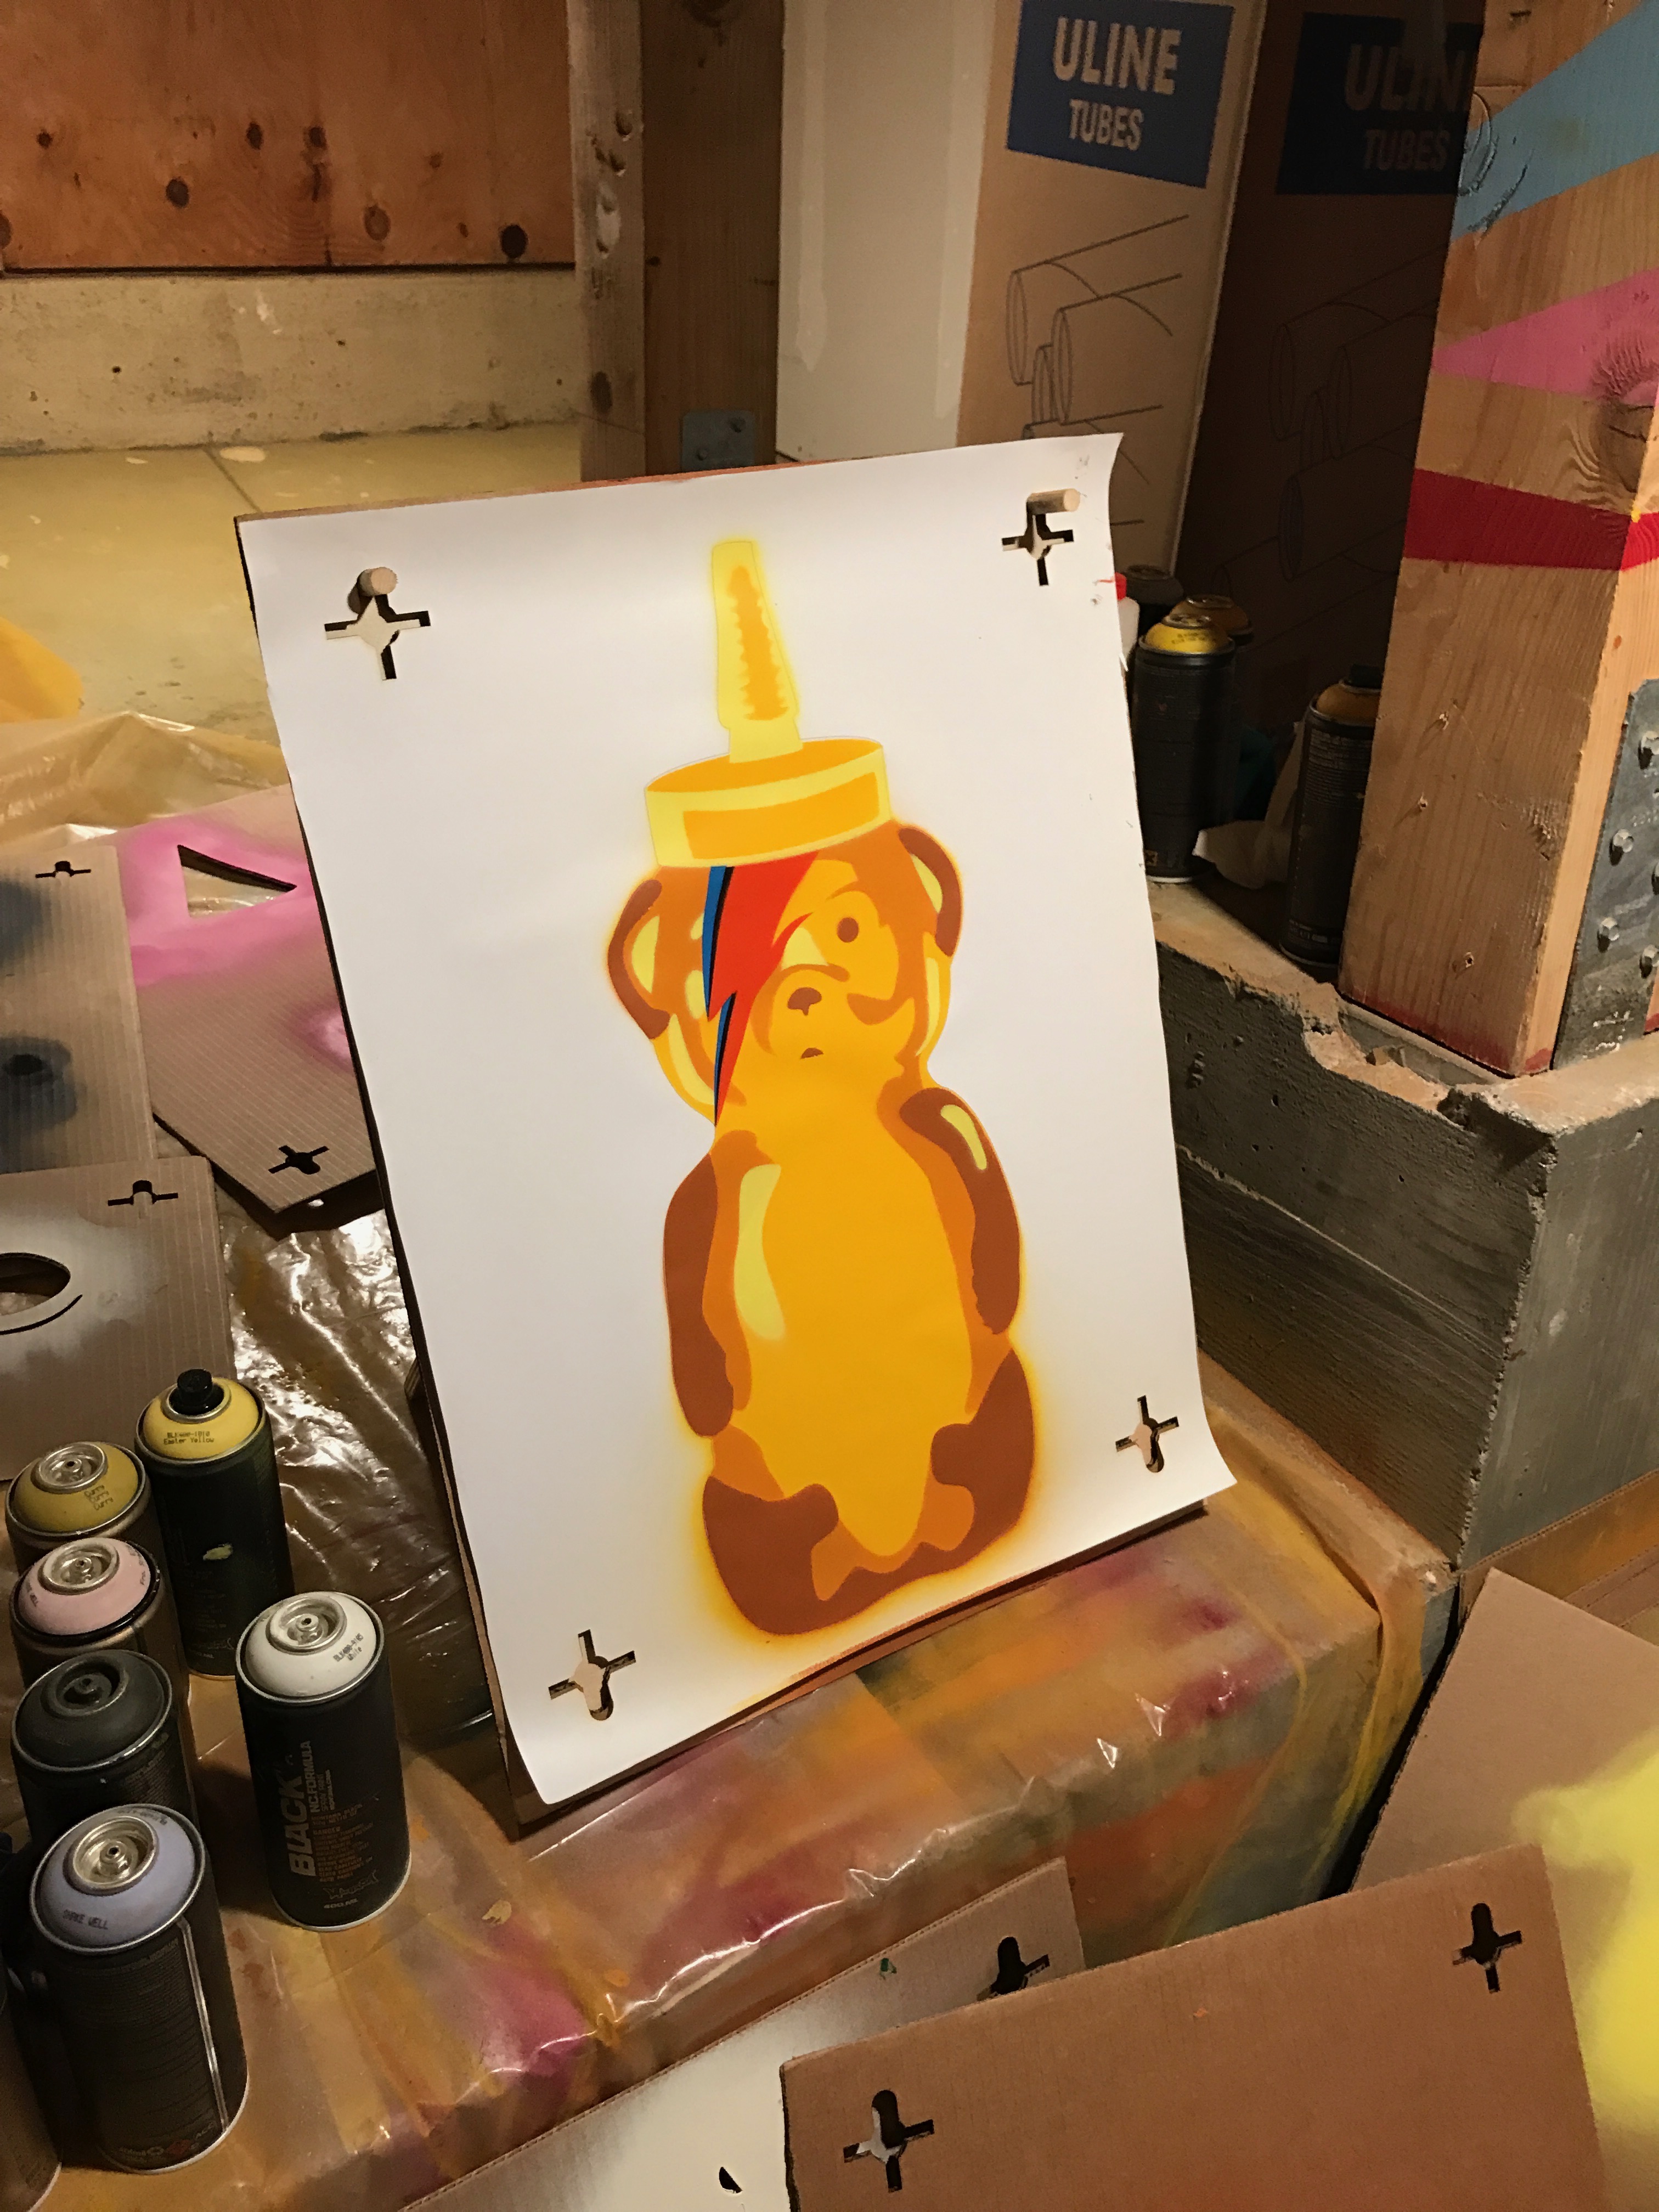
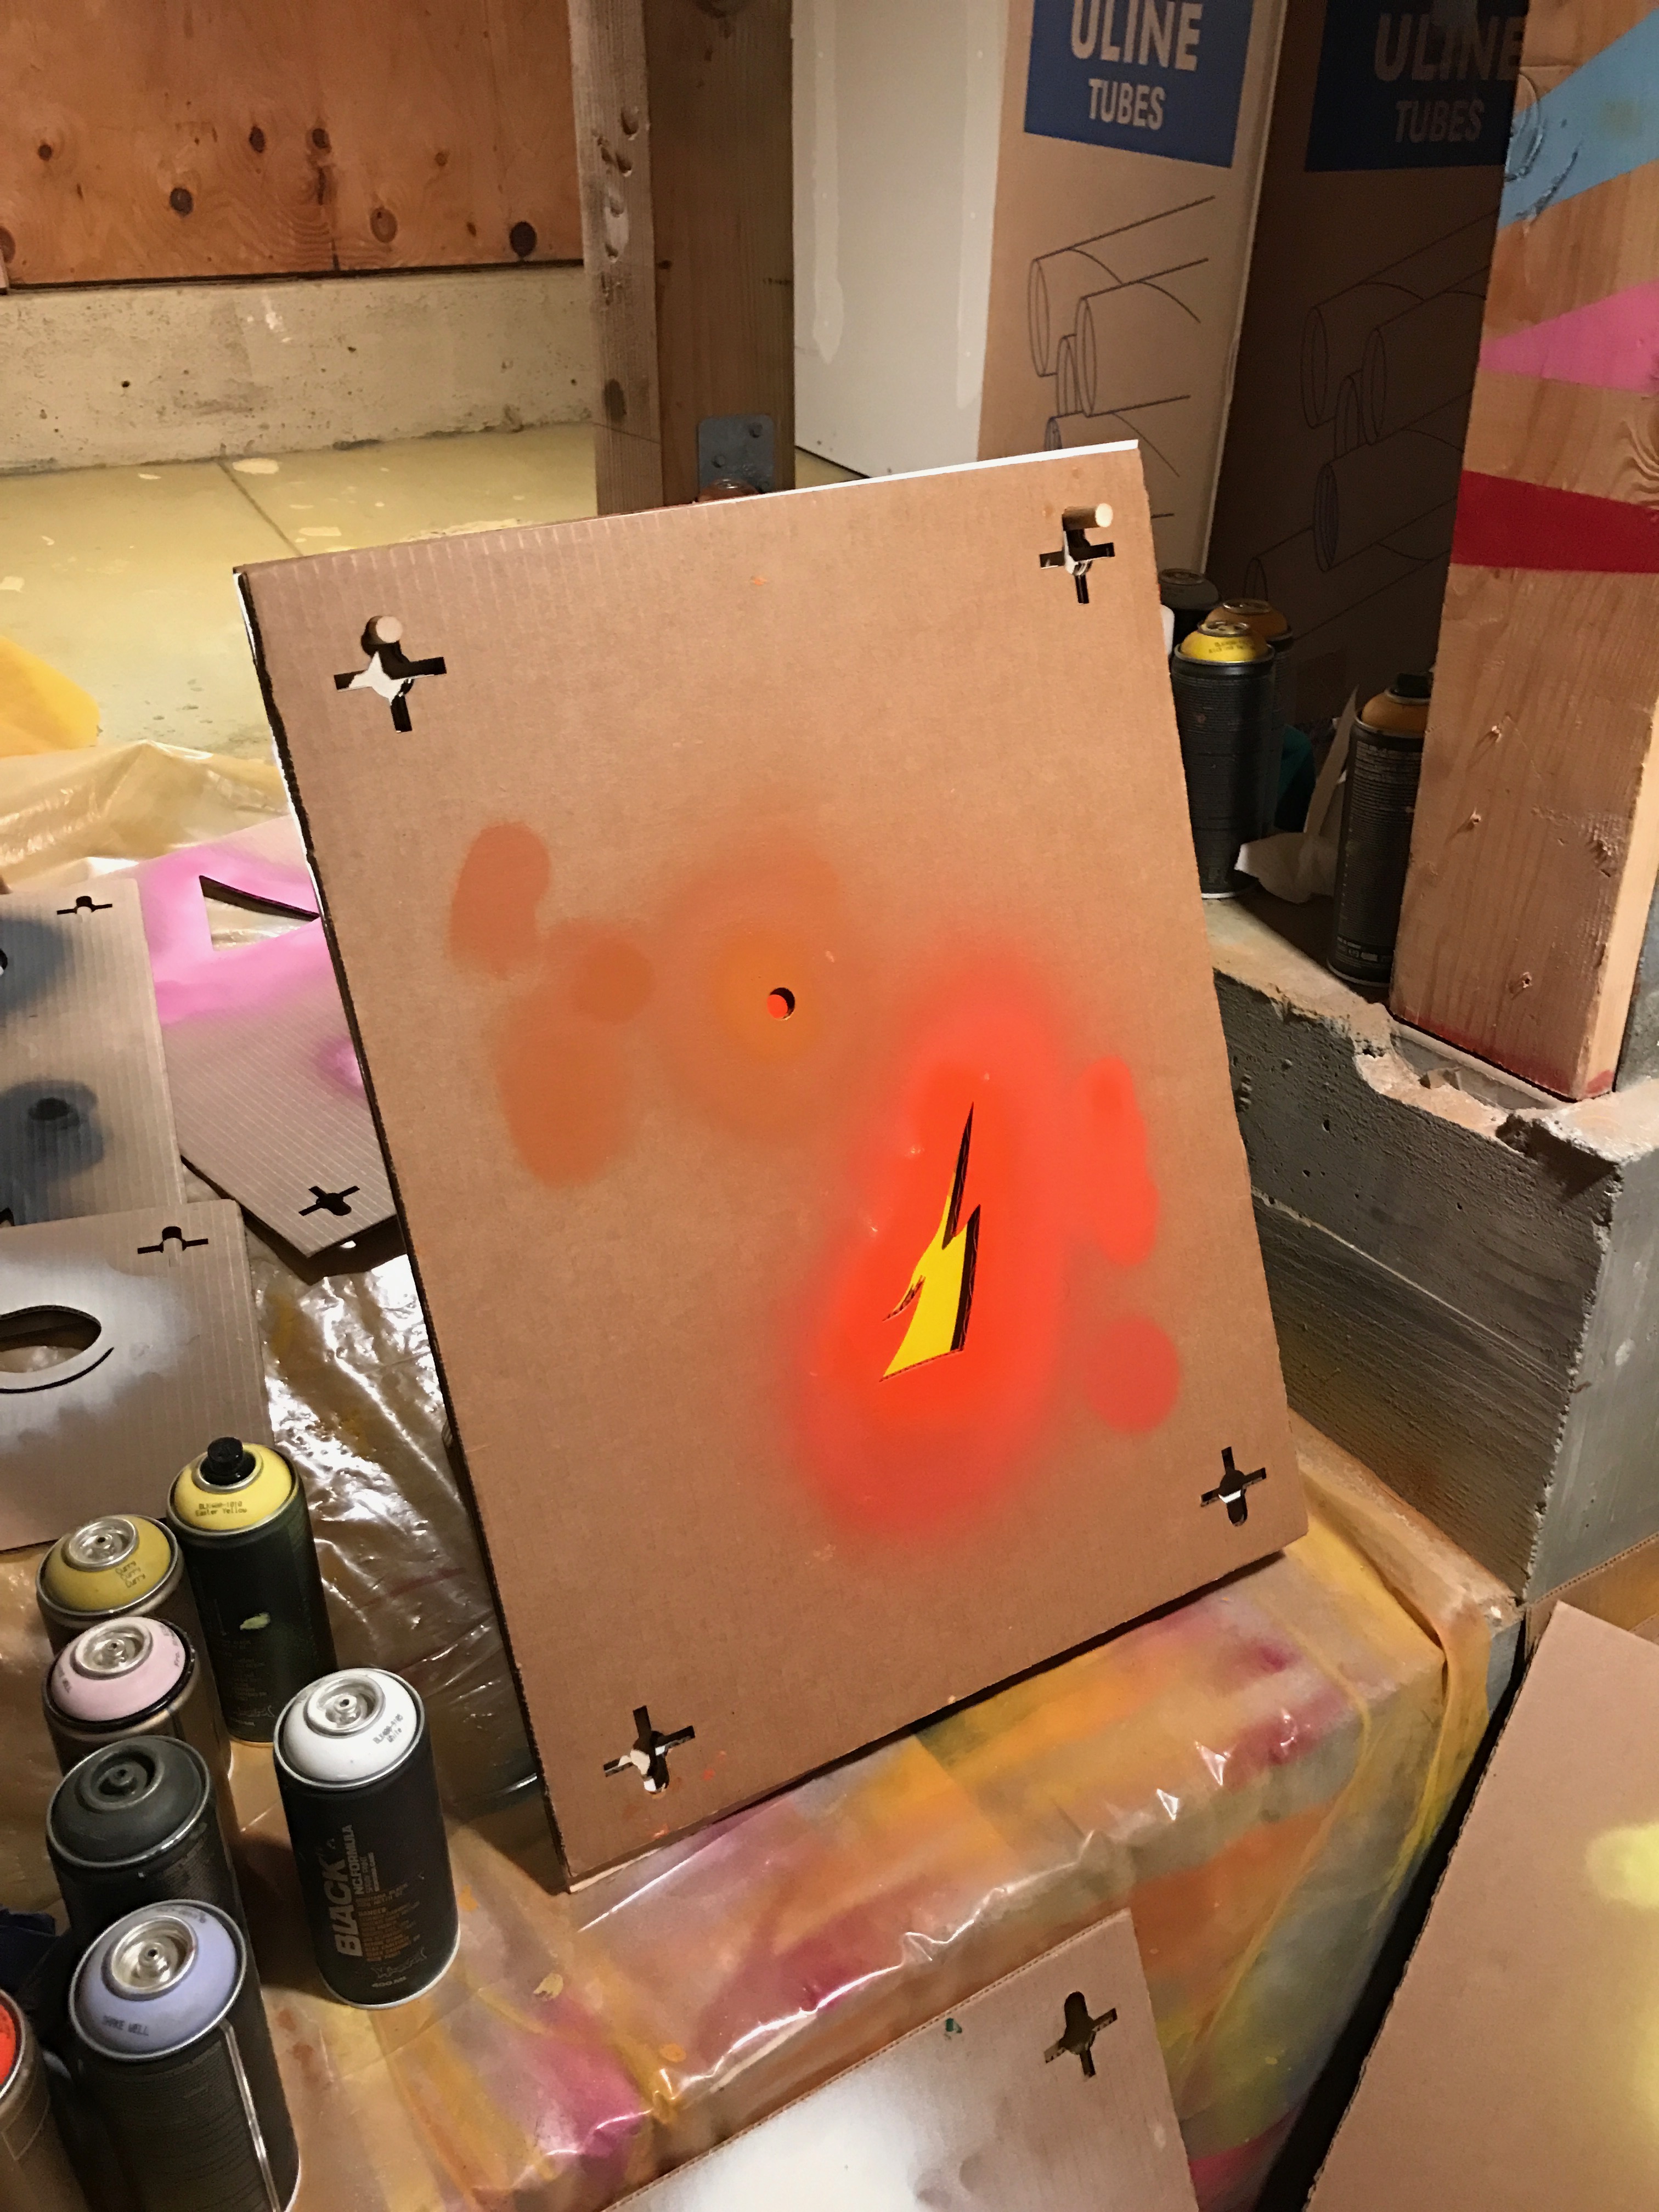
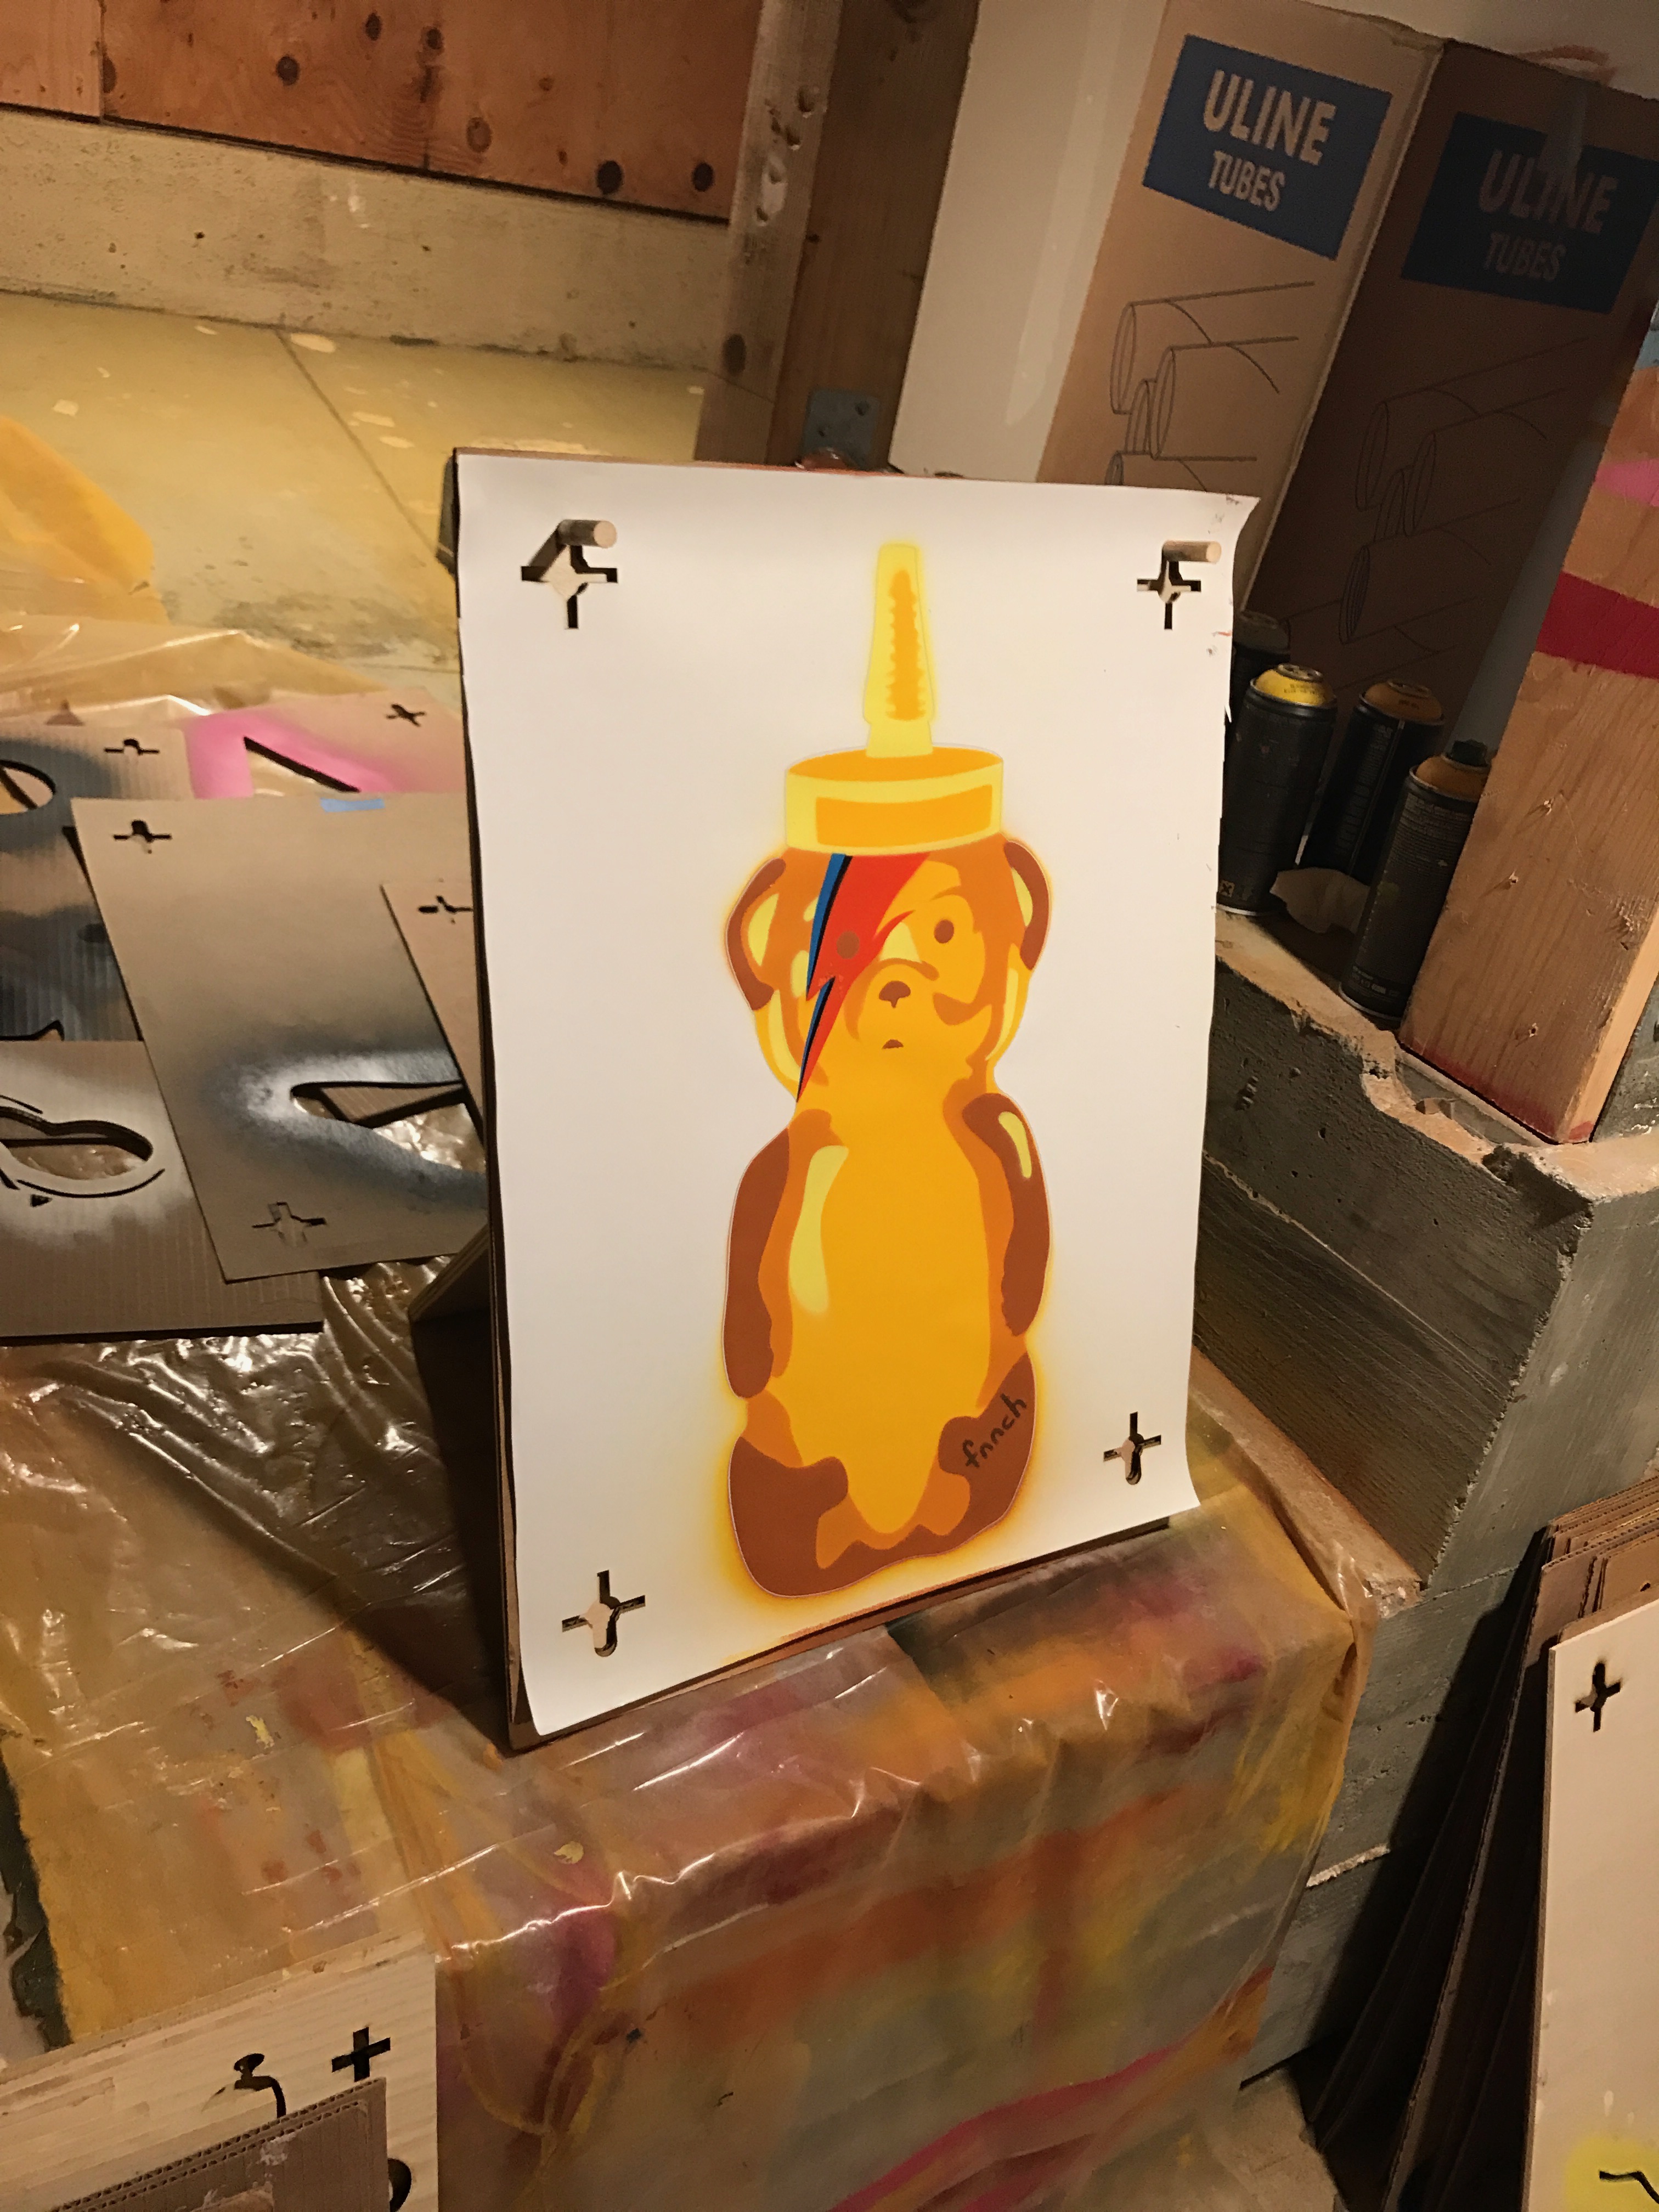
These pictures show before, during, and after painting a single layer. In this case the layer is quite small — just the final left eye to finish off the Bowie Bear.
The second image shows the stencil hanging on the rods as desired.
That's it!