Steampunk Dog Tags/Key Chain

I've never been to crazy about this steam punk stuff, probably because when I was first introduced to it, was at Youtube, Several of the video's mention that it was born with a question "What if the British steam powered generation had gained more attention worldwide than the American industrial revolution had, steam punk represents this idea of how different the world might be?" I can't agree! While the concept is cool I thought all week how I can make a steam punk project that brings a little bit of the American spirit and ingenuity. I remember the first day I was getting geared up at Fort Knox, the lady who was printing the dog tags had this saying "I'm giving you these tags but you have to earn what they mean", I used to always think that she was making a bad joke because they are for identifying your body if you get shipped home in a box. But now I know she meant she never wanted to get them back. It hit me like a ton of bricks no matter what you do, you work for anything you do, even making something for an instructable, you have to earn your tags!
"Americanized" SteamPunk Dog Tags
"Americanized" SteamPunk Dog Tags
Materials

Materials needed:
Copper pipe
Dremel w/cutting disc's
Gas torch
Various pliers
Flat head screw driver
Work gloves
Lettering punches
Ball peen hammer
Engraver
Printer
Drill and bit
Dog tag chain
Copper pipe
Dremel w/cutting disc's
Gas torch
Various pliers
Flat head screw driver
Work gloves
Lettering punches
Ball peen hammer
Engraver
Printer
Drill and bit
Dog tag chain
Slice It! Spread It!


With a small piece of copper pipe in hand put a slice down the center of the pipe then slightly wedge it apart with a flat head screw driver
Ready, Aim, FIRE!


Next start heating the pipe till it gets red, copper bends really easy when you add heat. Use a pair of pliers and start spreading the super heating copper out till it fairly flat. Take your ball peen hammer and start tapping it till flat, occasionally adding more heat. Once you have it as flat as it's going to get take a wire brush (or a bench grinder with a wire wheel) to clean it up and make it shine.
Punch the Tag!


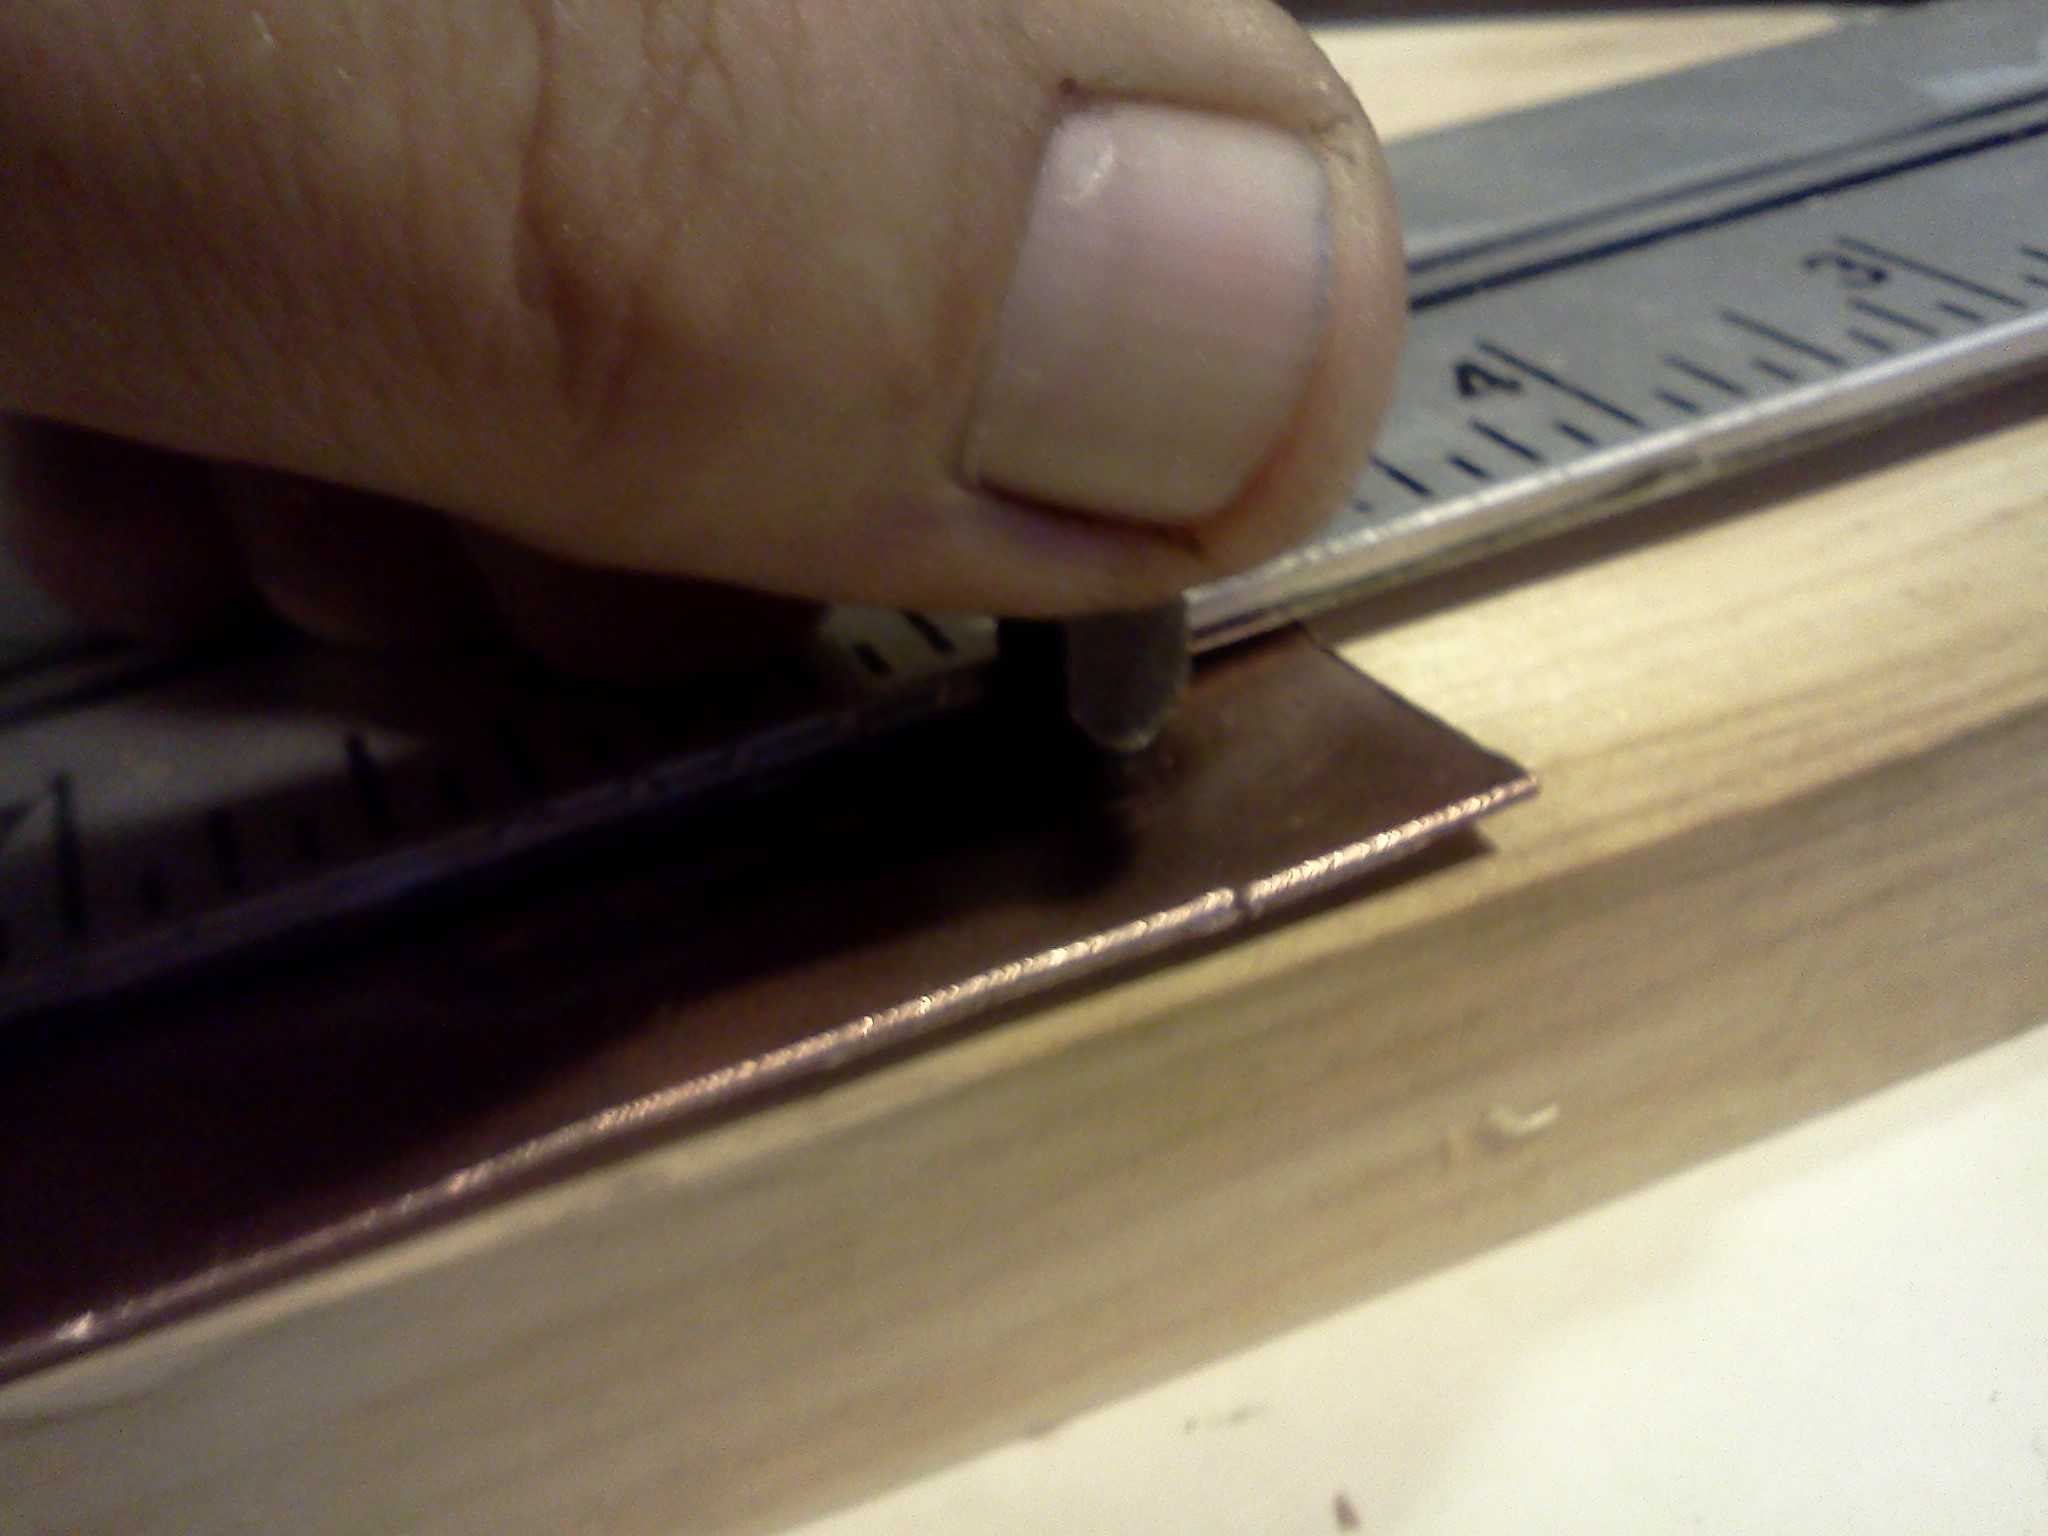
Starting the first tag is simple, make a tag size that your comfortable with (for mine I traced the ones I've earned). Take a straight edge and clamp it to the copper blank to line up the letter punches. Spell out your words by hammering out each letter side by side use a ruler to space them evenly. Once you have your letters punched out, trace out your scribe line with a permanent marker to make it easy to cut.
Engraving Tag 2 to Honor the Insipiration


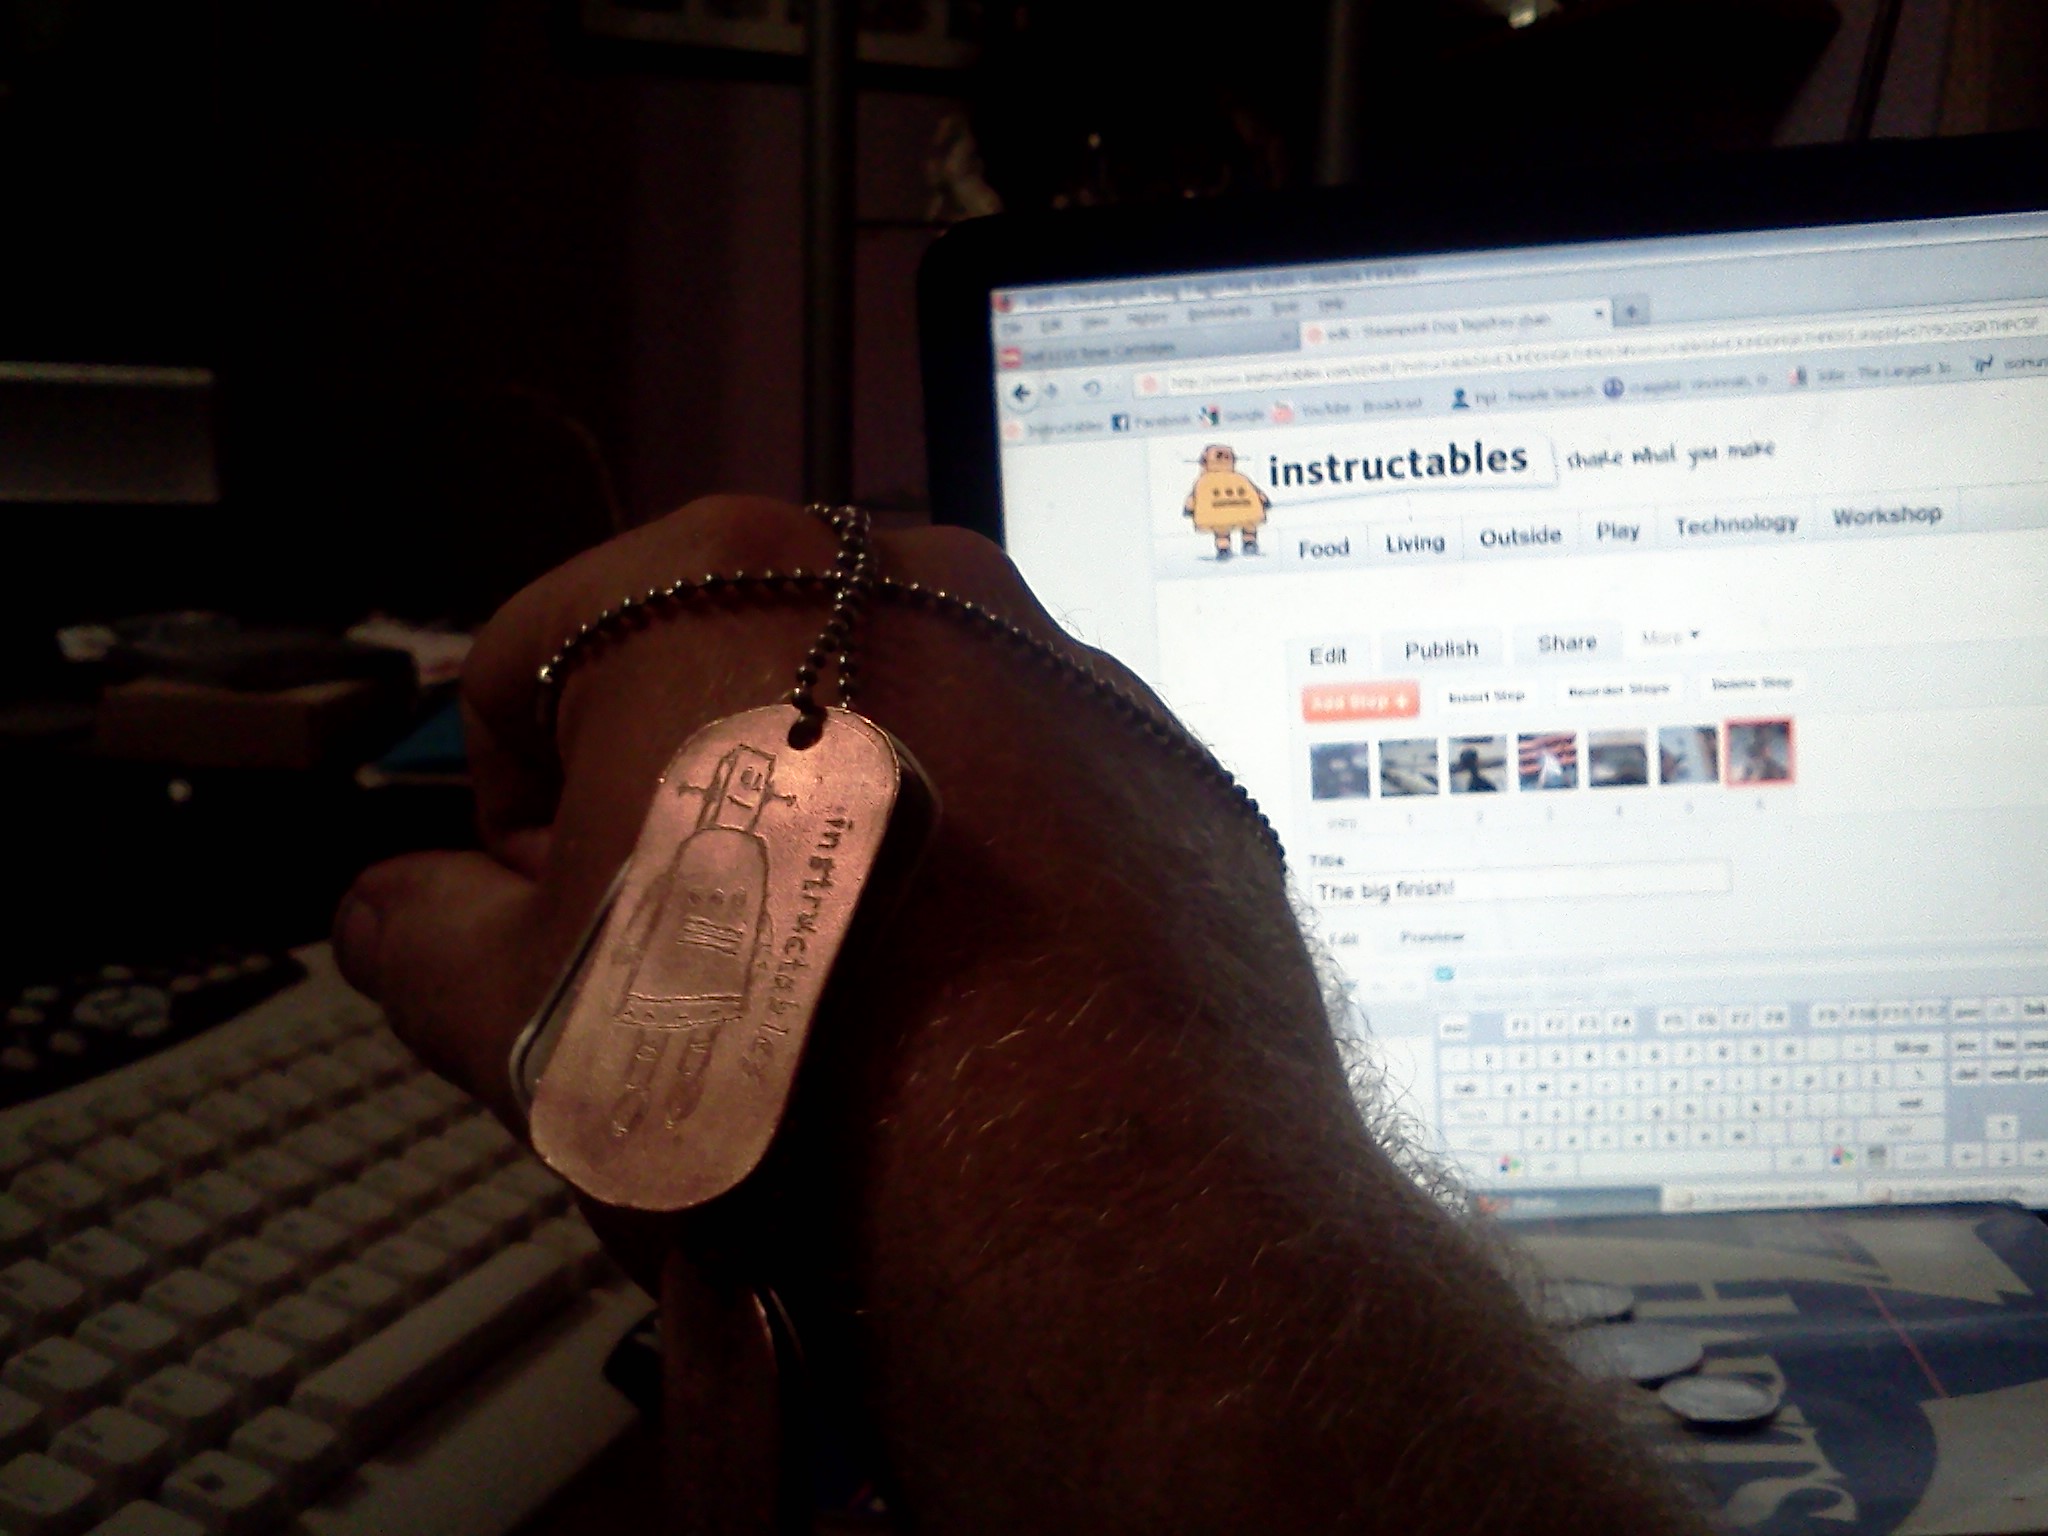
To honor the site that gave me the inspiration to show my work to the world I decided to for-go my regular logo's and give props to the instructables crew. Using a picture or a logo to engrave by hand is easy, Print it out, tape it to your work, then use the lowest setting on your engraver to trace out the design. it should be cutting through the paper and barely making contact with the metal below, leaving a light trace. set you engraver on a higher setting and re-trace the logo. once your happy with the engraving use your permanent marker again to trace out your cut line
The Big Finish!


Now that you can see the tags it time to finish them up! Cut out the tags using a dremel, scroll saw or just a pair of shears. Find a center point on the top of your tags and drill a hole a little larger than your tag chain, with a fine sand paper finish the edges and buff the tags a little to get some shine into the scratches. To really give it a "been through battle" look take some Brasso metal polish and a rag and lightly hand polish the tags (Tip: Don't machine polish them it take to much of the dark and hammered spots out of the material)