Starter Project 1 | Graphic Sensors
by Bare Conductive in Circuits > Sensors
4580 Views, 76 Favorites, 0 Comments
Starter Project 1 | Graphic Sensors
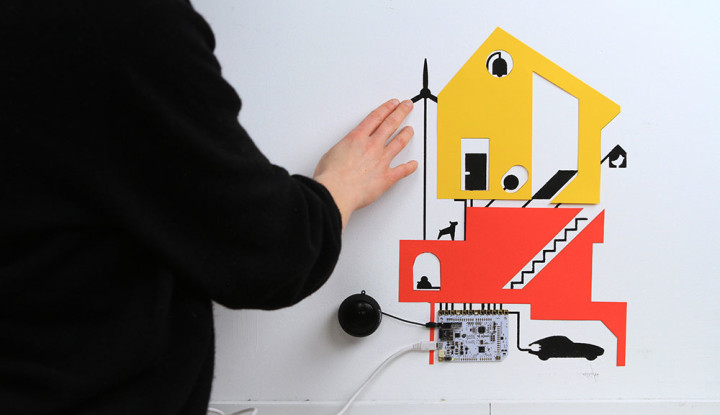
Make an interactive wall graphic using the Touch Board and Electric Paint
Make an interactive wall graphic using the Touch Board Starter Kit. Follow the instructions to learn how to create a soundscape with Electric Paint. Bedtime stories will never be the same once you’ve painted this engaging interface on your wall!
For more project ideas visit www.bareconductive.com
Materials
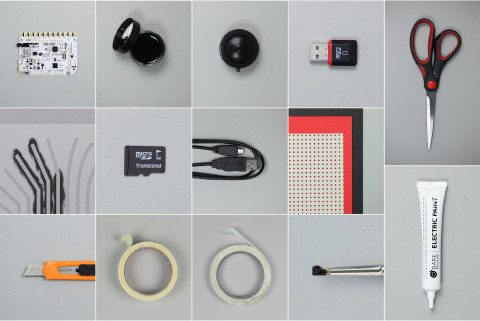
To begin you will need:
1 x Touch Board
1 x Guidebook
—
1 x MicroSD Card
1 x MicroSD Card Reader
1 x Micro USB Cable
1 x Mini Speaker
1 x House Stencil or your graphic
1 x Stencil Brush
12 x Sticky Tabs
3 x Velcro Stickers
2 x Paper Cutouts
Attach Your Stencil
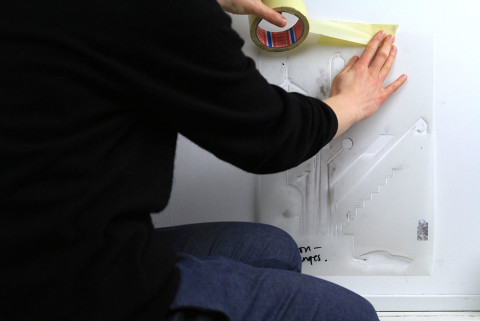
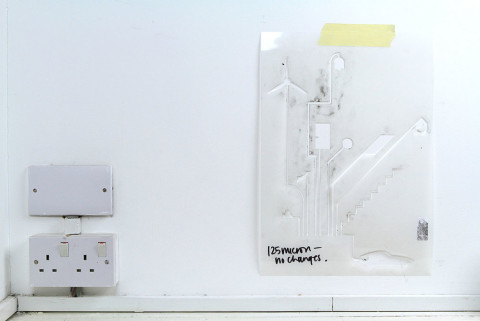
To start, attach the house stencil to your wall with a piece of masking tape. Once you are happy with the position you can start painting the Electric Paint traces.
Apply Electric Paint
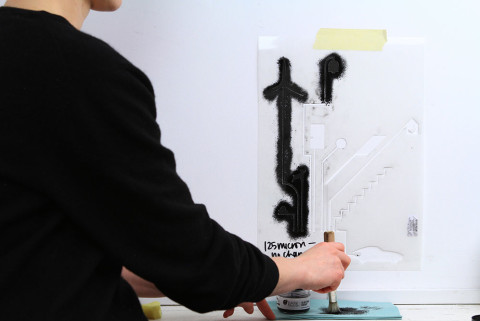
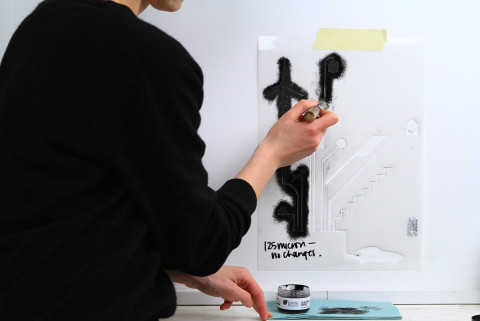
When painting, it’s important to use the correct stencil painting techniques to get a nice clean finish. This is called stippling.
Dip the tip of your stencil brush in the Electric Paint Jar. Make sure to ‘offload’ the excess paint onto newspaper so that your stencil doesn’t stick. The bristles on your brush should not be too saturated with paint when you blot it on the stencil. A ‘dry’ brush will prevent the paint bleeding under the lines.
To apply, repeatedly tap the brush onto the stencil to build up the layer of paint gradually. Make sure you get a thick coat of paint.
Once you’re happy with the coverage, leave it for 15 minutes or until completely dry to the touch.
Load Sounds
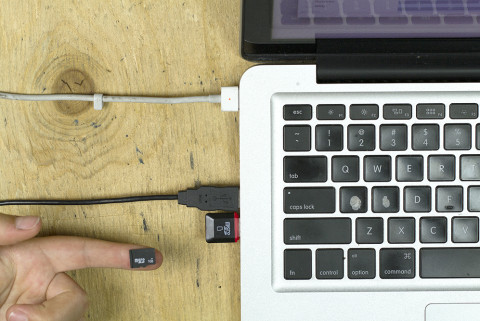
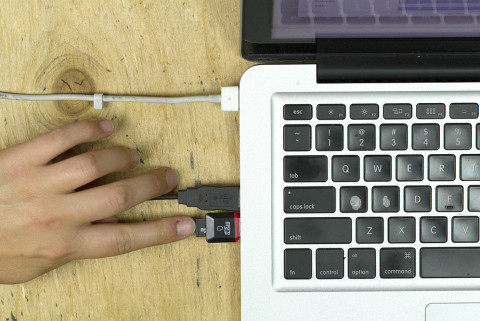
While you’re waiting for the paint to dry, why not upload some sounds for your house onto the Touch Board? You can find free sound libraries online, or record your own.
Take the MicroSD Card out of your Touch Board, and connect it to your computer using the MicroSD Card Reader.
Follow the instructions in the README.txt file on the card to name your files and load them onto the Touch Board. More details on this step are available here.
Follow the instructions carefully — if the files aren’t named properly they won’t play.
Remove the Stencil
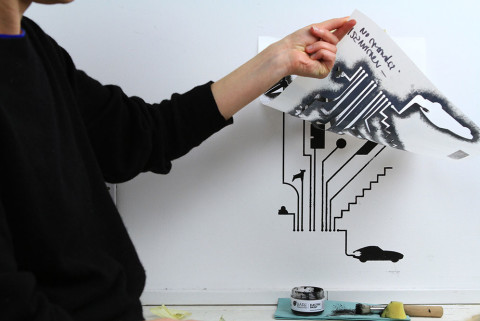
Once the paint has dried you can remove your stencil.
Before removing, ensure the Electric Paint is dry so that the motion does not smudge the edges. Your stencil should easily lift off the wall.
Connect the Touch Board
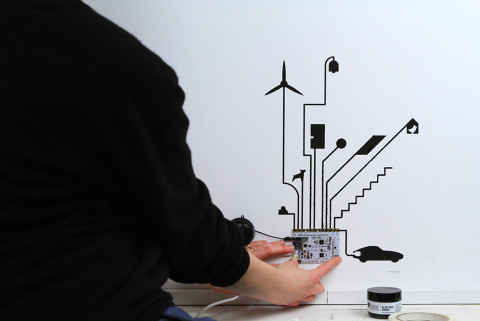
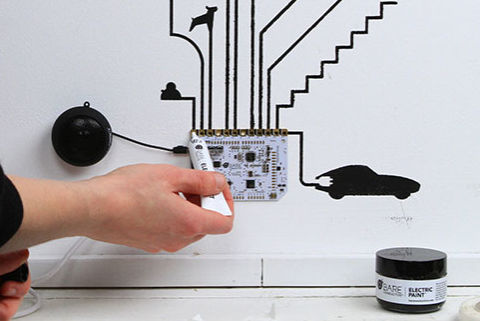
Now you’re ready to attach the board onto the wall.
You can use two sticky tabs placed on the back of the Touch Board to secure it in place. The holes in the gold electrodes should align with the painted graphic.
Squeeze a small droplet of Electric Paint in the electrode holes to ensure the connection with the graphic is reliable. A detailed tutorial on attaching your touch board is available here.
Decorate Your House
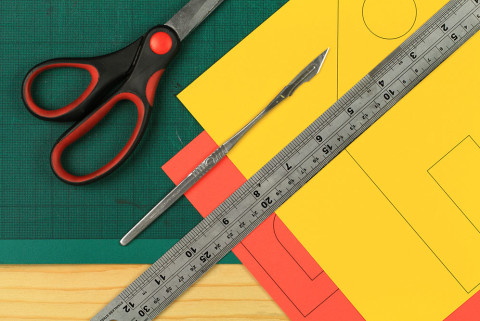
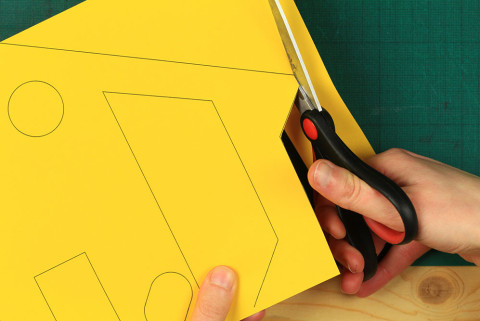
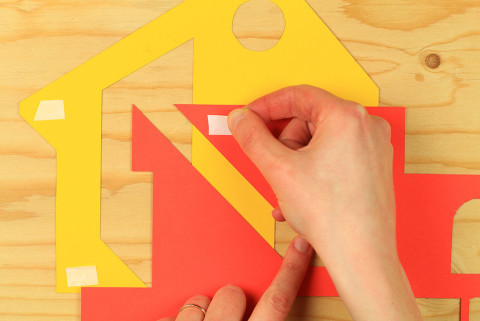
Now to add the colour!
Cut out the house shapes from the blue and yellow paper cutouts. You can customise the house by choosing which shapes to cut, or create a custom house using different paper or materials.
Attach to the Wall
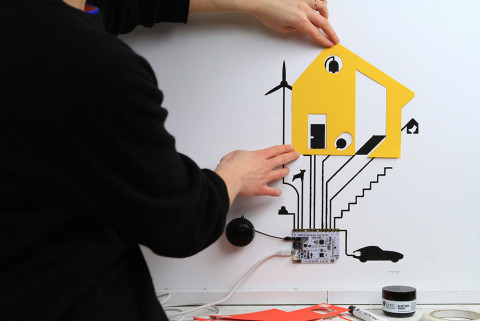
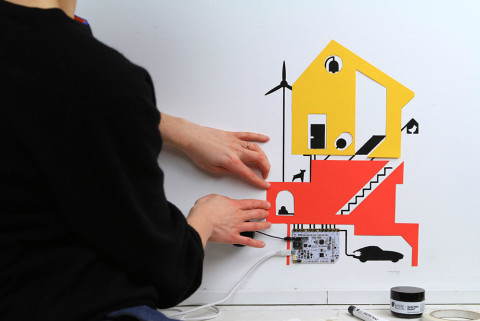
Use the remaining sticky tabs to attach your paper cutouts to the wall.
Connect Audio and Power
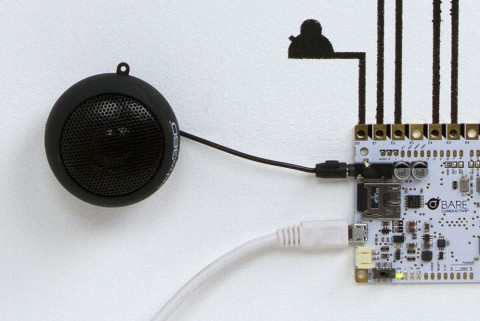
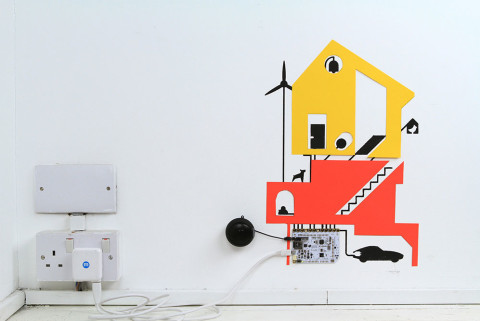
Plug in your speaker and rest it on a surface or attach to the wall using one of the velcro stickers provided.
Plug in the Micro USB cable to power from a computer or wall socket using a wall-mounted USB plug.
Use the switch on the lower left hand side of your Touch Board to turn it on. Your interactive graphic is now ready to go!
Play Your Soundscape
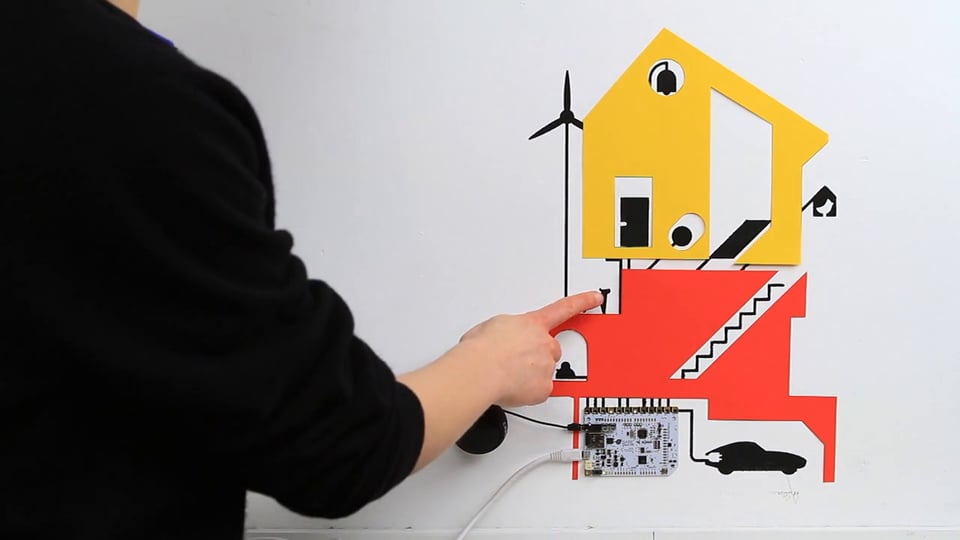
You’re finished! Now you can start creating stories with your speaking house.
If you get tired of the house it’s no problem, just add a new design or build a city around it. Paint new images and transform it into a narrative world of your choosing.
If you liked this tutorial visit www.bareconductive.com for more!