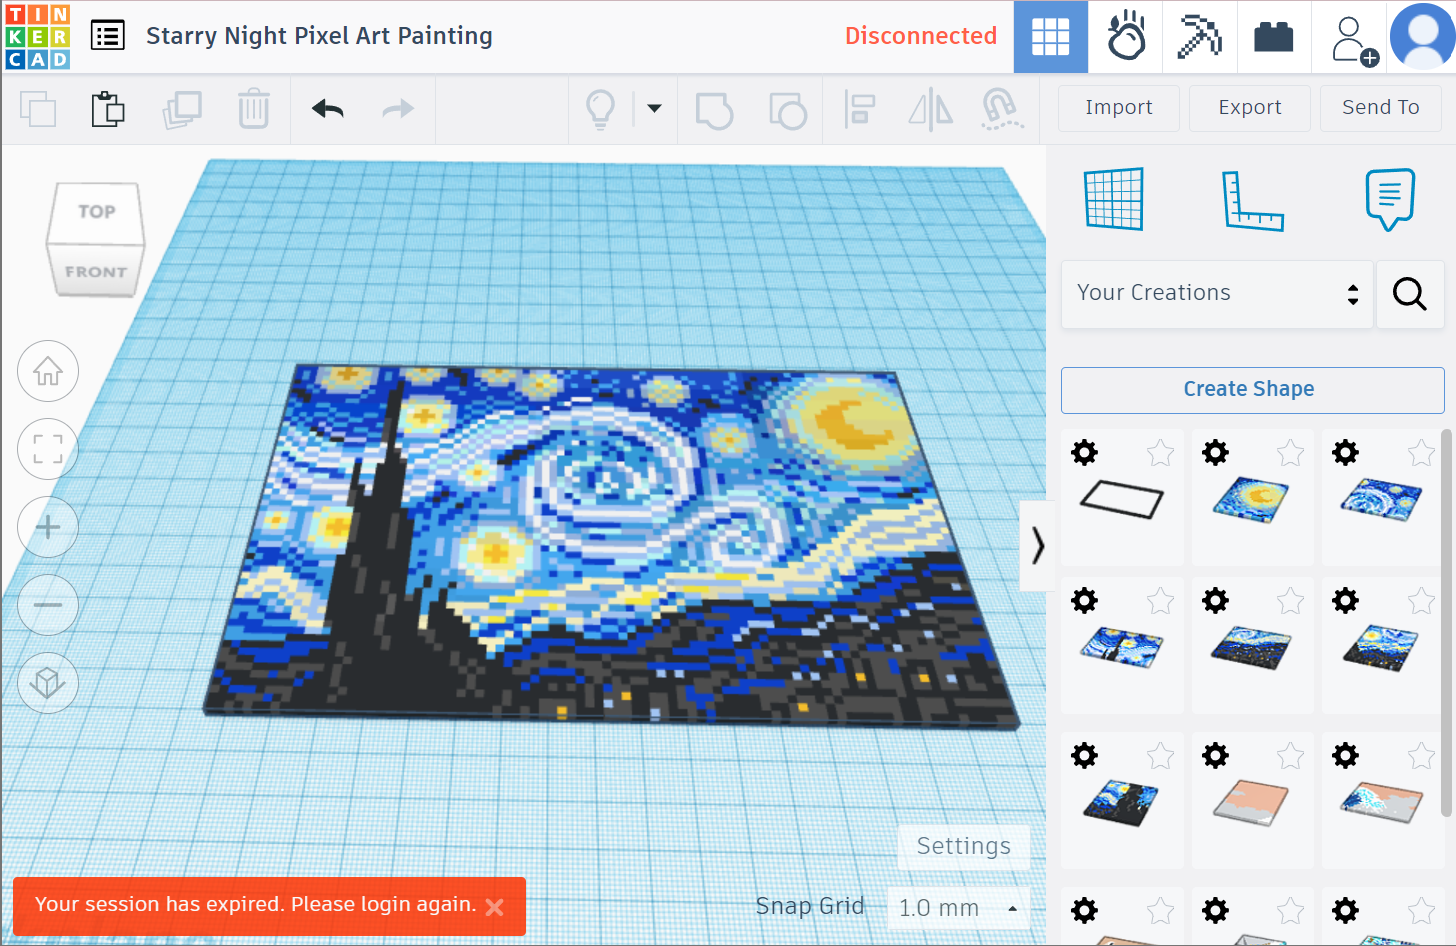
Starry Night Pixel Art With Tinkercad
by chong227033 in Design > 3D Design
1340 Views, 2 Favorites, 0 Comments
Starry Night Pixel Art With Tinkercad

During the holidays, I took the golden opportunity to have a chance to camp on the green mountains. At night, stars winked in my direction, my wandering mind drifted to a famous painting that was hung in the museum - the Starry Night Painting by Vincent van Gogh. This painting was the last masterpiece Van Gogh painted before he somehow decided to end his life (Questionable, but we won't talk about that topic).
Now, shifting our focus to the project at hand, it is indeed possible to recreate such a masterpiece using only a 2mm-sided cube. However, this endeavor demands considerable patience and dedication. If you are a meticulous creator eager to replicate renowned artworks, this project is tailored for you. If patience is not your strong suit, I invite you to explore some of my other projects, which I trust will gain recognition in due course.
Without further ado, let us delve into the intricacies and wonders of this artistic endeavor!
Supplies
- Computer
- Mouse
- Good Internet
Finding the Subject

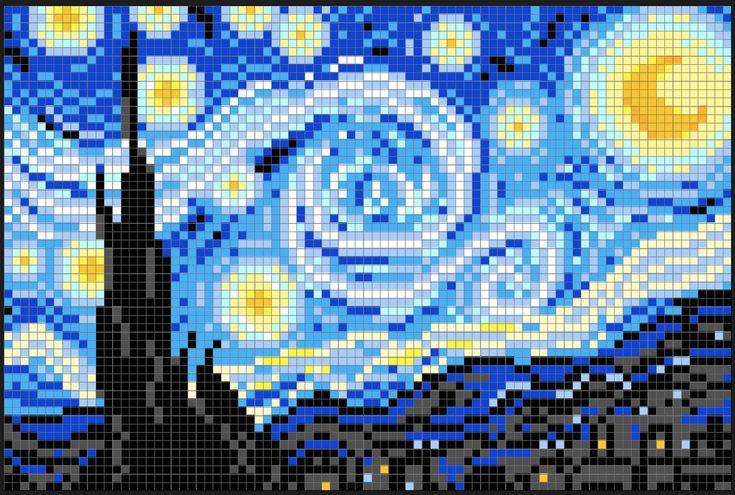
Finding the subject isn't relatively easy, as there are just tons of samples that can be found online. For this project, I had used this photo for reference, as the colors in that photo appear to be just the right colors that I wanted.
Creating the Subject

Next, we need to recreate the subject. This step only needs 3 things: a 2mmX2mmX2mm cube, a colour dropper from any website you are familiar with, and the most important thing - patience.
- Get a 2mmX2mmX2mm box in Tinkercad.
- Open up your reference photo. Start by colouring the corners and slowly make your way towards the final product.
- Group your cubes together and you are done!
In case your project lags and disappears, here is what you need to do:
- Select a certain amount of cube area (e.g: 20X3, 10X6, 15X4 and etc. Make sure the area is not too big.). Then, group them together.
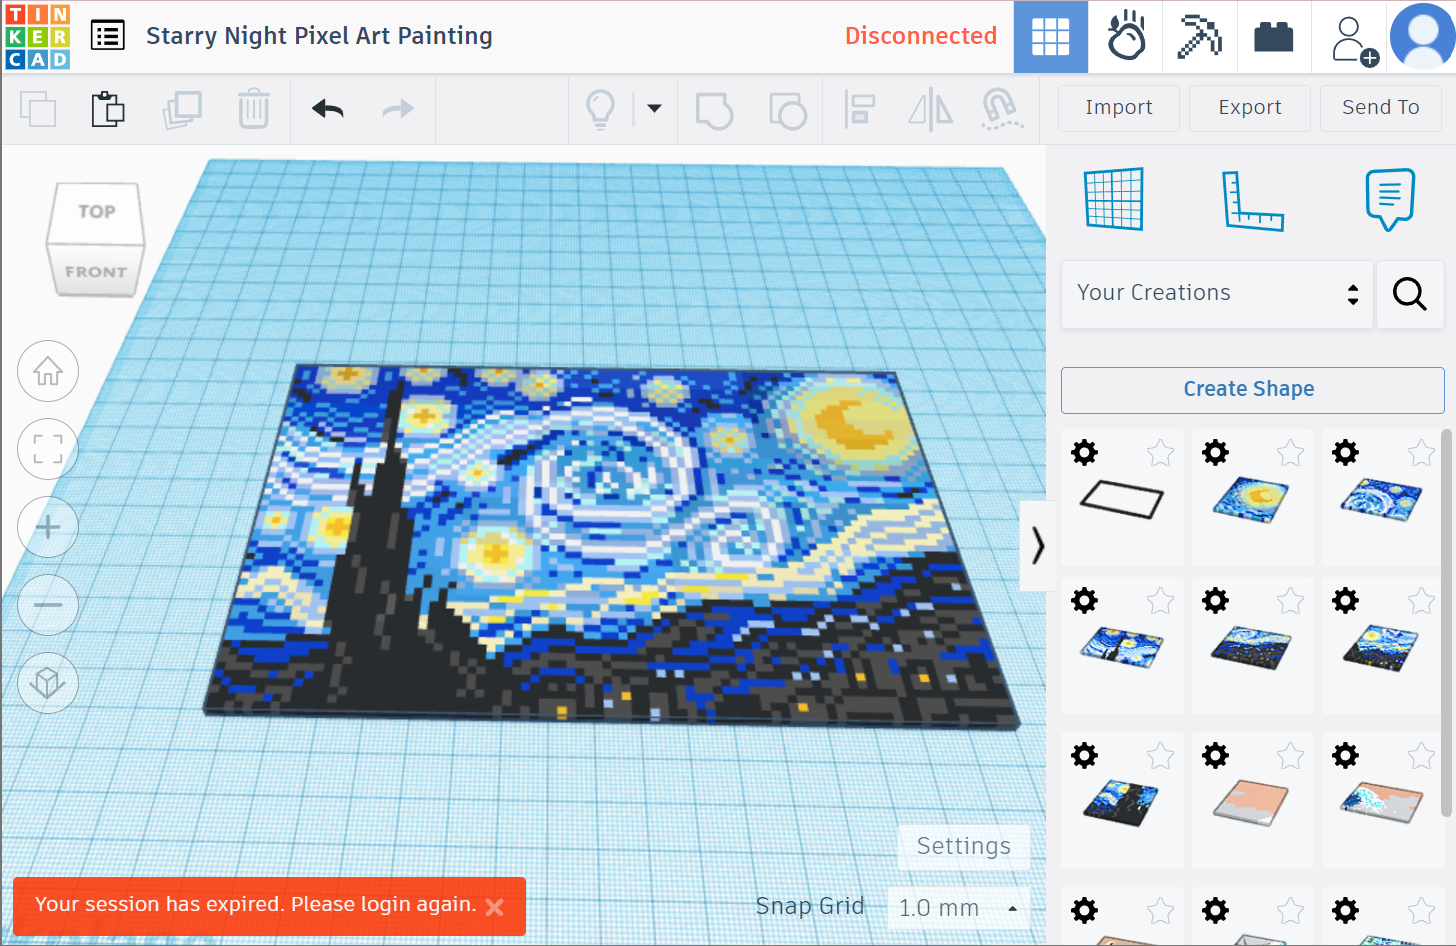
- Head to the shape tab and click "Basic Shapes". Then, select "Your Creations".
- Click on "Create Shape". Name your shape and save. (You can lock the scale if necessary.)
This is to prevent progression loss or the entire workplane lagging out. You wouldn't want your nearly-finished project to disappear in front of your eyes, would you? :)